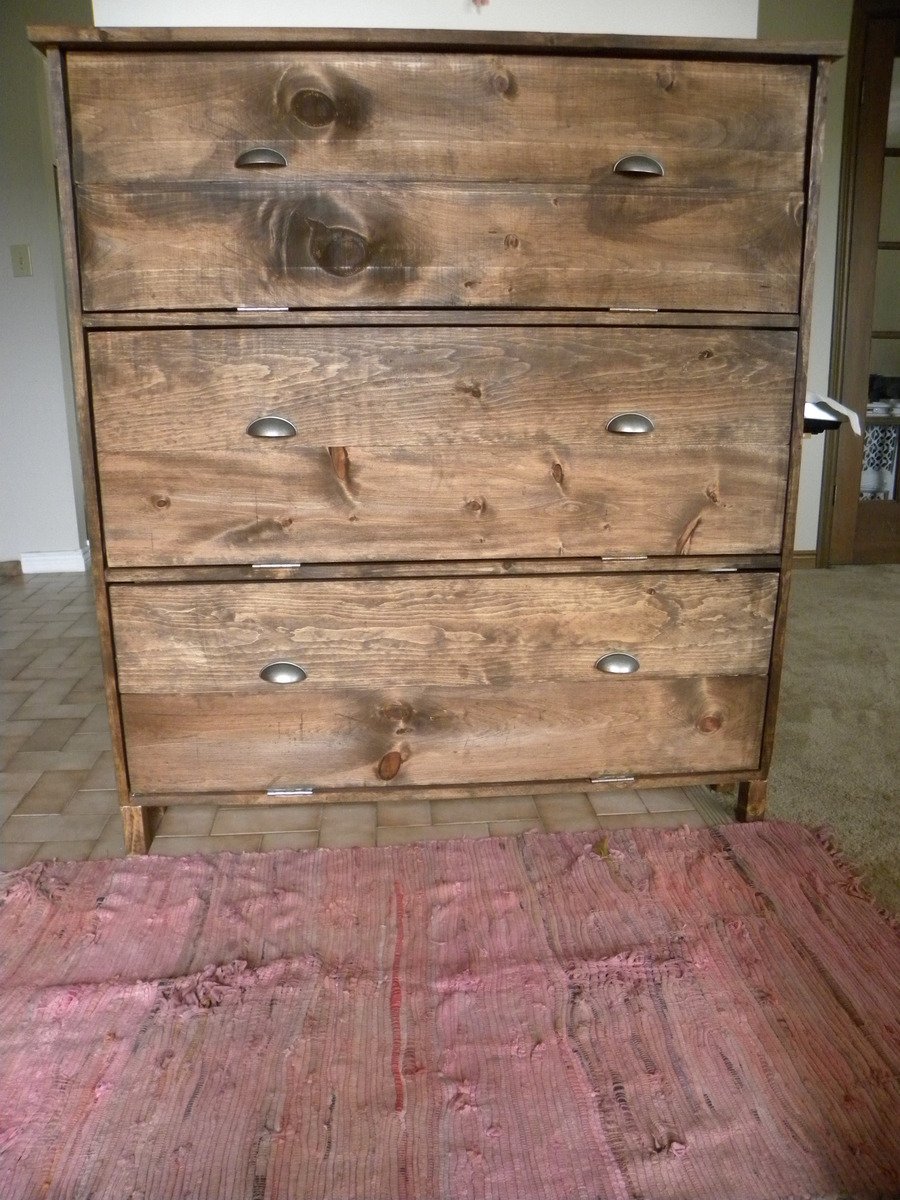
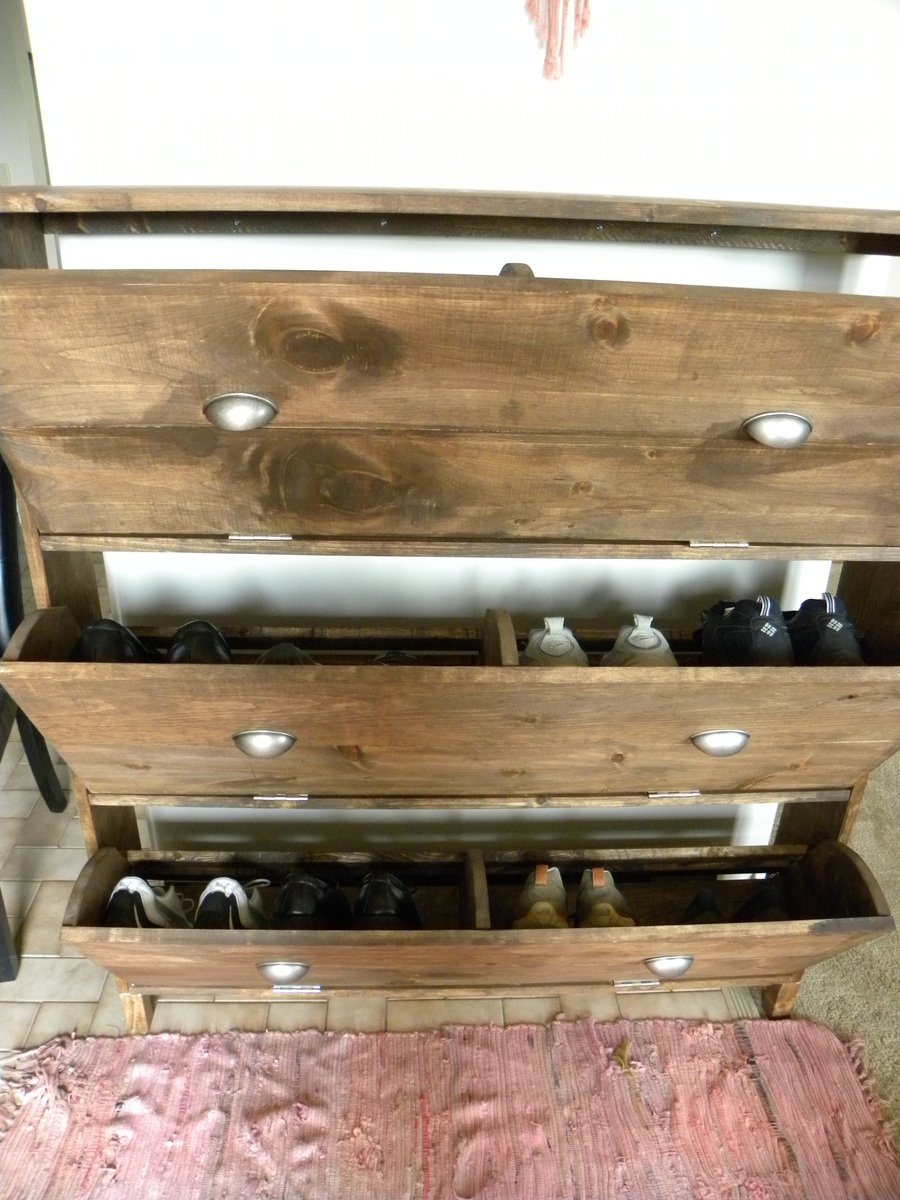
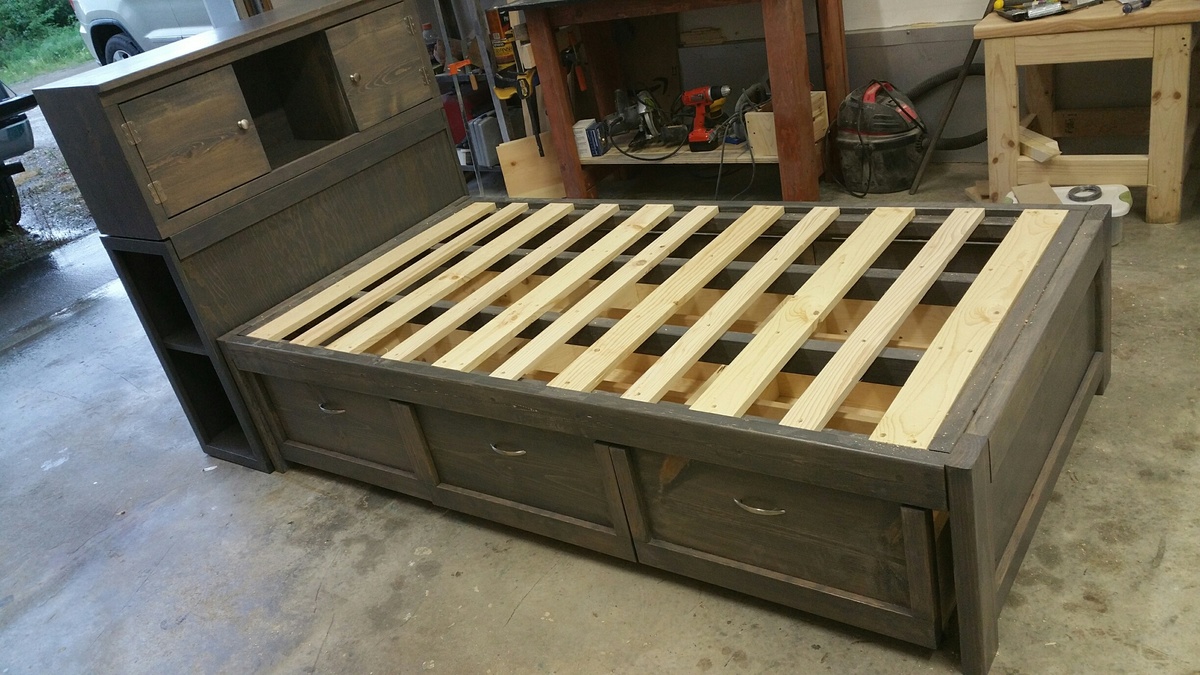
I didn't build this shoe dresser because I particularly needed one, but it looked so lovely that I couldn't resist.
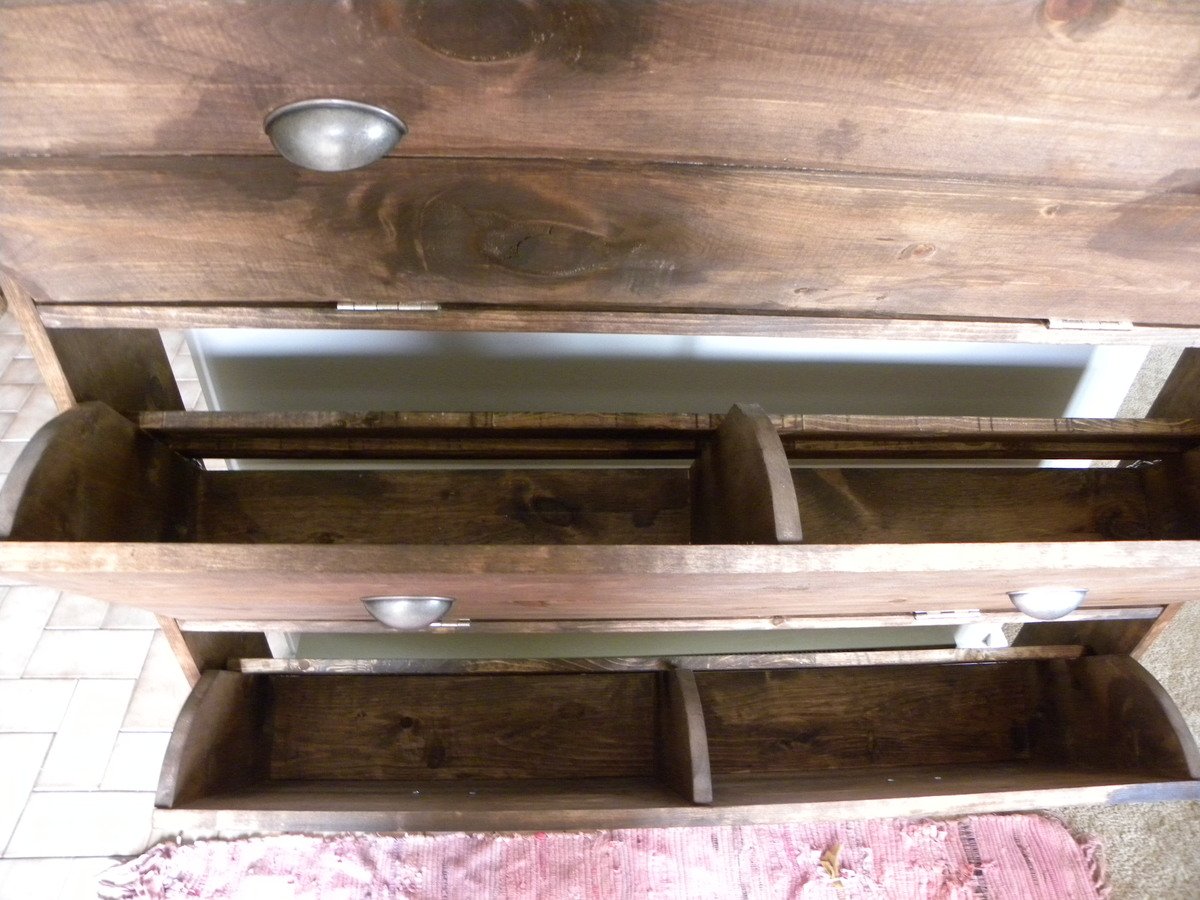
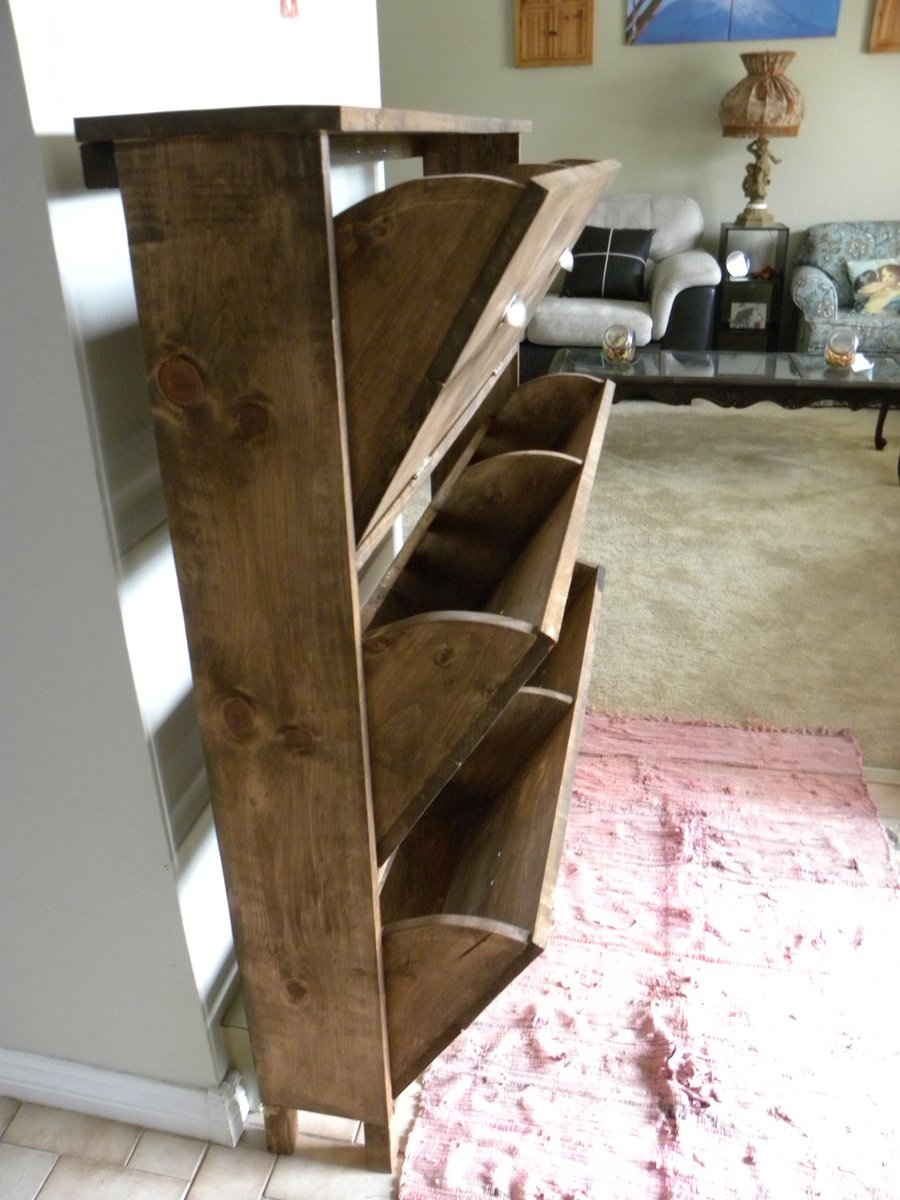
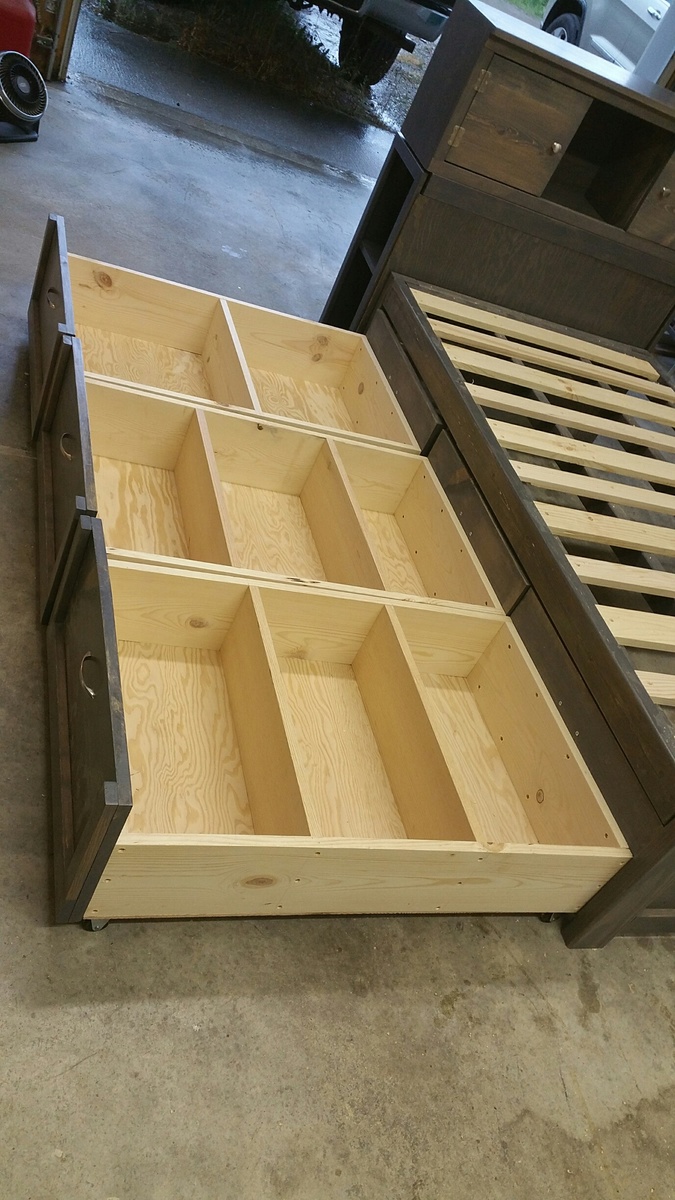
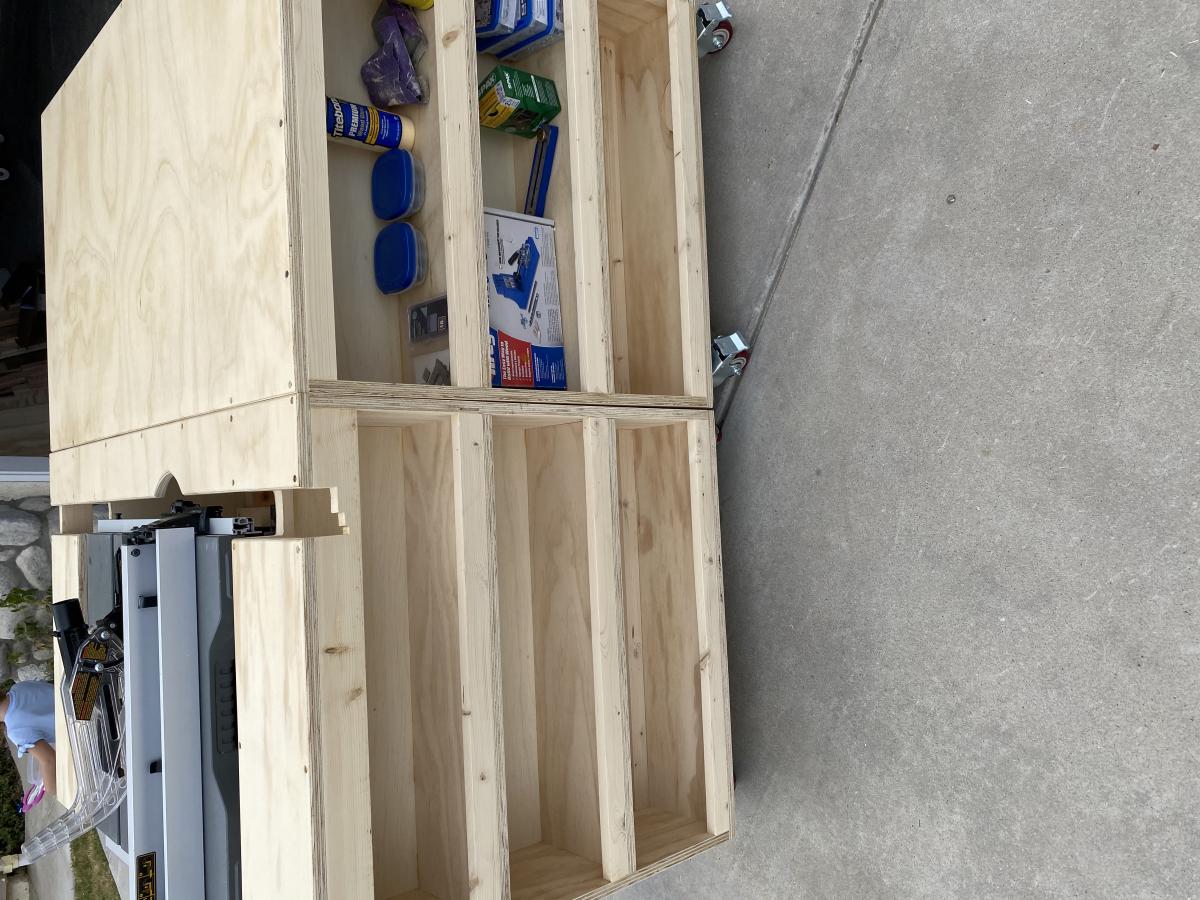
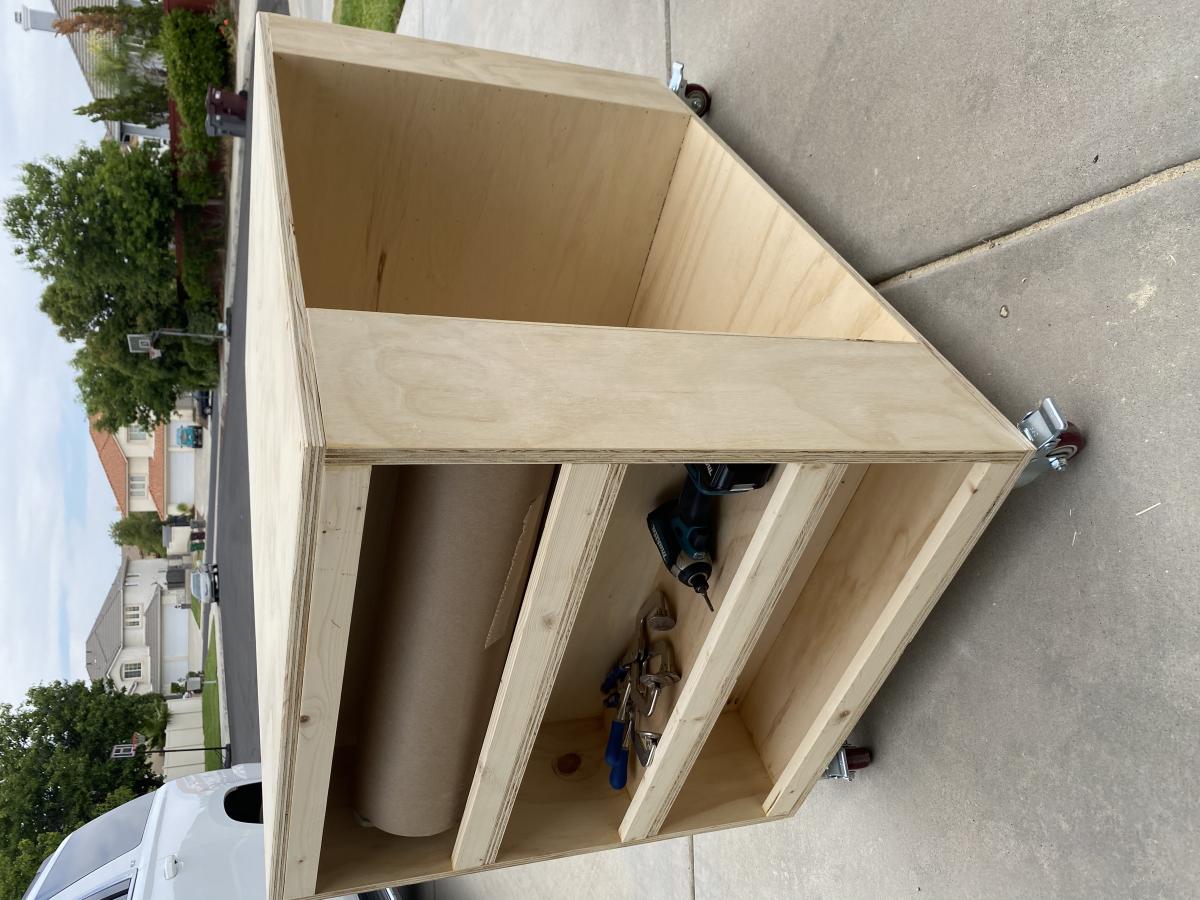
- I modified the plans by building 3 bins instead of 2 so it could hold more shoes.
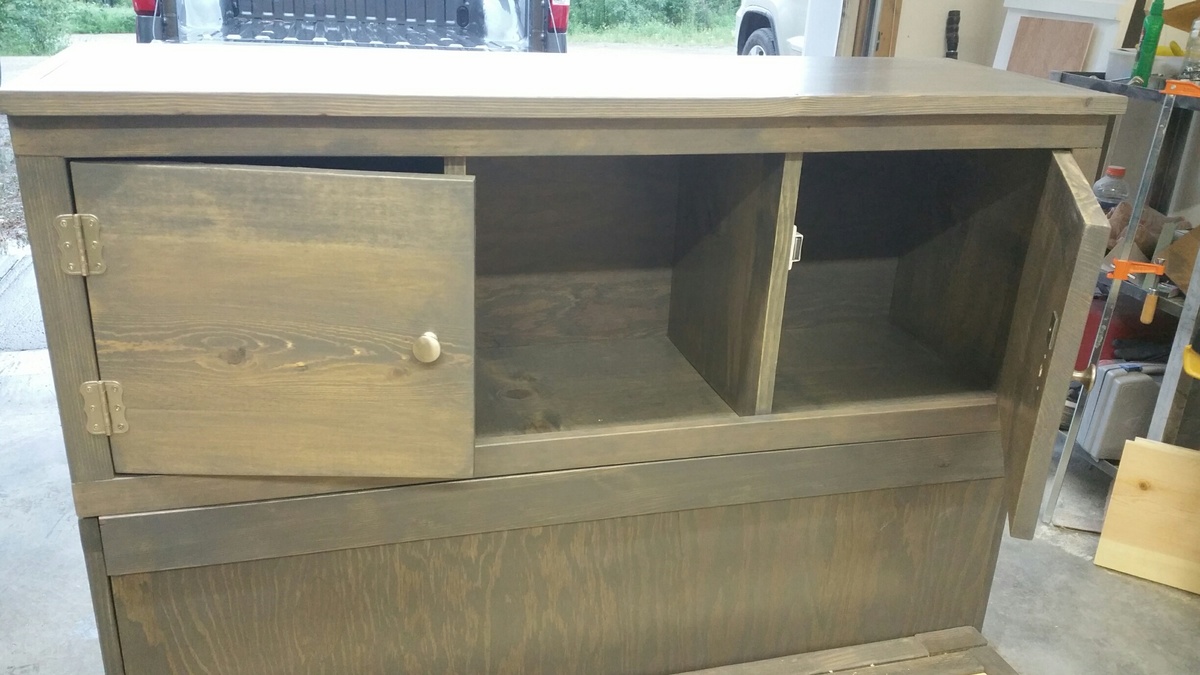
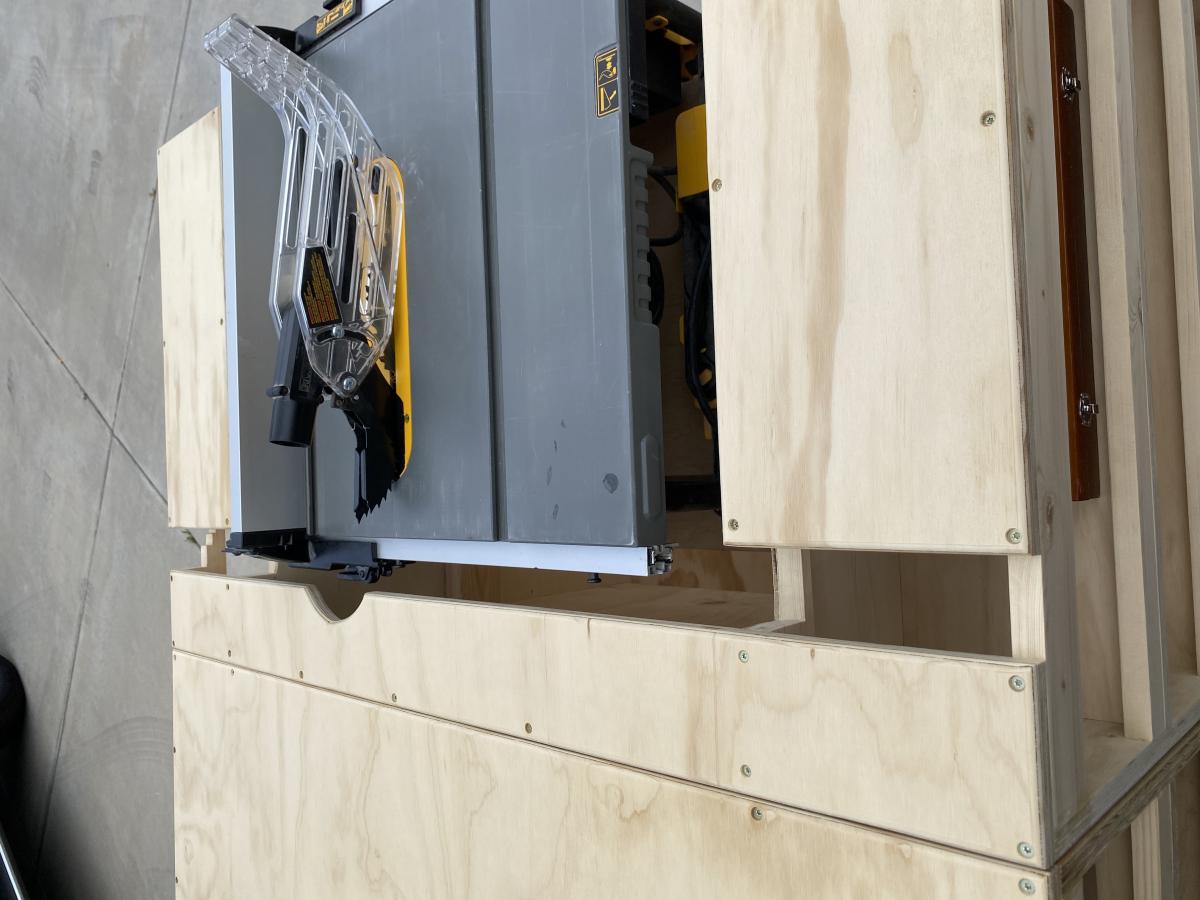
- I decided against the dowel stick and opted for hinges instead, which were surprisingly not too difficult to assemble. I found that I didn't even need the magnets after installing the hinges as the doors stay closed.
- I used 7" chains on both sides of each bin instead of a belt to make it extra sturdy.
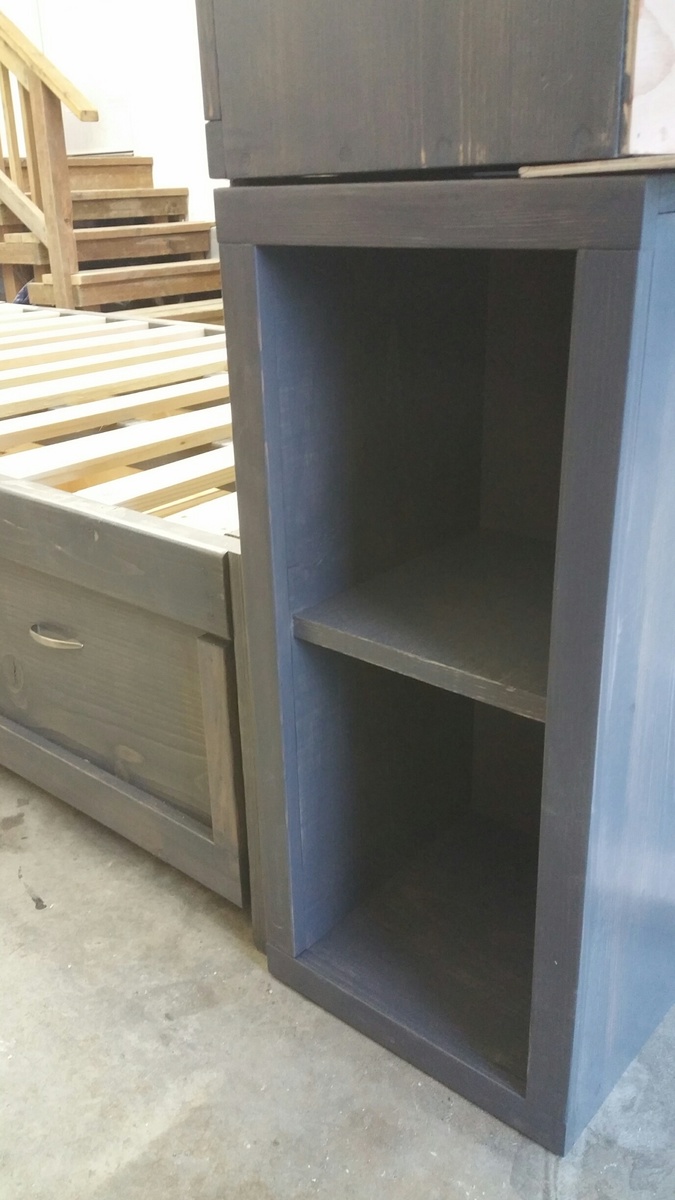
- I added two back legs.
Et voila! This is the end result. I'm very pleased.
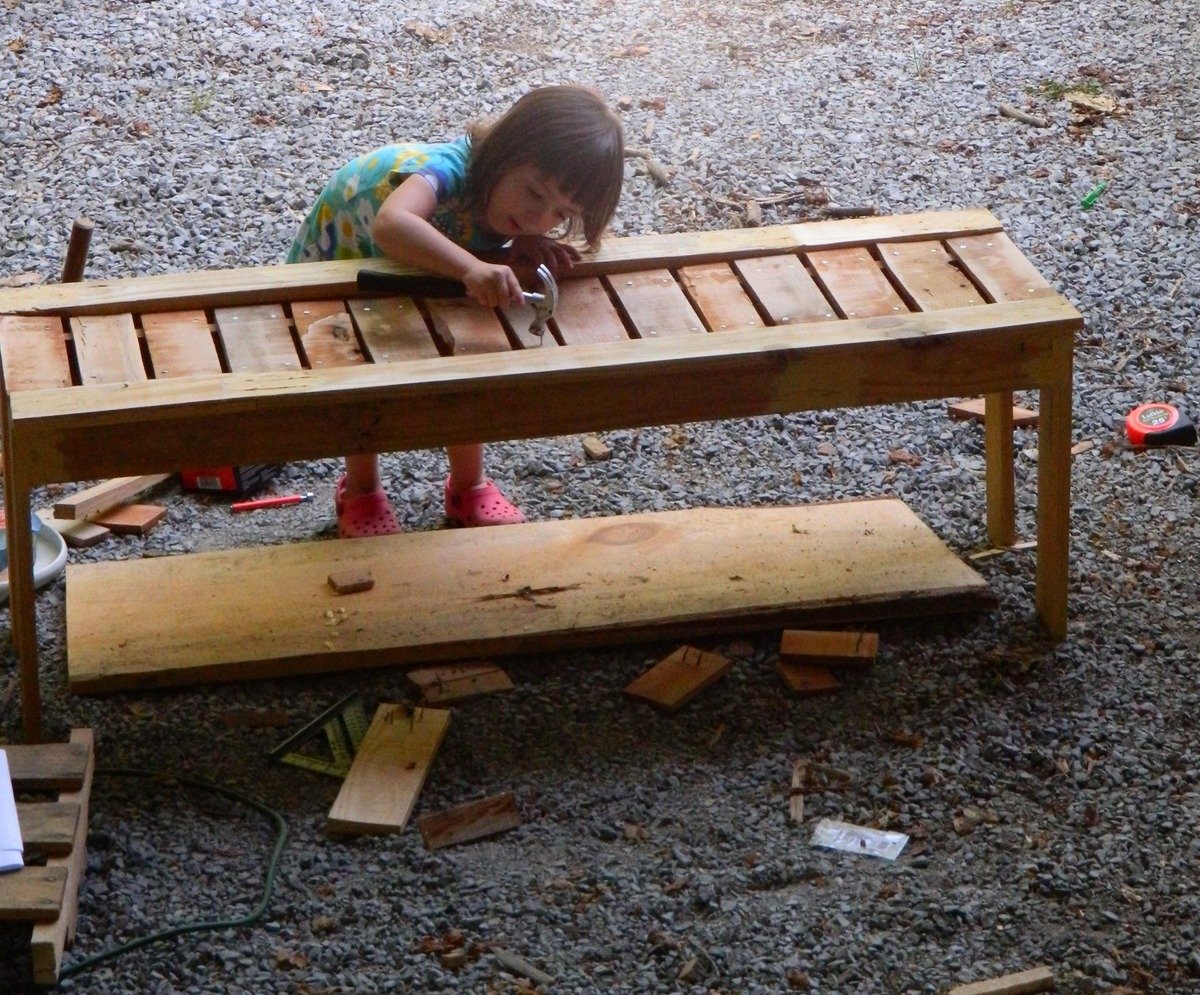
PS. Those flopping bins are a pain when you're trying to build!! An extra pair of hands is definitely recommended.


Comments
Ana White Admin
Thu, 06/10/2021 - 08:49
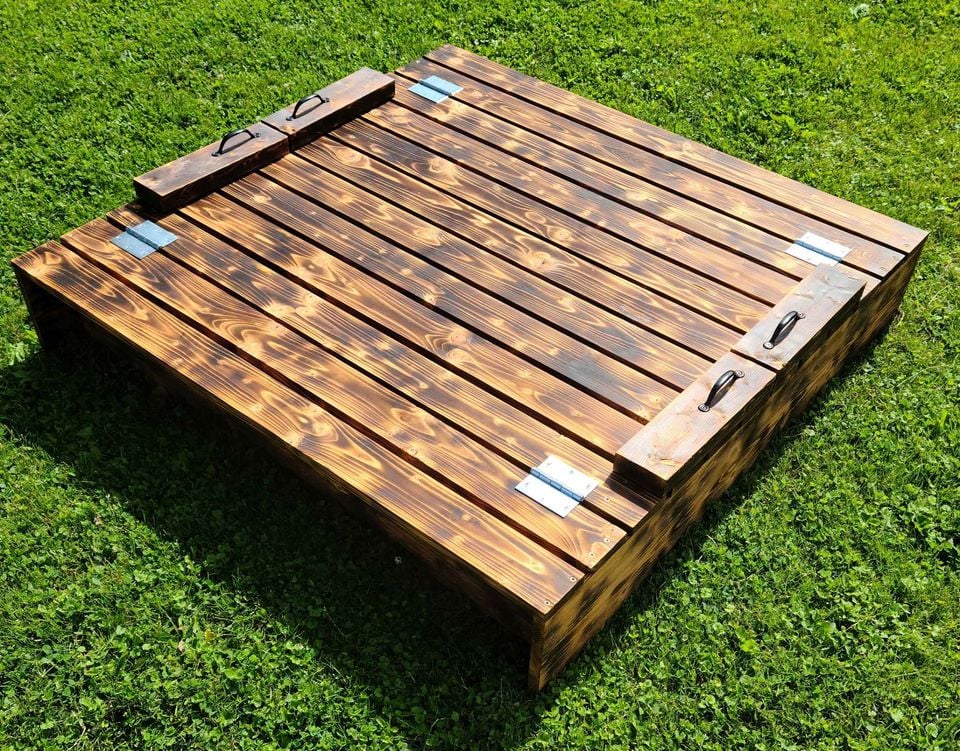
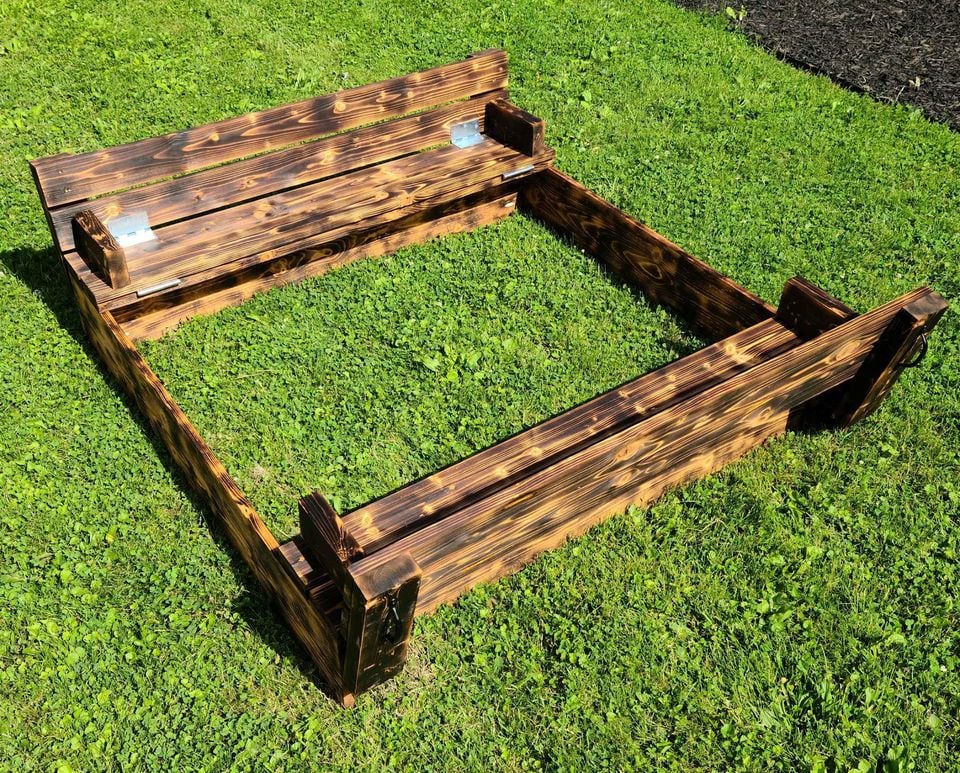
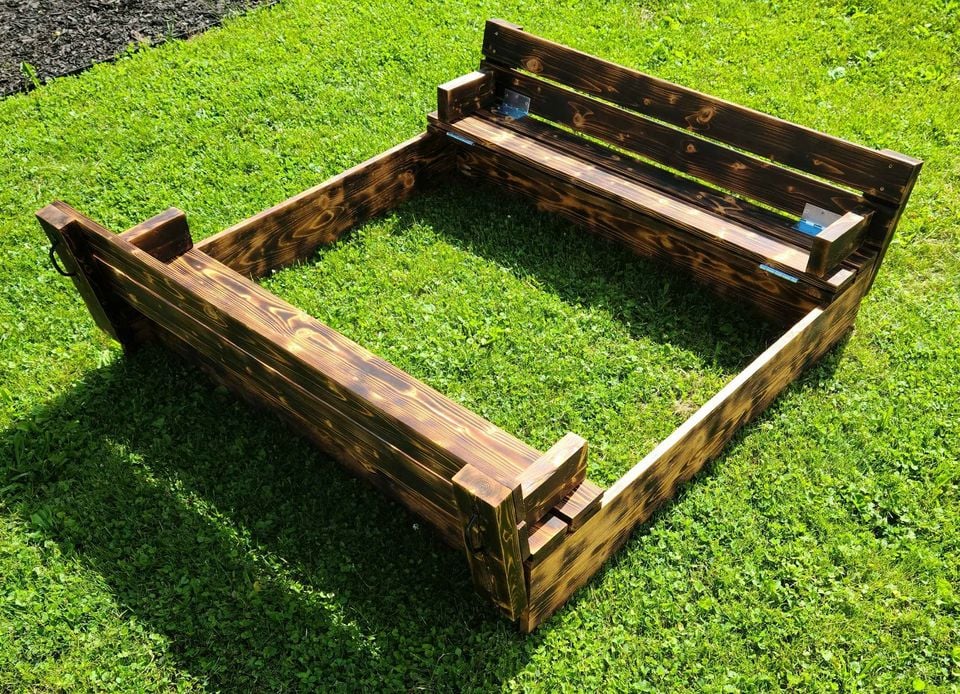
Great sandbox!
Thank you for sharing, it's beautiful!