Community Brag Posts

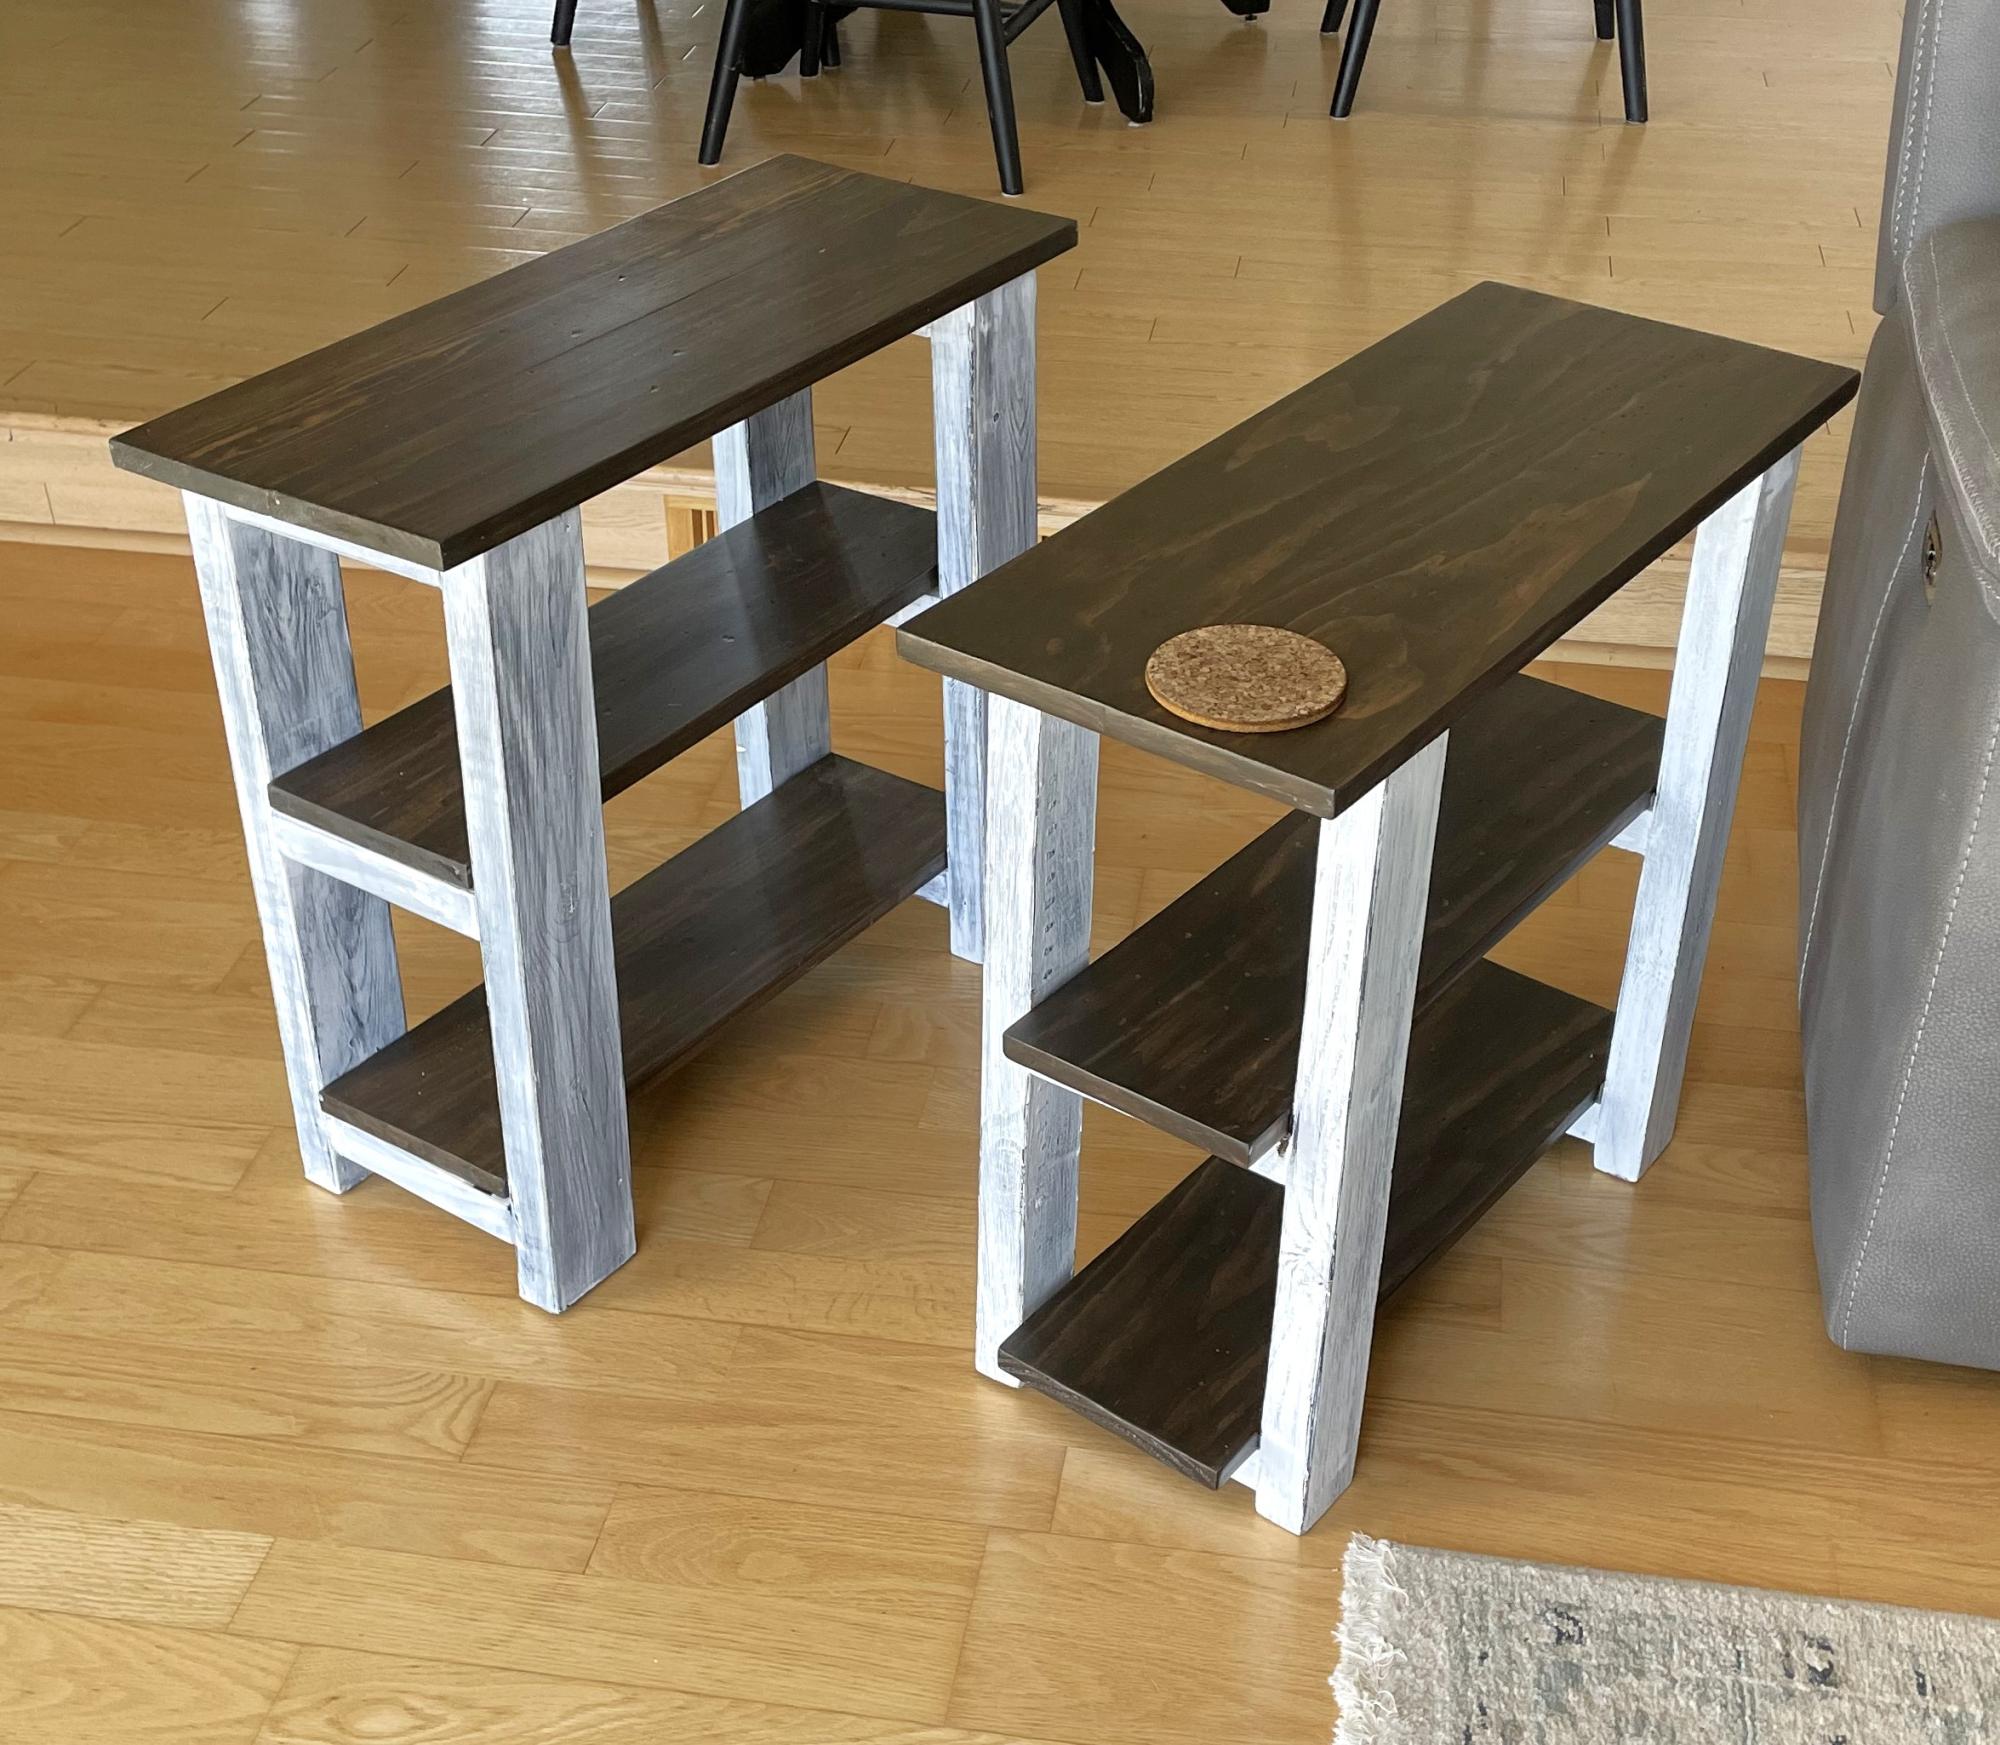
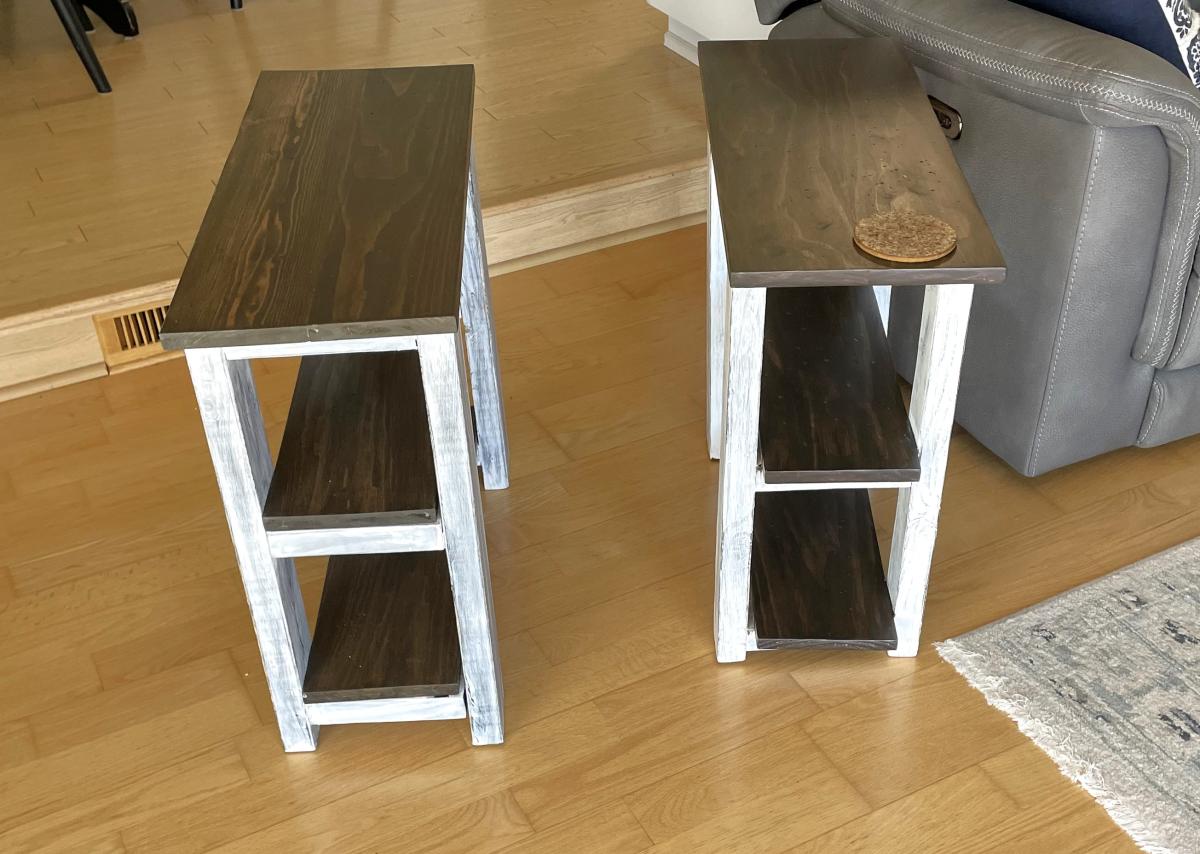
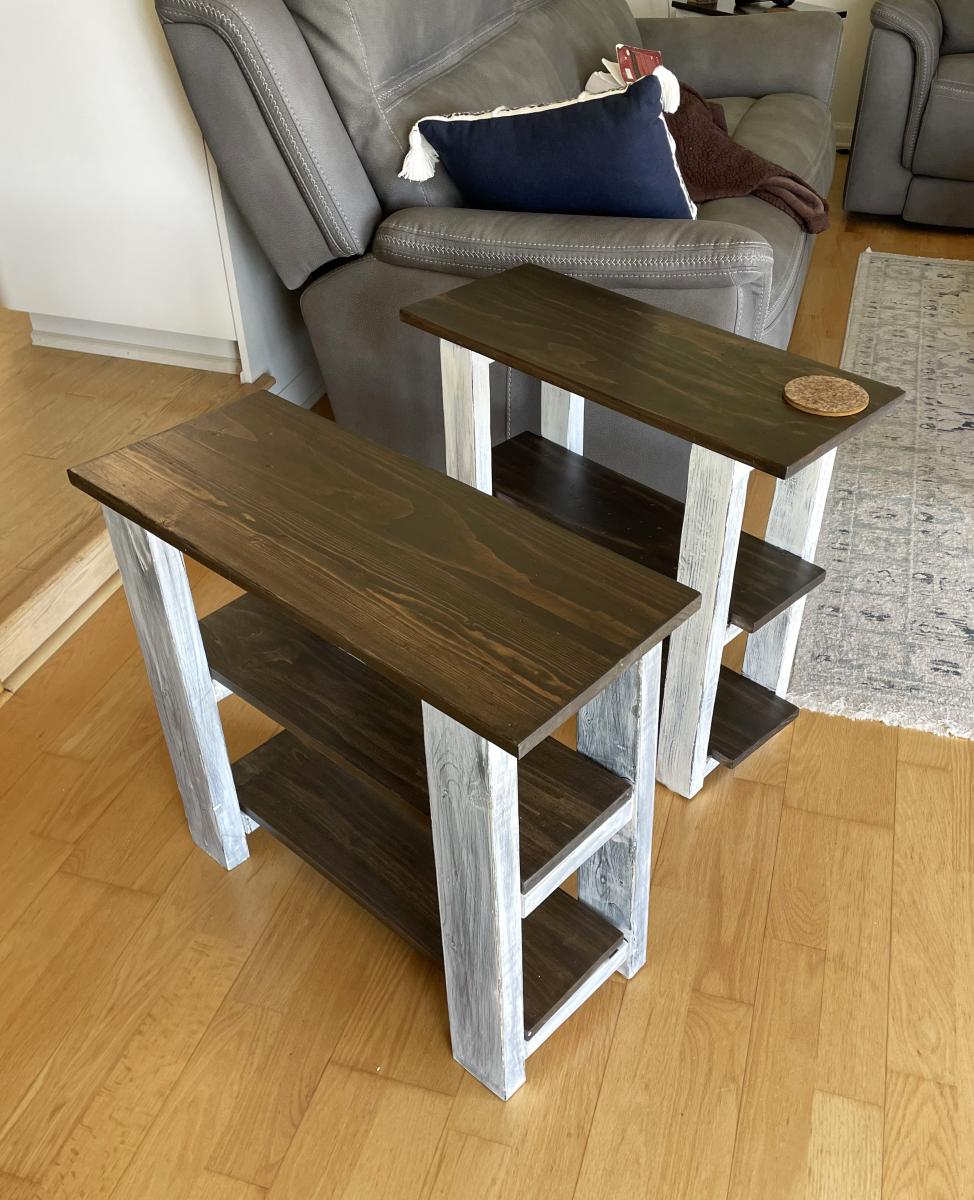
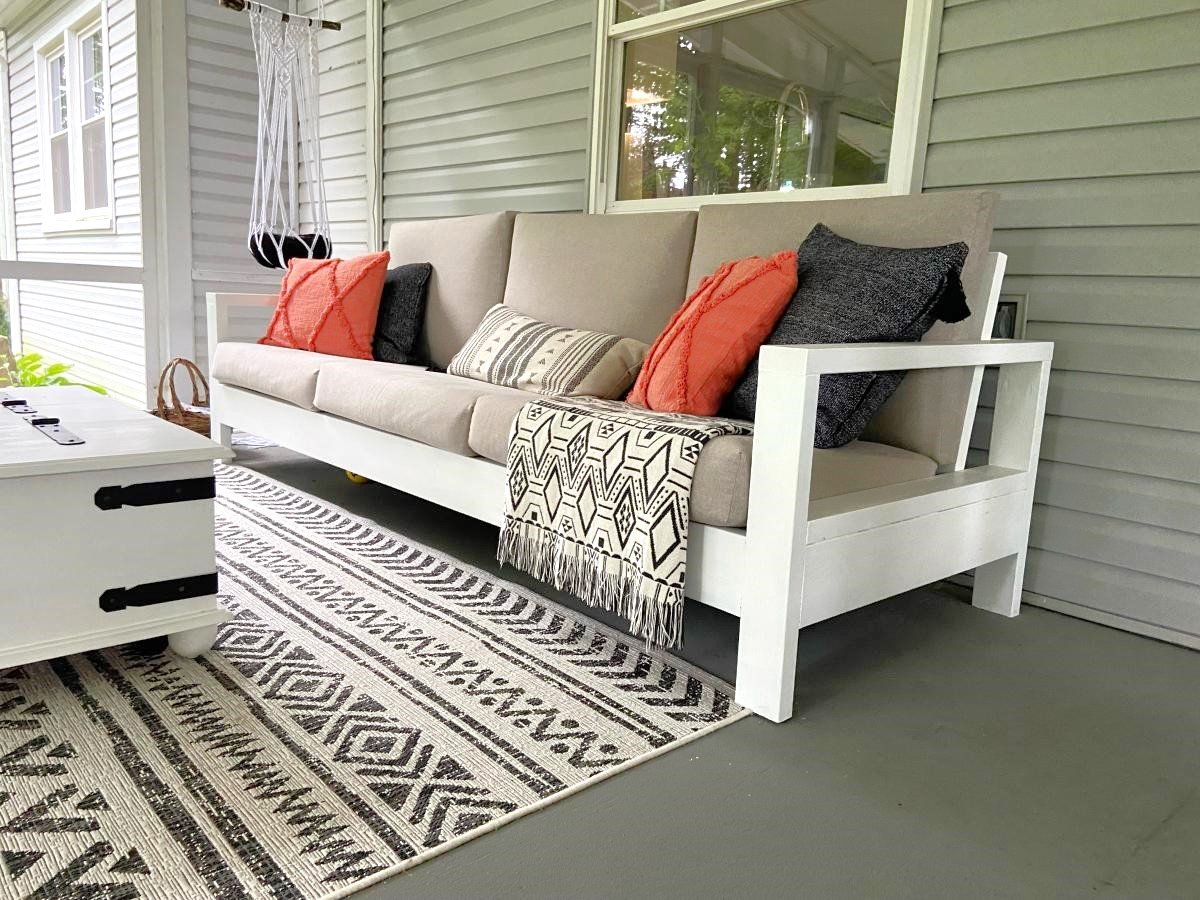
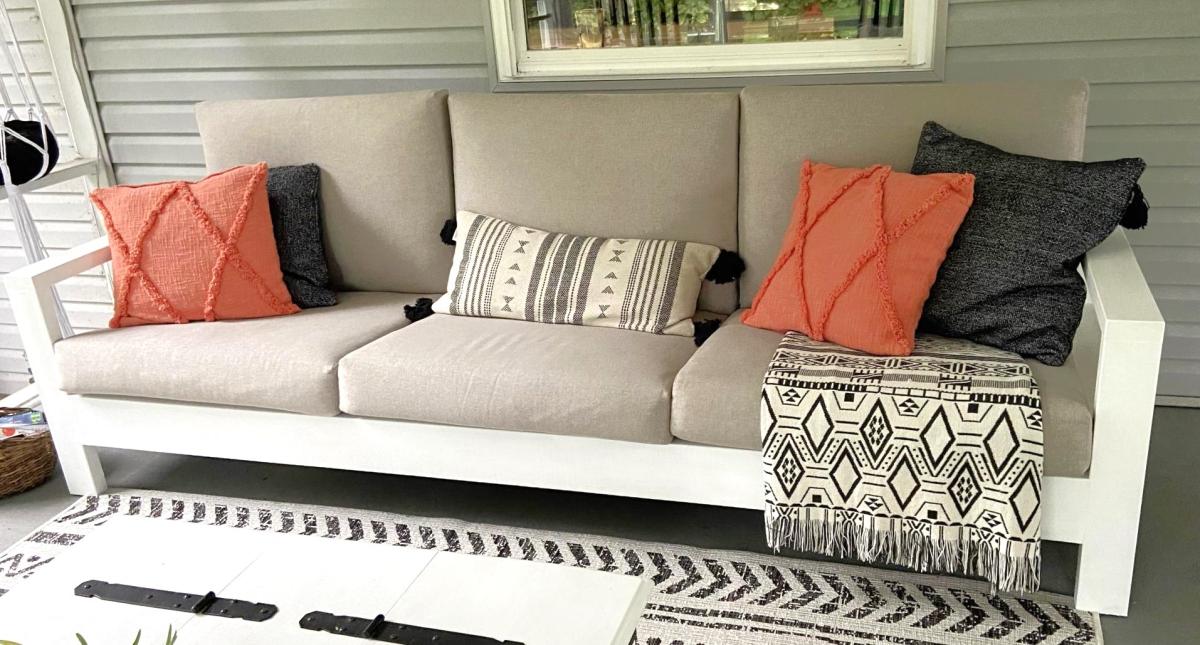
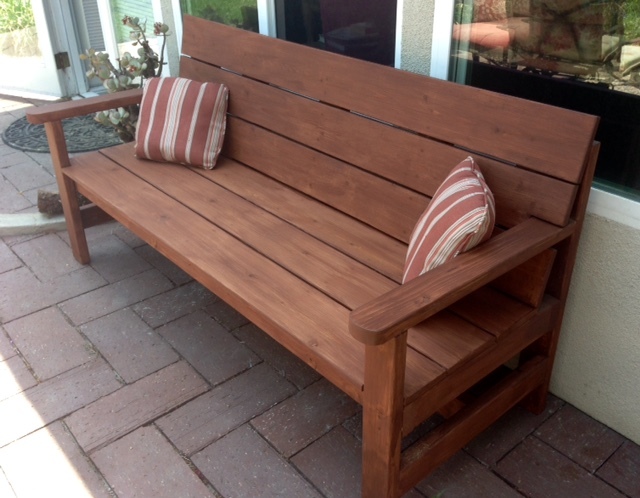
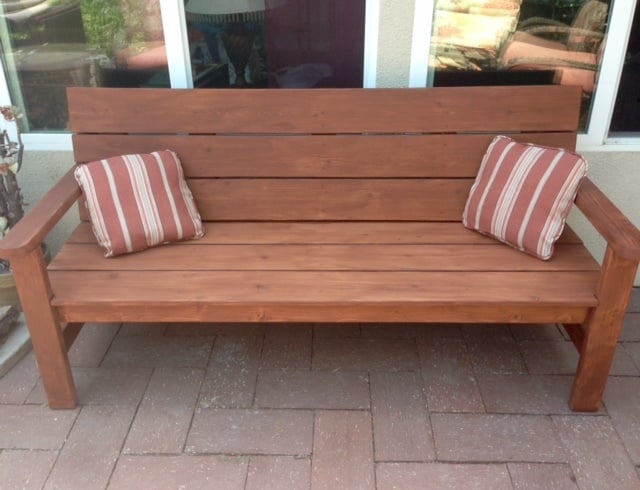
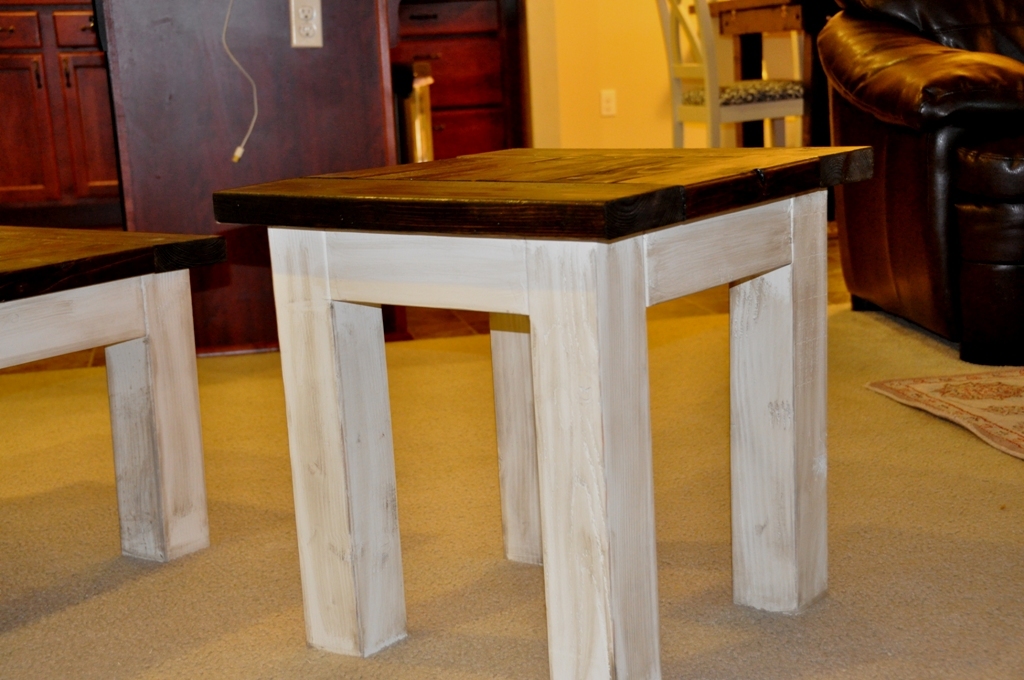
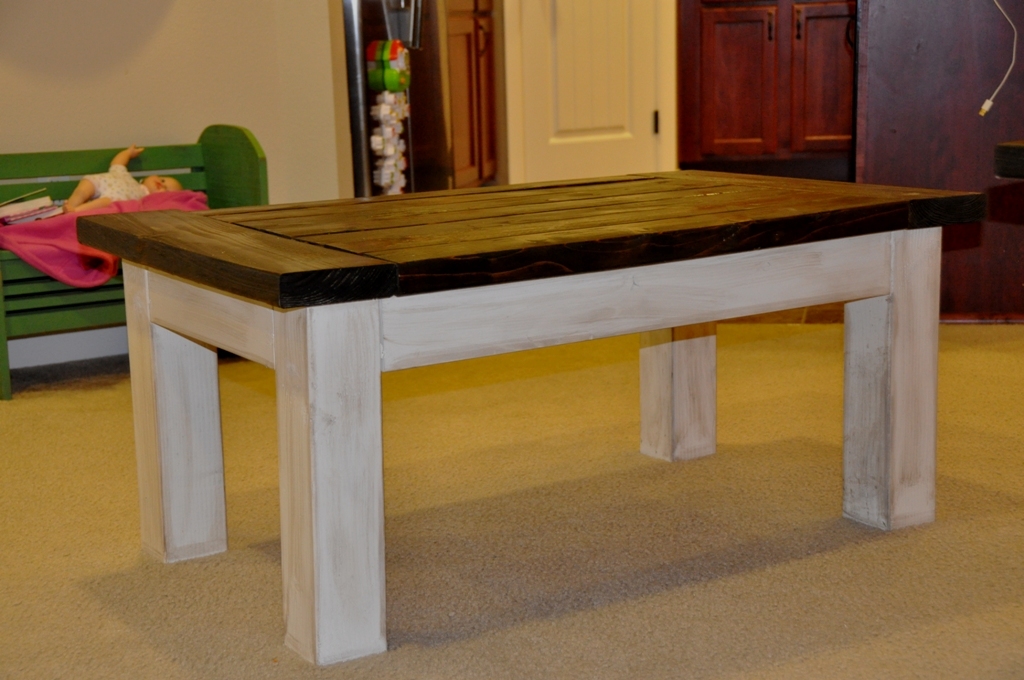
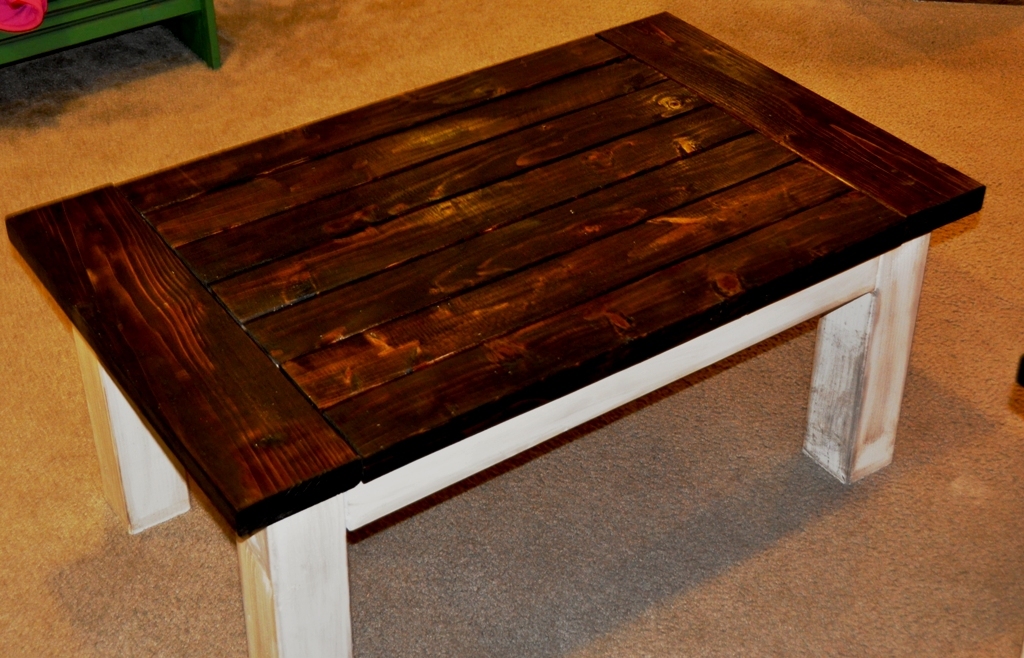
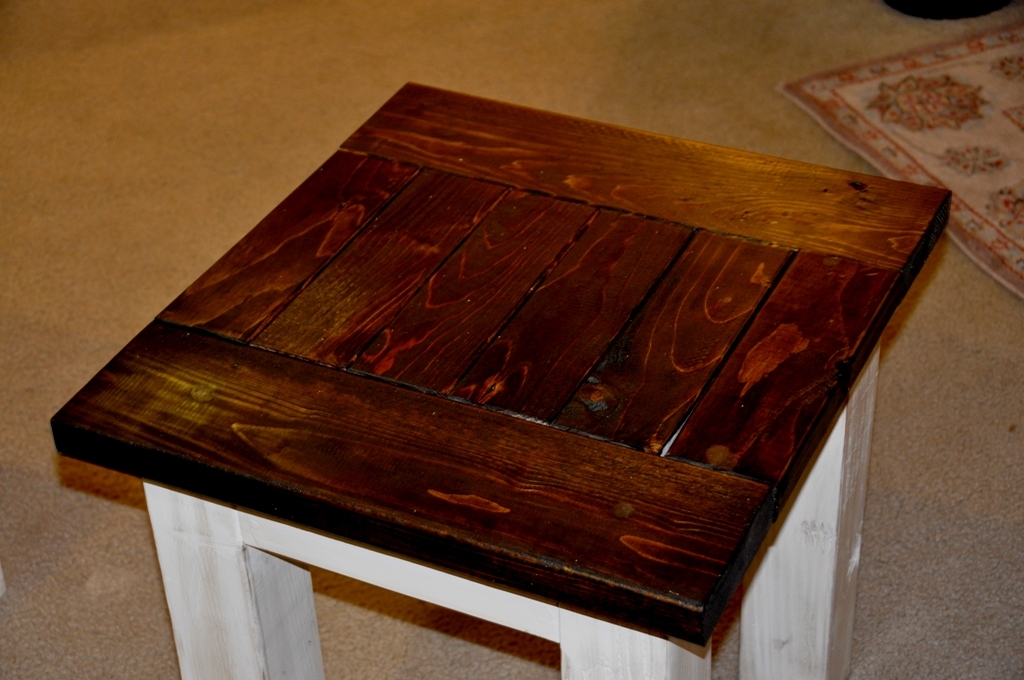
Tryde Coffee and Side Table

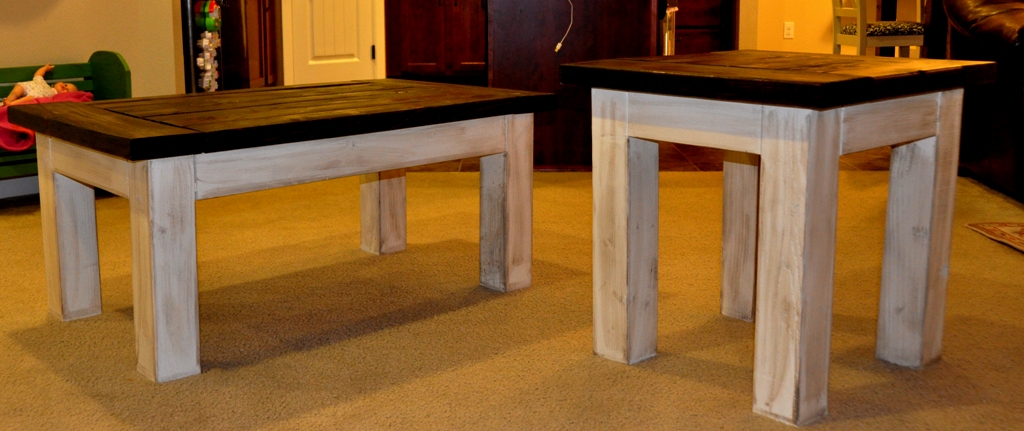
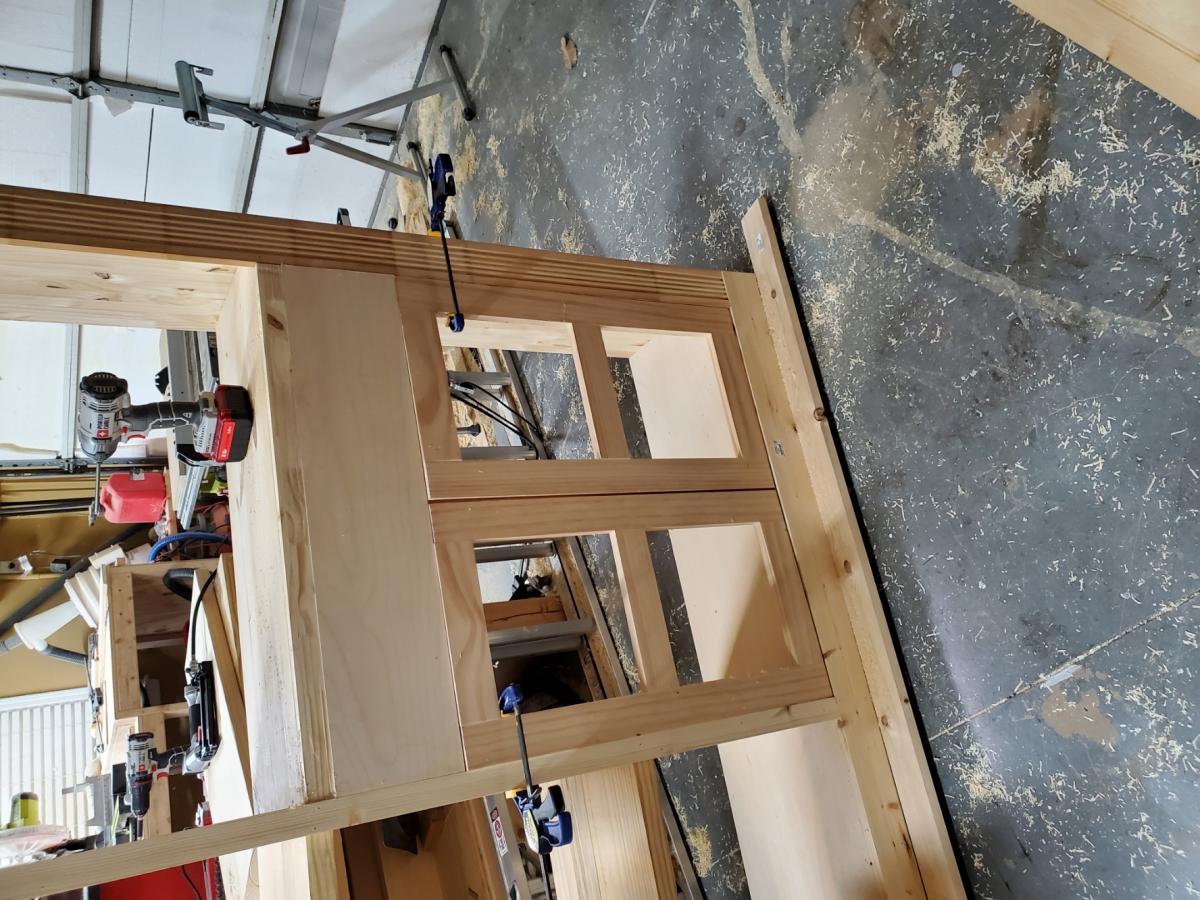
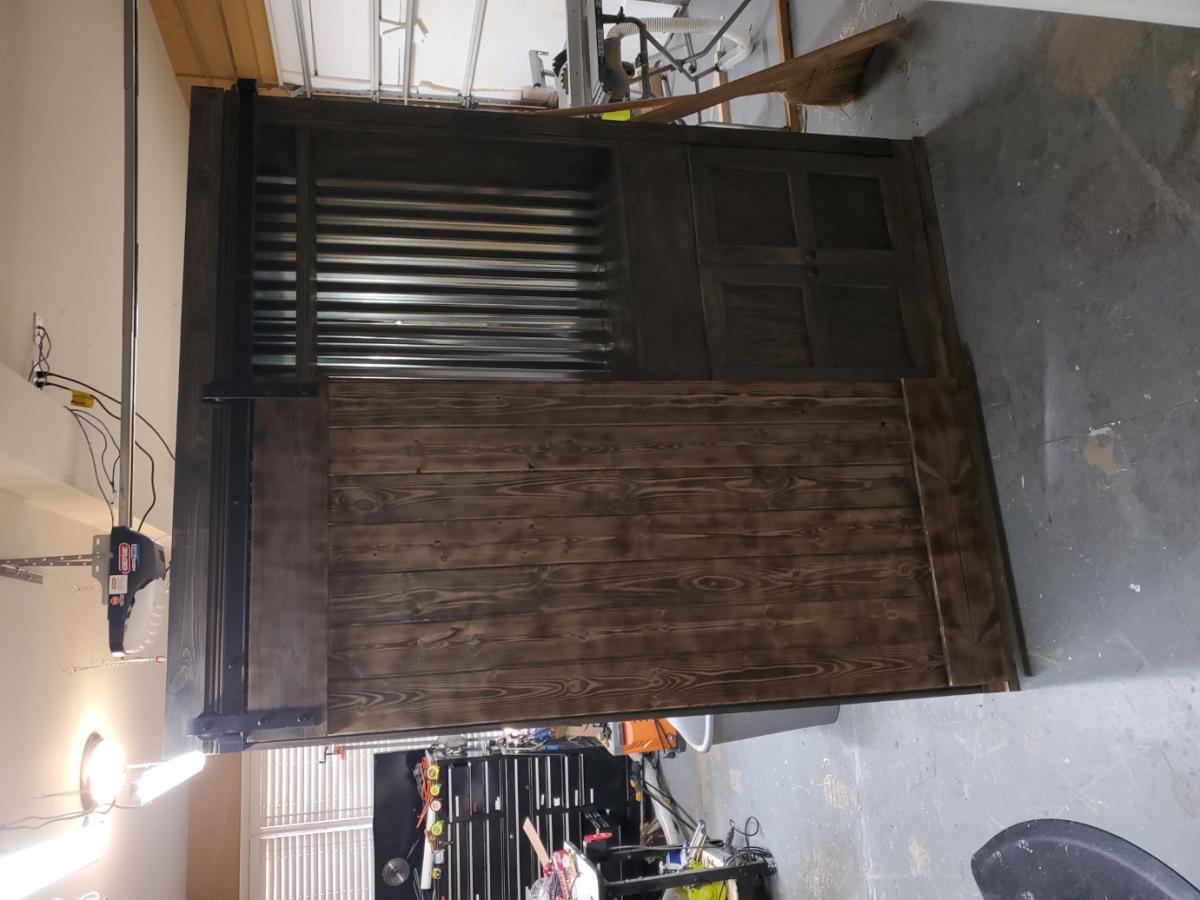
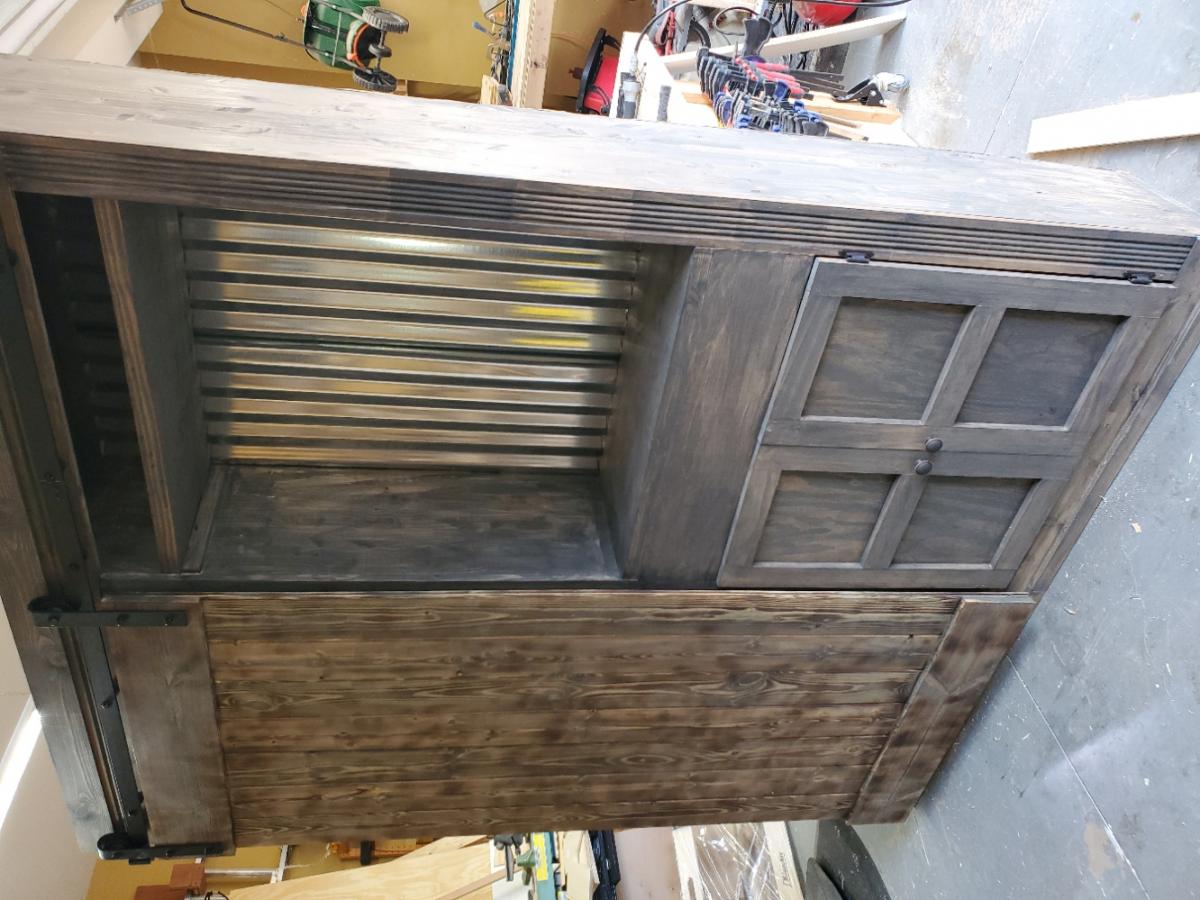
We were looking for a cheap project for the weekend. We found the plans for the Tryde Coffee Table here on Ana White's site and we decided to give it a try. We knocked off about 10 inches so it would fit in the living room, what I found out was that 10 inches knock off allowed me to build side table with a few pieces of scrap wood we had sitting around in the garage. The plan is to build the matching entertainment center with hutch attachment. That will make my living room 90% built by me. The finish on this is Rustoleum American Accent Heirloom white with Minwax Walnut stain rubbed into the paint for the aged look and the top is dark walnut stain with 2 coats of poly.

Built from Plan(s)
Estimated Cost
$28.00 with some 4x4's from the scrap pile
Estimated Time Investment
Afternoon Project (3-6 Hours)
Finish Used
Rustoleum American Accent Heirloom white with Minwax Walnut stain rubbed into the paint for the aged look and the top is dark walnut stain with 2 coats of poly.
Recommended Skill Level
Beginner

Large 6 X 8 Sandbox

We wanted to make a large sandbox for lots of kids. We love that it has an easy cover and two large benches to sit.

Supplies and Steps are shared at http://myhomedonemyway.blogspot.com/2013/07/building-6-x-8-sandbox.html

Built from Plan(s)
Estimated Cost
$250
Estimated Time Investment
Day Project (6-9 Hours)
Recommended Skill Level
Beginner

Comments

Simple 2x4 potting benxh

Submitted by Anonymous (not verified) on Sun, 05/24/2020 - 16:10

Loved this project! The plans were so easy to follow, even for a begginer. Thank you so much!

Estimated Cost
$55
Estimated Time Investment
An Hour or Two (0-2 Hours)
Finish Used
Walnut stain
Recommended Skill Level
Beginner
Seasonal And Holiday

Play Deck/Fort

Submitted by seeca13 on Sun, 06/01/2014 - 10:06

I wanted to build a structure for the kids to play in, but not include a playhouse. I used the playhouse deck design and made it slightly smaller (6 feet by 8 feet). The "roof" is removable to provide shade when it's sunny. It's just PVC and a tarp - pretty simple, but it does the job. I used treated posts and untreated lumber for the rest of it. I painted everything in my garage before assembling it. Once all of the wood at been painted, but came together pretty quickly!

Estimated Cost
$300 (including screws and paint)
Estimated Time Investment
Weekend Project (10-20 Hours)
Finish Used
Thompsons deck stain
Recommended Skill Level
Intermediate

Makings of an Herb Garden

I followed Ana's Raised Planter Box plan exactly. We did purchase a Kreg Jig Jr. recently, which came in handy on this project for sure. It is a very sturdy piece and it only took a couple of hours to assemble.

Estimated Cost
$120
Estimated Time Investment
Afternoon Project (3-6 Hours)
Finish Used
Sherwin Williams Deckscapes in Flagstone with Minwax Whitewash pickling over the stain. Poly over the whitewash
Recommended Skill Level
Beginner

Comments

Finally Built a Platform Bed!

Submitted by Anonymous (not verified) on Mon, 07/25/2022 - 10:39

I've been wanting to build this bed for awhile and finally got around to it. I made a few small changes to the plans:

-I used 2x8's instead of 2x6s, so it wouldn't be so low to the ground.
-I ripped 3/8" off of the 2x8 supports in the middle so the mattress would nest inside the frame and not slide around
-I didn't add the headboard because it seemed a bit chunky/rustic for my taste. I will come back and do something else for the headboard. Maybe a cool paneled wall with built in sconces? We'll see!

Love these plans though, appreciate it!

Comments

First Ever Furniture Build - Outdoor Sofa

Submitted by Anonymous (not verified) on Wed, 08/02/2023 - 10:30

This was my first ever piece of furniture that I made and it was so much fun! I’ve got the furniture making bug now!

Melissa Pilcher

Built from Plan(s)

Comments

Privacy Planter Fence

Submitted by Anonymous (not verified) on Fri, 09/08/2023 - 08:25

Created a privacy planter fence, using multiple planters. Most of the bases were custom sizes due to the existing rock wall. Tongue and groove cedar utilized and coated with linseed oil. I ensured the frames were square and plumb which the directions omit for some reason. Great week long project!

Kyle

Built from Plan(s)
Seasonal And Holiday

Sandbox with Benches

Submitted by cscottrun on Mon, 04/13/2015 - 10:33

We altered the original plan by enlarging the sandbox (approx 5' x 6') which made for wider benches that can comfortably seat an adult.  The benches and back rests are three boards deep instead of two.  We added 2x12 supports under the benches for additional support, as well as another 2x4 support in the middle of the backrest.

Built from Plan(s)
Estimated Time Investment
Day Project (6-9 Hours)
Finish Used
None
Recommended Skill Level
Beginner

Comments

Seasonal And Holiday

Cedar Raised Garden Beds - 3 Tiers

Steps:

1) Cut the boards to the specs below or adjust to your space

2) Kreg Jig the cut boards along each of the sides (length wise and on the ends) for attaching and making a box.  

3) Make 3 separate boxes, don't assemble until you move to location.  I used 4x4 cedar posts in the corners of the base box to add stability.  I used 2x2 pine in the front corners of boxes 2 and 3 for stability.  Install these after the dirt has been added so you can hammer in as a stake, attach with screws on front and sides.  I created 2 stakes for boxes 2 and 3 and added to the front to prevent bowing when the dirt is added.

Box Dimensions:

1) (base) 70.5" L x 46 W x 4 cedar boards high

2) 70.5" L x 32 W x 2 cedar boards high

3) 70.5" L x 16 W x 2 cedar boards high

Estimated Time Investment
Day Project (6-9 Hours)
Recommended Skill Level
Beginner

Outdoor Sofa

Submitted by dionneds on Sun, 04/10/2022 - 07:16

This was our first big project with our Kreg Jig. We adapted the plans to make the sofa 8' long. On Friday night, my husband did all the cuts and I pre-painted everything. With the help of our son, we had the whole sofa built in a few hours on Saturday morning. I puttied the visible holes, did a second coat of paint, and made custom cushions. The plans were very easy to follow. I followed the others' advice about pre-painting and assembling the back on a perfectly level surface. It came out better than I expected and it's super comfortable!

Built from Plan(s)

Comments

kdykes08

Mon, 04/11/2022 - 07:44

I want the plans for this one! I like this style a lot better. I really like how the bottom cushions are at a slant. I suck at modifying plans.

Seasonal And Holiday

Shed Chicken Coop and Run

Submitted by mikesofka on Tue, 05/12/2020 - 09:27

I had such a fun time on this shed coop/run build! My wife and I have 5 children and it was fun involving them in building everything about this coop and run. They have a wonderful sense of accomplishment in looking at what they helped build.

A few notes, while this what a fairly straightforward build, there are a lot of little intricacies to be aware of. Such as:

• Make sure your chicken coop is about a foot off the ground. It's best to do that so critters such as rats and snakes don't make their home under the shed and potentially eat their way through the floor.

• It is highly advisable to dig a trench about a foot to a foot and a half deep around the coop and the run and attach chicken cage fencing from the bottom of the coop/run into the trench, and then taper the cage fencing outward. This will prohibit critters such as raccoons from trying to dig under the coop.

• When you attach the poultry netting to the outside of the chicken run, staple one side really well, then move to the other side and pull the netting fairly hard to make the netting as tight as possible. (Also, be careful when putting the netting across the top of the run to not fall off the ladder as I did and dangle there until one of your kids comes to help you! Ha! :D )

Thank you, Ana, for posting these plans! We are so excited to get our little chickies out into their new home as soon as their feathers come in!

Estimated Cost
$800
Estimated Time Investment
Week Long Project (20 Hours or More)
Recommended Skill Level
Intermediate

Modern Outdoor Bench

Submitted by Anonymous (not verified) on Tue, 08/09/2016 - 16:29

Great plans!  I modified the bench by adding a slanted back (which enabled me to put the slats closer together), extending and curving the front of the arms and extended the seat to the outside of the legs.


Recommended Skill Level
Intermediate

Comments

2x4 modern Adirondack Chair (modified)

Submitted by Anonymous (not verified) on Thu, 07/02/2020 - 17:45

I was so excited to find the plans for these awesome chairs, I’ve built 7 this season already—the modification happened as an accident, but I loved the result !

Estimated Cost
$30
Estimated Time Investment
An Hour or Two (0-2 Hours)
Finish Used
MinWax Aged Oak and Black paint
Recommended Skill Level
Intermediate

Comments

Seasonal And Holiday

My city farm

My friend and I bought all of the materials for about $350. We started Friday afternoon and he worked most of Saturday on it. The plans were super helpful! My four little silkies are enjoying their new home. 

Estimated Time Investment
Weekend Project (10-20 Hours)
Finish Used
Sherwin Williams exterior paint in Alabaster. Lots of pumpkins and mums from Lowe's.
Recommended Skill Level
Intermediate

Comments

Seasonal And Holiday

Free standing pantry with coffe bar

Submitted by Keldani5 on Wed, 02/10/2021 - 06:14

I loved doing this project, I did a burn treatment on the door and I made the shelves adjustable. It took me a weekend to build and 2 days to stain and do a matte poly finish.

Estimated Cost
300.00
Estimated Time Investment
Week Long Project (20 Hours or More)
Finish Used
smoke grey stain with a matte poly finish
Recommended Skill Level
Intermediate
Back