Sofa table
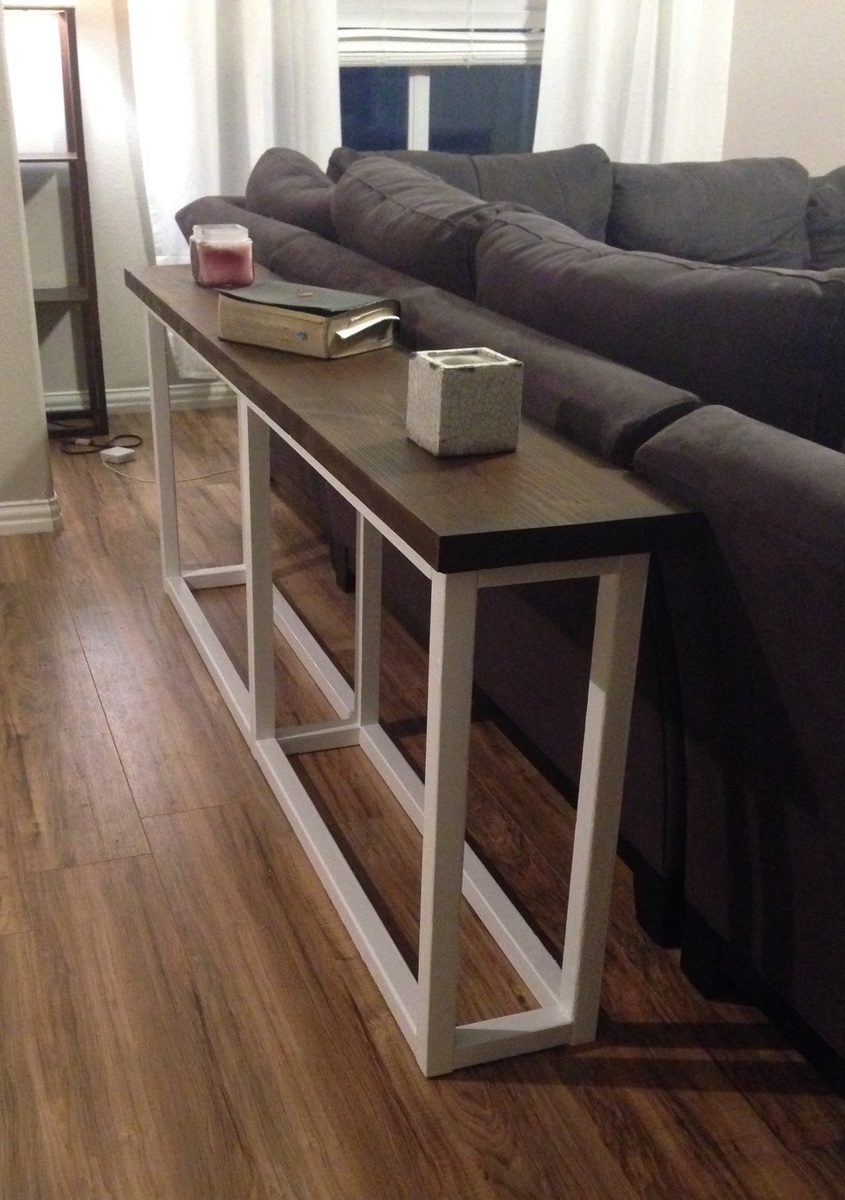
Sofa table
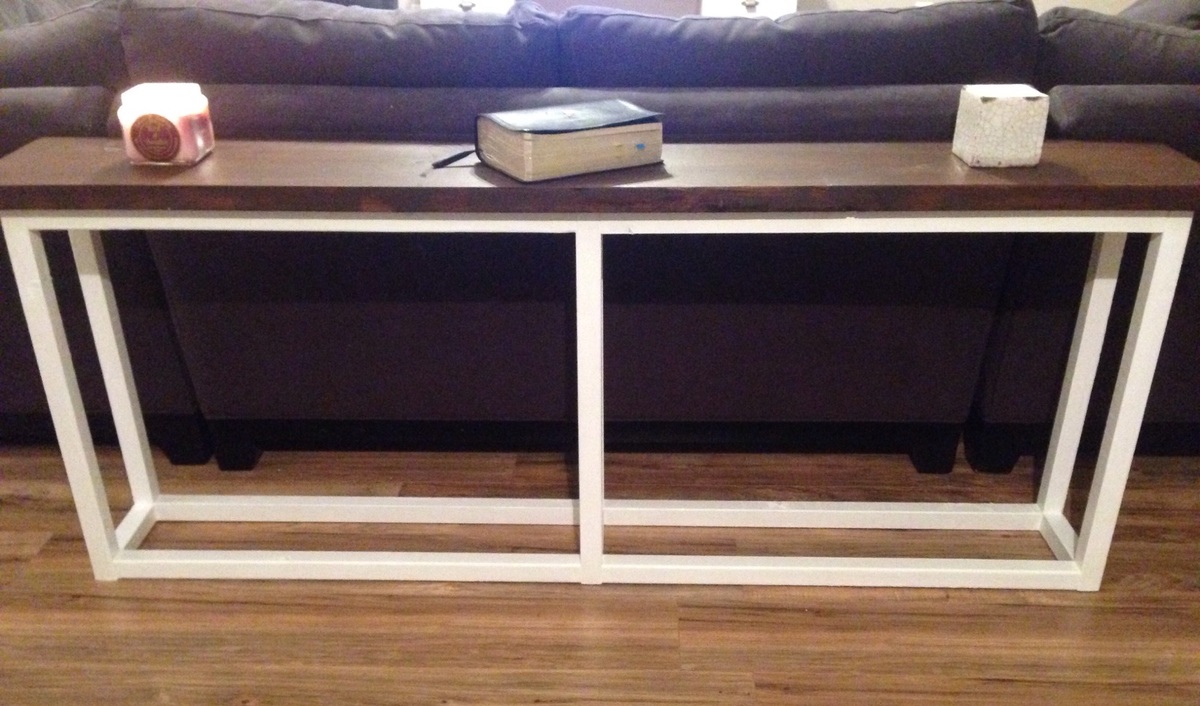

Sofa table

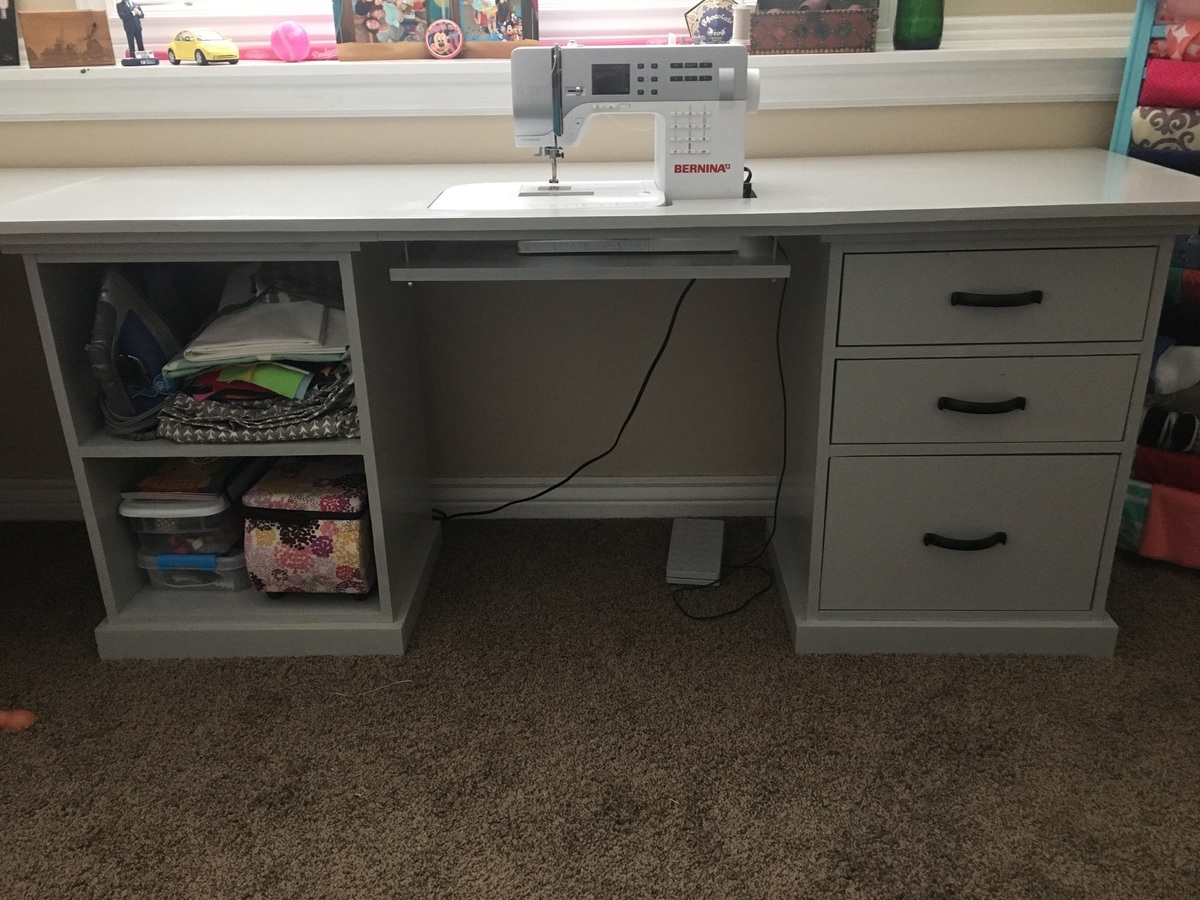
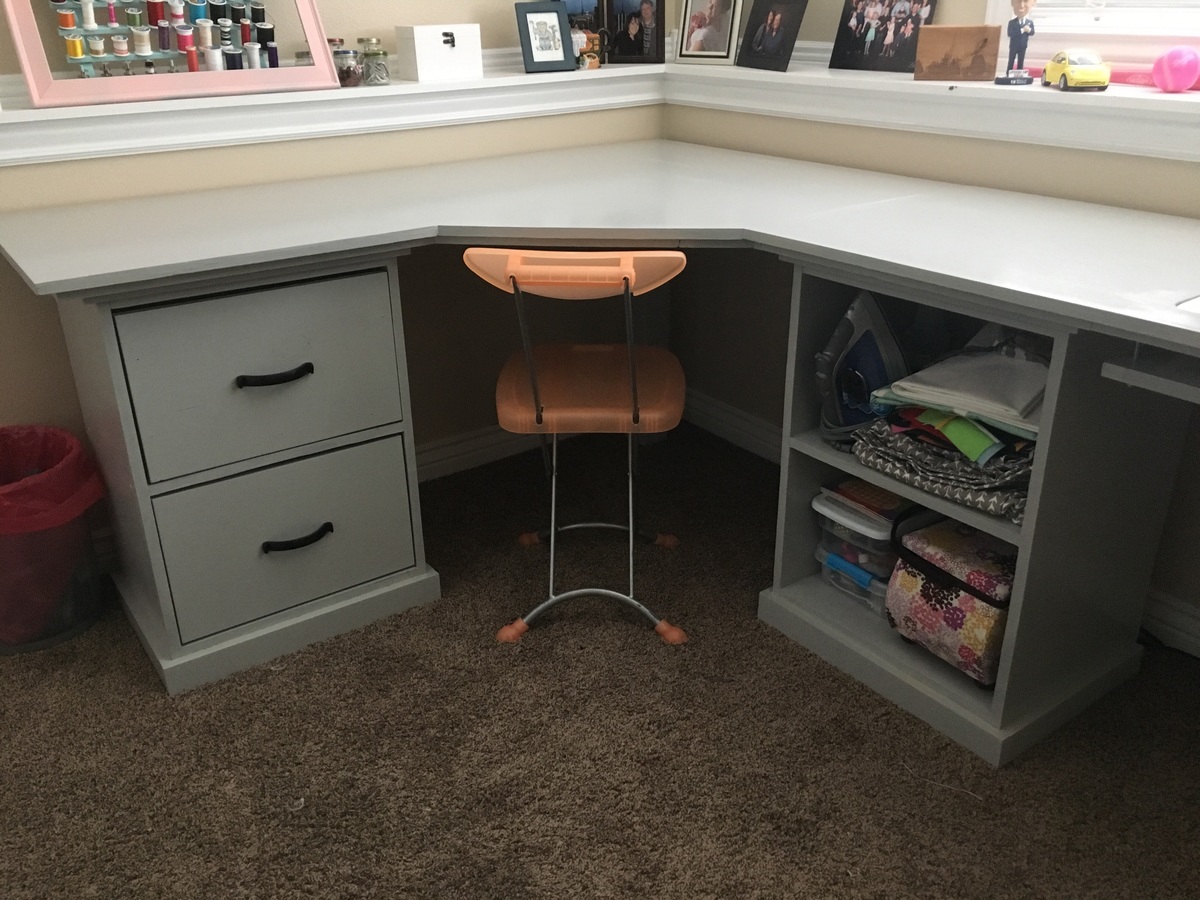
We built three base units-each with different storage options and used the corner desk plans. Then created our own long desk top using a 6ft long board and using a jigsaw to create an open space for the sewing machine.
Mon, 01/20/2020 - 07:49
It seems to me that this room is suitable for yoga or painting.
Mon, 12/27/2021 - 18:28
How did you go about cutting the hole for the sewing machine and what extra building did you do underneath?
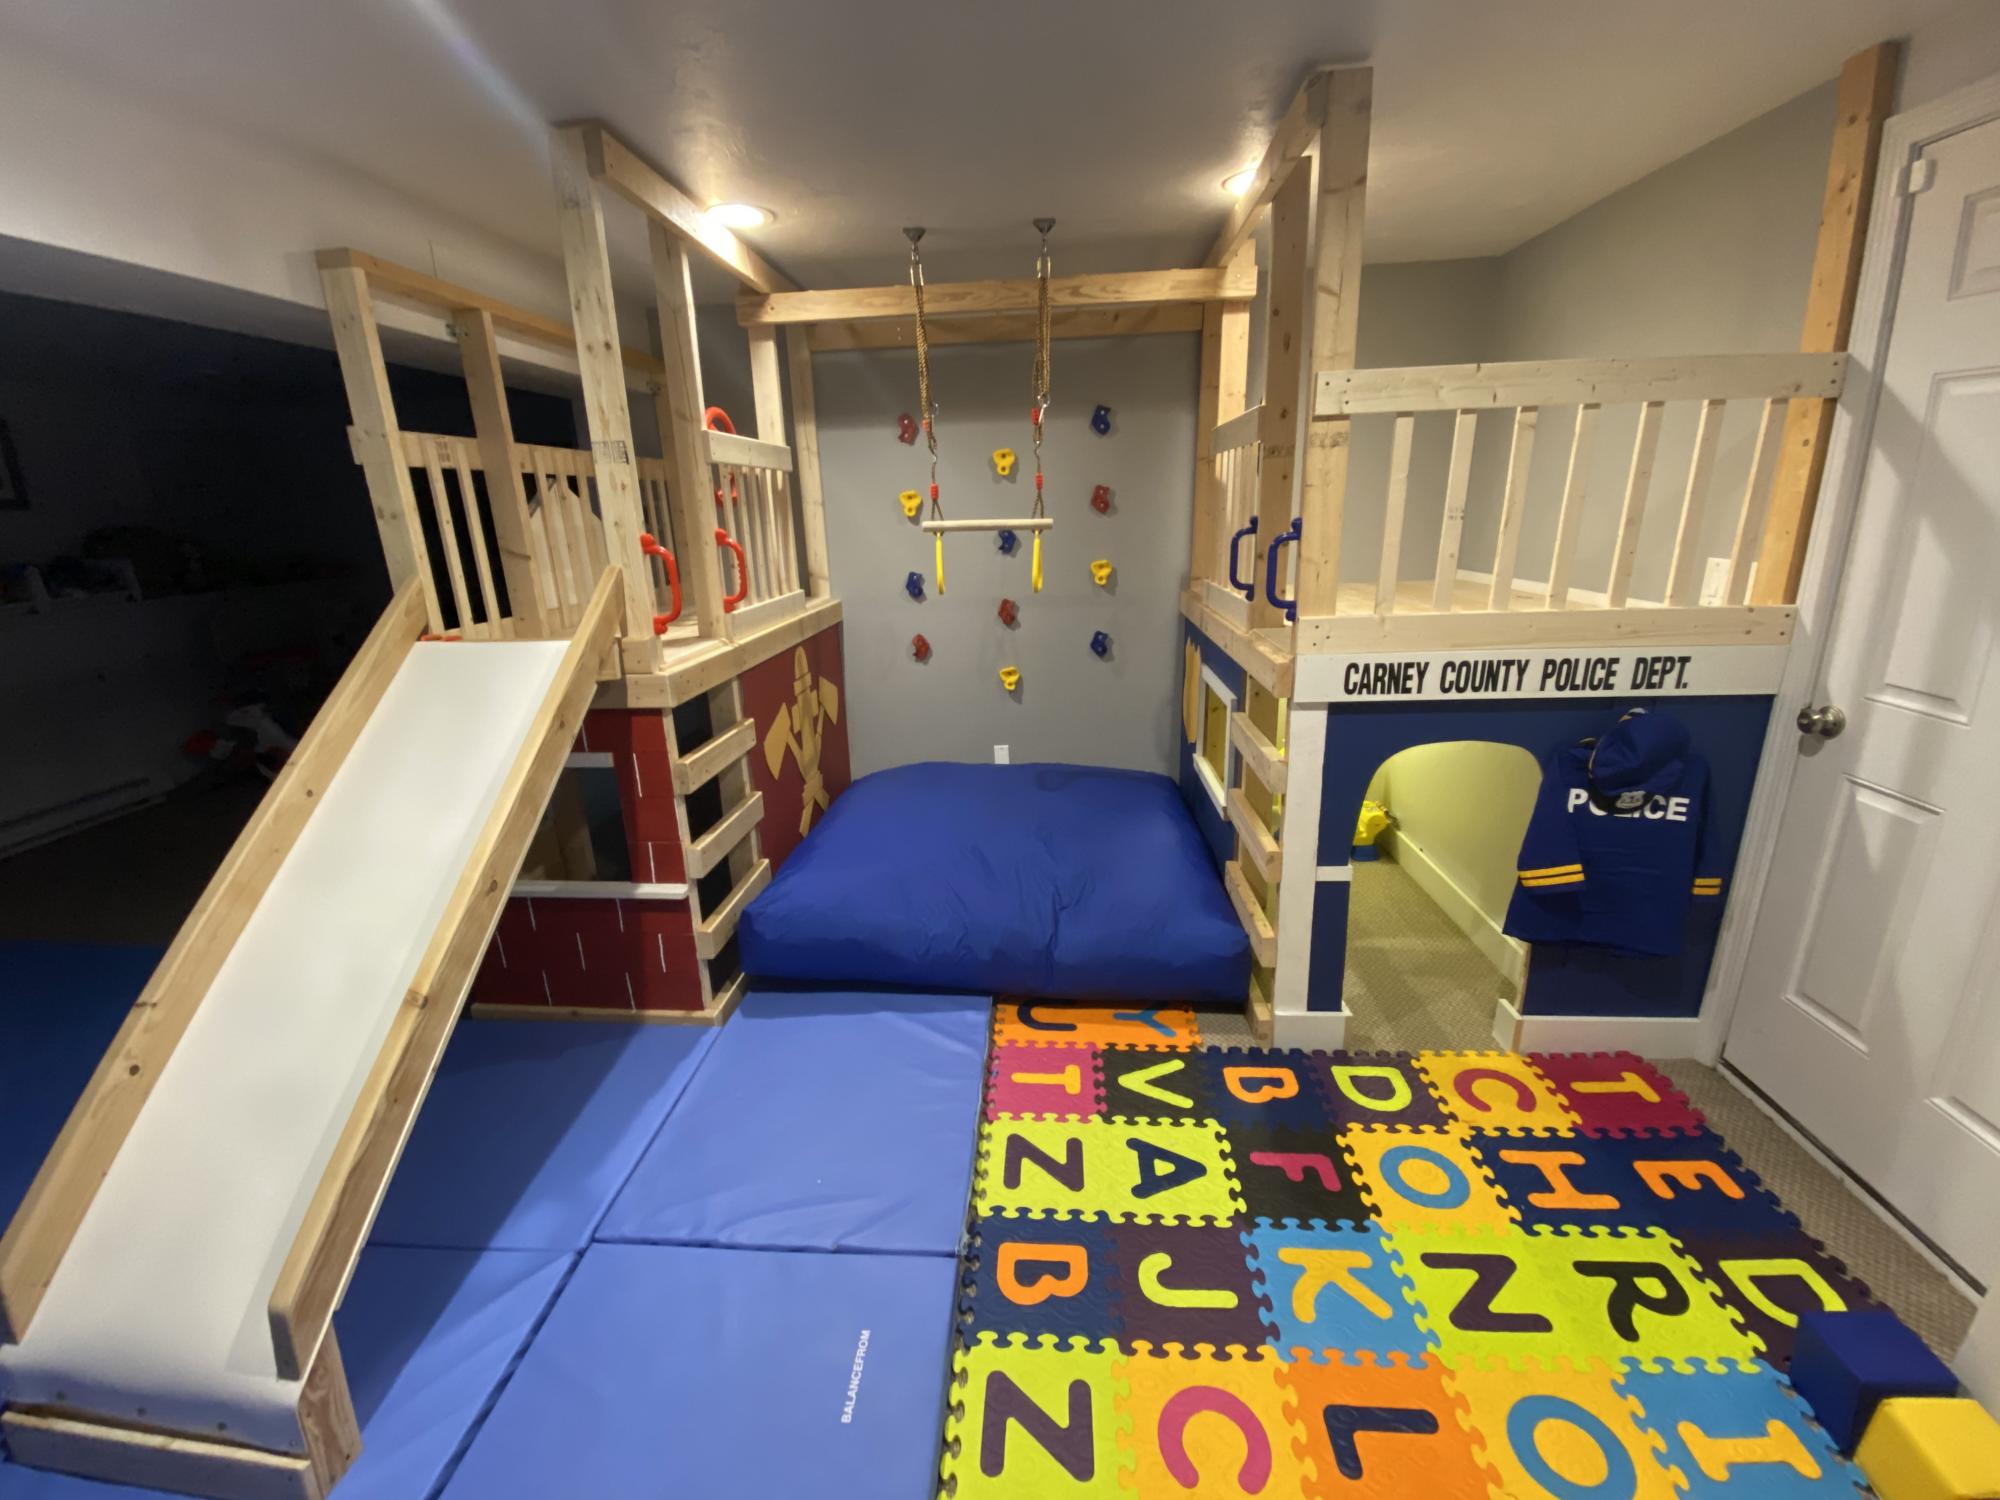
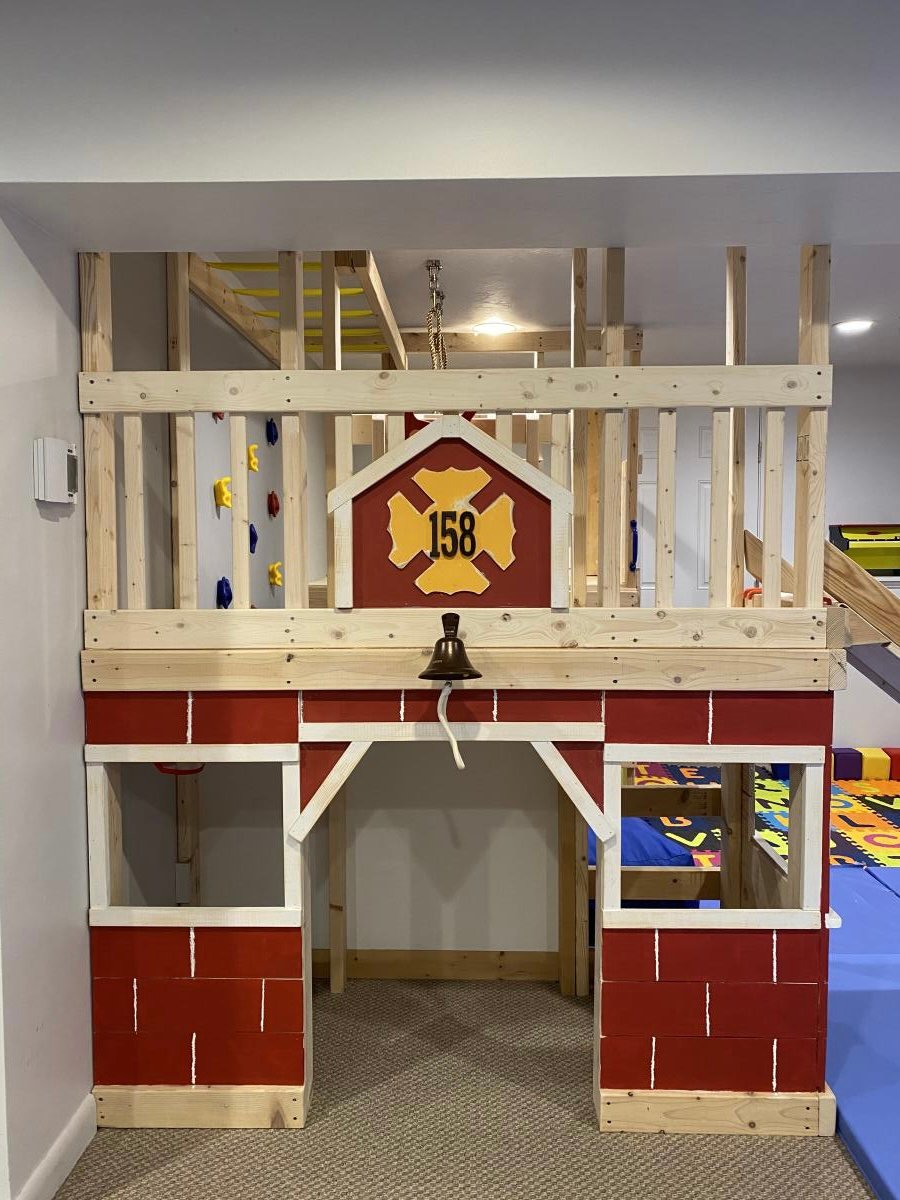
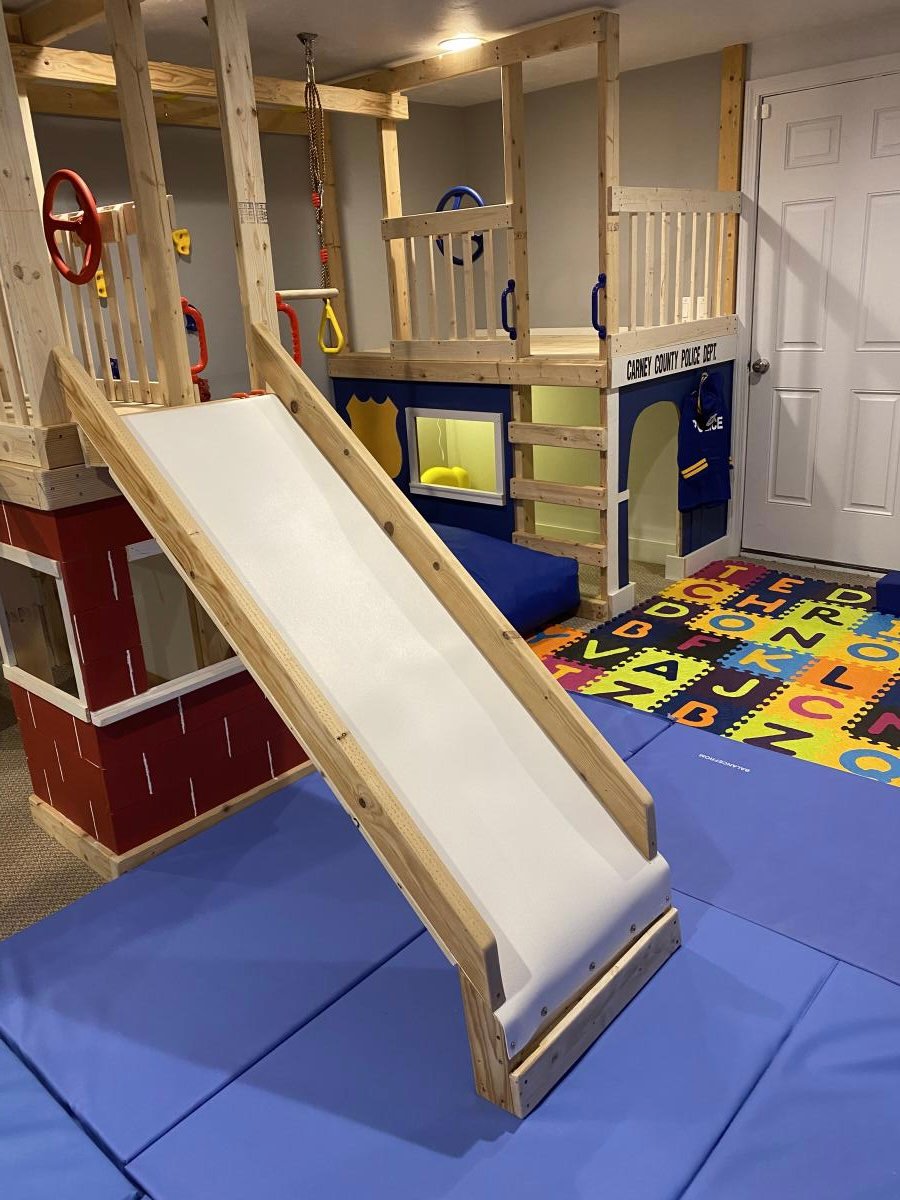
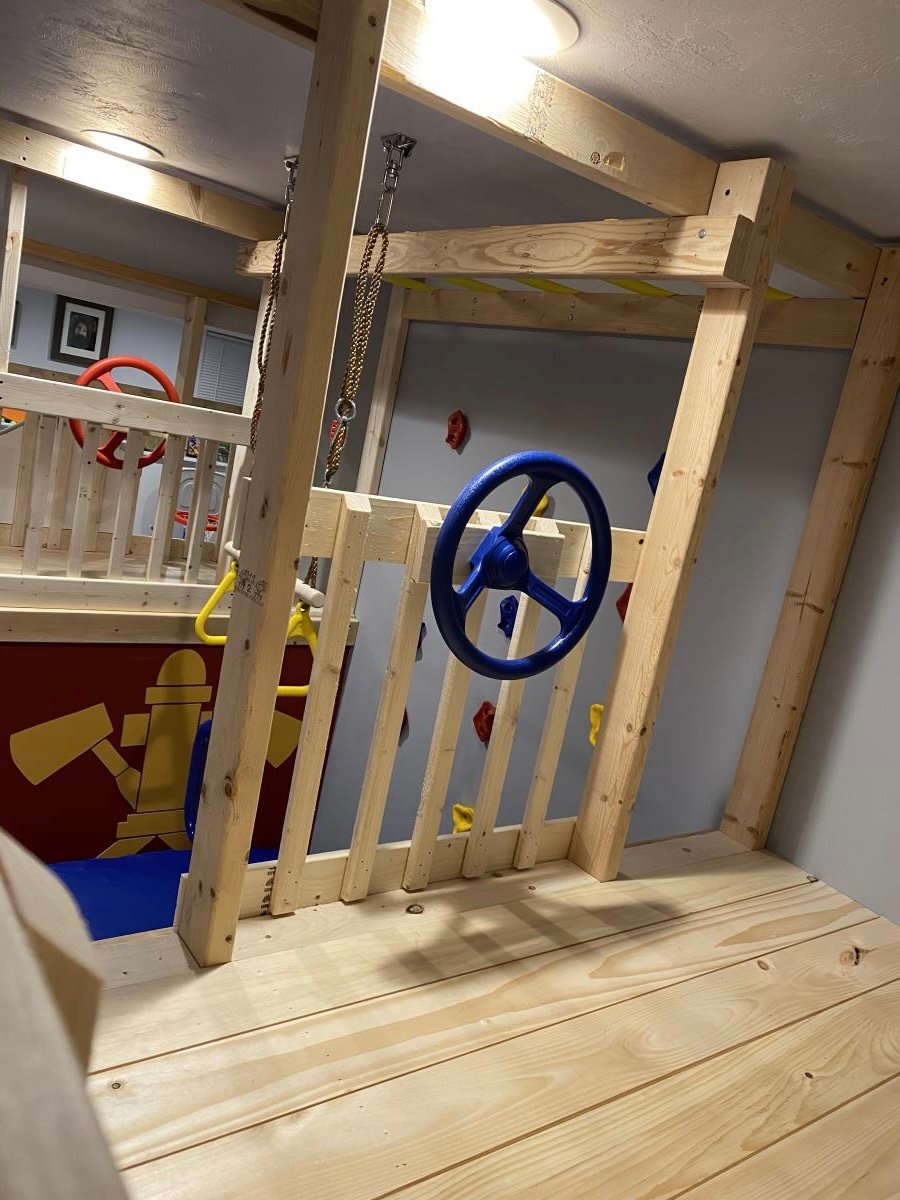
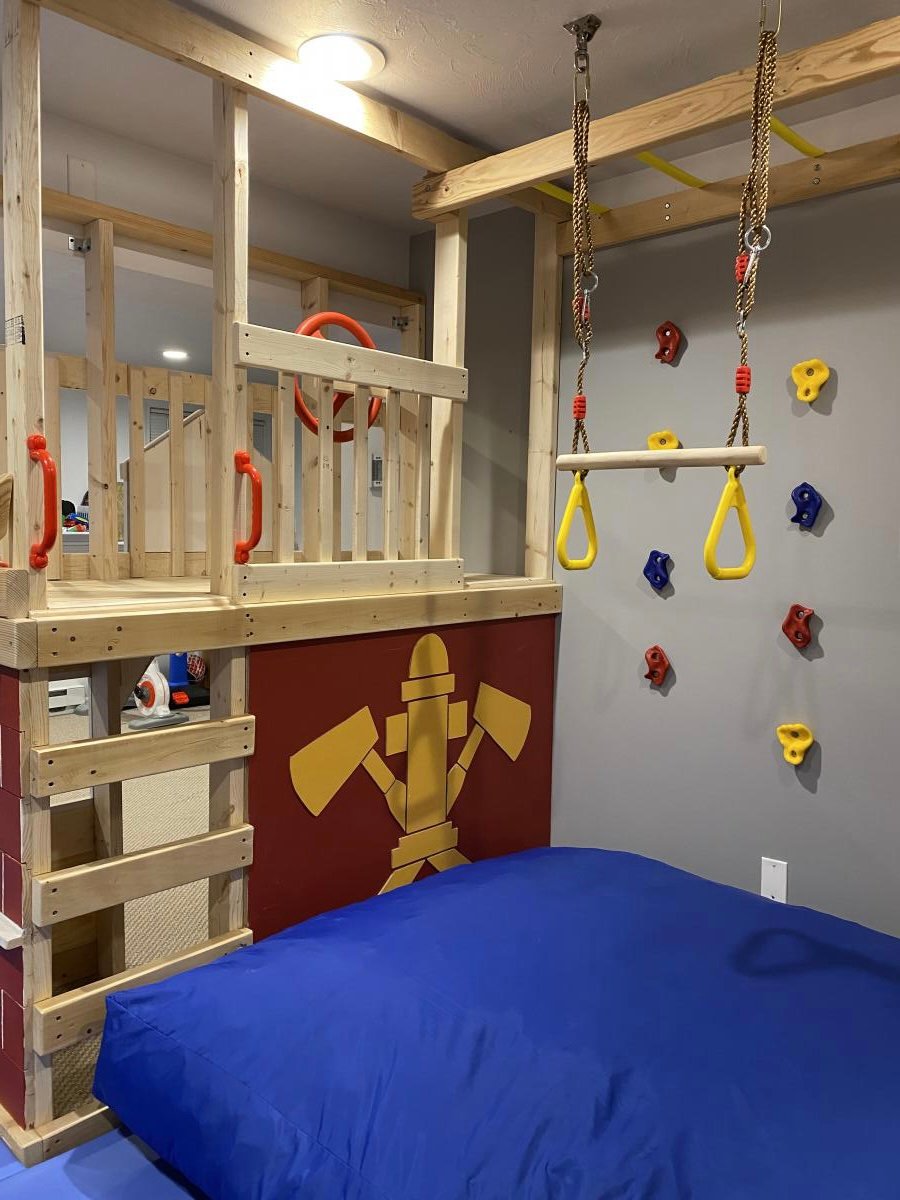
With Christmas approaching and the realization that my three young boys had way too much “stuff”, I enrolled the help of my dad to build this amazing basement play area. When I found Ana’s plans for the play gym with monkey bars, I knew we were in business. I modified the design to fit our space and we were off. Such a fun build and my boys absolutely love spending time down there. Thanks so much for your continued inspiration and the confidence you give us mamas to build with the big boys, Ana!!
In reply to Fabulous! by Ana White Admin
Fri, 01/08/2021 - 16:23
Thank you so much!! 🙏
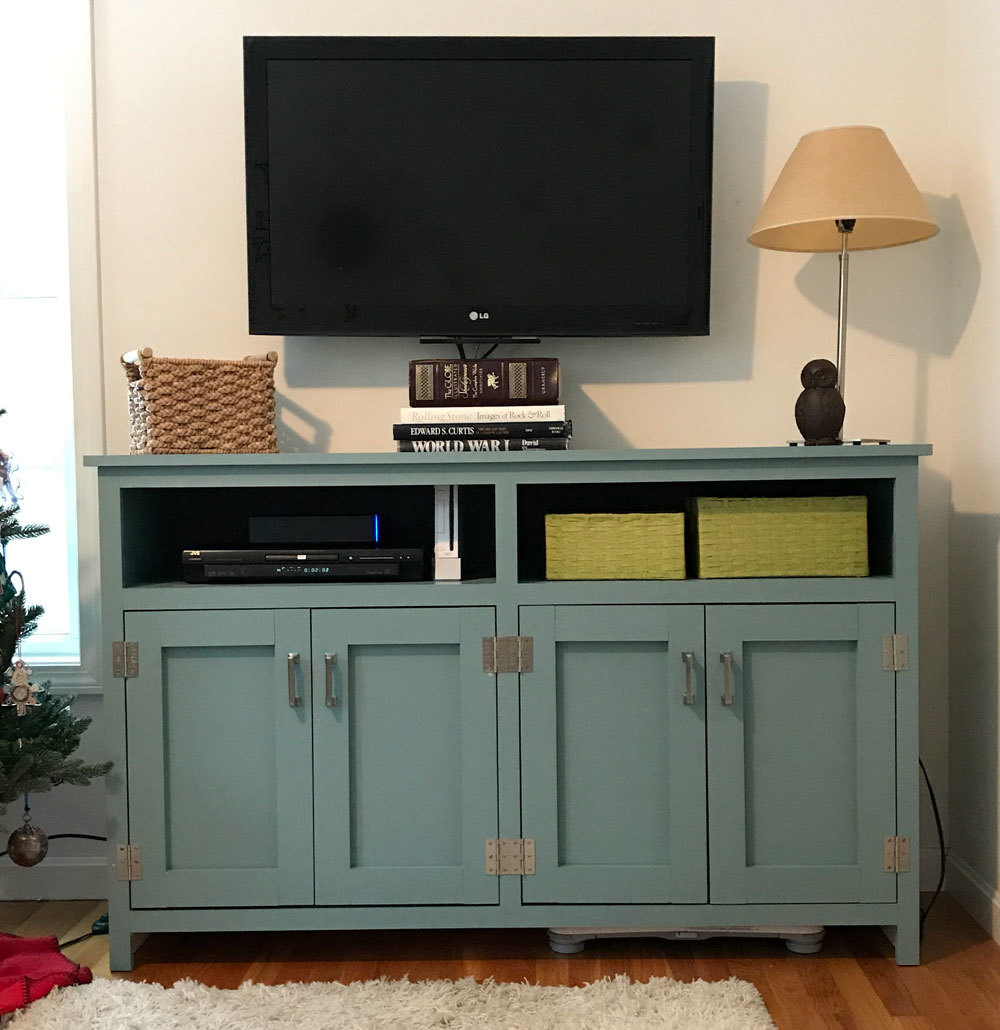
This was my third project, and the first one with doors (boy do I have some great opportunity for growth there!). I left off the bottom trim because I wanted a slightly more contemporary look. Thanks for this plan, Ana. It was the perfect size for this space. Things I learned doing this project: next time cut an extra 1x4 to tack in to do the doors, hinges require math, be sure to get the kind of wood filler that dries—not wood putty (sigh), I need a workbench.
Fri, 12/22/2017 - 09:52
Looks great, love the open bottom! Can't wait to see the workbench!
We are getting a puppy in a couple weeks and we want to crate train her. We have a small house so the only place we have to put the crate is in the living room. Needless to say, we needed a way to make the crate look good in our living room. That's when I found the plans for the rustic x-end table. The dimensions were almost the same as the dog crate. I only had to change the dimensions by a couple inches and wallah! Now the crate doesn't look out of place and I have a place to put my laptop and phone! I ended up ripping the 2x6's just a saw blade width down to get rid of the rounded edges and that made the top come together smoother. I also planed down the top a bit as well. In some spots, you can hardly tell they were 2x6's laminated together! I used two different stains on it. The first coat was a tudor stain but I wanted to warm it up a bit so I put a coat of antique walnut on it as well. I am very very happy with how this turned out. Now my husband would like me to build a coffee table to match!
Thu, 02/25/2016 - 08:59
This entire site is click bait. yet to see one actual plan. its like all stolen data from pinterist. which is equally as bad
I followed your idea but i think my bench is a touch smaller. I decided to add arm rests on each end, I kept the top beverage ledge or "Bever-ledge" as I call it and ofcourse I added rope lighting along the underside. This was my first ever DIY project.

Entire wall fireplace built-in!


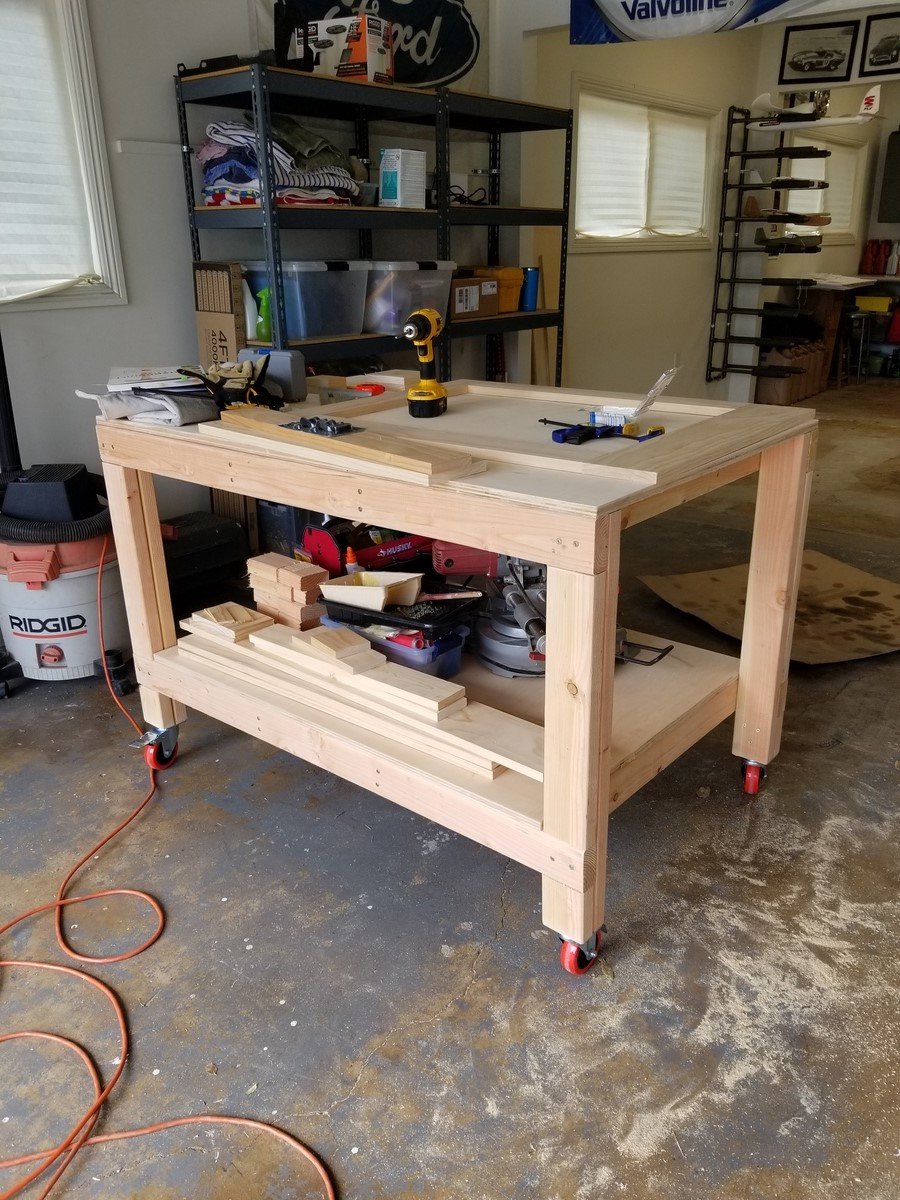
I love this workbench! I added casters so I can move it around the garage, outside, wherever it's needed. I just took 4 inches off the bottom of the legs. My hubby is admiring my handy work and planning on making one for himself.
Wed, 01/25/2023 - 14:31
Love this with the casters! So beautiful. I'm new here and wondering at what point you took 4 inches off the legs. Did you build the table and then just cut off the legs? Or did you adjust the measurements of the cuts? Thanks in advance! :)
Mon, 01/30/2023 - 02:32
The overall height of a 4-inch caster wheel is a little over 5 inches with the mounting bracket, so that also needs to be taken in to consideration. 2nd photo shows the overall dimensions, but to me the bracket and brake area appear to be a bit more than 1.03 inches. https://amzn.to/3DkMKzB
I think the best bet would be to have and measure the overall wheel height, prior to measuring and cutting the lumber.
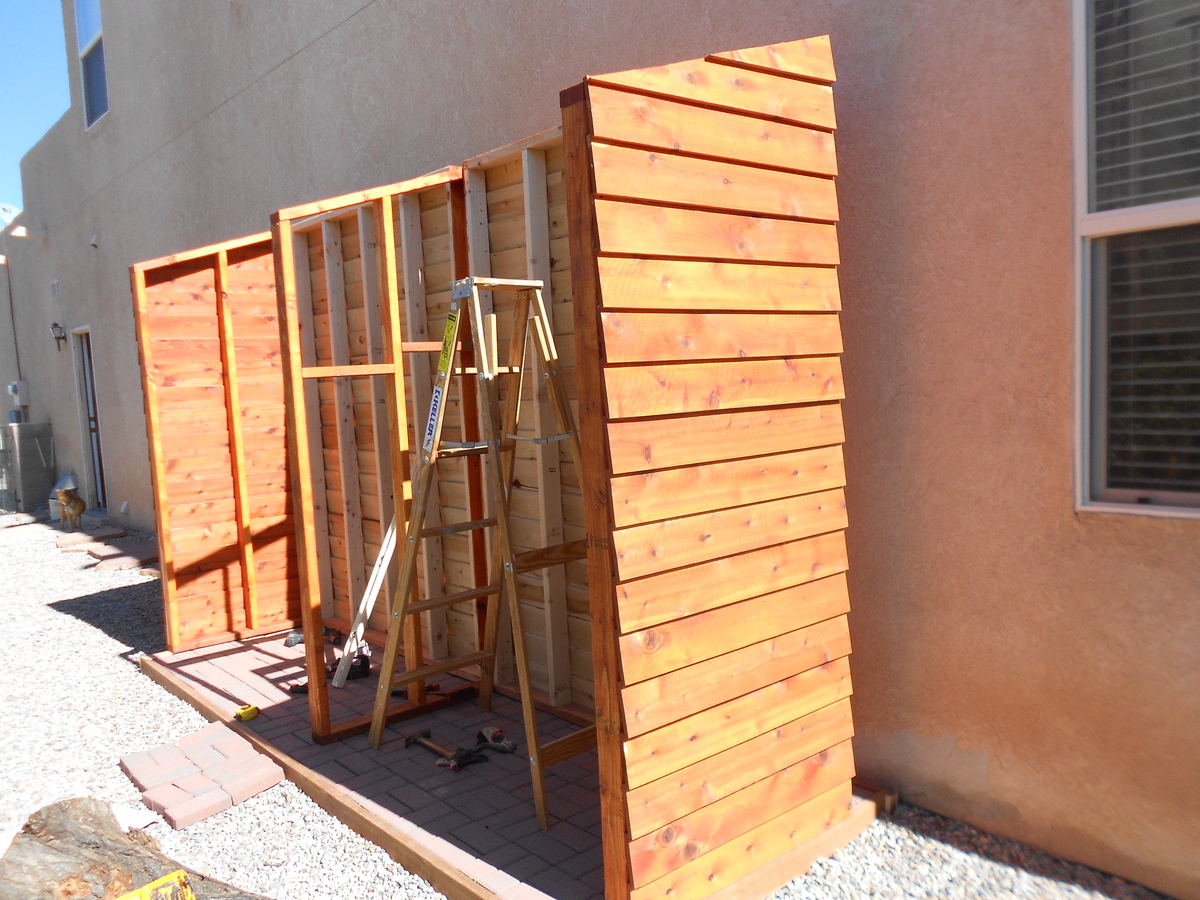
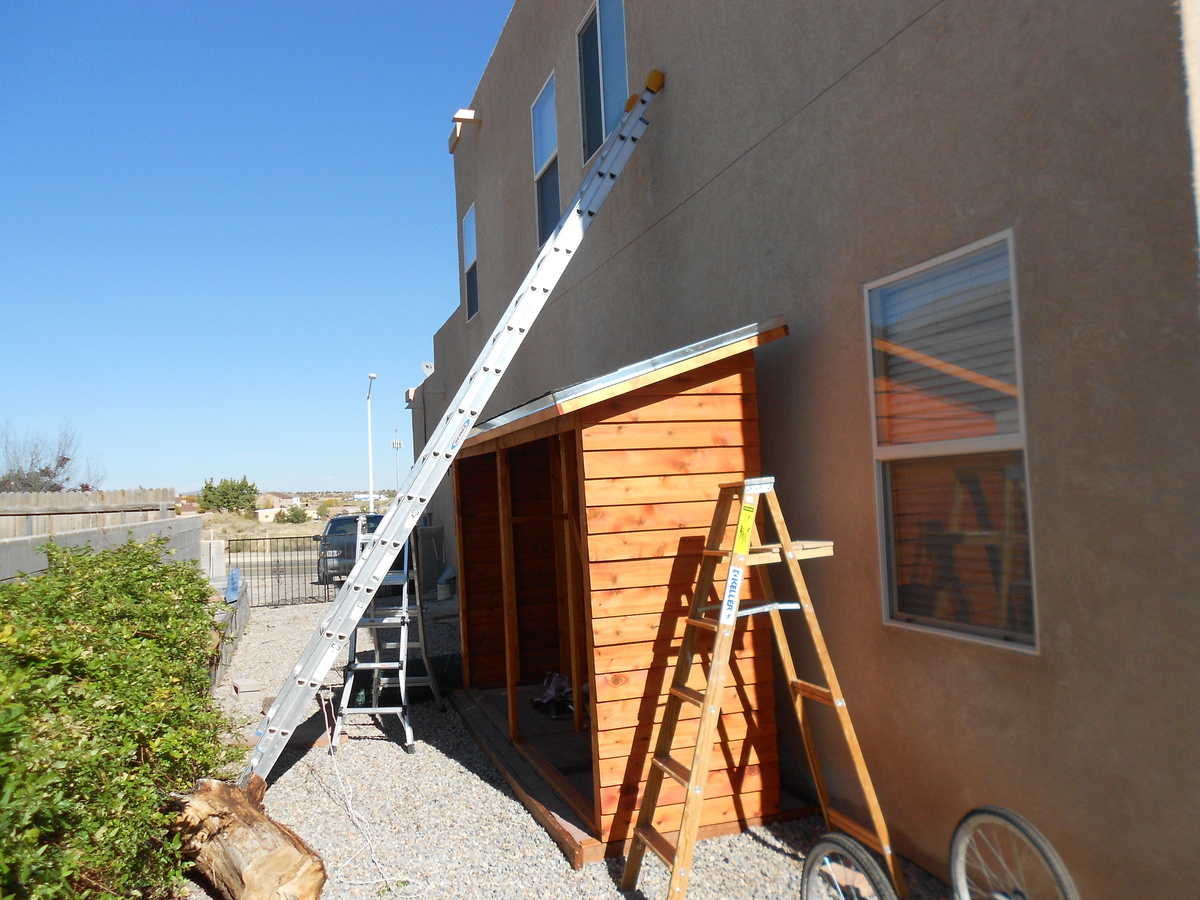
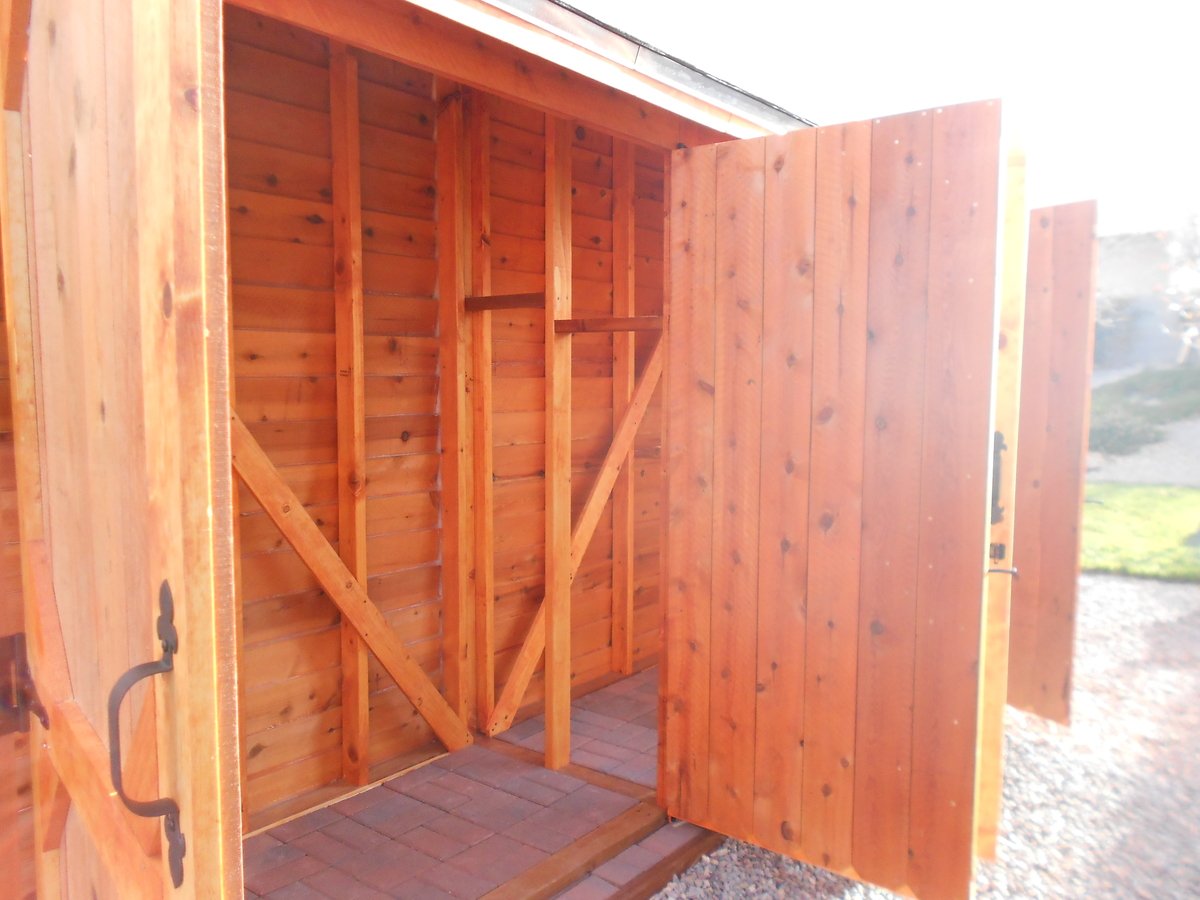
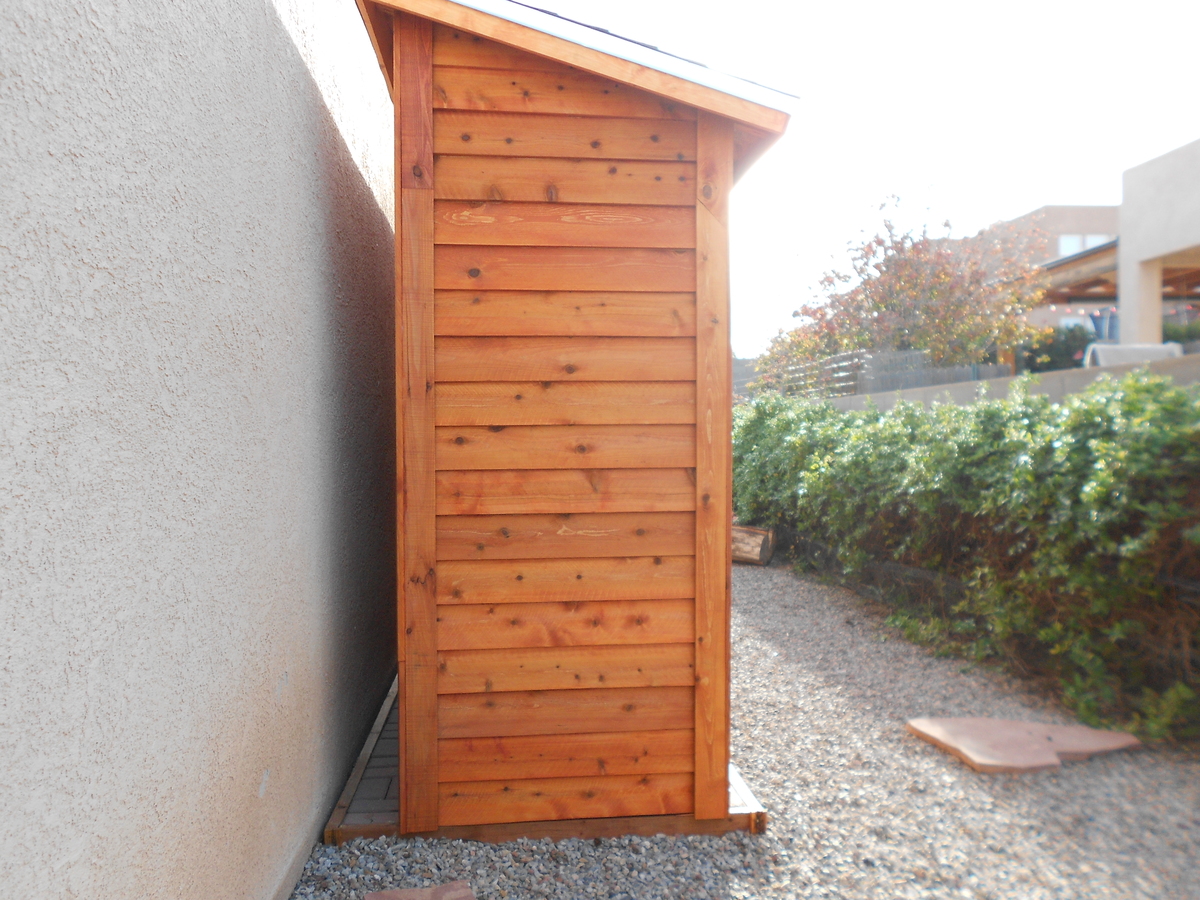
I read and studied every comment and brag post about this shed. I must have read the plans a hundred times before I got up the courage to tackle it. It’s a very attractive and affordable shed design. I thought a double wide version would be perfect for our long, narrow side yard, and it is! I mostly stuck to the plans except for a few things. I made it 10” taller overall so there would be plenty of head clearance under the doorway. That was a very easy modification. I used 2x4s for the walls instead of 2x2s because we have high winds in our area. That modification was a little bit more challenging, but I planned it out and it worked! Also I used 2x6s for the headers instead of 2x4s. I also added 2x4s at the thresholds because I couldn’t image making it stay square without them. I basically made two sheds joined by a common wall in the center. I did not increase the depth, mostly because I was afraid to mess with the angles and how that would change the pitch of the roof. Joining two sheds together meant that I didn’t have to put the exterior pickets on the middle wall. But it also meant that I had to build 4 doors. Yuck. They were difficult to get lined up and level, but I was amazed it actually worked and that all the doors operate properly and smoothly. I was questioning the wisdom of my decision to do 4 doors while I was in the thick of it, but now that all the work is done, I love that I can open all 4 doors and have easy access to absolutely everything in the shed. Very convenient! I told my dad I was building a shed and he recommend that I add cross braces. It seemed sturdy enough without them but it certainly can’t hurt. My dad knows everything about building and I know nothing, so I took his recommendation. If I were to do this again, I would overlap the cedar pickets by 1” instead of ½”. My pickets were not quite wide enough. I could swear they shrunk after I applied the stain/uv protection. I used liquid nails along each lap but it didn’t hold. Where the glue DID hold tight, the wood split lengthwise. Anyway, for whatever reason, gaps appeared and I spent a fortune on clear silicon applied on the interior walls to make it water tight. I had to keep going back for “just one more tube.” So with hind sight I would have been better off just buying a few more pickets and increasing the overlap. Another thing I might do is make it deeper. I decided against it initially because I was worried that increasing the depth would make it flimsy. Now I don’t think that would be a problem. This shed is sturdy. I can’t say thank you enough. Great plans and a great website! I am completely hooked.
Mon, 11/11/2013 - 14:51
Thank you Ana! I can't thank you enough for introducing me to the best hobby ever. Your plans are the best!
Mon, 11/11/2013 - 12:01
Great Work. Any estimated cost of what this would cost to build?
Mon, 11/11/2013 - 14:56
I kept every receipt from caulking gun to stains and brushes. I just now added it up and it came to (cringe) just under $900. But I have lots of left overs for another shed and it's still a huge bargain. Other sheds that are similar to this plan are much smaller and start at $1,999 and up! I think it was well worth it to have a sturdy bargain shed that's also beautiful.
Sat, 01/22/2022 - 23:01
It looks great with the stain. I think your Dad's advice was good. Also I like that the heavier timbers add rigidity to the frame.
I modified this chair with 2x4's as the base and 2x2 for decoration on arms, this is prior to sanding and finishing
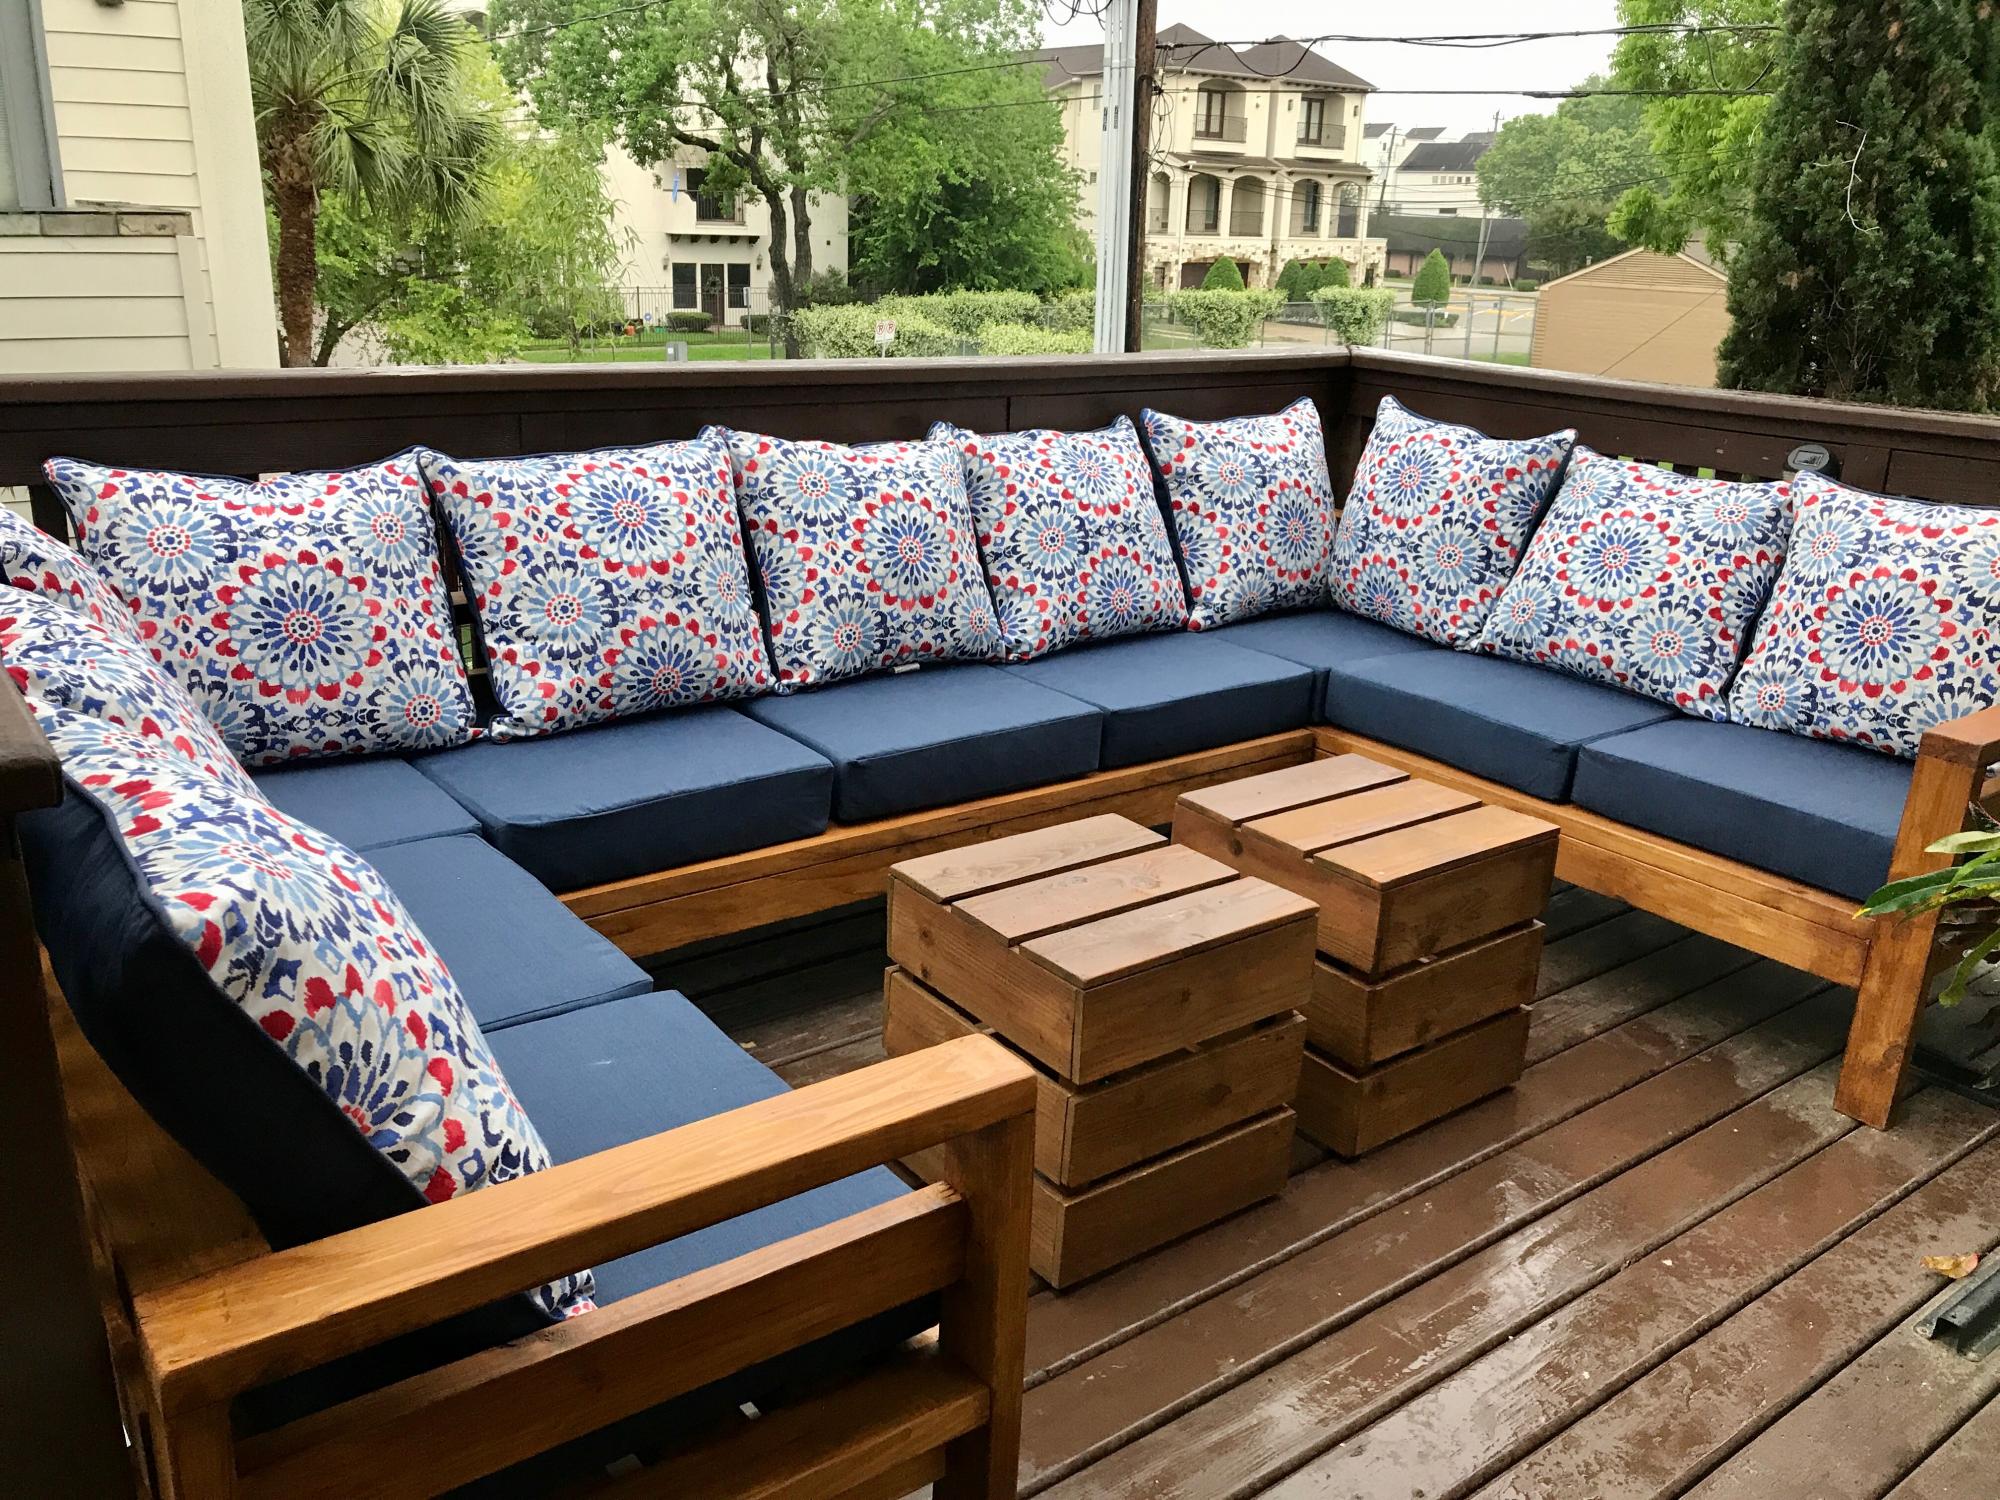
Great Plan! Loved how easy it was to build and how little the cost was.
Tue, 07/28/2020 - 09:52
Did you use decking screws or pocket holes for the visible portion of the couch?
Sun, 08/01/2021 - 18:40
Looks amazing! What method did you use (pocket holes, dowels, deck screws, etc) to join the visible portions like the arms?
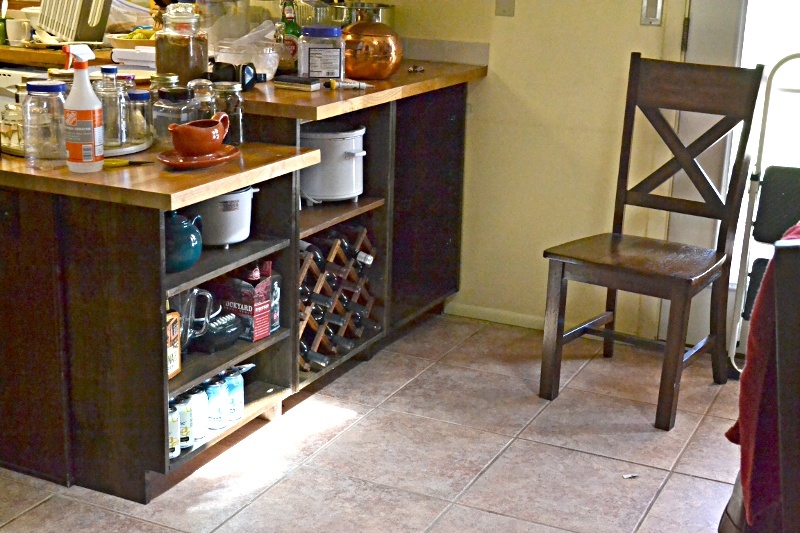
Added kitchen and dining room storage by building bookcases / shelf units to fit under the peninsula breakfast bar overhang. It's the simplest possible "box with a toe-kick", loosely based on Ana's plans for a bookshelf and the closet master system.
Much of the "working time" was stain and finishing time. Actual cutting and assembly time was under 3 hours.
No dimensions: every breakfast bar is different.
1 - The boards were cut to fit under the overhang, with 1/8 or less clearance. Top and bottom of unit is between the upright pieces.
2 - Width of units was also cut to fit. One unit is the width of the lower section of countertop (appx 23 in), the taller section was divided into 2 equal units (appx 21 in)
Shelves were cut about 1/4" narrower than the insiude dimension of the unit, to allow for insertion and the shelf pegs.
3 - Toekick space cut to match the cabinet on the far side of the peninsula. Used a circular saw and then a hand saw to finish the corners.
4 - Drilled pocketholes in the top and bottom boards.
5 - Used Rockler's jig for drilling shelf pin holes in the 6 uprights. Oops! I should have drilled every possible hole. I drilled every other hole and don't have the shelf flexibility I really need.
6 - Stained and topcoated everything, let it dry.
7 - Assembled each shelf unit, using corner clamps and a carpenter's square to make sure it was square. The bottom shelf is screwed at the same level as the toe-kick.
8 - Slid units under the overhang, shimmed them firmly under the countertop.
9 - Added shelf pegs and shelves
DONE!
Doors could be added, using the hinges for inset doors on frameless cabinets.
==========
NOTES:
The units are backless. I considered nailing a 1/8 hardboard back onto them, but because the finished back of the peninsula is visible behind them, and they are shimmed into place to prevent slouching it was not needed.
Cost is low because we had some 1x12 boards in the attic. Already had the tools and stain from earlier projects. 3 1x12 x 6ft boards were new, the rest were salvage.
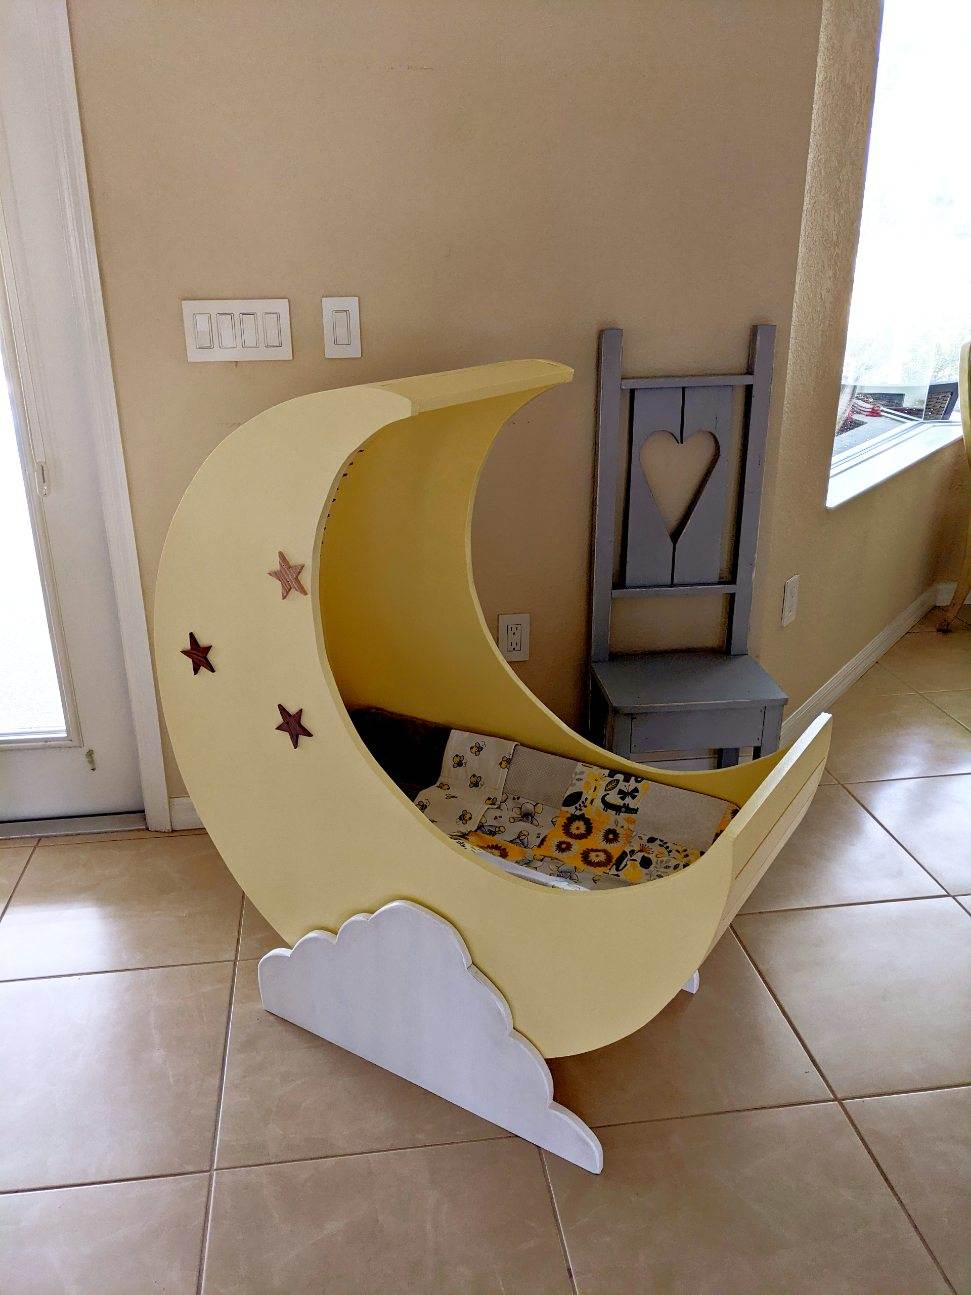
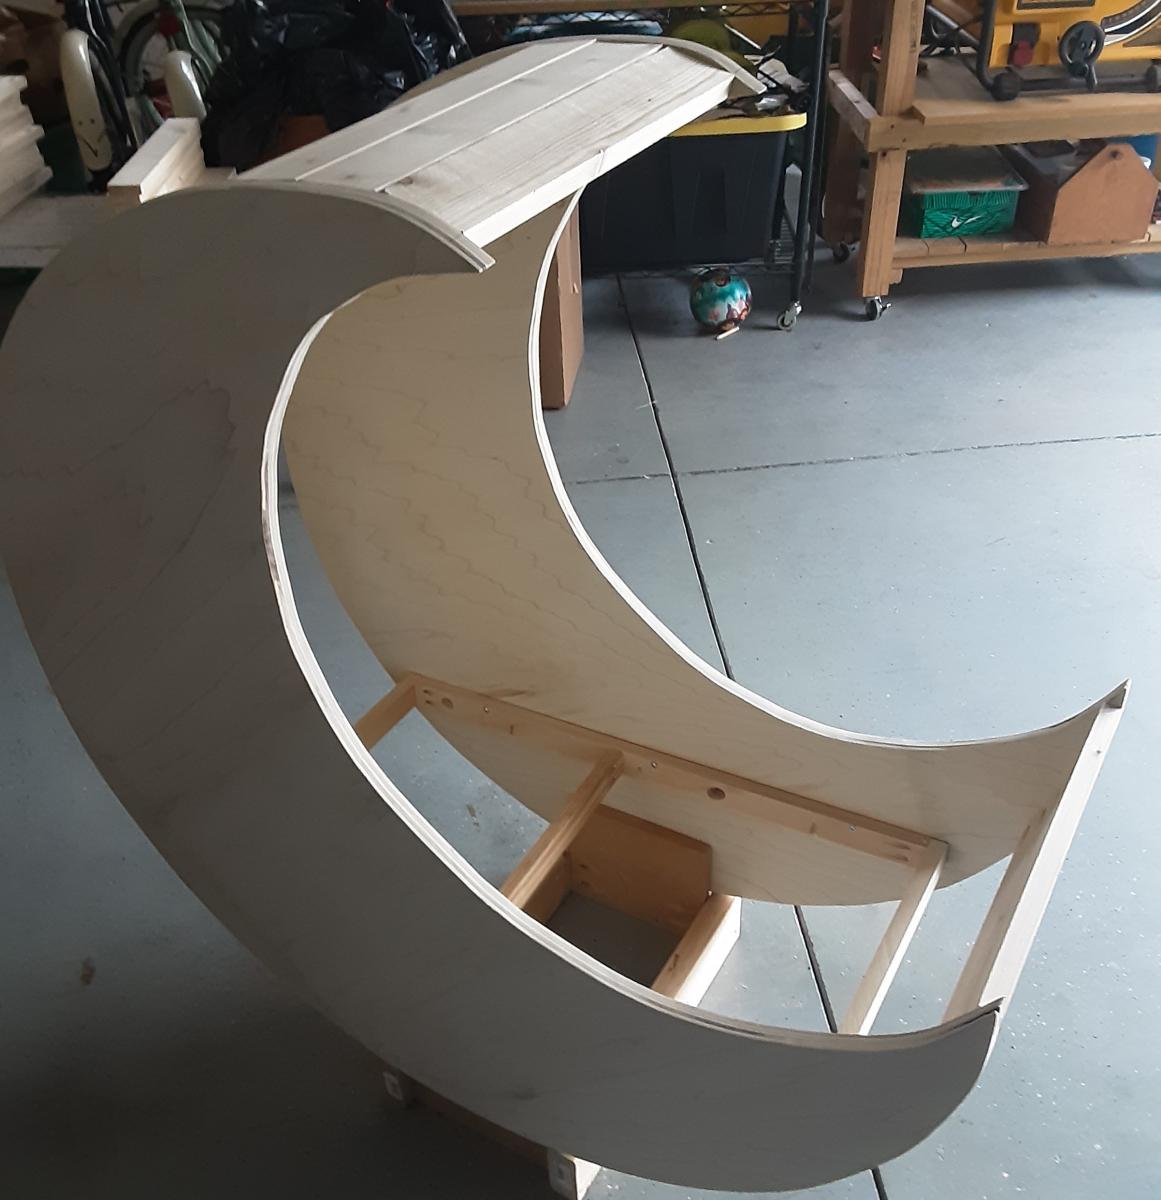
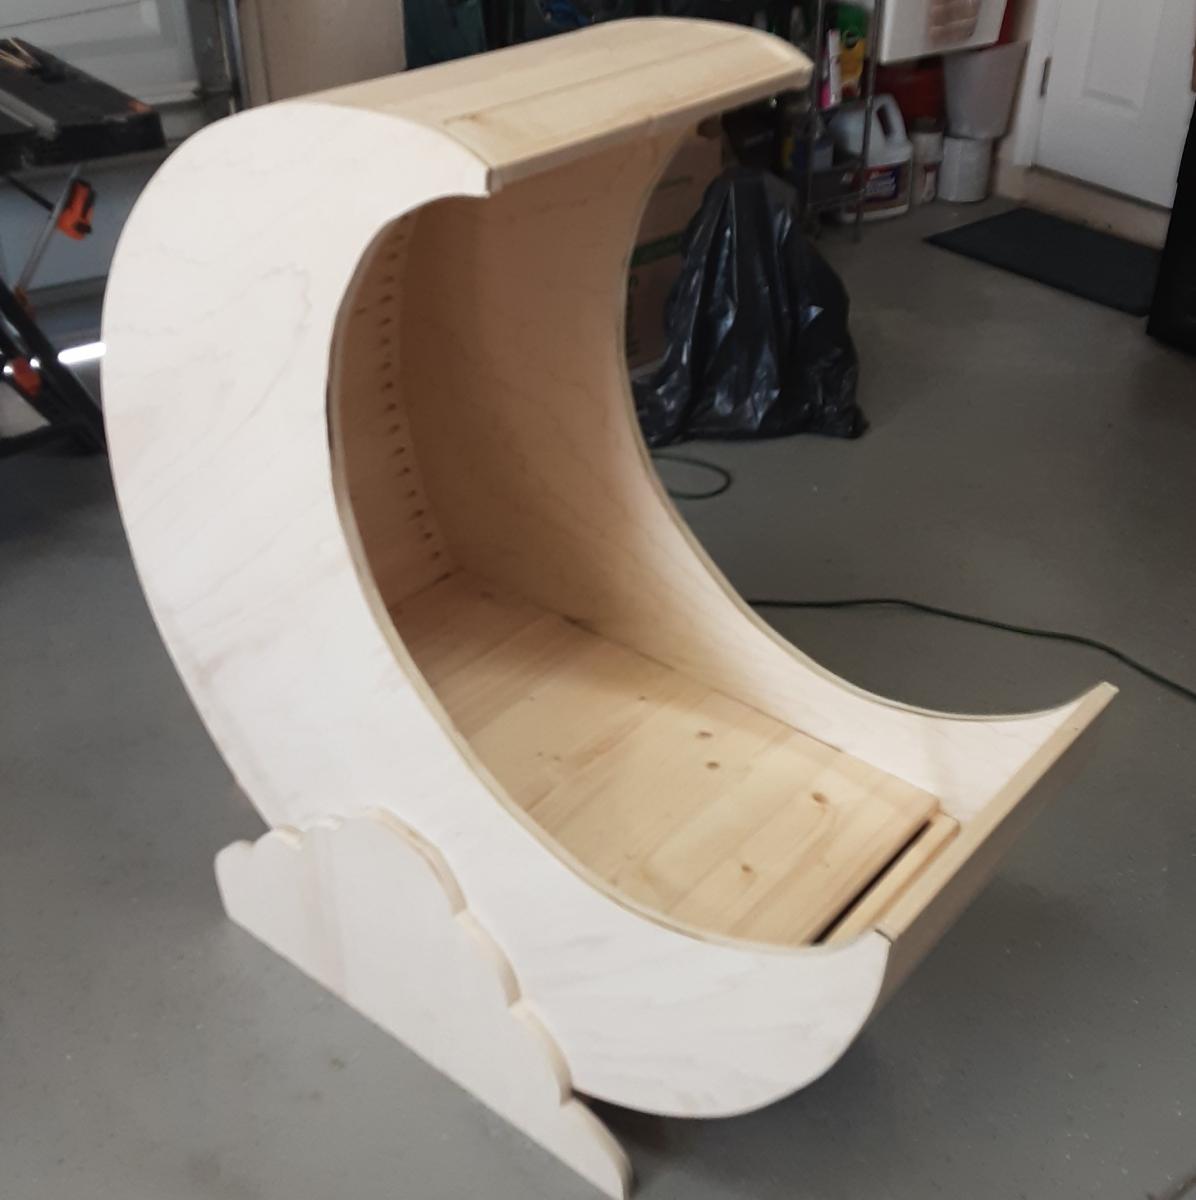
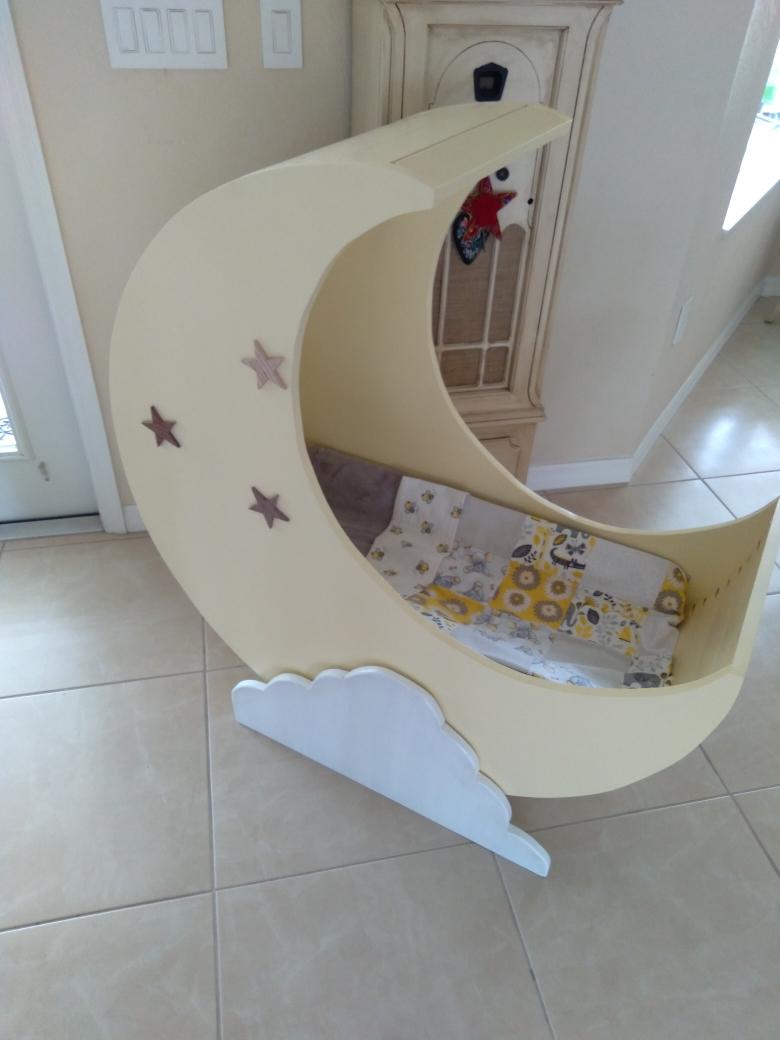
Built for my first Grandson Lucas. Made of pure bond poplar plywood and white pine. Templates were made of cardboard for a circle (20" radius) and a circle (14.5" radius). Placed small circle inside the larger circle to create a half moon shape. Identical sides were cut from the plywood. Extensive use of Kreg pocket holes to attach (25) 16" boards to the plywood sides. Each board requires 2 pocket holes (1 1/4) on each side. Added a base to the cradle for stability and attached plywood cloud shapes to cover base and add a decorative touch. Frame installed and attached rails to the inside supporting 30" by 16" infant mattress.
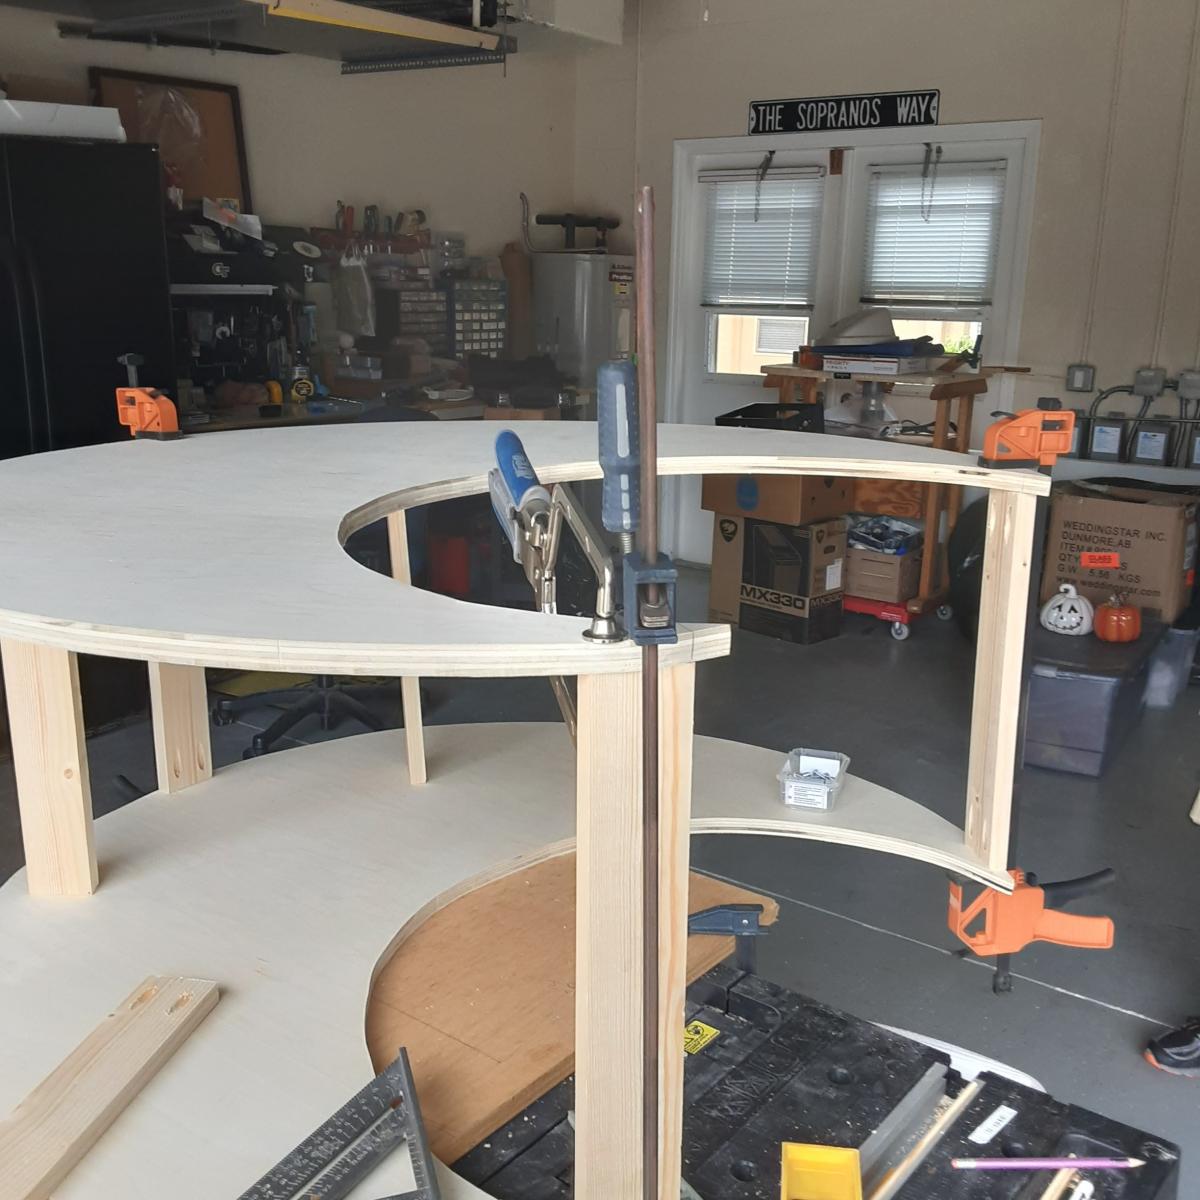

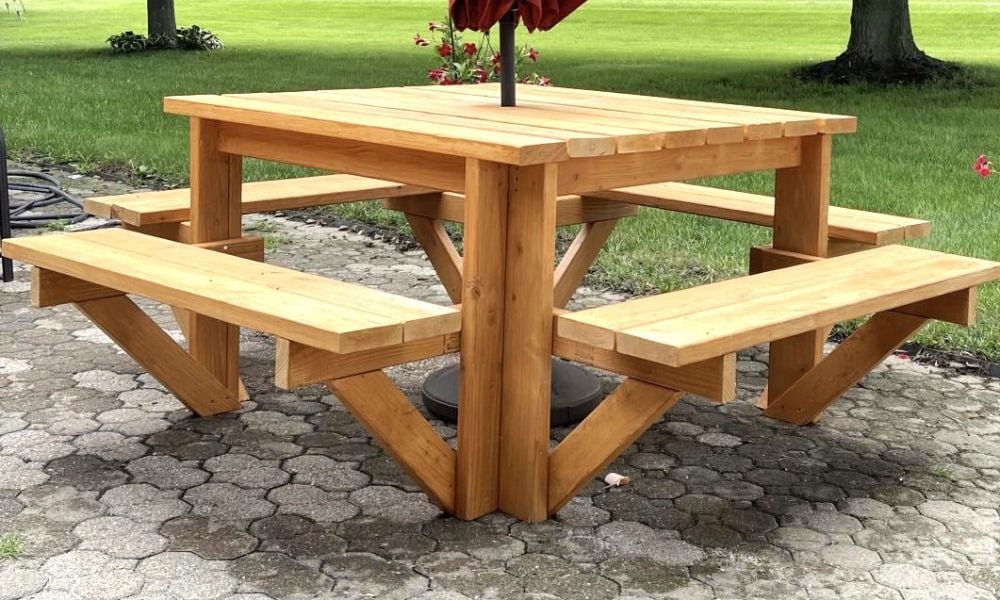
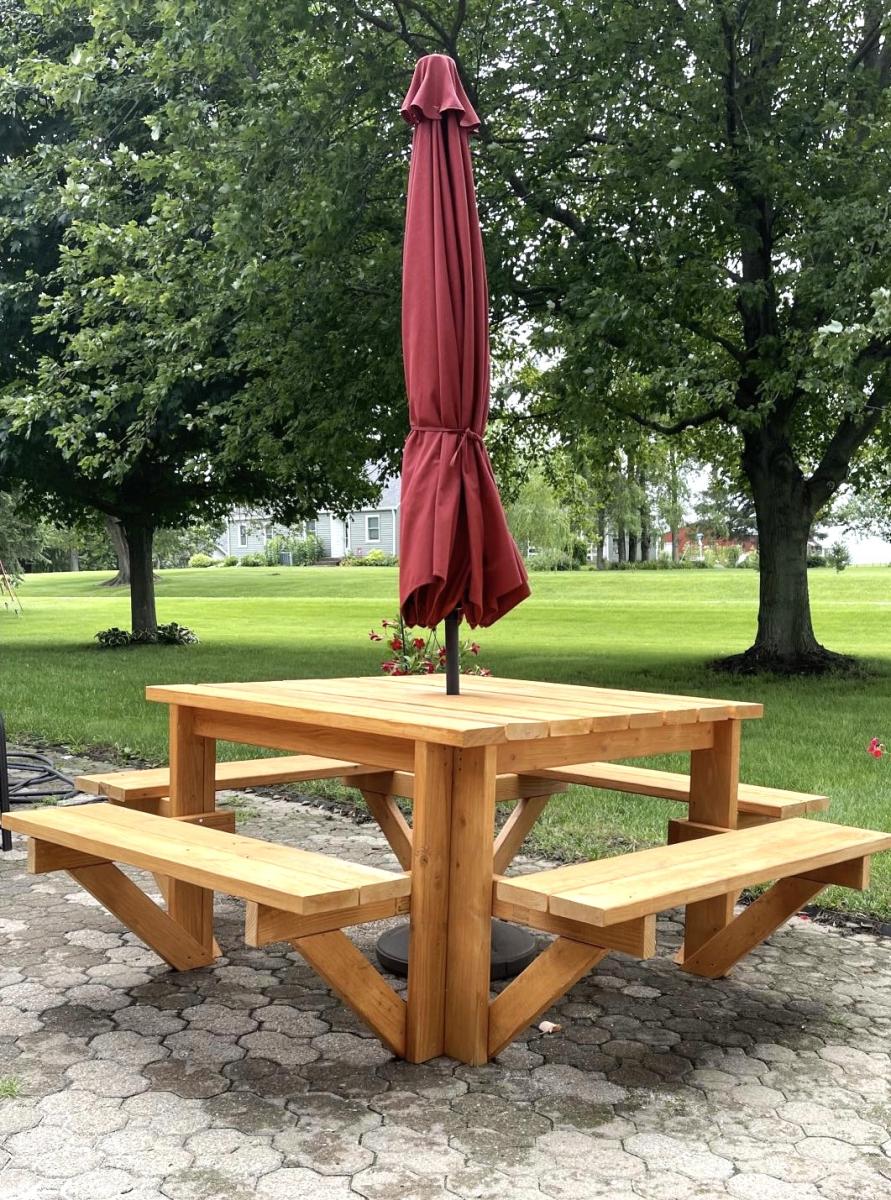
This was a great summer project. The table looks great and it was any easy build. Doesn’t get any better than this. I added a hole in the center of the table for my umbrella and used the longer screws for more frame stability.
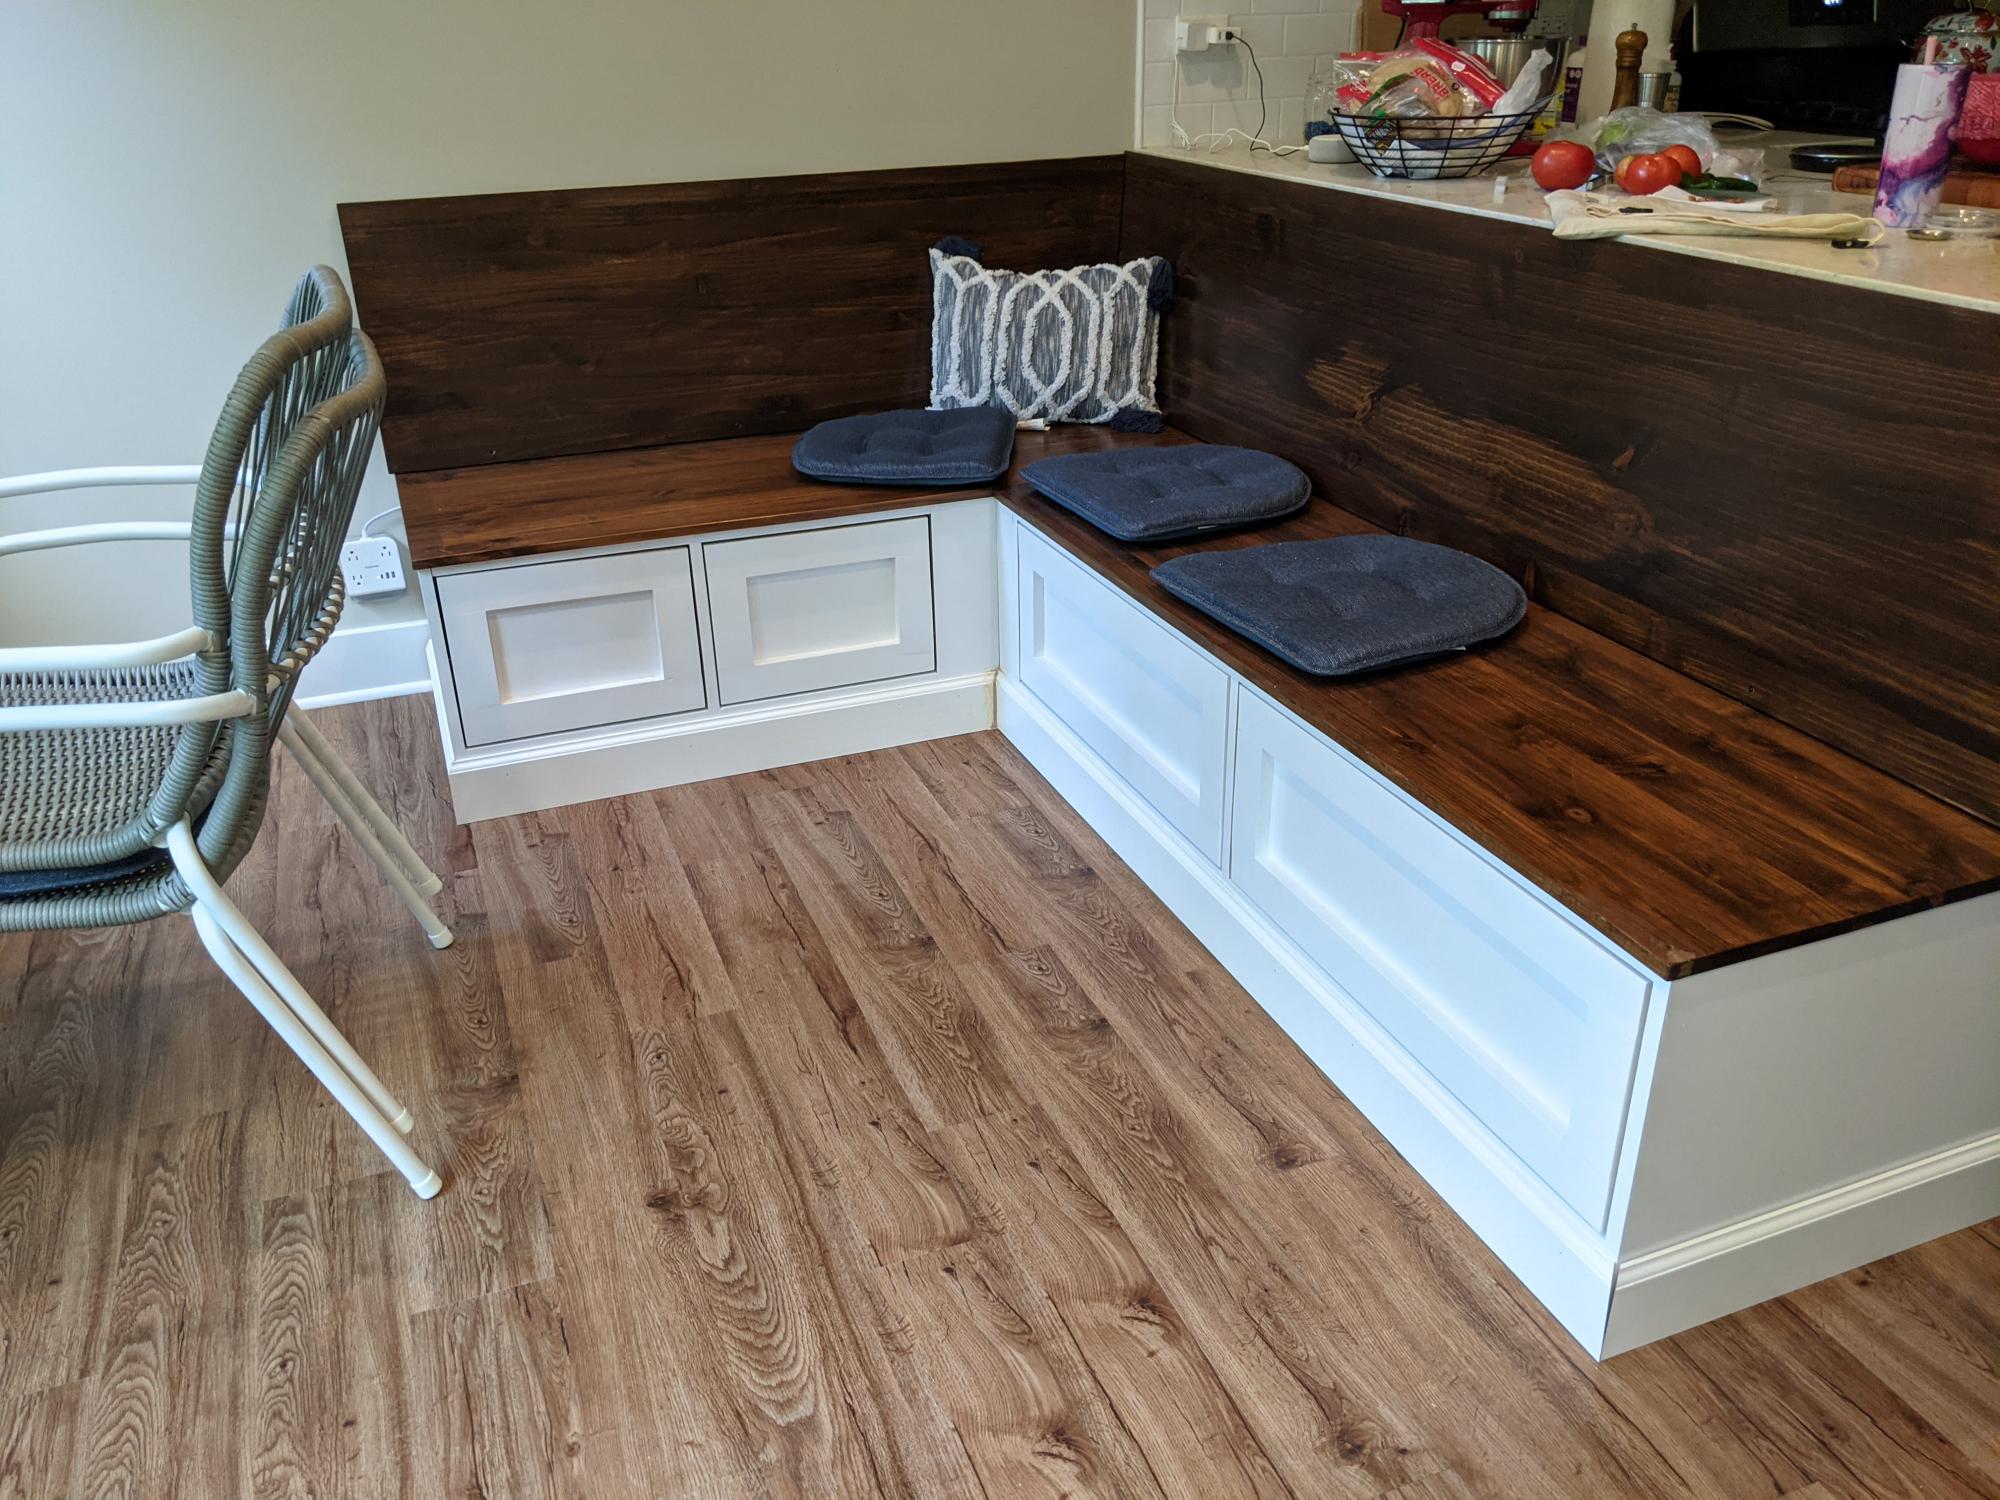
I built the above corner bench based off of the frameless drawer bench plans (they are on the shelf help site) which are very similar to the essential entryway bench plans, but the drawers are included. The long bench is 60", the shorter side 42".
For the carcass i did use the shelf help pre cut plywood.
When I started the project beginning of 2021, there was no tutorial for the corner part yet, so I was very glad to see I did the right way when the corner 'add on' came out, also found on the shelf help site).
The shaker fronts were shown in the barn door console plans, so I adopted that.
I get loads of compliments and obviously even more when people hear I built it myself.
The hardest part about this project were the drawer slides and getting them to line up and work as expected. The I broke the soft close on one of the big drawers during final assembly and still didn't bring myself to exchange the slide to a working one... 😊
But overall I'm really proud of it!
Tue, 10/05/2021 - 12:03
Thank you so much for trying out Shelf Help, what a grand project!
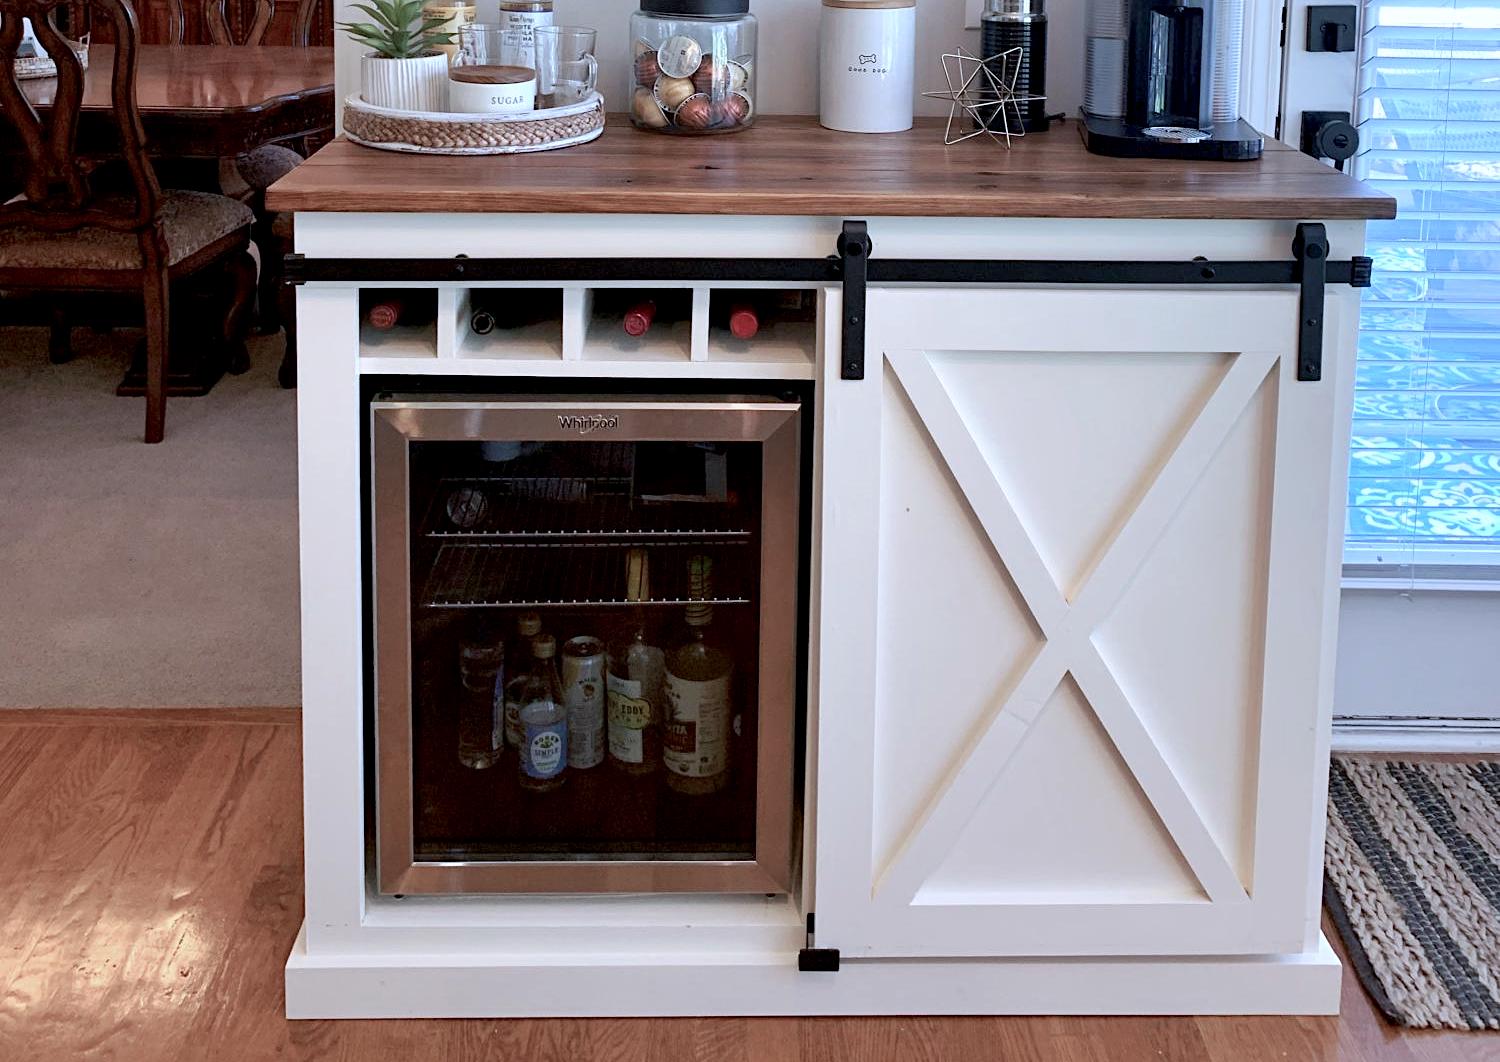
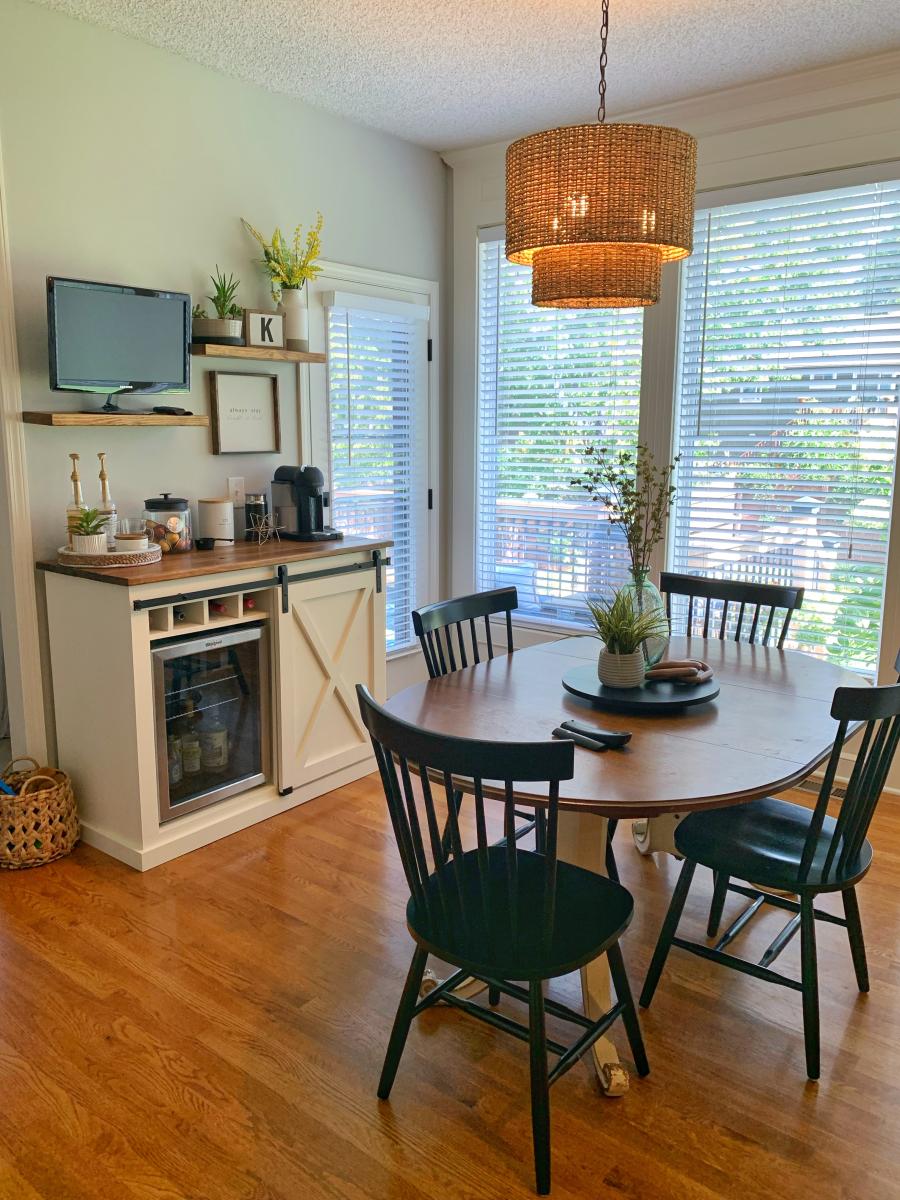
My wife wanted a coffee bar and I wanted a fridge for wine and beer. So we compromised on this.
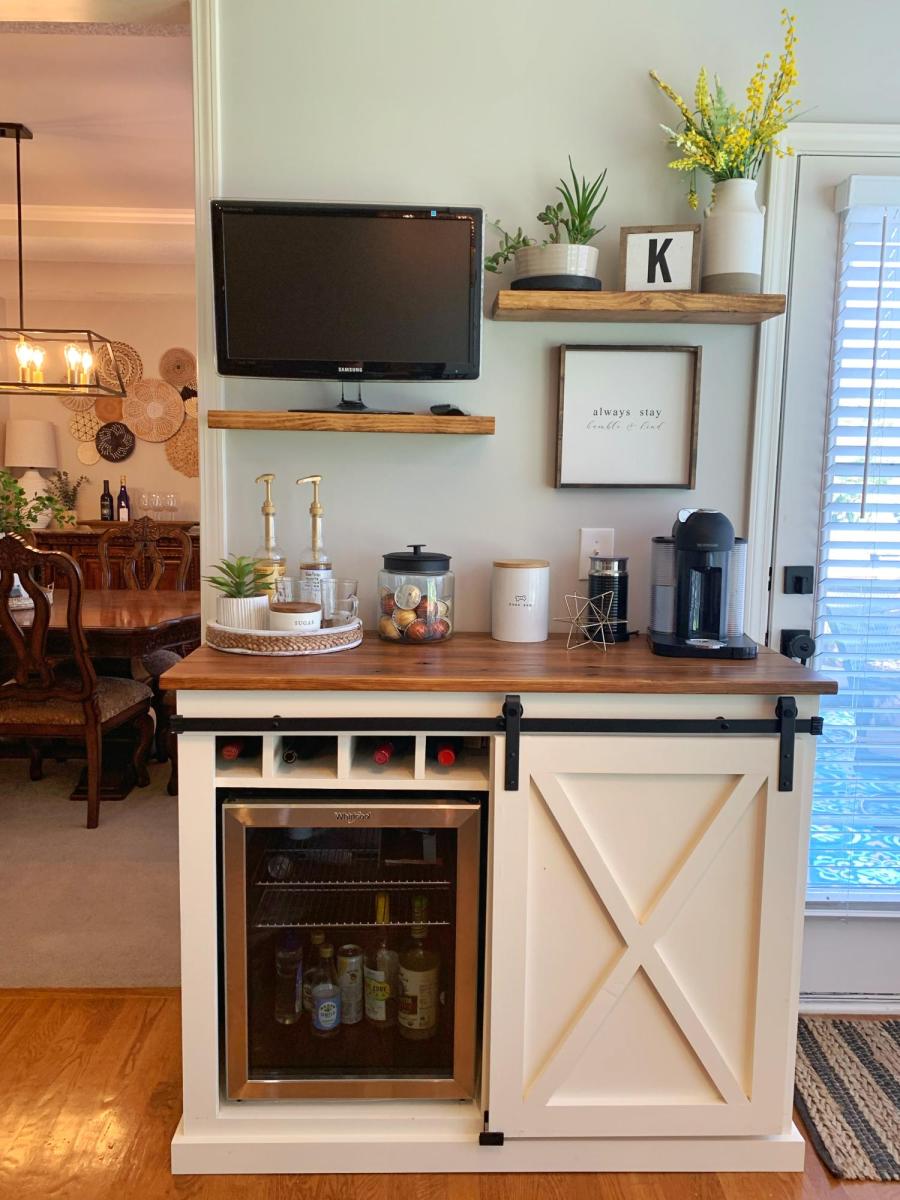
Thu, 12/29/2022 - 10:02
Pretty much everything you ned in one place! Thank you for sharing, amazing build! Sharing to social media, please email [email protected] if you'd like us to tag you!

Modified from our twin sleeper chair plan, this amazing hinged sofa bed was built and shared by #tinybuilderau


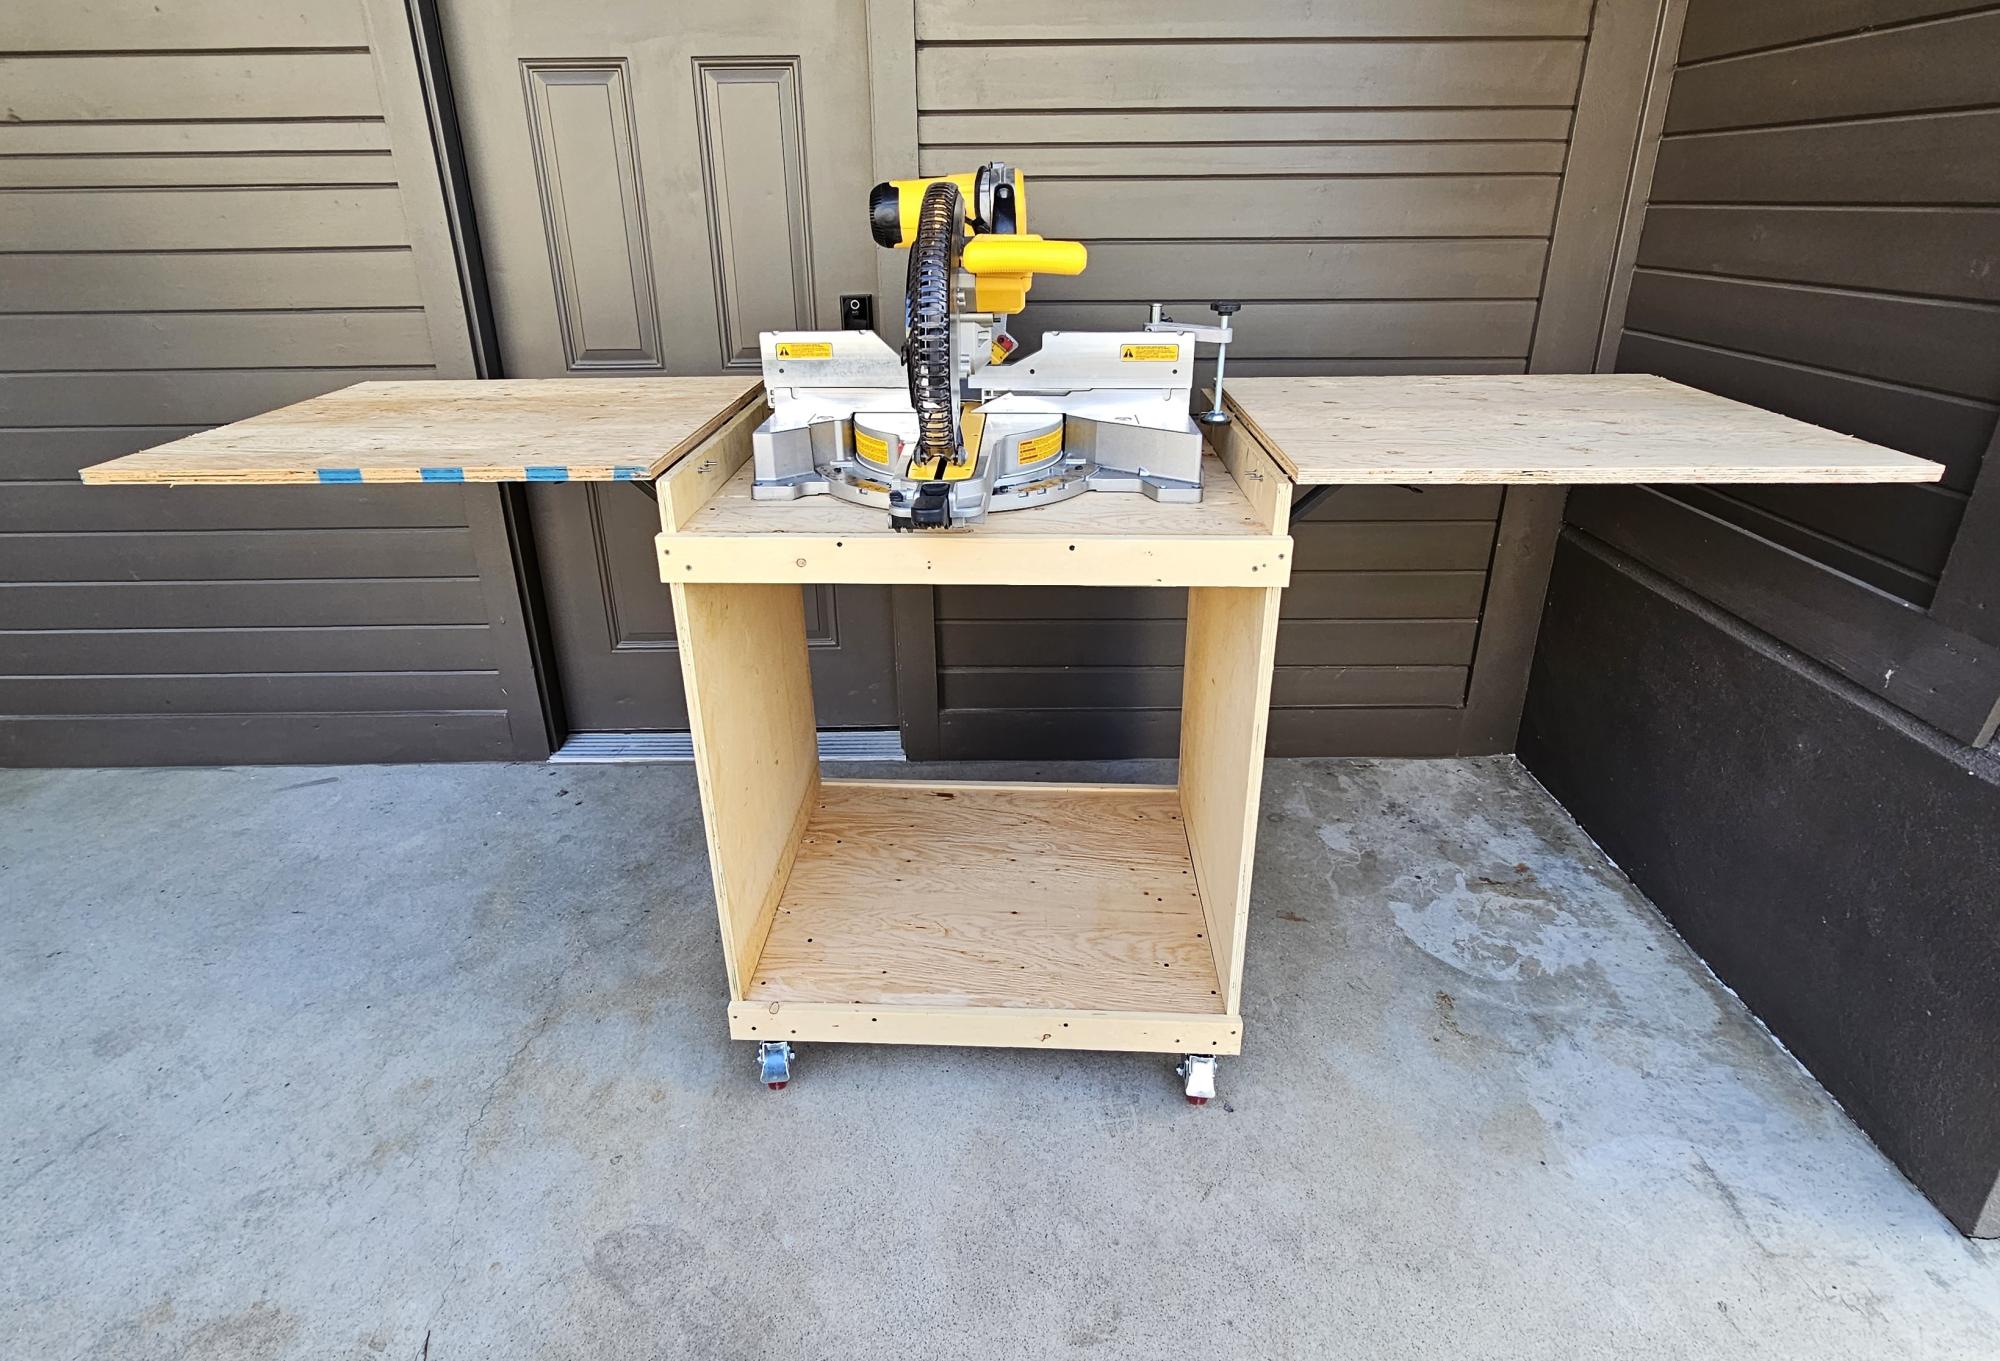
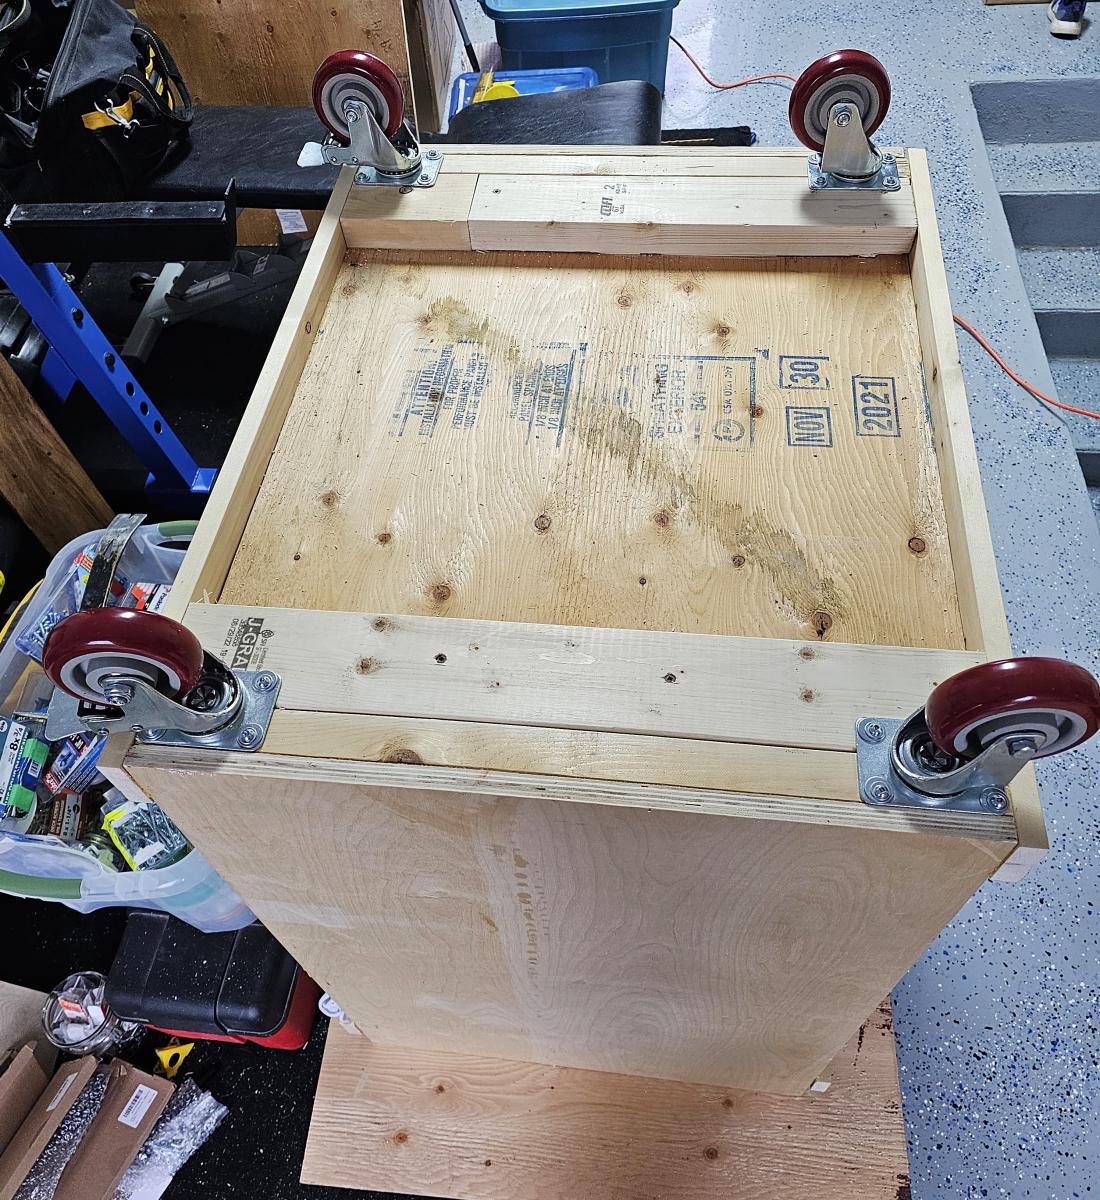
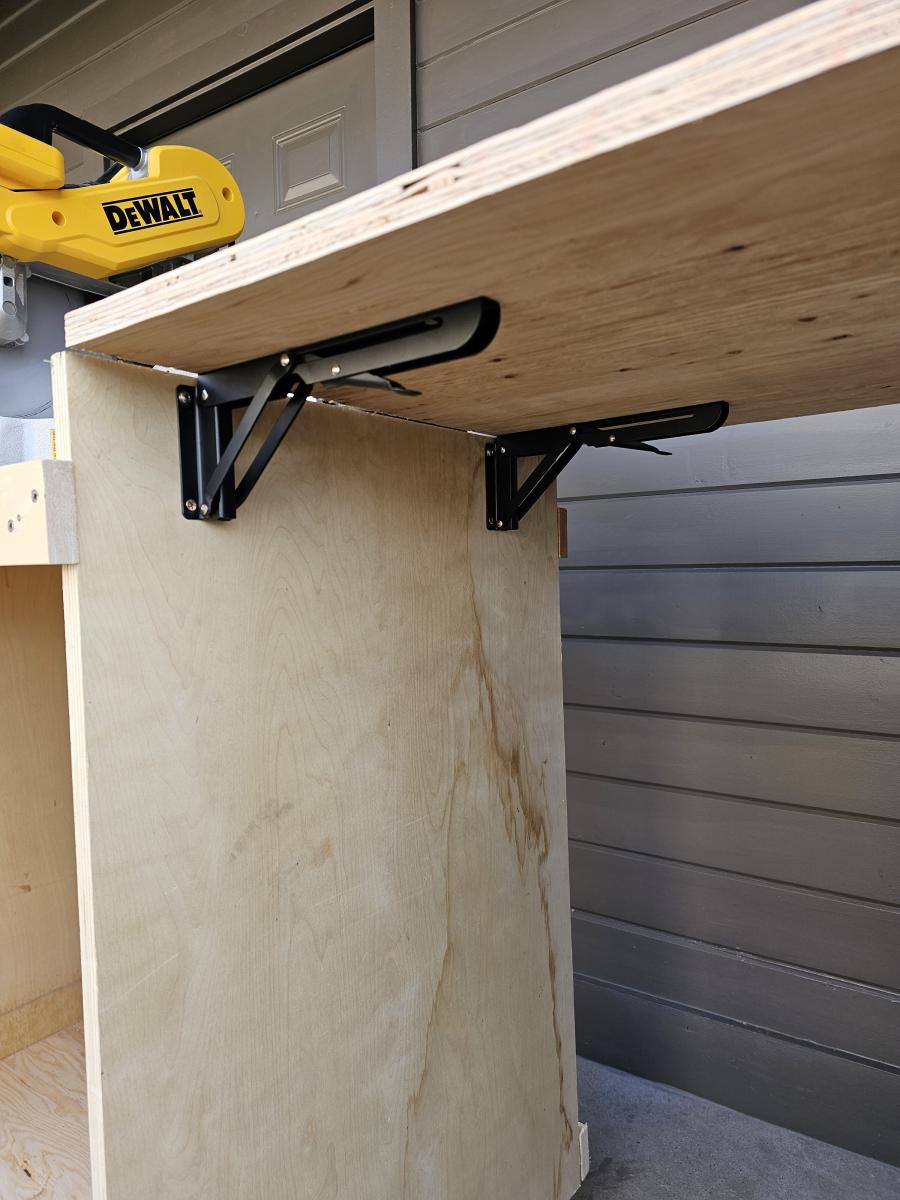
I pretty much followed the plans exactly as provided. The folding brackets I used are supposed to be heavy duty and able to handle up to 100 lbs. per pair of brackets. We'll see how they do. If needed, I might add the 2x2 or 2x4 braces I've seen many others do on here. It's nice to finally have my mitre saw off of my workbench.
These are the brackets and wheels I used.
https://www.amazon.ca/gp/product/B08PVFJ87Y/ref=ppx_yo_dt_b_asin_title_…
https://www.amazon.ca/gp/product/B093FQVV8P/ref=ppx_yo_dt_b_asin_title_…

I looked all around my town for a sofa that meet my needs. I wanted something with tall legs, modern lines and fit my living room. I did not have $3,000 to buy one online so I said to myself why not???


Sat, 07/25/2015 - 12:28
You are my hero ! Your modern diy sectional is amazing, love the blue fabric! Thank you so much for sharing! Ana
Mon, 08/03/2015 - 14:52
I've been looking for plans for a big sectional this would be perfect!