Strawberry planters
Using plans from this website here are pictures of two, five tier strawberry planters.
Each tier is wide enough for 4 plants in one litre pots.
Using plans from this website here are pictures of two, five tier strawberry planters.
Each tier is wide enough for 4 plants in one litre pots.
I hope this is OK to add here. It's not an Ana White plan, so moderator please delete if it is not allowed. I made this bed for my grandson. I bought a plan online and modified it from a twin to a full size bed. The dome light and running lights work as night lights. A motion sensor light activates if he crosses the door to illuminate the ladder. Front tire is made as a step so his parents can climb in and read to him. The whole thing is on EZ Sliders so they can move it away from the wall to make the bed.
Mon, 07/05/2021 - 21:59
Wonderful job, thank you for sharing! The details are spot on:)
I built this outhouse to go with a dry cabin I'm working on, and also as an emergency backup for my house. I used treated lumber on the base/deck and splurged on T-111 for the siding. I wanted to use greenhouse polycarbonate for the roof, but found a piece of metal roofing in my shed that was exactly the right size so I used that instead. I thought about doing a fancy cutout on the door but ended up going with a half moon because it was easy. I'm thinking about cutting out stars of different sizes all over the rest of the door to let in more light. I'll trim and stain it next summer.
I've been looking for a simple design for a consol table that I could easily modify to fit in my kids' club house. This one fit the bill perfectly! I also happen to have a pile of 2x4s left over from a closet demo, so I wanted to use those up. I basically built 2 of the consol tables, letting the 2 outer-most horizontal beams extend across and 25.5 inch space and connect the two consols. Then I put in a middle beam and that created the perfect space to set some catering pans in it. Also, I only had 2x4s so I used those for all the pieces, making the gaps a little wider than the original design. And lastly, because I didn't quite have enough wood, I shortened the vertical beams. If you look at the picture, all of this will make more sense! Thanks for the inspiration and direction! ps - I have no idea how to rotate the photos. Sorry!
I really wanted to build something for our first home so 3 months after moving in (and 7-8 months pregnant) I started on our dining table. To fit our dining room, the measurements were modified to have a 7ft-table, with the bench just long enough to slide all the way under the table. The legs are made of 4x4s of Douglas Fir and everything else is pine. I also removed the stretchers underneath because I wanted to be able to have chairs on the ends. The table seats 8 people very comfortably. It took me a little longer than anticipated, since I couldn't do any of the lifting until my husband came home, and he stained it with 2 coats of Rustoleum Weathered Grey stain and 2 coats of poly (with my light sanding in between each coat).
This was basically my first ever wood working project. It didn't turn out perfect but I had fun doing it and my daughter likes it too! It isn't done yet, still need to figure out the color of paint I'm going to use.
I adjusted the height of the armoire to 72 inches. It was a little tricky getting the doors to hang straight. I blame the new driveway; we just moved into a new house with a sloped driveway (our old one was super flat). I got the hardware at Lowe's. I also added a block of wood at the top, on the inside, to mount the door catches. I mounted them on the top and bottom on both doors, so four catches total. That really helped with the way the doors looked when closed.
We took existing twin size bunk beds and modified the measurements to fit for 2 crib size mattresses. 1 for my 3.5yr old and the bottom for my soon to be 2yr old. It took us 12 ours to build from start to finish then about another 1hr to place in room and set it up completely. All in all they love them and sleep thru the night in there own beds lol. I also have a 7mth old in my room too...
I was so excited to try this plan! It was the perfect size for this corner! Now I need to make a few of the chairs for the deep seat cushions! Thank you for these great plans, Ana!
My wife has been wanting cabinets under our bathroom sink.... So, I made plans and gave it a whirl. How did I do? If anyone want plans or more info how I did it feel free to ask.
Mon, 10/14/2013 - 20:47
I'll bet your wife is thrilled. It's always harder to try to build around something you already than to start fresh - but you did a fantastic job.
In reply to Great job! by sgilly
Fri, 10/18/2013 - 01:05
It wasn't too bad to do... Didn't take as long as I thought it would and tripled storage in the bathroom. I thought it turned out nicer than I thought. My wife loves it. and thank you for the comment!
Fri, 10/18/2013 - 01:20
Yes the cost savings was amazing. and it will hold up and is thicker than anything you would buy in the box stores. I am really happy with all of this. Thank you so much for commenting.
my husband and I used your plans for the sectional, end tables and chairs I made the pillows thanks so much for the designs we love them
Mon, 04/03/2023 - 20:12
Fantasic job, thank you so much for sharing your lovely space!
Tips on building the Home Depot Adirondack chair.
Built the nested grill station just in time for the 4th. So much fun building this, thanks Ana so much for the inspiration! Chris
"Couldn't find a corner hutch that I liked so I decided to make my own and OMG I'M IN LOVE"
Jimi Hightower
Easy build and I like how I can just set planters inside the top box and change out easily!
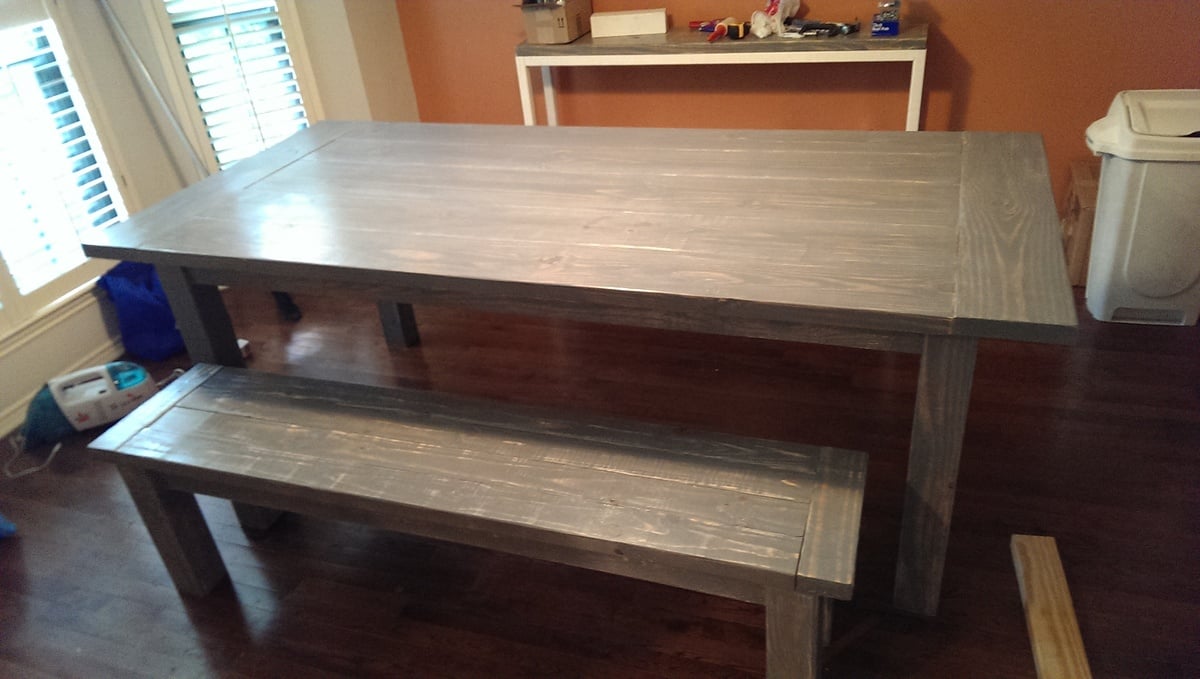
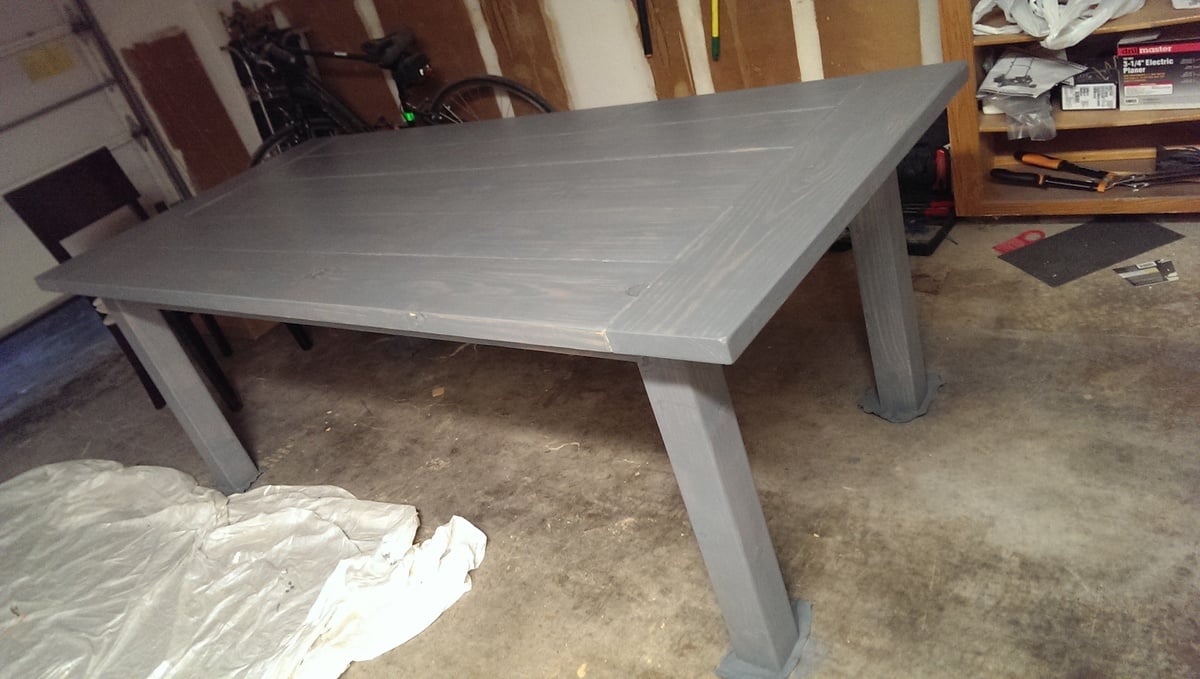
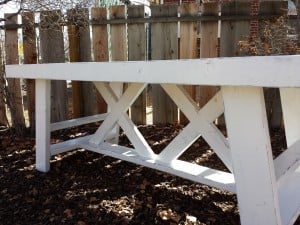
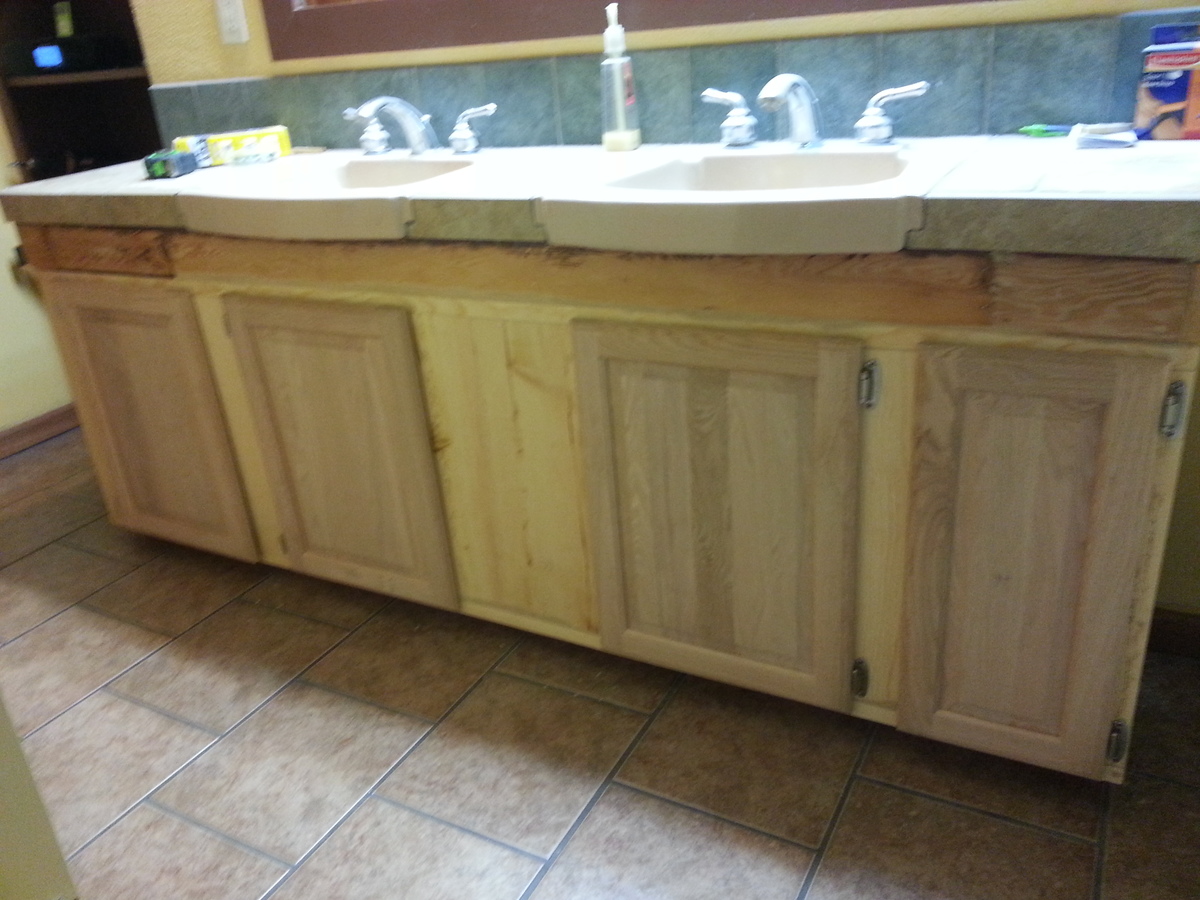
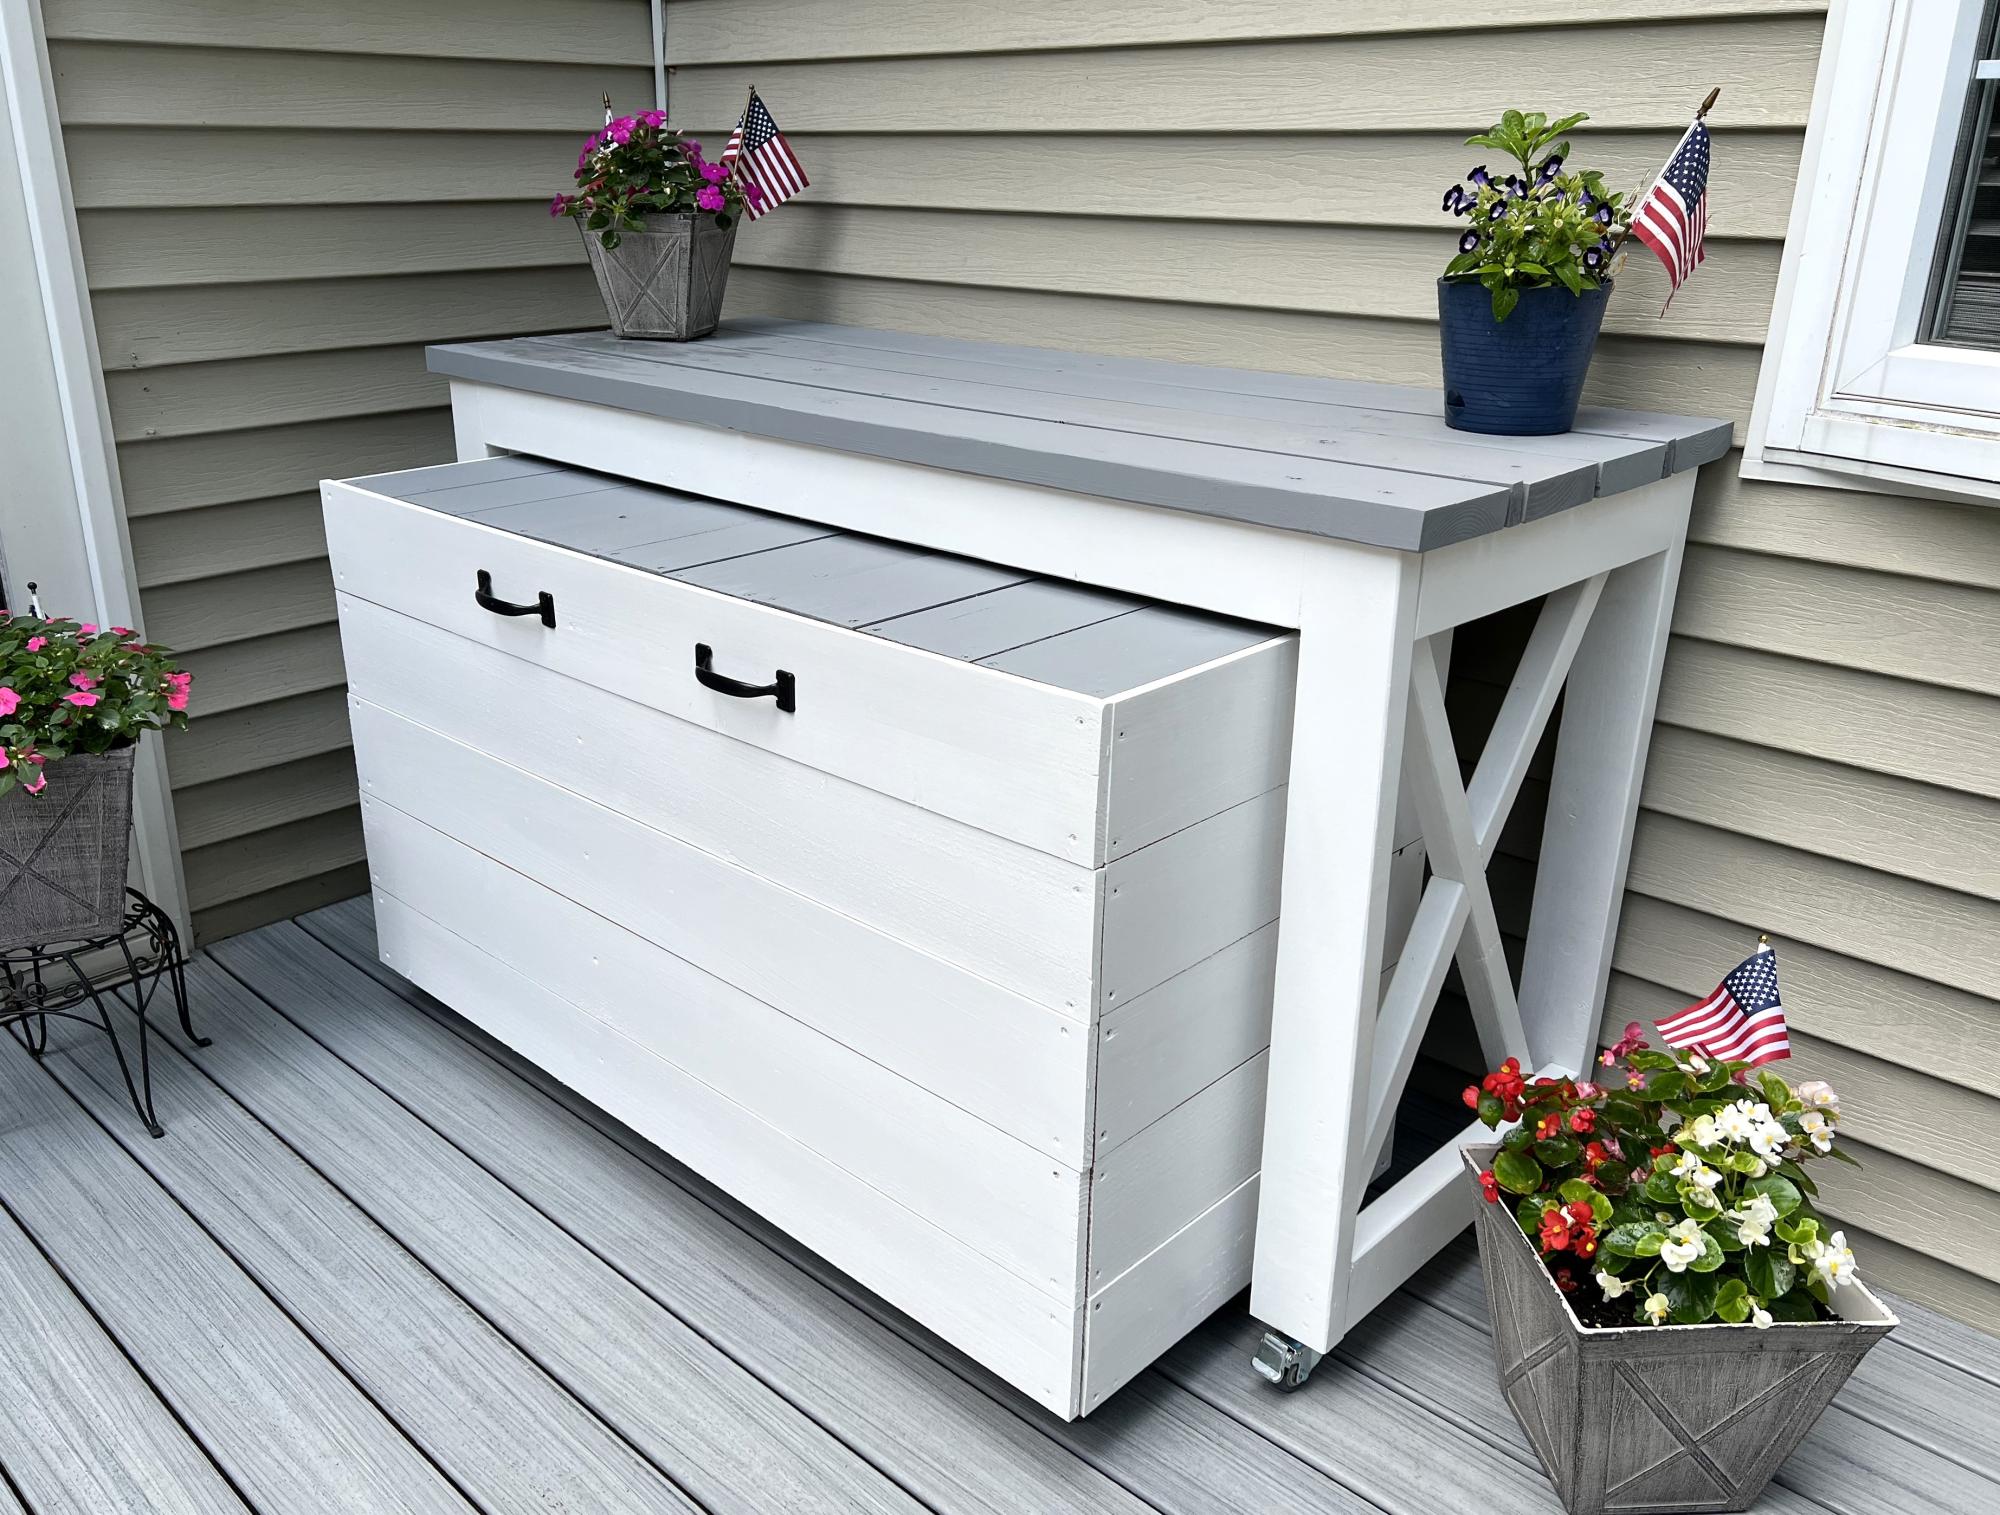
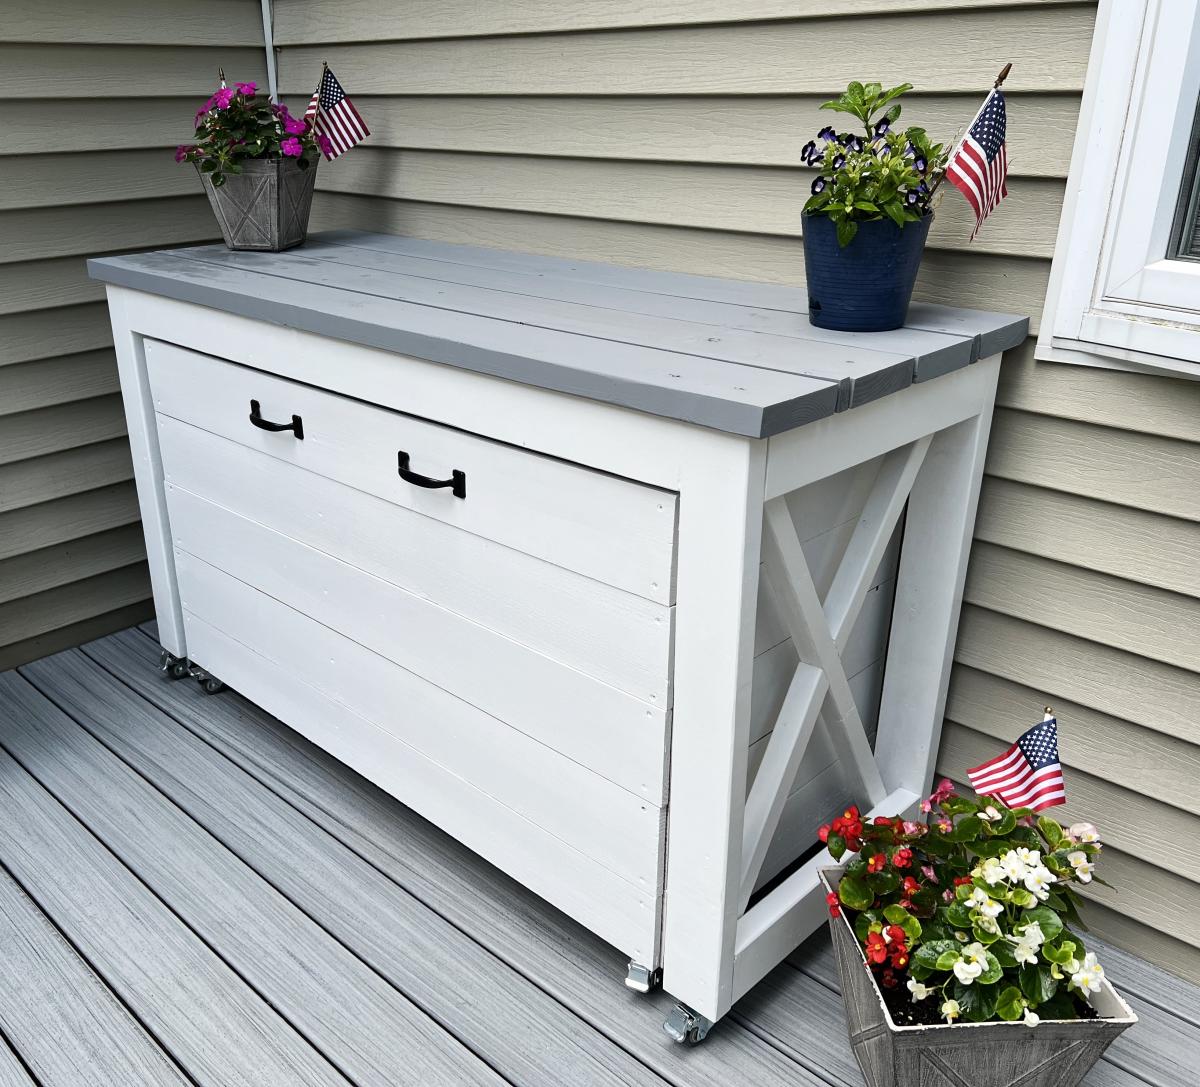
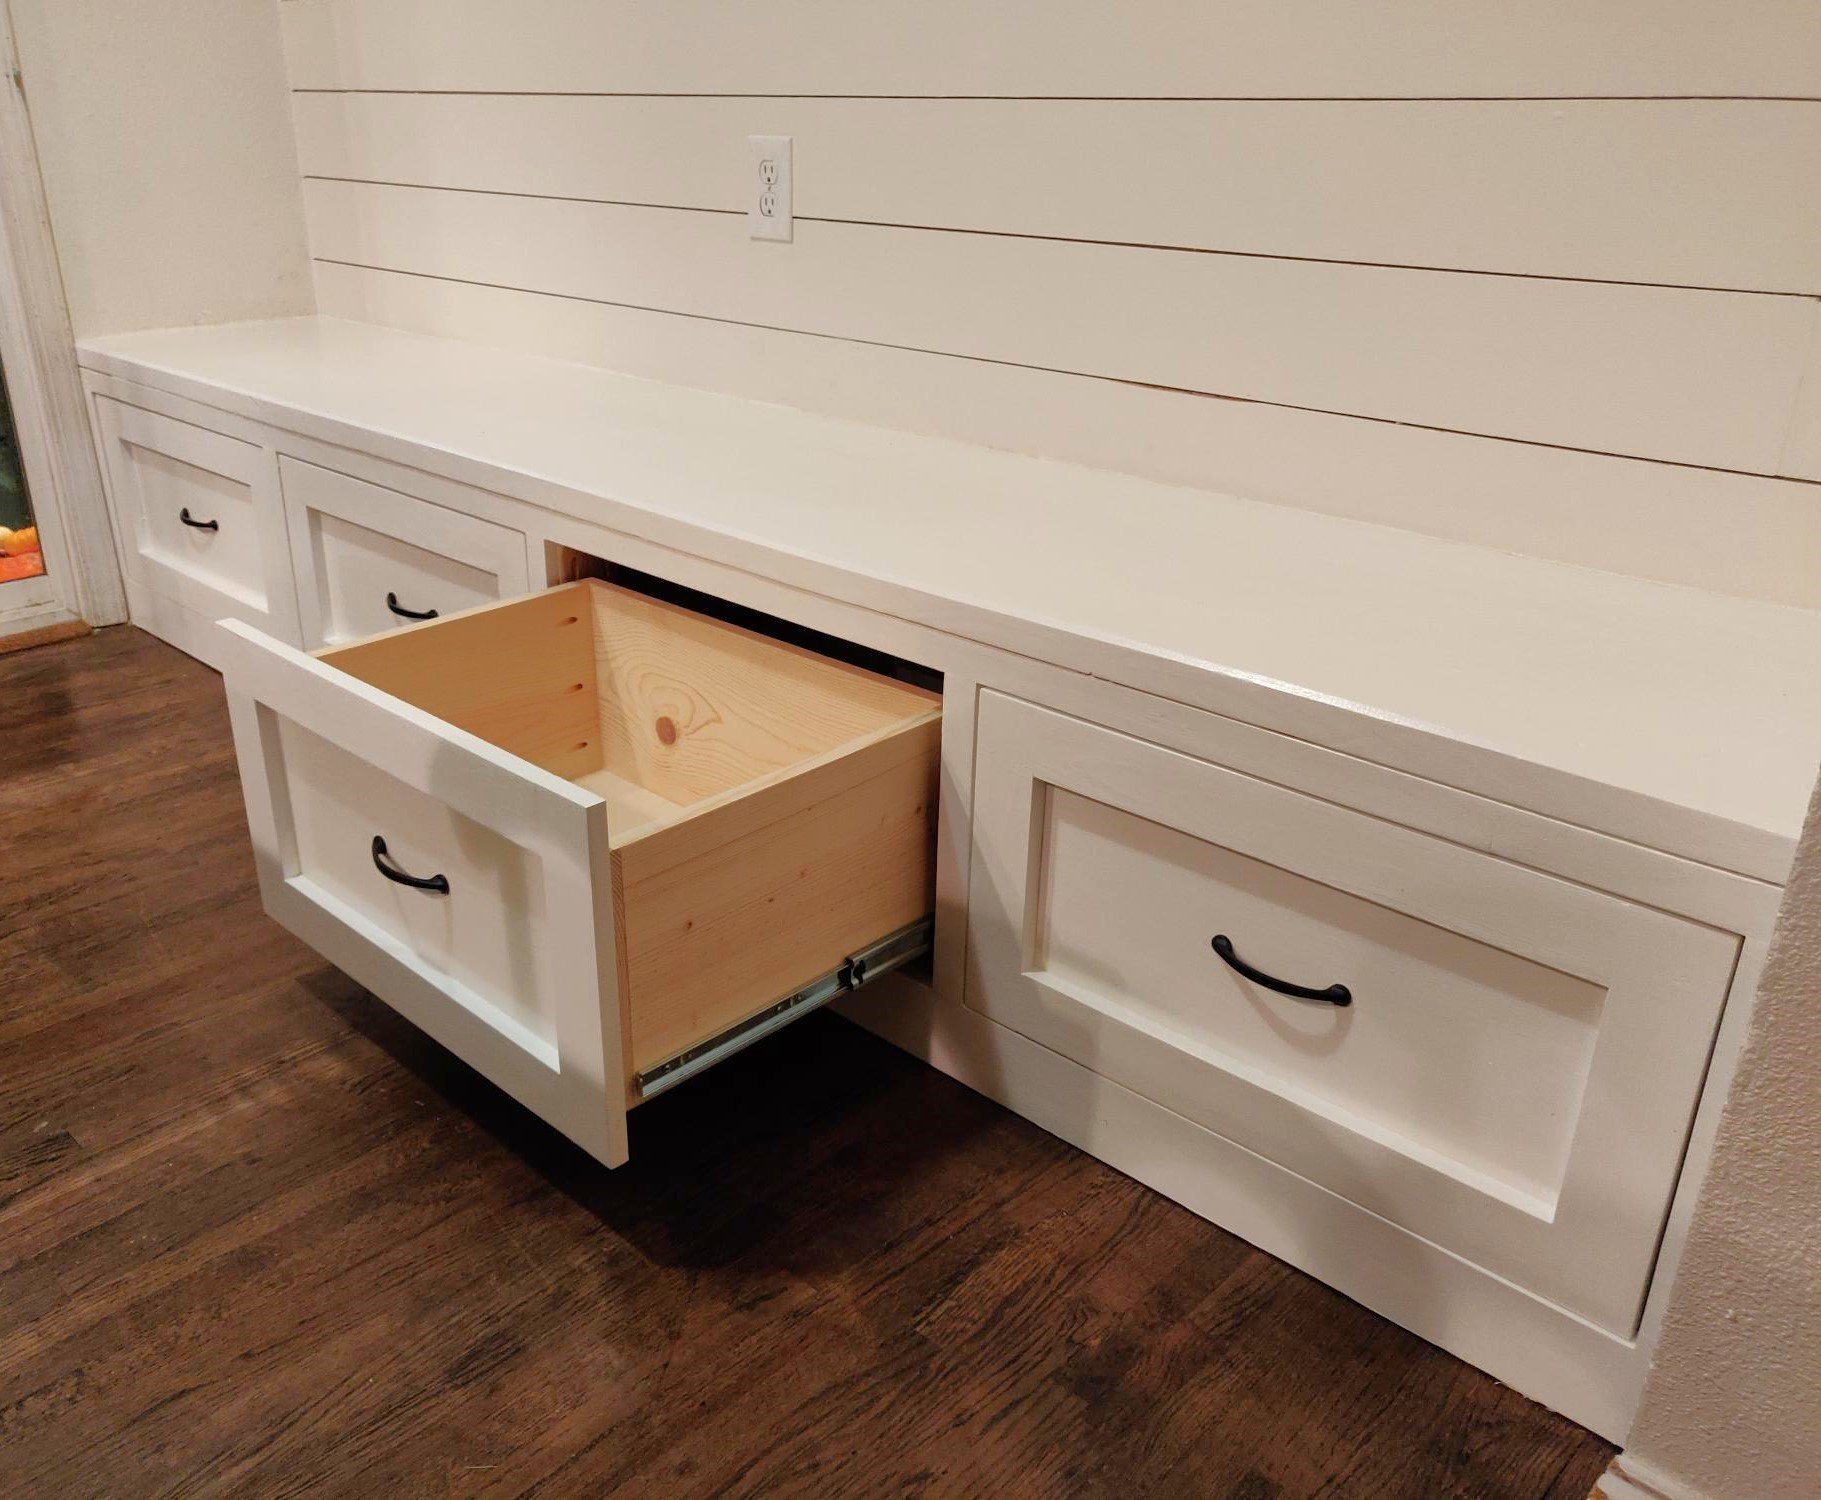
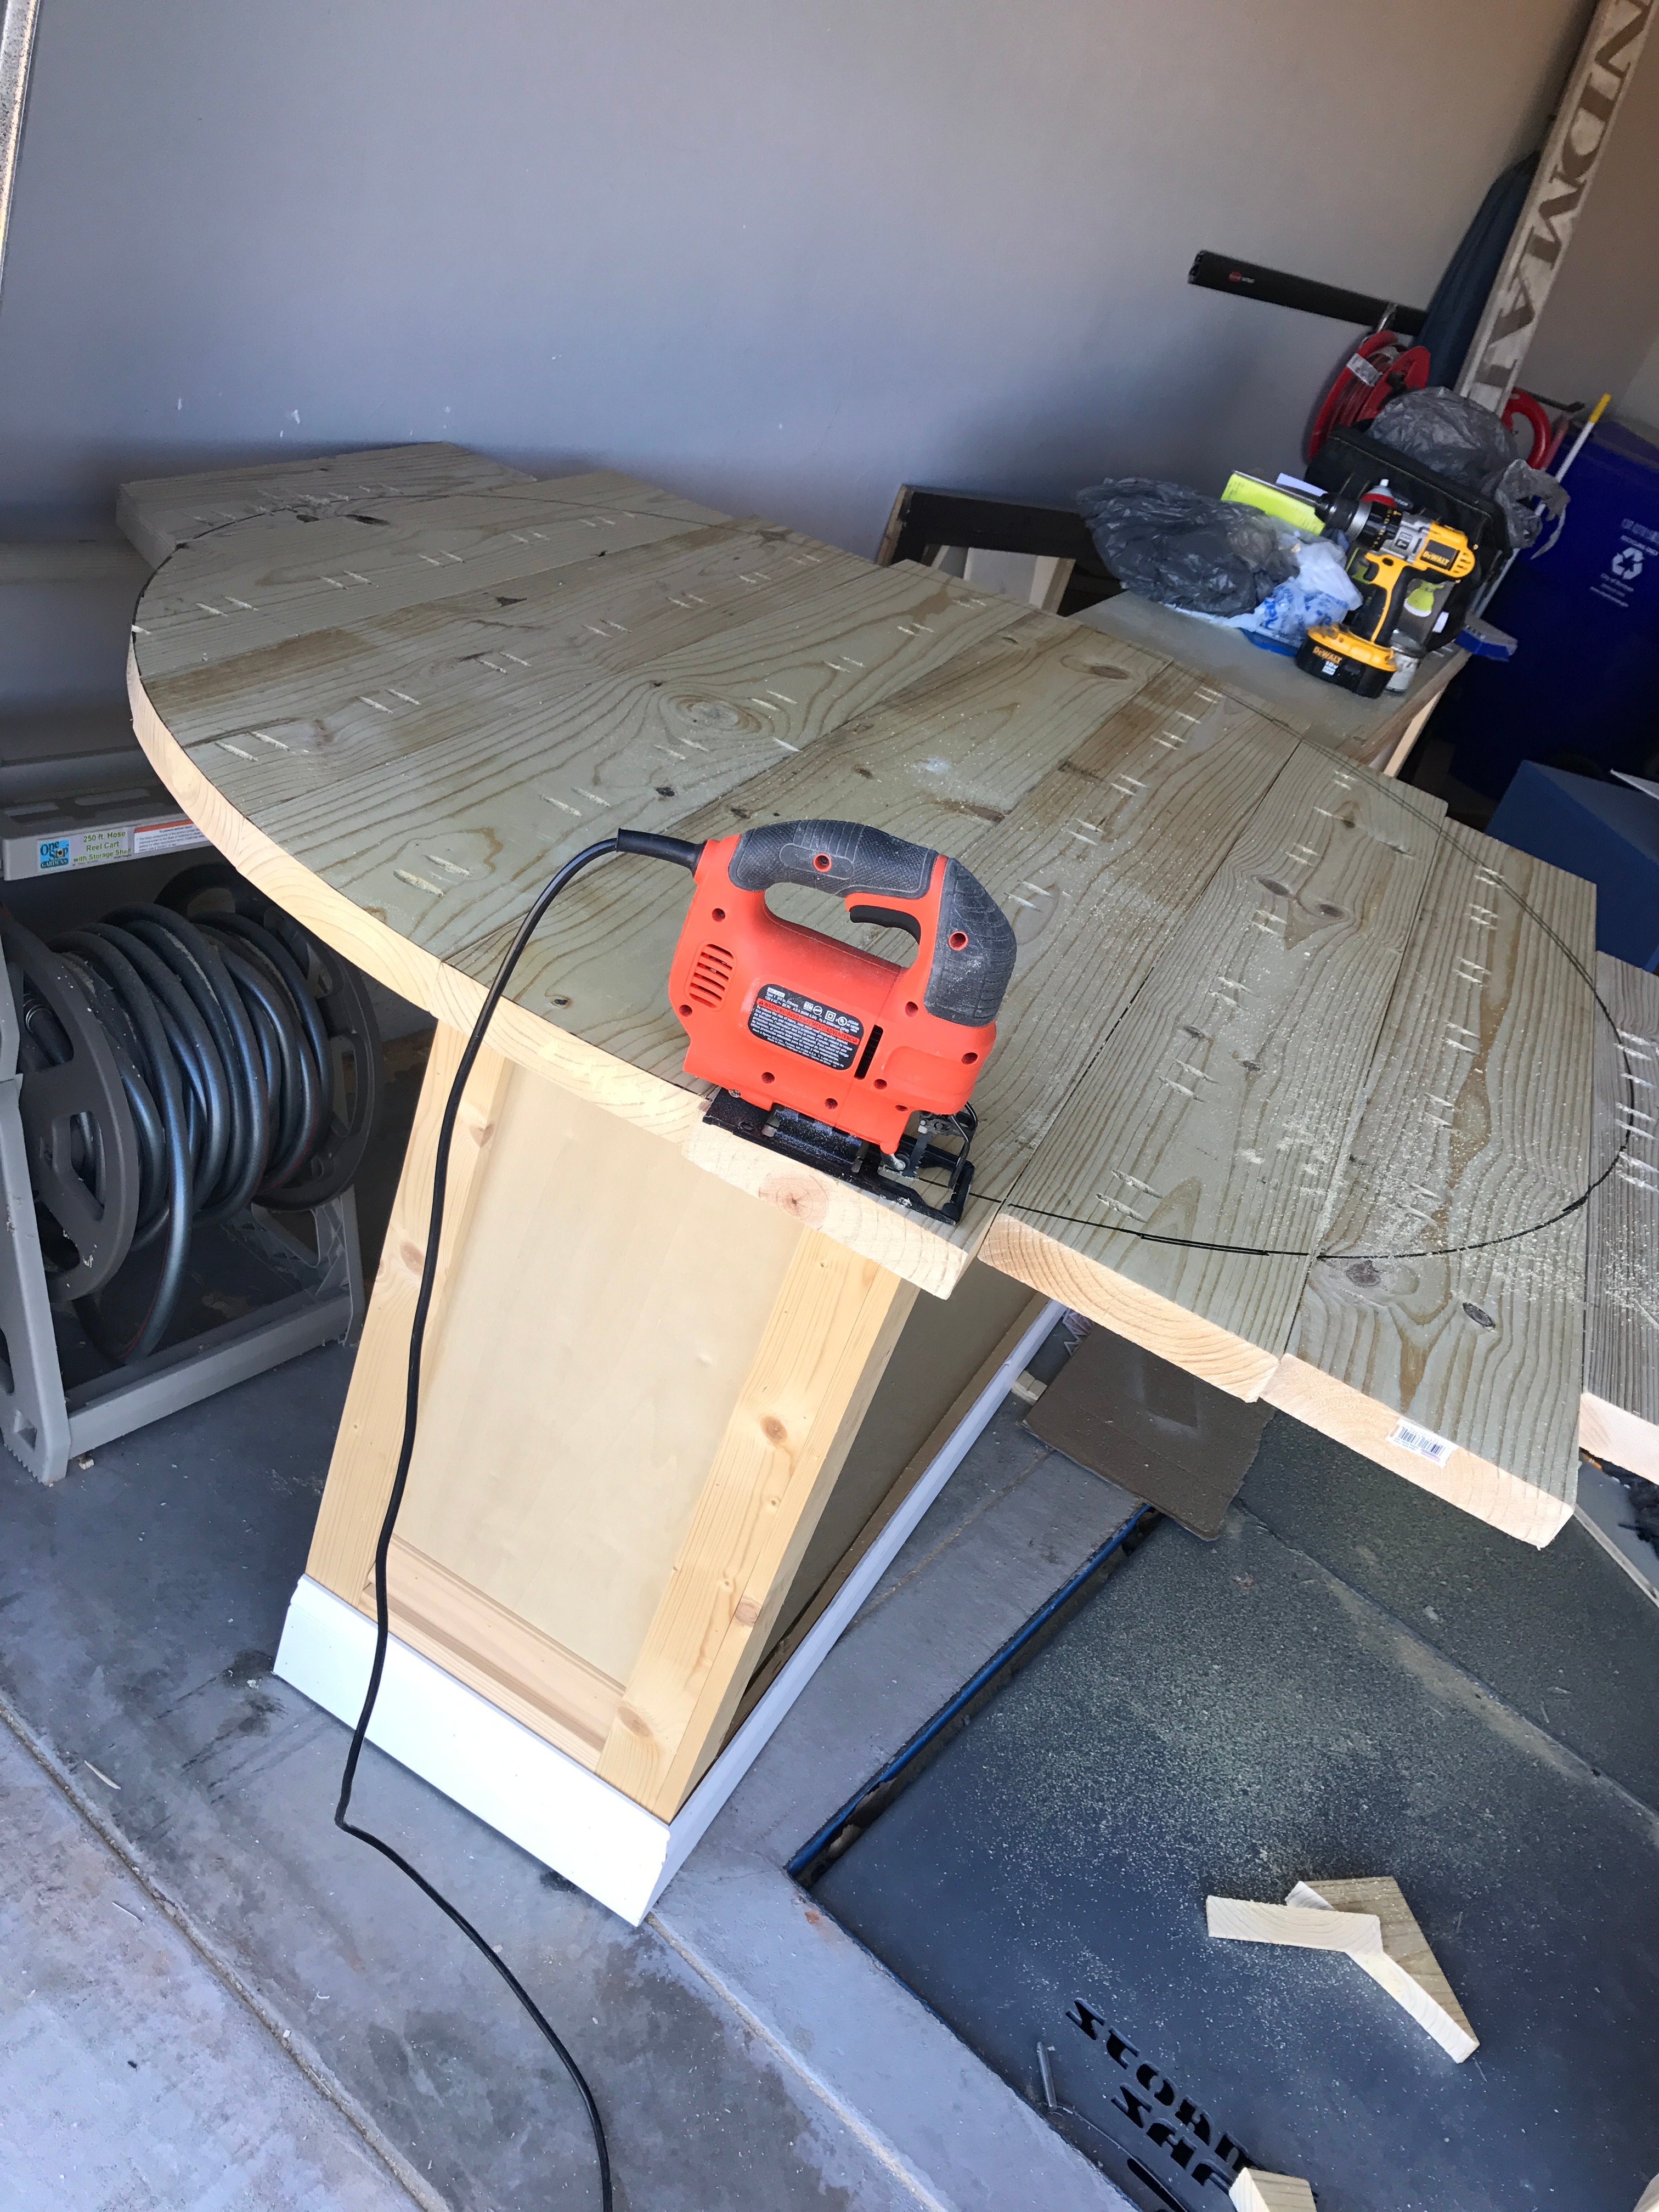
We've been desperate for more storage in our little house and this build really helped. The whole bench is 103“ wide and each drawer gives us 24"x17" of usable space. We had to do some custom shaping for the benchtop (two joined fir 2x12's) fit as the walls are not square but in the end we were really pleased.
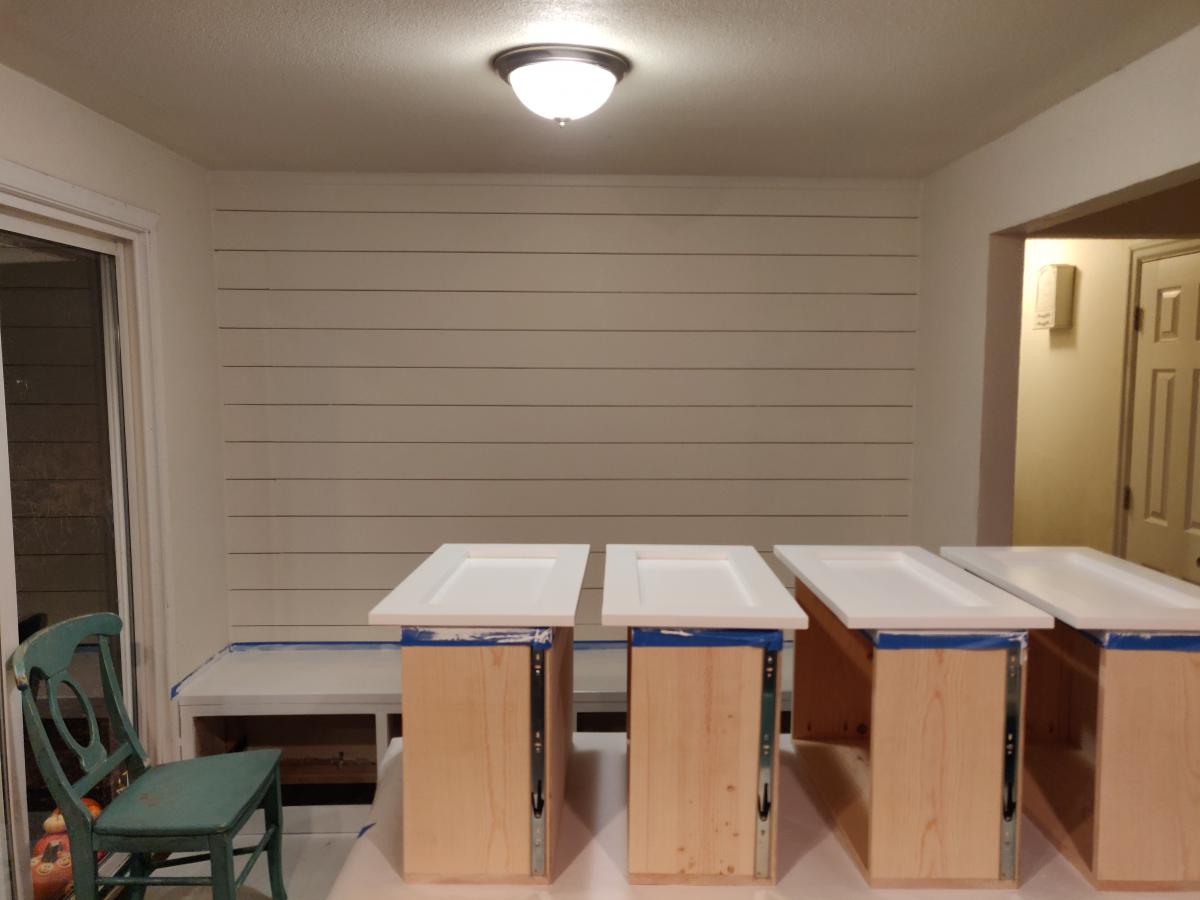
The hardest part of the project was getting all of this built and in place while working around a busy family as this is our only meal space and the majority of cutting/forming was done either on the weekends or after bedtimes. If I were to do this again I'd prioritize sending the kids to grandparents for the weekend and know king everything except for paint out in one go.
We could have spent less time with the benchtop by using plywood like in the plans but we wanted the look of a separate benchtop. We may replace the fir with stained oak down the line but this should be plenty sturdy for the next several years.
I really loved the look of the benches for this table, so decided to change the top of the table to have a side slat. We painted it to go with our porch.
We had a couple of these bar stools from our apartment-living days. We didn't have a need from them in our house since we have no bar -- so my husband made a small porch table that we DID need.
You can read about it here: http://crabandfish.blogspot.com/2012/06/fish-made-porch-table.html.
Thanks!! :)
These turned out AMAZING, for more minor details see my blog Link. But in a nutshell i needed some chairs for a pub table i built and these plans worked like a charm!
I did use PT lumber for the frames, as these are meant for my patio, so i had to use stainless steel hardware which is a bit pricy, but well worth it unless you want to fall on your butt in 2 years when the normal screws corrode away. Modern PT wood is no joke on hardware!
Thu, 10/06/2016 - 08:57
Awesome pub chairs! Love the stained seats and good advice on hardware.
This was such a fun build. Instead of the square table top I opted for a 54" round table top and I also altered the plans for the base. I upped the size for each board used to give it a chunkier look ( Ex: instead of 2x4s, I used 2x6s and so on)
Comments
Ana White Admin
Thu, 04/08/2021 - 18:25
Totally awesome!
Thanks for sharing, those turned out amazing!