Community Brag Posts

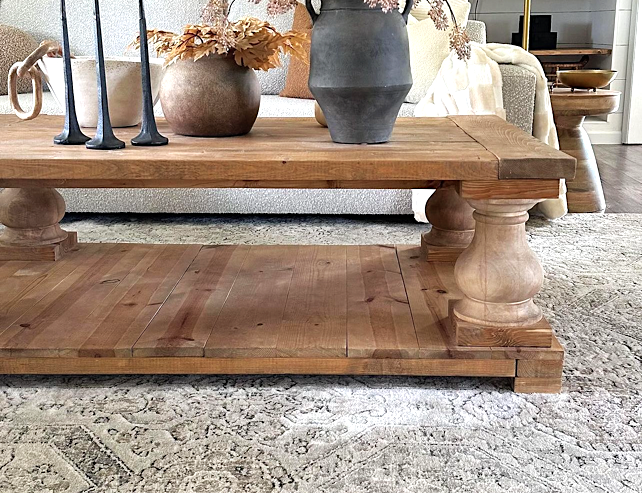
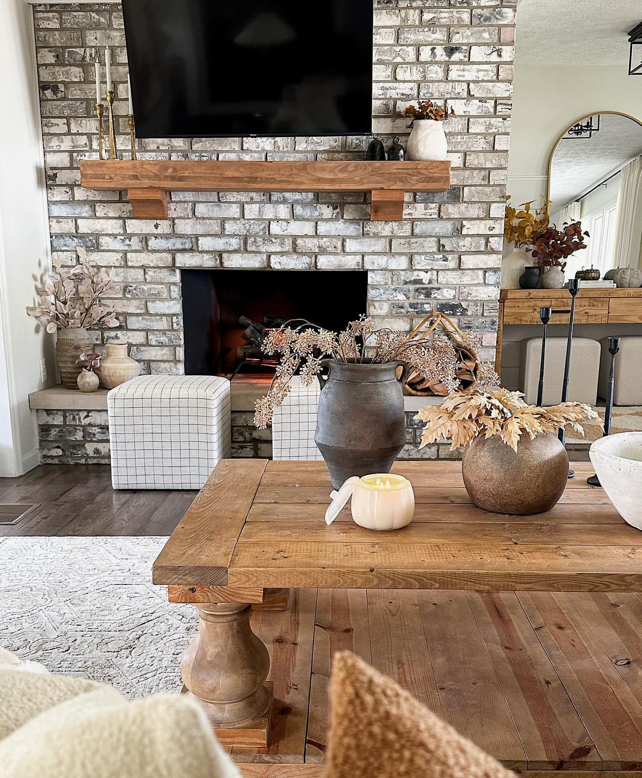
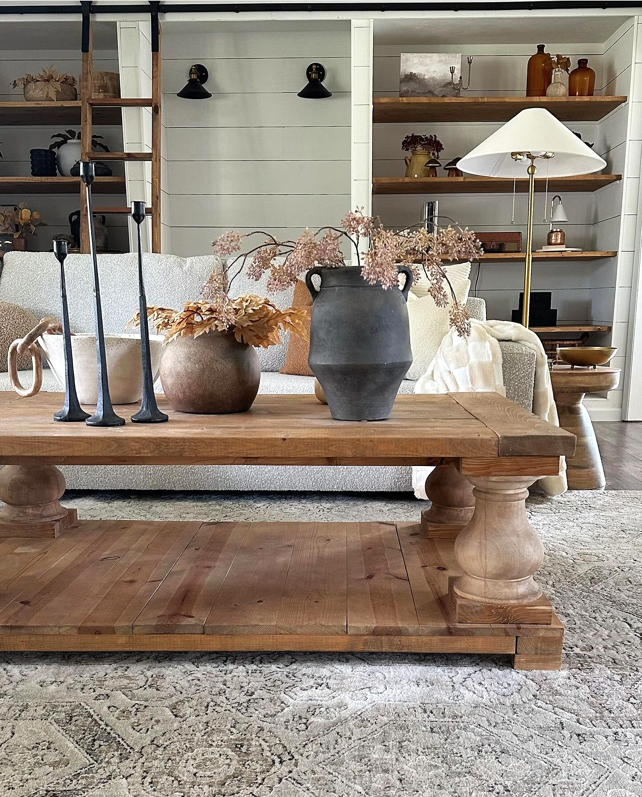
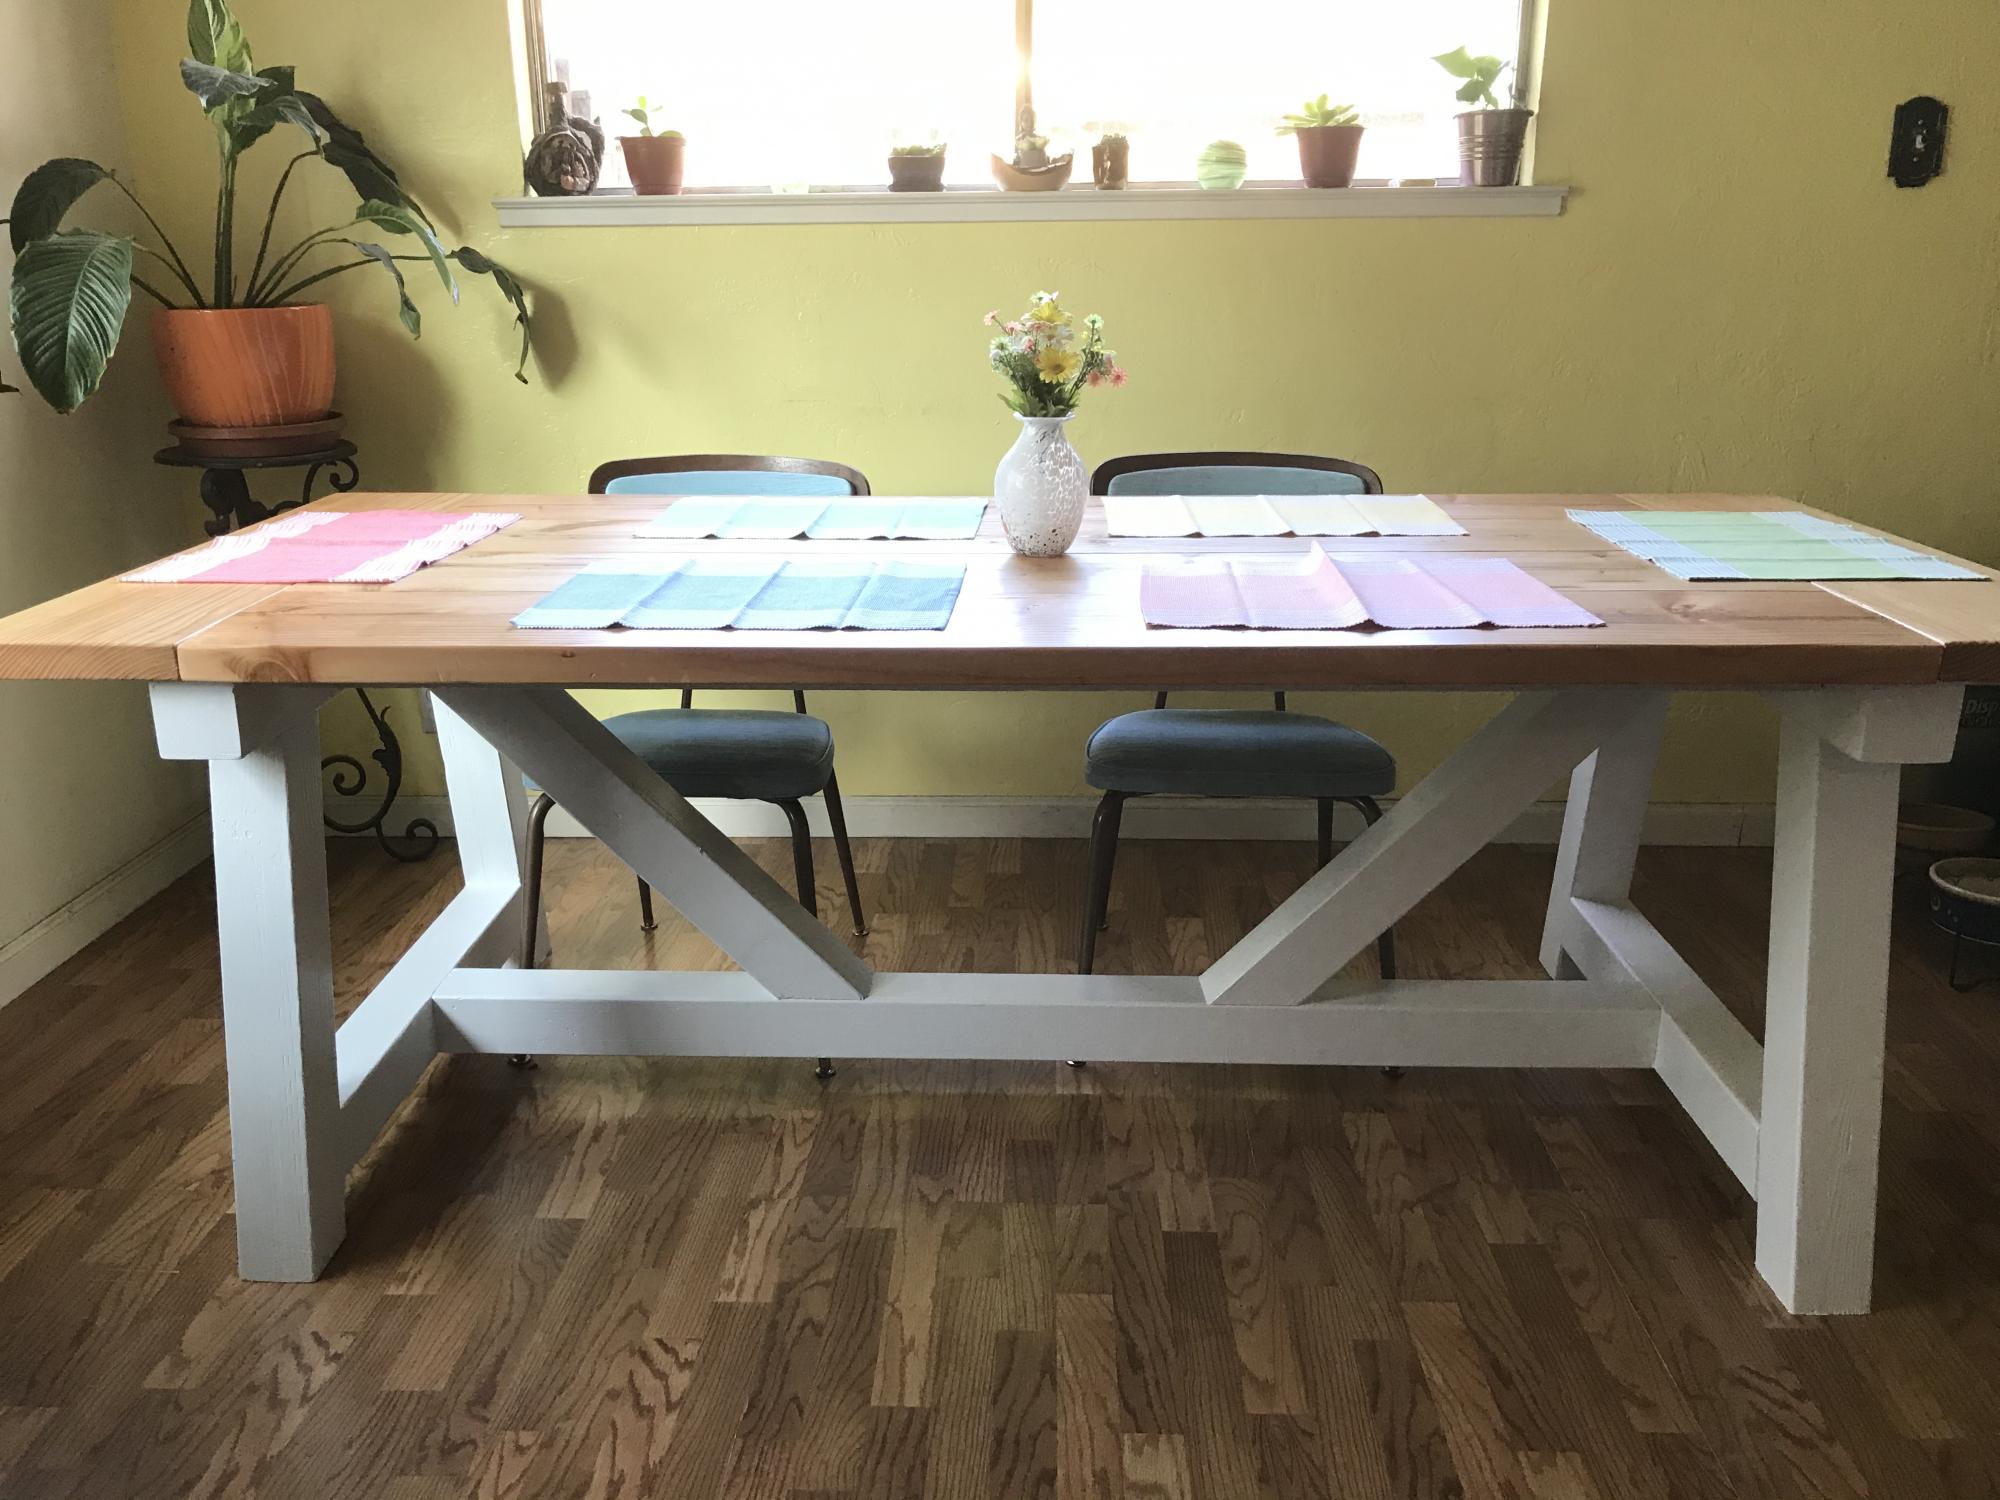
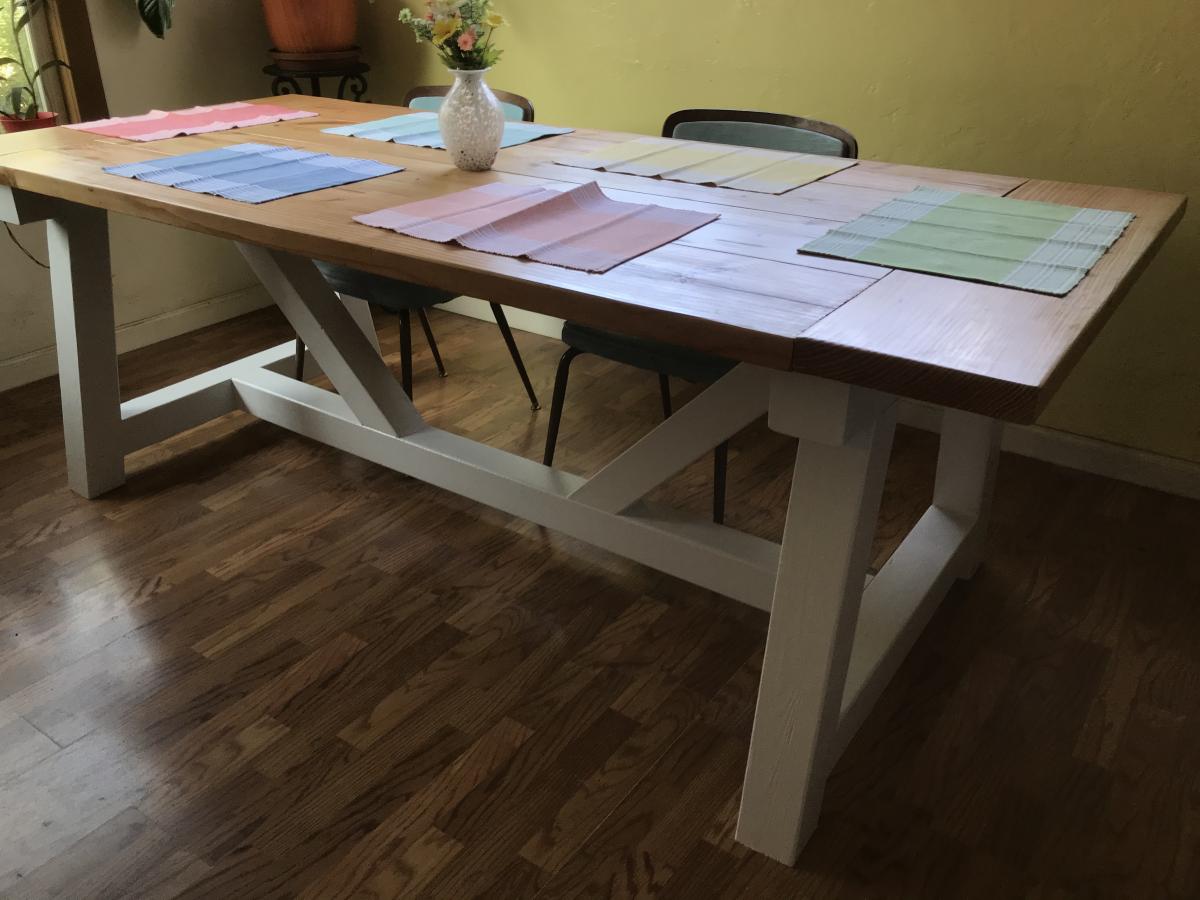
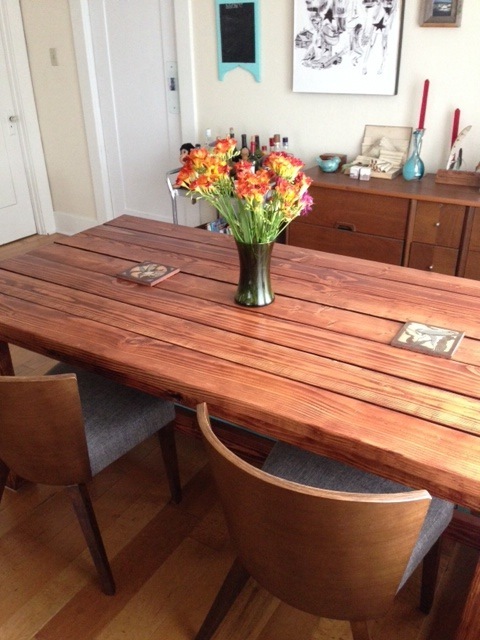
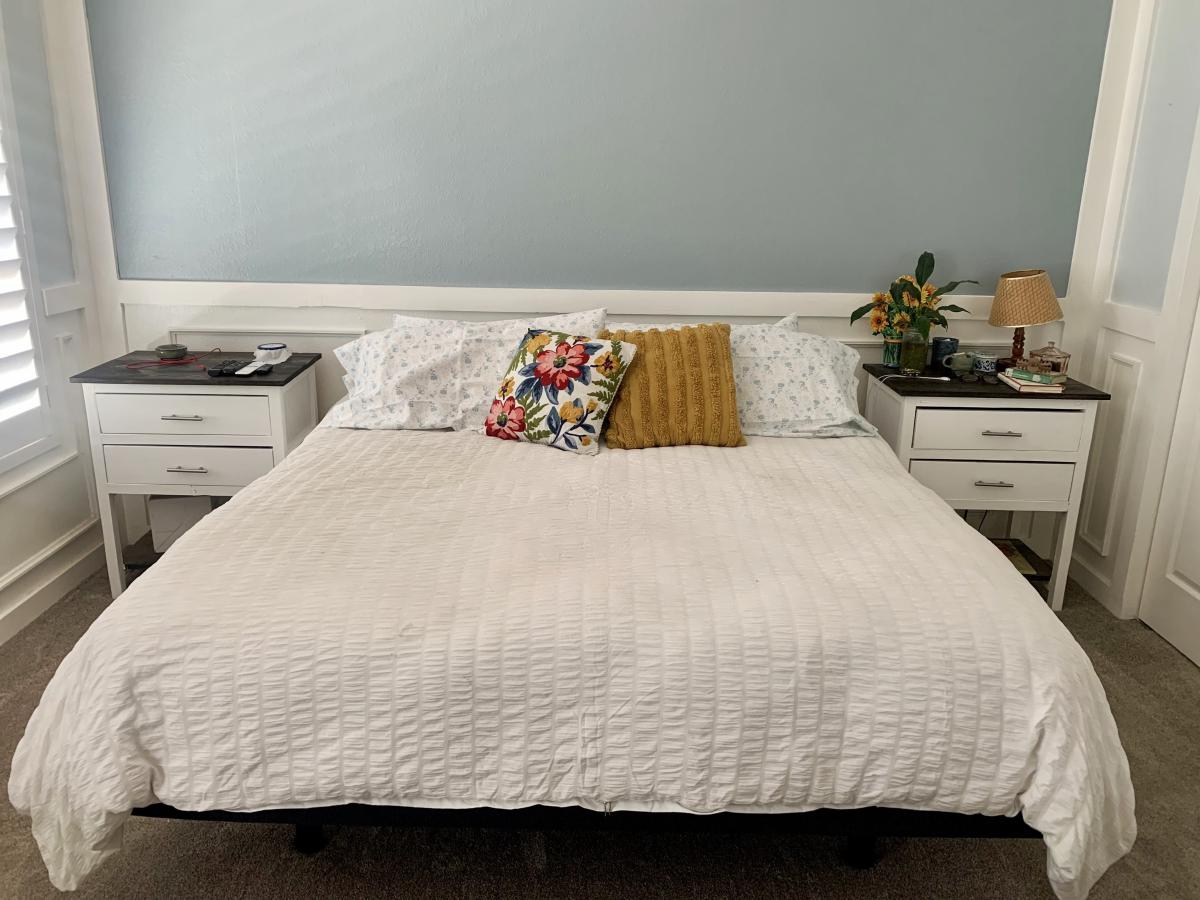
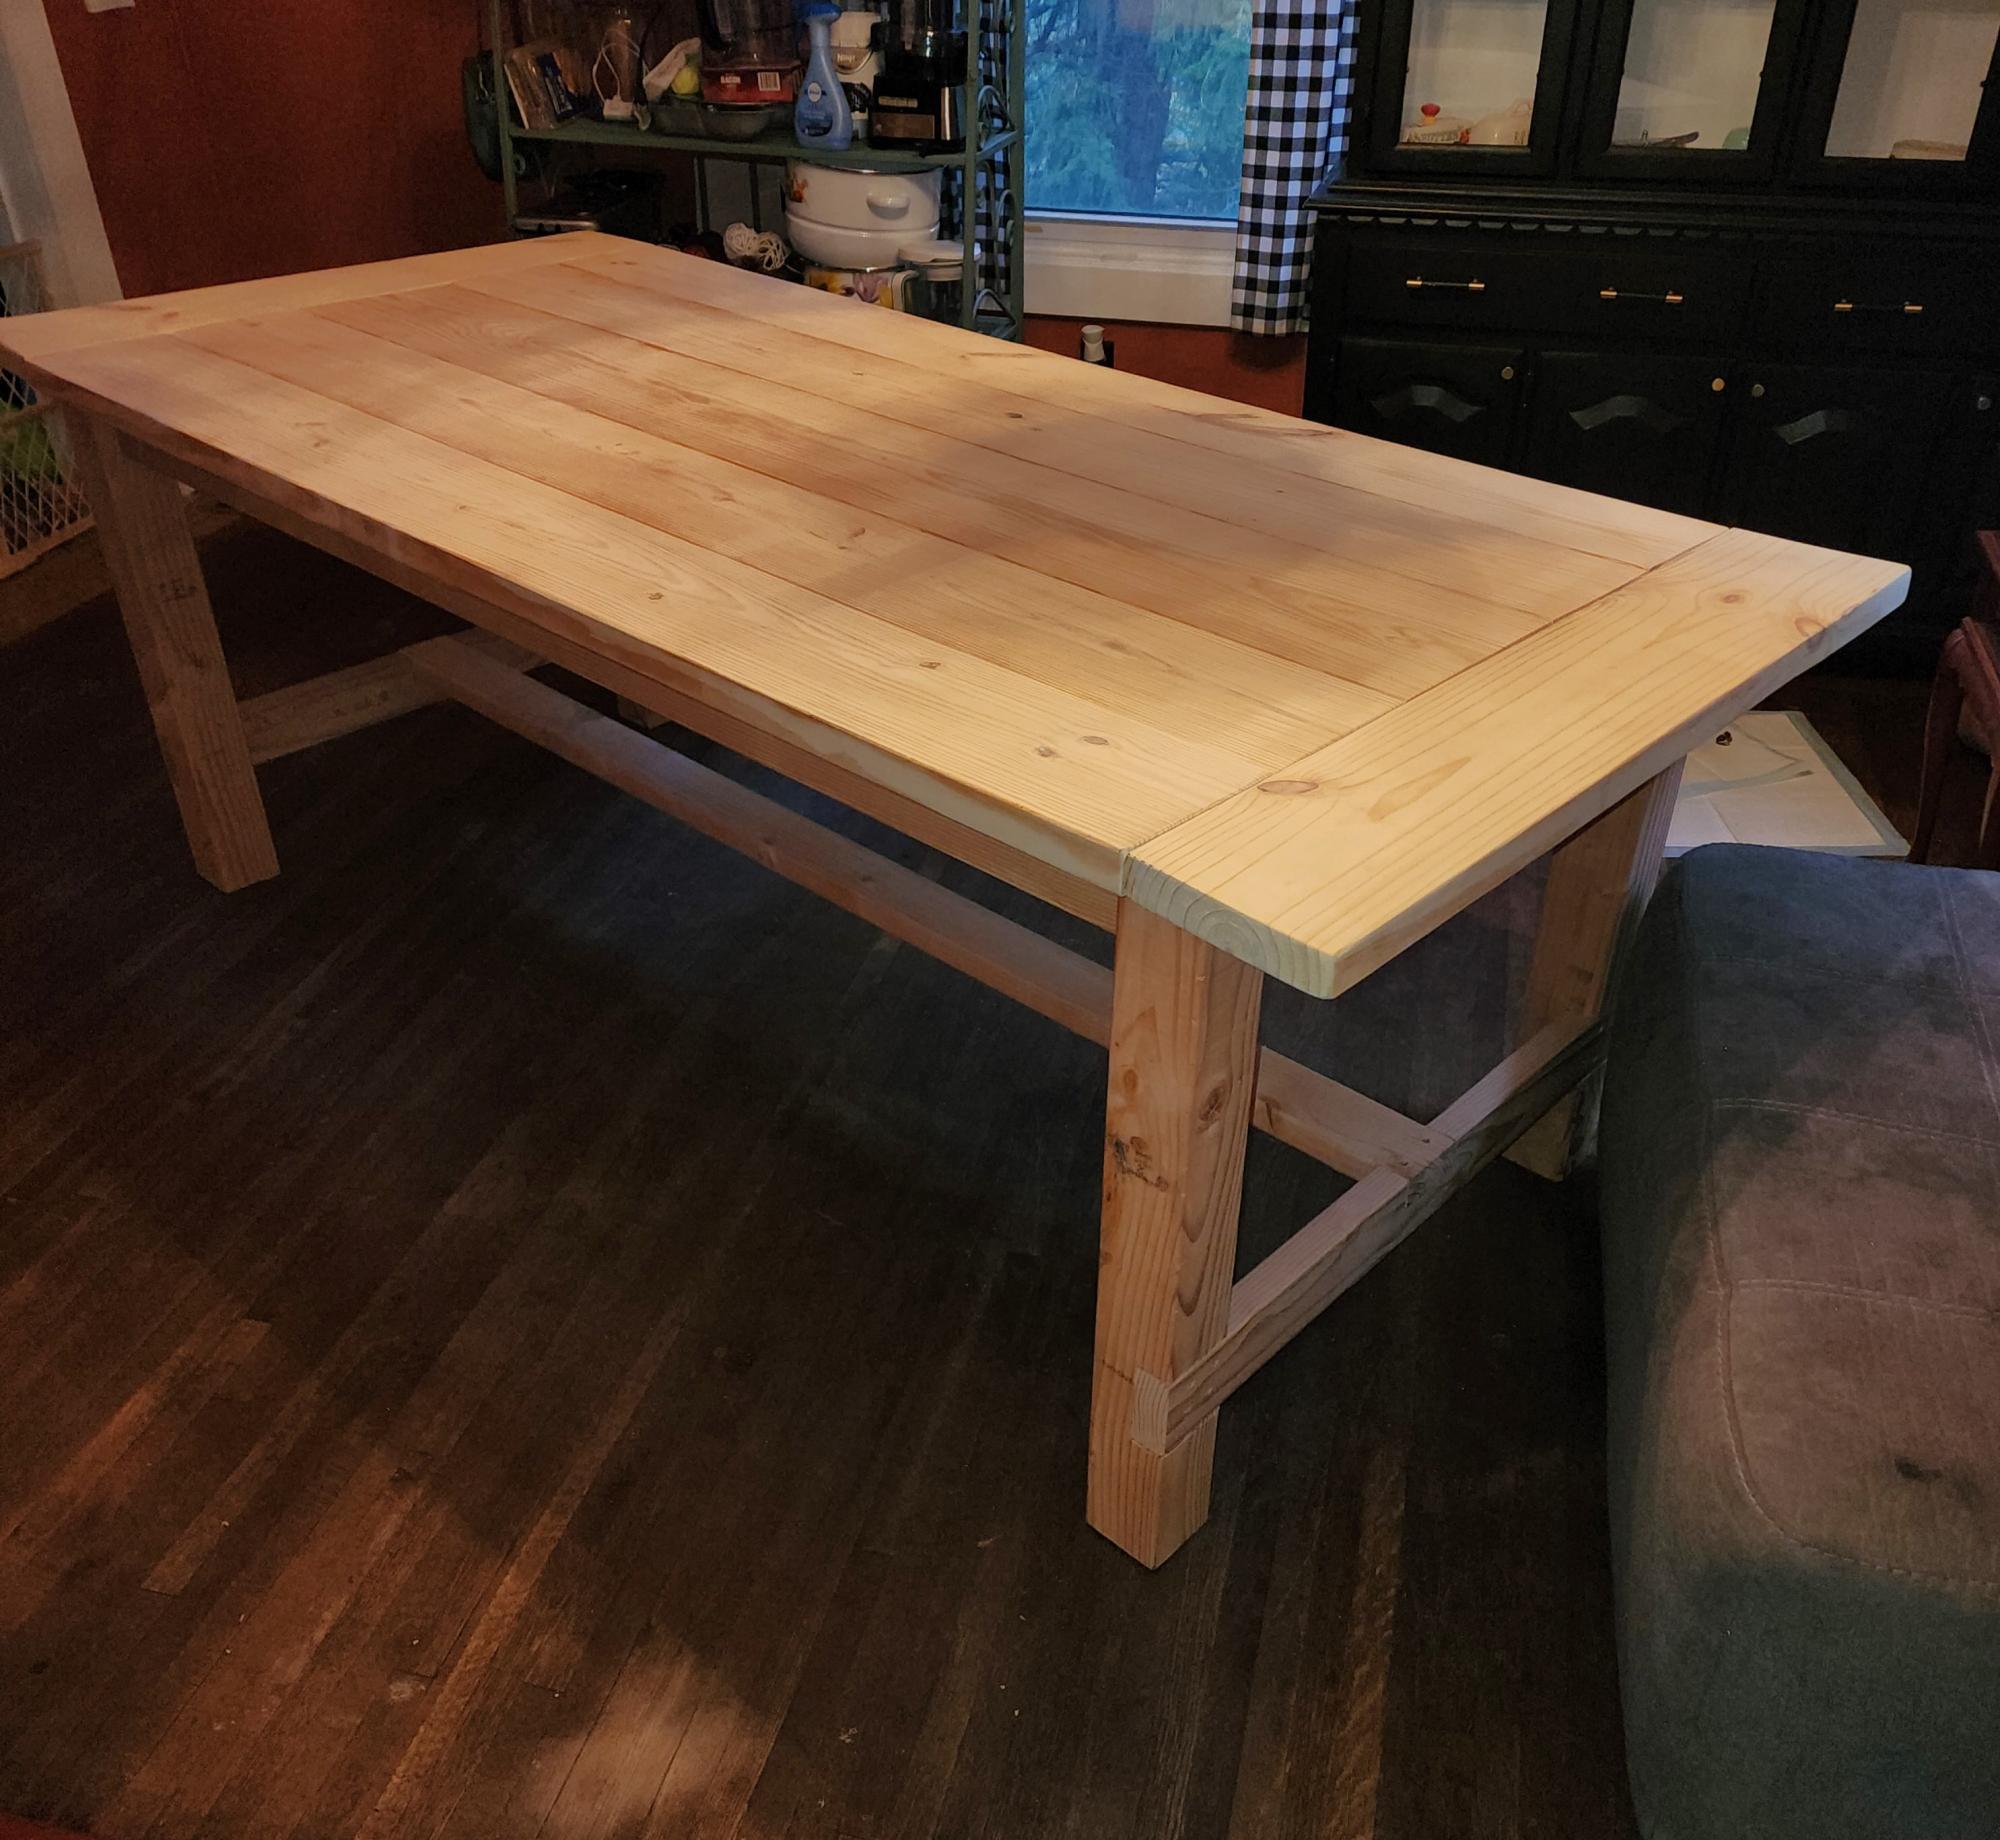
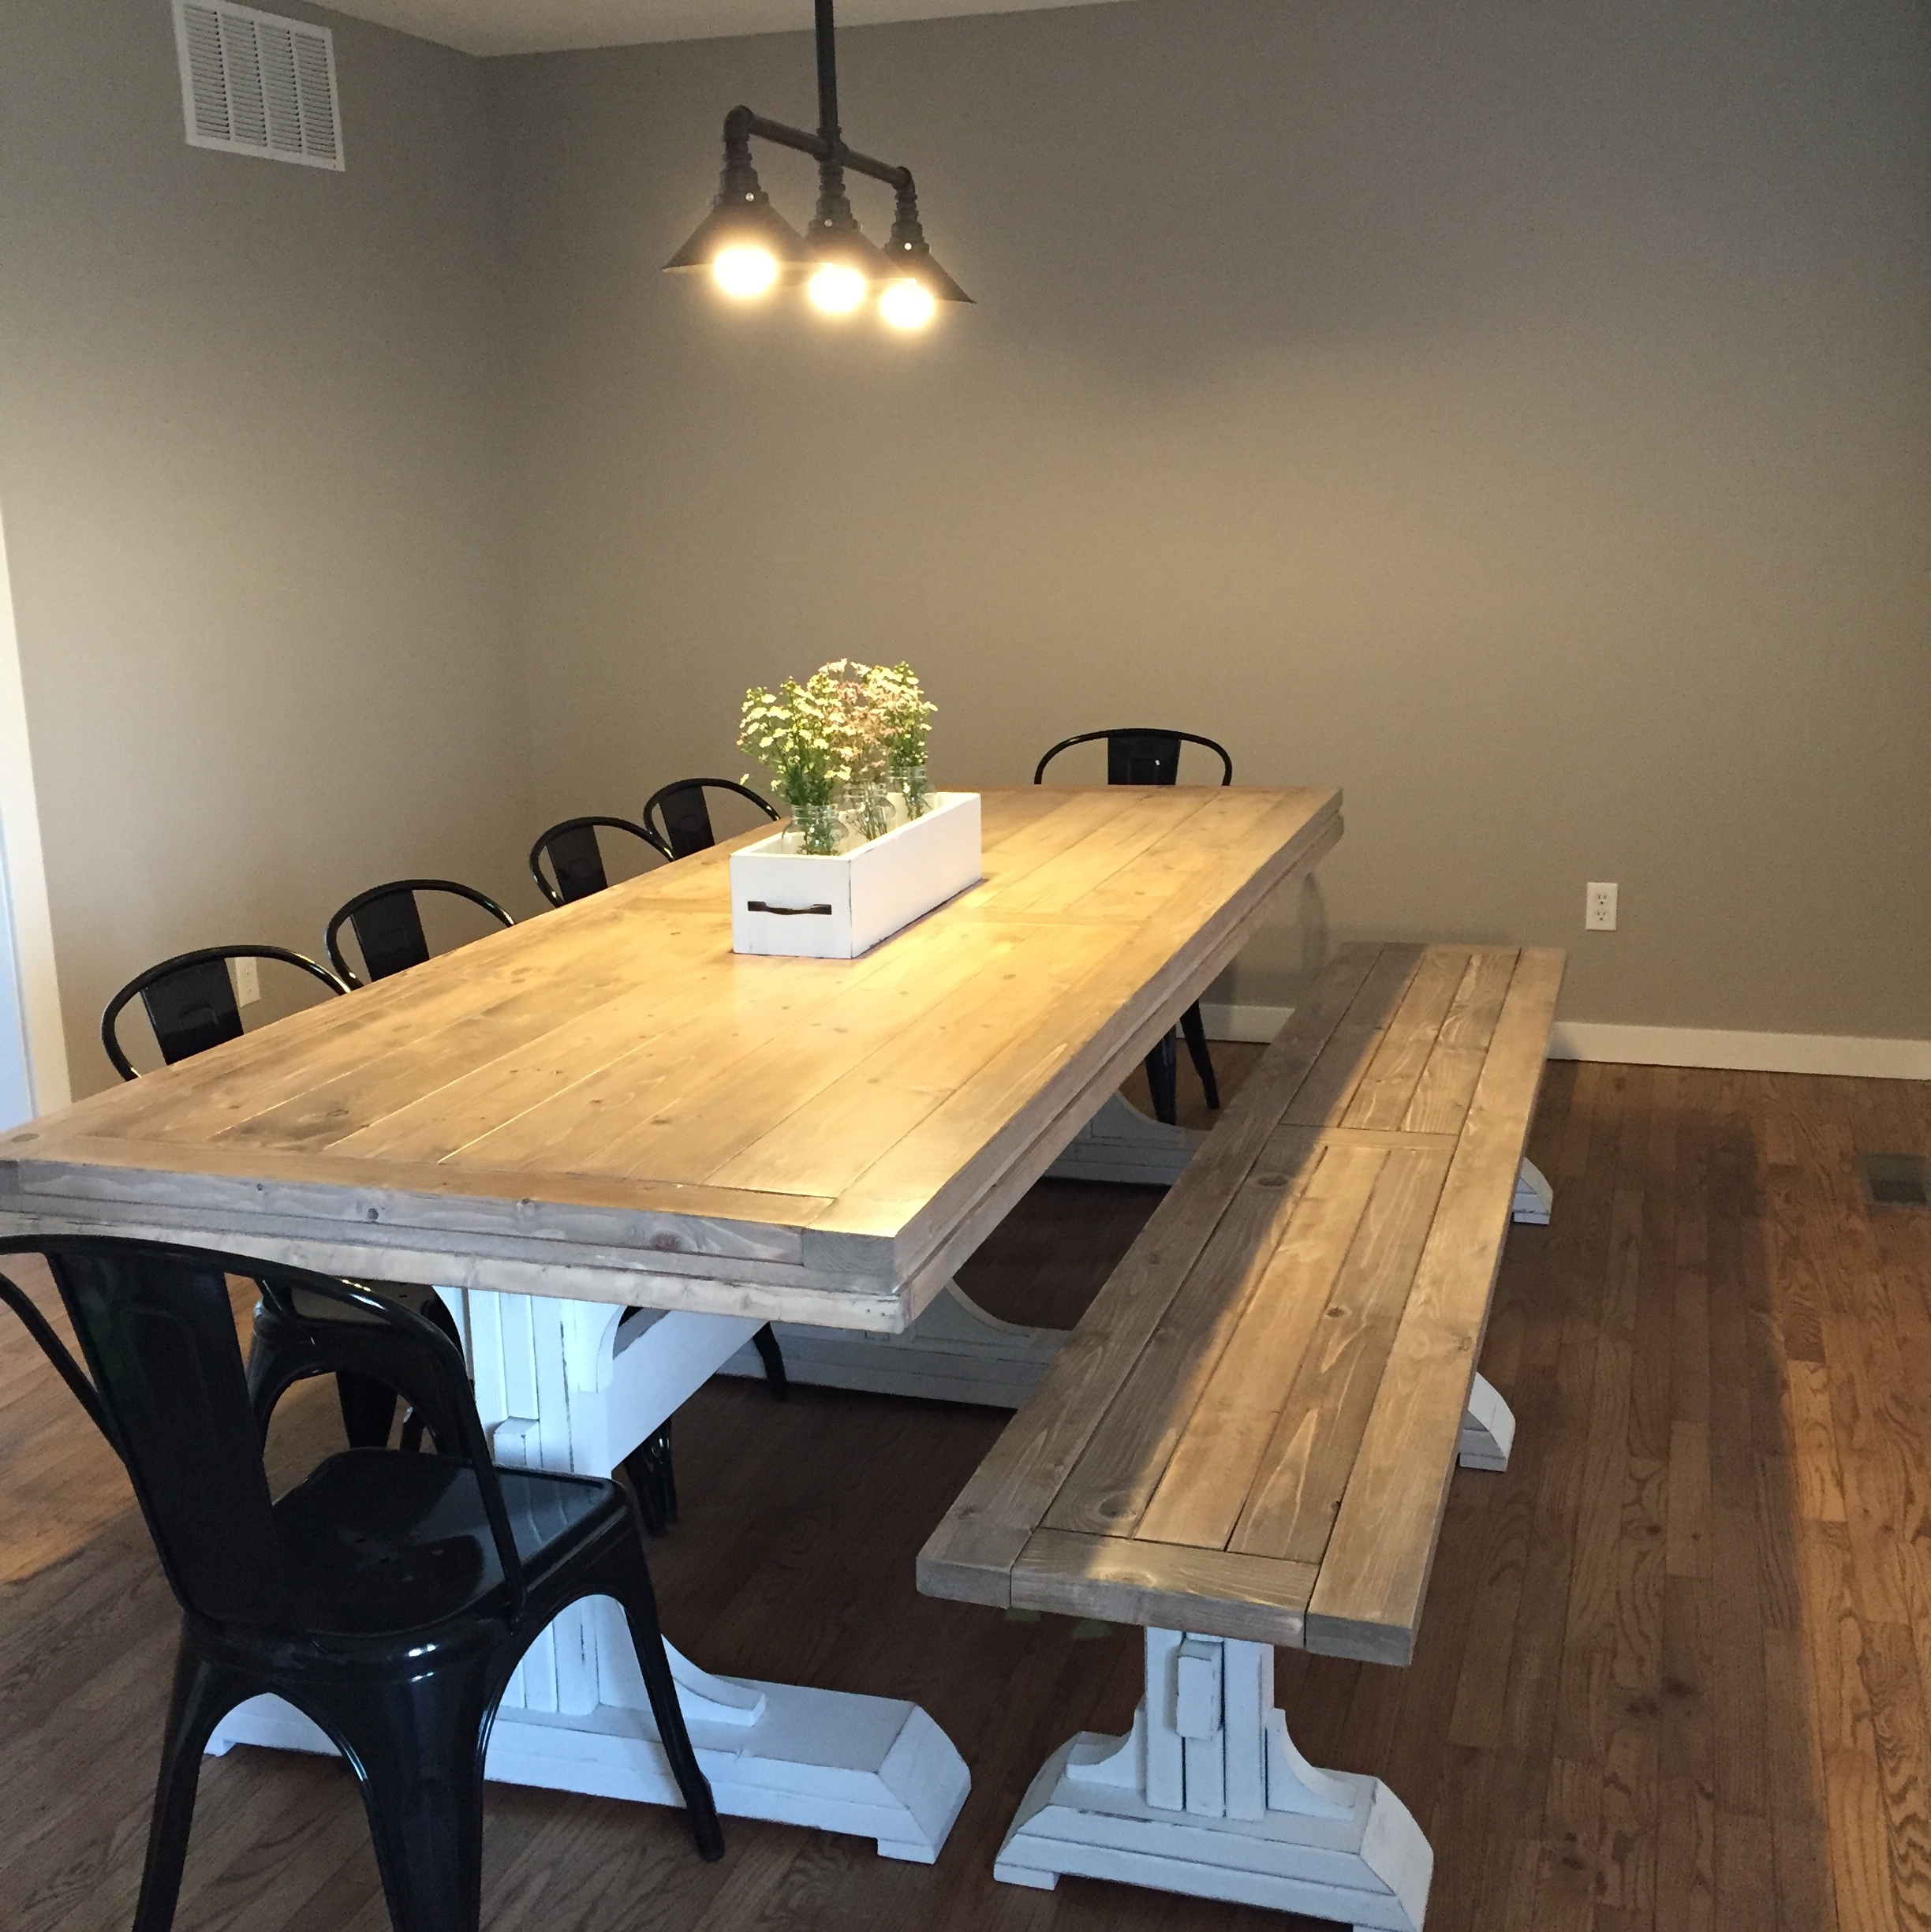
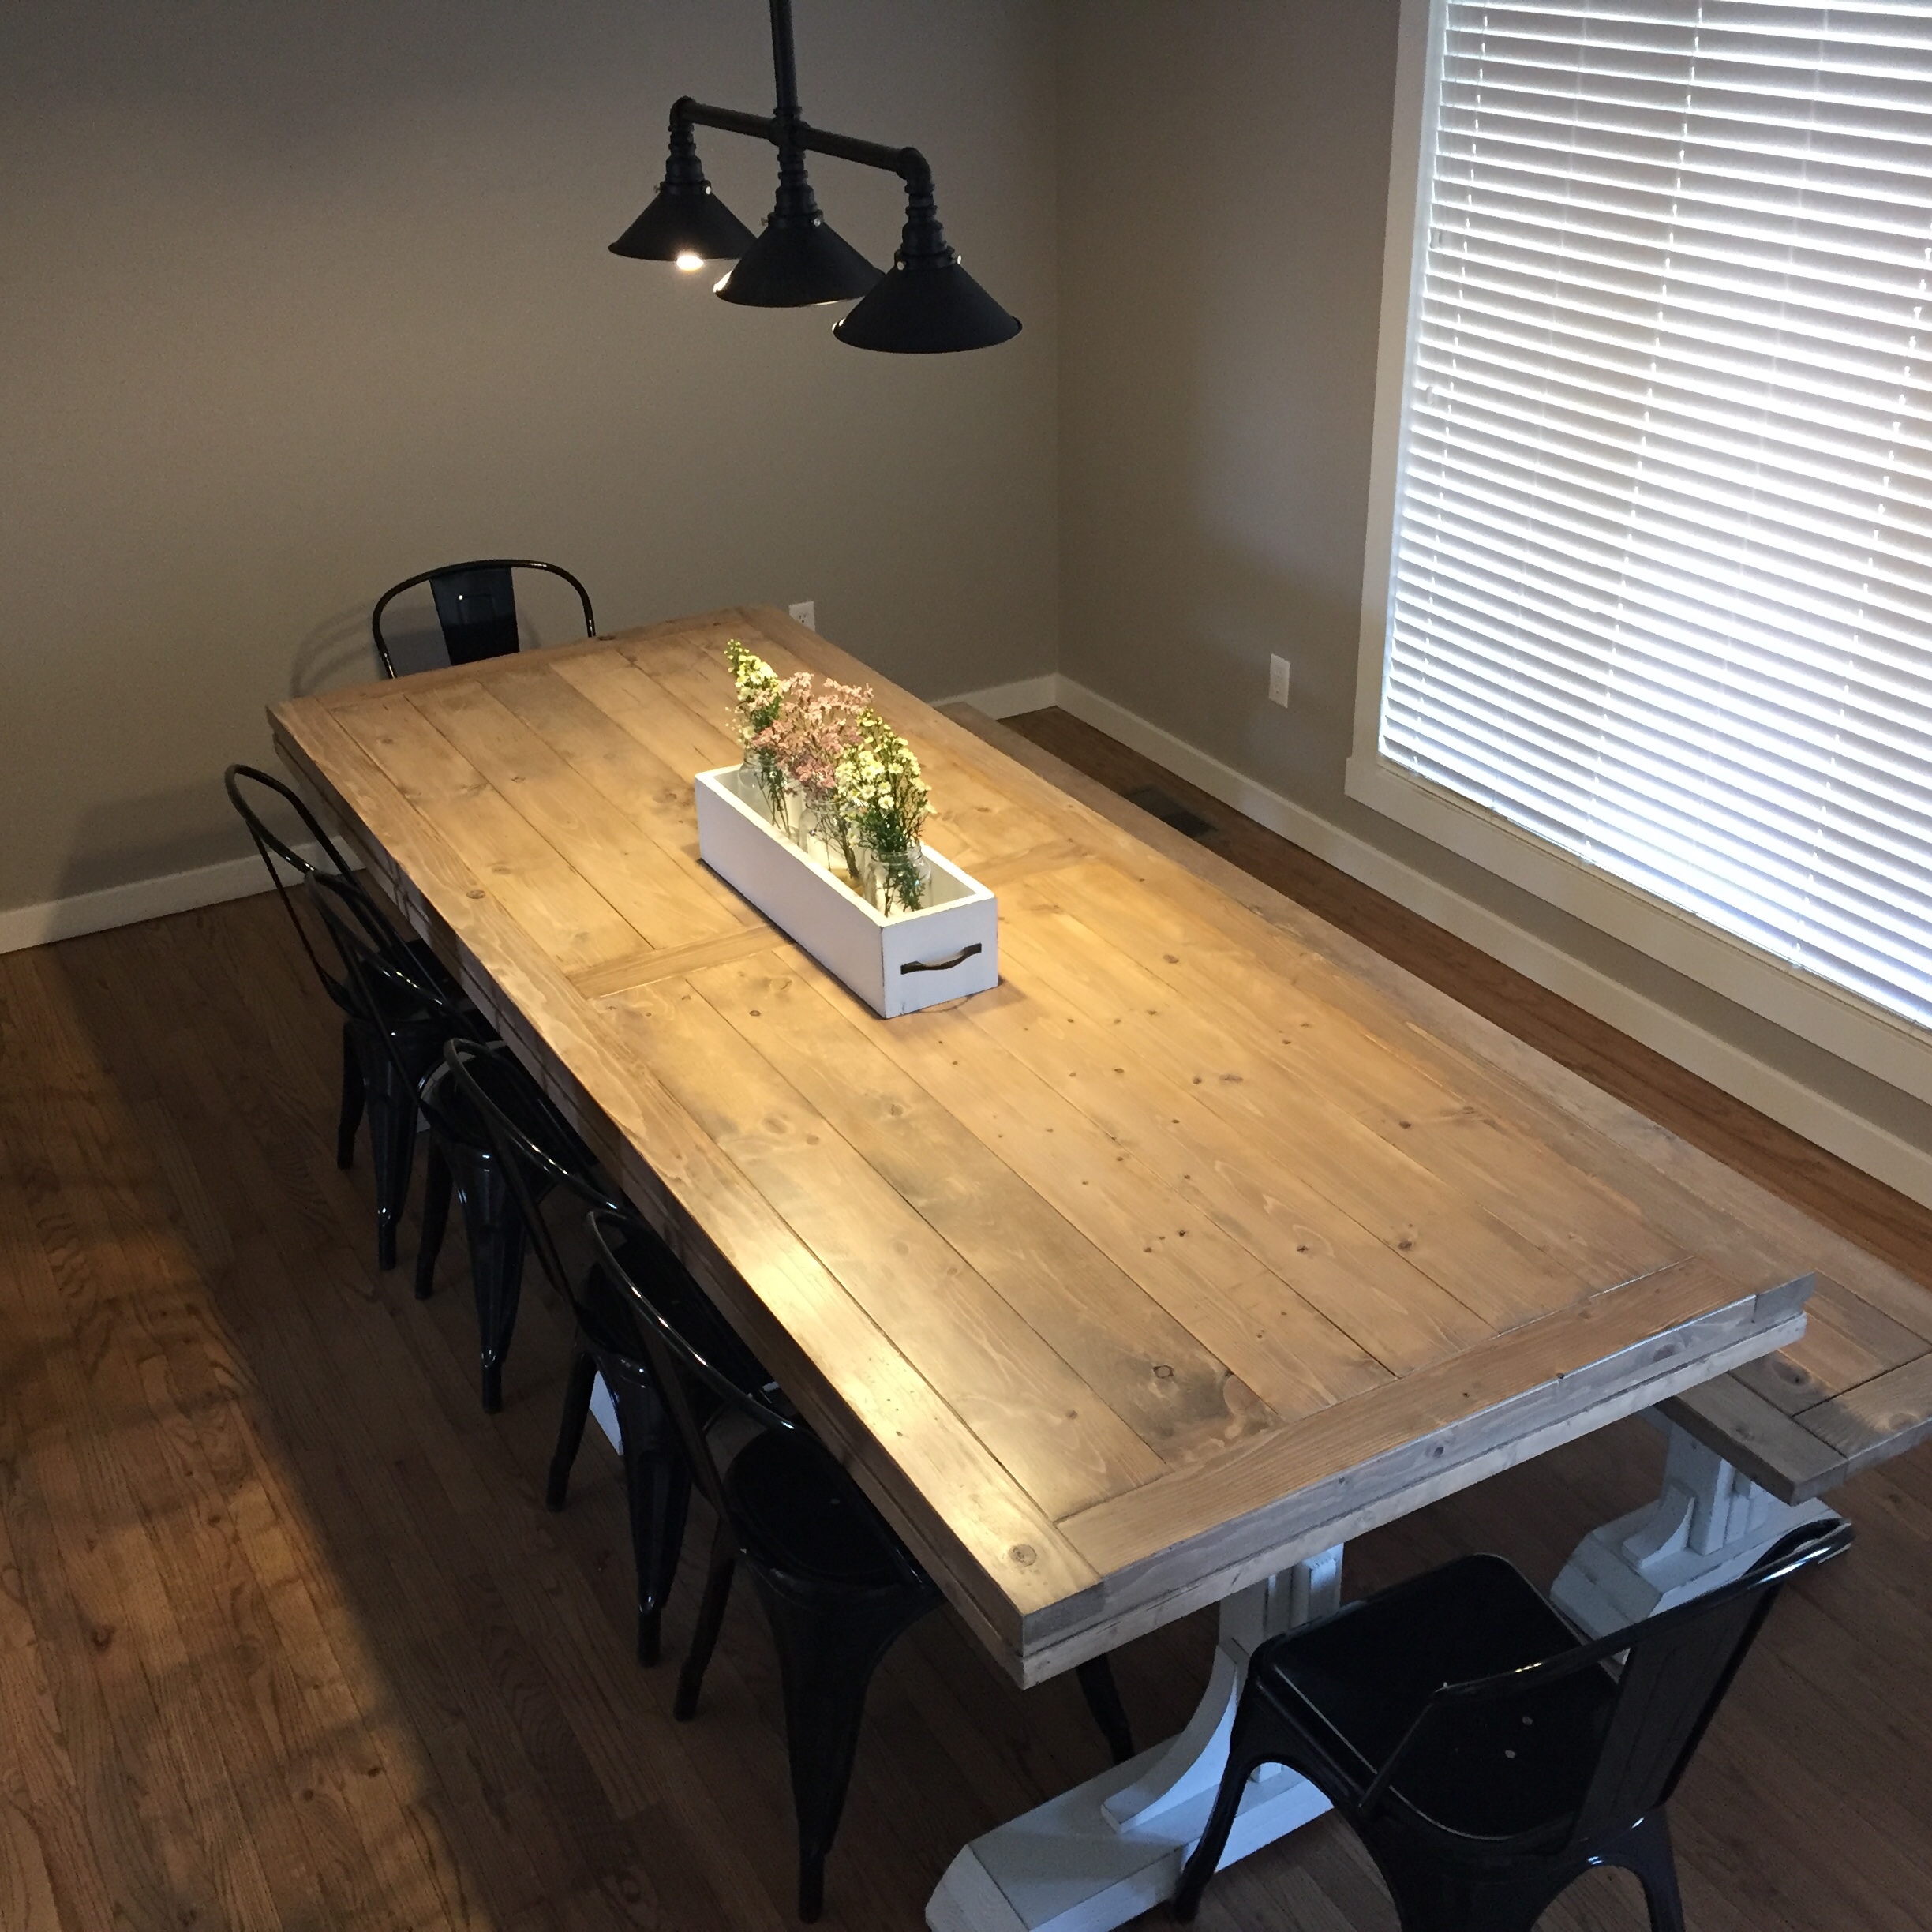
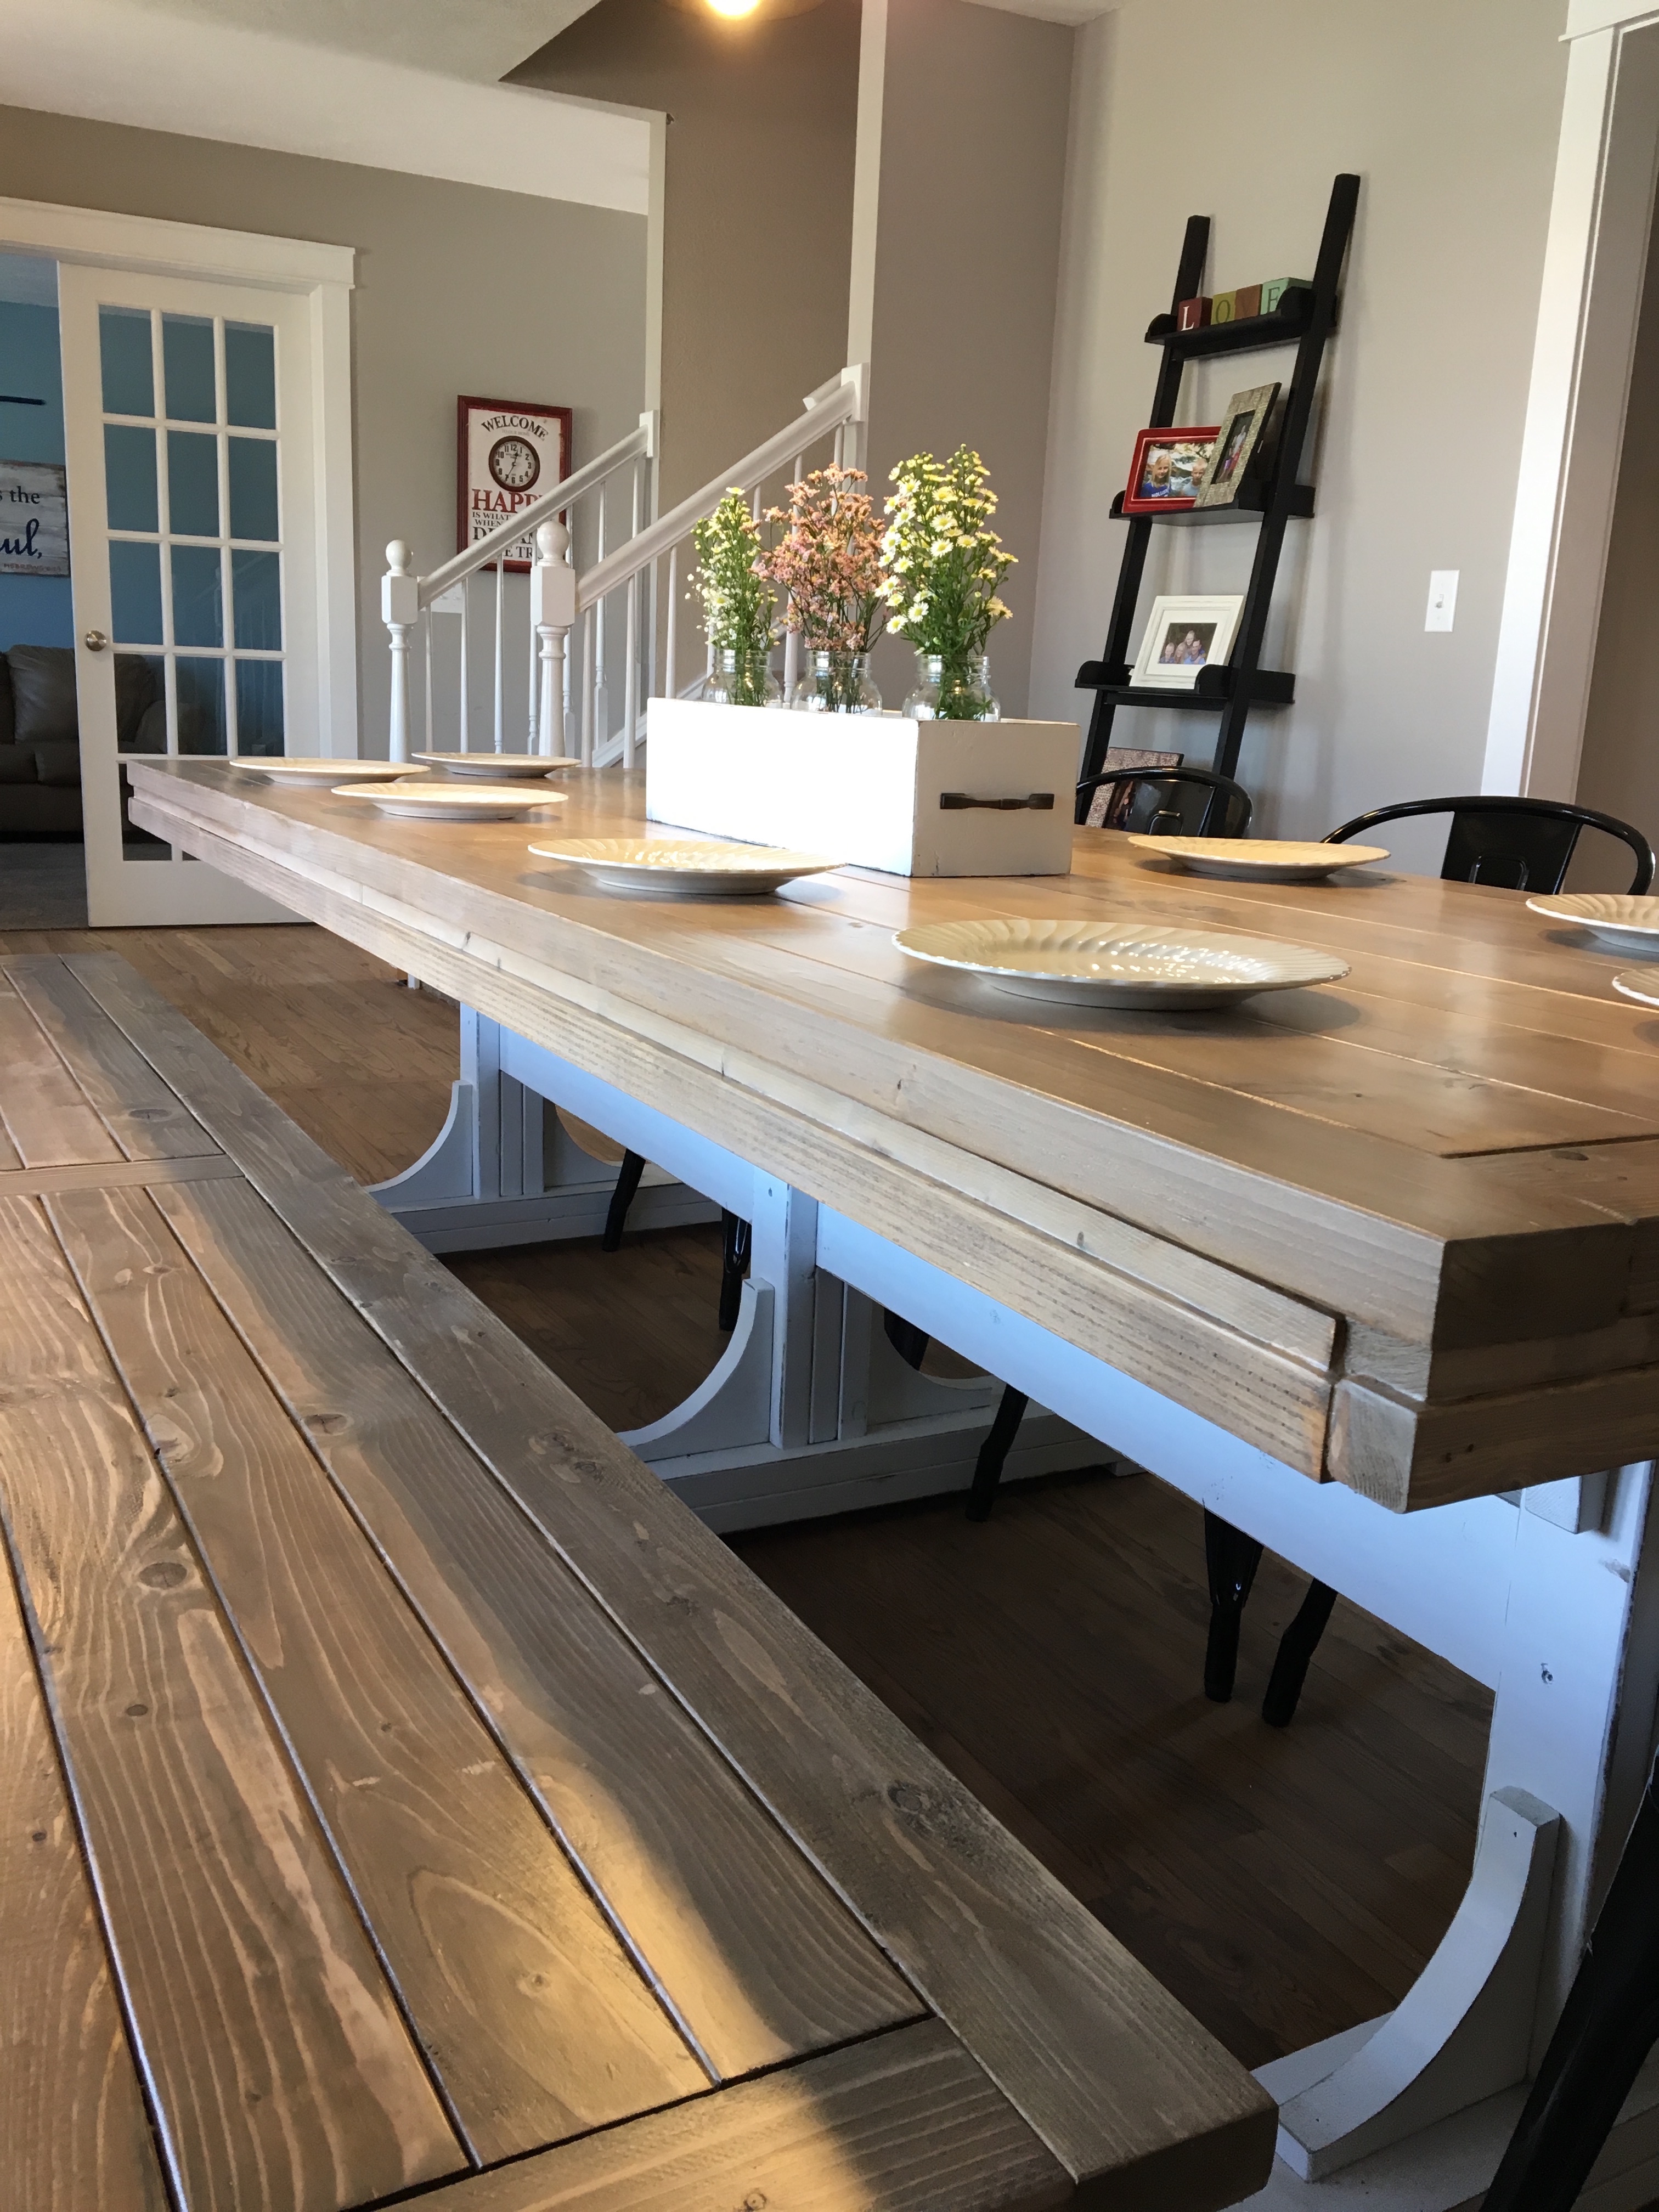
Triple Pedestal Table

Submitted by jiles95 on Thu, 05/12/2016 - 07:27

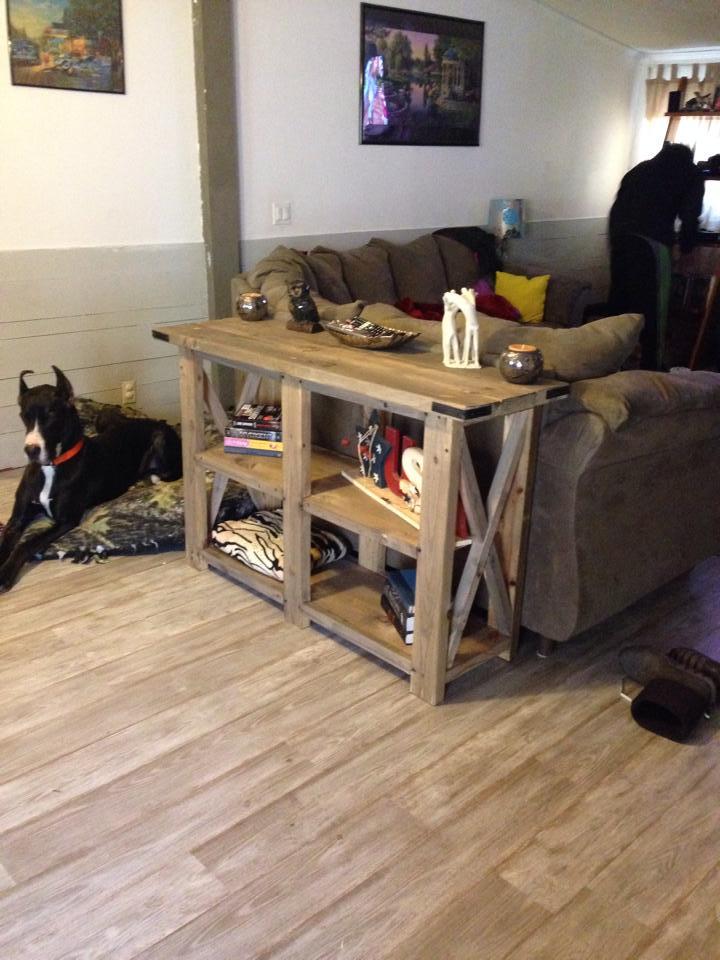
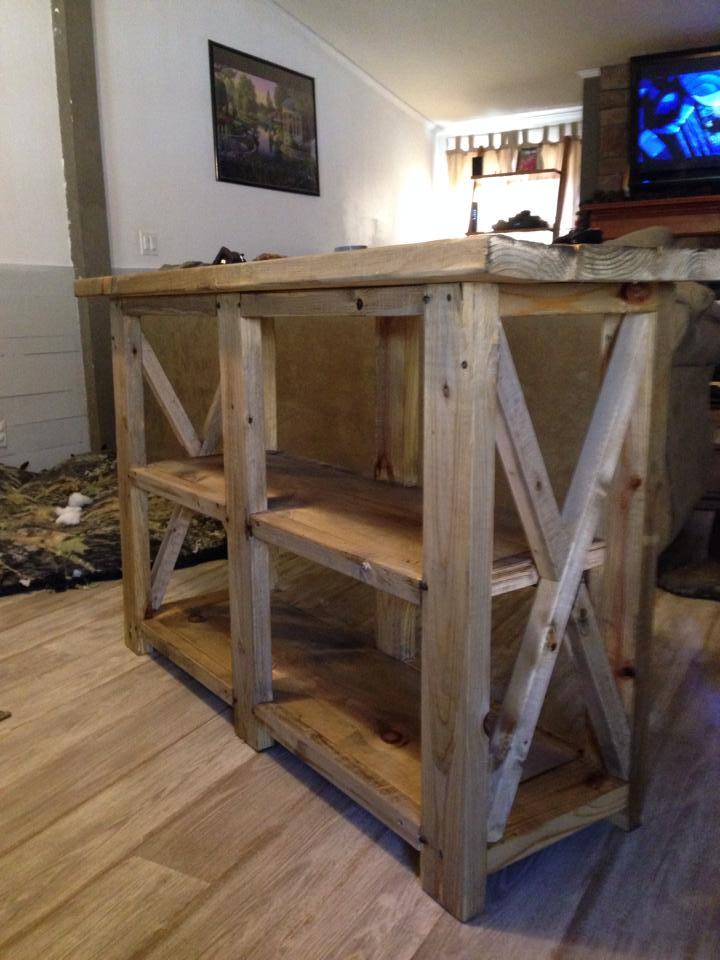
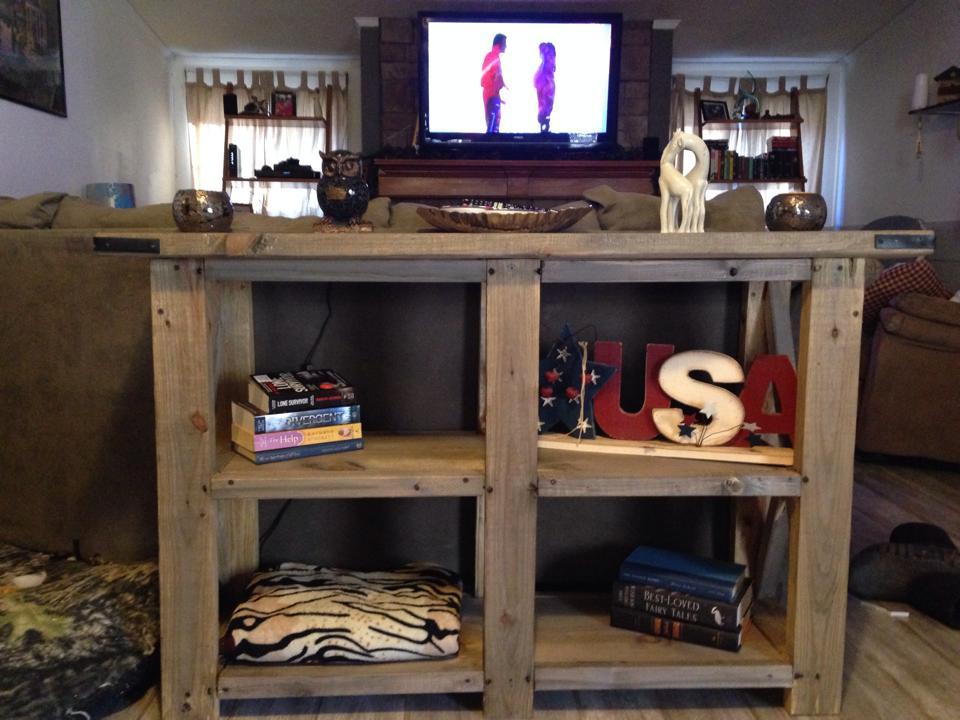
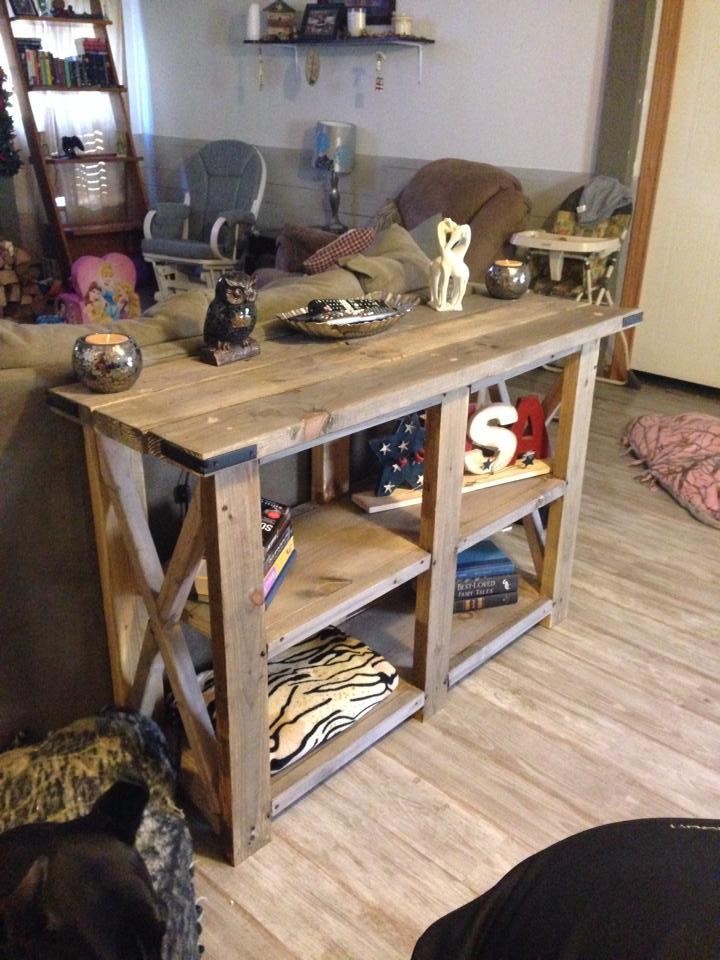
I built this for my wife for Mother's Day 2016!  Also built the centerpiece box.  If you know how to use a miter saw, jig saw, and read a tape measure....then you can build it too!!  It was a lot of fun and very rewarding!!  Took around 25-28 hours to build and finish.  Let me know if you have any questions.  My email is [email protected]

Estimated Cost
$275
Estimated Time Investment
Week Long Project (20 Hours or More)
Finish Used
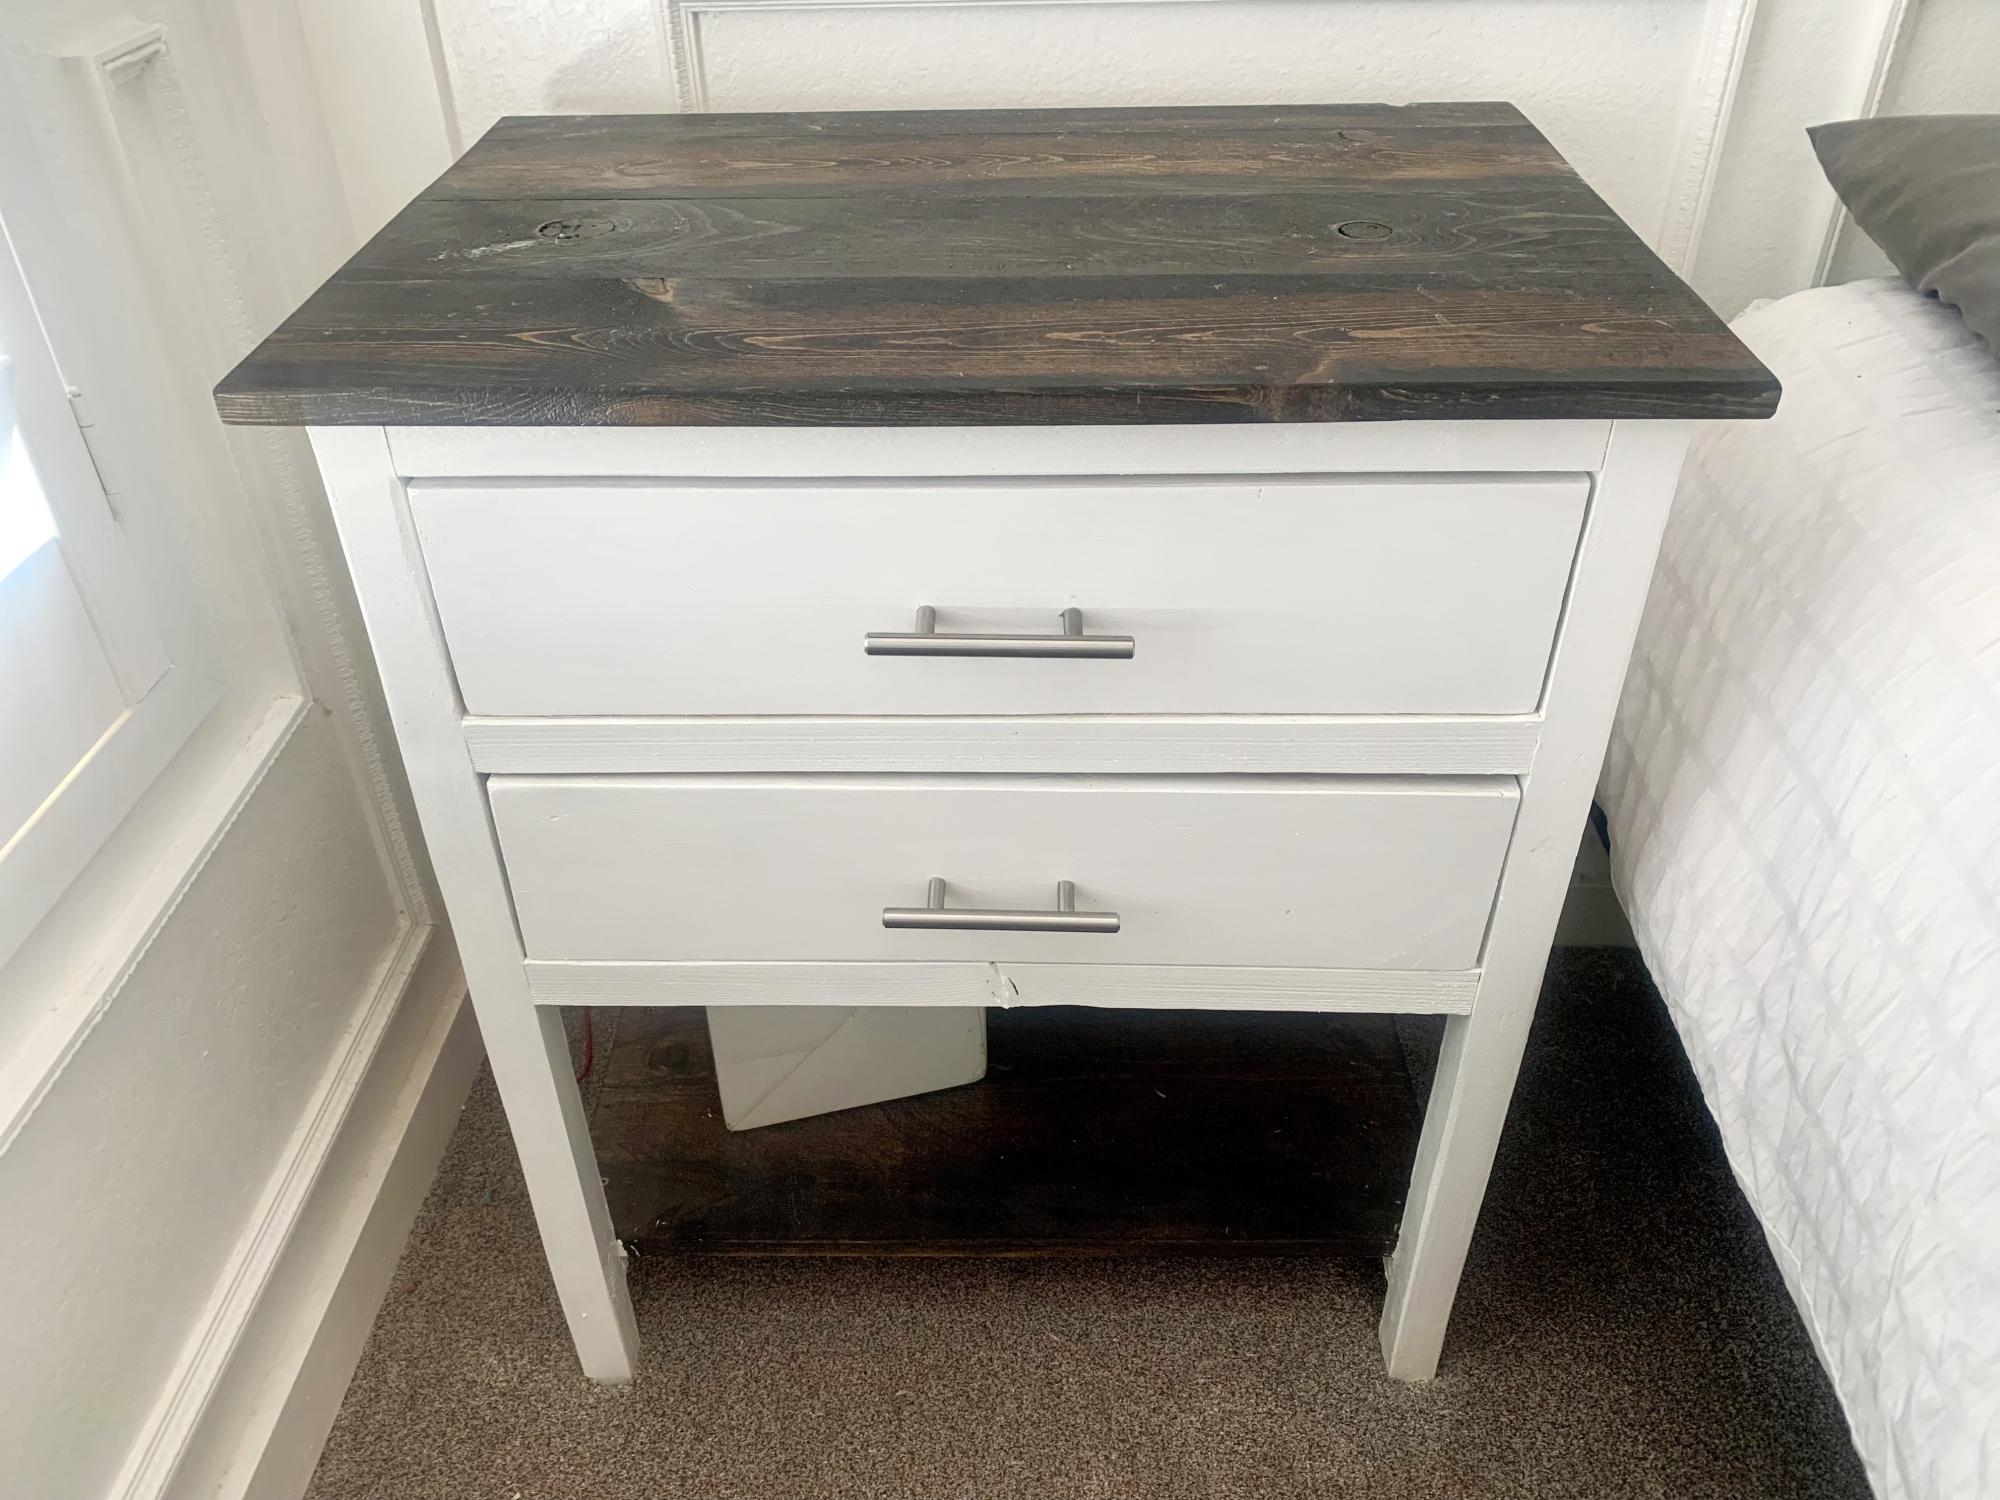
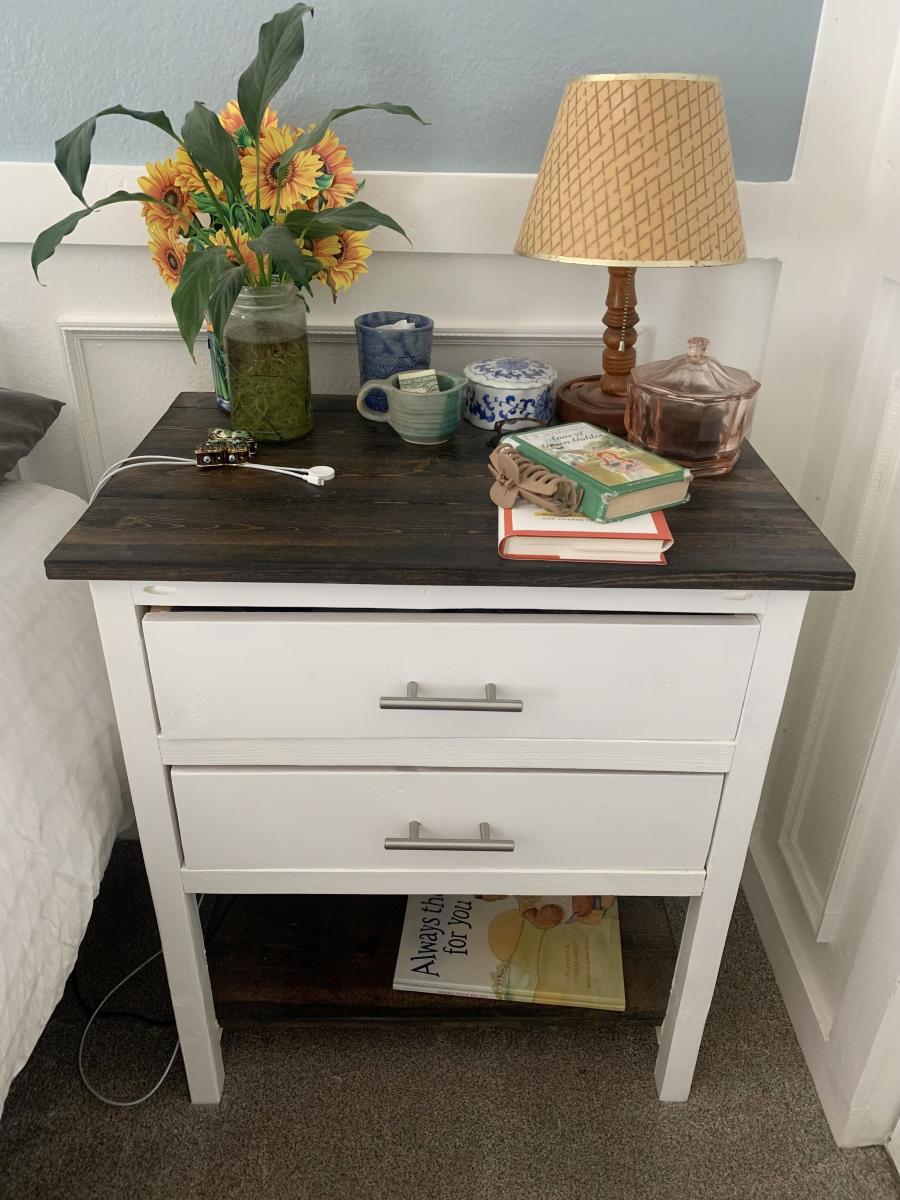
Legs - one coat of dark walnut minwax, then painted with valspar project perfect satin latex enamel in white (mix of spray paint and brush), distressed
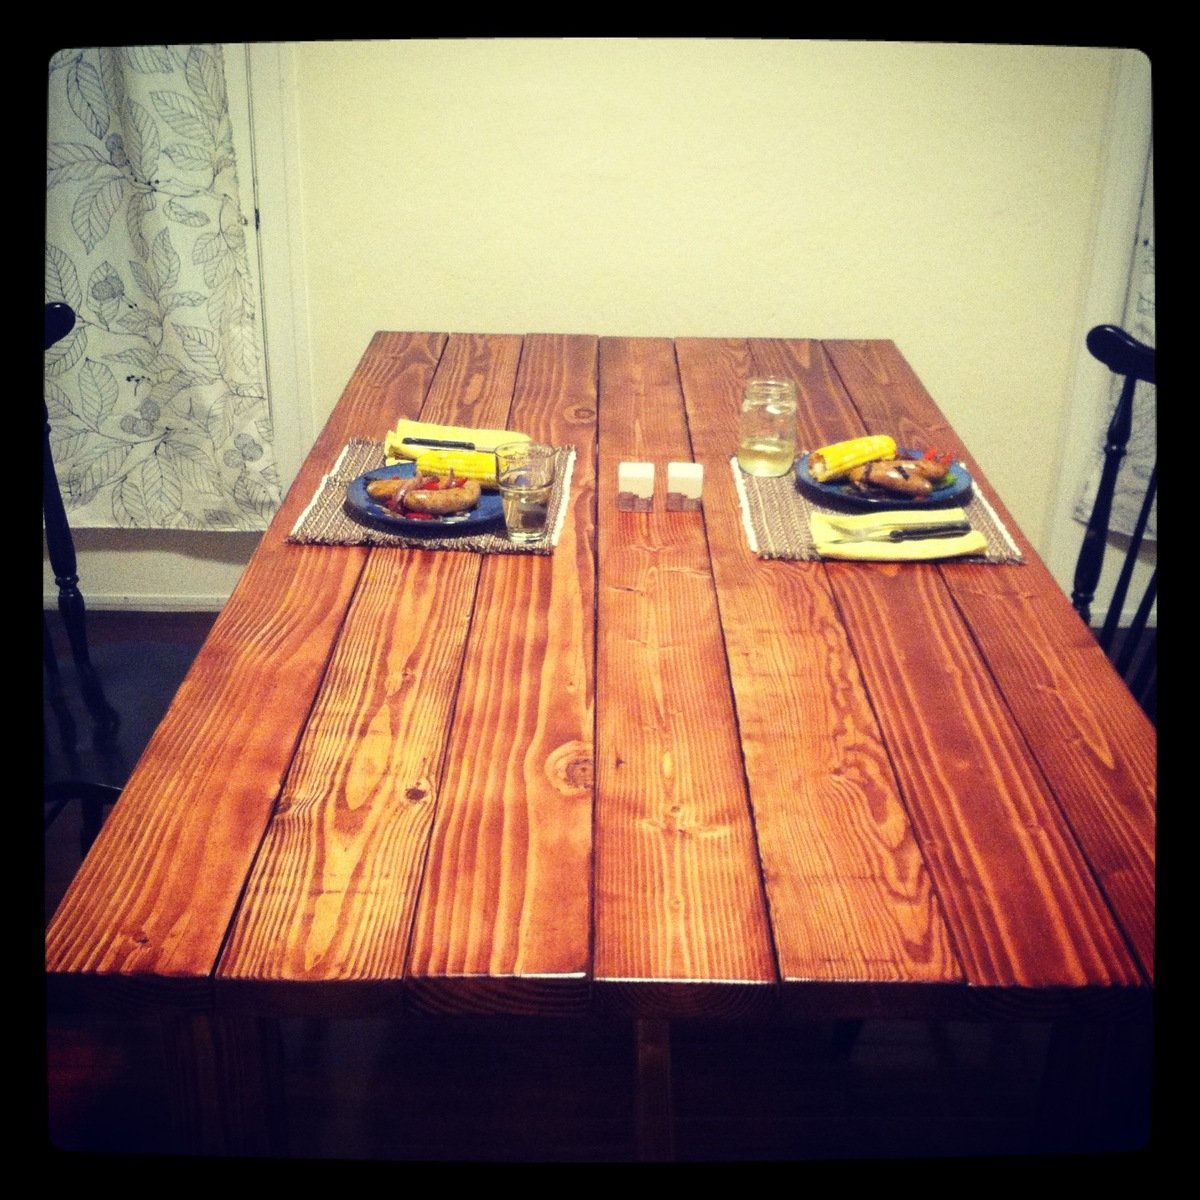
Top - one coat of early american minwax, sanded, then white washed with 1:4 ratio of same valspar white and water. 4-5 coats of poly/crylic minwax clear matte.
Recommended Skill Level
Intermediate

Hall tree

Submitted by Anonymous (not verified) on Sun, 02/16/2020 - 21:38

Hand made hall tree

Estimated Time Investment
Afternoon Project (3-6 Hours)
Recommended Skill Level
Intermediate

Fabric Covered wood Frames

This is a simple and cheap way to decorate any space. Just use some 1x2's to make a square frame. Stretch the fabric over the frame and staple it. You can make one large one or many different sized ones to cover a boring wall.

Estimated Cost
15 depending on fabric and size
Estimated Time Investment
An Hour or Two (0-2 Hours)
Finish Used
Pretty Fabric
Recommended Skill Level
Starter Project

Cute wall shelf for my son's bedroom

Submitted by kristyzed on Sun, 02/16/2014 - 14:10

I saw this plan posted and knew I had to have it for my son's new bedroom. Most of the build was simple, it just got a bit tricky fitting in the angle piece at the top because I wasn't sure how to attach it without having a nail gun. Every time I line it up to nail it in with a hammer it would slip a bit. So I ended up using Gorilla Glue Epoxy to attach it. Since it's not hanging on the wall by the very top shelf, I didn't need it to be rock solid to support any weight, just needed it to stay in place.
I had scrap plywood laying around so it was free for me to make.

Built from Plan(s)
Estimated Cost
30
Estimated Time Investment
Afternoon Project (3-6 Hours)
Finish Used
I applied two coats of Valspar's Heirloom Red and didn't seal it. I wanted a matte finish.
Recommended Skill Level
Beginner

First build using Farmhouse Truss Kitchen Table plans

Submitted by Anonymous (not verified) on Tue, 02/18/2020 - 01:24

I followed the basic plans but added a couple 12x2” metal supports for each breadboard. This was a must. I used Douglas fir for the entire project from Home Depot.

My 2 kids helped me put a few screws in, otherwise I did this myself. The wife really loved it and was a bit surprised coming back from her facial spot on Valentines Day. It turned out better than I could have hoped, especially considering this was my first real woodworking build.

Great plans and nuggets of advice from everyone else made this really fun and not so scary!

Built from Plan(s)
Estimated Cost
$200
Estimated Time Investment
Week Long Project (20 Hours or More)
Finish Used
Used 2 coats of all-purpose primer and 2 coats of classic white indoor paint. For the top, I just used 3 coats of Semi-gloss polyurethane(thinned out with mineral spirits), but I most likely will be adding 2 more and finishing with a satin polyurethane to get extra protection from the kids.
Recommended Skill Level
Beginner

Easy Kids' Tent / Reading Nook

I had been wanting to make this for sometime but didn't have the curtains. I was at a friend house and she asked if I wanted the red curtains that she was going to throw them away. So I got to make the tent, her daughters got a cool place to play and the curtains got a new purpose also the tent was made to fold for storage!!!

Thanks Ana for all the plans and ideas you give us!!

Built from Plan(s)
Estimated Cost
$3 for hardware and wood curtains were FREE!!!
Estimated Time Investment
An Hour or Two (0-2 Hours)
Recommended Skill Level
Starter Project

Jasika's (First) Farmhouse Table

This was the first piece of furniture we ever built and it was a big success, although knowing what I know now, I certainly would have done a few things differently. Luckily for me, following Ana's plans don't require a very steep learning curve if you have read The Handbuilt Home! Instead of investing $1500 into the brand new table I wanted from Pottery Barn, I decided to invest that money in power tools, equipment and materials for the table, which I acquired for about $900 (I had no tools in my possession at all so was basically starting from nothing). The price of this table decreases every time I make a new piece of furniture from scratch, and in the year that I began making furniture, I have made the farmhouse bench that accompanies this table, a coffee table, an upholstered vanity seat, a kitchen island, a book shelf, lots of shelves and small tables, and I am currently in the process of making a bathroom vanity for our newly renovated master bathroom. Each project I make from Ana's plans is easier than the one before it, and I continue to feel more confident in the work and in my understanding of how furniture is built. I feel so grateful to Ana for sharing her work and for inspiring so many people, both men and women alike, to reach a bit outside of their comfort zone and develop new hobbies that they never would have imagined having.

Estimated Cost
$115 for materials
Estimated Time Investment
Week Long Project (20 Hours or More)
Finish Used
Can't remember.
Recommended Skill Level
Beginner

Comments

Ornament Tree Decor

Submitted by Anonymous (not verified) on Sun, 10/15/2023 - 19:32

I made 15 of these ornament trees for our church's Christmas banquet. We adjusted the height to 14". I locked the wire in place with 8 x 3/4 screws that were countersunk. I plan to paint the trees gold.

Don Fugate

Seasonal And Holiday

Clara Table & Chairs

Fun, easy build. This is the first project from this site and the kids loved helping make their own chairs. They got to pick their own color paint - I think I spent more on paint than I did on the wood!

Built from Plan(s)
Recommended Skill Level
Starter Project

Rustic X table

I saw this project and fell in love with it. Ive never done a wood working project before and wanted to do this all on my own so i wouldnt let anyone help just to know if i could do it. It didnt turn out perfect but i CAN NOT stop looking at it. Ana thank you somuch for theses plans!

Estimated Cost
$70
Estimated Time Investment
Weekend Project (10-20 Hours)
Finish Used
I didnt really use a finish just used coffee and vinegar and rubbed a small sbount of orange essential oil on the top to give it a better smell.
Recommended Skill Level
Beginner

Comments

CreativeChaos

Mon, 02/24/2014 - 11:22

Looks amazing! I'm dying to build this also and am nervous about trying out that finish. Where did you get the corner hardware?

kennasmomma

Wed, 04/30/2014 - 20:44

Sorry I got locked out of my account but I got plain silver corner pieces from walmart and spray painted them with a matte black.

2 Drawer Farmhouse Nightstand

Submitted by Anonymous (not verified) on Wed, 10/18/2023 - 09:28

I have always wanted to build some furniture. So, when we were looking for some nightstands for our bedroom and couldn’t find any we liked I found your Farmhouse Nightstand plans and decided to build them as a surprise gift for my husband for Valentine’s Day. I personalized them by adding an extra drawer and making them a little taller and wider to fit the space we had. We absolutely LOVE them! Thank you, Ana, for helping to make a dream of mine come true!

Toni Imlay @ toniimlay.com

Built from Plan(s)

Flower Storage Table with Thumb Chairs

Submitted by pde00311 on Mon, 02/24/2014 - 22:32

I put together the flower storage table and the thumb chairs during the week leading up to our daughter's first birthday party. With a lot of older toddlers/kids at the party, the table served as a perfect coloring station in our basement (as you can see from the mahem/aftermath photo below). In any event, as my daughter is about to turn two, she has really grown into using the table and chairs for completing her own arts and crafts projects.

Estimated Cost
100
Estimated Time Investment
Day Project (6-9 Hours)
Finish Used
Behr Sweet Taffy, Camembert and Kashmir pink paints with a couple coats of polycrylic
Recommended Skill Level
Intermediate

Modern farmhouse bed with nightstands

Submitted by judge on Thu, 03/05/2020 - 05:09

I made this beautiful bed in just one (long) day (12h). The next day I made the nightstands with the scraps of wood from the bed.

Built from Plan(s)
Estimated Cost
€100
Estimated Time Investment
Weekend Project (10-20 Hours)
Finish Used
Hard wax oil with a splash of "alaska white" paint mixed in it
Recommended Skill Level
Intermediate

Media Center

Submitted by Felicka on Mon, 05/14/2012 - 22:29

Easy, fun great project that my husband and I did together. This project cost about $202, and I will take that price over the price that you would have to pay in the furniture store any day. We found some great wood at Lowe's that worked perfectly and gave it the "rustic" look that we like. Thanks Ana for the plans and sharing them with us.

Estimated Cost
$202.54
Estimated Time Investment
Week Long Project (20 Hours or More)
Finish Used
We used Minwax wood conditioner and then a coat of Minwax Dark Walnut stain. We then used a coat of poly followed by wet-dry sandpaper for the smooth finish.
Recommended Skill Level
Intermediate

Comments

Debi_G (not verified)

Wed, 05/16/2012 - 19:01

That's a fine quality piece of furniture!

Why can't I get dark walnut stain to look like that?

Felicka

Wed, 05/16/2012 - 22:07

Thanks

My hubby used wood conditioner prior to applying the dark walnut. with using the conditioner especially with soft wood such as pine it allows the stain to adsorb in evenly. we only used one coat of both.

claydowling

Wed, 05/16/2012 - 19:45

Debi_G, I've had lots of trouble getting stains to look the way I want too. What I've taken to doing is either mixing my own (see http://claydowling.com), as well as trying out various commercial stains until I find one that satisfies my desires. Good use for your scrap.

So far the best commercial stains I've found are from General Finishes. They're designed to sit partially on top of the wood, which prevents some of the splotchy and washed out look that make some stains unpleasant to work with.

Back