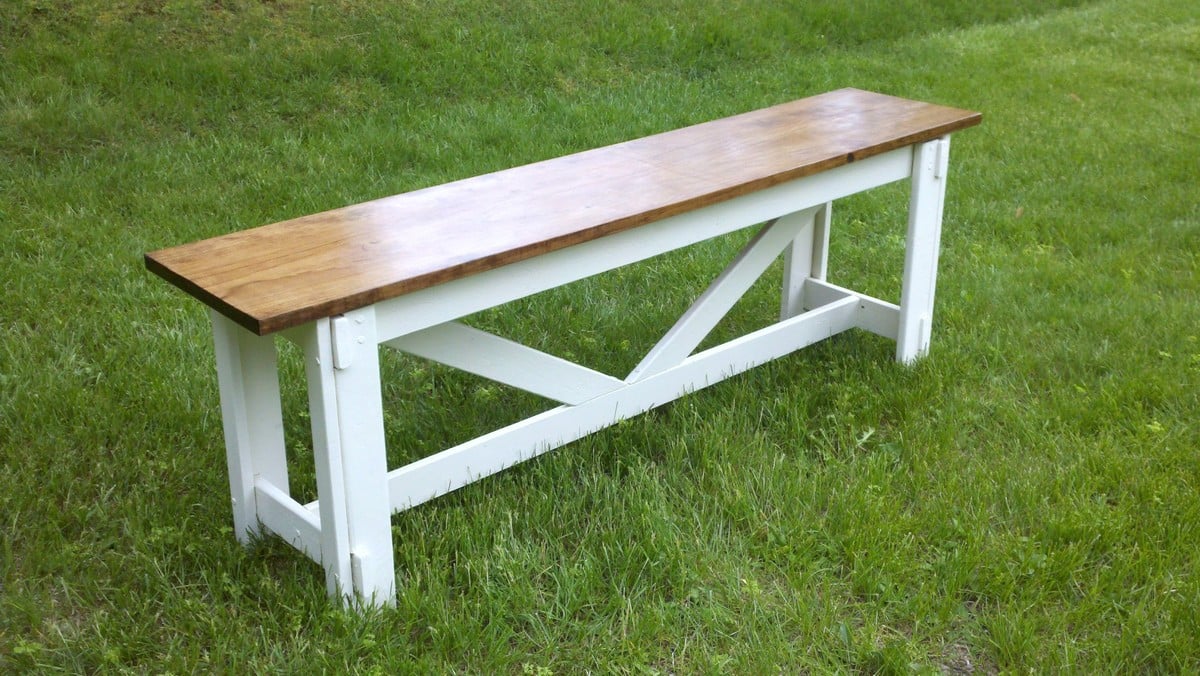
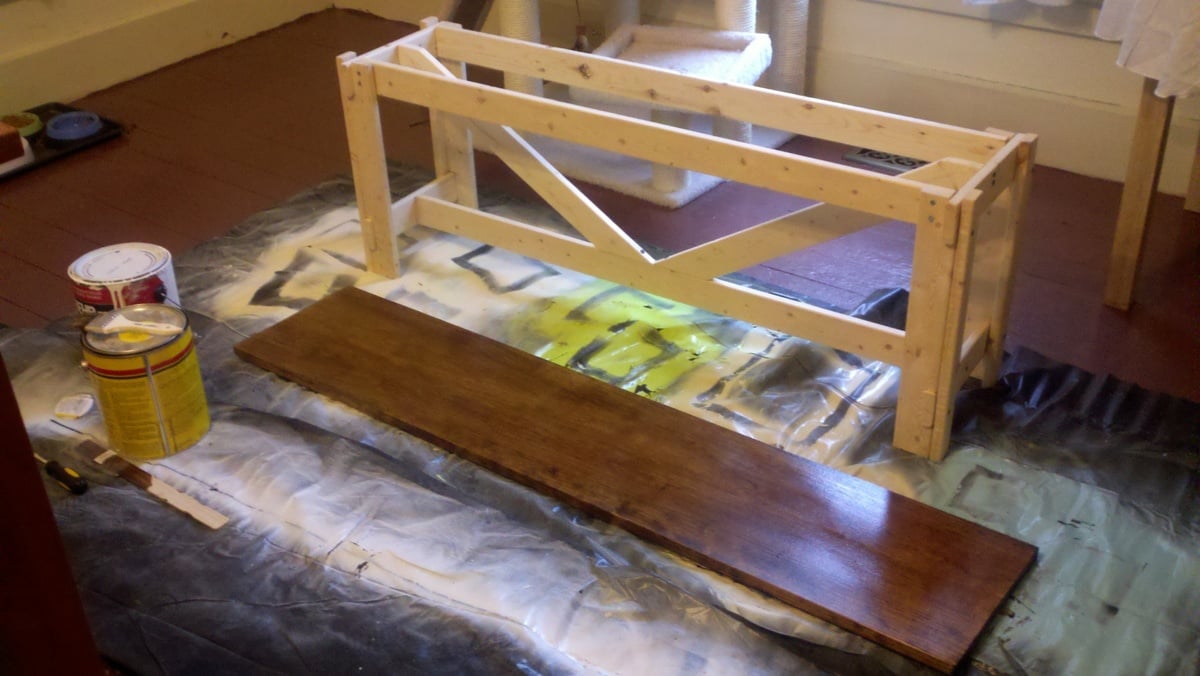
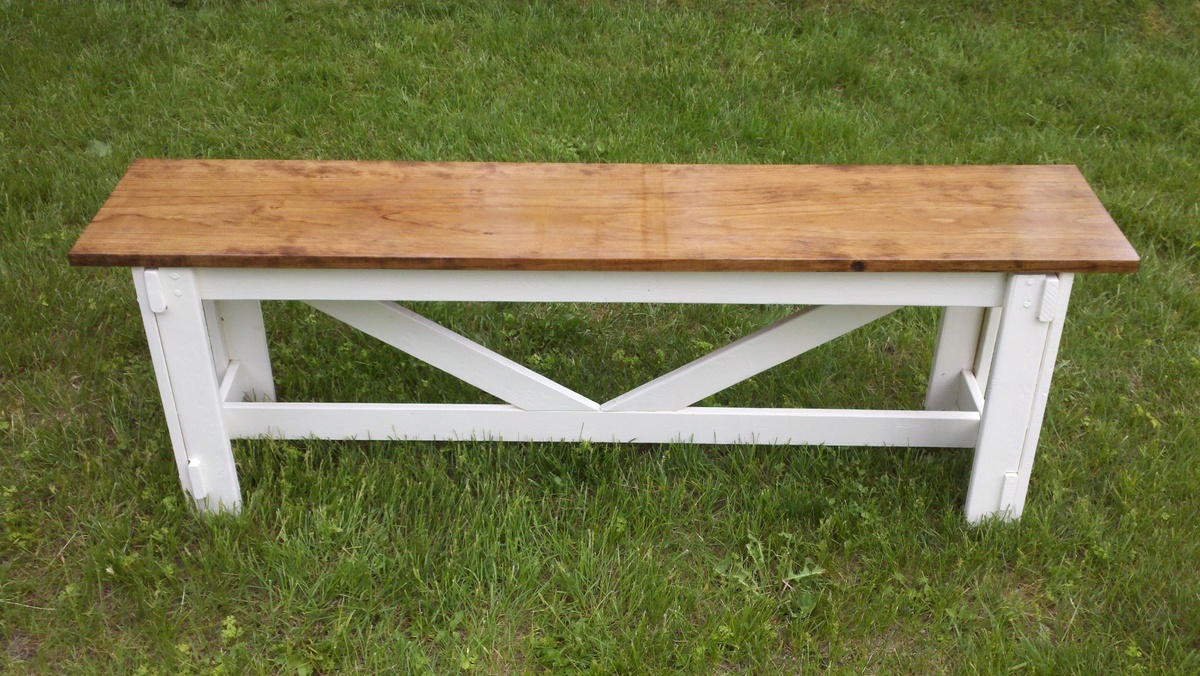
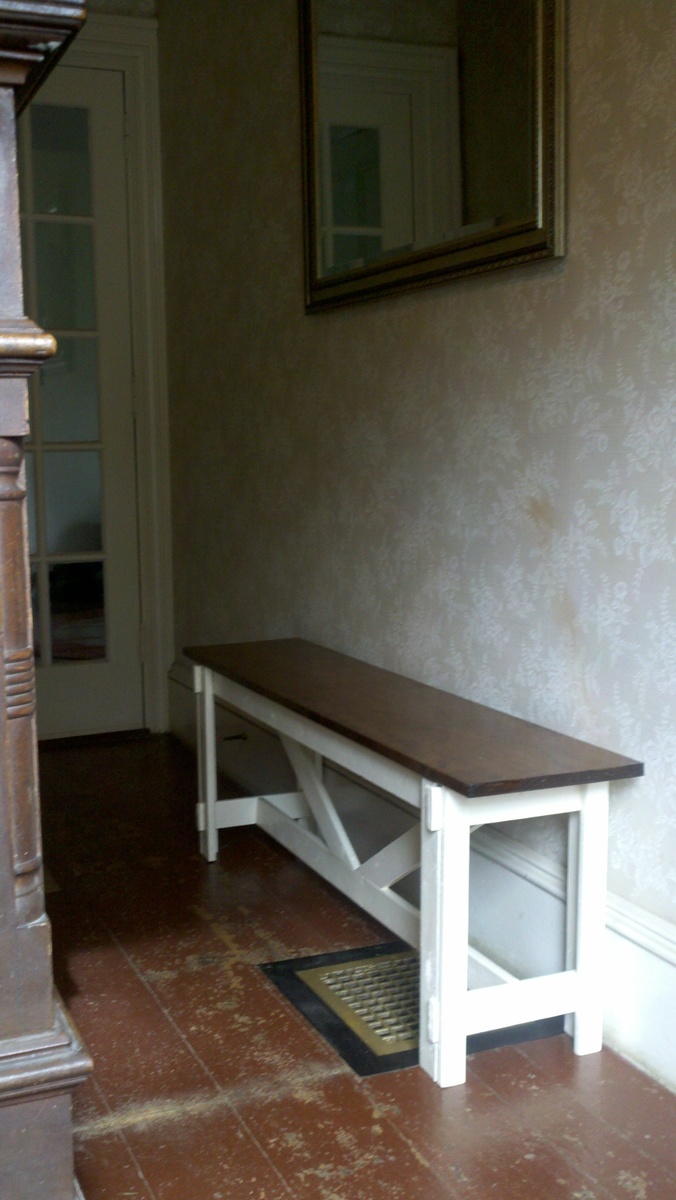
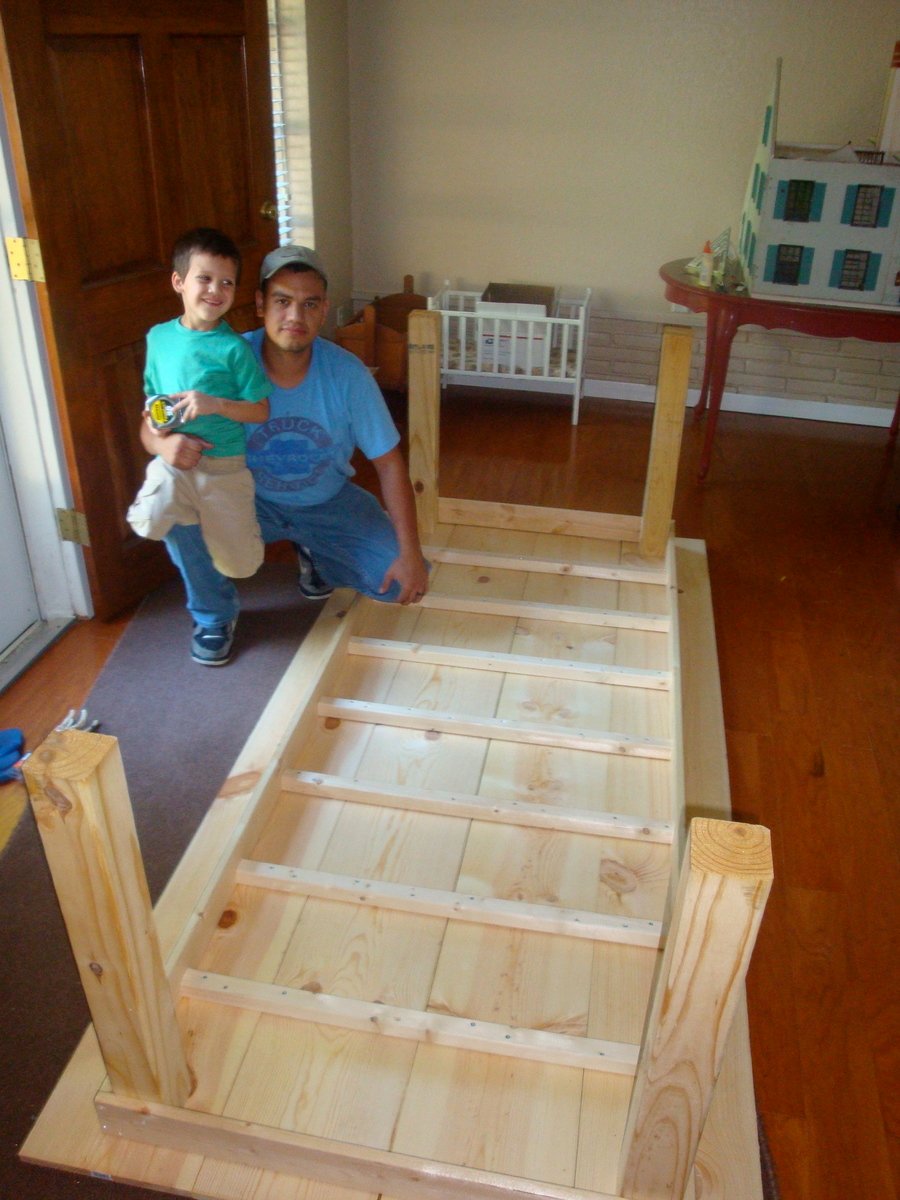
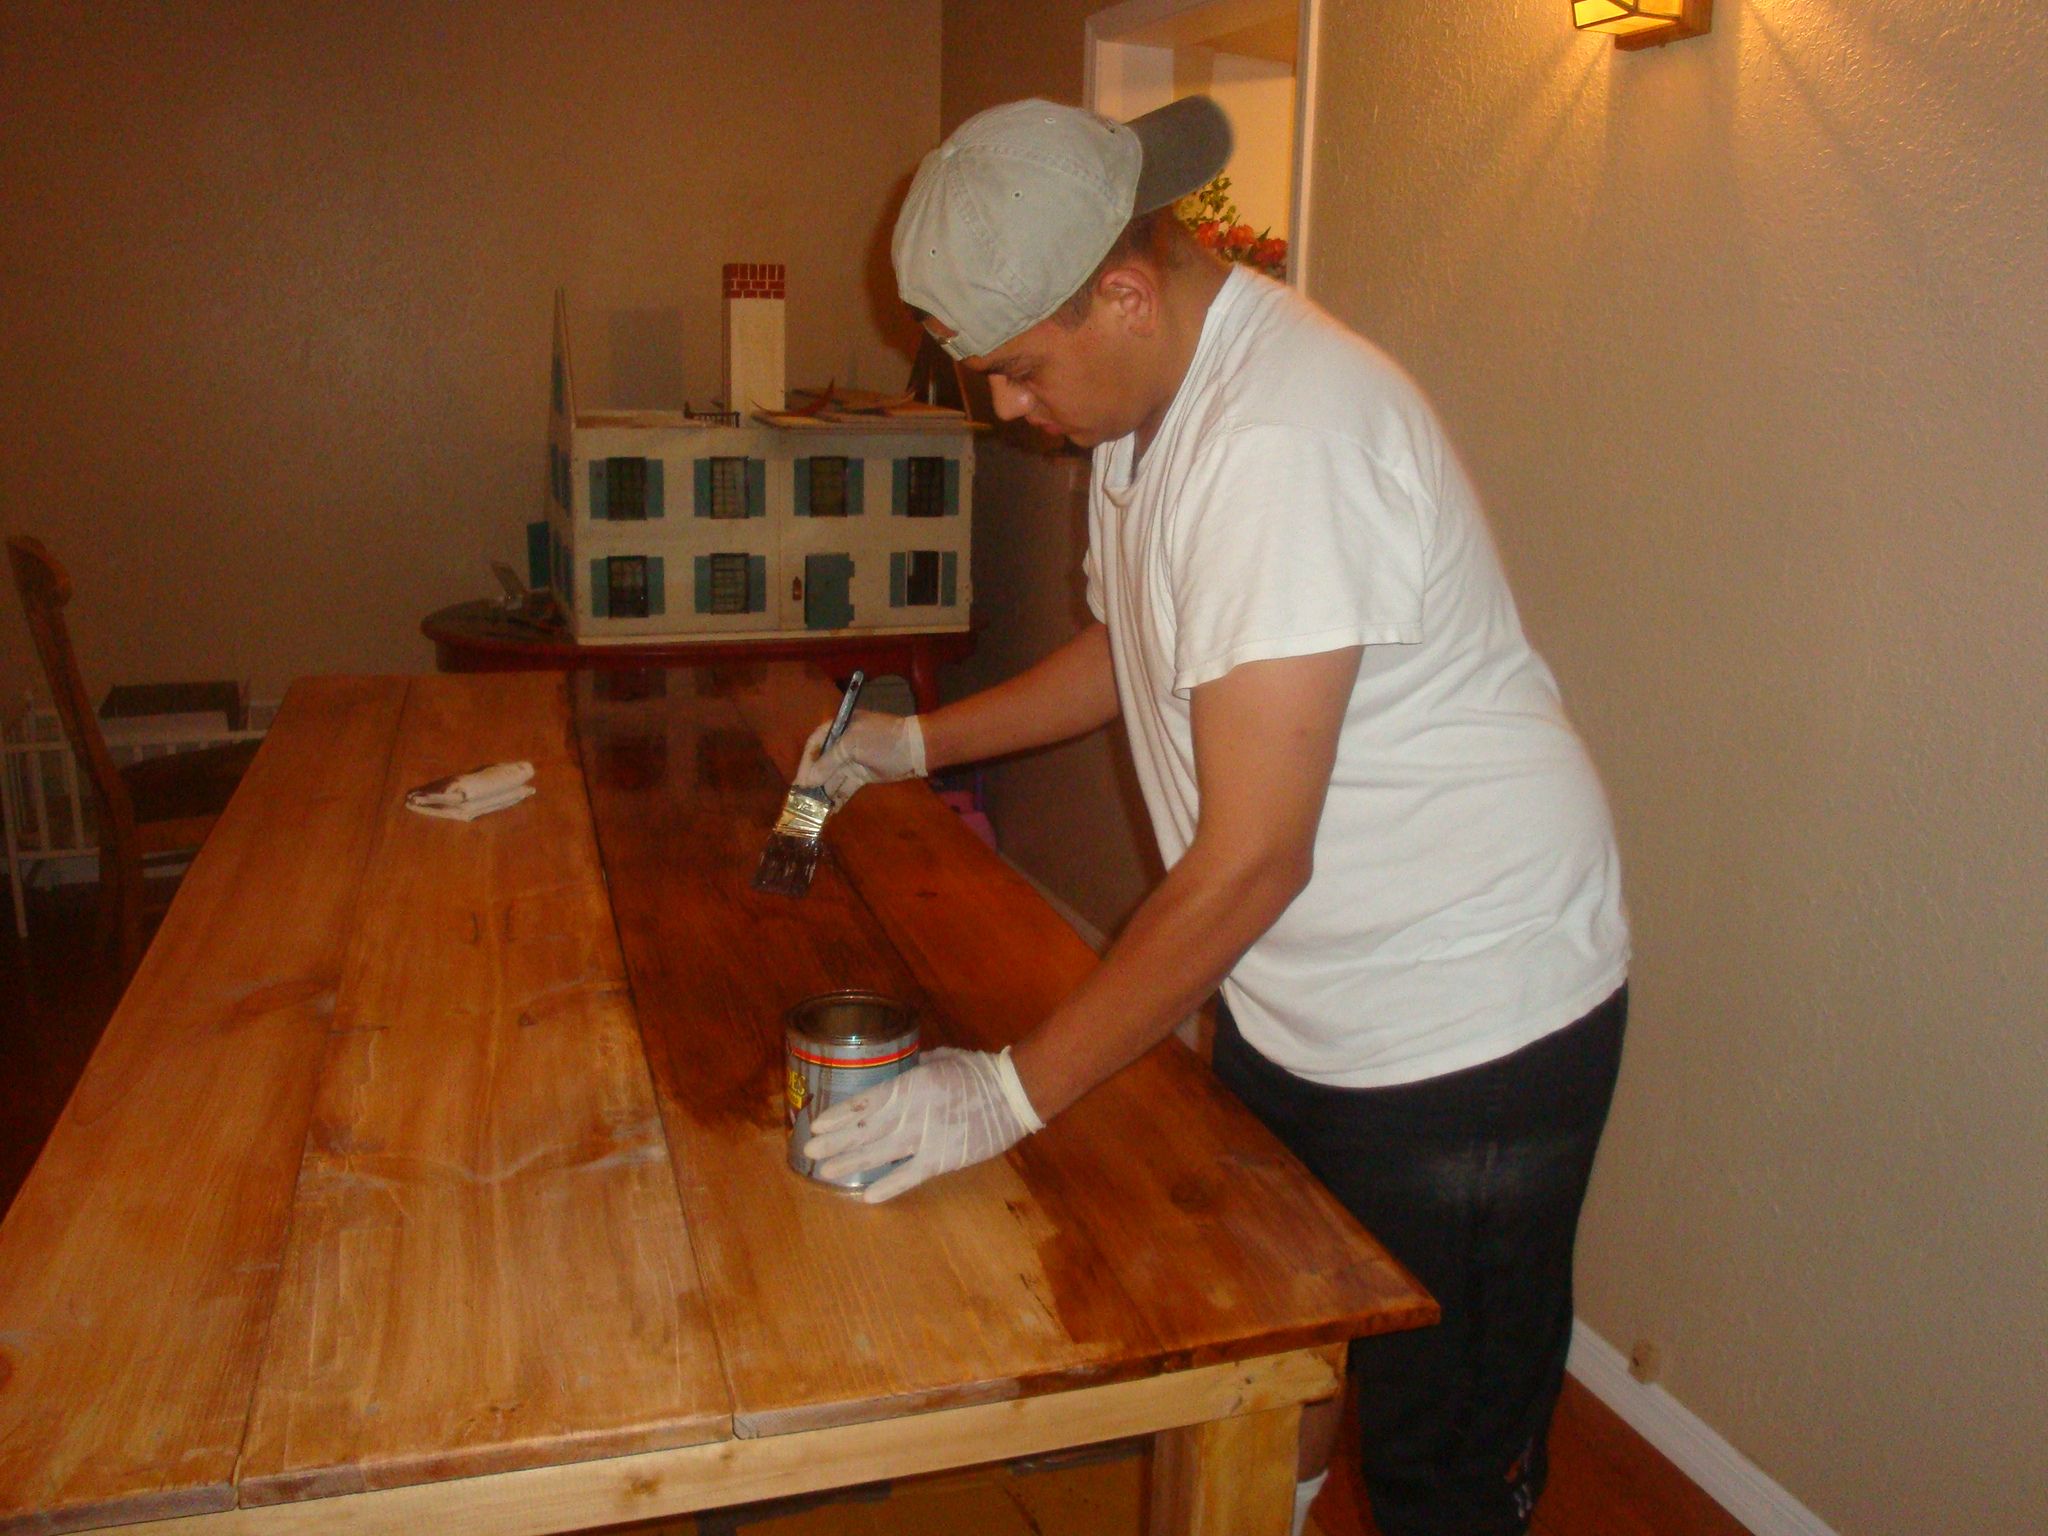
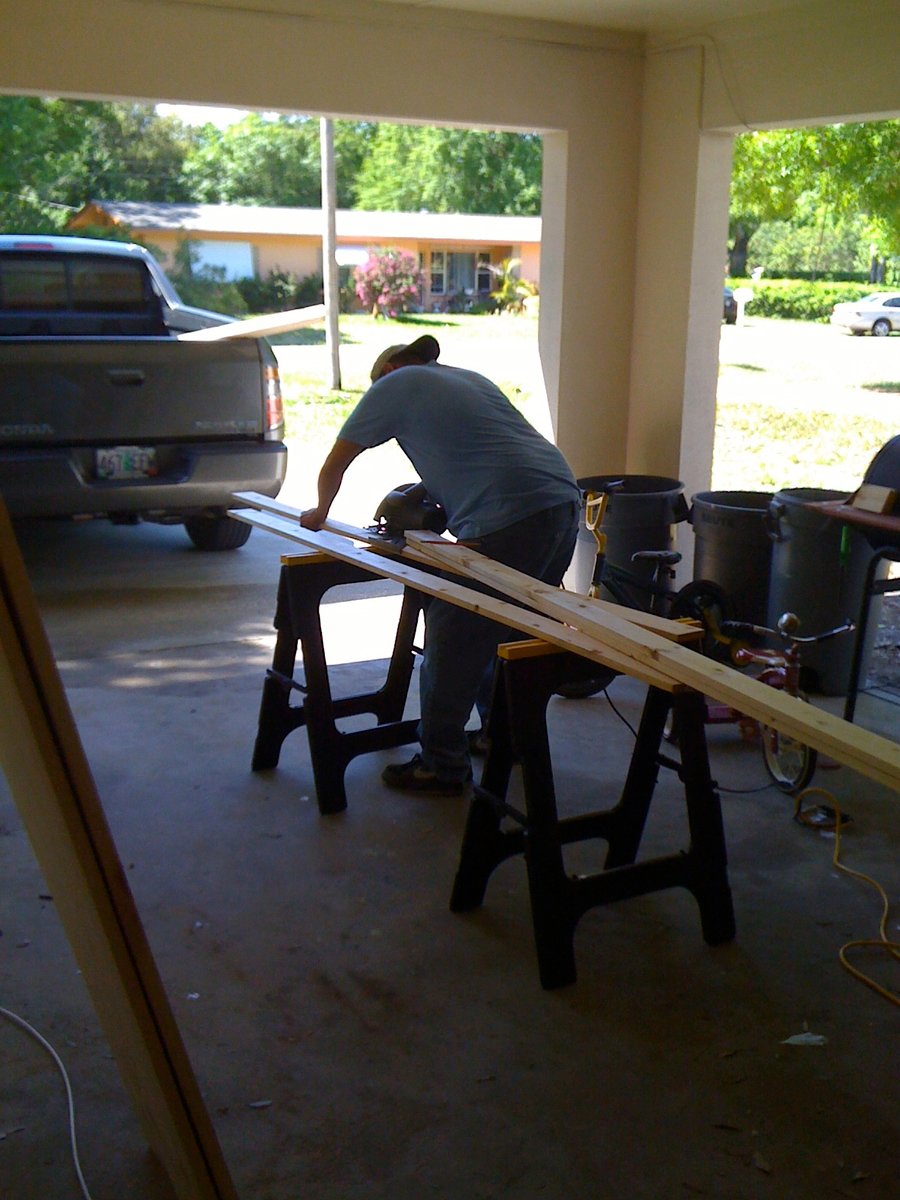
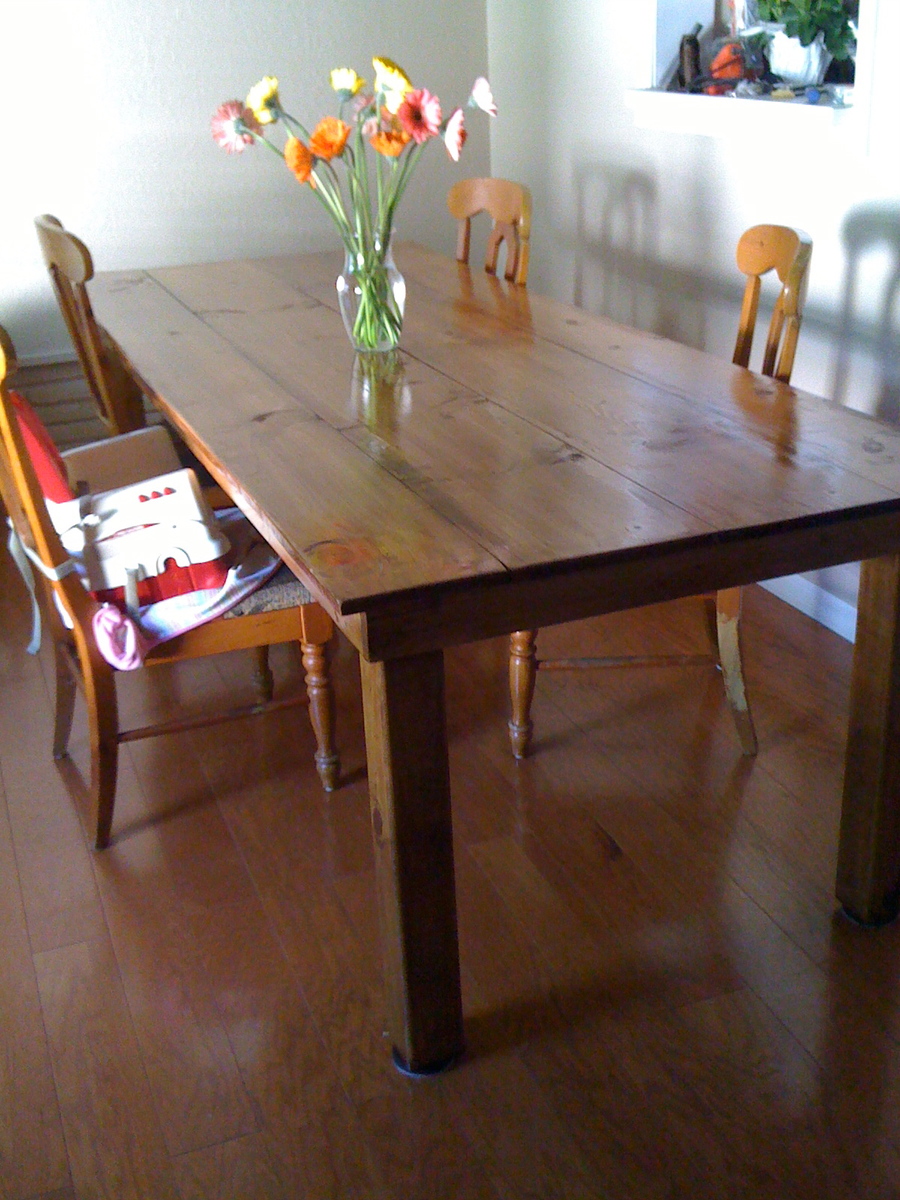
Donna's bathroom pipe organizer project
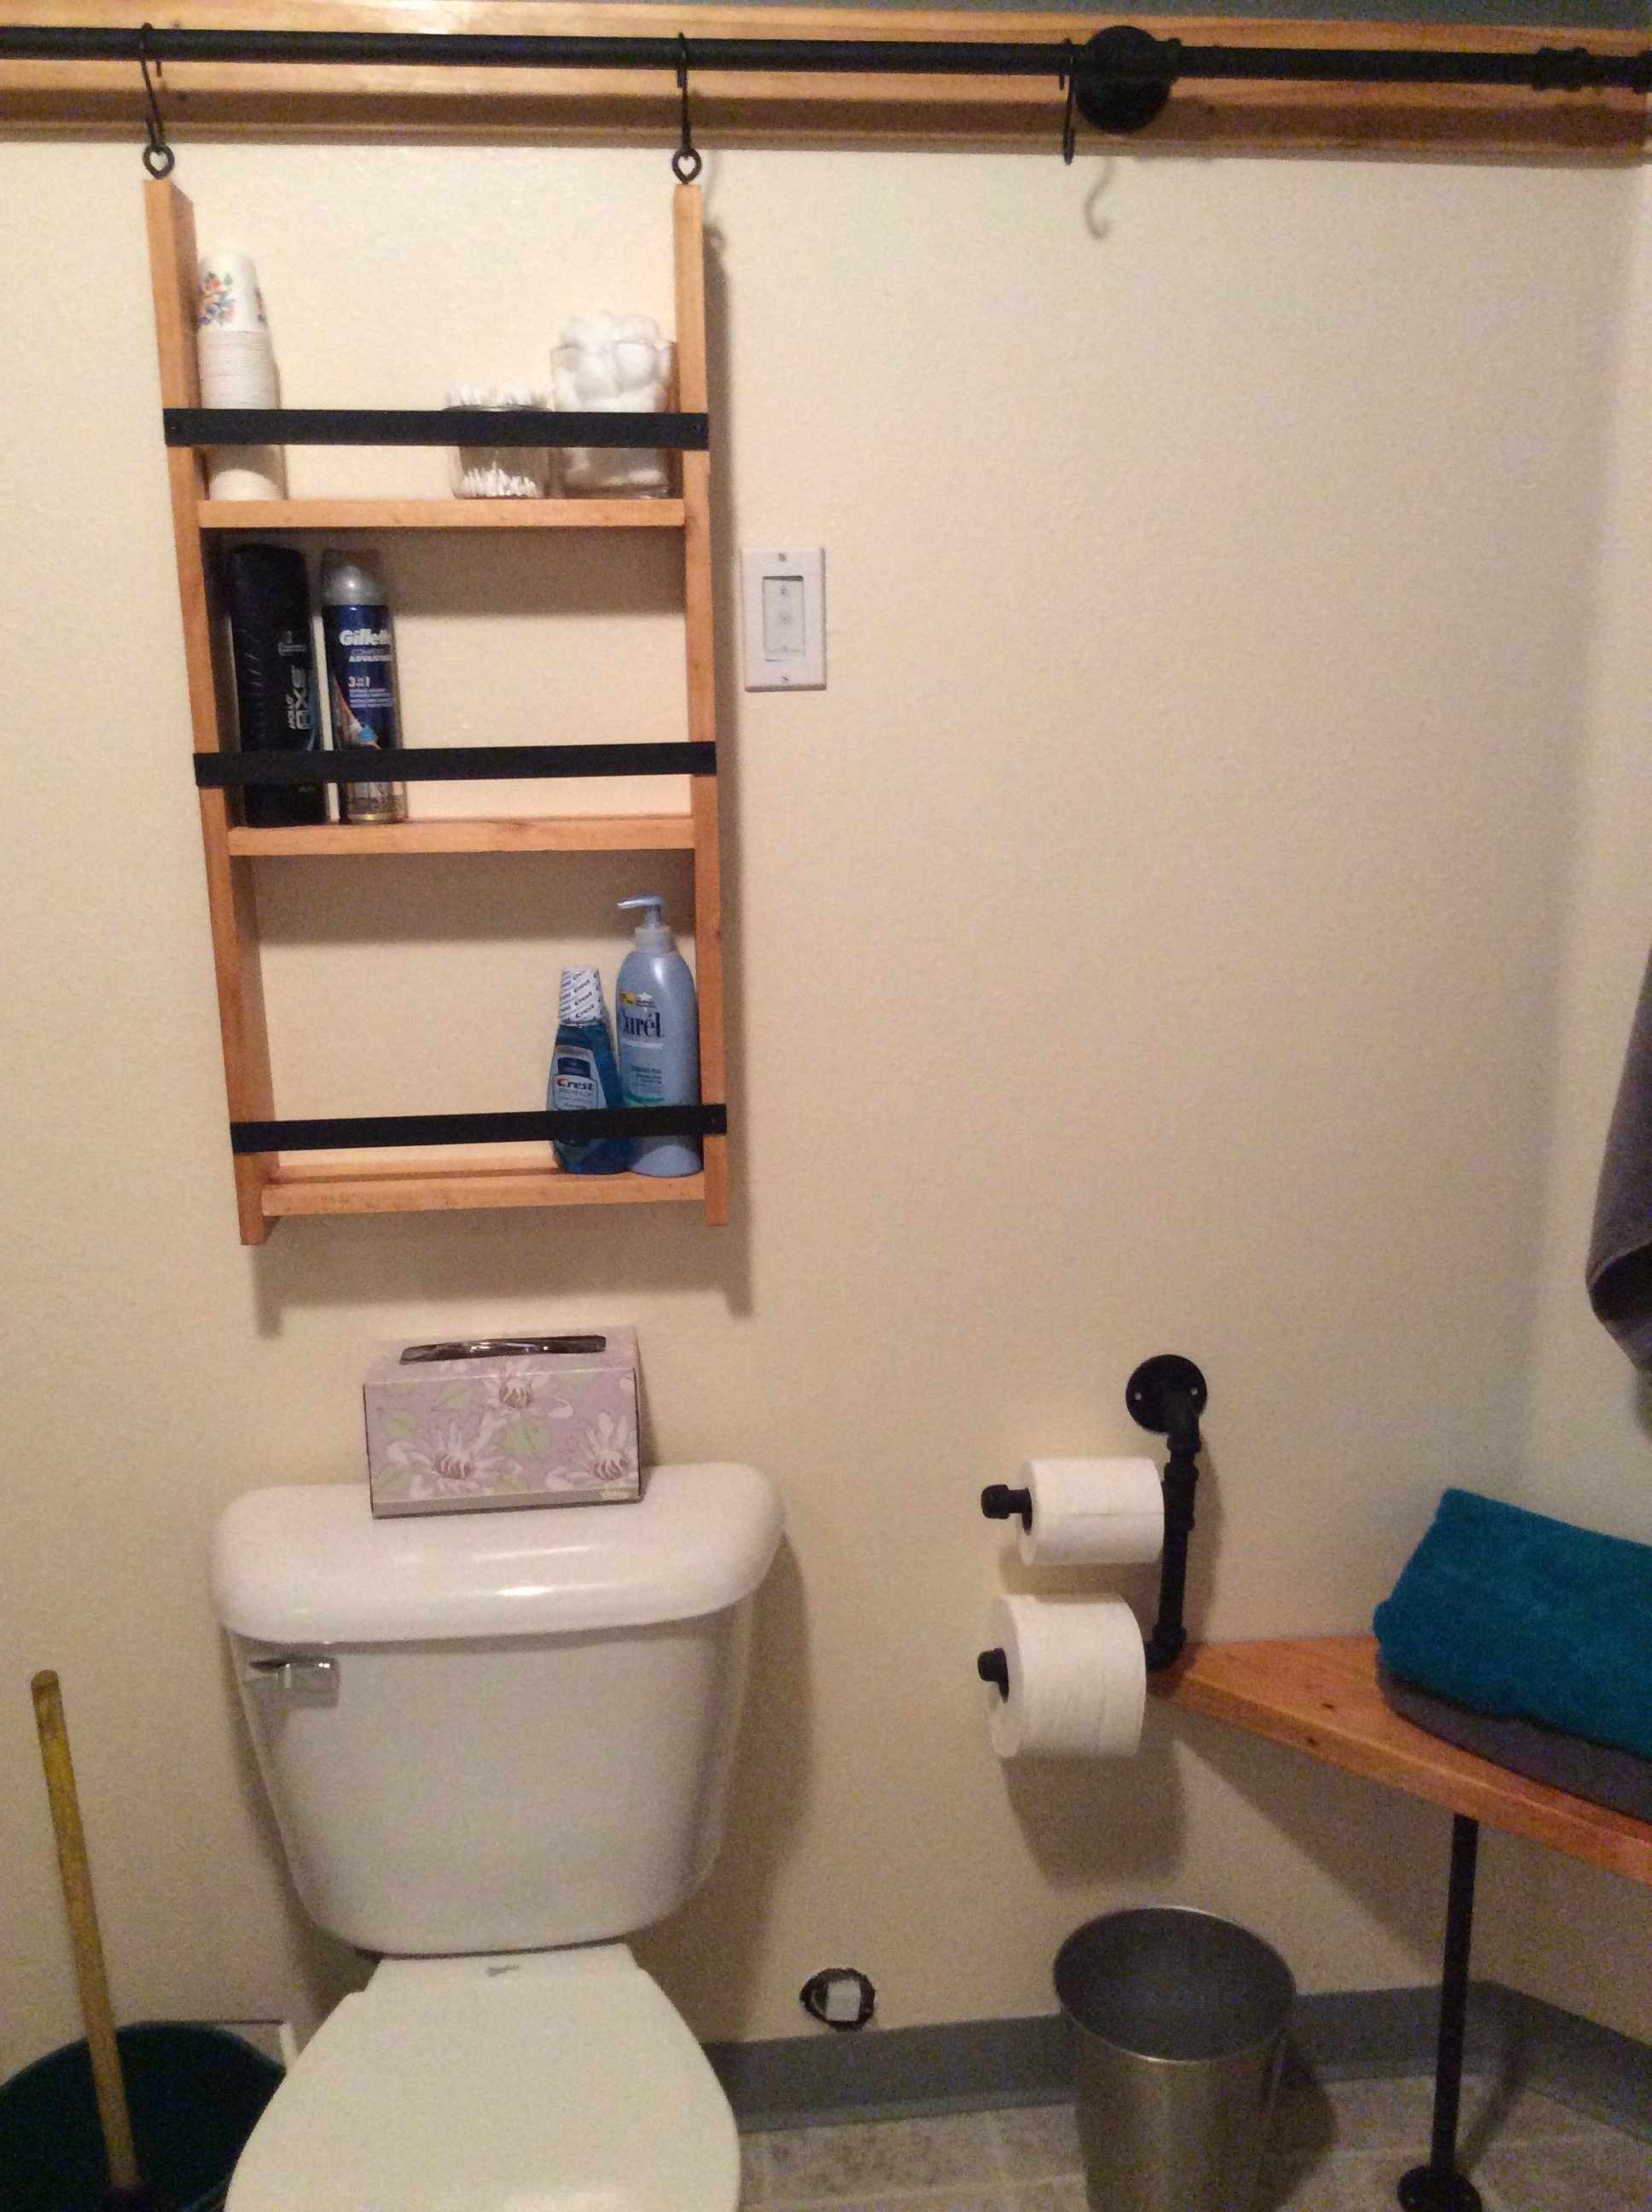
Went a little crazy on the pipe project, but love it. My favorite thing is the bench. My husband loves the toilet paper holder.
I modified these plans a little. I added some tongue and groove breadboard ends, and used Rockler table top fasteners to attach the top. I worked on it in my spare time after work a couple days a week for about a month. I'm happy with the overall outcome!
For my second project I wanted to build something a little more difficult than a shelf. The hubby showed me how to use our power tools and I was unstoppable. I chose this great bench because it fit the feel of our house and I wanted an entryway spot to sit while putting on shoes.
The finishing took much longer than it actually took to build the bench. I thought it would be more difficult to get the precise angle measurements to make the supports under the bench, but it was not bad at all. I can 't believe I built this pretty bench! I have the building fever now!
Mon, 06/13/2011 - 13:18
Loving the price and build! Good job on this! looks perfect where it is too!
In reply to Looks Great! by mandylynn523
Thu, 08/18/2011 - 04:33
Hello. My hubby and I are in the process of building this bench. Basically just have to put the top on and finish the staining/painting. We are doing a black bottom and stained top. I have a hard time w/angles so my husband tackled that but I have to say, he had a hard time with it as well. Glad you had an easy time of it! Can I ask how you attached the top?
I love this storage bin from plans at morelikehome.net, and it was easy to build, too! It's nice and big, about 21"W x 21"D x 18"H. I selected 3-6 hours as the time spent, but to say closer to six would be about right. I need a large work surface in my sewing room (I'll be building the storage table as well),and a place to store my "stuff".This should be a pretty good start!
I build this last minute for my daughters room makeover. I worked through the night, but got it completed and painted just after sunrise. (I slept good the following night!)
This was so easy to make and it's so sturdy and beautiful. Rough cut cedar using 3" exterior decking screws and wood glue. Had a blast making it with my wife.
I built some French Tuteur’s for the garden.
Fresh and ready for my new raised beds.
This was the first project I tackled by myself. I think I spent about $70 and used pine.
Sat, 09/17/2011 - 08:05
You are amazing!I want to make so much so little time:-)
Wed, 05/02/2012 - 06:00
Hello,
You are AMAZING! and it's a very nice table. Saw one at Pottery, but couldn't
afford the price tag and all other charges. Are you willing to share your plans or
do you have one already?
Thank you.
Wed, 05/02/2012 - 06:03
Hello,
Don't know if the first email was sent.
Just want to say you're AWESOME and the table is beautiful.
Saw one at Pottery, but couldn't afford the price and all other charges.
Do you have a plan that you're willing to share or post?
Thank you.
In reply to Plans for Balin Console Table by chanice (not verified)
Thu, 05/10/2012 - 06:52
I used Ana's plans! Here is the link:
http://ana-white.com/2009/12/plan-balin-console-table.html
Good luck! :)
Sun, 09/28/2014 - 14:22
Can someone please be more specific on the drawers, I made the cuts exactly as it says and i have a gap on top??? Or are their any pictures like there was for the rest of the table??? I'm so close and I love the look but these drawers are going to be the end of me lol
Sun, 09/28/2014 - 15:25
Hi StaceyMc,
First of all you made your drawers correctly. Here is a old furniture maker trick to solve your drawer problems.
Looking at the plans they ask for a 1/8" gap all around. The problem with that is that a drawer sits in the opening with the bottom of the drawer tight to the bottom of the opening it sits in. When the drawer does that it makes the gap at the top a 1/4". ...Much to wide compared to the other sides....
The solution is to raise the drawer up in the "opening". Use two thumb tacks on the "bottom rails" of the console ...where the drawer sides slide in and out. Do this for each drawer. If that isn't high enough you could put a small washer under the tack to raise it higher.
Now if that isn't high enough I do have other ideas to make your drawer work. Just let me know.
Then only after you have put the finish on your master piece. Apply wax or a candle works, to the bottom edge of the drawer side to make it glide in and out easer. Just rub the wax back and forth quickly, "to make heat" and it will adhere to the wood.
I hope you enjoy your adventures in woodworking! :)
Thu, 09/30/2021 - 20:10
Thank you so much for adding this tip about the drawers!! You’re awesome!
I love this headboard :)
We finally completed the tufting portion of the mantel headboard tonight and it looks great! Anna's design was easy to follow and the tufting part was easier than I thought...I followed http://www.cape27blog.com/2013/03/tufted-headboard-tutorial/ for the tufting portion.
Can't wait for the next project!
I built this for the three little ones to get ready for school and have a place to hang their backpacks.
This was a piece made by my husband for our outdoor living/patio area! Love how it turned out--and the walnut top was worth the extra money. Same wood that he used to make a fireplace mantle in the same outdoor area. The plank doors were leftover pieces we used to cover a ceiling, and created a great result. Found the Annie Sloan paint (Parisian Grey, I believe) and wax on a Buy/Sell Facebook site in our neighborhood and saved a little money.
My first woodworking project. Found the instructions very easy to follow. Took me a couple weeks because I only had a few minutes to work on it at a time. Biggest issue was I happened to have picked up a few warped boards.
Thu, 06/23/2011 - 07:12
Looks great! Love the yellow! I just finished making this headboard as well. Need to take a picture and get it up on here. :)
We needed a twin XL for our 17 year old grandson. This platform bed was perfect. It didn't take much to change the plans for the XL since it's the same length as a queen bed. We added the center support simply for added strength and changed the legs to make them longer so I can put wheeled drawers underneath the bed for added storage.
I saw Jen's one board challenge post and realized that some wood I got for free off CL a year ago included the right amount of walnut. This seemed like the perfect plan to utilize this beautiful wood in a worthy way. I did not have a 1x8, so I made a butcher block kind of top, which I think I like even better since the colors and grain vary.
Placement of the connecting bolts is quite tricky and led to some misplaced holes : ( The stop blocks to the side of the legs aren't mentioned in her plan, but pictured, and are recommended in order to stop the legs from splaying too far. I used pocket holes for all joinery and no stain, just poly for the finish. The final coat I watered down some water based poly and wiped on for a smooth finish. Love it!
My wife and I are expecting our first child so I wanted to make a toybox for his toys. I liked the plan that i found on this website since the front piece had the cutout to reduce fingers getting pinched. I also added some spring assisted hinges to make help the lid stay up and also close a little softer than just regular hinges.
My overly ambitious first project, a laundry sorter! (Modified from Shanty2Chic plan: https://www.shanty-2-
Farmhouse Table Plans. 8ft long, Antique Walnut Stain. Absolutely adore!
Mon, 12/10/2012 - 10:11
Thanks for posting the pictures!! This is really close to what I had in mind!
My wonderful husband helped me with this project. This was our first project from Ana White plans. This took us longer than we anticipated but I think it was due to the finish and dry time of each layer. We plan on making a second one to give us a set. I added a decorative knob on the back piece to hang a towel from or bag. This was so much fun, a huge money saver and now a one of a kind piece. Thank Ana your site is amazing.
Sat, 08/03/2013 - 18:27
Very cute!! Love the finish and the knob idea too.
Saw this table and wanted to put it in my kitchen, looks great.
I built the table and bench with the plans on this site and it turned out great. My finace stained the top with a miniwax stain and spray painted the bases white and distressed them. Also applied polyurethane to the stained tops. Probably have $100 invested in this project.
We had too many disorganized coffee mugs and needed a better storage solution. I took a couple of old cassette (remember those?) storage crates, did a chevron style back from old pallet wood, added shelves from the former dividers, and added a lot of clear coat. It functions well for us and was completely upcycled materials.
by Kevin
Comments
Linda7
Fri, 08/07/2015 - 09:41
Nice!
Nice!