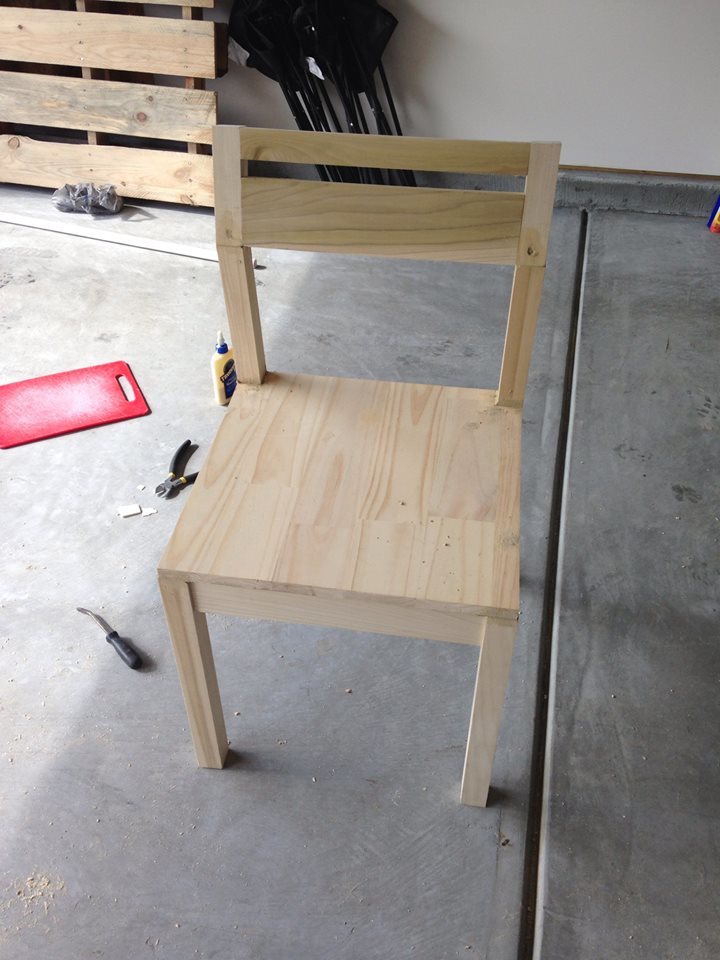
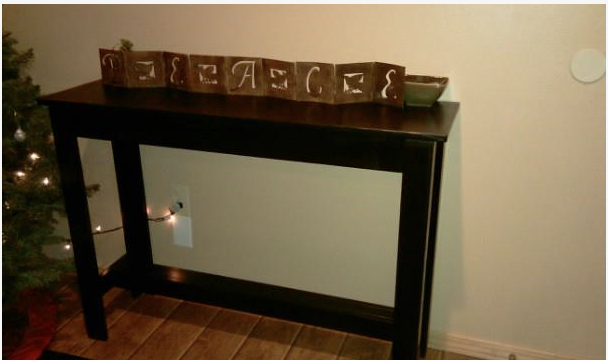
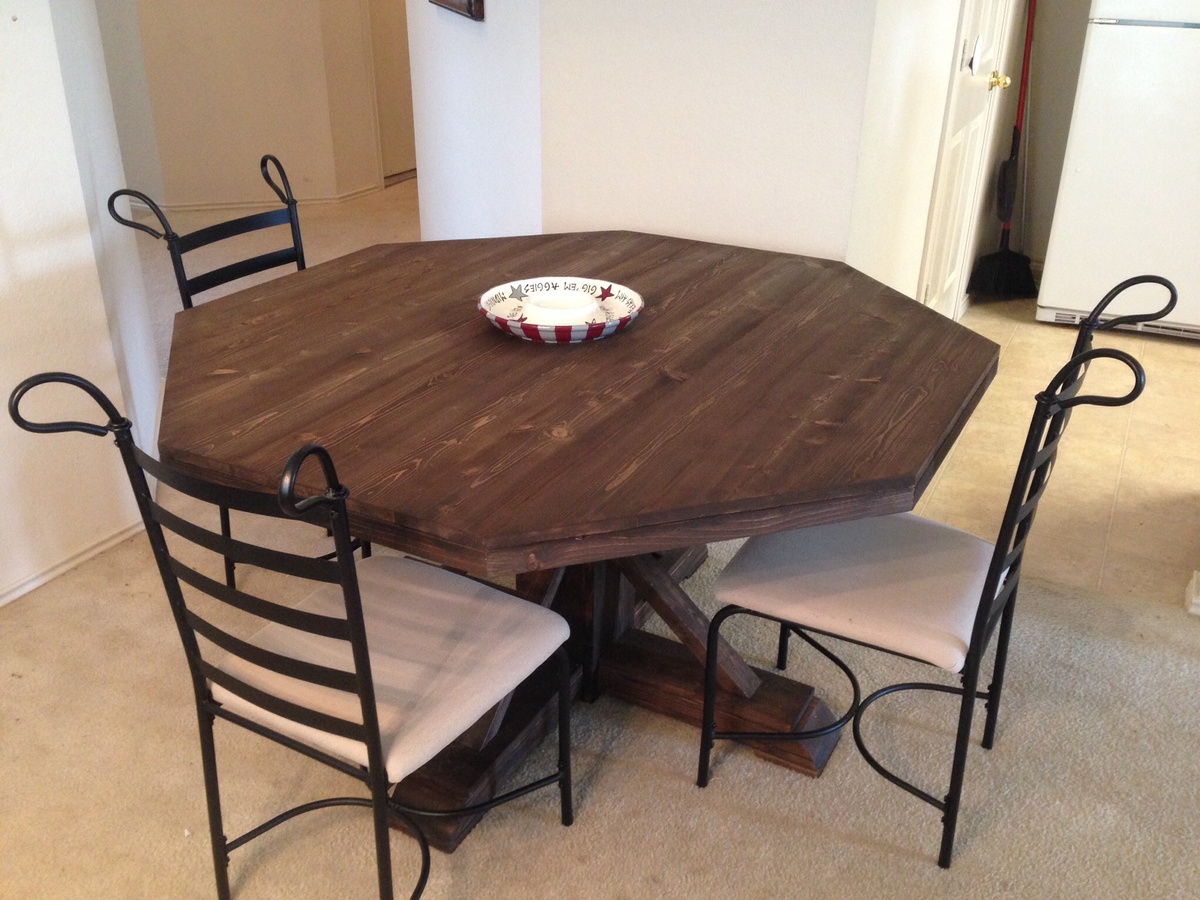
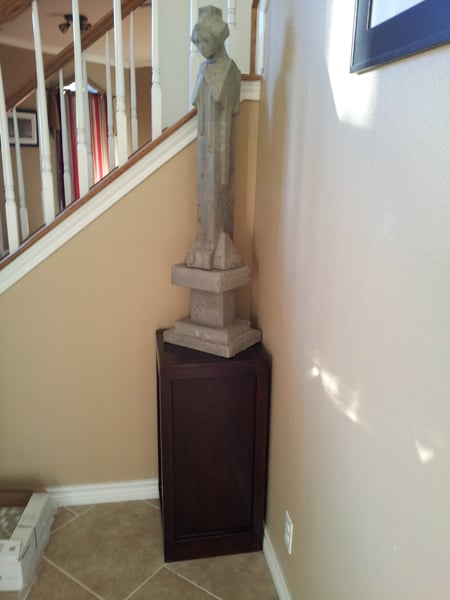
Statue/Plant Stand
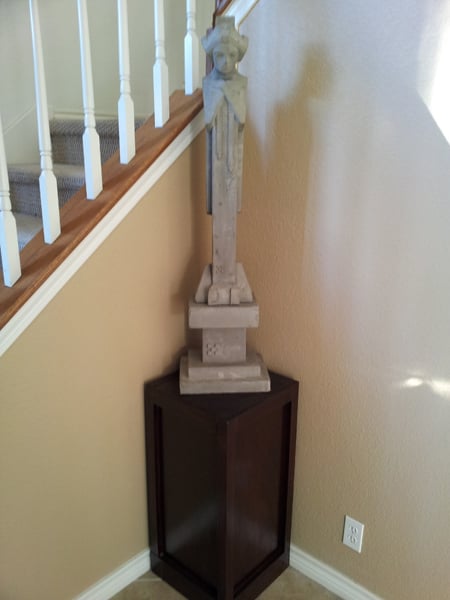
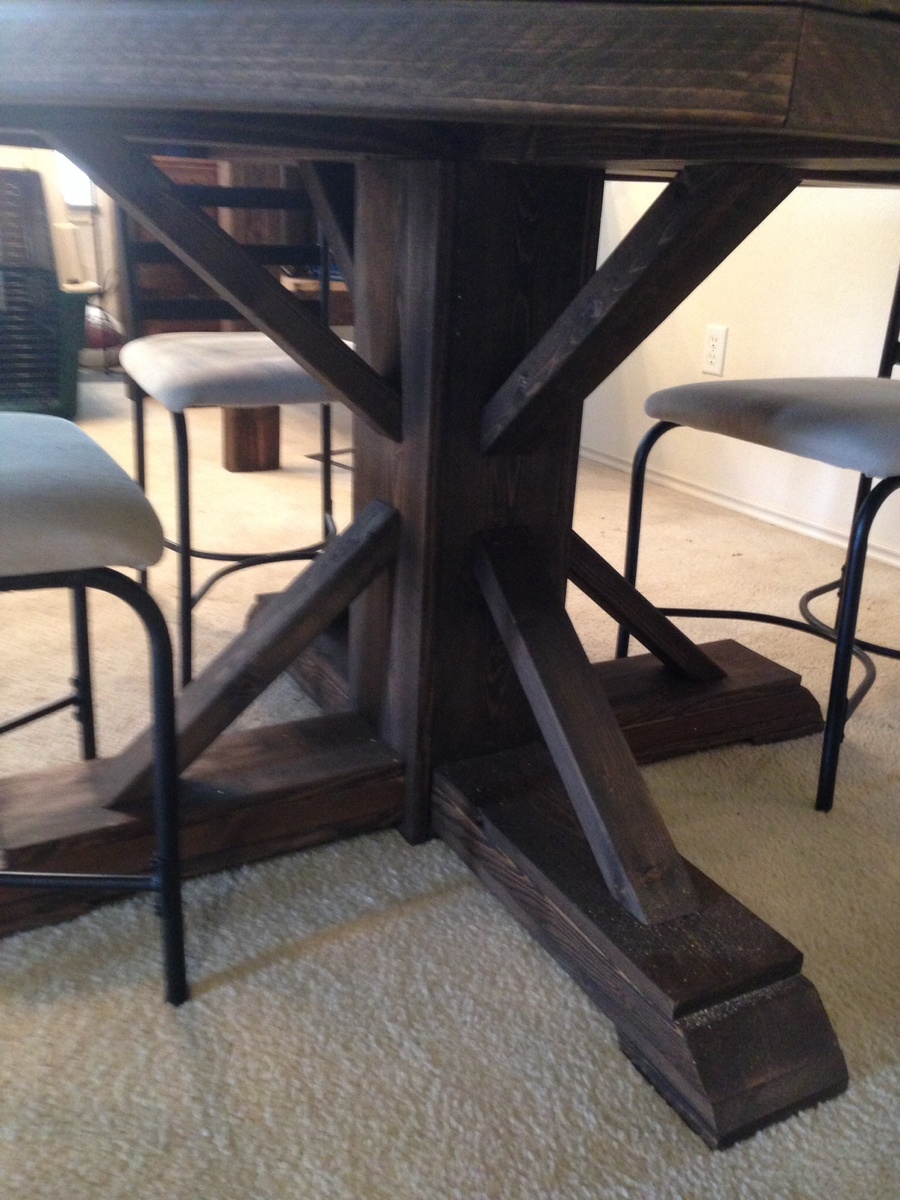
This isn't directly from a project but it was heavily influenced by the Benchmark Media Tower. I had made two of the towers (pictures coming soon) and had some left over wood. I used the same process to attach the 2x2 poplar boards to the 1x12 and added a 1x3 at the base to give it some visual weight at the bottom. I plan on digging through the rest of my scraps and make more of these to put vases and pots on. Why not! (sorry for the camera phone quality shots) :(
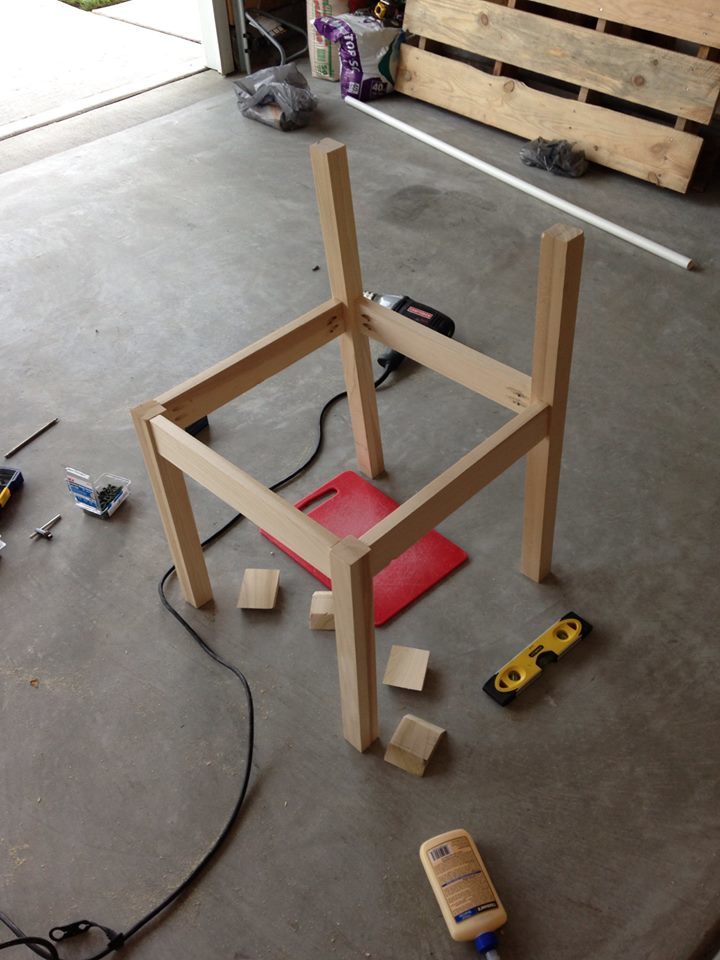
Built from Plan(s)
Estimated Cost
Mostly scraps from Benchmark Tower project
Estimated Time Investment
Afternoon Project (3-6 Hours)
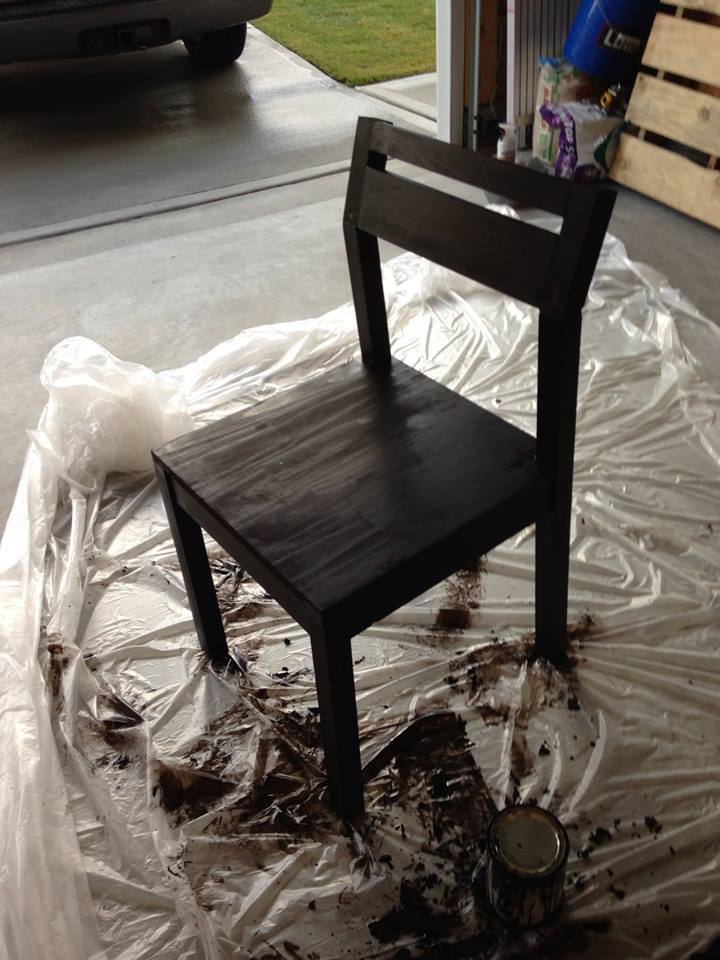
Finish Used
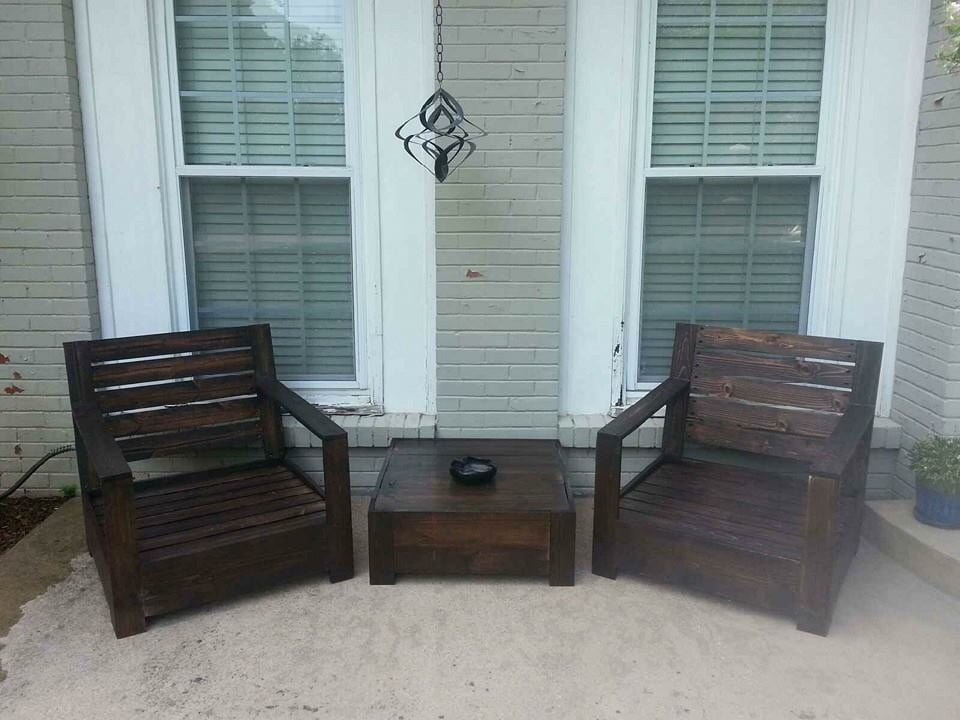
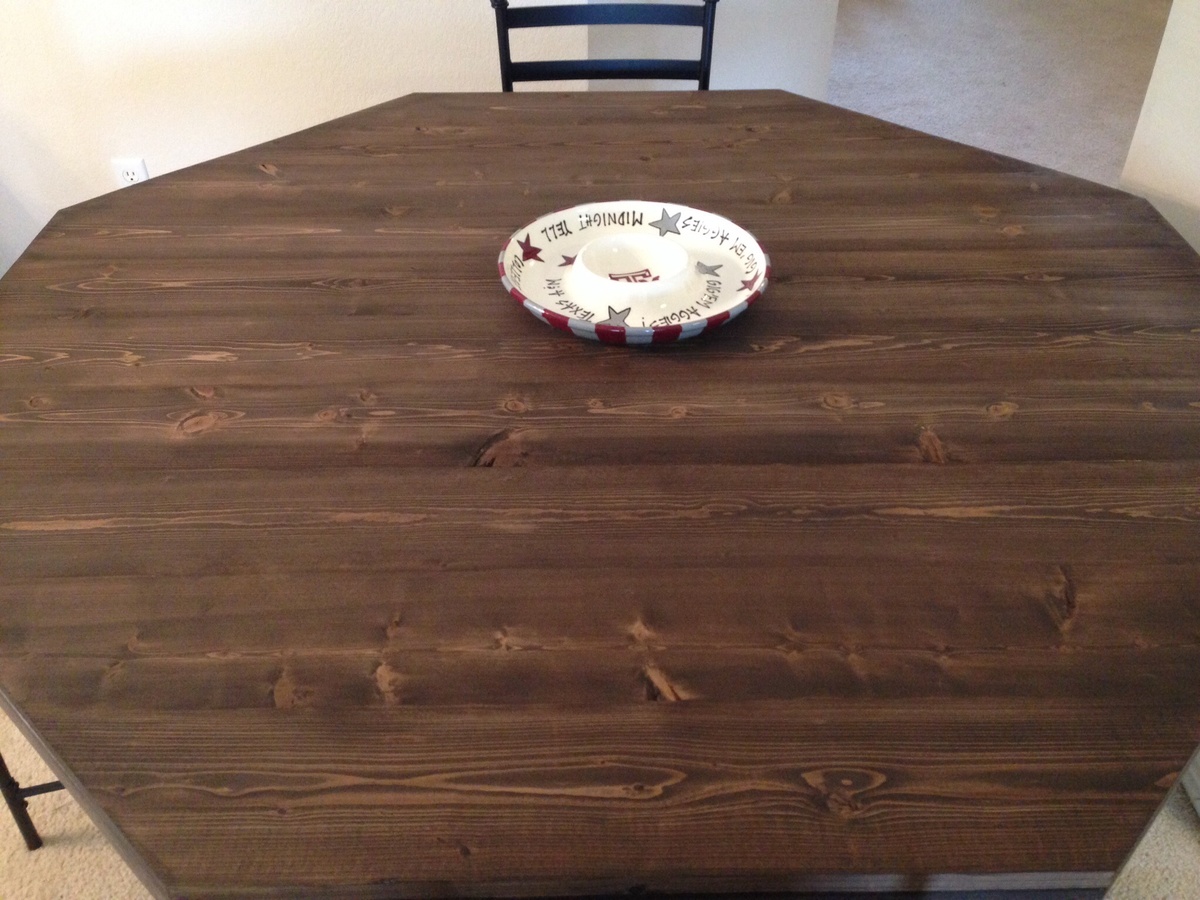
General Finish Rosewood then Minwax Mahogany (maybe the double coat was overkill but I was having fun). Afterwards I used Sherwin Williams Quickdry clear coat.
Recommended Skill Level
Beginner