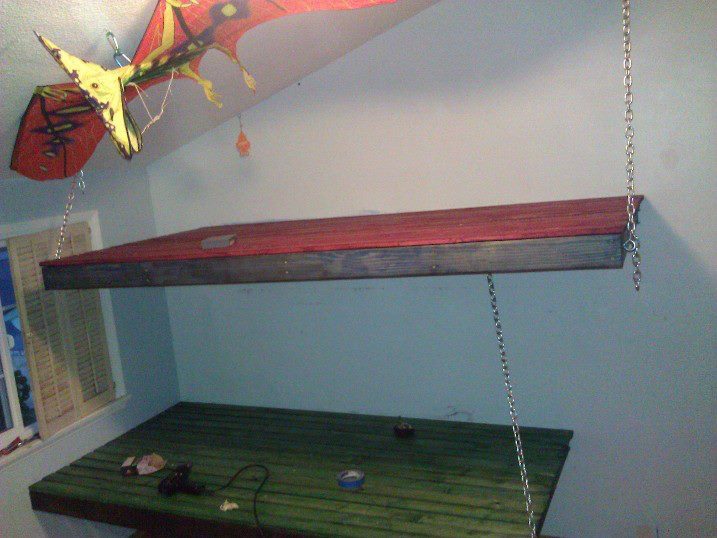
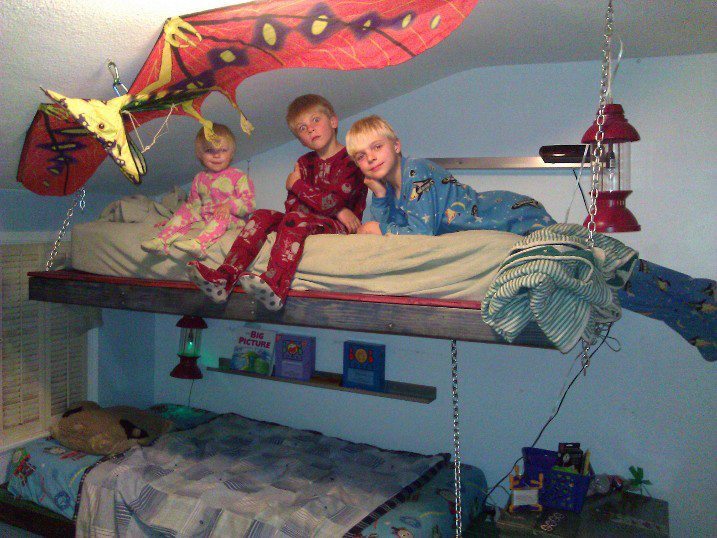
Toddler Canopy Bed
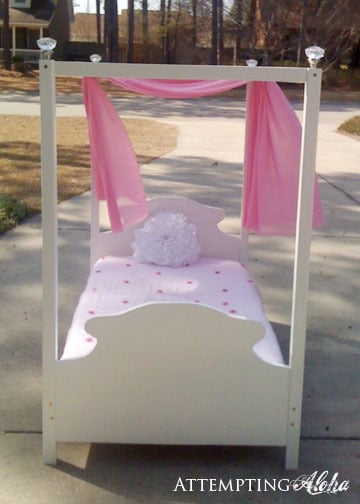
I designed and built this canopy bed without knowing Ana had already done a toddler canopy bed! Talk about reinventing the wheel. I should have known she already had plans up. ;)
Full plans are on my site, but I thought I'd add this as a brag post instead of a project plan since Ana's plans are already here. They're different, but the end result is very similar!


Built from Plan(s)
Estimated Cost
$20-50 depending on paint and finish supplies on hand
Estimated Time Investment
Afternoon Project (3-6 Hours)
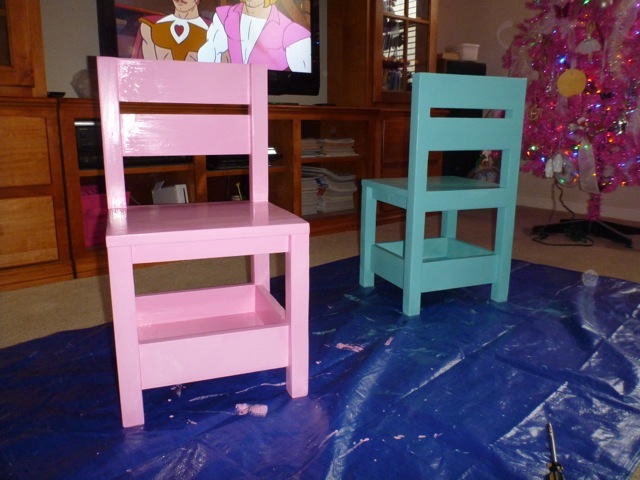
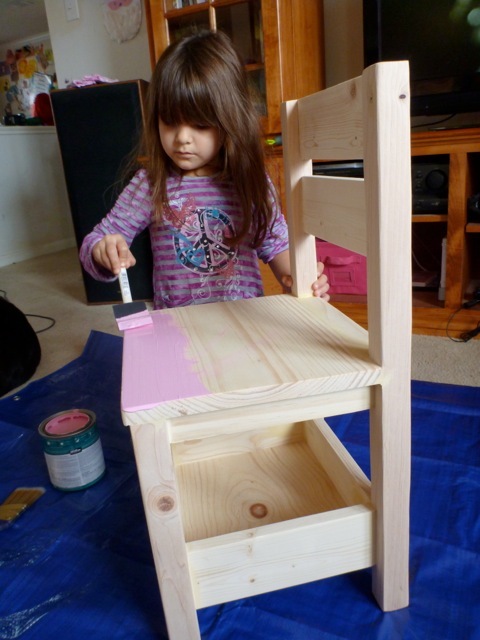
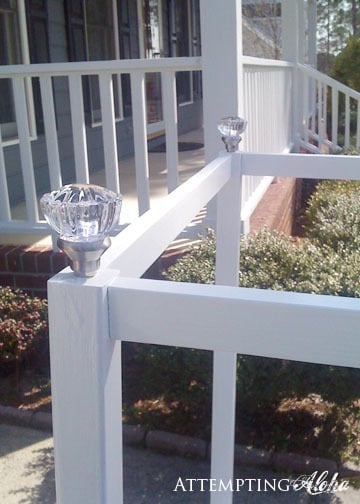
Finish Used
Zinsser water-based primer, semi-gloss latex paint, and polycrilic topcoat.
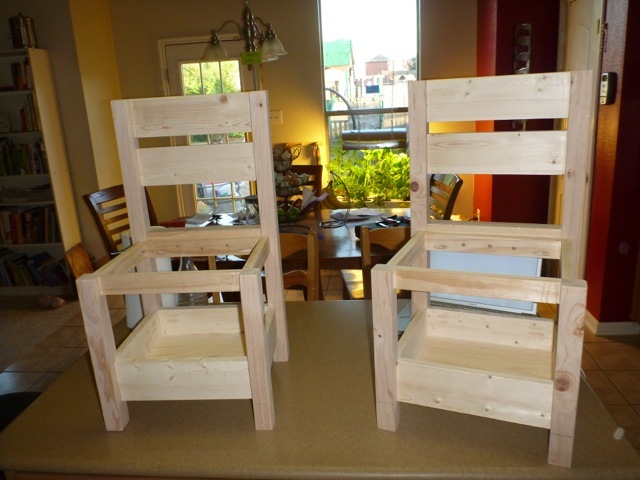
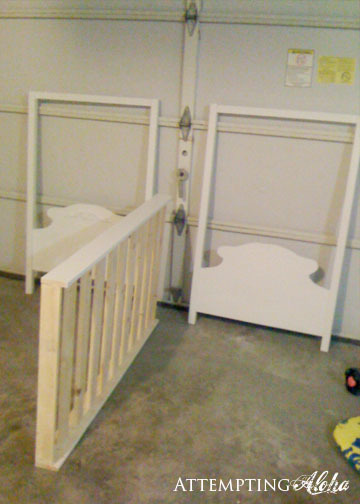
Recommended Skill Level
Beginner