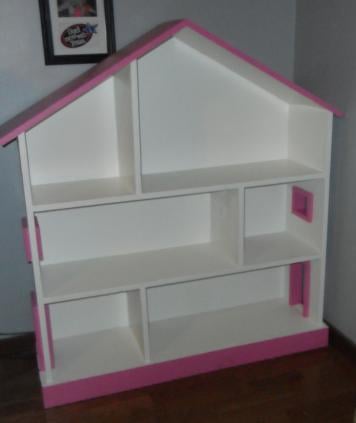
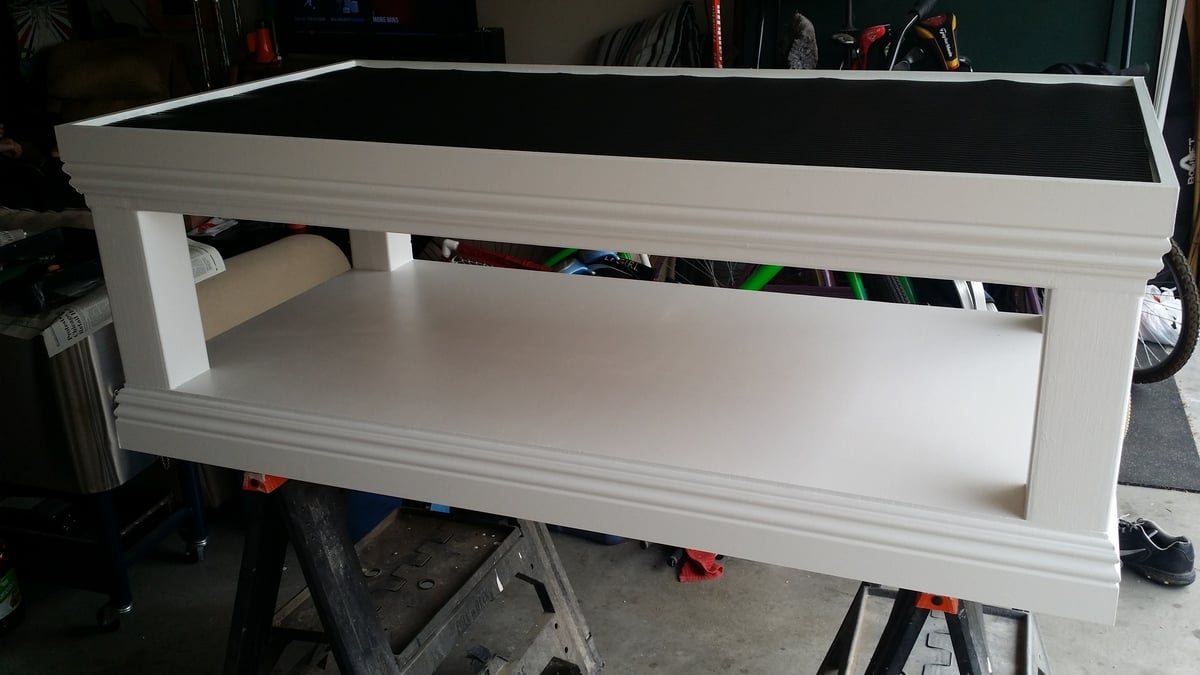
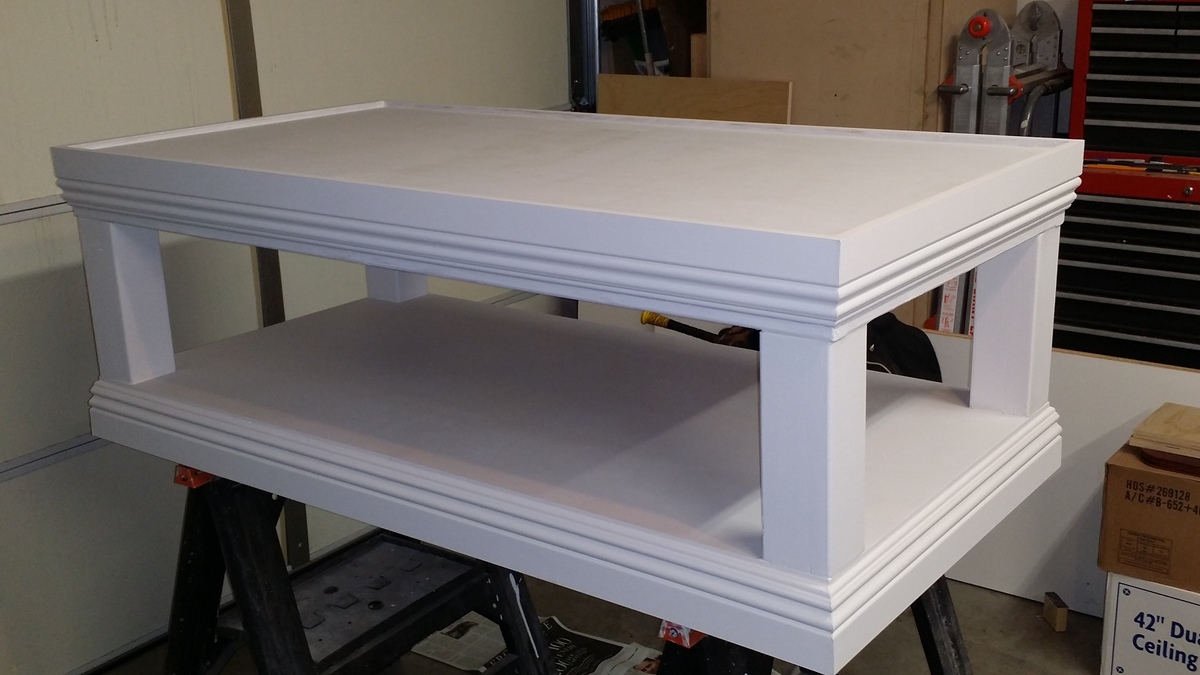
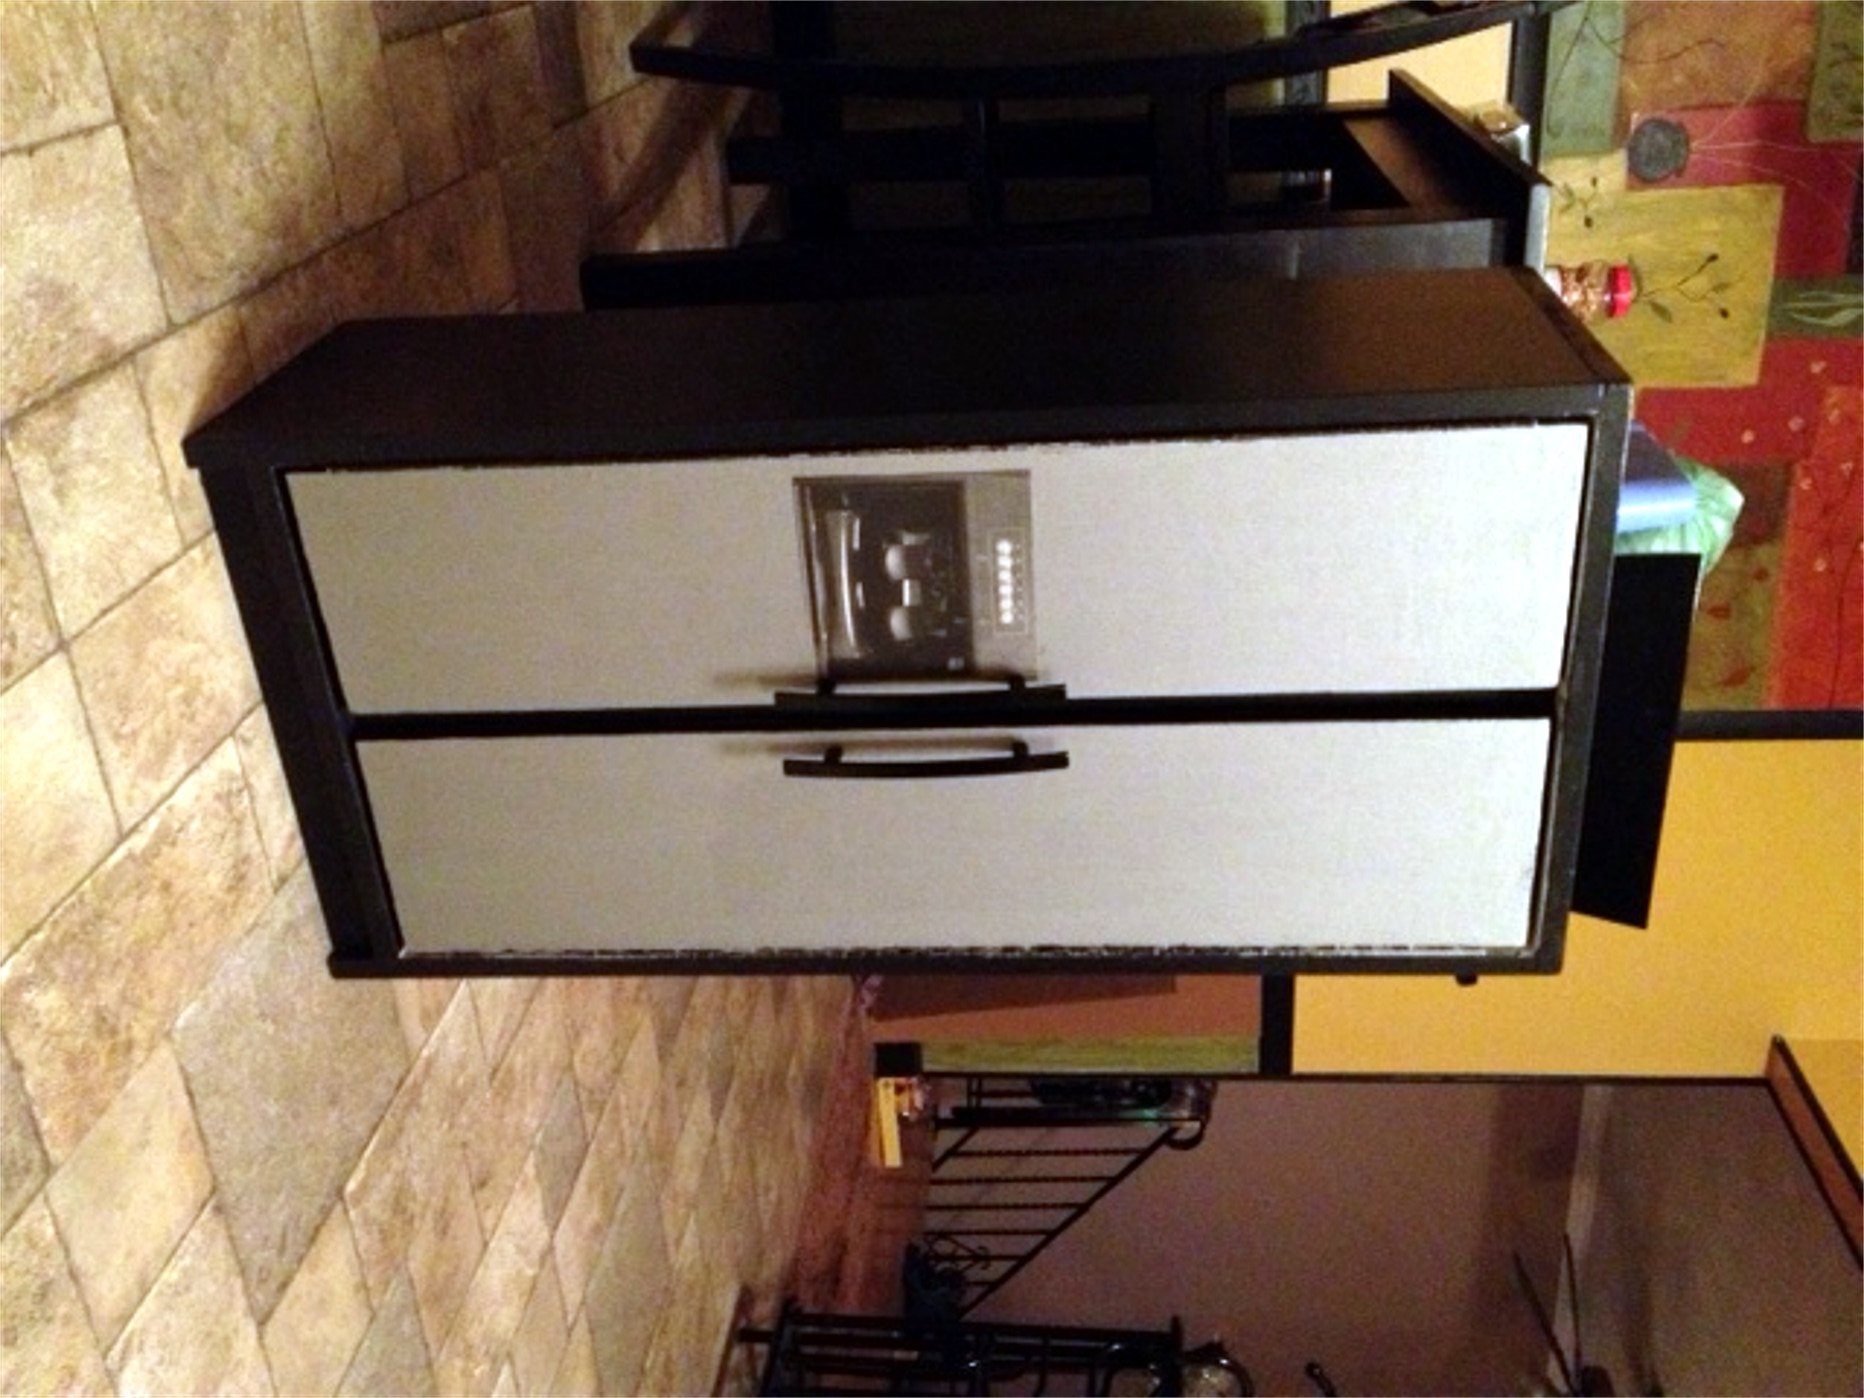
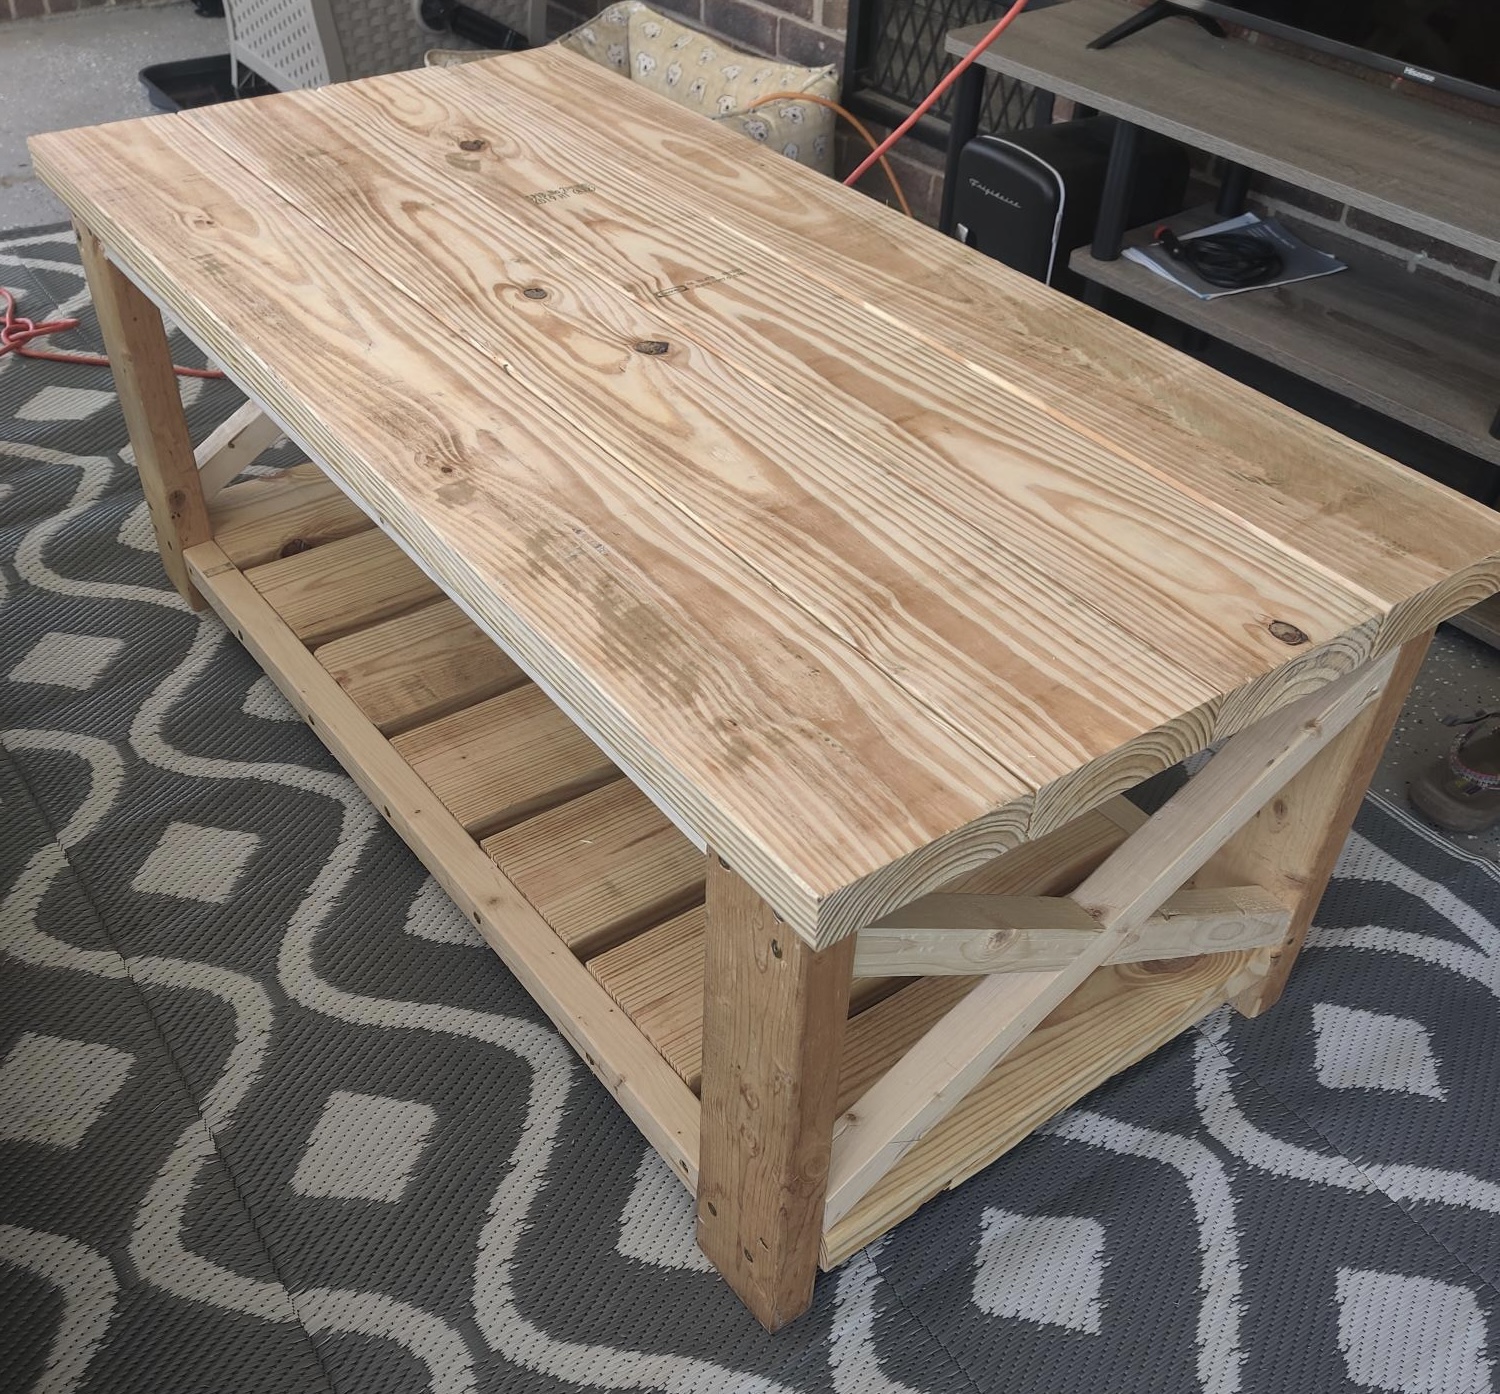
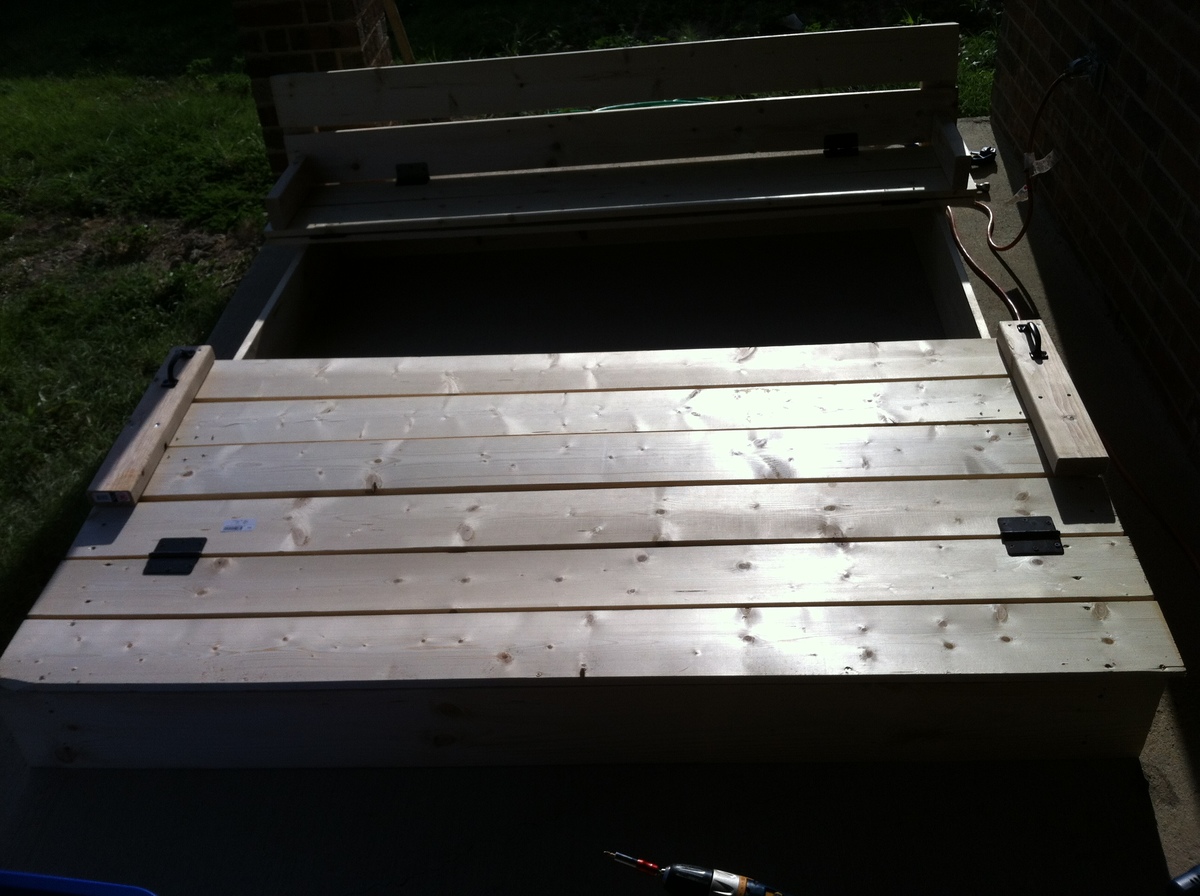
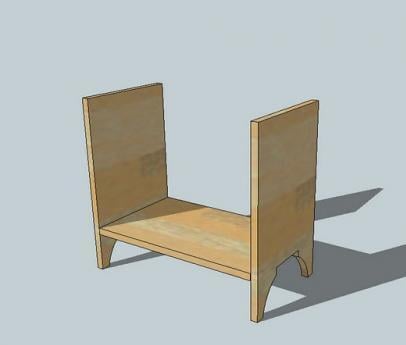
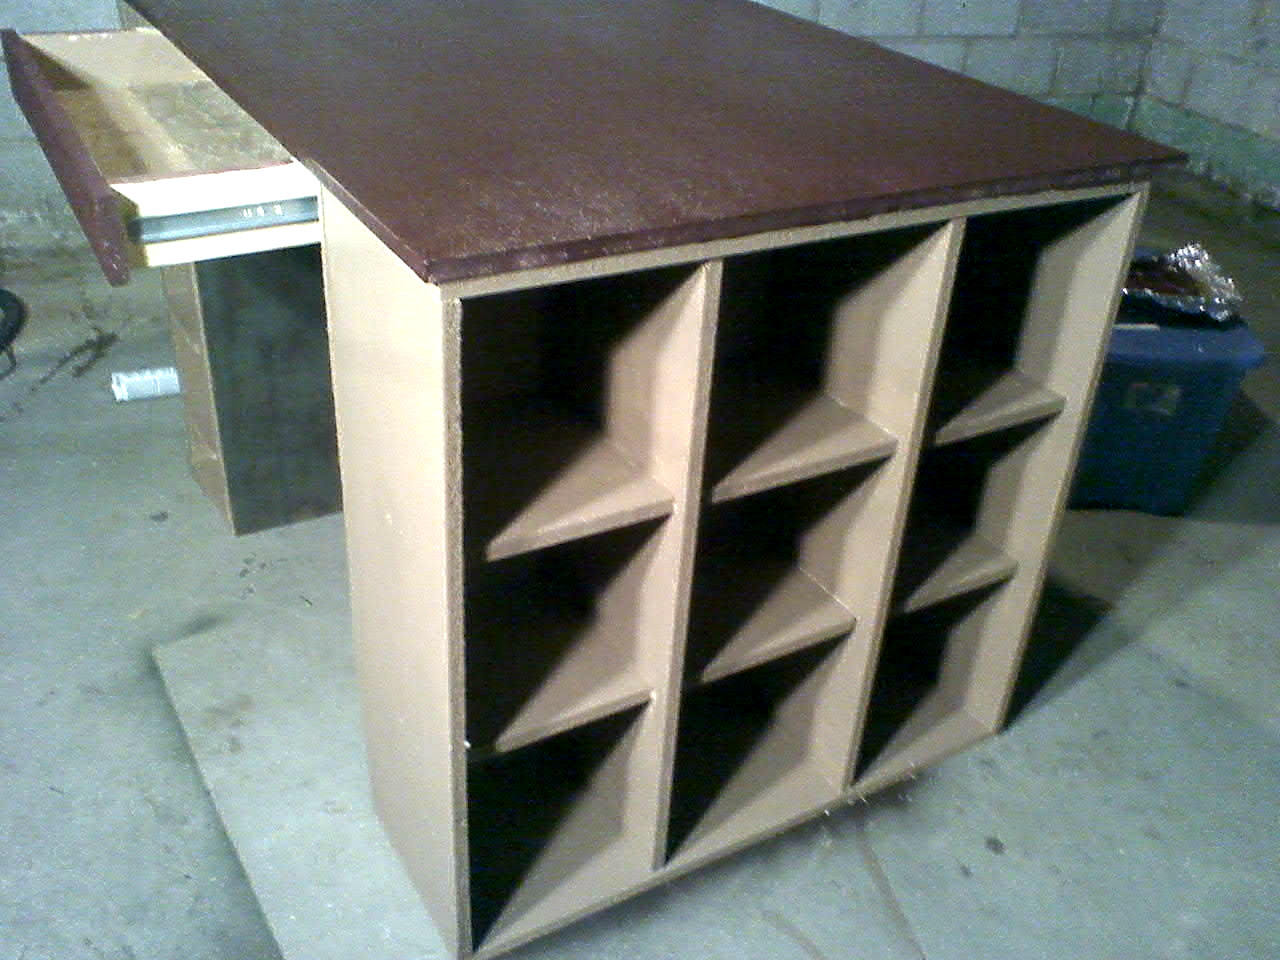
Craft table
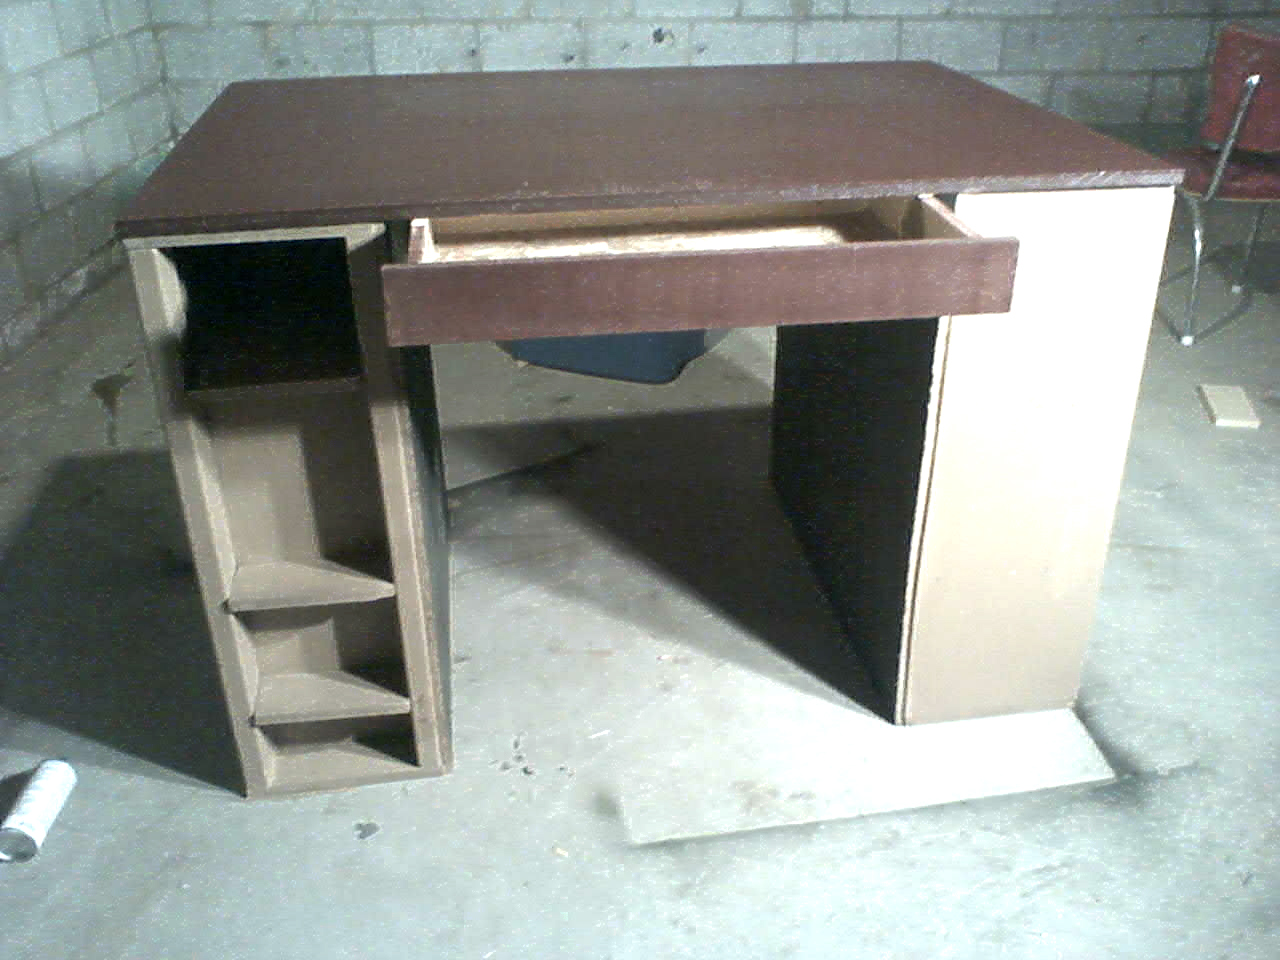
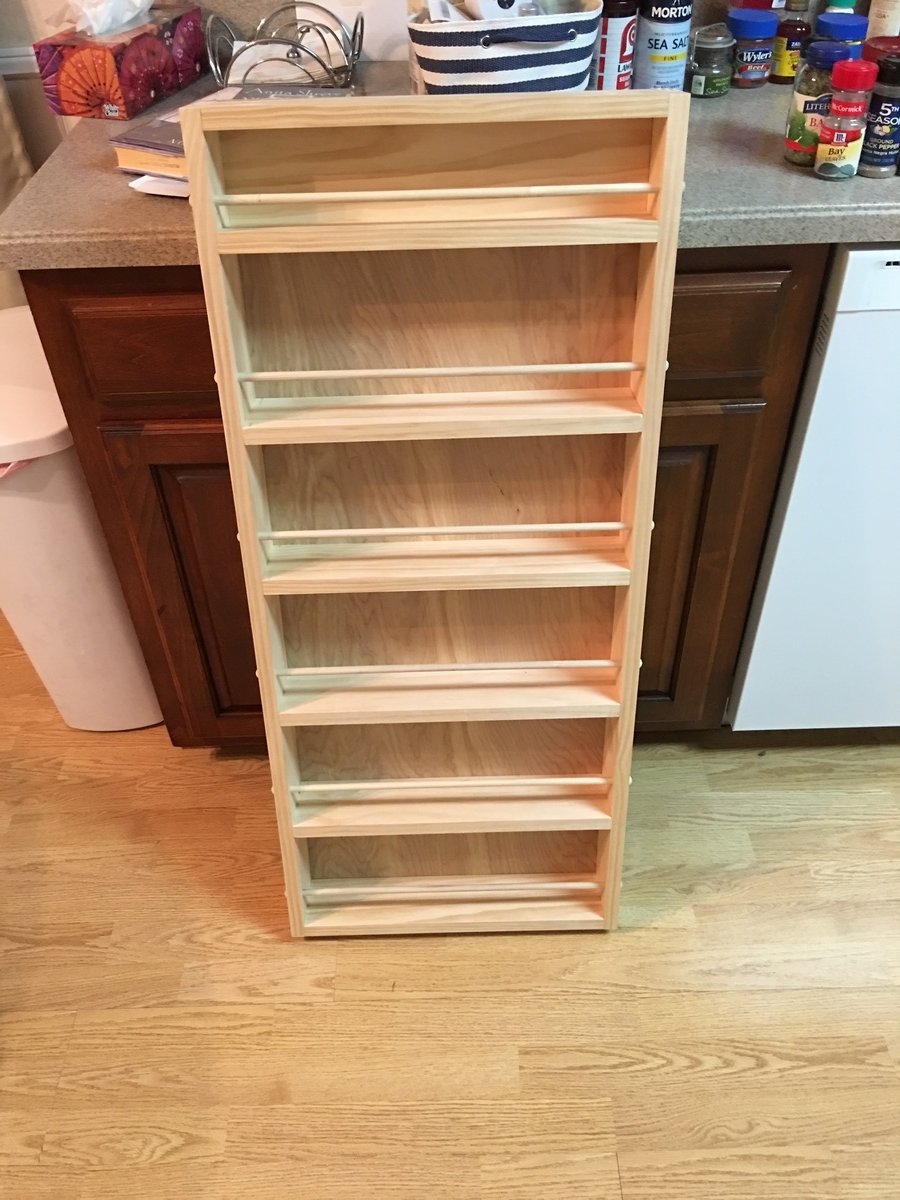
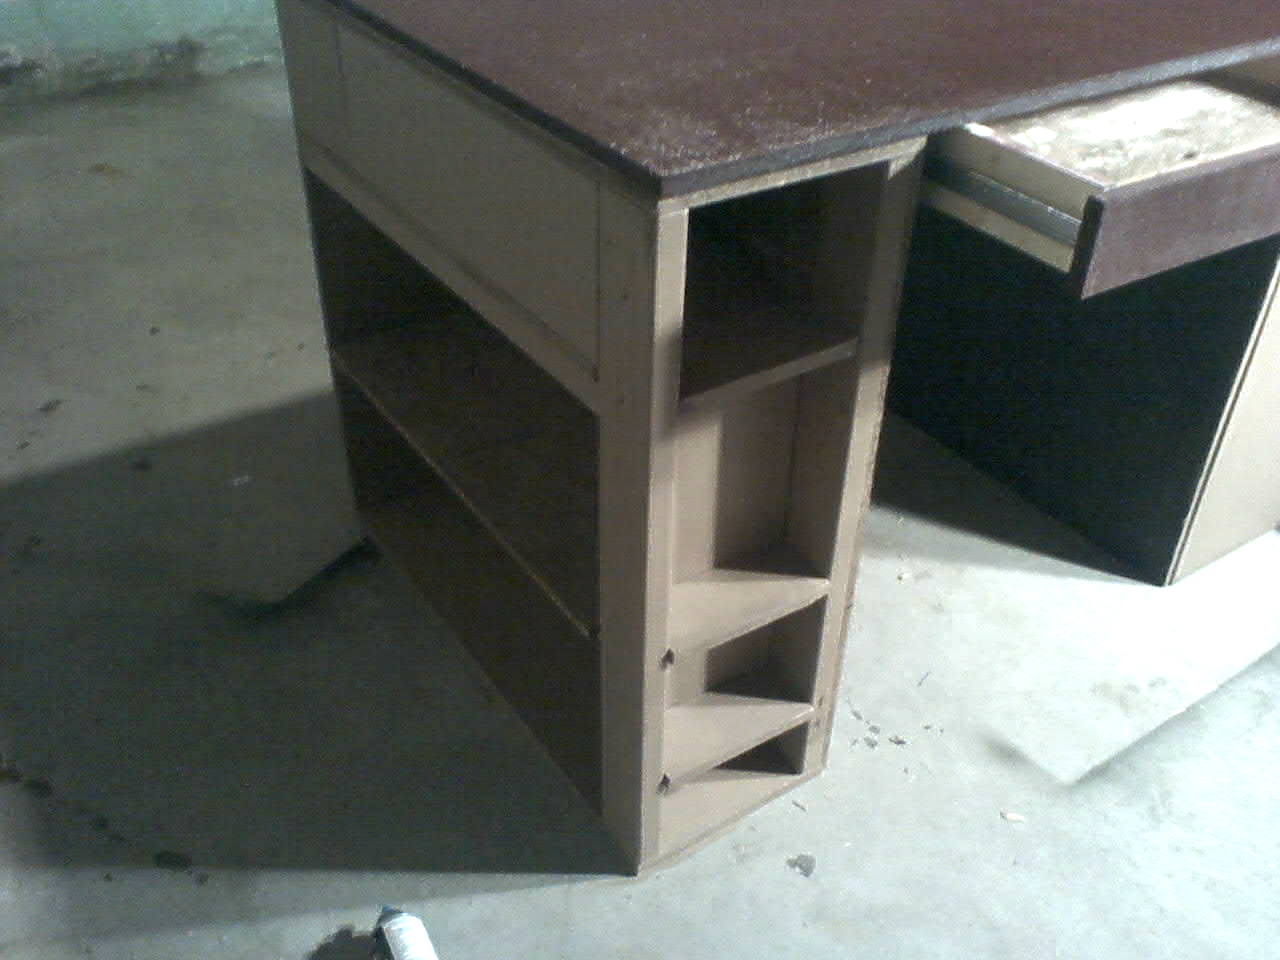
I used the plans for the cfaft table top and shelf but changed a few things. On the left side table i made a shelf/cubby hole for wrapping paper and some small shelves I think it came out good!
I tweaked the plans to fit the spot I had in mind- It's a little skinnier, but still super cute!
I eliminated some of the extra trim, but I don't think it suffers any for it.
It's super cute!
Thu, 11/14/2013 - 09:50
The "fireplace" looks really good! And I'm glad to hear how you did your floor. I've been trying to convince my hubby to do a 1/4" plywood floor in our trailer as a temporary fix until we can either afford to put down "real" flooring or build the house we have been intending to build on this piece of property for the past 17 years. I've pointed out that we can replace the almost 30 year old, worn-out vinyl and carpet in the living room, kitchen and main hallway for less than $300 including paint/stain and polyurethane. But he thinks it will look tacky. I'm going to show him your picture so he can see for himself that it can look pretty doggone good!
I built the plans exactly as given (minus the top of course) but in hindsight I would have reduced the height by three inches to accommodate for the three inch height of the upholstery foam. I am still very happy with it!
This is the first bed I built for my daughter when she was about 3 years old and we were living in Colombia. I was able to get the people at the hardware store to cut most of the wood for me which helped since we were in a very small apartment and I put everything together was a $40 starter drill kit. In the end it came out great and she was very happy with it. When we moved back to the US and I had access to more tools and workspace I built her a Little Cottage Bed which was a much harder build but worth it.
Inspired by outdoor sofa plan I saw on the Ana White website... wanted to customize by using larger cushions (29" wide) adjusted the plans for wider cushions and more relaxed sitting posture so pushed the back support angle further back by 4 inches. Added legs since we were wider. My wife is super pleased and build came out really nice. Thanks Ana for the inspiration!!
Not bad for our first project...We love it and so does our daughter! Followed the directions except we did 1x10's instead of 1x6's and we left one inch to hold the mattress on instead of the 1/2 inch it called for since we bought her a foam mattress it needed a piece of plywood for extra support.
Been waiting to tackle this project for months. This was more for a place to put our laundry baskets while our laundry was being washed and dried. We come through our laundry area from our garage and so do most of our guests as our front door is a long way from parking. Tripping over empty laundry baskets no more. The opening for baskets is 11.5", which also elevated the opening to clear the dryer exhaust out and allow our units to push back a little closer to the wall. The floor and top were framed using 2x4's cut at 26" and a kreg pocket hole jig. 4x4 posts 11.5" were attached using the kreg jig and L brackets. 3/4" plywood sheeting the top and bottom cut at 55"x29". I did save a little money by only using one sheet of plywood. Full cut for the top, pieced together on the base in the back using excess from one sheet. 3.875" base moulding was used on the top and bottom to cover the seam where the 3/4" plywood sheet for the top and bottom meet the framing. The moulding on the top was inverted, and raised 5/8" over the plywood sheeting top to create a lip so the machines would not slide off the pedistal. Didn't want too much dressing up, I like clean, straight lines. A coat of primer, and 3 coats of semi gloss white paint. I put a sheet of the black rubber runner from Home Depot in the carpet roll area like Chris did, for some noise dampening to prevent our washer from walking at all. Tacked down with black carpet tack nails. The hardest part of the whole project was hooking the washer and dryer up in the tight space we have after getting the units on the pedistal. The dryer exhaust vent pipe in the wall is behind the washer, so I used adjustable rigid exhaust vent elbows to route the flexible exhaust duct through the pedistal, tacked it up to the underside of top with zip tie's and then up and around the side of the pedistal to the dryer exhaust port. All and all a very fun and rewarding DIMyself project. Thanks Sausha....
I found the plans for this spice rack several months ago but did not have the time to build it. The spice rack was very easy to build with the provided plans and with the use of the Kreg Pocket Hole jig. My wife loves it. Thanks
Super easy project that turned out AMAZING.
I started this project months ago... hoping to give this to Marlee for her 3rd birthday... that was September. Here it is... 99.99% complete... 3.5 months past the deadline... Just in time for Christmas. I used the plans for Grace's Kitchen pieces with some modifications. I extended the cabinet for the sink... gave her a farmer's sink... and extra counter space. What kitchen doesn't need additional counter space??? I left it open storage for now... I wanted to add doors... but ran out of time... ha ha... The oven I added the drop down door below the oven compartment for additional storage. I painted the burners on her cooktop.. just like Grammie's... I couldn't find the handles I wanted in black... I had to buy the stainless ones and prime and spray them black... that was pricey ... The fridge has 5+ coats of magnetic primer under the stainless steel paint. I got a pic of an icemaker/water dispenser from the web and Mod Podged it to the freezer door. I had just as much fun shopping for her supplies as I did making the kitchen. Most of the food products are from Melissa & Doug... and mostly all made of wood!! Too bad she's only here a couple nights a month.... maybe I might have to have my own friends over to play when she's not here!!! Thank you Ana... once again I owe it all to you!!!!
Mon, 01/02/2012 - 08:31
This is probably the best one I have seen! Honestly - the fridge is fantastic and that sink is insanely awesome! I am jealous now lol....I am sure she loves it and who says YOU aren't allowed to play with it while she is not there ;)
Mon, 01/02/2012 - 19:12
Thank you. That's very nice of you to say, there are many beautiful sets on here. Yours is very nice too. I love the grill on your stove. That's a great addition.
Thu, 01/05/2012 - 18:31
I think the extra space is going to work out well. My granddaughter is already using it and if she didn't have it, I suspect she'd make my play sandwich on the floor!! I would like to make another piece, for additional storage and maybe a microwave, but I'm running out of space in her room!!!
Mon, 02/06/2012 - 19:08
Could you please tell me the dimensions of your sink & counter? Thanks,
Sun, 08/19/2012 - 10:30
Where did you find that cute sink? Id love to make this for my daughter, you did a great job.
Sun, 08/19/2012 - 18:35
Thank you, I built the sink. Just made a box and painted it with stainless steel paint. I really winged it with the sink. The counter top is two boards that were scrap from the fridge joined with pocket holes. I splurged and bought the faucet.
Fri, 08/23/2013 - 09:22
I love your kitchen set at first i thought it was the real deal. the stainless on black looks amazing what paint did you use to get the stainless color? also what did you use for the stove knobs they look real Great job.
We bought our first home this year and I wanted a new bed frame for my new home. This plan was perfect for our narrow bedroom in our small 100+ year old home. It fits right in with the character of the home and provides a lot of needed extra storage. I did try to make the drawers but as the instructions state drawers are tricky for beginners! So for now I will leave the drawers off. This bed is very sturdy. No one can believe I made it all by myself!
Sat, 01/25/2014 - 04:37
I think your bed is stunning and hope mine turns out close to the same!
This version of the Farmhouse Table was made with fir and finished with Varathane Early American stain. It is by far my favorite item in the house! Love it!
Sat, 02/06/2016 - 08:25
I absolutely love this table. I have a small kitchen and would like to build it counter height (36 inches...including the casters) measuring 30x54 inches. This will allow me to move the table as needed to get it out of the way or move closer to my stove and use as additional prep space as needed. Any recommendations or suggestions to make a safe, sturdy, movable table would be greatly appreciated. Also any warnings if you see any potential pitfalls I should be concerned with. Thanks in advance.
I haven't done much wood working but I found Ana White's plan and followed along with her video. Was able to easily assemble this beautiful table in one afternoon. Next step, sanding and finishing. I'm definitely going to try more projects.
I build Anna's version of this popular store's headboard. I love it! Cost includes wood and paint. I would have used poplar for the entire bed but my hardware store only had 2x2s and 2x4s in white wood.
This is the first project of any kind I have built from the Ana White website. It is for my grand daughter (her 1 year birthday present)I built this project from the large covered sandbox plan. I followed it pretty close to the original plan. Cut the wood at my home and then packed it in my SUV to be assembled at the grand daughter's home 30 miles away. It turned out great. Mom and Dad just need to get the sand out there now and we are set to go...
Fancy hall tree
Hi Ana,
I got your plans online as I always wanted to build a small, simple greenhouse - these plans were excellent, easy to follow and the job went way quicker than I thought. I did the work myself, so, even though 2 people would have really helped, some judicious use of clamps did the job.
I used deck blocks and standard deck flooring. This raised the structure up, as the low lying ground has a tendency to flood in the spring melt and I used old metal baseboards and leftover flashing to fasten a metal skirt to the structure to keep animals out. A bit of spaypaint to match the metal to the gravel. The wire shelving was inexpensive and I managed to get all of it from a local Habitat for Humanity store. The door I made from leftover wood from another project and some leftover cuts from the metal siding. I didn't need any special tools, but did use the project as an excuse to buy a Kreg Jig, which turned out to be really useful.
Mon, 09/02/2019 - 10:51
Wow, this is an amazing greenhouse! Everything about it, from the gravel pad with retaining wall blocks, to the finished door, is just spectacular. Thank you so much for sharing a brag post!
Mon, 09/02/2019 - 18:43
This is amazing, which plans did you use? I'm getting ready to build a greenhouse early next year, and was thinking of doing a pvc pipe structure with the panels like you have, but your post is inspiring me to go with the wood frame.
Loved this plan from Ana. Easy to follow and looks great. 100% reclaimed cedar.
Thu, 05/11/2023 - 19:39
Awesome build, thanks so much for sharing!
It's my first woodwork project and I went ahead on building a slide with a playhouse underneath. Took some of the ideas from Ana's playhouse deck plan. It took me awhile to figure out how to build the slides and steps though. The project is intended to cater for my 1 year old daughter. As you can see, the playhouse is not "there" yet as there's no wall surrounding the structure beneath the slides (there will be some soon enough). As this playhouse will someday be put under direct sunlight and heavy rain, choice of wood takes into account the tropical weather that we have here in Malaysia (I might have to put some heavy coating on that Meranti though).
Dimension wise it's a 4'X4'X4' structure with 1.5' steps attached at the side. The railing are about 1.5' high.
I was drooling over Ana's Faux Fireplace plan and it was perfect! Low profile, beautiful, and I knew I had to have it. We had a bunch of leftover 3/4" MDF and didn't want to spend any money on this project so we constructed the Faux Fireplace out of ripped MDF, a leftover 1x6, 1x2 and some quarter round! We made the faux beam top out of 1x4s as a slip cover that mounts to the wall.
We painted it with the off the shelf antique white paint by valspar that I had leftover and some "American Walnut" stain for the top. I painted the wall behind it in black chalkboard paint. This is the first piece of furniture we've made that pretty much serves NO function but I love it sooo much.
I put a basket in the opening with some christmas lights, burlap and chunks of 2x2s (I want some birch logs in there!) and they look pretty lovely when plugged in.
In reply to Marvelous! by JoanneS
Sun, 11/24/2013 - 16:49
Thank you! we soooo love it!