Large Tic Tac Toe Board
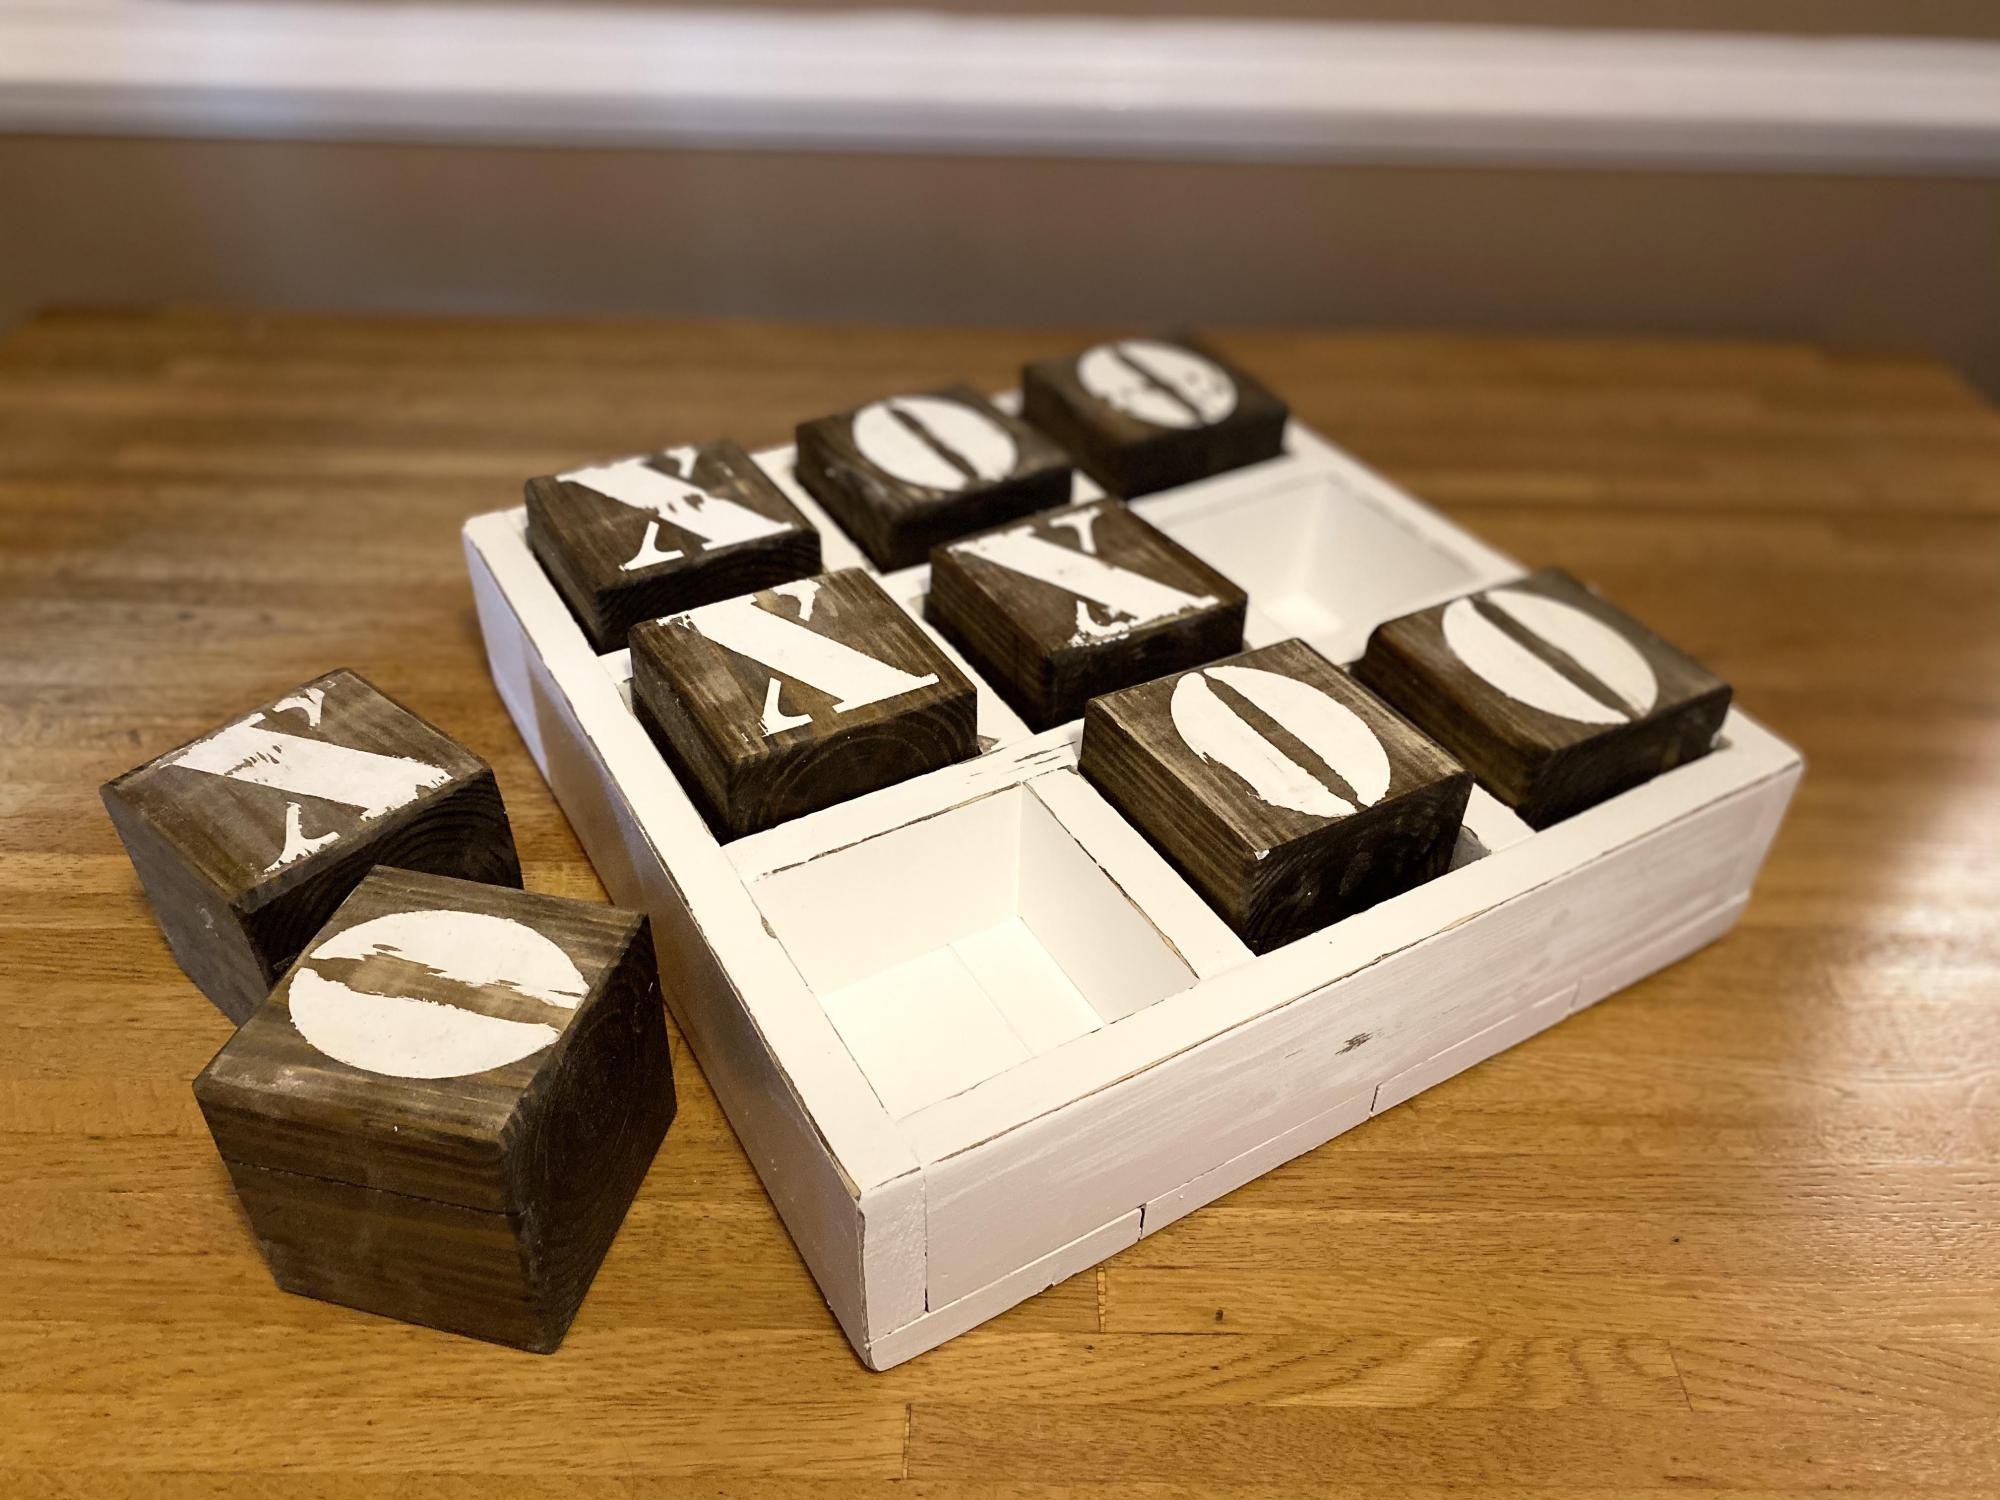
Took some liberties with this one and combined with another plan. My first stencil project.
Built from Plan(s)
Estimated Time Investment
Day Project (6-9 Hours)
Took some liberties with this one and combined with another plan. My first stencil project.
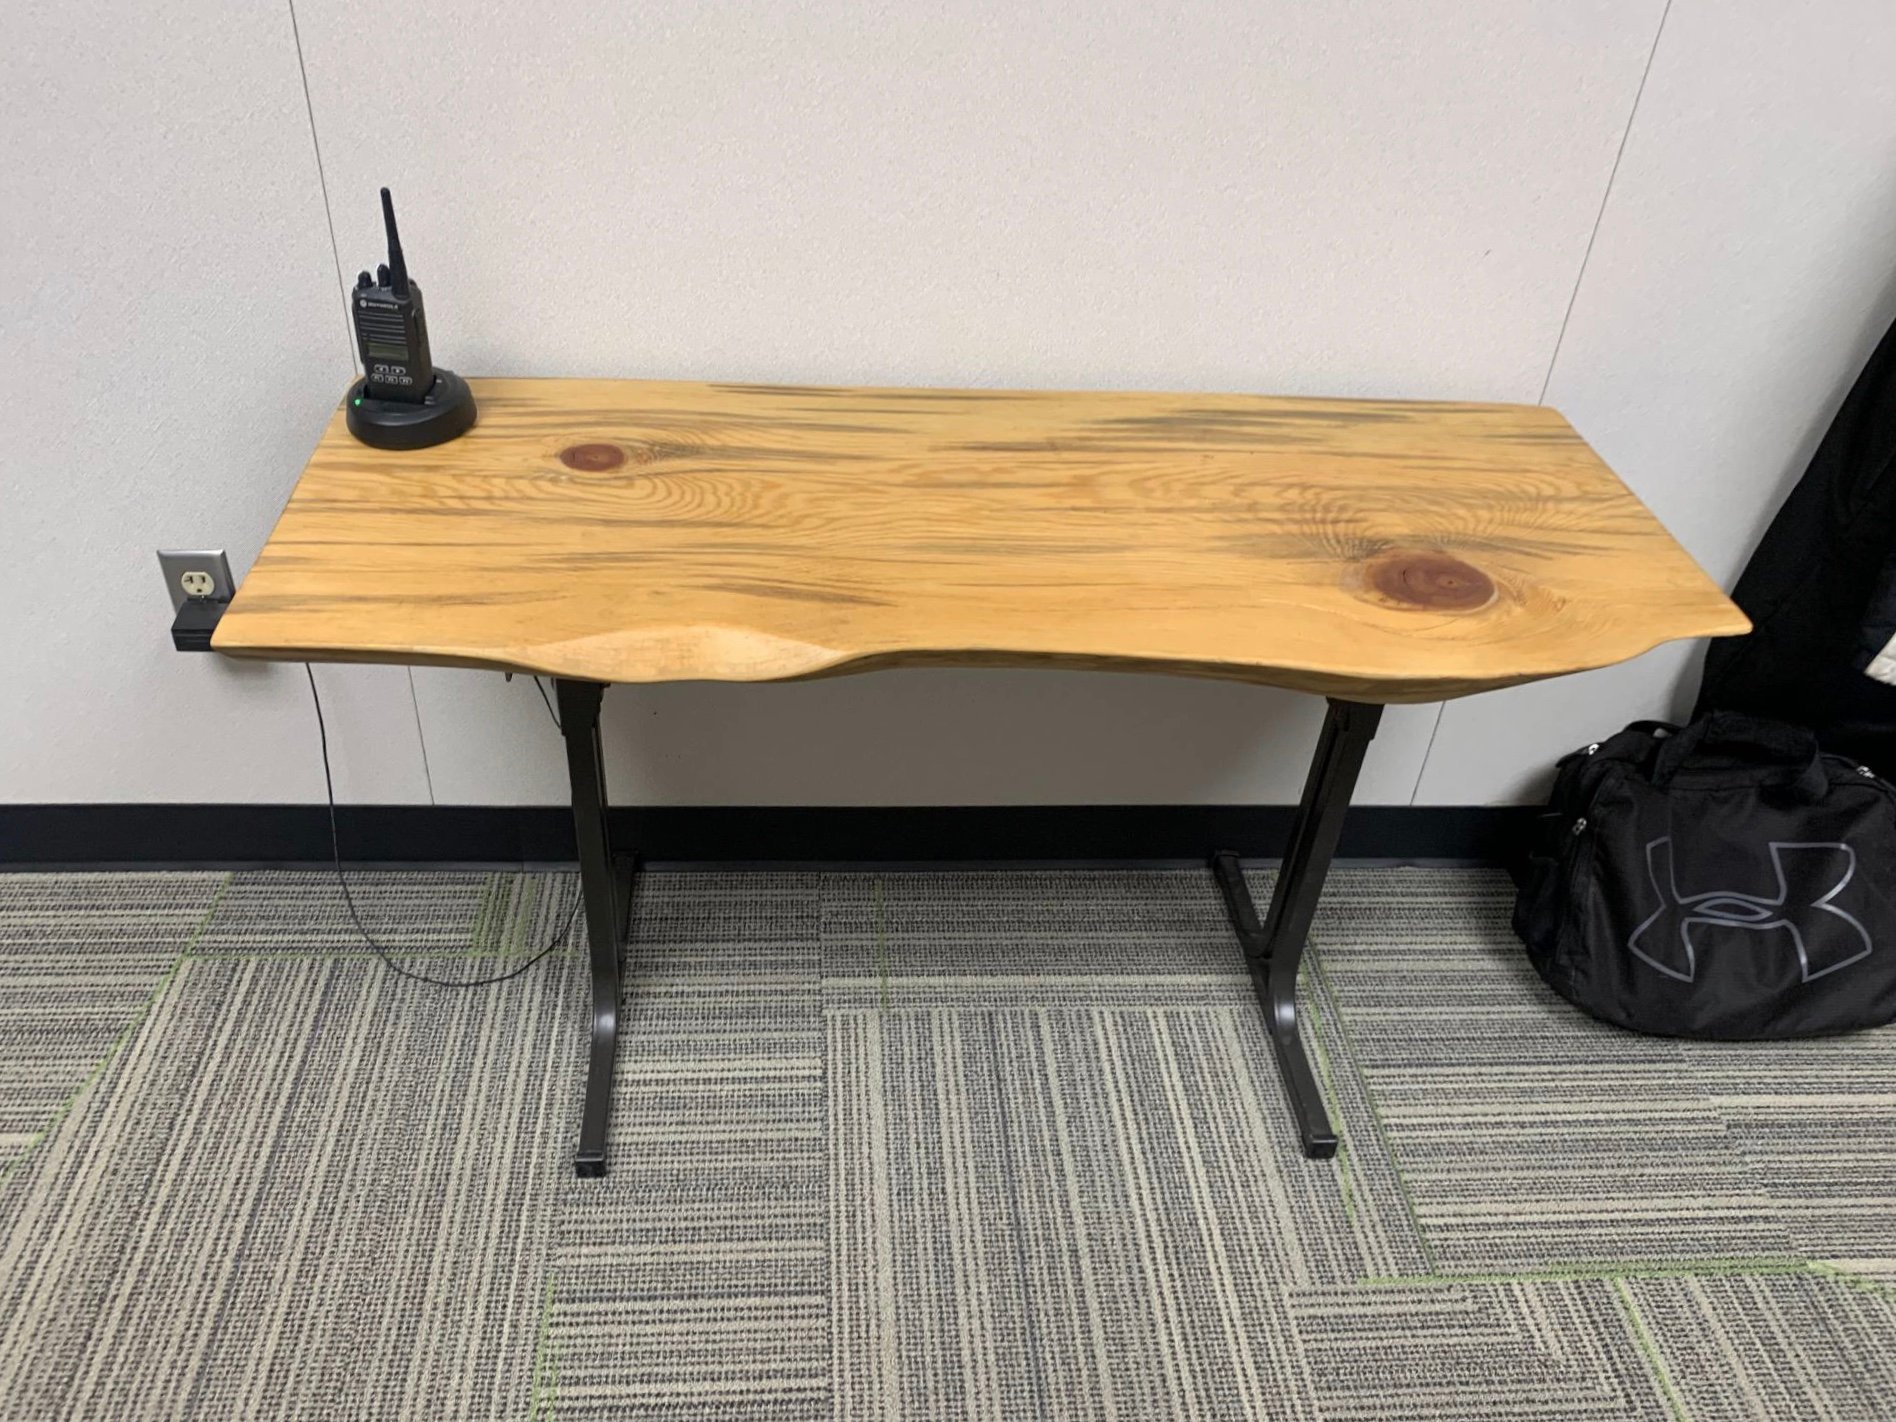
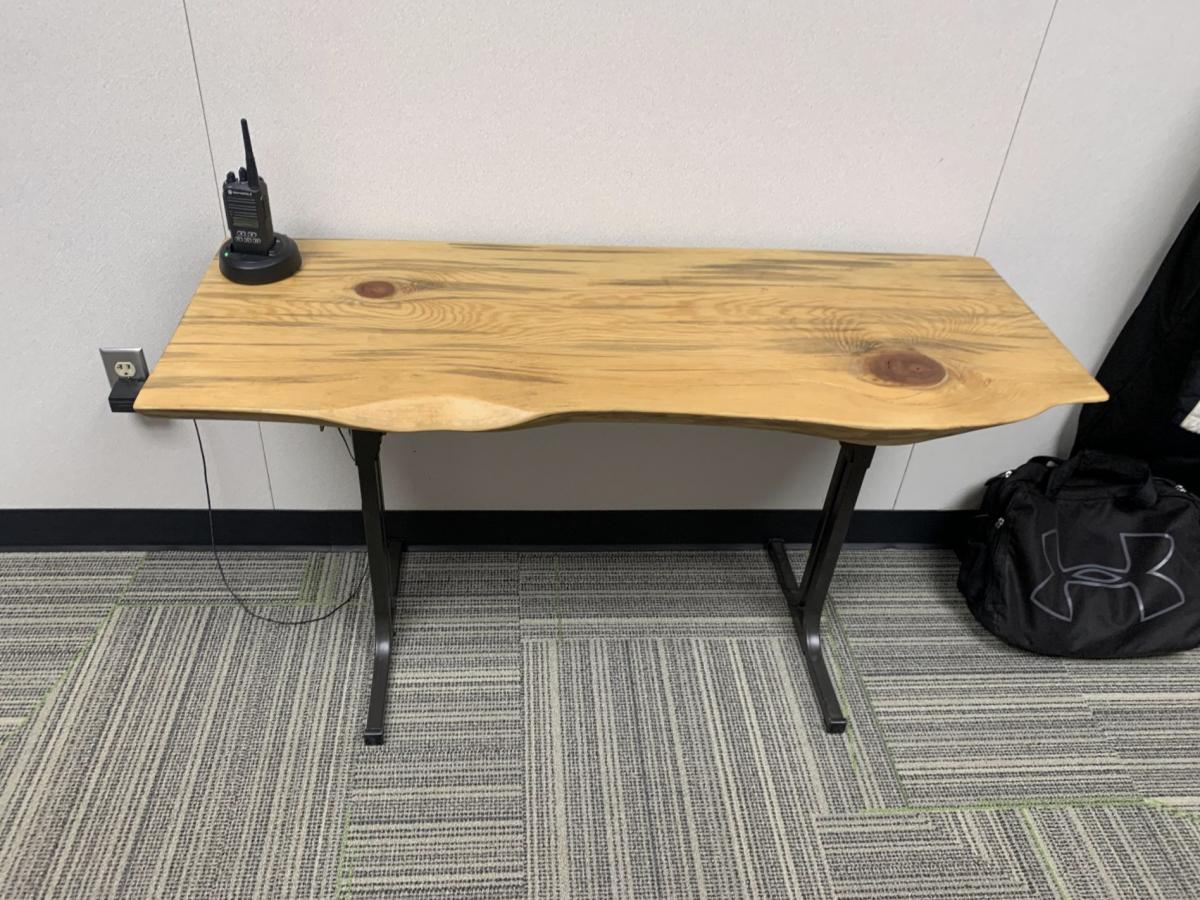
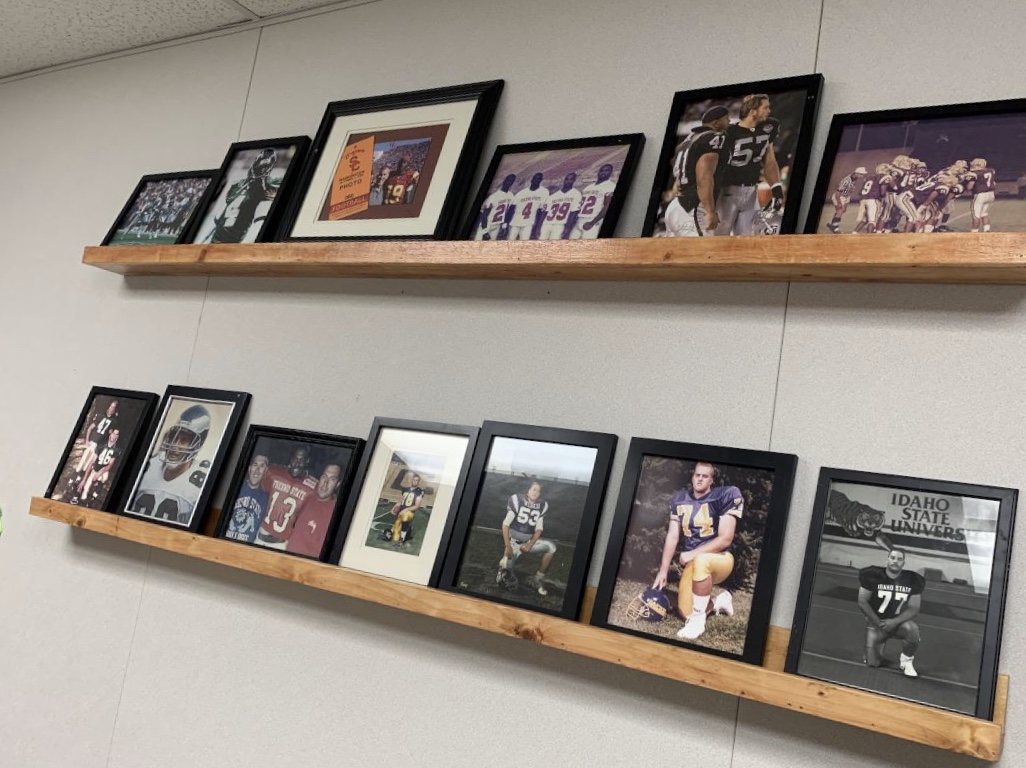
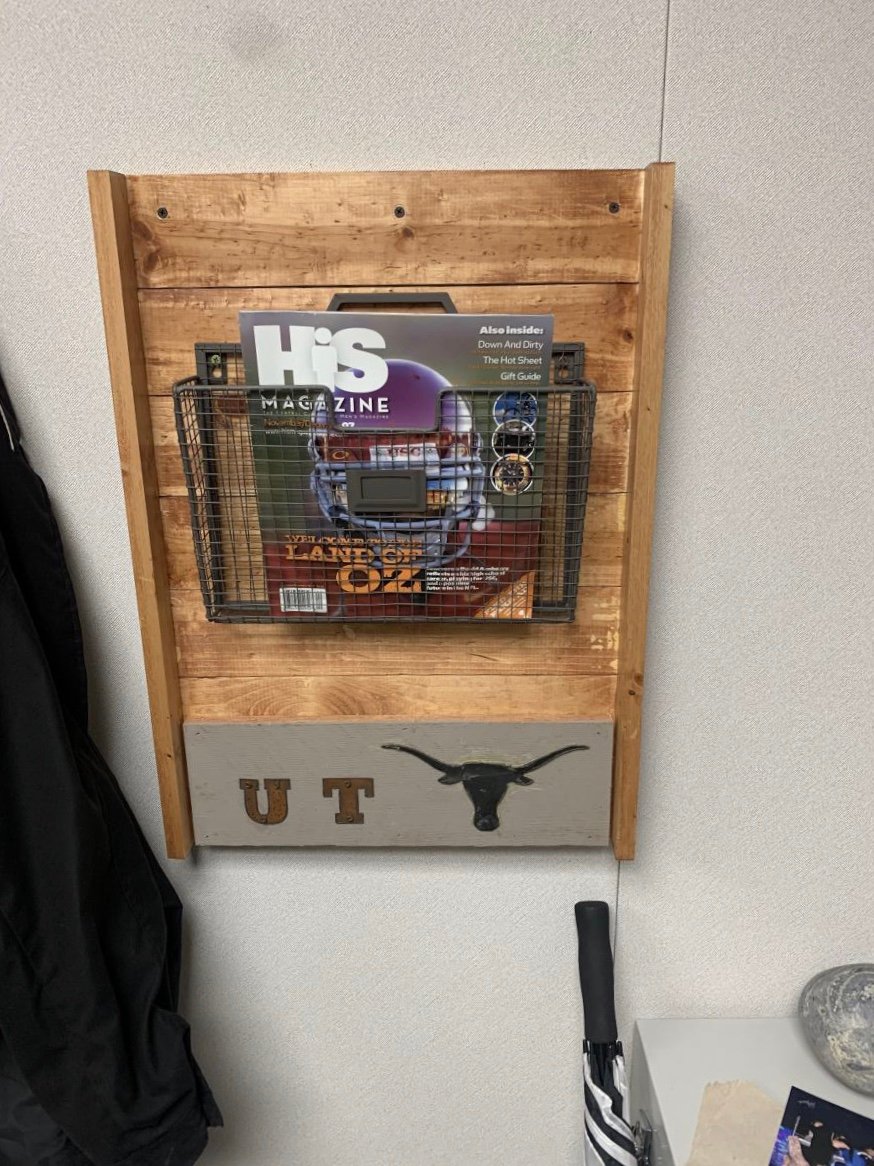
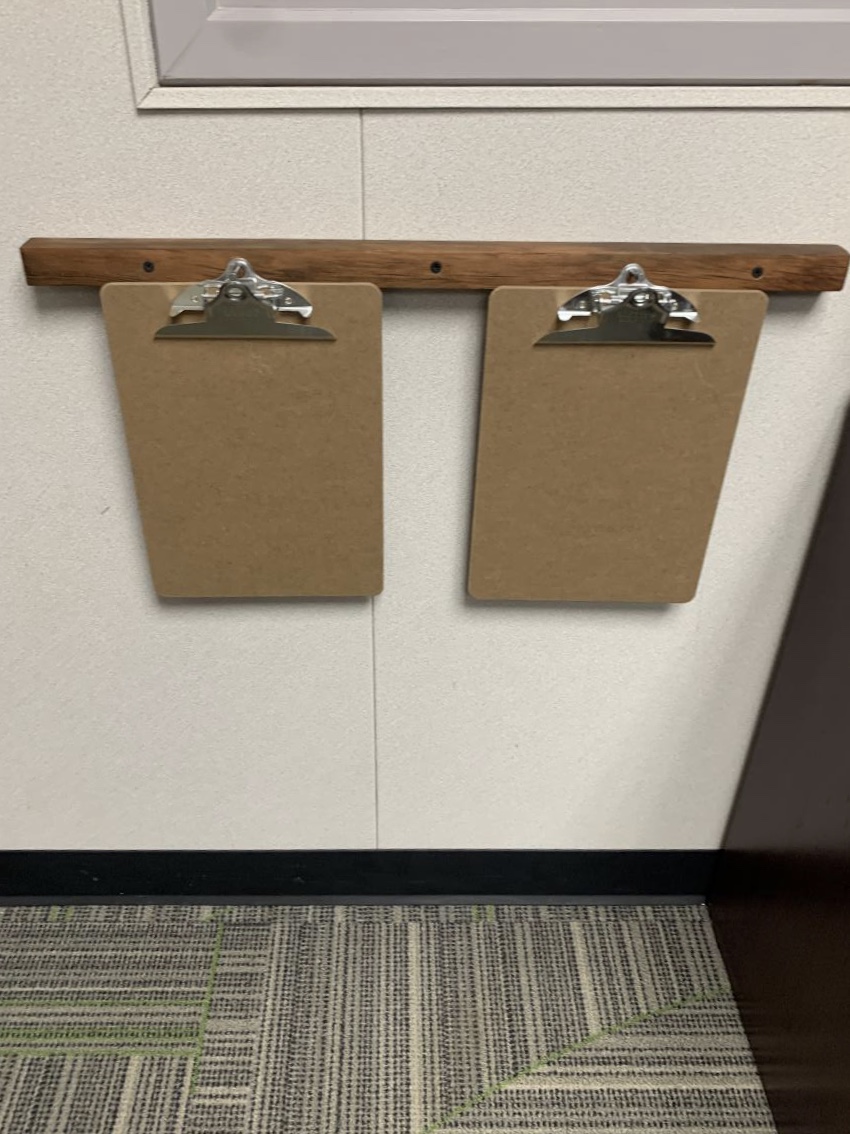
Remodeled my office at work.
1x2 and 1x1 for picture holders
1x4 and 1x1 plus old white board painted in magnetic chalk paint
Old metal desk legs that were sanded and painted and added a wooden slab to the top
1x3 and 1x1 for magazine rack. Picked up basket at Hobby Lobby and had the Univ of Texas metal pieces
1x2 and nails for the clipboard holder
Sanded all wood and used teak oil.
Easy weekend project

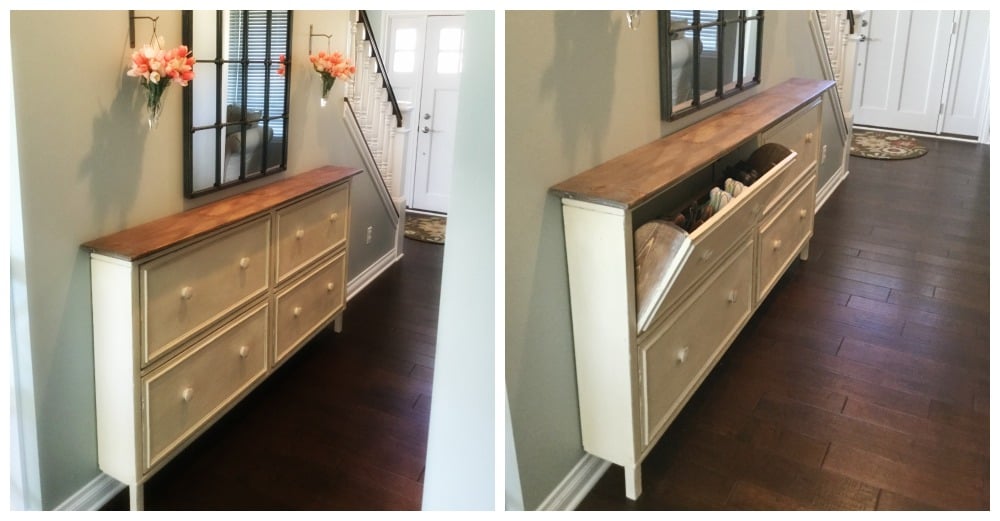
We used the shoe dresser instructions with some modifications to make it longer

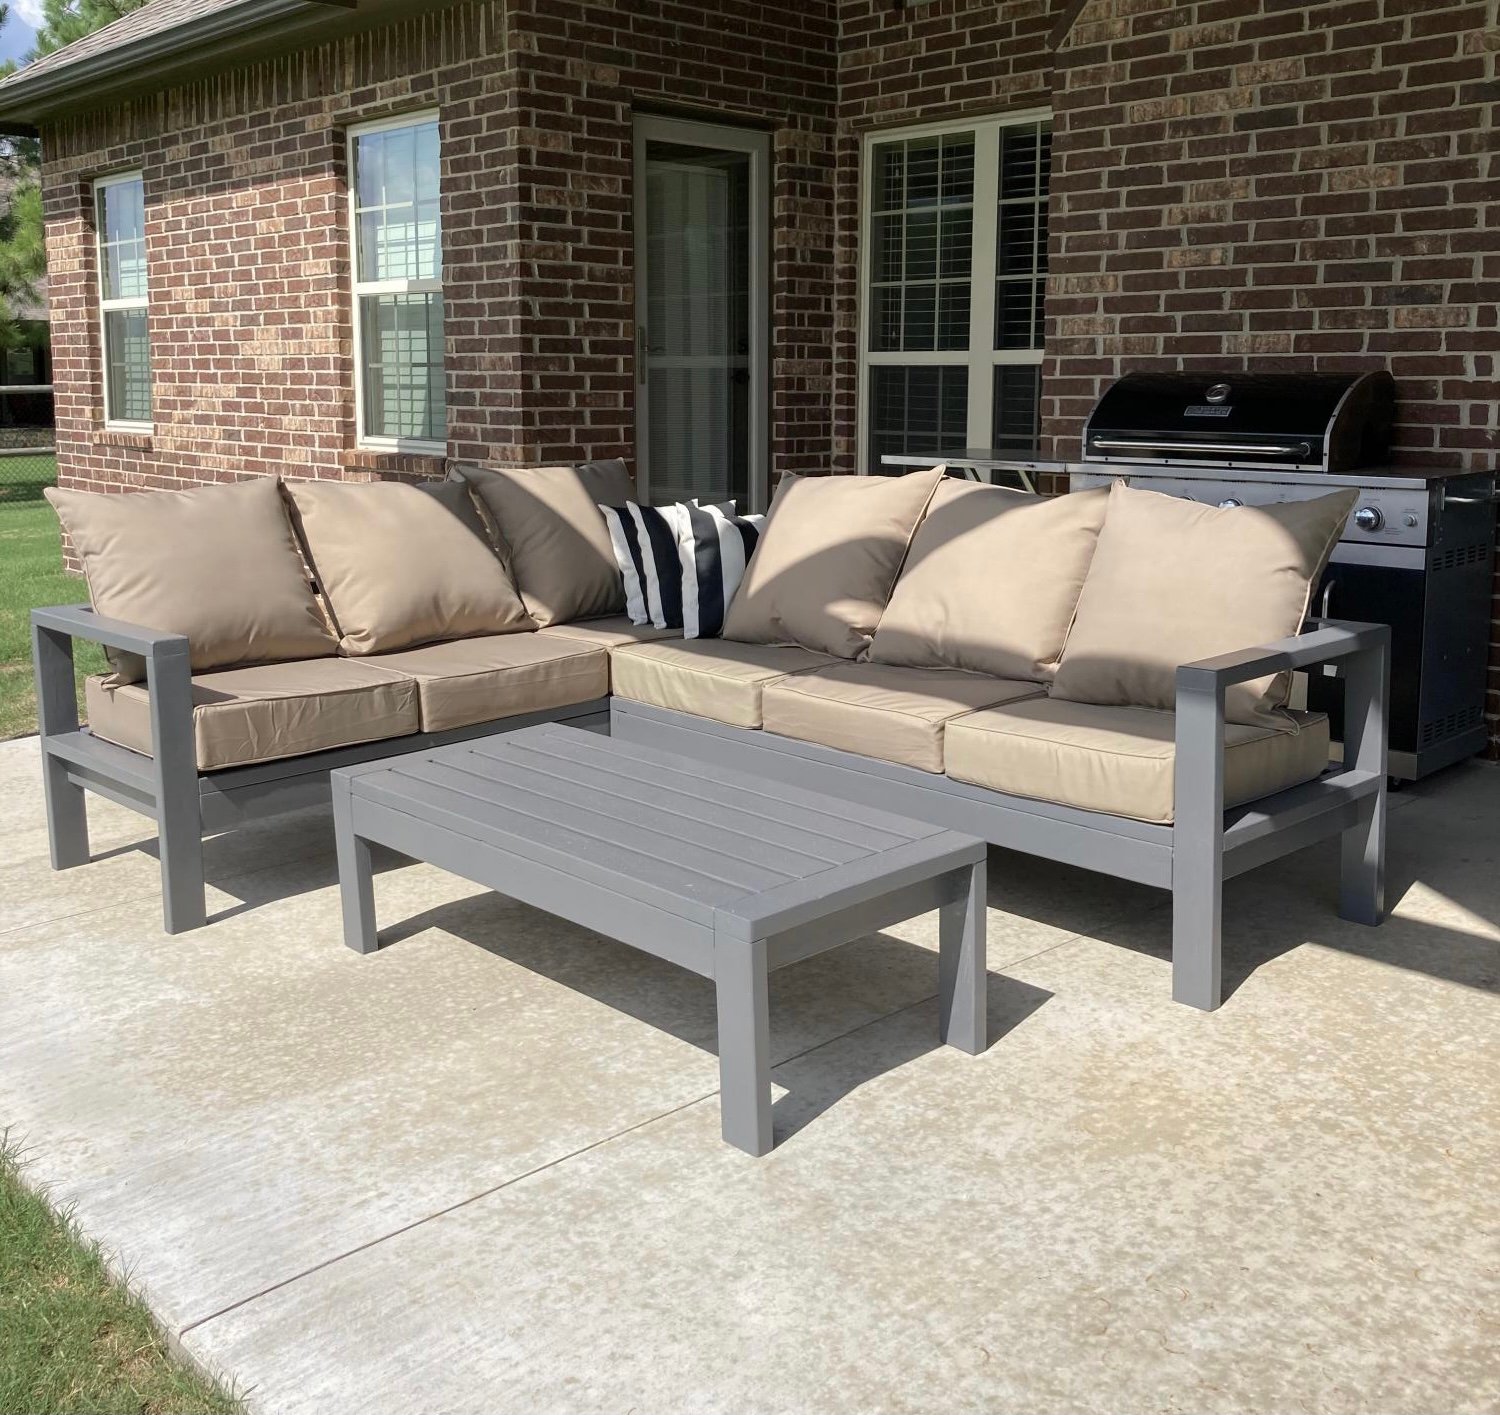
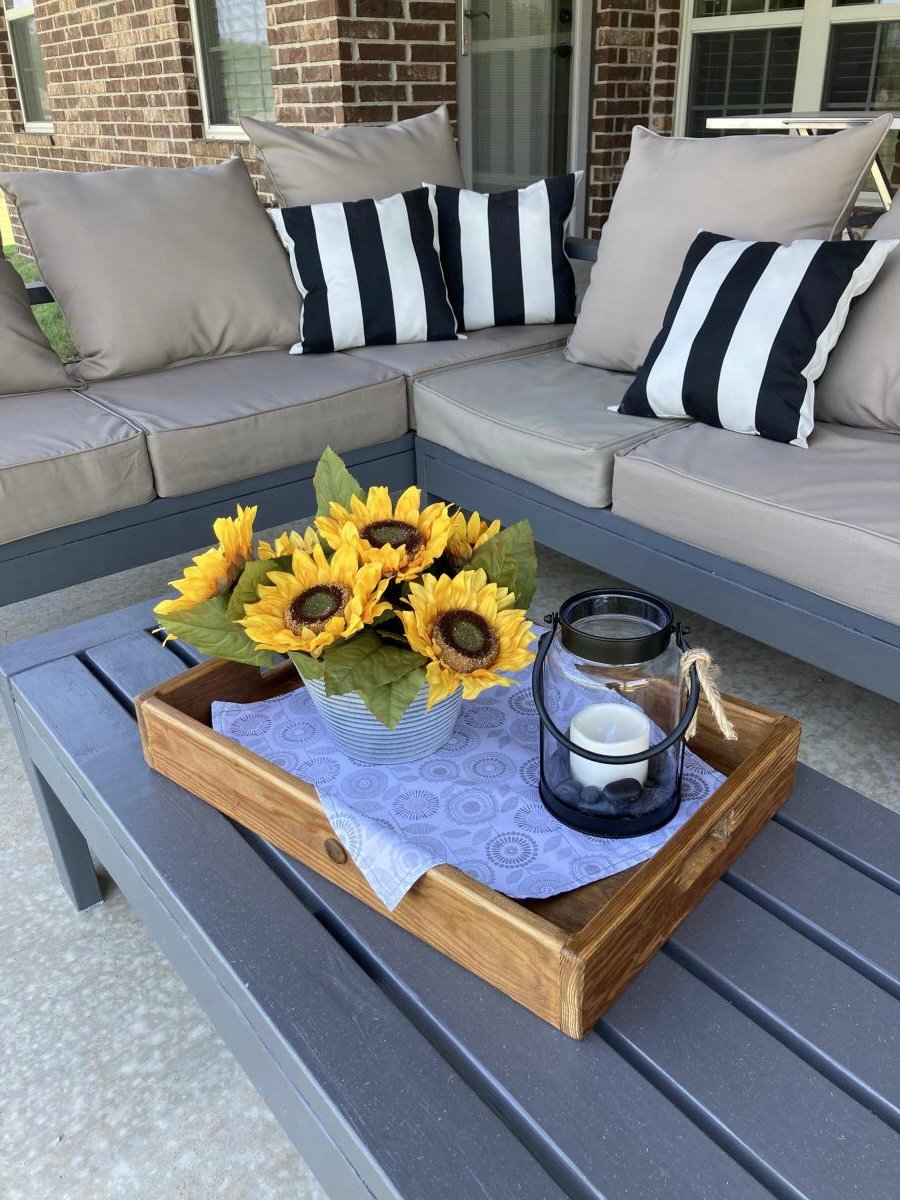
I wanted sturdy seating for my patio. Ana White had the perfect plans for my L shaped seating and coffee table. It was simple to put together and we love it!
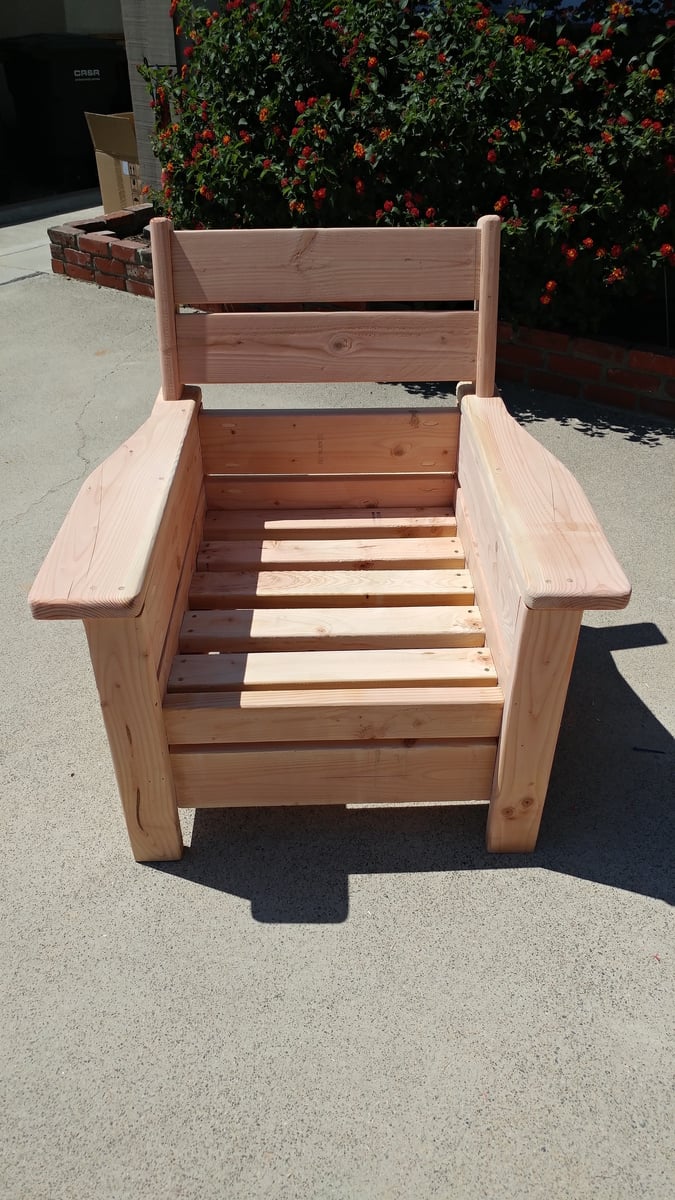
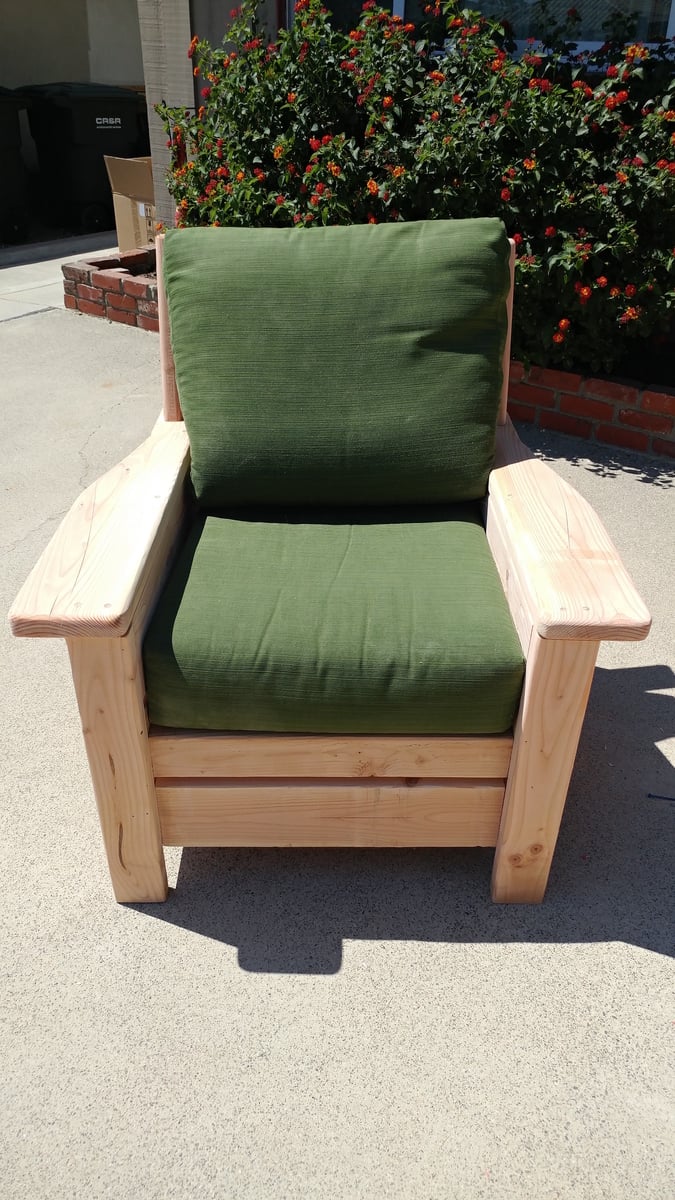
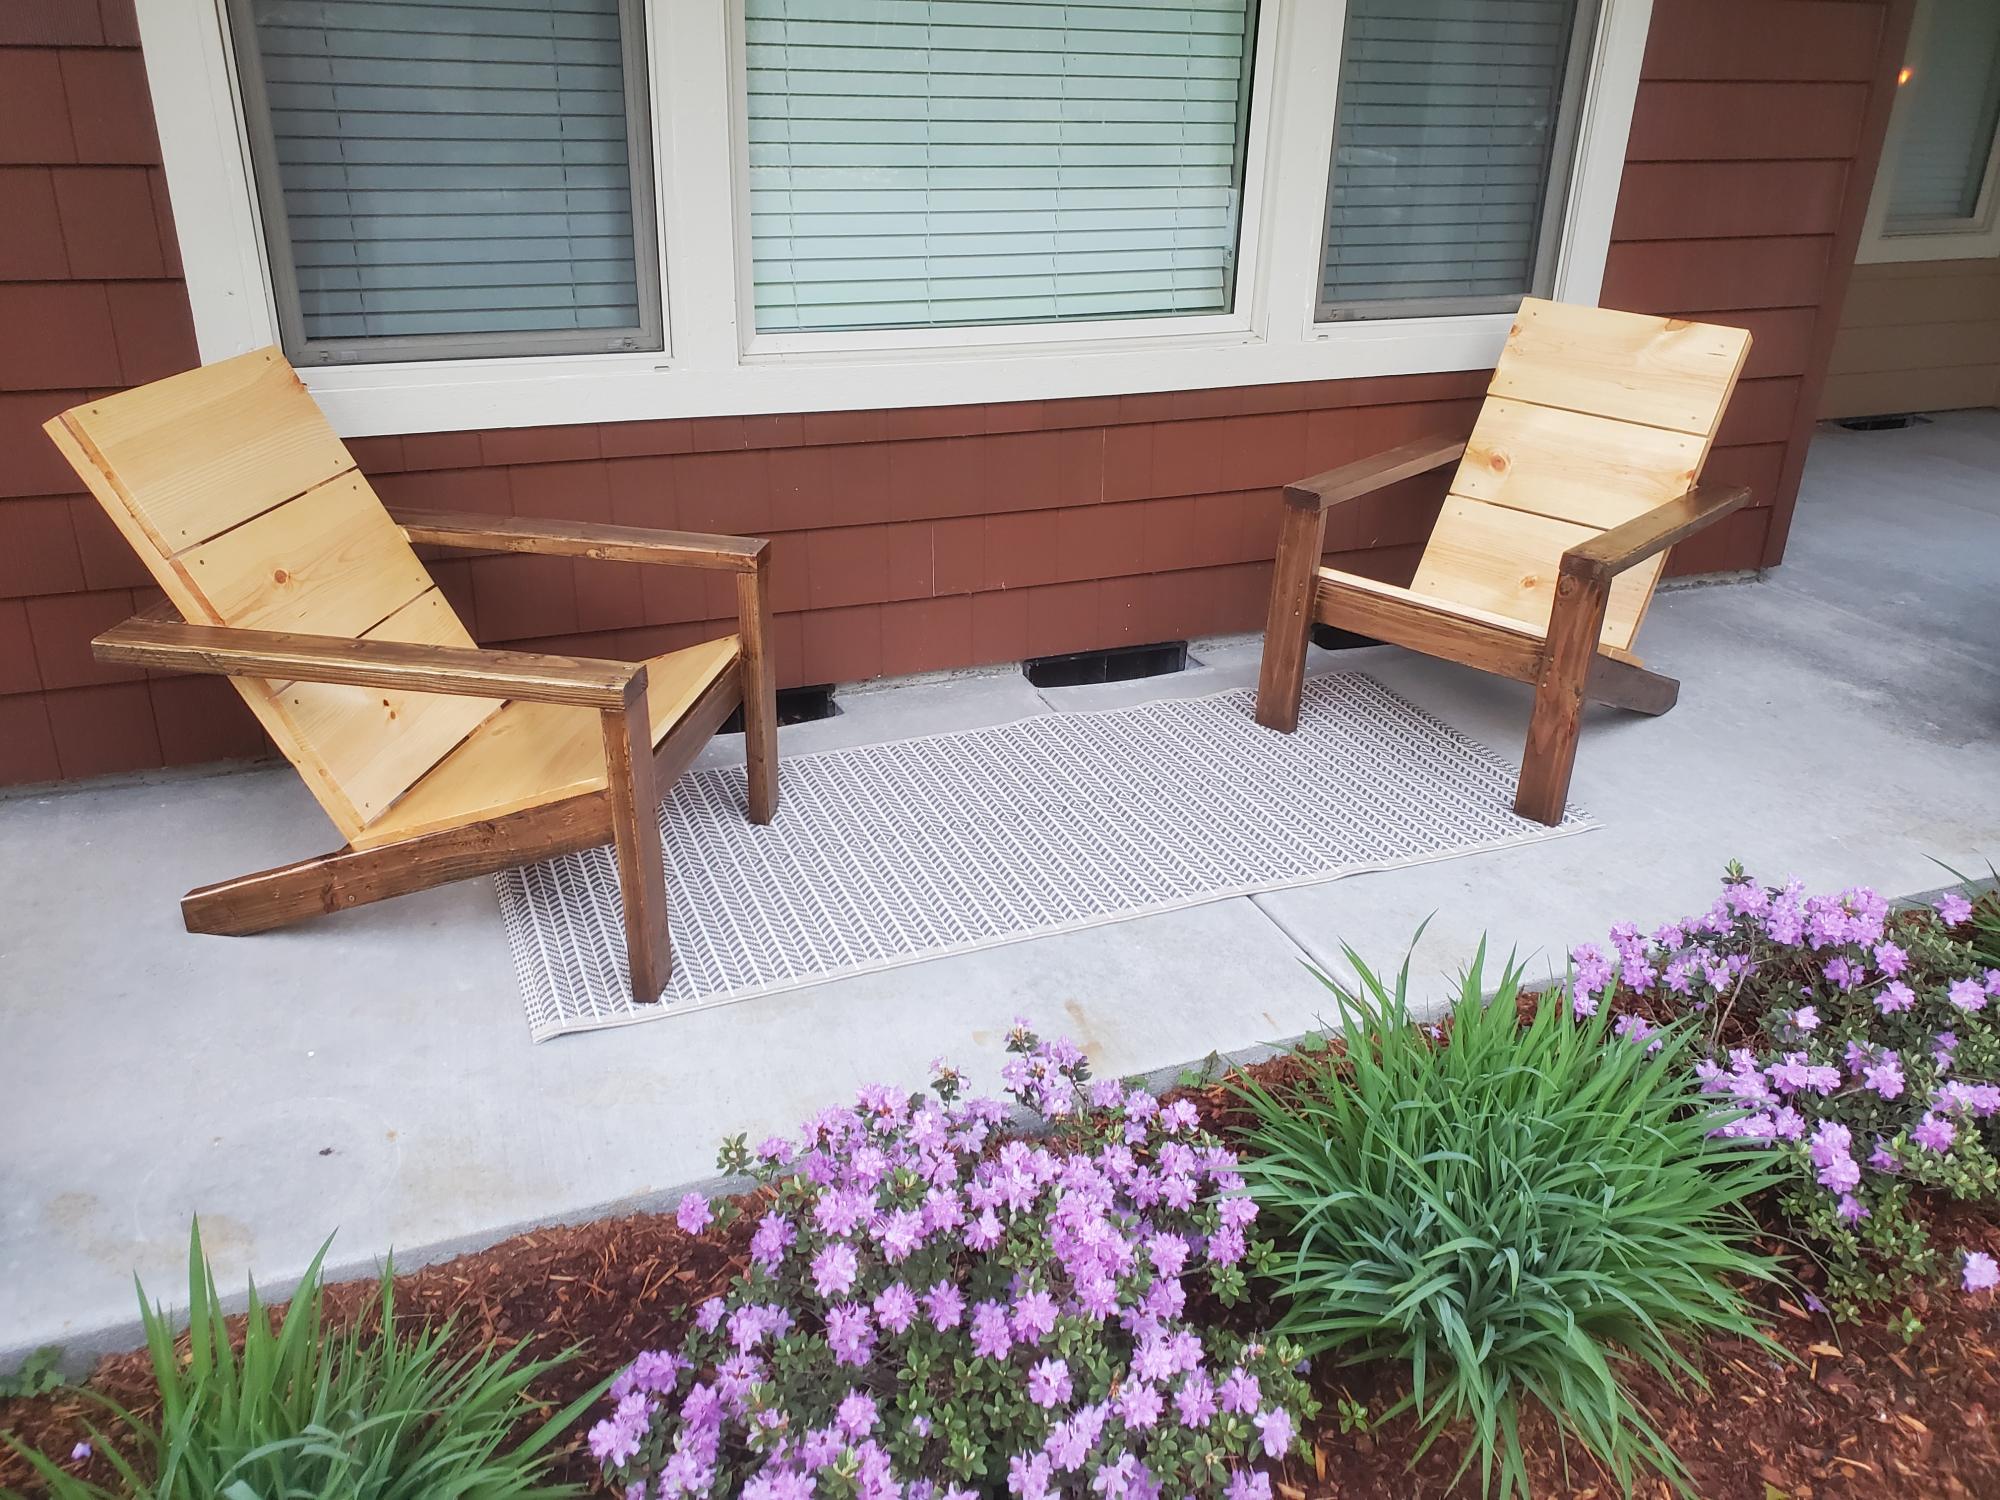
Taken from the Modern Outdoor chair project and added a back. Then decided that I love the andorak style chair arms and thus the Andrmodern chair was born..
Mon, 08/03/2020 - 09:02
I’d love to know how you made the changes, love it!

Thu, 03/18/2021 - 09:20
Could you please share how you added the back and arms to the modern chair plans.
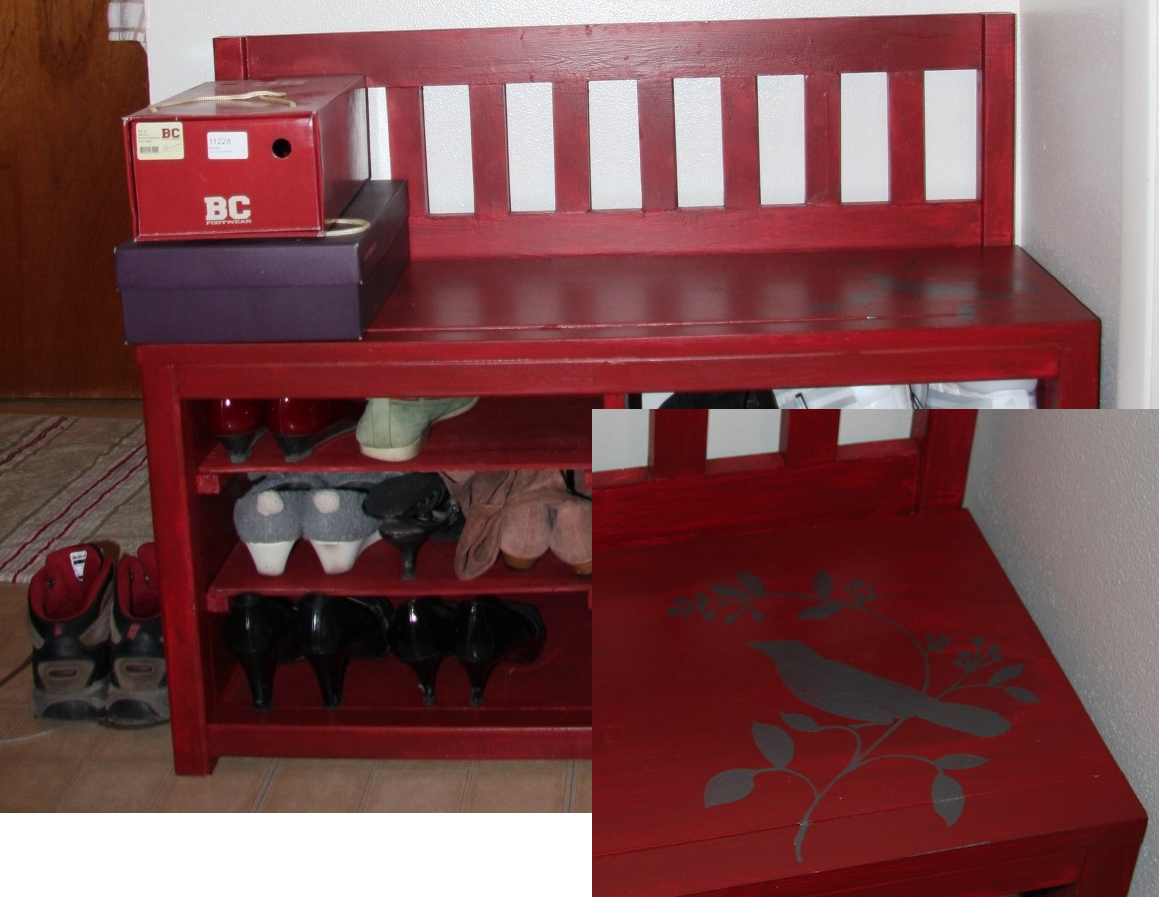
Only slightly modified cottage bench - I made the storage area bigger and added shelves to put my shoes. Only my second project so it's not perfect (especially the paint job) but I loooove it! Sure, the shoe rack I had was perfectly functional and bigger, but this is waaay prettier.


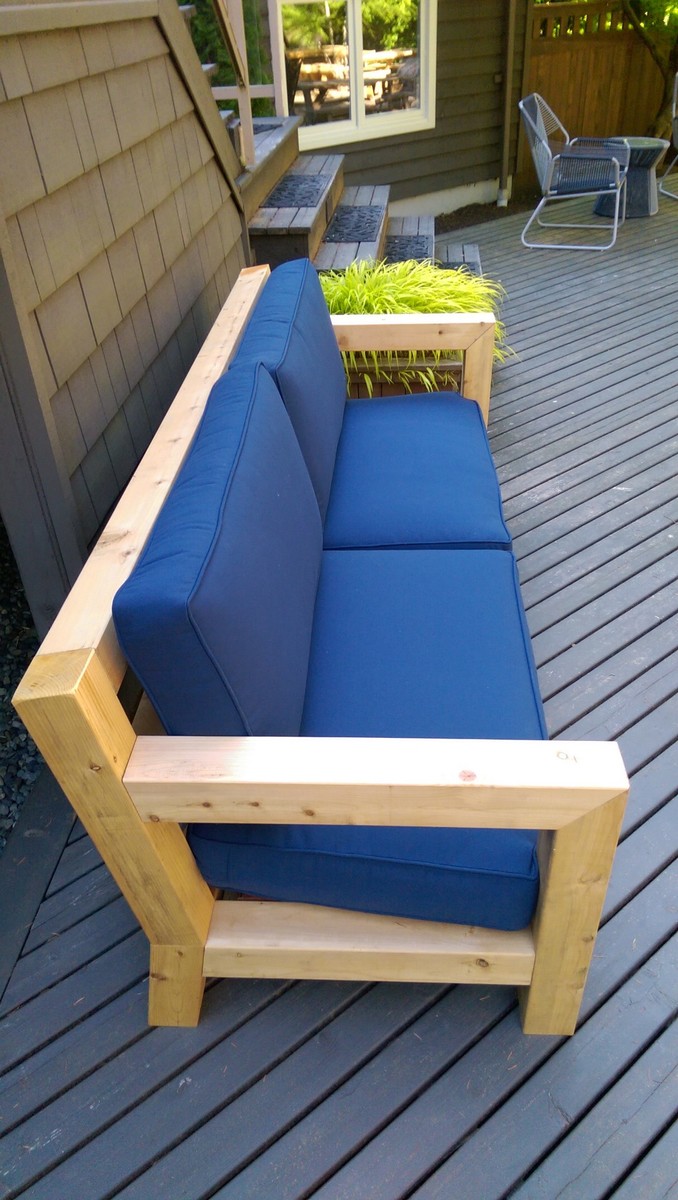
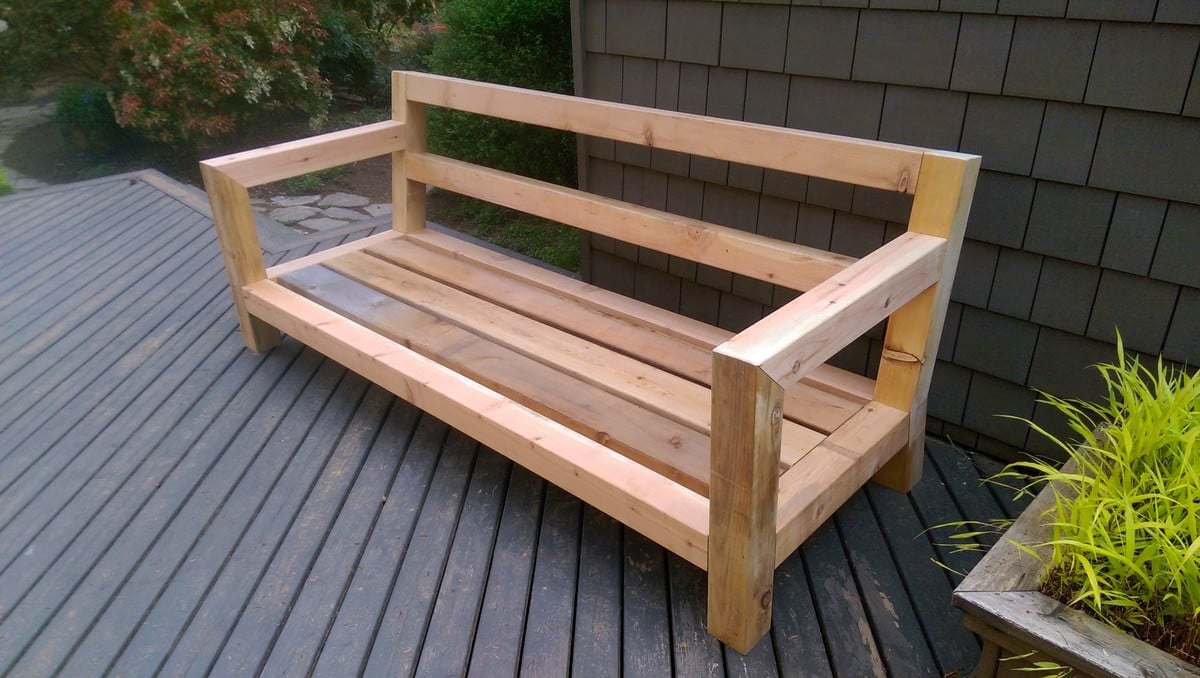
OK, I think this build may be my biggest project yet! It is definitely the heaviest. With the strong winds we can get here in Florida we needed substantial outdoor furniture.
I did make some modifications along the way measurement-wise so the sofa would fit my front porch better. All in all, this took 2 full days. I built the sofa first, stained it the next day and then decided (due to trying to get stain in all the nooks and crannies) to stain the chair pieces first before putting it together.
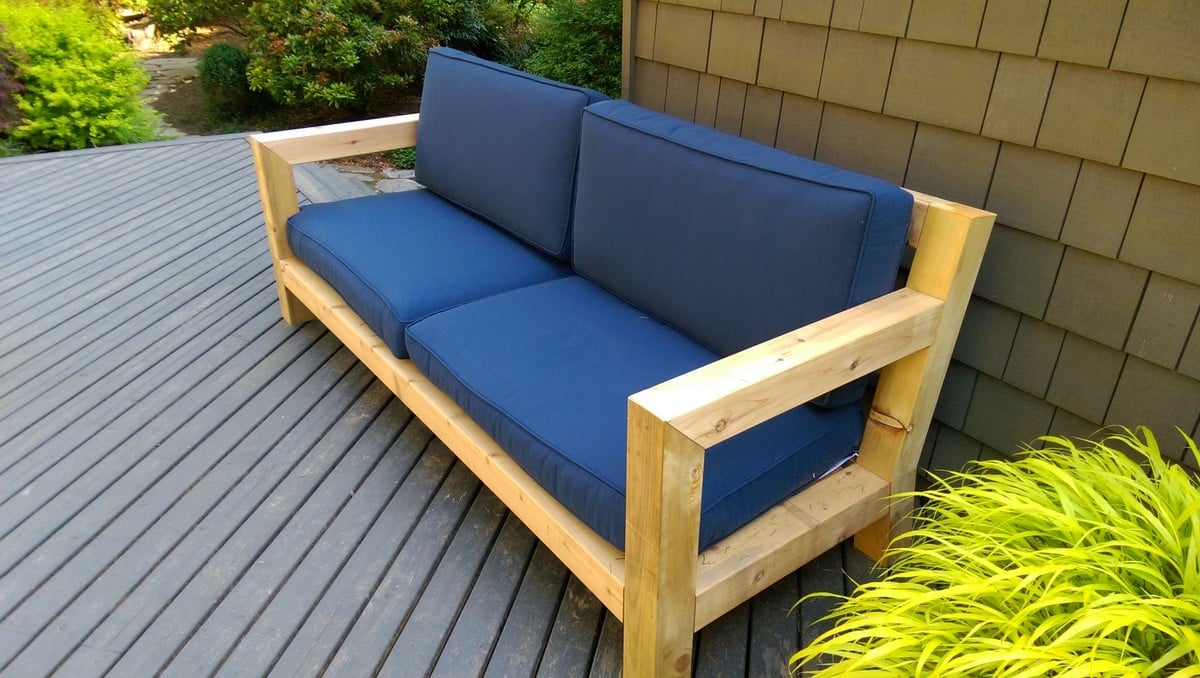
I am so happy with the results and so far, almost a year later, this furniture looks great and hasn't moved an inch in any of the thunderstorms we've had! Thank you Ana!!
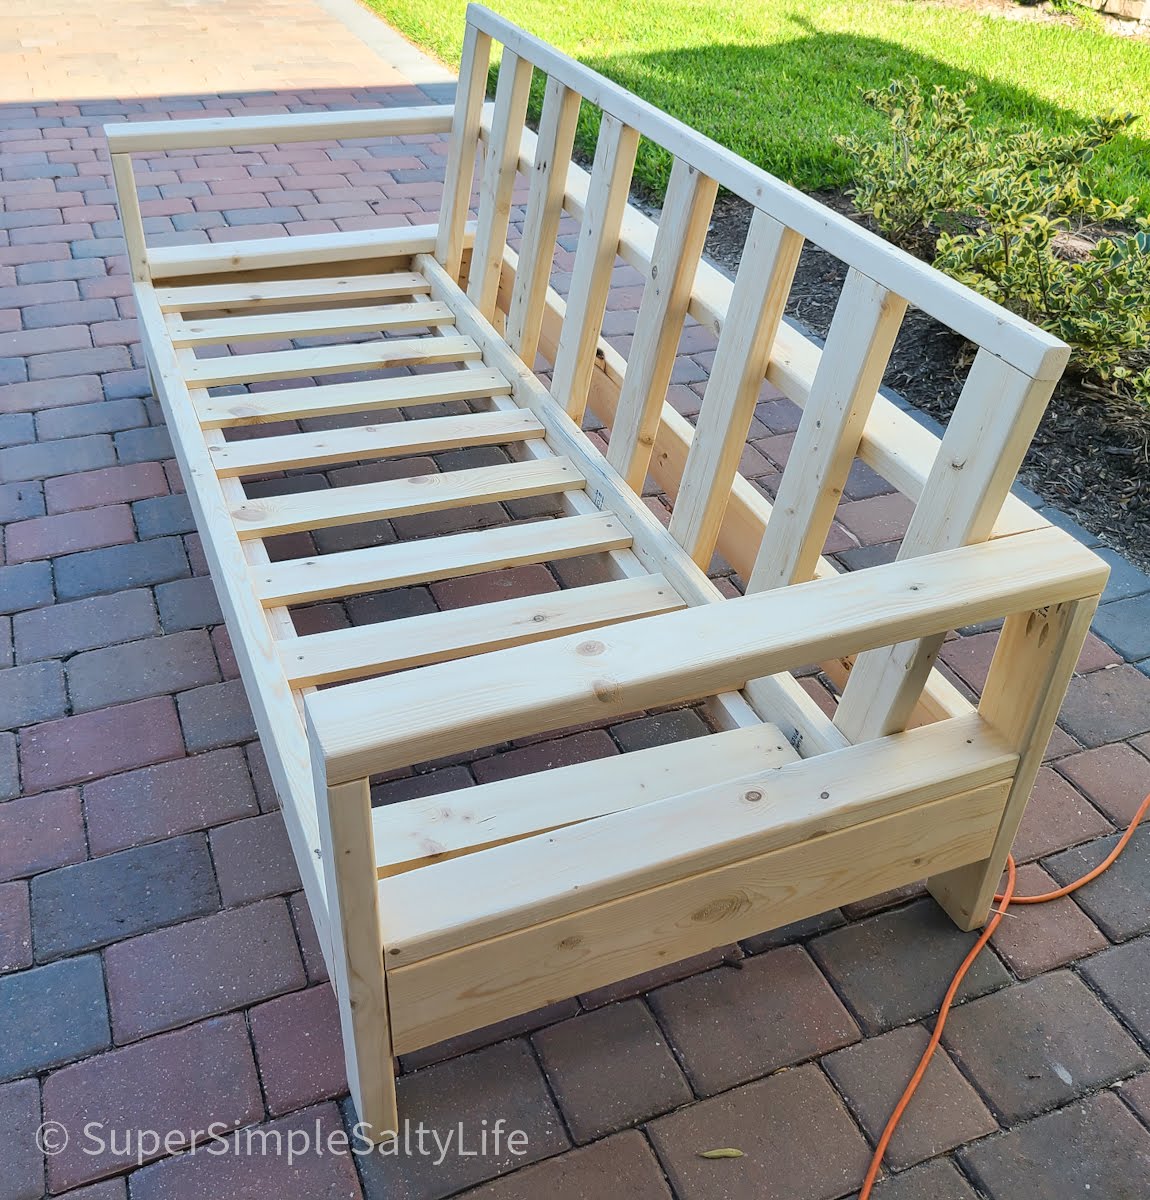
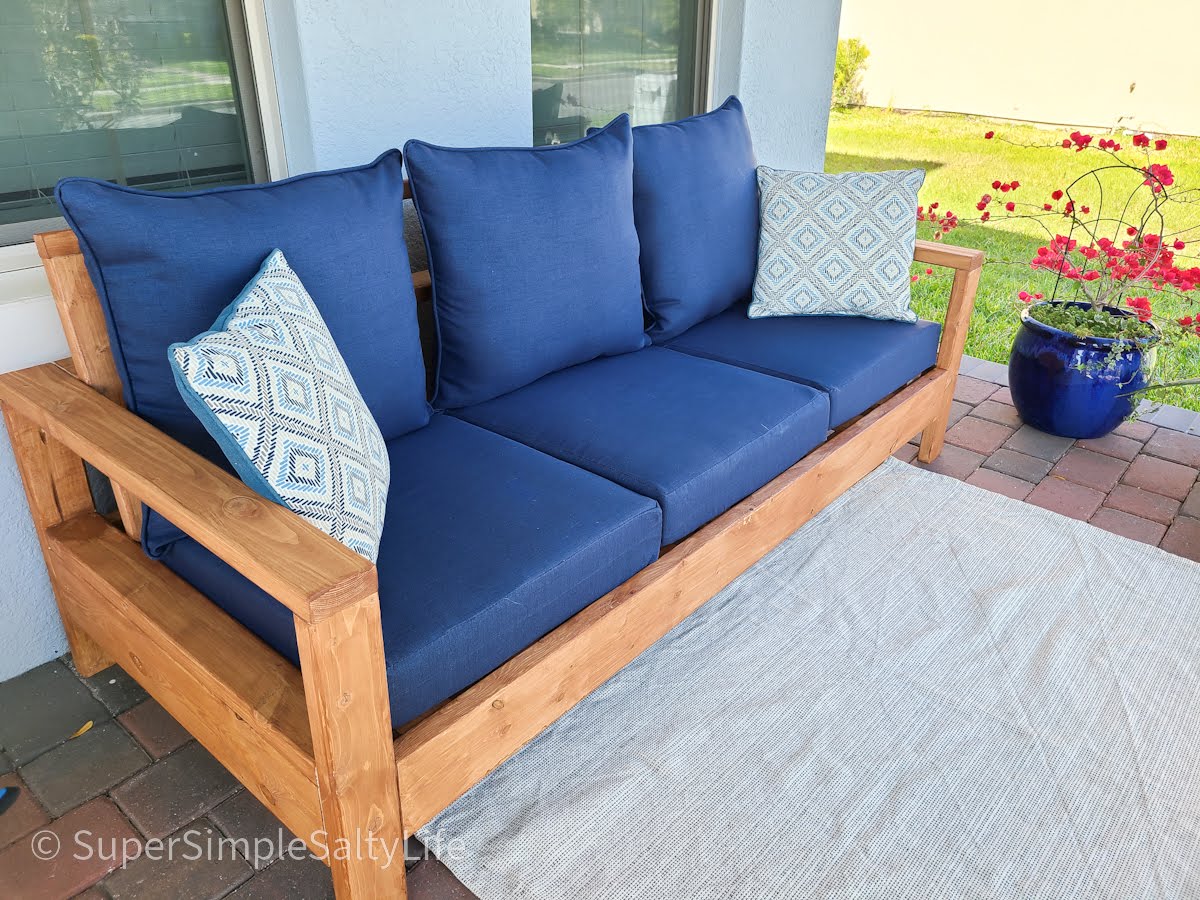

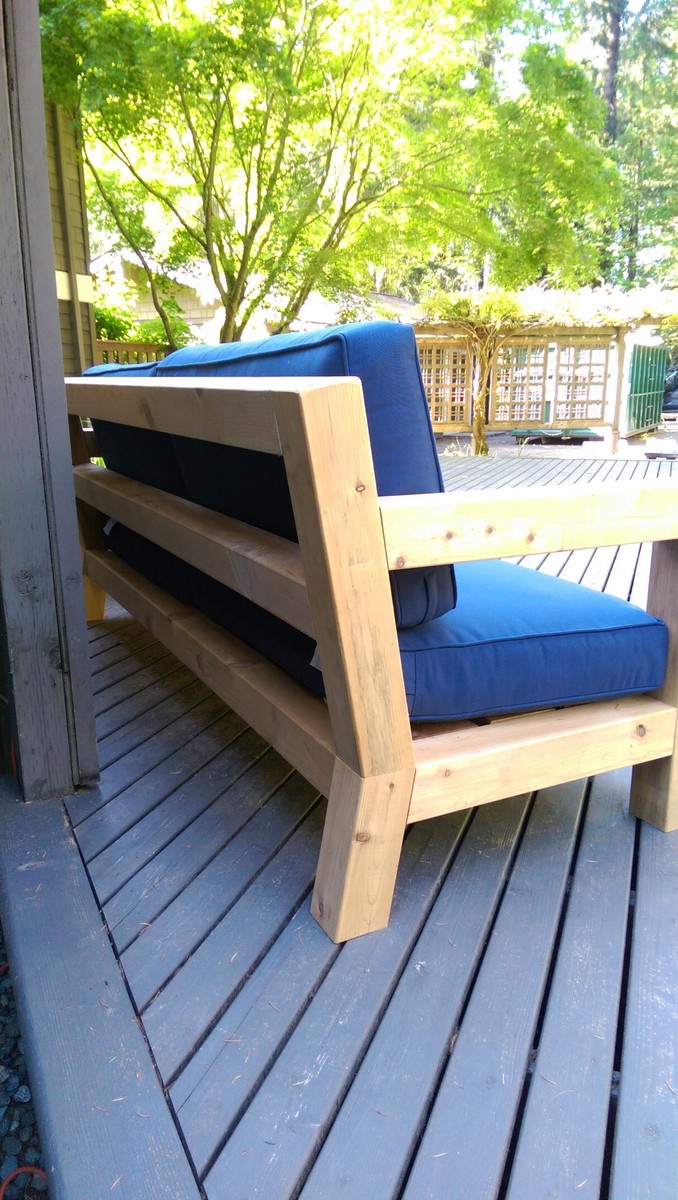
I was in love with the RH Merida set because of its clean lines and modern style. Also, the plan seemed simple enough that I could re-create it without a pattern. The only thing that I did not like about it is the lack of arms. I really like to have a place to put my arm or my beverage :) - so I added arms to the design.

Thu, 05/30/2019 - 18:45
It’s beautiful! Do you have a set of plans that you might be willing to share?
Wed, 05/20/2020 - 10:45
This is Awesome. I'm halfway in the middle as i thought I could complete without plans. Do you have any plans could share. Please....
Fri, 06/19/2020 - 15:54
were you able to get plans? I would LOVE plans too! we want to try and re-create this and would prefer NOT to get stuck!
Fri, 06/19/2020 - 15:55
Would LOVE to get plans, would even pay for them! Found rough drawings online but they are chicken scratch and hard to interpret!

Built this table for our dining room. Neighbors kept coming by to look at it and I now have my first commissioned woodworking project for a table and benches!
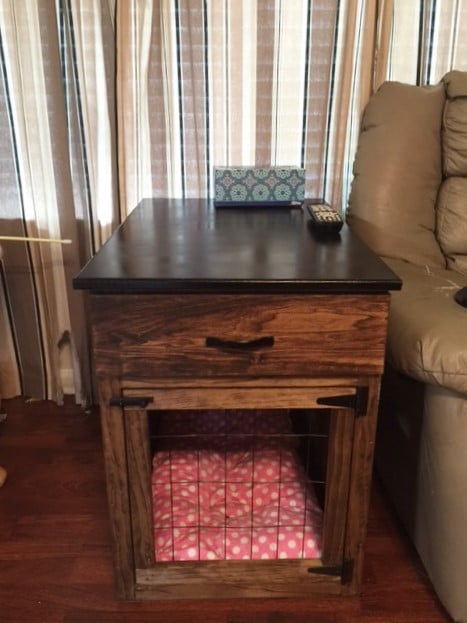
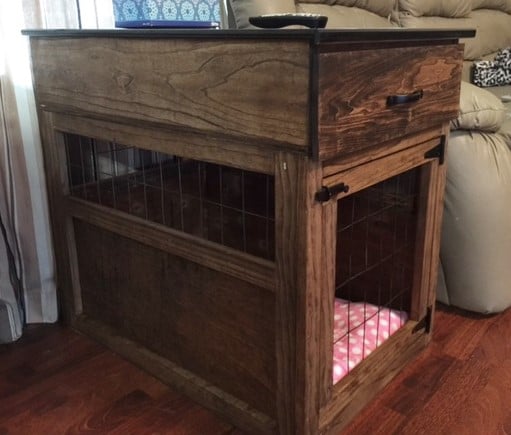
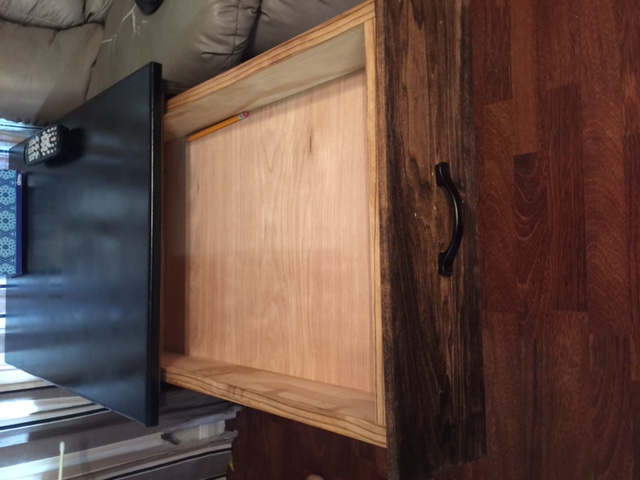
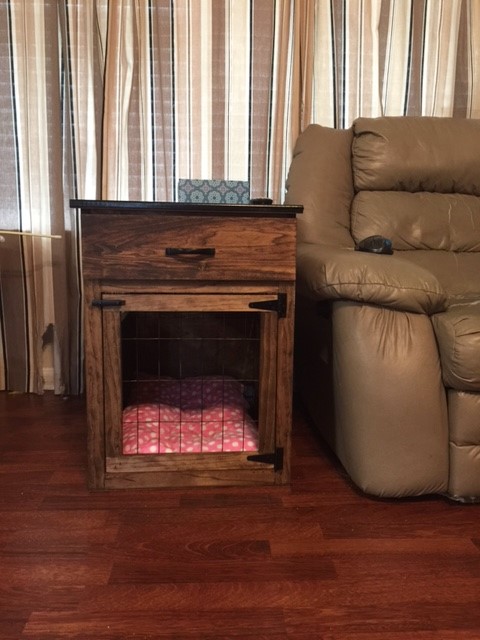
You may remember my green stratton day beds that I built a long time ago- finally I have another project to post- I am soo happy I found Ana White's website. We just got back from a 2.5 week vacation in Israel and my dogs were staying with my sister. She told me they had been sleeping in the same kennel together instead of separately. Their kennels are too small so I decided to build them one using wood I already had. But since they are small dogs, I decided to size it down- but I wanted it end table height- so I built a smaller kennel- 20"H x 19"W x 28"D. but... I added a drawer to the top to bring it to the right height. You can read all about it on my blog- link below.


I was tired of stooping to do laundry with my front-loading washer. I used the plans for Sausha's washer/dryer pedestals and tweaked them a bit.
This was my second build ever, and I'm so extremely satisfied with the entire process! Ana's plan was super easy to follow, and I couldn't be more proud of how they turned out!
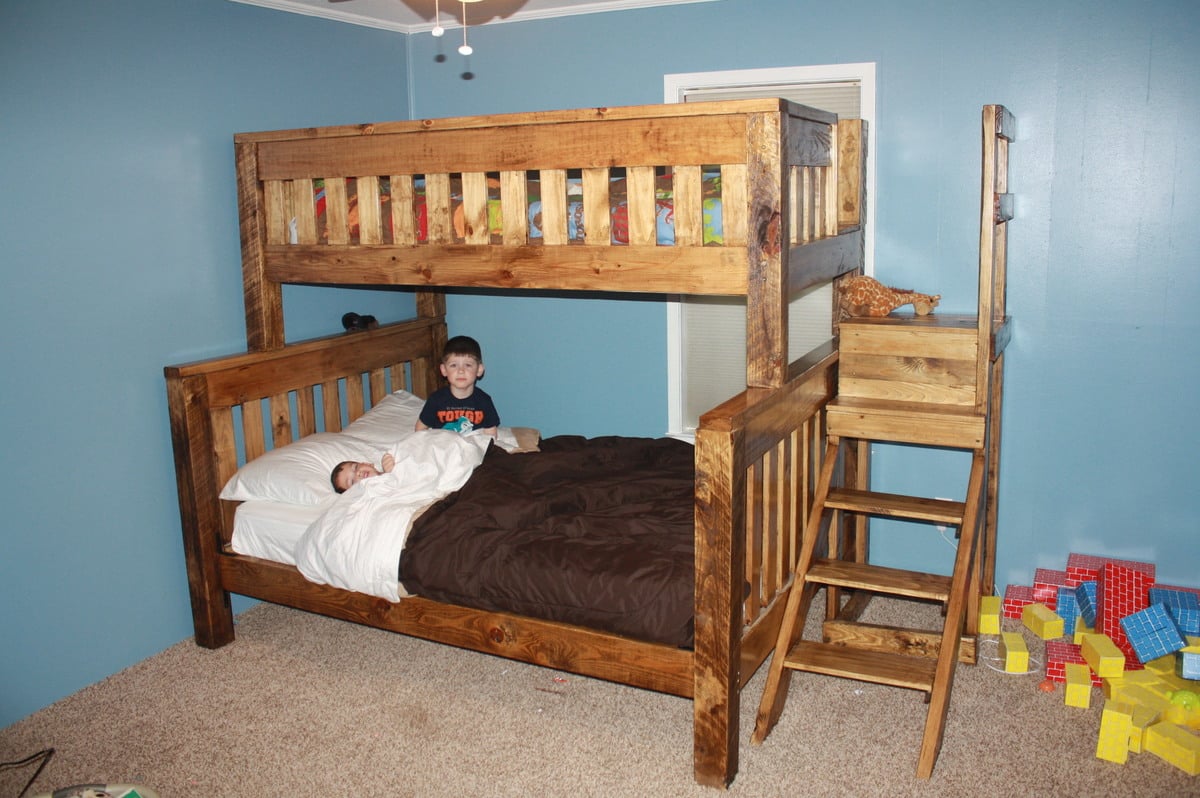
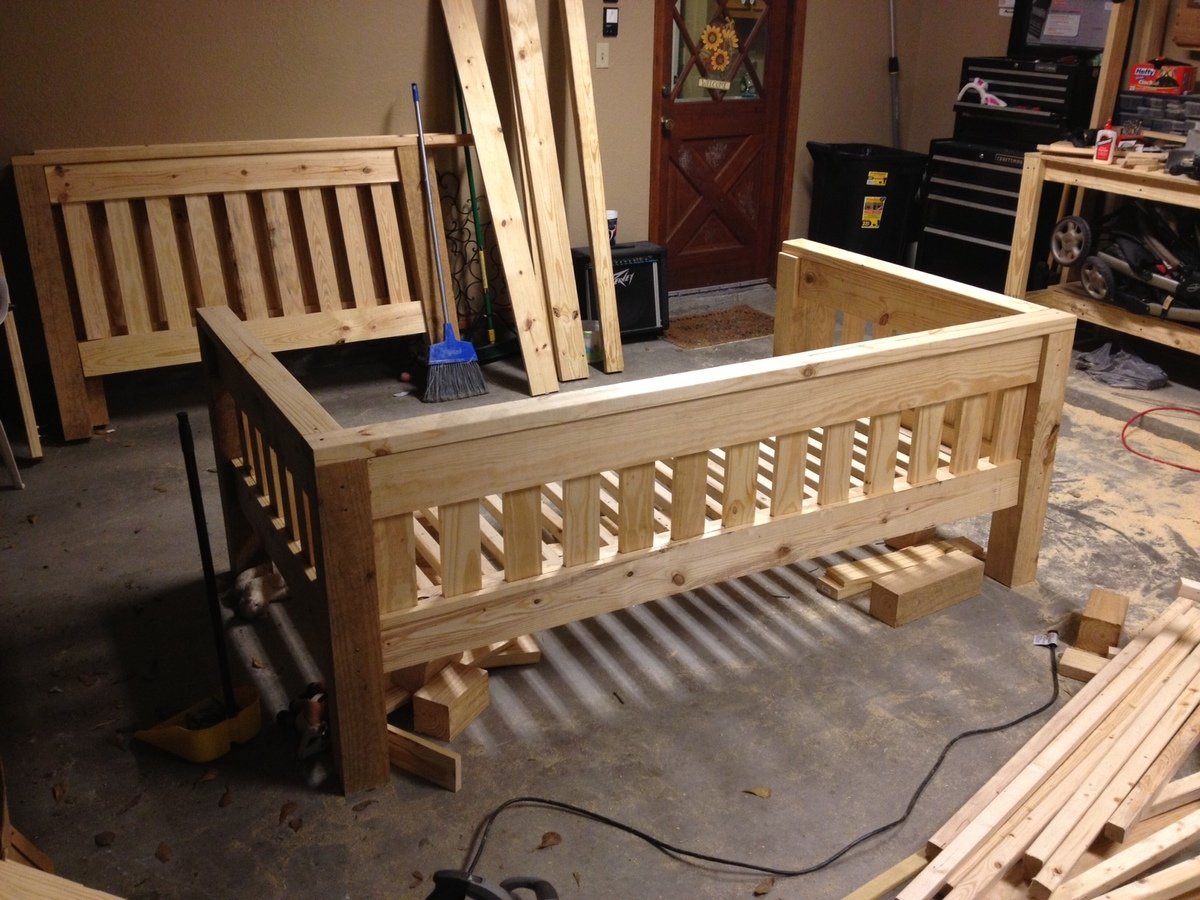
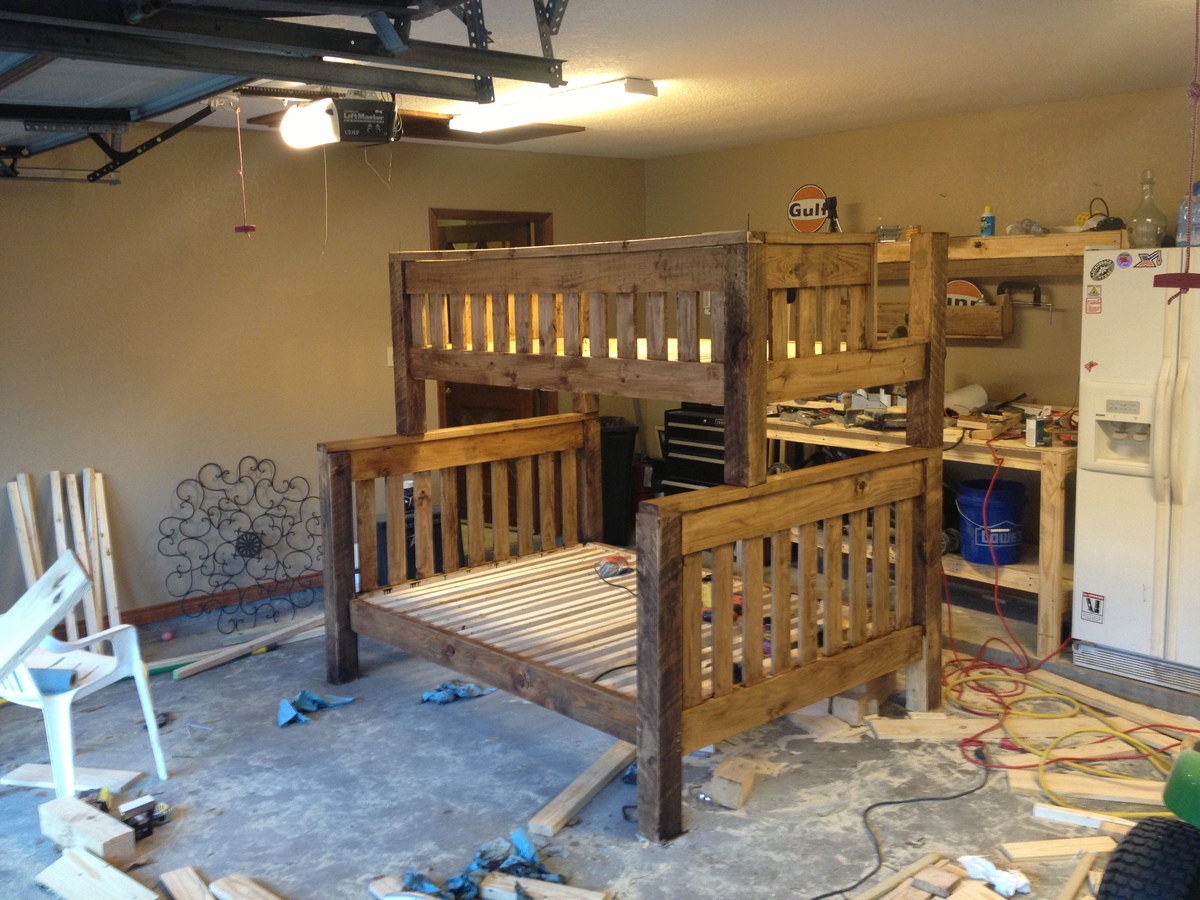
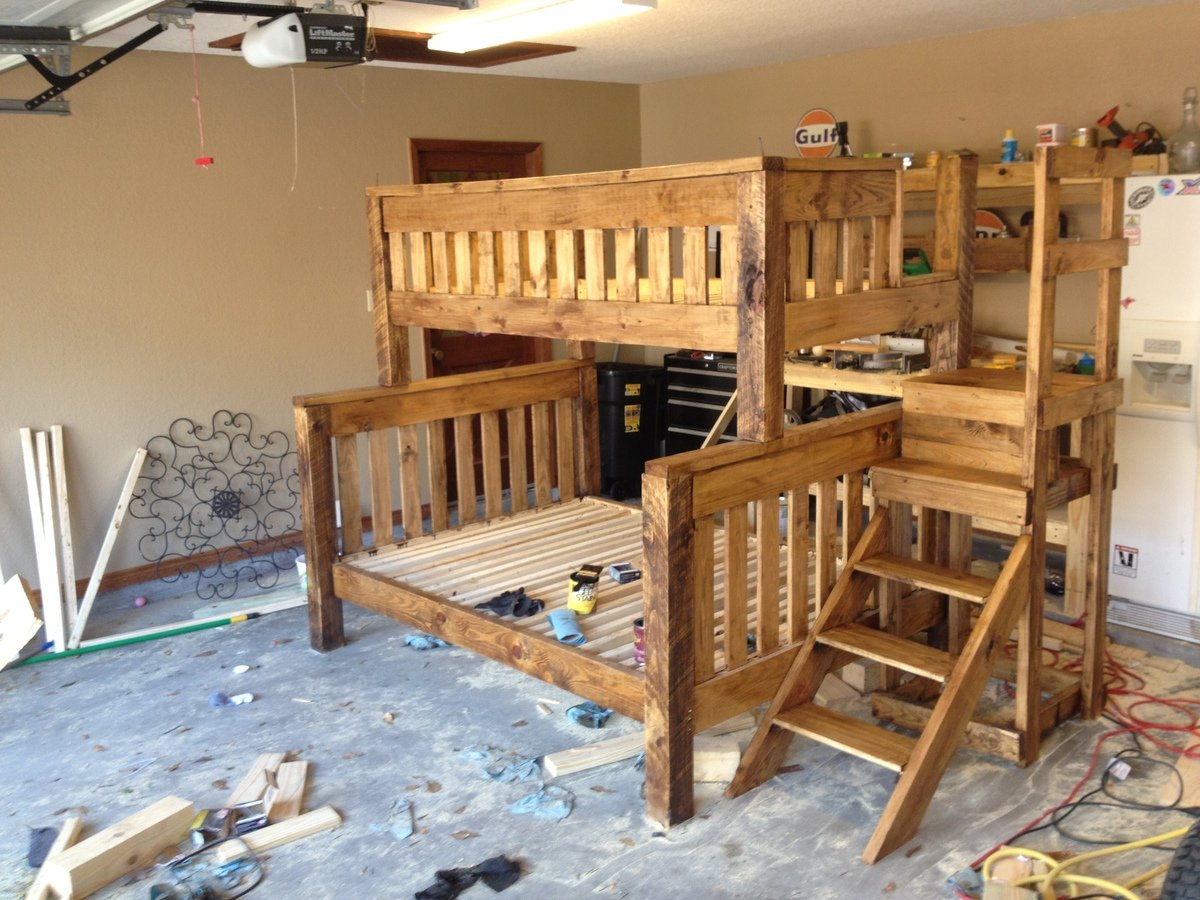
My 4 year old kept asking for a bunk bed, so my wife and I went to the furniture store and saw we would be paying close to $1000 for a junkie bunk bed. We told him it cost too much and left it at that. Then he started bringing us pennies, dimes and all the change he could find to pay for the bed. So I found this website and decided to attempt to build him one. I started building it after work on Monday, continued for a few hours every evening and finished Saturday morning. It turned out amazing, and both the boys love it. It is extremely sturdy, and will last beyond my lifetime. It's just a good quality design. Total Cost was about $300. Not bad for what we would have been paying for a lesser quality bed. Changes I made: I added the railing on the front of the upper bed to match the headboards and railing on the back side because my wife is a worrier. I also designed and built the stairway and bolted it to the lower bed. I am no professional carpenter, a novice at best. Most people with a little carpentry knowledge can build this. Thanks Ana, we all love it!

Tue, 04/02/2013 - 05:17
Wow, you did a wonderful job! What a sweet story with your son bringing you any change he found. Adorable. I'm sure your sons are so proud of you and it means so much more than just store bought. In looking at that first smaller picture of just the top part, it looks like a view from the back side of a day bed. You can take apart the bunk beds when they get older and you have one full bed and one day bed. Awesome!
Sun, 06/29/2014 - 05:09
Could you post the plans and cutting list for this twin over full bunk bed?
Tue, 12/23/2014 - 23:22
I would love to build this for my grandsons, but I can't seem to get the plans for it, I need instructions becuse I am in training. Thanks

I made this with 1x6 since Home Depot didn’t have any 1x10 treated wood. All the wood I used is treated. I also used the exterior screws and put on a gray poly mixed stain for a little extra protection. I of course messed up the angles twice on the feet, but they just look like I gave them extra decoration now lol. Everybody loves this chair!
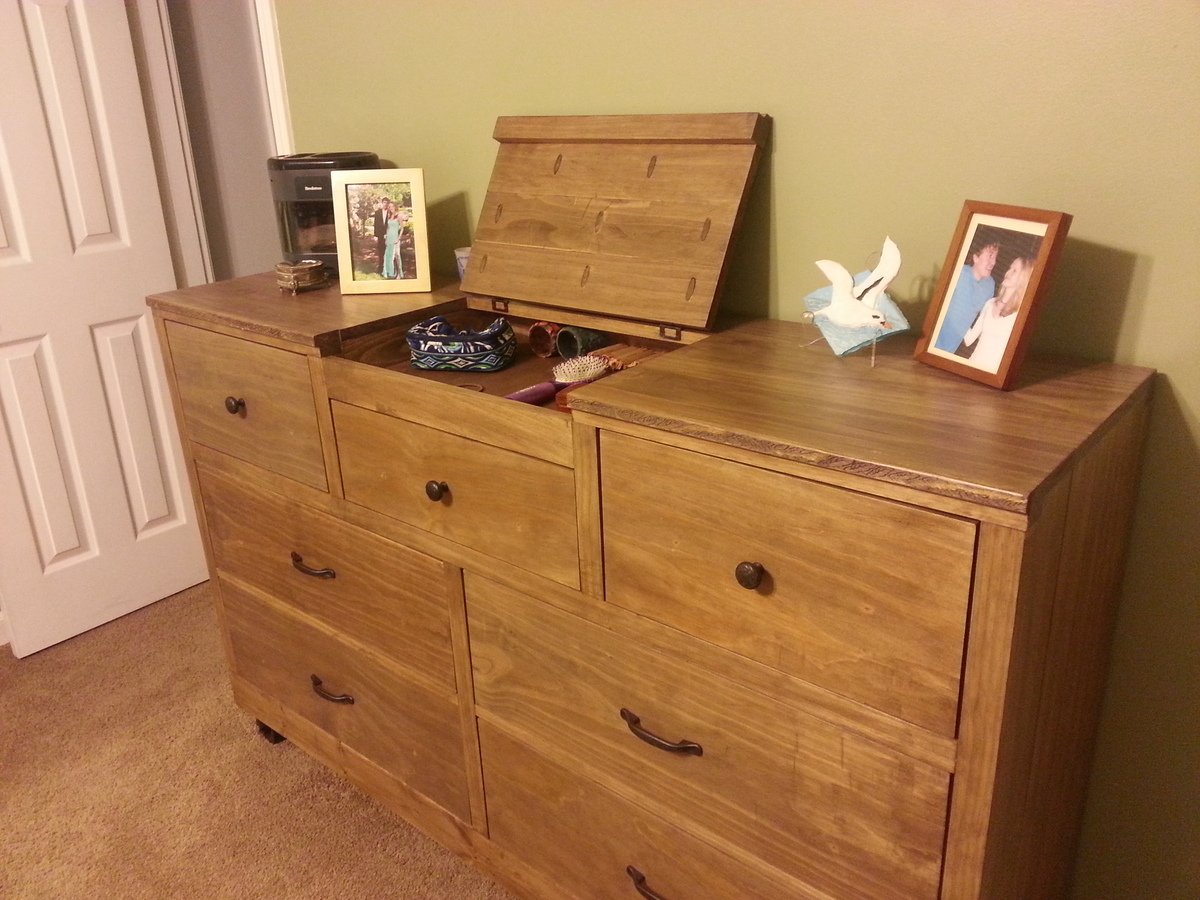
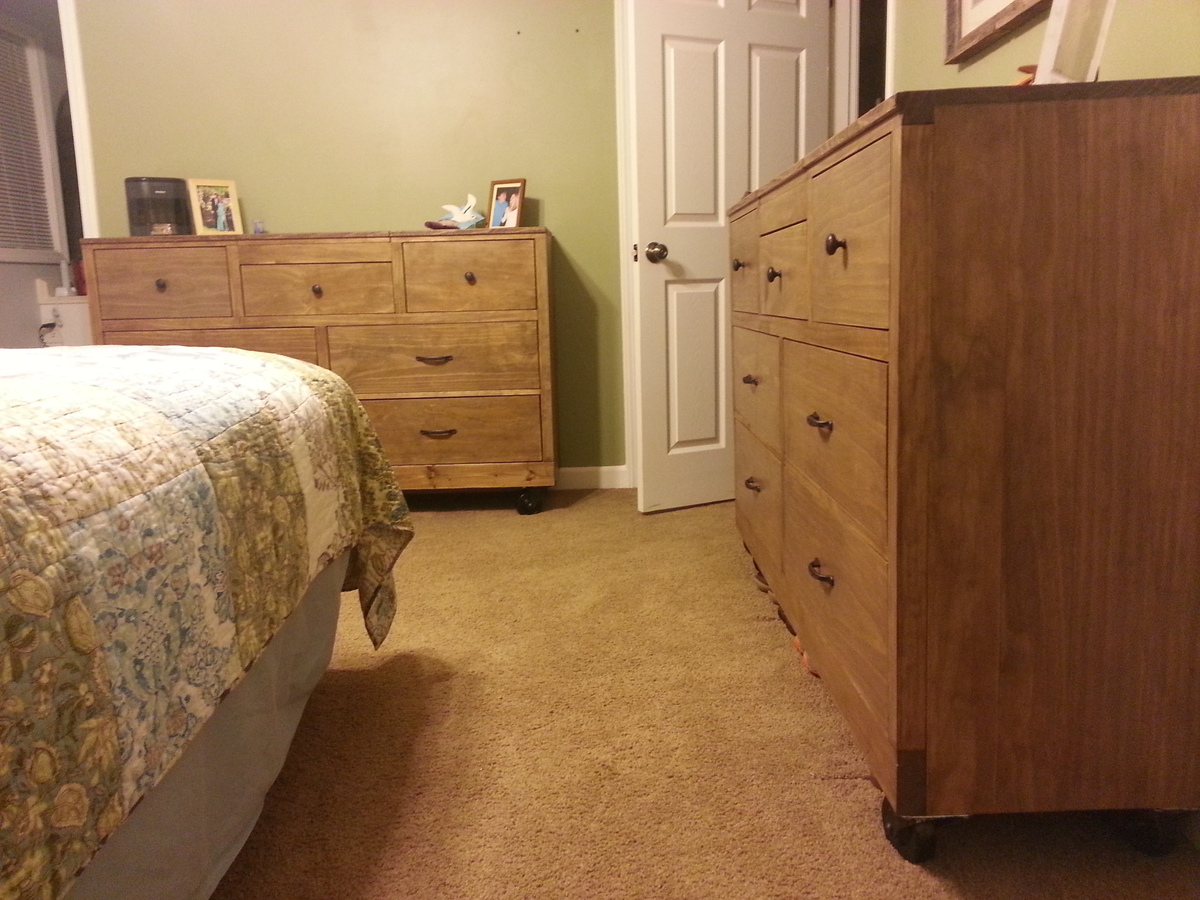
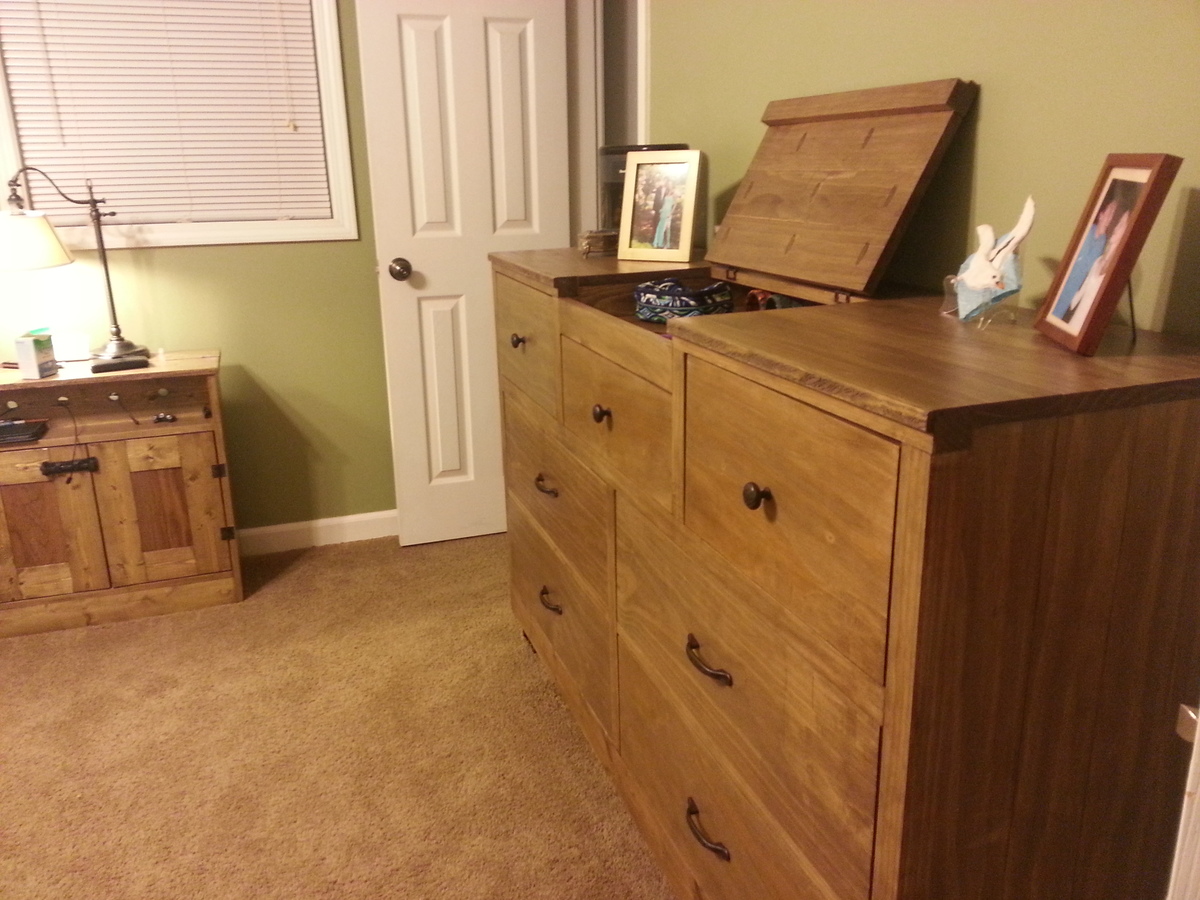
New dressers to match the nightstands. I modified the plans to make three smaller drawers up top and added a flip-up compartment for small stuff like jewelry, hair brushes and trinkets etc. It was fun to get more creative.
I made two at the same time so the wood and stain would be more consistent. However, in hindsight, I will never do any project that requires me to make 14 drawers at the same time again. I also used planked 1x4s instead of plywood for the sides and tops for looks. This made the dressers about an inch or so narrower. I used 2x4s instead of 2x2s for the bottoms of the frames to beef it up and reduce deflection, and also did not use braces in the back.
Wood -> $245/dresser
Hardware -> $ 150/dresser
Strain -> $20/dresser
Sat, 10/05/2013 - 18:59
They are stunning! Amazing job!! I love the charging nightstand in the background too, my dream bedroom!

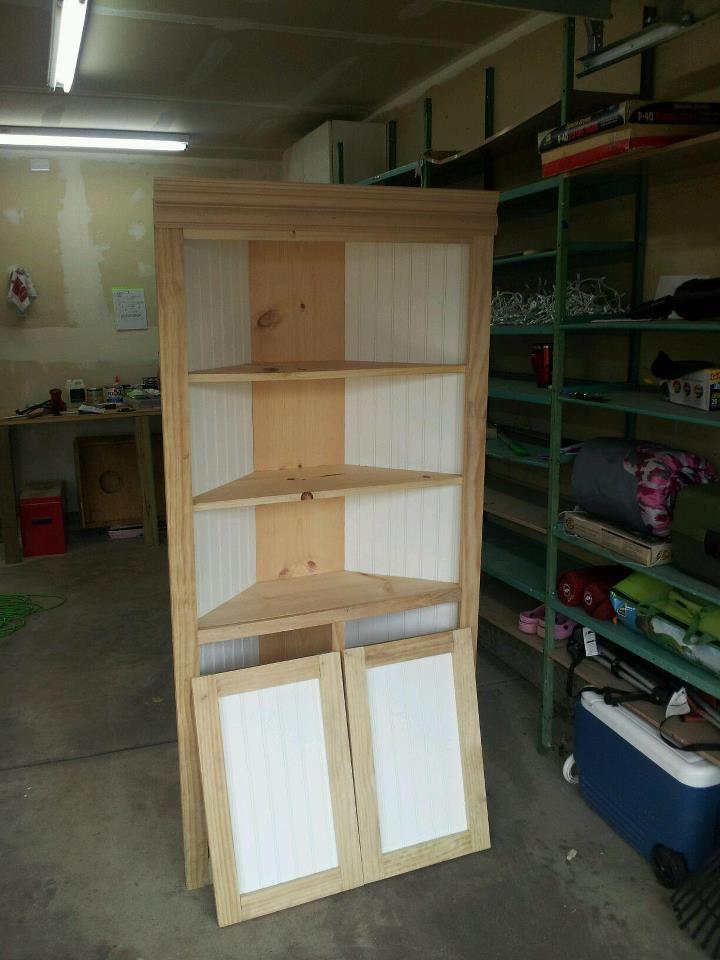
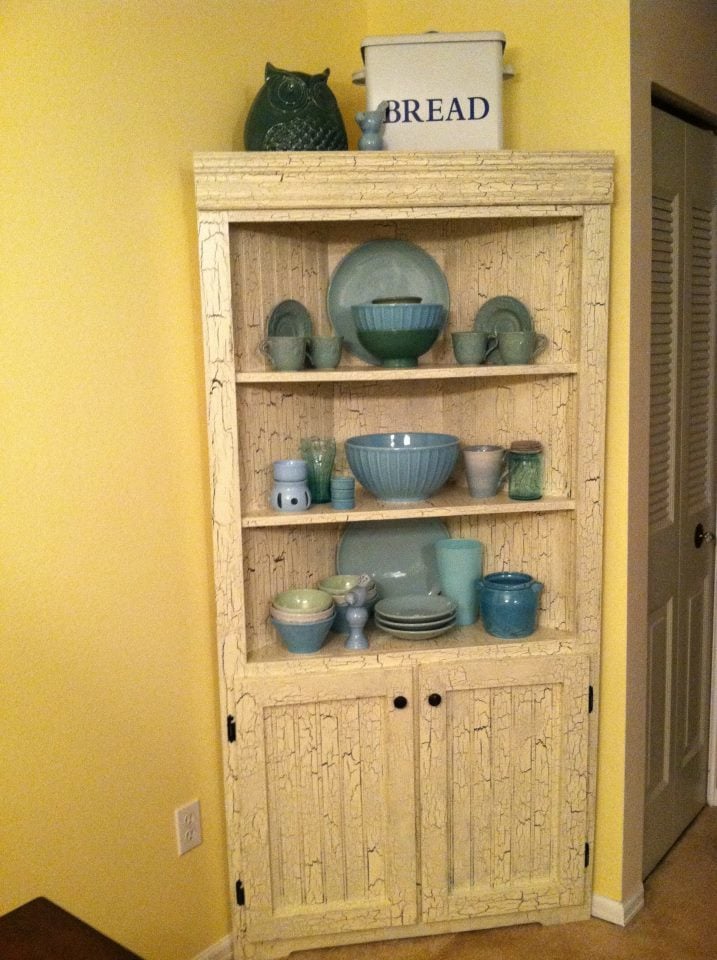
This was my first project. It took me a weekend to build and prime. Since I chose to use a crackle finish, waiting time between coats extended the total time to one full week. My husband and I were supposed to make this hutch together, but I became obsessed and did most of it alone! I adjusted the size a bit to make it larger, so I could fit big pieces on shelves and in cabinets. Thanks for the plan Ana!!


Fri, 04/13/2012 - 14:47
Wow, this is sooo beautiful! The finish is just awesome. My Hubby hates to paint, and he saw this multi-step finish and said you must have the patience of a saint! :) Congrats on such a stunning first project!
Mon, 10/01/2012 - 23:33
Very Nice! What did you do to make it "bigger"...did you make it deeper or wider? Just curious, because I would like to try and make a bigger version as well. Did you still cut the shelves on each side at a 45 degree angle? Thanks!
This was a new project idea my wife wanted me to do. It was relatively simple to follow. I felt it turned out pretty good. I've always felt that Ana's plans were well thought out and simple to follow. Even for a beginner like me.
Robert Gilliam
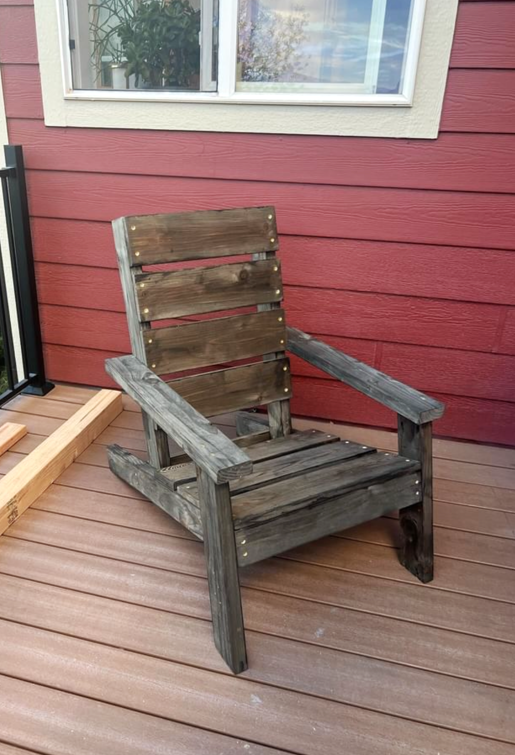
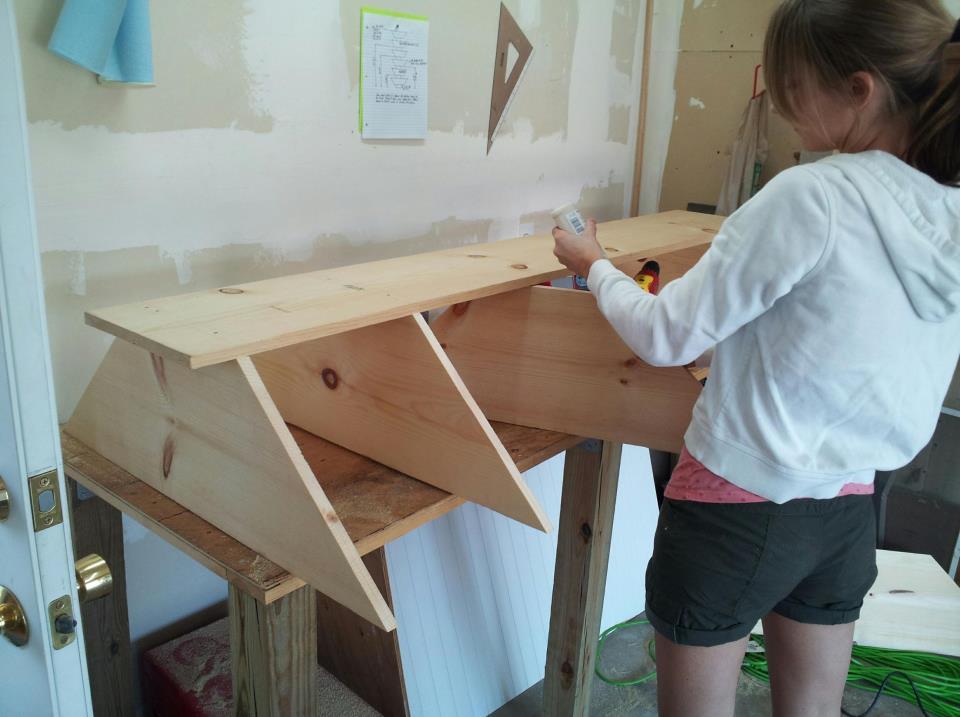
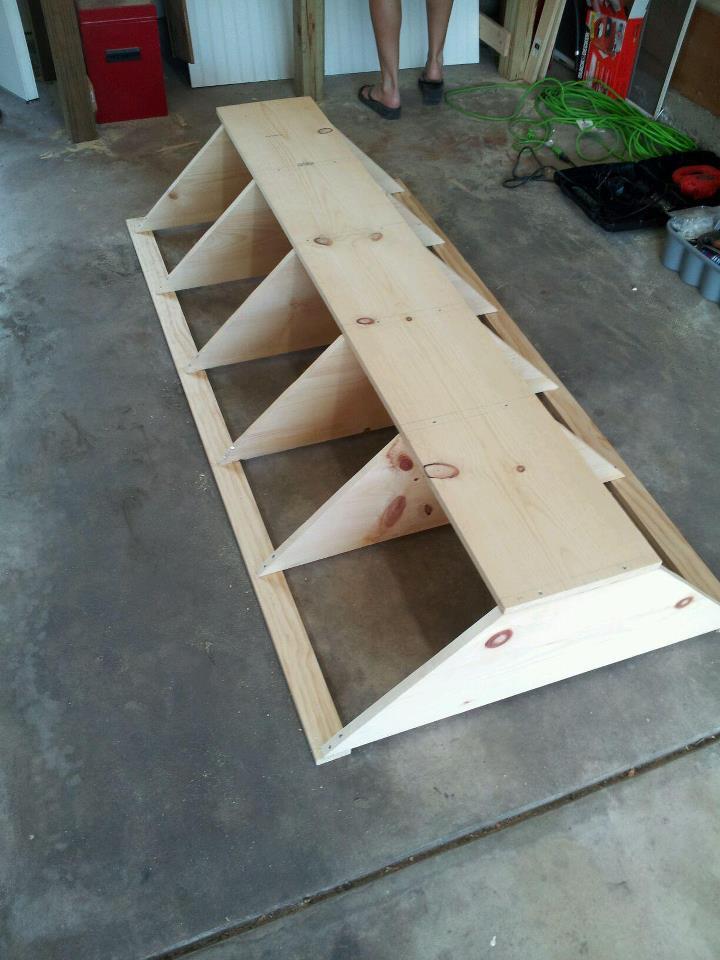
DIY Adirondack Chair


We are stuck at home for the Shelter-In-Place due to COVID-19 so we decided to use the scrap wood left over from our new deck. Because we didn't have the materials exactly meeting the specifications in the directions, we had to adapt the design significantly but we're really pleased with how it turned out. My 16-year-old daughter made it with me so it was a great to get her involved in building
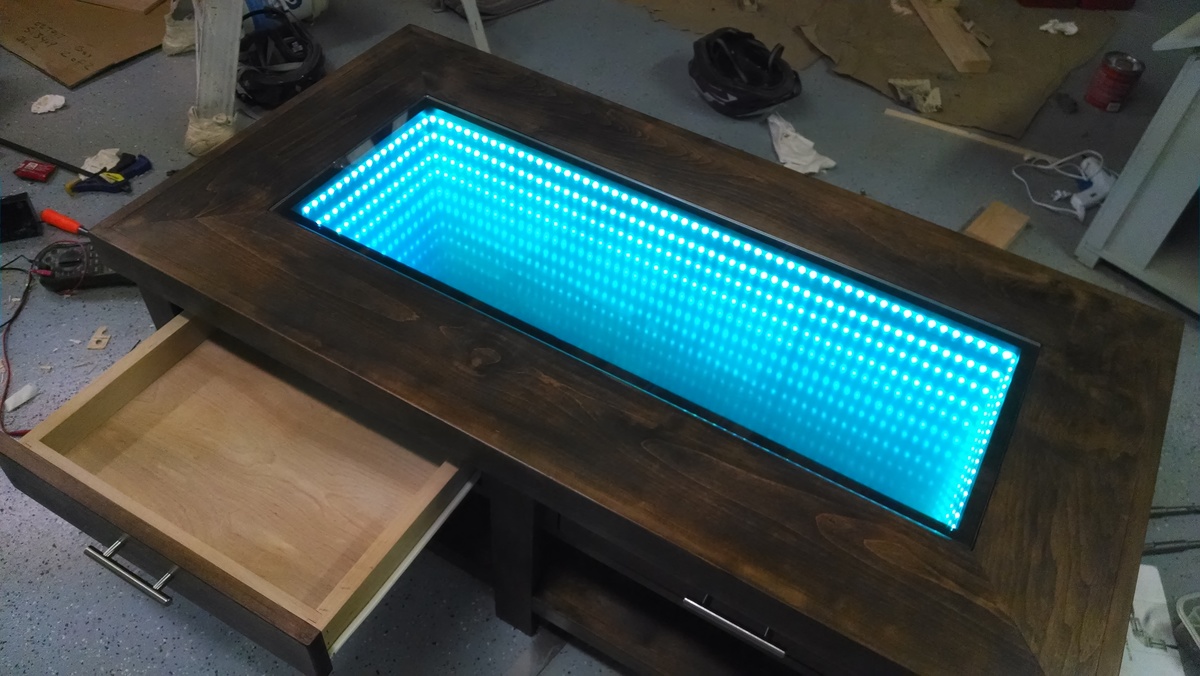
Used the Benchwright Coffee Table for all of the base which was very easy to follow. I used rough cut Alder, which I would not try to do again (way too many linear feet to cut!). I've done drawers before, and I've found that it's easier to attach the slides to the drawer box and the horizontal pieces that attach to the table. After that, attach once of the horizontal pieces first, and shim the other before attaching to the table. The top is 3 boards tall and is comprised of 1 layer of birch plywood, 1 layer of spacers, and the mitered edges on the top. The infinity mirror feature comes from a row of LED's sandwiched between a mirror (base) and glass with a semi-transparent mirror film (also known as one way mirror).


Comments
Myron3
Wed, 05/27/2020 - 08:28
Great Job!
I love this. Functional but also decorative. Would you mind sharing the plan for your version?