Community Brag Posts

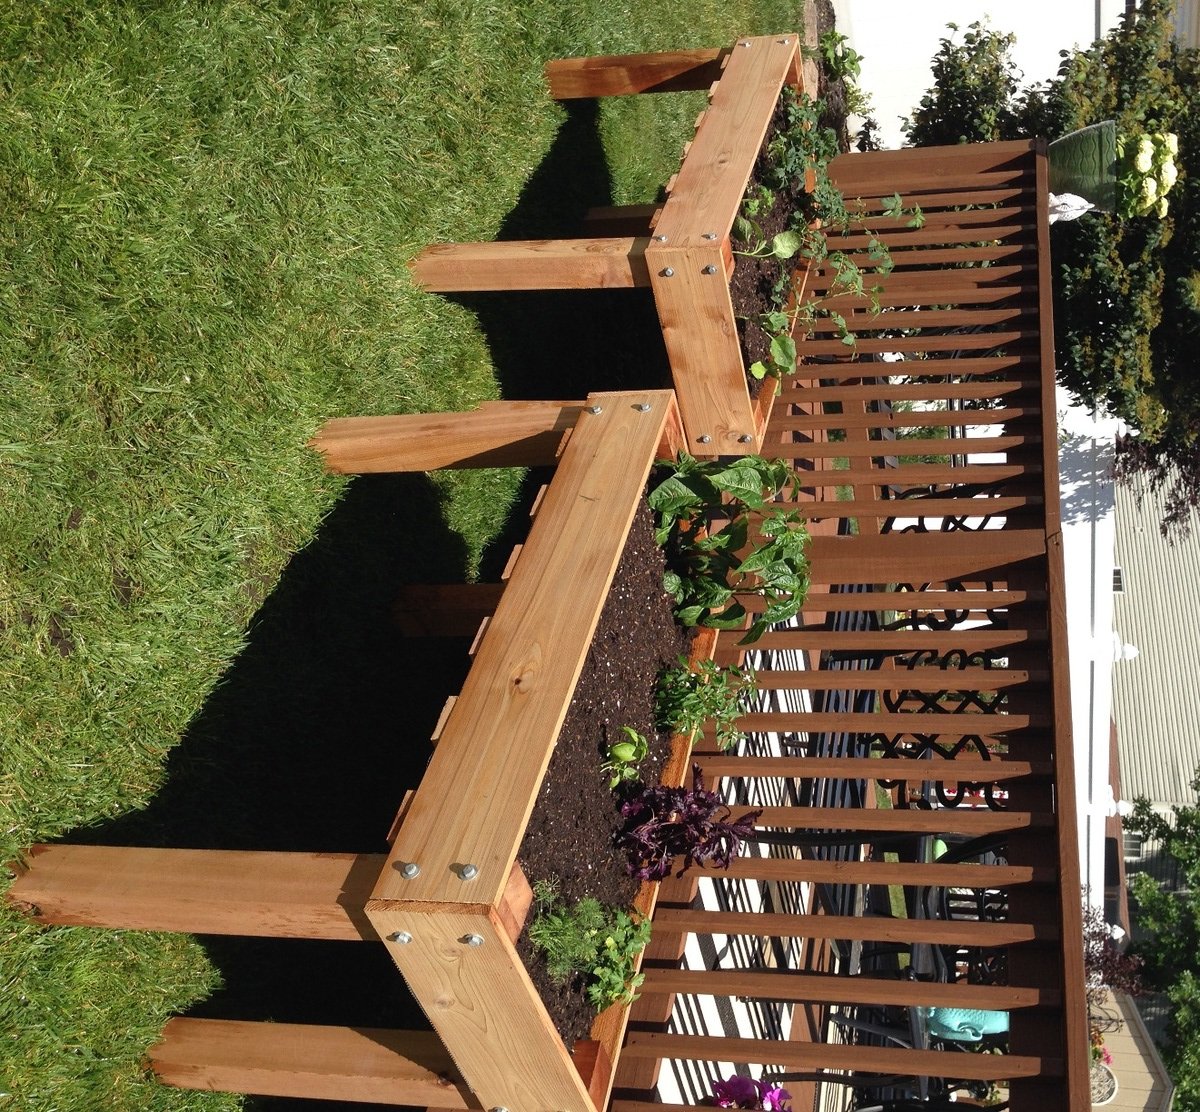
New counter height planters in use

Submitted by jrbdmb on Fri, 06/20/2014 - 05:05

Using the counter height planter plans from Janettx. Thanks!

Estimated Time Investment
An Hour or Two (0-2 Hours)
Recommended Skill Level
Beginner

Comments

Janettx

Mon, 09/20/2021 - 13:24

Nice job!!! I'm still using mine. I ended up putting 12"x12" pavers under each leg to extend their life. After the 2nd year now we get bumper crop out of ours each season.

Octagonal Picnic Table

Submitted by Tbear on Fri, 07/25/2014 - 11:54

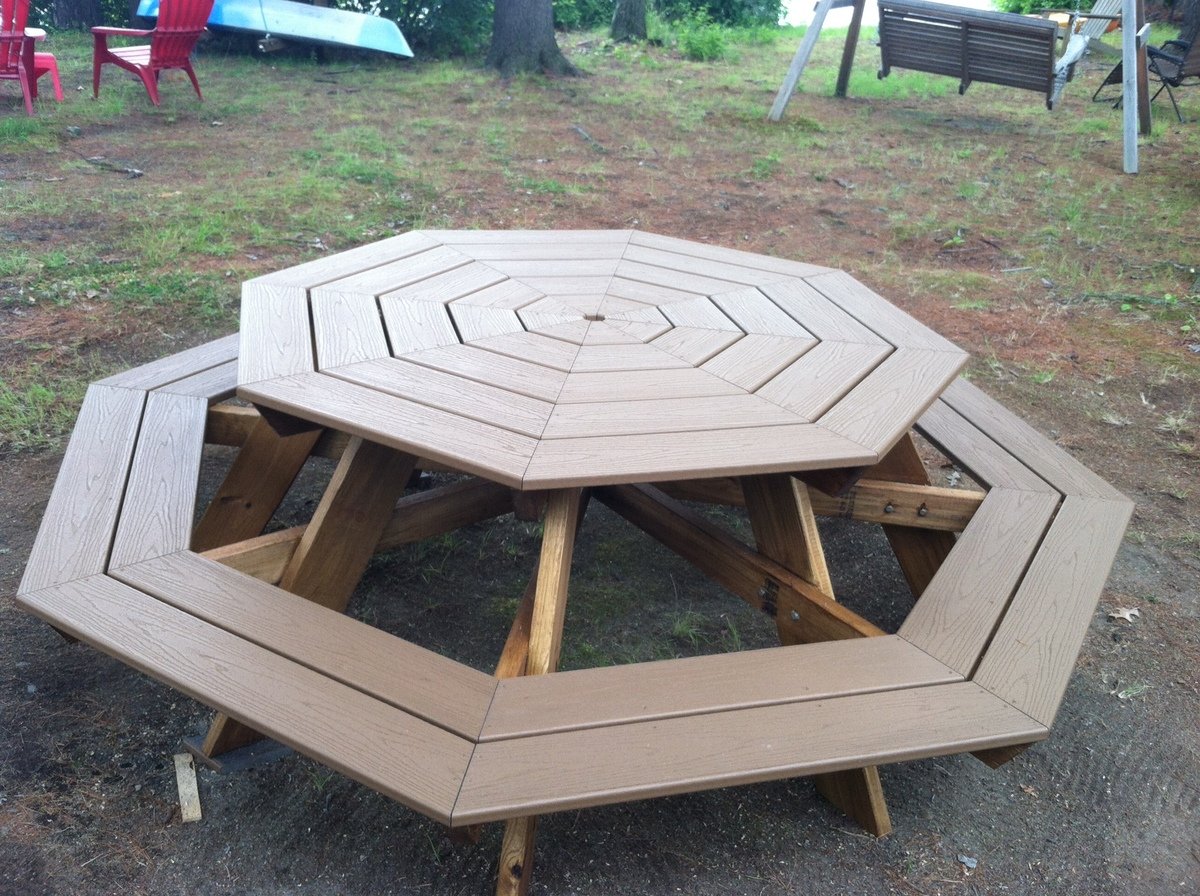
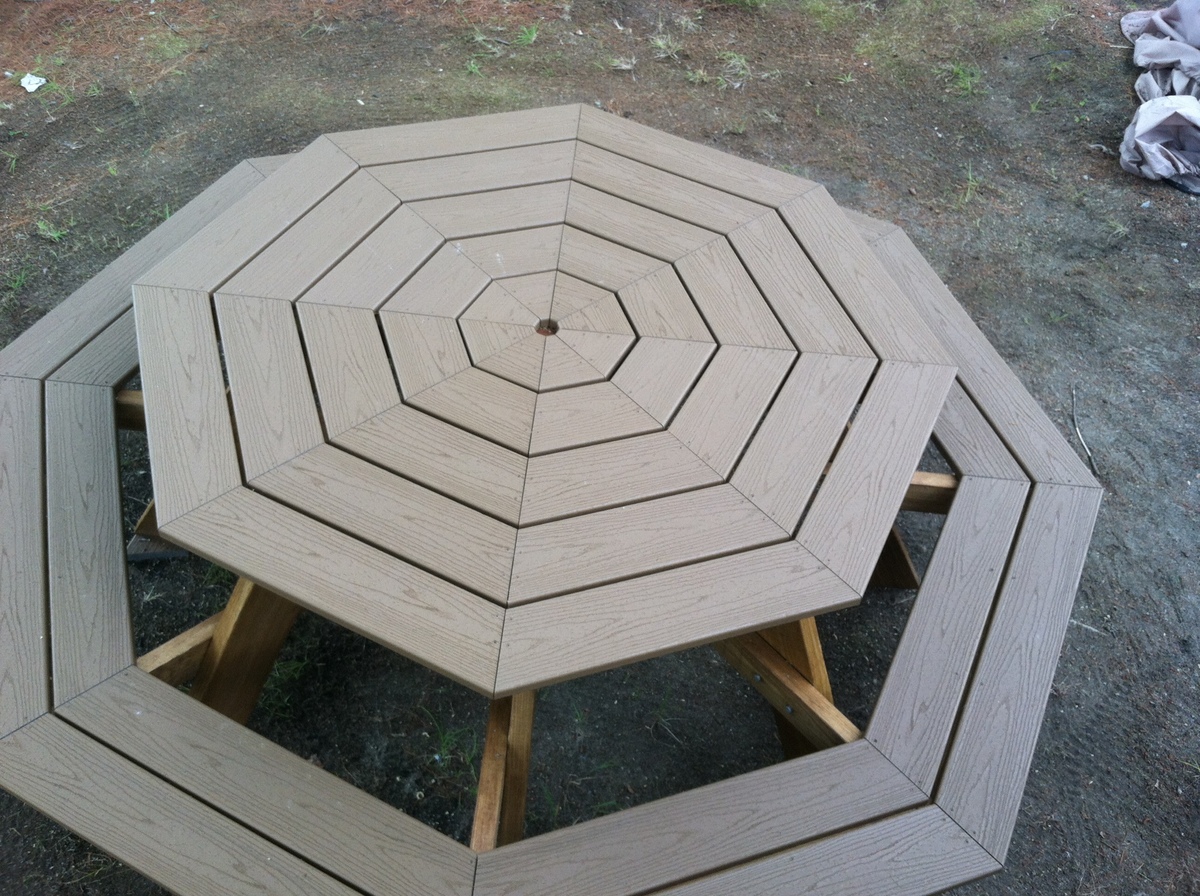
Living in a cottage on a lake during the summers, I needed a picnic table that would take care of a big family so I built the Octagonal picnic table on Ana's site, however with a twist.

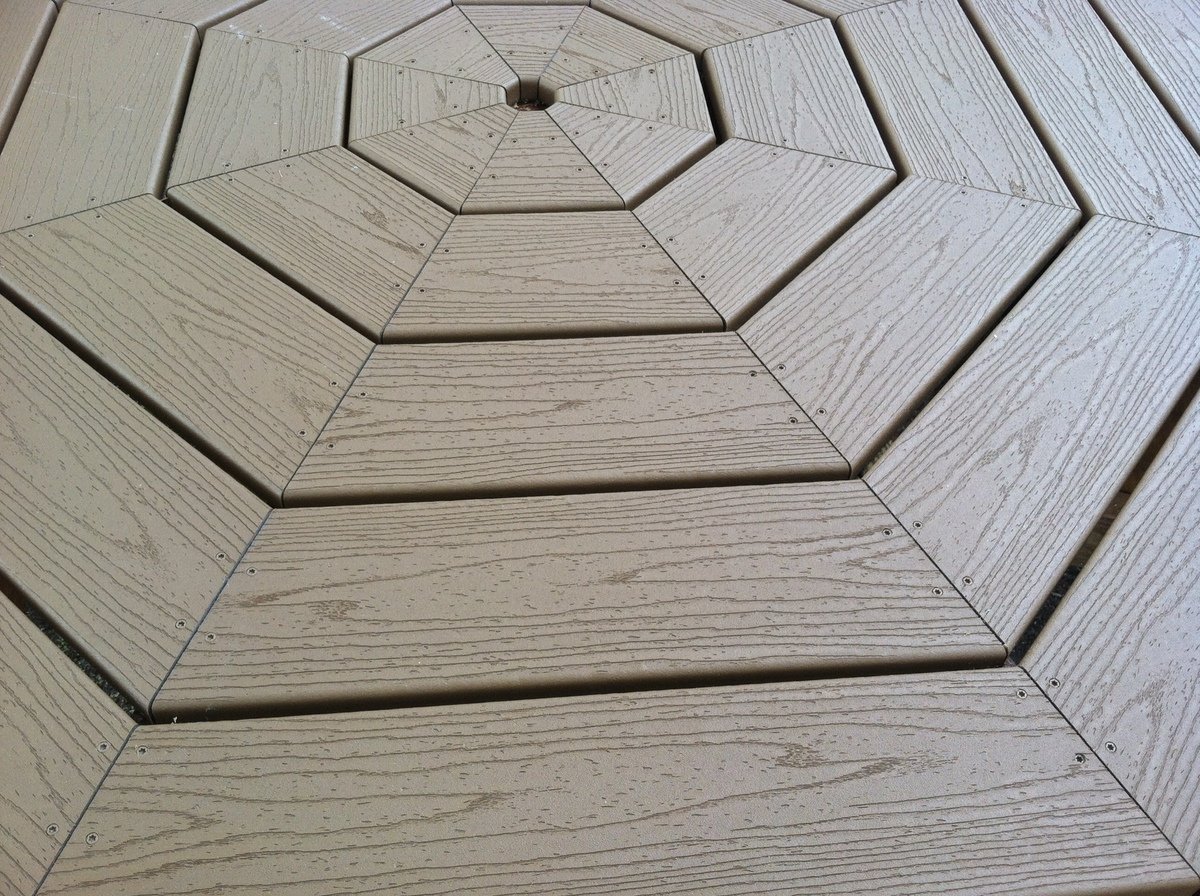
Since we are under a bunch of trees, I wanted to be able to scrub the table easily and not have to do any maintenance on it over the long term. So I built the top and the benches using Trex. Yes, it was more expensive but the result (if I do say so myself) was incredible.

Since Trex isn't as structural as 2 x 6's, I reinforced the seats using 2x4s laid horizontally underneath the seam of each of the two bench pieces. I also drove a few extra screws through the Trex benches along the 2 x 4's to further strengthen seating area.

Aesthetically, I didn't care for the 1/2 inch spacing for the table top and benches so I reduced it to 1/4 inch and cut the length of the Trex accordingly. I used decking screws that exactly matched the color of the Trex.

I did take the advice of one of the former builder's of this table and staggered the legs to make it easier to get in and out. That was a worth while suggestion.

The only 'warning' I was given about using Trex was that it could get 'hot' if in the sun for long periods during the day during the summer. This table is in the shade almost all the time, but having said that I have read that the Trex as decking gets no hotter than treated lumber stained the same color.

This is a great design at it was lots of fun to build.
Built from Plan(s)
Estimated Cost
$500
Estimated Time Investment
Weekend Project (10-20 Hours)
Finish Used
Olympic Maximum Stain and Sealer
Recommended Skill Level
Intermediate

Garage Shelves - Freestanding (Modified)

Submitted by Anonymous (not verified) on Tue, 09/15/2020 - 20:45

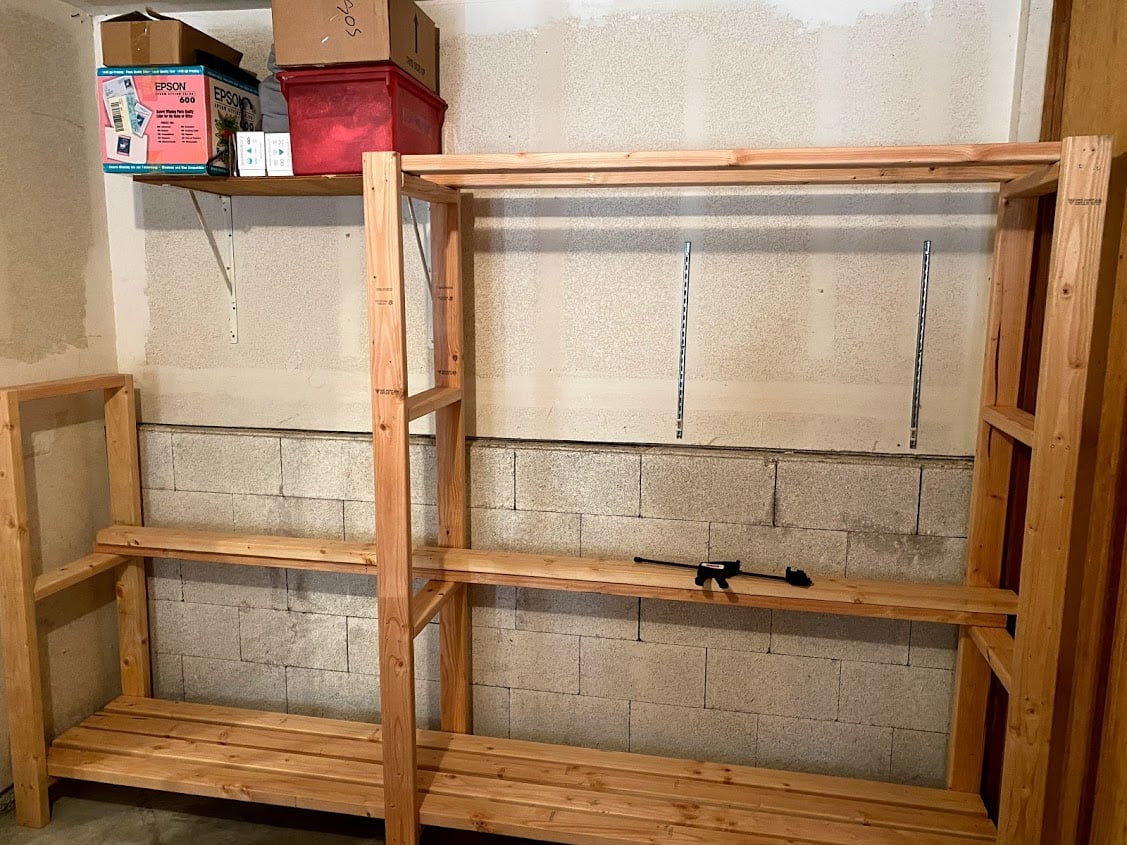
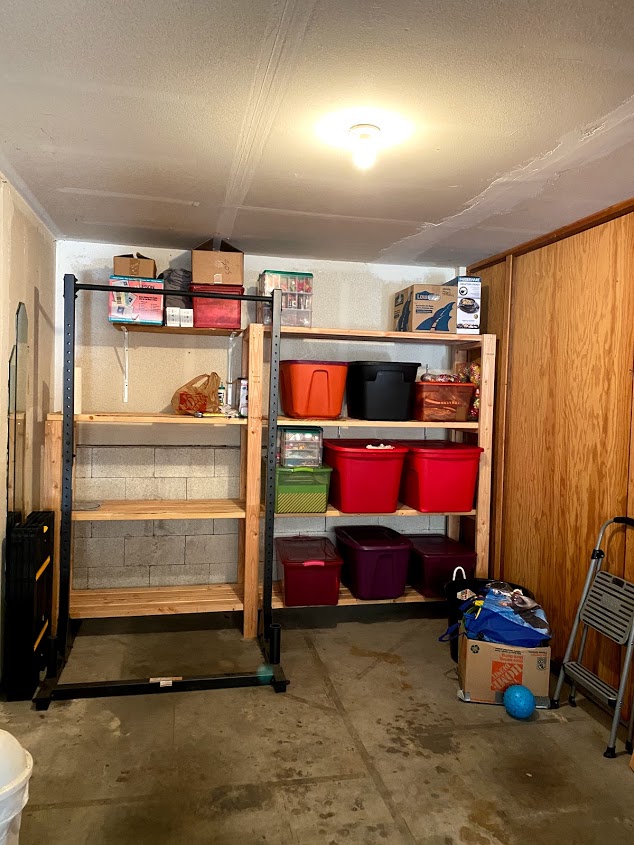
First project ever! I have been planning to build this for at least a year, and I finally did it! I had to modify the plan to fit my space, but it worked out well. They cut the wood for me at the store, so I did not make any cuts myself, just assembled all of the pieces together. I used all 2x4s, 8' and 10', cut down to my measurements. I did not finish the shelves since it is just for the garage, but I did sand rough board edges and some of the faces. I just used an palm sander and coarse sandpaper (80 grit). Please double check all measurements and lists because I forgot to add my shorter shelf supports to the list and had to go back to the store. I also forgot to add the width of the top shelf to those two shorter supports, so the shelf boards are resting on the top instead of nestled into the supports. It turned out not to be a functional problem, but a good lesson to learn. I also learned to make sure my driver battery is charged fully before starting - that took a large chunk out of my first day building and I had to finish the next day. My husband helped with some lifting and holding, but I mostly did this on my own in one weekend, so you CAN do it! Don't wait like I did - it is soooooooo useful and it looks great! All of my friends are really impressed and it feels so good to have made something like this! Thank you Ana!!

Estimated Cost
$180
Estimated Time Investment
Weekend Project (10-20 Hours)
Finish Used
N/A
Recommended Skill Level
Beginner

Comments

Built-In Hall Tree Heated

Submitted by adamhatton on Sun, 03/10/2013 - 18:26

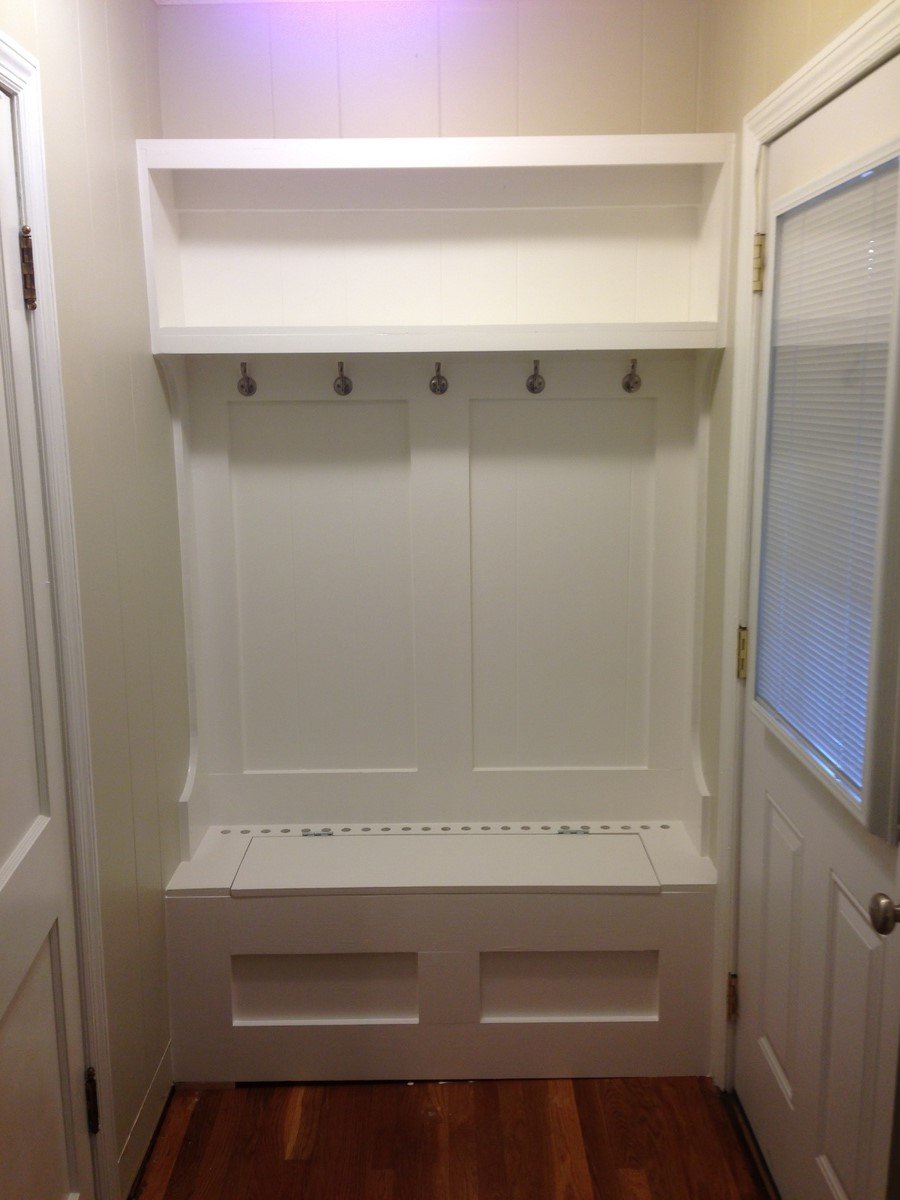
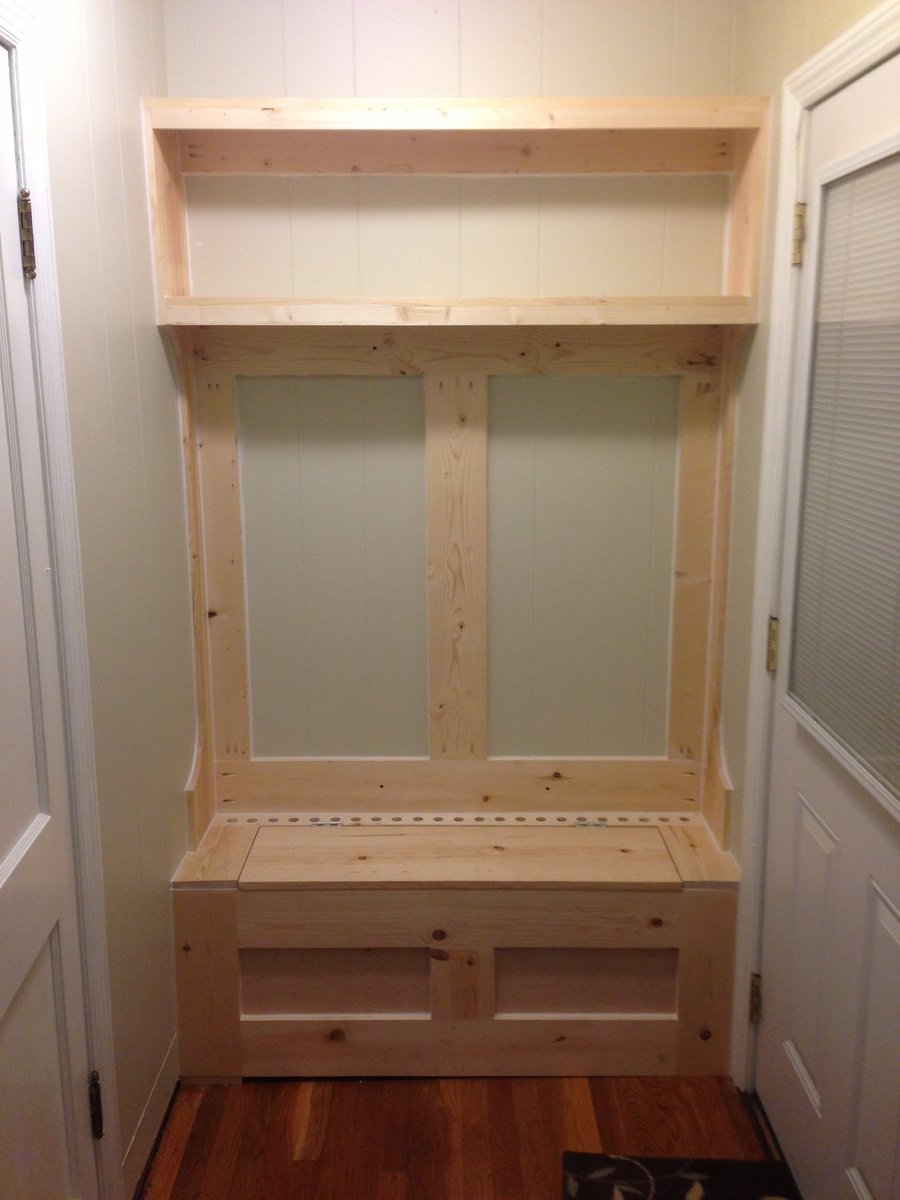
I made this hall tree as a gift for my wife. It's a classy way to store coats out in plain sight. it is larger than the design specs from Mimi (7'H by 4'1" W) and built-in instead of free standing. Our house has a boiler with floorboard radiators. There is a radiator inside the hutch, and heat comes out of the holes just behind the lid to the bench this heats up the coats as they hang on the rack. The radiator also heats the compartment under the bench which aids in drying damp boots and other items. Fun project, also an easy project thanks to the Kreg Jig!

Built from Plan(s)
Estimated Cost
$100
Estimated Time Investment
Day Project (6-9 Hours)
Finish Used
Bear semi-gloss interior latex.
Recommended Skill Level
Beginner

Outhouse Plan for Camping Property

Submitted by UncleMike on Wed, 04/28/2021 - 10:50

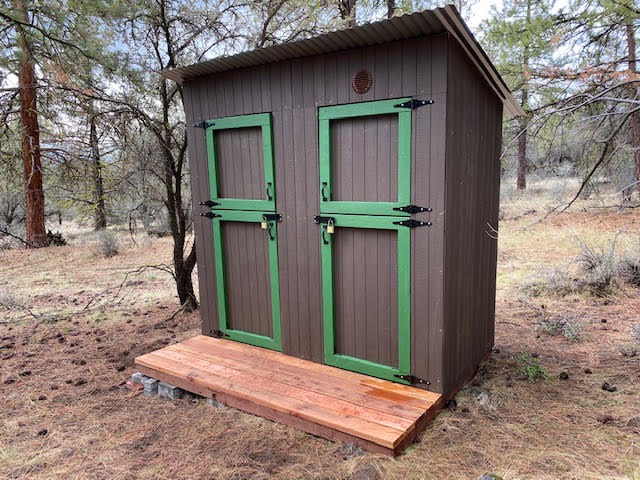
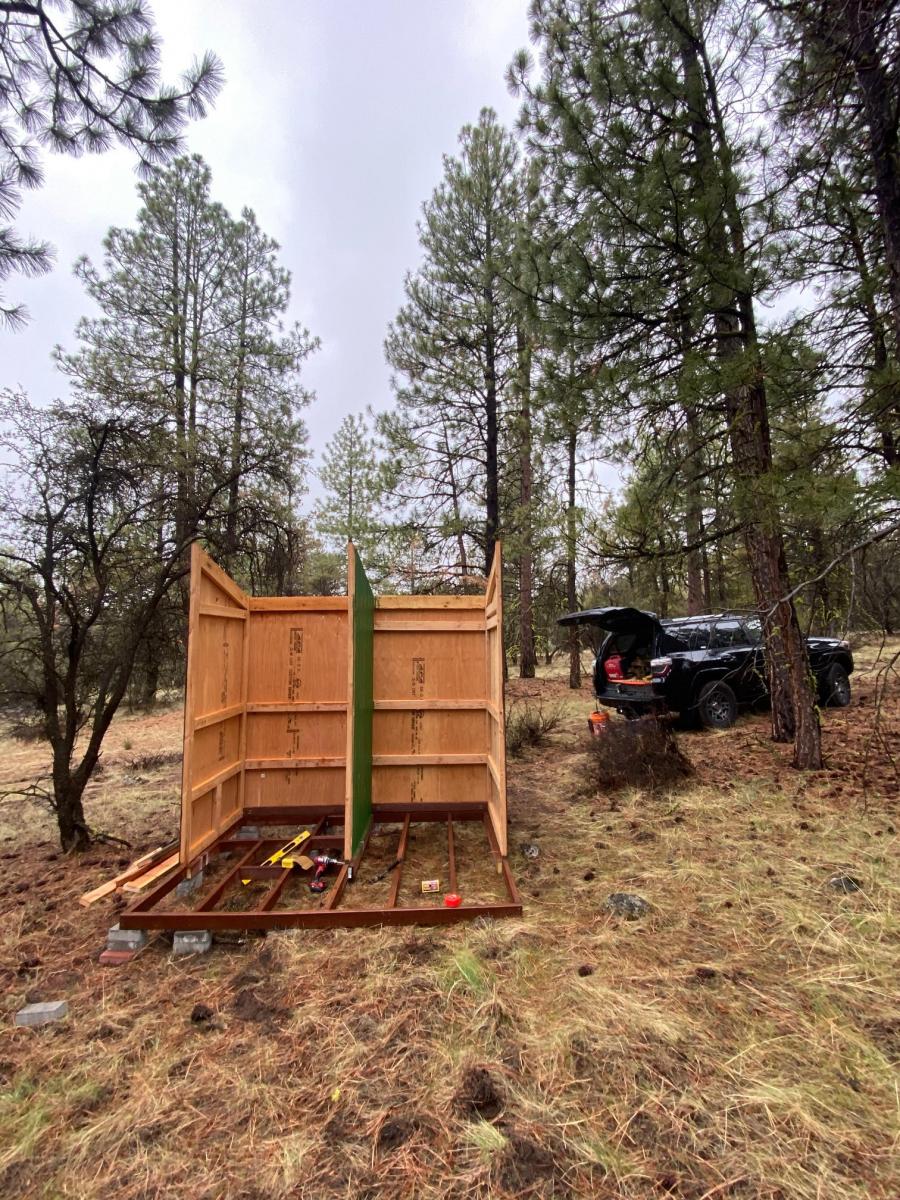
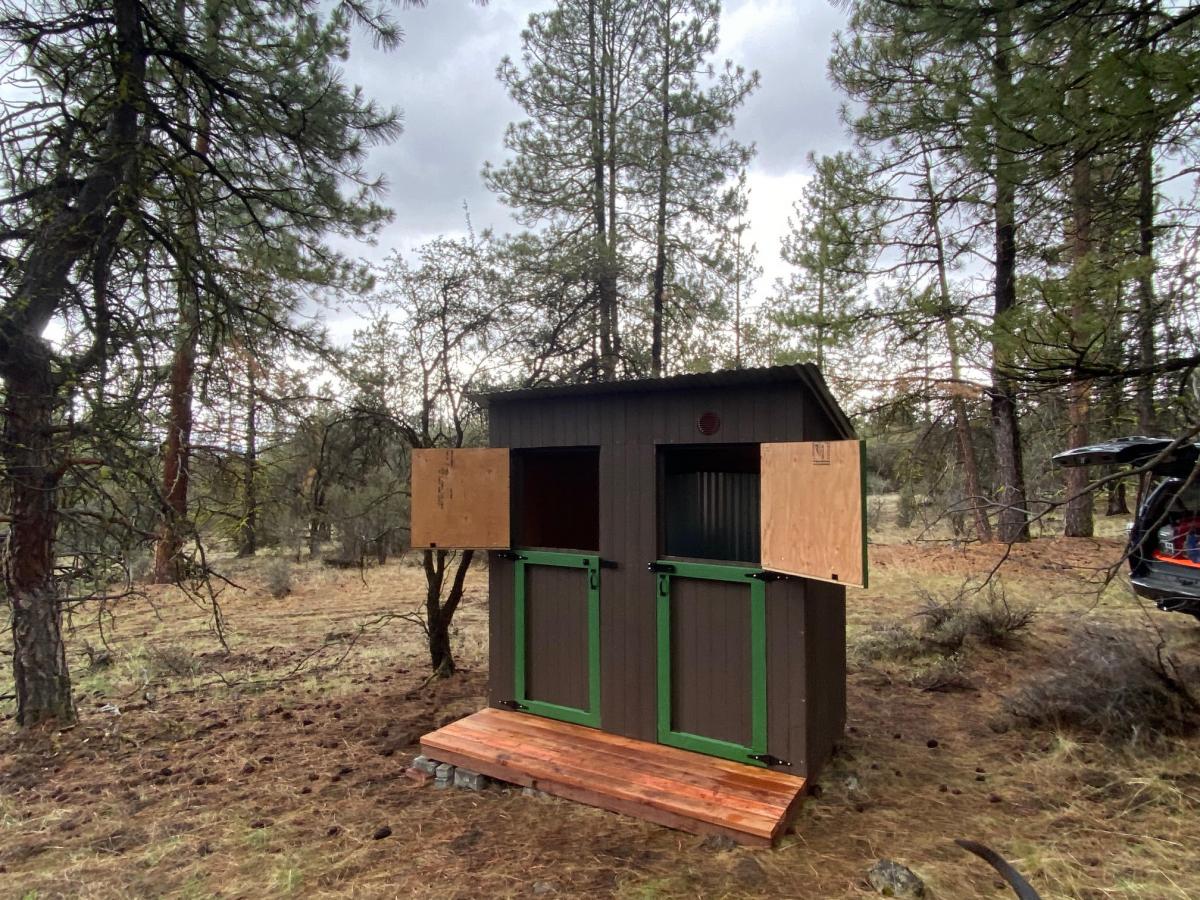
I built an an outhouse for my camping property in the PNW. The plans were great and easy to follow.

I did take the liberty of extending the the front wall to 8' still using the 15 degree roof line. I also wanted the option to shower during extending camping trips so I extended the floor and added one more back and side wall to create a shower house. With this design, I basically duplicated the side and back wall. Since I am in the middle of the woods, the Dutch doors were a last minute embellishment that I'm glad that I implemented in order to take advantage of the view!

For the shower, I used composite decking with 1/2" gaps for drainage and lined the inside with 6' lengths of corrugated metal roofing.

One additional note: I did build this on my back patio over a couple of weekends since my property is a fairly long drive from my home and about 2 hours round trip from the nearest hardware store. It broke down easily in about 30 minutes with 2 people and fit perfectly in the back of a full size pick up truck for the trip.

In summary, great plans and I love this site. Much appreciated and happy building!

Built from Plan(s)
Estimated Cost
1200.00
Estimated Time Investment
Week Long Project (20 Hours or More)
Finish Used
I used primed T-111 siding and finished with PPG "Cabin in the Woods" base (PPG1021-7) with "Mountain Forest" trim (PPG1130-7). For the redwood decking, I just used a Behr clear protectant and hit it with 2 coats.
Recommended Skill Level
Intermediate

Comments

Square Modern Farmhouse END Table

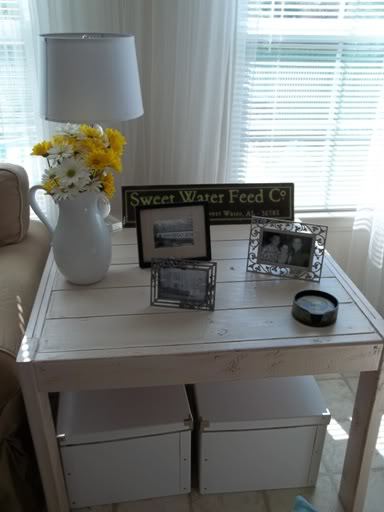
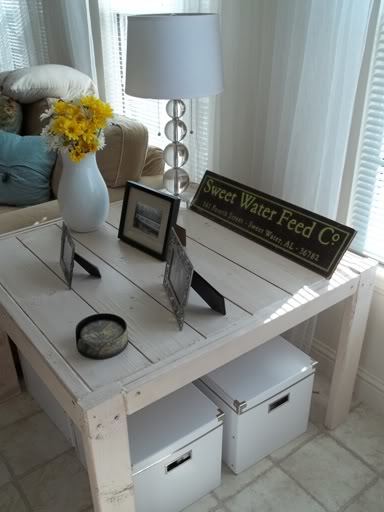
I loved the square modern farmhouse table when I saw it, and knew I wanted to use it as an end table in our living room. I had this really awkward space that my couches created when their corners met. It had been filled by 4 TV trays acting as a larger end table--all I did was cover it with a table cloth to disguise what it really was! ;)

I have a coffee table that is similar looking (with a slated top) so I knew it would compliment it! I may still go back and repaint it to something a little more colorful or to make the white more crisp, but overall I love it!

The table is very heavy and sturdy! At the time I built this, I was under the impression our local Home Depot didn't carry pine boards, so I bought Douglas Fir instead (turns out they do carry pine, they just have it in a different section). Definitely increased the cost a bit, but I have no regrets.

It took me about a week to put together, but I also work outside the home. Had I had a whole weekend to devote to it, I think it would have been done in one or two days.

Estimated Cost
$70--but I was starting from scratch (nails, paint, putty, etc.)
Estimated Time Investment
Day Project (6-9 Hours)
Finish Used
Painted in Behr Paint-and-Primer-in-One in "Artist's Canvas" and glazed with Ralph Lauren "Smoke."
Recommended Skill Level
Beginner

First Build - Redwood Adirondack Chairs

Love the results of my first building project.....a pair of redwood adirondack chairs. Angled cuts were a great way for a beginner to learn to use the miter saw.

Estimated Cost
$75 for redwood per chair
Estimated Time Investment
Weekend Project (10-20 Hours)
Finish Used
Discovered a non-toxic, non-flammable, water-based, environmentally friendly product called Seal-Once. Quick and easy two coat application in natural clear to protect wood outdoors for up to 10 years. Soaked right into redwood without leaving a shiny finish or residue.
Recommended Skill Level
Beginner

Comments

JoanneS

Sat, 09/07/2013 - 19:59

Love these gorgeous redwood chairs! The color and grain on that wood is awesome, and the clear coat is perfect for it. You did a great job on this build! I popped over to your blog and I enjoyed your post on this build very much. Well done!

Seasonal And Holiday

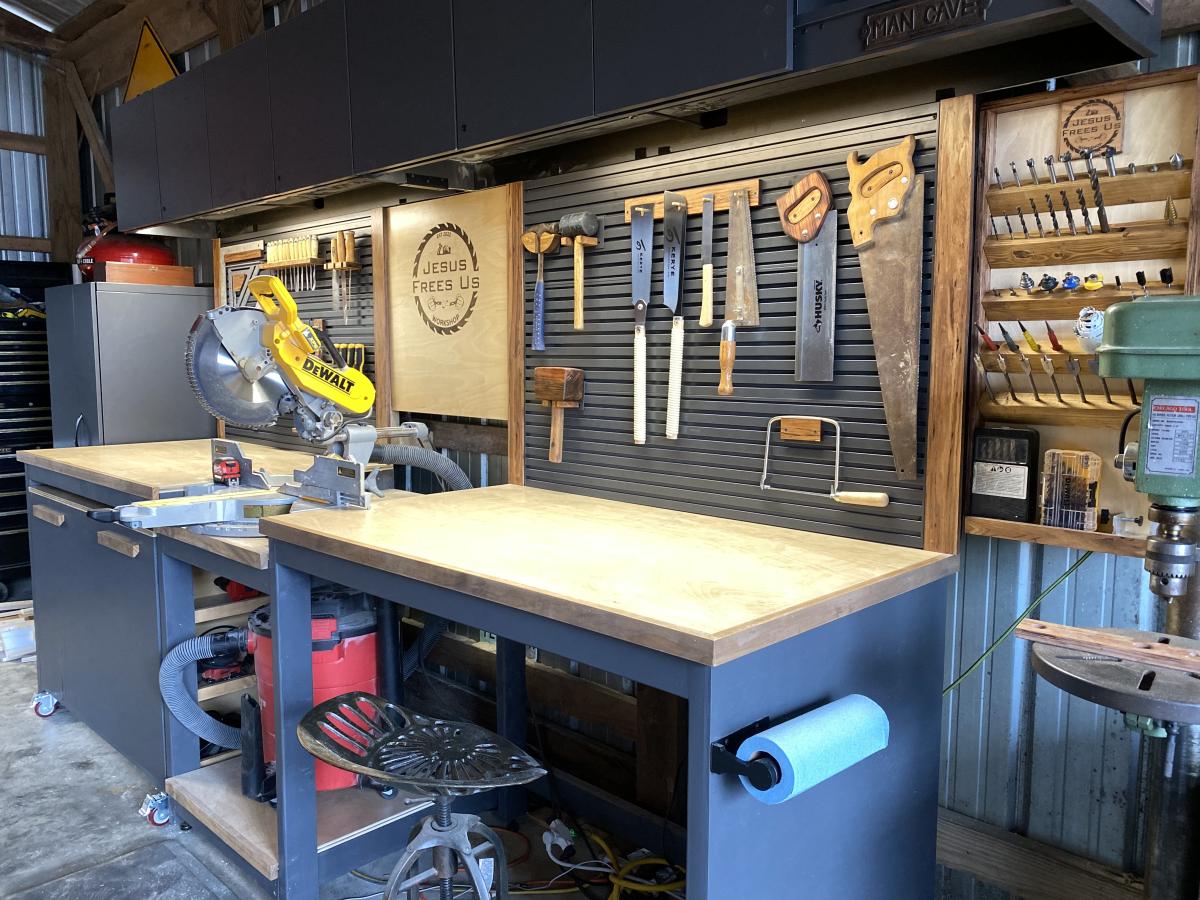
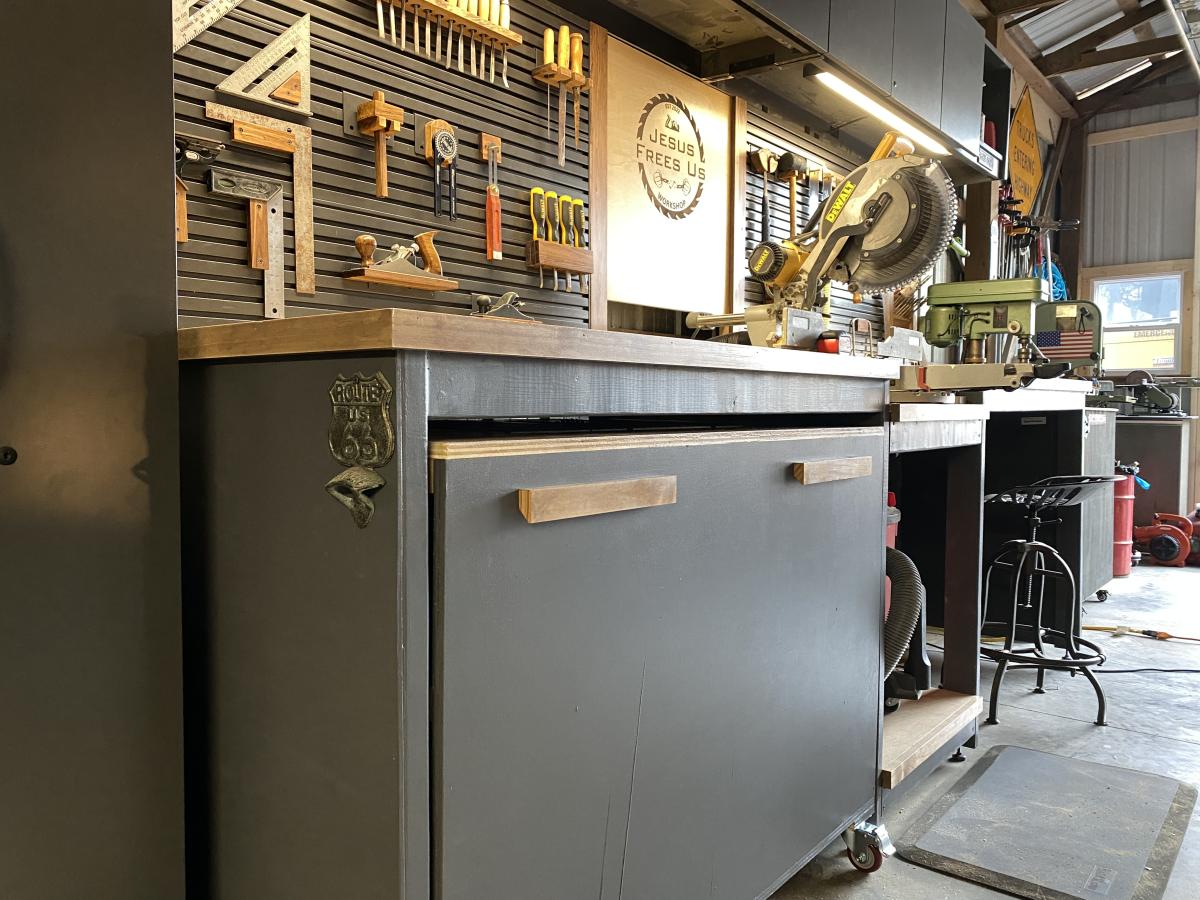
Ultimate Workbench/Miter Station

Submitted by Anonymous (not verified) on Mon, 03/06/2023 - 15:32

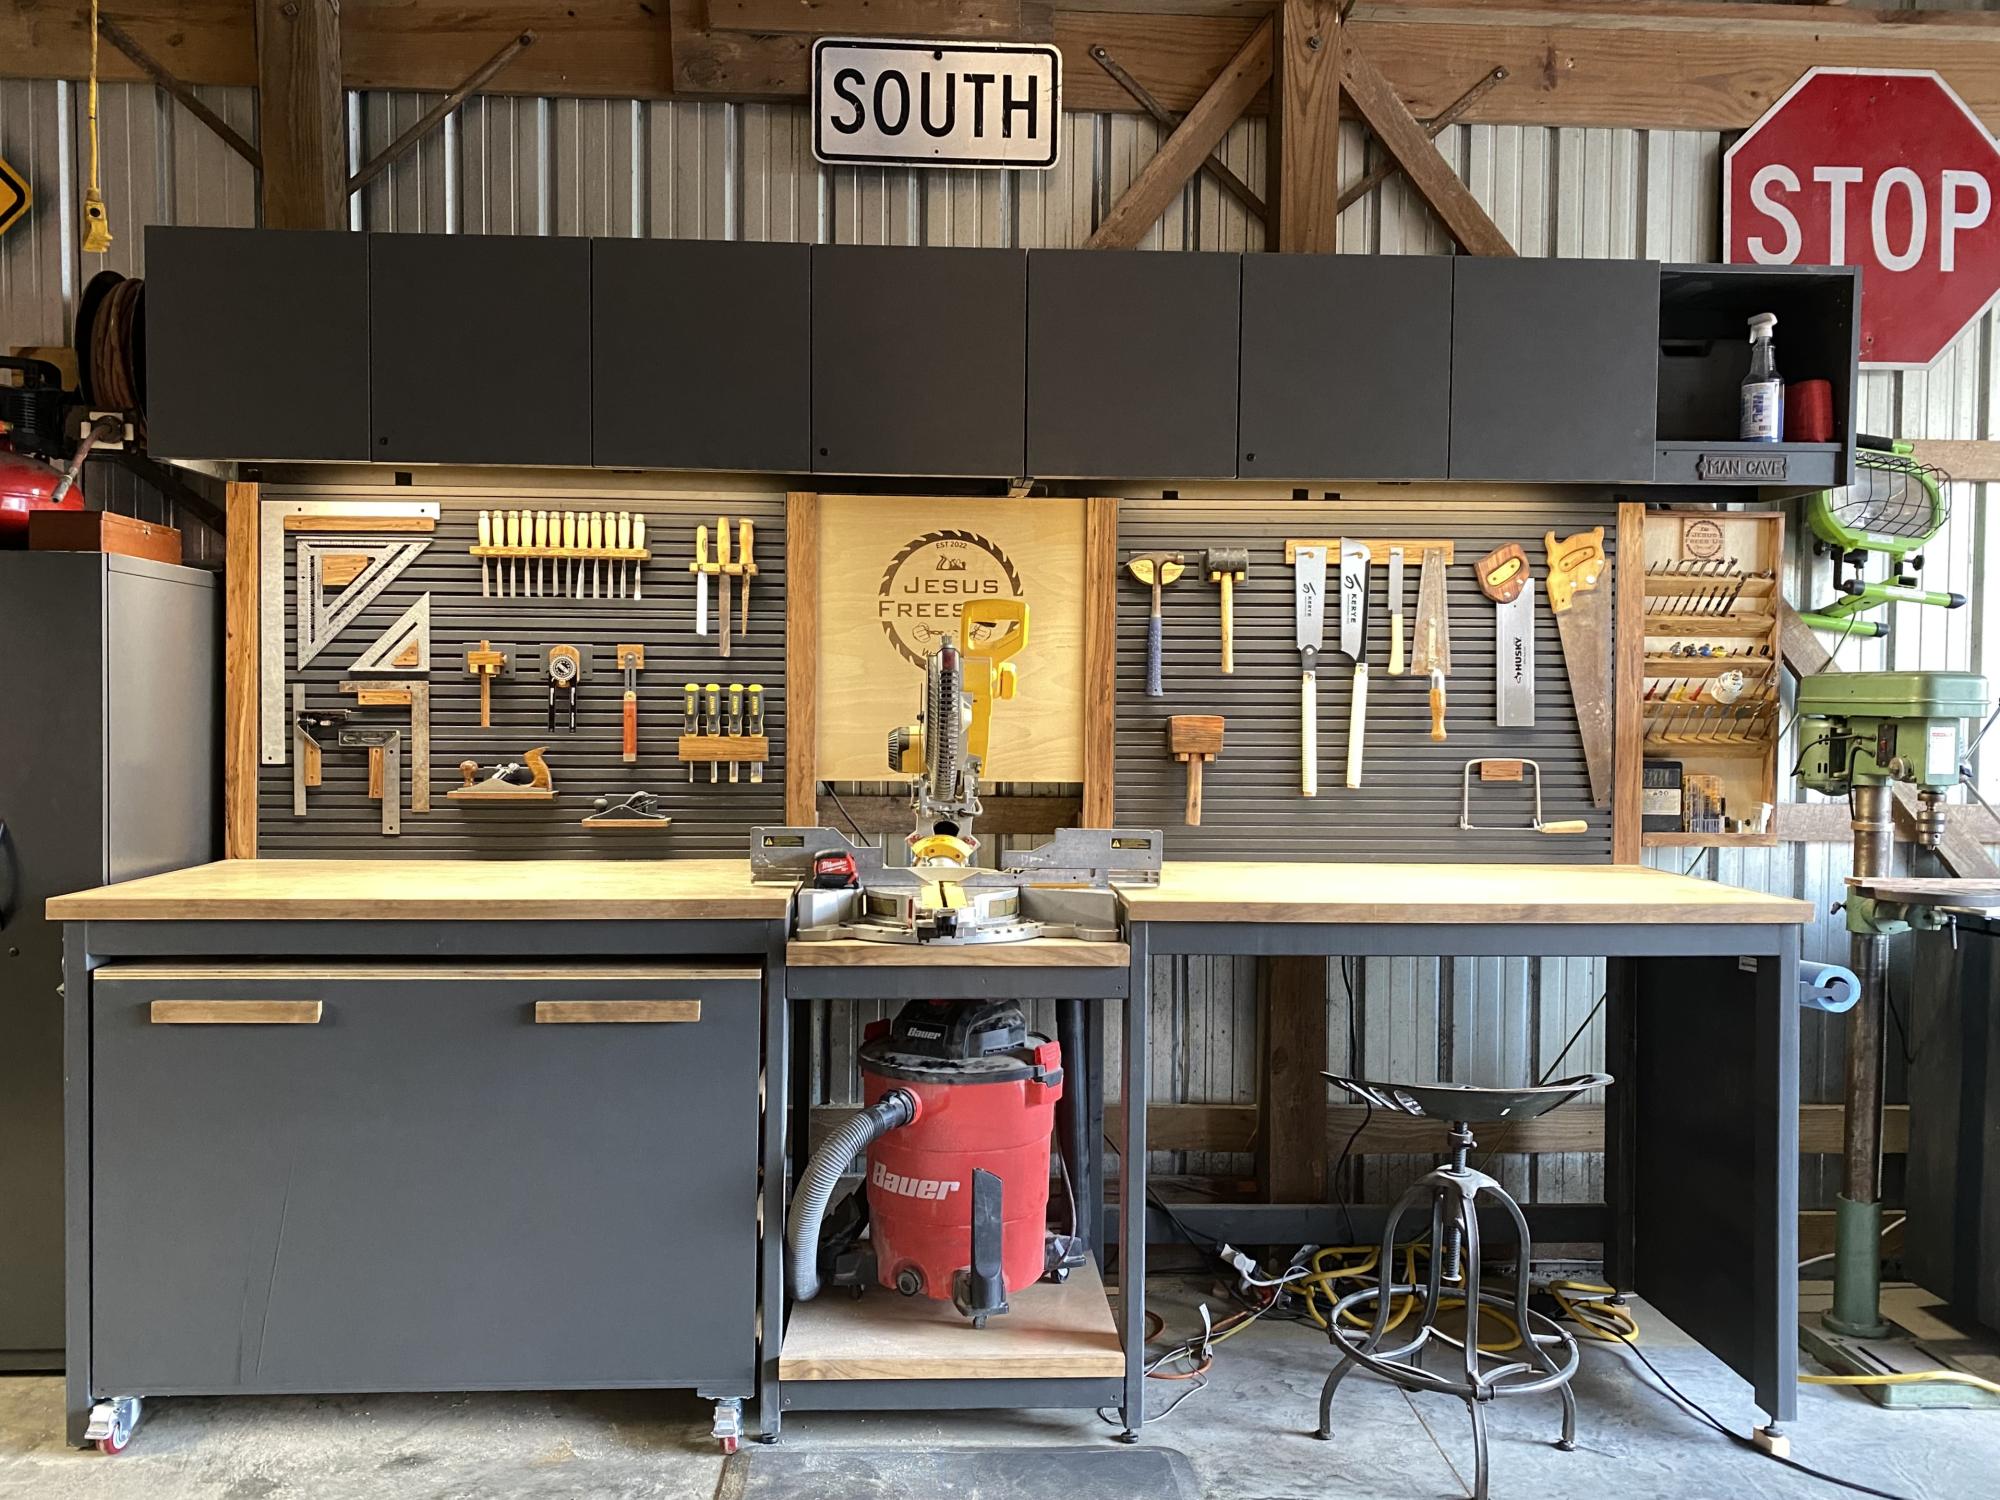
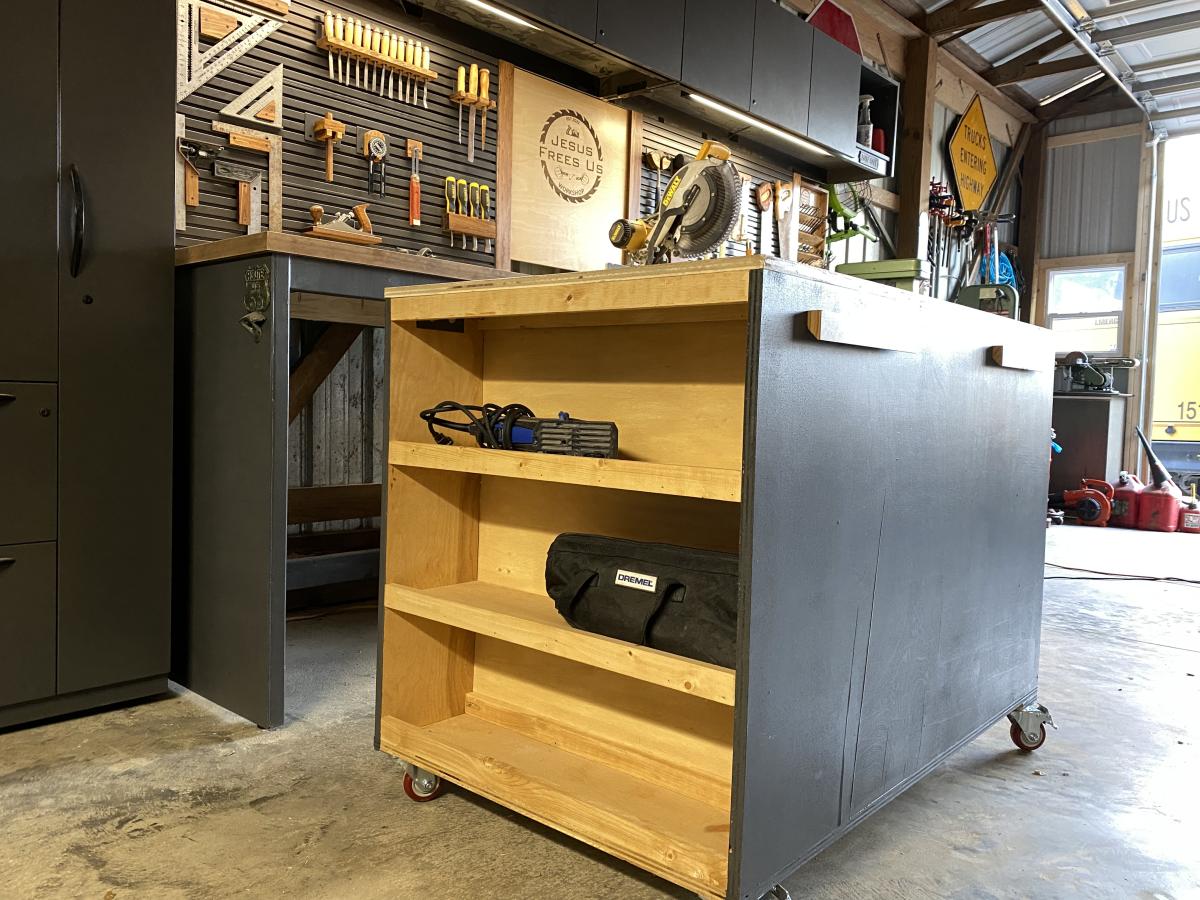
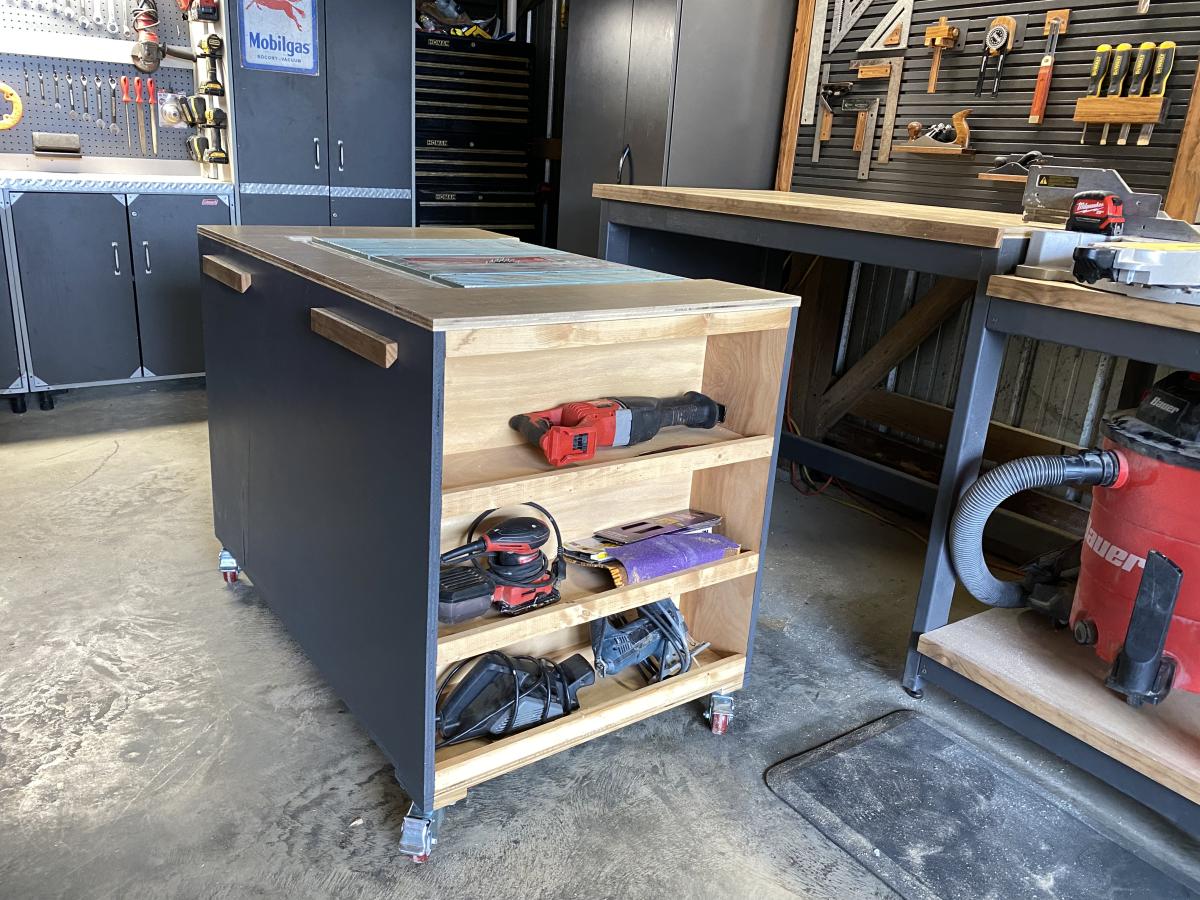
This plan is exactly what I needed for my workspace. I ended up adding some slat wall pieces and cabinets above from cubicles in an old office nearby that closed down for a tool wall and storage. I left the right opening empty due to how unlevel my floors are. I may close it in later with drawers or cabinets, but it will be my sitting workspace for now. I trimmed out the edge with 1x2s and painted and stained everything for aesthetics.

Comments

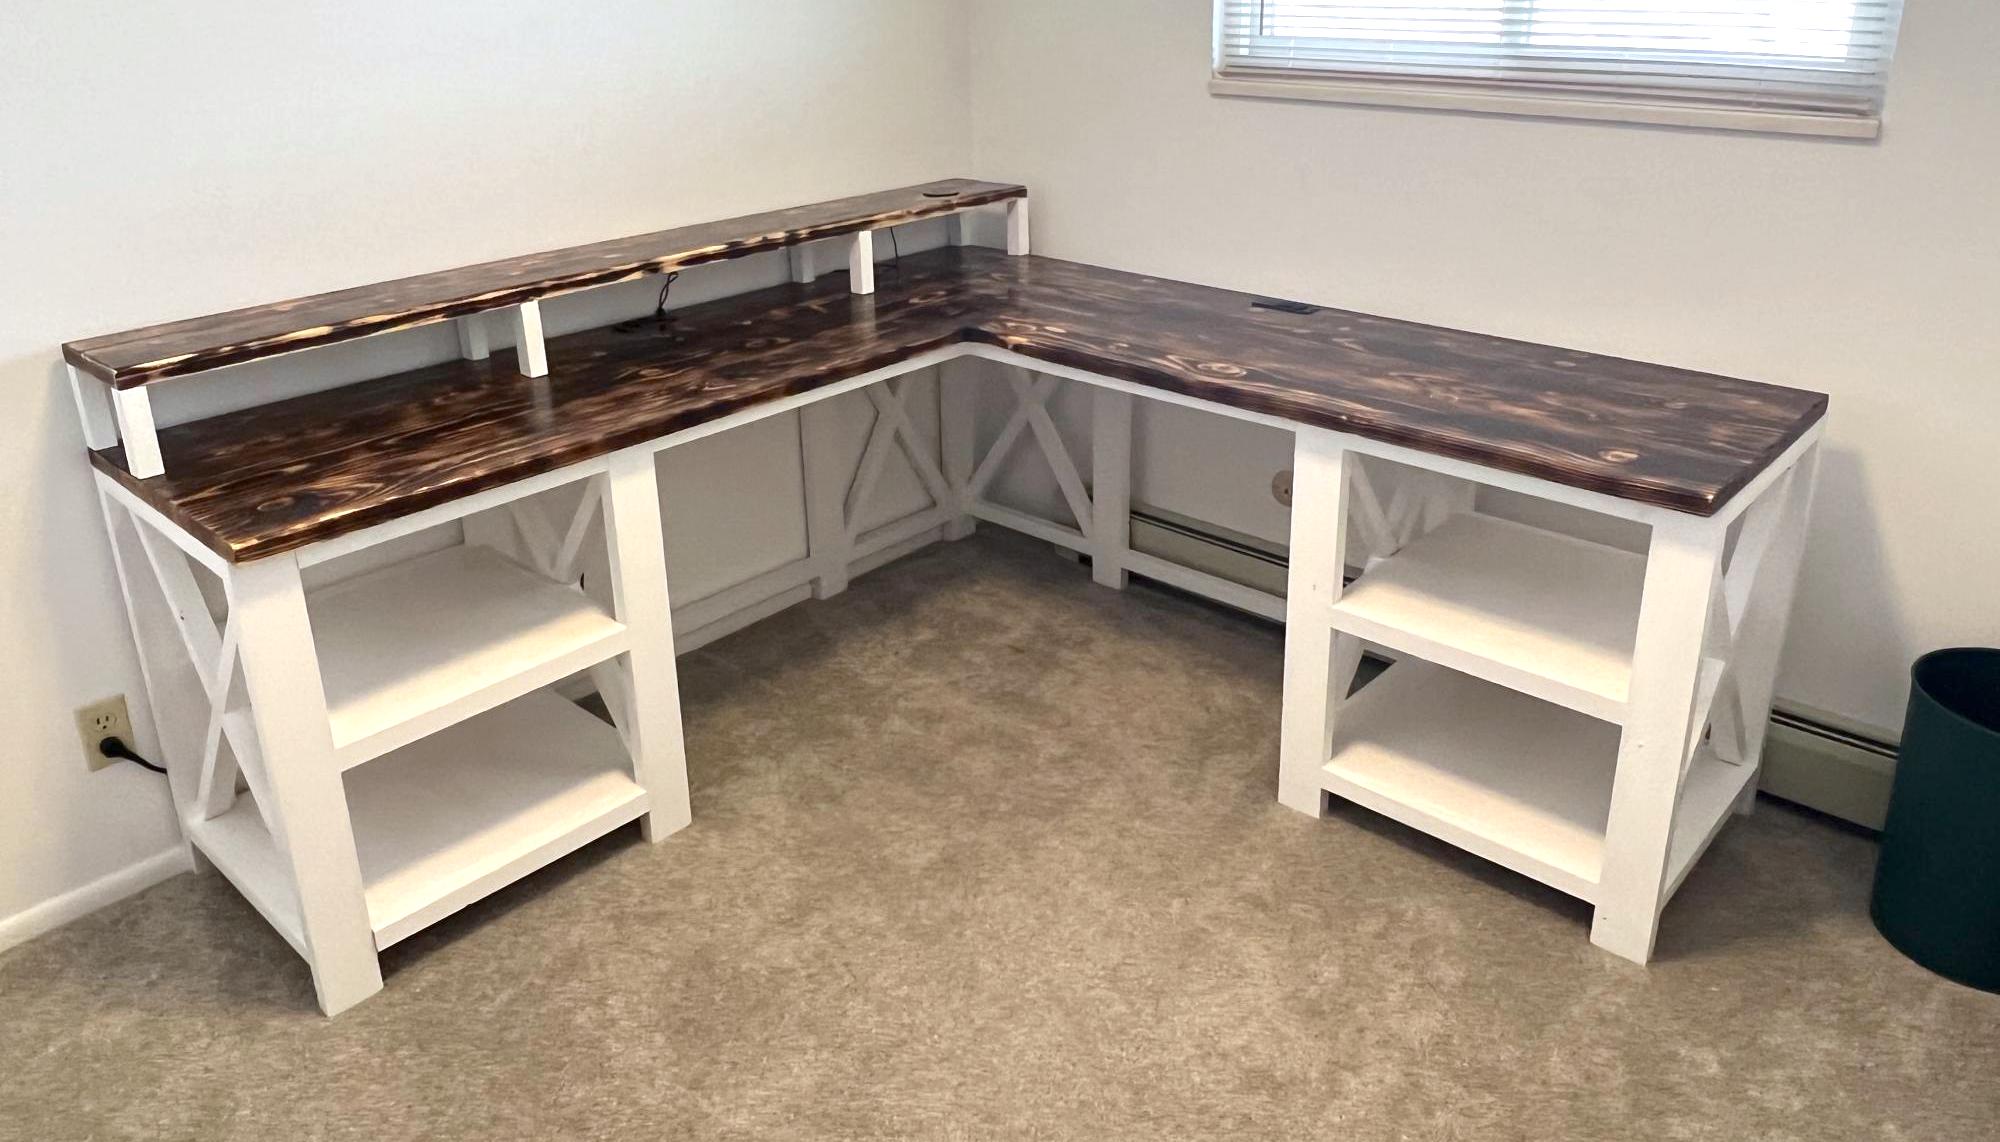
Rustic Computer desk with Shou Sugi Ban and Epoxy Top

Submitted by Anonymous (not verified) on Tue, 03/14/2023 - 14:16

I slightly modified the Rustic X Desk plan to make my L shaped computer desk with a monitor platform! The desk surface is Shou Sugi Ban with an epoxy finish. All made from stock lumber and a lot of pocket hole screws. Thanks for posting your plan Ana to give me the idea! Construct for around $200.

Built from Plan(s)

Comments

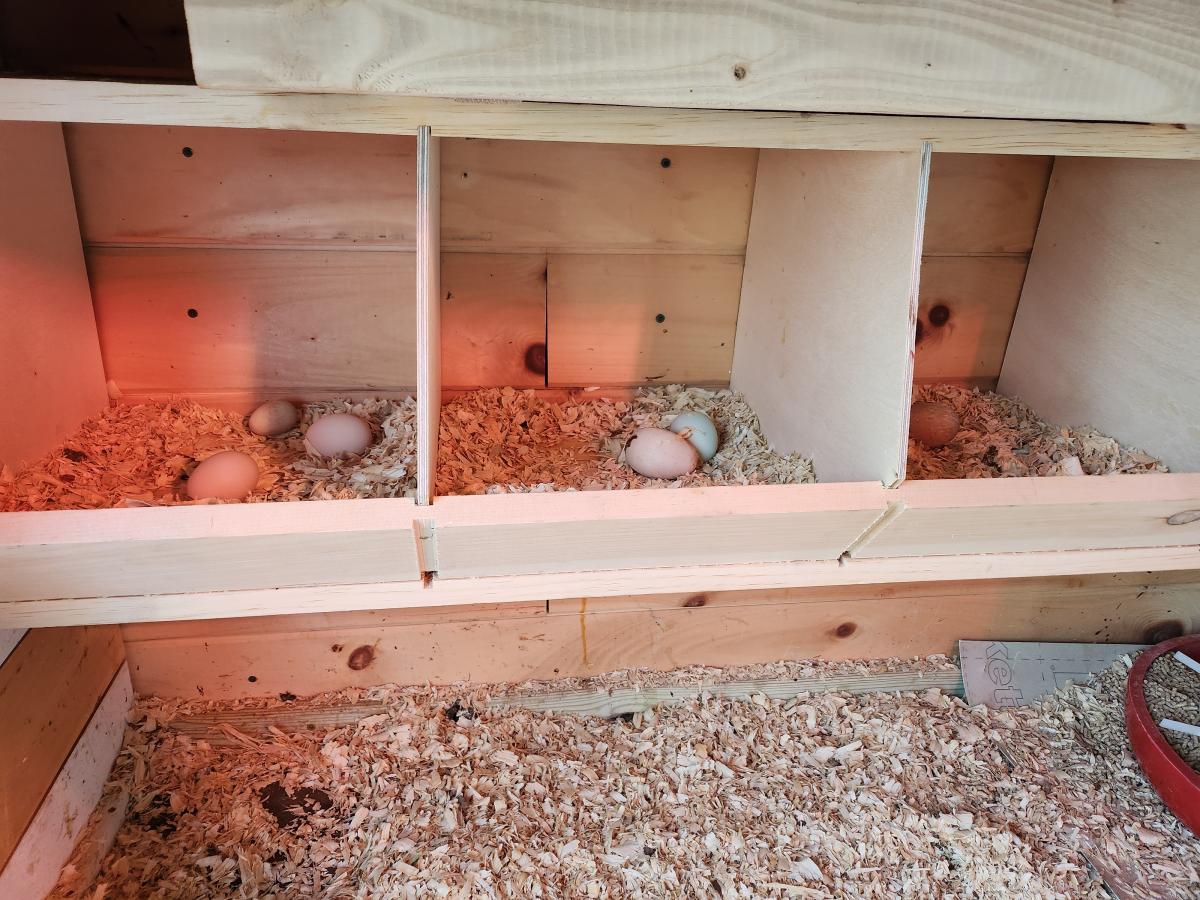
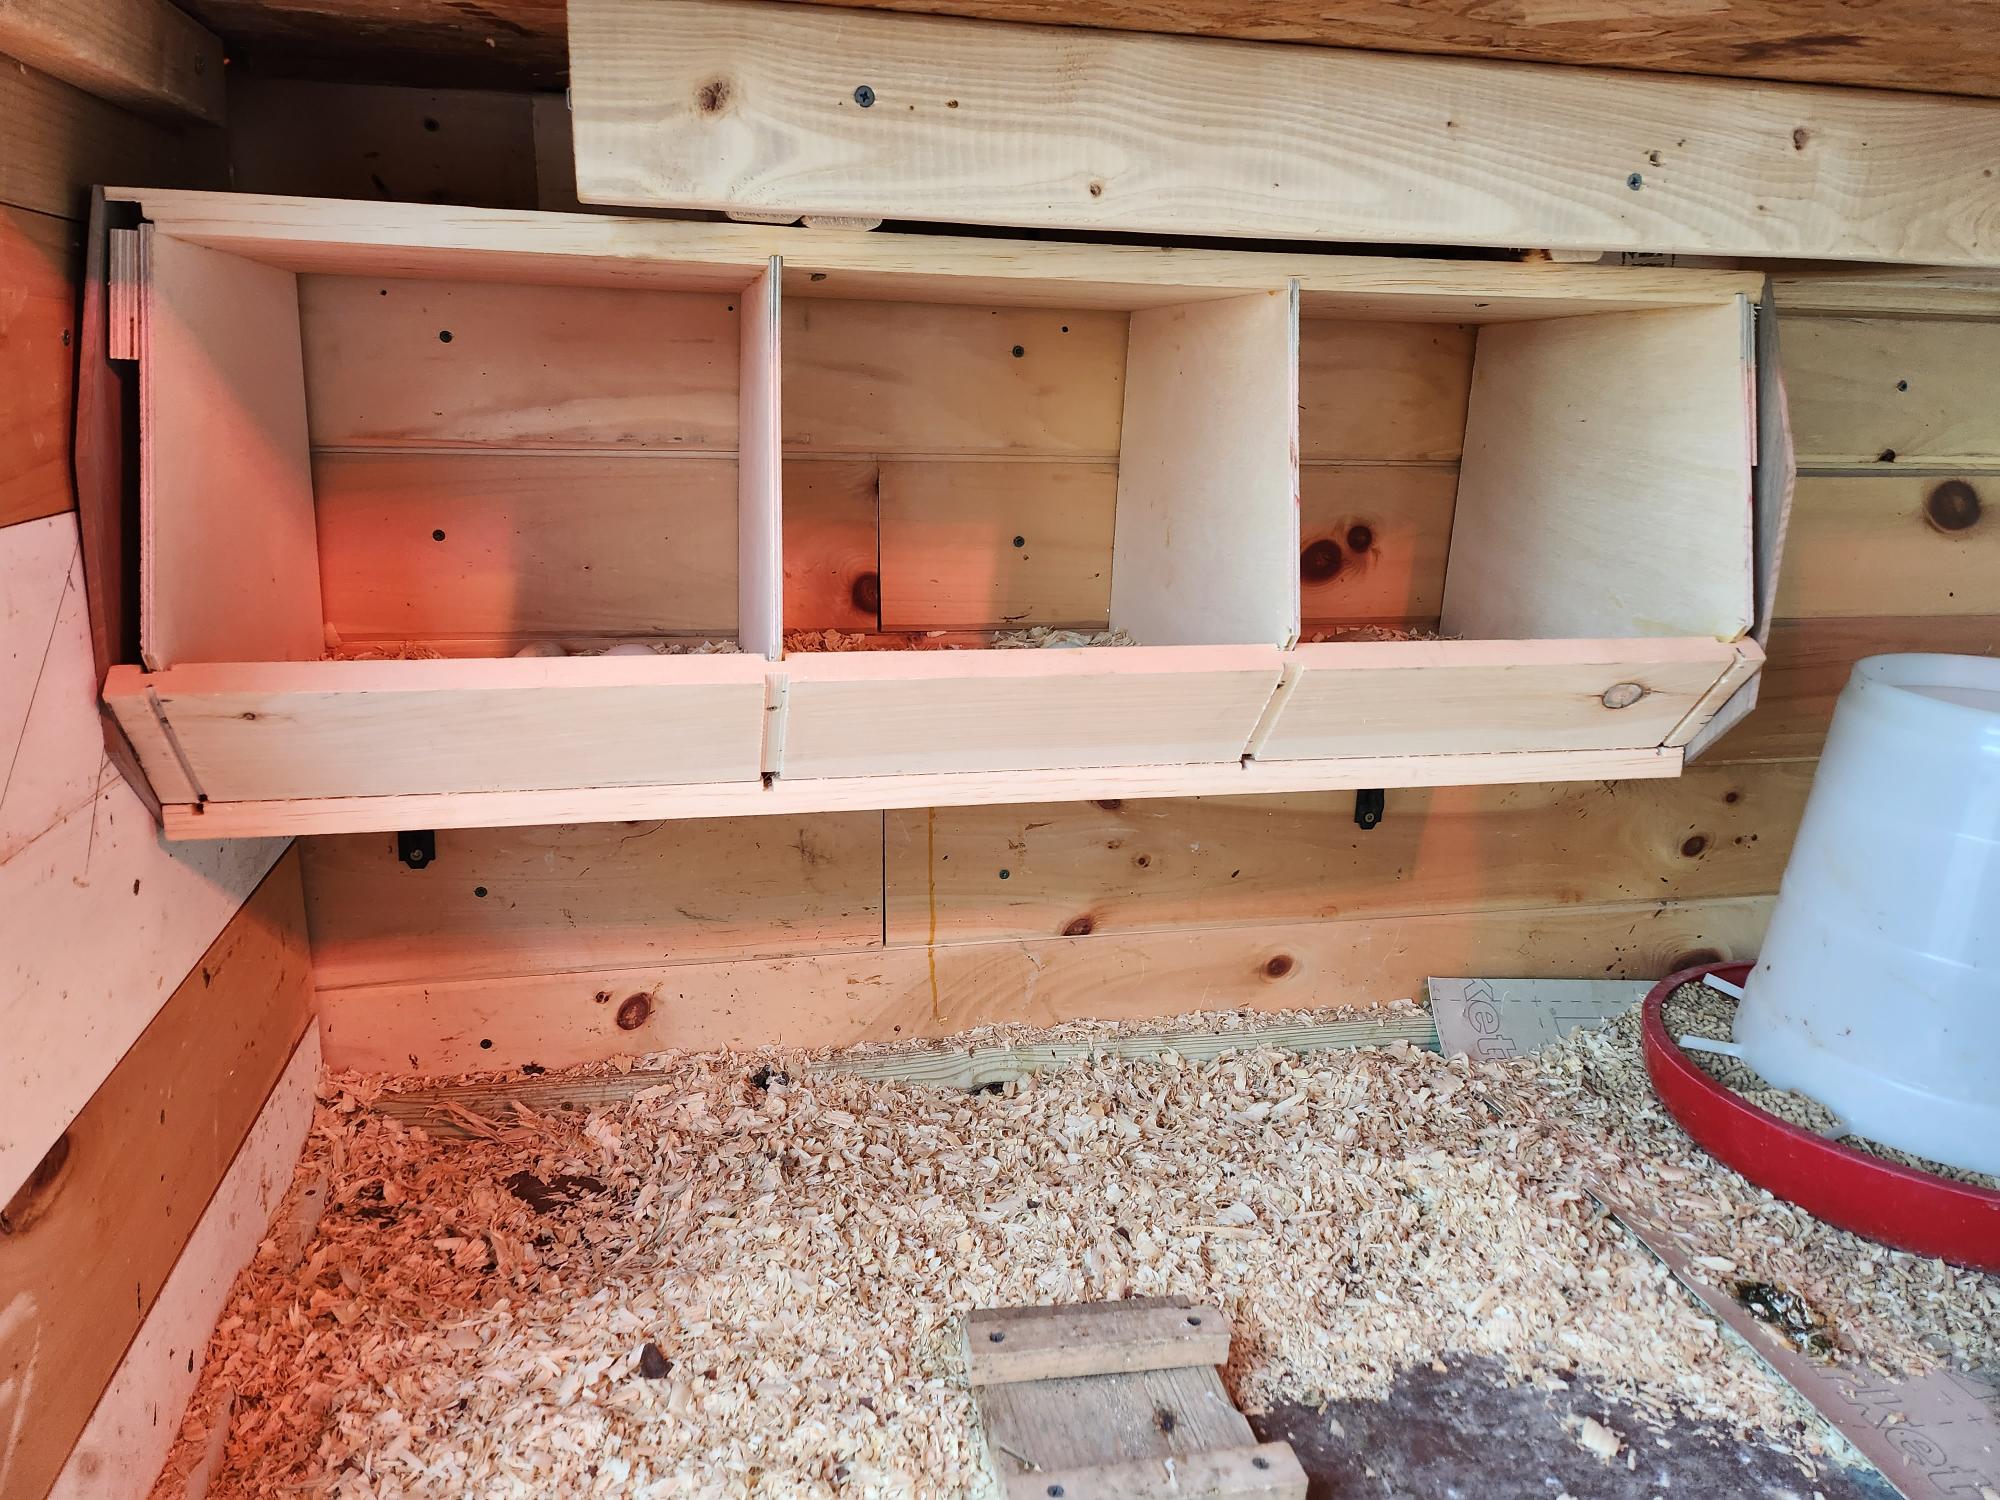
chicken boxes that work!

I have tried all sorts of nest boxes. No one ever used them. I decided to make the one from Anna White's site. I used joinery to attach the various pieces. The best thing of all: I find girls sitting in the boxes and take eggs from them. It really is awesome. I got a photo with real eggs and you can also see the wooden eggs to entice them to try it out. Thank you so much! I will build another one for the other side of the the wall.

Built from Plan(s)

Comments

Farmhouse Chairs

I found a picture of this style of chairs, and I really wanted to make them for my table. I created my own plans and adjusted them until they were perfect. I’ve since made several sets of chairs for other people including this set of 6. 

Built from Plan(s)
Estimated Cost
$25
Estimated Time Investment
Afternoon Project (3-6 Hours)
Finish Used
After sanding down the chairs, I apply a coat of Preston by minwax. To get the color I wipe on the stain gunstock by winwax. After letting it dry for about an hour, I then wipe on a coat of espresso stain. For the finish, I apply coats of a gloss polyurethane by Minwax.
Recommended Skill Level
Intermediate

Comments

DIY Shed Chicken Coop

Submitted by Anonymous (not verified) on Mon, 10/16/2023 - 10:30

8x12 coop modified from your classic shed plans. 2/3 for the chickens, 1/3 for storage.

by Harmony Munson

Built from Plan(s)

Comments

Seasonal And Holiday

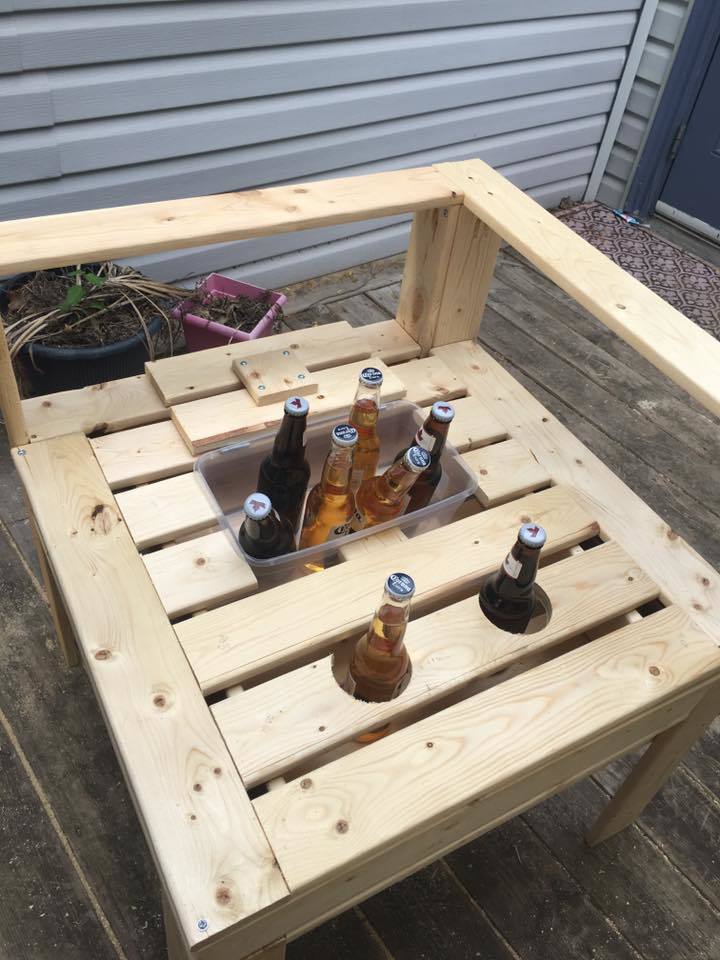
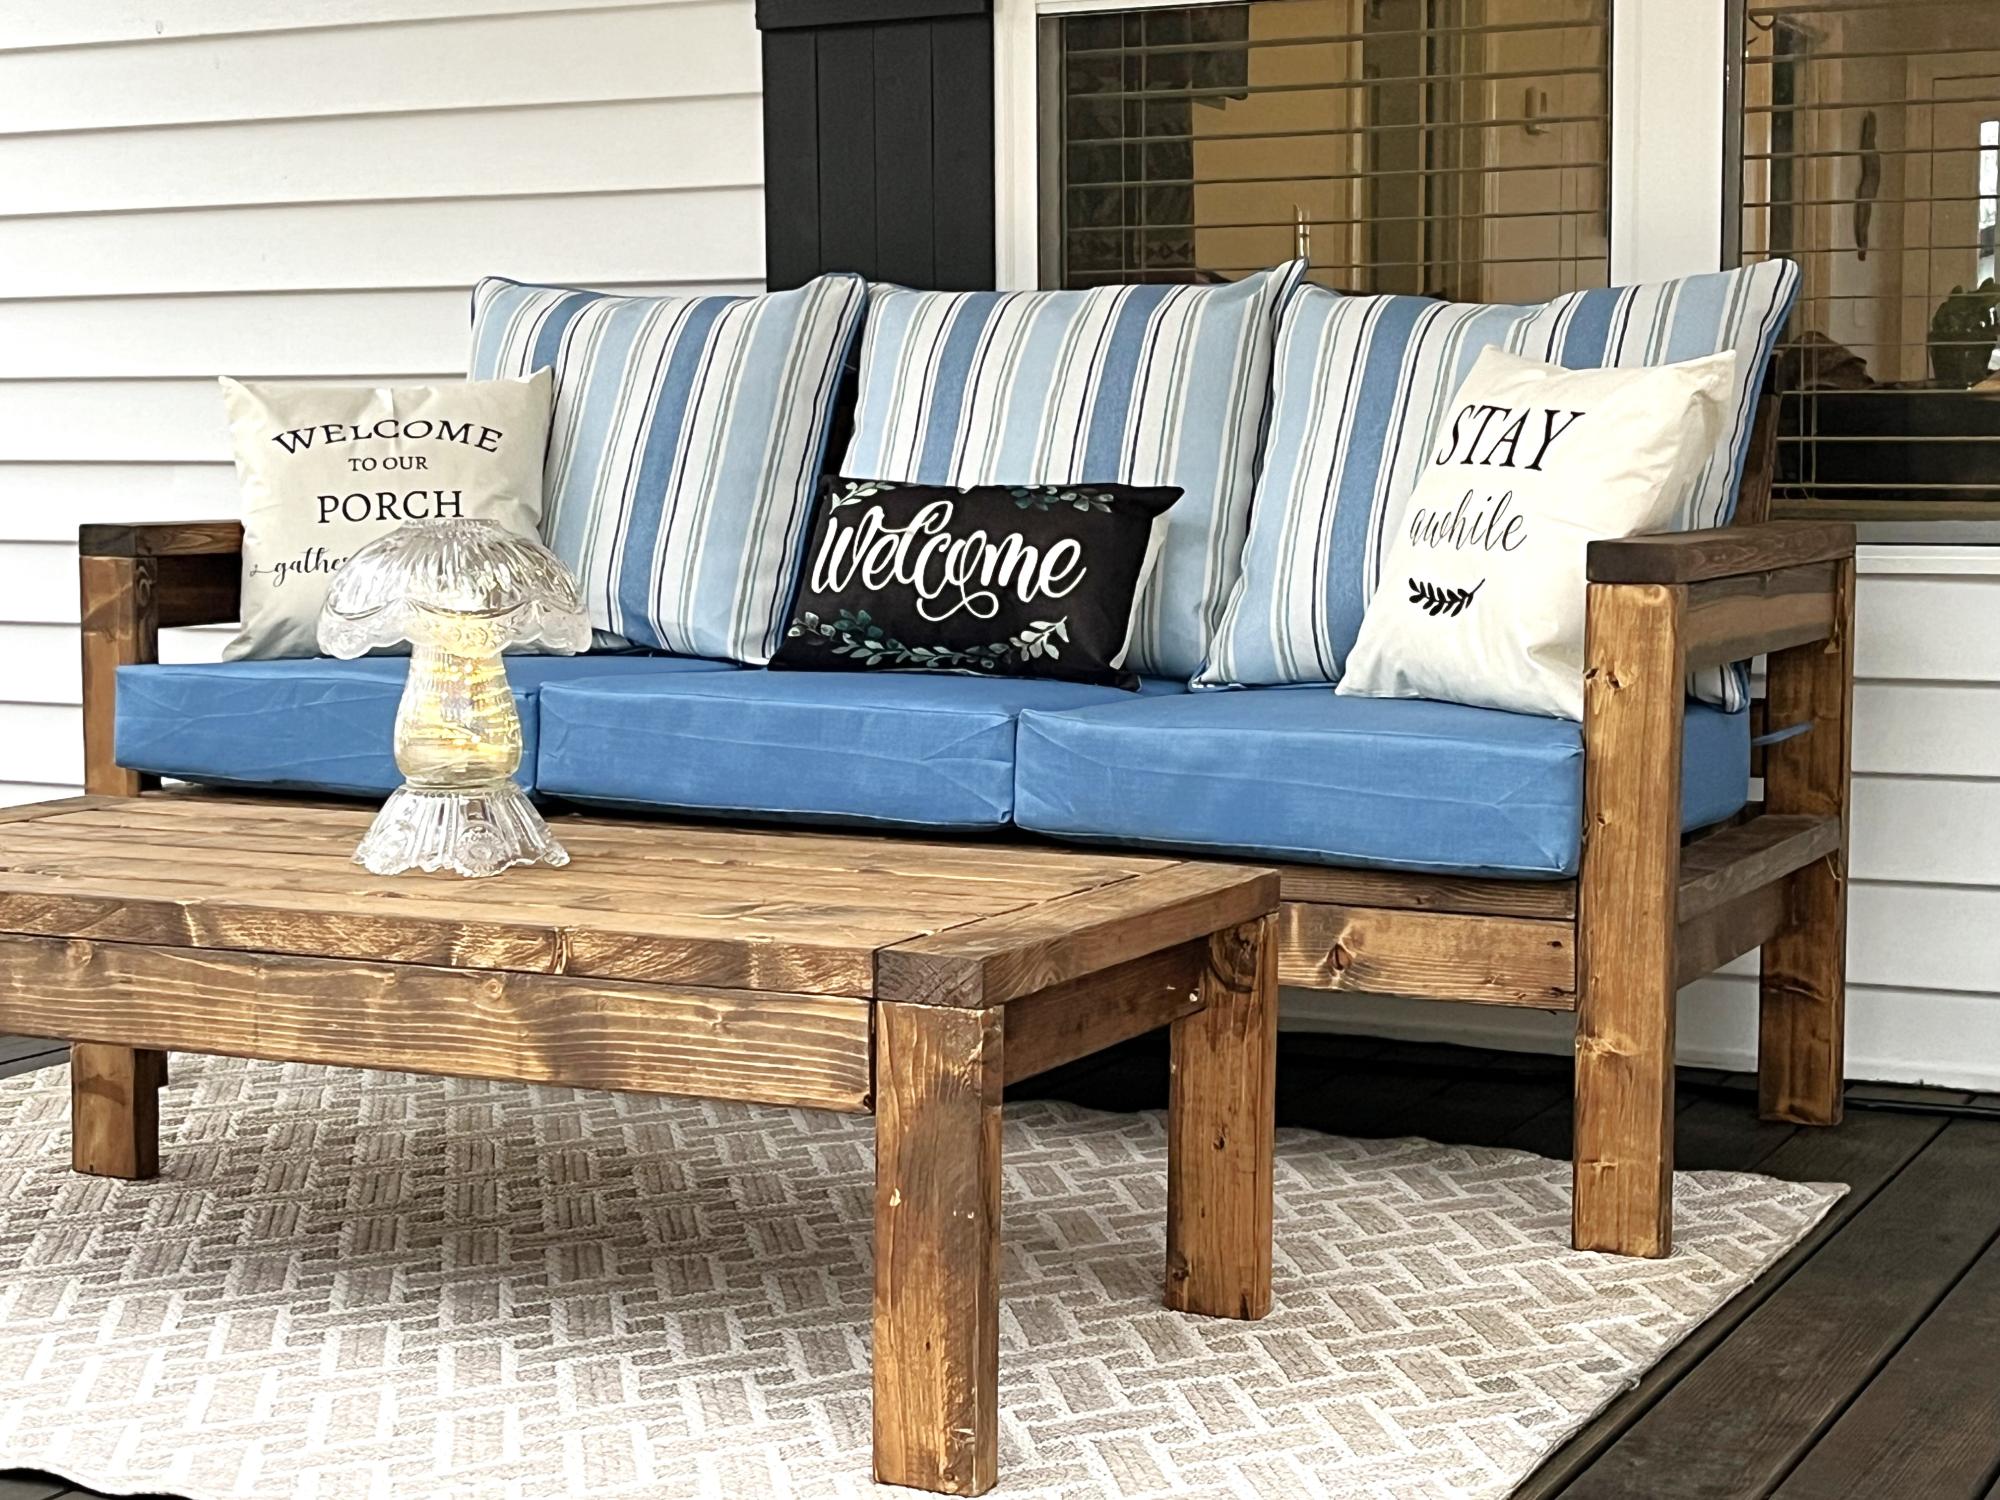
Outdoor Sectional

Submitted by nikkiice on Sat, 05/28/2016 - 17:40

I had so much fun building this! I got a little creative with the corner section and decided to make it a table. I built a small hatch so that I could put in a container for ice and cold beer. When the hatch is not in use, the container can be removed and the hatch can be closed to provide more table space. I also added drink holders! 

Estimated Time Investment
Week Long Project (20 Hours or More)
Finish Used
none yet
Recommended Skill Level
Beginner

Pottery Barn Inspired Chaise Lounger

Submitted by gtd869 on Wed, 04/15/2020 - 20:34

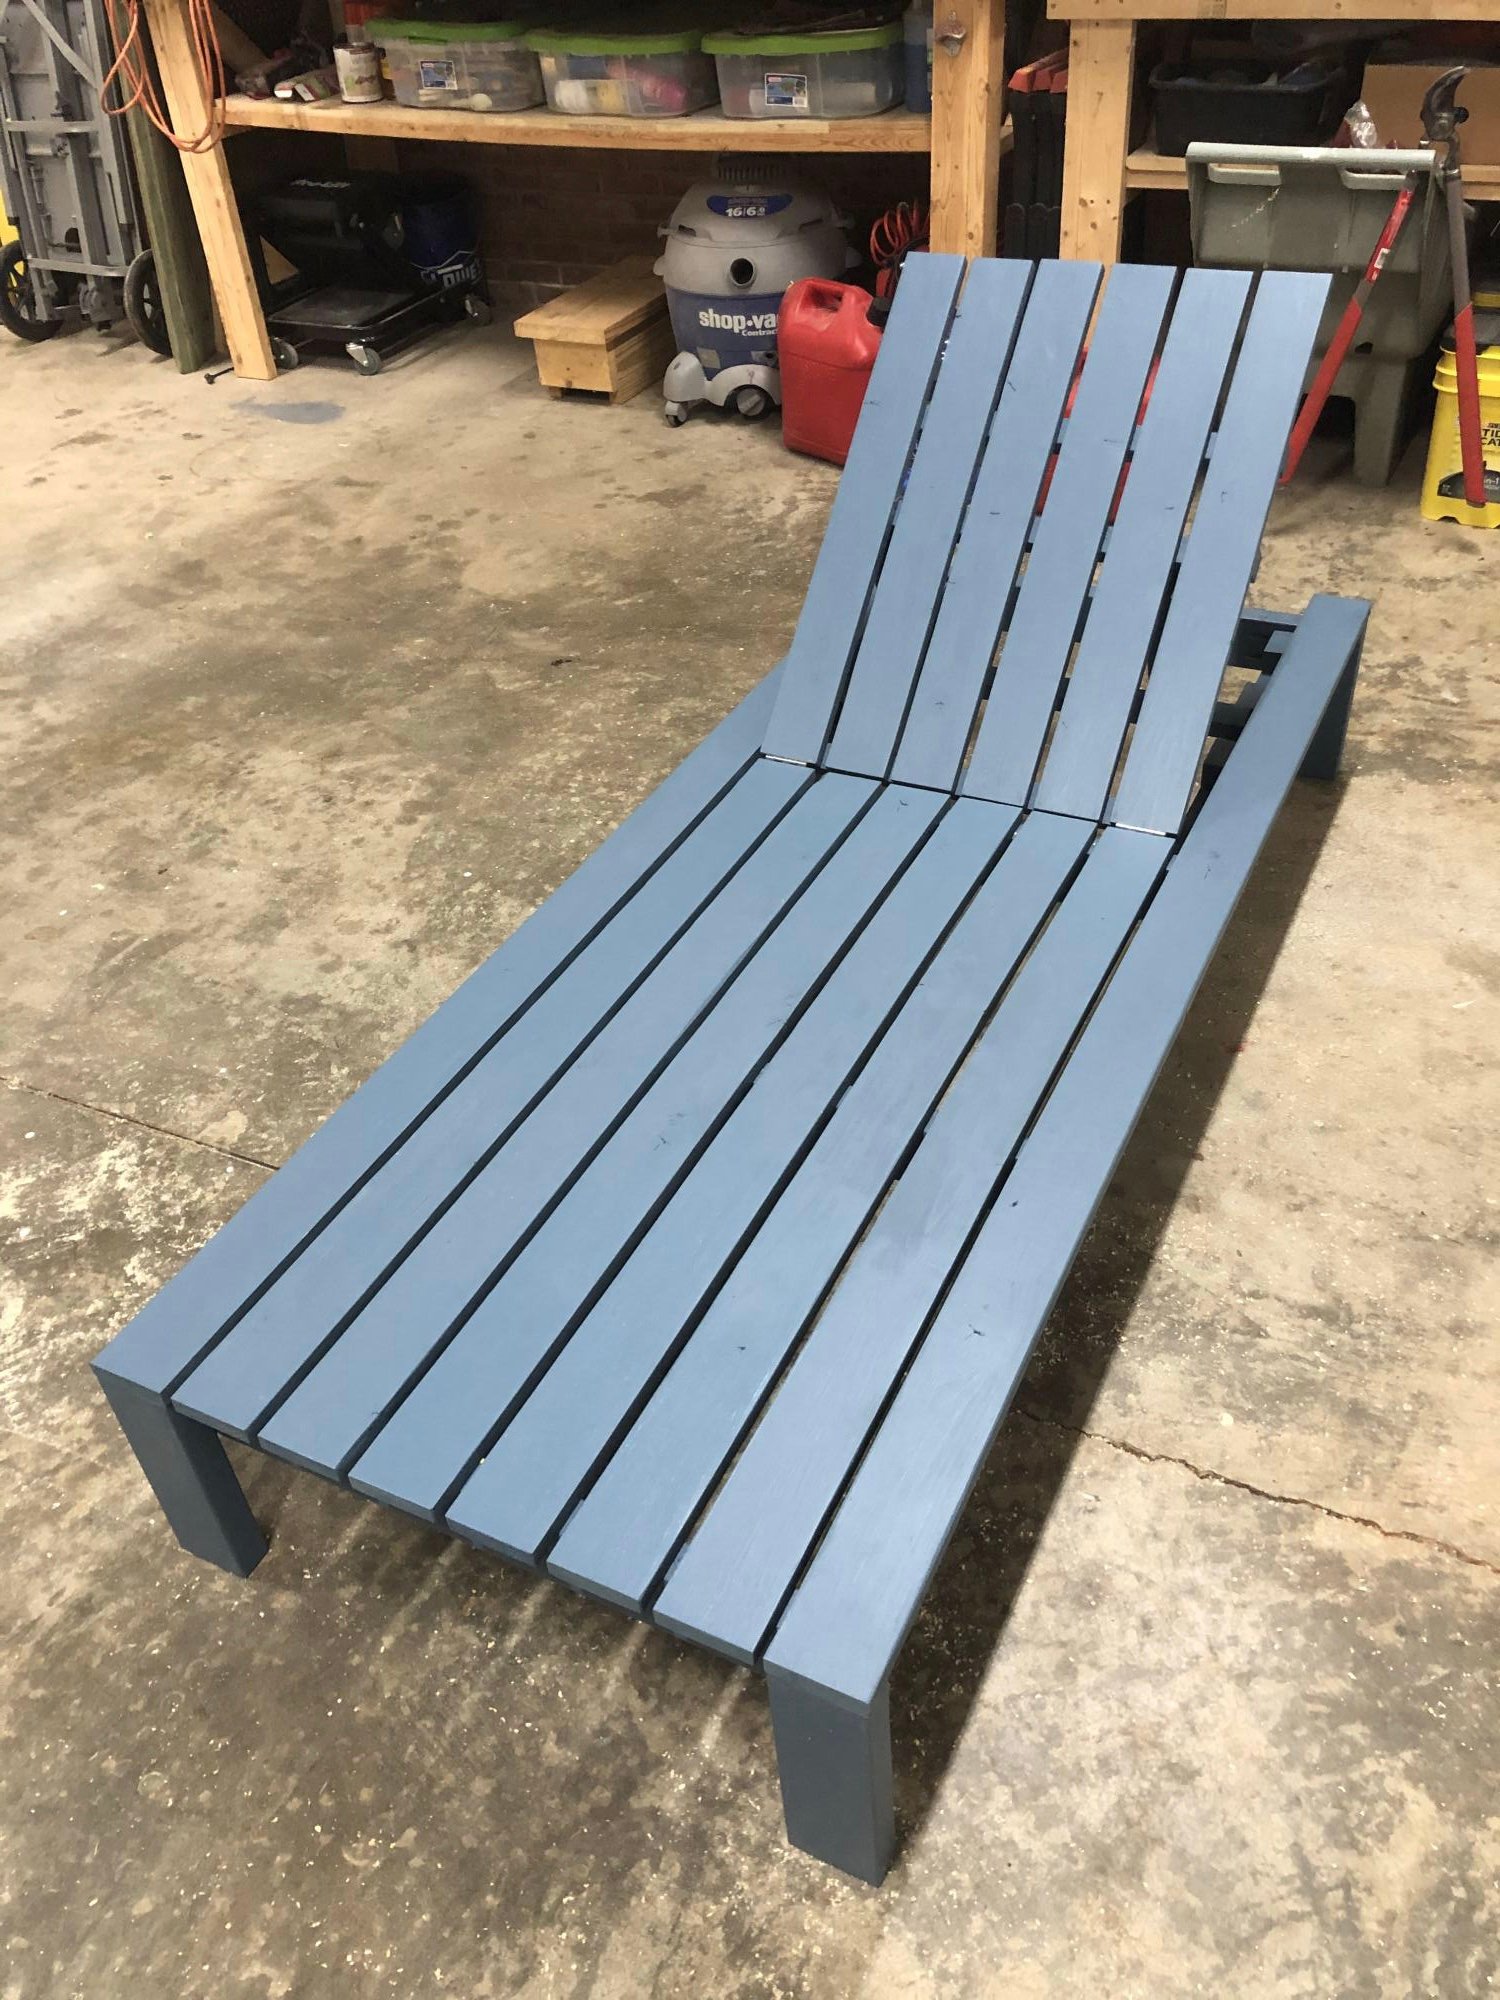
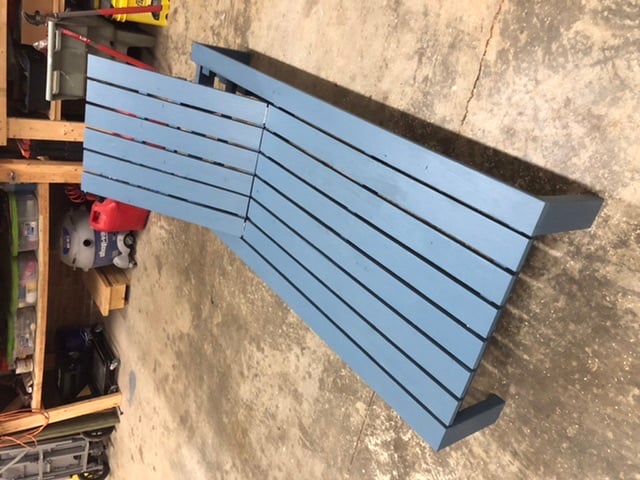
I followed Ana’s Modern Chaise build. The number of 2x4’s specified in the instructions is incorrect. You need 3 not 2. Other than that, a great plan.
Comments

Modified Firepit Bench

Submitted by Anonymous (not verified) on Sun, 06/14/2020 - 09:12

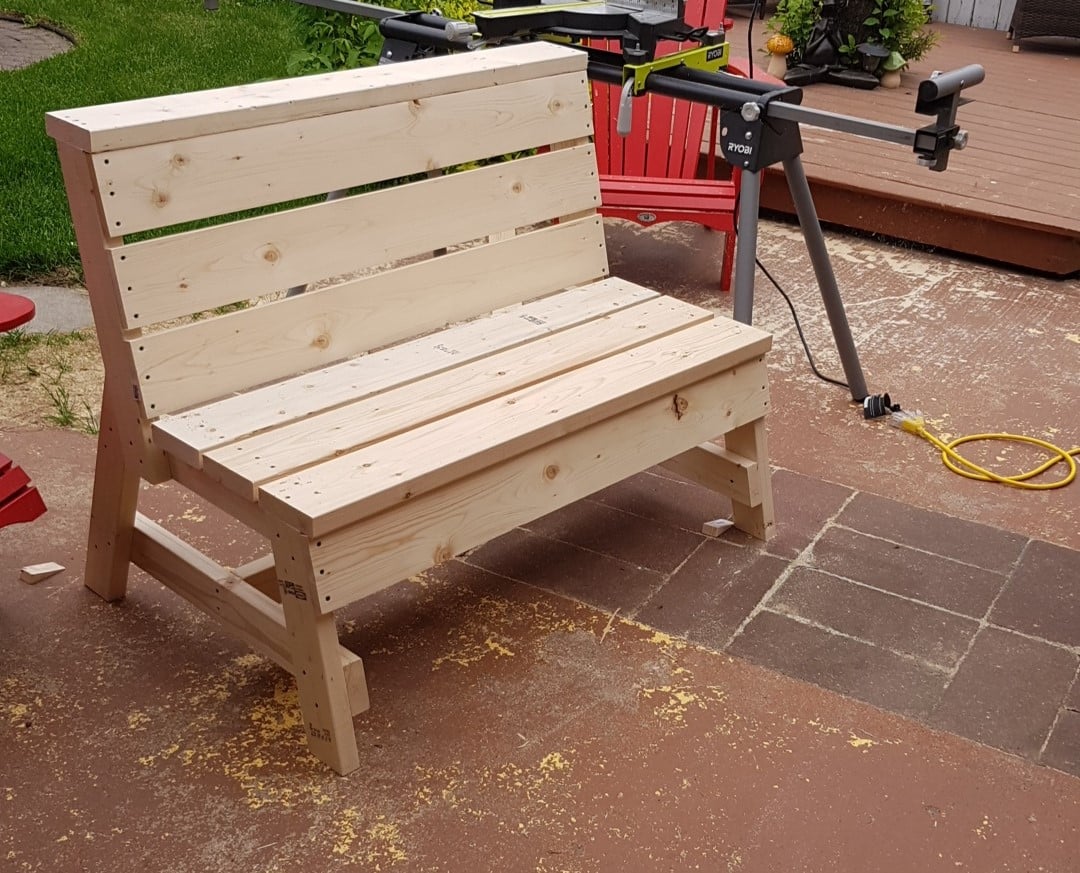
I built the one bench using the original plan with the storage and table top unit but needed two additional seating benches to go around the firepit without the bulk of the backside of the bench.

I modified the original plan as follows:

Shopping List:
(2) 2X6X8
(3) 2X4X8
(2) 1X6X8

Cutting List:
(2) 2X4X17" front legs, 15 degree cuts, parallel long to short
(2) 2X4X23" back support, 15 degree cuts, parallel long to short
(2) 2X4X20.75" back legs, 15 and 60 degree cuts, not parallel long to long
(2) 2X4X23" Back support, 15 degree cuts, parallel long to short
(2) 2X4X24.75" under seat, 15 degree cuts, not parallel long to long
(2) 2X4X30" bottom support, 15 degree cuts, not parallel long to long
(1) 2X4X42" bottom cross brace between leg sets, 90 degree cuts
(2) 2X6 cut equally in half, 3 for the seat and 1 for the top plate
(2) 1X6 cut equally in half, 3 for the back rest and 1 to be tucked under the seat overhang

Estimated Cost
$40.00
Estimated Time Investment
An Hour or Two (0-2 Hours)
Recommended Skill Level
Beginner

Comments

kkushner

Sat, 08/15/2020 - 22:52

I am the individual who submitted this modification on June 14, 2020. I was making a change to the submission but somehow sent it before correcting the cut list. The "(2) 2X4X23" back support, 15 degree cuts, parallel long to short" is repeated twice and should be only once.

Live Edge Breakfast Bar

Submitted by Anonymous (not verified) on Fri, 05/31/2024 - 16:25

First time using live edge, Wood and creating a feature wall. Happy with this outcome.

Jim Agigian

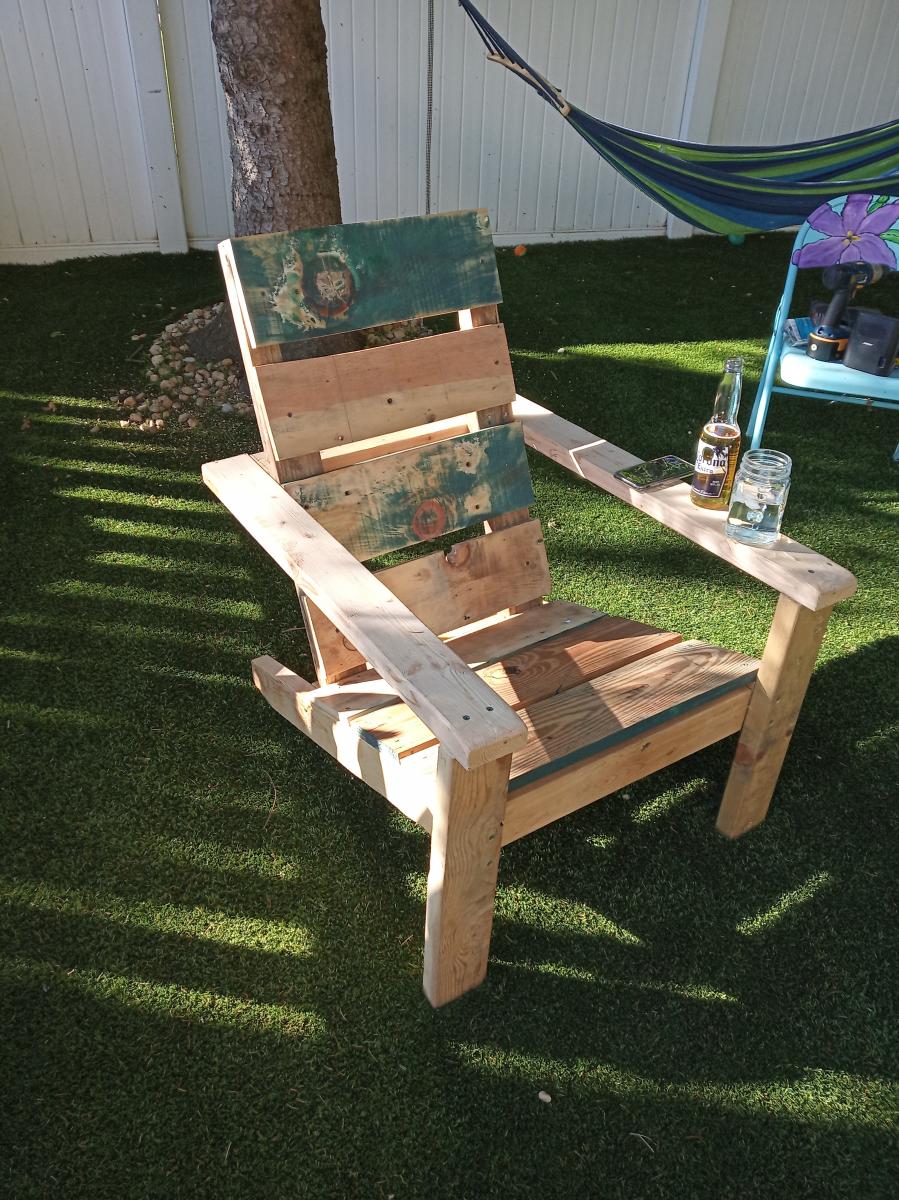
My Chair based on Ana's Modern Adirondack Chair

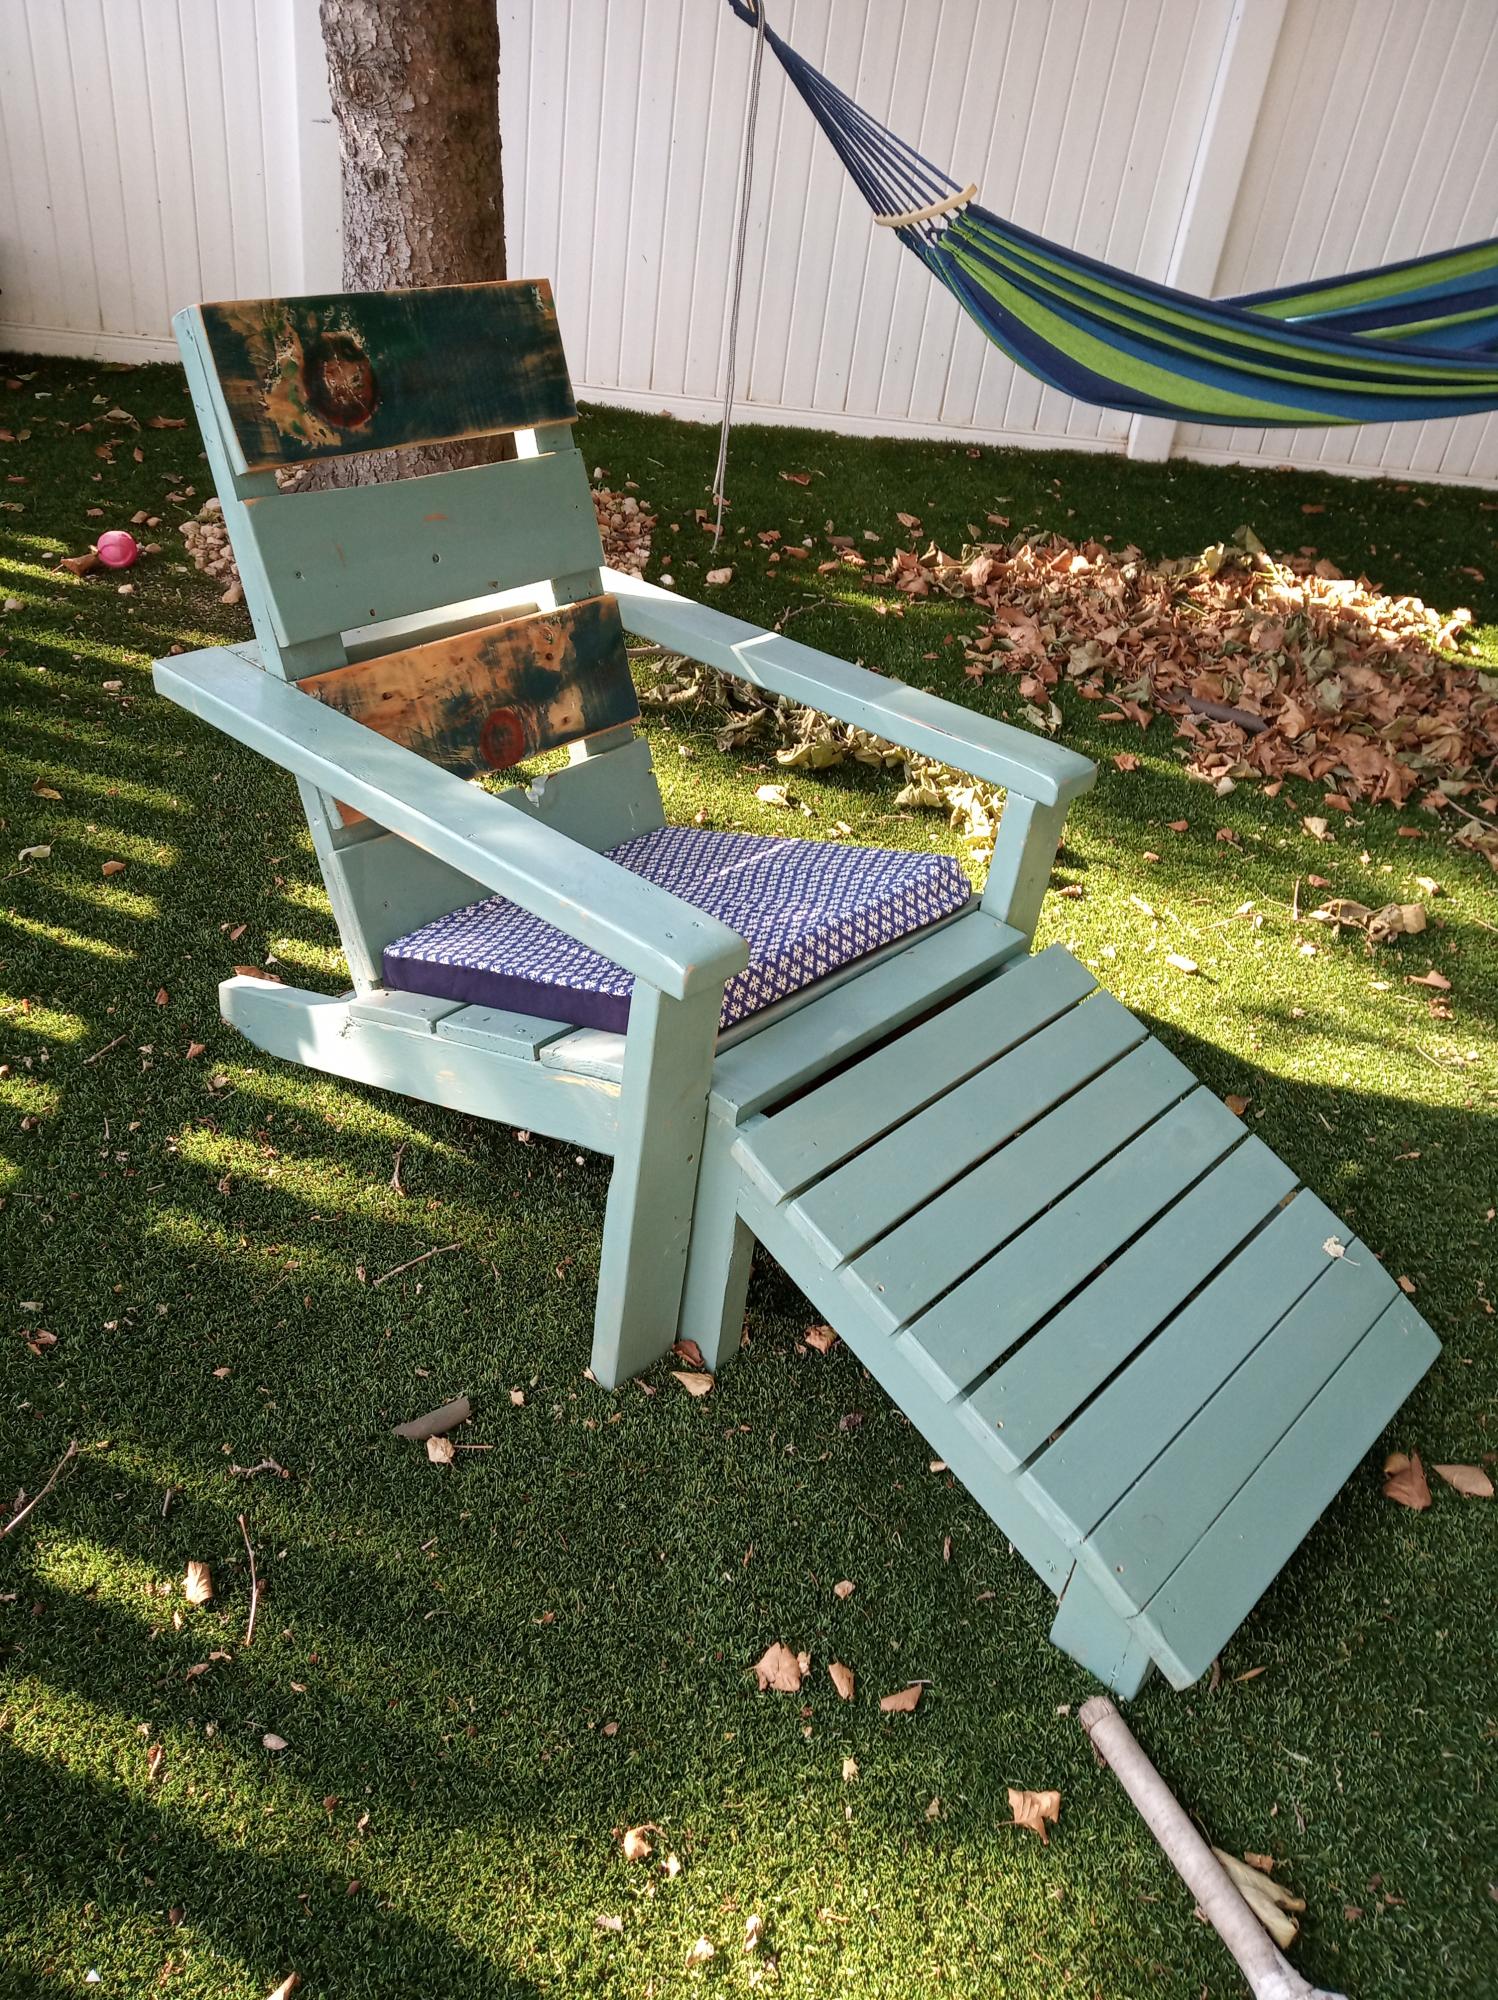
The design plan from the https://www.ana-white.com/woodworking-projects/2x4-modern-adirondack-ch… worked out really well and with tiny modifications to the dimensions i was able to build this in a couple of days. All the wood used was discards on a construction site plus a neighbor discarding a dismantled old fence. Added my footstool which was fairly straight-froward as well. My wife made a few cushions at home for it and its super comfy Really happy with the way the whole thing worked out. Thanks Ana

Estimated Cost
$50
Estimated Time Investment
Week Long Project (20 Hours or More)
Recommended Skill Level
Beginner
Seasonal And Holiday
Back