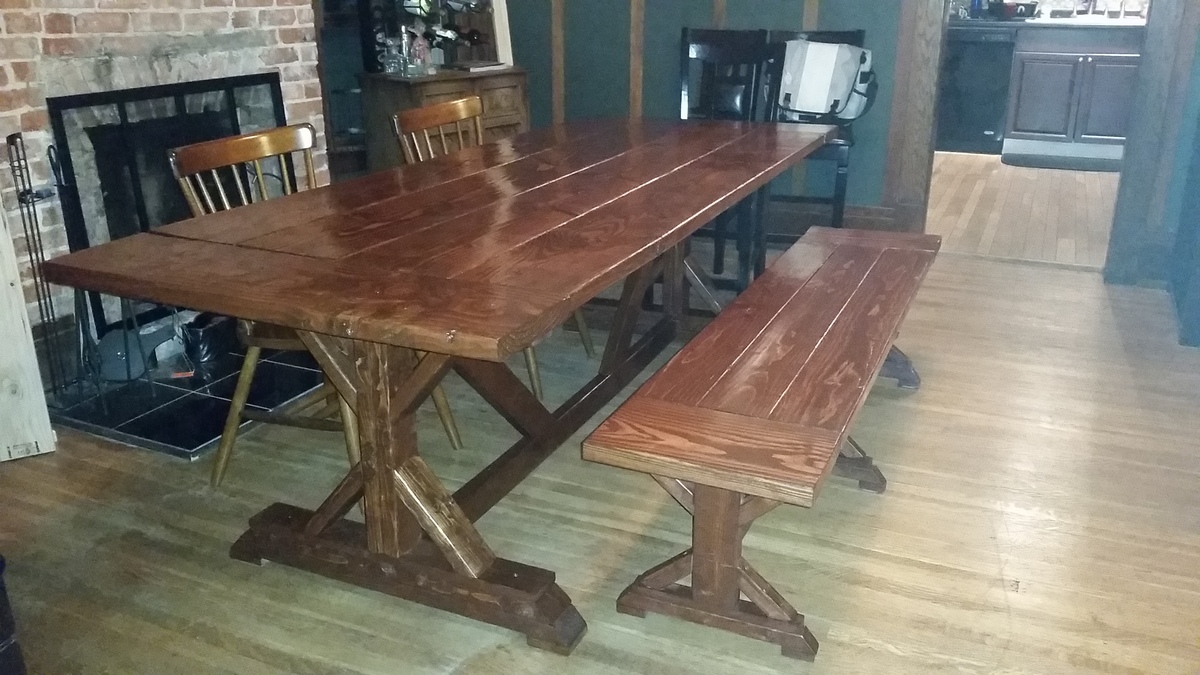
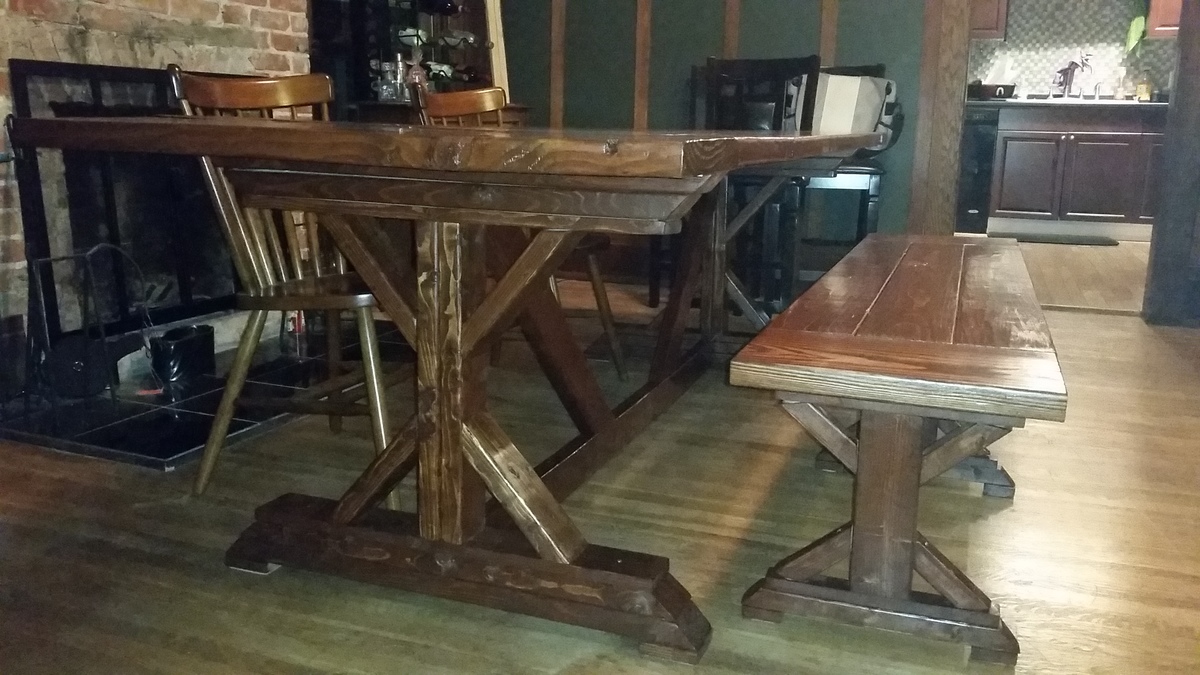
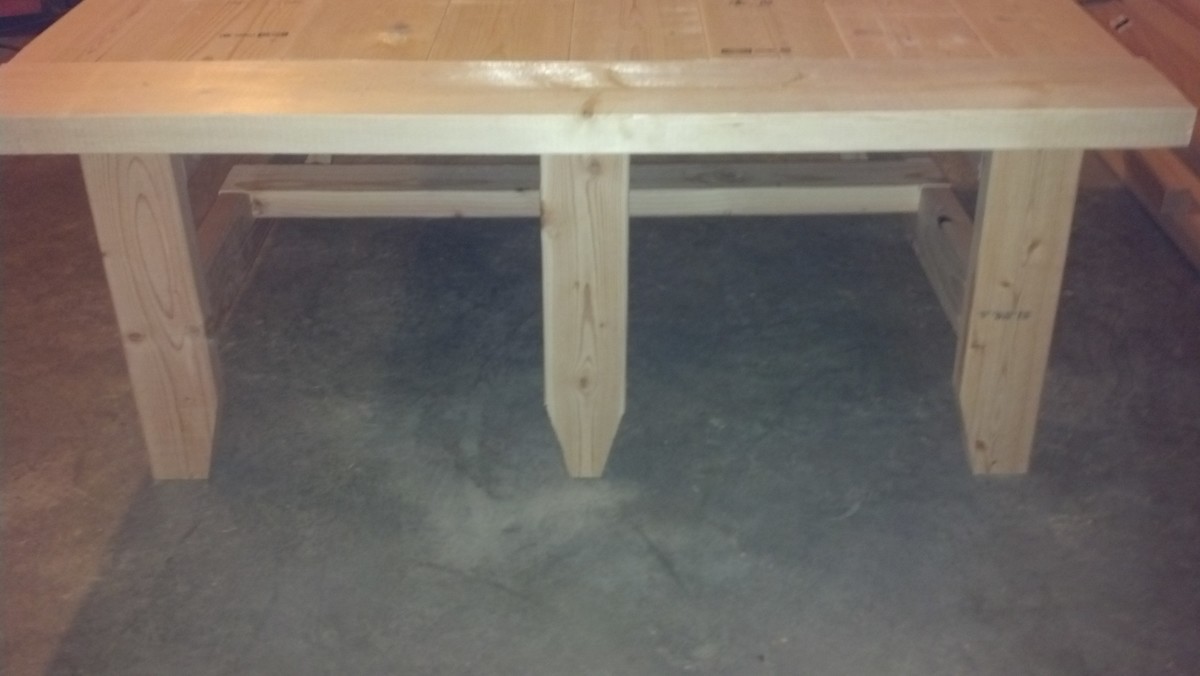
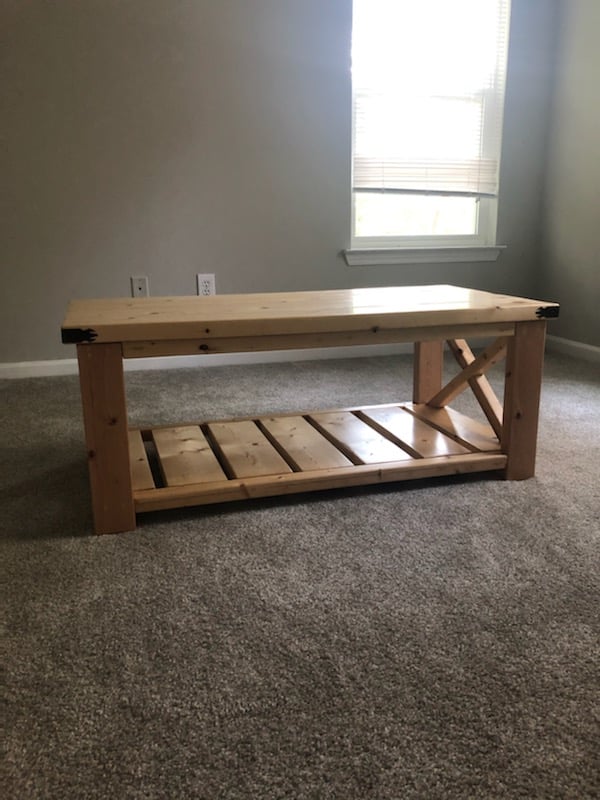
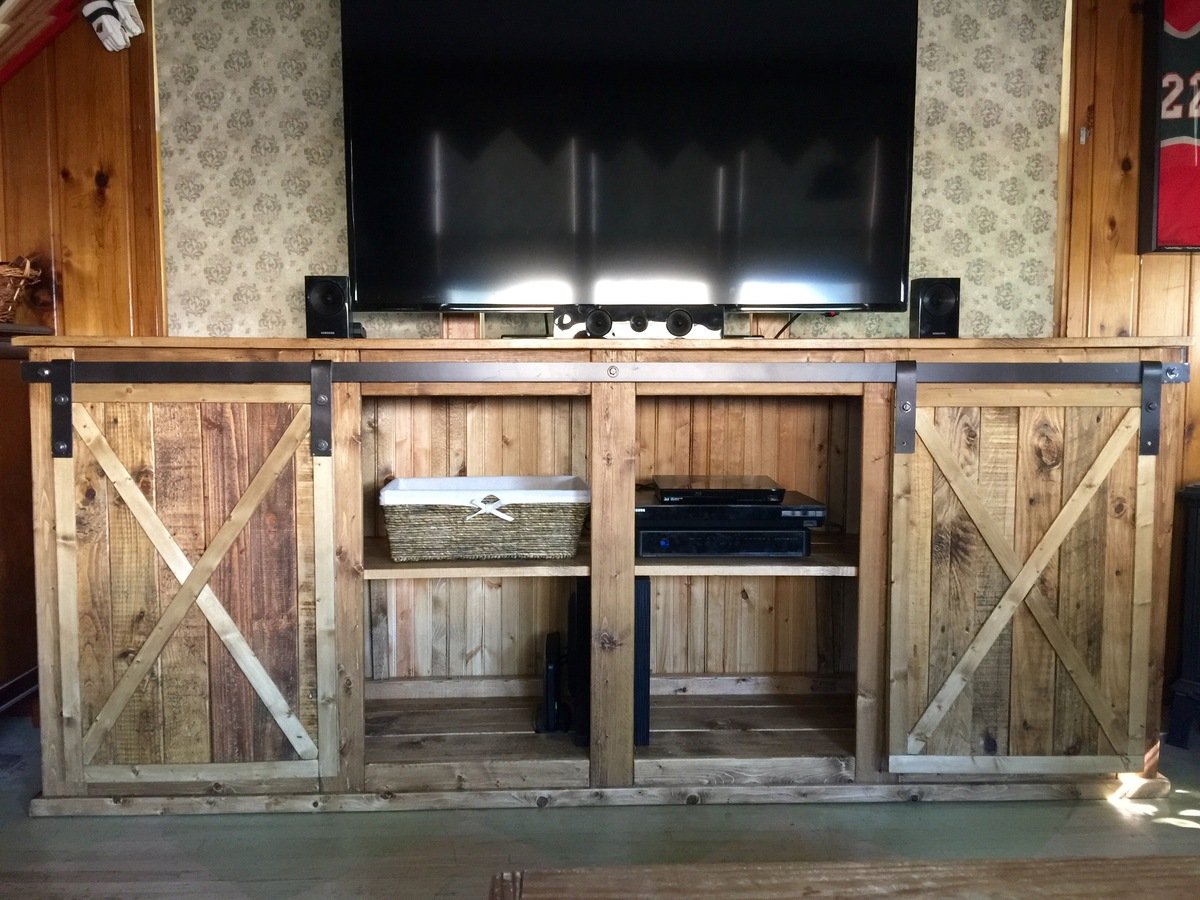
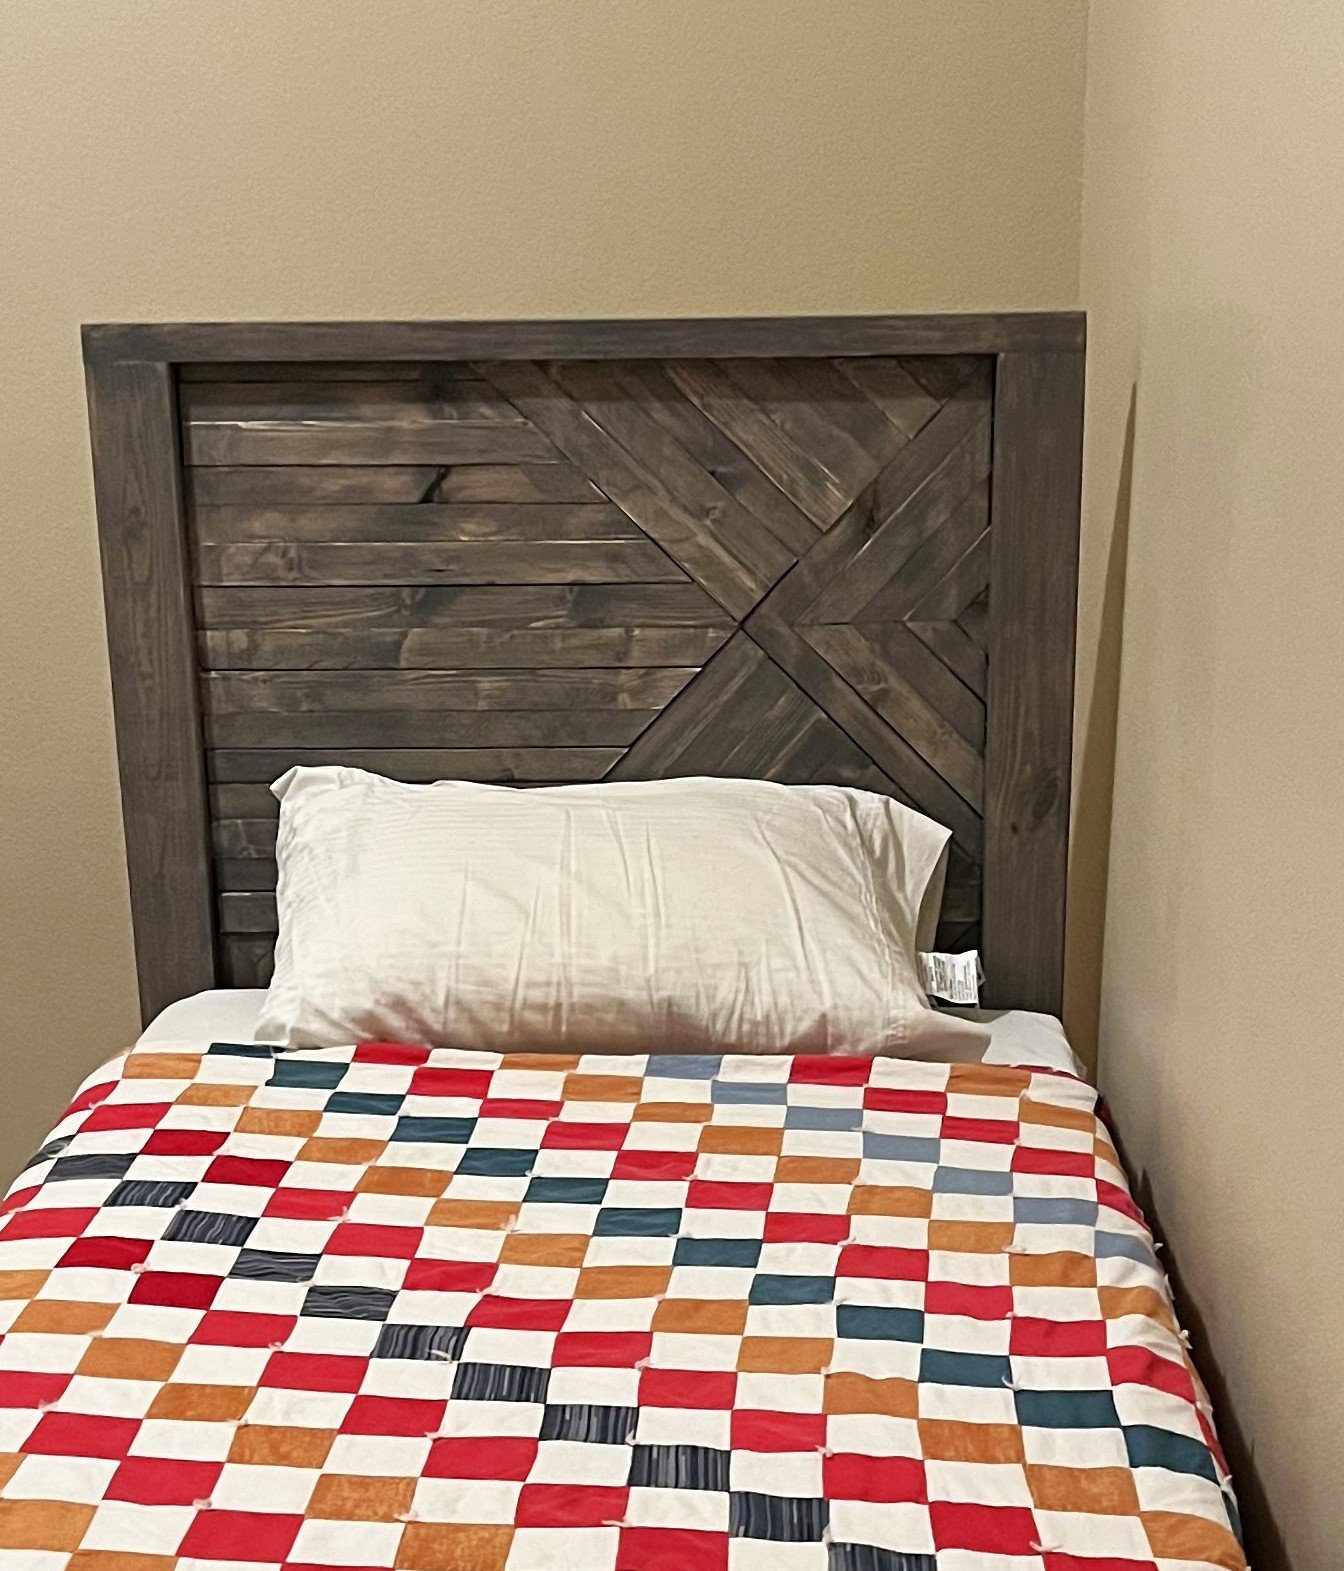
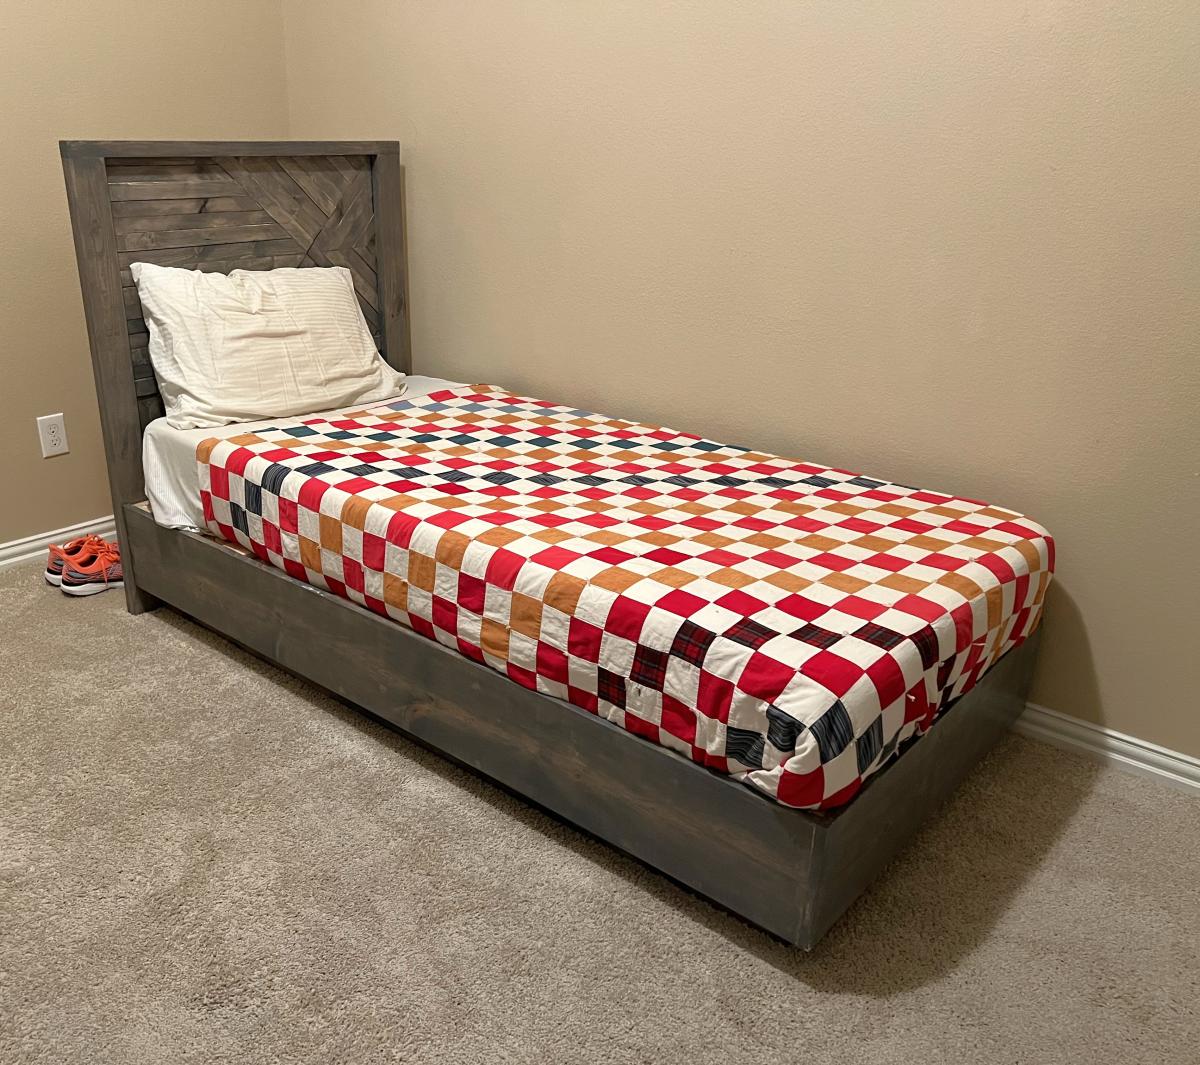
Rustic X Console
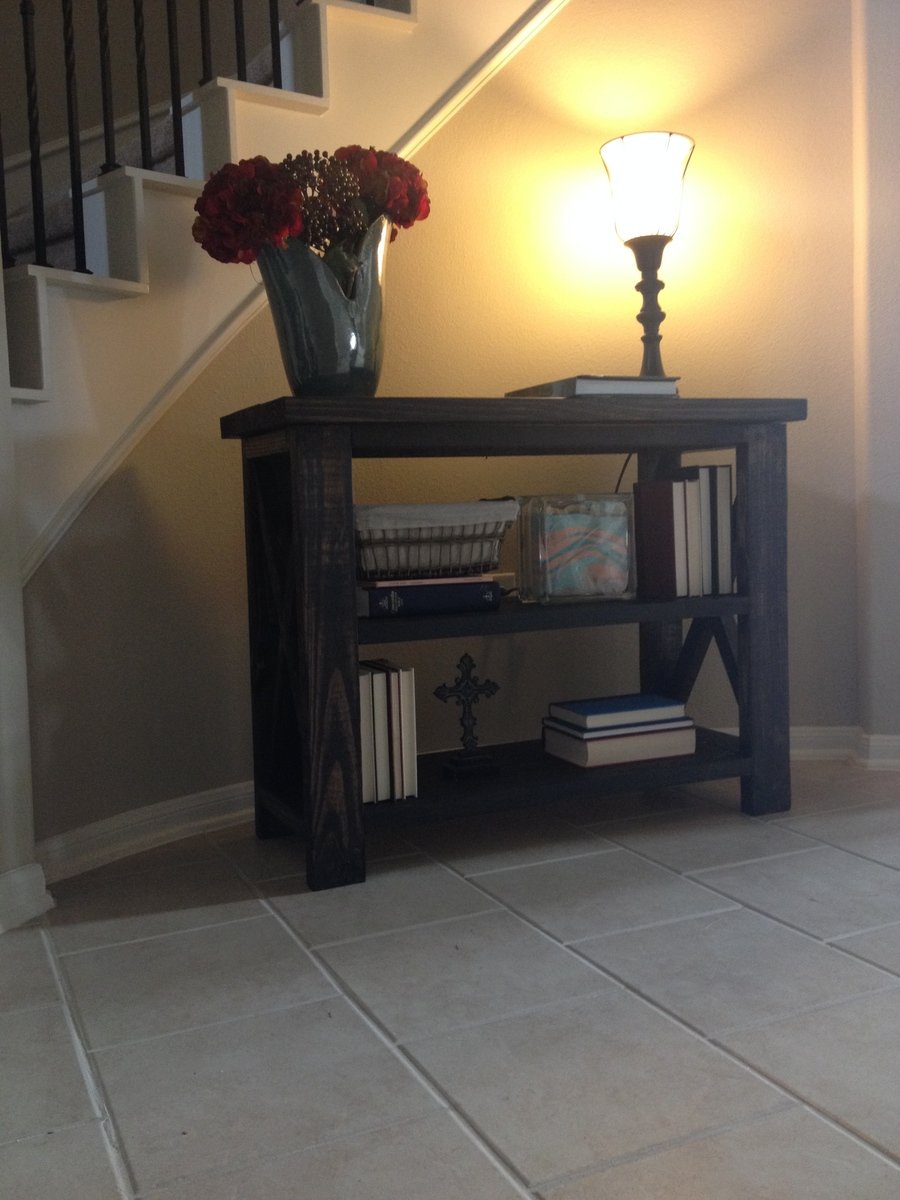
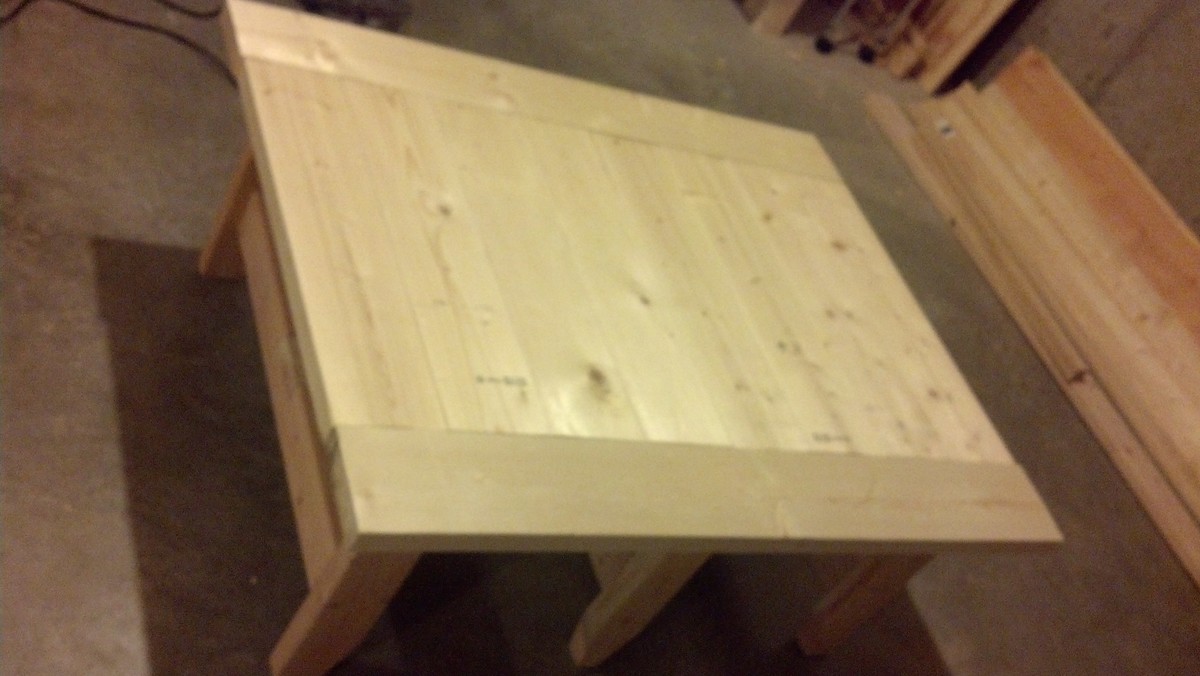
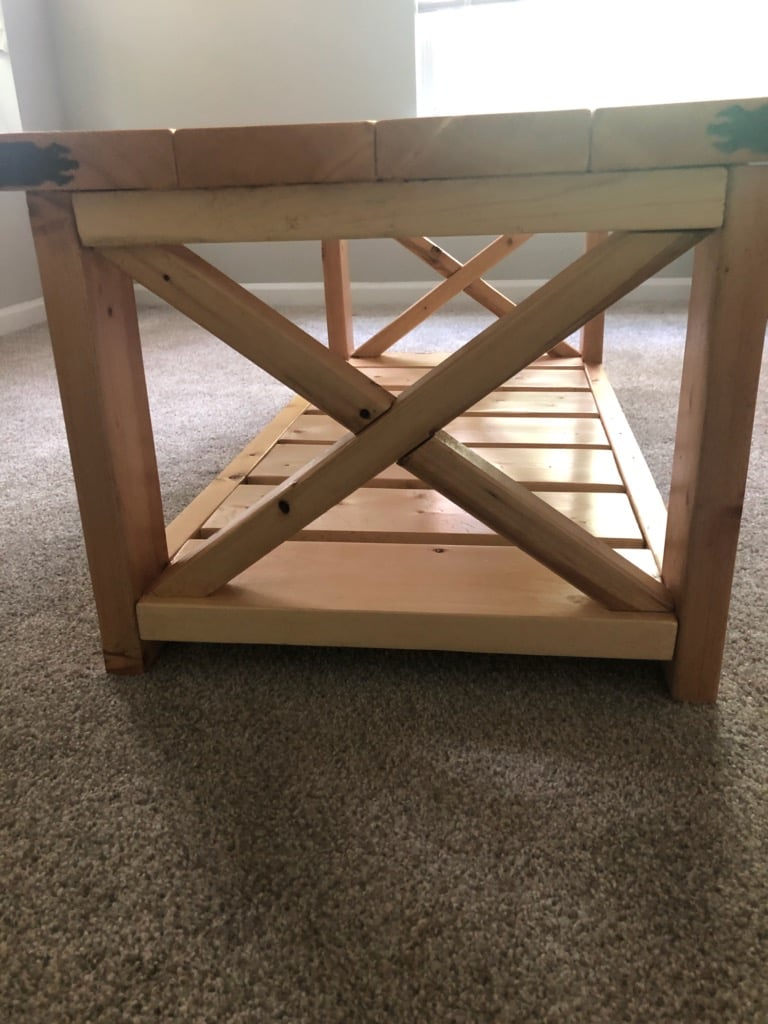
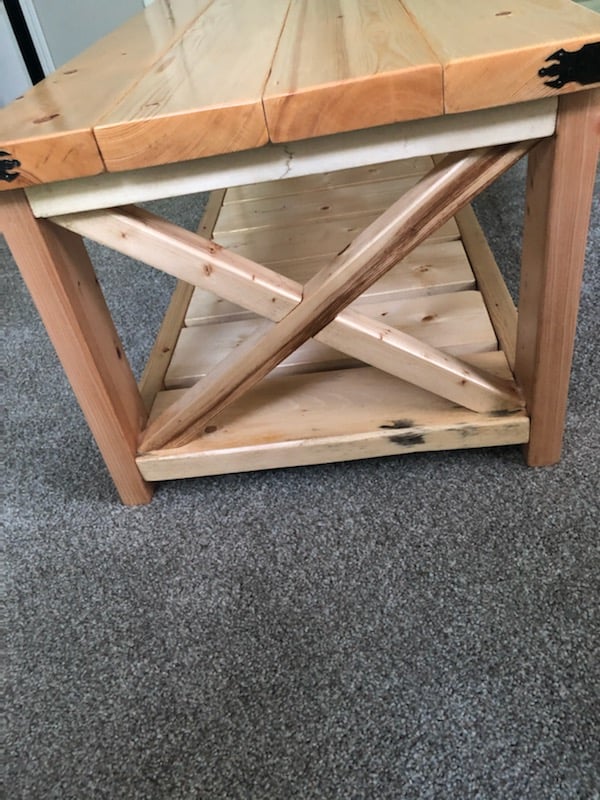
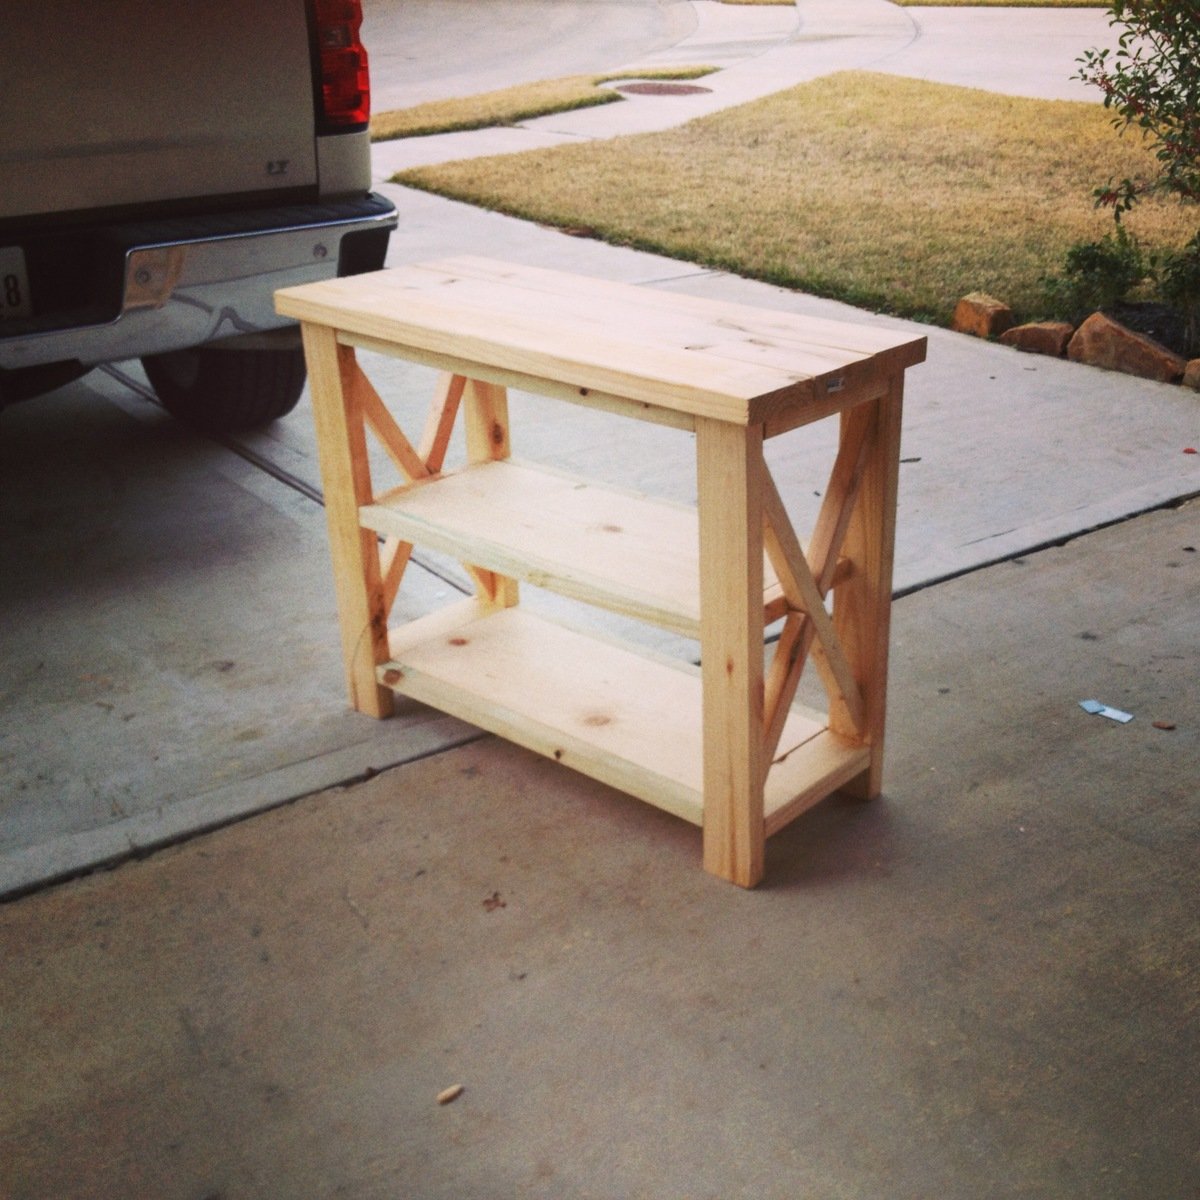
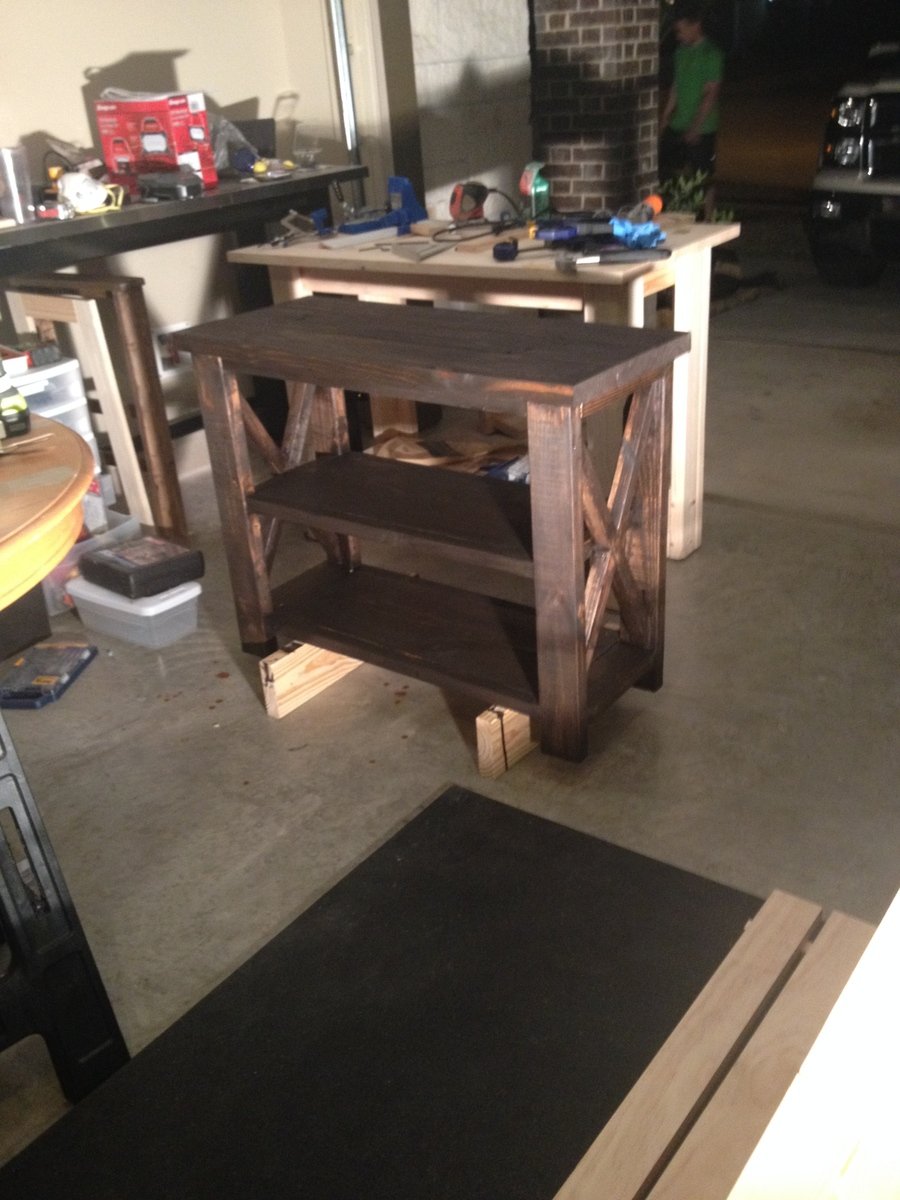
I made half of the Rustic X Console table. It was an easy build until it was time to make the X's. They were only hard because I was using a circular saw and carpenters square and I couldn't get my lengths right. I ended up with a lot of short pieces and I was glad I ended up buying more than enough 2x2's. If I had a miter saw it would of been a lot easier (I have one now).

Built from Plan(s)
Estimated Cost
$80
Estimated Time Investment
Afternoon Project (3-6 Hours)
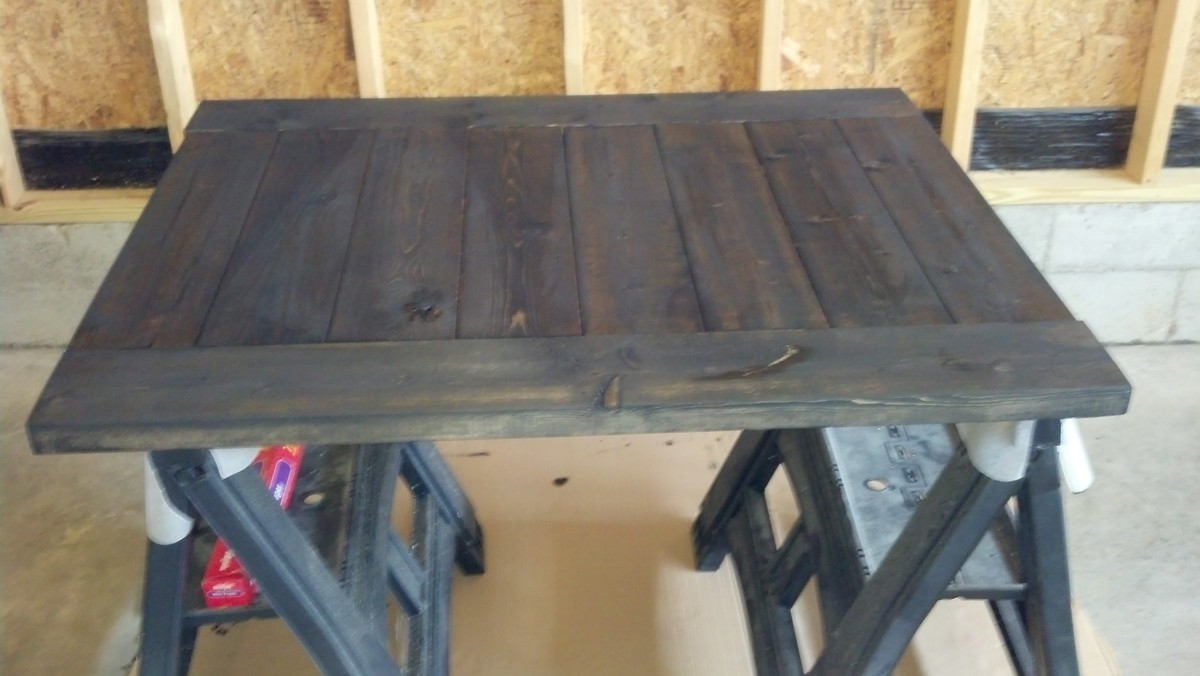
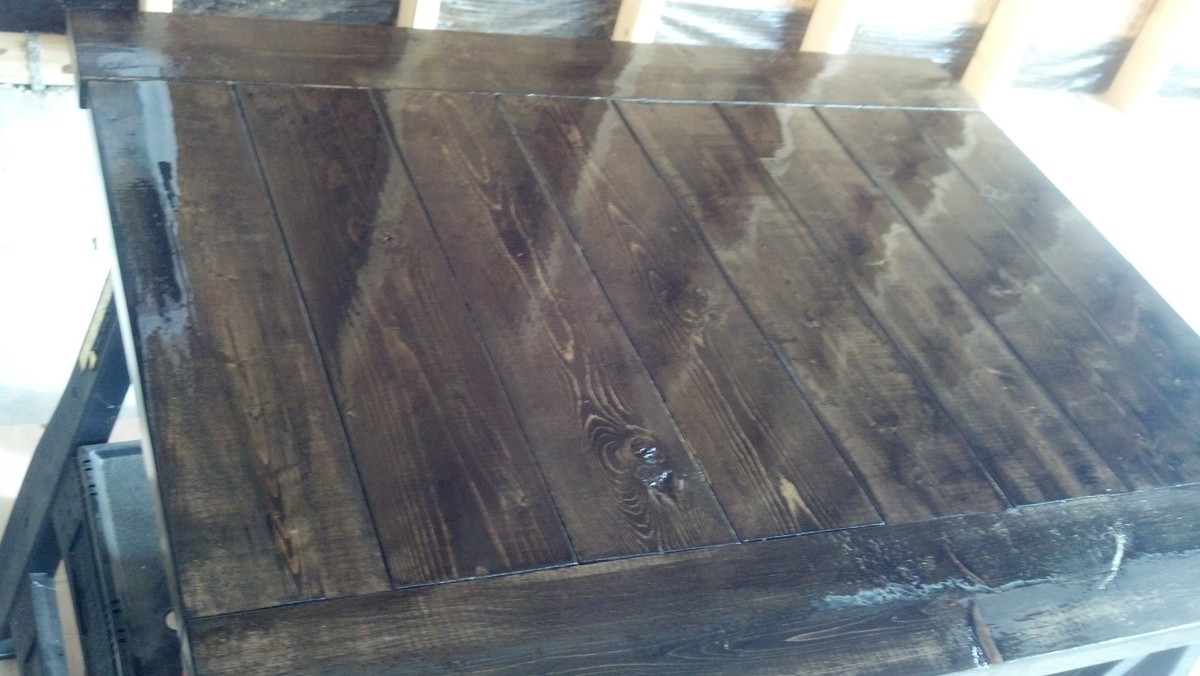
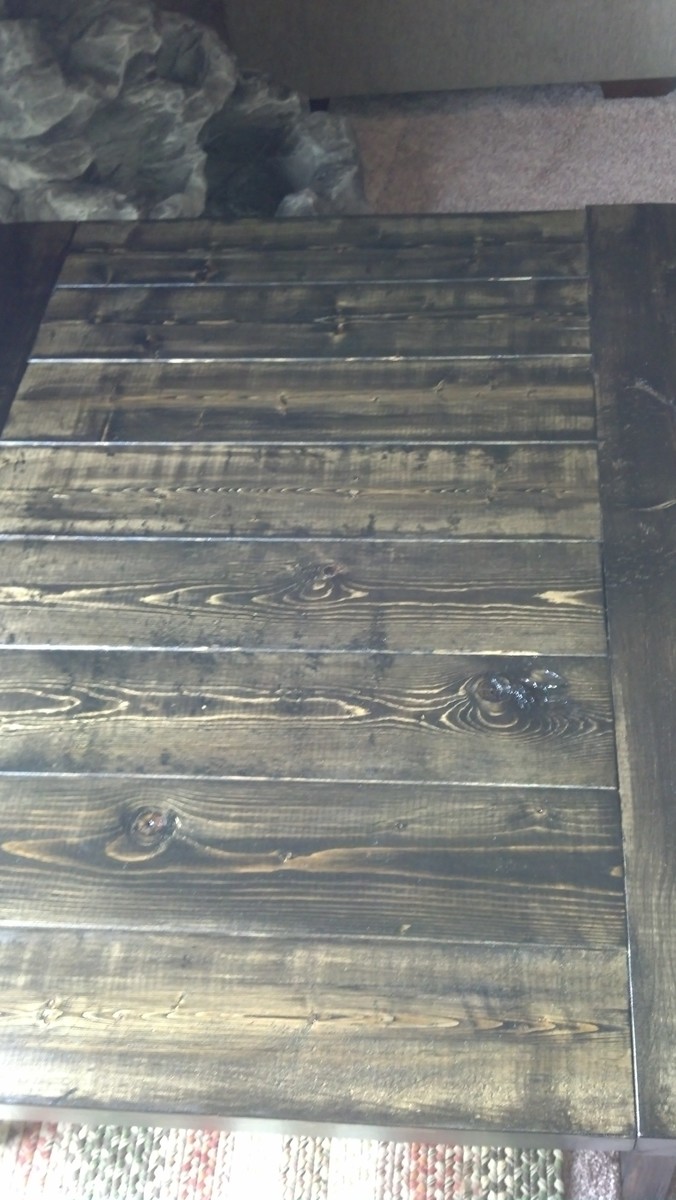
Finish Used
Rustoleum Kona (work in small areas because it dries really fast)
Recommended Skill Level
Beginner