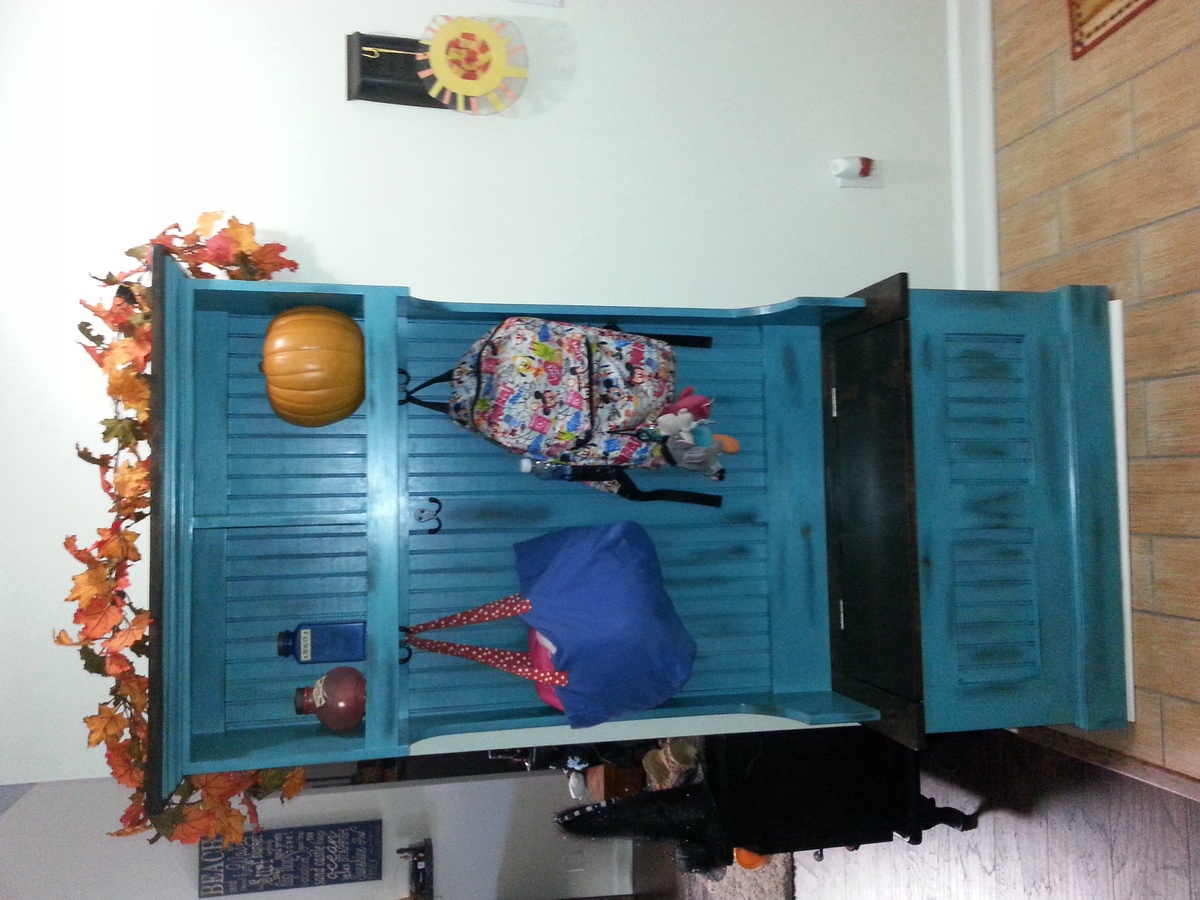
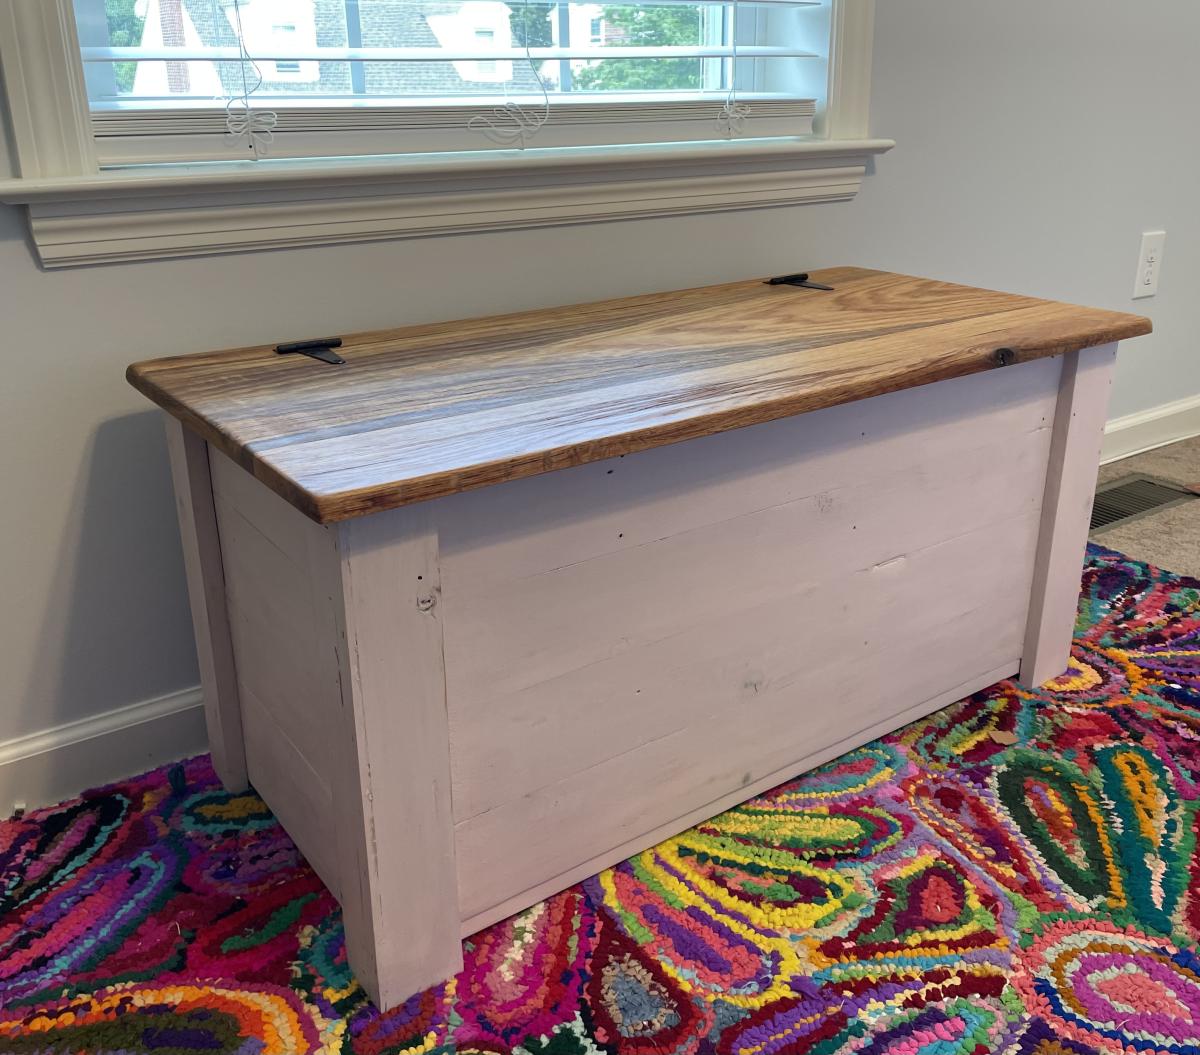
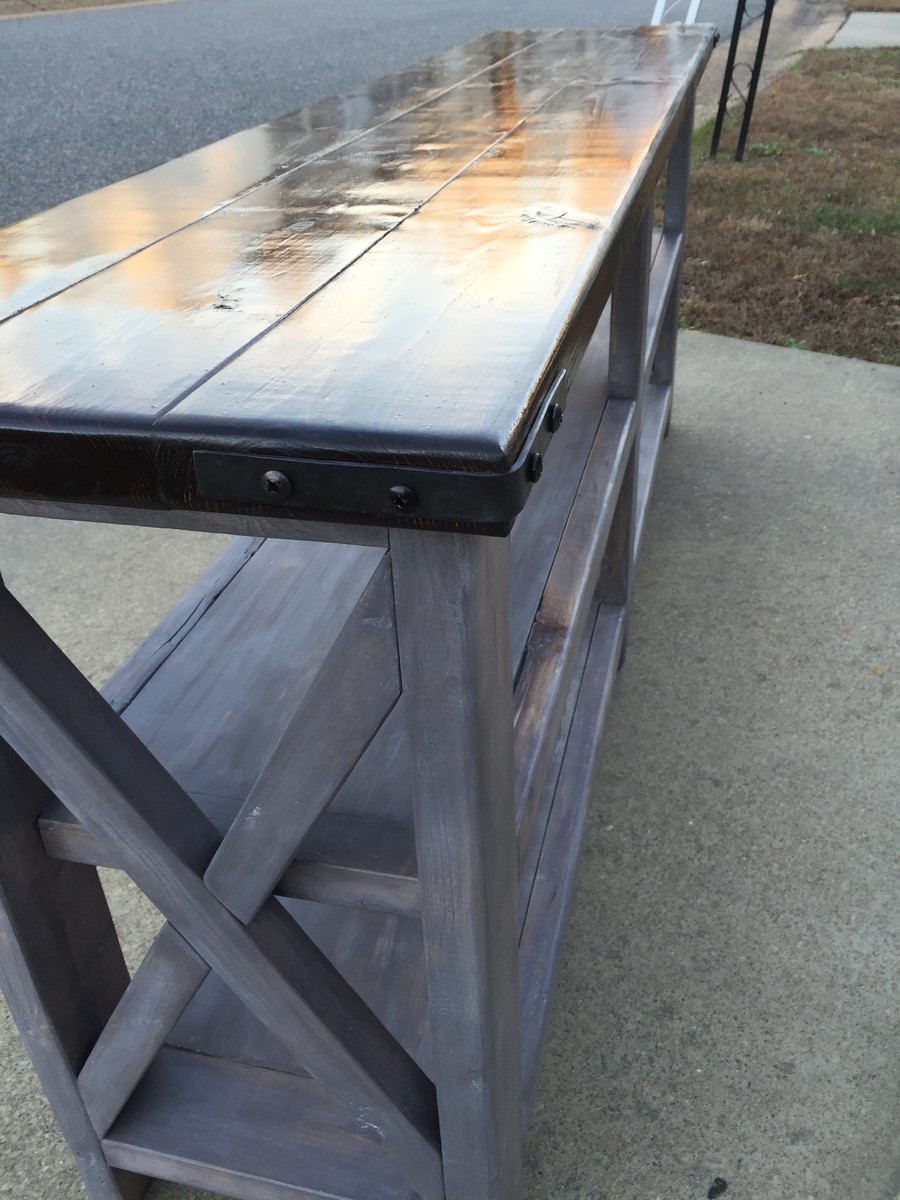
Grandy barn door console
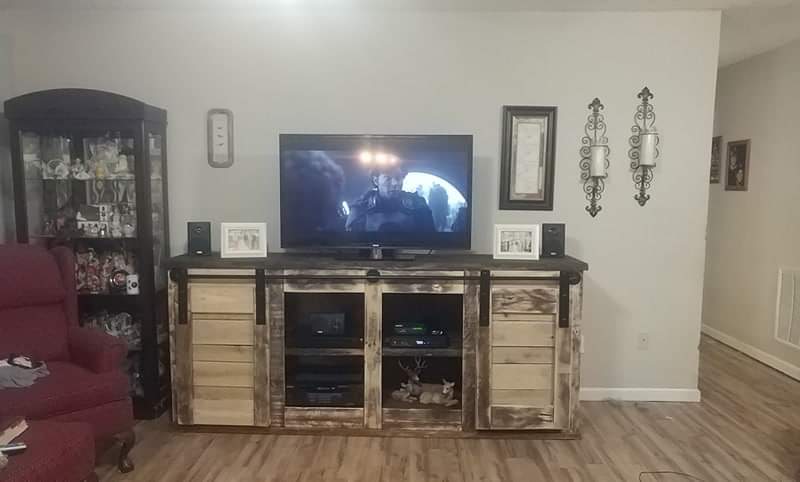
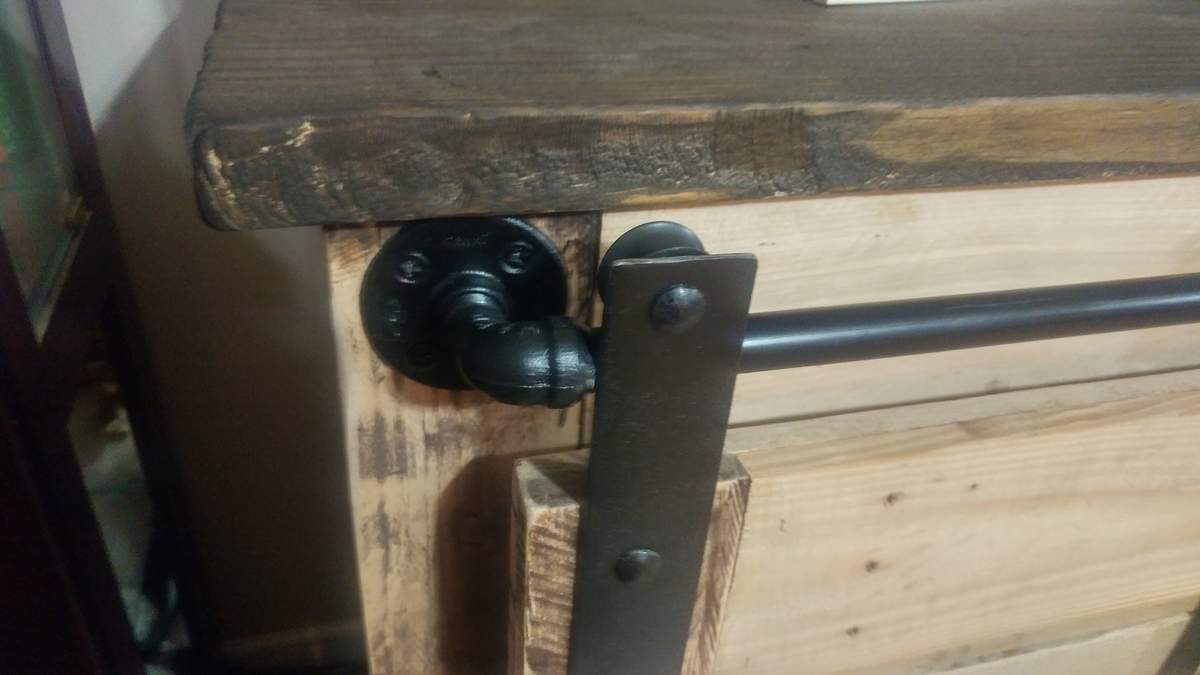
I had a different idea for the barn door hardware. I used 1/2" black pipe and fittings for the rail . I found rollers on eBay that were perfect for this application. It went together great and I love the industrial look .
Built from Plan(s)
Estimated Cost
300.00
Estimated Time Investment
Week Long Project (20 Hours or More)
Finish Used
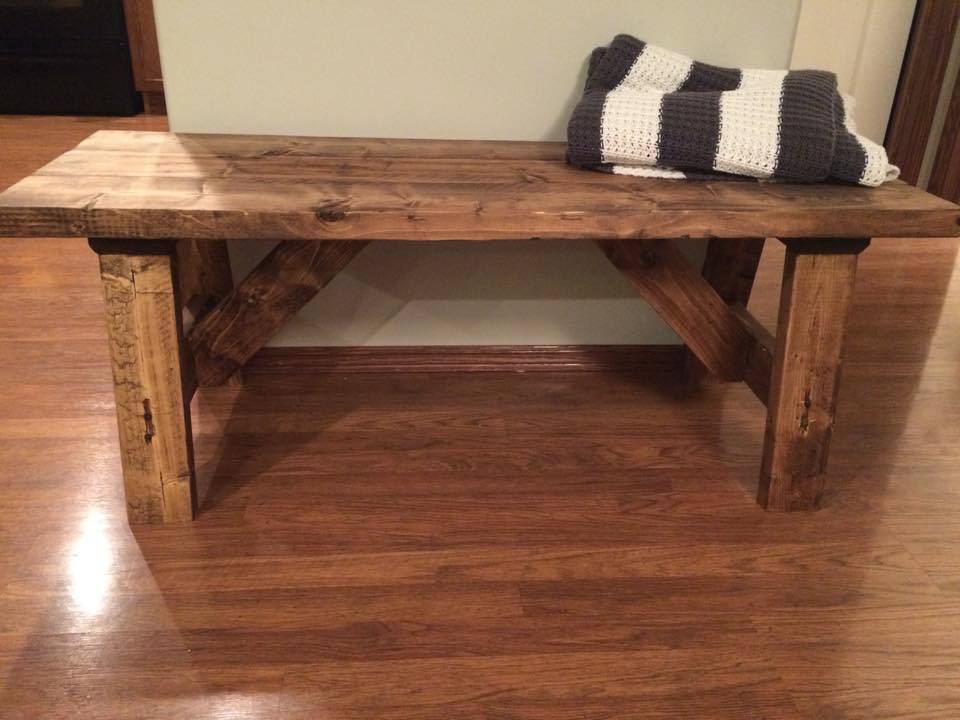
Minwax dark walnut
Recommended Skill Level
Intermediate