Simple and easy console table
I built this as a place where my husband can store his keys and wallet. This table has nice, clean lines. The simple angles fit with the many pieces of Asian décor that we have.
polyacrylic
I built this as a place where my husband can store his keys and wallet. This table has nice, clean lines. The simple angles fit with the many pieces of Asian décor that we have.
Followed the plans closely. Used a roman ogee bit to add a decorative edge to the top. Used strap style hinges instead as well.
Thu, 10/31/2013 - 18:46
I bought some Minwax Ebony stain a long time ago and have never used it, but I will now! It makes a beautiful finish!
Val
artsybuildinglady.blogspot.ca
This project took me about 3 weeks of my spare time. Maybe an hour or two a day. I was lucky that I bought the table legs and bench legs together to match. I’m really pleased with the results. Thank you Ana White!
I was retired from my job and needed a new chore.
The plan seemed easy, and not being a real good carpenter, I required easy, and the plan was exactly that.
Thanks Ana.
Sat, 03/25/2023 - 09:19
Thanks for sharing, very pretty finish and the mods looks great!
My first Ana project- took the spa bench and added doors. Thanks for the easy-to-use plans, Ana. Still learning, though- I ended up buying three sets of hinges before I was happy!
My summer-long project (admittedly, I was lazy about getting it done) was to make built-in bookshelves for our huge family room. For the bookshelves themselves I cobbled together plans from different sites, and modified them all to fit our space/needs, and the cabinets are built after Ana's cabinet plans, modified to be as thin in depth as the bookshelves. Doors on the cabinets were a pain, but they are also my favorite part of the whole shebang with their beadboard inserts. Moulding at top and bottom finishes out the look, and caulking in all the gaps helps give it cohesion.
I could not be happier with my built-ins. I feel like I have a library now, and it got all of our books out of boxes and onto shelves. Yay!
This entire project cost around $80-$100 because I acquired quite a bit of free wood off Craigslist. I also got wood from the scrap bin at Home Depot for great discounts. Since this would've likely cost near 1k to buy, I am quite pleased.
Anytime you are making projects without real plans, it take quite a bit longer and more mistakes are made. But, to have something completely customized to your needs and space is better than any price tag/time you can put on it!
Tools used: drill, kreg mini pocket hole jig, orbital sander, countersink bit, miter saw, jig saw, HPLV paint sprayer, clamps, circular saw
Mon, 11/04/2013 - 16:20
You did a wonderful job! That is beautiful! I think roman shades on the window would look awesome ;)
In reply to You did a wonderful job! That by Mrswhetstone
Mon, 11/04/2013 - 16:23
Thanks, Lindsey! Great idea! We hate the current blinds, so those will definitely get replaced when we get around to it (these were free off Craigslist : ) )
This is our first time building this awesome table. My husband used Ana's plans with the greatest of ease and then I was able to do the fun part, paint it! Did I mention that our table SOLD the very day we finished it? Yes, the same day. We are in the process of building another table as we speak. I am so excited!
I made this bed to house the new standard king mattress that my husband bought. The hardest part is probably picking the straightest lumber possible. Straight lumber would eliminate having to wrestle with the boards to line up/square and minimize power tools used. I had to ask my husband help with the screwing bowed boards together, but other than that I did everything by myself.
had some fun with the back and seat slat design and did an angle rather than a 90 degree where the arms meet the front support. also used a 2x6 for a larger arm rest. i think it turned out well. thanks Ana
Thu, 03/30/2023 - 10:13
Thanks for sharing, it looks awesome and I love the wider arm!
We've recently moved into a new house and I've wanted a bench for the mudroom entrance from the garage. This bench is perfect.
We made this table using the Rekourt Farmouse table plan. We used wider boards for the table top and simplified the angles on the legs a bit. We also built benches for each side of the table and dressed the ends with formal dining chairs. Used Dark Walnut Minwax stain and a clear satin epoxy to coat the top and bench seats. Had issues attaching the breadboards even with a Kreg Jig, Would probably do better if we did it all over again but totally happy with how it turned out.
Mon, 07/20/2015 - 07:53
I modified Ana's plan of this bench
http://ana-white.com/2010/01/plans-rustic-bench-pottery-barn.html.
I didn't use the diagonal support beams. 1x12 for the top of the bench.
Mon, 07/20/2015 - 07:54
I modified Ana's plan of this bench
http://ana-white.com/2010/01/plans-rustic-bench-pottery-barn.html.
I didn't use the diagonal support beams. 1x12 for the top of the bench. Adjusted the length to make sure it fit right under the table in between the legs. Extremely sturdy without the diagonal supports.
I built this coffee table from reclaimed pallet. The design is based off of the West Elm Emmerson line.
Wed, 07/03/2019 - 19:47
So modern and crisp and clean! Love it! Thanks so much for sharing a photo!
We needed a new entertainment console for the living room but didn’t want to spend $$$for something everyone else has. I found plans on your site and tweaked them to fit our needs.
This is 70”x31”x24” live edge Maple top and doors have a black epoxy filling the voids. The shelving, sides and trim are ambrosia maple. The fireplace insert has a heat/no heat option. I trimmed it the back with 1/4” maple plywood with ventilation for the fireplace. The top and doors maple is from a tree we cut, slabbed and dried. I finished it with Odies Woods Wax.
All-in-all, $550 in materials. The best part, my husband loves it!
My husband and I built this changing table for our sons room. We made a few modifications, but overall, I think it looks great! This was the first of many projects to come from this website!
Sat, 09/22/2012 - 05:02
This looks fantastic! We're headed out to buy wood for this project today!
Fri, 11/09/2012 - 12:13
Hi! This looks great! Was wondering if you had the plans for the side hutch? I tried to use the link but it keeps telling me the link is unavaliable.
Thanks so much!
Distressed chalk paint
Doubled the size of Ana's toy storage to accommodate my niece and nephew.
Table top is tight knot cedar, sealed with ship n shore, 7 coats spar urethane.
Base is fir, sealed and painted in latex outdoor paint:
These planters are exactly what we needed to warm up this blank siding! The smaller planters are made from pine, the larger from cedar.
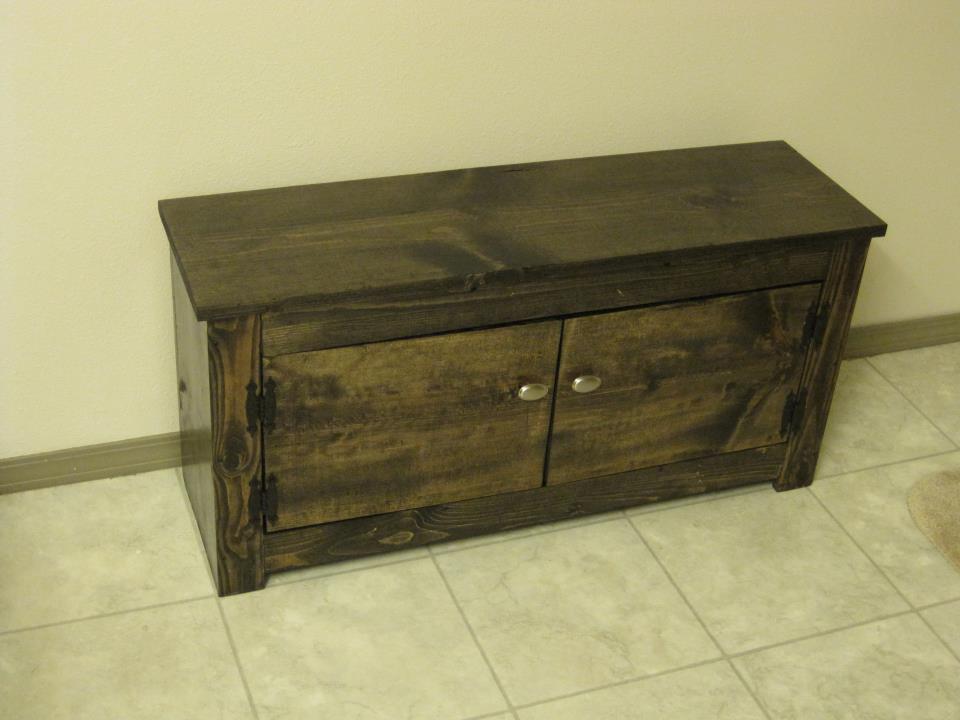
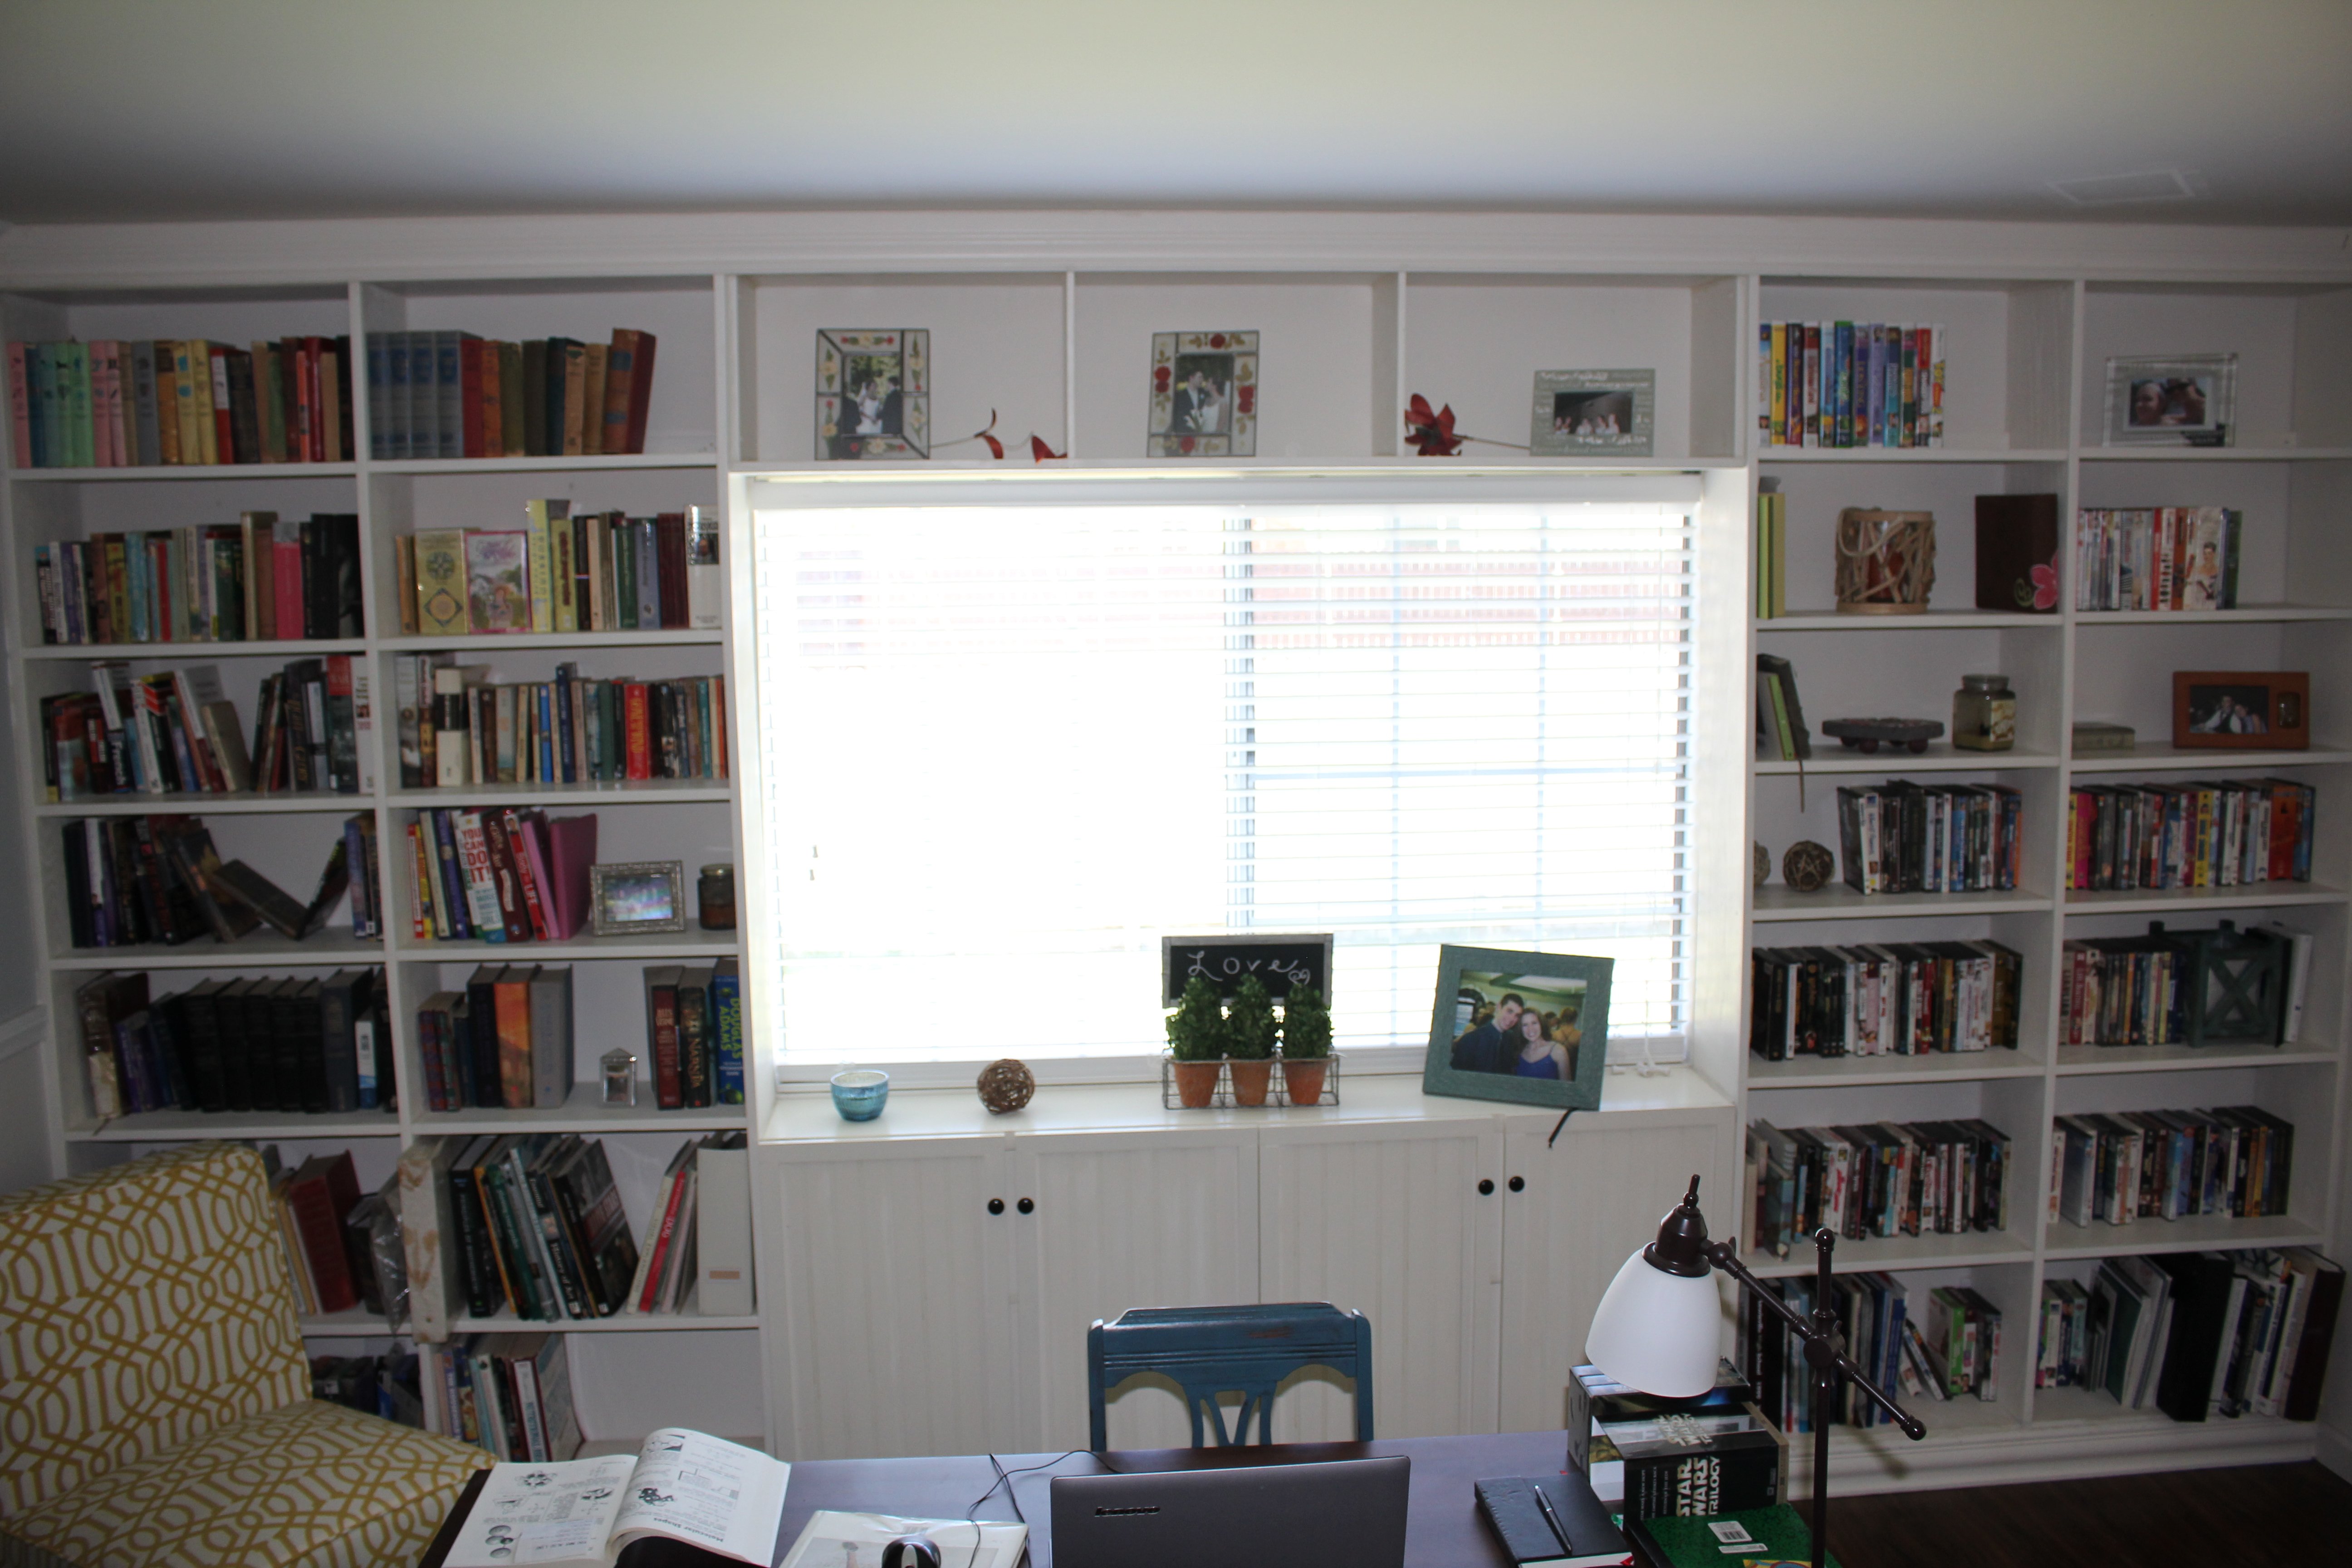
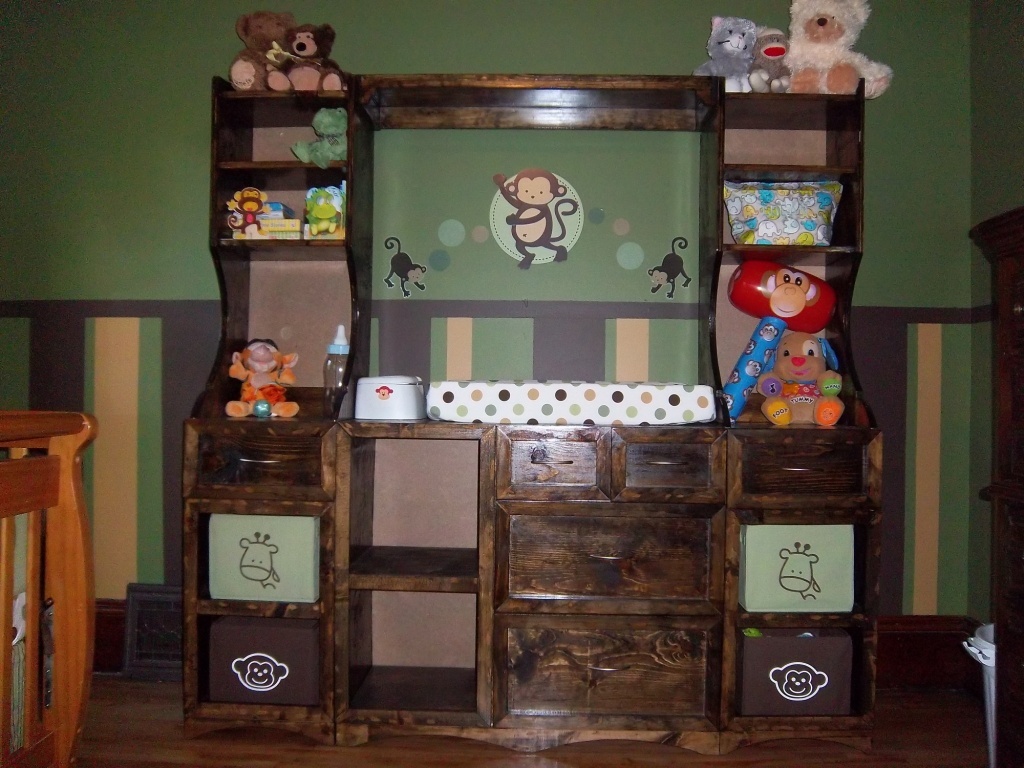
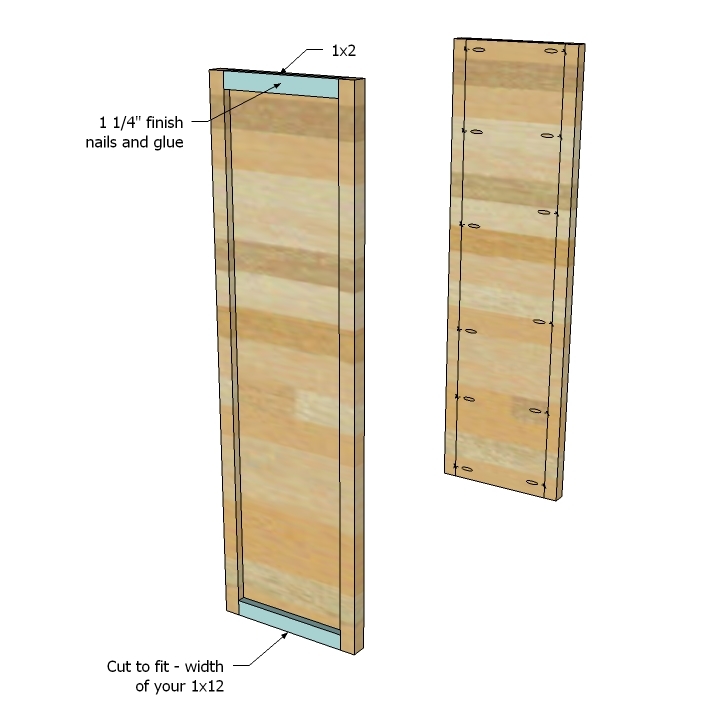
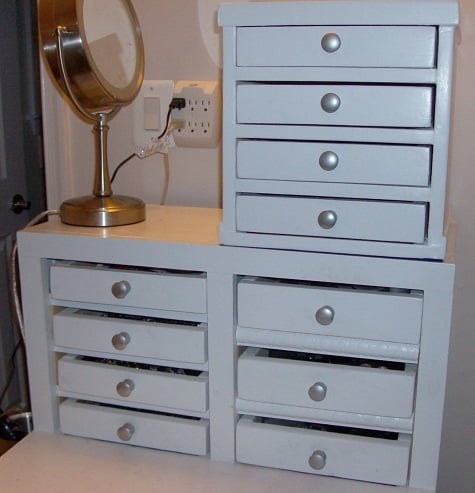
These little dressers are inspired by Ana's Master Closet System drawers, and the Willy Bookshelf. These were made entirely from scrap wood, so it only cost me for the knobs and the felt for the drawers/bottom. These drawers were sized to fit inside the cubes in my vanity/desk, and to fit the left over wood available from my scrap bin. This took a while to cut everything, but it was fun and didn’t cost me anything but my time. On the top dresser I used some ‘slices’ of lauan for trim, to hide the cut edges and the bit of ‘cup’ on my side pieces (these were re-purposed old shelf boards from the garage). I used my finish nailer and glue for these.
Here’s a shopping and cut list (and a few tips) to make the 4-drawer equivalent (similar to the top one) with standard sized 1x12 lumber, and using 1x2 for drawer front/back/sides and applying 3/16” lauan ply for the bottoms. Haven't figured out how to use sketch up yet, so I can only provide a shopping list, cut list, and finished dimensions, so here goes:
Shopping list: (my 1x12’s are 11.25” wide and .75” thick, and 1x2’s were 1.5” wide, and .75” thick, and lauan is 3/16” thick)
1 pc 1x12x8
2 pc 1x2x8
2 pc 24” x 24” lauan (3/16’ plywood) (you’ll have some left over from the 2nd piece)
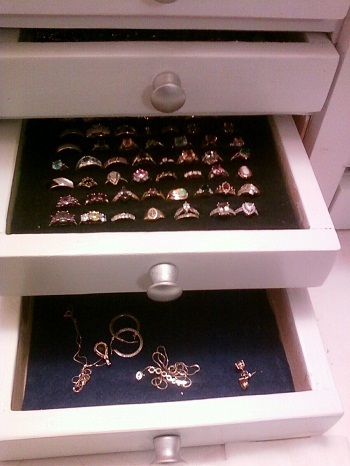
Felt - 4 pc 8.5” x 9.75” for insides of drawers, 4 pc 10” x 11.25” for drawer bottoms, and 1 pc 11.75" x 11.25" for dresser bottom. You can use 9 sheets craft felt (9” x 12”) for this – the 11.25” front – back measurement on the drawer bottoms is what’s most important –craft felt is 9” wide, and it’s OK if the felt doesn’t go all the way to the edges on the side-to-side measurement
(Sticky-back felt works and looks great, but costs a lot more than regular. I use sticky back on something I’m making as a gift, but these were for me so I just used regular felt and glued it in place with wood glue)
4 mini-knobs (Mine are unfinished ones from Ace, got for 2/$1.29 and spray-painted them)
Finish nails (I had 1 ¼” on hand) and plenty of glue
Finishing materials - filler, sand paper, plus paint/stain to suit your tastes
Cut list:
2 pc 1x12, cut at 2” (spacers - use these 'slices' for spacers while assembling, so the shelves are all spaced the same distance apart – this idea is from the Kreg jig demo video where they built the bookshelf). I like to cut these first, making sure they are nice and square. To me it’s easier and safer to cut these thin pieces from a larger piece with my miter saw.
2 pc 1x12 @ 11.75” (dresser top/bottom)
5 pc 1x12 @ 10.25” (2 for sides, 3 for shelves)
8 pc 1x2 @ 10” (drawer front/back)
8 pc 1x2 @ 9.75” (drawer sides)
4 pc 10” x 11.25” lauan plywood (drawer bottoms)
1 pc 11.75" x 11.75” lauan plywood (back)
Finished dimensions:
Dresser: 11.75” H x 11.75” W x 11 7/16” deep (includes back)
Drawer opening size: 10.25” wide x 2” tall x 11.25” deep
Drawer dimensions: 10”wide x 11.25” long x 1 11/16” tall (felt on the bottom of the drawer will make this height just a little taller)
Finished inside depth of drawer 1.5”, drawer inside dimensions 8.5” wide x 9.75” long
Finish: sanded, filled, sanded some more, and painted with some left over white paint, and used silver spray paint for the knobs
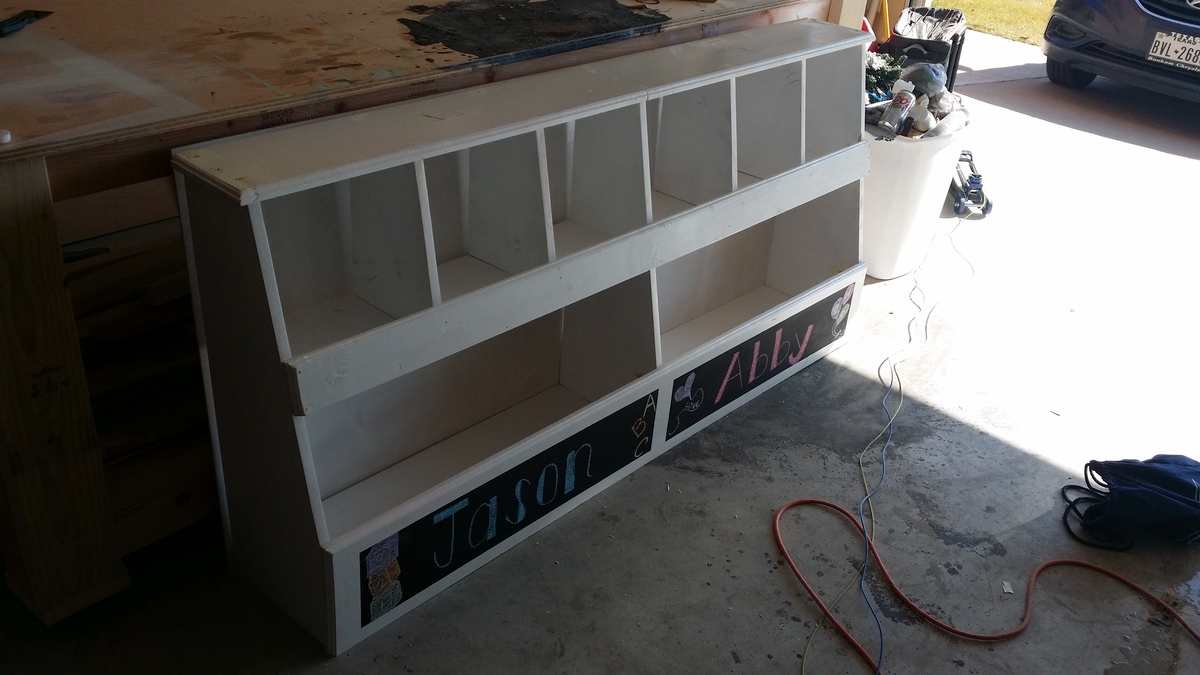
Assembly tips: Dresser part is constructed very much like the Willy bookshelf. The top and bottom are the same size on this one and the dresser bottom is applied the same way as the top of the Willy bookshelf. Once the bottom is on, use the ‘spacers’ to make sure the shelves are the same distance apart all the way up, then the top goes on last. 3/16” plywood goes on the back. Drawers are constructed like the master closet system drawers. Drawers slide directly on the shelves (and bottoms of drawers covered with felt) so no drawer glides are used. Applied the felt and knobs after sanding and finishing. Make sure the felt goes all the way from the front to the back of the drawer bottom, and is glued on thoroughly.
Thu, 12/22/2011 - 23:15
How did you do the insides? Did you line it with some type of foam? Great work. Thank you for posting.
Fri, 12/23/2011 - 11:56
Thanks very much! For the ring drawer, I used a piece of 1" thick high density foam (I cut up a kitchen chair pad) and on top of this is a piece of sticky-back felt. I drew lines on the paper side and cut slits into the felt first, then stuck it on top of the foam, and cut into the foam following the slits, using a utility knife. I didn't cut all the way through the foam, but almost to the bottom. The slits go all the way across the foam (to about 3/4" from edge) to fit more rings in there, but you can also do individual slits for each ring (if you have more patience than me - haha). The other drawers have regular felt cut to size and attached with wood glue. (Sticky back felt inside the drawers would have worked fine too, it just costs more).
Fri, 12/23/2011 - 16:55
I just built a gentleman's valet for my sister in law's boyfriend, partly to test out some joinery ideas, and partly because I found a beautiful piece of white oak in the discount bin while I was looking for something else at the lumber dealer. I was pretty impressed with myself, but it's got nothing on the ambition of this project.
Excellent work. I absolutely wouldn't have guessed it as a beginner project.
I'm almost certainly going to have to build a jewelry chest like this for my wife pretty soon. My dad just built my mom a nice one, and my wife will be wanting her own.
Sat, 12/24/2011 - 13:54
Clay, thanks very much for the nice compliment. I've seen your projects here and on your blog and they are beautiful, so I'm very flattered! I've edited my original post to include measurements and cut list for a 'regular lumber' equivalent to the top chest. Lots easier than cutting all those drawer sides out of plywood and 1x12 like I did with my 'prototypes'. :) The next one I do will be with regular size lumber. Thinking of building one for my Mom. Happy holidays!
Thu, 02/02/2012 - 00:26
do you sell these? Its awesome. I've been looking for a tabletop drawer to store my makeup but everything is made of plastic! I was actually googling to see if there was someplace I can do woodshop to make my own jewelry drawer but alas I dont have the skills nor do I have any tools. I really admire this drawer!
Thu, 02/02/2012 - 04:56
Lucy, try looking for something like a Makerworks. These are communal workshops with space and tools that you can use for a fee or a subscription. I don't know how prevalent they are in most of the country. I live in a suburb of Detroit, and because of the large manufacturing base there are a lot of them around.
The more expensive ones offer classes where you can pick up basic skills on unfamiliar equipment, but even those "expensive" ones don't cost a lot of money. The inexpensive ones still offer training on their equipment, but less formally than a scheduled class.
One of the more interesting features of these places, at least around here, is that they have CNC machines available. A CNC machine would let you transfer sketchup drawings directly to cut parts. For a one-off item it's not worth the trouble, but if you wanted to duplicate an item it would be great.