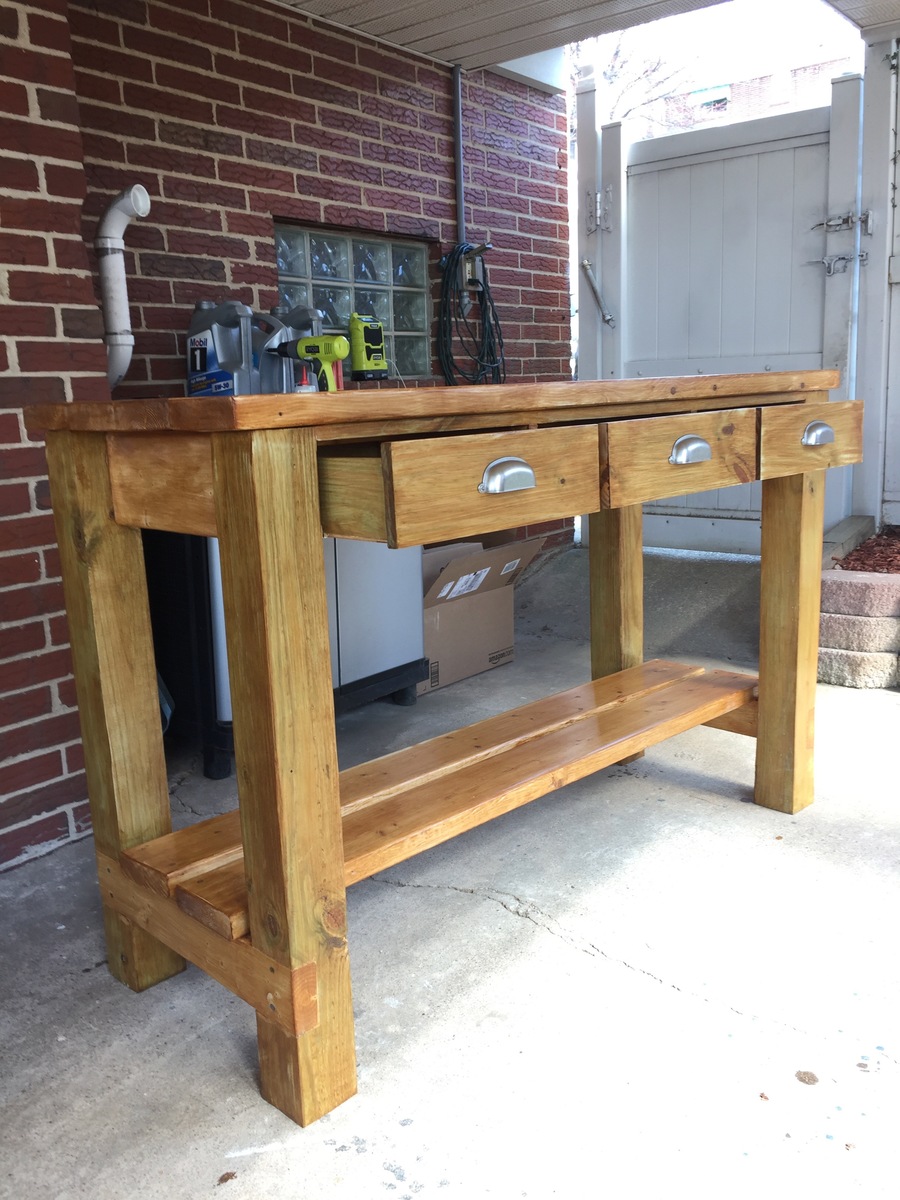
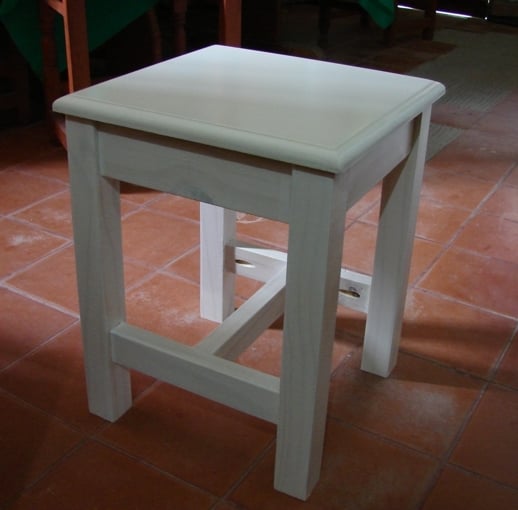
My adirondack stool
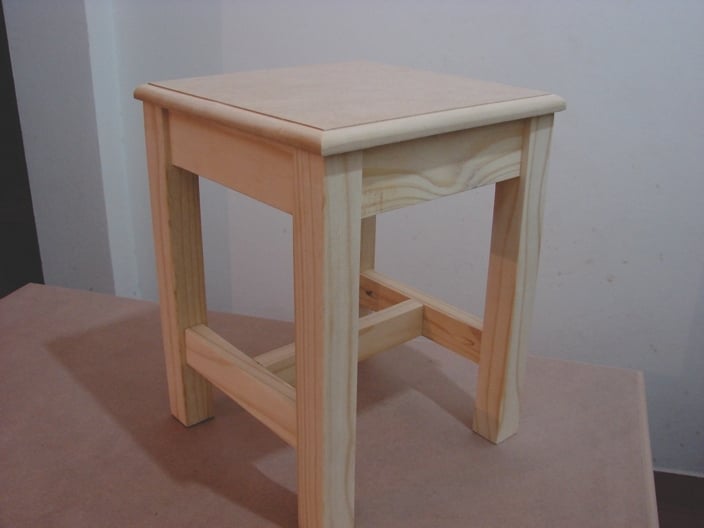
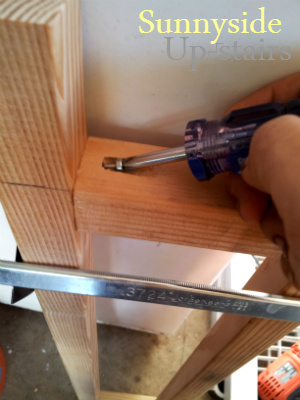
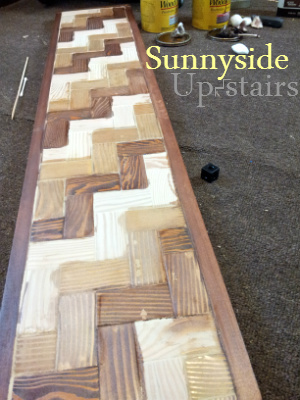
In my country there aren't Kreg jigs; i.e. no Kreg jig, no pocket holes. I obtained a Kreg Jig mini and this is my first build (really, I made four of them)
using the gaby kitchen island plan from ana white I built this over 2 weekends, taking my time! We needed a new, larger side wall island for our laptops, phones, junk, etc and we couldnt love it more. The martha stewart drawer pulls add a nice touch and it all came together quite nicely for our purposes. Thanks so much for taking your time to post such great plans!
I have a 2 1/2 yo daughter and a 2 yo niece, so I make most of Ana's awesome plans in duplicate! These are two versions of her Dress Up console, one was for my niece's 2nd Bday, the other I just had to make for my own little Princess!
Tue, 06/18/2013 - 15:18
Since you've had experience with both, do you like having the cubby's or do you think it is sufficient without? Trying to decide which route to take. Thanks!
Fri, 09/26/2014 - 13:46
Hi! Where can I find the plans for this exact dress up storage?
Fri, 09/26/2014 - 14:00
Hi Rinabeens,
Link to the plans:
http://ana-white.com/2010/11/craftiness-not-optional%E2%80%99s-dress-st…
This is super cute, I hope you post a picture when you build this!
I made a few modifications from the original plans as I wanted to have some visibility into the cabinets. I used natural pine and finished with a tea, vinegar/steel wool solution to give it the reclaimed wood look.
Wed, 08/17/2016 - 23:42
Would you have plans available for the modifications that you made? This is beautiful!!
Mon, 07/22/2019 - 10:52
Do you have plans for the modifications you made on the doors? Thank you
Coffee Table built from these plans: http://www.ana-white.com/2012/07/plans/rustic-x-coffee-table
Media console built from these plans: http://www.ana-white.com/2015/08/free_plans/grandy-sliding-door-console
We are mediocre novice in the handy area. I more so than he, but together we wanted to tackle this project.
The directions were great and the pictures helped with some of the minor confusion. Great plan and solid beautiful bed frame.
The total cost was around $175. Wood is a bit expensive in our area...
the stain we chose was a semitransparent gray wash. I thought it was going to be a true stain but it was more a paint quality but in the end the wood grain showed through and we just used one coat! Went on thick
This was my boyfriend and my first major construction project and tackling it together we were a little intimidated ... never used a kreg jig but had purchased one a few years ago and never used it. Haha well you def want to have it. Watched a iTunes video and it Was easy and we faired well.
Only one argument that taught us both a few things and ended up giving us the desire to make more furniture together.
Thank you Ana white
I used a combination of Ana White's book, The Handbuilt Home, and her website plans to build TWO twin sized headboards. I did not build the rails and/or footboard, because the room is too small. I simply attached the metal bed frame to the posts of the headboard. My boys love their new beds!
I made this version of Ana's Reclaimed Soda Crate as Christmas gifts for my kids' teachers. Less than $6 per gift! Full instructions can be found on my blog at www.dropdeadthrifty.com
Variation on the Farmhouse Table plans. Built from knotty pine and finished with Minwax Early American stain.
We bought our adjustable bed and needed something to make it look better. I loved this bed and modified it to fit our needs. It was easy to build and really made such a difference in our room!
Tue, 02/13/2024 - 06:42
Would you happen to have plans or instructions for this project? Thanks in advance!
Followed the plans on the site but made it 3" wider to better fit our electronics.
I changed a few things and it's not 100% finished, but far enough along for some production to start. It takes a LOT of dirt to fill this and I only made it 400mm high.
Xl farmhouse style dog crate table with metal bars.
There are three plans combined here in this picture. All three completed in the past year. The toy boxes are from the one plan, the cubby shelves from another and finally the dress up stand is the third. It is never this tidy in our playroom! Ah ah, what you cannot see is the other half :D But the girls do enjoy it quite a bit and it does keep most toys off the floor and easily accessible. Thanks Ana for a great variety of plans!
Made a few changes to the cuts on the supports as I made a mistake on the mitres. However, it worked out and added a different look than the plan's design. (notice pointed mitres on supports)
Can't believe I did it myself without hubbys help at all!! Wasn't expecting to like the outcome, much less LOVE it!!
I made my stain with grey paint and special walnut stain...came out beautifully!! I used Behr white paint on the base and grey paint as the glaze. I got the knobs on sale at Hobby Lobby and painted them a dark silverish color. The inside of the box is the same as the top.
I will say this is far from perfect...but I learned a lot and know I will do even better on my next project ;) Thank you for these plans!! Can't wait to build more!!
Modifed the Rustic X console to fit the width of den area's windows. Wife wanted storage, I needed a project.
Table was really fun and difficult to complete. It took me about 30 hours to complete. However, it is a real hit in the neighborhood. I used pine and some of the material was really soft and difficult to sand/finish. Decided to paint the pedestals chalk white (wife's inspiration), which was a really good choice. Fitting the center sections of table top to frame was most difficult aspect of project. Thanks Ana for the inspiration!
Johnny Wilson
Shelbyville, TN
I was looking for a "super easy console table" and once I was ready to build it, I mustered the confidence to try a more complex table top design. Using pocket hole joinery, 2"x2" legs and supports, scrap 1"x2" "blocks" for the herringbone pattern, scrap 1/2" 8"x4' plywood, 3/4"x1/2" pieces to frame the top, and much wood glue, I built this 8.5" narrow console table for under $30. The plan shared on this site was one of the inspiration pieces that helped me believe I could do this too!
Wed, 02/27/2013 - 19:06
I'm going to have to copy you now, you know! What a fabulous idea, fabulously implemented!
In reply to Really beautiful! by romanweel
Fri, 03/01/2013 - 00:17
=D It was satisfying to make, although watching glue and wood filler dry made me feel like I was the most impatient person in the world. Thank you for your kindness!
My master bath was in desparate need of storage, and as usual, it was Ana's site to the rescue. I built this Ladder Shelf exactly from Ana's 'Painter's Ladder Shelf' plans. I built and had it painted in about 2 days. Now I finally have a place to store towels. Thanks again, Ana!