Community Brag Posts

Tiny House table for small office

Submitted by Anonymous (not verified) on Sat, 02/18/2023 - 13:49

Made a 48x18x27h version of the Little House table to use in a small office . The Wood is Spalted Alder resourced from our WA State property finished with a clear satin urethane top coat. Fasten with pocket holes and glue for the frame.

Comments

Rustic Farmhouse Bench

Submitted by kylihoot on Sat, 10/29/2011 - 10:48

This is one of my favorite things i've built yet. Its cute, small, and sturdy!

Built from Plan(s)
Estimated Cost
$15
Estimated Time Investment
An Hour or Two (0-2 Hours)
Finish Used
I painted the frame white, sanded heavily and rubbed on walnut stain over it. For the top, I just sanded with heavy grit so get the dirt off the barnwood, and then put a water-based polyurathane on it. Two coats, I think lol.
Done!
Recommended Skill Level
Beginner

Comments

Bedside Table

Submitted by thurm12 on Mon, 10/21/2013 - 09:55

Had to adjust the size of the drawer to fit inside the gap. Chose to lay the shelf on the bottom and attached a 1x2 to the front of the shelf perpendicular to the ground to keep the shelf in place.

I chose not to add the plywood backing because it's not visible, but I may in the future.

Overall a great and simple project, and I'm very pleased with the results.

Built from Plan(s)
Estimated Cost
$50-60
Estimated Time Investment
Day Project (6-9 Hours)
Finish Used
Minwax PolyShade Dark Espresso (3 coats)
Recommended Skill Level
Beginner

Providence Bench

Submitted by Anonymous (not verified) on Wed, 01/06/2016 - 13:07

I LOVE this bench. It's simple and rustic, yet absolutely beautiful. I modified the plans slightly to exclude the long support board along the bottom of the bench and found that the bench is still very sturdy and stable. I love that this bench is a relatively easy and quick to complete project, with such a gorgeous end product!

Built from Plan(s)
Estimated Cost
$25
Estimated Time Investment
Afternoon Project (3-6 Hours)
Finish Used
I used Minwax brand stain in Provincial for the color and finished it with Varathane brand varnish in a matte finish.
Recommended Skill Level
Intermediate

Baby Valet for a baby on the go

Submitted by blasiansky on Sat, 04/20/2019 - 09:34

Made it for a friend who will be on the go with her new baby.  I included screw hooks to either hang bags or separate. Tray & box are removable also. Bottoms are chalkboard paint. She wanted to paint it so i will stop here.

Built from Plan(s)
Estimated Cost
$25
Estimated Time Investment
An Hour or Two (0-2 Hours)
Recommended Skill Level
Beginner

Modified Dollhouse

Submitted by Anonymous (not verified) on Fri, 02/24/2023 - 07:06

A few years ago for Christmas, I modified the dream dollhouse plans by splitting it in half, putting it on wheels, adding hinges and a hook and eye catch to lock it closed. My nieces were able to move it themselves, play side by side, or be on their own side of the house. And if they want, they can separate the two pieces and use them individually or as bookcases down the road. Also, I painted it to match their home. 5 years later the dollhouse has withstood the test of 3 rambunctious girls and they still love it.

Comments

Lemonade Stand

Submitted by ckwarr on Thu, 10/24/2013 - 11:45

A 1x16 was used for the top and sides to give it a little more depth.
We cut the sides at 29" tall so that it is just under 30" high and can be used with a regular chair.
The shelves are 1x6's since we made it a little deeper.
The banner posts are 1x2's that are 6' tall.
Beadboard and some extra trim were also used.

Estimated Time Investment
Day Project (6-9 Hours)
Finish Used
White semi-glass paint
Recommended Skill Level
Beginner

Rustic Headboard

Submitted by beingbrook on Wed, 11/09/2011 - 08:26

Rustic headboard built in an afternoon. Total cost was only $35!

Estimated Cost
$40-60
Estimated Time Investment
Afternoon Project (3-6 Hours)
Finish Used
Oxidized the wood using tea followed by steel wool/vinegar mix. Finished with Annie Sloan clear wax. A detailed explanation can be found at my blog: http://beingbrook.com/rustic-headboard-aged-wood/
Recommended Skill Level
Starter Project

Comments

scott56

Wed, 11/09/2011 - 12:46

I thought the 56 in headboard was a little excessive. So I cut it down a foot. If you decide to do this take 6 inches off the top and the bottom so it looks portionally correct. Another thing I did that was not mentioned in the what I have read so far was use kregs joints to connect the inner panel. If you build it from the back you will not see any joints except the top ones on the foot board. I patched them with that elmers patch stuff and are no longer visible. Minus all the sanding I built two beds in a half day.

Ava-Drew

Wed, 11/09/2011 - 15:52

I was thinking of doing this headboard for the farmhouse storage bed. Did you use 4x4s or build the legs the way they are in the plan? I have several 3x3s for legs that I was planing on using with the kreg. How easy was it to get the boards lined up with the kreg?

Guest (not verified)

Tue, 11/15/2011 - 10:34

how much did you sand this headboard?

thanks

Brook@BeingBrook (not verified)

Tue, 11/15/2011 - 10:39

We sanded the boards before building since we got the cheapest grade of lumber they had. I also sanded it about 10 minutes after I removed all the paint stripper.

Brook@BeingBrook (not verified)

Tue, 11/15/2011 - 11:51

No just used a power sander. Was going for a rustic wood look so didn't worry about the sanding being perfect. Just wanted it smooth enough not to snag anything.

Mario (not verified)

Wed, 06/06/2012 - 12:37

Congratulations !!! and thanks for inspiring us by posting these photos of a terrific job!

I was just wondering..how did you manage to get the perfect light brown - chocolate tint shown on these photos??

I've followed the process described (oxidized the wood using tea followed by steel wool/vinegar mix) to the point. However, the result is grey tinted. even tried applying the process to different types of wood and applying less mix..even sanding it after the project dried and applying the clear wax..Same GREY result..

Please help!!

Brook @ BeingBrook (not verified)

Wed, 06/06/2012 - 13:26

Different woods will give a different finish. This project turned out a little browner than the other times I've used the tea/vinegar treatment. Probably because it was previously painted and then stripped. You can also buy dark wax that will help change the color. You might try finding a stain that is the color that you want and staining your project. Good luck!

Ante

Wed, 07/10/2013 - 12:53

where does the white come from in your wood. did you strip pre primed pine then tea and oxidation? thanks,ante

Hall tree

Submitted by Brad Wills on Sat, 10/26/2013 - 14:13

We had a table in the entryway that seemed to catch everything, bags, mail, etc. so when I found the Mimi hall tree I had to build it. This was my second build, so I was a little nervous. I wanted to paint it white , but my wife talked me out of it. I am so glad she did. Fun build, and now we have a place for all the stuff when we get home every evening.

Built from Plan(s)
Estimated Cost
75.00
Estimated Time Investment
Weekend Project (10-20 Hours)
Finish Used
Valspar Kona stain, Martha Stewart Baha bliss (2.49 sent small sample can) valspar polycrylic 3 coats on tops and 2 on the rest.
Recommended Skill Level
Beginner

Comments

Farmhouse Toybox

Submitted by Anonymous (not verified) on Fri, 03/10/2023 - 05:56

I've wanted to build a toybox for our daughter as soon as she was born, and Ana's plan was my favorite. It took a couple of years to finally get the supplies and start building it, and I was able to build it last year. I used recycled wood (I believe it's pine) I had and used a couple of nice pieces of oak for the top. I ran into a few snags with the box itself, with the wood splitting easily in some spots (used a lot of wood filler!), but was able to get it looking the way I wanted keeping a distressed look . I rounded out the corners of the top by hand with a rasp plane and sandpaper. The box was lightly painted with Annie Sloan Chalk Pain (Antoinette/Pink) and finished with Annie Sloan Clear Wax. The top was finished with three coats of linseed oil (24 hours between coats). The slow closing hinge was found on Amazon after a long time spent searching; I ended up using just one which works great. I'm very happy with the end product and my 3-year old daughter loves it! I was very pleased with how simple the plan was to follow, thank you Ana!

Built from Plan(s)

Comments

Flip Top Coffee Table

Submitted by angiemicn on Wed, 11/23/2011 - 01:11

Needed a sturdy coffee table and this plan was perfect. Doubles as a bench, extra storage in the hidden cubby underneath the flip top, holds football fiesta platters, beers, and when the parties not in full swing, I'm using as a sewing table as well. Love it. Used my Kreg jig for entire assembly so super sturdy and easy too. Modifications: 1x6 Pine boards, jigged together. love the look of pine and after assembly, meticulously sanded so feels like one piece of wood. Used the hidden hinges. Bottom shelf I made out of leftover 1x4's, to match the top. width is 36 inches. Had to fit in a tiny living room. Did add support to the bottom shelf, 2 1x2's under the 1x4's....my dog has already crawled onto the shelf.

Estimated Cost
free used leftover scraps
Estimated Time Investment
Weekend Project (10-20 Hours)
Finish Used
Varathane Natural finish for top and shelf.
Kilz white primer 2 coats, and Behr Ultra White for legs and apron.
Recommended Skill Level
Intermediate

Comments

angiemicn

Sun, 02/05/2012 - 02:36

thank you so much! Glad you liked it, I love the contrast too!
Since it's essentially a holder for hubby's beer and snacks this kind of top can take a lot of abuse and still look great

Victoria Marie (not verified)

Tue, 02/21/2012 - 18:57

I love the look of this augmented plan. The 1x6 boards looks super sleek.

Can I ask you a question? I'm building this bench as my very first building project, and so far it is quite wobbly. I attached the shelves with one pocket hole in each corner through the shelf piece. You mentioned that yours is super sturdy. How did you attach the shelves?

Thanks! - Victoria

angiemicn

Wed, 02/22/2012 - 22:57

Victoria,
I made each side as a frame, looked like 2 rectangles and 2 squares. Those were both kregged together...then I put those frames, front, back and 2 sides together kregging those together. The shelves are all kregged in too. I don't know if that helps or not. I've used mine for extra seating.
good luck, angie

Rustic X end table

I love this site. We needed new furniture in are house and didn't want to spend a bunch of money. Finding the Rustic x plans was a life saver.

Built from Plan(s)
Estimated Cost
$80
Estimated Time Investment
Weekend Project (10-20 Hours)
Finish Used
White paint and kona stain.
Recommended Skill Level
Beginner

Tweeked

Submitted by Anonymous (not verified) on Wed, 01/13/2016 - 17:51

Few tweeks such as router work, finish, and forged corner braces.  

Recommended Skill Level
Intermediate

Loft Beds

Submitted by Anonymous (not verified) on Fri, 03/17/2023 - 15:08

I found these on a Pinterest post. I made them for my girls and they absolutely love them! A place to sleep and play. All the kids that come over ask their parents for one.
A little bedroom oasis for my little ladies. ☺️

Comments

Perfect!

Submitted by lbadger on Thu, 12/01/2011 - 06:59

I went round and round trying to figure out what type of shelving to install in our kitchen to go above a cabinet below that will be topped with a rough live edge pine slab (not yet completed). I stumbled across your industrial chic shelves post, found an old board laying around the yard and whalla! As always, thanks for this amazing site!!

Estimated Cost
n/a
Estimated Time Investment
An Hour or Two (0-2 Hours)
Finish Used
Cleaned up a bit, sanded down a bit and top coated with poly
Recommended Skill Level
Beginner

Comments

Young Mrs. (not verified)

Thu, 12/22/2011 - 12:44

Hi! Love how your shelves turned out. I was just wondering how much weight these shelves would hold. Looking at yours with plates on them, it seems like they hold quite a lot!

Did you use larger L-brackets or the same size that Ana used?

Thanks for posting your shelves!

Industrial Bookshelves

Submitted by Jodiah on Thu, 10/31/2013 - 14:20

It took a long time to compile all if the parts for these shelves. I searched the Internet for affordable cast iron castors. I ordered all of the black plumbing fixtures from a local hardware store. I bought 2, 16 foot 2x12's and cut them up, sanded them and stained them.

Estimated Cost
$250./ shelf
Estimated Time Investment
Weekend Project (10-20 Hours)
Finish Used
Min wax Early American stain, min wax Polycrylic protective finish.
Recommended Skill Level
Intermediate

Comments

Bunkbed

Submitted by Miles35 on Sun, 01/17/2016 - 12:17

I built this for my grandkids. It took me several weekends to complete to this point. I made a few changes from the original and still have the drawers to complete but overall its about finished.

Built from Plan(s)
Estimated Time Investment
Week Long Project (20 Hours or More)
Finish Used
Water based paint
Recommended Skill Level
Intermediate

Comments

CarrieLJP

Mon, 01/22/2018 - 10:41

I love how bright and vibrant you made this! It looks absolutely beautiful! I'm working on a bunk bed for my two young daughters now and I liked seeing how you tweaked the plans a bit- I'm doing something similar. Thanks for sharing!

3 Seat And Loveseat 2X4 Outdoor Couches

Submitted by jerryo on Mon, 06/03/2019 - 19:39

Used Redwood and Kona colored stain. This is my first wood project and Ana really inspired me in being able to complete this. Thank You Ana all the way from California! The Love Seat was easy to modify from the original 3 seat plan.

Estimated Time Investment
Weekend Project (10-20 Hours)
Finish Used
Rustoleum Kona
Recommended Skill Level
Beginner

Comments

jerryo

Thu, 06/06/2019 - 11:40

hard to believe, we found them on the Big Lots website...$40 a set back and cushion. We looked everywhere for an affordable option. These look great and are really comfortable..!thanks for the compliment : )

Jerry

Farmhouse Coffee Table

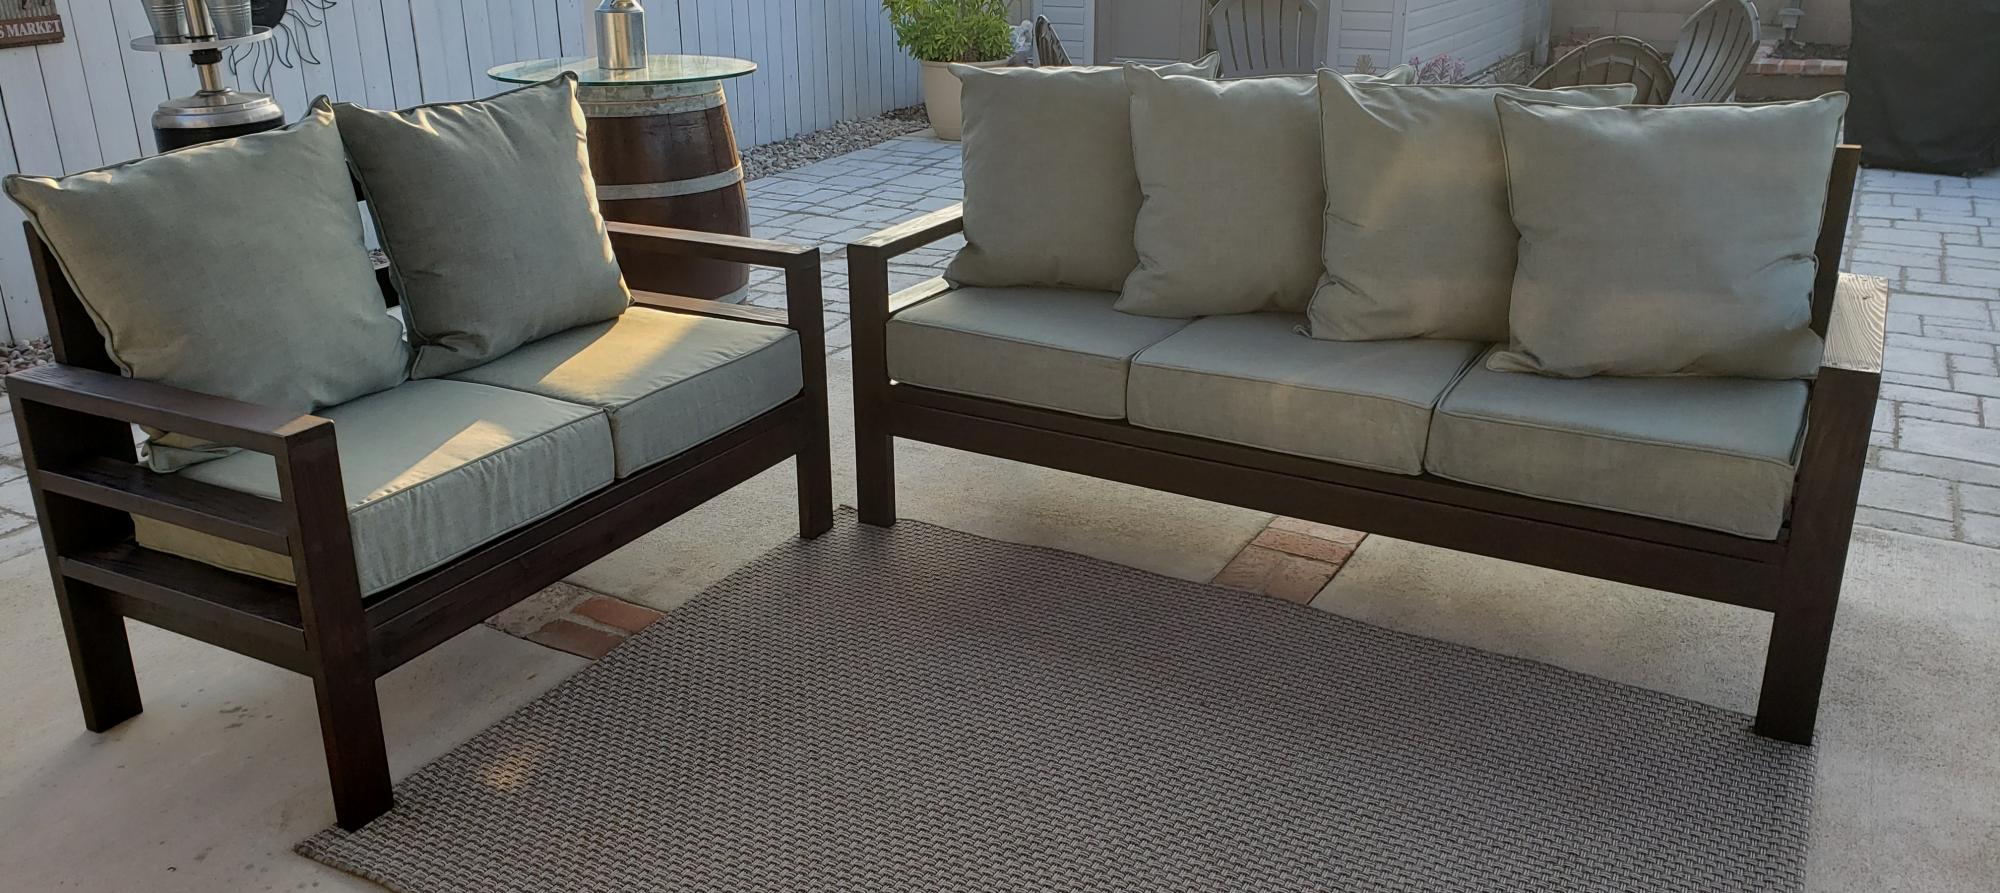
This was my first project and while I prepared to build it I had to endure some real negative forces coming from people who knew my building skills. But I was heart set on doing this and proving people wrong.

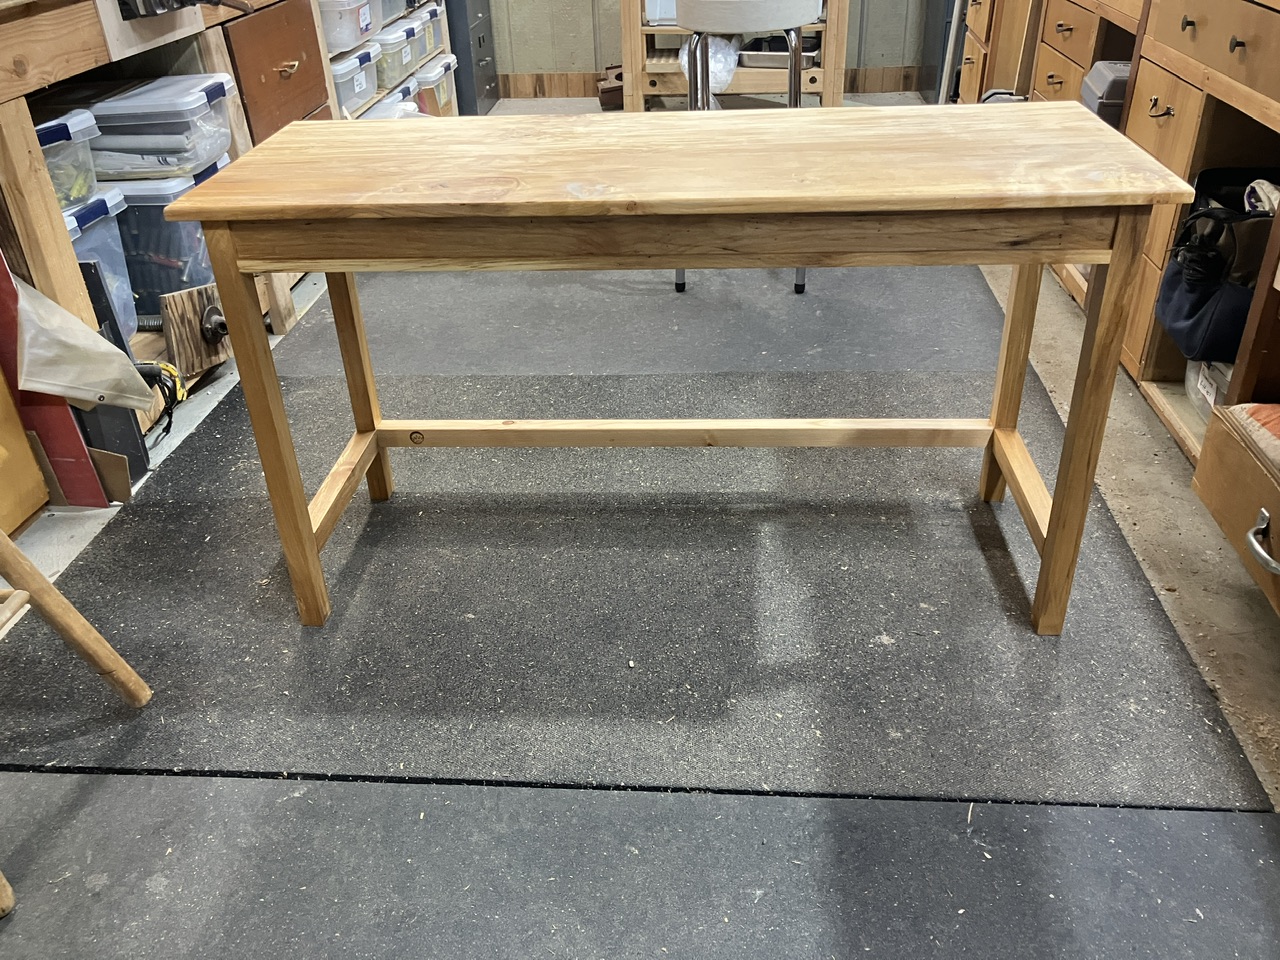
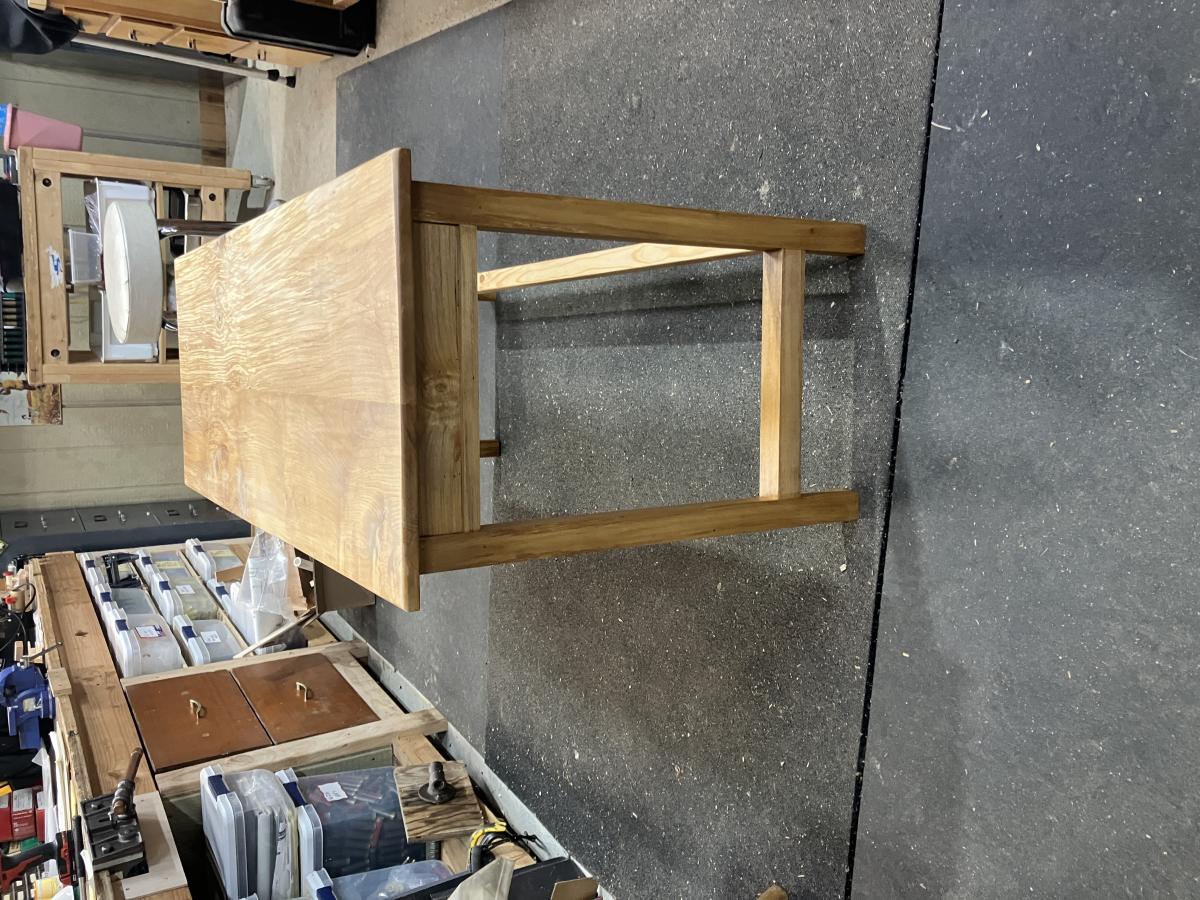
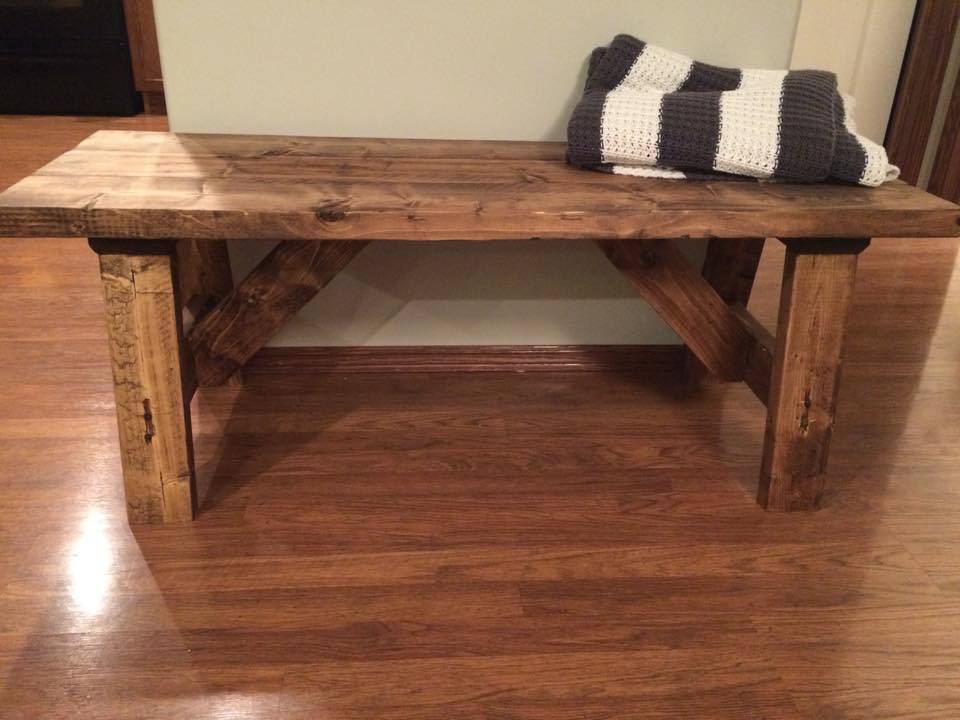
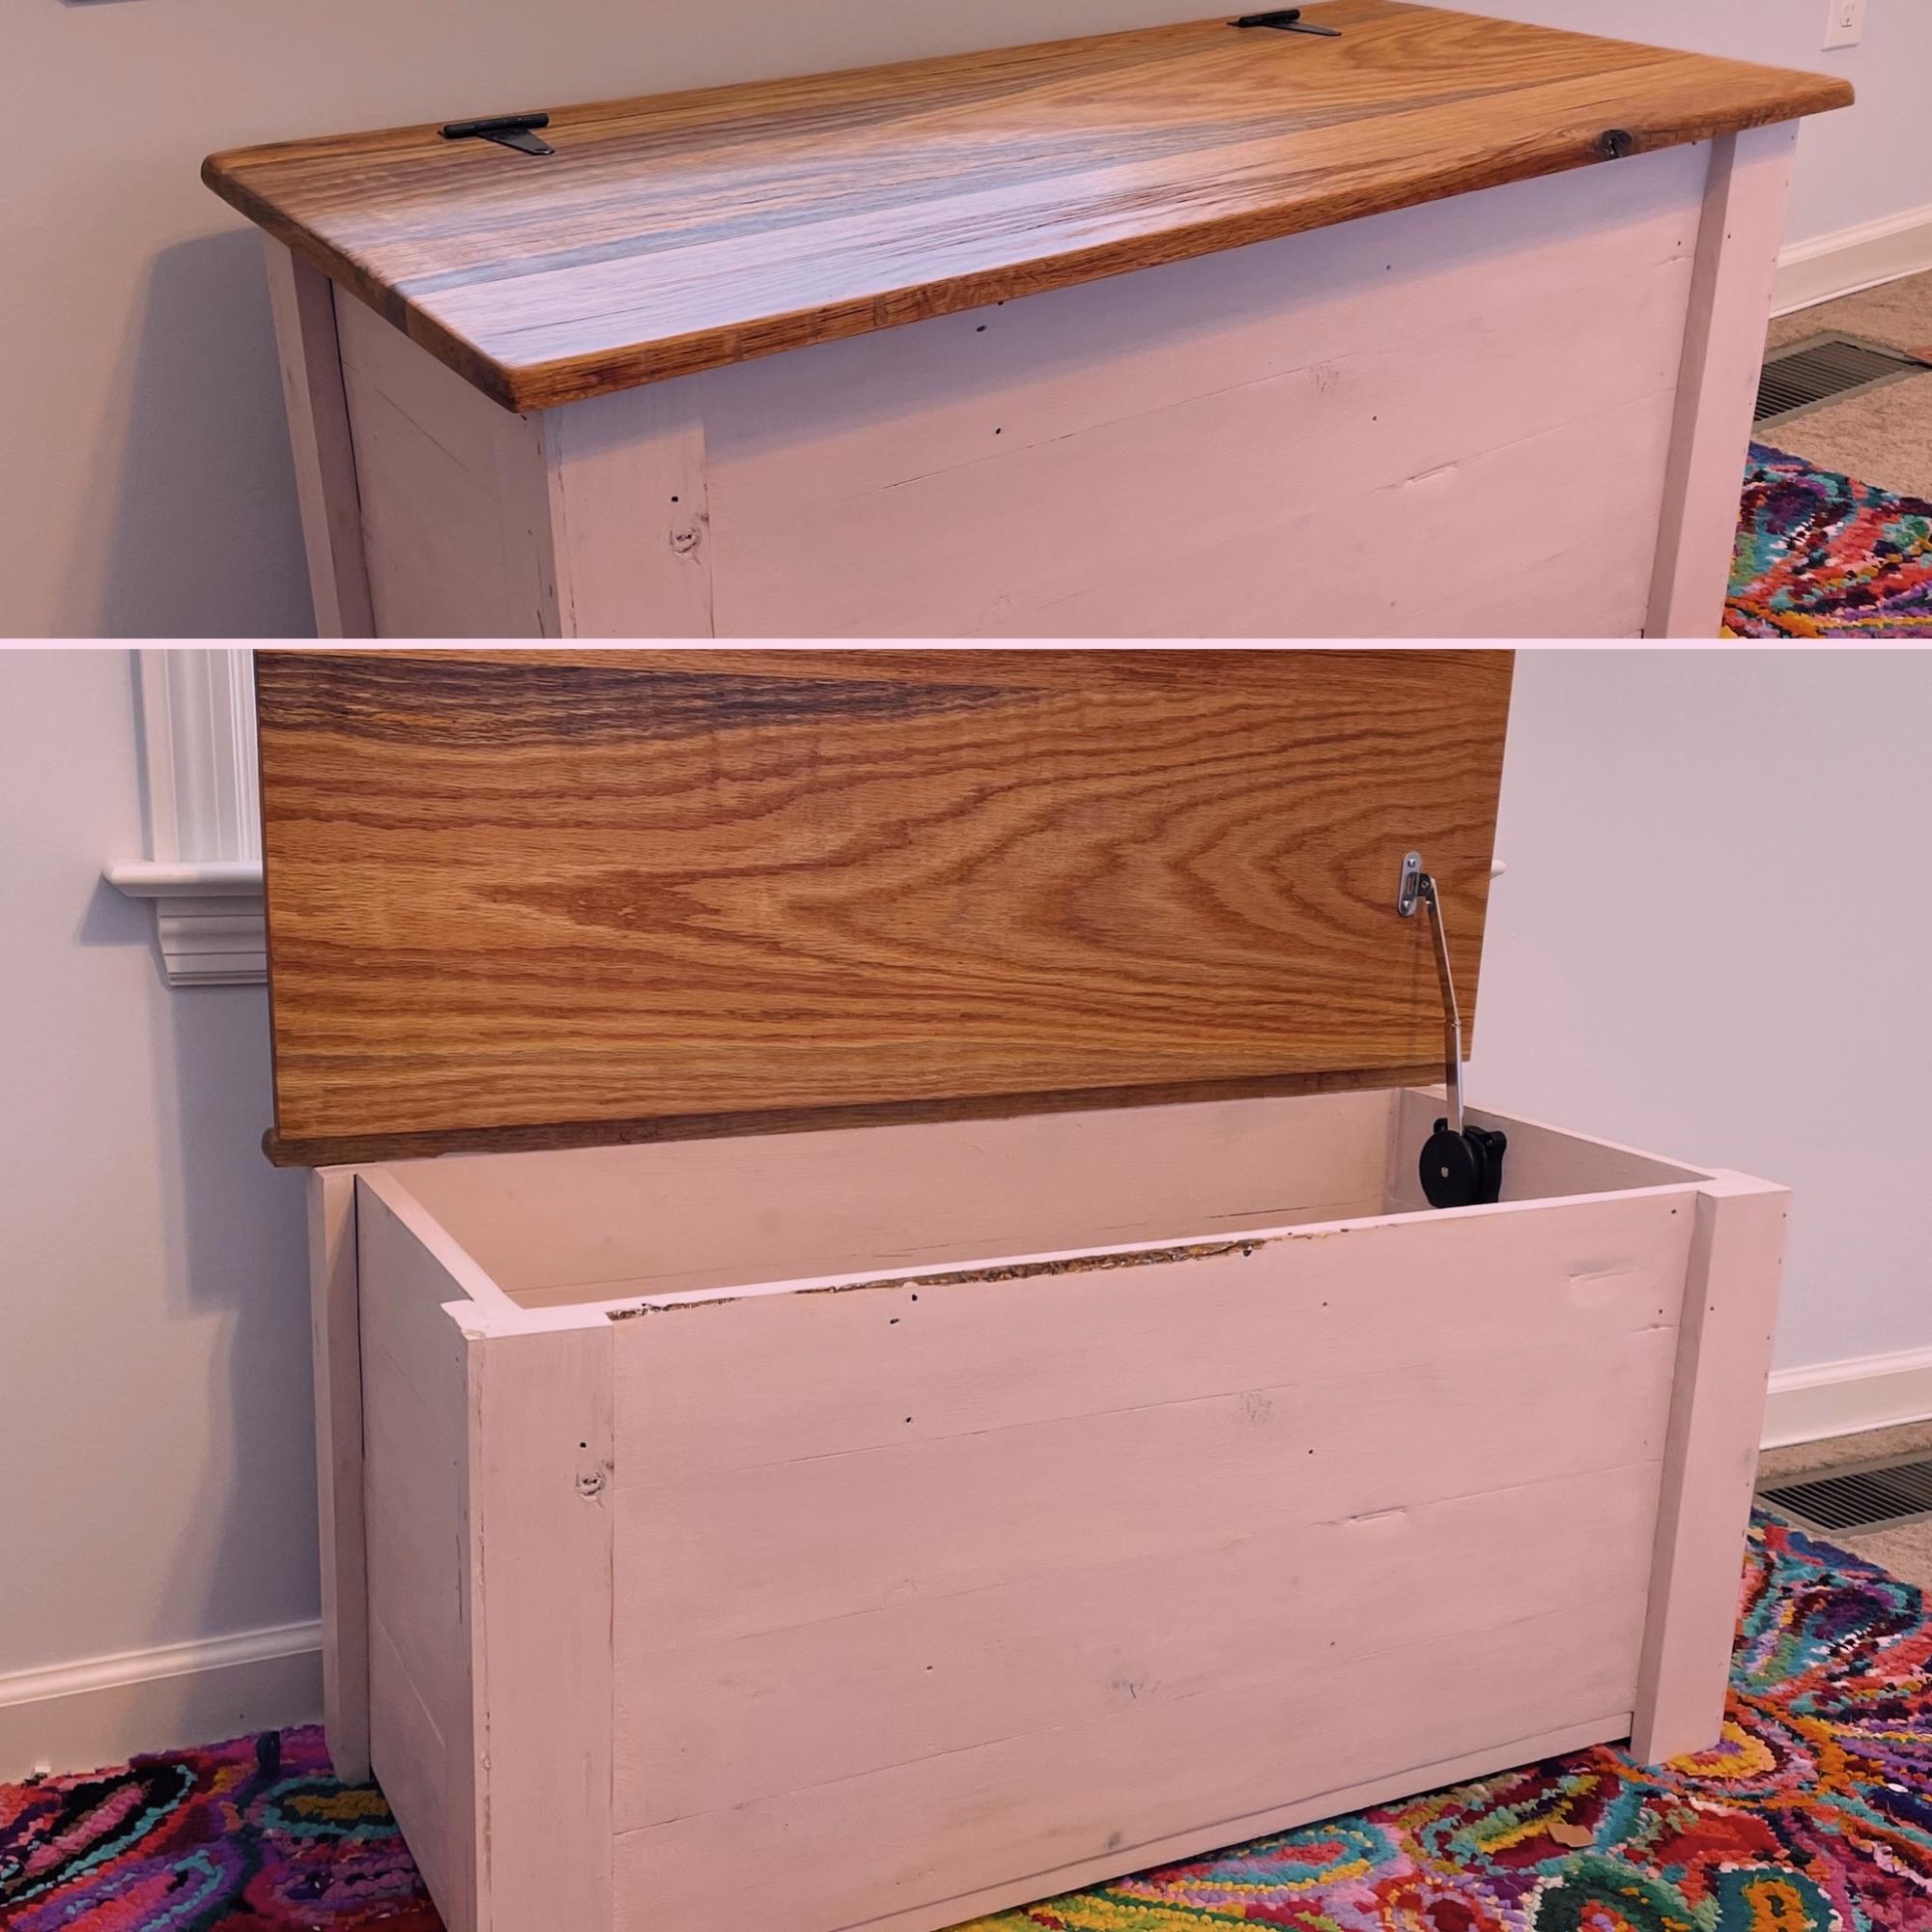
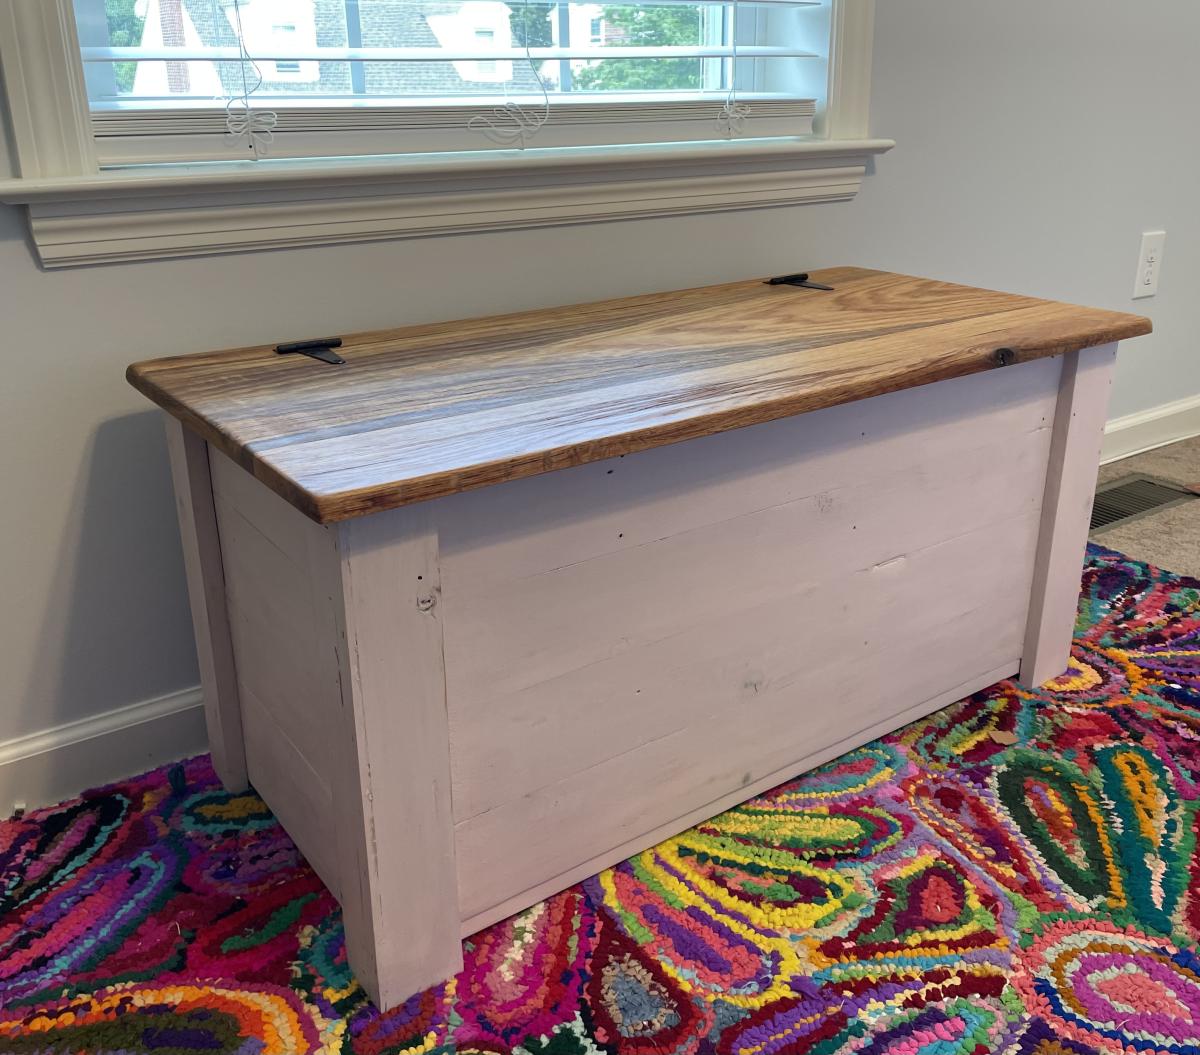
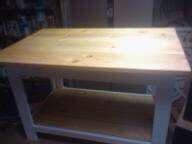
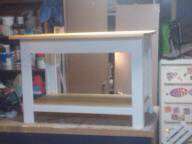
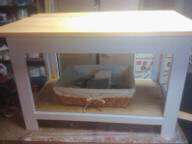
As you can see from the pictures I made some adjustments to the table as I did not want a square table rather a rectangle to fit perfectly in front of my sectional, LOL.

I could not believe how well it came out and how easy it was to build. Thank you Ana for this site as I know I would never have taken on this project without finding this site. Furniture building is something I always wanted to do and have as a hobby. I will NEVER purchase another piece of furniture from a store again!

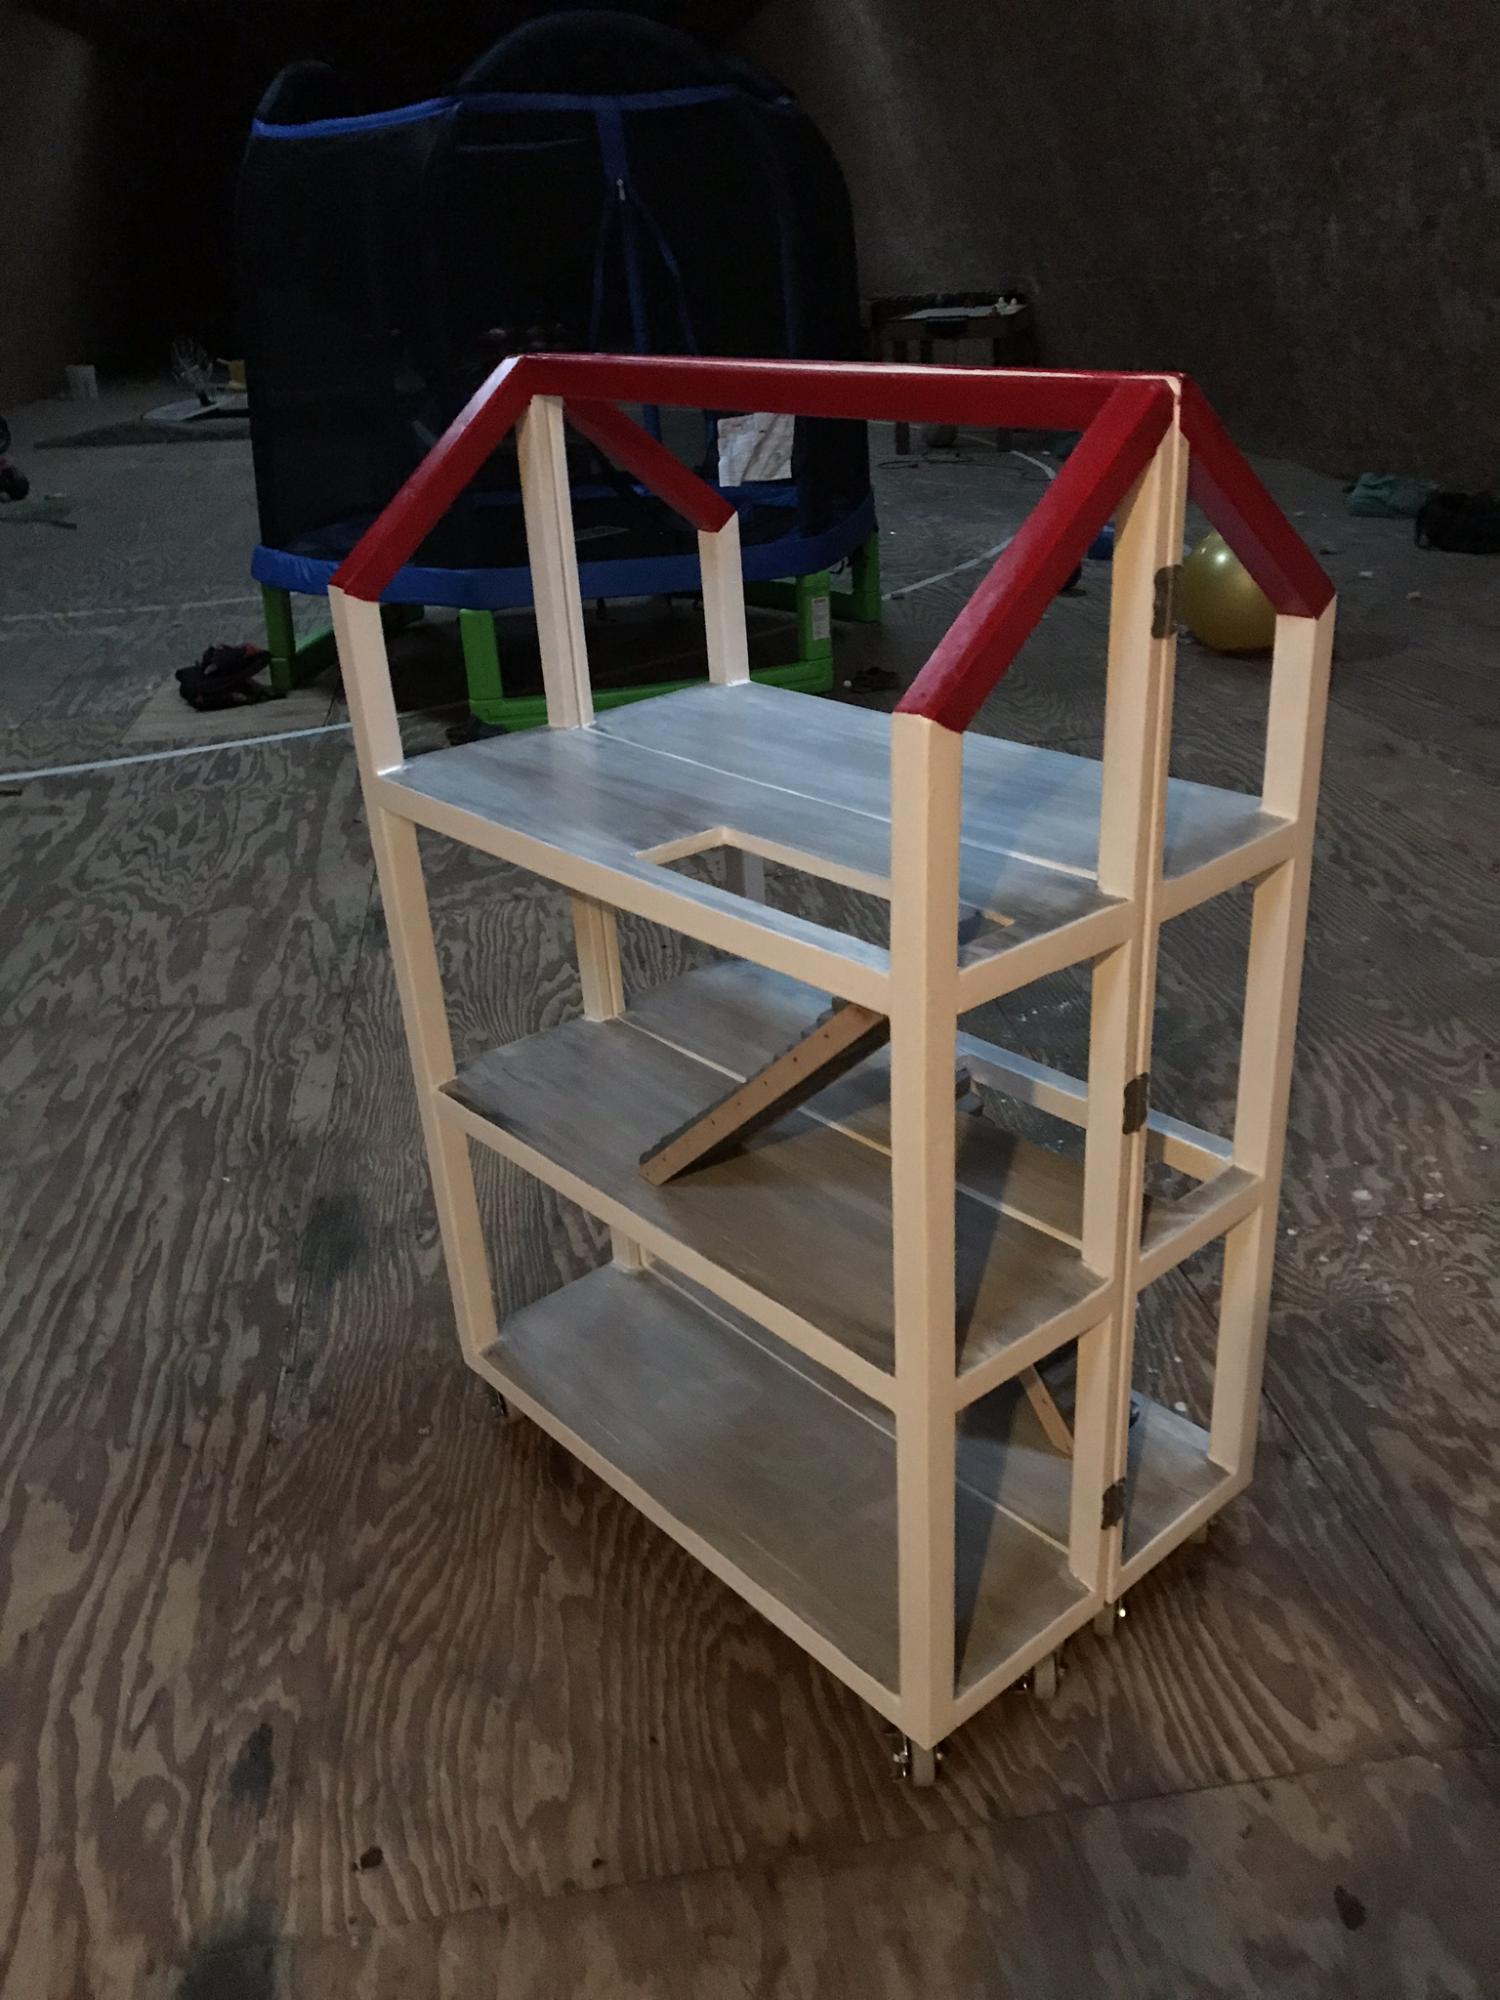
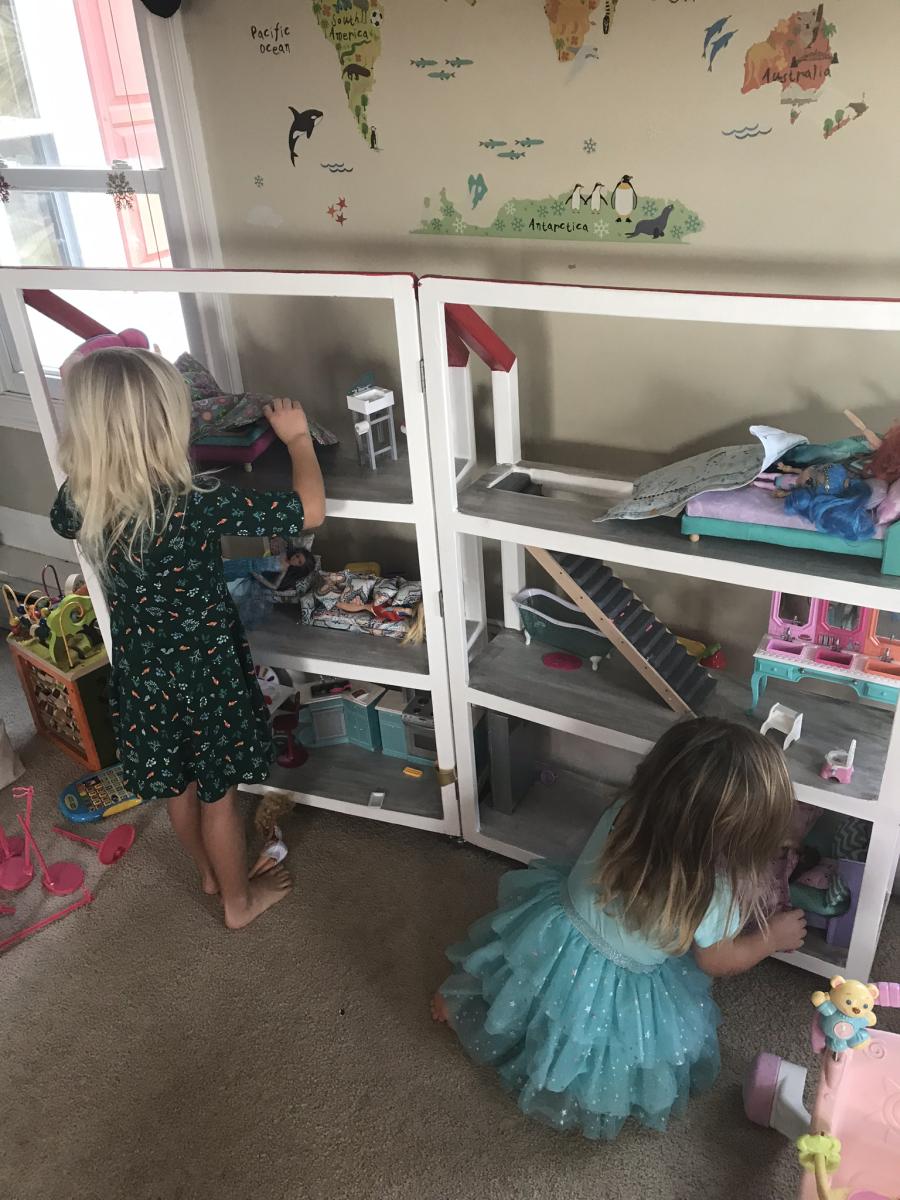
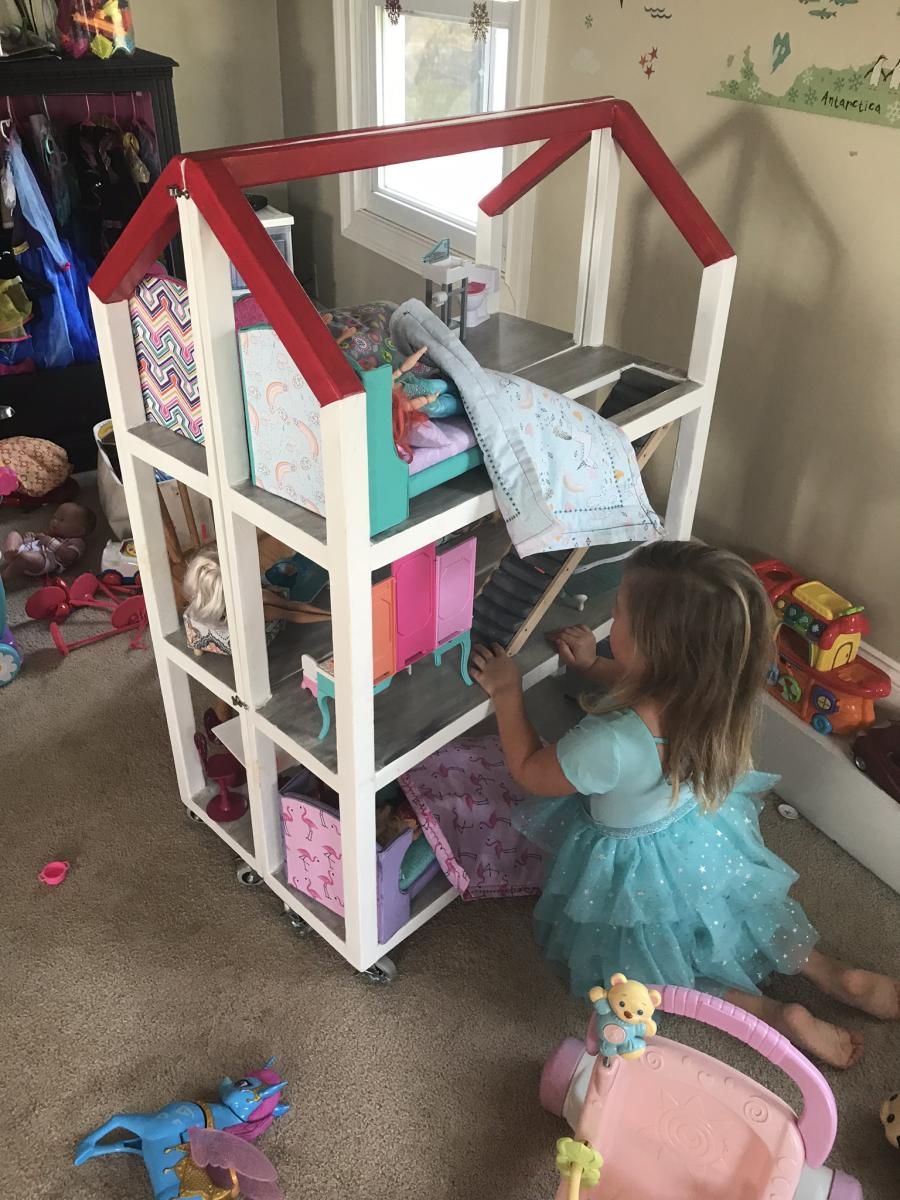
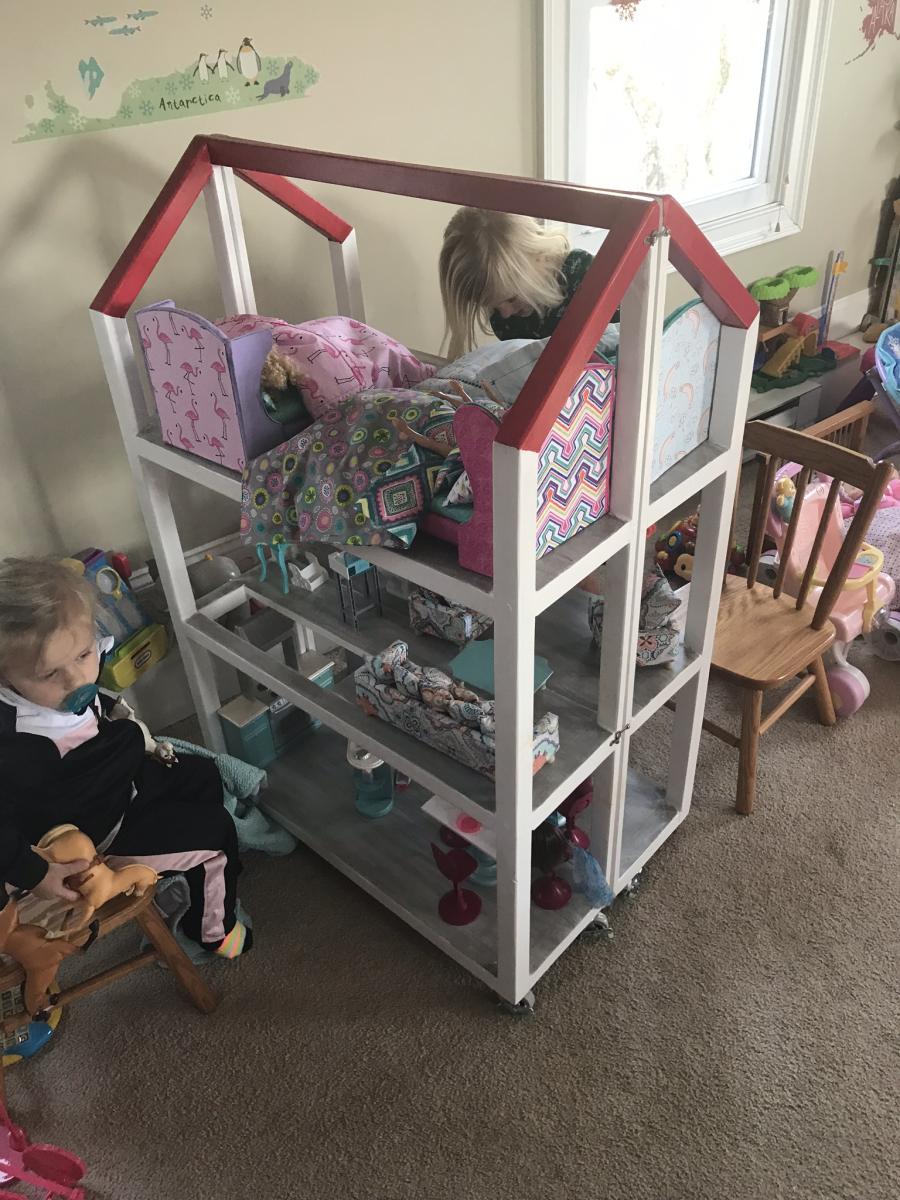
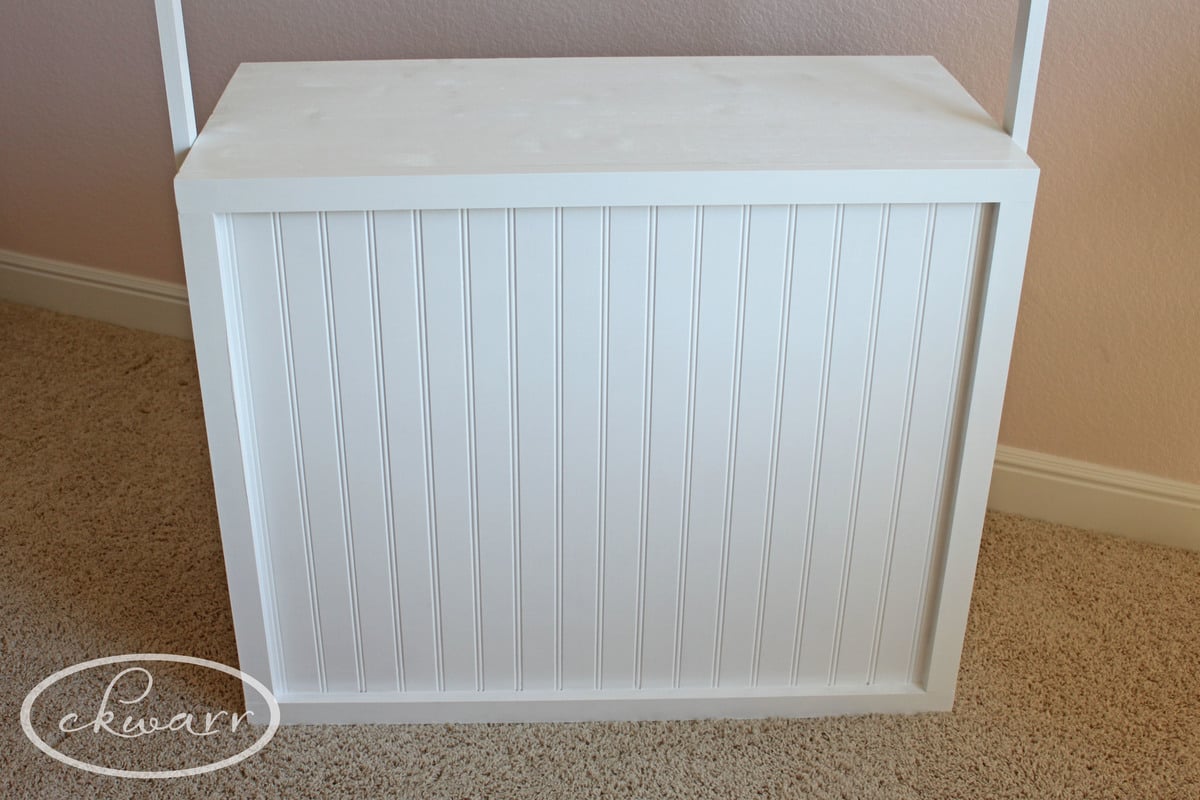
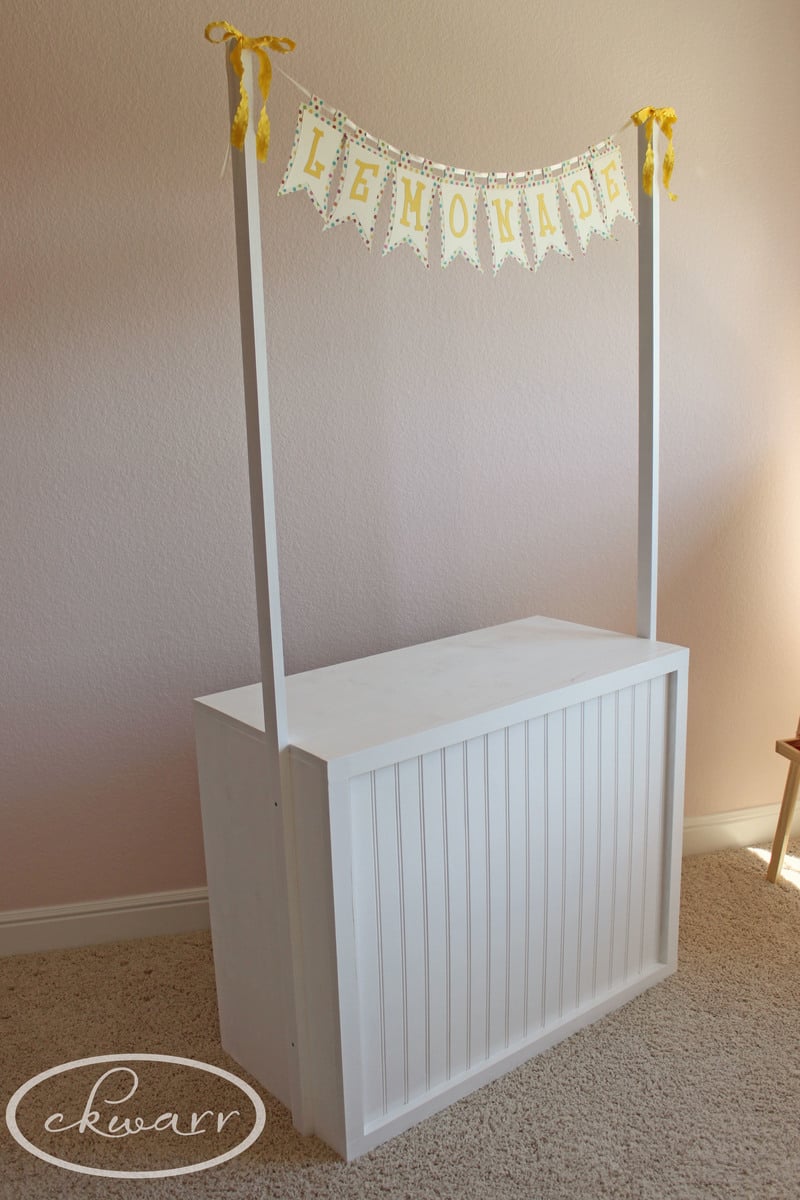
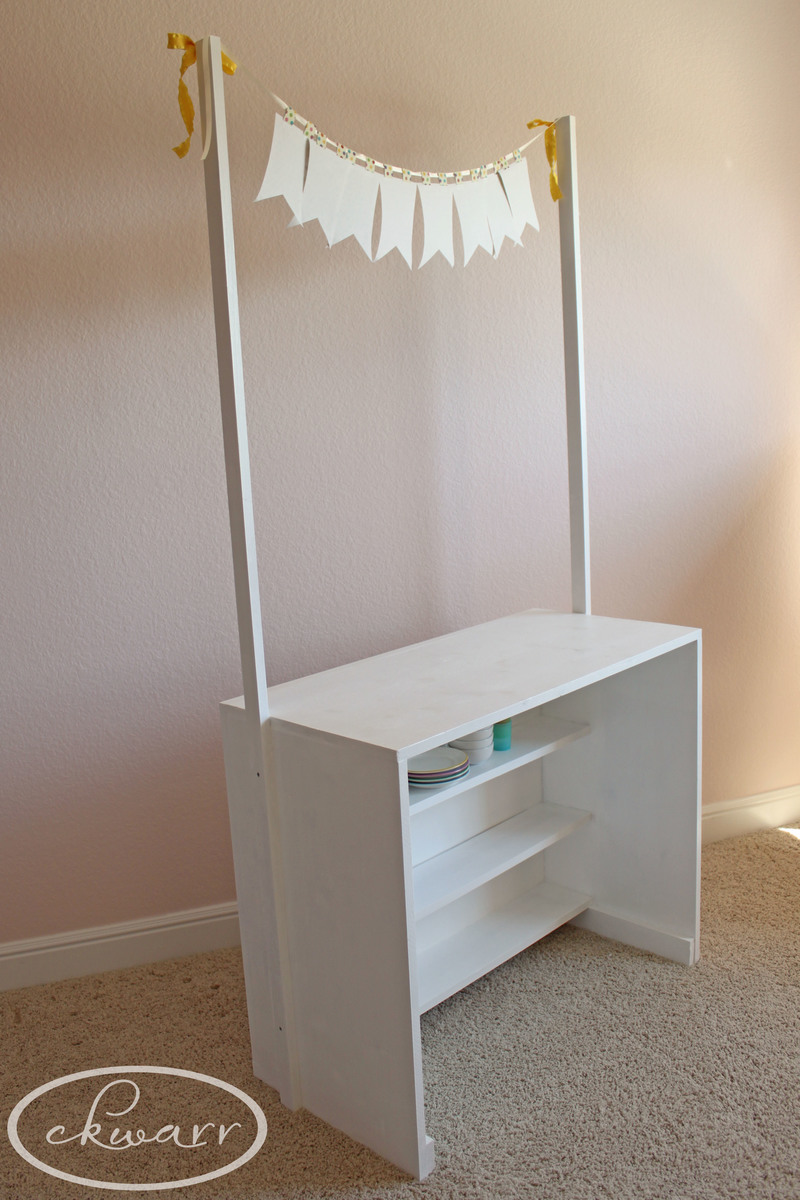
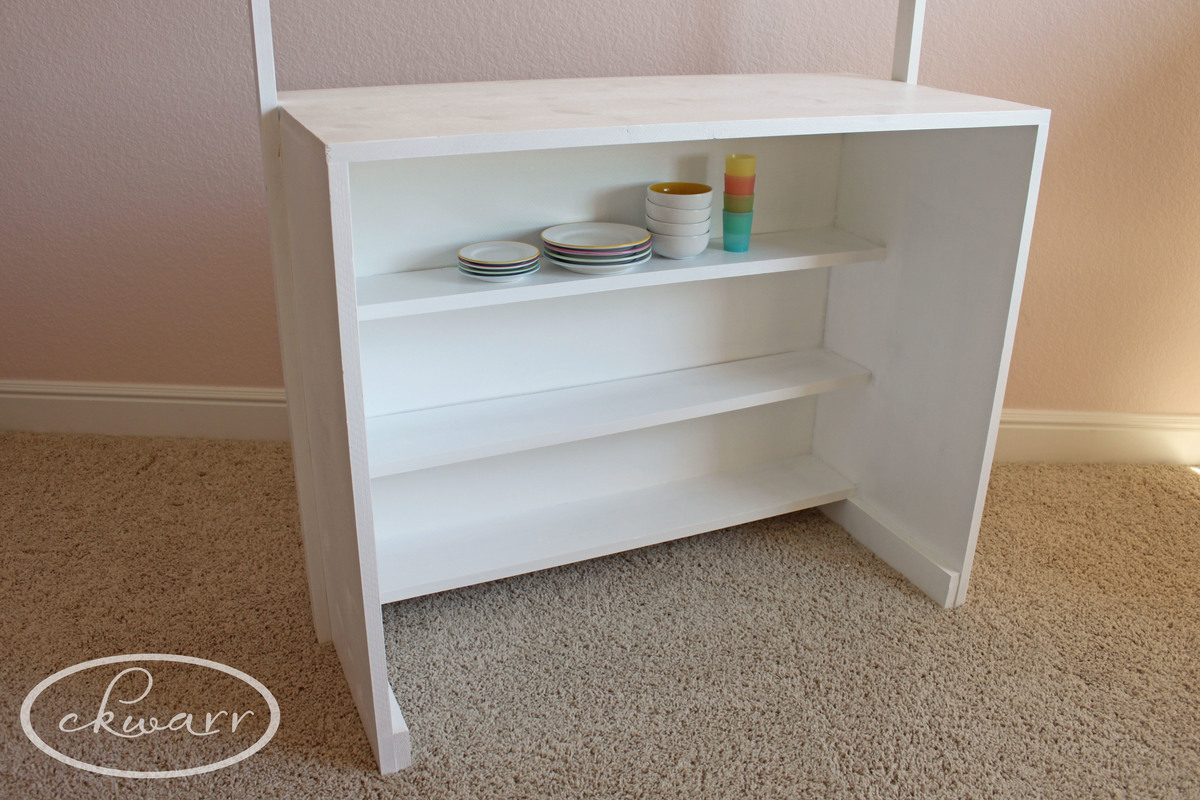
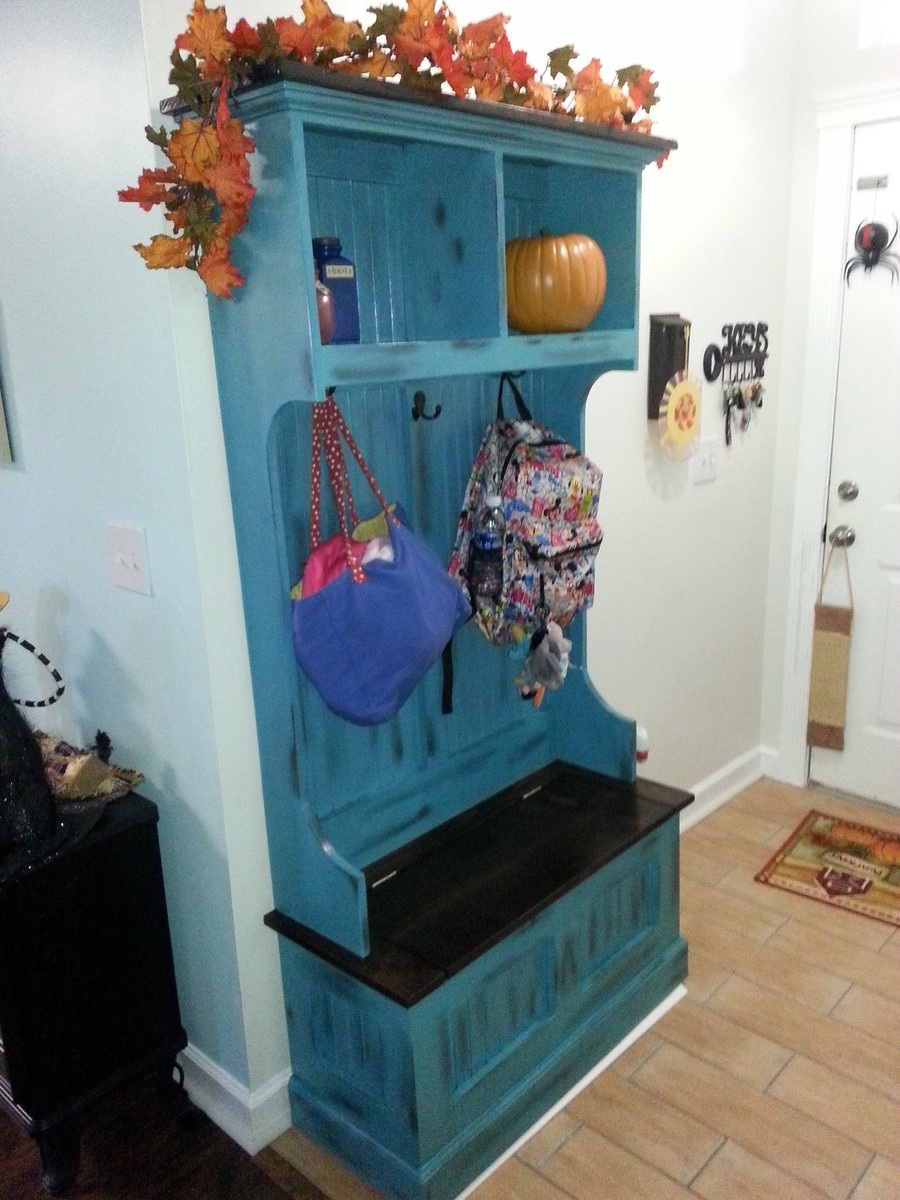
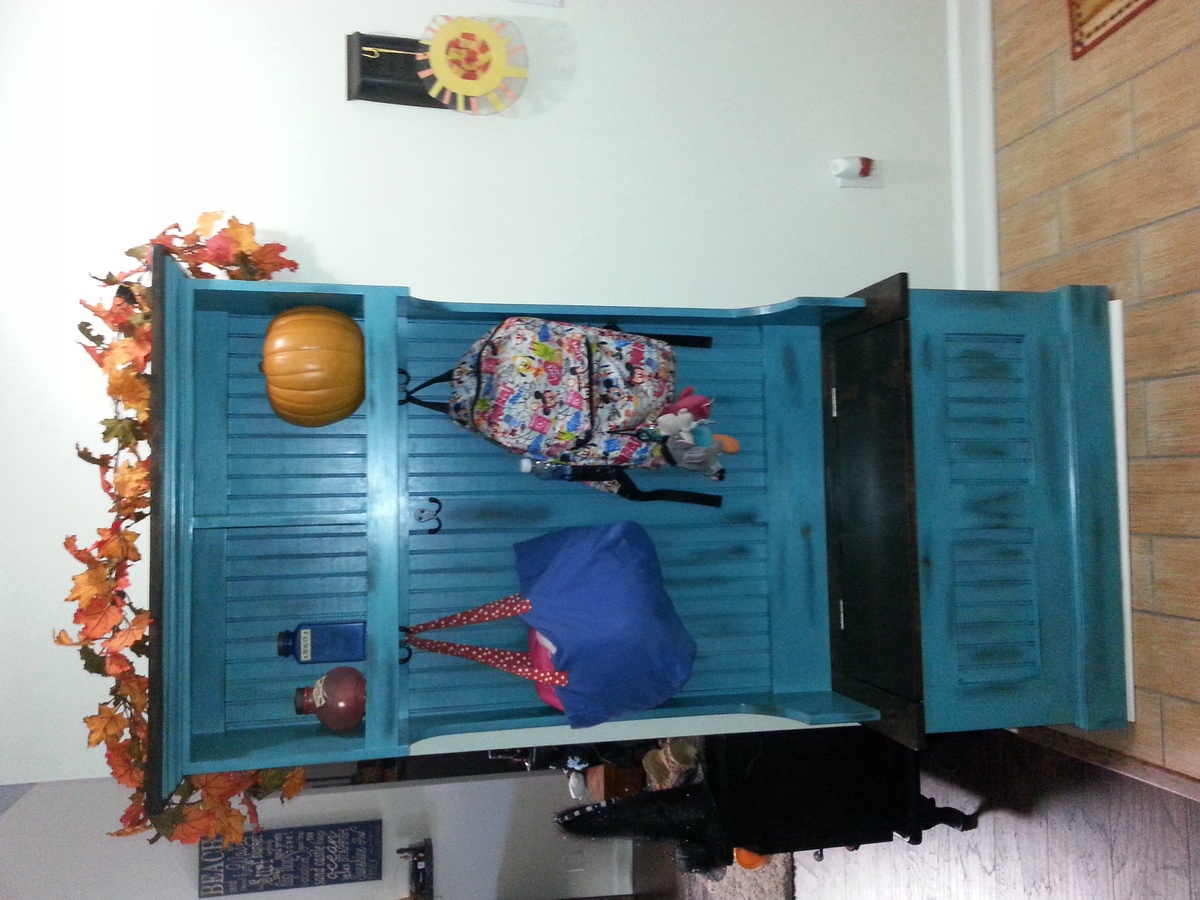
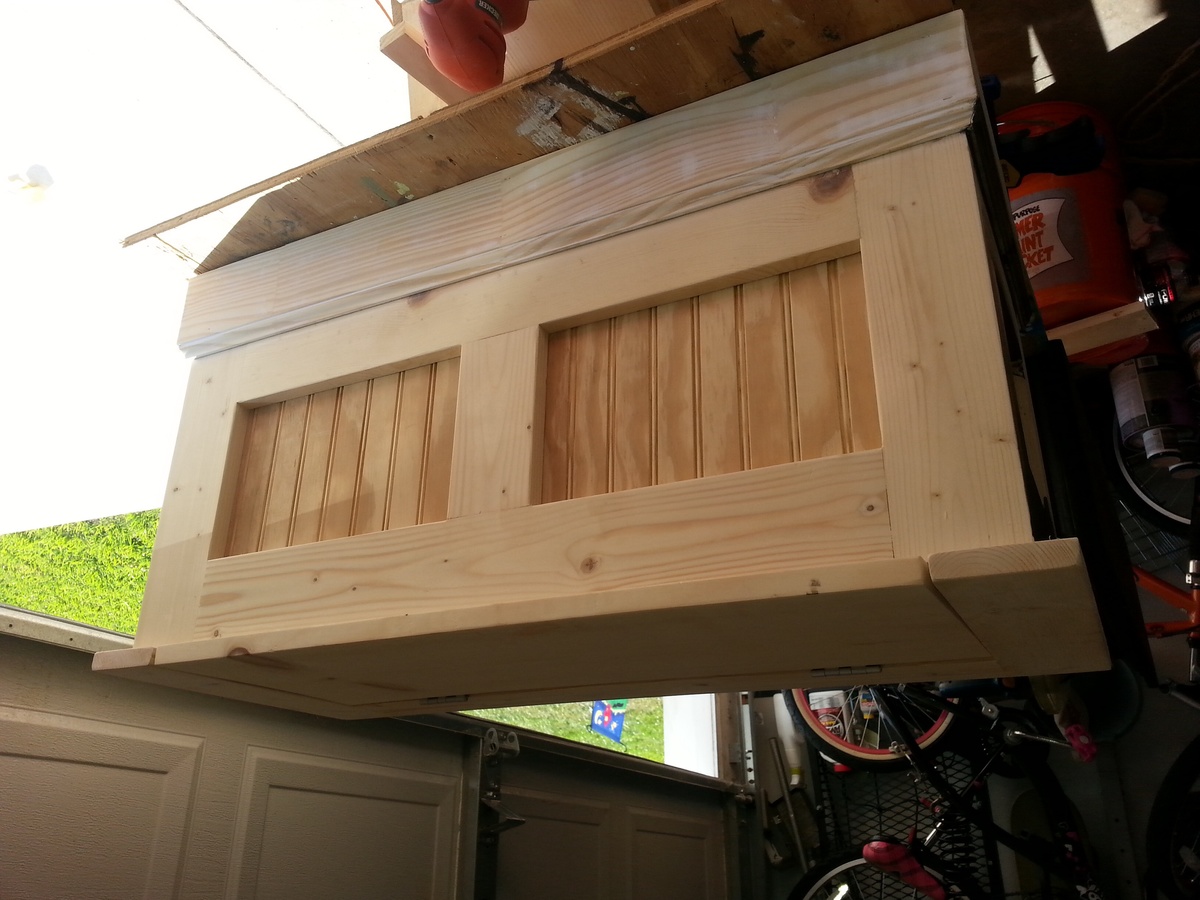
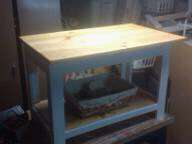
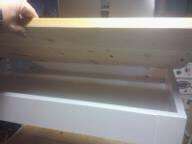
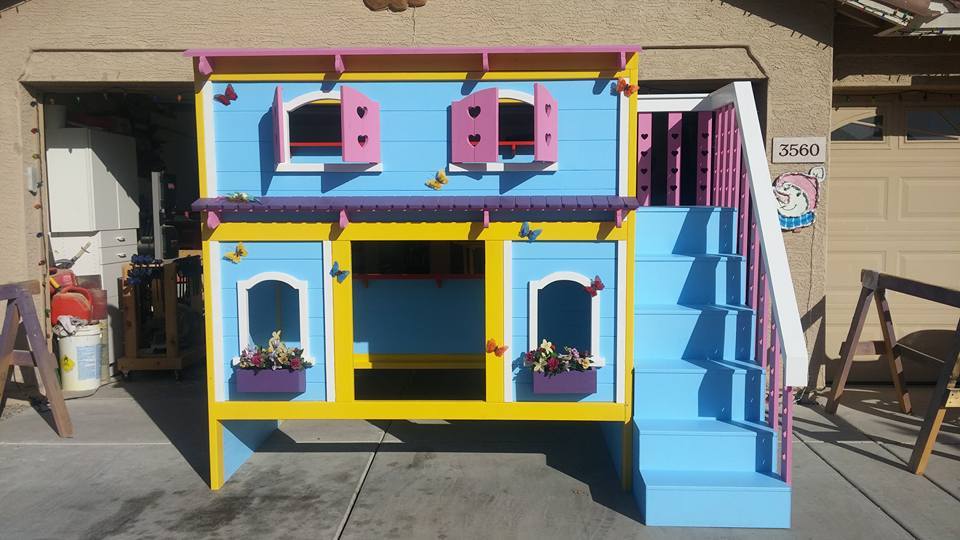
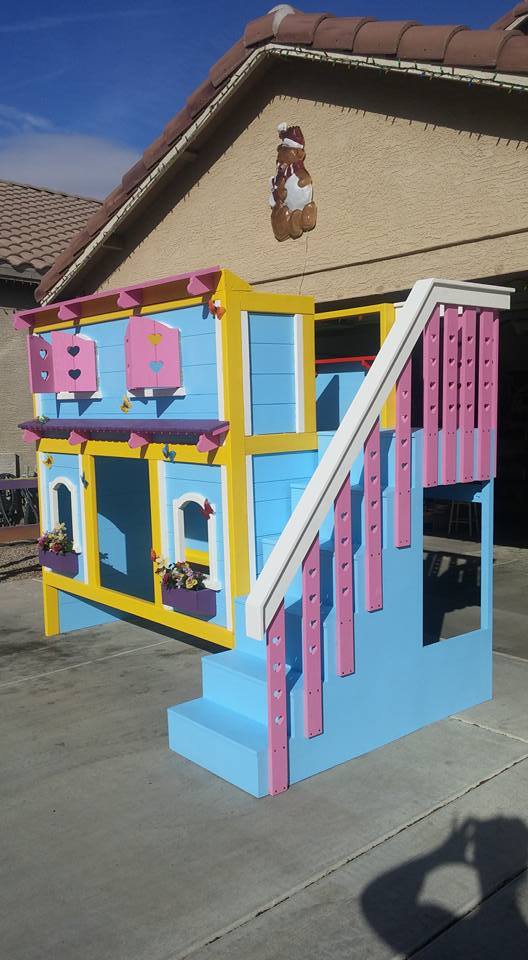
I have included a few pics to show the progress.

Estimated Time Investment
An Hour or Two (0-2 Hours)
Finish Used
Initially stained using Ebony minwax then painted over with Pottery Barn Blue (Van Courtland Blue). Then scuffed with sandpaper to give some distressing.
Recommended Skill Level
Beginner

Comments