kitchen Island
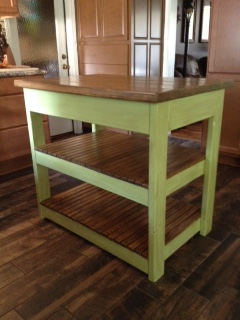
Saw this table and wanted to put it in my kitchen, looks great.

Saw this table and wanted to put it in my kitchen, looks great.
I built the table and bench with the plans on this site and it turned out great. My finace stained the top with a miniwax stain and spray painted the bases white and distressed them. Also applied polyurethane to the stained tops. Probably have $100 invested in this project.

We had too many disorganized coffee mugs and needed a better storage solution. I took a couple of old cassette (remember those?) storage crates, did a chevron style back from old pallet wood, added shelves from the former dividers, and added a lot of clear coat. It functions well for us and was completely upcycled materials.
by Kevin
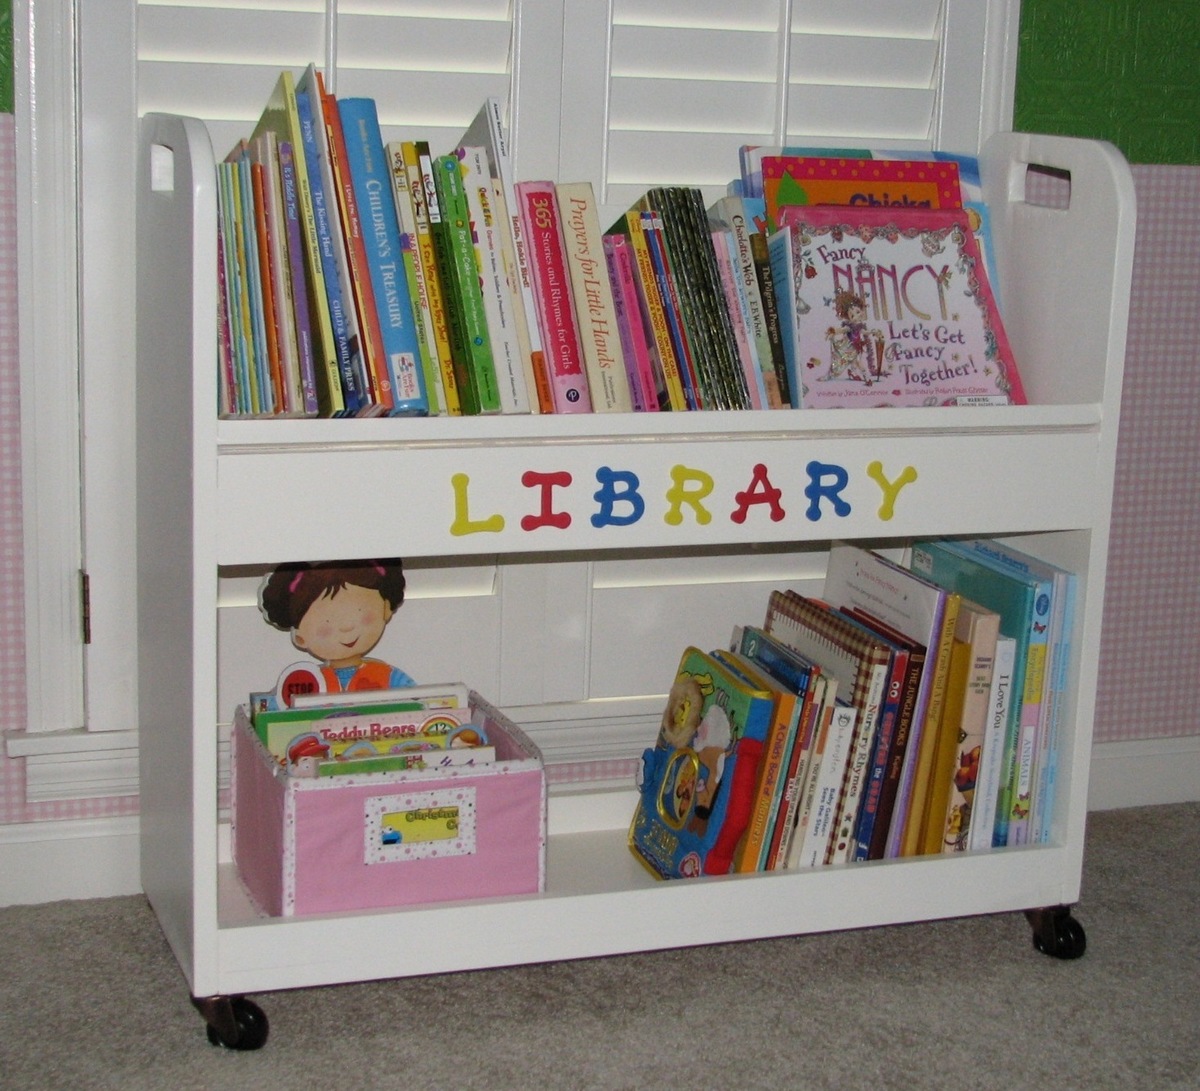
I built the library book cart to organize all my toddler and preschooler's books. What we were using just wasn't cutting it; the books end up being scattered everywhere. I love the idea of a pretend library cart (I used to work in one...), and the kids can feel like they have the library in their room! They're playing "library" as I type!
This was an easy build. I used 1 1/4" screws for the 2-in castor wheels for 3 out of 4 screws per castor where I had enough depth. I also used wood glue. For the 4th screw per castor, I used 1/2" screws. This was mainly due to being all I had on hand...not sure if it was correct. We'll see if the wheels hold up with the weight of all the books! Other than those changes, I followed Ana's plans.
Oh, and I managed to create handles without really knowing what I was doing! They turned out OK. I tried two different methods for each handle, but basically used a drill, chisel, and jigsaw and then sanded, sanded, sanded after I made the cut. I think I can do better next time!
Mon, 06/27/2011 - 09:13
Your library cart looks great! Good Job. My daughter loves playing with hers too, and the best part is how easy they are to put away :)
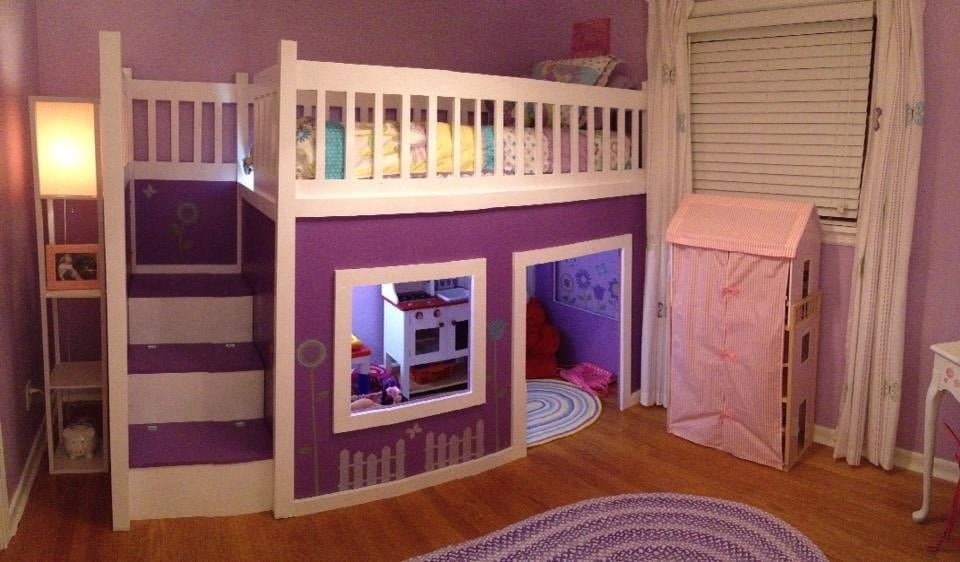
When I saw this bed plan, I knew it was a must have for my 4-yr old daughter. It was a fairly easy build as long as you have the right tools (ie Kreg Jig). Due to the size of the finished product, I built the 5 sides out in the garage, put one coat of paint on everything, and then carried them into the bedroom for assembly. I then put on a second coat of paint. Needless to say painting this bed was tedious, and if I had to do things over, I would consider a power sprayer and at least priming the entire thing before final assembly. I went with the toy boxes in the steps per Ana's plan and it is perfect for all of my daughter's "babies". We found some wall stickers at Target that fit our theme perfectly and added them to the bed. She loves it!! Thanks Ana for the plans!
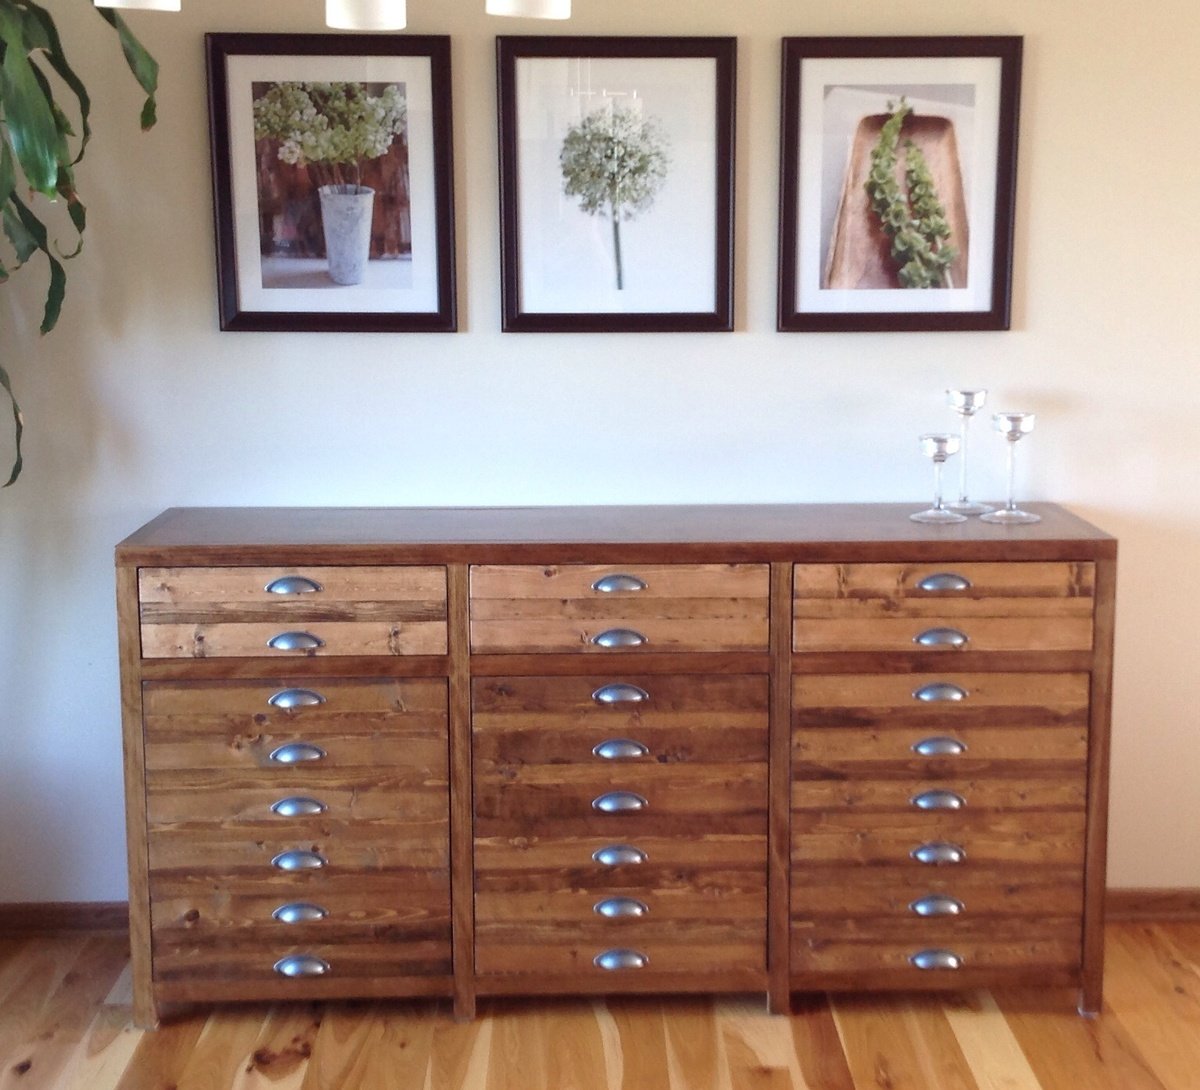
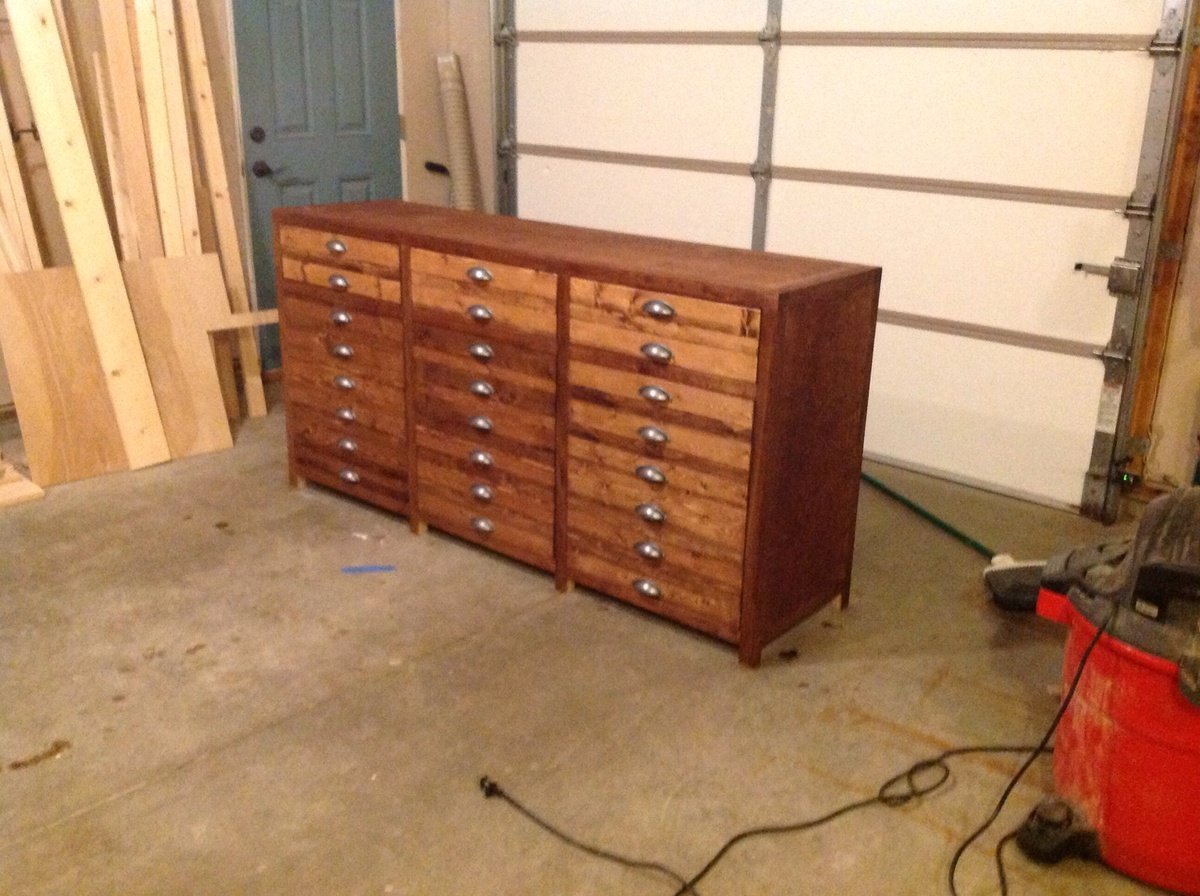
This was such a fun build! First time working with plywood - definitely won't be the last. Really love how it came out.
Wed, 08/26/2015 - 20:56
this looks gorgeous! Where did you purchase your drawer pulls? I started this project in November and I hope to finish it before the summer is up! (heh I'm such a procrastinator!)
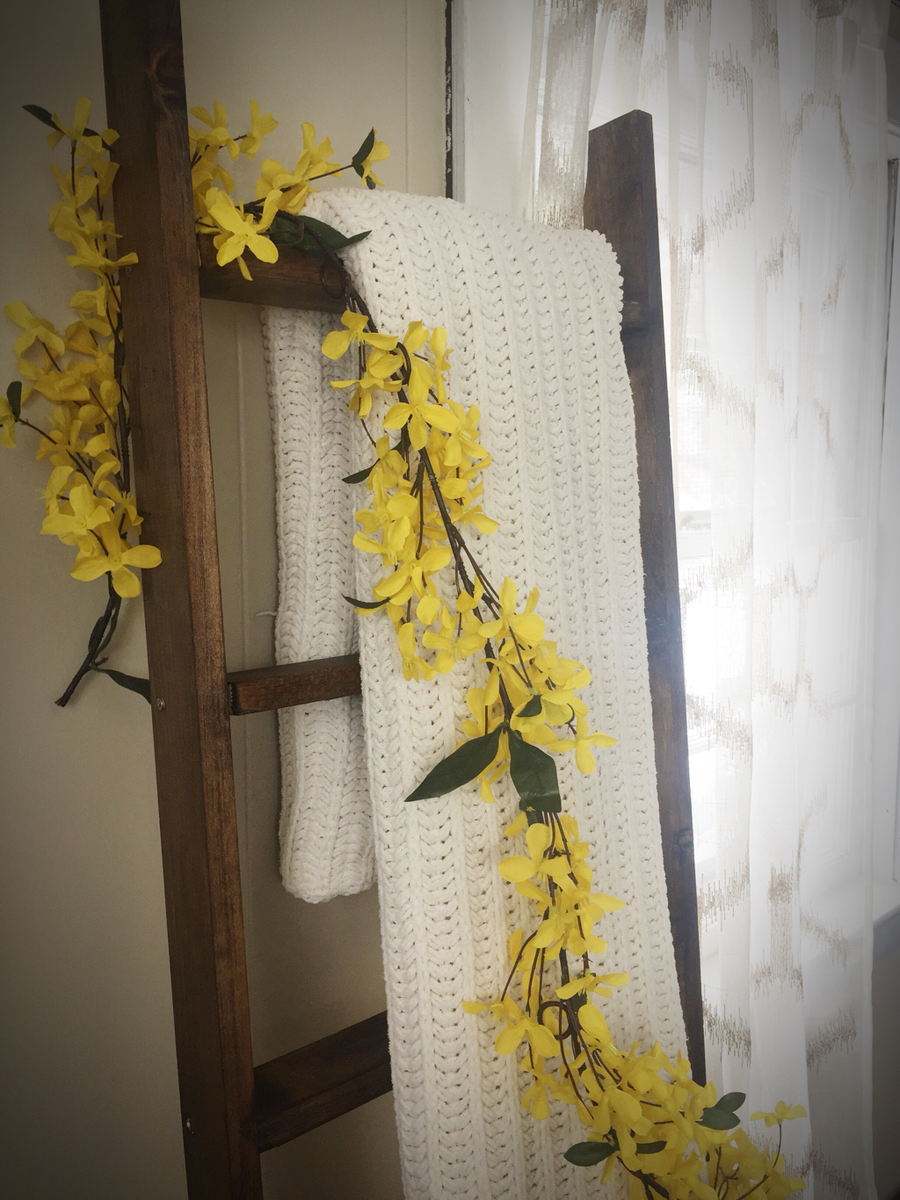
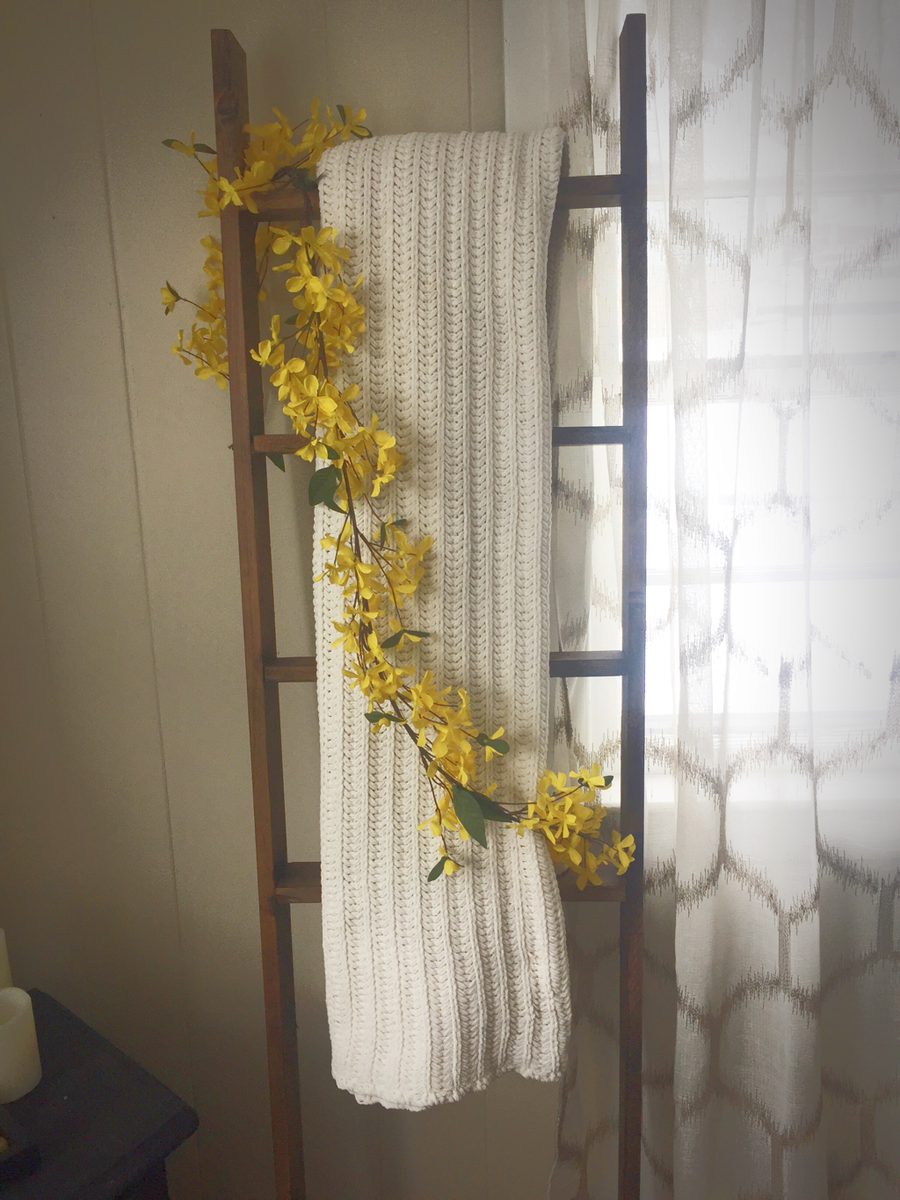
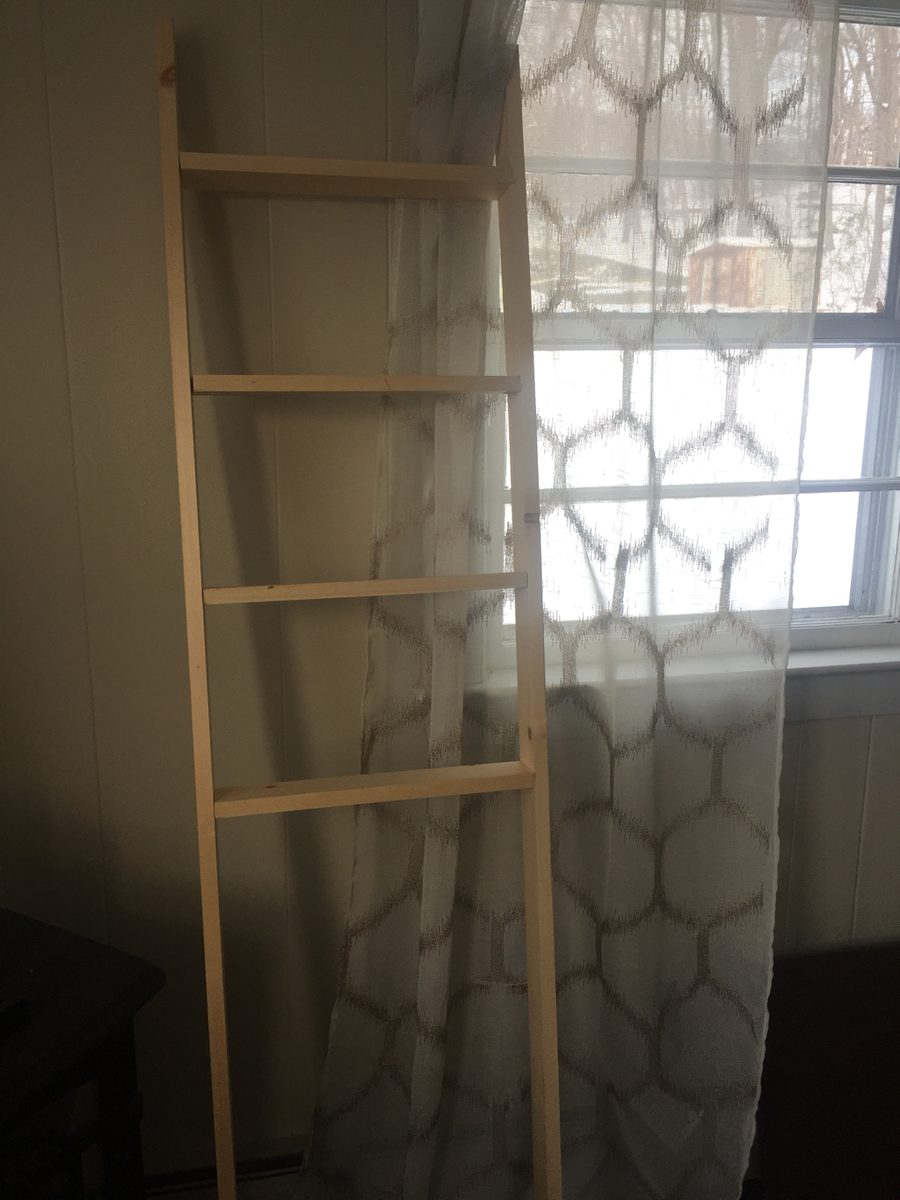
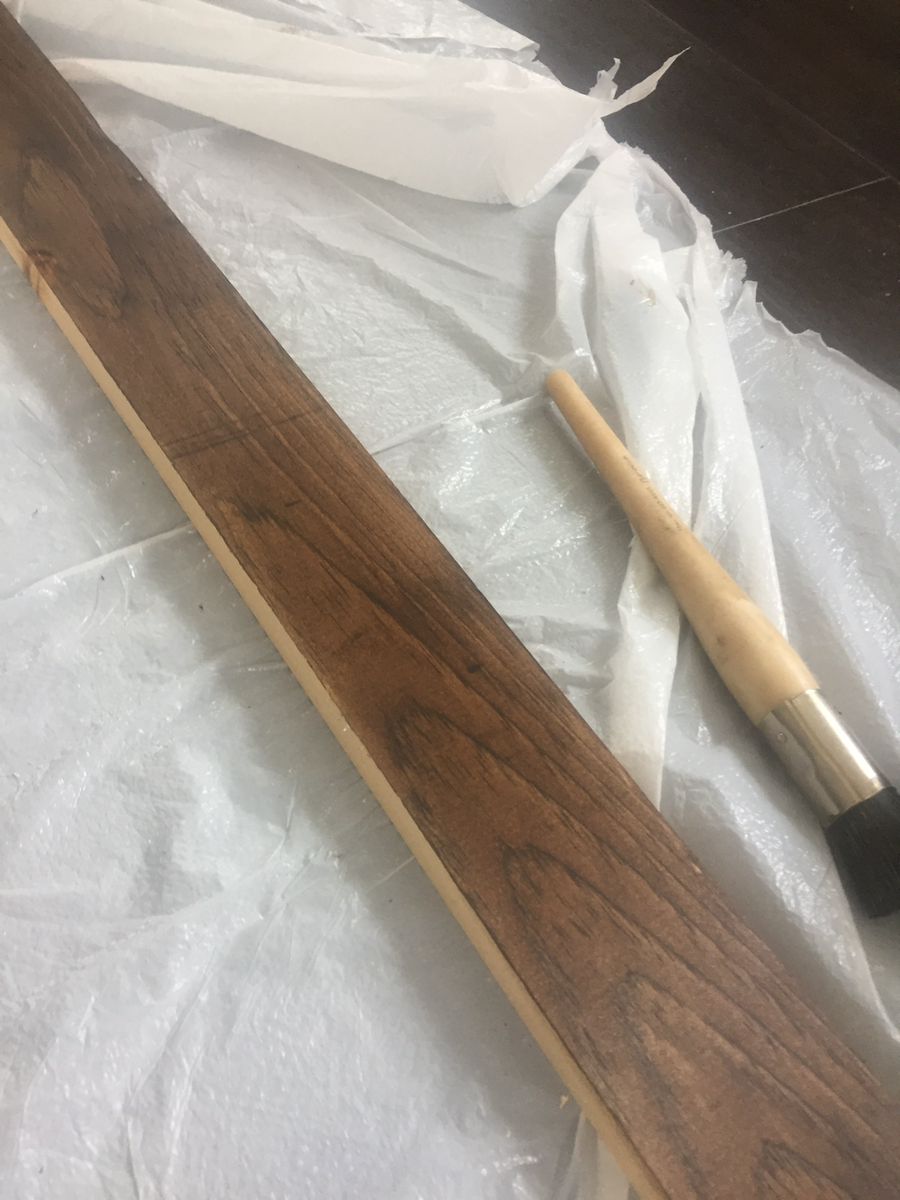
I've been eyeing blanket ladders in Pottery Barn and other stores for a while. No way was I paying over $200 for one, so I turned to Ana! I had some supplies on hand so this project only took me 20 minutes to make (minus staining) and cost $12! I set the rungs higher up because it's going behind my couch so I left the bottom open. I didn't bother with wood filler for the screws because I was going for rustic and the blankets would be covering it anyways. I used 1 x3's instead of 2 x 4's since I wanted it to be a little thinner. I stained it with Minewax Dark Walnut and used a little water on the wood before I stained to bring the woodgrain out. I'm going to make a few more as gifts now that I know how easy it is!
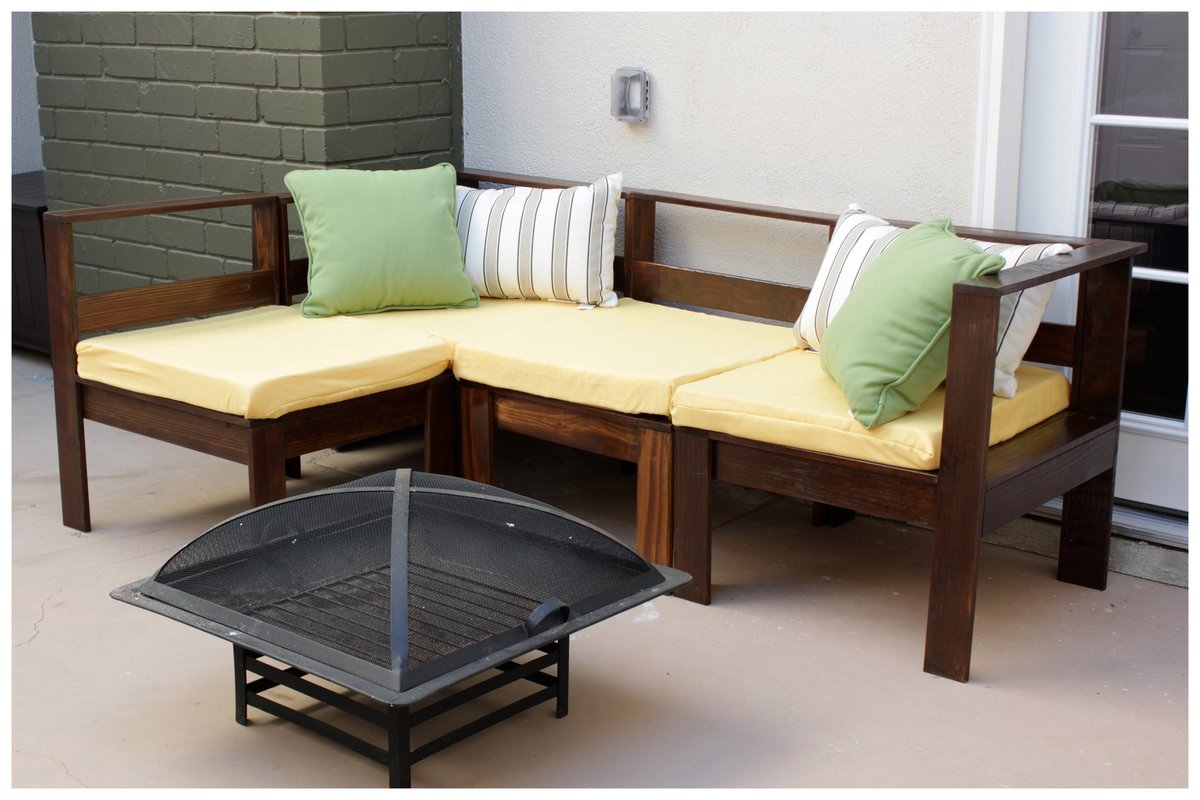
I have wanted an outdoor sectional for our Atrium for a really long time, but I didn't want to spend the thousands on it that Pottery Barn/West Elm Charged. I built the entire sofa for $220, which is less than the cost of one armless piece from west Elm. (To get the pieces that I built from West Elm it would have cost $1116 which includes the extra delivery charge, but not tax or shipping.) I also sewed my own cushions to save a little extra dough (even though I'm a TERRIBLE sewer) for aprox $29 a cushion. (Their cushions are $59 a piece!) I also used leftover stain and poly that we had from some window trim we had freshened up a few weeks prior. So, total, I saved myself about $1000!
I mention that this project is probably a week long project, but that is only because there are so many pieces. In reality, I probably made one part of the sectional per day, including all of the sanding, staining, and poly.
I'm so proud to have such a beautiful piece to lounge around on and entertain this summer while still keeping a budget!
If you are wondering if you can do this, I just learned to use a saw a week ago! So... YES, you can! =)
Took me all weekend to do the cutting and building. Was able to do everything alone except final assembly. I just didn't have enough hands.
Feel free to ask any questions. Also, take a look at my site for custom signs!! =)
www.heathersvinylcreations.com
Sun, 08/30/2015 - 12:42
This looks great!! I want to build this bed for my little guy but I am worried my ceiling may be too short for it
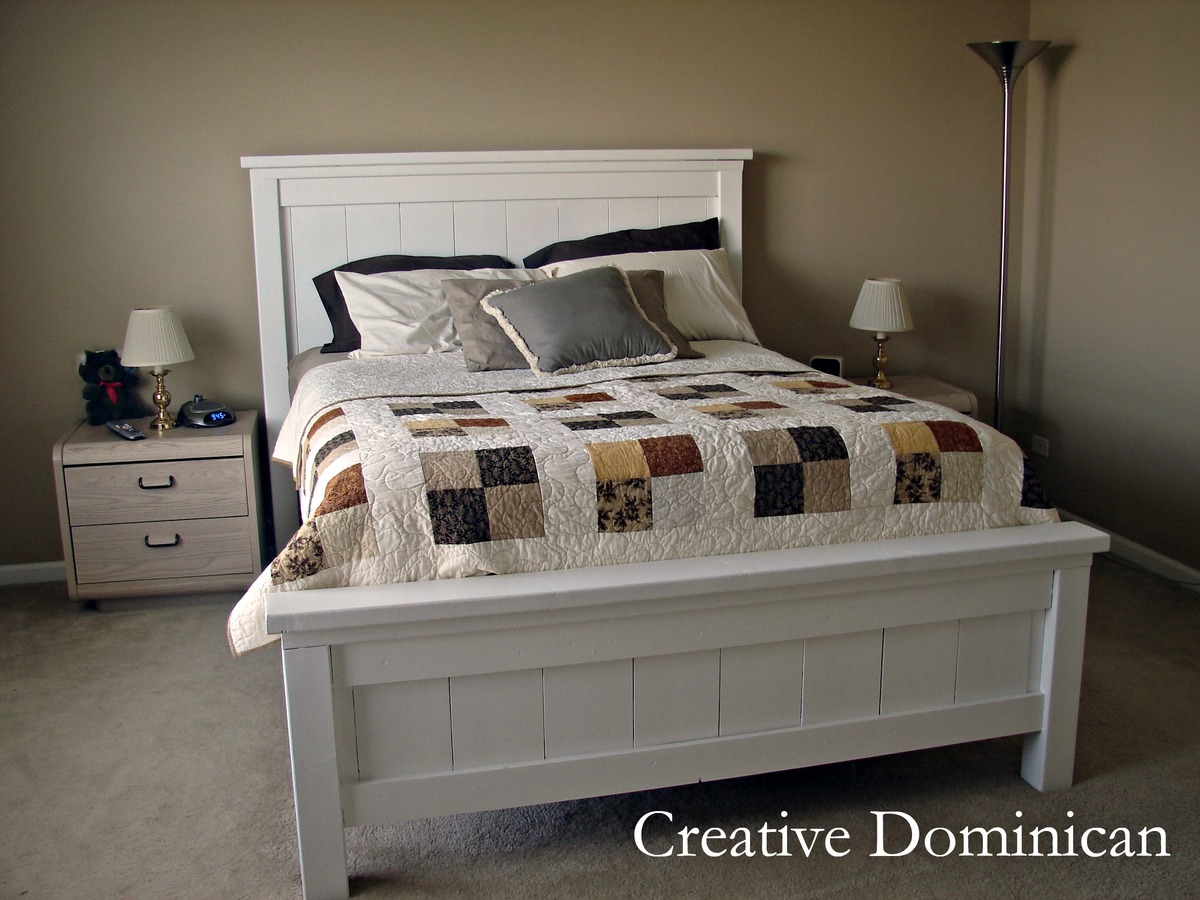
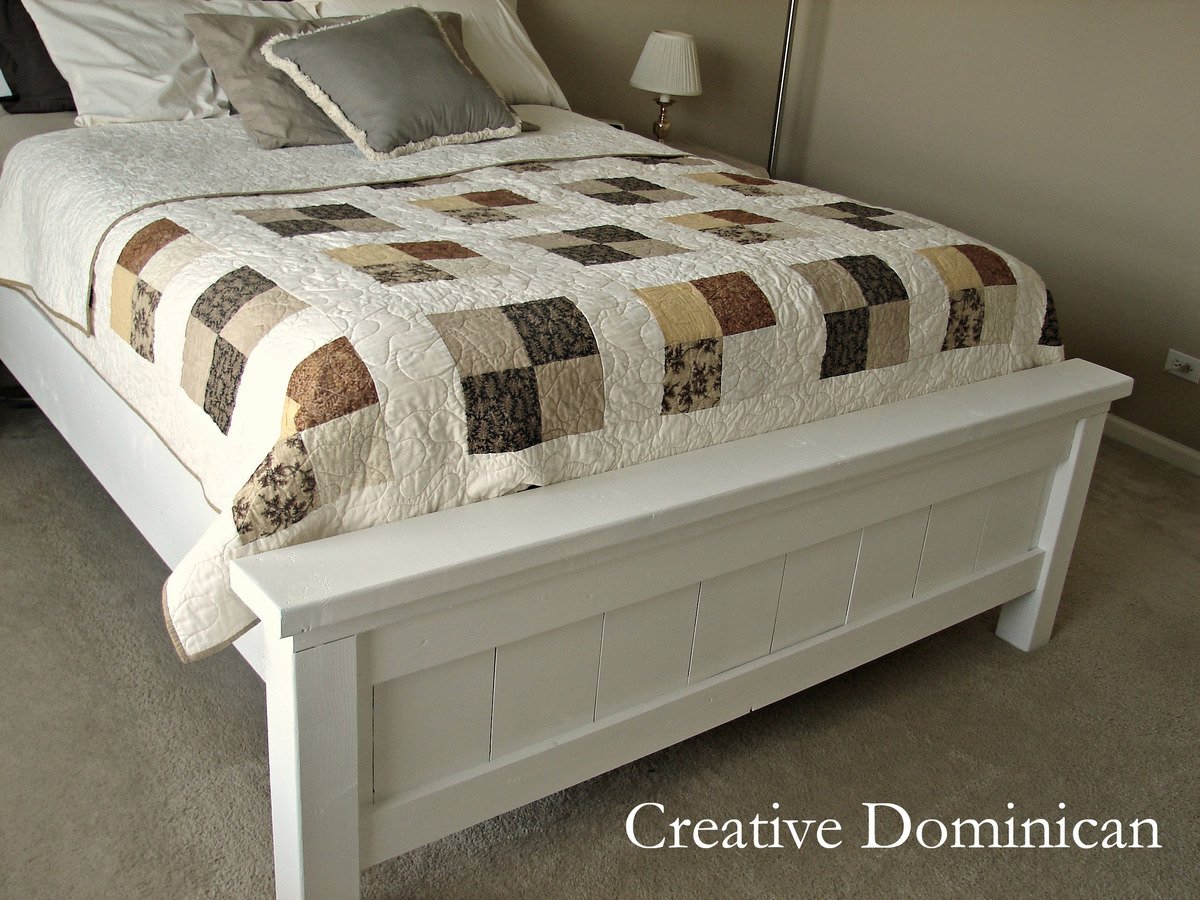
Thanks for the plans Ana! We love our new bed.
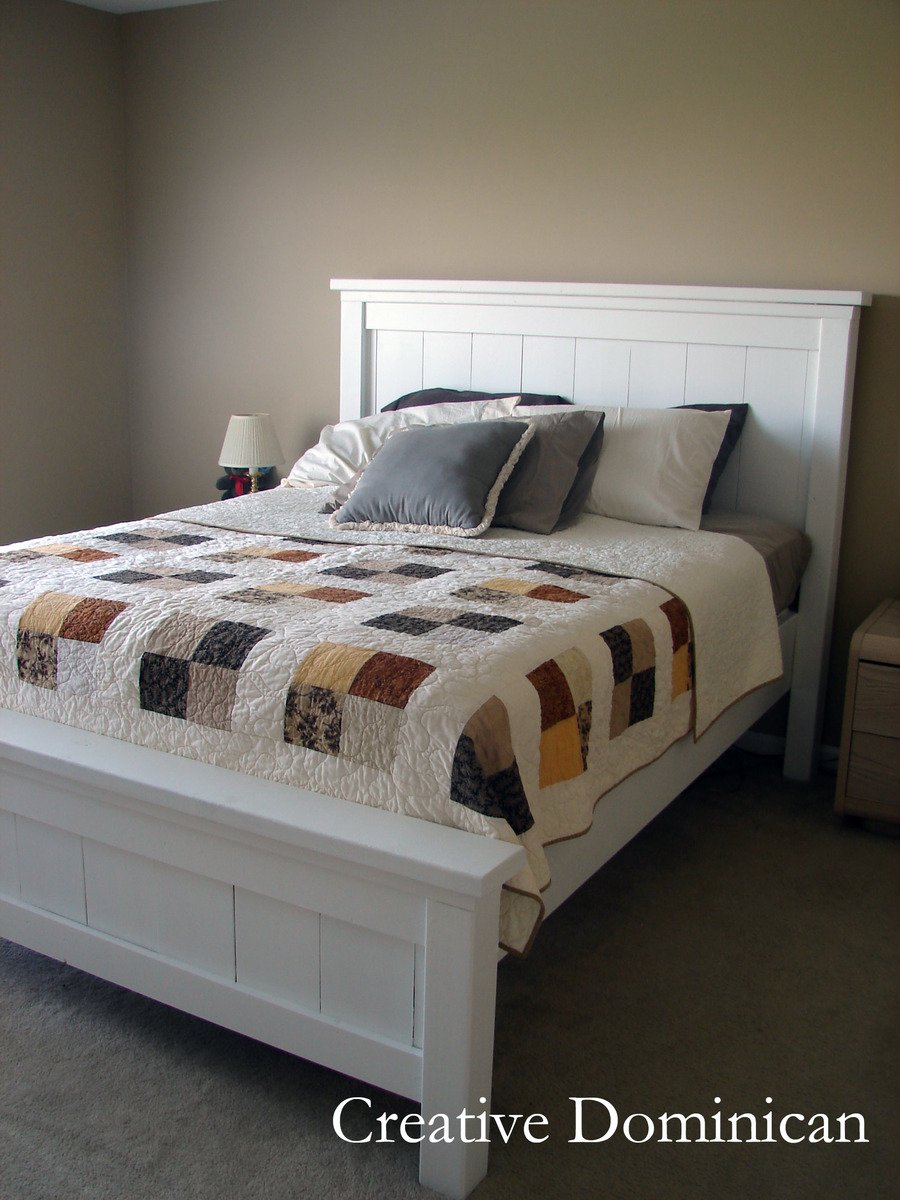
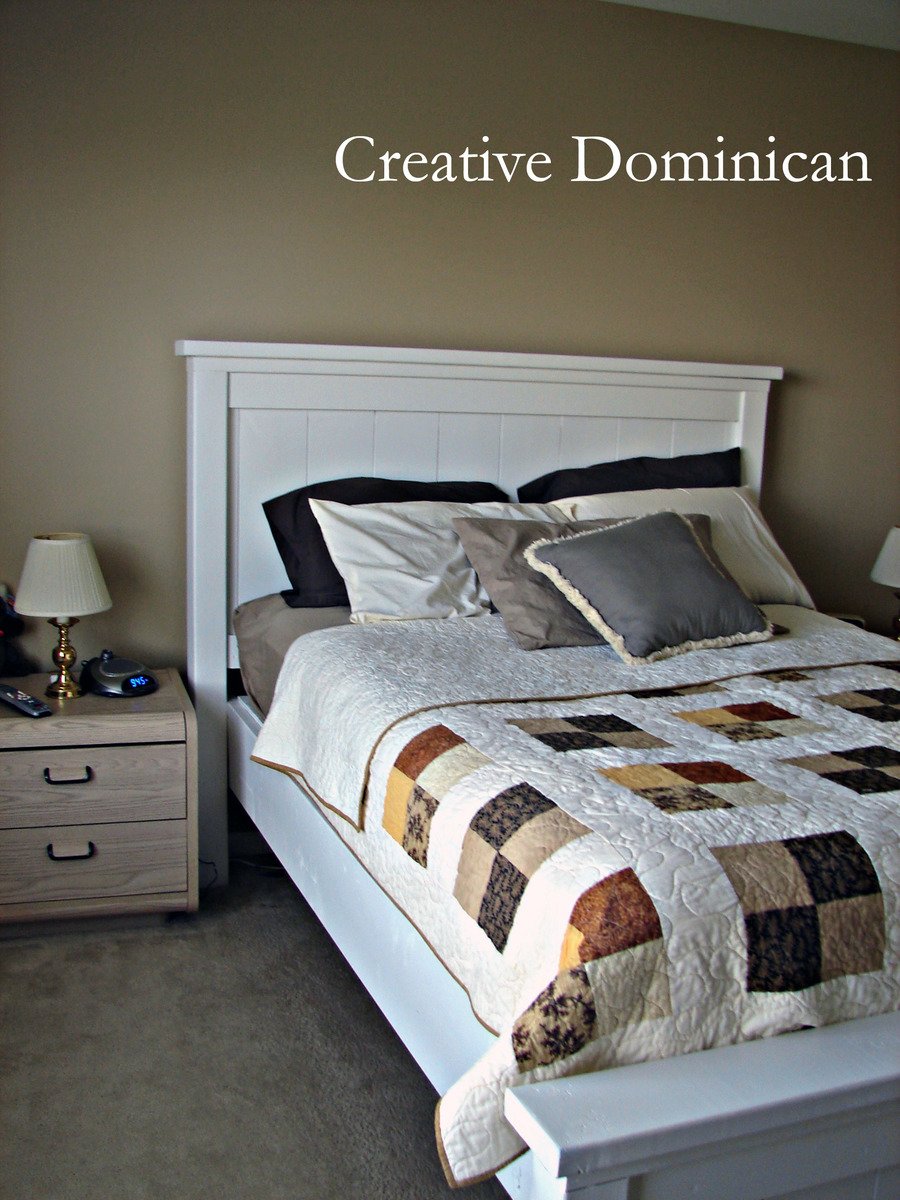
Mon, 09/09/2013 - 11:16
Your bed looks like I am imagining mine will, minus possibly distressing it. I do have a question for you ... how did you attach the side rail to the footboard? I have gone through every brag post and only one of the posts had a photo of the connection to the footboard (they used brackets).
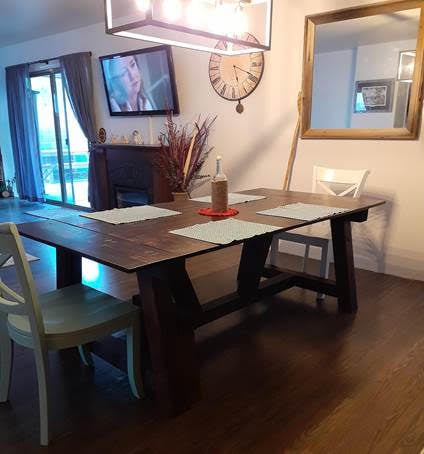
Love my table, I’m still working on the benches.
by Melonie
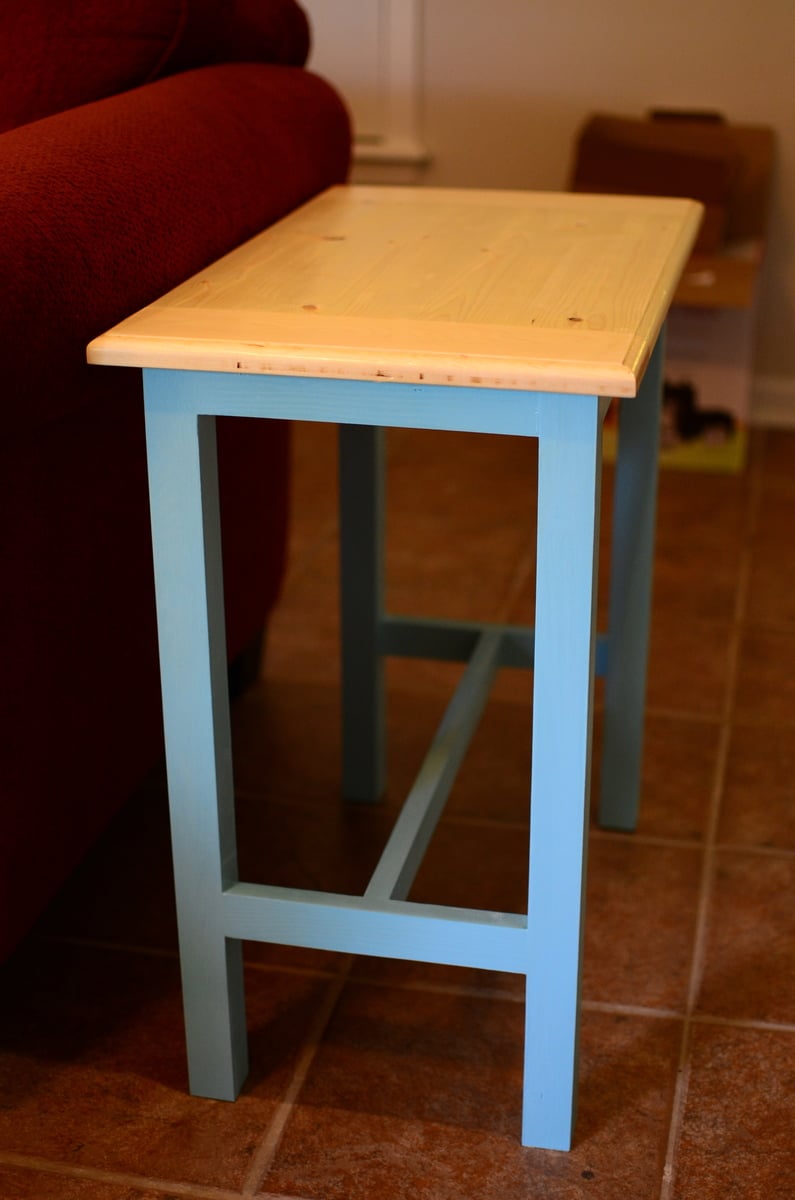
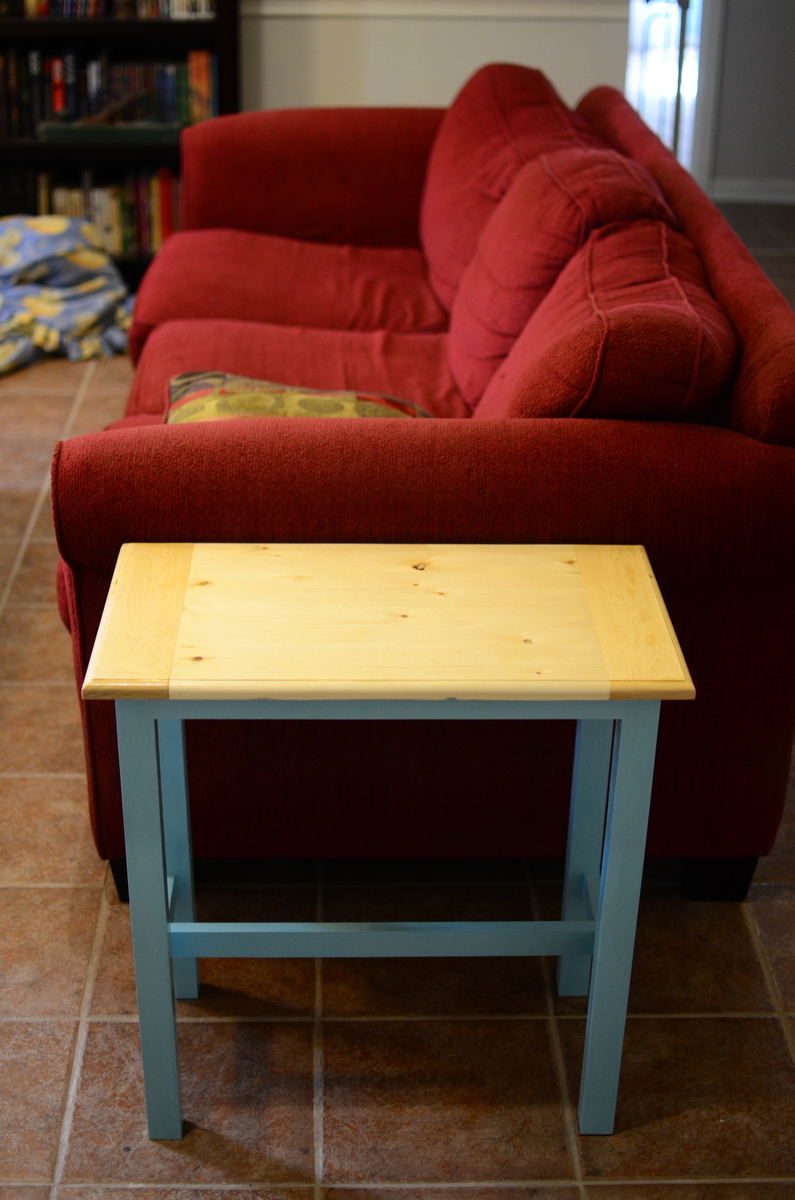
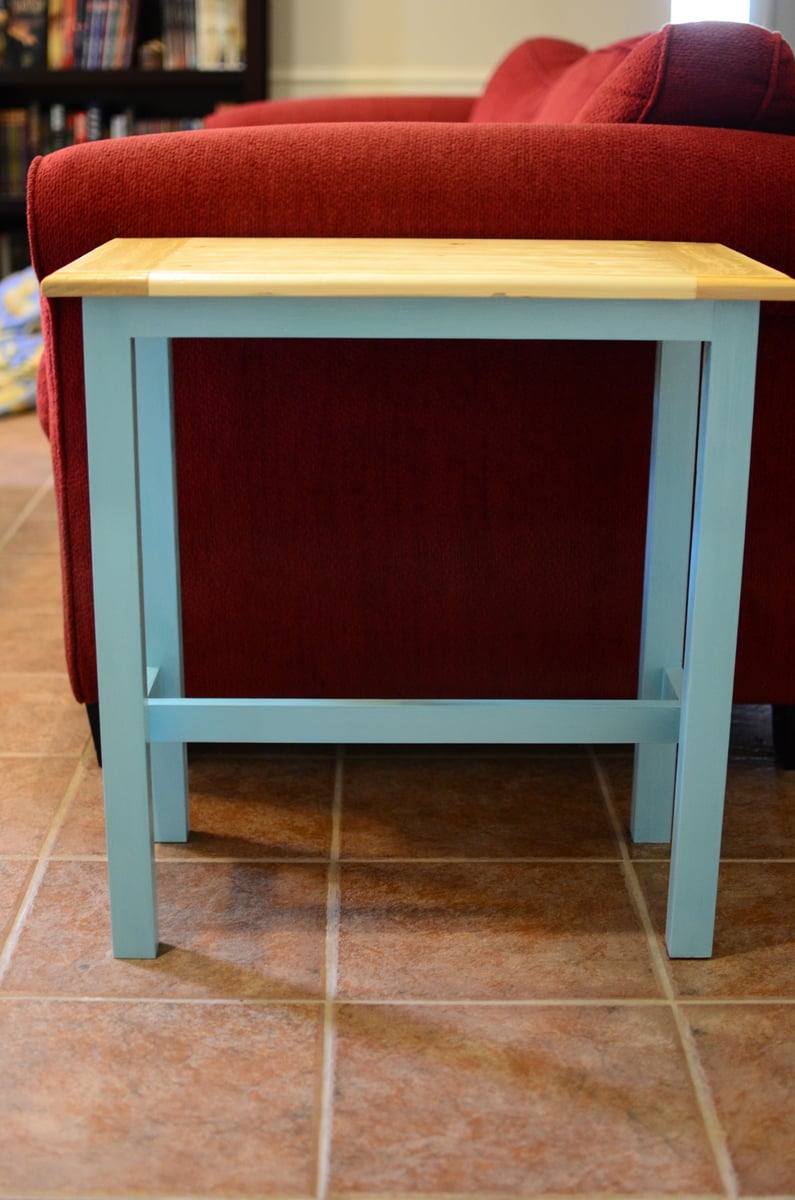
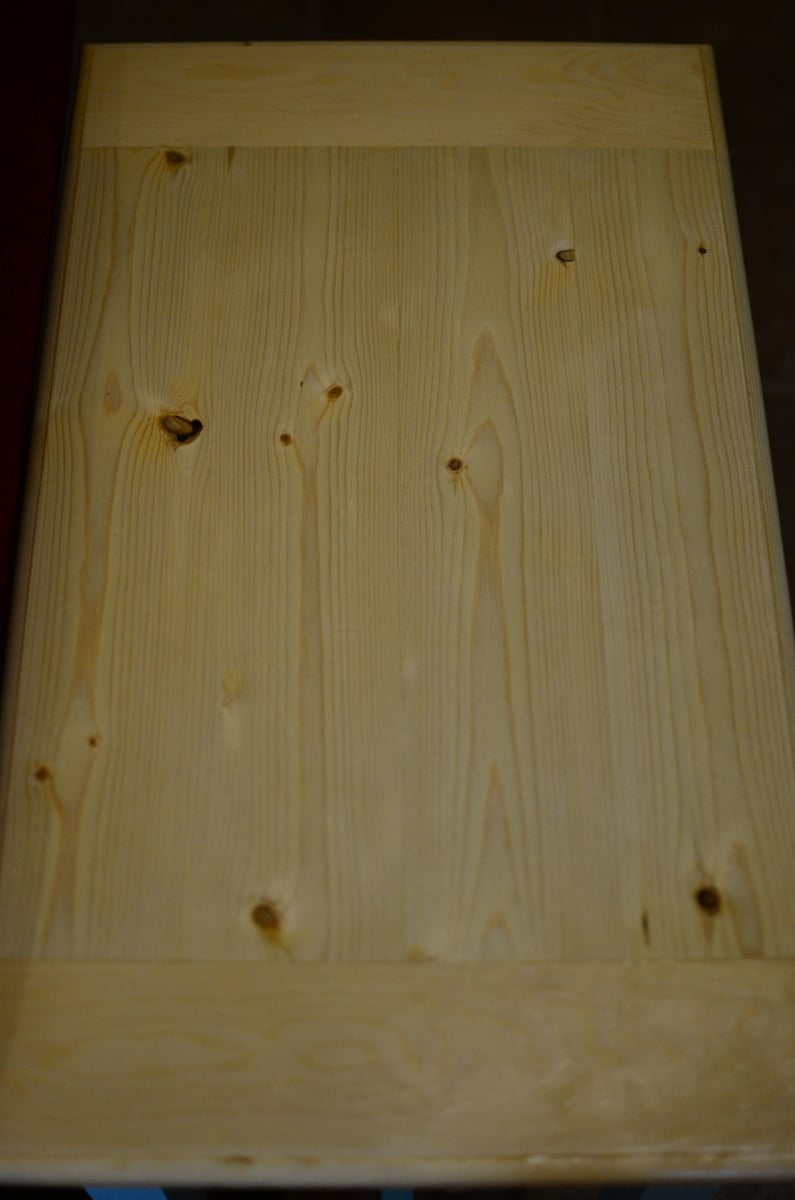
I chose to laminate 1x2's together for legs, and then simply used a 1x2 as the brace between the legs. I also ran the top across my router to give it nice rounded edges around the top. Really was super easy and super cheap. I painted it to match my dog-kennel coffee table.
Sun, 08/11/2013 - 20:46
Beautiful. The simple builds take my heart. =D Love the color combination and smooth looking finish. Great router detail, too.

These tables were easy to build. We ended up using paint and stain to give the tables a distressed look. They will make a great addition to our guest bedroom.

Hi friends!
Jen Woodhouse from The House of Wood here.
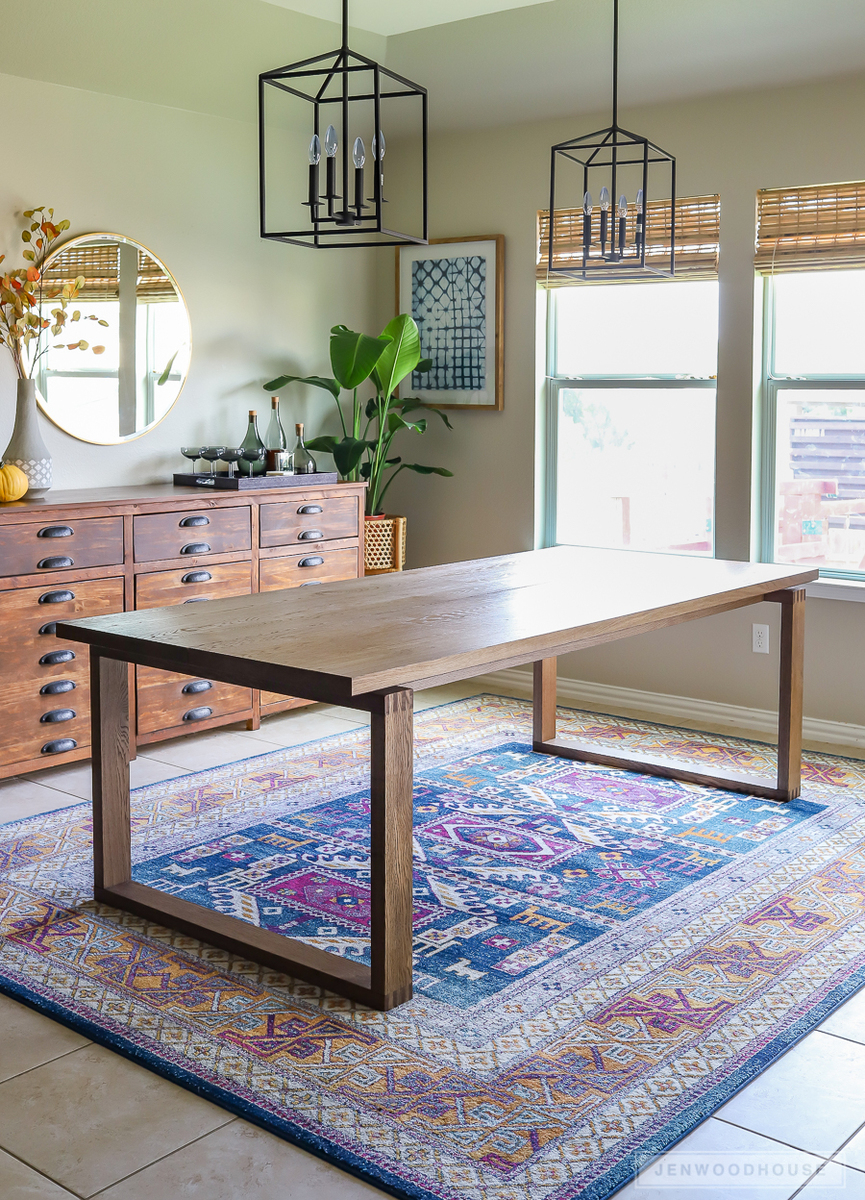
After sharing my new dining room, I got a lot of requests for plans for my dining table, so I’m thrilled to finally deliver. The box joints on the legs add just the right amount of detail to this dining table, don’t you think?
Be sure to tag me @jenwoodhouse if you share photos of your build on social media. I'd love to see it!
You can get all the details for this build on my website jenwoodhouse.com
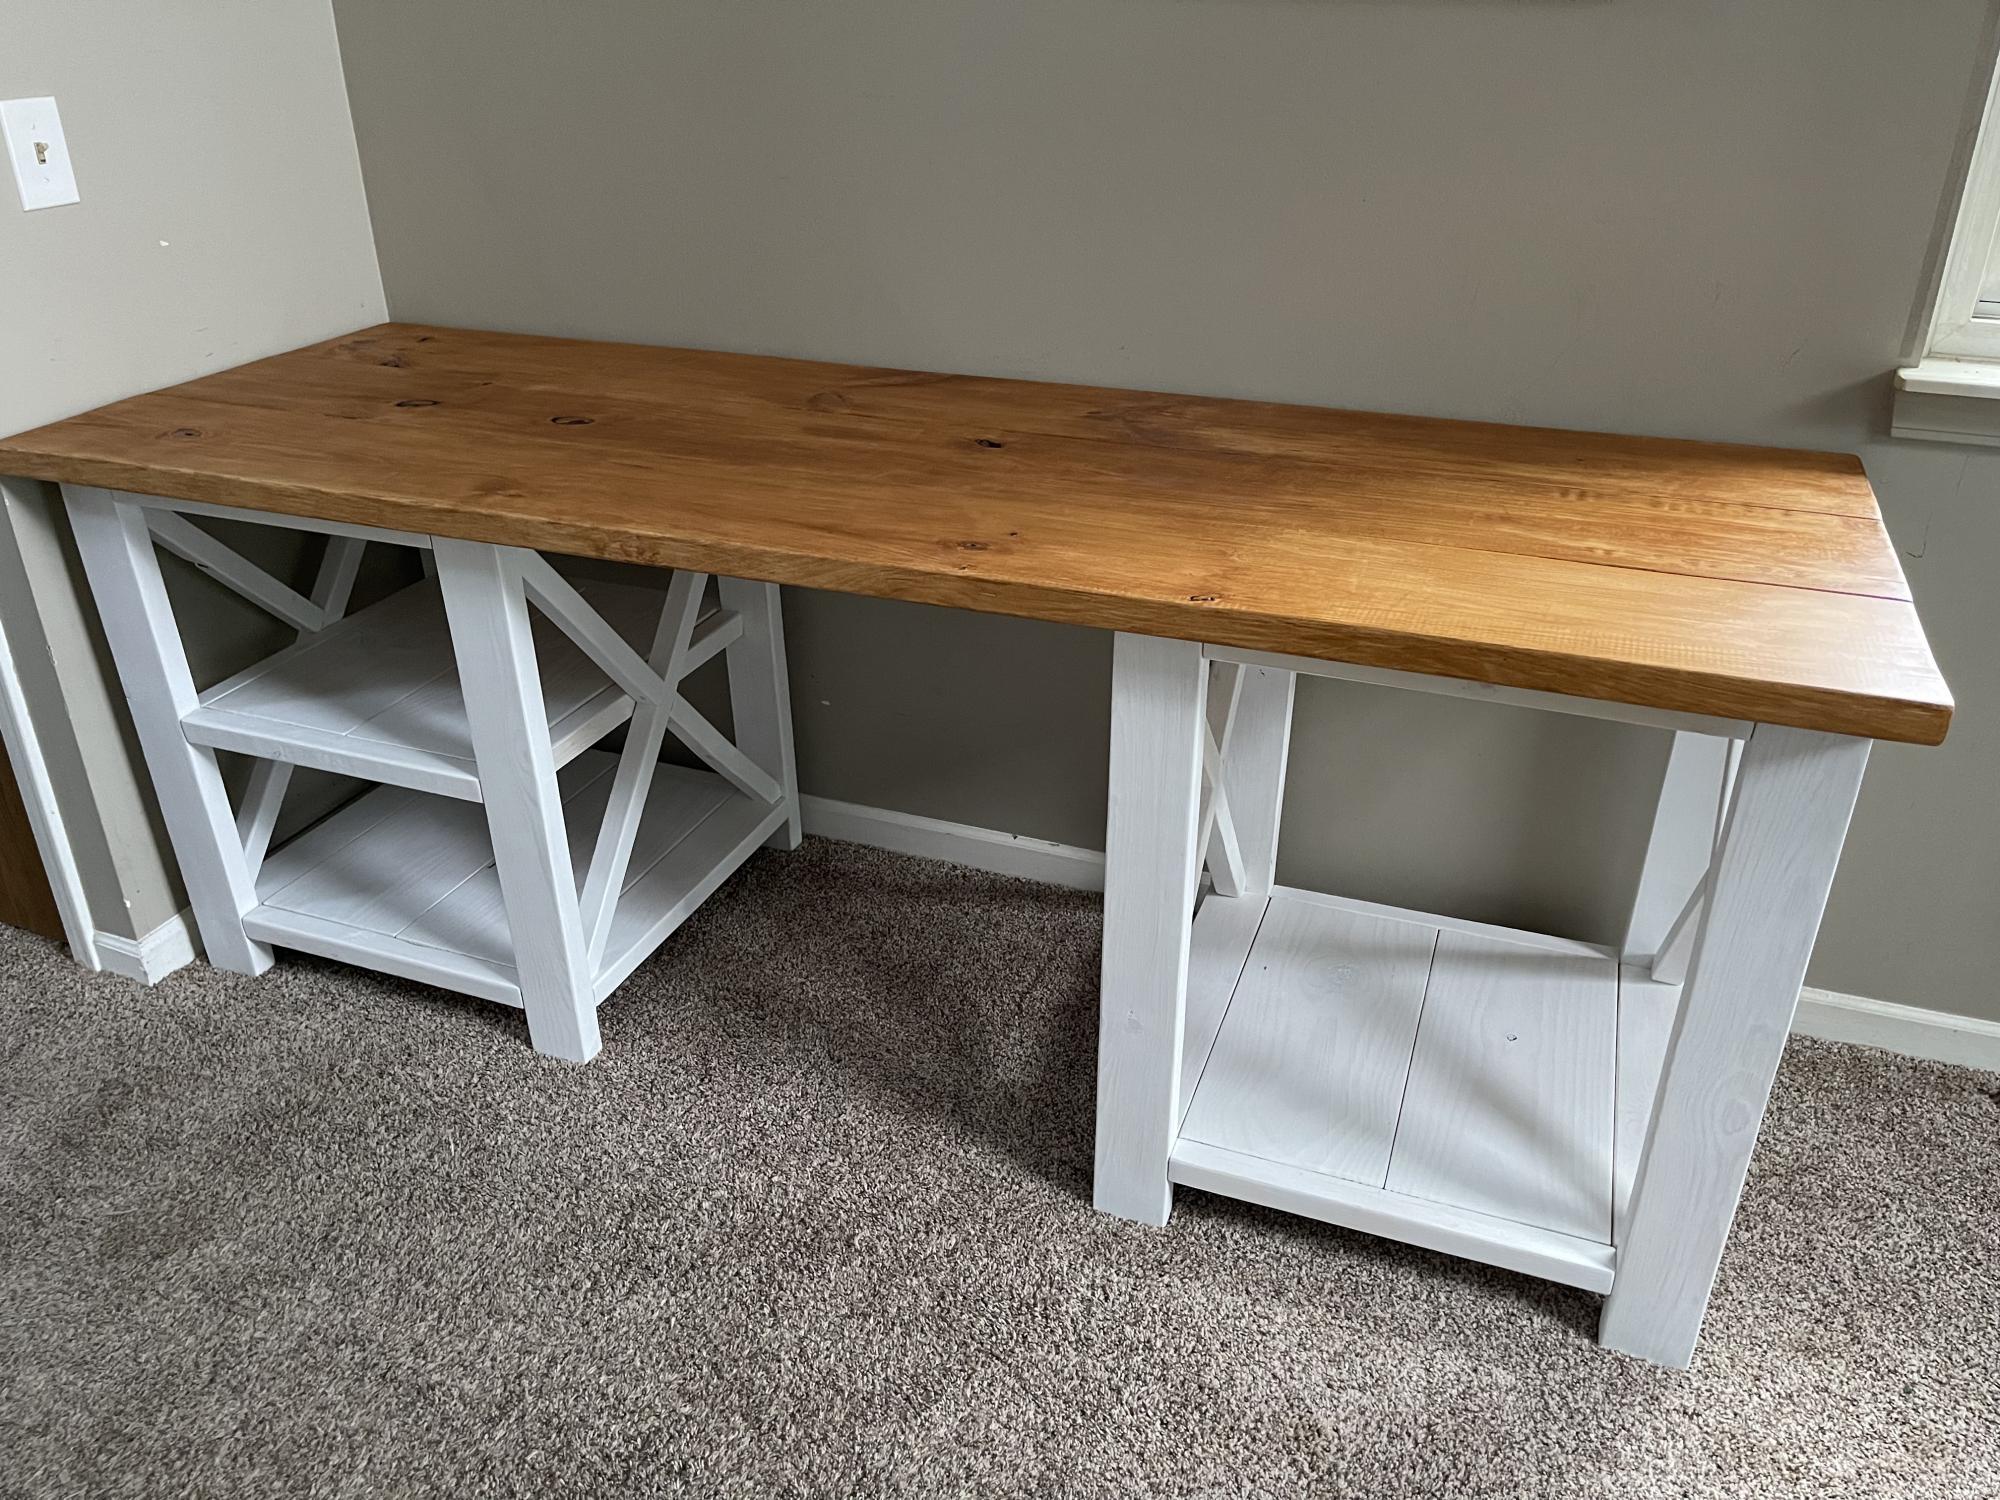
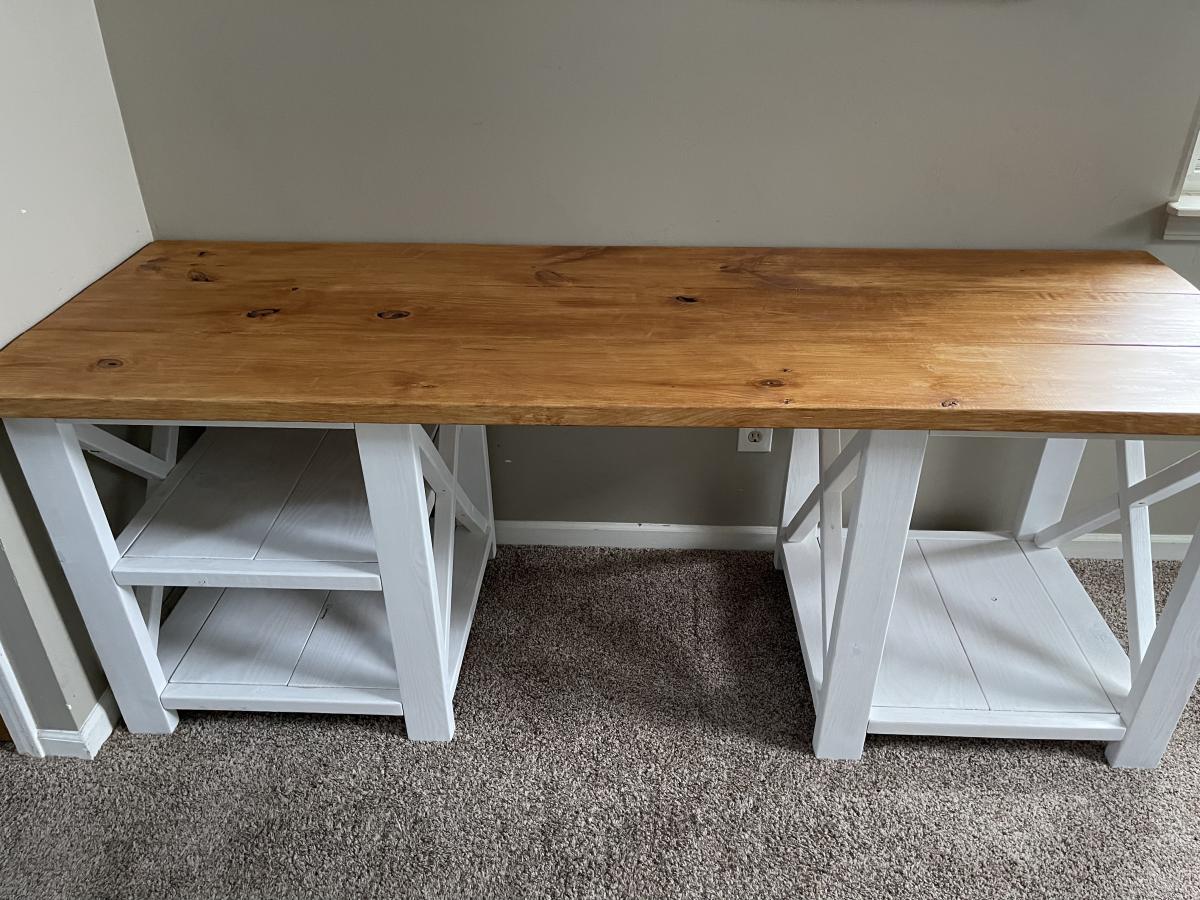
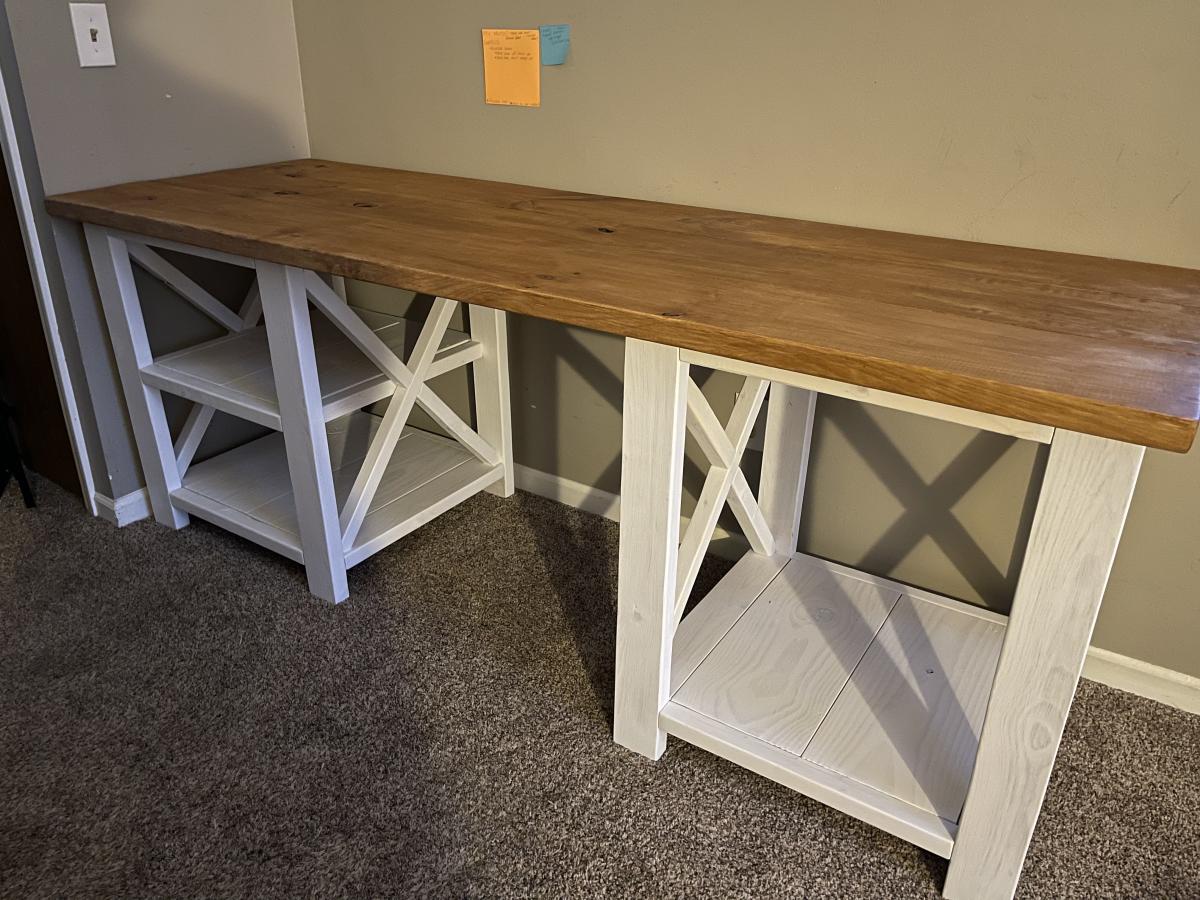
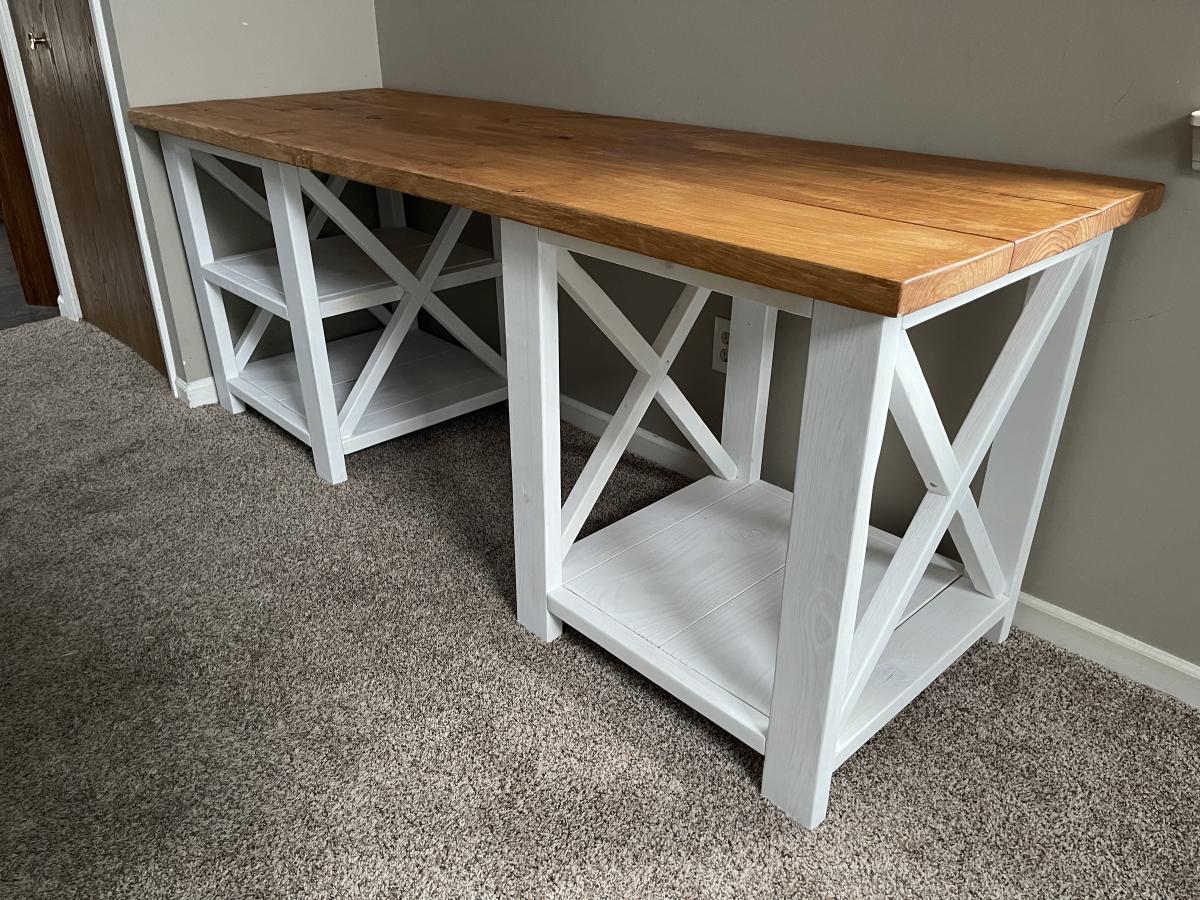
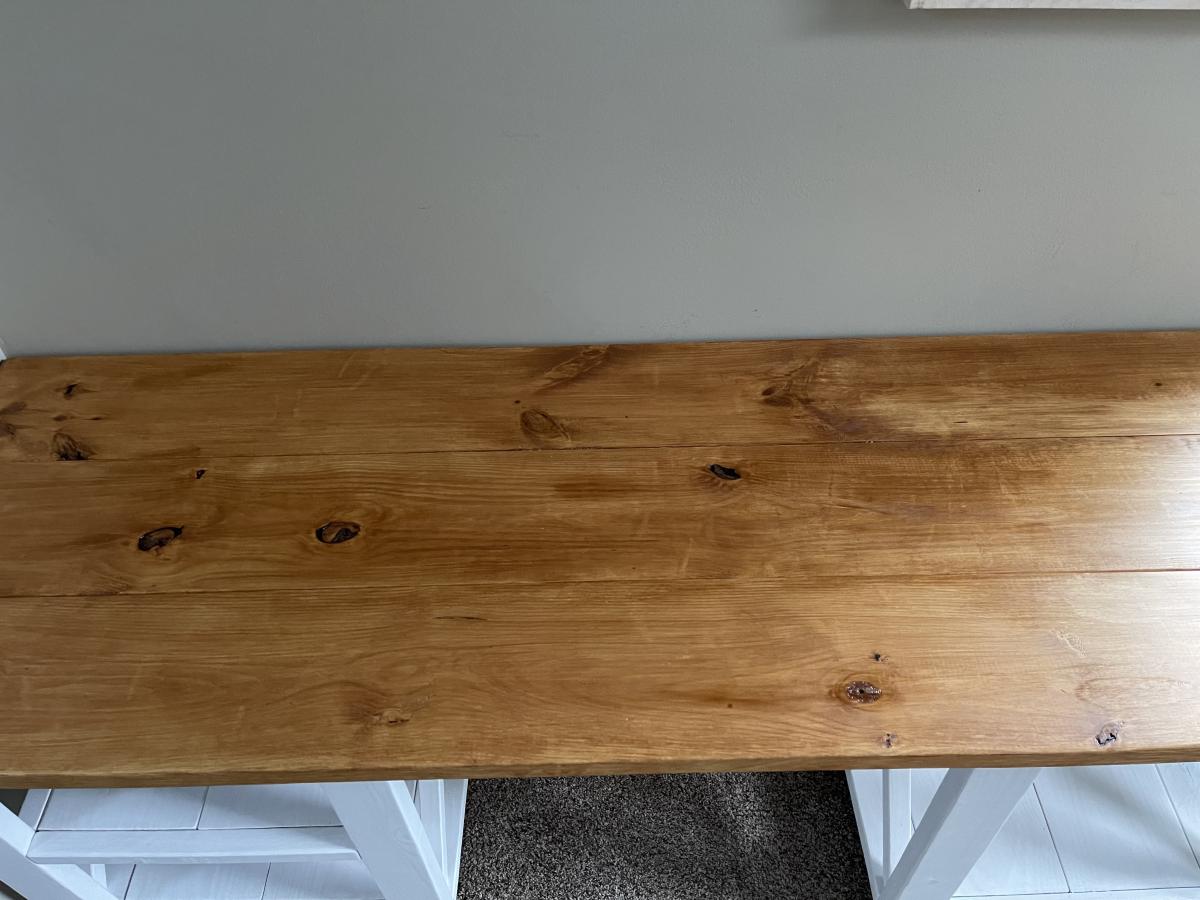
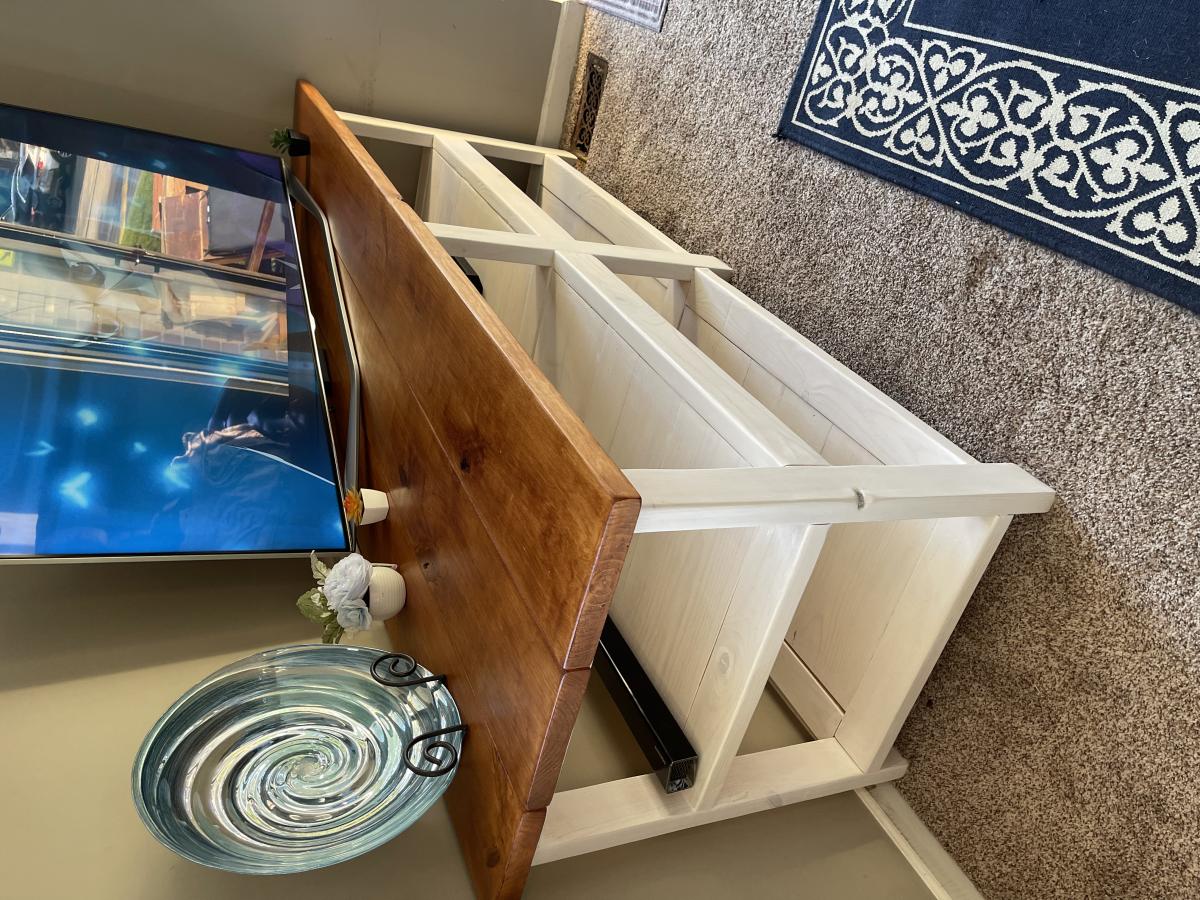
Modified the Rustic X Desk plan to include an additional shelf. Eventually the whole wall where this is now will have a matching tv stand, and dog kennel with barn doors will go in between them
Mon, 05/09/2022 - 15:53
Just got the tv stand finished. I’ll be posting pictures soon… And getting a bigger tv now that it looks so small!!!! 😂
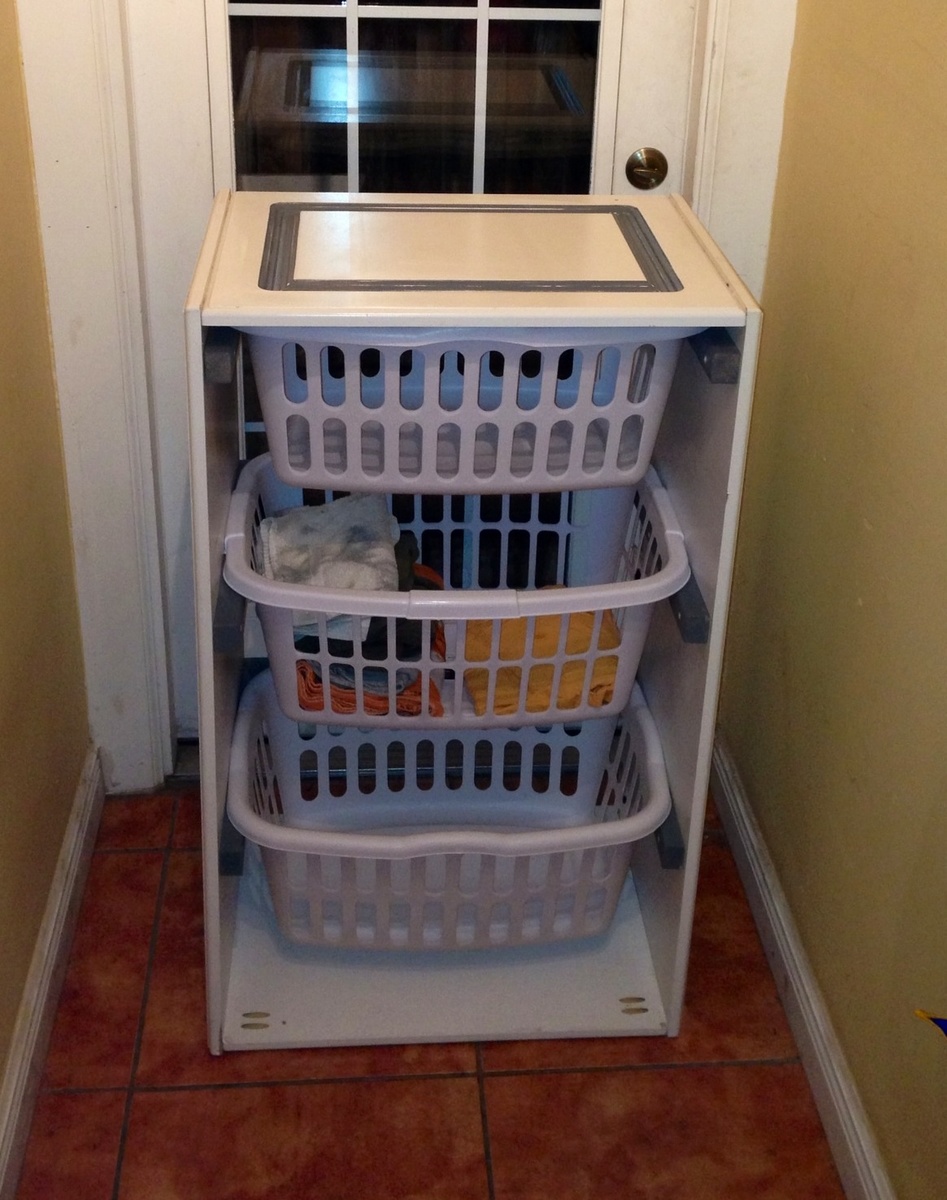
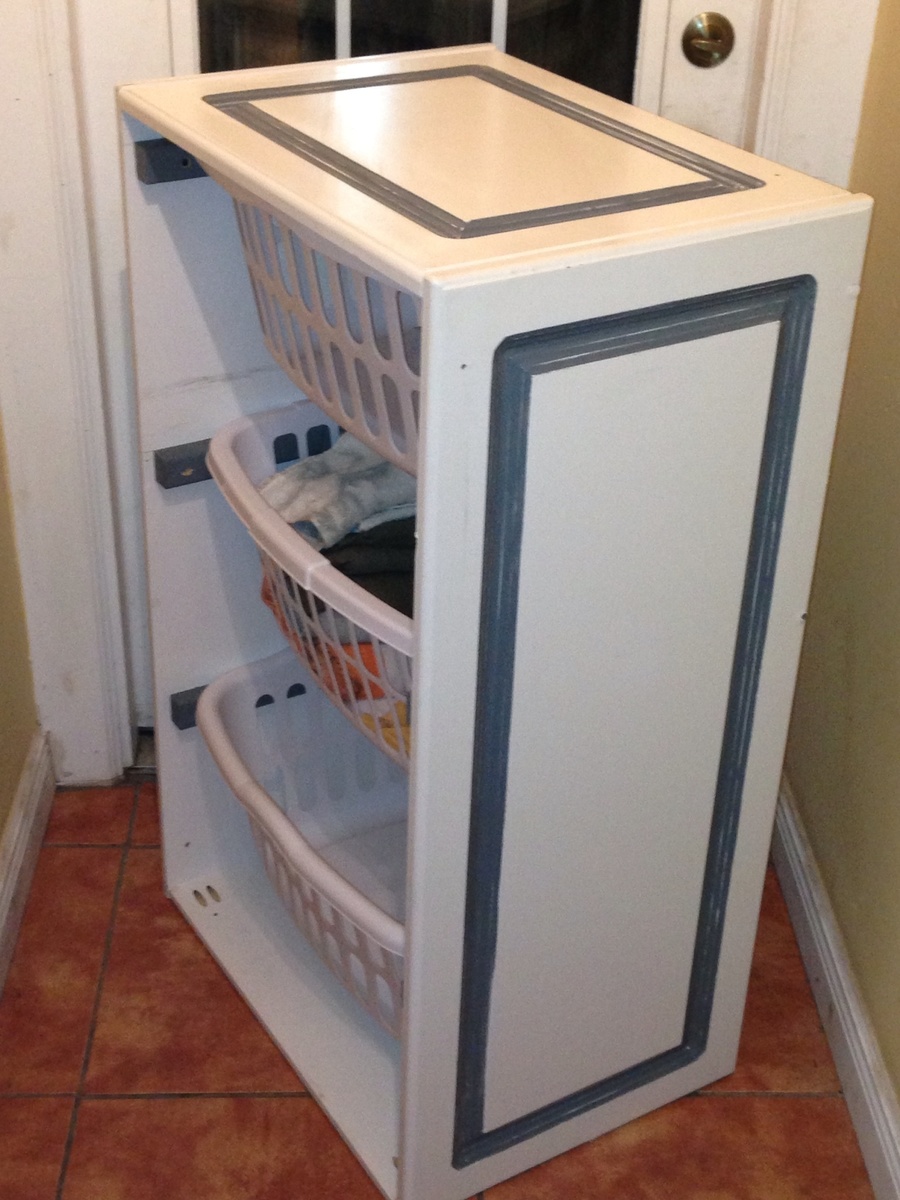
This is the second one of these I have made. I love the 1st one and I wanted to make one for my sisters birthday. Being on a pretty tight budget, the extra $40-$50 I needed for the materials was pretty illusive. While closing up our shop one day I noticed that our buildings dumpster was overflowing w/ perfectly good cabinet doors. I jumped rt in there and grabbed a few of them. I had them for a few days before I realized what I could use them for. I had to change the measurements a little but it worked out well. I used my kreg jig jr. To fasten them all together 1st (the plan says to attach the cleats 1st but because I was changing the measurements , I did it last). Instead of putting a back on it, I used scrap 1x 2 furring strips across the back of the cleats and it feels just as sturdy as the 1st one I built. To dress it up a bit, I painted the molding on the cabinet doors and the cleats a blueish grey and aged it for some character. Finishing w/ Johnson's paste wax.
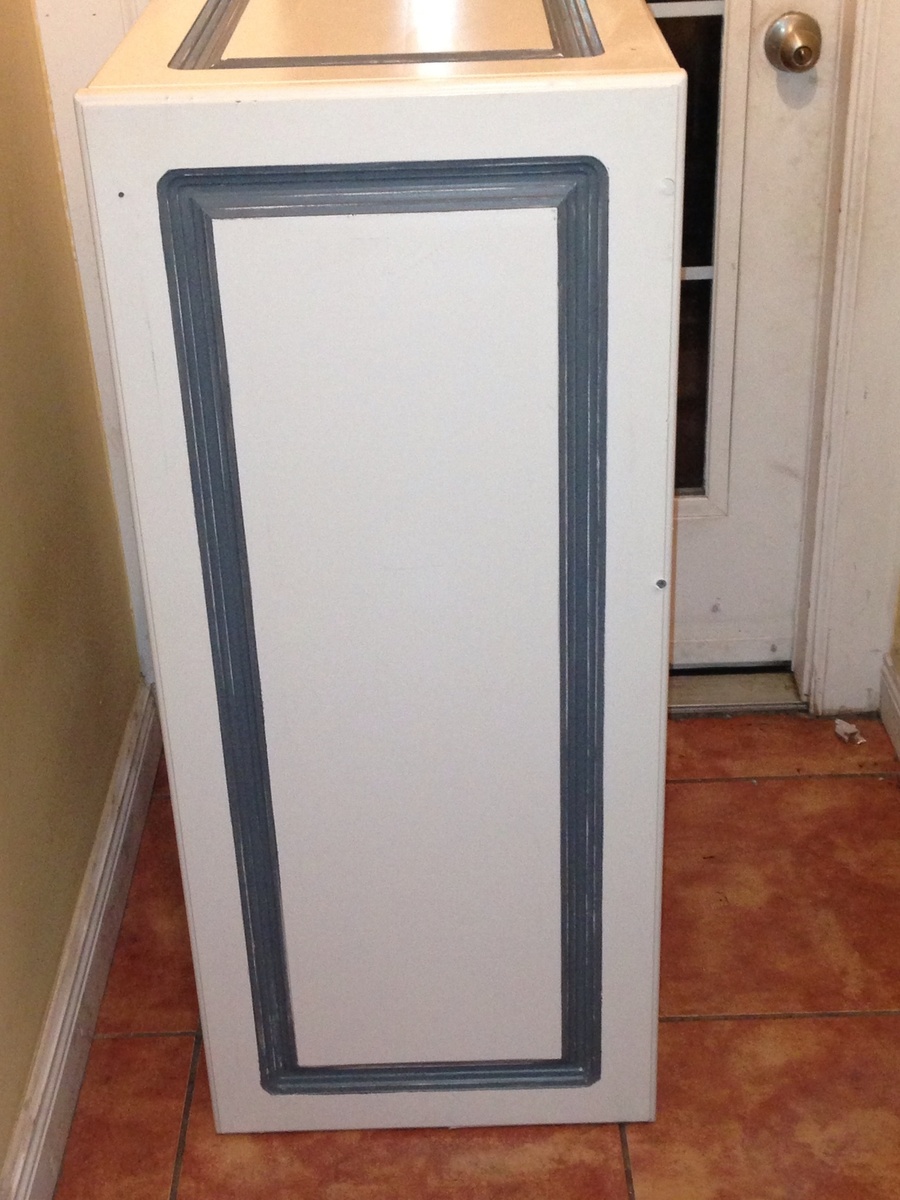
Wed, 08/14/2013 - 04:48
Love that you repurposed something you found! Great recycling and free materials for you. A win-win! I'm sure your sister will love it!
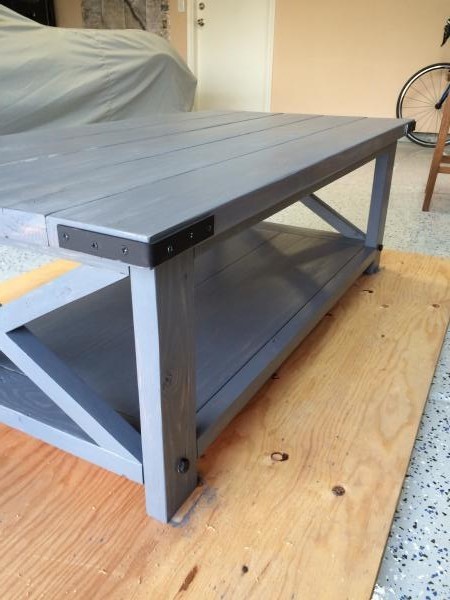
My first build from your site. The plans are great! I changed it and used half lap joints for the Xs to keep them as solid pieces. Only cheap lumber is available at the big box stores, so LOTS of sanding.
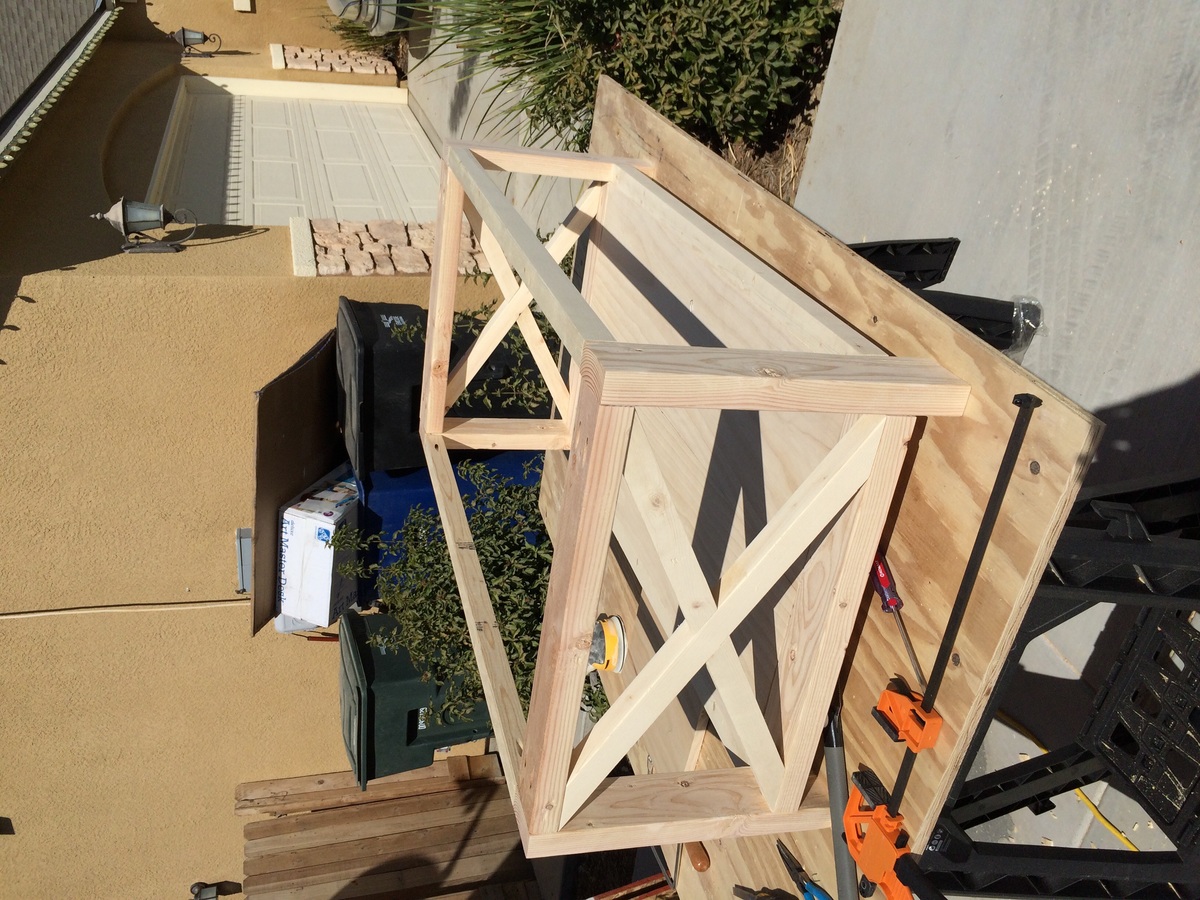
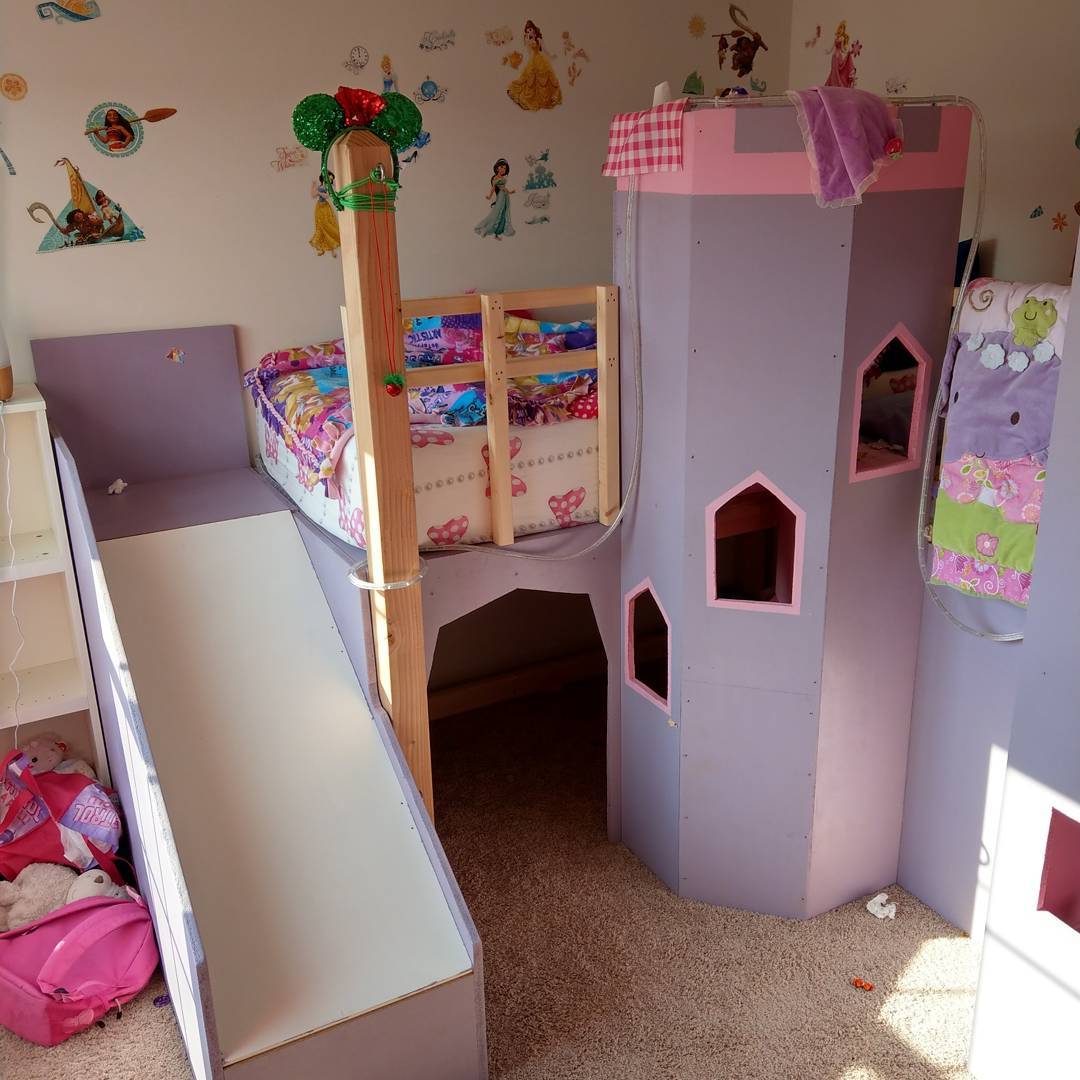
This project started with our older girl wanting sleep in the same room as her younger sister once she was out of a crib. Since it meant no more sneaking into Mom & Dad's bed I was happy to comply. The only problem was all the plans I found were for one bed not two. Both girls love storytime in bed, so I had to make it strong enough for the whole family to be up in bed. To not turn her room into a construction zone, it was made in sections that could fit up the stairs & through the bedroom door.
All together we have a twin bed, a crib-size bed, three removable railings (to let me put them in bed when they fall asleep elsewhere), a slide anyone can use, a secret tunnel to crawl through underneath (and strong enough for adults to use as a step-ladder), a spiral stair for the kids to climb, and enough room for adults to sit up underneath. There is a flag pole next to the slide, but neither my wife nor I have gotten around to making them a flag yet.
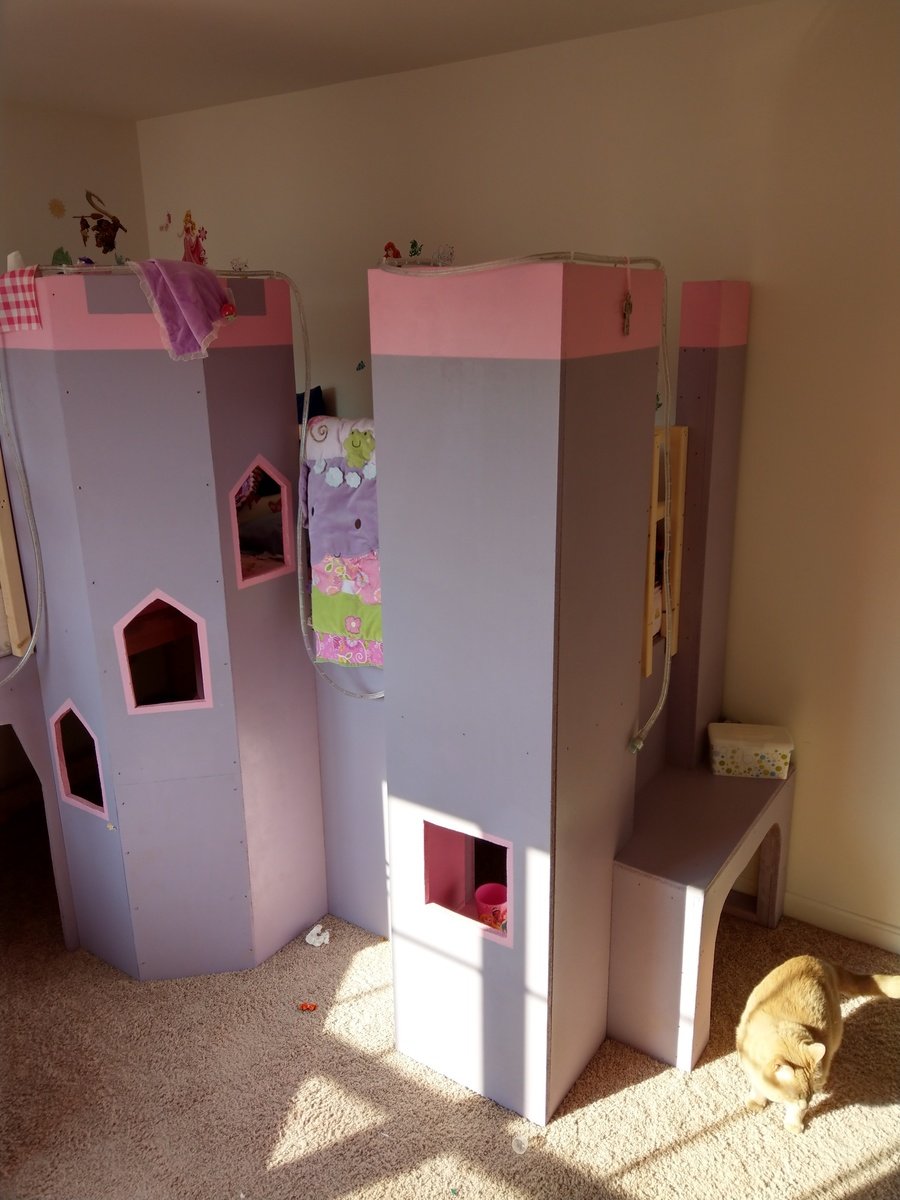
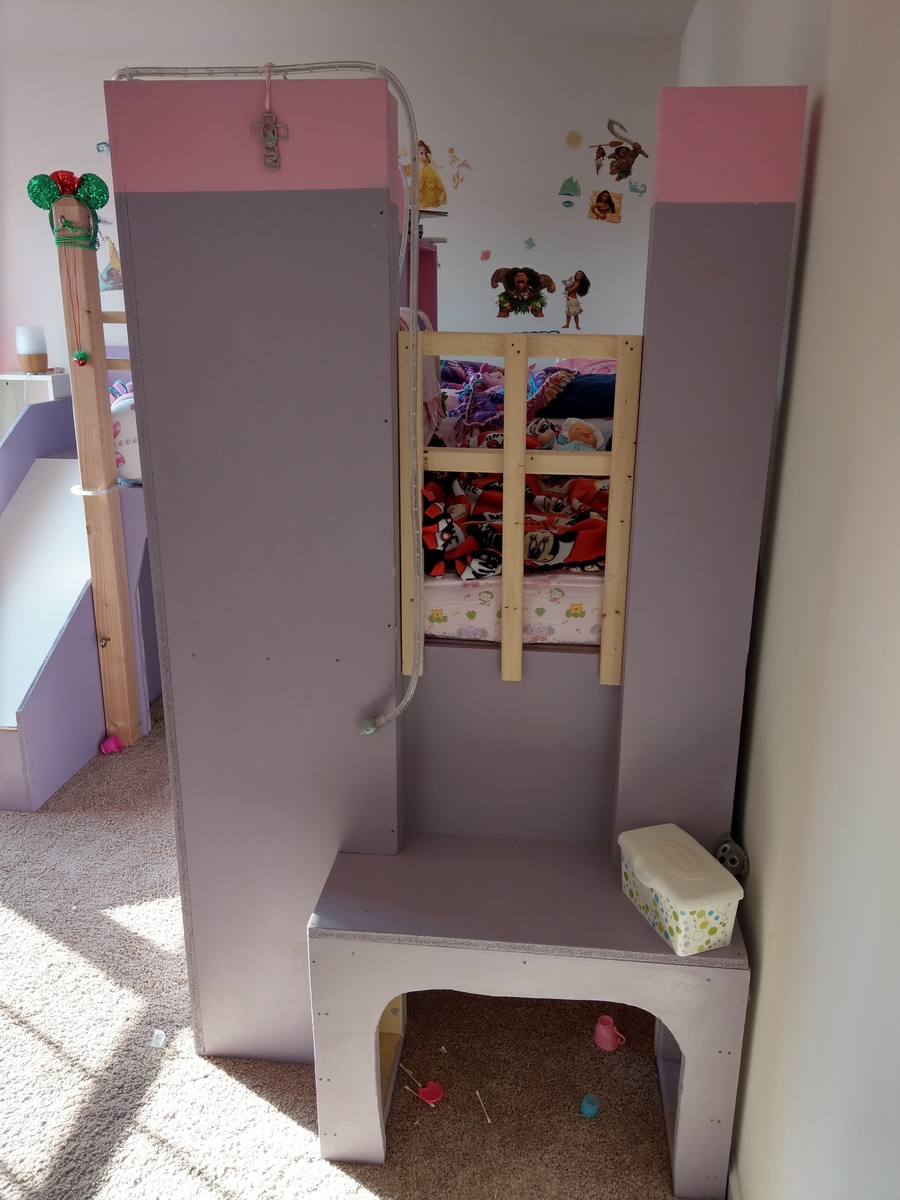
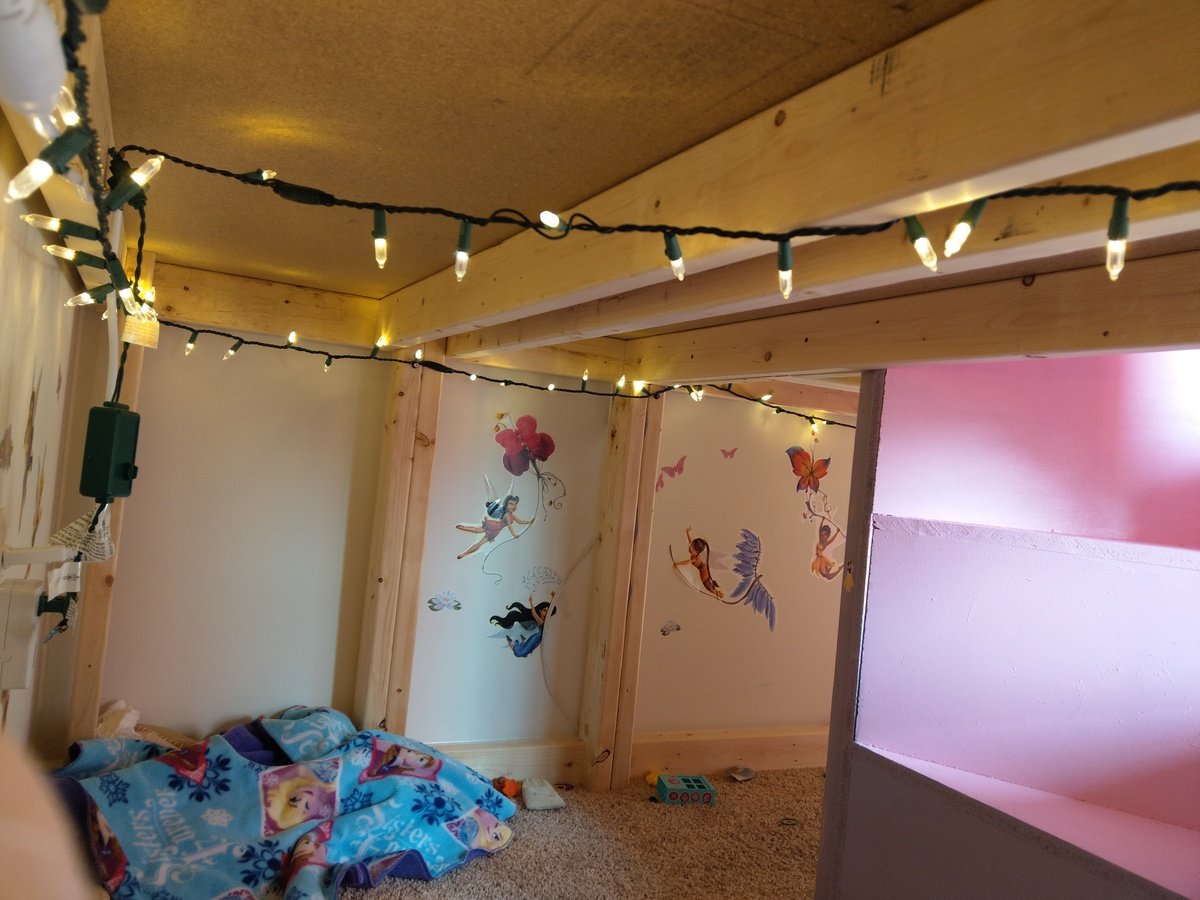
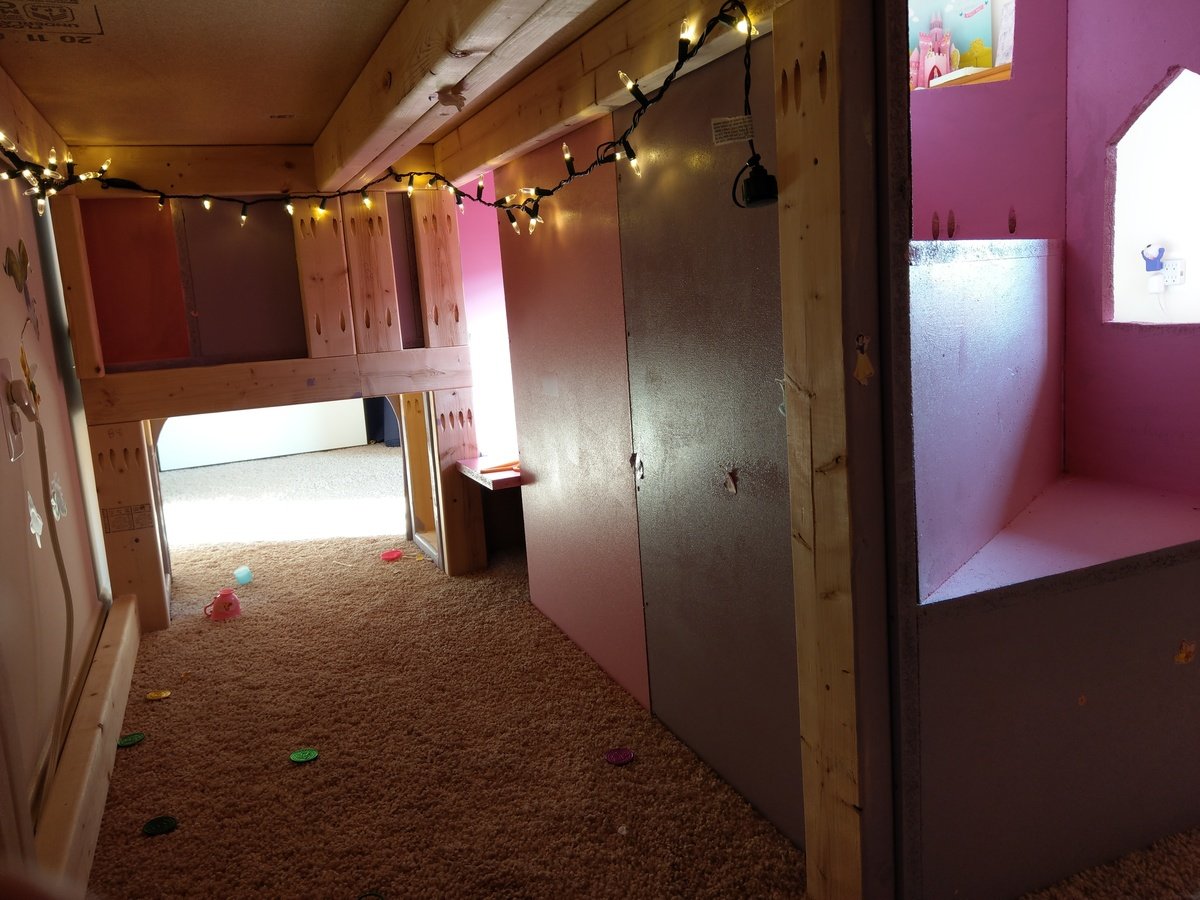
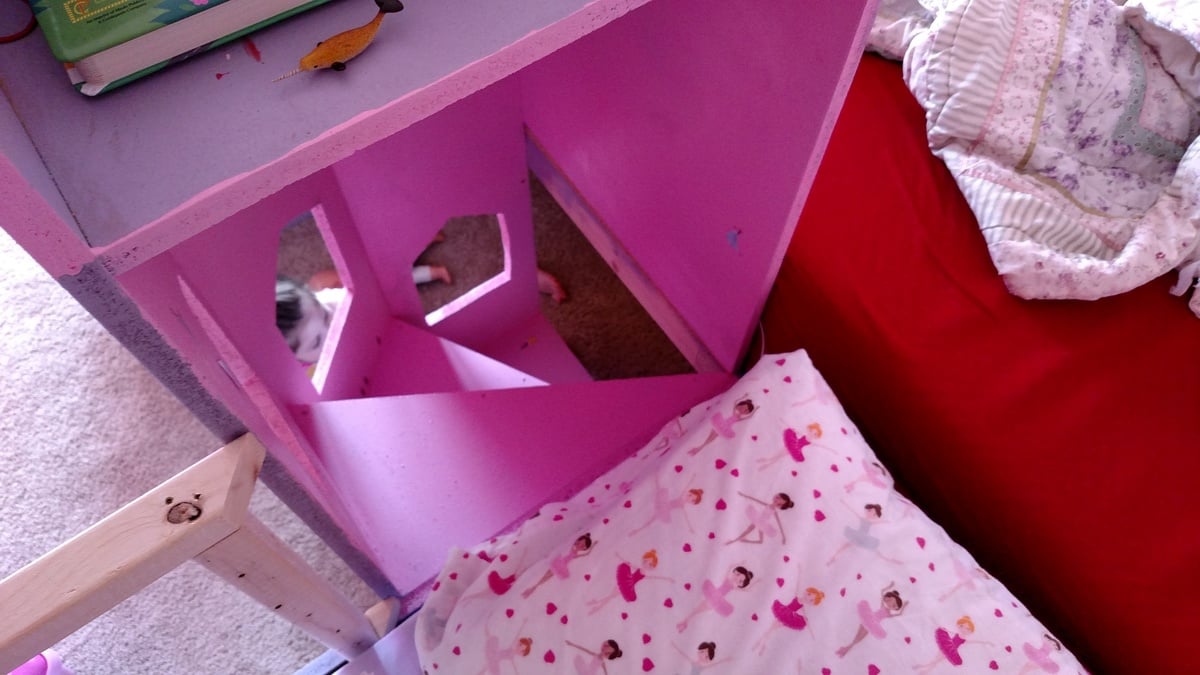
This was my first time ever using a drill AND a staple gun, and my first woodworking project since I made stilts out of wood and glue for 4-H, like, 25 years ago!
I'm not sure I did it right, and I had to place a plant stand strategically in order to keep it standing upright, but the boys love it so far! I ended up using the curtains that I had in the boys room, and the loops weren't big enough, so I improvised with ribbon, and the curtains weren't quite long enough to go around to the bottom, but I figure having the staples showing just made it look cool and industrial :)
All in all, I'm pretty darn proud of completing my first project!! Thanks for the awesome plans!
Tue, 02/21/2012 - 11:42
Congratulations, a great job! I like the colorful curtains you used!
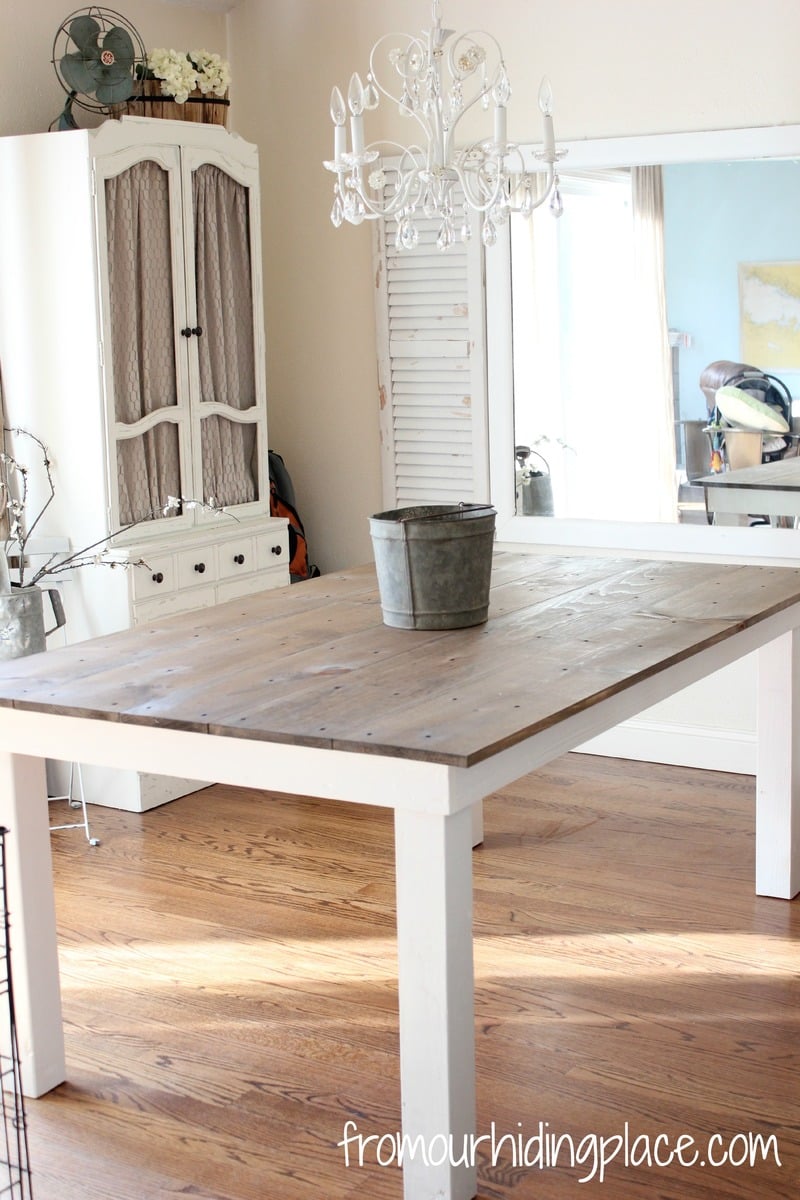
Using Ana White's Rustic Table plans, I recreated her design by modifying the measurements to fit my dining space. I did not use wood glue, as the plans call for, and simply left the wood screws visible which I felt added a rustic touch. The top is stained with Minwax Special Walnut #224, and the bottom is painted Simply White by Benjamin Moore. The table measures 72"x42" and is 30" high. It can comfortably seat six chairs.
Sat, 09/07/2013 - 12:22
I love your choice of colour! It's the perfect backdrop to a nice dinner full of colour! I'm getting inspired to try this now!
Comments
Ana White Admin
Mon, 08/24/2015 - 10:26
She's a beauty!
Thanks for sharing your amazing kitchen island!