Community Brag Posts

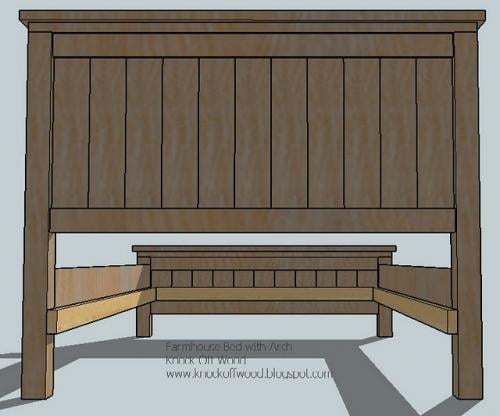
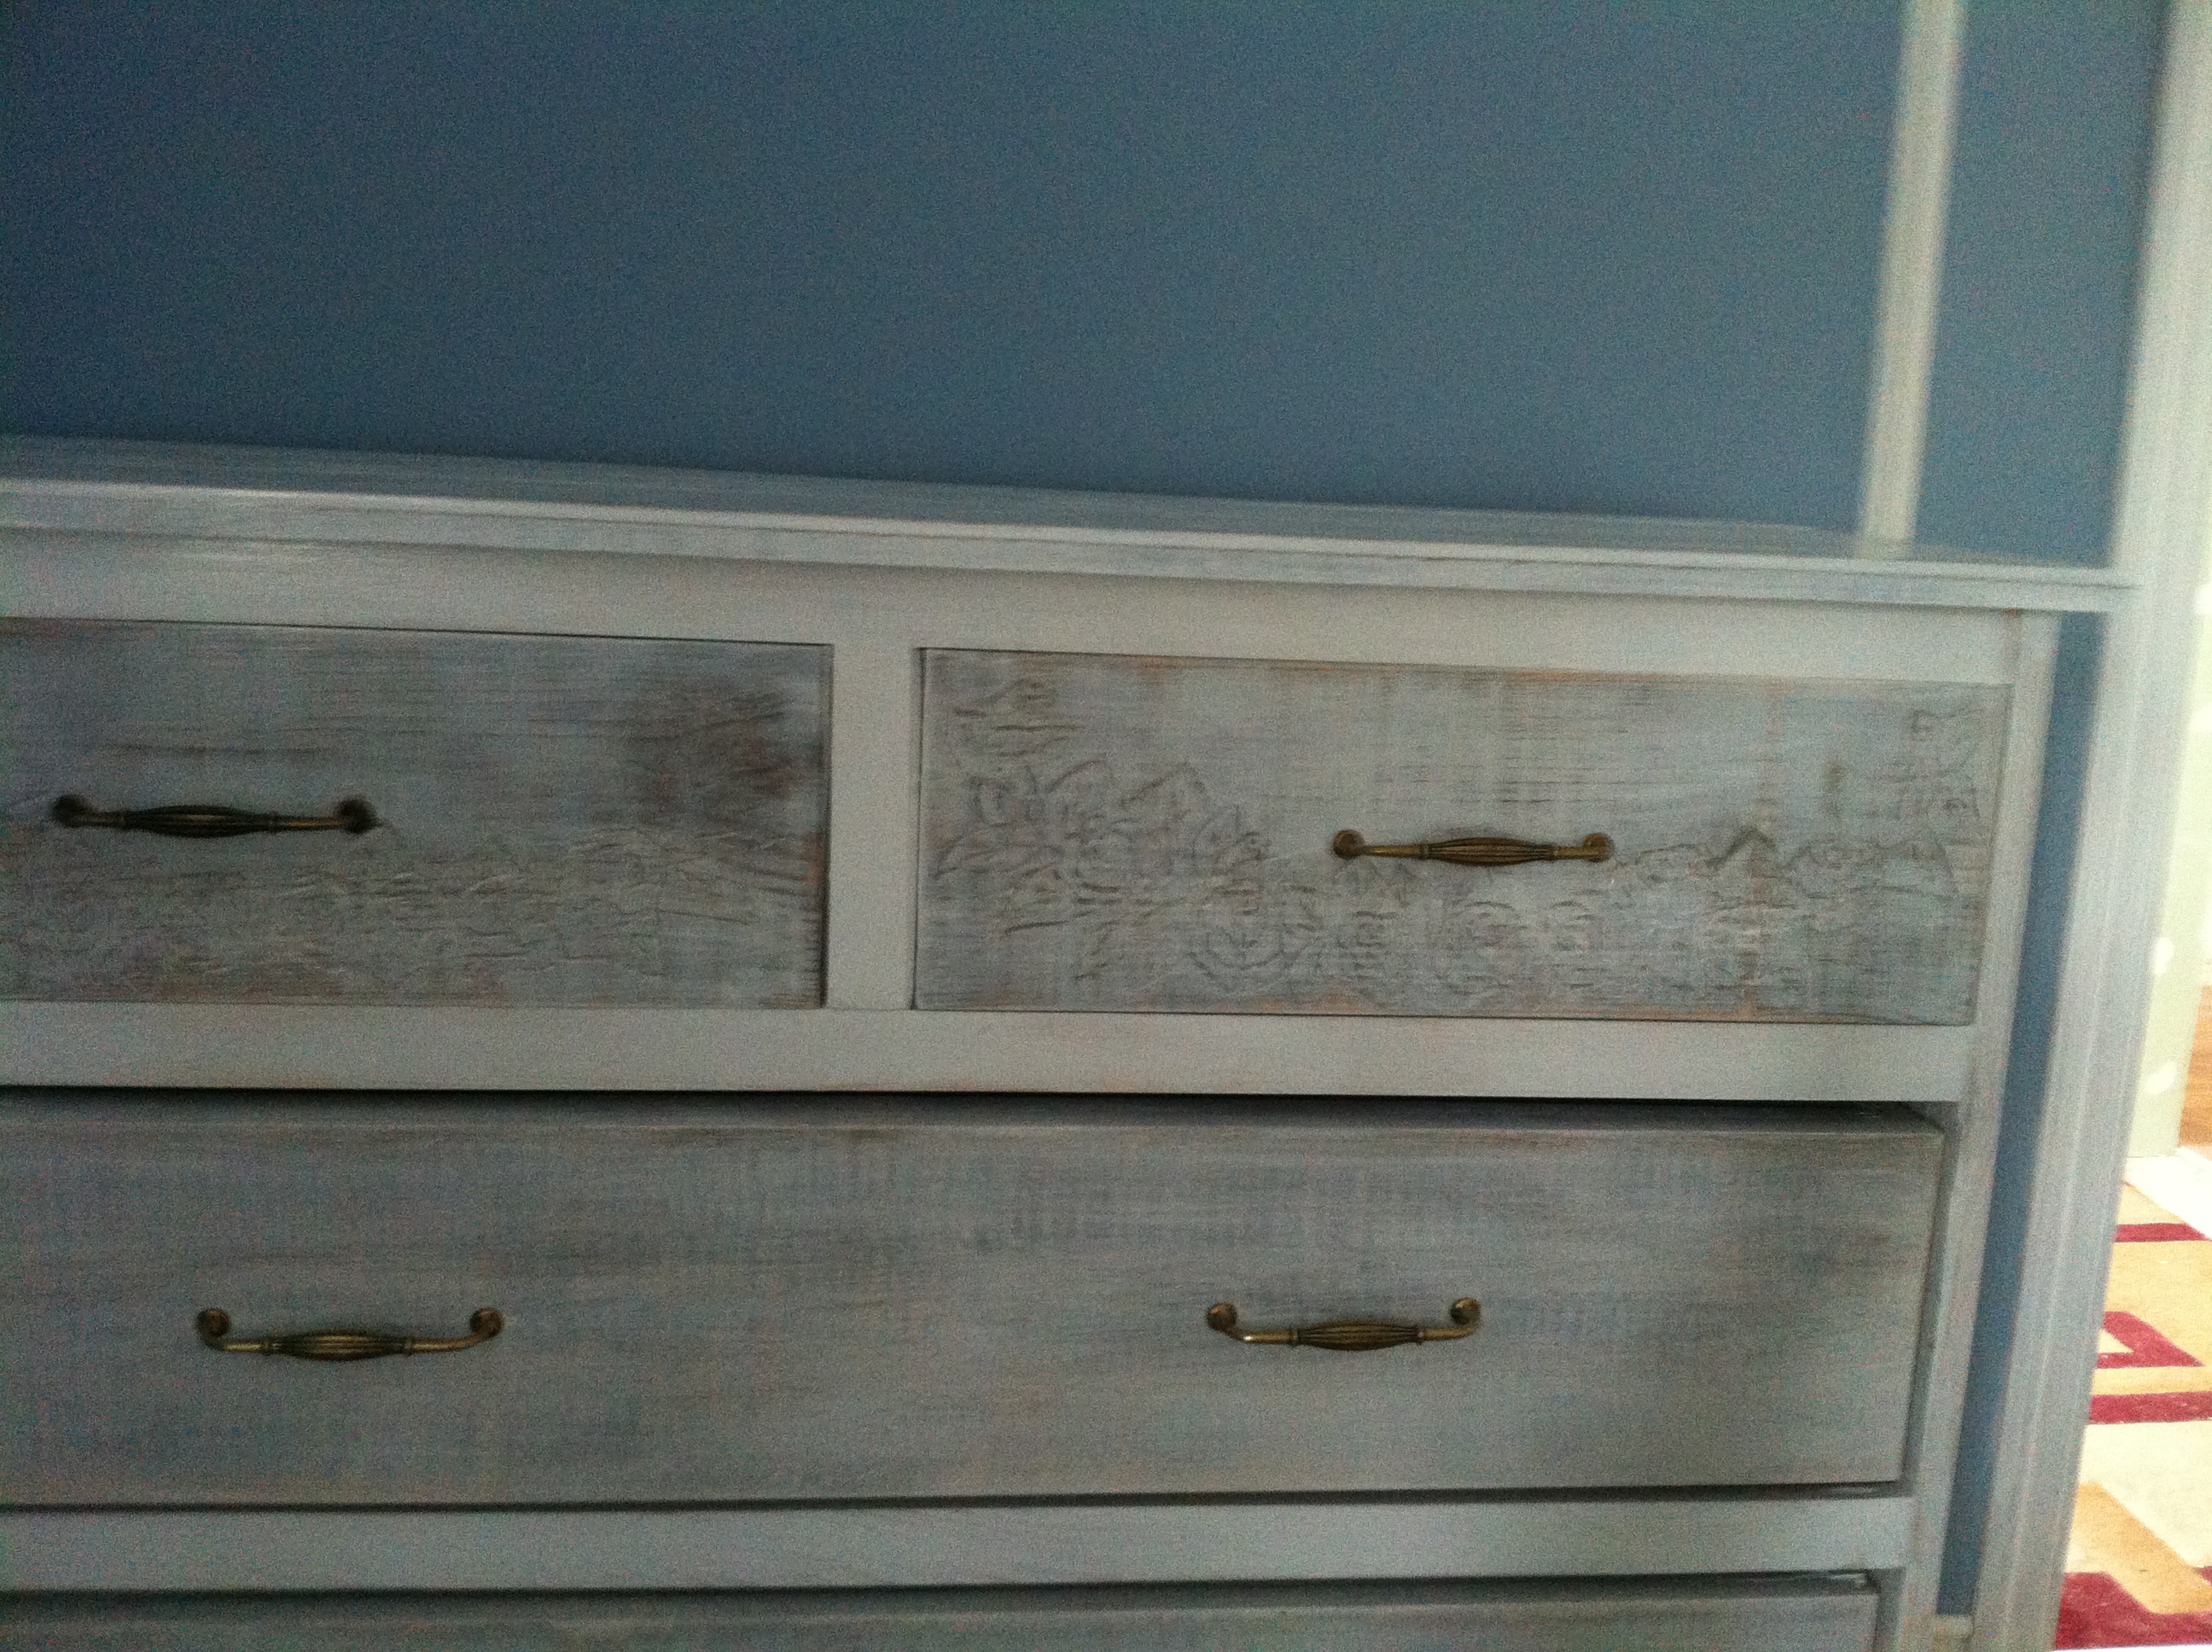
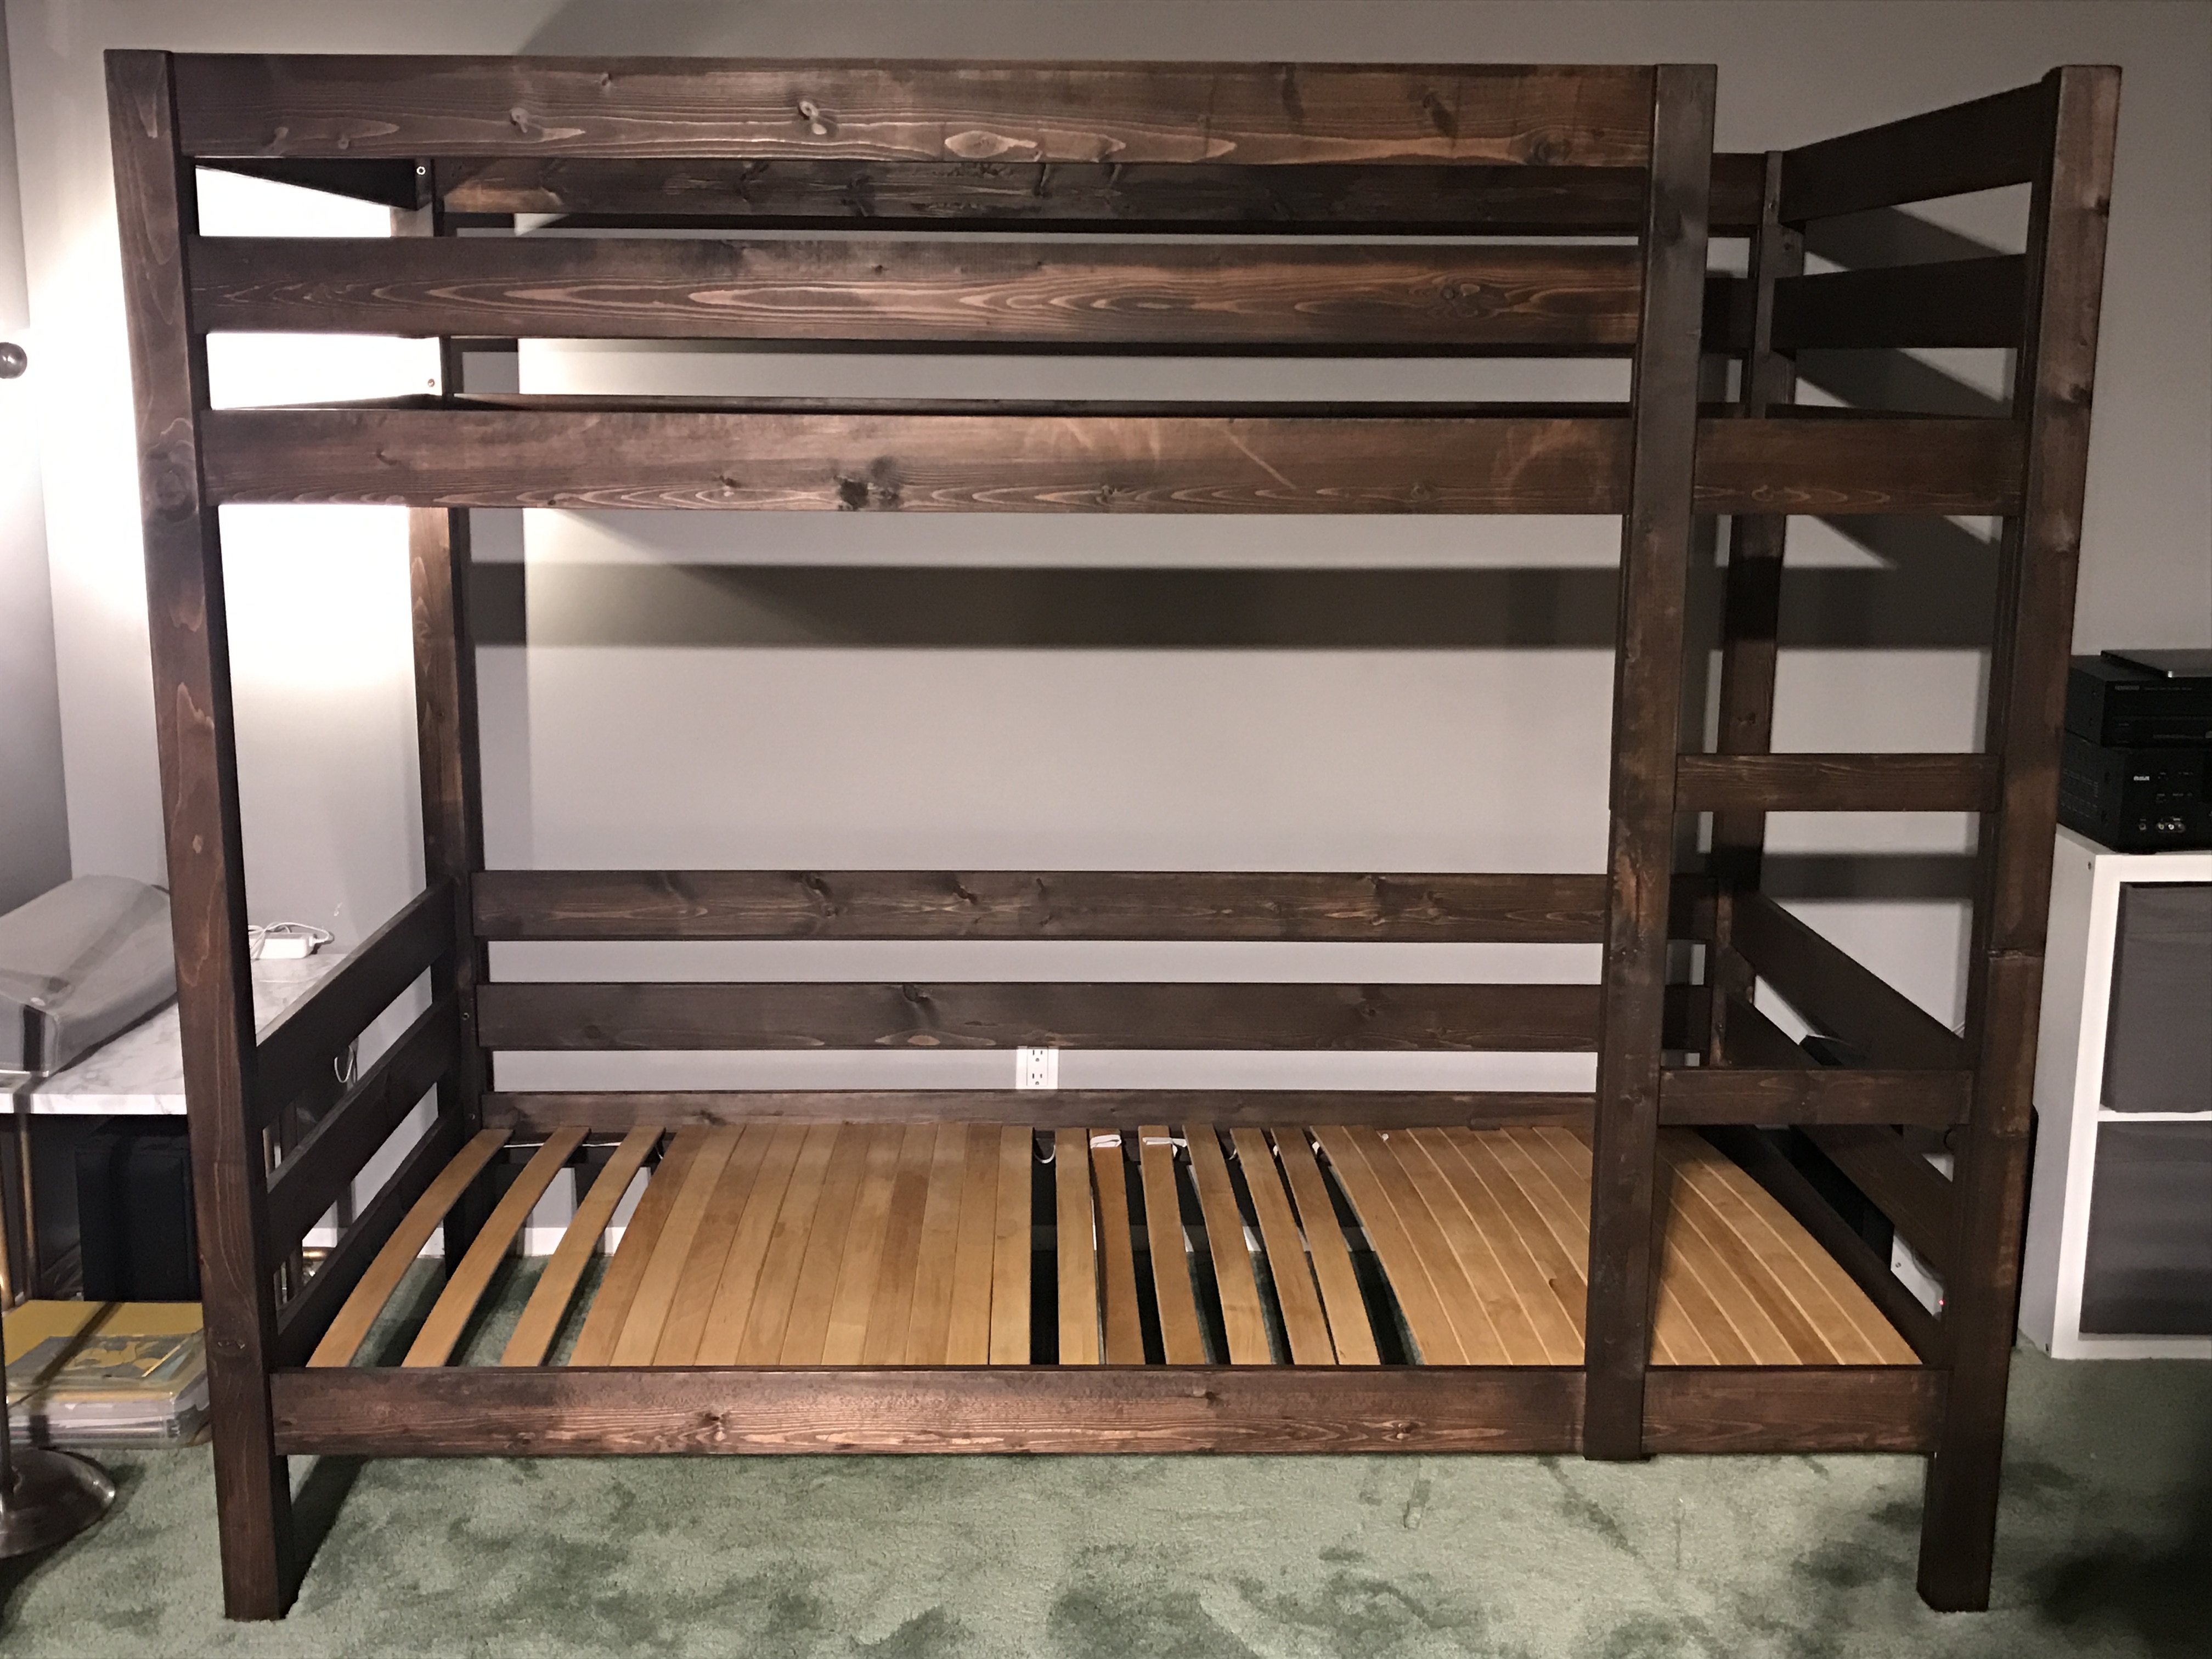
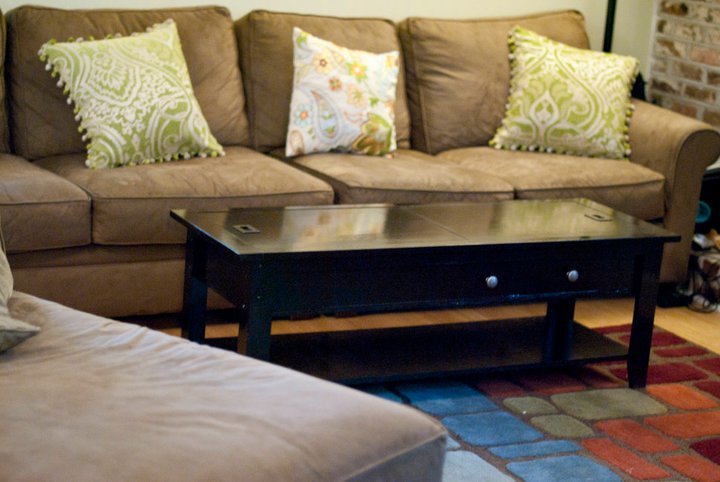
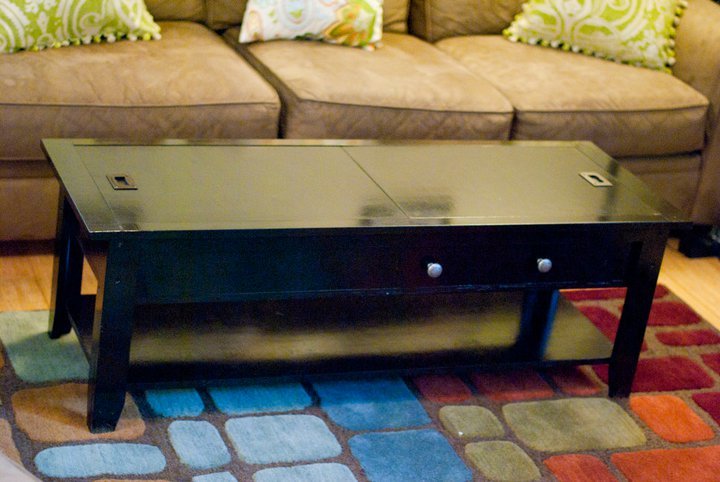
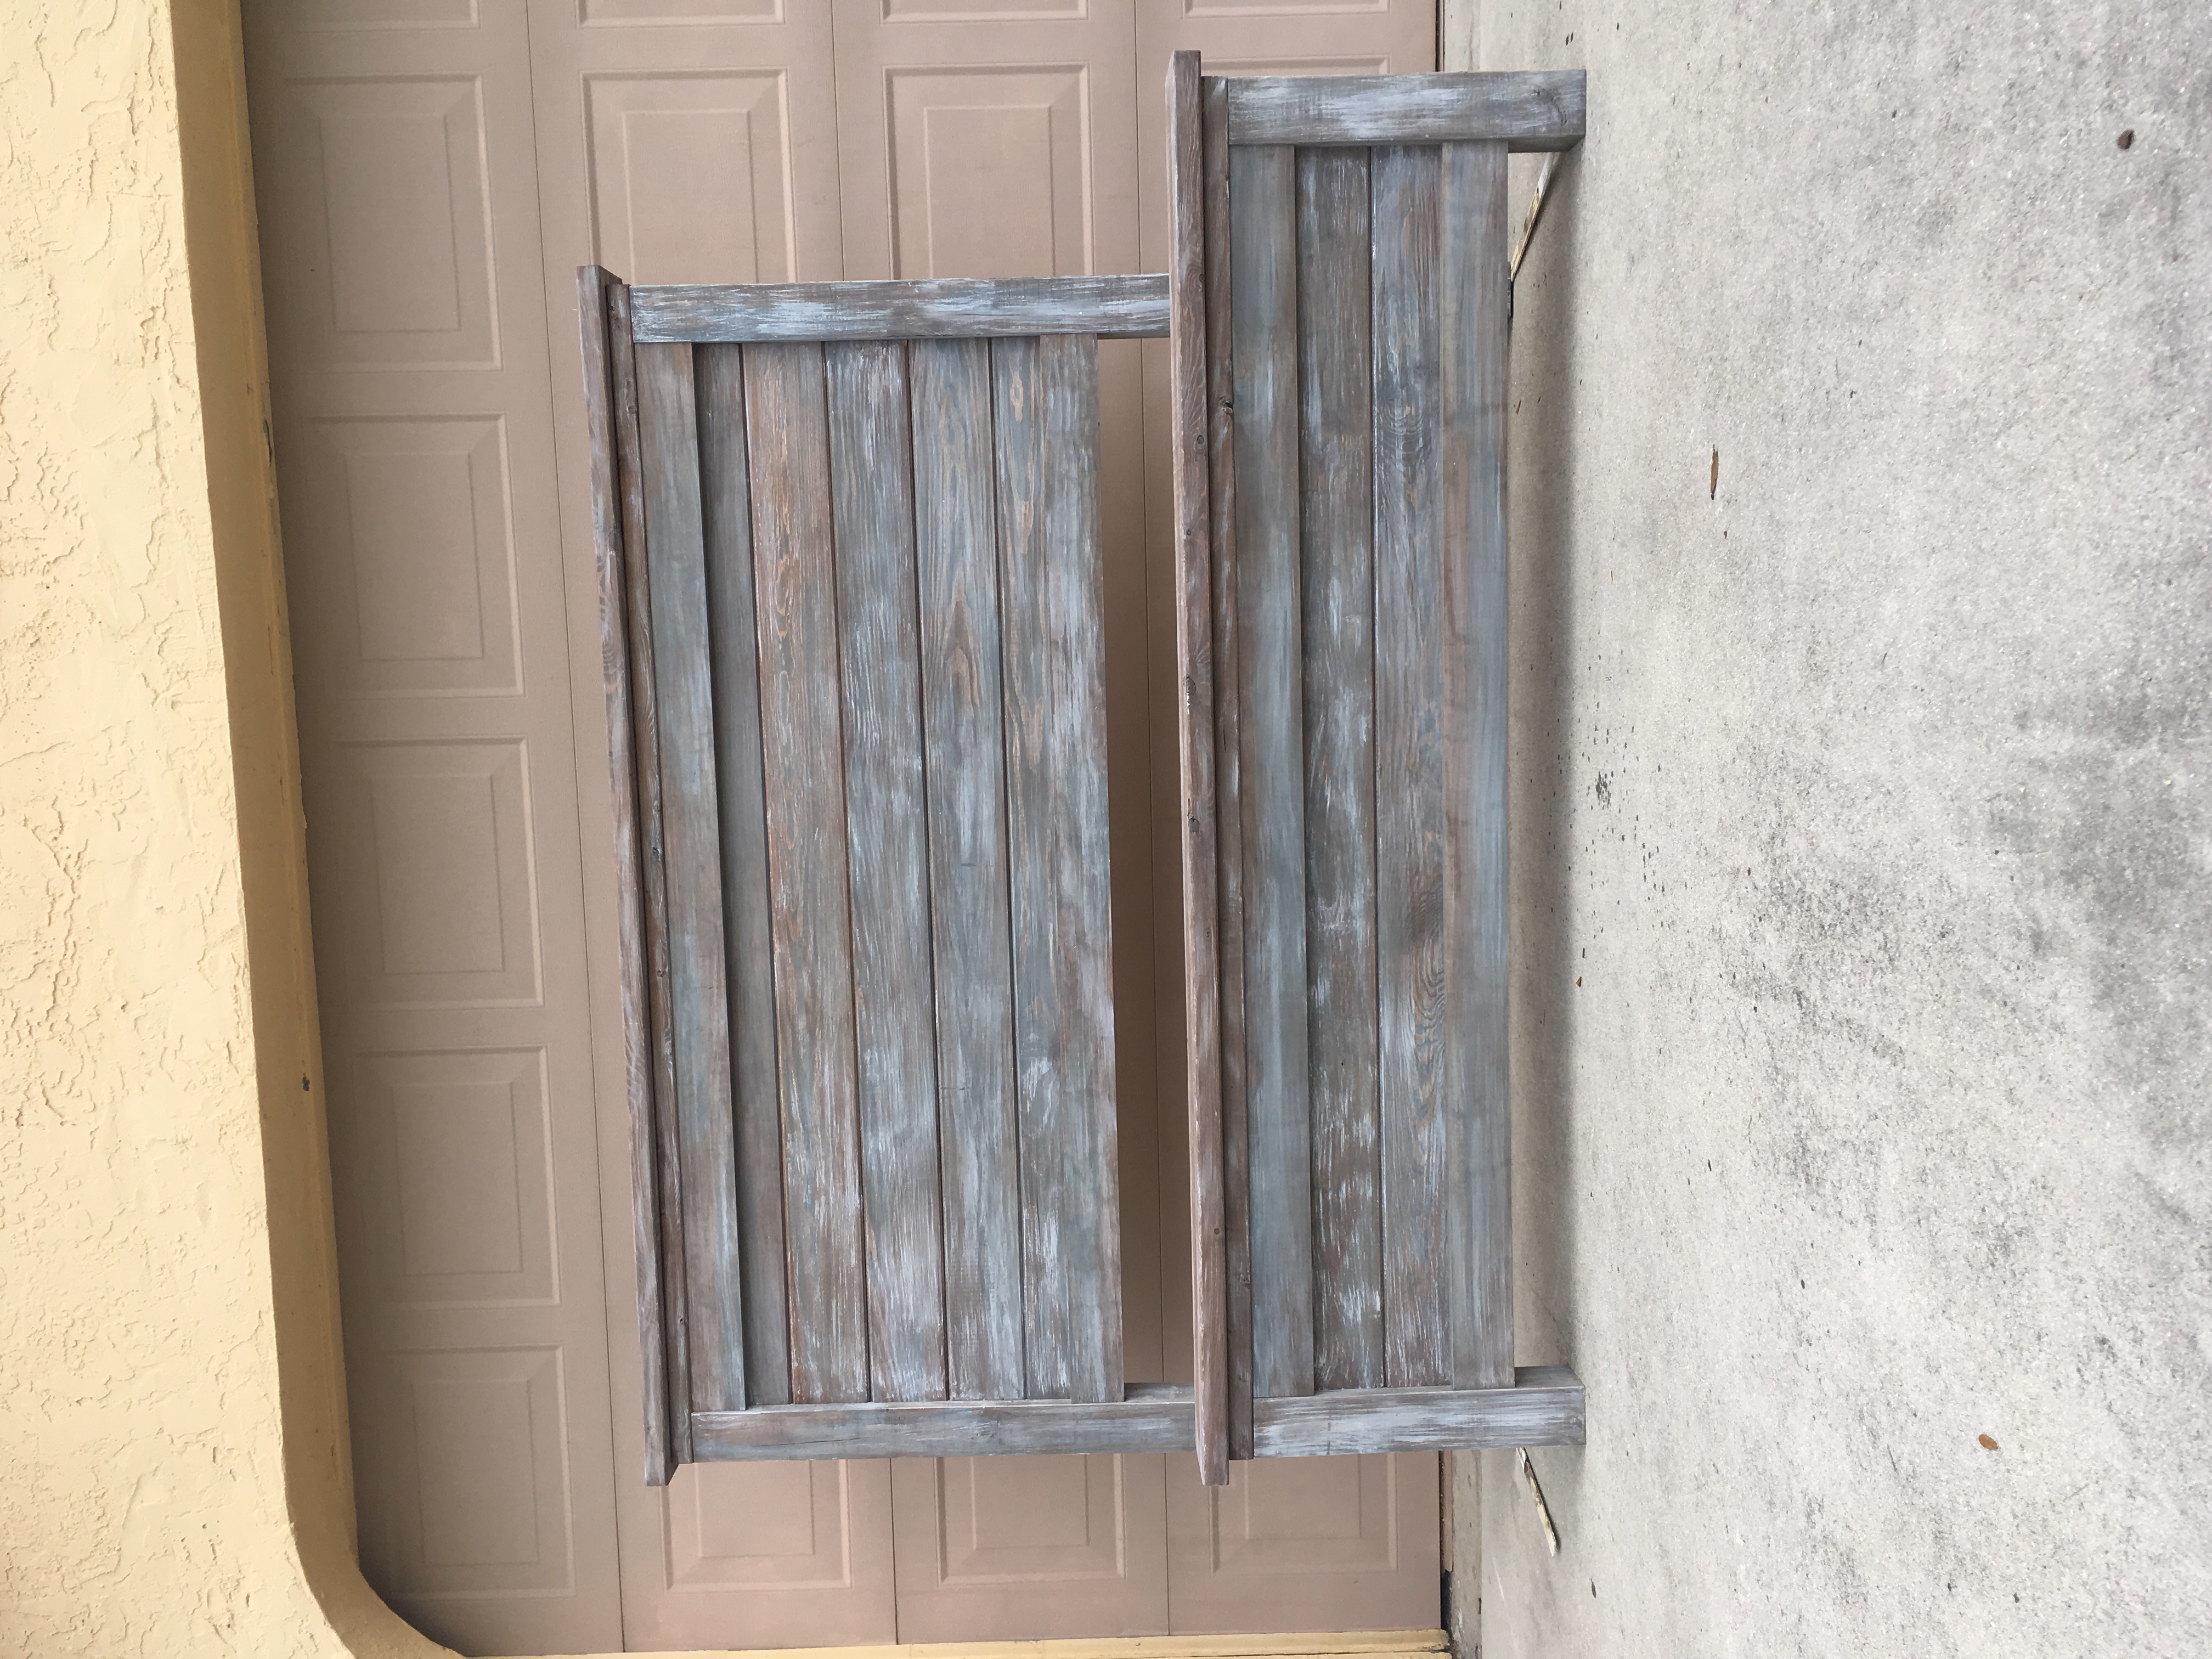
Sliding Door Console

Submitted by kbdesigns on Sat, 11/14/2015 - 12:10

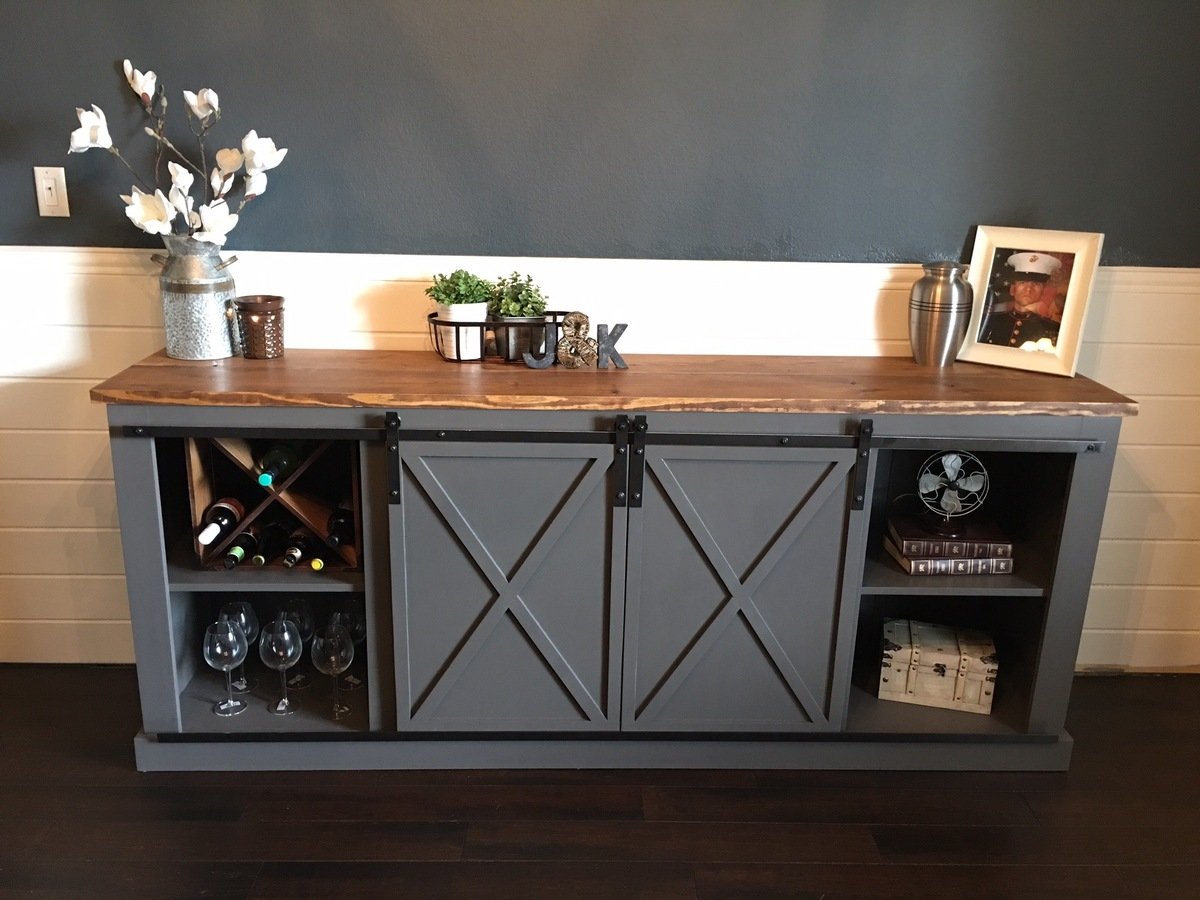
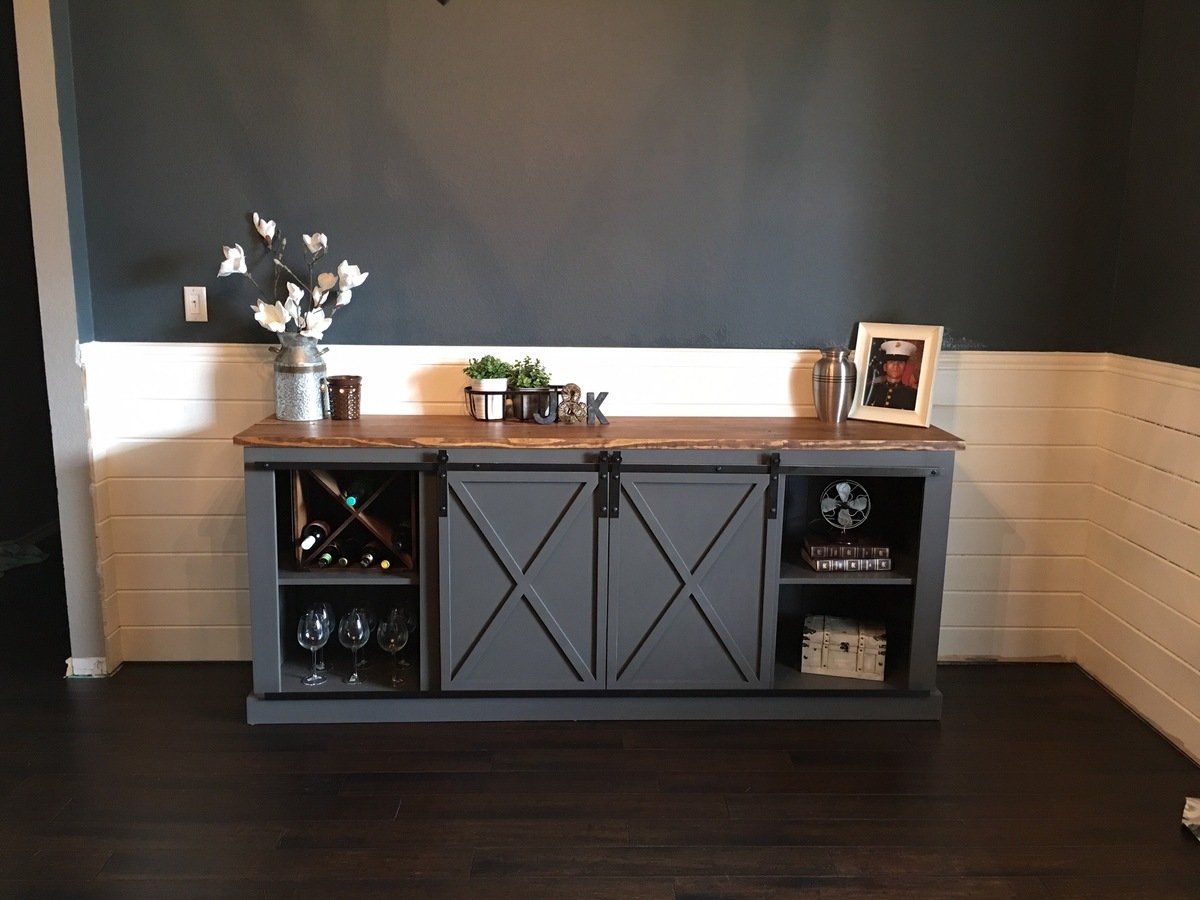
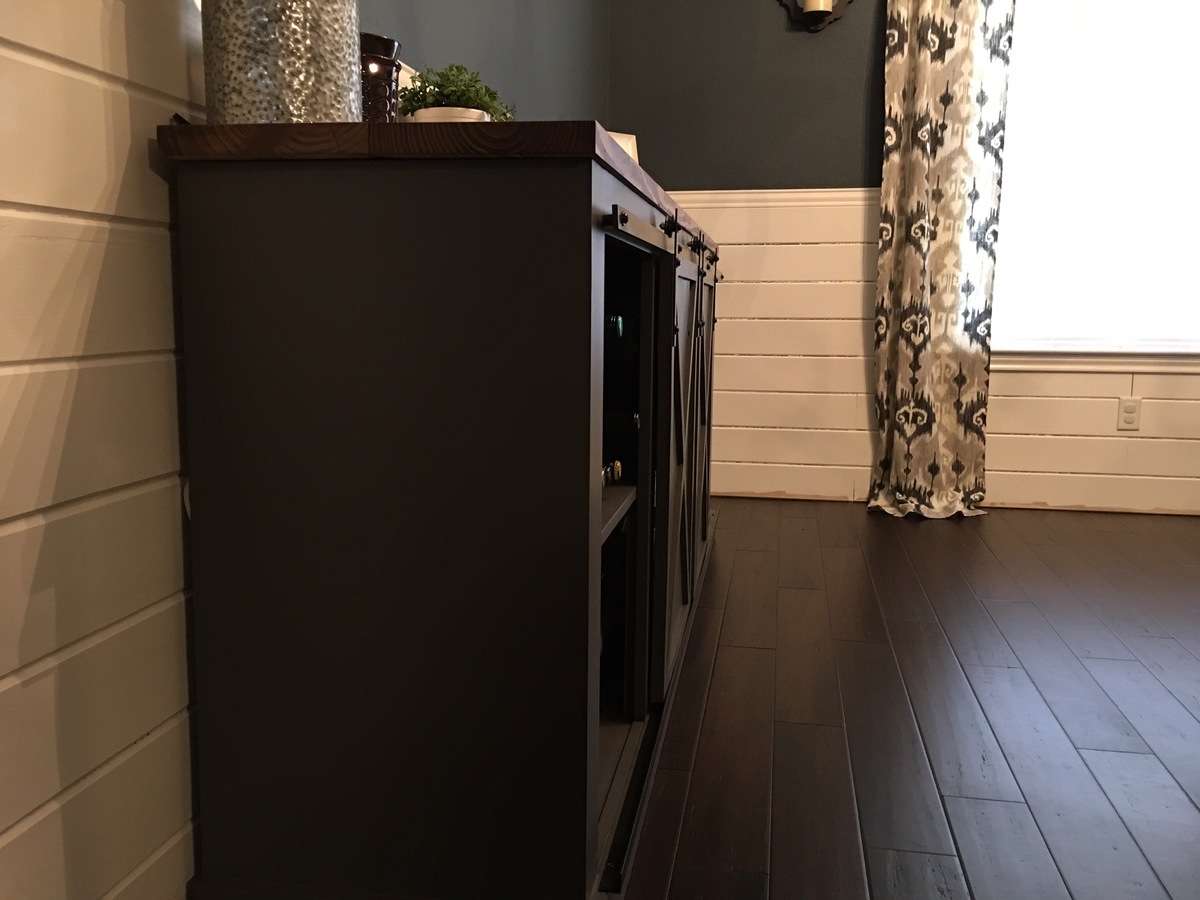
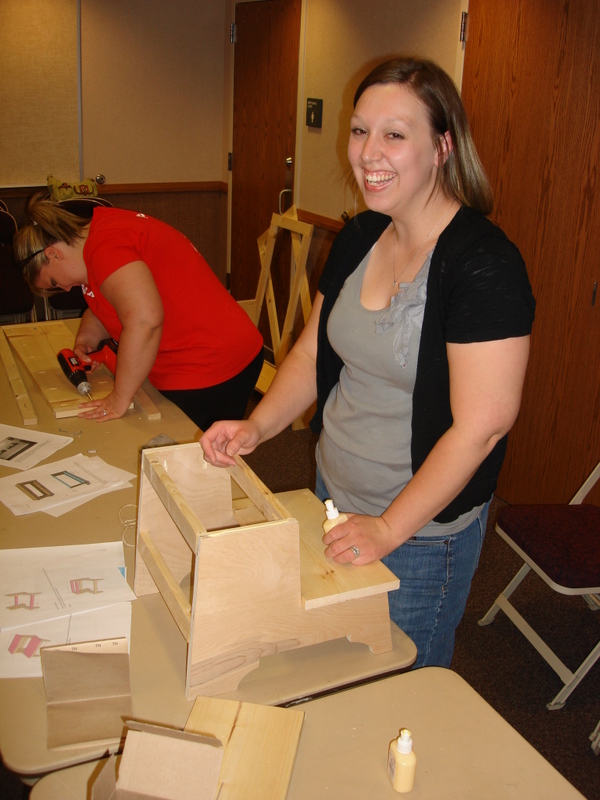
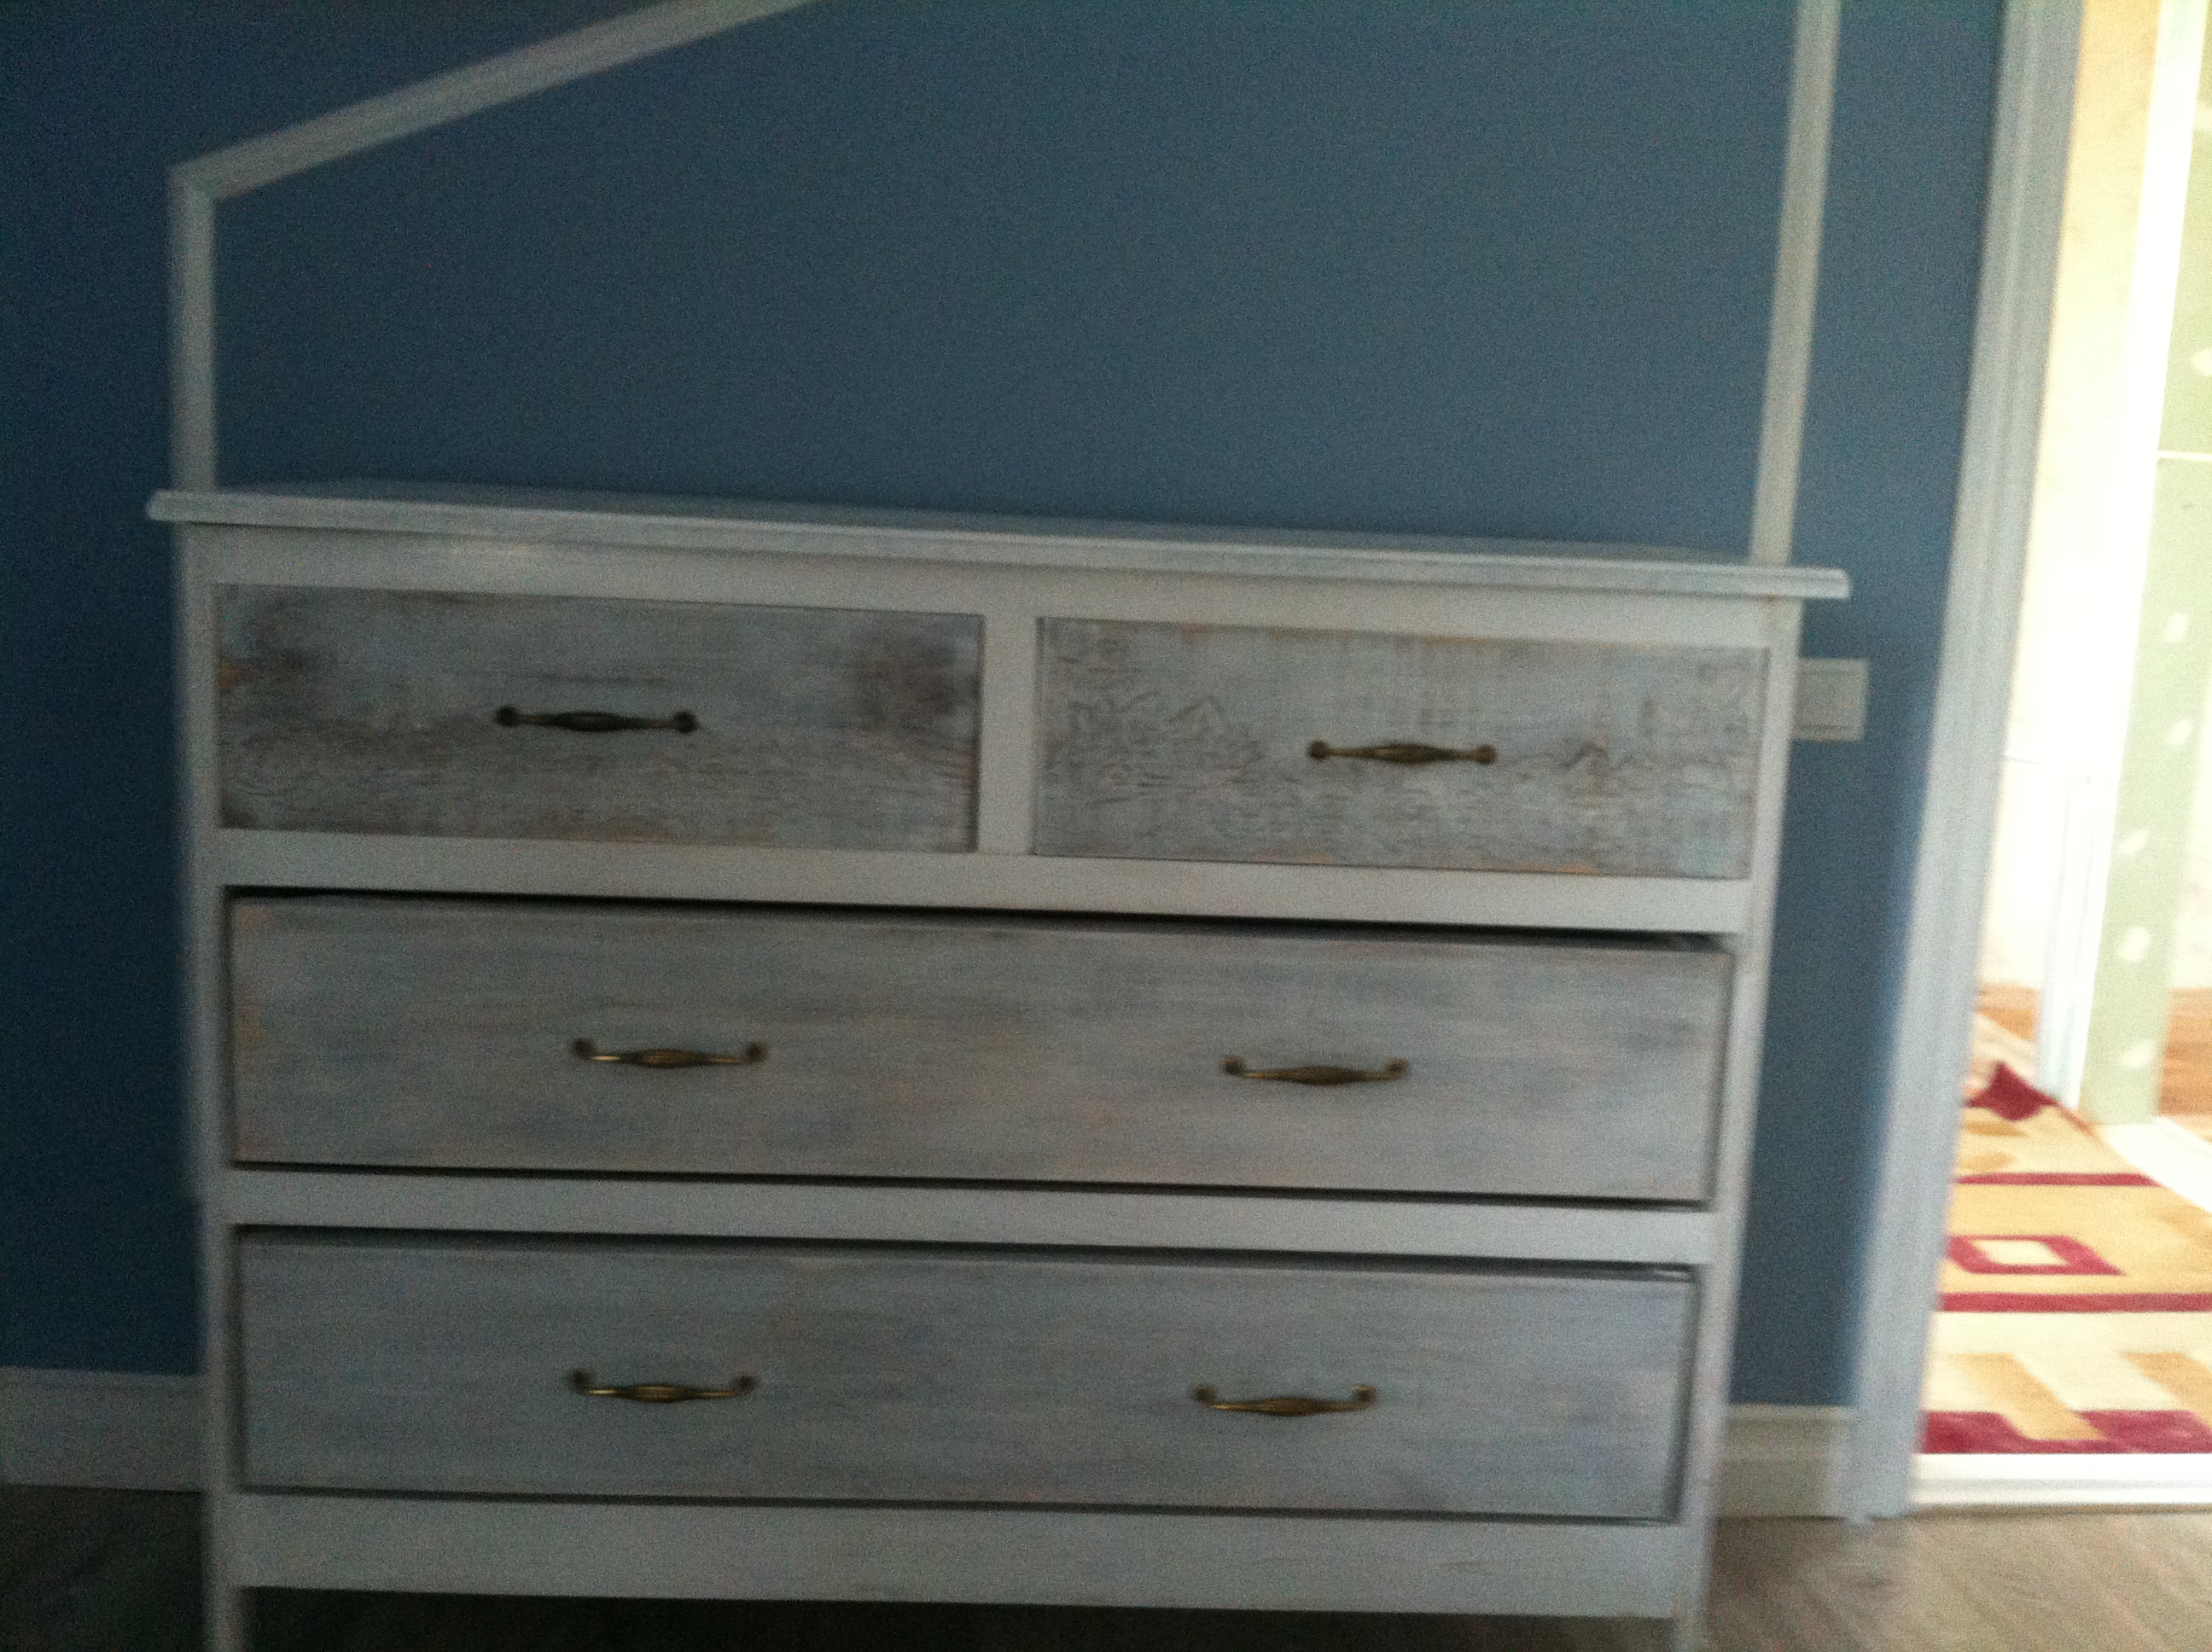
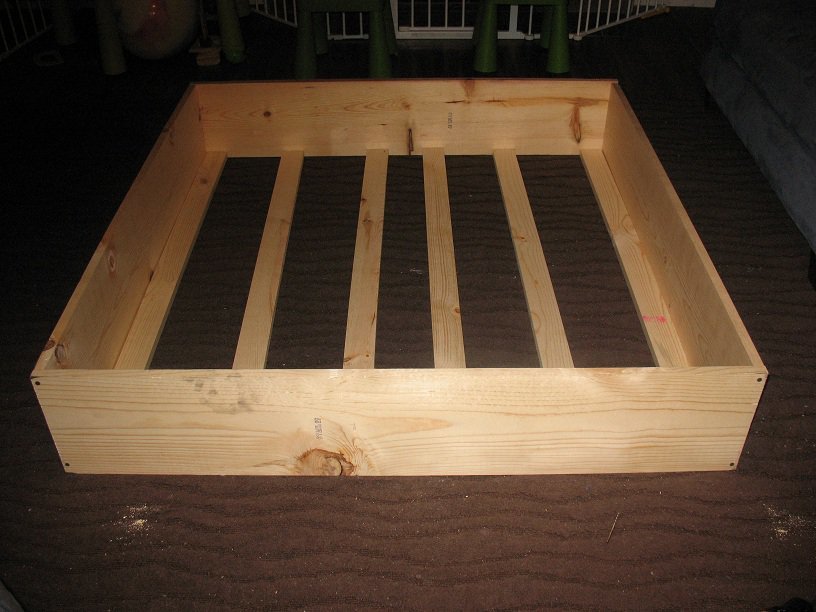
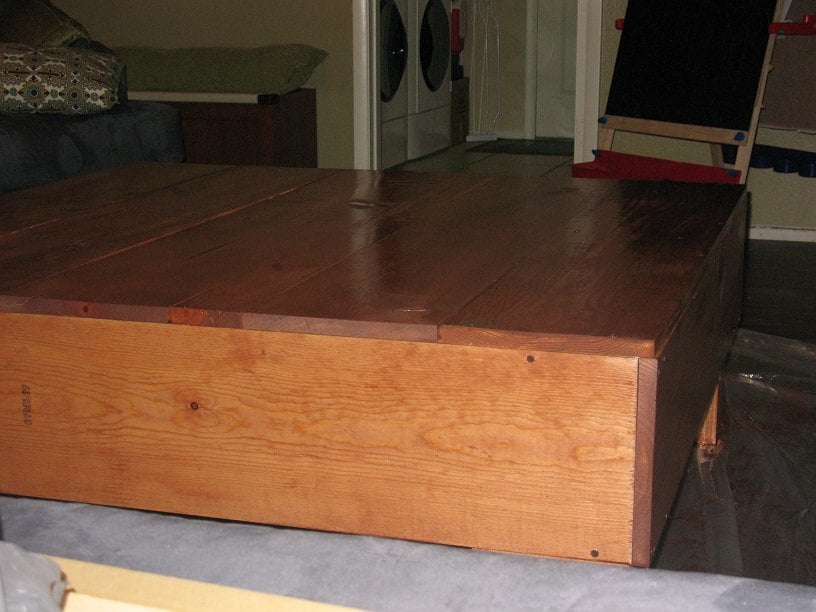
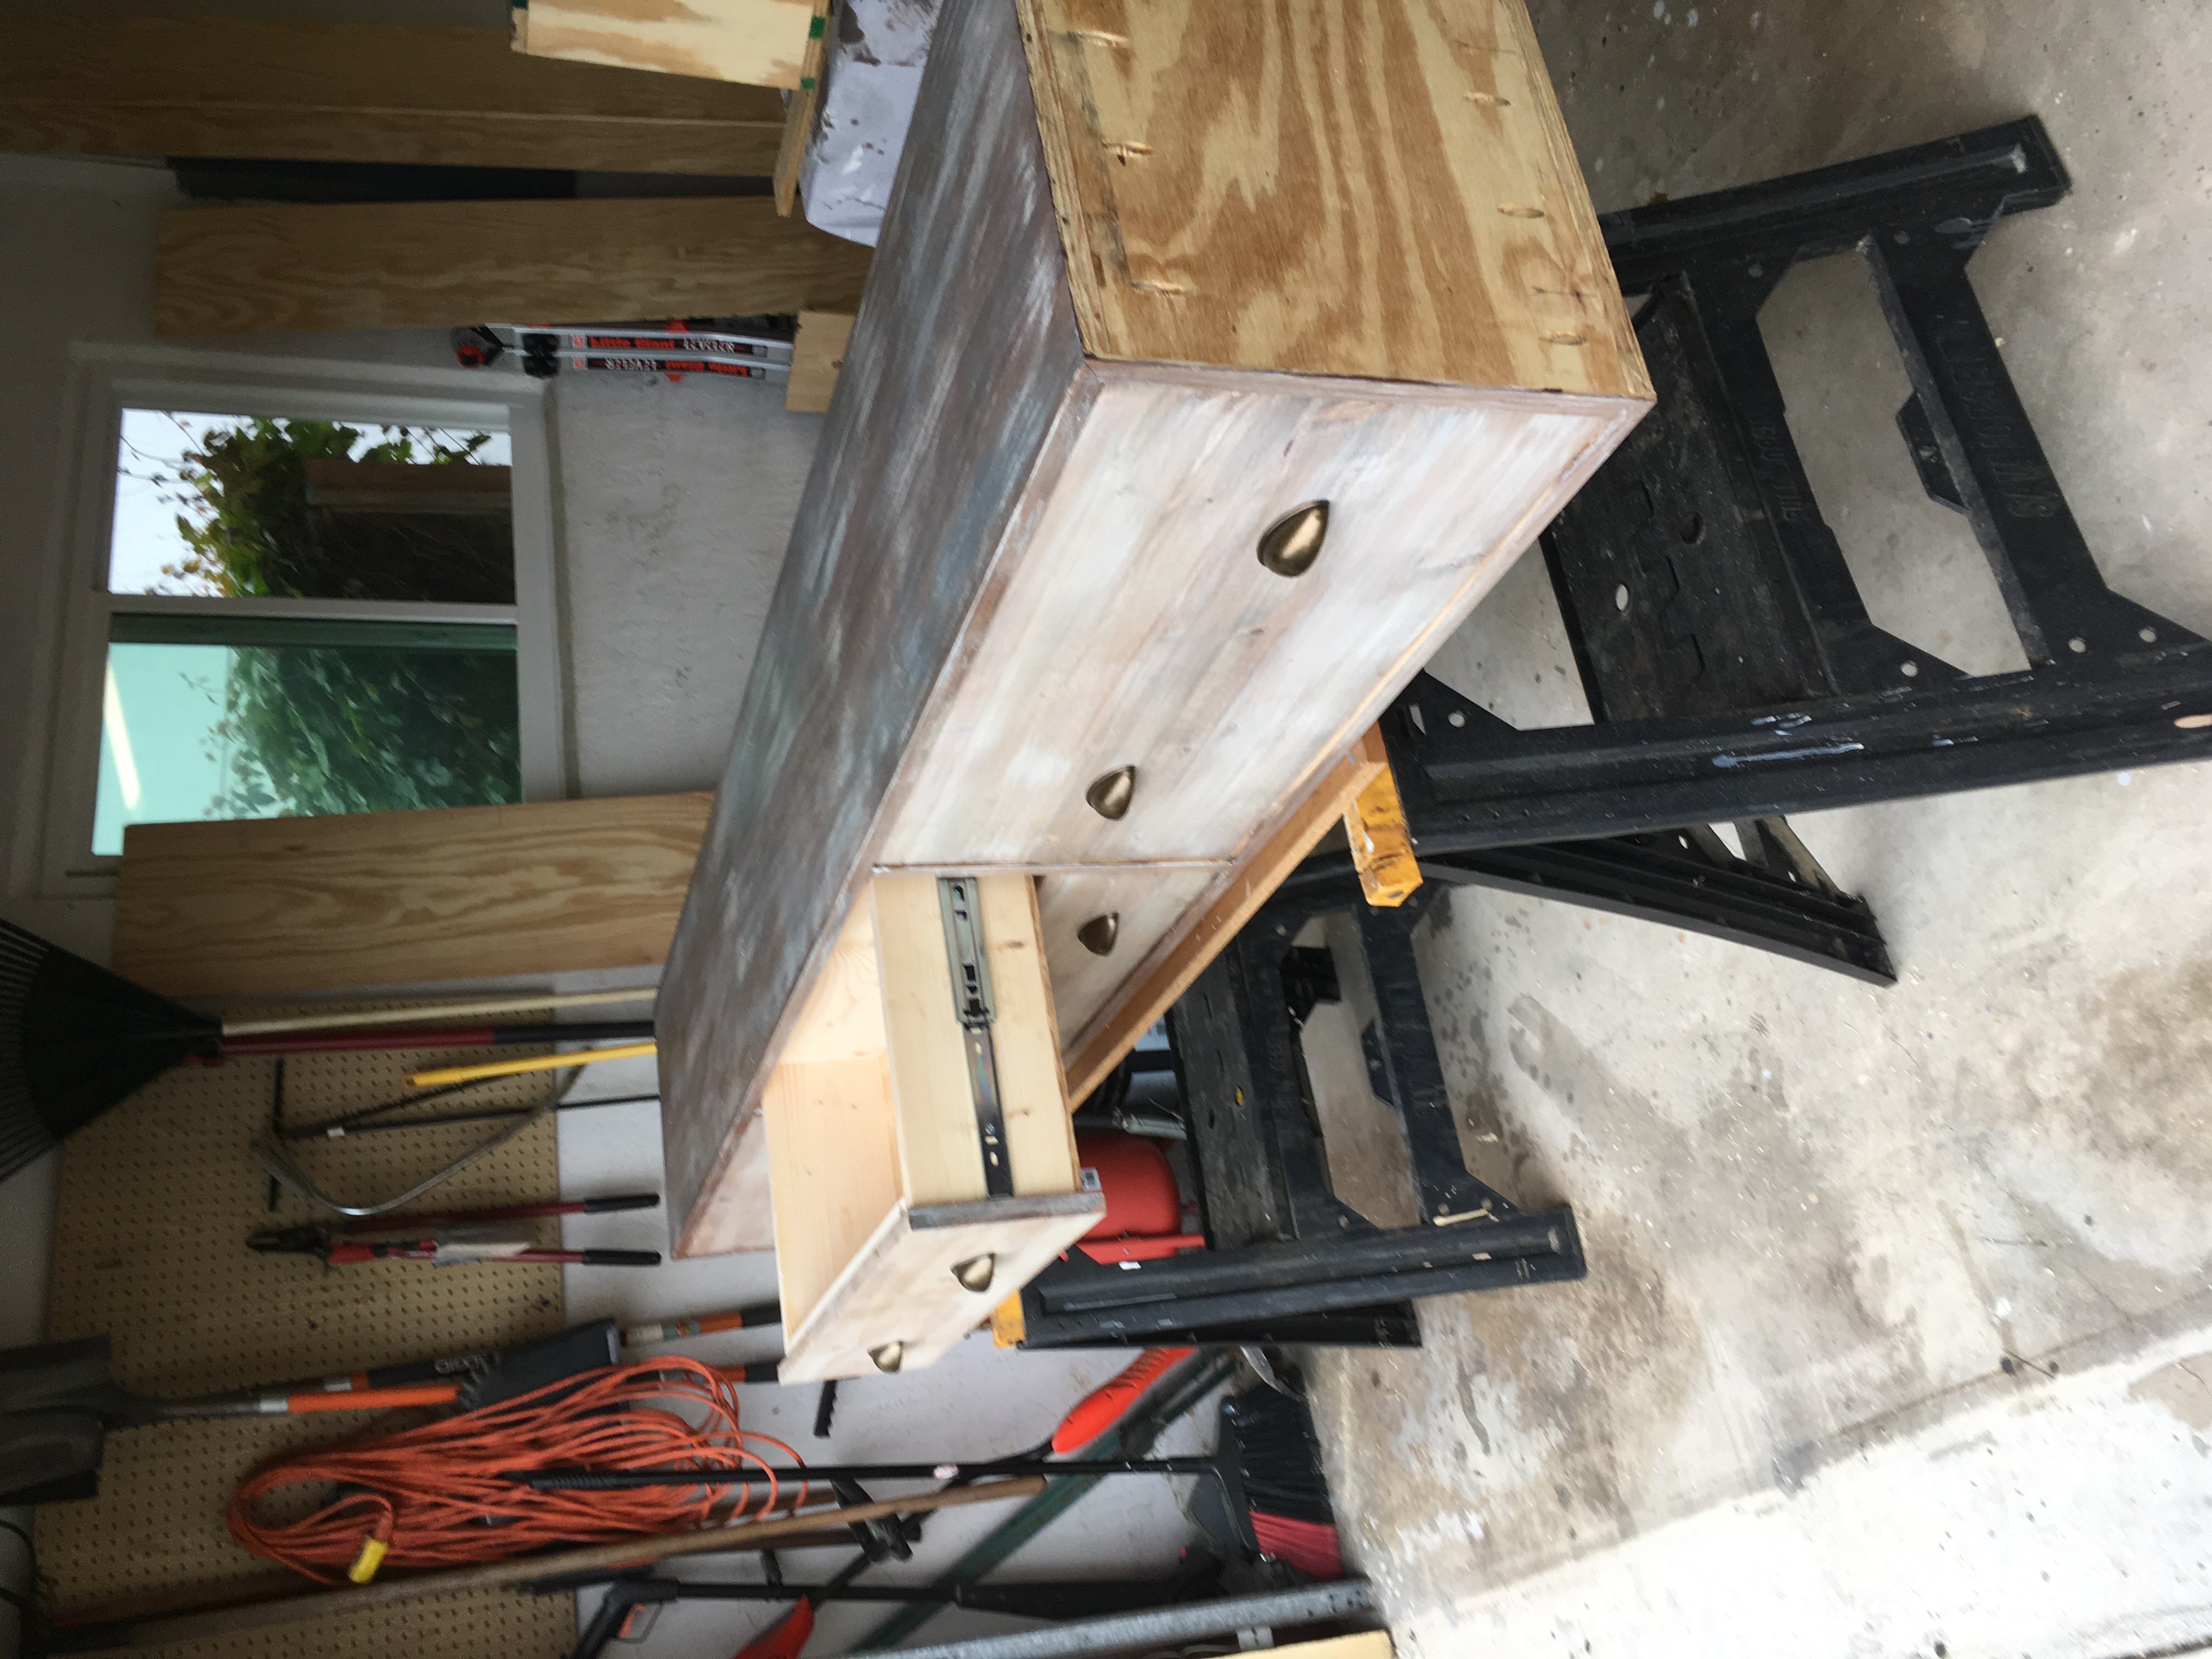
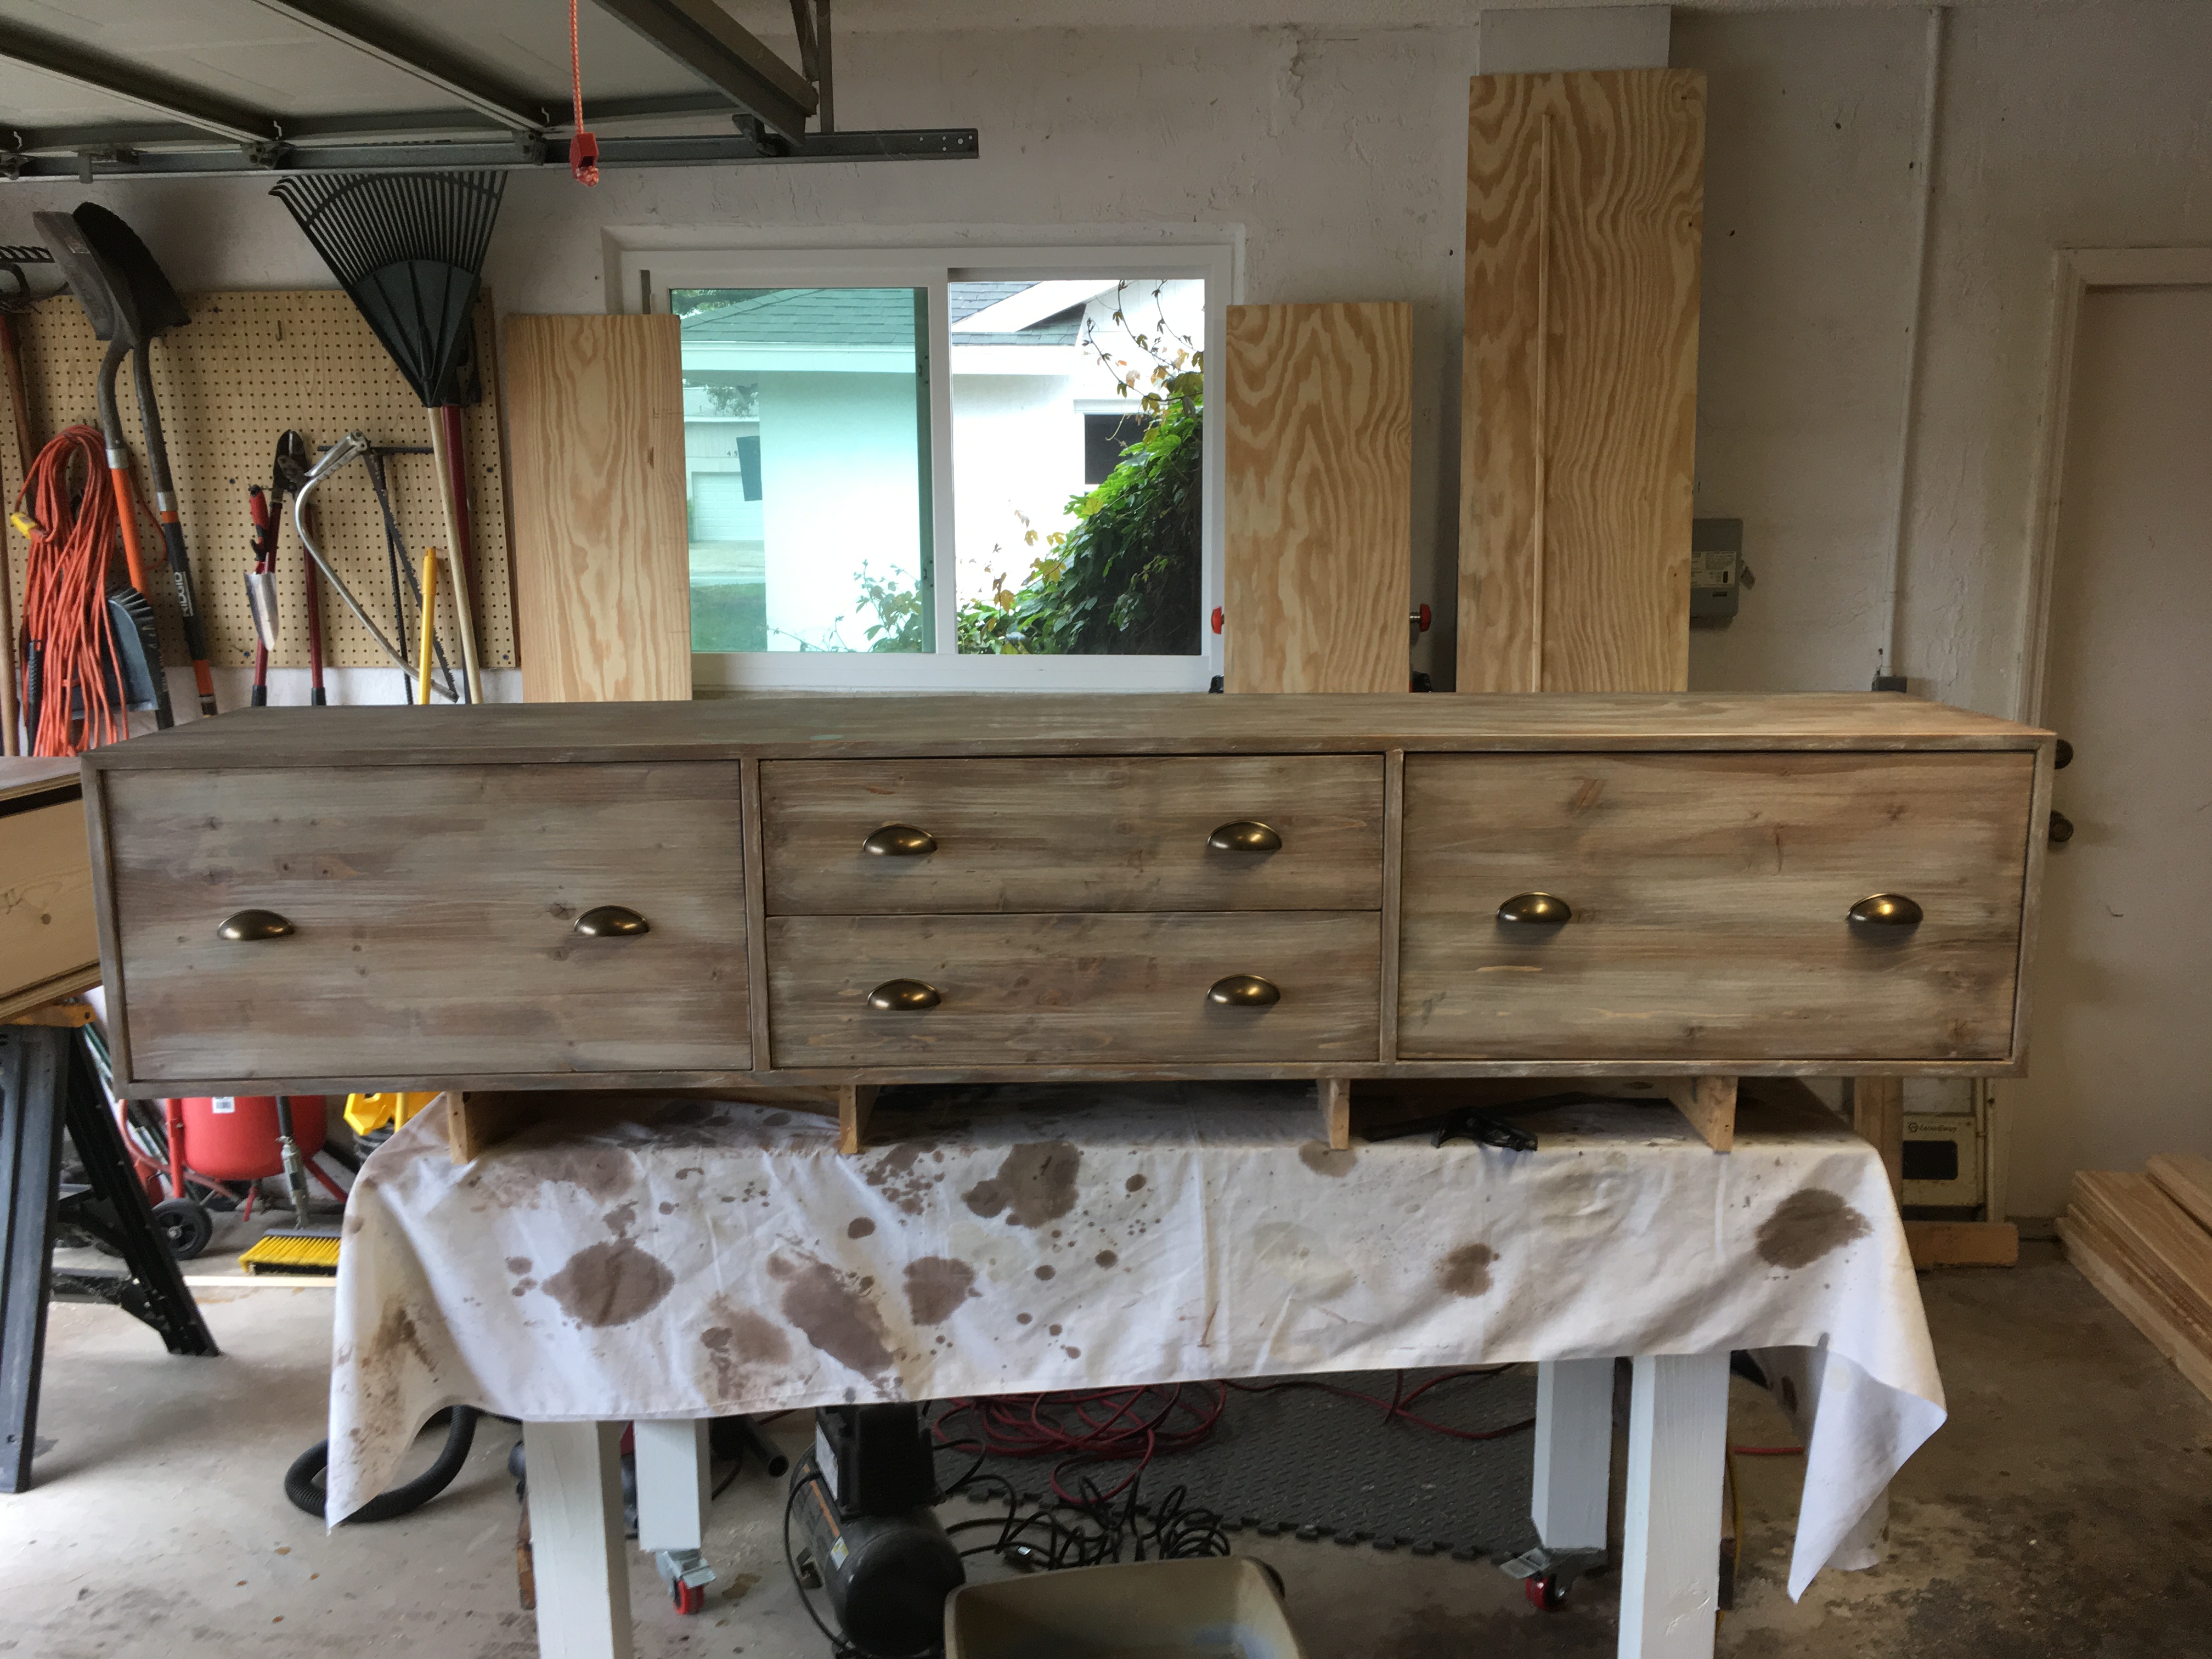
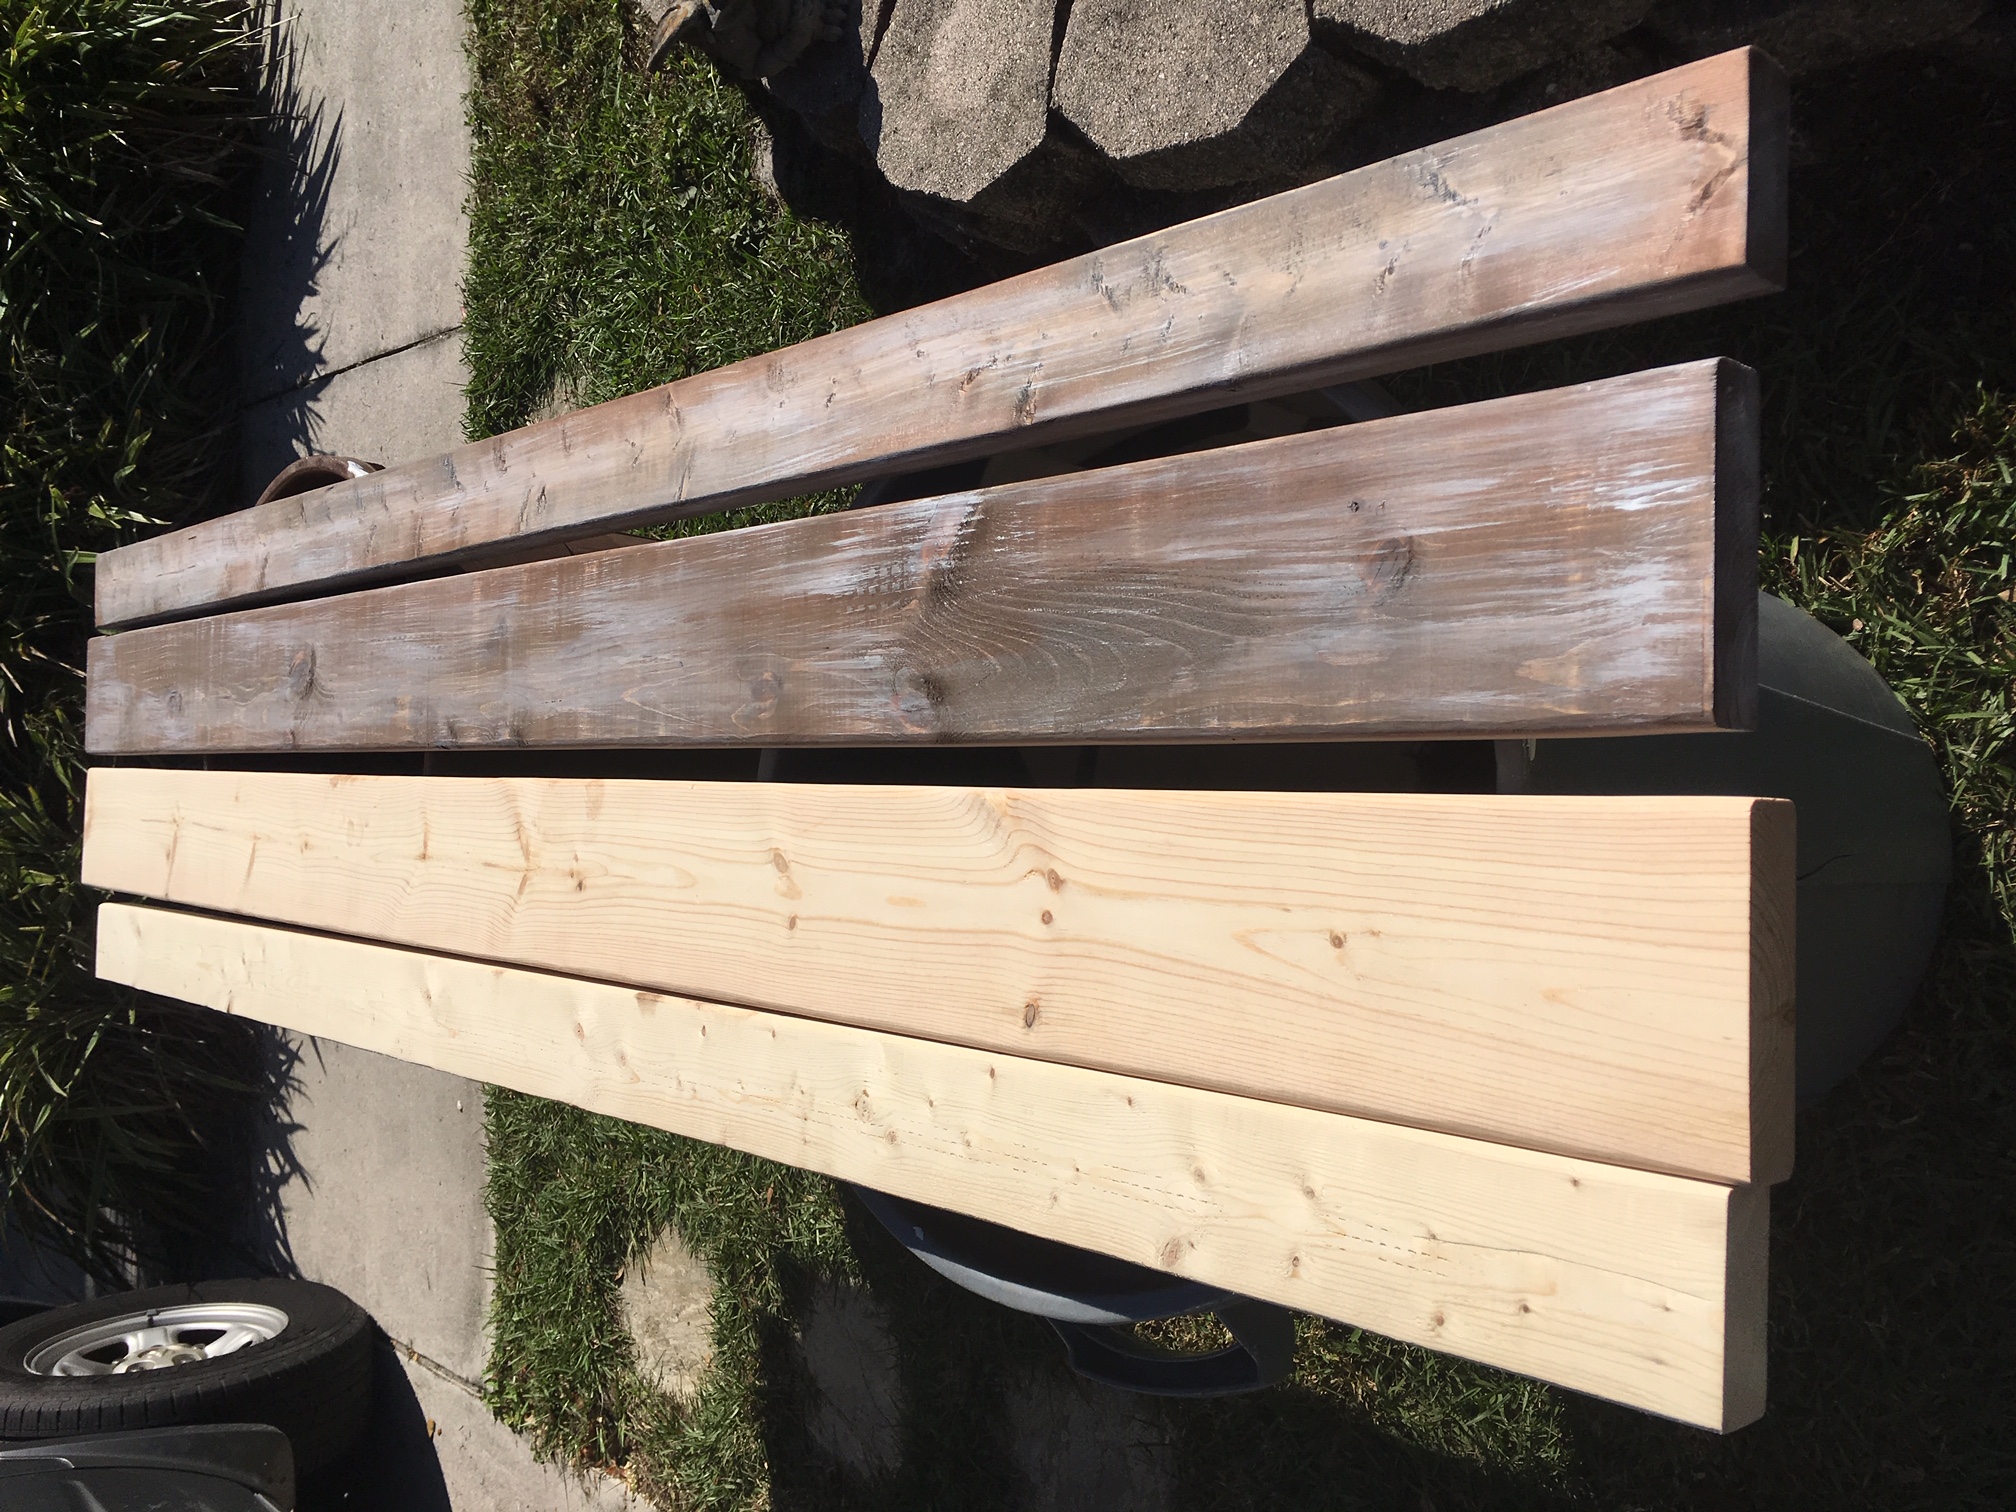
This is my build of the sliding door console. I built this for my wife after she insisted we needed this for our dining room. The build overall was pretty easy, after my wife decided to change the paint color 3 times (yes, after we had bought the gallons, and I had it completely painted every time). I will say though that if you plan on painting this then you should use plywood for the front facing boards of the frame. I built mine over the course of about a month and after I had painted it I noticed significant wood shrinkage on the areas where boards came together. Plywood shrinks minimally if any at all so it should take care of that issue.

P.S. Don’t mind the unfinished construction in the background, we are in the process of installing bigger baseboards, and the planked walls are still unfinished.


Built from Plan(s)
Estimated Cost
$180-240
Estimated Time Investment
Week Long Project (20 Hours or More)
Finish Used
Special Walnut
Recommended Skill Level
Intermediate

Comments

kbdesigns

Wed, 12/23/2015 - 15:00

Hey, Im so sorry for the late reply. I hope you were able to get that doors/hardware done without problems! The doors werent bad at all, I added right angle bar below the door into my plan to keep them gliding smoothly and in line. Also we have a 1 and a half year old that would most definitely figure out a way to get the doors off without it. As far as the rest of the hardware, I used the link that Ana posted on her original post for building it, it wasnt too bad at all. I had to improvise on a few things, other than that I just followed the instructions. Let me know how yours turned out!

Ashlin

Sat, 03/26/2016 - 08:44

Looks fantastic! Where did you purchase the barn door hardware from? Finding it difficult to find some that won't break the bank!

Shannon92314

Fri, 07/22/2016 - 23:56

I recently completed this project with a few changes. I used 1/4th inch aluminum flat bar for the track and the hinges . For the wheels I used metal screen door replacement wheels. I originally had the pully wheels, but when they are on flat bar it's very difficult to move and has a rough time sliding across the flat bar. The screen door wheels were about $6 and gives you a nice smooth glide for your door, because the wheels have ball bearings. 

ryanb4614

Sat, 01/09/2016 - 17:53

Hello. I have one built, about 90% done just need some staining and paint. My wife and I went to home depot today to look at paint and looked are your intellectual because we really like how yours turned out. Intellectual looks to be a dark gray? In your pictures it looks like there is a possible tint of a blue? What finish did you get? We bought a sample and painted a piece of the wood to see how it would turn out in our room. Doesn't seem to match your color.


I made some dimension alterations to our, will post picture when its complete.

kbdesigns

Tue, 02/16/2016 - 20:14

The color is intellectual, but the light coming in might make it look a little blueish. Also the color we have our walls painted behind it is "steel blue," so it may be making the buffet look more blue than gray. The finish we used was satin. Sorry this is a late reply but I hope you got yours all finished and love it!

Lvc1013

Fri, 01/08/2016 - 20:24

Can anyone recommend where to find 2x3 pieces of lumber like she calls for in this plan?  We can find 1x3 and 2x4 but no 2x3s anywhere!  

Stockweb

Sat, 01/09/2016 - 05:09

I'm getting ready to build this and found them at Home Depot. 

Stockweb

Sat, 01/09/2016 - 05:10

I'm getting ready to build this and found them at Home Depot. 

ryanb4614

Fri, 01/15/2016 - 14:43

Is that a 1x10 or 2x10 on the top. All 2x10 I find are rounded on the edges and yours look squared. Ran threw the table saw but now I am short and to big of a gap.

kbdesigns

Tue, 02/16/2016 - 20:18

I used 2 2x10s for the top but I jointed them first so that may be why it looks squared. I ended up rounding it over a little bit anyway to soften the edges. I ended up cutting off more than I wanted also and while I didnt have a gap on mine - the edge doesn't hang over on the front as much as I would like.

phillbuider

Fri, 02/05/2016 - 10:29

what color stain did you use? and when you painted it, did you spray it or roll it on? I'm struggling with the quality of paint job I can do once I finish a project

kbdesigns

Tue, 02/16/2016 - 20:22

The stain I used was Miniwax "Special Walnut." I actually used our paint sprayer that we got for a christmas present for the first time! It took a lot of practice and I ended up having to sand off a bunch before I got the technique down, but in the end it was worth it. The sprayer makes it look much more professional and finished. Just be sure if you use a polyeurathane for a sealer, that you get a water based and not an oil based.

kbdesigns

Sun, 01/15/2017 - 07:07

Sorry for late reply, I never get notified when there has been a comment. At the moment they slide all the way off, but there is a simple pin system you can use that stops them from sliding off. Thank you!

bcnk

Mon, 12/12/2016 - 08:53

So in the materials it lists 

2 - project panel pieces 17-1/4" x 36" (may be advertised as 18" wide project panel - measure in store)


What is the thickness of these supposed to be?  I cannot find this at any hardware store and was going to ise 1x4 strips instead.  My question is, if this is going to have heavy use, do I need to use thicker boards to ensure it can hold the full weight of the top?


This is for my art studio and will hold tools, printer, laptop ect.  


thanks!
B


bcnk

Mon, 12/12/2016 - 12:03

HELP WITH PROJECT BOARD SIDES

So in the materials it lists 

2 - project panel pieces 17-1/4" x 36" (may be advertised as 18" wide project panel - measure in store)


What is the thickness of these supposed to be?  I cannot find this at any hardware store and was going to ise 1x4 strips instead.  My question is, if this is going to have heavy use, do I need to use thicker boards to ensure it can hold the full weight of the top?


This is for my art studio and will hold tools, printer, laptop ect.  


thanks!
B

kbdesigns

Sun, 01/15/2017 - 07:11

I believe the thicknesses are the same of 1x material that you find at a big box store. If you are going to lowes or home depot it would be in the back of the section where the nice 1x boards are (pine ranging from 1x2-1x12). They will be wrapped completely in plastic shrink wrap. Hope this helps, sorry for late reply!

Coffee table with storage, based on the factory cart coffee table.

Submitted by SuperMick on Sat, 08/20/2011 - 13:41

I modified the factory cart coffee table plans to make a coffee table with a removable top for storage. The result was more Pottery Barn than Restoration Hardware. I put a piece of plywood on the bottom, to make an enclosed box. Then modified the frame under the 1x6's of the top, to make it fit snugly in the opening of the top of the box. The sides of the box were 1x12's I had leftover from another project. Actually, everything was leftovers, except the 1x6's for the top, and the castors. The 4 inch castors were painted flat black with high heat wood stove paint (also a leftover from refinishing our pellet stove). I used smaller castors, since the table was already taller than the original plans.

Built from Plan(s)
Estimated Cost
$150
Estimated Time Investment
Weekend Project (10-20 Hours)
Finish Used
Espresso Stain (oil based)
Satin Polyurathane (oil based)
Ralph Lauren Flour Sack White Latex paint
Recommended Skill Level
Beginner

cabin in the woods

This was something I had always wanted to build for my nieces and nephew! it was a blast to build and see it come together. Two people working on this job is best. I loved the look of being able to open the doors top and bottom! I added the awnings above all the windows and doors to prevent as much water going into the playhouse as possible. The roofing was a little overwhelming at first but as we got going it turned out just fine! I wanted to lantern in the front to actually light up but I didn't want to run electricity so I got the lantern and put a motion sensor battery light on the inside and it works great! I also put one on the inside for more lighting there too, along with 3 battery "candle" lanterns. For the inside decoration I went with a wood land theme, put a growth chart on the inside wall to measure their height each year, and even made face masks! This is always and ongoing project for me seeing as how i'm always adding something new. The little ones love coming over and getting mail in the mailbox. Thanks Anna for the playhouse plans! I'm excited to see my nieces and nephews imaginations grow with all the possibilities the playhouse brings!

Estimated Cost
$250-$500
Estimated Time Investment
Week Long Project (20 Hours or More)
Finish Used
exterior paint from menards in "clam chowder" and the brown is exterior paint we had on hand.
Recommended Skill Level
Intermediate

Comments

amelierainfall

Tue, 07/29/2014 - 14:04

So I had a hard time figuring out which house to build for my daughter and your house gave me such inspiration! I cannot wait to make this for my little girls 2nd birthday. She loves play pretend. Thank you for your inspiration!

Porch Bench

Submitted by Anonymous (not verified) on Sat, 01/05/2019 - 06:23

Love the easy to follow plans!!! Make sure you have room when building....this a Big bench.

Rob V.  

Estimated Time Investment
Weekend Project (10-20 Hours)
Finish Used
Stained with Early American, then Chalk paint over. Sanded lightly to have stain show through. I also did the wood transfer for the lettering.
Recommended Skill Level
Intermediate

Comments

The Wife's Request

Submitted by tugnut1 on Mon, 08/22/2011 - 16:39

My wife wanted me to build her a coffee table that looked like an industrial cart for about the last year. I saw this plan on the Ana White web site, and it was just what she wanted. The hardest part of this was finding the wheels for the cart.

Built from Plan(s)
Estimated Cost
$70 for the wheels and about $25 for the rest.
Estimated Time Investment
Afternoon Project (3-6 Hours)
Finish Used
Var Premium Wood Stain (Can't remember the color) and MinWax Polycrylic.
Recommended Skill Level
Beginner

My first project - Little Helper Tower!

Submitted by amandapdx on Sun, 09/15/2013 - 14:38

Well, as my first project off of ana-white.com, I decided to make my two little guys the Little Helper Tower. I had seen store versions that cost $200 or more, so was excited to be able to have something that we wouldn't normally be able to buy.

It was supposed to be a Christmas present. It was finally painted and ready to go by mid-March. Which is to say, I couldn't find time to work on it too much, though it also took me much longer to do than what Ana said, which is not unusual for me.

The main problems I faced were 1x2s that I bought wet and that warped by the time I got around to using them; not having an honestly flat surface to work on, not having lots of experience with my jigsaw, so my top arches and bottom curves are not that attractive, and using some leftover red paint that took about 3 layers, plus the primer, to cover well.

In the end, I have a working helping tower with a movable floor that both my kids, now 2 and 4, can use in the kitchen (mainly - we didn't make the folding kind because the hinges were way too expensive!, so it doesn't move around too much) and it has helped my little guys help me on endless baking projects. My 2-year-old still can't get out of it himself, but my 4-year-old swings on it like a monkey. Thanks, Ana, for all your inspiration! I have a list a mile long of projects I want to tackle. Hopefully I'll get to one soon!

Built from Plan(s)
Estimated Cost
$35 and leftover paint
Estimated Time Investment
Weekend Project (10-20 Hours)
Finish Used
Primer and paint left over from other projects.
Recommended Skill Level
Starter Project

DIY Record Display Shelf

I recently started collecting vinyl records and wanted to show some of them off but also have them readily available to play.  I saw some options online but decided to make some shelves myself.  No judging my music!  :)


More details and instructions on my blog:

http://www.woodworkingfourdummies.com/blog/diy-record-display-shelf

Estimated Cost
$20
Estimated Time Investment
Afternoon Project (3-6 Hours)
Finish Used
I used the MinWax Ebony stain and finished it with polyurethane
Recommended Skill Level
Starter Project

WHAT ANA INSPIRES!!!

Submitted by redhead_61 on Fri, 08/26/2011 - 09:36

I had a friend doing a class for a church activity on refinishing furniture. I think she mentioned to our leaders that I build furniture so two weeks ago she emailed me to see if I would be willing to participate and take a little time to talk. I said of course, and then in my true fashion of loving a good get-together and having a tendency to overdo things, I said, "we could even do a little project too".

I went onto this site printed off 5 projects under $30 and let anyone that wanted sign up. I figured the easiest way to let people build a project in an hour and a half was to pre-cut and pre-drill everything (Thank you to my new Kreg jig that let me rock that part out no problem)

I ended up cutting and drilling for 26 orders!!! EEK! I was a little like a mad hatter running around helping people that had never even held a drill before (so please excuse the LACK of pictures, including none of me doing anything at all :( ) But I think it turned out awesome and everyone was so excited.

I just wanted to post this as a little tribute to Ana for all the amazingness that you are. Thank you for helping those scared to even start.

Estimated Cost
under $30
Estimated Time Investment
An Hour or Two (0-2 Hours)
Recommended Skill Level
Starter Project

Comments

ferbit

Fri, 08/26/2011 - 10:03

What a fun idea!!! Looks like everyone was having a fantastic time!

Ana White

Fri, 08/26/2011 - 11:26

Thank you so much for sharing this! I can remember when my little sister took woodshop in high school, and we all looked at her like "what is woodshop" and "why on earth would you ever want to take woodshop - woodworking is for retired men!". Not too many years later, I was wishing I had taken wood shop!

This is so amazing to see because you are teaching these beautiful and courageous young laddies skills they will use throughout their lifetime. Not to mention the confidence to tackle other traditionally male trades. And I'm willing to bet, their daughters will be using drills too!

I'm so honored to know you!

And might I add, those projects look GOOD!

romanweel

Sun, 02/03/2013 - 12:17

MAN! I want to do something like this! What a wonderful thing to do to bring all those ladies together! (And tell Miss Red Shirt, I want a T just like hers! "Be Kind"!) Way to rock it out, all of you!

Chest of Drawers

my second Projects))))
Estimated Time Investment
Week Long Project (20 Hours or More)
Recommended Skill Level
Beginner

Comments

Classic bunk bed for our boys

Submitted by Anonymous (not verified) on Sat, 01/12/2019 - 21:22

My husband and I enjoyed building this for our boys. Our wood supply store didn't have enough 1x4's so we purchased 1x6's and ripped them down to an even 4" instead of 3.5 as with a 1x4. We also increased the height by 5.5 inches. That gives us a little extra room to do nightly reading at the bottom bunk. The slats (2 sets) in the bottom are just from IKEA and at the time we just threw them down there and I forgot to set them up in place for a true final photo. Oh well. They've enjoyed the bed for over a month already 

Estimated Cost
$140
Finish Used
Varathane ultimate one coat stain in Kona
Recommended Skill Level
Beginner

rustic coffee table

Submitted by VelvetSky on Sun, 08/28/2011 - 19:55

my first build

Built from Plan(s)
Finish Used
cherry stain
Recommended Skill Level
Beginner

Comments

VelvetSky

Sun, 08/28/2011 - 19:59

I have not finished the staining since it needs another coat. But I love love love my new coffee table. Thanks so much to Ana for her blog. I always wanted to build furniture but everyone would just laugh at me for even suggesting it. When I saw your site you really motivated me and made me believe I could do this. I am so happy. Still afraid to use power saws though. I make my husband cut the wood....lol

Pirate Treasure Trunk

Happy International Talk Like a Pirate Day!

Thank you, Joanne, for designing this fun to build trunk. It enabled me to use pieces of odd scrap wood and a weathered old belt and make something fun and functional of them!

Built from Plan(s)
Estimated Time Investment
Day Project (6-9 Hours)
Finish Used
Gray paint wash (5 parts water : 1 part gray paint) + Golden Oak mixed with Red Oak stain layered on.
Recommended Skill Level
Starter Project

Comments

JoanneS

Thu, 09/19/2013 - 18:11

As the pirates would say: Ye did a fabulous ship on 'tis trunk, it looks full 'o awe!

You did a great job on this, looks awesome! Love the details and finishes you used! :)

Classic Bunk Beds for our boys!

Submitted by TheLufkins on Wed, 11/25/2015 - 13:13

We found the plans for the Classic Bunk Bed look and we loved it.  Since our boys share a room this bunk bed design was the perfect match for us.  We used Red Mahogany stain with a polyurethane clear coat to give it a good shine.  I made a little revision to the slats but adding a 1X6 crossbea, across the bottom and top bunk to give added support for the boys as they get older but other than that the beds are directly from the plans.  Now onto the same design for our girls!

Built from Plan(s)
Estimated Time Investment
Week Long Project (20 Hours or More)
Finish Used
Red Mahogany and Polyurethane Clear Coat
Recommended Skill Level
Beginner

My version of the Mom's Lego Table

Submitted by dspguy on Thu, 09/01/2011 - 06:09

This is my second woodworking project. I picked up this hobby with some spare time and with my tools that were collecting dust after I completed most of my home renovations. Cost: $80 wood ($35 just on plywood) $35 hardware (2 recessed handles and 2 drawer pulls) $20 finishing products $40 lego baseplates On the lego baseplate side, I stained but only poly'd just enough so that the border around the plates would be covered. Baseplates had to be cut in order to get the custom size I wanted. The "play area" on one side of the table is 20 inches x 13.75 inches. Each side of the table is made with three 10x10 inch plates. Two 10x10s are side by side. The other 10x10 was cut with a razor to make it into two 10 x 3.75 inch pieces. I cut the plates so that I always had a "smooth edge" on three sides. I affixed the baseplates with epoxy. Simply butting up the baseplates does not work as the gap between plates is too small. To get the proper size, hold the baseplates together with lego pieces. Wipe any excess epoxy with mineral spirits. (Note: I tried liquid nails first on a test piece. The glue heats up after application and slightly warped the lego baseplate. Not recommended). The "mom side" of the coffee table has two recessed handles. The handles on the "lego side" are made with lego bricks. I drilled a tiny hole in the lego bricks. I threaded 50 lb fishing line through the lego brick to the hidden recessed area of the "mom's side handle" and tied off the line in there. Project took me over a month of time (probably 20-25 hours of labor). It could have and should have taken less, but I'm a newbie and am very cautious with my work.

Estimated Cost
$175
Estimated Time Investment
Week Long Project (20 Hours or More)
Finish Used
Brushed on Minwax wood pre-stain (1 application) Minwax Kona (3 applications) followed by 2 applications of Minwax Clear Gloss Poly (400 grit sanding and wiping down with a damp cloth to pick up leftovers), followed by 3 applications of Minwax Satin Gloss Poly (600 grit sanding, and wiping up any dust).
Recommended Skill Level
Beginner

Comments

connorsmom24 (not verified)

Thu, 09/01/2011 - 08:26

I am in LOVE with the area rug in this photo. Where can I get one???

FurnitureDreamer

Sun, 08/20/2017 - 07:16

Thanks for the detail on how to cut and glue the lego plates.  I like the recessed handles you used.  Do you remember where you got them.  Looks great!  

Chevron kids table

Chevron kids table

Estimated Time Investment
Afternoon Project (3-6 Hours)
Finish Used
Cabot red oak and golden
Recommended Skill Level
Beginner

Comments

spiceylg

Mon, 09/23/2013 - 08:25

This came out really nice: it's unique! However, you should put the picture in the beginning of the post instead of under additional pictures so it's nice and big.

Hall tree

We had a great time building this
We did the bottom half one weekday, and the top piece another day. Primer, painting, and sanding in all took us 6 days.
It look fantastic

Recommended Skill Level
Intermediate

Comments

Farm House Bed w/Drawers

Used the farm house bed plans from here with a few modifications.  Instead of plywood for the headboard and footboard, I used tongue and grove 1x6 planks.  I used edge glued spruce planks from Lowes for the drawer fronts and I invested a bit more on the drawer slides and opted for the full opening type.  Also, rather than 3 large drawers on either side, I opted to put 2 smaller drawers in the center.  I felt the shallower drawers would be more useful for smaller items (socks and underwear).  I also used a 3/4" molding to hid the ends of the plywood drawer boxes.  The weathered finish was created using a video I found on YouTube (https://www.youtube.com/watch?v=k7Via9Lz4Pw).  My upgrades increased the overall price, but it was still under $600 and should last a lifetime.

Estimated Cost
$600
Estimated Time Investment
Week Long Project (20 Hours or More)
Finish Used
Multiple products - follow YouTube tutorial. https://www.youtube.com/watch?v=k7Via9Lz4Pw
Recommended Skill Level
Intermediate

Christmas tree box

Submitted by Anonymous (not verified) on Sat, 11/26/2022 - 15:29

I made this plan at my wifes’s request. I added a platform on the inside for our artificial tree and stencils on the outside of each side. Plan was relatively easy. We love the look. Bonus, made the tree taller. George from Arizona.

Built from Plan(s)

Comments

Chair

I built this chair for about $12. I used 6 four foot landscaping timbers. The legs are 12''
and i used 1/4'' cedar or you could use pallets. The ends are Dog Cut . The chair is sealed and finished with Helsmans Clear. E mail me if you have any questions

Estimated Time Investment
Afternoon Project (3-6 Hours)
Finish Used
Semi clear Spar.
Recommended Skill Level
Beginner

Comments