Community Brag Posts

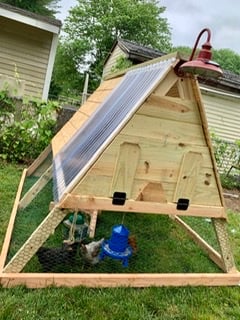
Cluckingham Cottage

Cluckingham Cottage wasn’t built in a day, but it WAS built by a DAME!
A-frame instructions were pretty helpful considering the builder knows nothing about construction. I made a few modifications to accommodate my 5 chooks + 2 bantams . Sturdy and tight structure.

Estimated Cost
Under $400
Estimated Time Investment
Weekend Project (10-20 Hours)

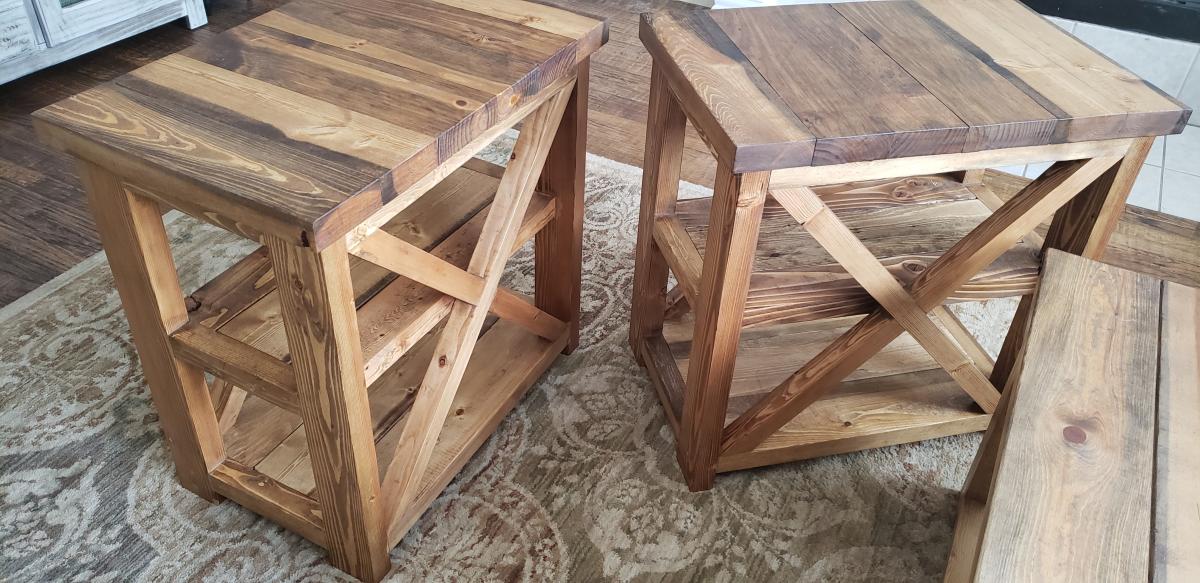
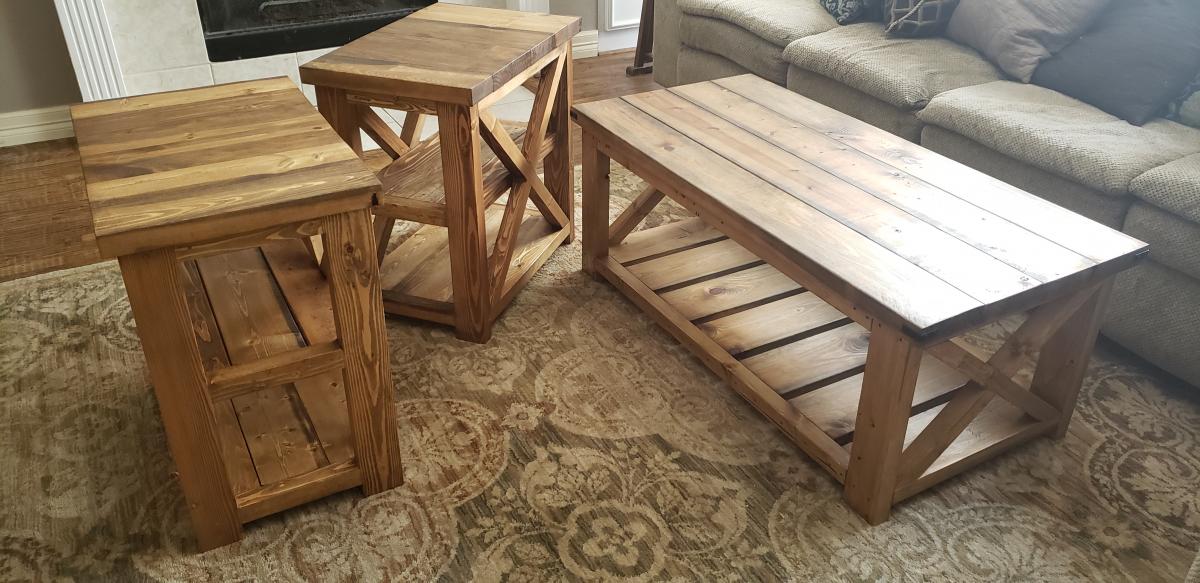
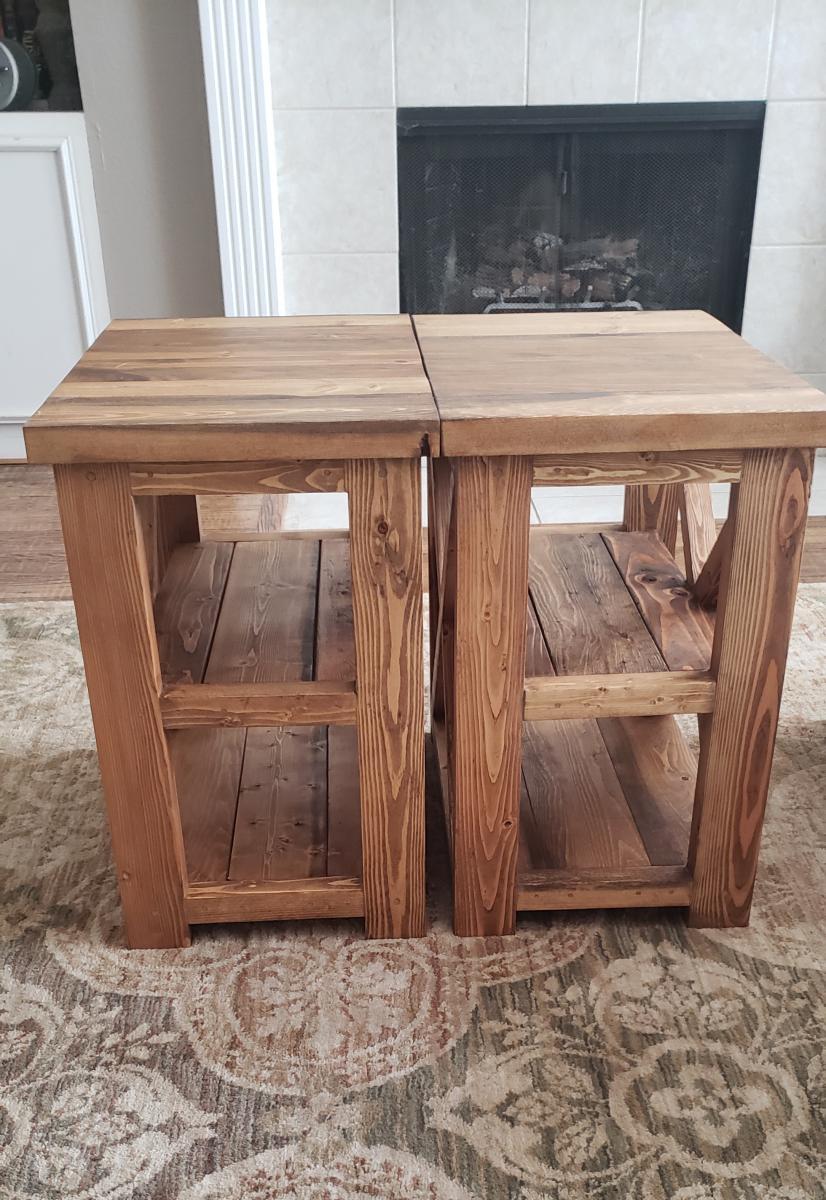
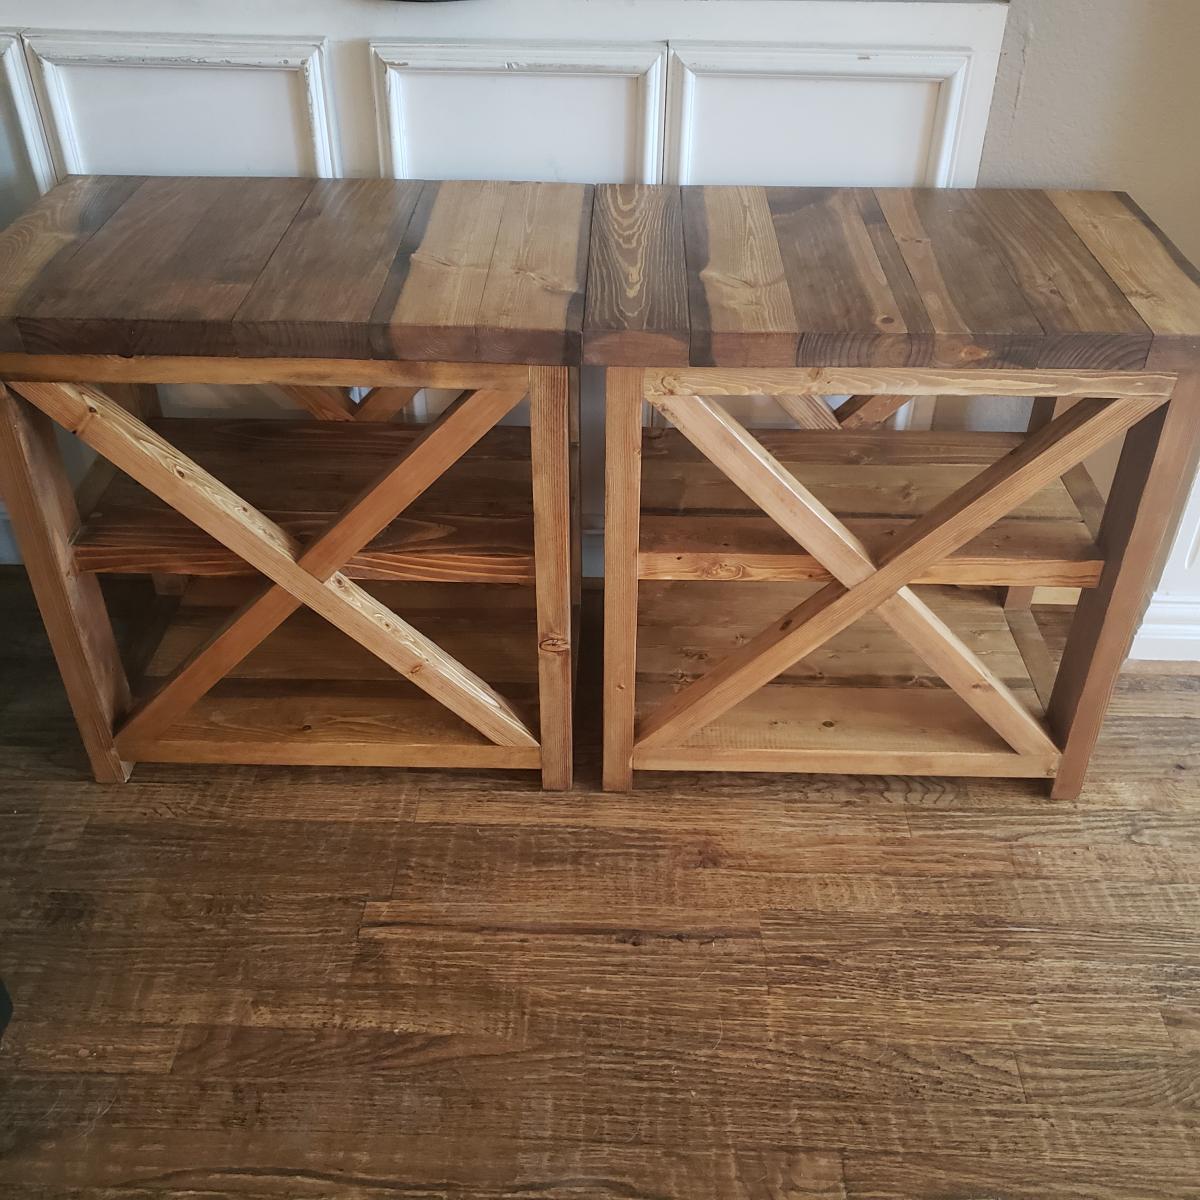
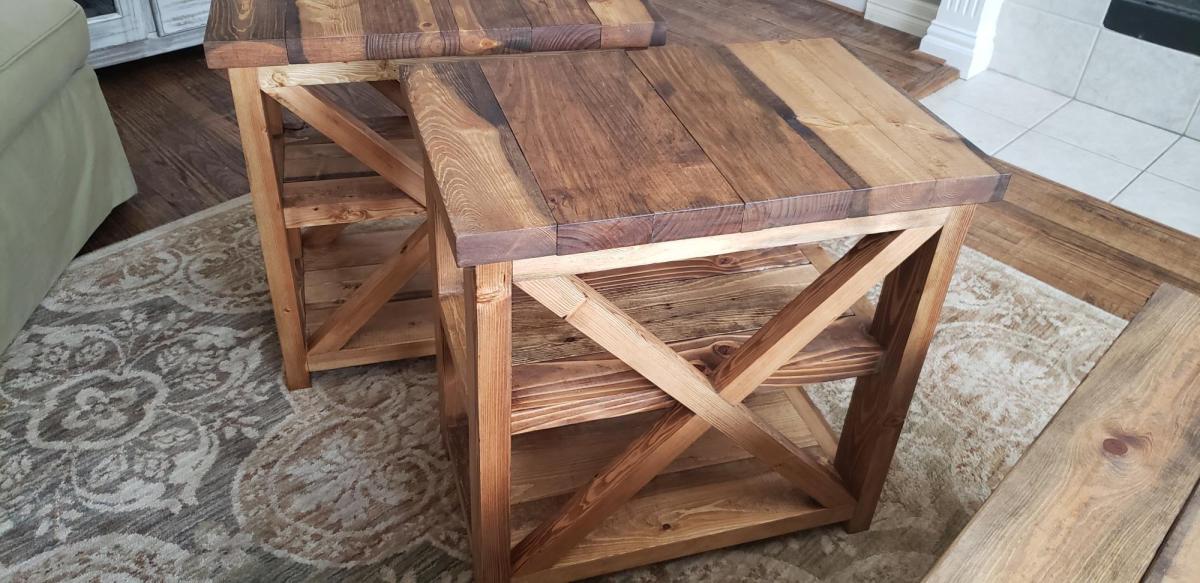
Rustic X Side Tables - Added Shelf

Submitted by Anonymous (not verified) on Thu, 09/24/2020 - 13:07

This was a fun project! We had already made the coffee table and someone wanted side tables. We assisted the plans for the side table to make these 16w x 25h x 25d and added a center shelf. After getting our cut list the build was easy and quick. It took about 6-9 hours to cut, build, sand, stain, apply finish, and finish sand.

Estimated Cost
$60
Estimated Time Investment
Day Project (6-9 Hours)
Finish Used
Dark Walnut Stain with rubbed matte finish
Recommended Skill Level
Beginner

Comments

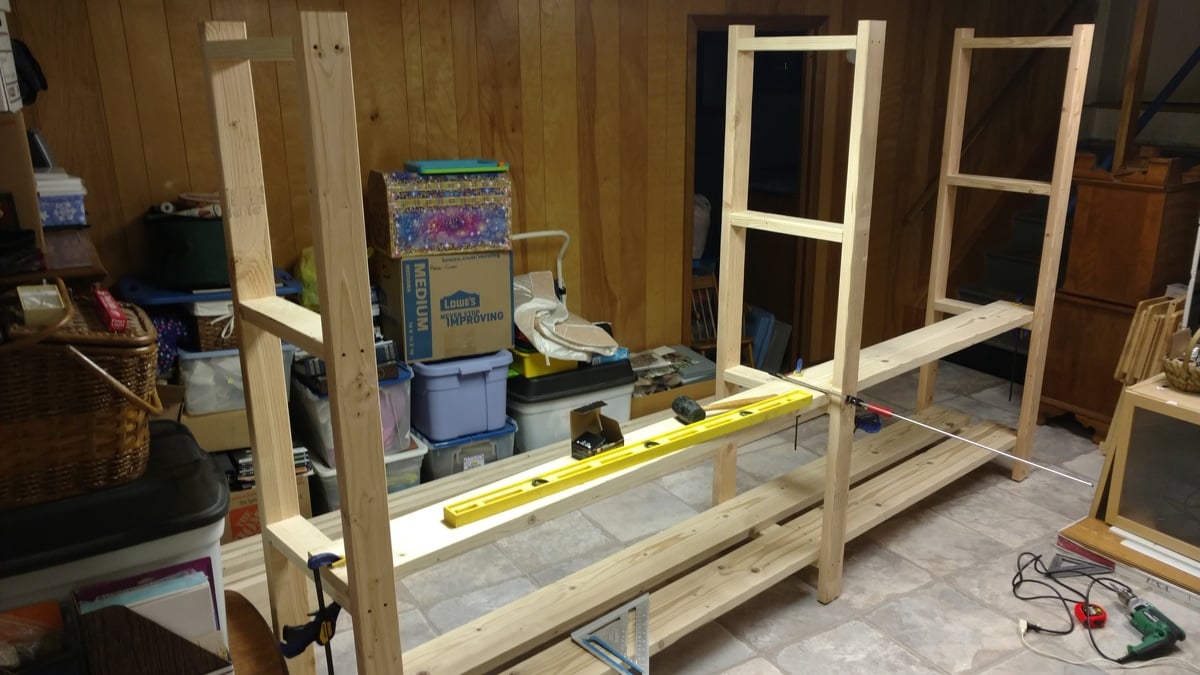
Basement Shelving....

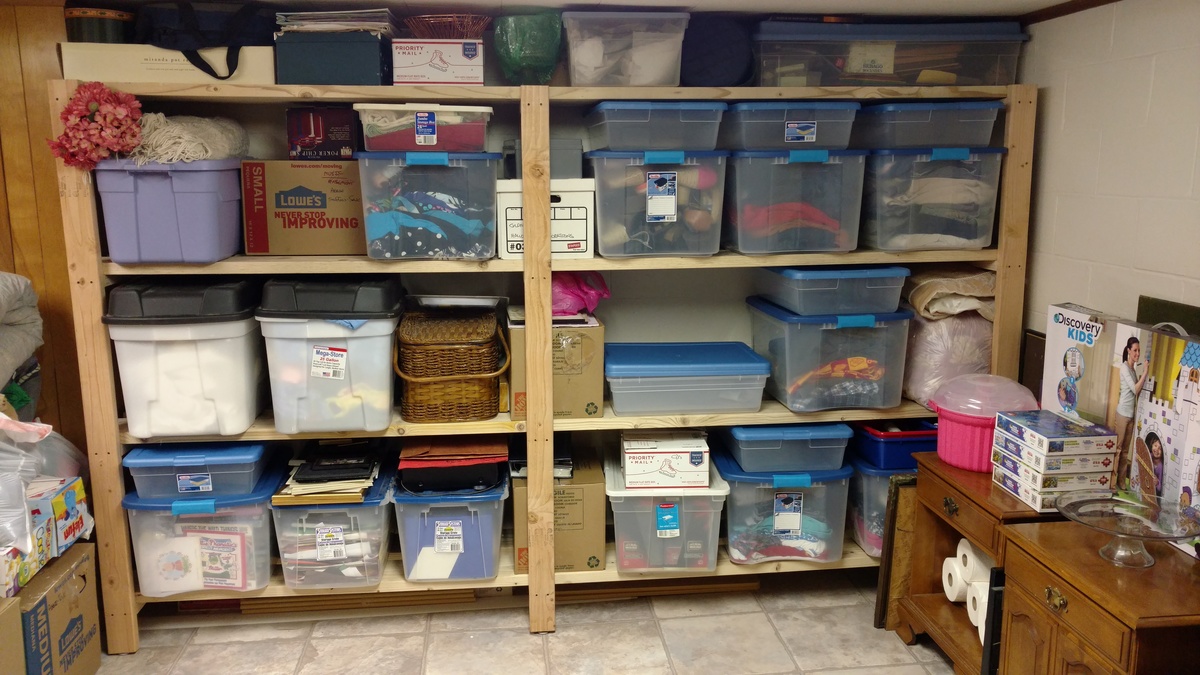
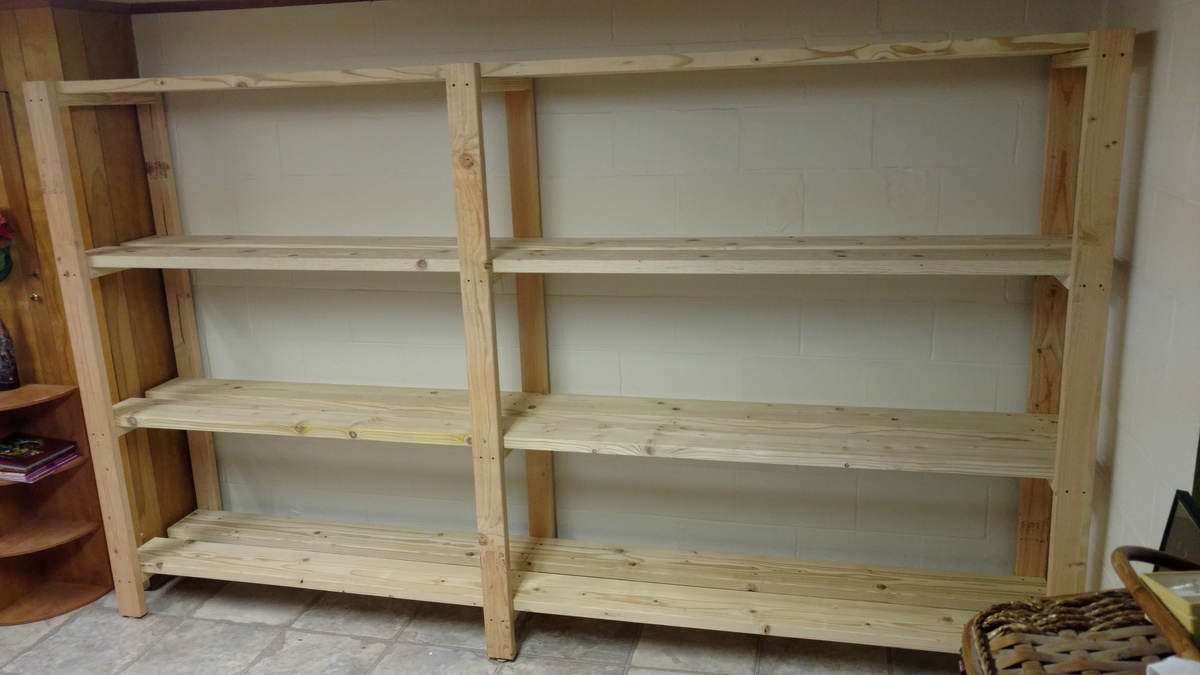
Time to get organized in 2017....and what better way than with some custom shelving. This was not too bad of a project to complete. It only took about 6-8 hours to cut, frame, and assemble everything together (thanks to an interruption or two). 'Twas nice to have a project for once that I didn't have to care about finishing the project with wood filler, sanding, painting. I am sure my wife thanks me more as I would have been another week getting things just right​​​​​! 

A few changes that I made from the original plans:

- used 2x8 for the shelving runs as I only was dealing with a 10ft run and was a few bucks cheaper to buy 8 boards vs 16 boards. Plus less cuts!!! 

-installed adjustable furniture feet in the supports to deal with sloping basement floor. Unexpected side effect was it was easier to slide the unit around in the basement as I assembled it. 

Outside of those changes I remained faithful to the original design. I didn't bother filling the screw holes as we will be hiding the shelving unit with a curtain once  we turn the room into a TV/Office area. 

Also as it wasn't 100% clear from the original plans, but the height measurements for the shelf supports are to center... not sure why it didn't register with me right away... but just in case anyone else didn't realize that as well. 

Estimated Cost
$150 for wood, screws, wood glue, and adjustable furniture feet
Estimated Time Investment
Day Project (6-9 Hours)
Finish Used
None
Recommended Skill Level
Beginner

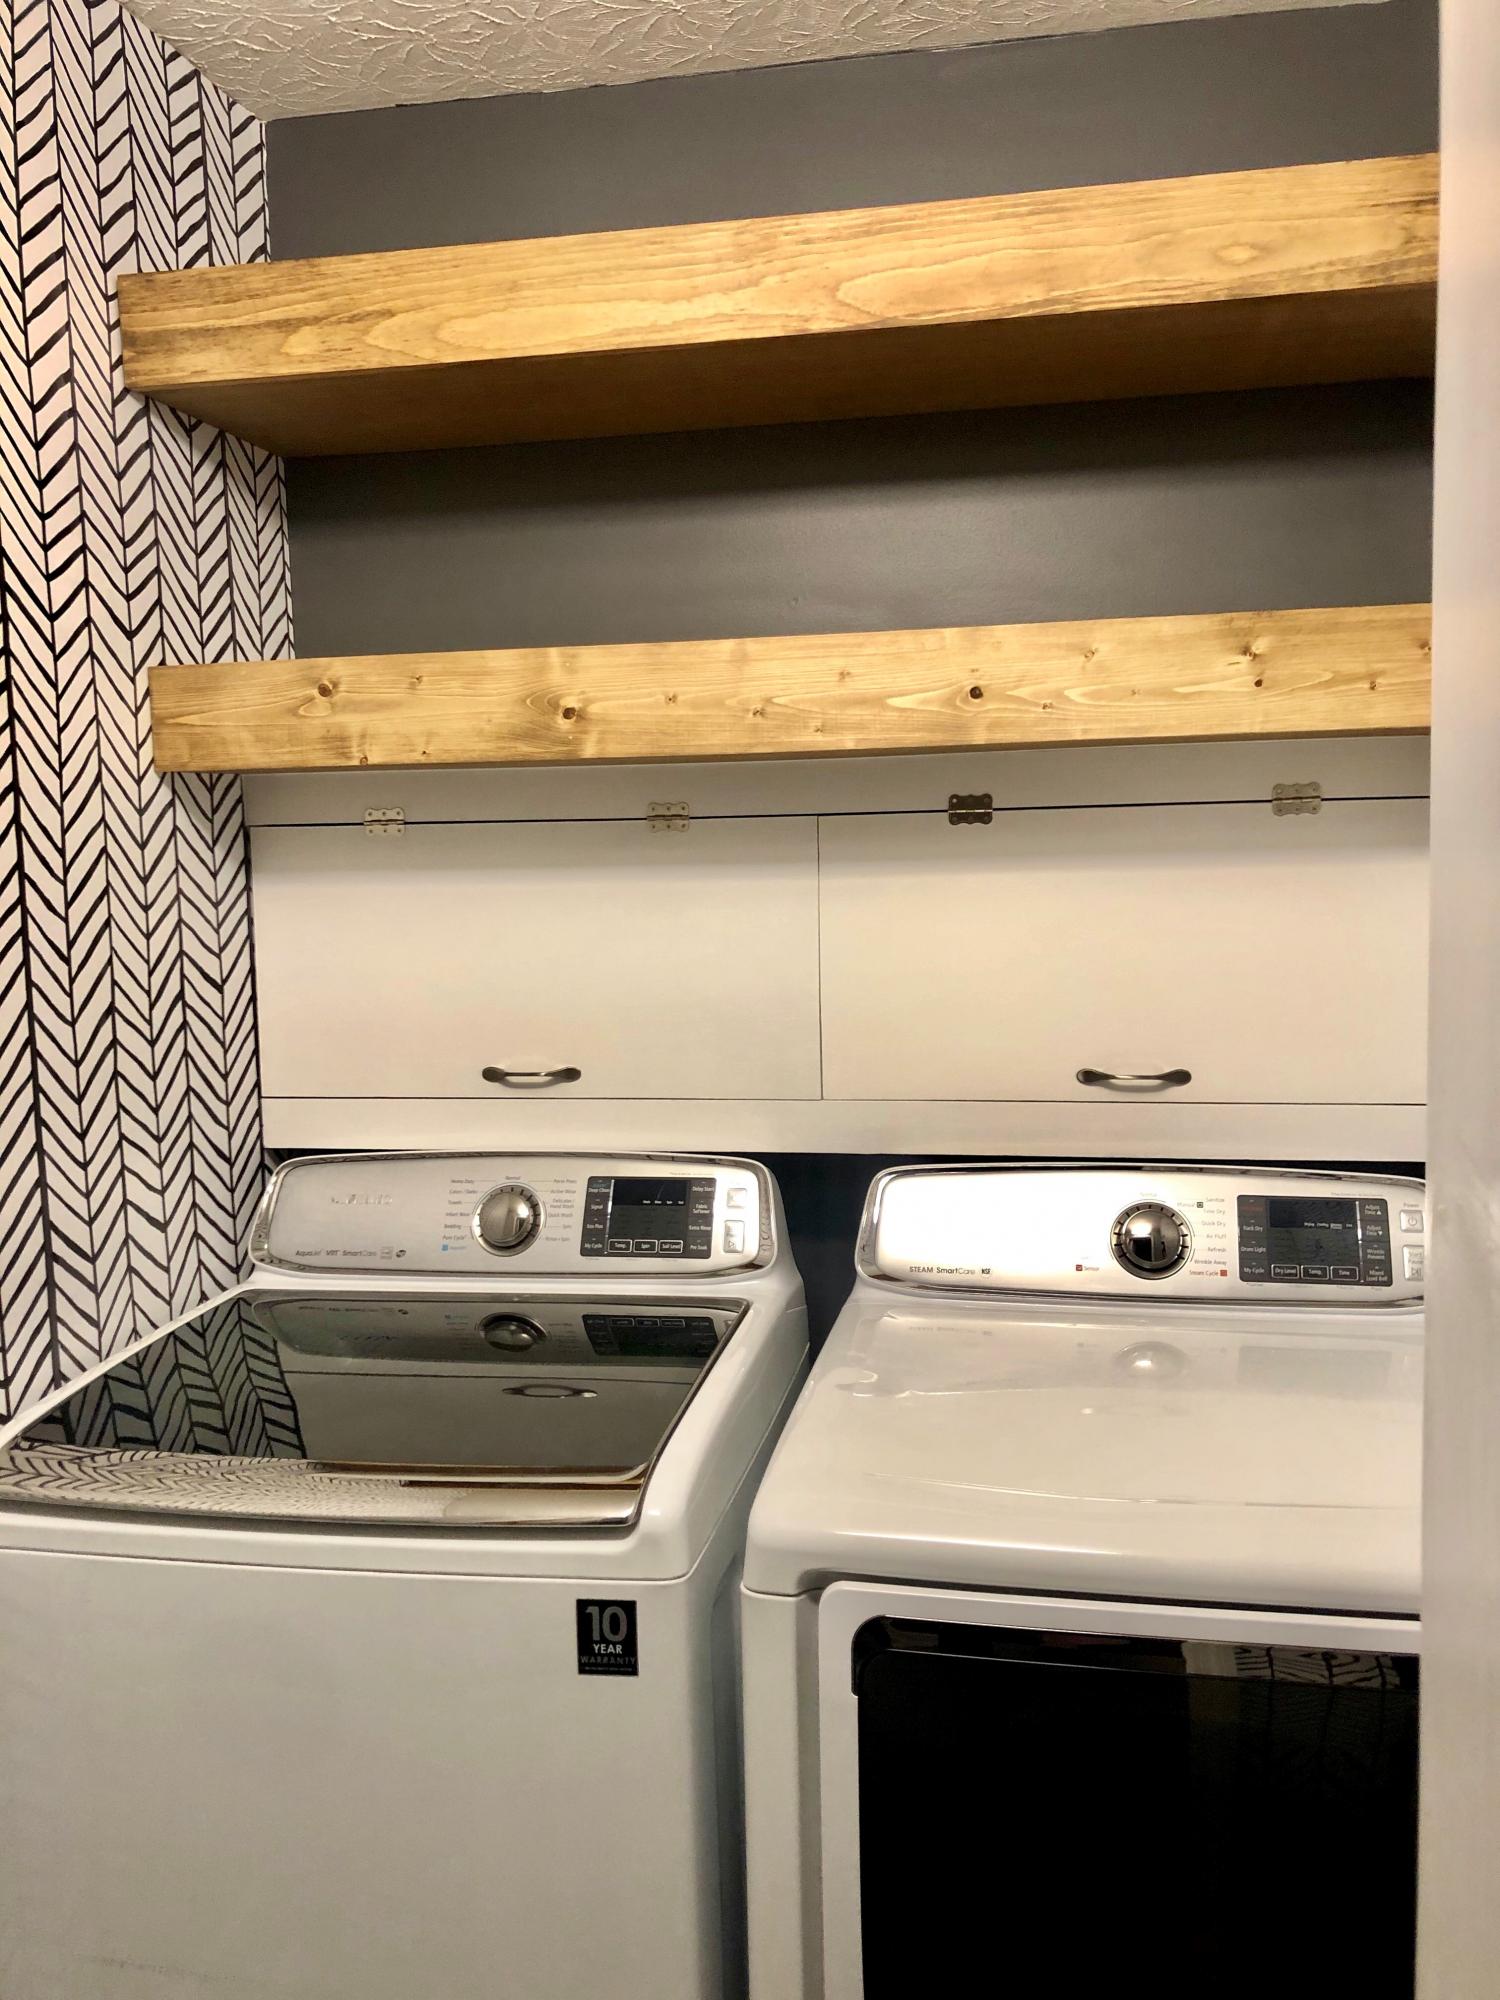
Laundry Room Floating Shelves and Cubby

I have a tiny laundry room closet, but this remodel made a world of difference. The shelves were too high to reach routinely, so I didn't add Ana's hidden pull outs. But the cubby is a lifesaver and hides all the unsightly cleaning supplies perfectly. Now to decorate!

Estimated Cost
$100 covid wood cost
Estimated Time Investment
Afternoon Project (3-6 Hours)
Finish Used
Minwax Special Walnut
Recommended Skill Level
Beginner

Comments

zannej

Tue, 12/05/2023 - 19:58

These look great! I'm thinking of doing something like this, although I might add a louvered panel on one of the doors since I plan to use an AAV. There is an atmospheric vent not too far away but trying to route a pipe would be too much of a pita. The doors could hide the water supply lines & hose as well as keep stuff from falling behind the machines. I do have to be mindful that I need to be able to open them and not have them obstructed though.

Bedside End Tables

Submitted by Grace734 on Mon, 02/05/2018 - 07:38

These are made from the three drawer plans but modified the size to meet our needs and used planks for shelves instead of drawers. Painted white and black gel stain. 


UPDATE FROM ANA - We have received MANY requests for this plan and have created a plan inspired by this post here.

Shopping List (for ONE bedside table) + Tools

  • 1 - 1x2 @ 6 feet long
  • 5 - 1x4 @ 8 feet long
  • 2 - 2x2 @ 8 feet long
  • 1-1/4" and 2-1/2" pocket hole screws
  • 1-1/4" brad nails
  • wood glue
  • Kreg Jig
  • Compound Miter saw
  • Drill
  • Brad Nailer (18 guage)

Cut List (for ONE bedside table)

  • 4 - 1x2 @ 14" - Side panel trim
  • 8 - 1x4 @ 23-1/4" - Side panels
  • 4 - 2x2 @ 27-1/4" - Legs
  • 6 - 2x2 @ 14" - Shelf support
  • 8 - 1x4 @ 17" - Shelves
  • 5 - 1x4 @ 18" - Top

Cut 1x4s and 1x2s with miter saw. Layout side panel 1x4s as shown above.  Measure and cut 1x2 to length.  Nail the 1x2 to the 1x4s, two nails per overlap with glue.  Make sure your side panels are square.  Build two.

Drill 3/4" pocket holes on inside edge of 1x4 ends as shown above.  Cut 2x2s with compound miter saw. Attach to the 2x2 legs with 1-1/4" pocket hole screws.

Set Kreg Jig to 1-1/2" setting.  Drill 1-1/2" pocket holes on end of each 2x2, one per end.  Attach to 2x2s with wood glue as shown above.

Cut 1x4 shelf boards with compound miter saw.  Nail and glue to the inside of the project as shown above.

Cut 1x4 top boards with compound miter saw.  Nail and glue to top with 1-1/4" nails and wood glue.

If you wish to add a back, measure and cut from 1/4" plywood and attach with 3/4" brad nails.

Estimated Cost
100.00 for both.
Estimated Time Investment
Weekend Project (10-20 Hours)
Finish Used
One coat of eggshell white PPG
Two coats of ebony gel stain
Recommended Skill Level
Beginner

Comments

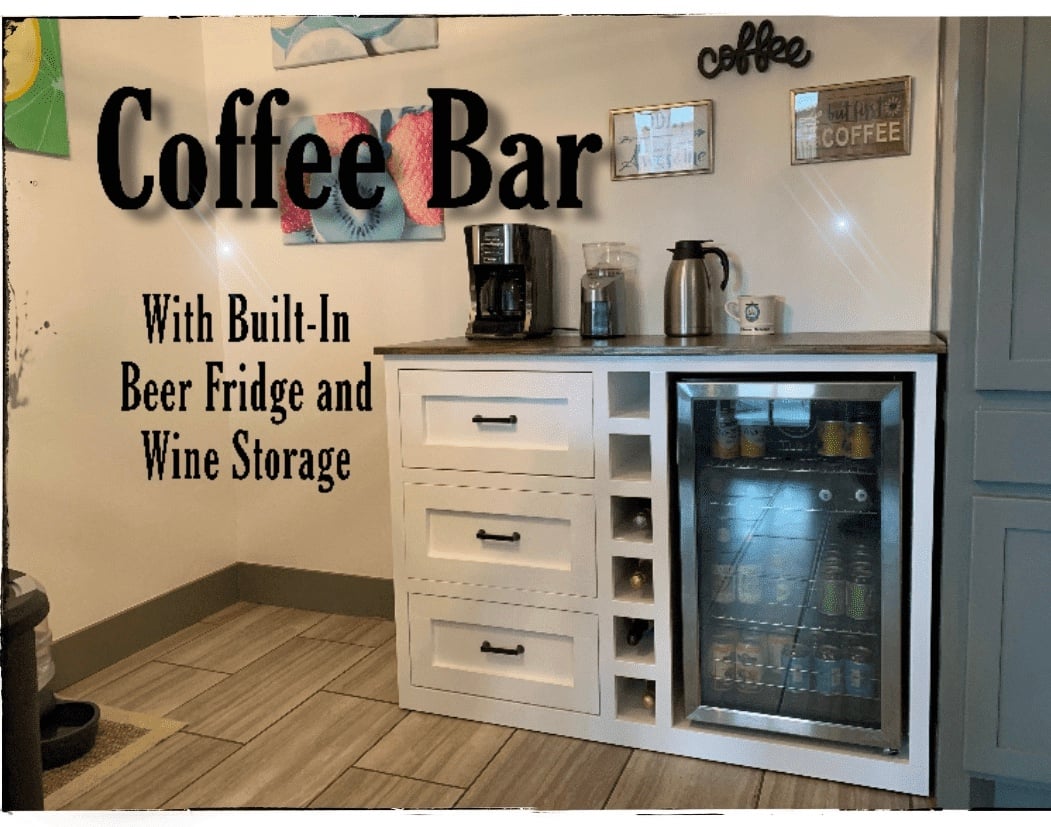
Coffee Bar with Built-In Beer Fridge and Wine Storage

Submitted by Chuck1979 on Mon, 07/08/2019 - 10:39

We made a beverage station for the corner of the kitchen!

Estimated Cost
$250
Estimated Time Investment
Day Project (6-9 Hours)
Finish Used
Semi-gloss white paint and Dark Walnut stain
Recommended Skill Level
Intermediate

Comments

gunnare57

Fri, 07/31/2020 - 09:43

Hello! Was looking to see if this is something you would be interested in building for us? We are in love with this project but don't have the tools or means to do it ourself..

Can talk about pricing / size etc.
Thanks!

Shed Chicken Coop and Run

Submitted by mikesofka on Tue, 05/12/2020 - 09:27

I had such a fun time on this shed coop/run build! My wife and I have 5 children and it was fun involving them in building everything about this coop and run. They have a wonderful sense of accomplishment in looking at what they helped build.

A few notes, while this what a fairly straightforward build, there are a lot of little intricacies to be aware of. Such as:

• Make sure your chicken coop is about a foot off the ground. It's best to do that so critters such as rats and snakes don't make their home under the shed and potentially eat their way through the floor.

• It is highly advisable to dig a trench about a foot to a foot and a half deep around the coop and the run and attach chicken cage fencing from the bottom of the coop/run into the trench, and then taper the cage fencing outward. This will prohibit critters such as raccoons from trying to dig under the coop.

• When you attach the poultry netting to the outside of the chicken run, staple one side really well, then move to the other side and pull the netting fairly hard to make the netting as tight as possible. (Also, be careful when putting the netting across the top of the run to not fall off the ladder as I did and dangle there until one of your kids comes to help you! Ha! :D )

Thank you, Ana, for posting these plans! We are so excited to get our little chickies out into their new home as soon as their feathers come in!

Estimated Cost
$800
Estimated Time Investment
Week Long Project (20 Hours or More)
Recommended Skill Level
Intermediate

Chunky leg bedframe

Submitted by Anonymous (not verified) on Tue, 02/12/2019 - 17:43

I got tired of sleeping on the floor like college kids, but I didn’t want to buy a junky particle board bedframe. My husband and I are novice woodworkers. Even still, we bought the lumber around noon and managed to finish the whole project in about 5-6 hours! We used a Kreg jig for the first time and it was pretty simple. I am really pleased with how this turned out, and I can’t wait to try more of Ana’s plans in the future.

Estimated Cost
$100 including the cost of pockethole screws and finishing nails.
Estimated Time Investment
Day Project (6-9 Hours)
Recommended Skill Level
Beginner

DIY Wood Shed

Submitted by Anonymous (not verified) on Sun, 10/29/2023 - 19:18

I am a mathematics teacher in Central IL. I teach a class called Geometry in Construction. I had my math students build this wood shed in pieces at the school, then I brought it home and put it together with a few of my son's friends. The students enjoy a math class that gets to go to the wood shop to apply their math skills to a wood working project. I am proud of my students hard work and dedication.

Shari Bruyn (I'm old, so I do not have Instagram or a blog page. lol)

Built from Plan(s)

Laundry Pedestal

Submitted by Kamoanui on Tue, 06/30/2020 - 09:42

This was quick build. First time for us using trim, so we wasted a few feet getting the angles right. We attached the legs directly to the frame, and did not use the metal brackets. We also did not build the floor frame. We measured how high/wide the laundry baskets ($3/piece at Target!) were, and made it to fit them. We added a piece of rubber mat to the top (bought at Lowe's). A few weeks later we helped our daughter and son in law build one for their new house!

Estimated Cost
$40
Estimated Time Investment
Afternoon Project (3-6 Hours)
Finish Used
White satin paint
Recommended Skill Level
Beginner

Doll Picnic Table From Little Kids Picnic Table Plans

Submitted by chrimicha on Mon, 01/09/2017 - 19:14

This is my scaled down version of the preschool picnic table, made for an 18 inch doll. I used scrapwood that someone was throwing away and supplies left over from other projects, so it didn't cost anything but time. My girls have really enjoyed it. Here are the measurements: 

Cut List: 

4 – 1×3 @ 17-3/4″ (Tabletop pieces) 


1- 1×4 @ 9-3/4″, then cut in half using a table saw to equal 2 pieces (Supports directly beneath tabletop pieces) The longest measurement is 9 ¾”, with the ends cut at a 30 degree angle back to 7 3/4″.


2-1×4 @ 12-7/8”, then cut in half using a table saw to equal 4 pieces (Legs) (angle each end to 30 degrees as shown in preschool table plans) 


1 – 1×4 @ 19″, then cut in half using a table saw to equal 2 pieces (Supports directly beneath seat boards)  (angle ends to 30 degrees as shown in preschool table plans)


4 – 1×3 @ 17 3/4″ (Seat boards) I ran these 1 x 3’s through my table saw to make them 2” wide.


*When attaching the legs, secure them to the supports below the tabletop pieces so that the bottom of the legs will measure 19 5/8” from lateral edge to lateral edge when resting on the ground. In the preschool picnic table plans, this measurement is shown as 33”.
Built from Plan(s)
Estimated Cost
0$. I used wood someone was throwing away and remnants from other projects.
Estimated Time Investment
Day Project (6-9 Hours)
Finish Used
I sanded it really well, and then I painted it with two coats of "Lime Rickey" from Sherwin Williams and a clear coat of spar urethane.
Recommended Skill Level
Beginner

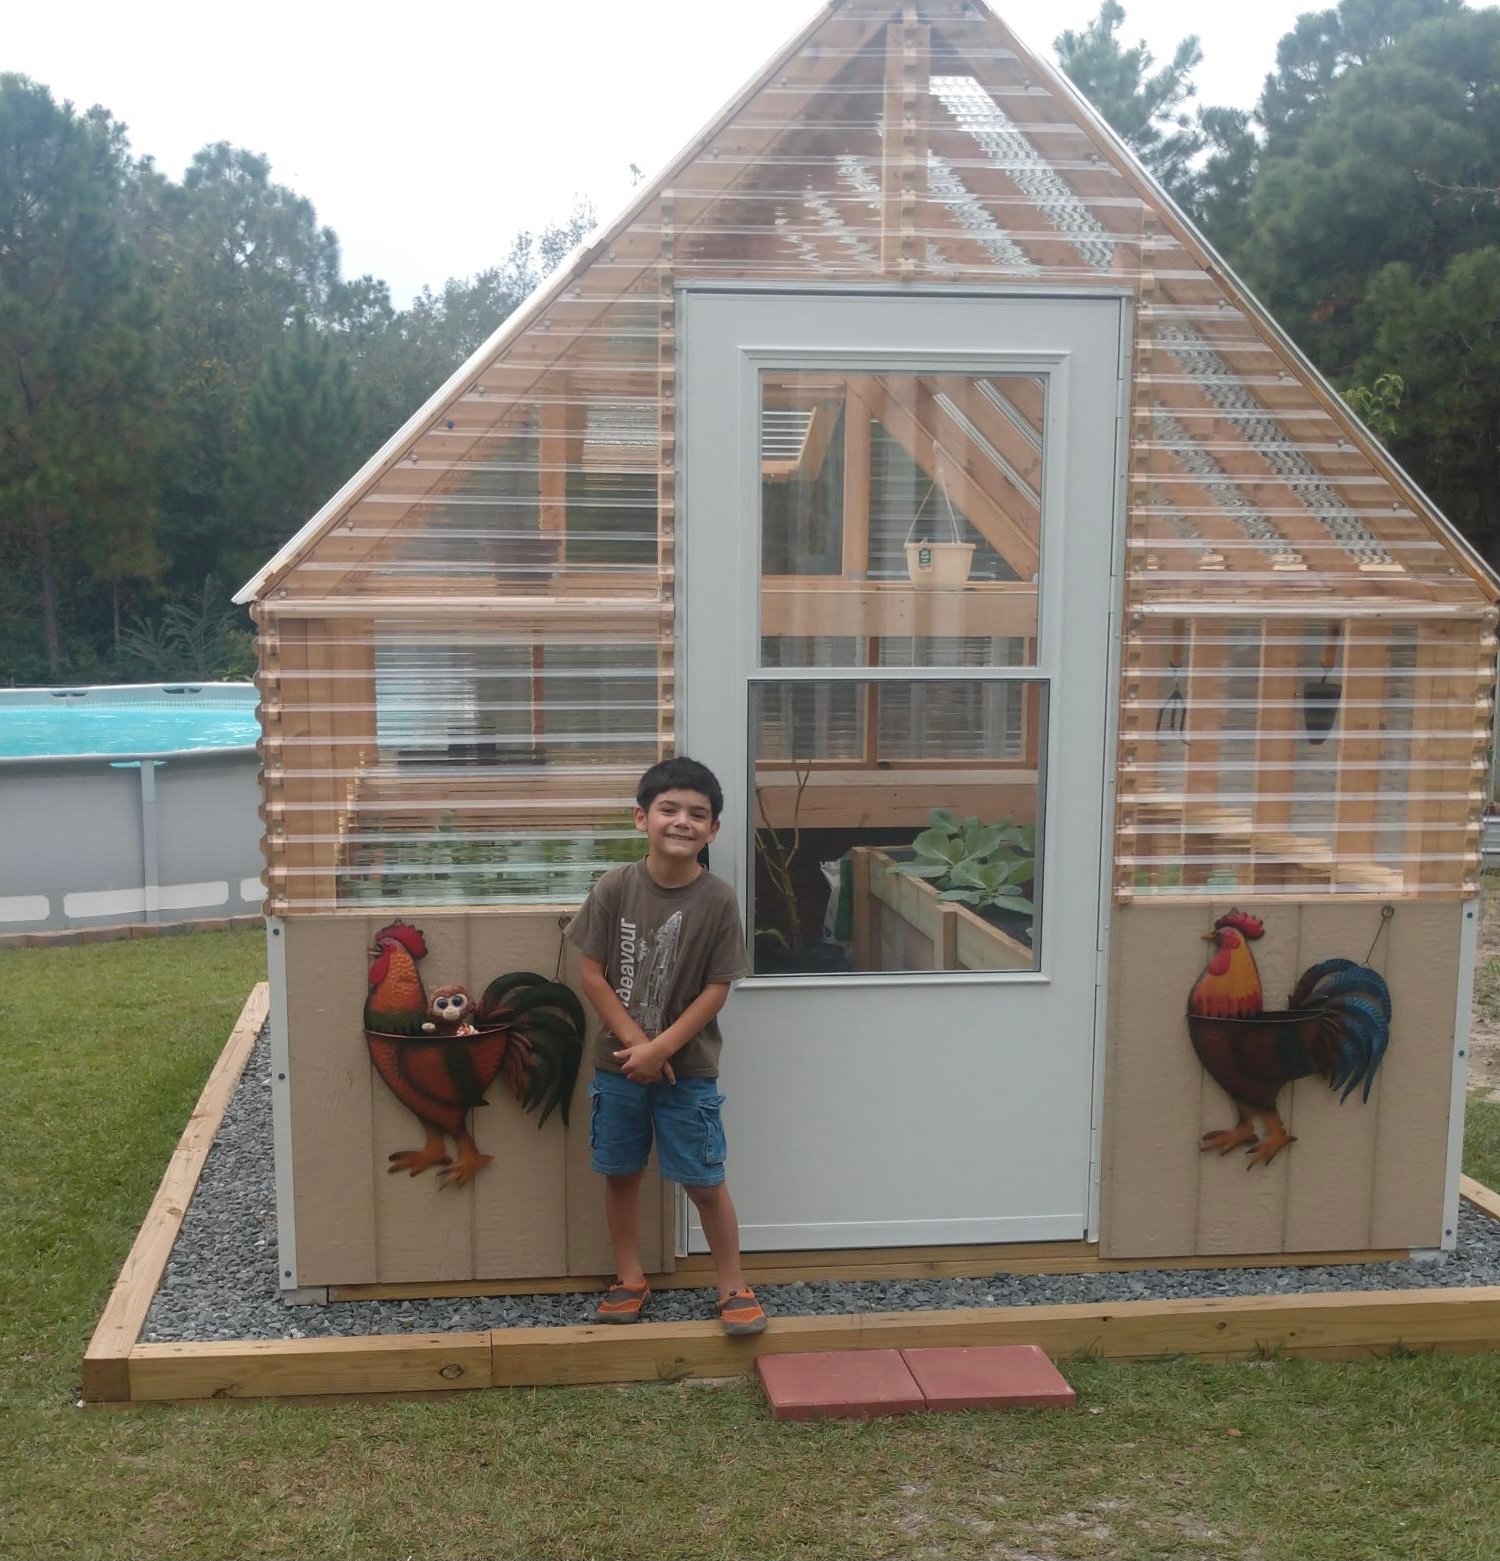
Greenhouse

Submitted by Anonymous (not verified) on Sun, 01/02/2022 - 12:30

Built the greenhouse from Ana Whites plan
She did the plan really well..

Built from Plan(s)

Comments

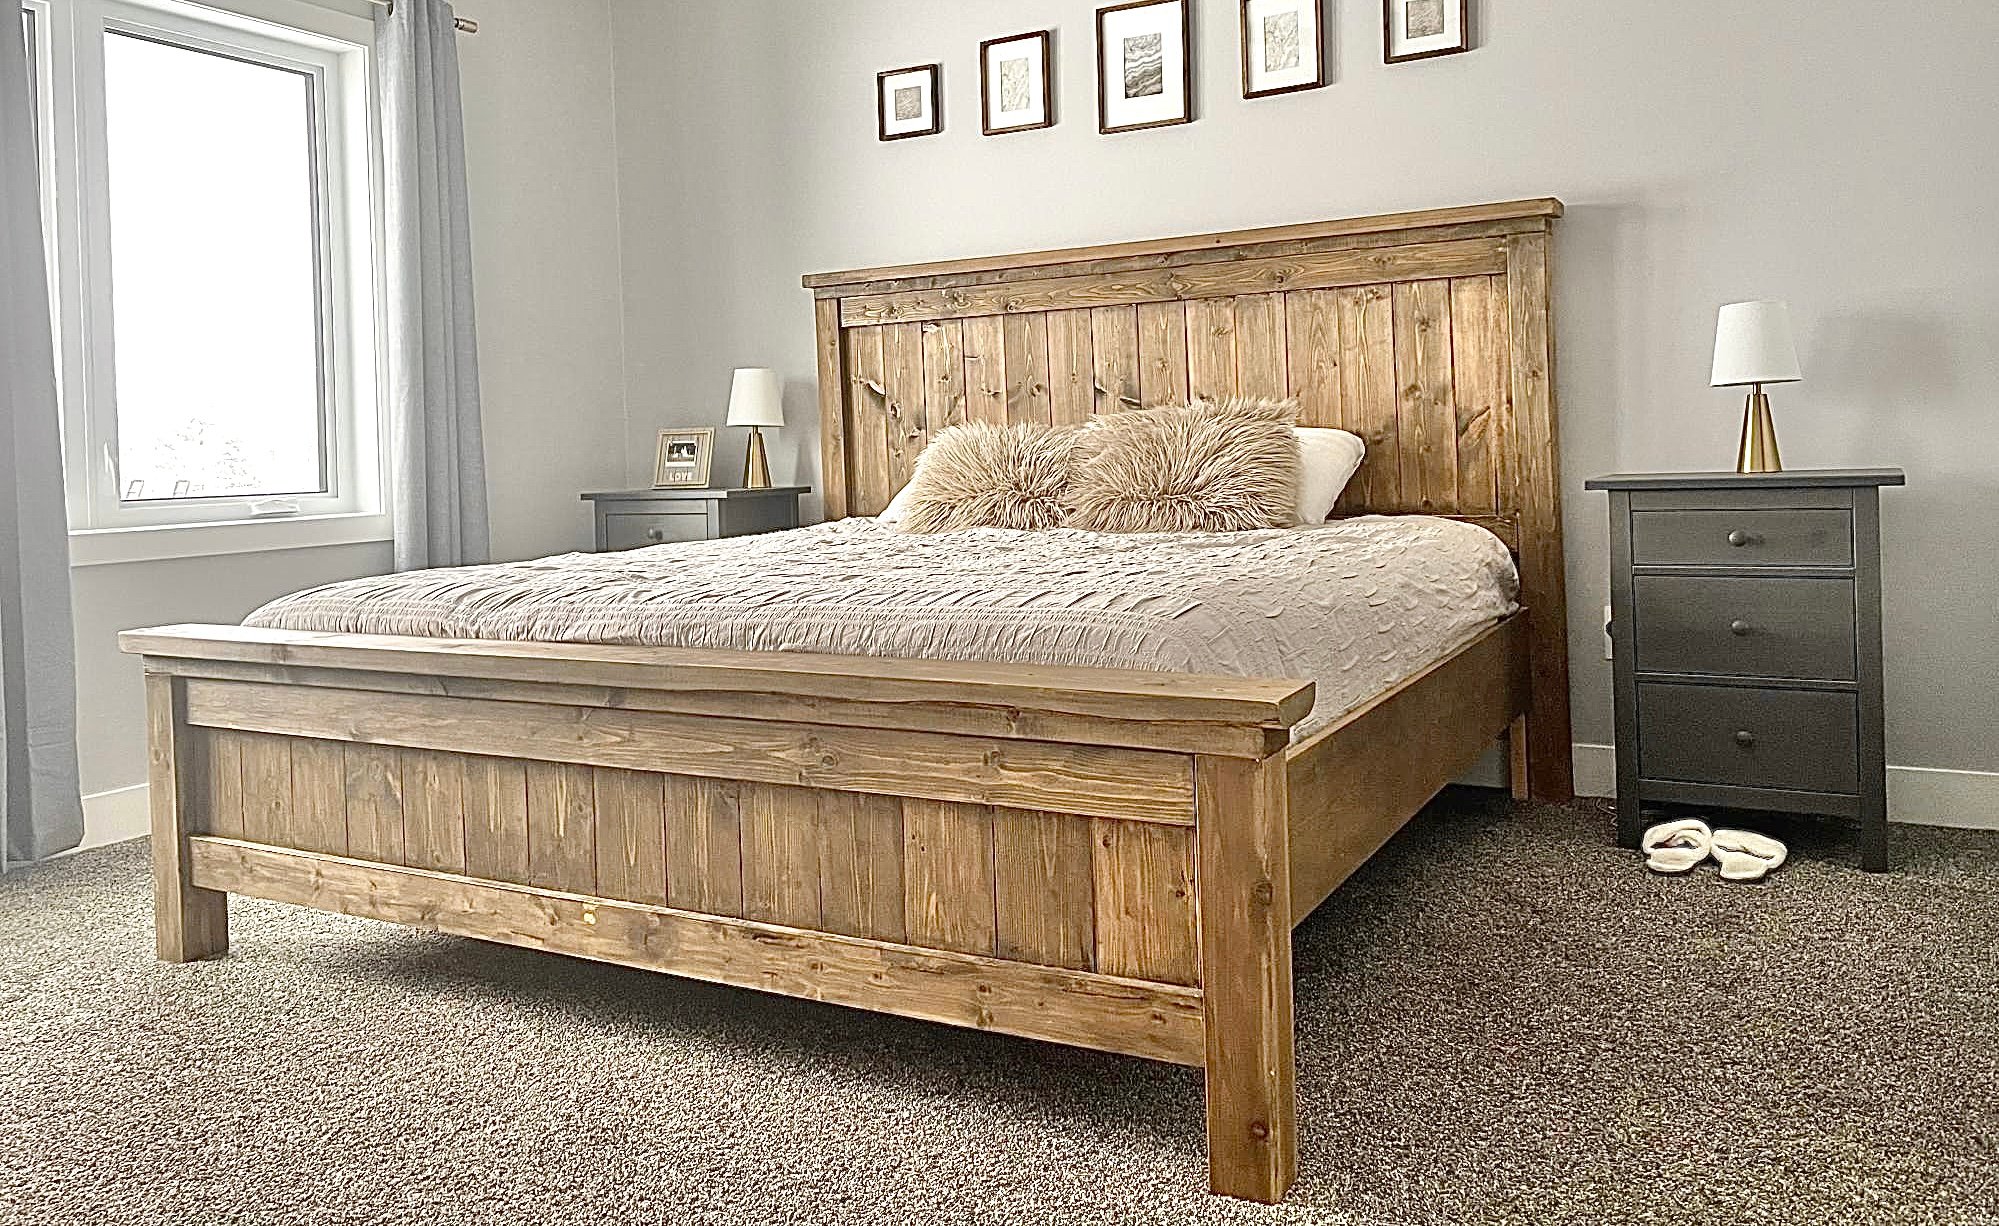
Modern Farmhouse Bed

Submitted by Anonymous (not verified) on Sun, 01/15/2023 - 13:37

My husband and I had worked on this bed together, and we are so happy with it! We went with taller side tables that we purchased, and just stained the wood instead of painting it.

Comments

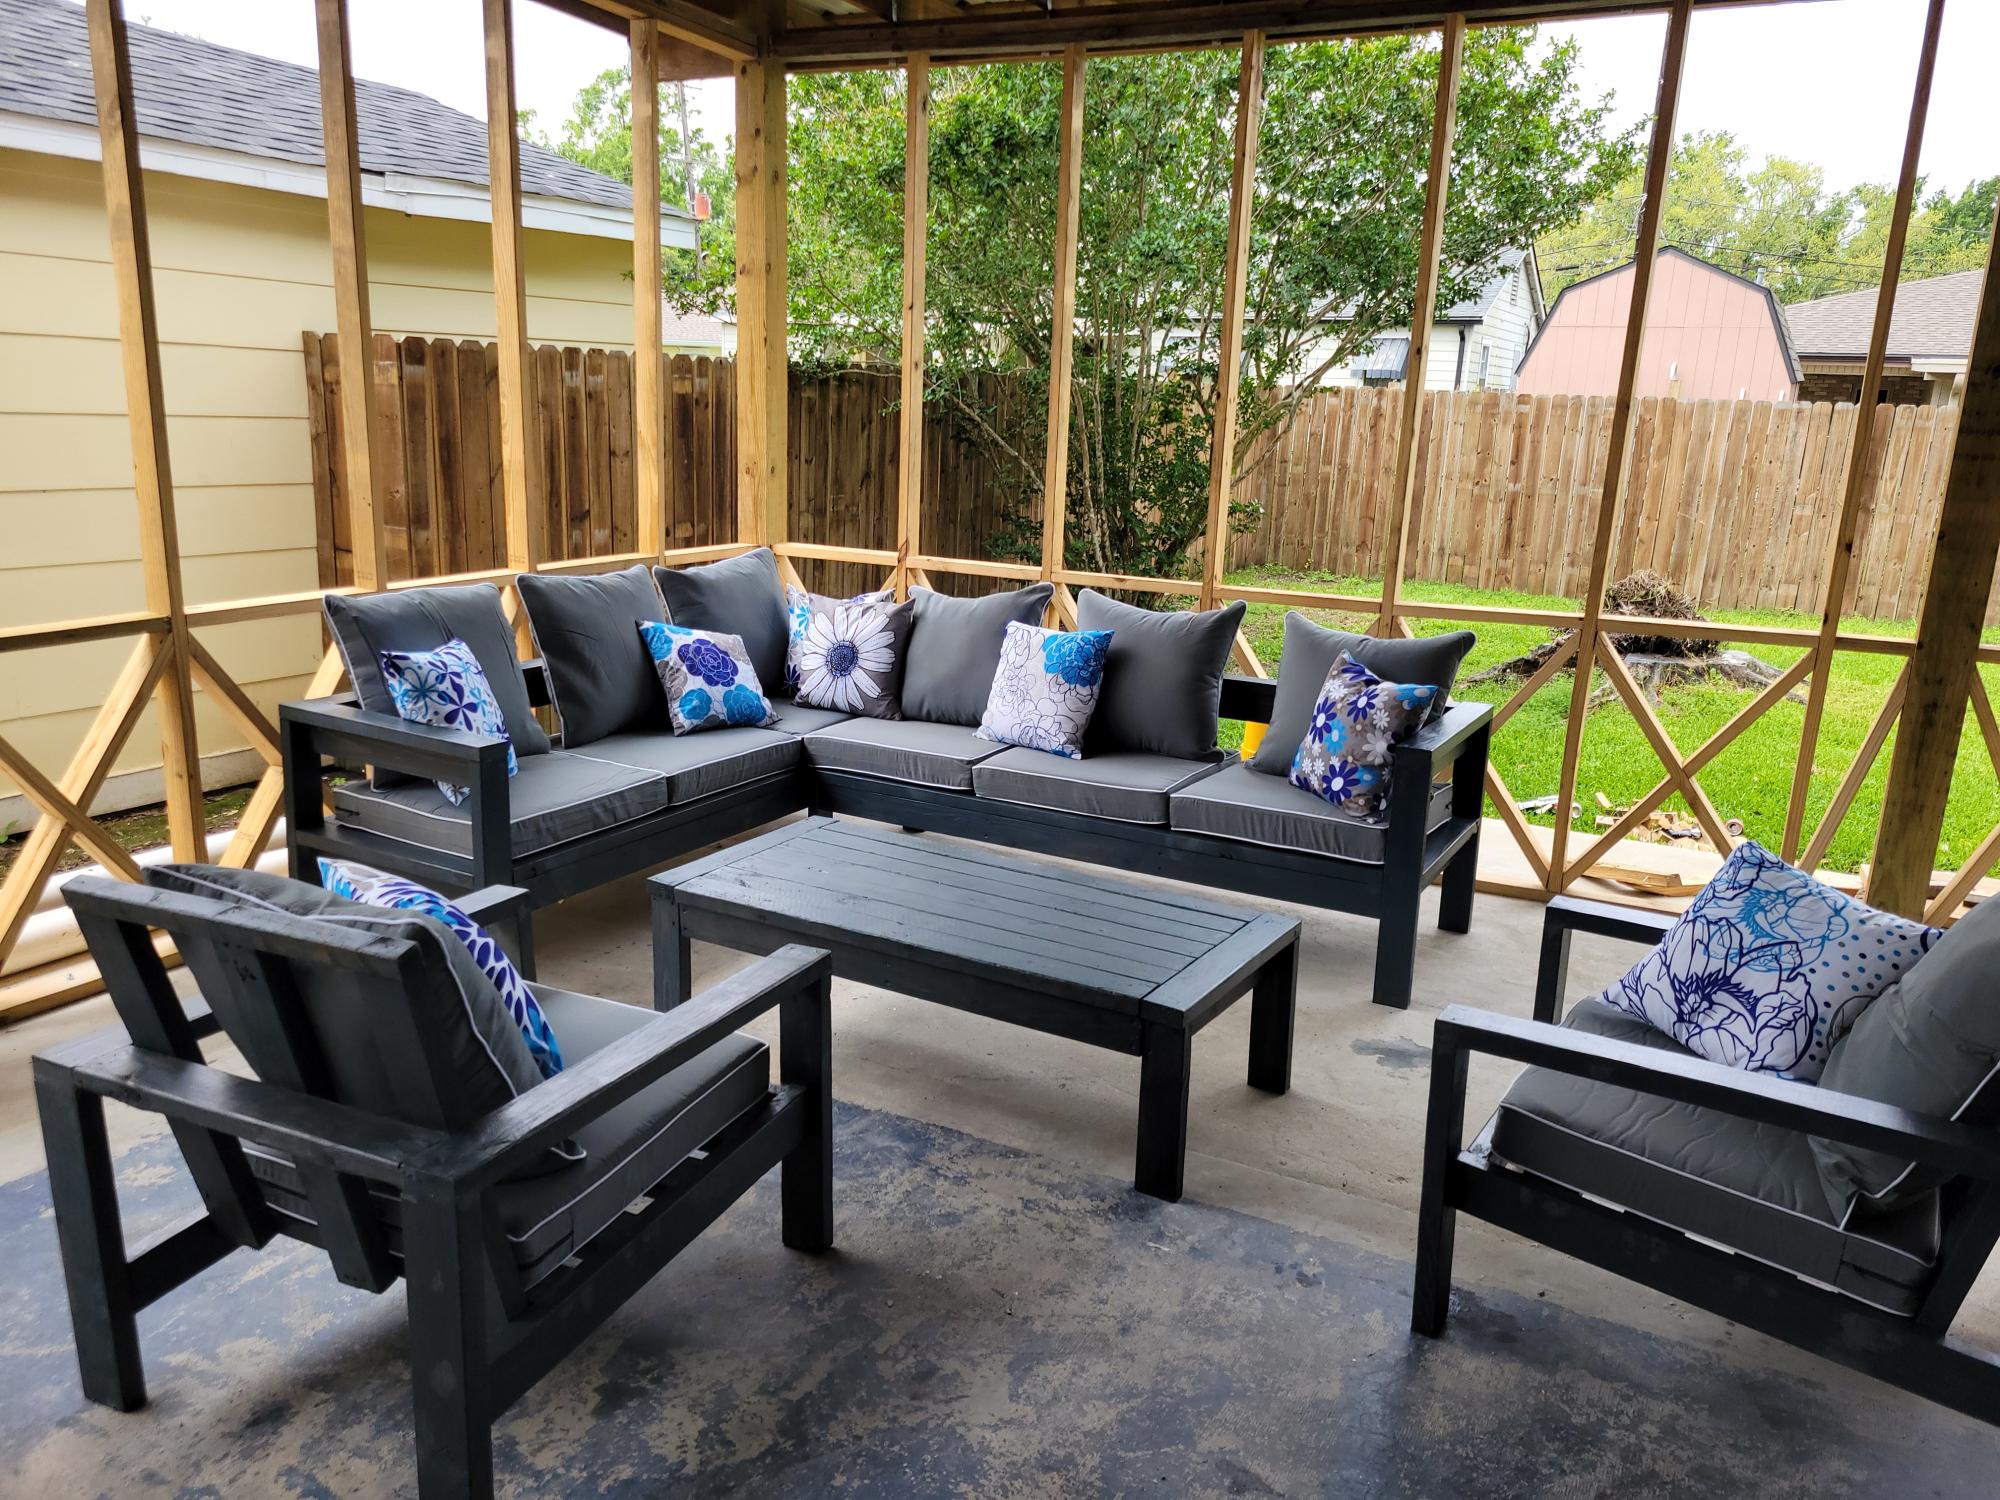
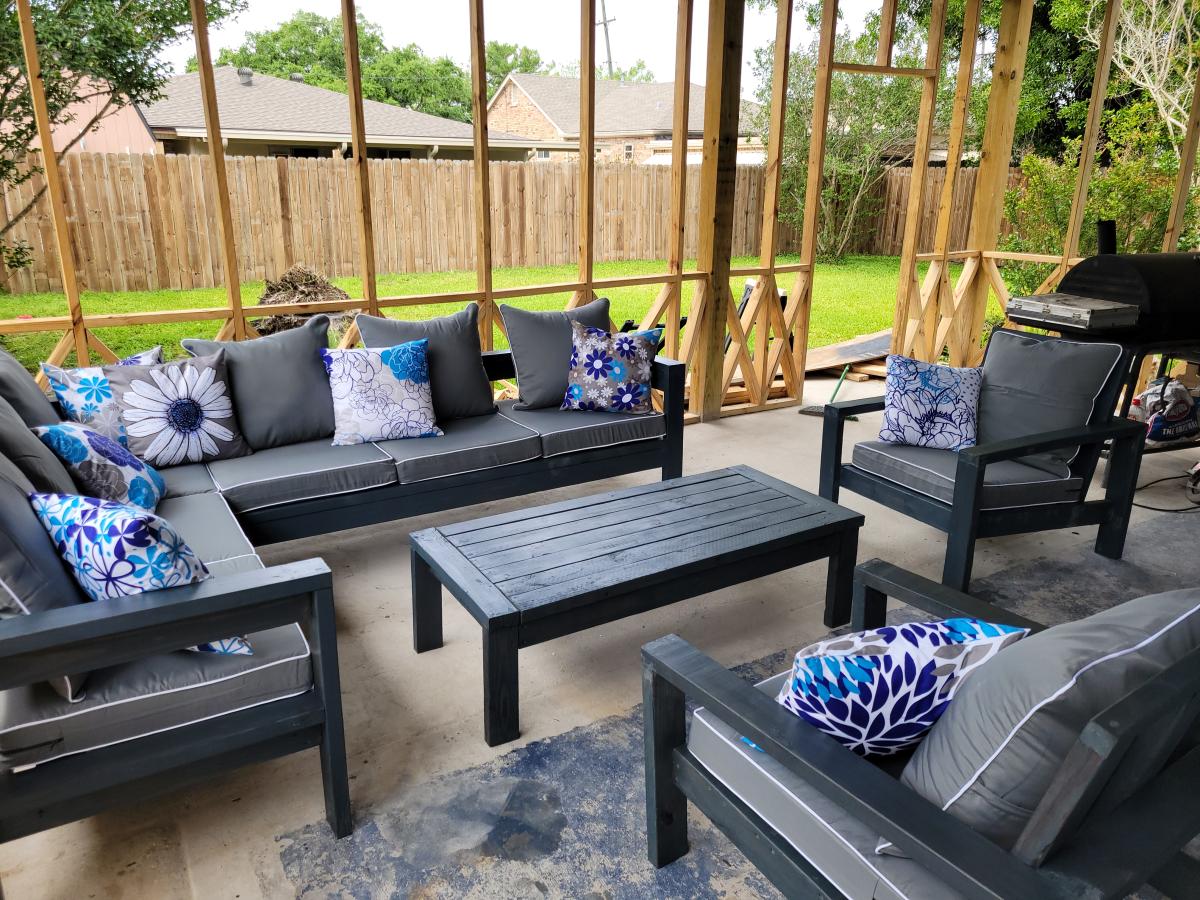
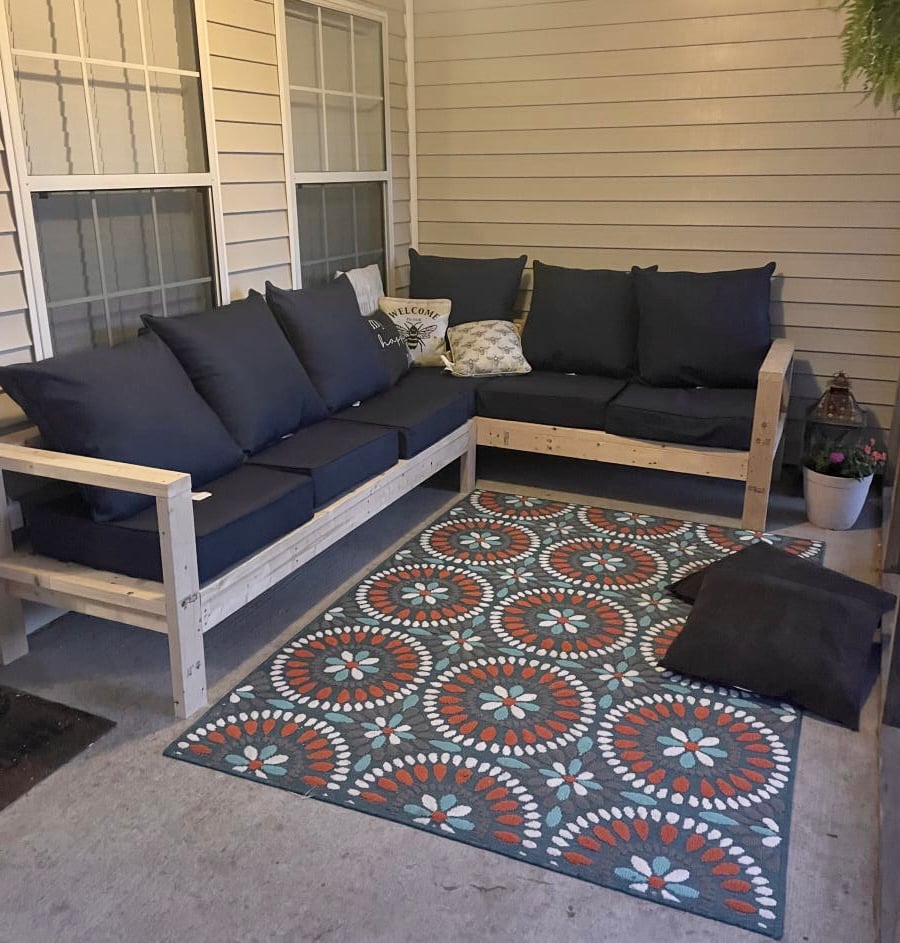
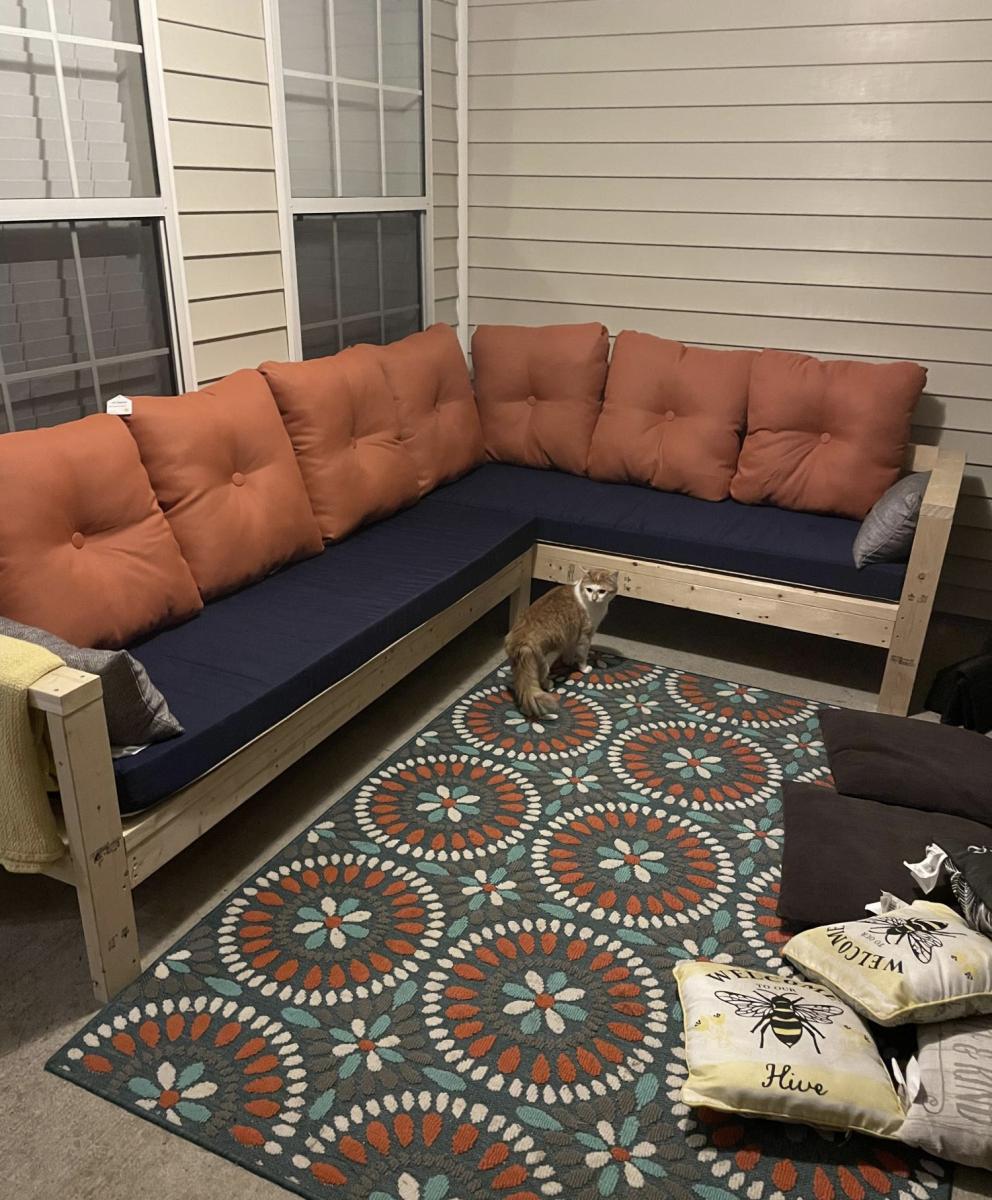
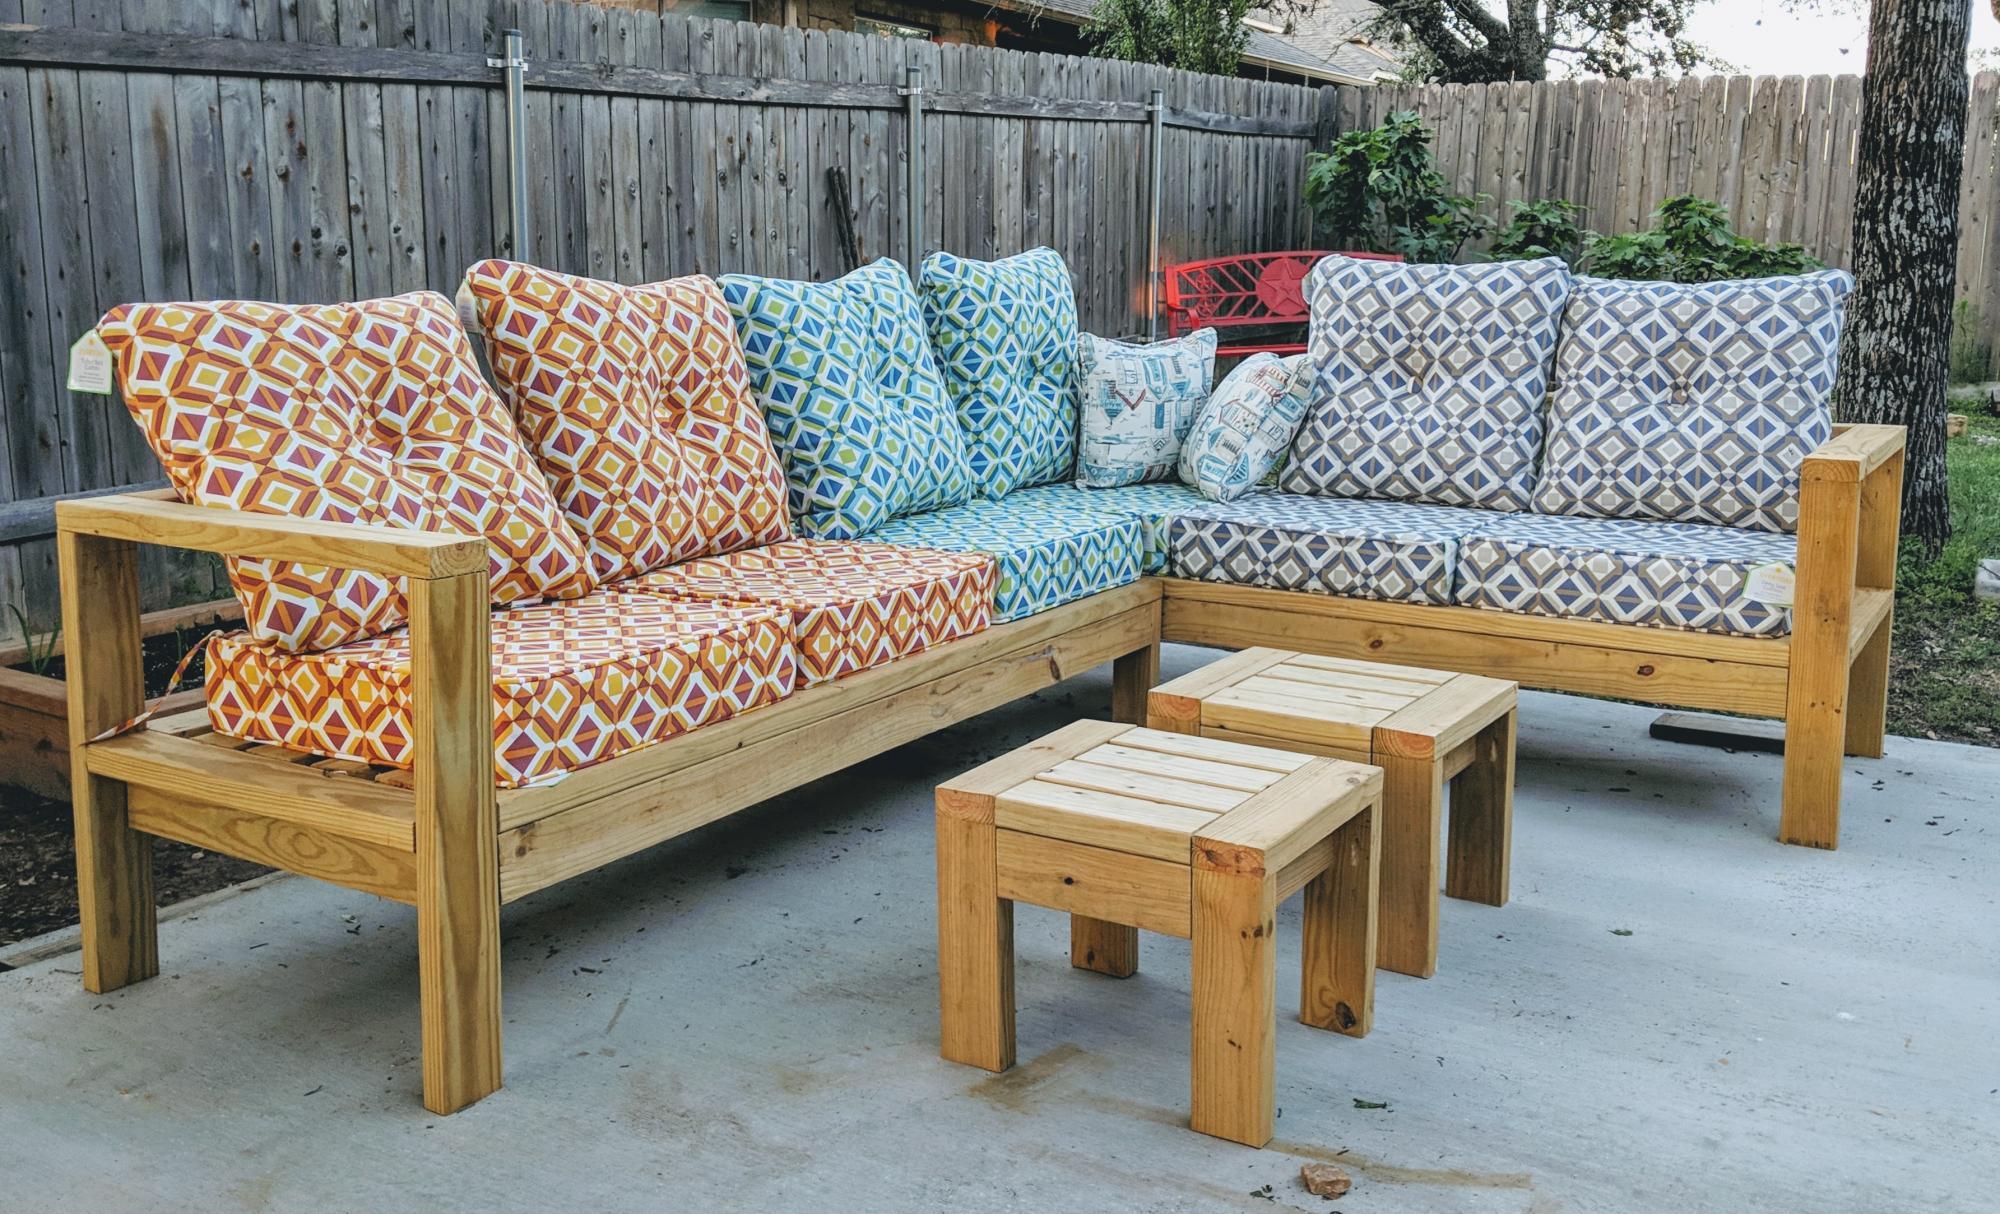
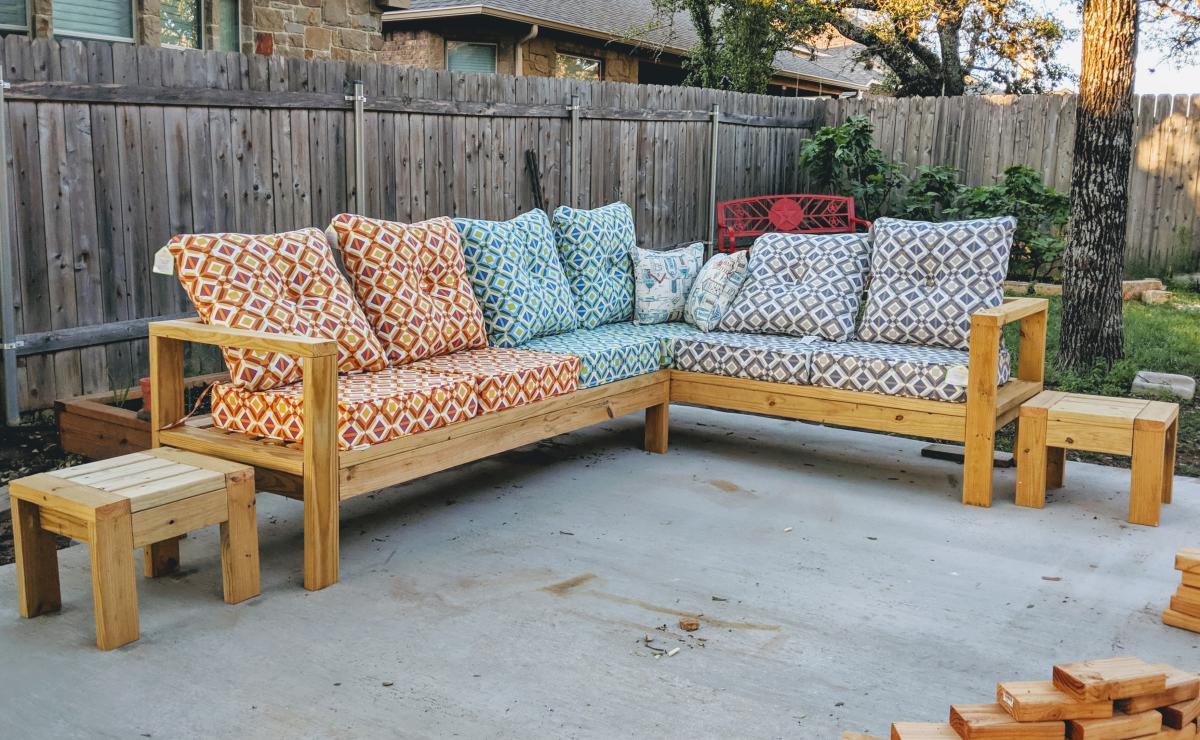
2x4 Sectional , table, and chairs

Submitted by Anonymous (not verified) on Fri, 04/14/2023 - 04:57

Your easy to follow 2x4 proje ts turned out amazing. My outdoor set is complete. The chairs, also, came from your plans. I built all of it by myself in one weekend. Thank you

Comments

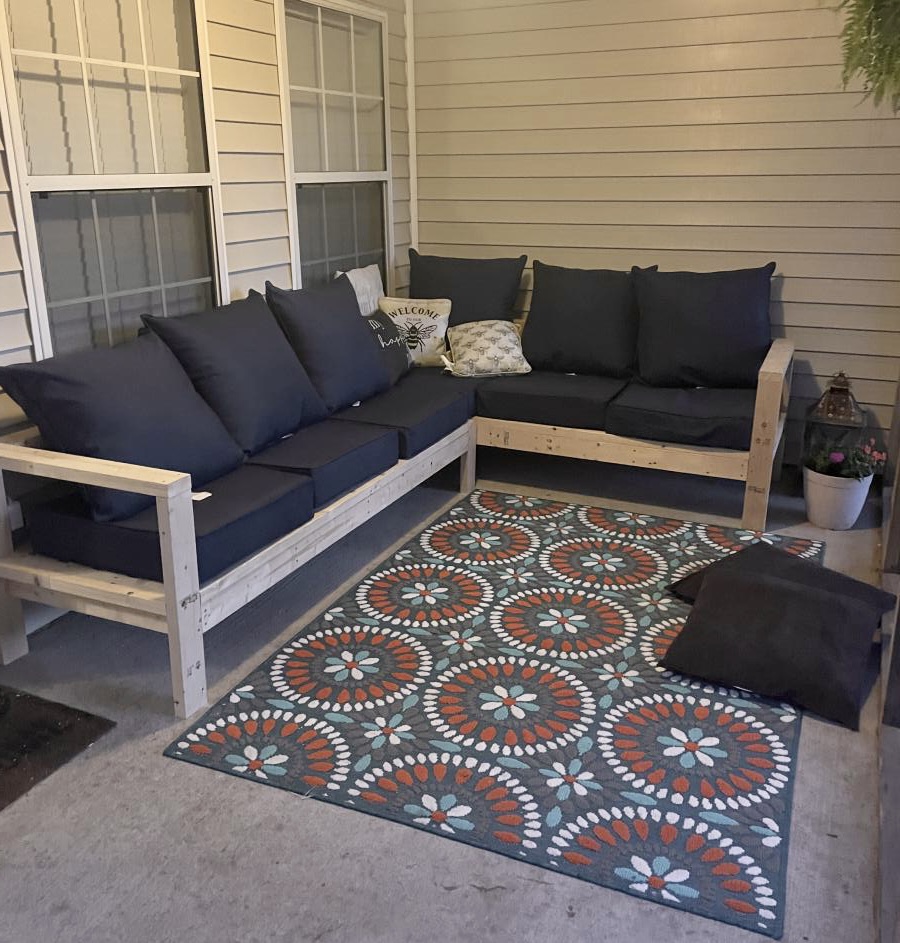
One arm 2x4 outdoor sofa

Submitted by Anonymous (not verified) on Thu, 05/18/2023 - 08:10

This was so super easy. We are so in love with this. Thank you Ana for making DIY so much fun!

Comments

Wood slab bar

Submitted by Anonymous (not verified) on Sun, 02/16/2020 - 22:03

Hand mad love edge bar

Estimated Cost
300
Estimated Time Investment
Weekend Project (10-20 Hours)
Recommended Skill Level
Intermediate

Farmhouse King Bed- Beetle Kill Pine

This was our first build and it was quite a big project to take on to start with. We had so much fun and learned so much along the way. 

Our biggest lessons were to hand pick our wood and make sure we get the straightest pieces possible. We had to wrestle some wood to make this bed work!  Clamp everything especially when using large bolts as the pieces would pull apart from each other. We even used a ratchet strap at one point becuase our small clamps weren't cutting it. I'm sure there's a better way and we'd love to hear about it but we made what we had work. We also had to figure out how to attach the side rails and at what height. We ended up using 3 4-inch screws on each end to screw them into the posts.  

We love this bed not only because it was a labor of love but because its such a solid beautiful piece. 

Estimated Cost
$200
Estimated Time Investment
Week Long Project (20 Hours or More)
Finish Used
Minwax Polycrylic Water based - 4 coats, sanded using a 220 grit sanding block in-between each coat.
Recommended Skill Level
Intermediate

Comments

Huffaker6971

Sun, 08/18/2019 - 13:47

This is exactly what I've been looking for. Are there plans for this build?

sxewhodey

Sun, 03/01/2020 - 11:29

Very nice! I love the lighter wood too, but my wife likes the darker stain, so we compromised in the middle for the finish. Why  arethe post always so red? I can appreciate the natural tendency of nature to add color, but the 4*4's are always red-er in color. Do they always use a different pine or certain part of the tree for those?

Patio Chairs

Submitted by pblomberg on Sun, 07/23/2017 - 13:13

Chairs turned out nicely!  Adjusted for cushions from home Depot (24x24)

Will also make a little table to set between soon.  Thanks for the plans. 

Estimated Time Investment
Day Project (6-9 Hours)
Finish Used
Behr semi transparent. Chocolate color.
Recommended Skill Level
Beginner

Comments

Seasonal And Holiday
Back