Community Brag Posts

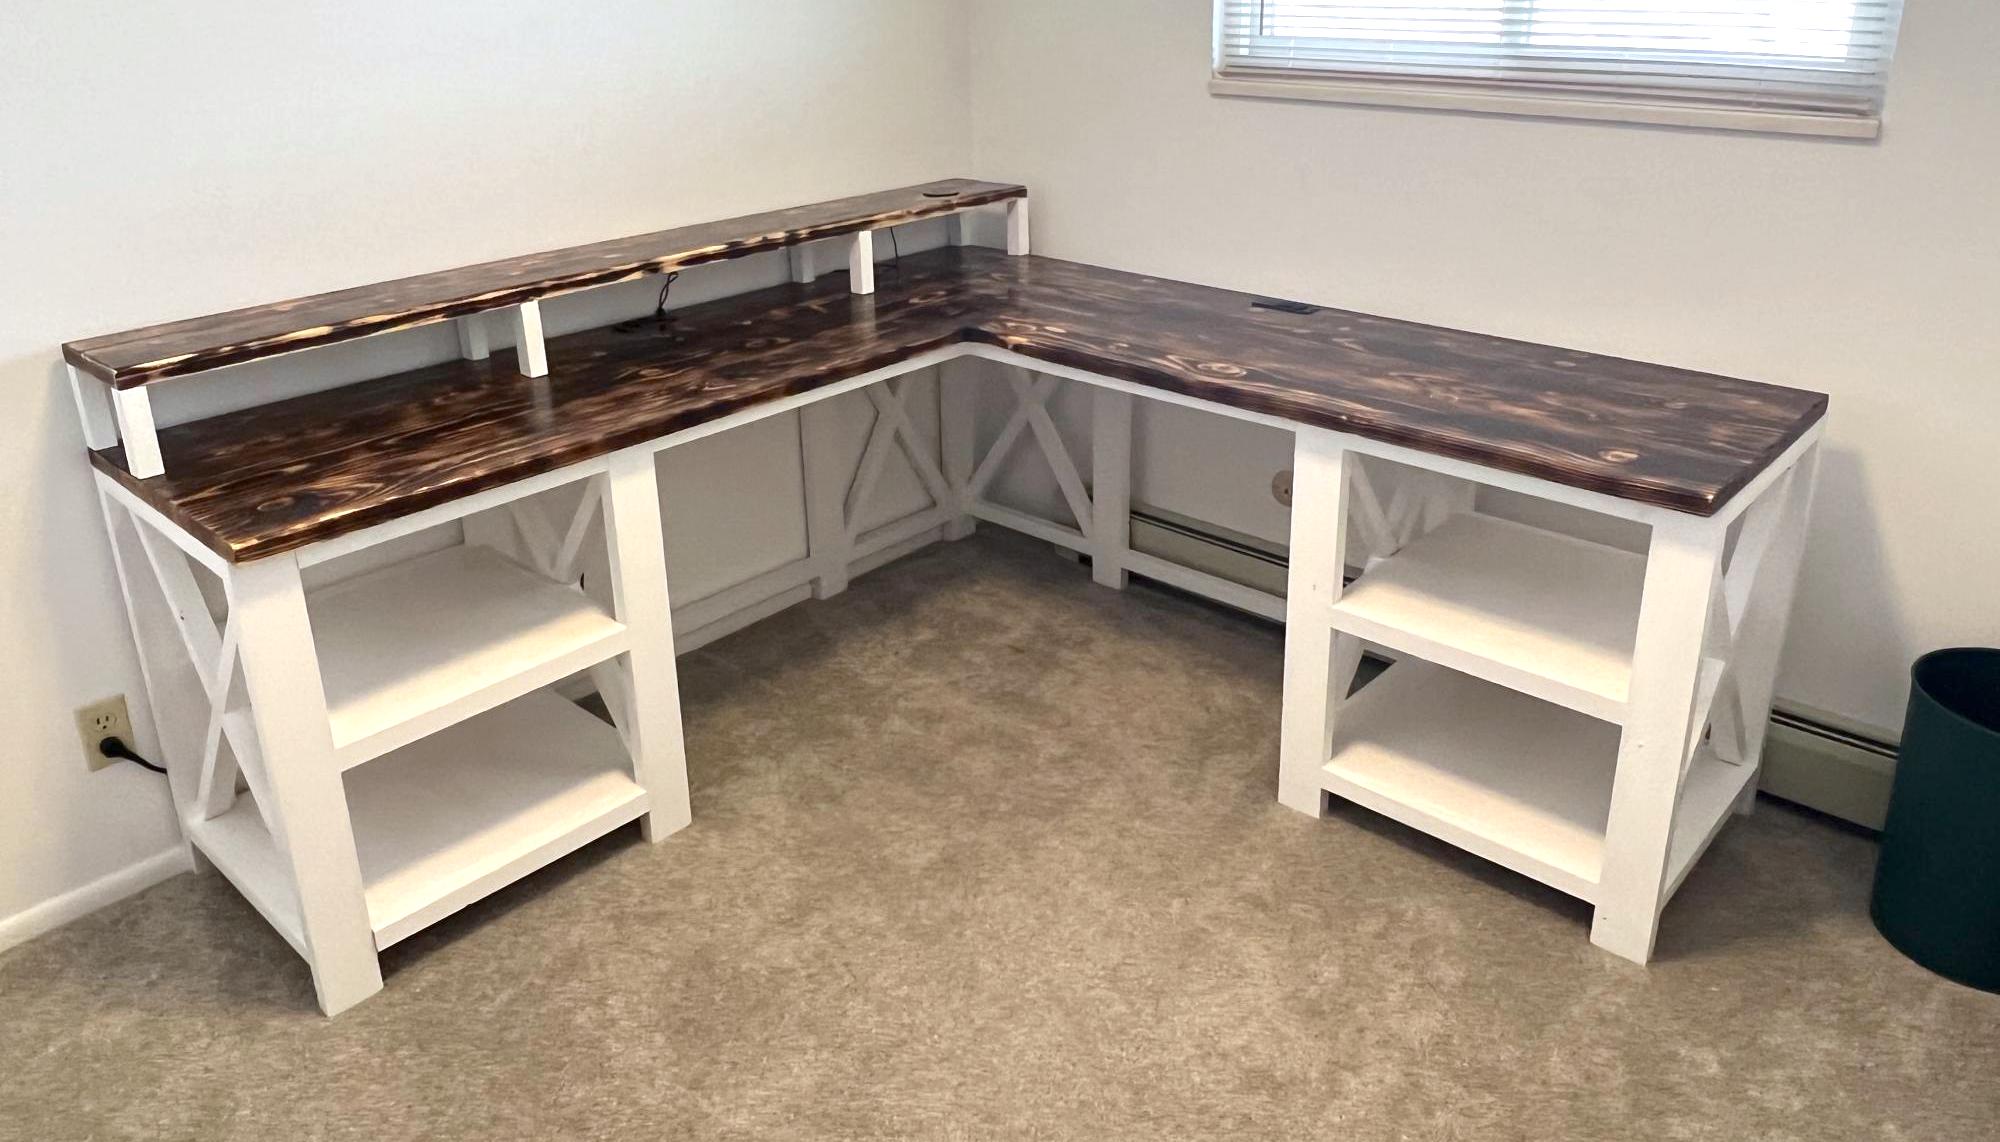
Rustic Computer desk with Shou Sugi Ban and Epoxy Top

Submitted by Anonymous (not verified) on Tue, 03/14/2023 - 14:16

I slightly modified the Rustic X Desk plan to make my L shaped computer desk with a monitor platform! The desk surface is Shou Sugi Ban with an epoxy finish. All made from stock lumber and a lot of pocket hole screws. Thanks for posting your plan Ana to give me the idea! Construct for around $200.

Built from Plan(s)

Comments

Farmhouse Coffee Table [Beginner/Under $40]

Submitted by Anonymous (not verified) on Sat, 03/25/2023 - 03:46

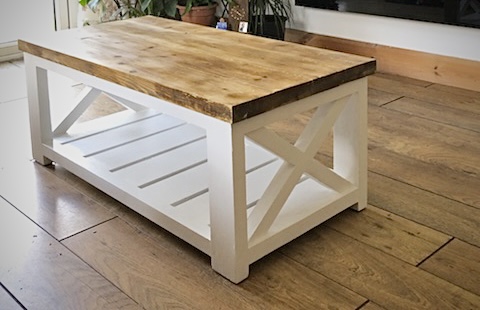
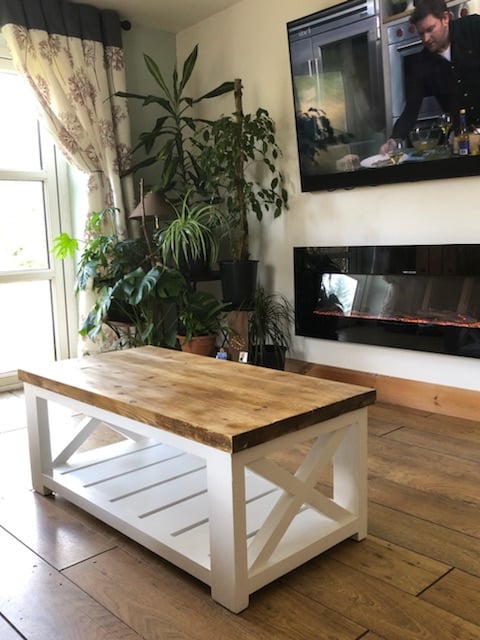
Than you Ana, My first time ever that I have made anything - my coffee table taking pride of place. Looking forward to making my next project from your plans.

Comments

Industrial Coffee Table

Submitted by Anonymous (not verified) on Tue, 02/16/2016 - 12:24

I was seeing this coffee table everywhere so I knew we had to make it. It's the easiest build ever. I think the only tricky part is the painting near the edge. We like a more sanded/finished top. We tried spray painting the base and then attaching the top, but then we sanded the top and the spray paint on the base near the top came off, so I had to cut in and I'm not good at that.

So we're still working on a way to do this properly. We tried making the top on the ground and then sanding & attaching it. But the top needs to be completely exact/square in order to do this. We live in a old farmhouse, so we prefer to attach it as we go - then sand. We also plane the top for a more exact and modern look. 

Estimated Cost
Under 50.00
Estimated Time Investment
Afternoon Project (3-6 Hours)
Finish Used
Top stained in our custom beachwood mix. A mixture of Minwax stains, Bottom spray painted in Oil Rubbed Bronze & semi-gloss polyurethane ( two coats )
Recommended Skill Level
Beginner

Comments

Yard Swing Pergola

Submitted by Anonymous (not verified) on Sat, 07/08/2023 - 09:31

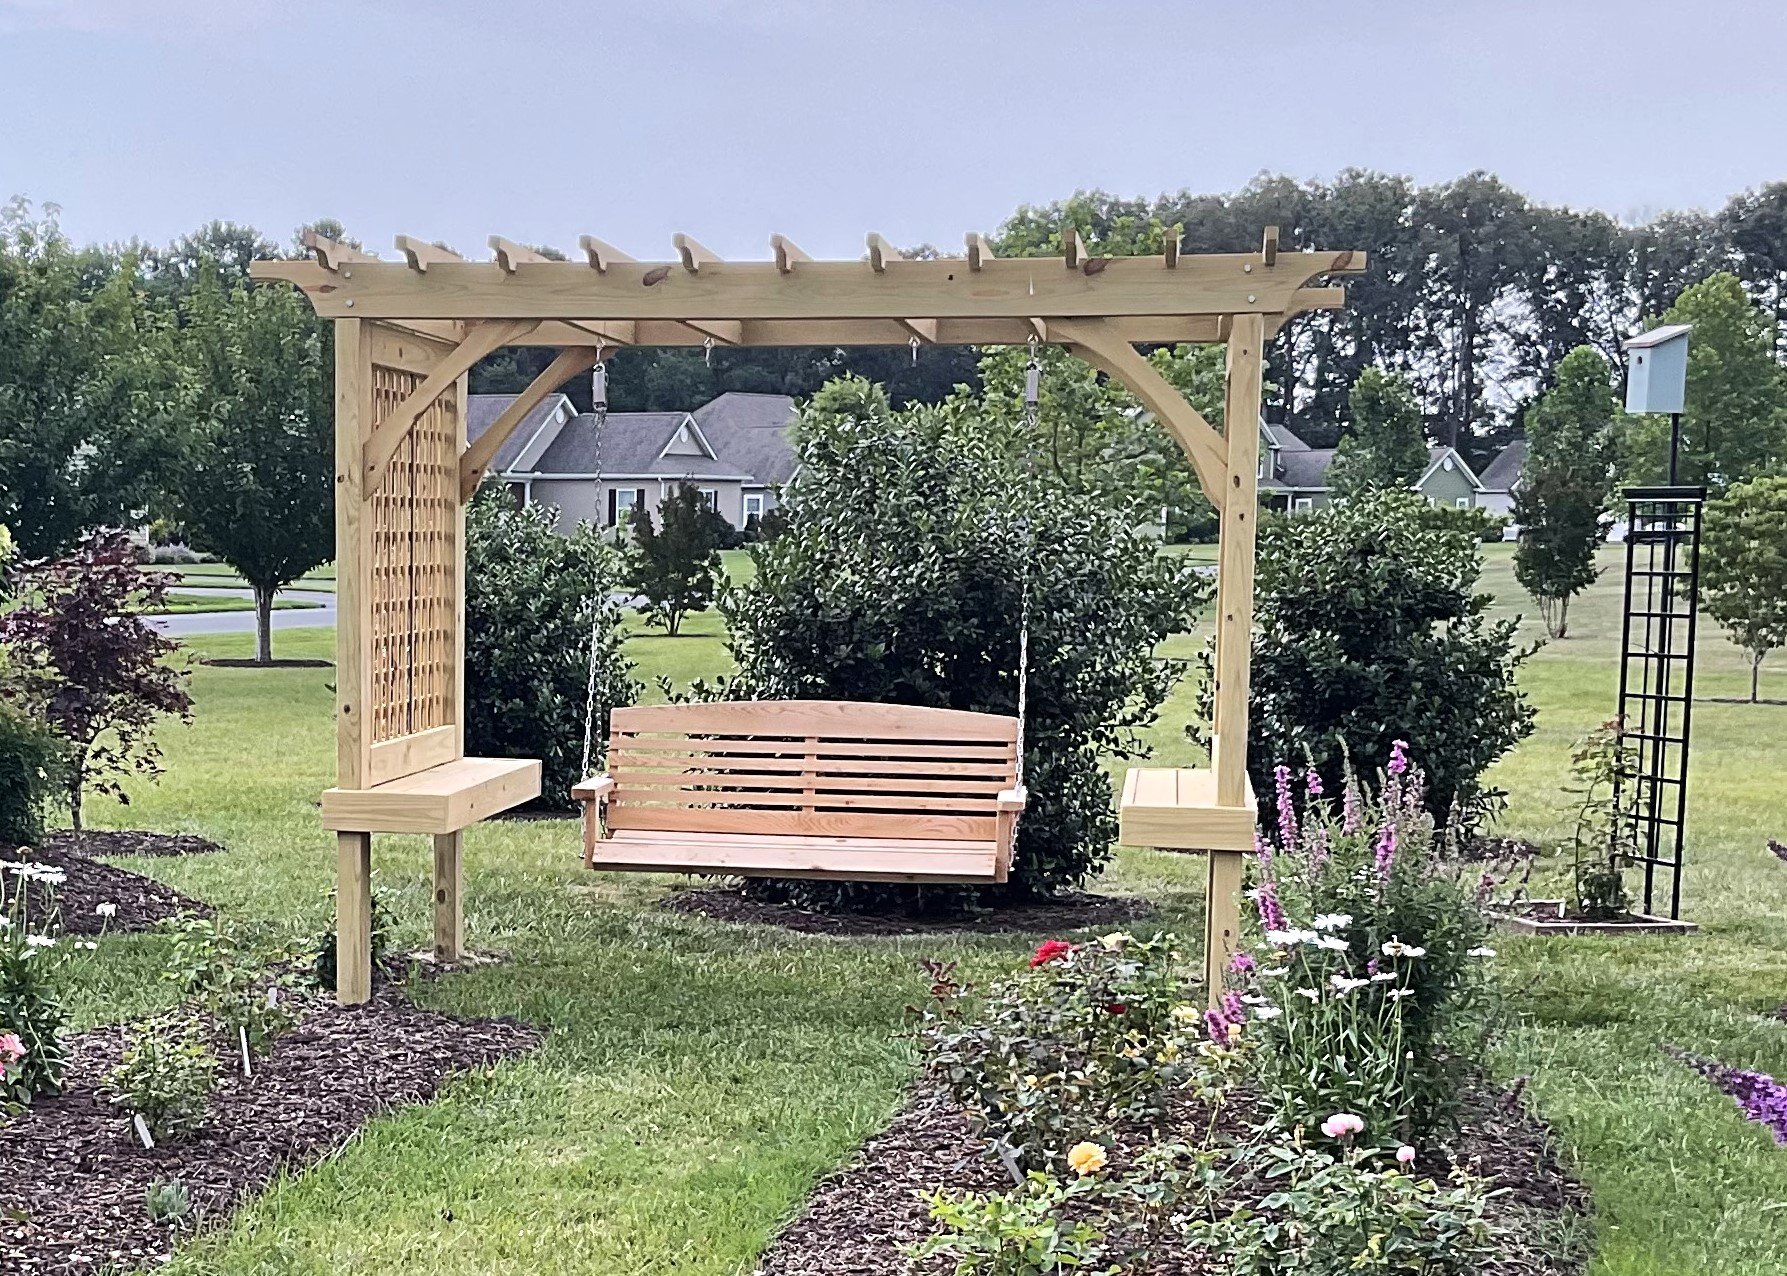
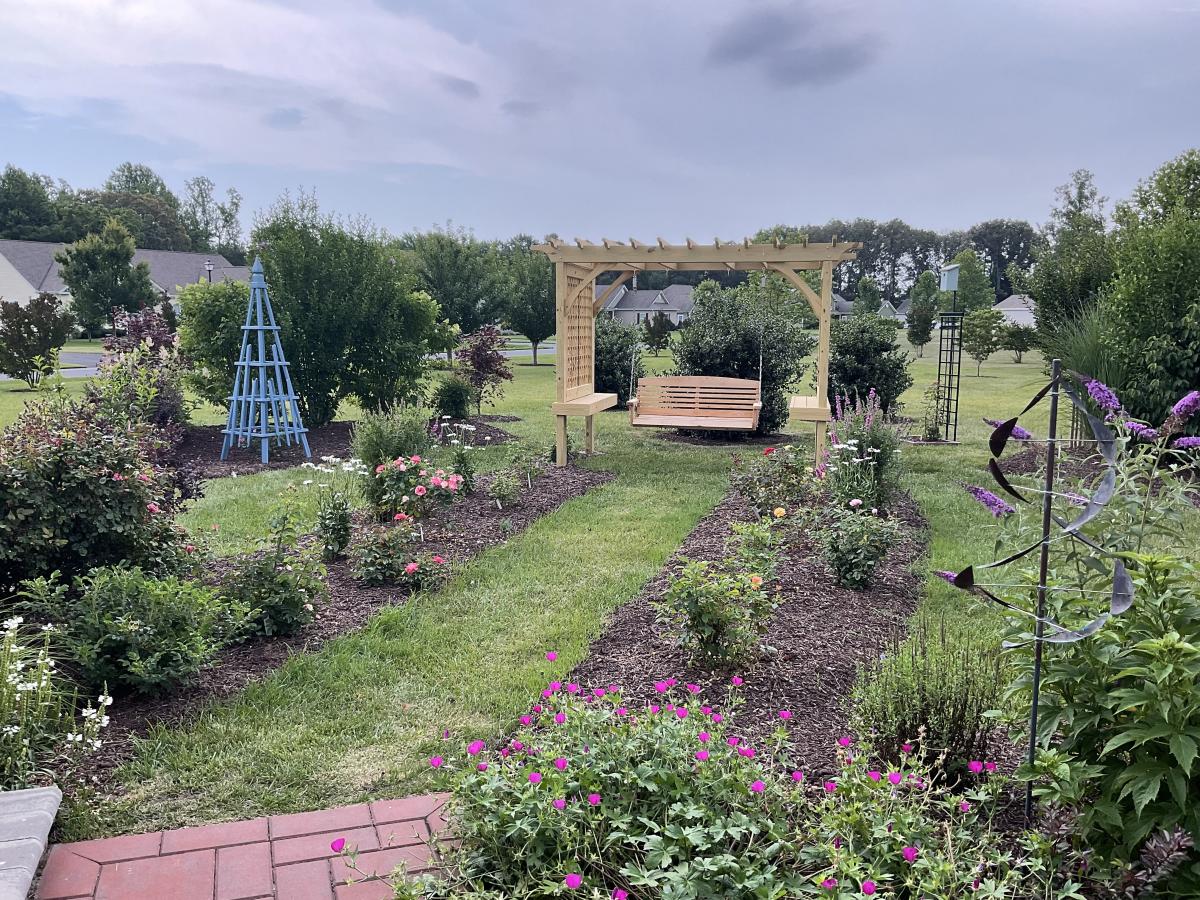
Just saw on instagram that no one bragged about this plan yet. We did order the swing online, but built the outdoor room from your plan. We did put our support posts in concrete, very windy here. Just waiting for the roses to grow up the sides. Thank you for making it easy with your plan.

Bill and Maryann Tate

Built from Plan(s)

Comments

Full over Full Bunk Bed

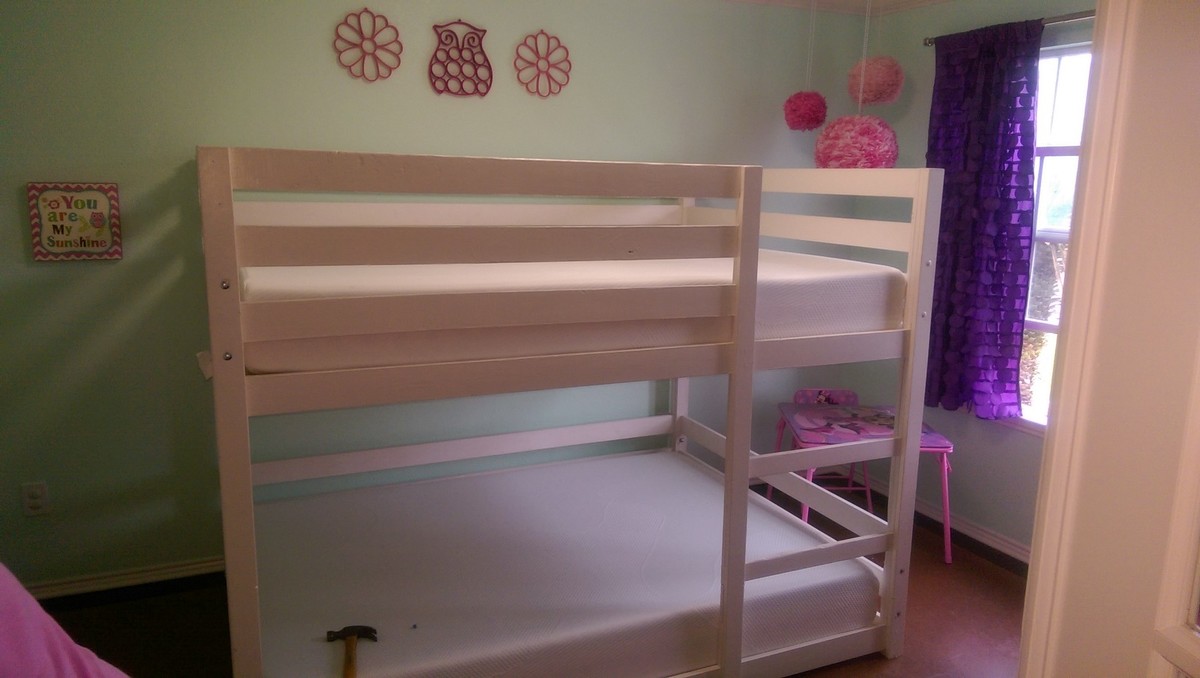
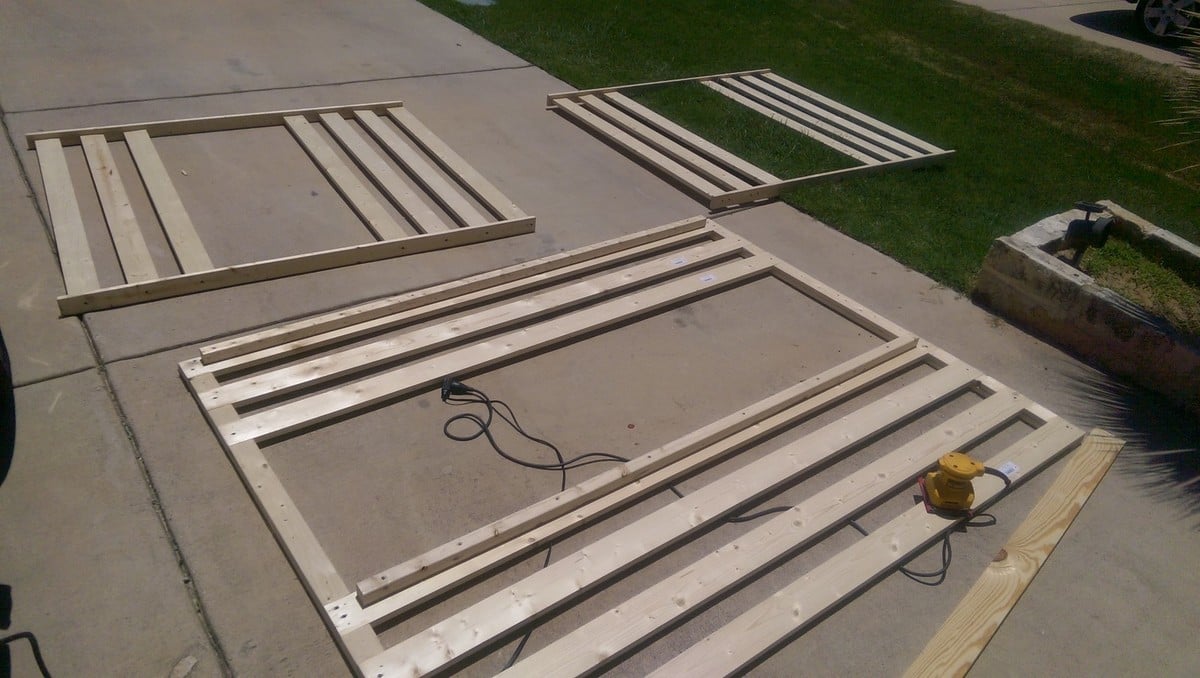
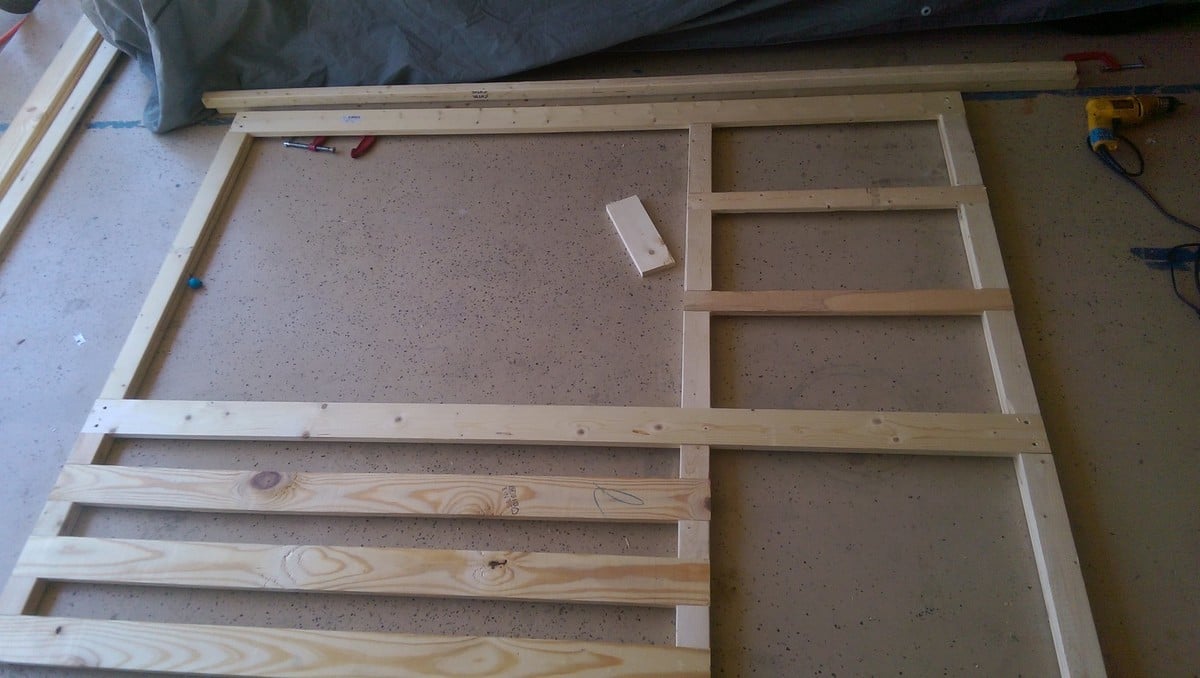
Full over Full bunk beds. Adjusted for Full from a twin measurement. only 1" off floor for more head room.extra rail bar coverage upstairs for my daughter who rolls out of bed regularly.

Built from Plan(s)
Estimated Cost
used common board mix and a few premium cuts. Pine was more costly. @$250
Estimated Time Investment
Weekend Project (10-20 Hours)
Finish Used
White primer/paint
Recommended Skill Level
Beginner

Comments

bjerfr

Sat, 07/11/2020 - 10:12

What measurements did you use to adjust to a full size?

Barn Door Bookcase/ Side Pantry

Submitted by BmoreITguy on Wed, 04/22/2020 - 05:57

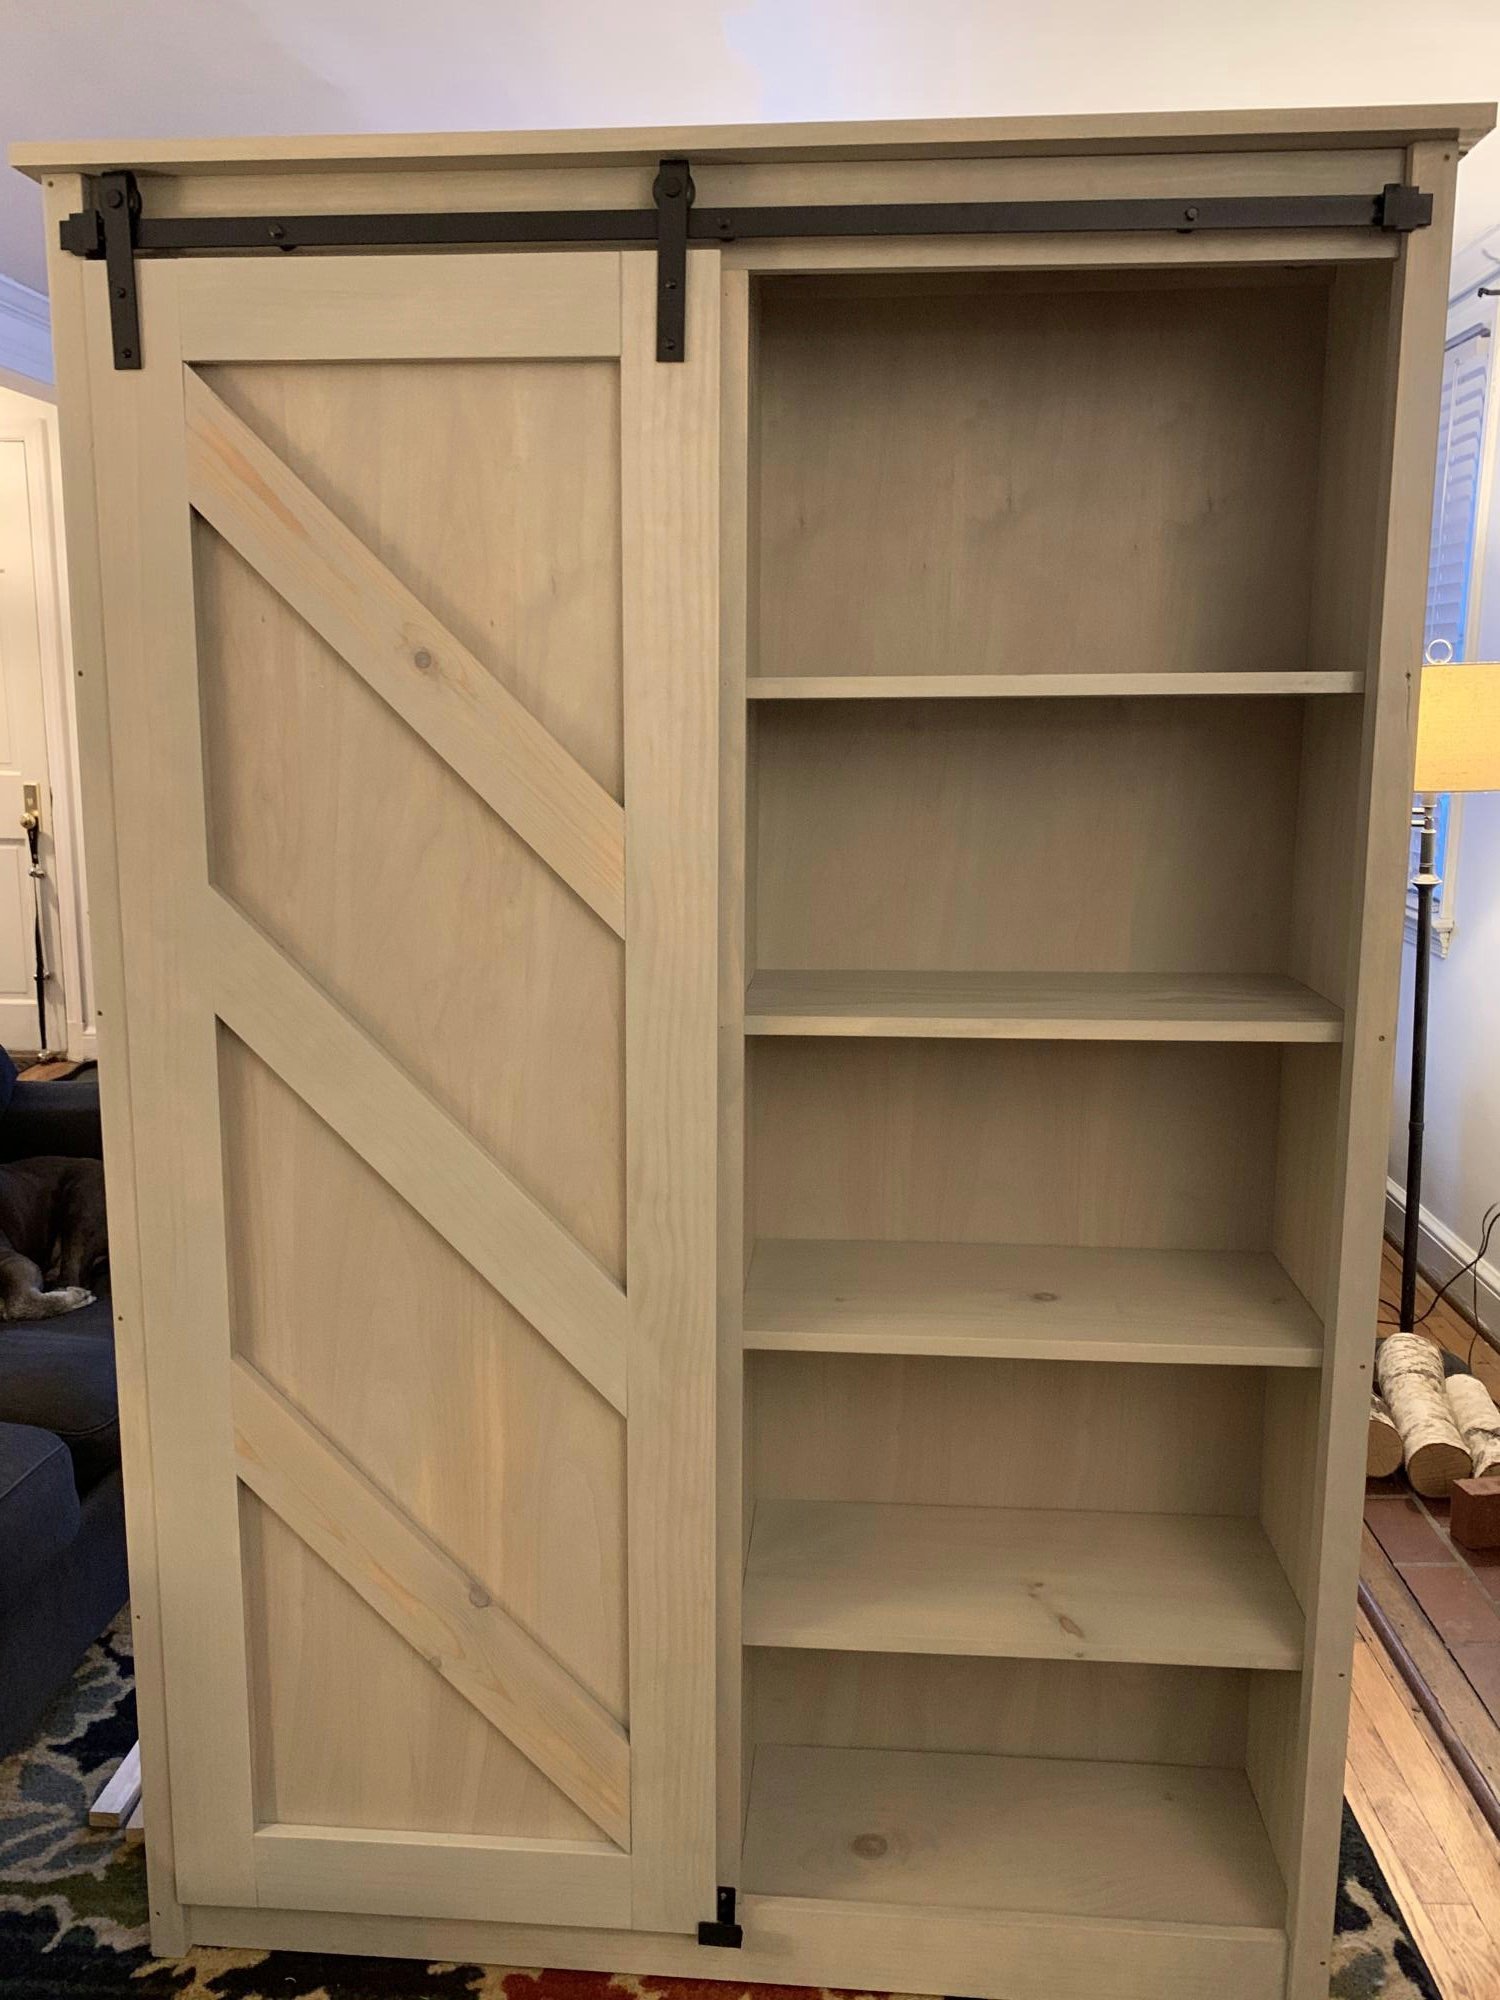
This took a lot of time and money but I like the way it looks. We have 4 kitchen cabinets and one drawer and no room for more so storage is tight.

Built from Plan(s)
Estimated Cost
400
Estimated Time Investment
Week Long Project (20 Hours or More)
Finish Used
Same as Ana’s
Recommended Skill Level
Advanced

Comments

BmoreITguy

Wed, 04/22/2020 - 06:00

Why is my picture sideways? Ana, one of the most frustrating things with this build was the mobile version of your site. Very laggy, typing lags, pages crash in the middle of typing or viewing and persistent ads are a nightmare

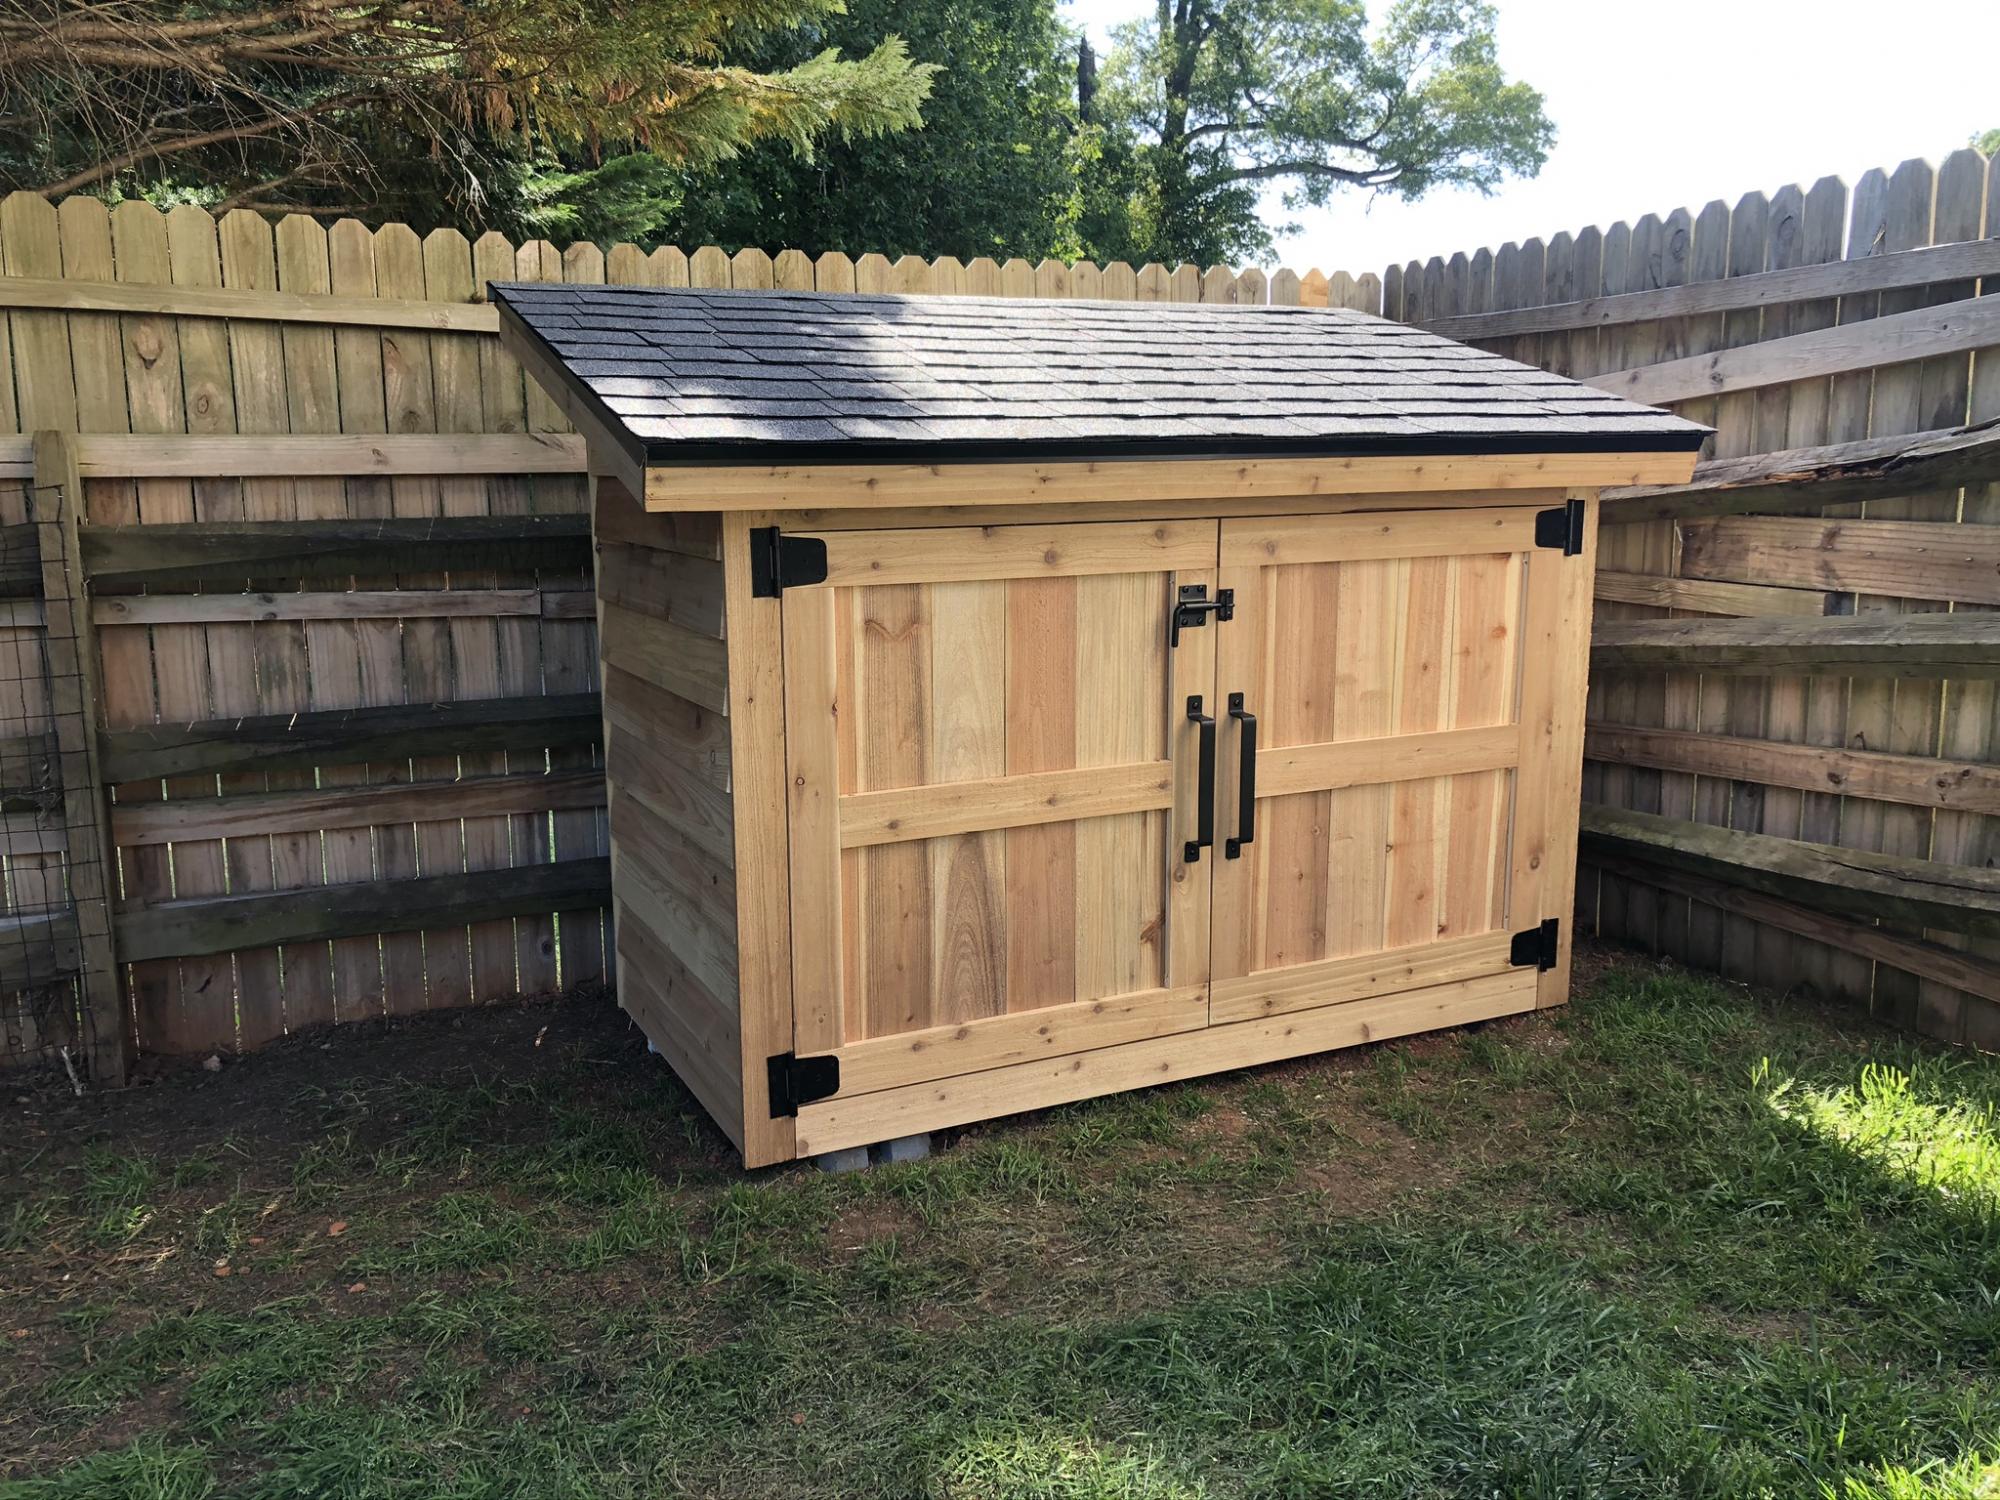
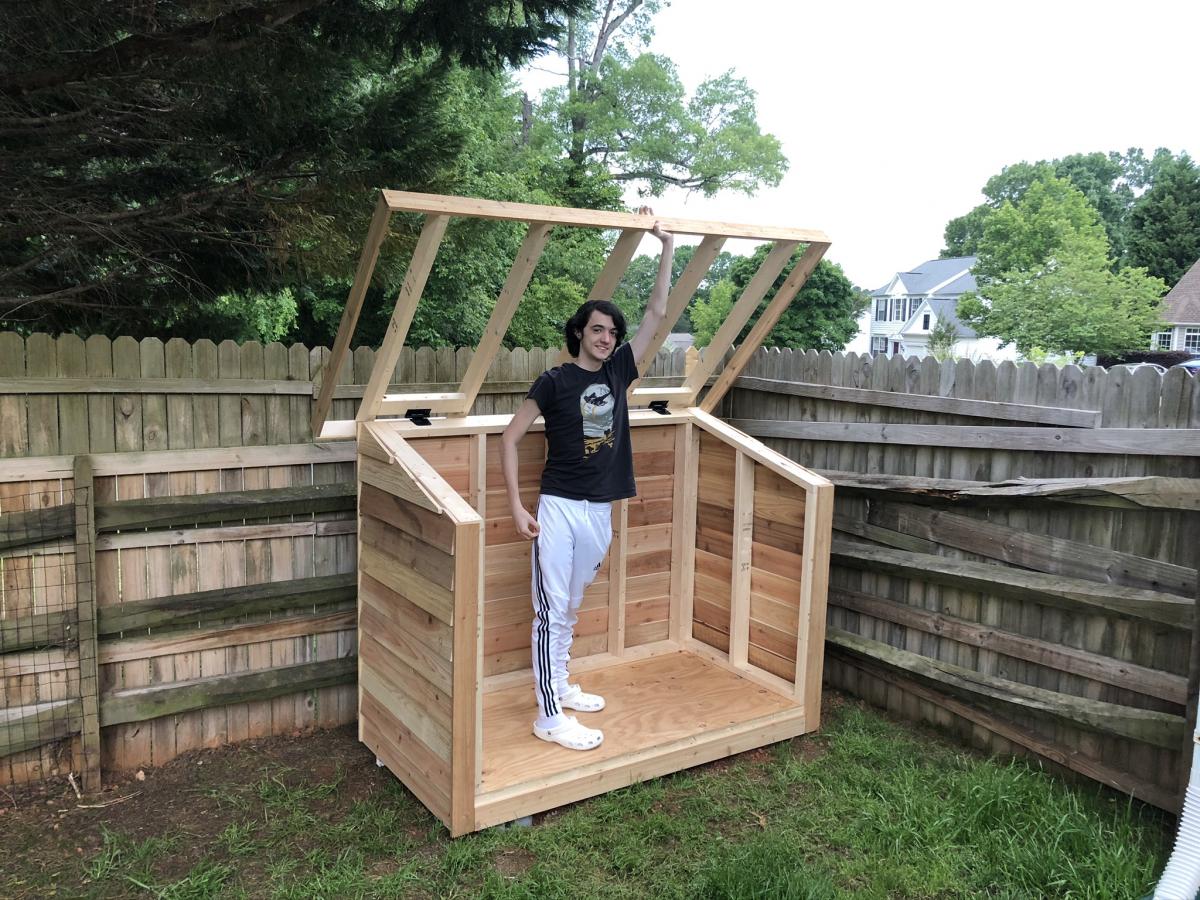
Short version of cedar shed

Submitted by Anonymous (not verified) on Sat, 05/16/2020 - 14:35

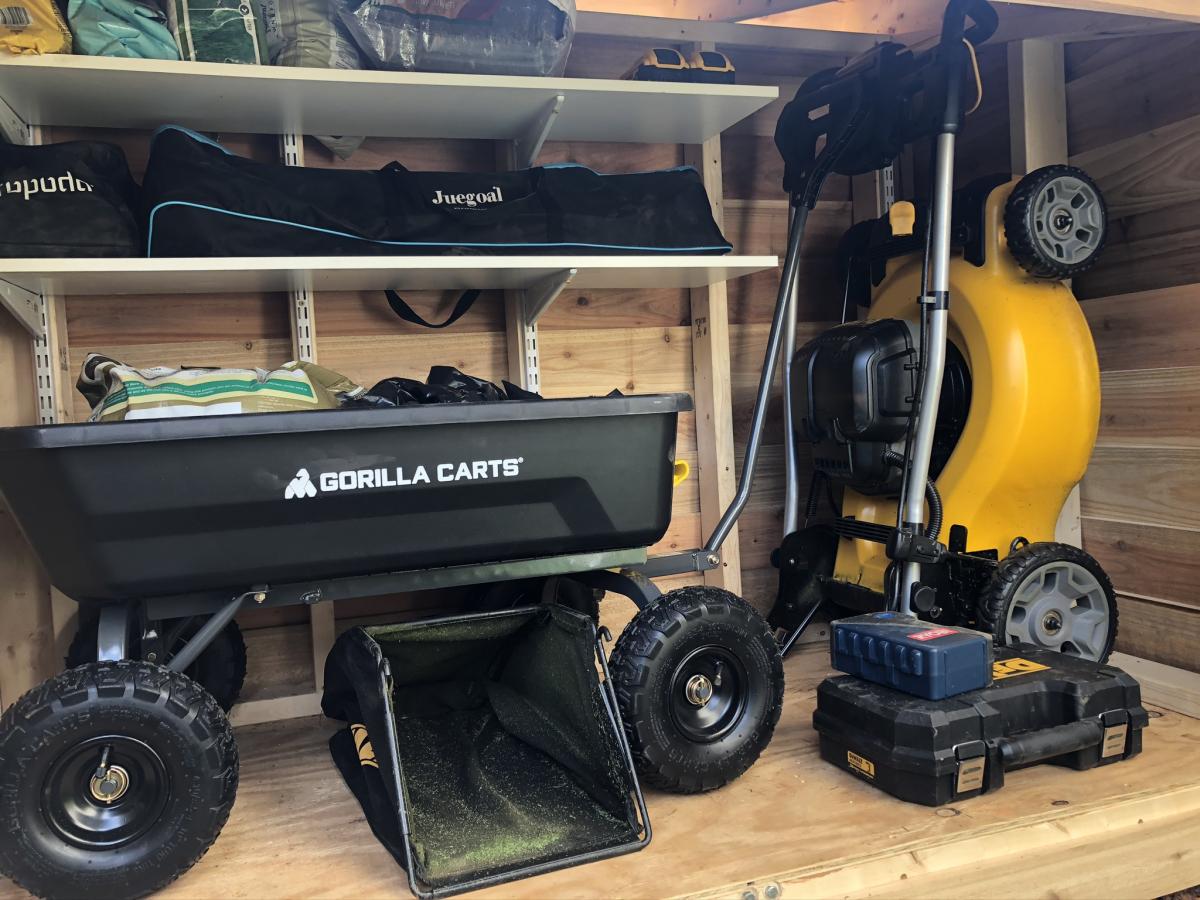
We wanted a shorter version, so that it would hide behind this fence. I just needed somewhere to store lawnmower, wheelbarrow, and a few yard supplies. I started putting the roof on hinges, but the gas struts couldn't support the 170 pound roof. So it's fixed in place (stronger structure anyway). That's why I went with 2x4's for the framed walls instead of 2x2's.

Built from Plan(s)
Estimated Cost
600
Estimated Time Investment
Weekend Project (10-20 Hours)
Finish Used
Not yet finished, will get to that.
Recommended Skill Level
Intermediate

Comments

Butcher Block Kitchen Island

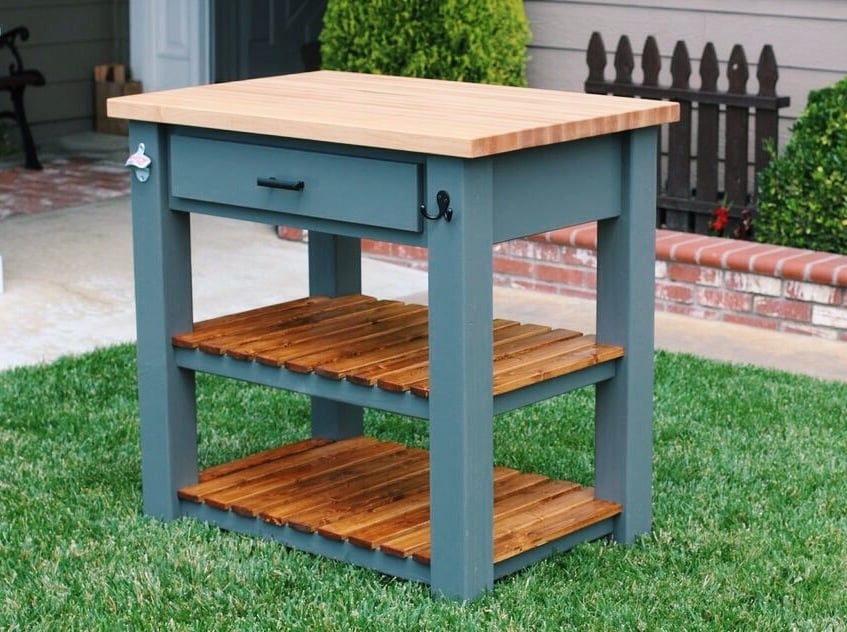
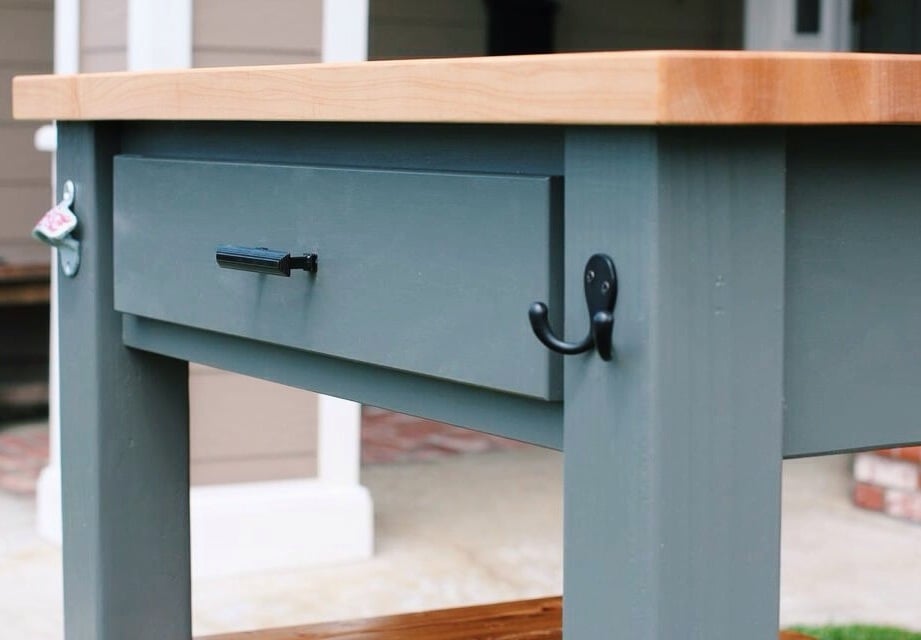
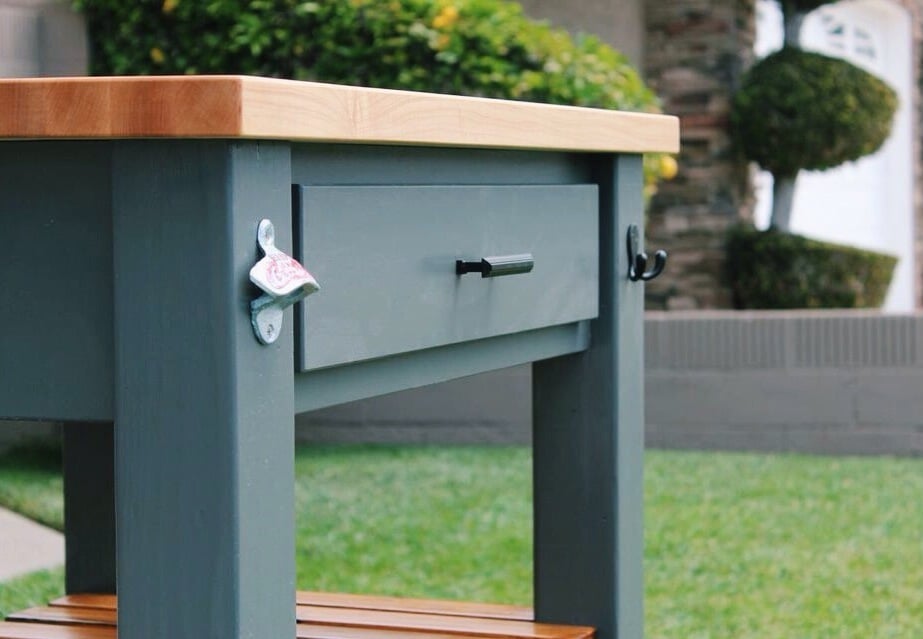
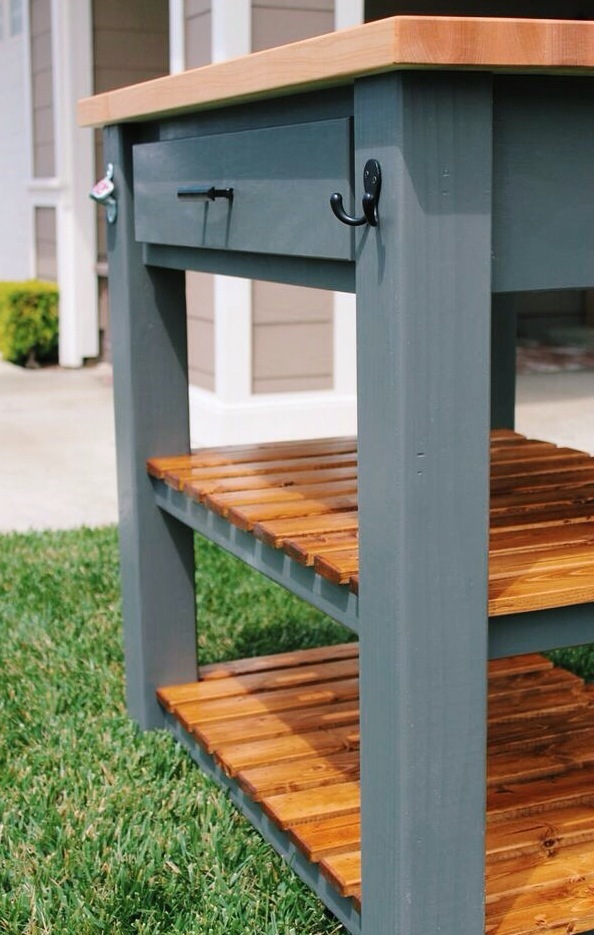
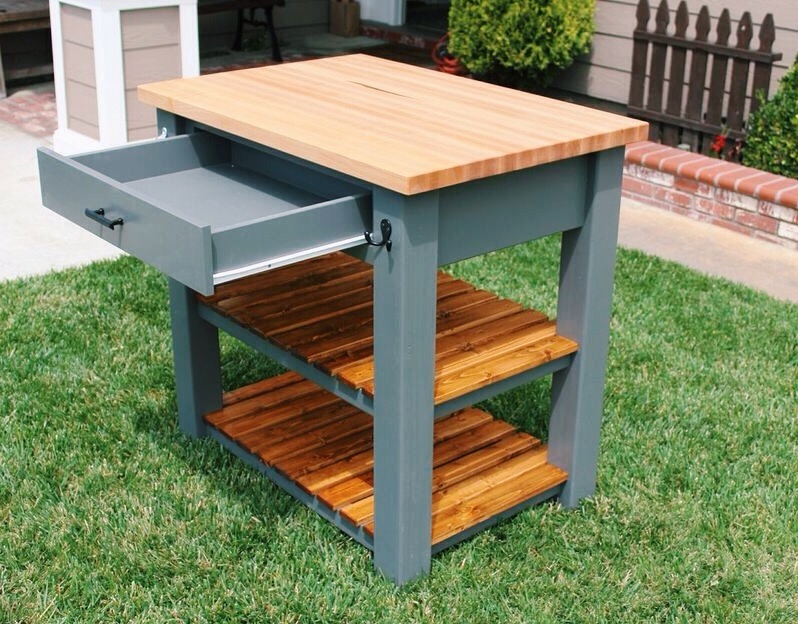
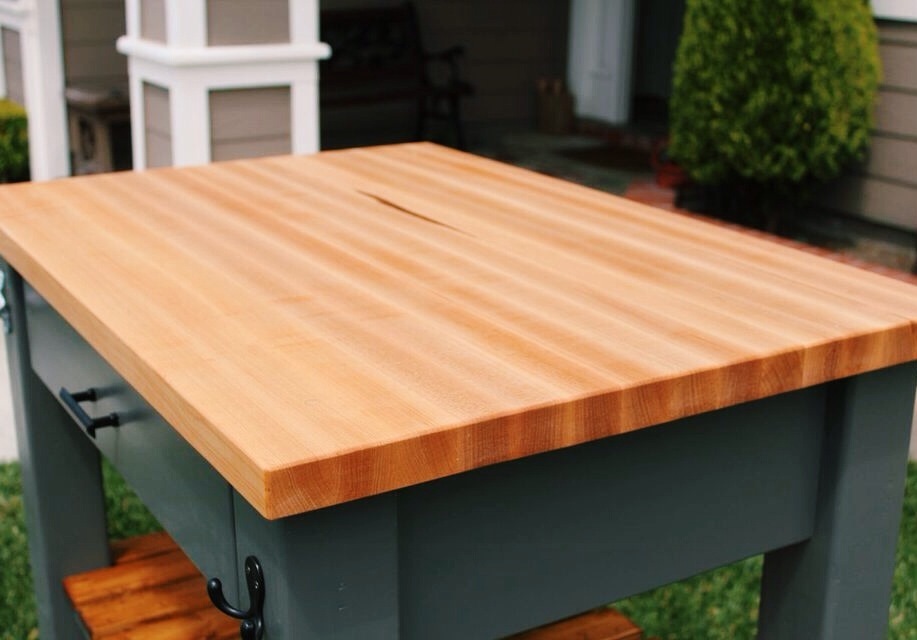
This is a modified butcher block kitchen island built from ana white's plan. Instead of using doug fir (2x4) material for the top, I used hard maple to build an edge grain butcher block top that if knife friendly and food safe. I also altered the dimensions to fit my space.

Built from Plan(s)
Estimated Time Investment
Week Long Project (20 Hours or More)
Finish Used
Mineral oil was used for the butcher block top. The paint is kendall grey by behr and early American stain by minwax for the shelves.
Recommended Skill Level
Advanced

Comments

jbuilder712

Wed, 06/04/2014 - 08:49

Wow, what a stunning piece! That looks like it'd fit my space more than the original plans. Would you mind posting your dimensions and cut list? Thanks!

Providence Bench

Submitted by ltodd on Mon, 05/19/2014 - 23:12

This can be put together pretty quick. The finishing is what takes the longest. And I used the Kreg plugs to fill the pocket holes, which meant extra time for gluing and sanding, But they work nicely.

Built from Plan(s)
Estimated Cost
$20
Estimated Time Investment
Weekend Project (10-20 Hours)
Finish Used
Minwax golden oak and Rustoleum flat black spray paint.
Recommended Skill Level
Beginner

Comments

Argie Bedside Table

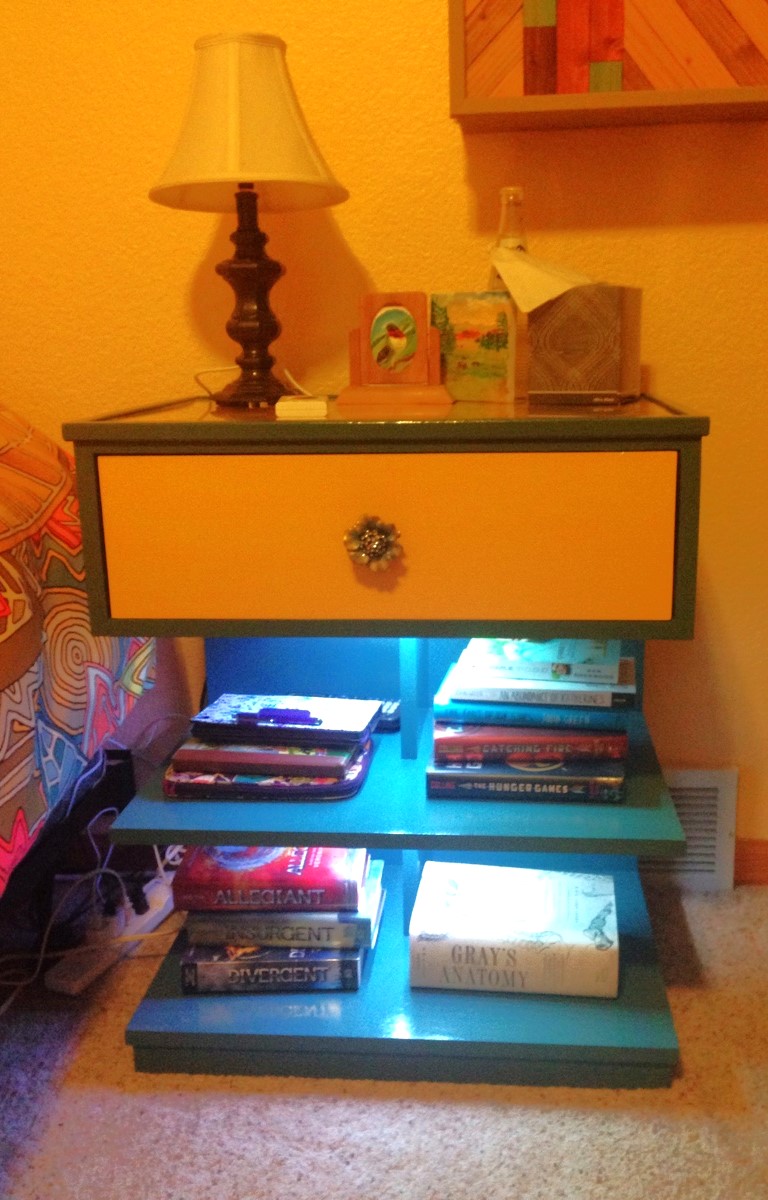
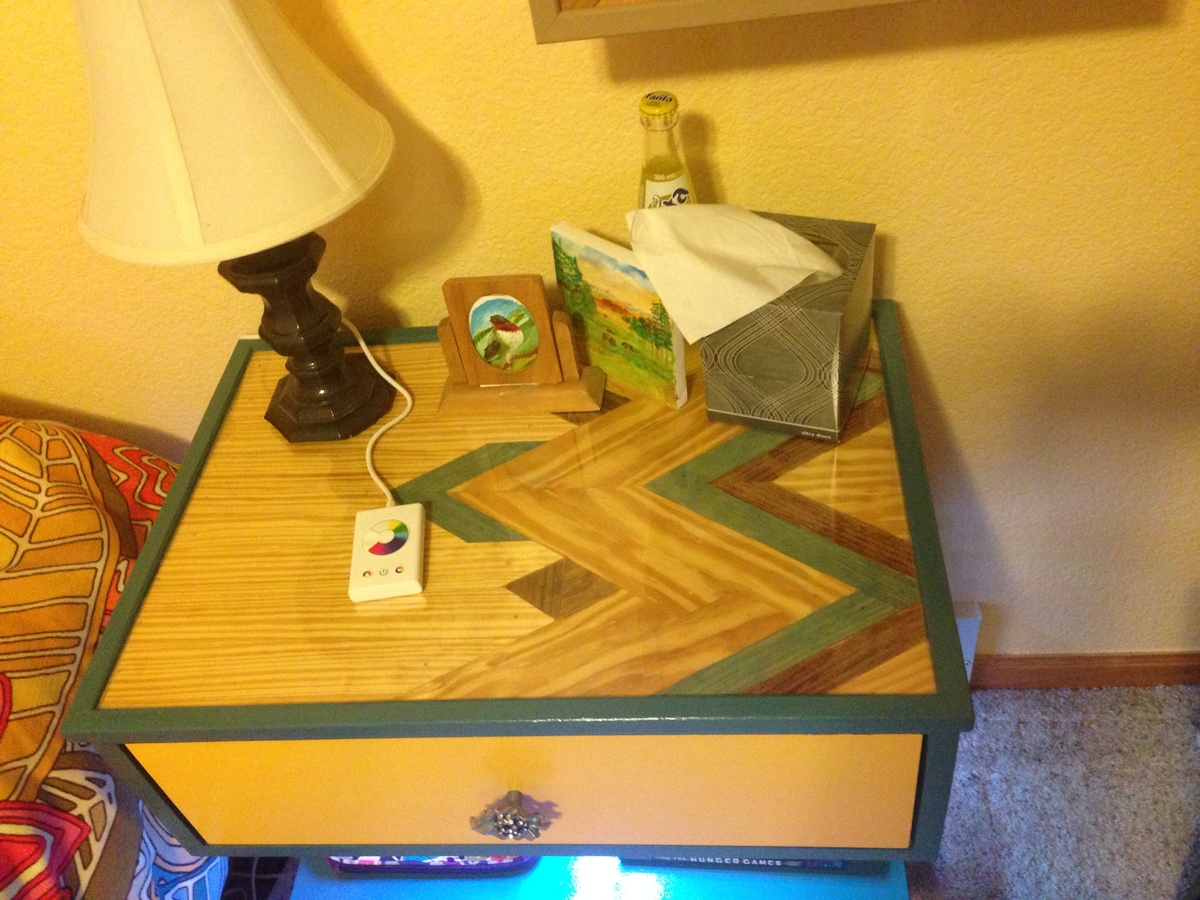
Argie bedside table painted teal and yellow. Lights attached to underside of shelves as well.

Estimated Cost
$75
Estimated Time Investment
Week Long Project (20 Hours or More)
Finish Used
Paint & stained top wood slats.
Recommended Skill Level
Intermediate

Toy Story 2 Loft Bed

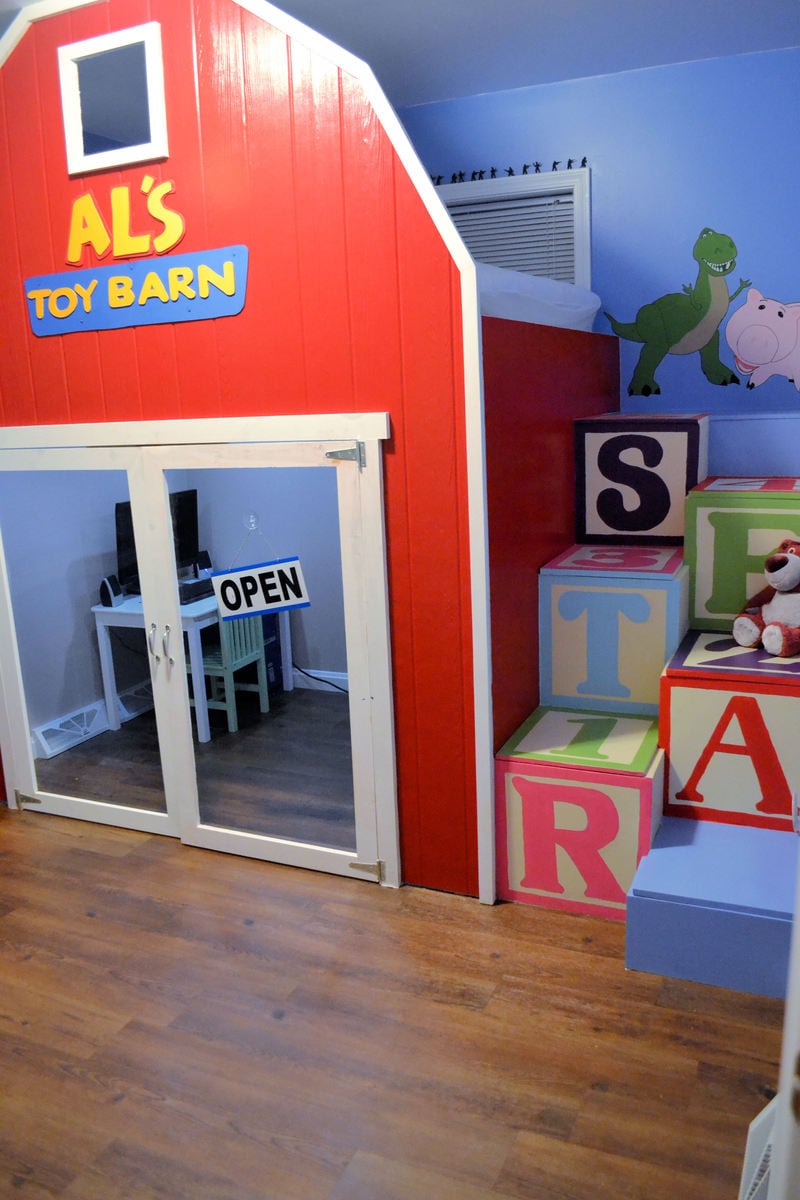
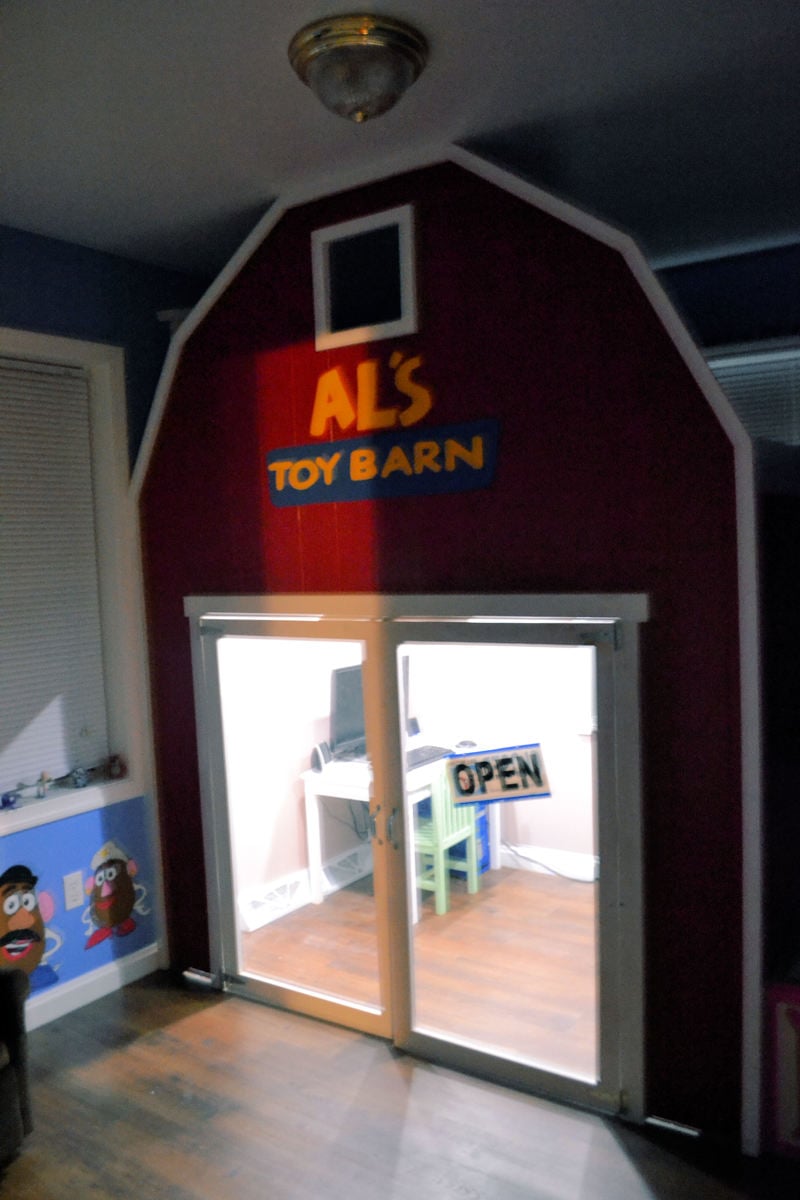
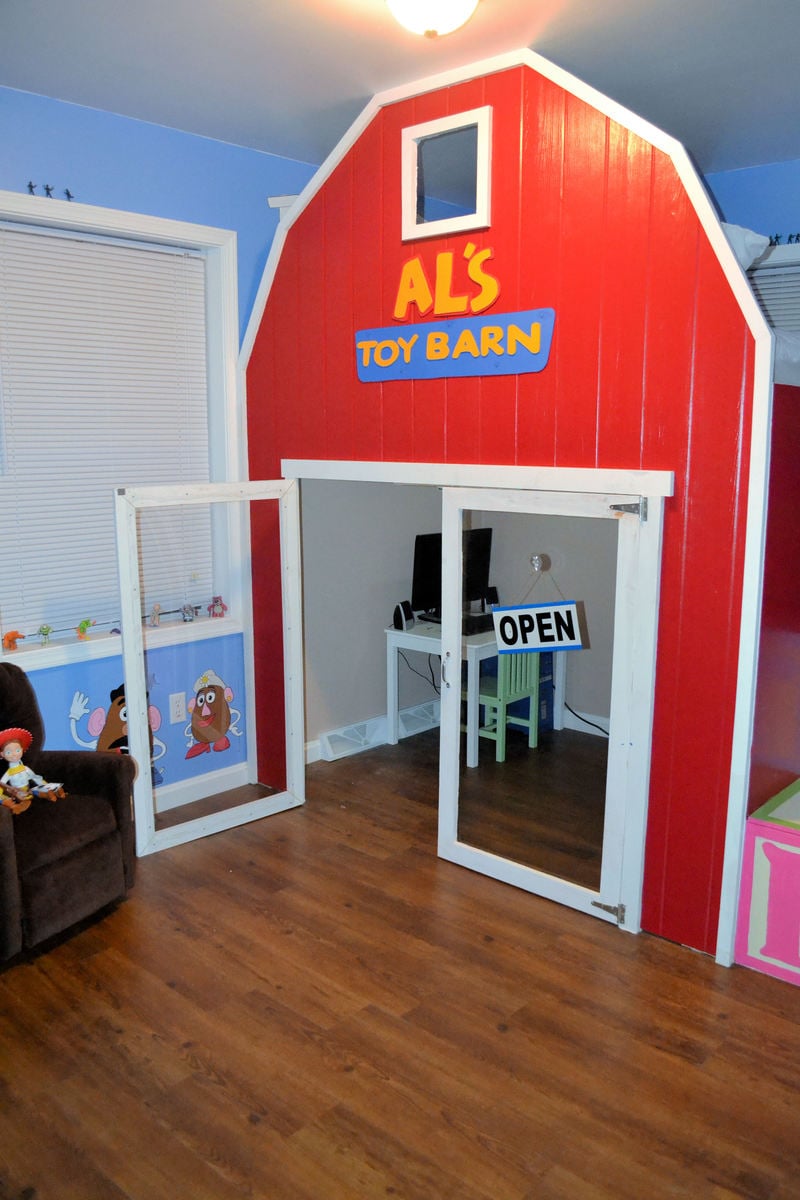
This was a big project to tackle. I'm not very good at modifying building plans, so my husband was frustrated during the beginning of this build. But we are very happy with the way it turned out.
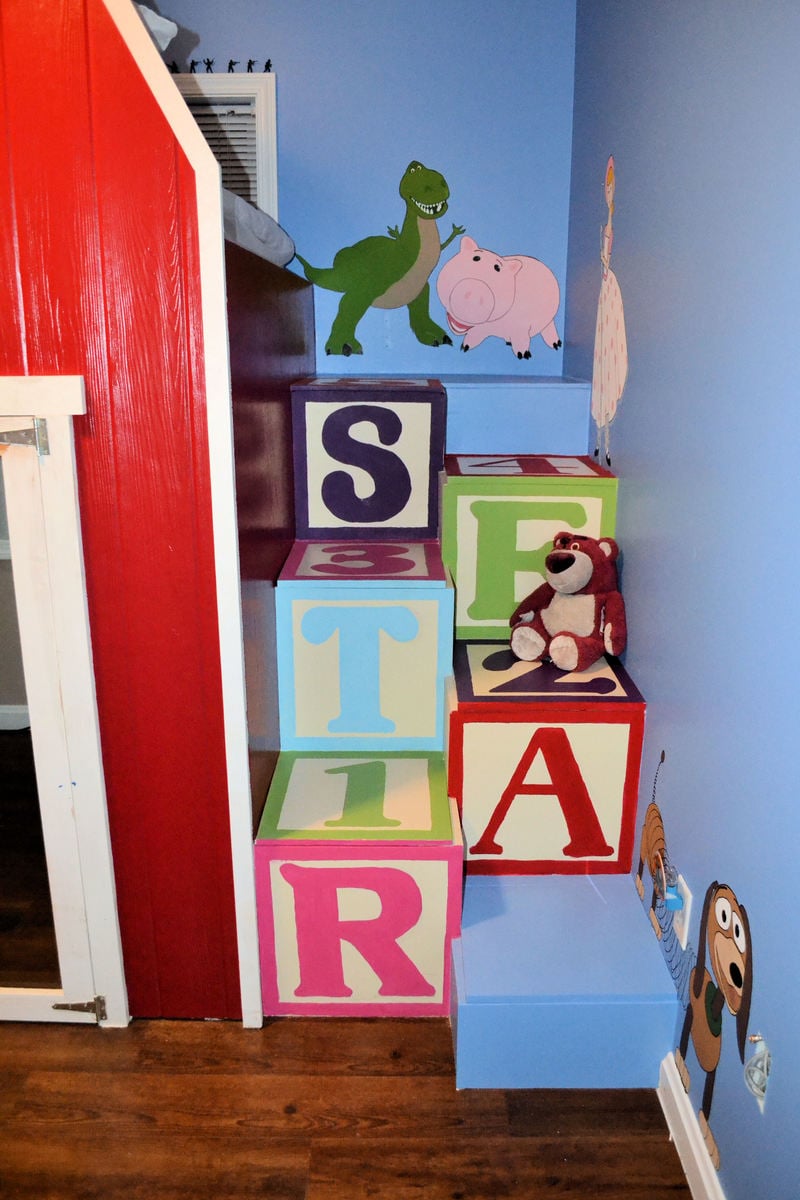
The hardest part of the build was the steps. We modified them to look like blocks, so getting the dimensions equal was tough. We also made it a full size bed so that there was more room under the bed.
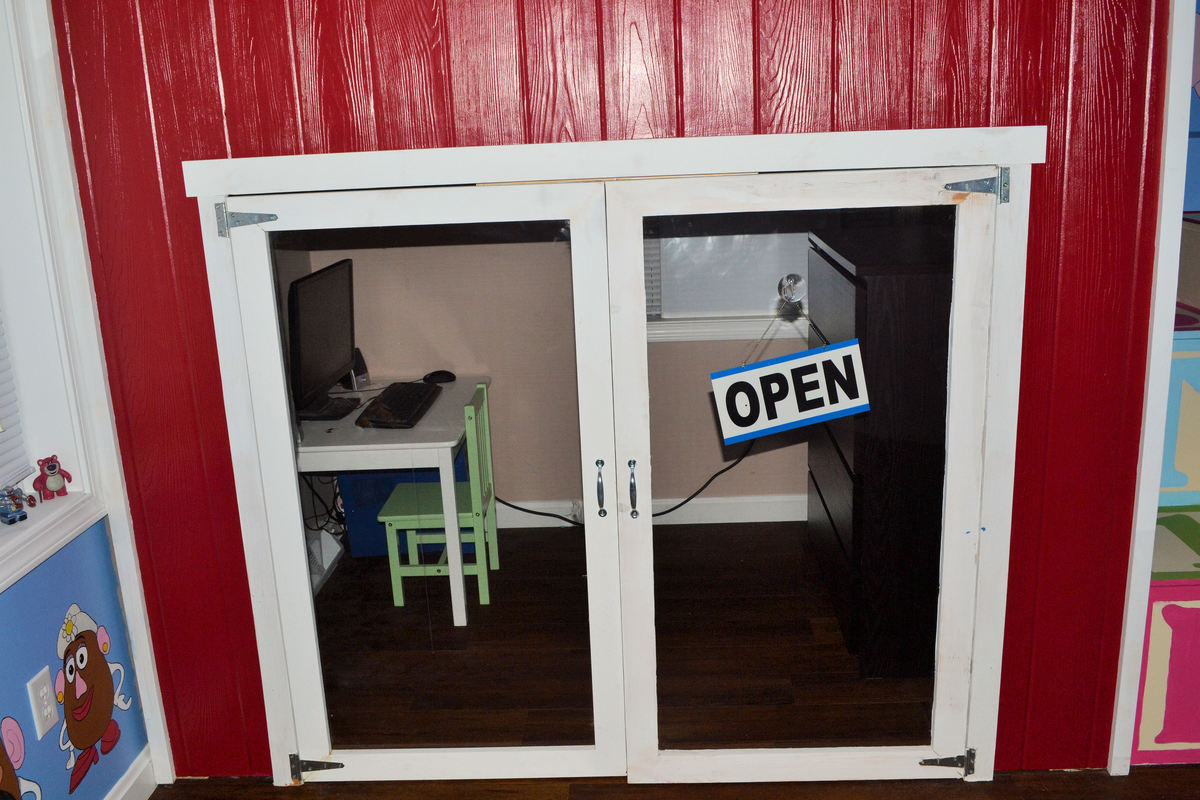
We used plexiglass for the doors and LED lighting under the bed.

Estimated Cost
Lots of time, $300-$500
Estimated Time Investment
Week Long Project (20 Hours or More)
Recommended Skill Level
Intermediate

Comments

onehotmamma4 (not verified)

Sat, 09/01/2012 - 11:47

I love it!!! Very cool. We just started a Toy Story room for my son who will be 3 next month. He would love this.

redhead_61

Sat, 09/01/2012 - 17:36

This bed is GREAT. I love what you did with the block stairs. What a way to make in impact and something original. Love it!

talon schultz (not verified)

Mon, 10/15/2012 - 13:43

Love toy story 1,2,and even 3!

adecesare4

Mon, 02/25/2013 - 09:38

That is really nice! whatever frustrations you went through, it is well worth it, love the stairs and the overall concept!

Welcome Post

Submitted by TamarasJoy on Thu, 02/02/2017 - 18:05

Full Instructions HERE

What you will need to build this DIY Welcome Post:

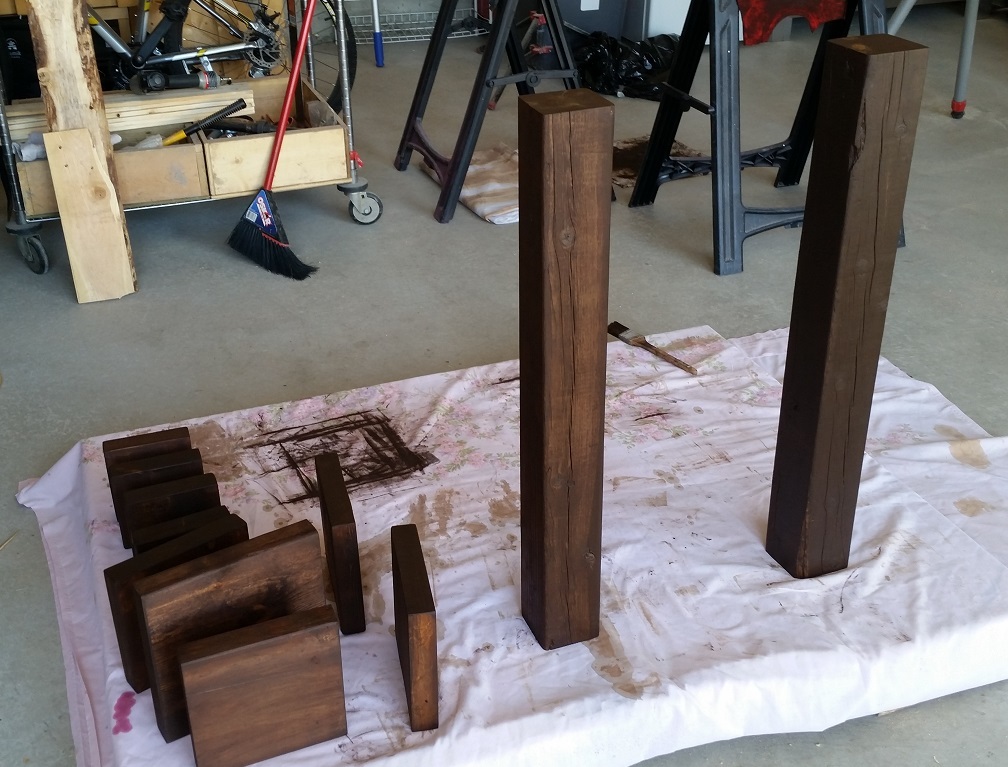
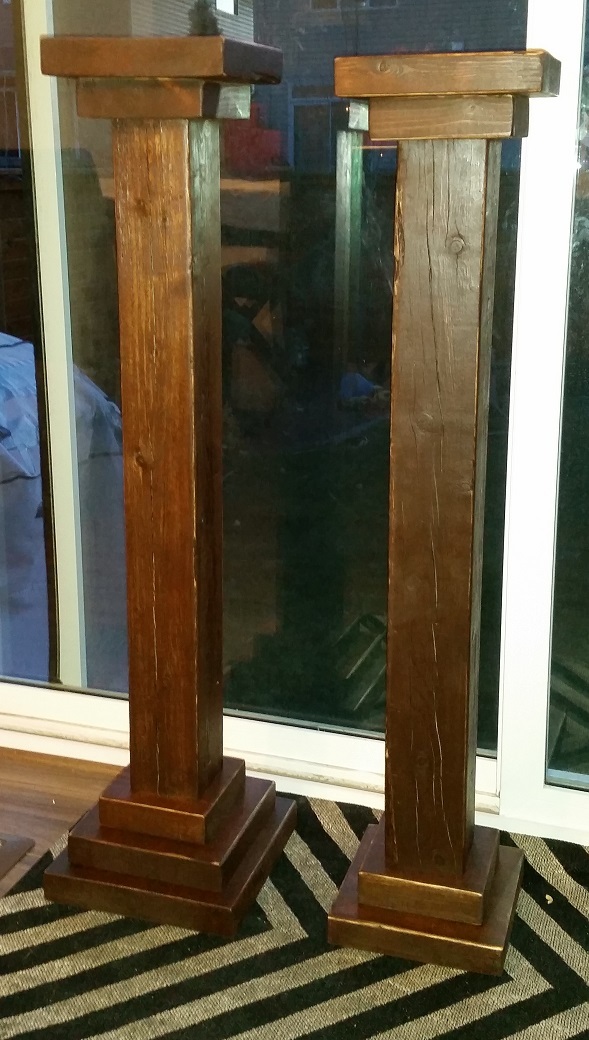
  1. 4 x4 Fence Post Cut: 30 inches long 1×6 down to make 2 5 1/2″x5 1/2″ squares and 2 4 1/2″x 4 1/2″ square.
  2. Different Widths of wood cut into squares. For the three tear welcome post I have 3 different sized squares. They measure: SMALL: 5 1/2 by 5 1/2 inches MEDIUM: 7 1/2 by 7 1/2 inches LARGE: 9 1/2 by 9 1/2 inches.
  3. Single Hook
  4. Long wood screws & Drill
  5. Stain
  6. Rust-Oleum Varathane Outdoor Classic Clear Water Based Spray, Gloss Finish
  7. Wood Glue
  8. Orbital Sander or some muscle & some sand paper
  9. Wood filler (not required)

Full instructions on how I put this together on my blog.

Estimated Cost
This is a project that I built from all scraps and left overs.

If I had to guess it shouldn't be more then $25 if you can do some scrounging :)
Estimated Time Investment
An Hour or Two (0-2 Hours)
Finish Used
Dark Stain & three coats of the spray can polyurethane
Recommended Skill Level
Starter Project

Built-In Hall Tree Heated

Submitted by adamhatton on Sun, 03/10/2013 - 18:26

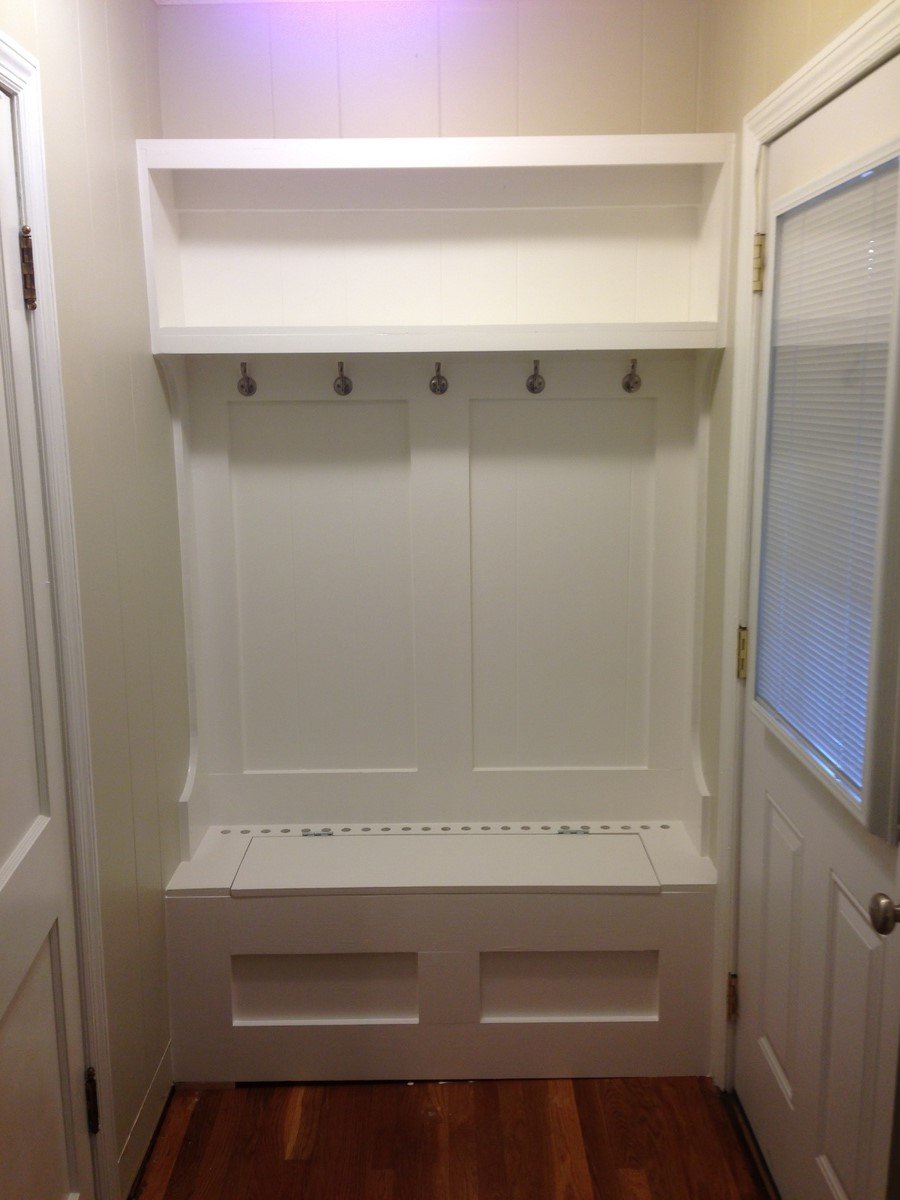
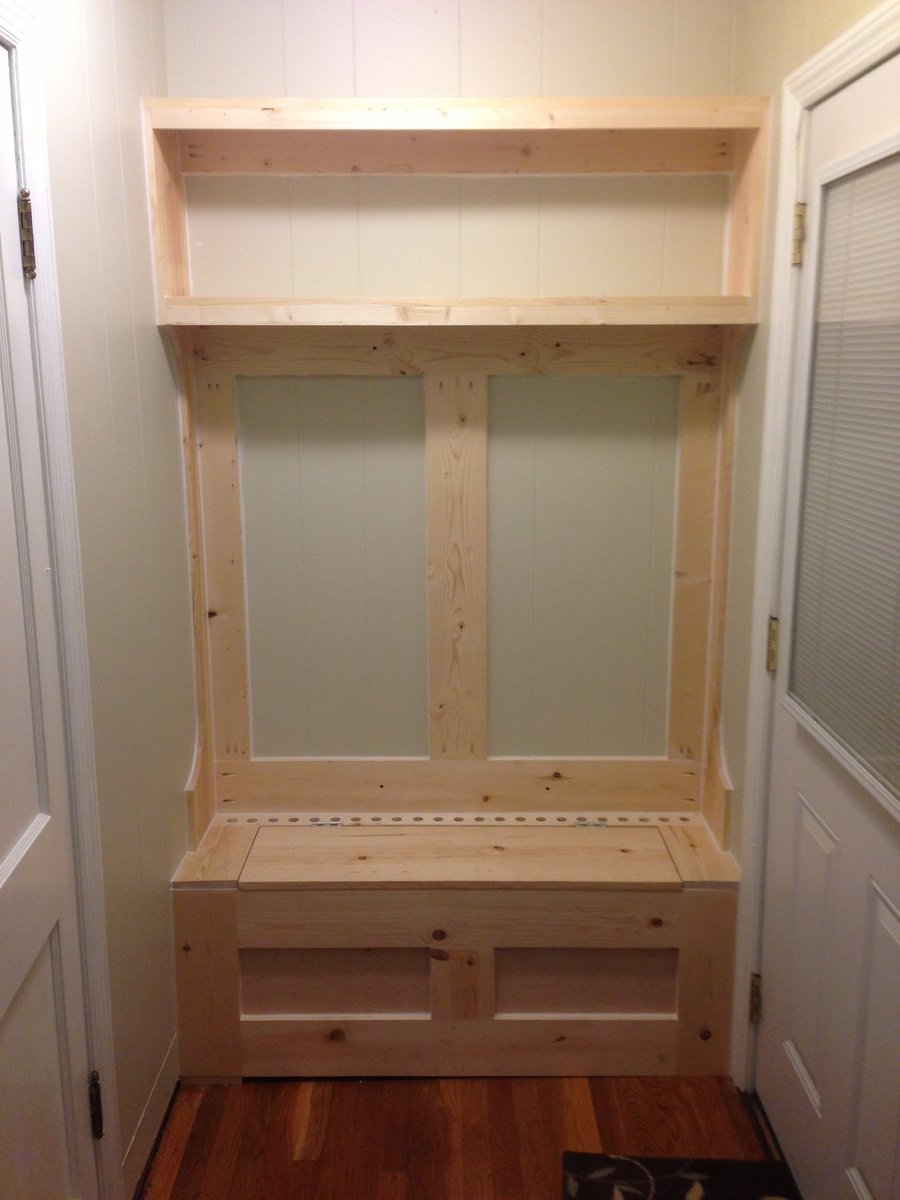
I made this hall tree as a gift for my wife. It's a classy way to store coats out in plain sight. it is larger than the design specs from Mimi (7'H by 4'1" W) and built-in instead of free standing. Our house has a boiler with floorboard radiators. There is a radiator inside the hutch, and heat comes out of the holes just behind the lid to the bench this heats up the coats as they hang on the rack. The radiator also heats the compartment under the bench which aids in drying damp boots and other items. Fun project, also an easy project thanks to the Kreg Jig!

Built from Plan(s)
Estimated Cost
$100
Estimated Time Investment
Day Project (6-9 Hours)
Finish Used
Bear semi-gloss interior latex.
Recommended Skill Level
Beginner

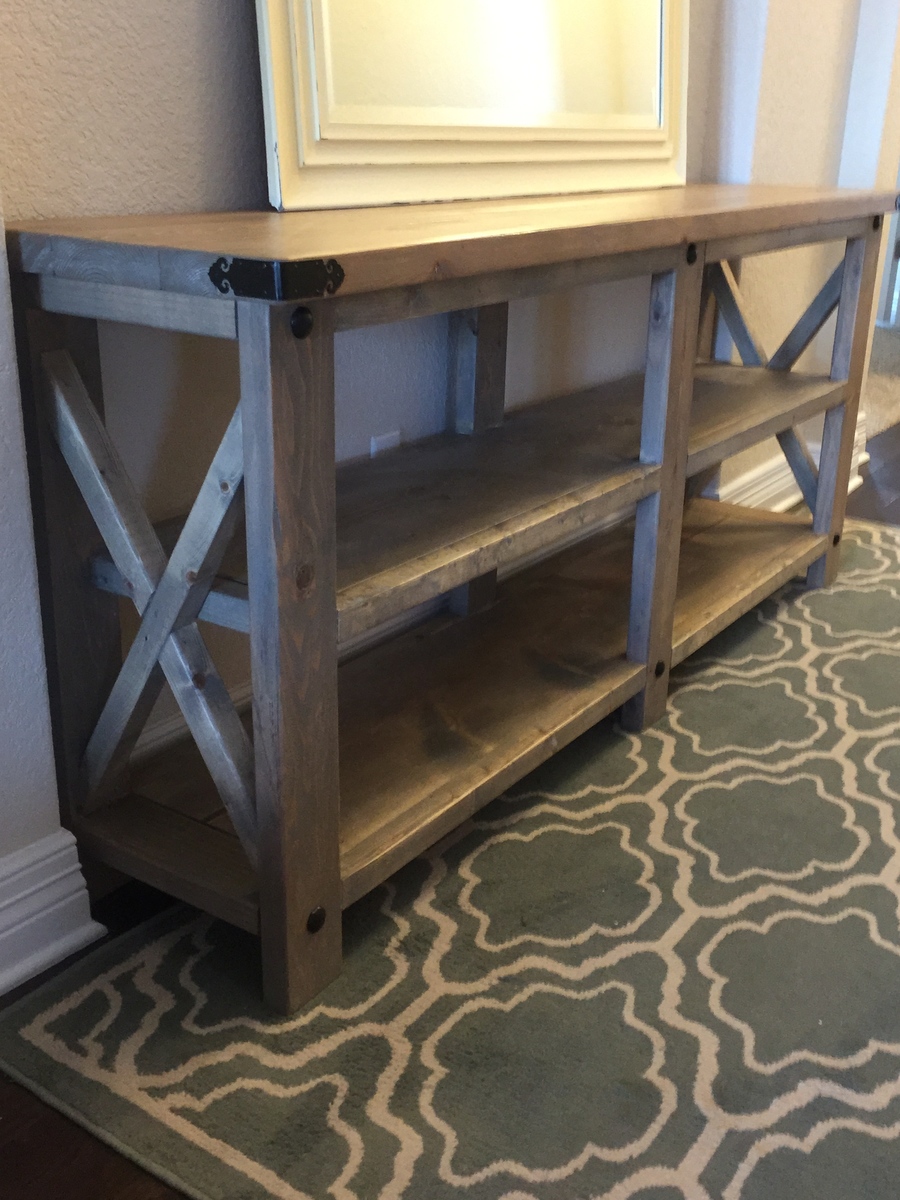
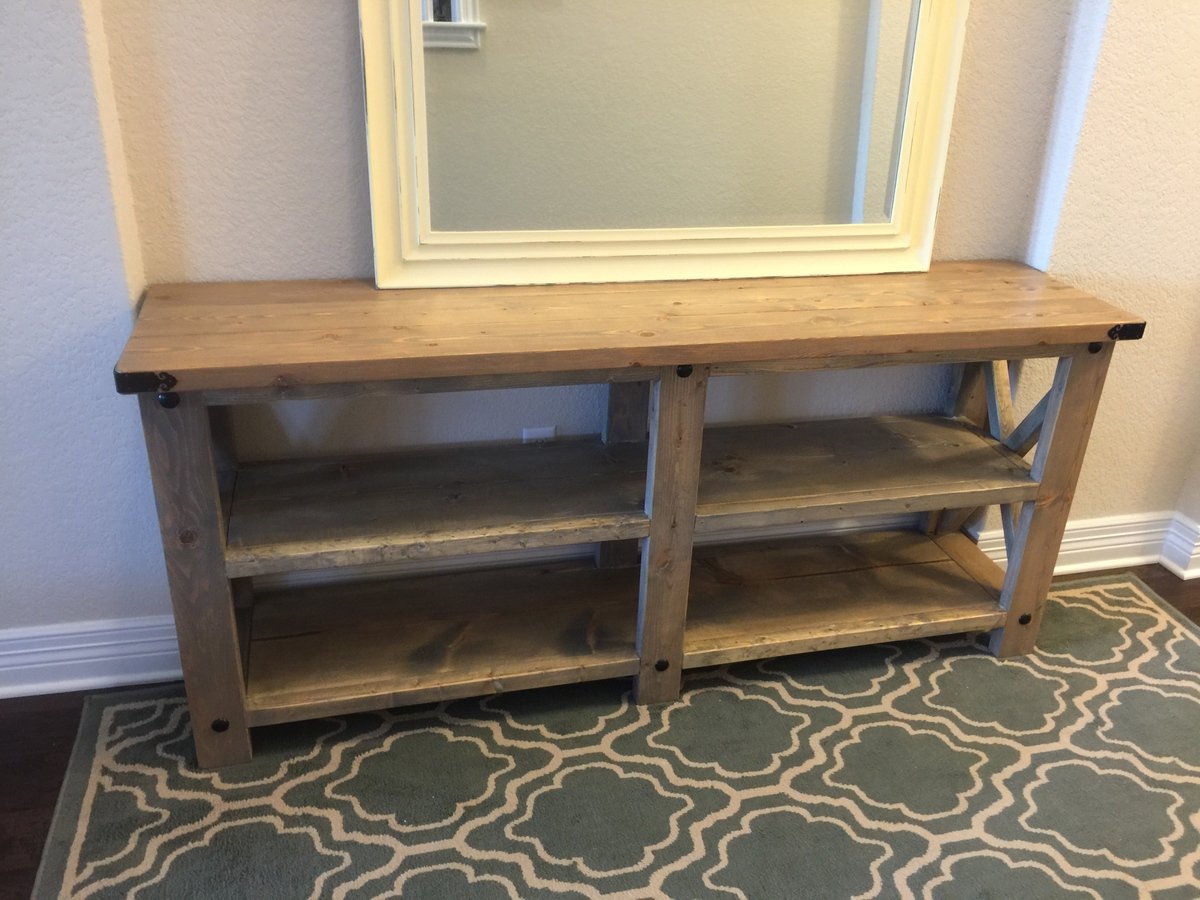
Rustic X Console

Made a bit shorter to fit our decorative arch and opted for more different hardware.

Built from Plan(s)
Estimated Cost
$100
Estimated Time Investment
Day Project (6-9 Hours)
Finish Used
Rustic Oak Stain with a wax finish.
Recommended Skill Level
Intermediate

Comments

Chicken Shed

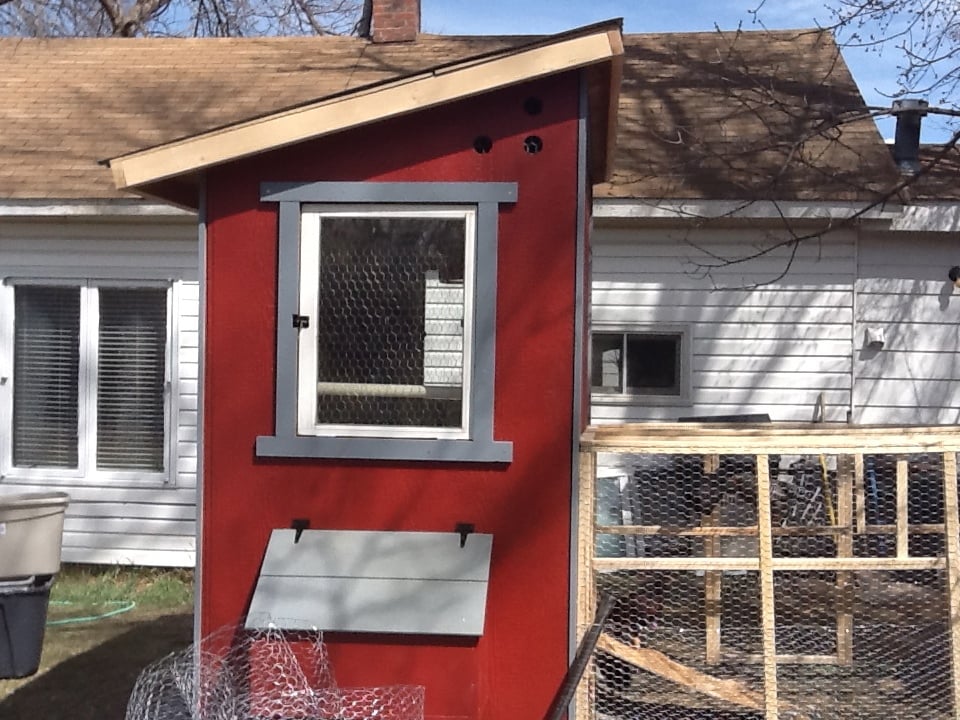
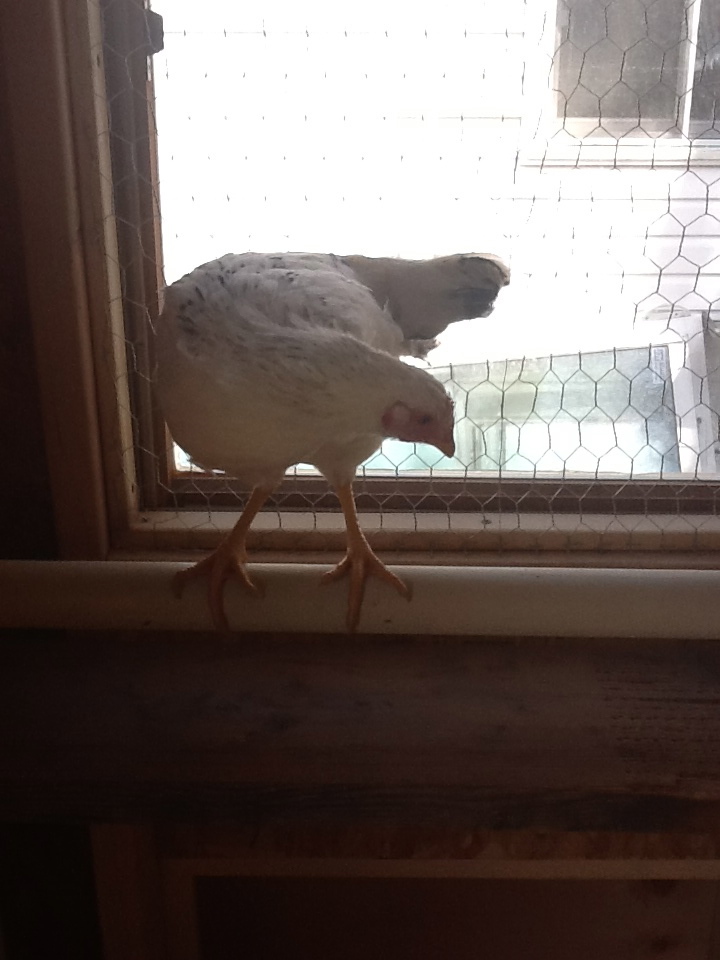
I used the chicken shed plans to create the coop, with a modification to include two nesting boxes, one on each side.

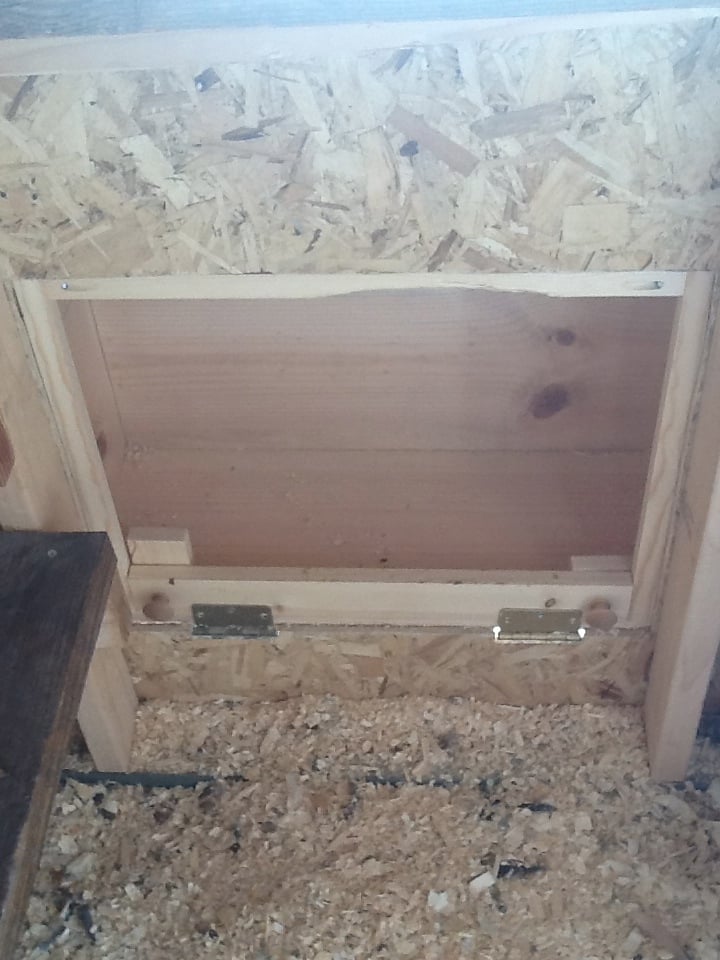
I slightly modified the nesting boxes, using a U shaped frame and added hinges for the front to swing down and the pine shavings to be swept out.

For the siding, we found it easiest to do the tack and trace method. We tacked each full sheet of siding in place and traced the cuts for the window, roof line, doors, and nesting boxes. We then took them down, darkened the lines, cut 'em, and re-hung them. It made it a million times easier, IMHO.

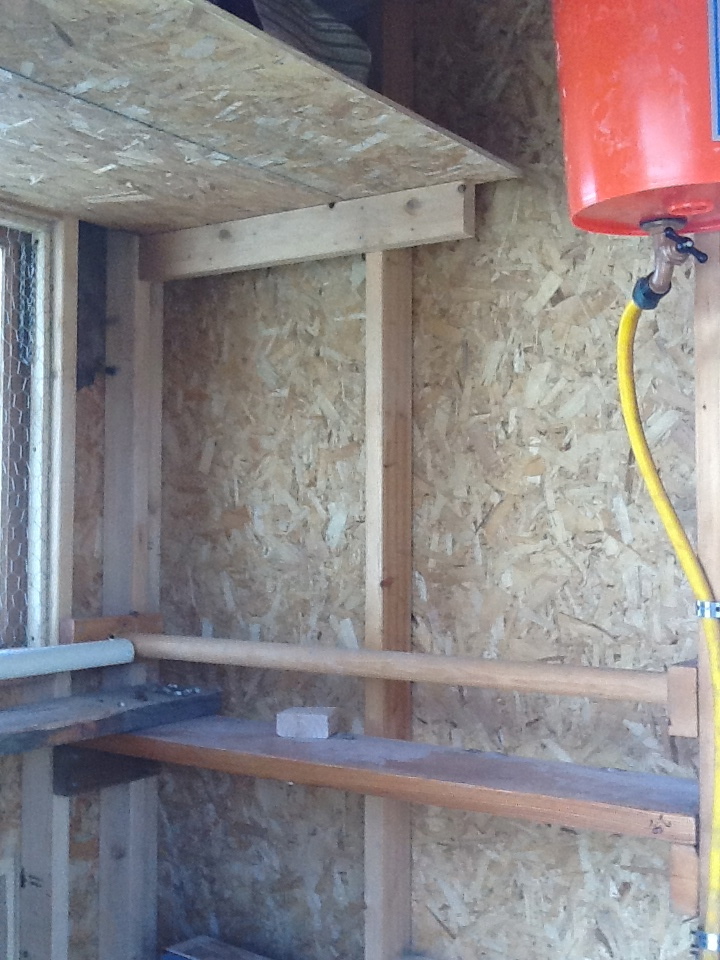
For the inside, I designed several roosting bars with poop platforms. The water is a gravity fed chicken nipple/pvc setup, which I found online.

The food stations, also gravity fed, are (new) sewer pipes with wye connectors.

I used the roof and siding scraps to make shelves for storage inside.

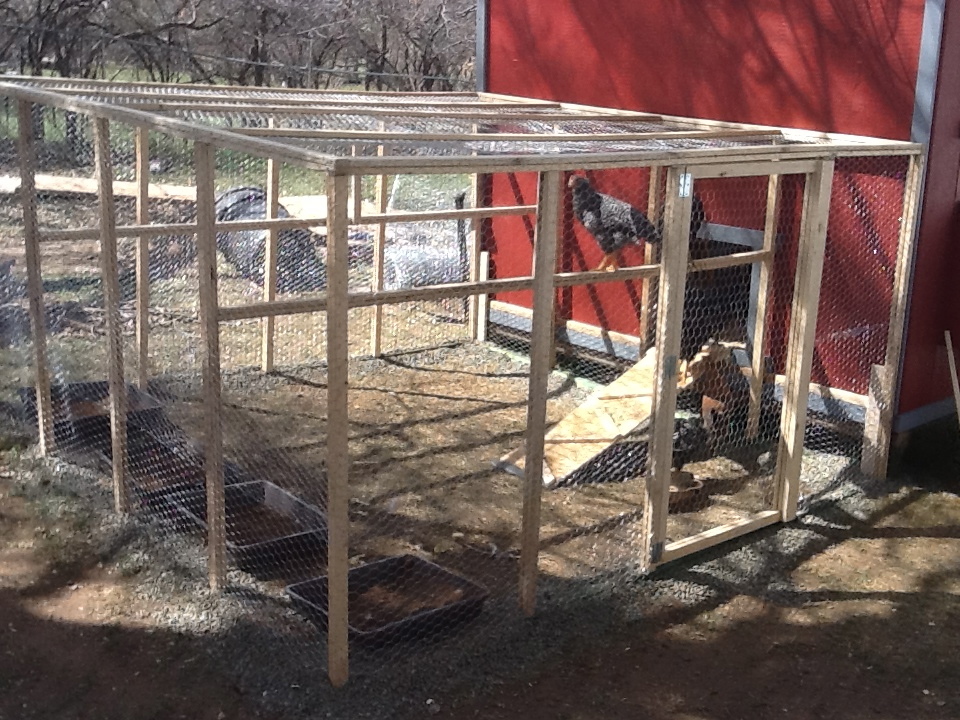
By sourcing reclaimed materials, I built the coop, run, interior, feeding stations (5), and waterer for $550. I only bought 27 pieces of new lumber (15 2x4's and the 12 8 foot long 1x3's)

Even the paint was free! (We have a drop and swap at the haz mat recycling center run by the county. We have gotten 100's of dollars of free paint, stain, and varnish there. I even used a can of free spar varnish to seal the inside of the coop)

There are still a few pieces of trim to be cut and painted, but the girls are inside eating, drinking, and merry!

I did find that at the Home Depot, if you buy chicken wire, it costs way more then 150 feet x 36 inch "stucco netting". The stucco netting was $54 for 150 feet, and chicken wire is $76 for the same amount. It is the exact same wire.

I built the run out of resourced 1x2 furring strips. They were a pain to work with, very prone to breaking when not supported, but with the entire run costing $25 for wood and $54 (with half a roll left over) for chicken wire, I can handle some extra time and effort.

If anyone has any questions for me, feel free to contact me! I'd love to help!
Built from Plan(s)
Estimated Cost
550
Estimated Time Investment
Week Long Project (20 Hours or More)
Finish Used
Free paint !

I know several counties in CO have drop and swap places. Maybe your county does, too!

We got three cans of exterior rust colored paint and mixed them all together to make one color. This only works if the colors are pretty similar. It prevents one side from looking different then another.

The trim was a full gallon of blue-grey. Free and never even used.
Recommended Skill Level
Intermediate

Comments

xman1x

Mon, 02/06/2023 - 08:12

Hi! Do you still have this coop? It's been about a decade now and wondering how it has held up, if you have any suggestions, or additional pictures of the inside. Thank you!

Double Chair

Submitted by cjlaw on Fri, 06/05/2015 - 09:56

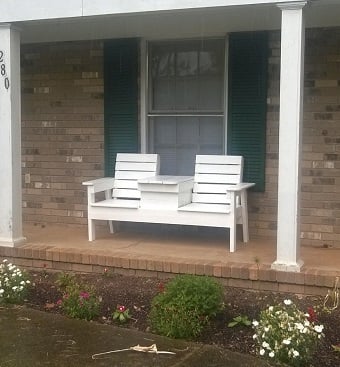
I made a few changes. I added walls and a hinge to the table to allow for a cooler to fit inside. I also decided to paint mine. The was a fun project and I love how it turned out.

Estimated Time Investment
Day Project (6-9 Hours)
Recommended Skill Level
Beginner

Comments

trishbacon

Mon, 06/08/2015 - 09:20

How did you go about adding walls and a bottom to the middle? I was thinking about doing this, it seems that the seat slats would need to be shorter to accommodate this, is that what you did? Any information would be very helpful. Looks great!

cveres03

Wed, 07/01/2015 - 05:08

I wanted to add an ice chest to mine as well. Was thinking to close the sides but leave the facade. slip in a couple cross boards at the bottom and that should suffice. Add some hinges on the back end and you should be set.... that's my thought process for how i may make my next one. Would love to know how they did this

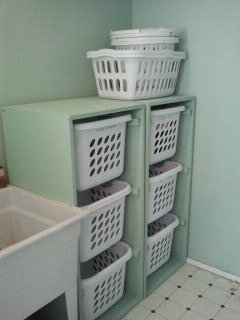
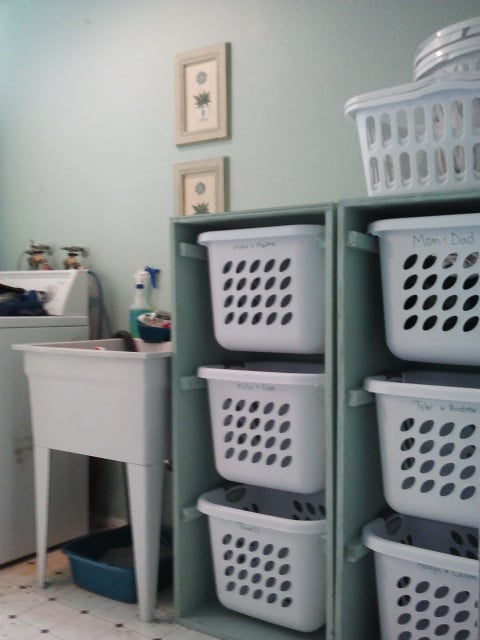
Laundry Dresser

Submitted by biffnderf on Sat, 07/02/2011 - 23:08

We had a very limited area for these to fit, so my hubby had to change the dimensions to fit these square baskets. We needed enough spots for our family of 10! I LOVE THEM, thanks; Ana!

Built from Plan(s)
Estimated Cost
$50 each
Estimated Time Investment
Afternoon Project (3-6 Hours)
Finish Used
Water based paint
Recommended Skill Level
Starter Project

Comments

Guest (not verified)

Wed, 01/11/2012 - 14:53

We are going to have to turn the baskets the same way due to the space in out laundry room. Do you happen to remember the dimensions of them? Thanks.

Guest (not verified)

Thu, 02/09/2012 - 07:08

Do you have the dimensions for the square baskets? These would work much better in my home.

Guest (not verified)

Tue, 02/14/2012 - 16:42

We did something similar when our family was 8 (6 foster children). We bought 4 baskets (2 people per room) and then just had them on regular shelves. I LOVE the look of these! Unfortunately baskets give out over time and I can't ever seem to find baskets that once again are the same size as previous baskets. Did you order the baskets on-line someplace that you can consistenly get the same size for when the baskets wear out?

Guest (not verified)

Wed, 02/22/2012 - 12:35

I have all the same laundry baskets that I bought at wal mart for like 3 or 4 bucks a piece. I would think that just meausring out the size according to the laundry baskets would work out fine! they have never stopped selling the ones that I buy, i find them at every wal mart I go to

Lindy Holcomb (not verified)

Fri, 03/02/2012 - 06:05

I would love the Dimensions for this shelf.

Lindy Holcomb (not verified)

Fri, 03/02/2012 - 06:19

I would love the Dimensions on this shelf.

Guest (not verified)

Thu, 03/08/2012 - 05:13

Seriously? $50 for these plans. Get real. Fine woodworking plans don't cost this much. Take some wood, make a box, and put slats in it to fit the baskets. The entire set wouldn't cost $50!

davidmac (not verified)

Thu, 03/08/2012 - 06:18

The plans are free. The build costs $50. See the plans on the link above the cost.

christine (not verified)

Sat, 03/17/2012 - 20:54

once again can anyone please give the measurements for this square basket design and the basket model number as well. i am very challenged when it comes to building things, but with the idea of home depot doing the cutting i think i could manage if i had the measurements. i need the square size to work for my space though. thanks in advance.

Guest (not verified)

Sun, 04/01/2012 - 09:18

I have tried clicking on the link above the cost to get the Plans...however it brings me back to the ORIGINAL Plan rather than YOUR plan (skinnier and taller)...Im sorry if I am being dense but I would really love to get the dimensions of YOUR plan but am having trouble accessing them?? Help please!!

Guest (not verified)

Fri, 04/13/2012 - 23:27

Where it says PS there is a link to the other dimensions.

Cari Downing (not verified)

Fri, 04/20/2012 - 14:05

If you use the large wire baskets made by elfa they would not break like the plastic. The initial investment would be more but would save money over time.

Sonya Chapin

Tue, 07/24/2012 - 04:34

Easy and awesome! My teenage children and I made these over the week-end! Super easy and great looking! Our first project was the laundry pedestal and these are a great compliment. We let Home Depot cut the wood due to time restraints and assembly was a snap! Thanks for the great family projects. My husband passed away in April and these projects have really helped us in the healing process (excellent for constructive bonding time).! Thanks again
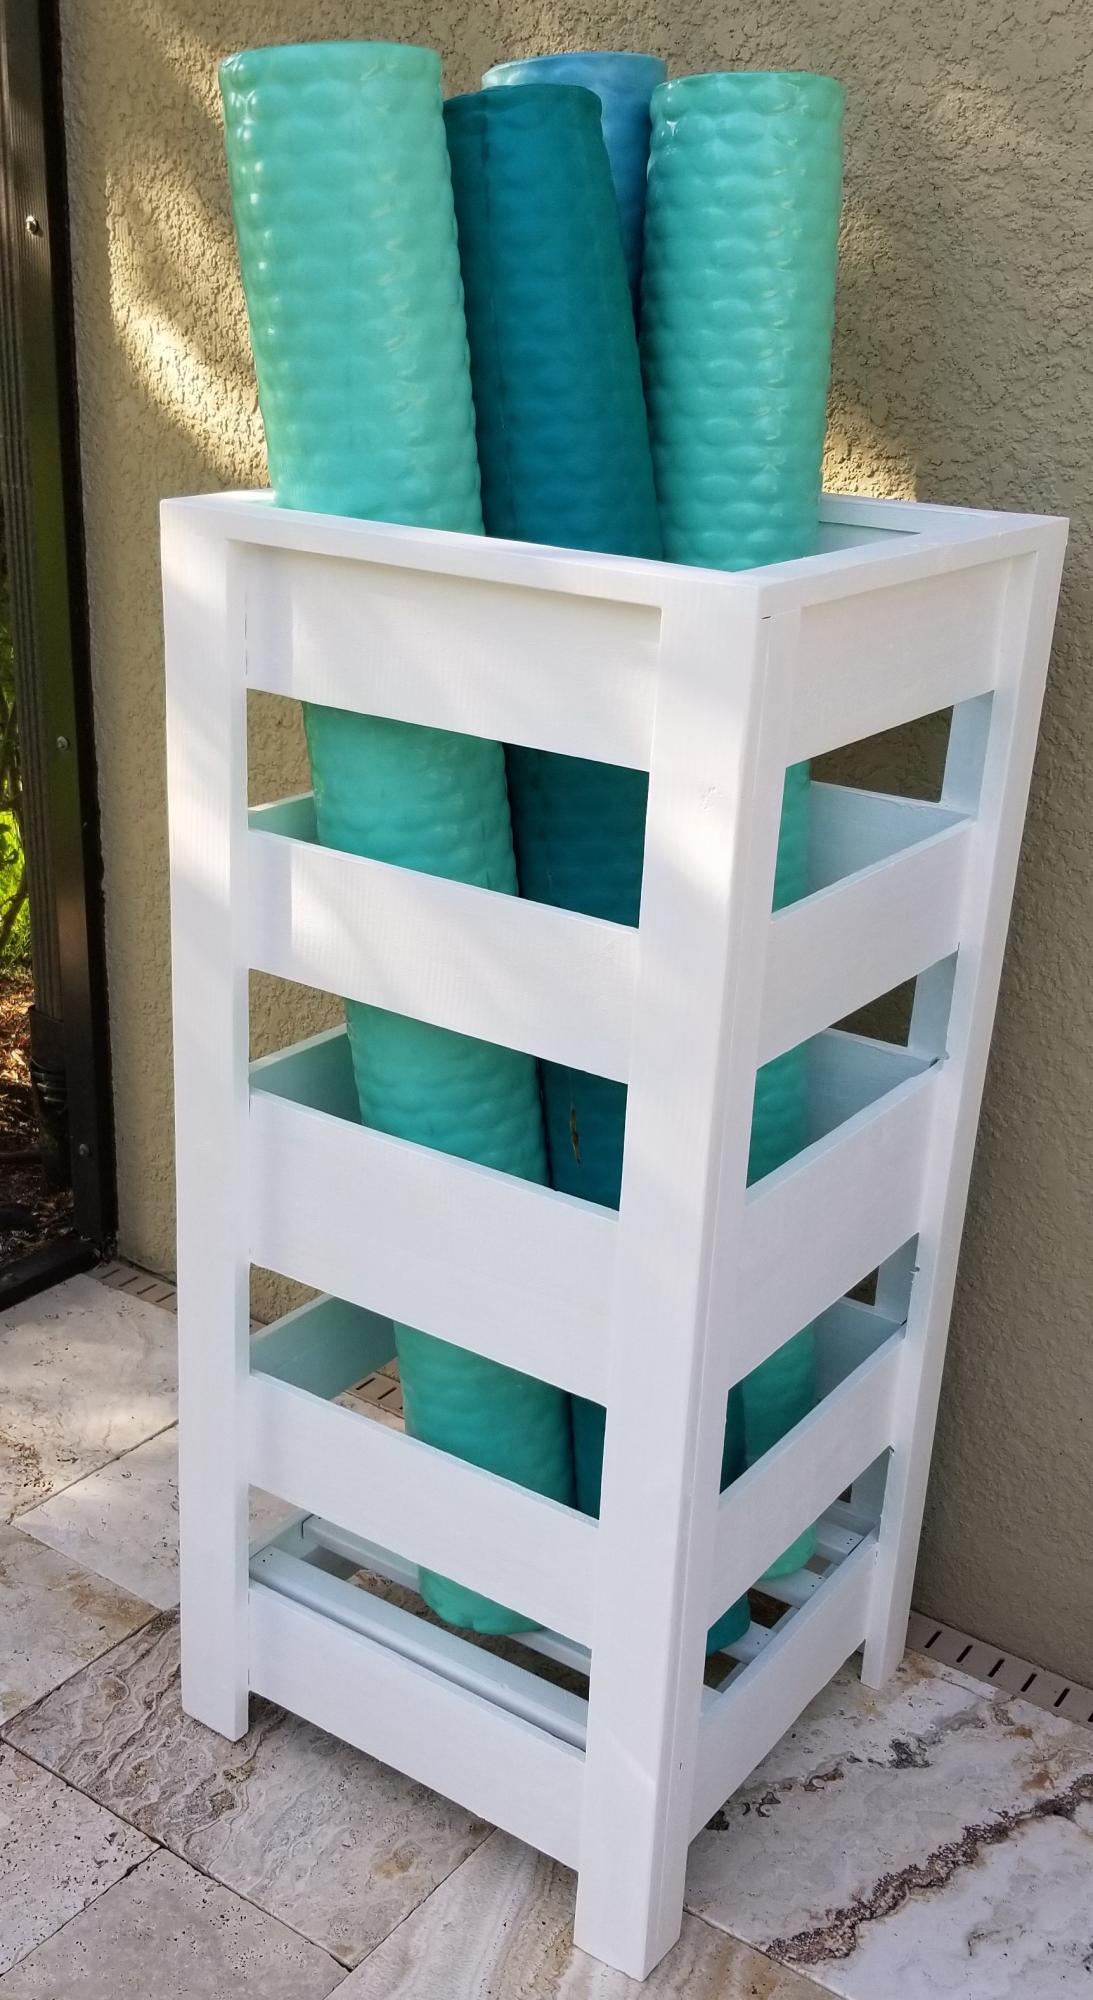
Pool Noodle Holder from DIY Planter Box

Submitted by Anonymous (not verified) on Sat, 06/04/2022 - 06:58

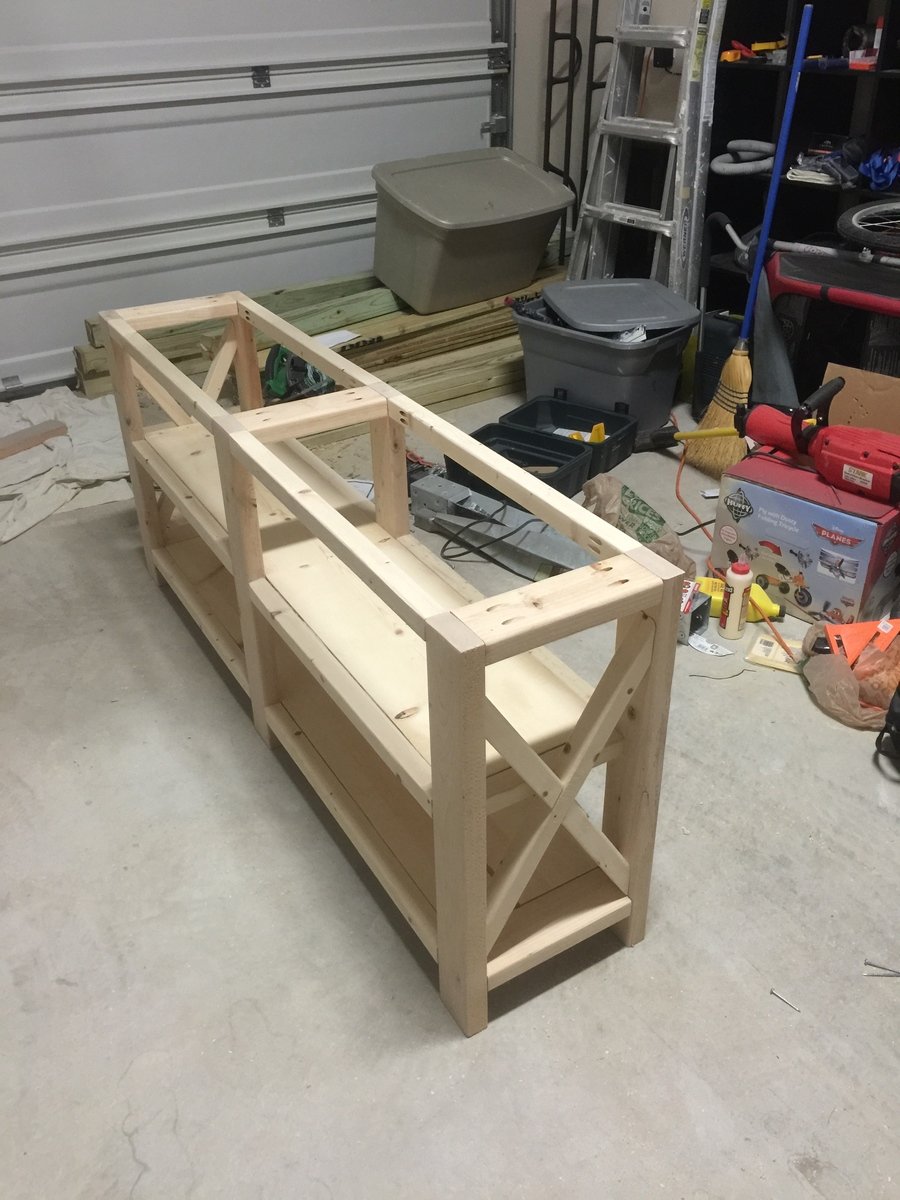
I modified the plans for the planter box to make a holder for Pool Noodles. I made it 40" tall and used 4-4" fence pickets and 1-5.5" fence pickets. I used a 4" spacer and the openings worked out perfect. I stained inside and out since it would show with 2 coats of the solid stain. It is perfect! Thank you so much for the inspiration and plans!

Comments

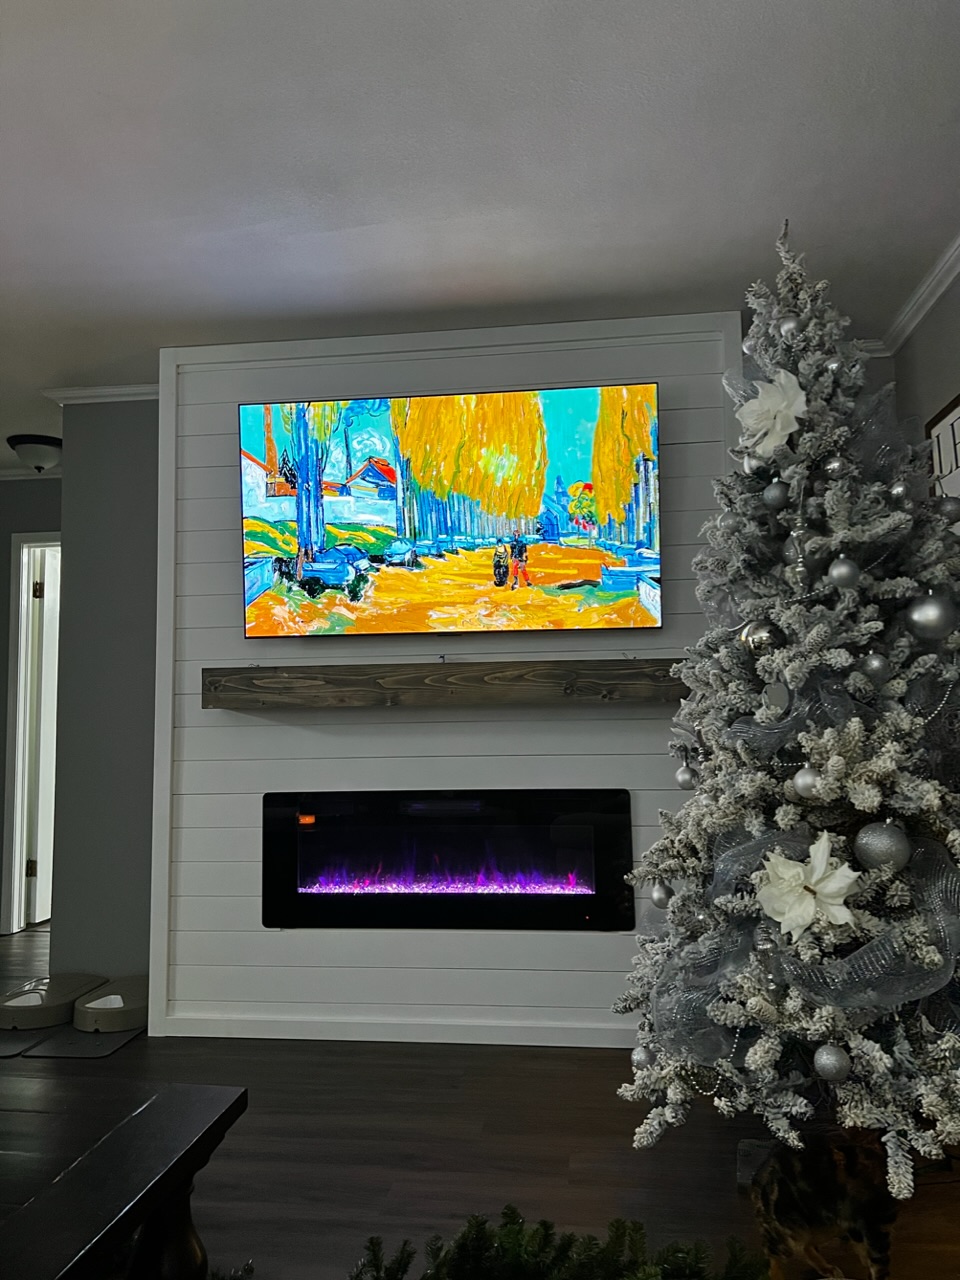
Shiplap Fireplace

Submitted by Anonymous (not verified) on Tue, 12/20/2022 - 19:10

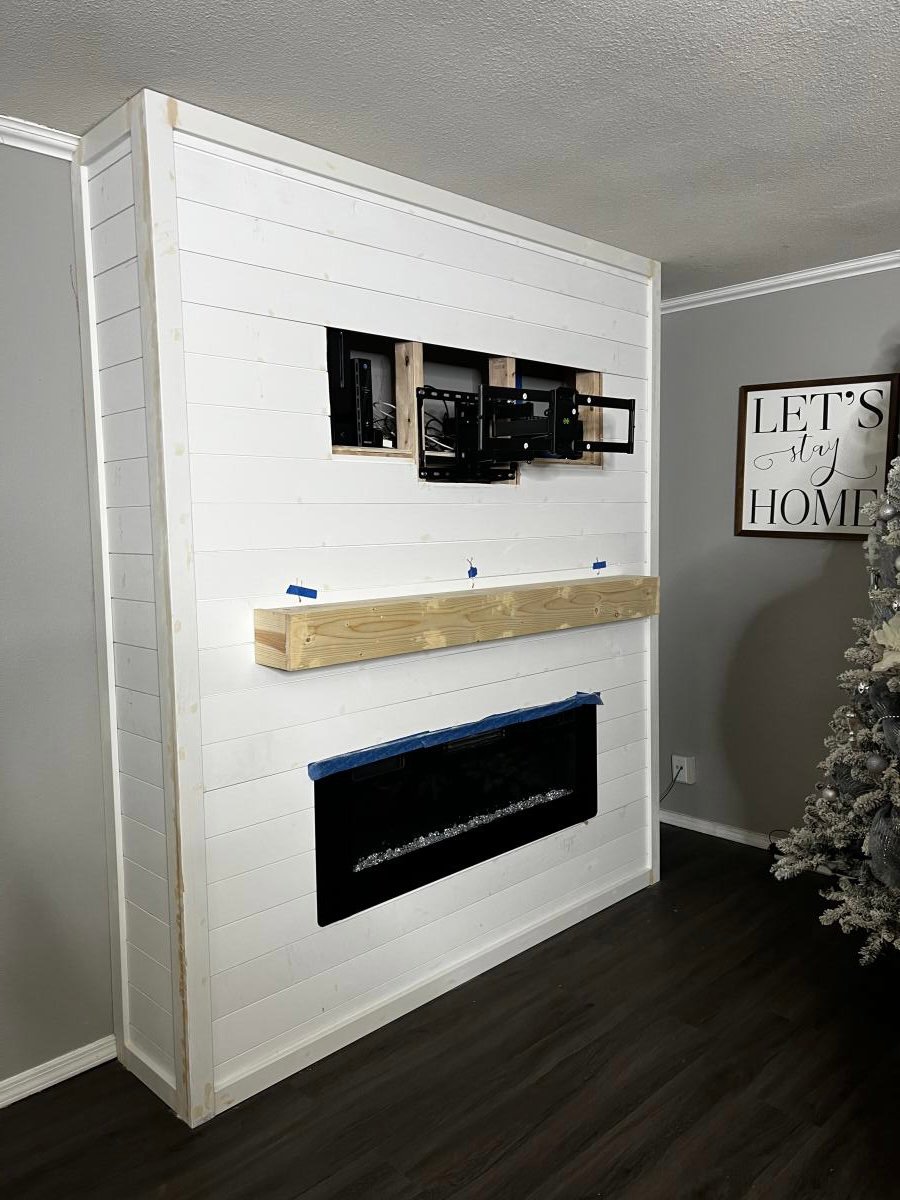
We did the Easiest Shiplap Fireplace in a weekend, thanks to Ana’s plans. I convinced my husband to help me build this by upgrading to a 65” tv and adjusting the dimensions. We also built a shelf behind the tv to hold our receiver and Xbox that is hidden when the tv is in place. Ana’s tutorial was amazingly and gave us the confidence to finally build something that’s been on our list for 2 years!

Comments

Double Double Loungers

Submitted by Gimbler on Tue, 10/04/2011 - 15:10

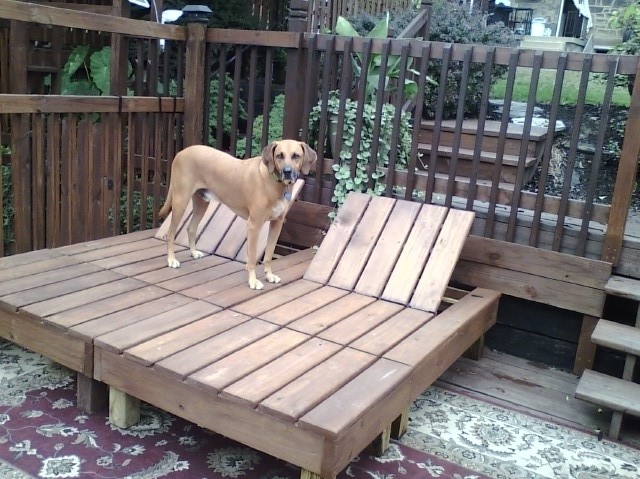
I had an idea in my head of what I wanted for deck seating/lounging in my mind but just couldn't seem to get to the "nitty gritty" of creating workable plans. Then, while googling through images of double loungers I stumbled onto Ana's site. Wow! I felt like a fish that had just found the water! With the detailed plans generously provided for a double lounger I was able to create my "vision" with just slight modifications. The loungers are actually two chairs and two ottomans that fit together or come apart depending on how much "togetherness" the situation calls for. And best of all - almost all the materials were left overs and cut pieces from another deck and fencing project. For cushions (not in this photo) I used two inexpensive "Hide A Mats" folding beds from Costco that I covered with waterproof duck fabric. I can't thank you enough, Ana, for taking the time to share your talent so freely. I'm truly grateful. As is Jake, the Redbone Coonhound, who insisted on being in the photo!

Estimated Cost
About $150 for hardware and cushions - lumber was scrap and leftovers from another project.
Estimated Time Investment
Weekend Project (10-20 Hours)
Finish Used
Olympic semi transparent deck stain.
Recommended Skill Level
Intermediate

Comments

Gimbler

Tue, 10/11/2011 - 06:34

We really enjoyed these over the summer - and if Buck is anything like Jake I'm sure he'll take advantage of any available "creature comforts". :o)

Redwood Shower Bench

Submitted by lwarteman on Sun, 10/20/2013 - 08:33

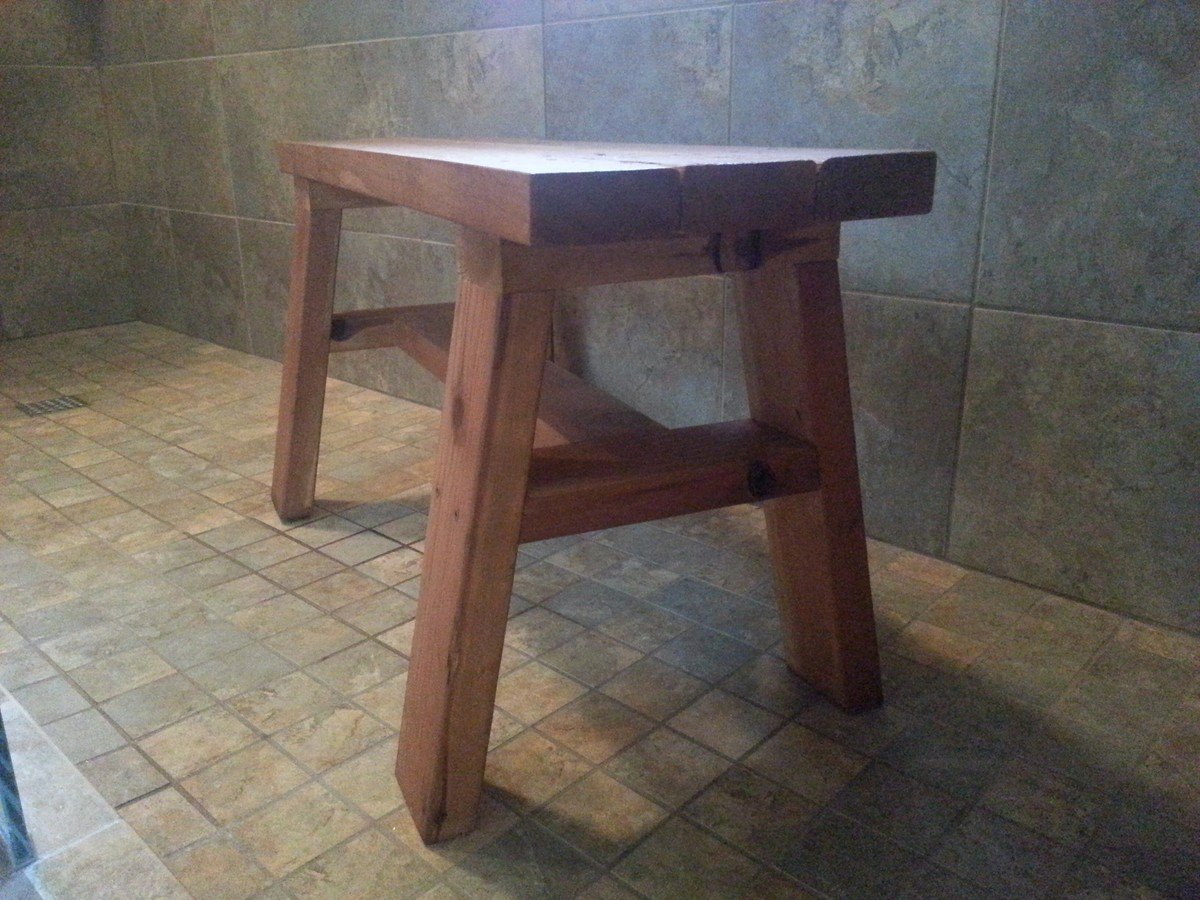
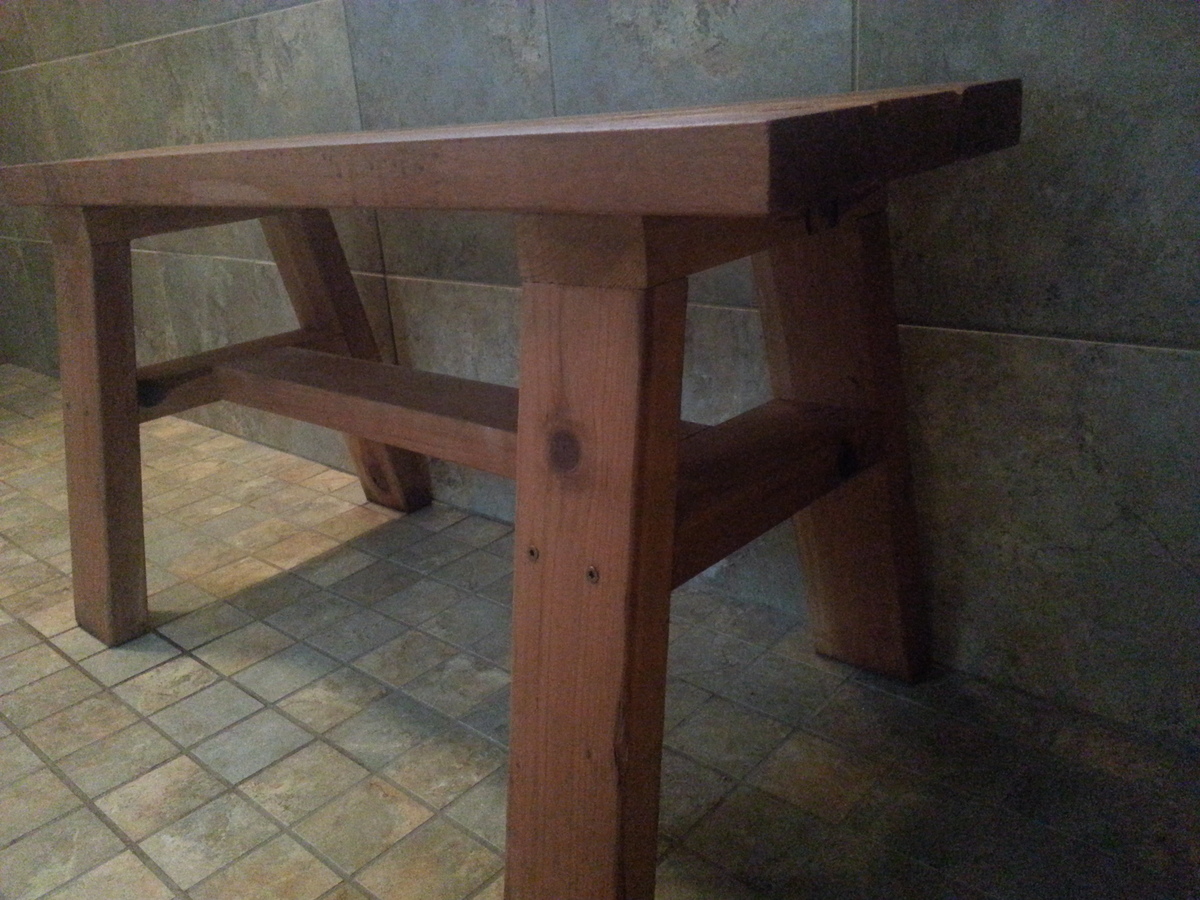
I wanted to build a small shower bench. I used the Providence Bench Plans and just made it a bit smaller with a few adjustments. This bench is 35" long and 18" tall. I did not use the cross supports on the bottom because it was so short. Also, you will see that I turned the bottom stretcher and side supports flat/horizontal. I put the screws for the seat boards through the top down just because this was the easiest way for me to do it. The plans did not show in detail how to attach the seat boards from the underside. It just said "finally, the seat boards." I guess they probably used a pocket jig. I bought a pocket jig and used it in the couple of places, but this was my first time using it. I used brown, coated decking screws in the places I did not use the pocket screws. This was my first attempt at building anything and my first time to use a pocket jig. I used a natural wood stain and Behr Weather-Proofing since it will be in a wet area.

Built from Plan(s)
Estimated Cost
$20
Estimated Time Investment
An Hour or Two (0-2 Hours)
Finish Used
Behr All-in-One Stain and Weatherproofing in Cedar Naturaltone (No. 5533). Because this is going to be in a wet area, I put 2 coats on and let each one dry 12-24 hours in between and before getting wet.
Recommended Skill Level
Beginner