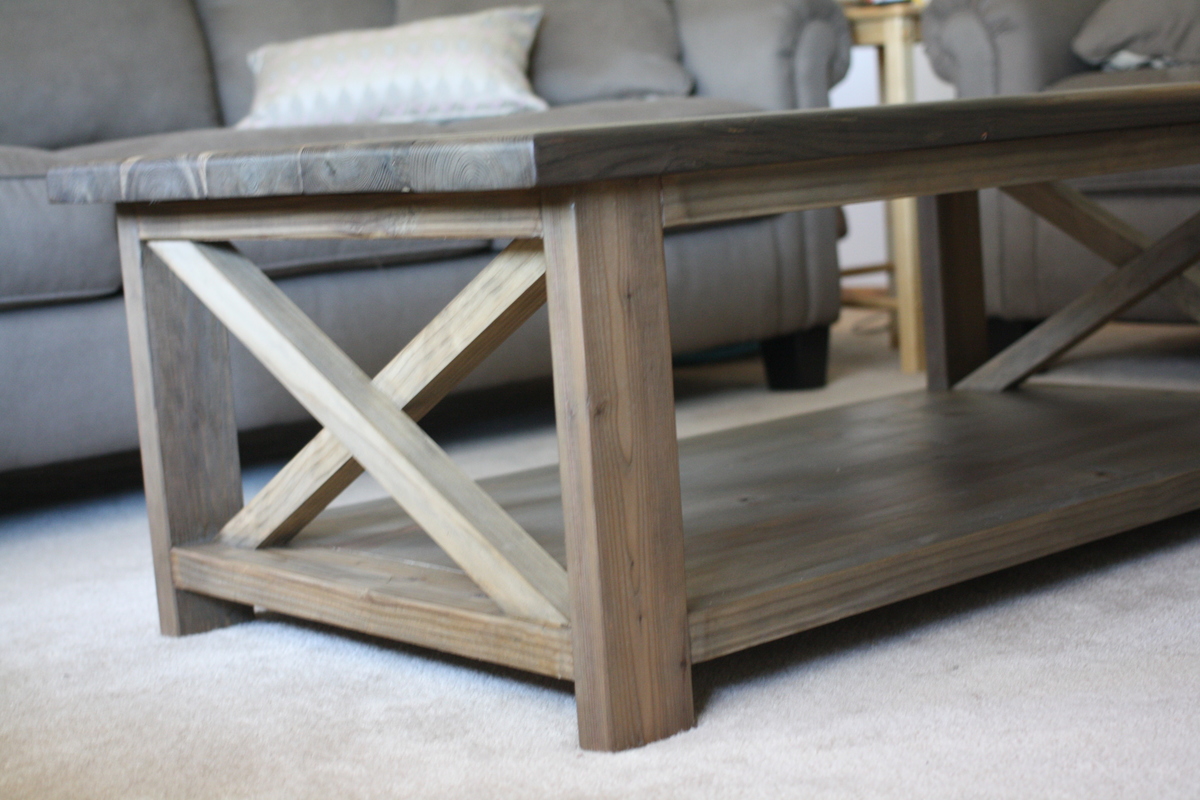
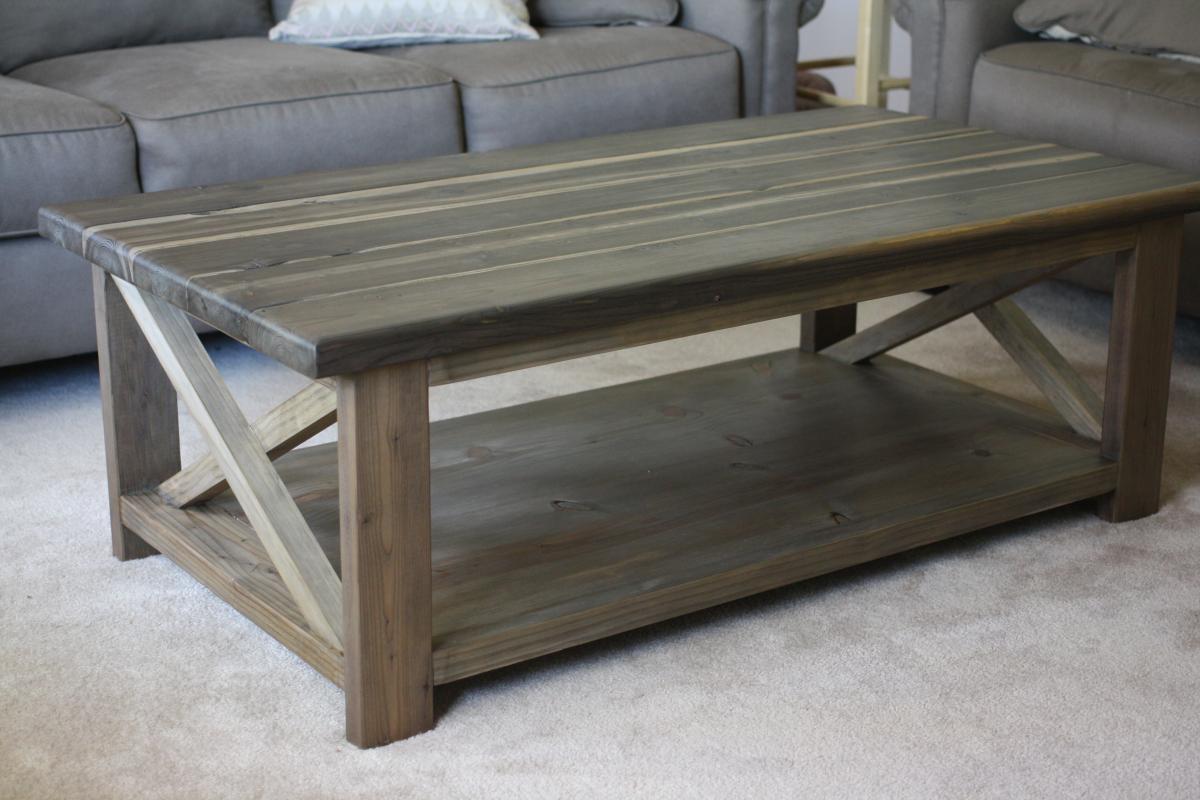
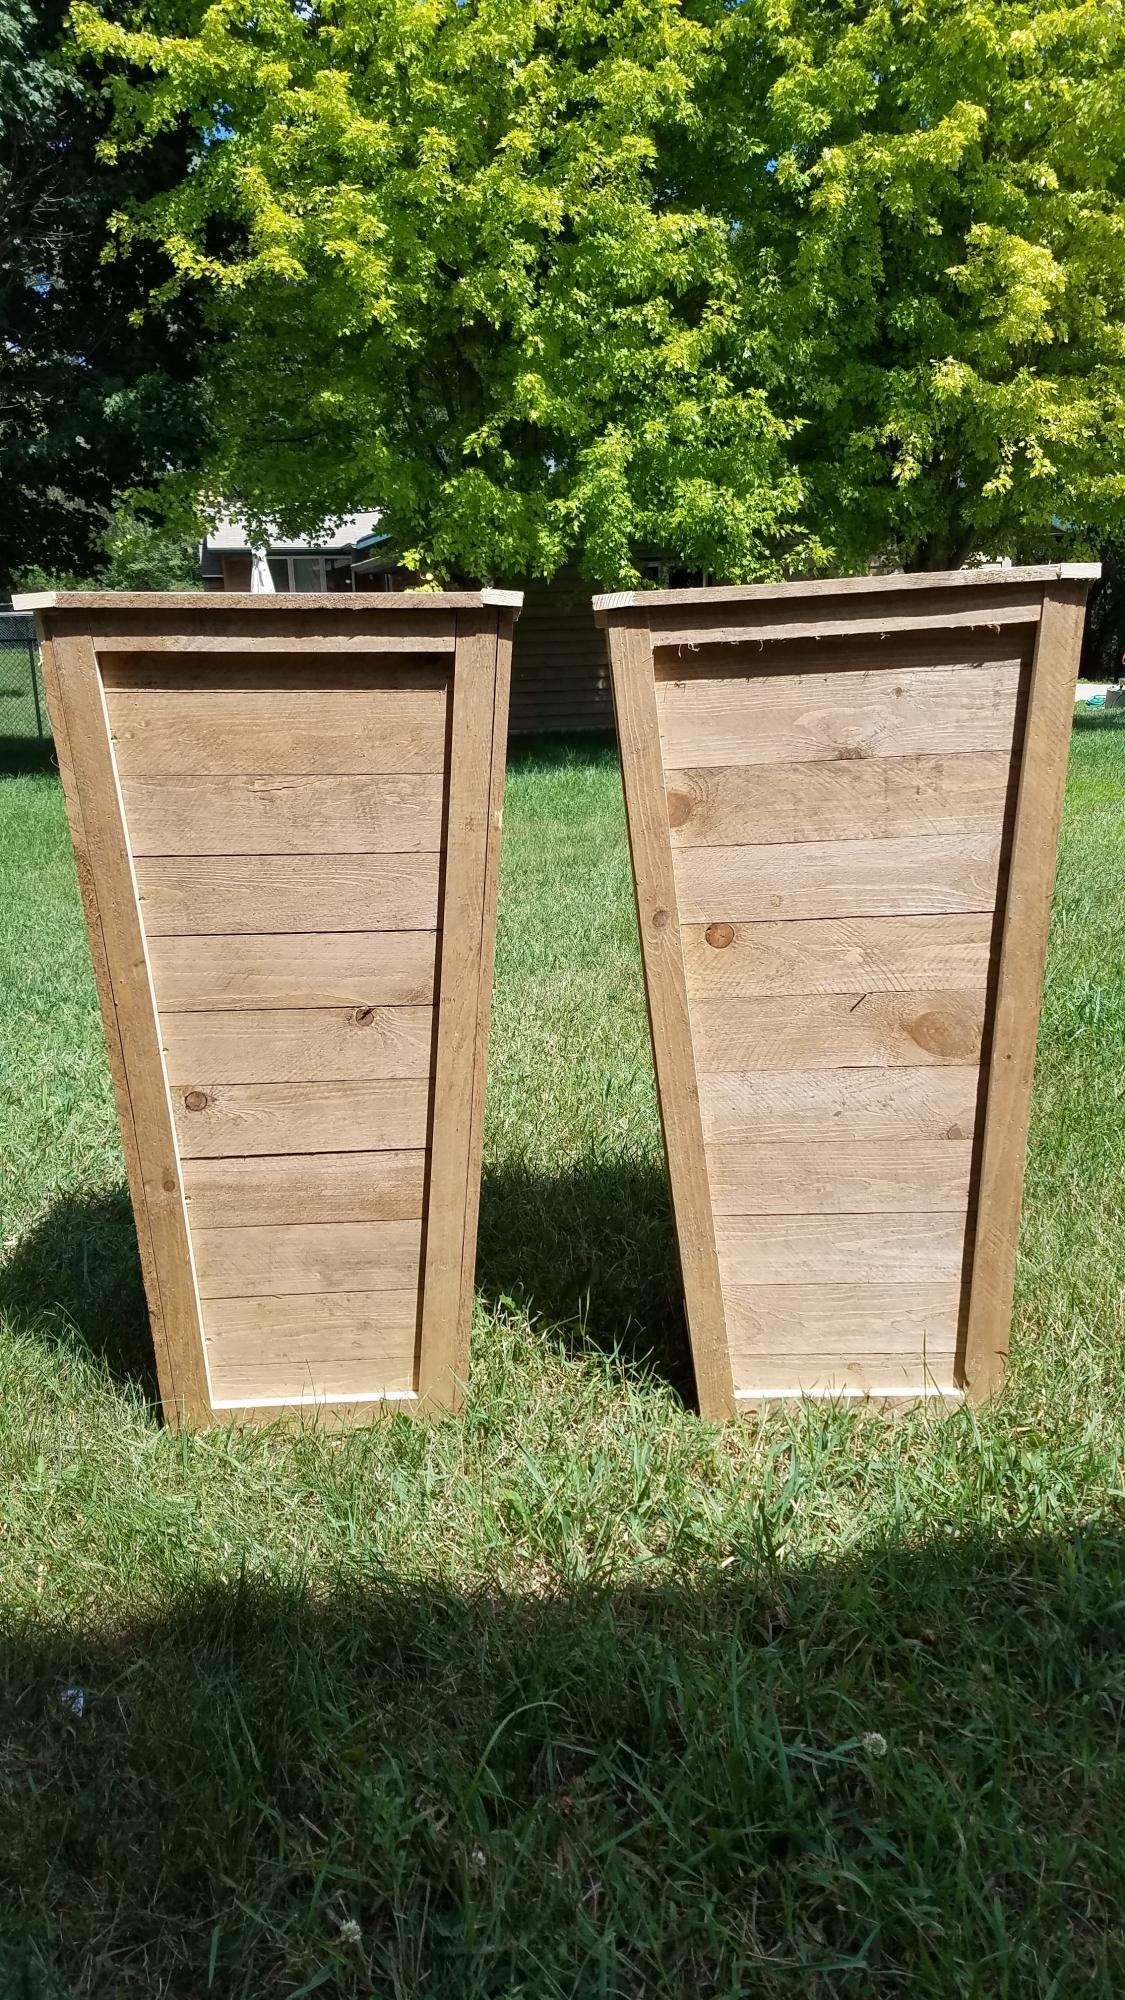
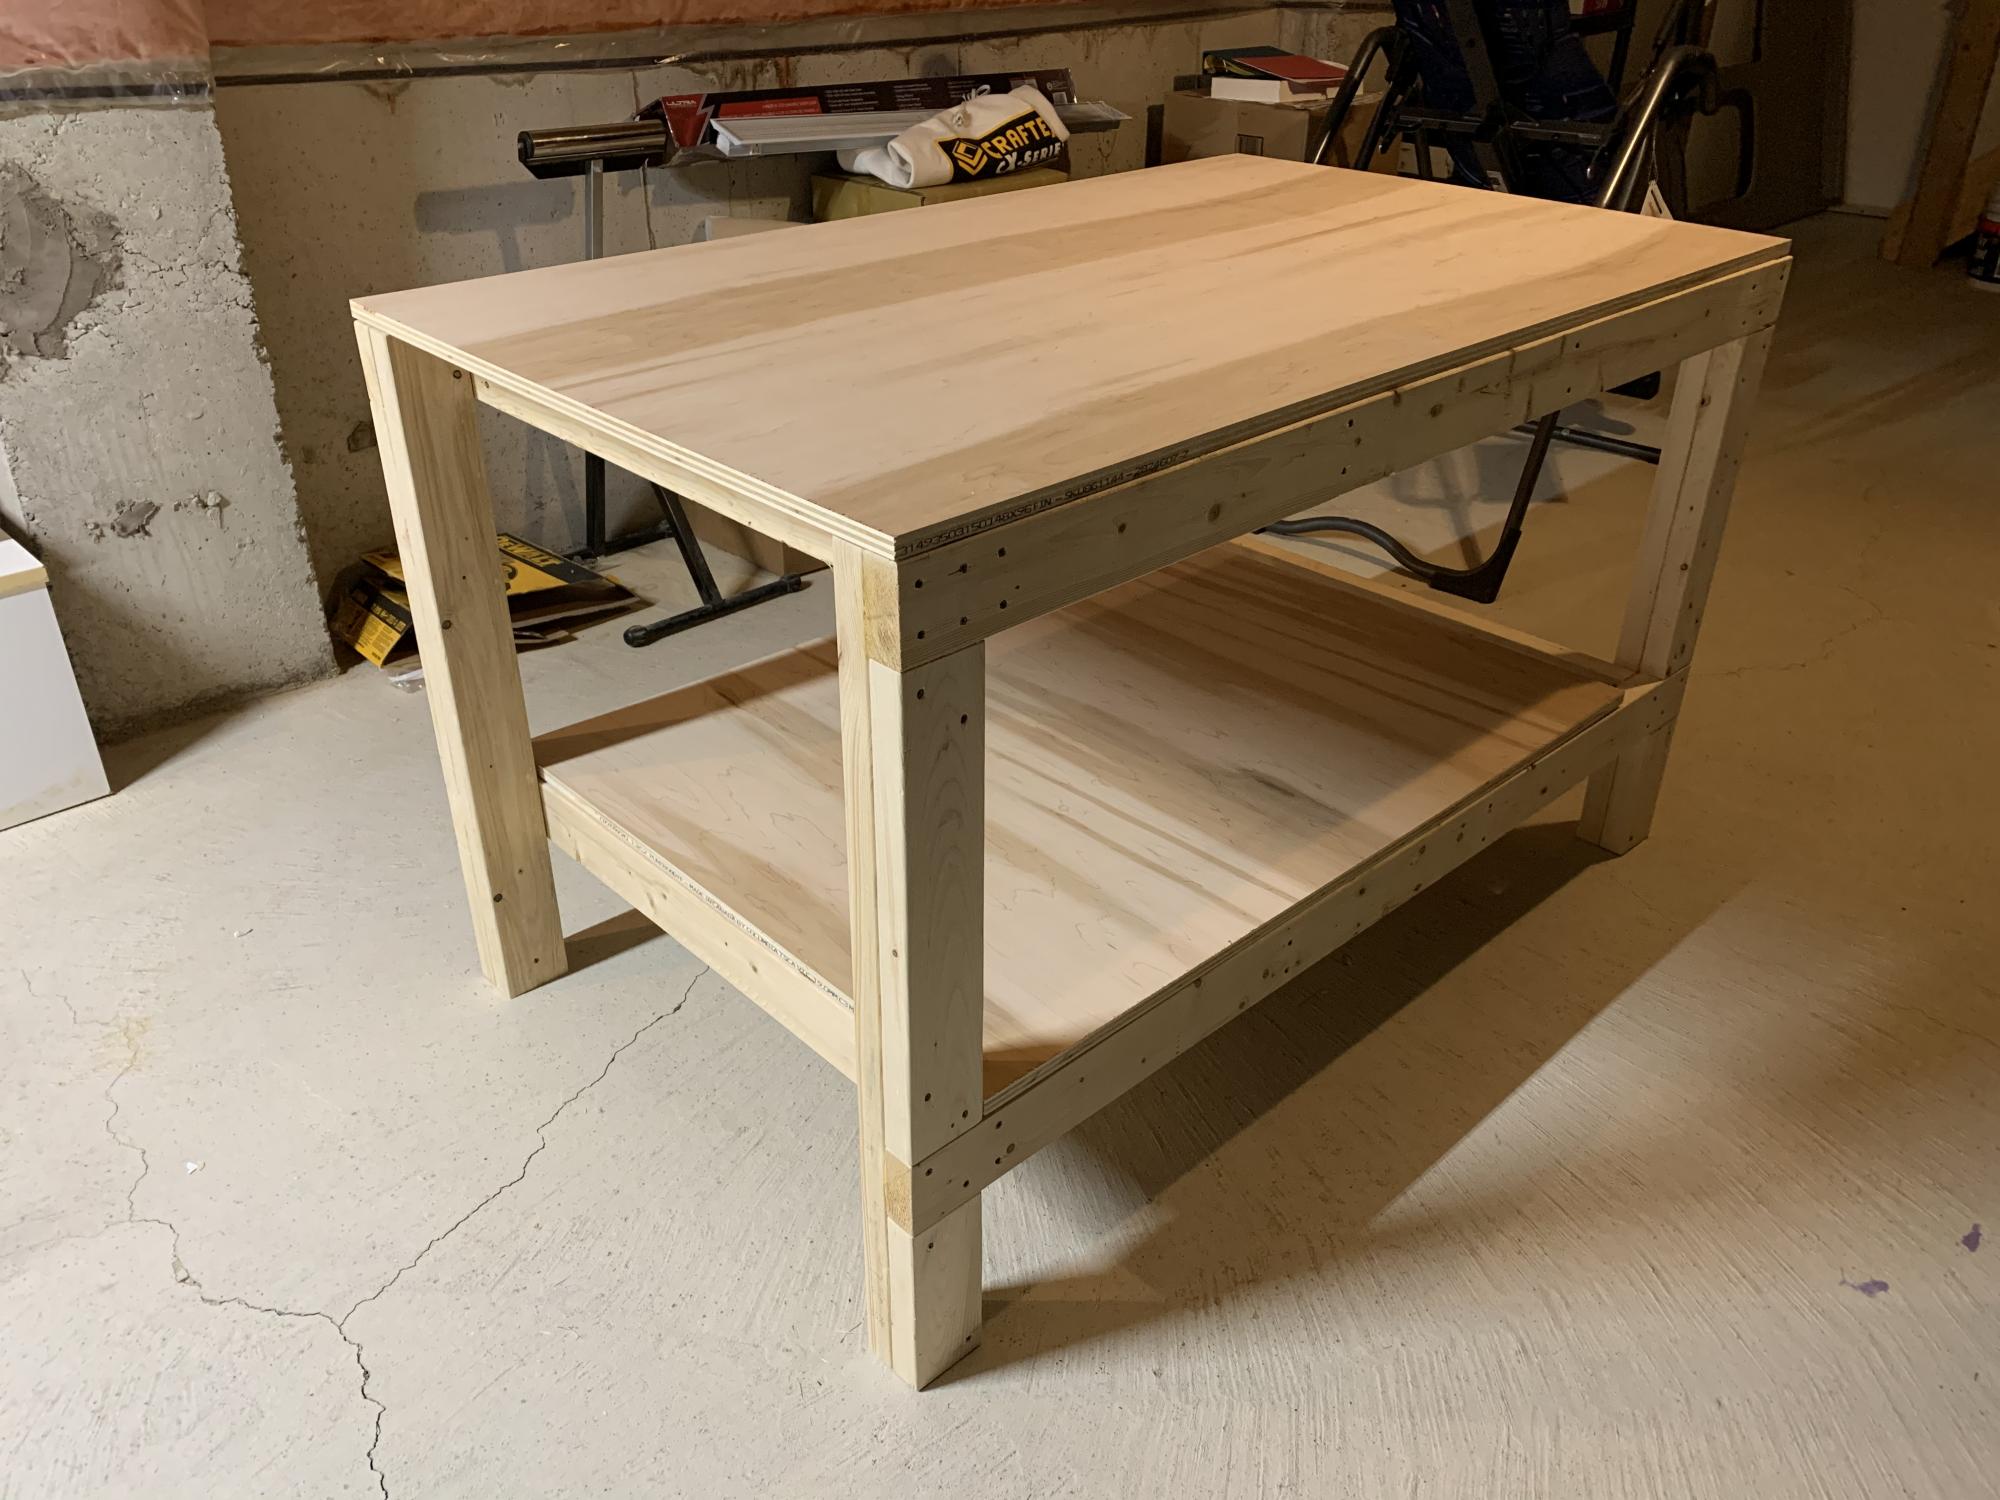
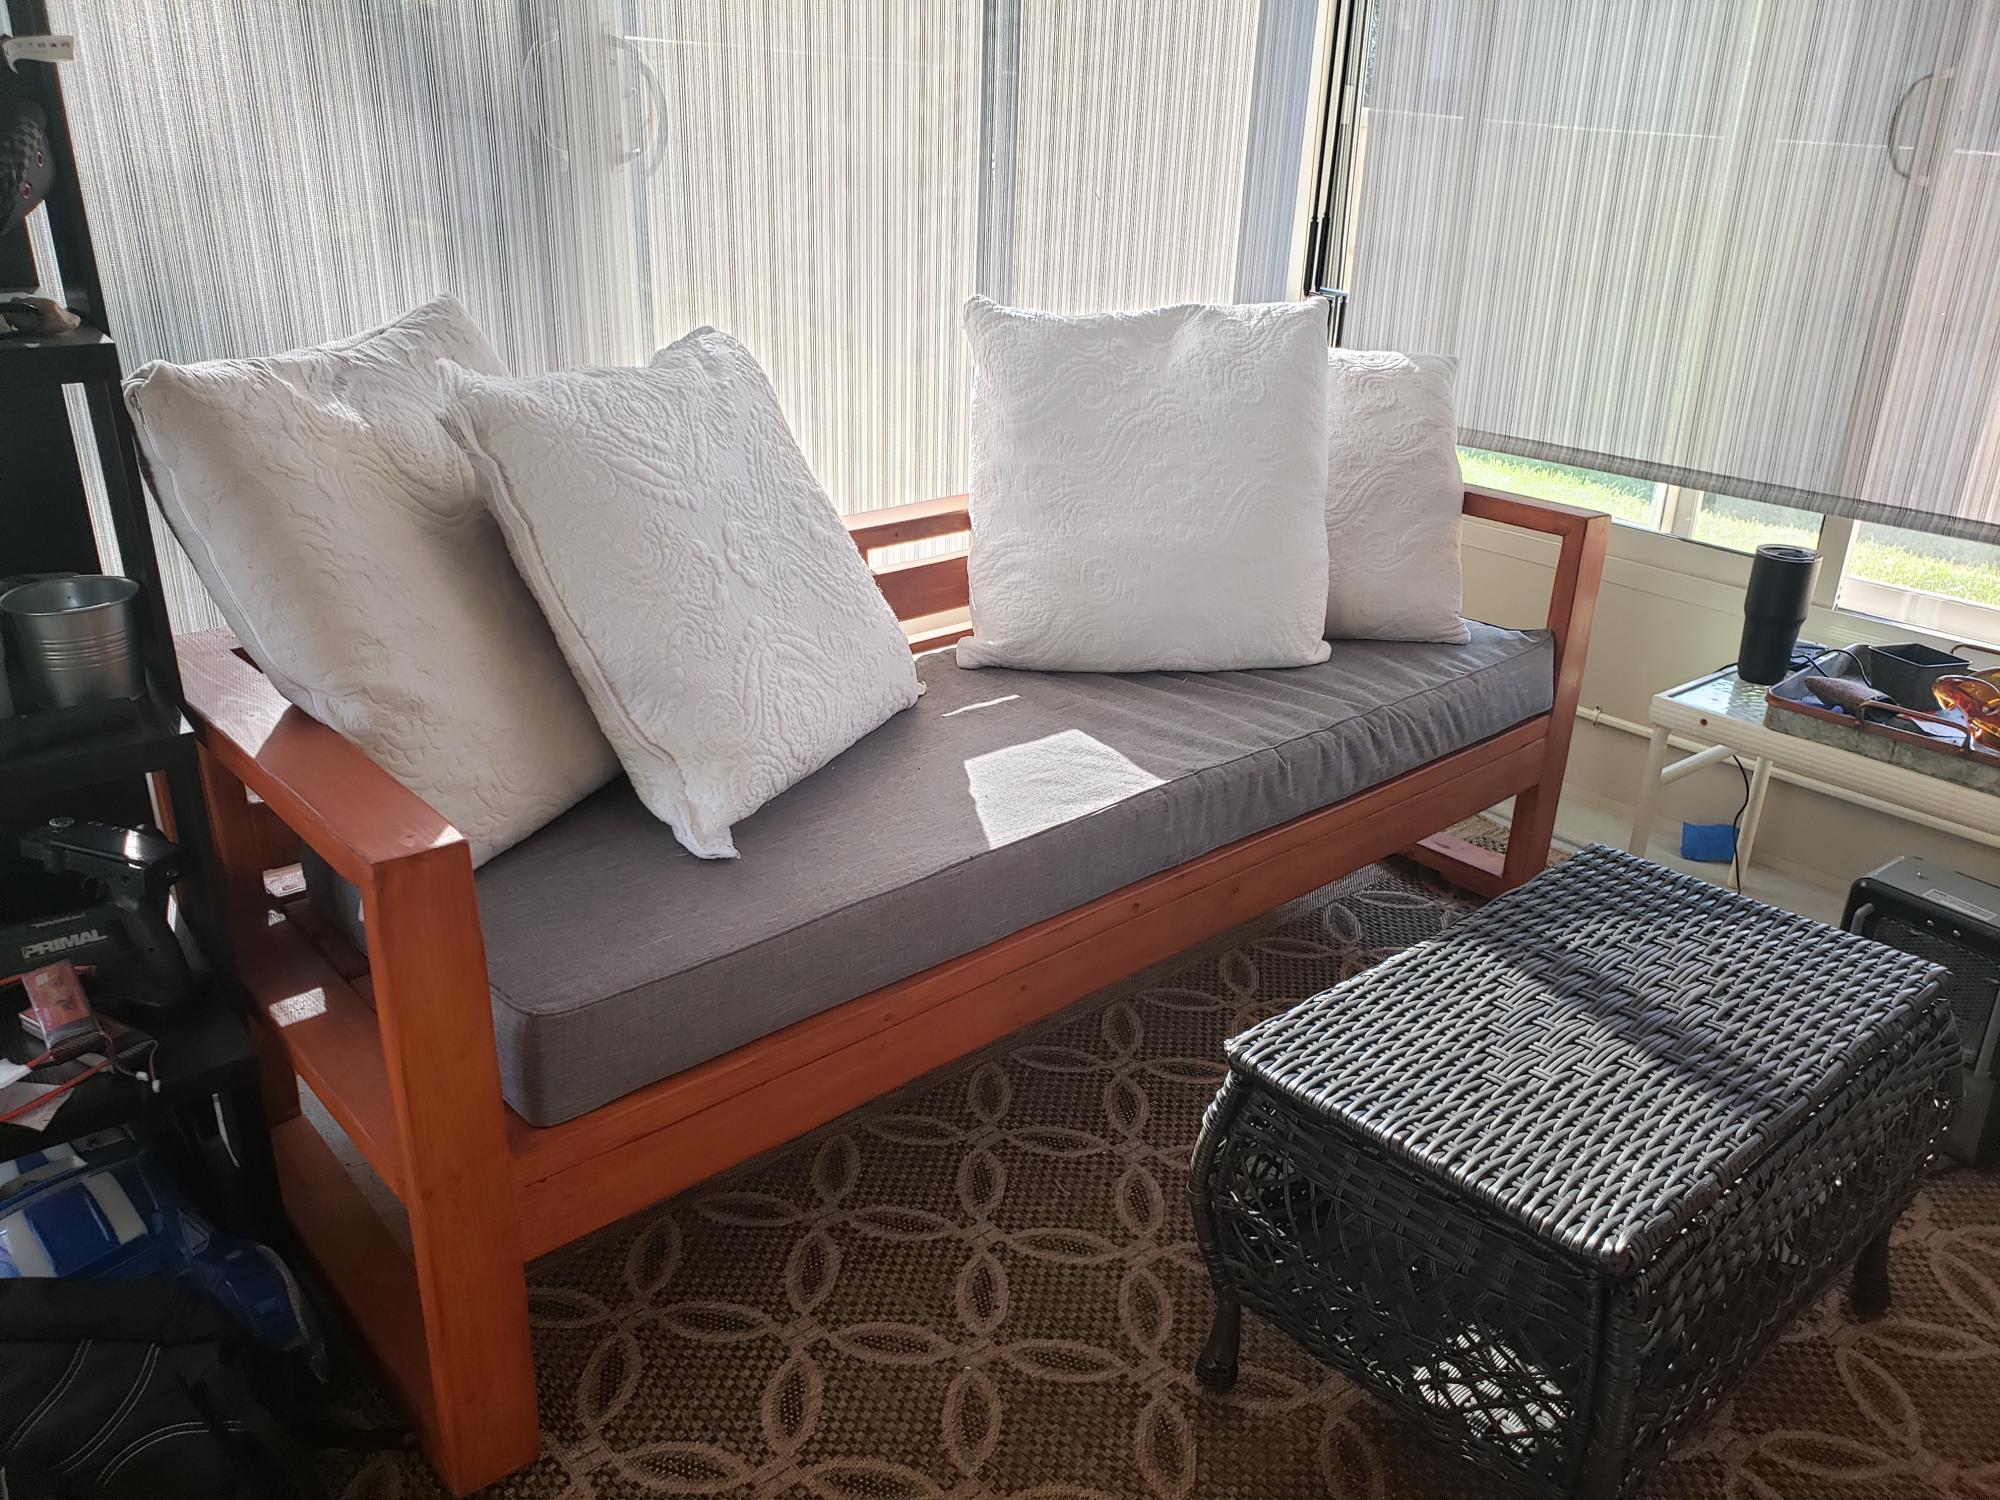
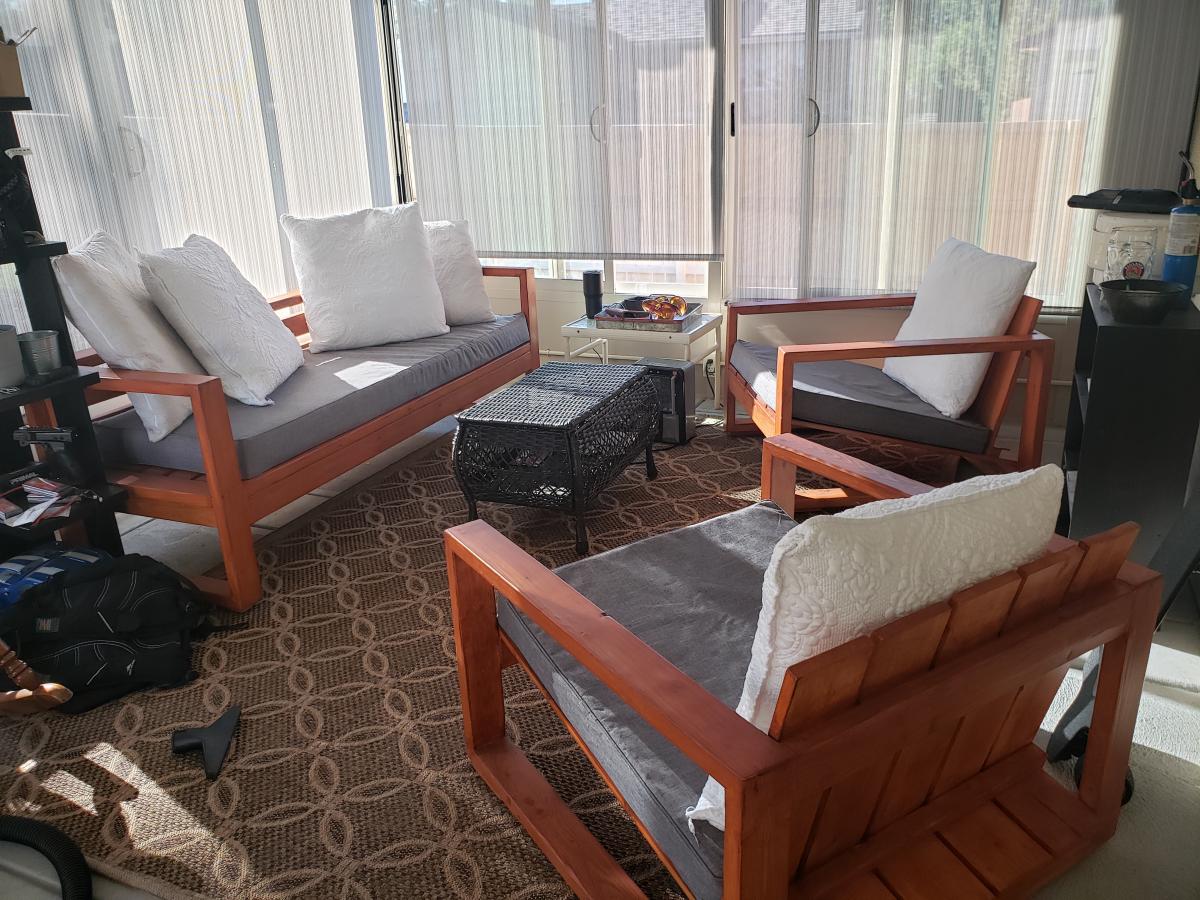
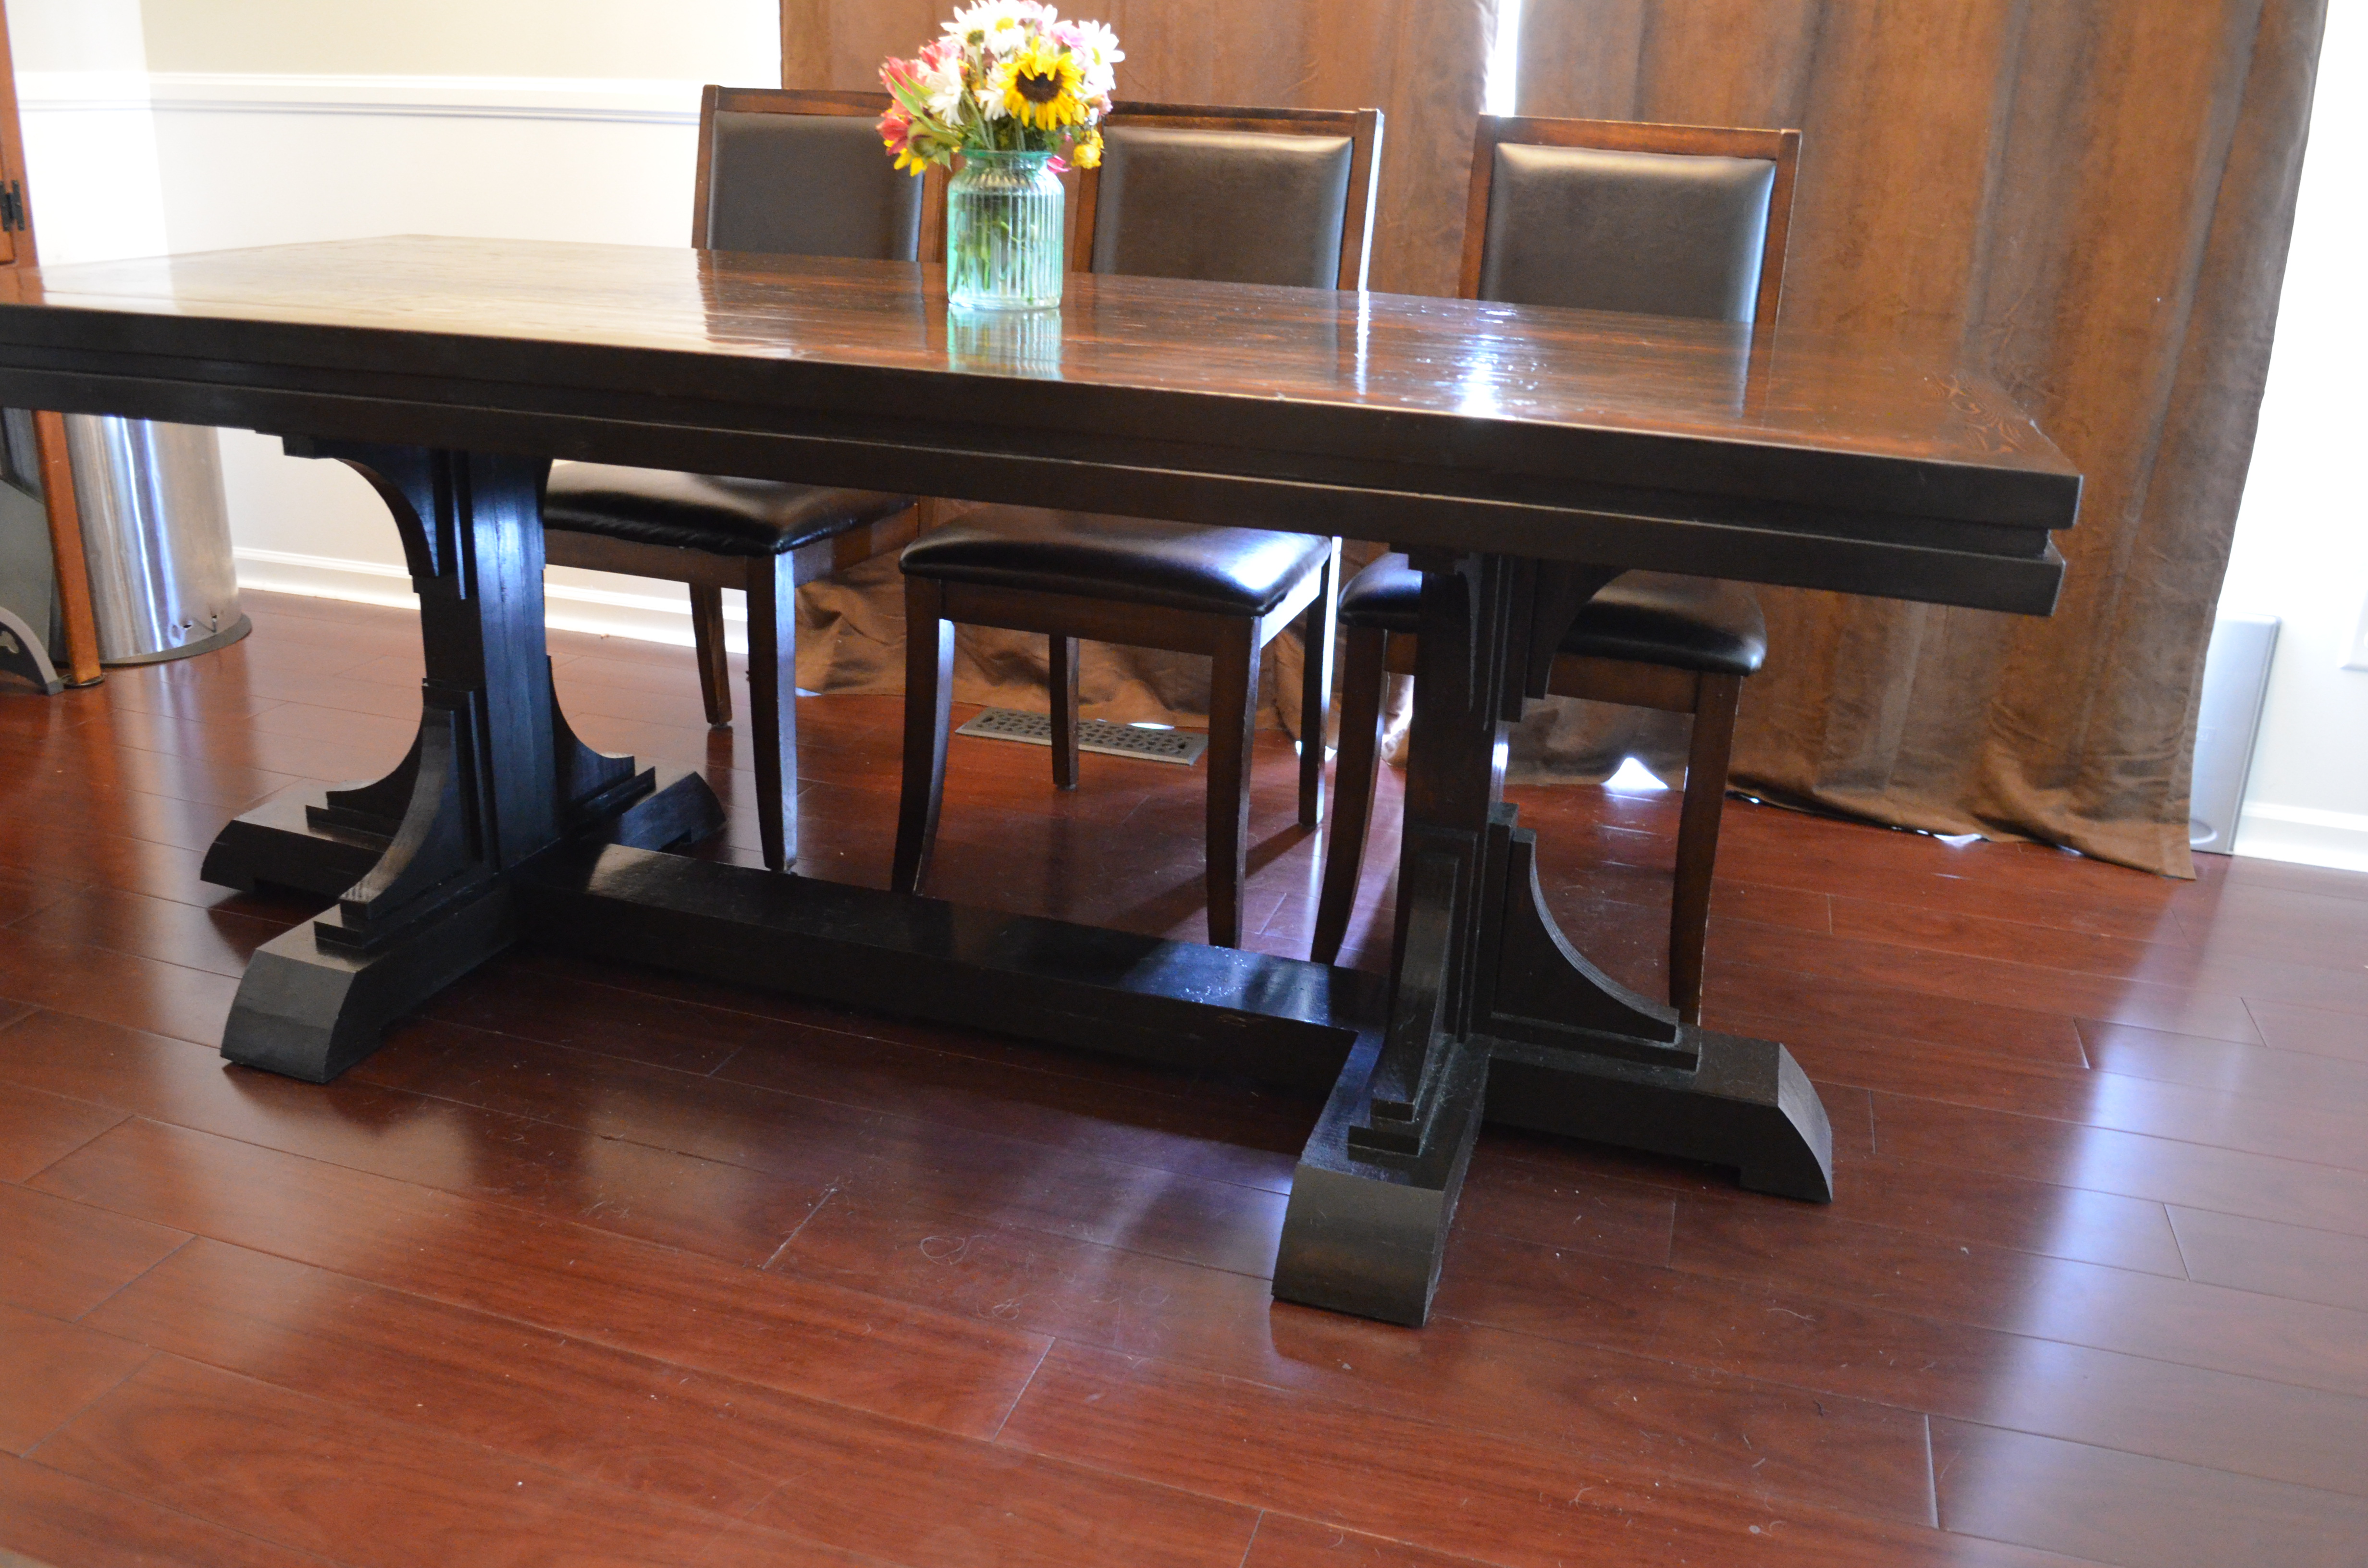
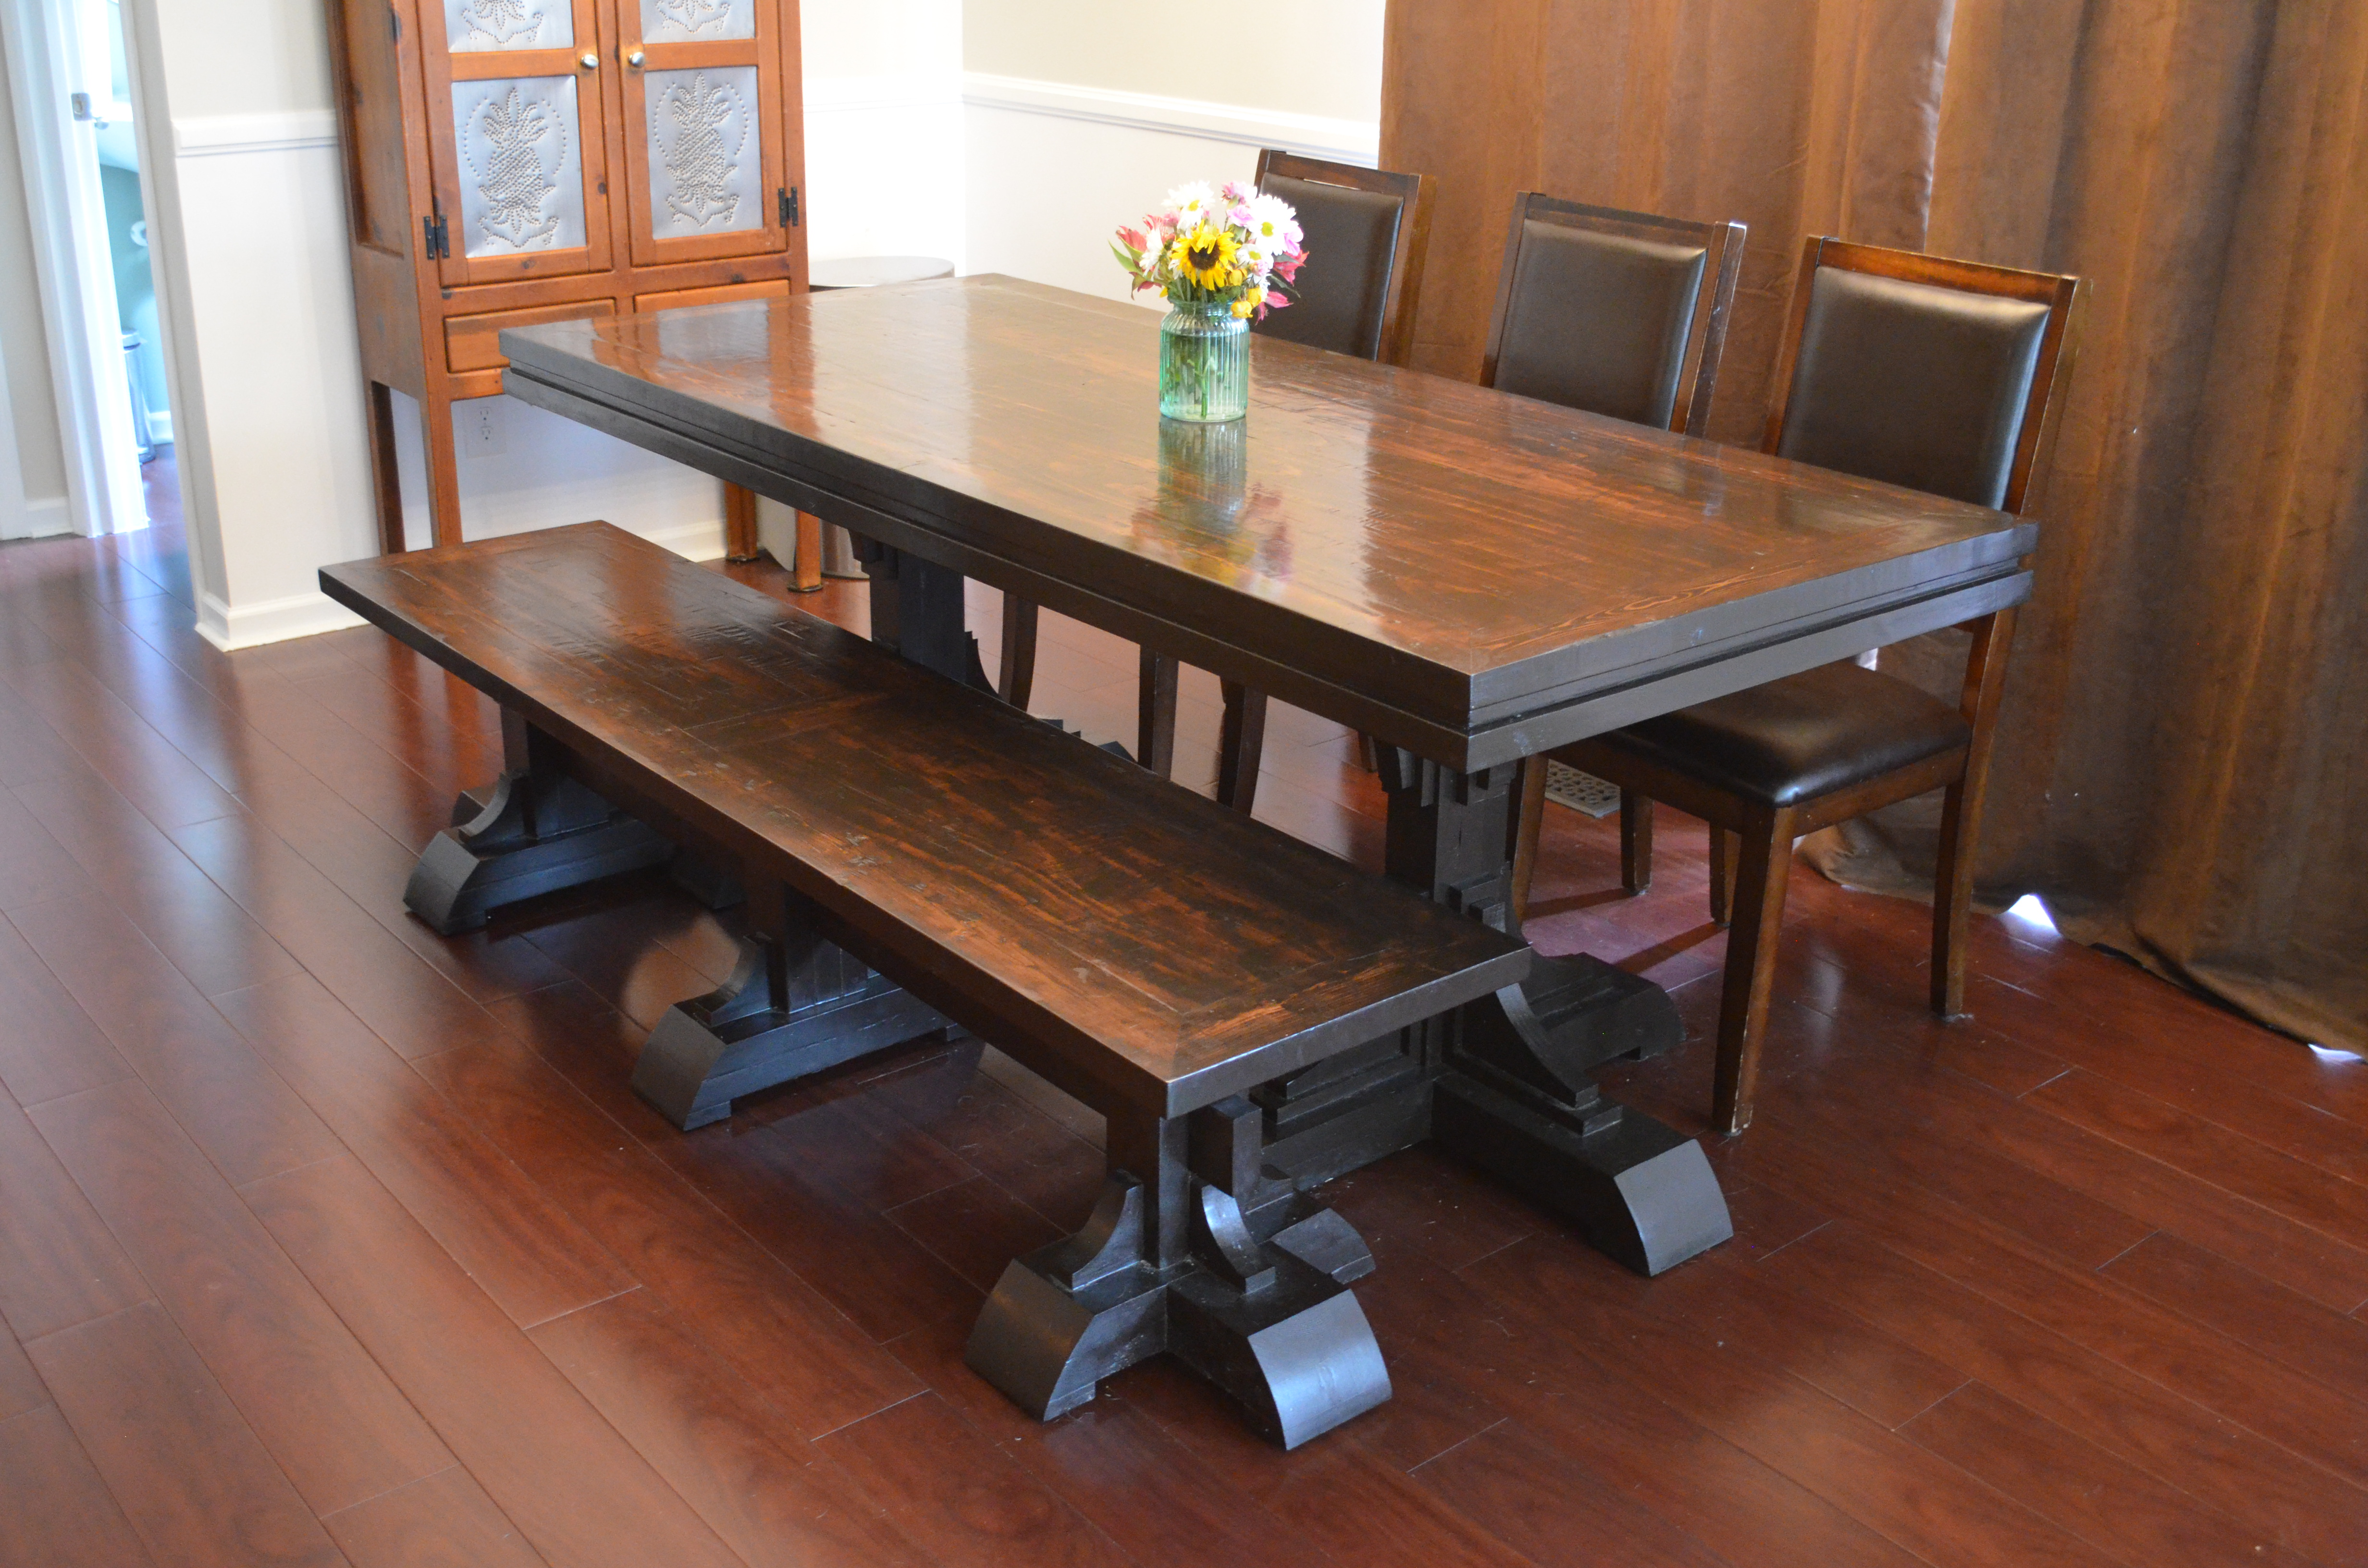
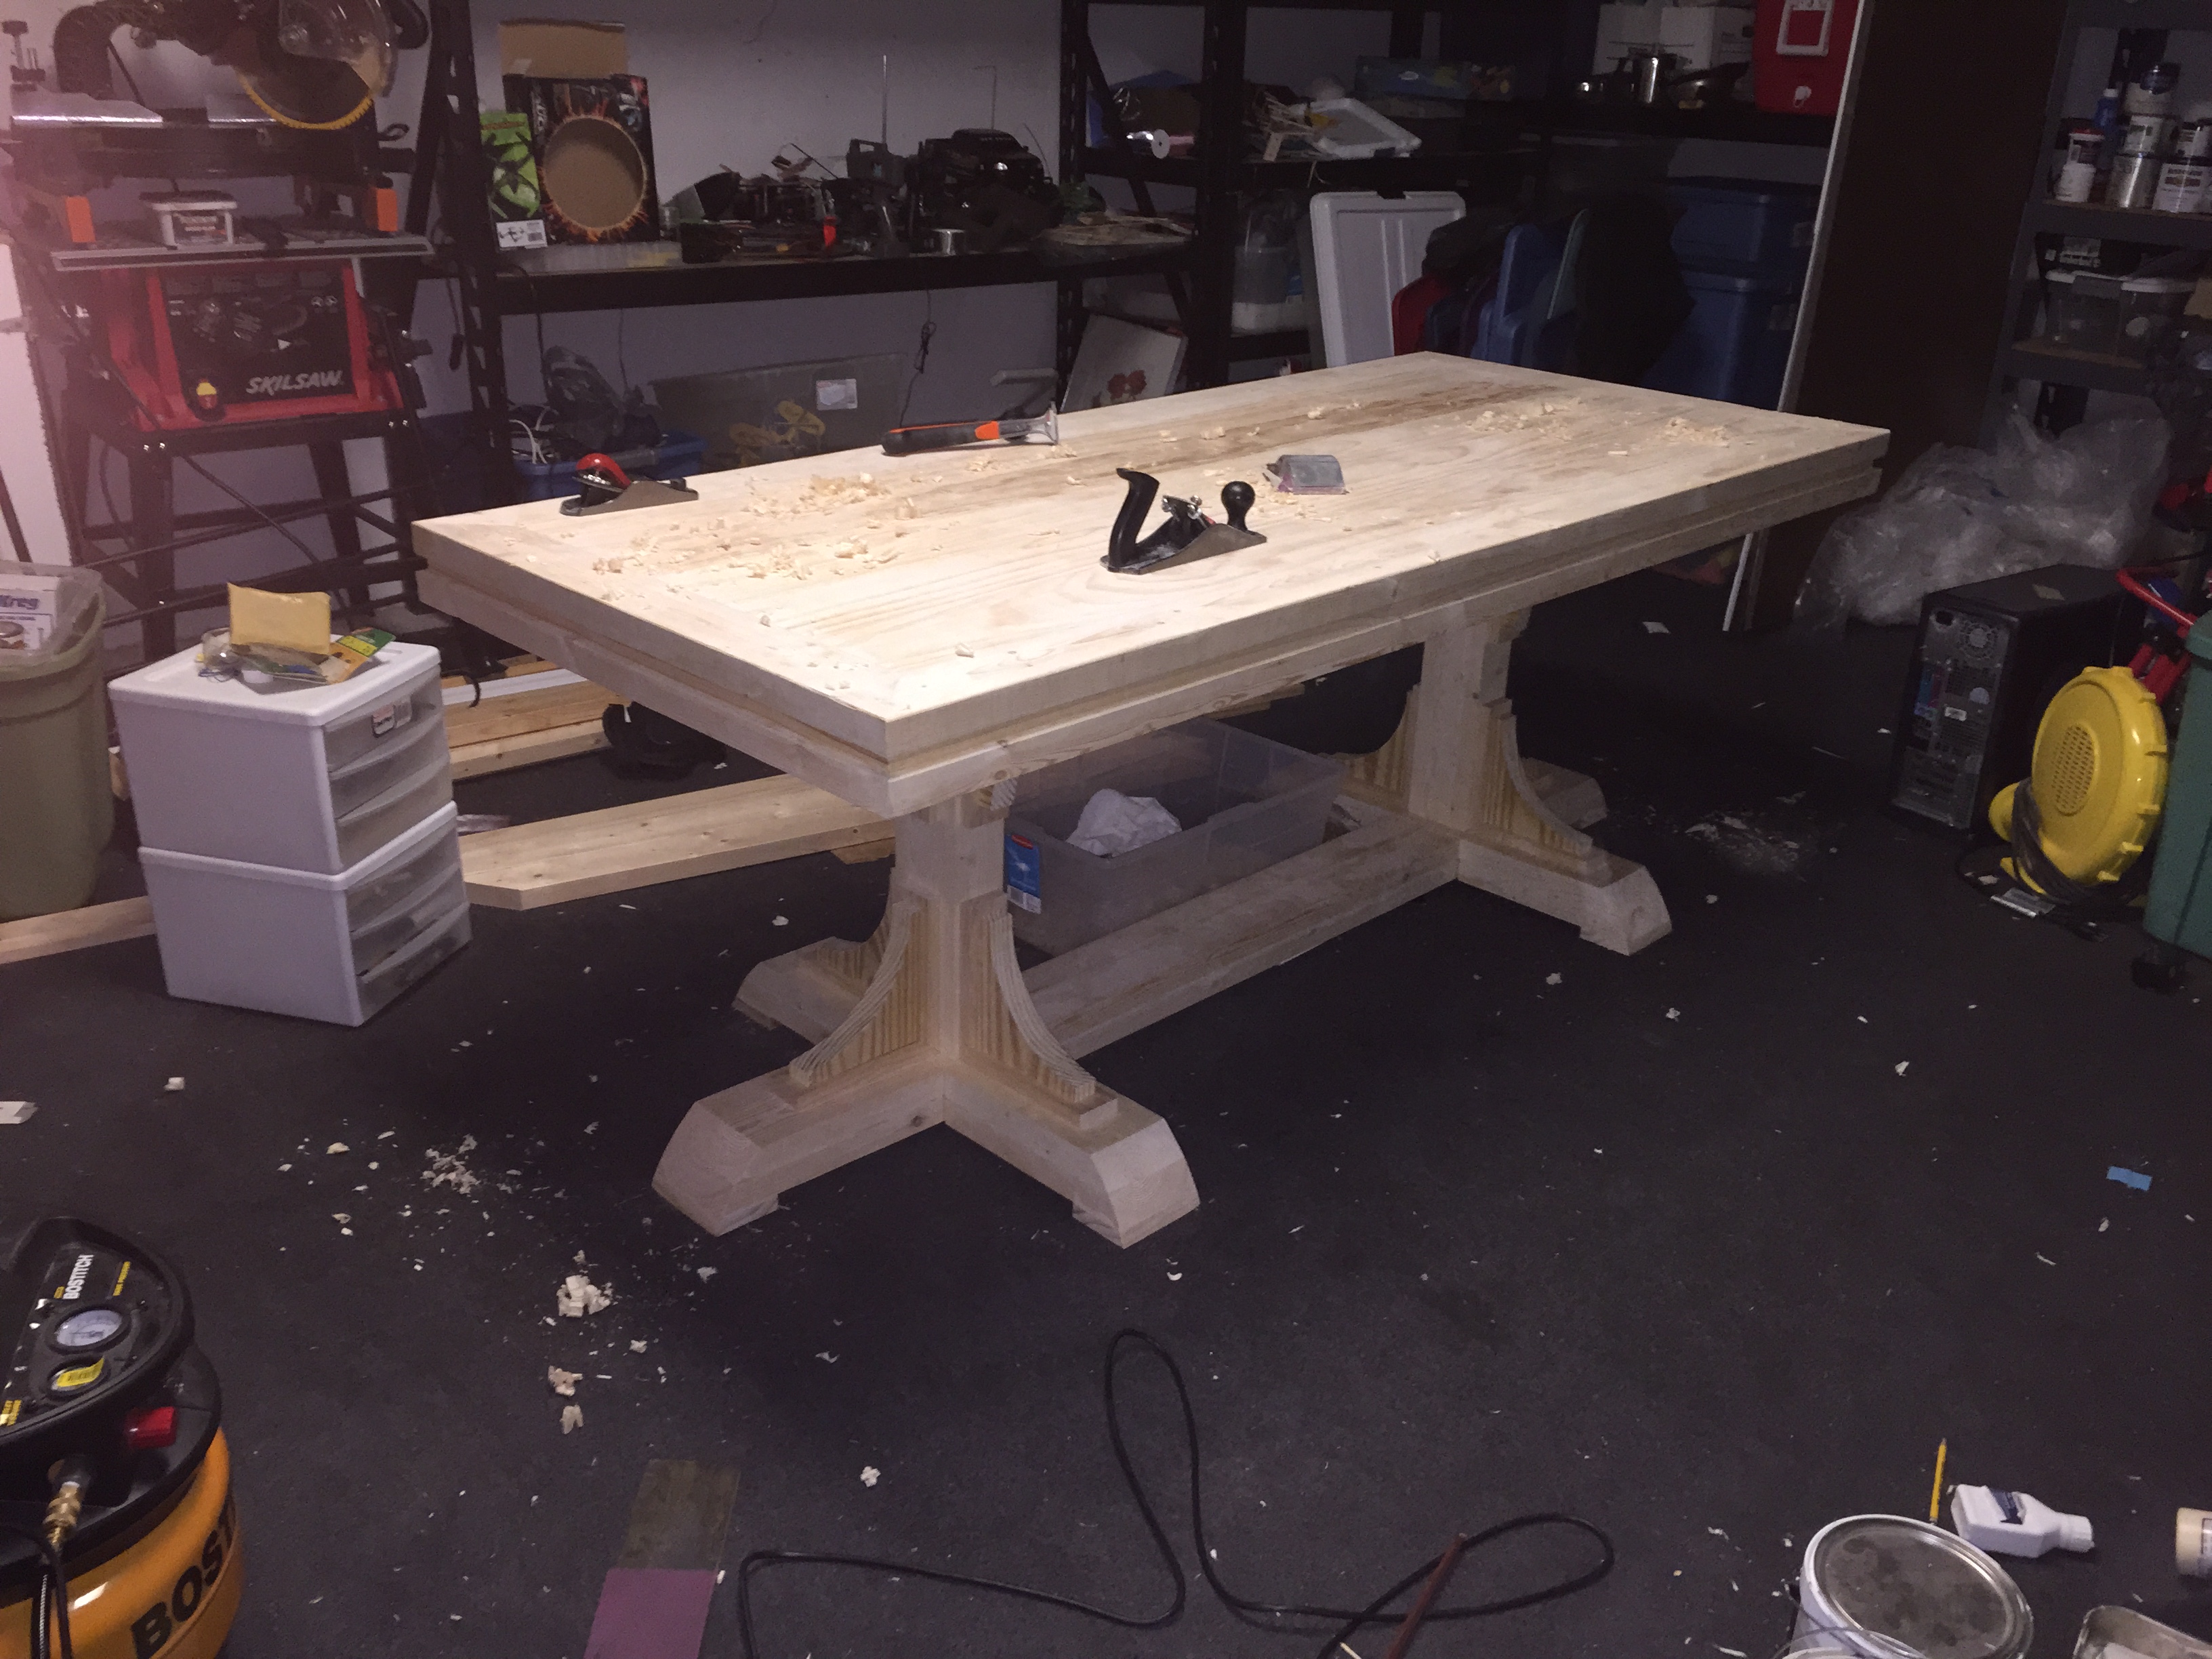
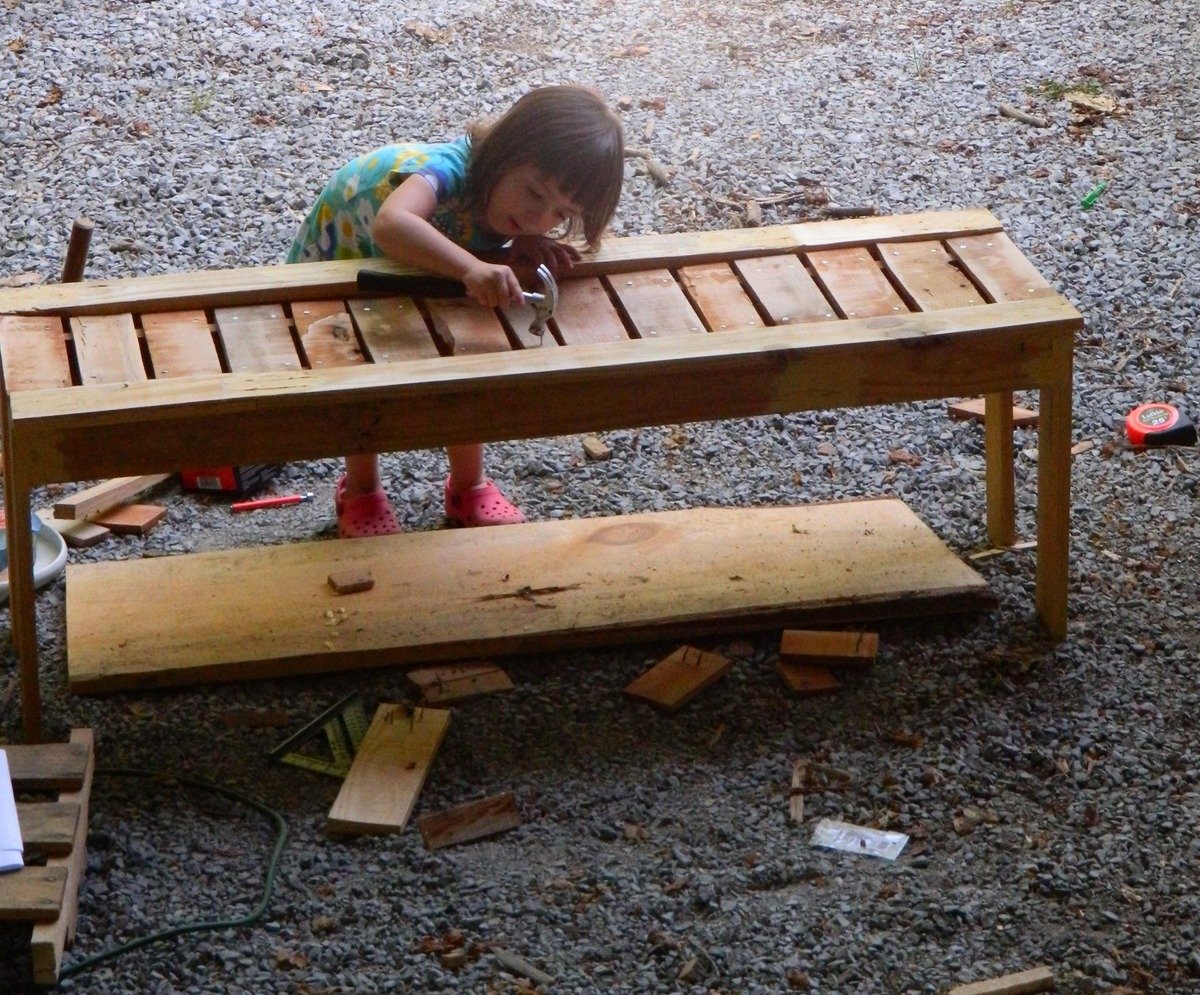
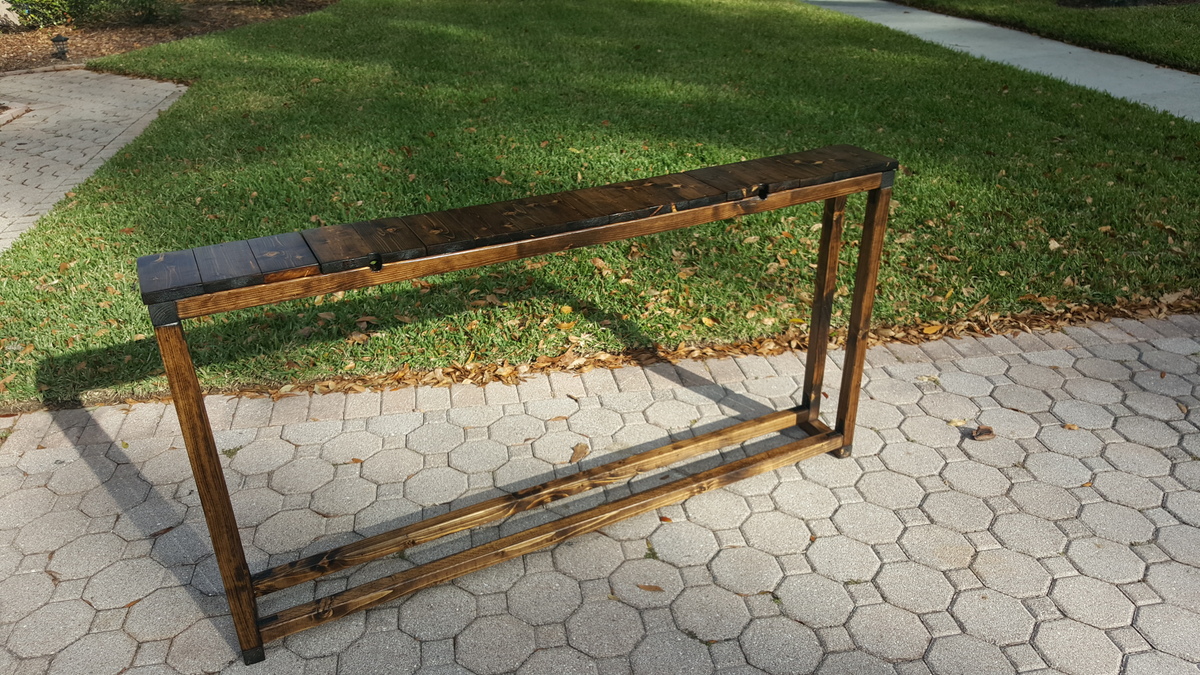
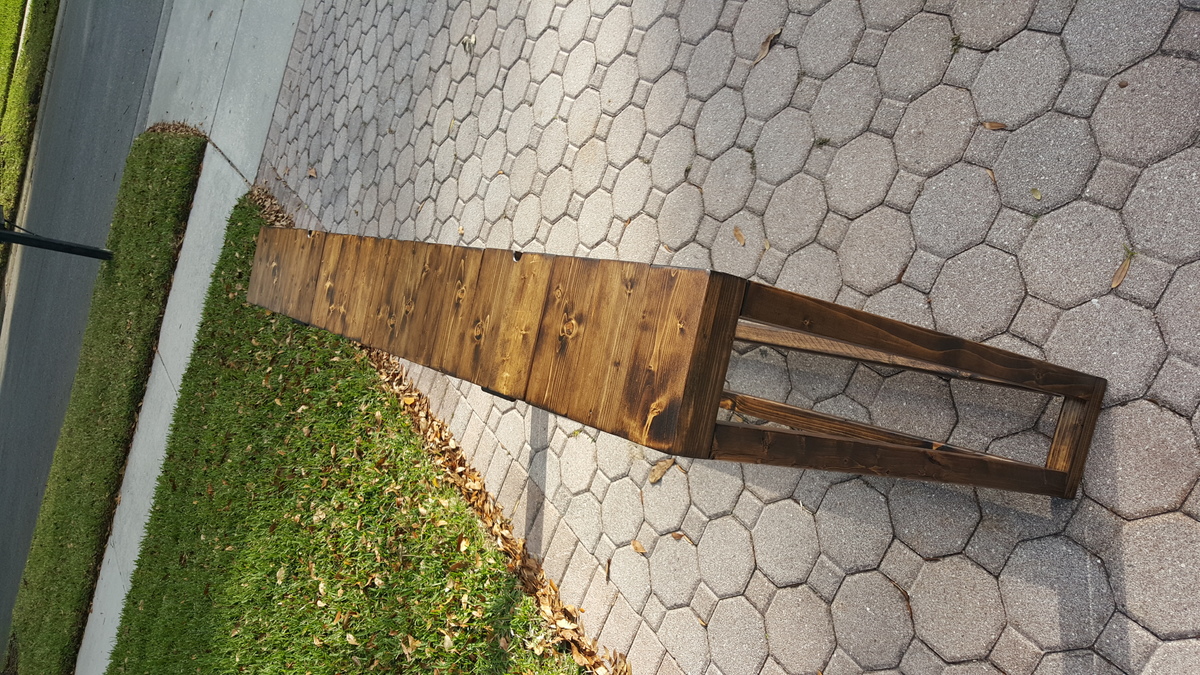
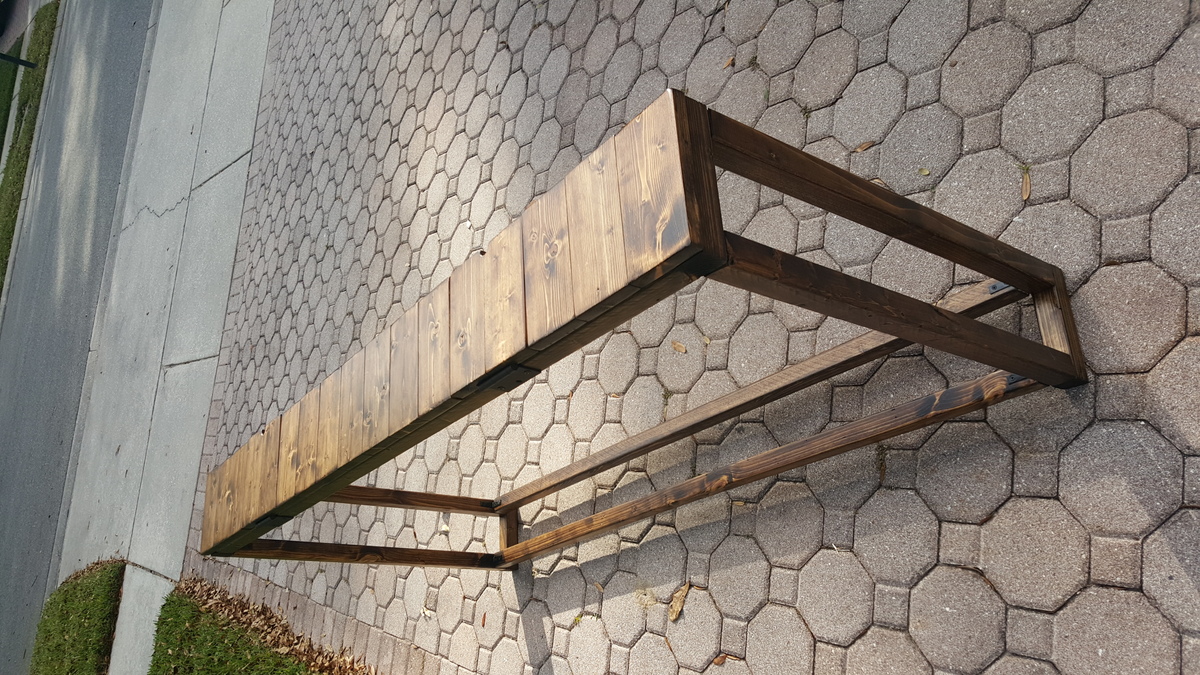
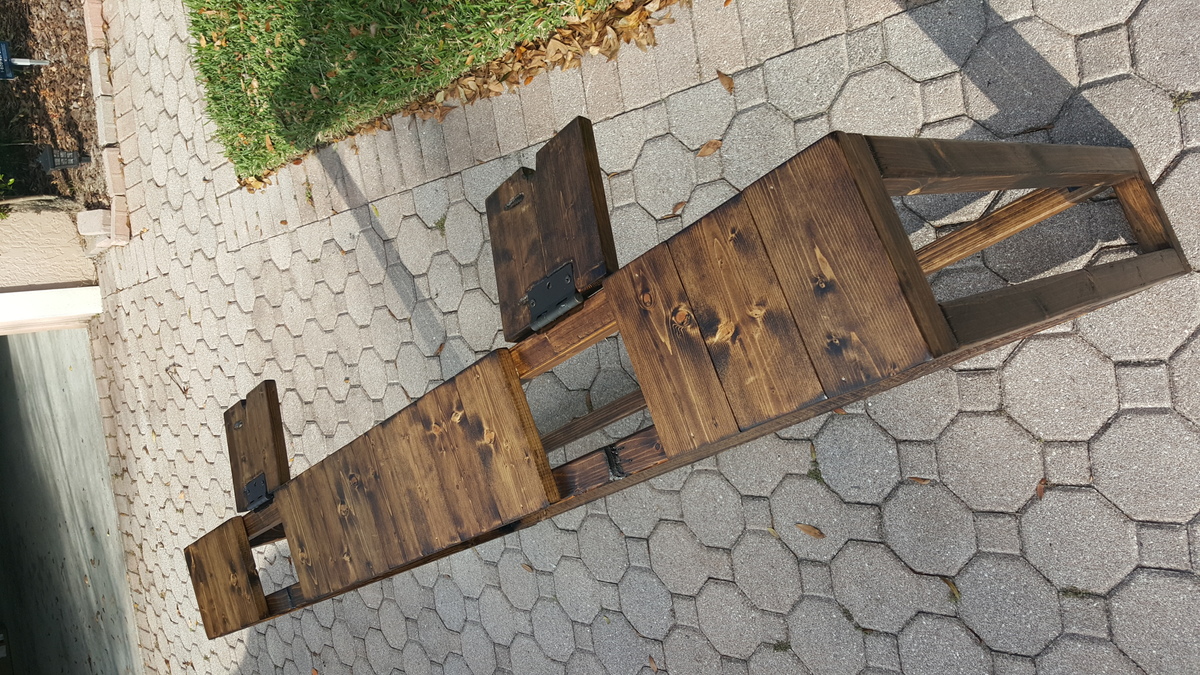
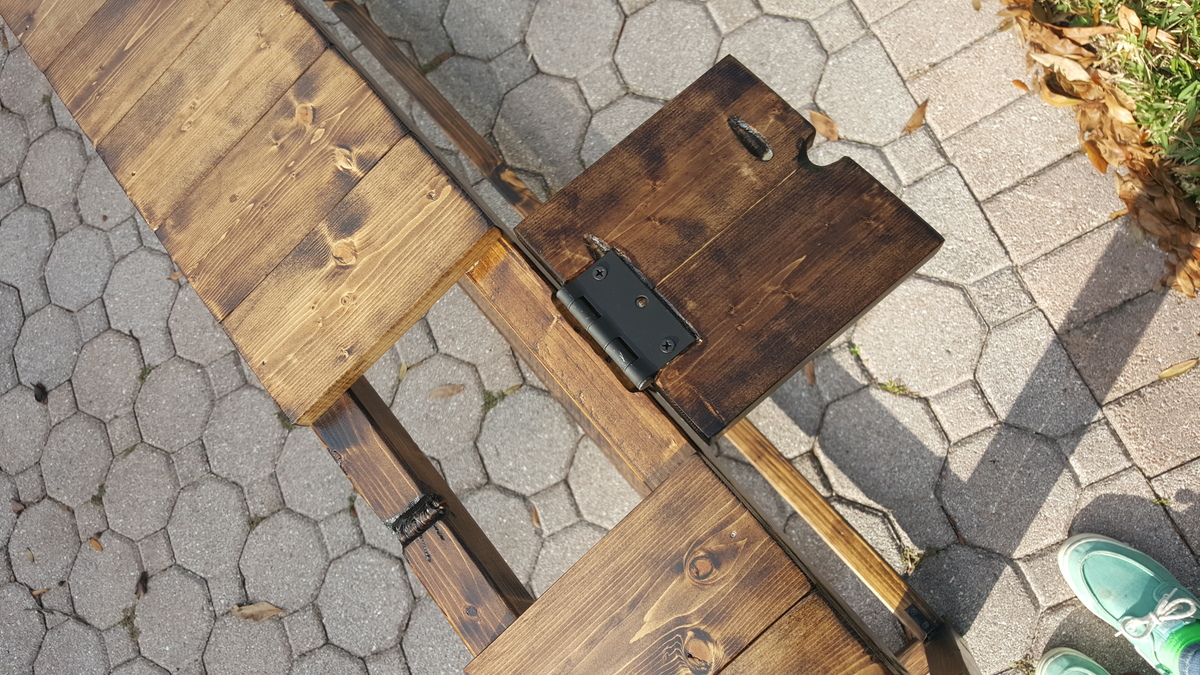
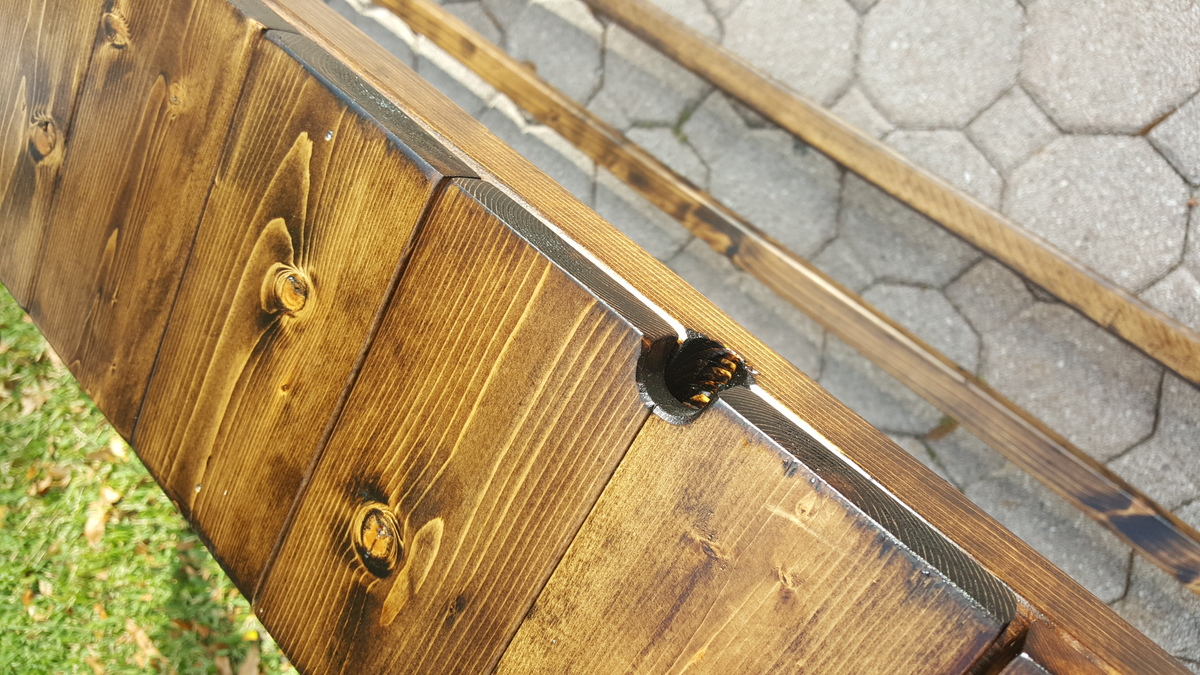
Corona Coffee Table
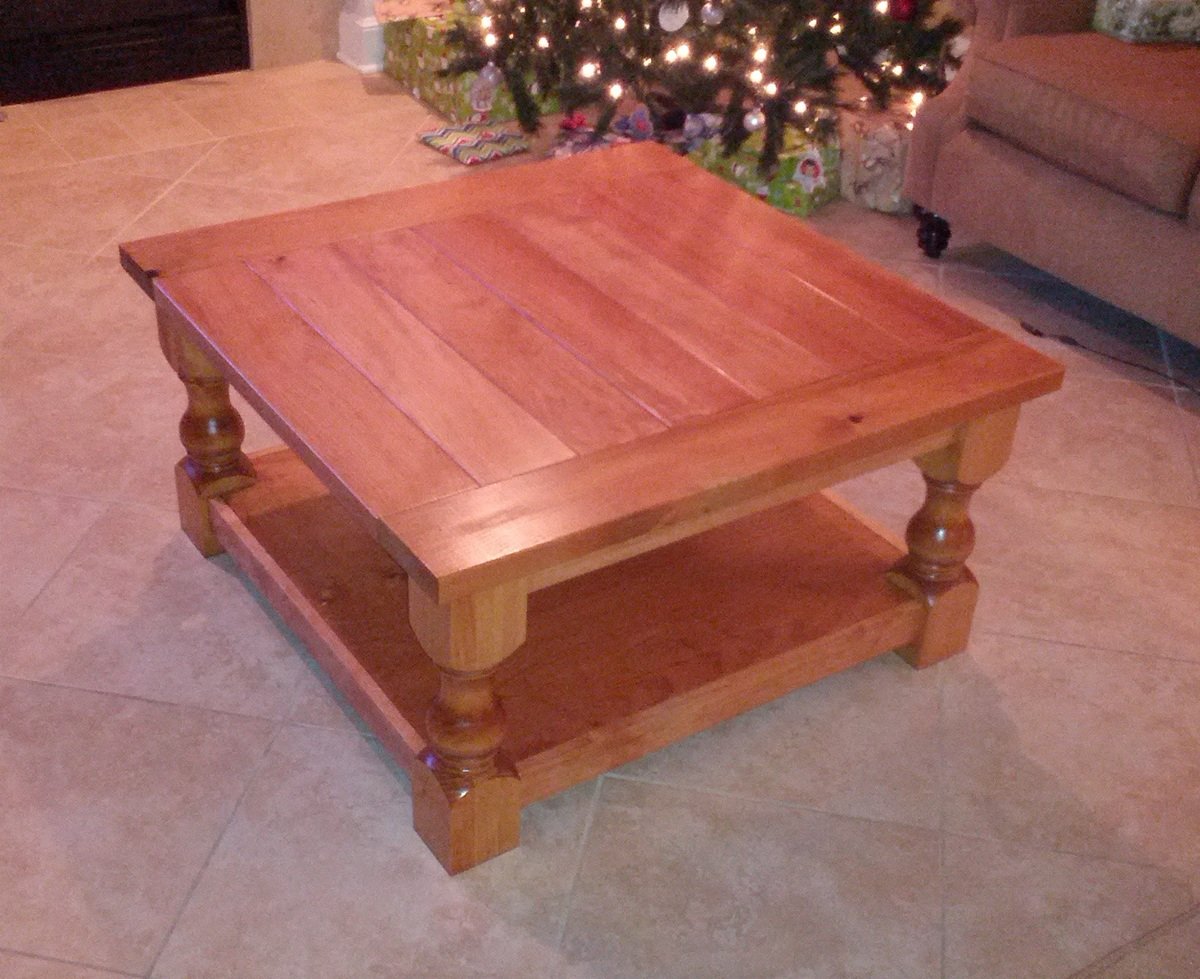
I first saw this table on the Shanty 2 Chic website and when I saw that it was based on a plan from Ana, I knew we had to build it. I asked my husband David to get started on it right away.
It turned out perfectly!!!
Built from Plan(s)
Estimated Cost
250
Estimated Time Investment
Weekend Project (10-20 Hours)
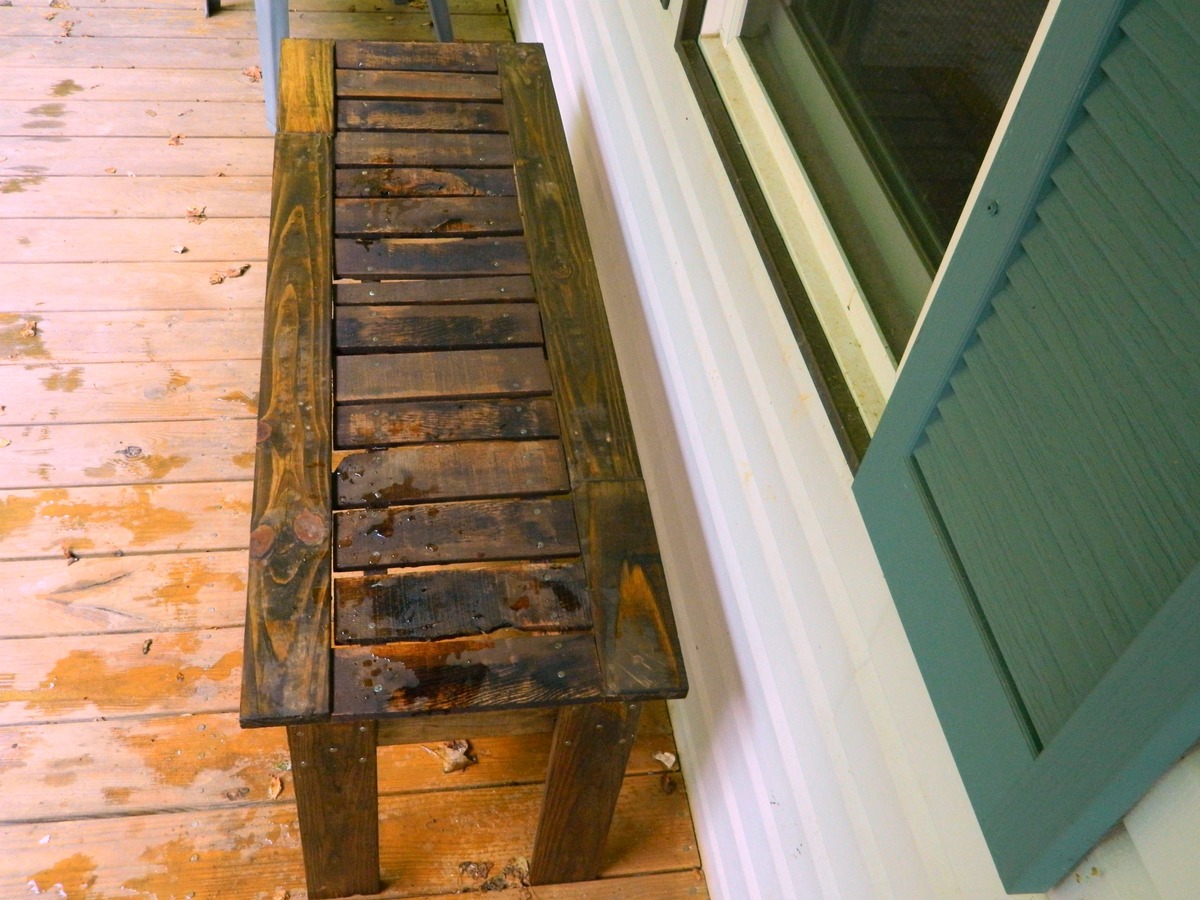
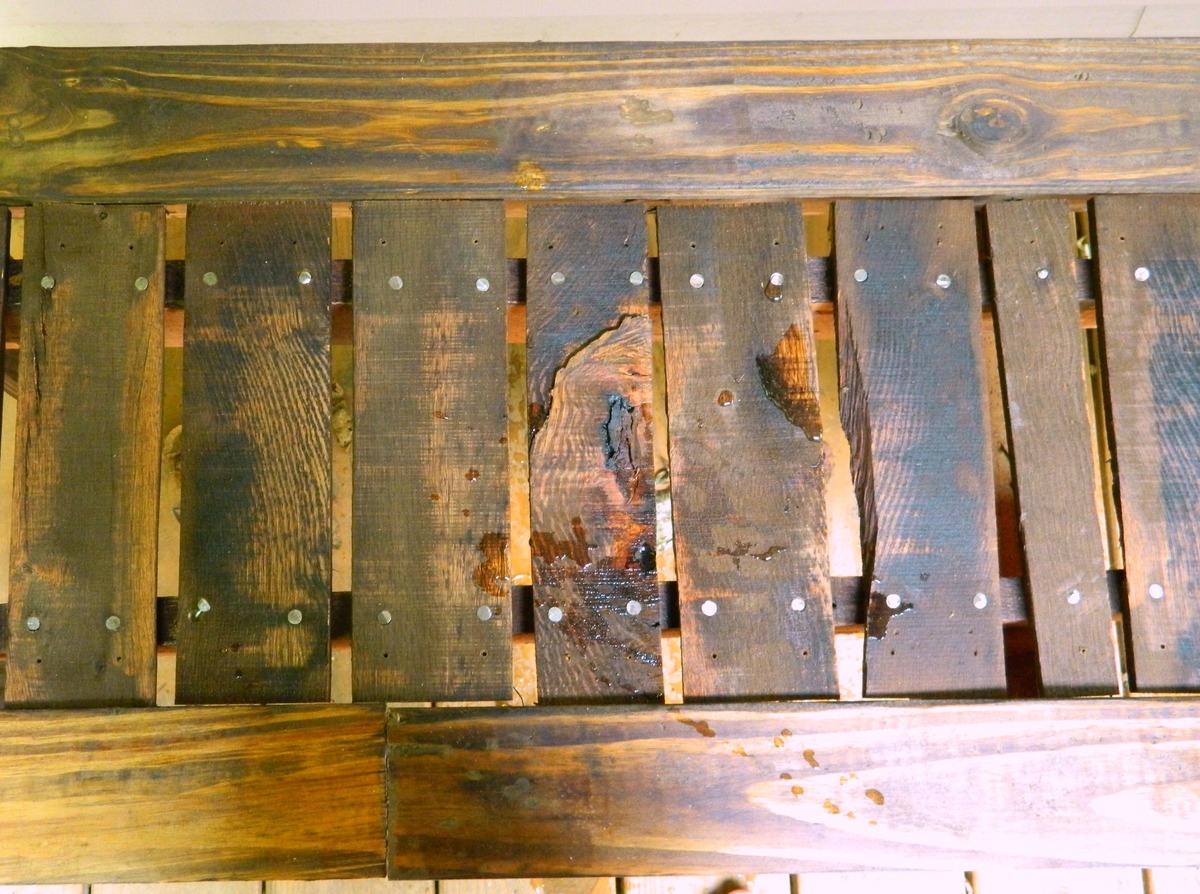
Finish Used
To finish the table, we started with Minwax Pre-Stain Conditioner, and followed it with Minwax Golden Pecan, Minwax in Golden Oak and finally Minwax Polyacrylic.
Recommended Skill Level
Intermediate