Community Brag Posts

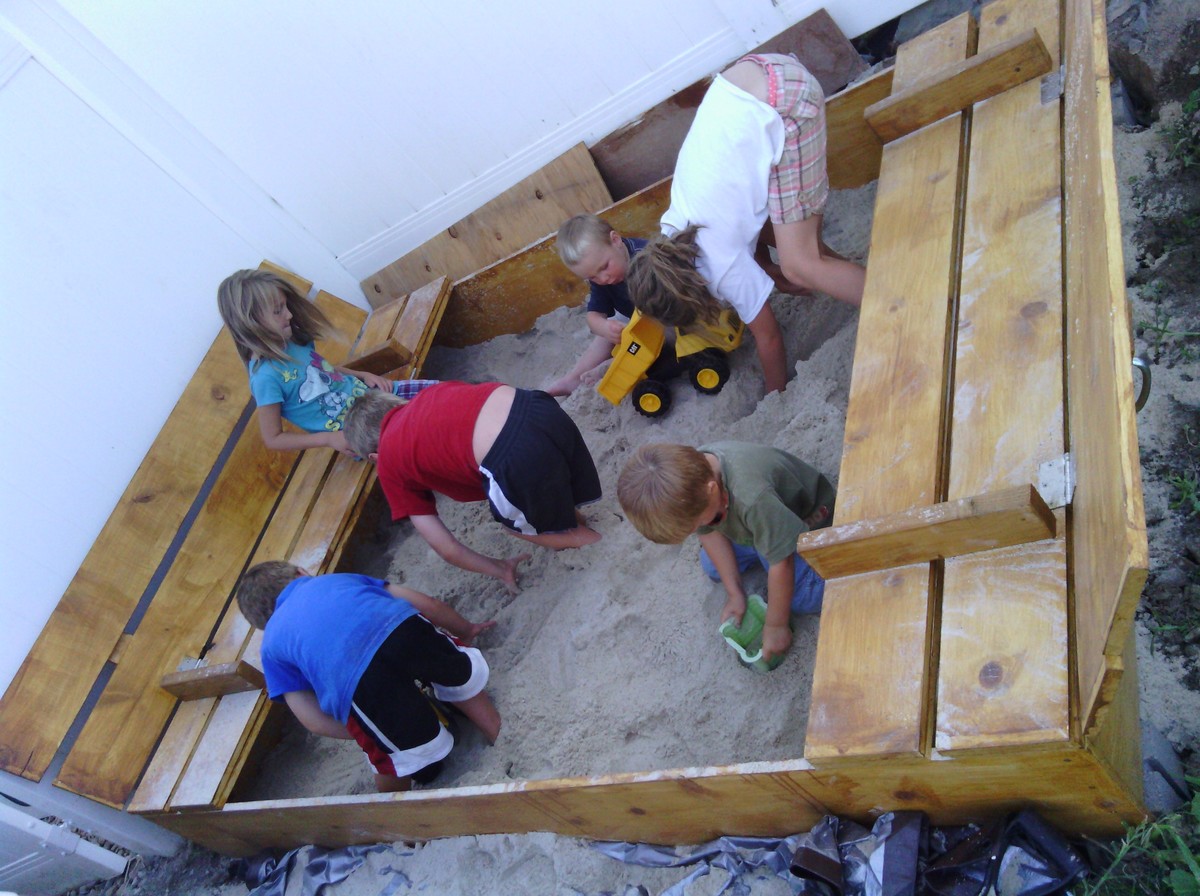
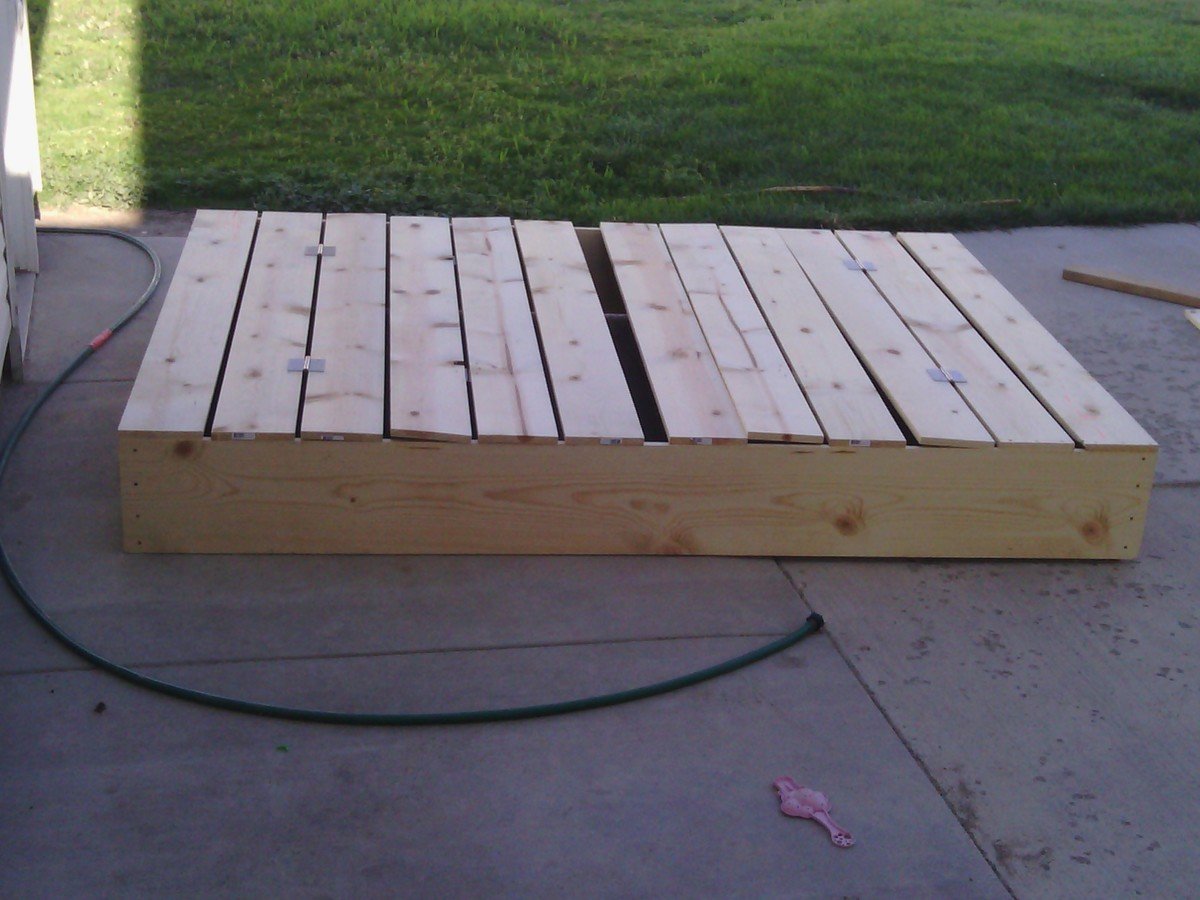
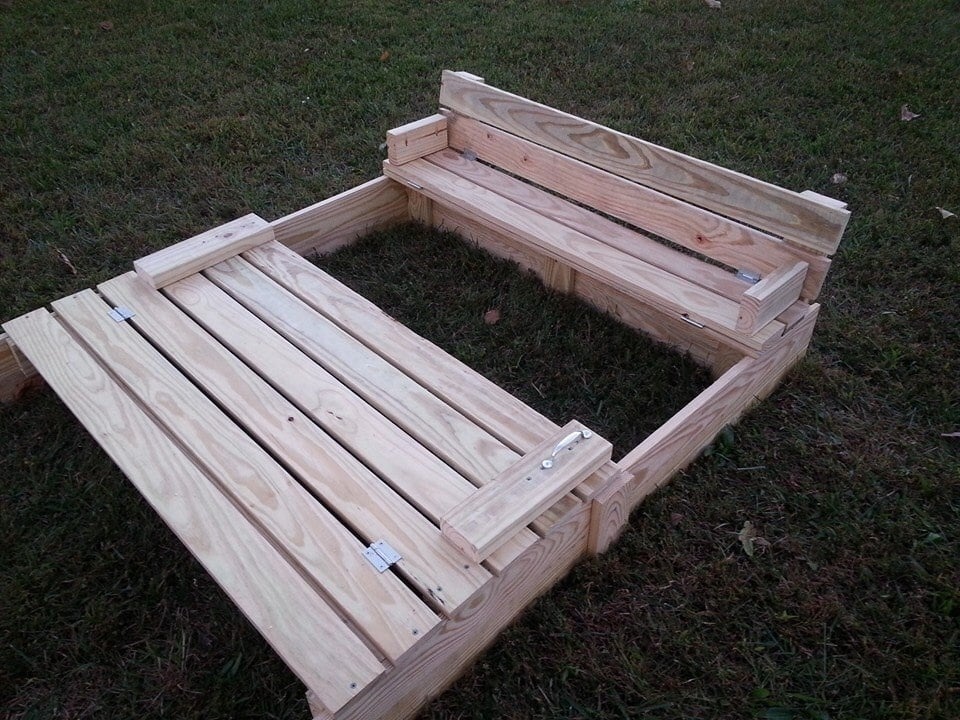
Sandbox with built-in seats

I modified this a tad from the original plans to suit my needs. I will eventually be adding a platform with attached slide and swing set.

Plans were easy to follow. My store didn't have 1x8's so I stacked 1x4's and used my Kreg jig to join them together and then I added extra bracing.

I had seen this on Pinterest a couple years ago and thought it was the coolest thing! Io excited I was able to build it myself!

Built from Plan(s)
Estimated Cost
About $40
Estimated Time Investment
Day Project (6-9 Hours)
Finish Used
None yet. I will stain and seal everything when I get the entire play set finished.
Recommended Skill Level
Beginner

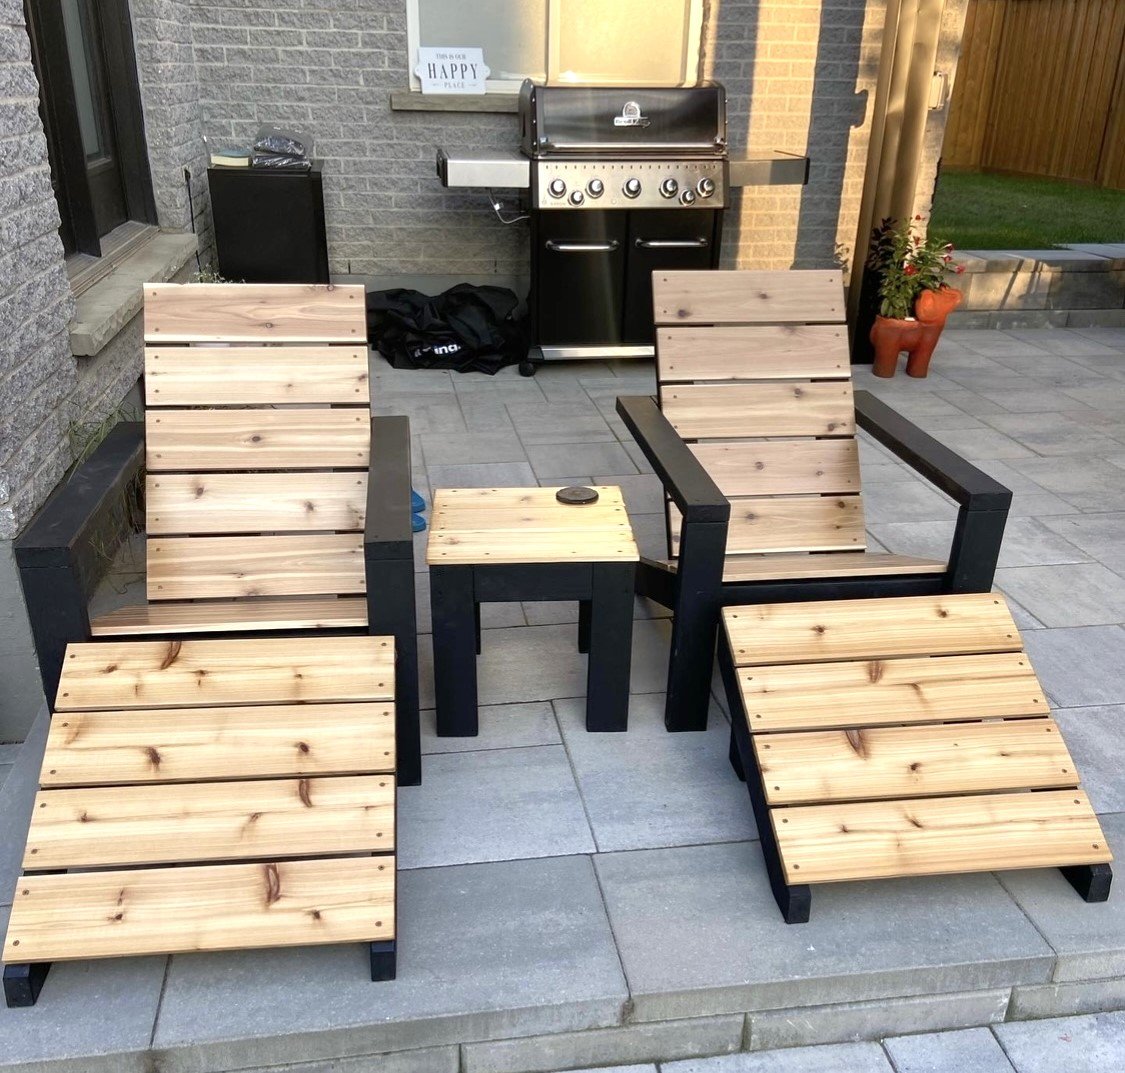
Adirondack Chairs with Foot Rest

Submitted by Anonymous (not verified) on Sun, 07/30/2023 - 14:45

Great set of outdoor chairs with foot rest!


RG Design & Build

Comments

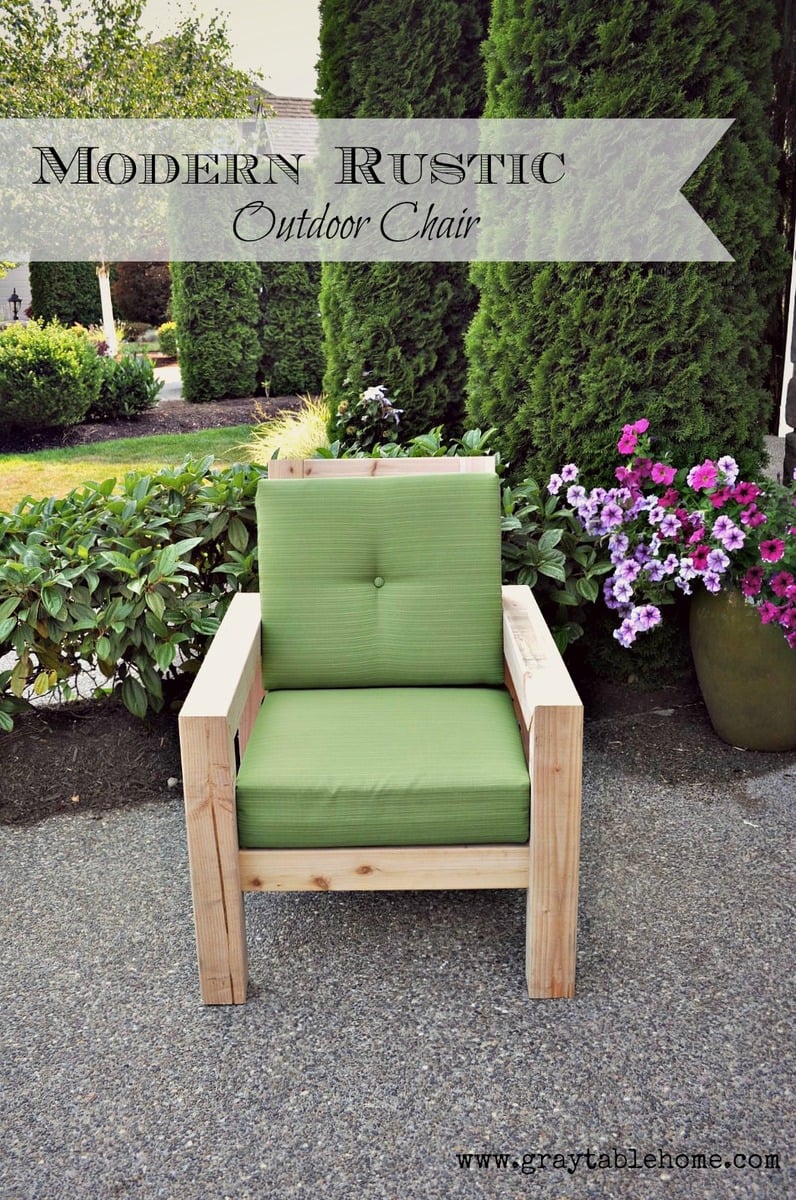
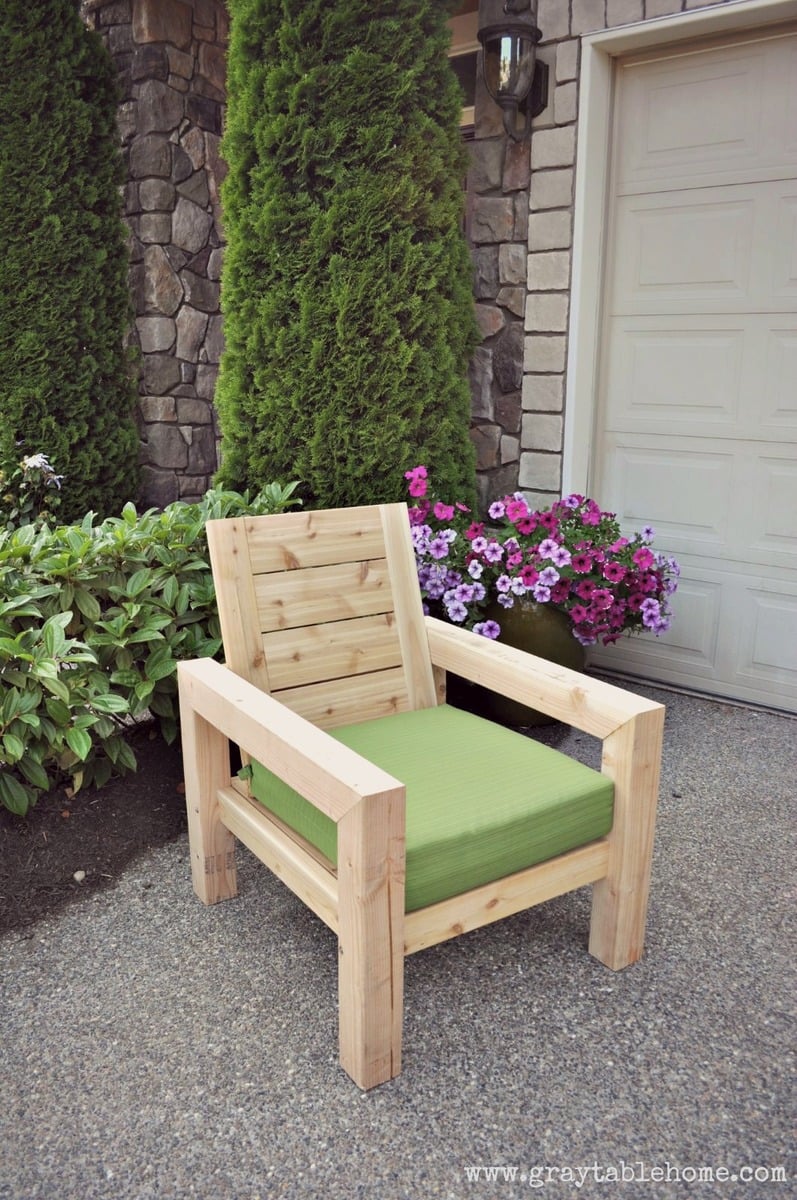
DIY Modern Rustic Outdoor Chair

Submitted by susanshamp on Fri, 07/10/2015 - 15:07

I made this outdoor chair by looking at a variety of plans and designs from Restoration Hardware and other stores. Check out more info on the project on my blog link. Thanks for looking!

Estimated Time Investment
Afternoon Project (3-6 Hours)
Recommended Skill Level
Beginner

Comments

Simple Outdoor Table

Submitted by Kingsamui on Tue, 07/24/2018 - 17:24

Modifications to the simple outdoor table plan thanks to Finn’s dad. 

Built from Plan(s)
Estimated Cost
$200 -Found a place that had Cedar shorts “B quality”, but very few knots for an unbelievably cheap price. I ran all to boards through a planer to start and saved a bundle.
Estimated Time Investment
Week Long Project (20 Hours or More)
Finish Used
3coats Spar Urethane. I’ve heard the Spar doesn’t hold up well, so would have used something rlse if I knew that at the beginning.
Recommended Skill Level
Intermediate

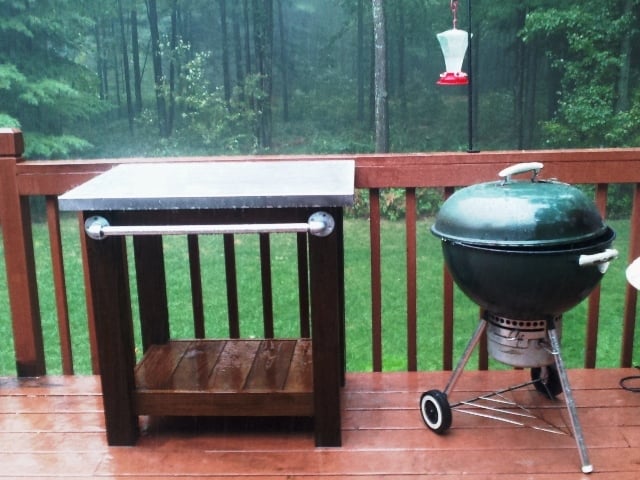
Grill table with stainless steel top

Submitted by krochelle on Tue, 08/20/2013 - 08:00

I made this table to go next to an outdoor grill to be used as a food prep area or just a surface for holding ingredients (instead of using the deck railing!). The top is stainless steel which fits tightly over 2 3/4" pieces of plywood laminated together. The bar/handle in front is made out of galvanized pipe. All wood was treated.

Legs - 4x4 posts
Bottom shelf - 1x6's
Sides - 1x4's
Top - 2 pieces of 3/4" plywood laminated together with a stainless steel top (custom fit) over top
Towel bar - galvanized pipe (cut and threaded to size at Lowe's), floor flanges and 90 degree elbows

Estimated Cost
$120
Estimated Time Investment
Day Project (6-9 Hours)
Finish Used
I used Kona stain but since it was over treated wood the stain did not take as dark as it should have. I will have to restain this piece after it has completely dried out.
Recommended Skill Level
Intermediate

Comments

spiceylg

Tue, 08/20/2013 - 09:07

Love this. Where did you get the stainless steel top? Did you have to special order to fit?

In reply to by spiceylg

krochelle

Thu, 05/15/2014 - 10:33

Sorry about the late reply! Yes, I just gave my dimensions to a local steel supplier and they made the top. I think I have about $40 into the stainless. They didn't weld the corners but I've never had an issue with them.

krochelle

Thu, 05/15/2014 - 10:46

No...I didn't have any plans when I built it but it's a very simple concept. I chose to use all treated wood since I knew it would be sitting outside unprotected. However, my 4x4 posts weren't square so this caused a lot of problems and everything was built to fit. I believe I just used 4x4's, 1X6s (for the bottom shelf) and 1x4s for the sides (top and bottom). For the top, I just laminated 2 pieces of 3/4" plywood together to bulk it up and then had the stainless top built to fit. It fit perfectly so I didn't glue it to the plywood. This makes it easy to remove and clean, if necessary. For the galvanized pipe (towel bar), I bought it at Lowe's and had them cut/thread it to fit my dimensions.

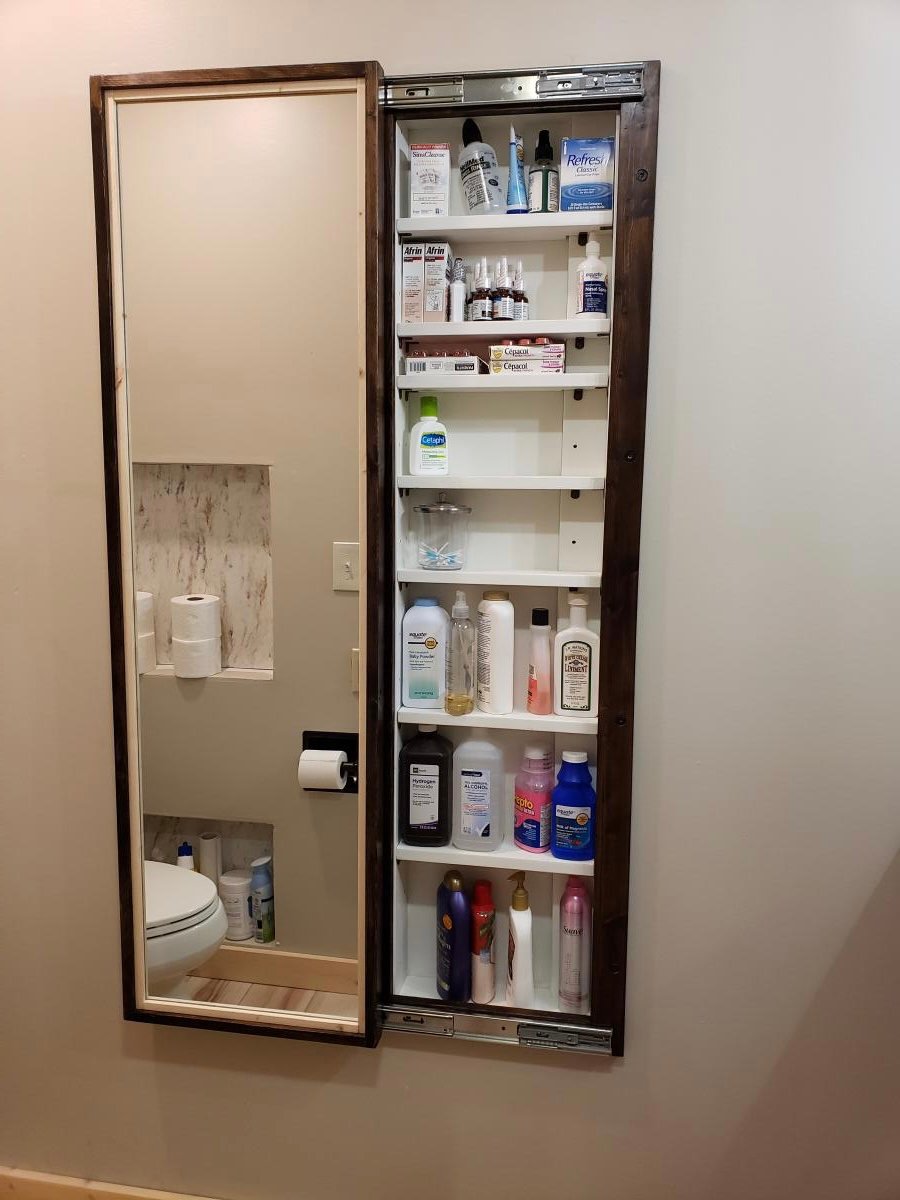
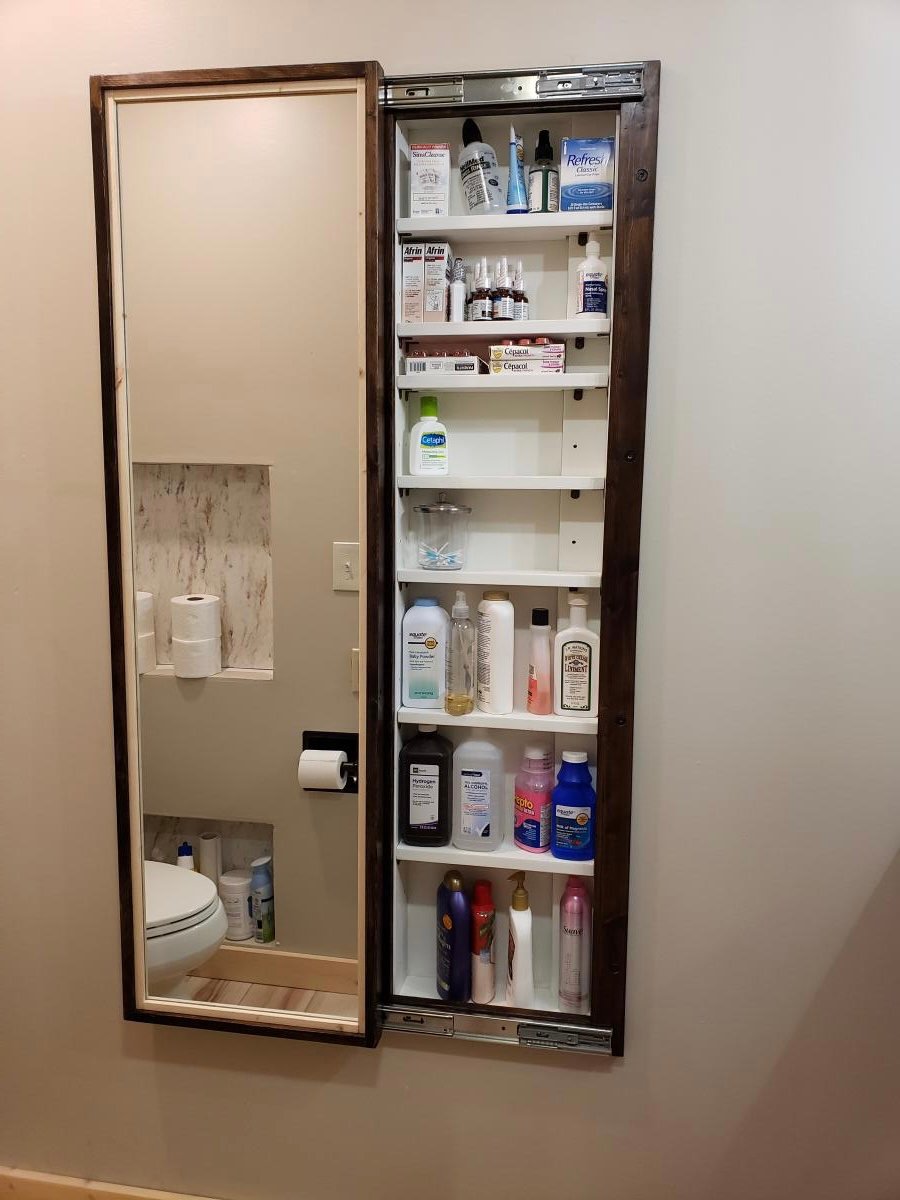
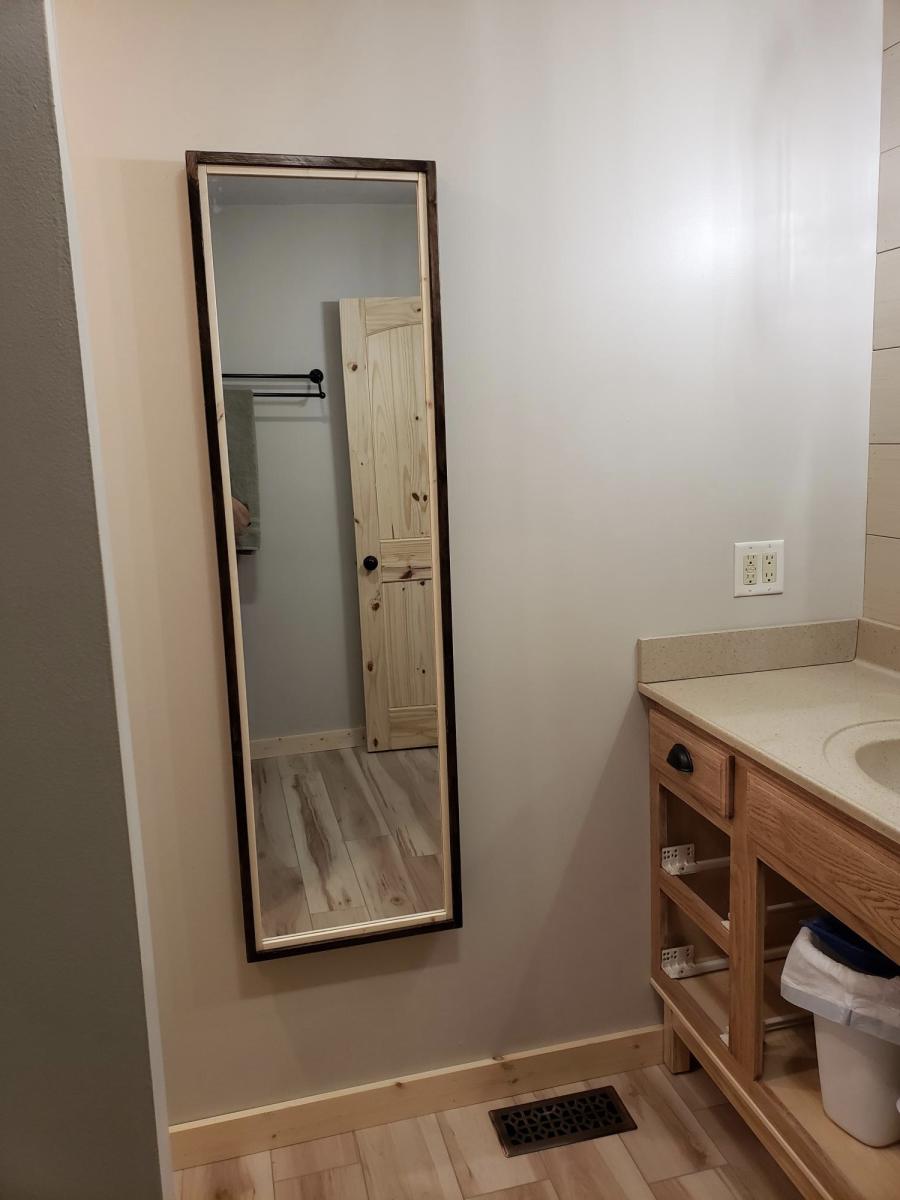
Recessed cabinet

Submitted by Anonymous (not verified) on Fri, 09/02/2022 - 14:14

My bathroom has very little storage space. So during our recent remodeling of the room, I decided to add this cabinet. Changed the plan a little to make it recessed in the wall. I love how it turned out!

Comments

Outdoor Sectional

Submitted by Anonymous (not verified) on Fri, 04/28/2023 - 05:24

This was my seventh outdoor couch but my first sectional. My very first couches were all inspired by Ana White's plans and I have gotten so much better with my skills that I building other things as well. Thanks Ana for all your inspiration!

Comments

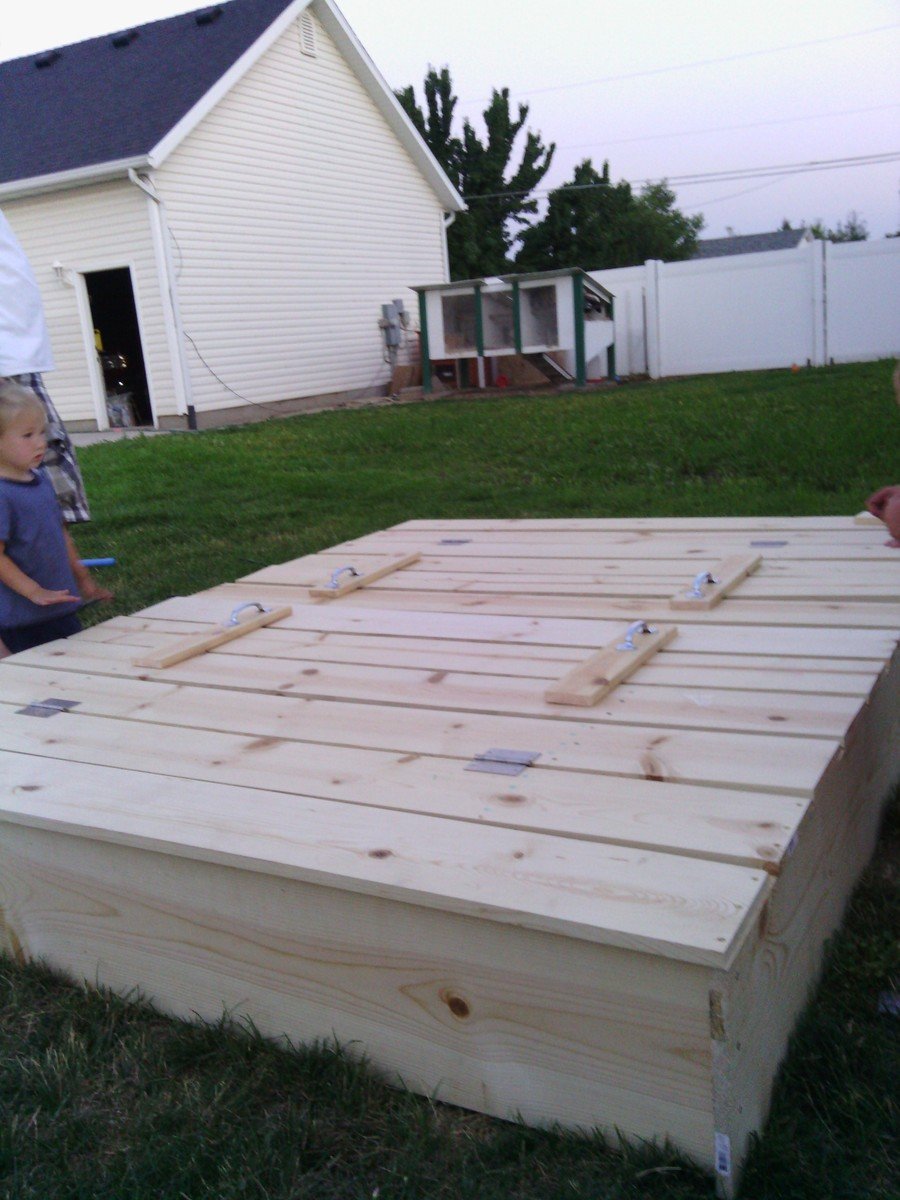
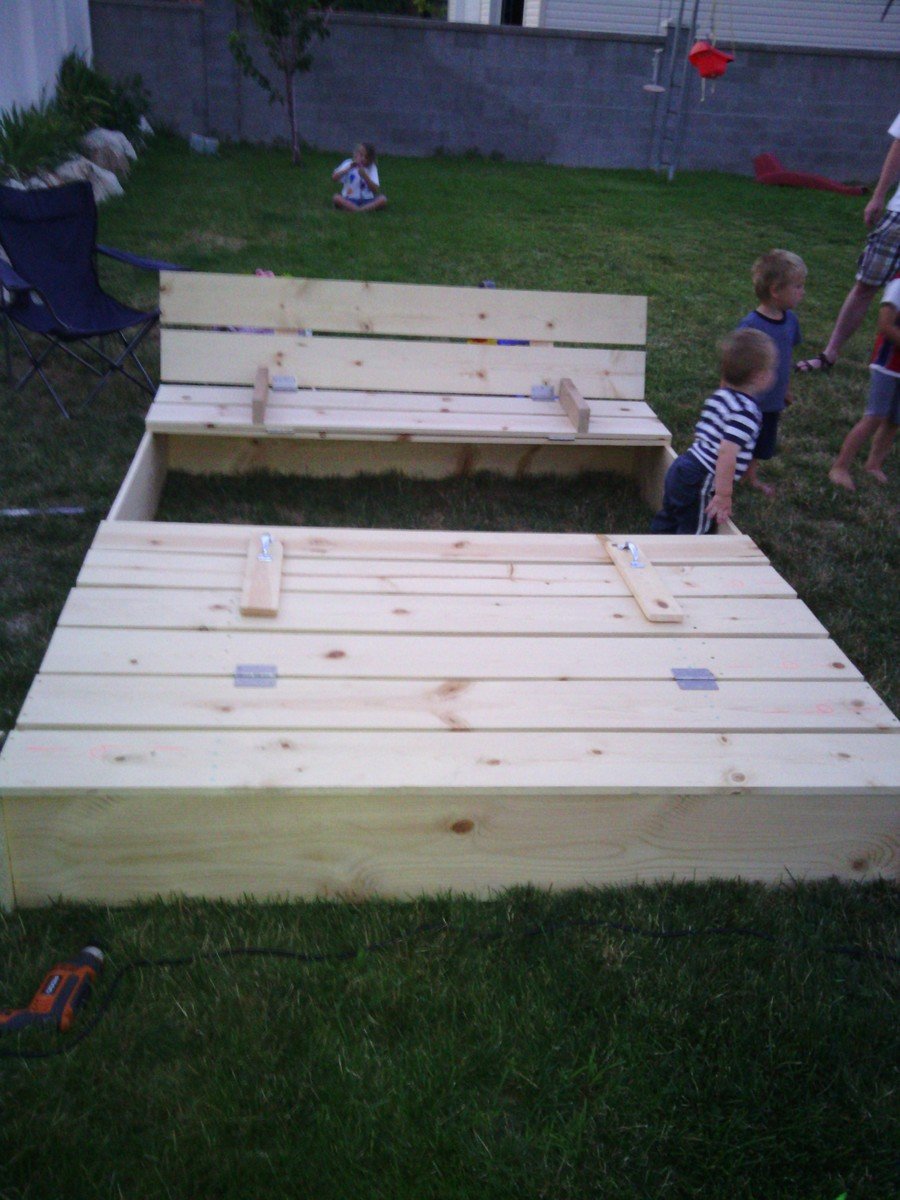
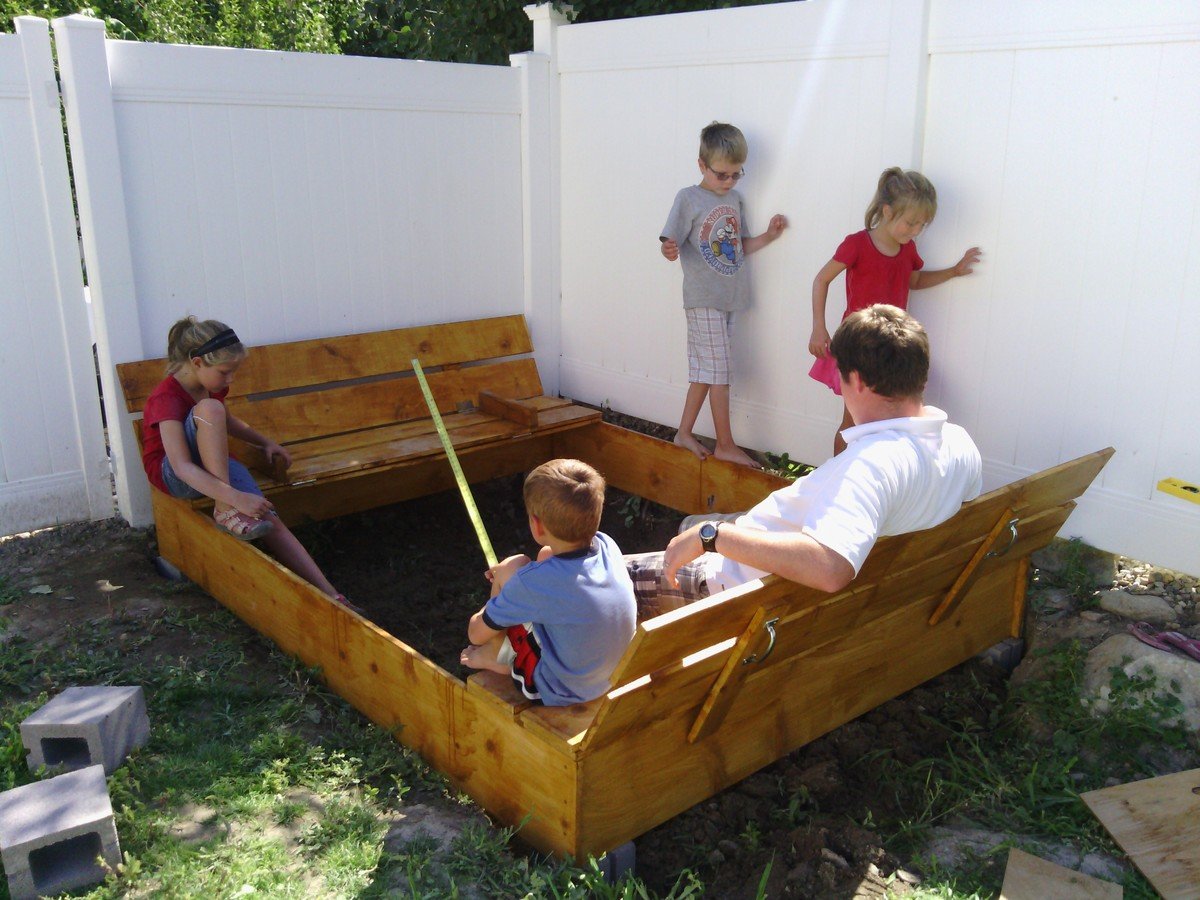
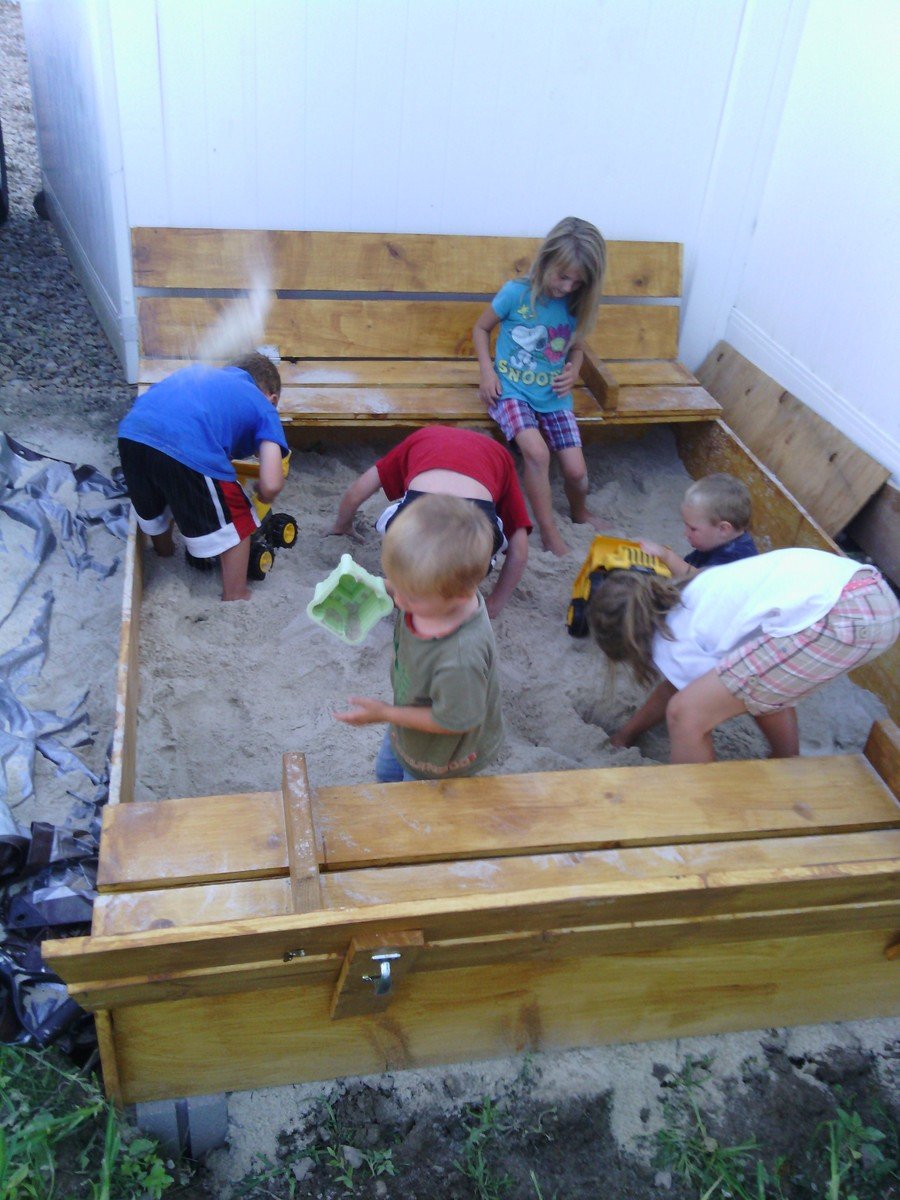
Large 6 X 8 Sandbox

We wanted to make a large sandbox for lots of kids. We love that it has an easy cover and two large benches to sit.

Supplies and Steps are shared at http://myhomedonemyway.blogspot.com/2013/07/building-6-x-8-sandbox.html

Built from Plan(s)
Estimated Cost
$250
Estimated Time Investment
Day Project (6-9 Hours)
Recommended Skill Level
Beginner

Comments

Daughters blue Playhouse

Submitted by rysos81 on Thu, 07/23/2020 - 08:55

I used the basic framing plan for the project, but extended roof overhangs, added engineered siding / trim and cedar shake roofing. I put 2x4 bracing on for the platform.

Estimated Time Investment
Week Long Project (20 Hours or More)
Recommended Skill Level
Intermediate
Seasonal And Holiday

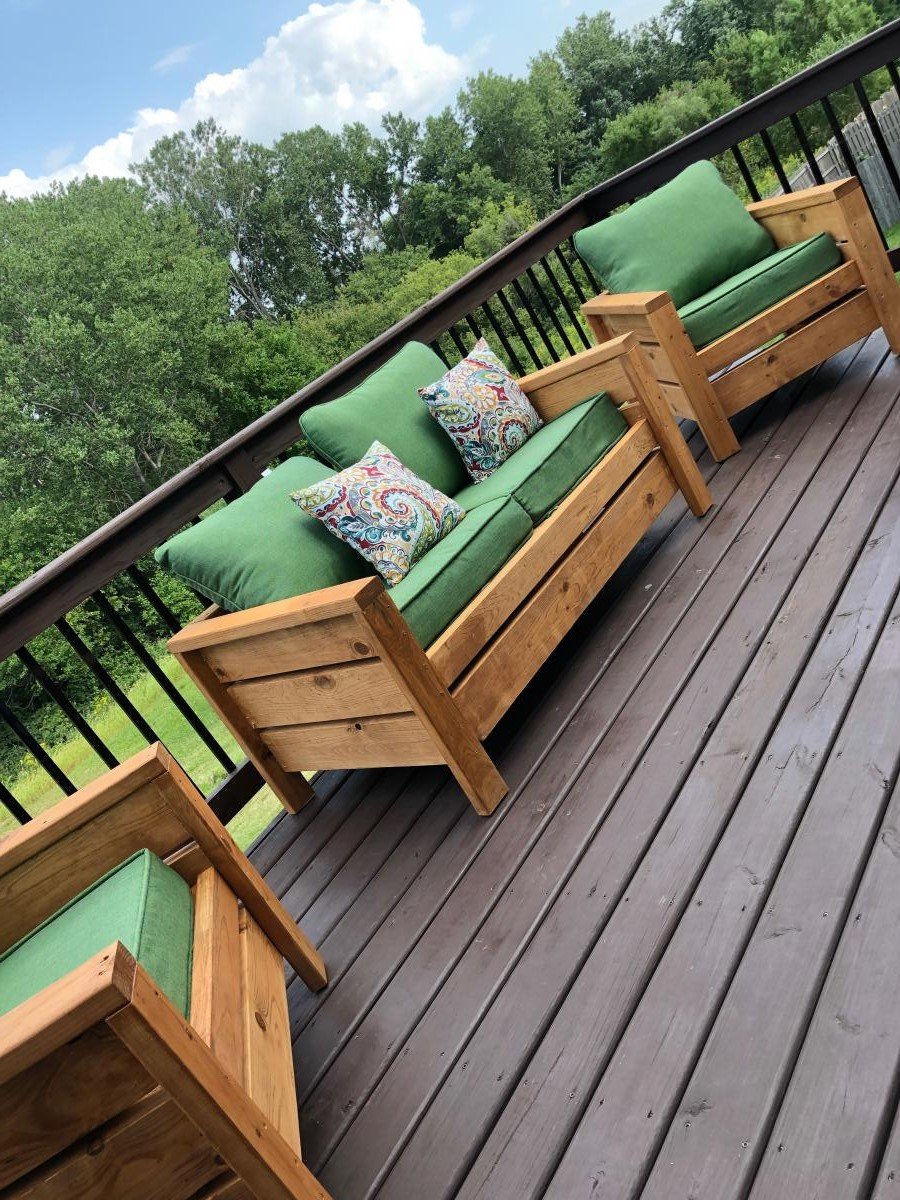
Modern Outdoor Patio Set

Submitted by dlangford on Sat, 09/05/2020 - 16:08

Built this over the weekend for my girlfriends sister. It was a great project and the whole family was able to work together on it, sanding and waterproofing it before assembling. The loveseat plans need a little tweaking. We ran ran the slats the same direction as the chair plans call for so we added a middle support for extra stability. We also pitched the seating down towards the back by 5* to make a more natural sitting position.

Estimated Cost
$300
Estimated Time Investment
Weekend Project (10-20 Hours)
Finish Used
Behr Cedar Natural Tone Waterproofing Stain and Sealer
Recommended Skill Level
Beginner
Seasonal And Holiday

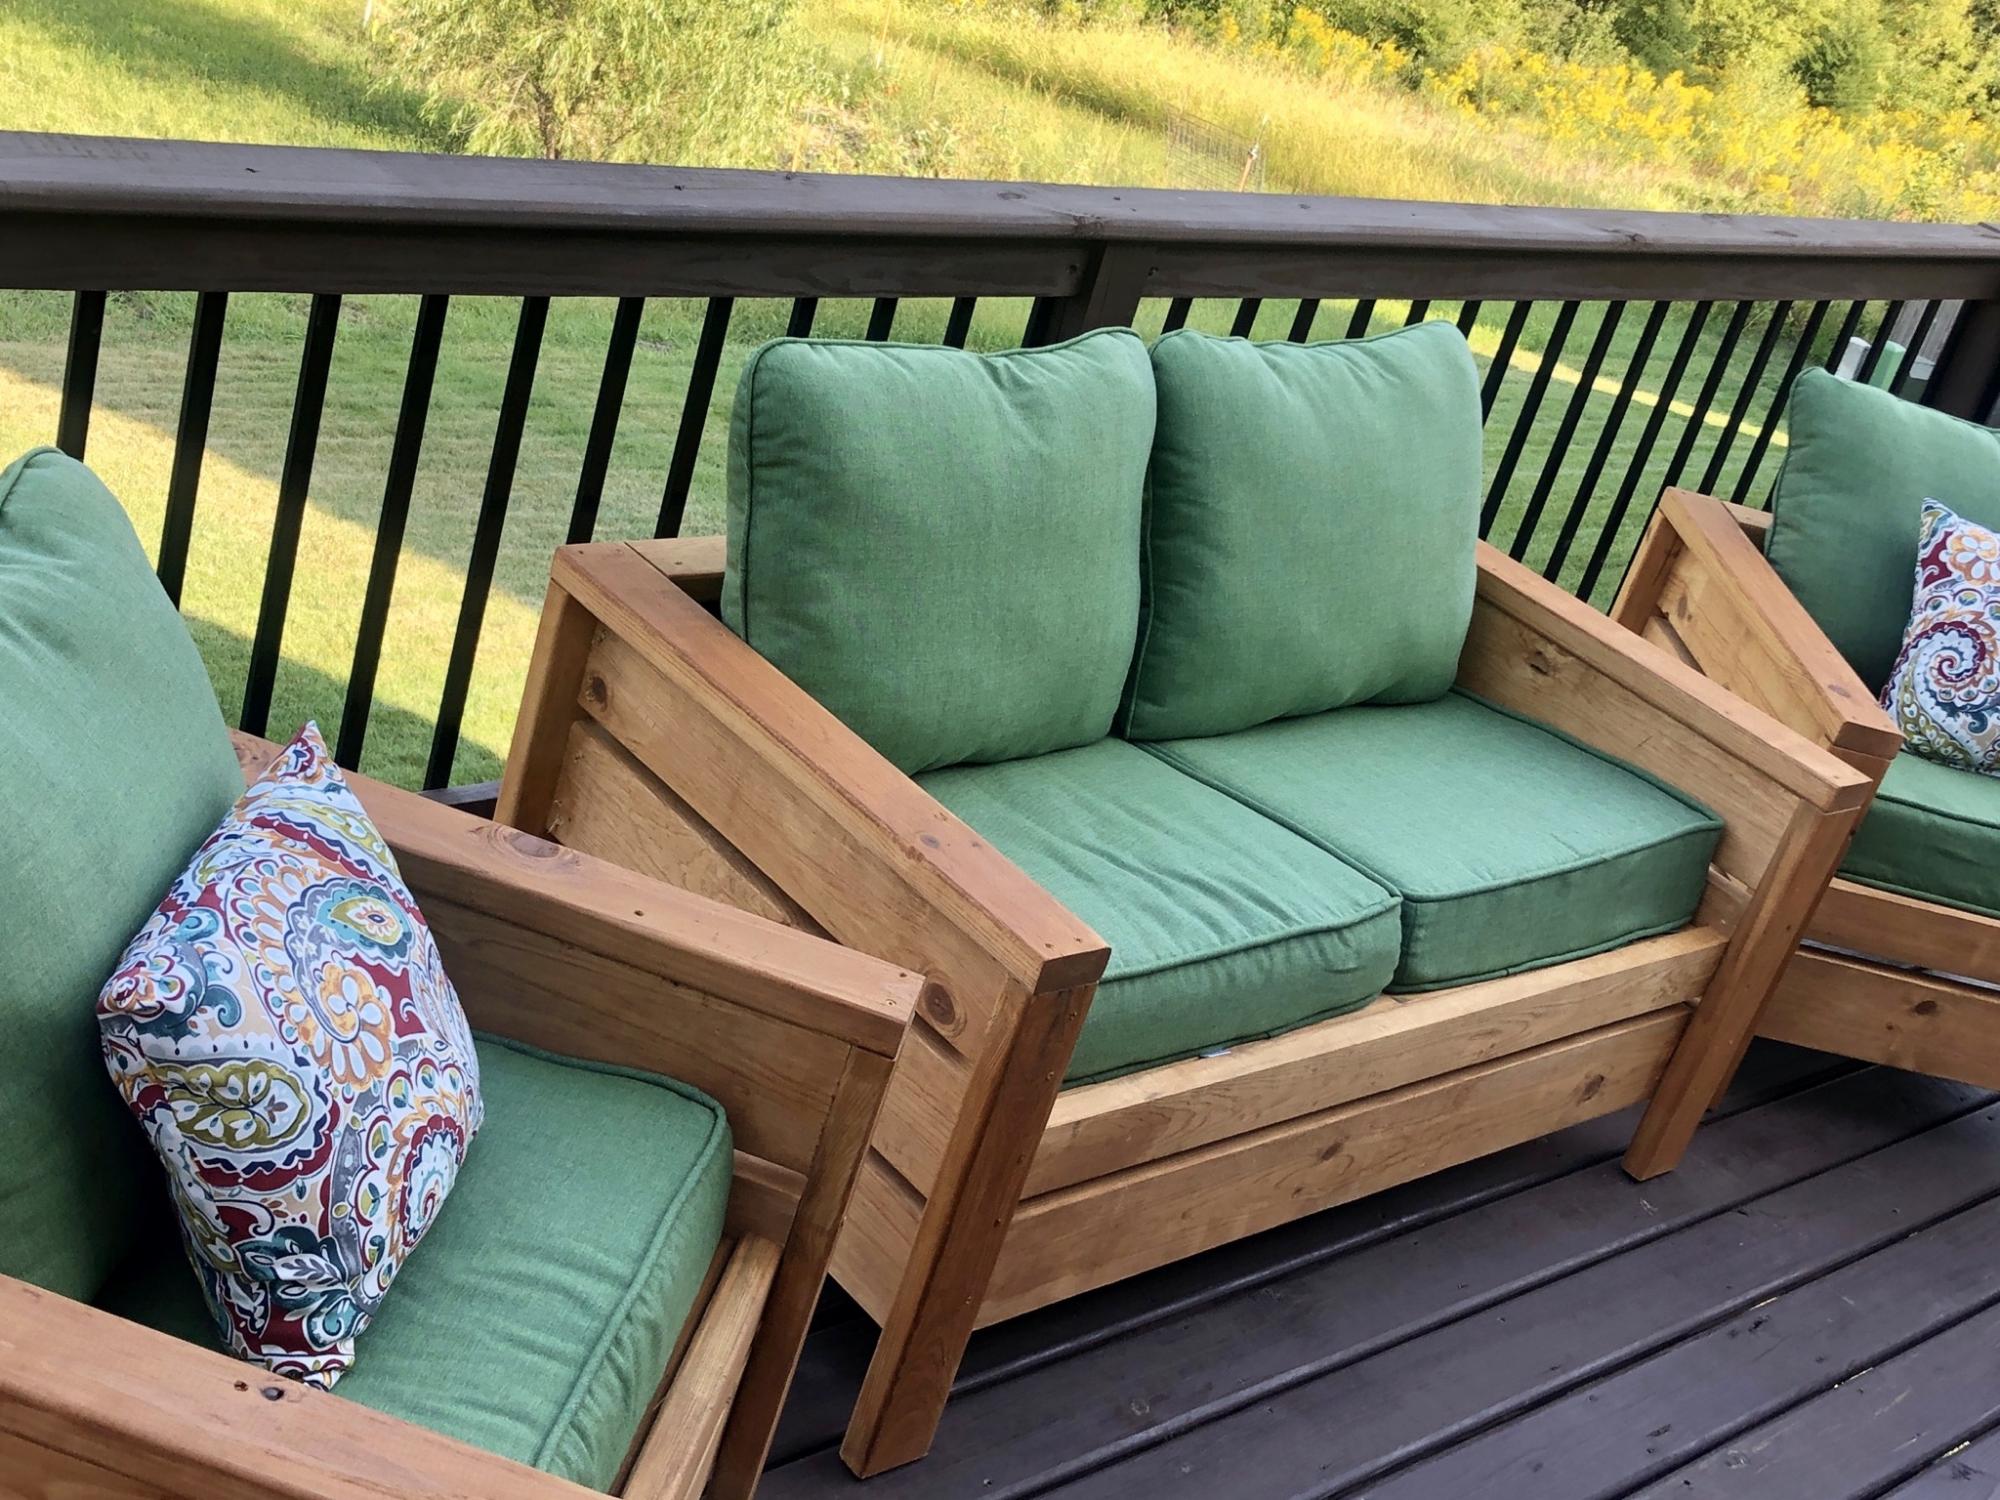
Outdoor Sectional

I scaled back the length of the sofa by a few inches and I made the sectional only one seat to fit my space on the deck. This was my first woodworking project that I did by myself. I got the cushions for more than 1/2 off at Ikea so the whole project cost about $150 ($80 for the cushions). It took me about a week to complete but the total time was less than 10 hours to build and stain. I'm pretty happy with how it turned out.

Estimated Cost
$150
Estimated Time Investment
Weekend Project (10-20 Hours)
Finish Used
Pittsburgh Paints Stain & Sealant in One for Decks, Fences, & Siding in Walnut. I brushed on the exterior stain just like a paint. I did the top part of the sofa first, then flipped it over and stained the bottom. Read instructions on the label.
Recommended Skill Level
Beginner

Comments

IKEA Hack 6" Tray Cabinet

Submitted by Matty3481 on Thu, 01/07/2016 - 16:30

I'm happy to share with everyone my IKEA hack 6" tray cabinet.

I found a 24" cabinet box in IKEA's As-Is section and took it home for half price ($23)!  I would have preferred plywood, but my table saw is a little small and cutting large sheets of plywood is a little scary.  When I deconstructed the cabinet, it sustained some damage (as its particleboard), so if you try this at home, be careful!  I ended up changing the depth to 22" in order to cut off the damaged piece, but that shouldnt be noticeable with average trays and cutting boards.  

I used Ana's 6" tray cabinet plan and modified the dimensions a little for my planned space.  It still needs the back, face frame and door (which will be a replacement drawer front from the cabinet manufacturer).  I plan on building the face frame at the time the cabinets are installed, since this will go in between the 36" corner easy-reach and the 36" sink base.  Once its done, I'll post updated pics!
Estimated Cost
$30 (cabinet and an aluminum straight edge tool to help me cut straight lines with my Dremel).
Estimated Time Investment
Afternoon Project (3-6 Hours)
Finish Used
Face frame will be painted to match factory cabinets
Recommended Skill Level
Intermediate

Treehouse/Playhouse

Submitted by Bigbill99 on Sun, 01/10/2016 - 00:07

Thank you! You've helped me look like a true carpenter who knows what he's doing! My whole family is impressed with my woodwork lately, and now I'm addicted. I've done your seesaw, bar table and stools plus the treehouse in 2 weeks. Thank you for sharing your plans!
Estimated Cost
$500.00
Estimated Time Investment
Week Long Project (20 Hours or More)
Finish Used
Spar urethane
Recommended Skill Level
Beginner

Folding Workbench

Submitted by MrsCordz on Fri, 10/11/2019 - 07:47

We chose this project because we have a small garage and space is at a premium.  The dimensions of this build fit well in our limited space and allowed us to organize items such as paint, stain, screws and nails into one central location. I chose 2x4's on the sides to give it a more stable feel. Our garage and parking lot are all sloped and with the 2x4's this prevented the twisting. It feels solid and the wheels are smooth. We picked everything up at Home Depot. The screws that came with the hinges are to long and my husband used the Dremel to grind them down. You could just buy shorter screws.  This is one of my firsts builds and I've definitely learned a lot of lessons along the way. Measure, measure, then measure again before you cut a piece and use a level surface to make level pieces. Overall, everyone in my family played a part in helping me build this piece and so I love it and will cherish this piece and the memories always. Thanks Ana for all your fun videos, sharing your life with your family, and providing resources like this plan to us for free. I'm thankful for my son who bought me a compound miter saw for Mother's Day and other family for buying me a Ryobi circular saw. I'm truly blessed and loved. Thanks

Built from Plan(s)
Estimated Cost
120
Estimated Time Investment
Weekend Project (10-20 Hours)
Finish Used
I'm leaving it in the raw due to the nature of the piece. I may put a clear coat on it later.
Recommended Skill Level
Beginner

Comments

Just My Size Closet

Just My Size Closet!
Built this from Ana's plans with a few modifications.

Started with a big empty box after ripping the old stuff out and finished with this look.

Adjustable shelves and all !

Built from Plan(s)
Estimated Time Investment
Weekend Project (10-20 Hours)
Finish Used
Whatever white paint my wife bought !!
Recommended Skill Level
Beginner

Playset Addition

Submitted by Derek S on Wed, 06/10/2020 - 08:27

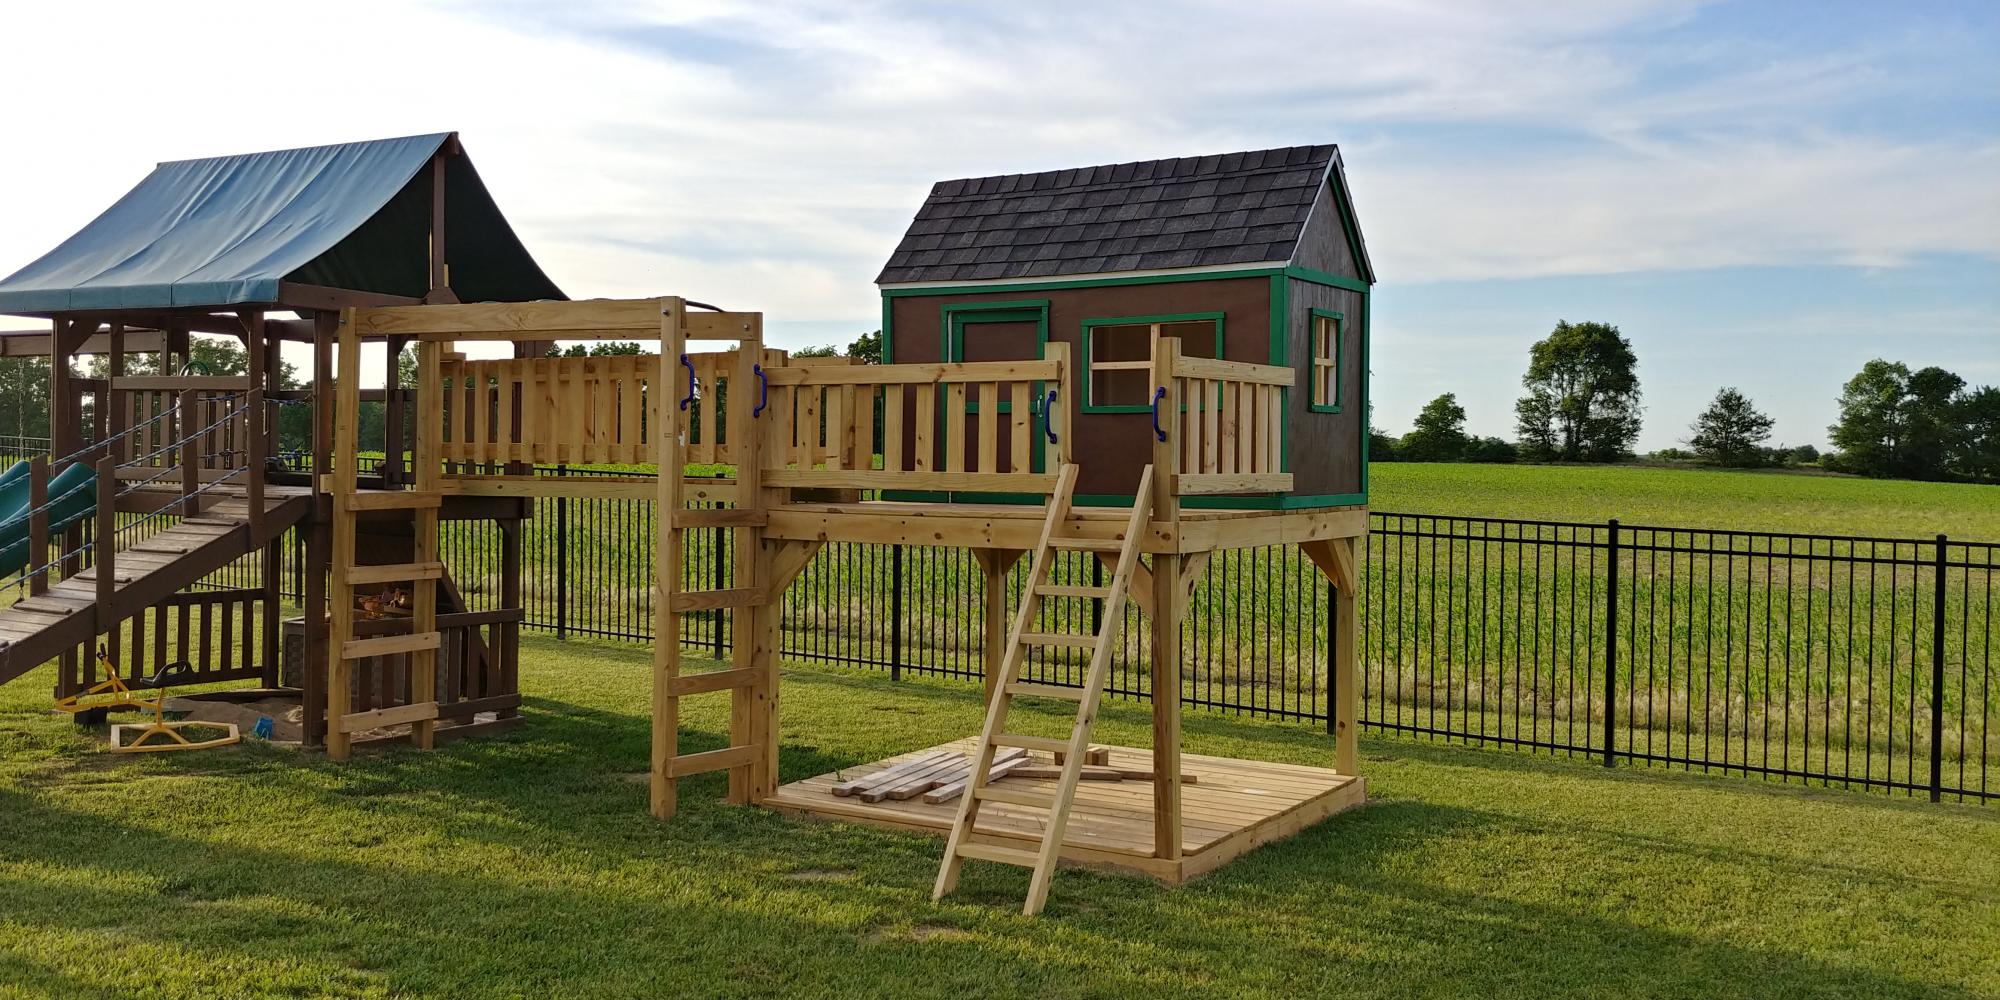
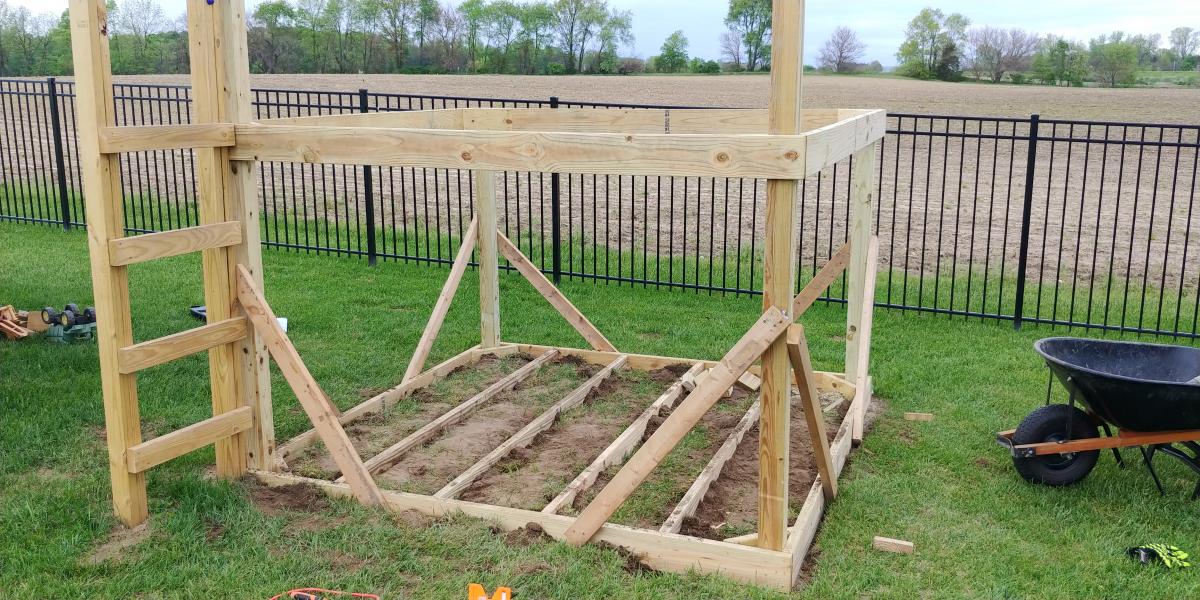
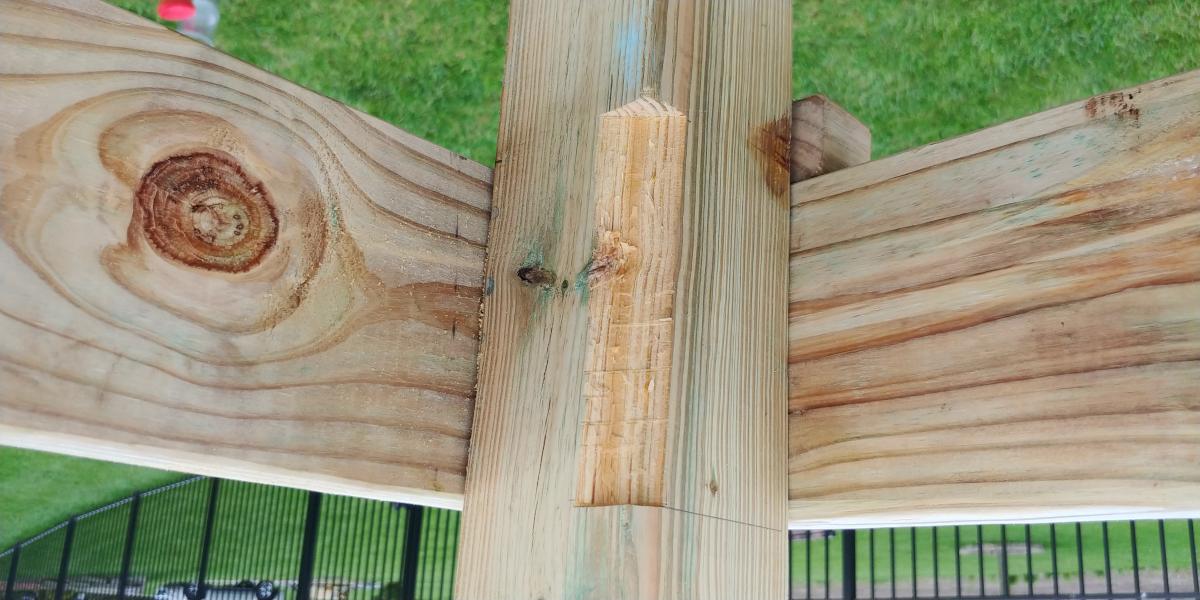
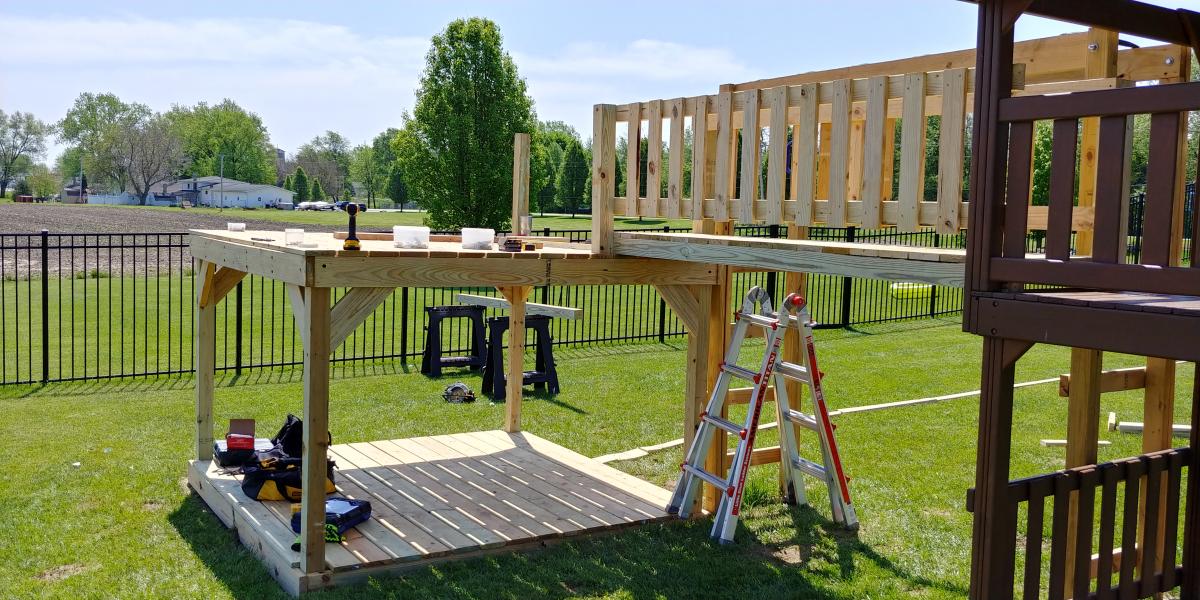
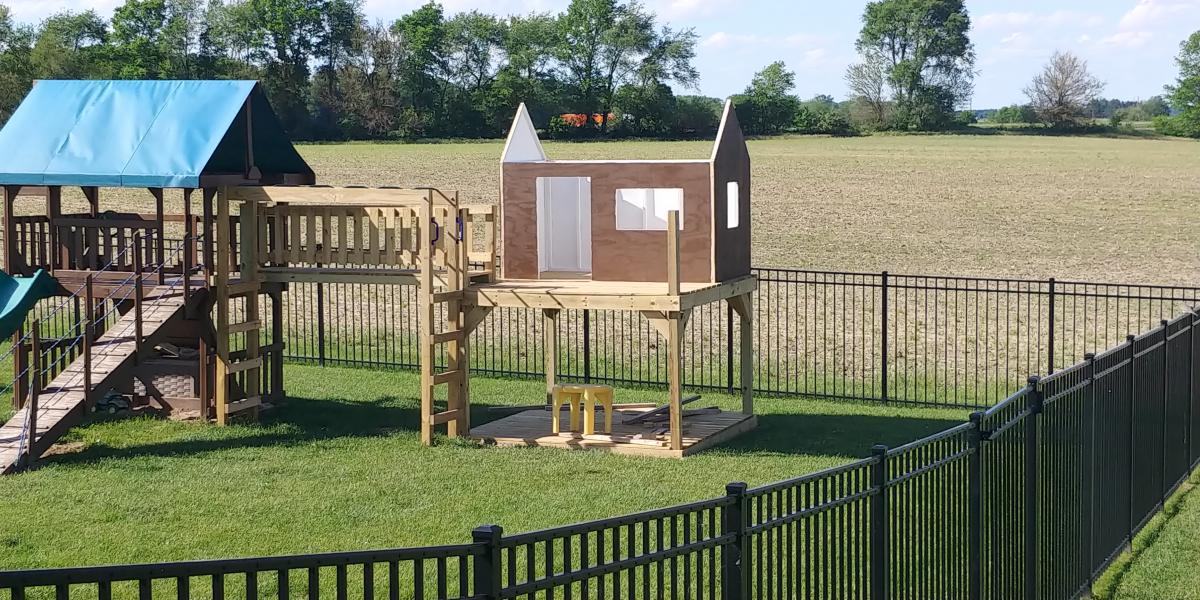
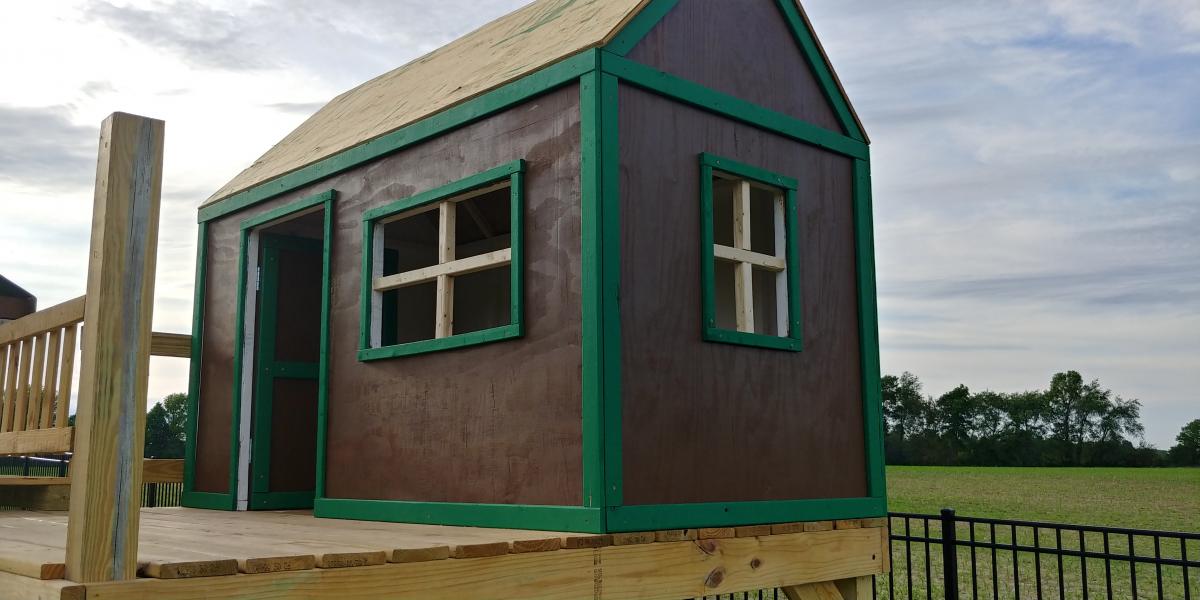
Decided our old play set needed an addition, landed on these plans of Ana's. Sat on them and mulled them over for months. Once the wife said something about adding on to it I made the purchases needed. Connected the two platforms with a bridge. I used 4"x4"x10' for the runners, same boards as the decking for the platform of the bridge(5/4"x6"), 2x4's and 1x4's for the railing. If you look at the 3rd photo, I had to chisel out the 4x4 post to get the 2"x6"x12" support to fit correctly. This should measure 2"x6"x13". Another change I made was to cut the bottom and top trim pieces longer on the front and back sections so that the trim would cover the framing of the gable end walls (see last photo). my son wanted windows so I faked in some windows with scrap 2x2's. I used 2x6's as supports from the 4x4's to the 2x6 framing (see photo 3) I added the monkey bars about a month before deciding to do the platform/deck and playhouse. The ladder is based loosely off of a couple of plans I found online. I was able to do all of this work myself except for the roof. Need my dads help to lift the plywood, he then helped me with the rest of the roof.

Estimated Cost
$1000
Estimated Time Investment
Week Long Project (20 Hours or More)
Finish Used
I used a dark wood stain fore the house, green exterior paint for the trim and white exterior paint for the interior of the house.
Recommended Skill Level
Intermediate
Seasonal And Holiday

King Modern Farmhouse Bed

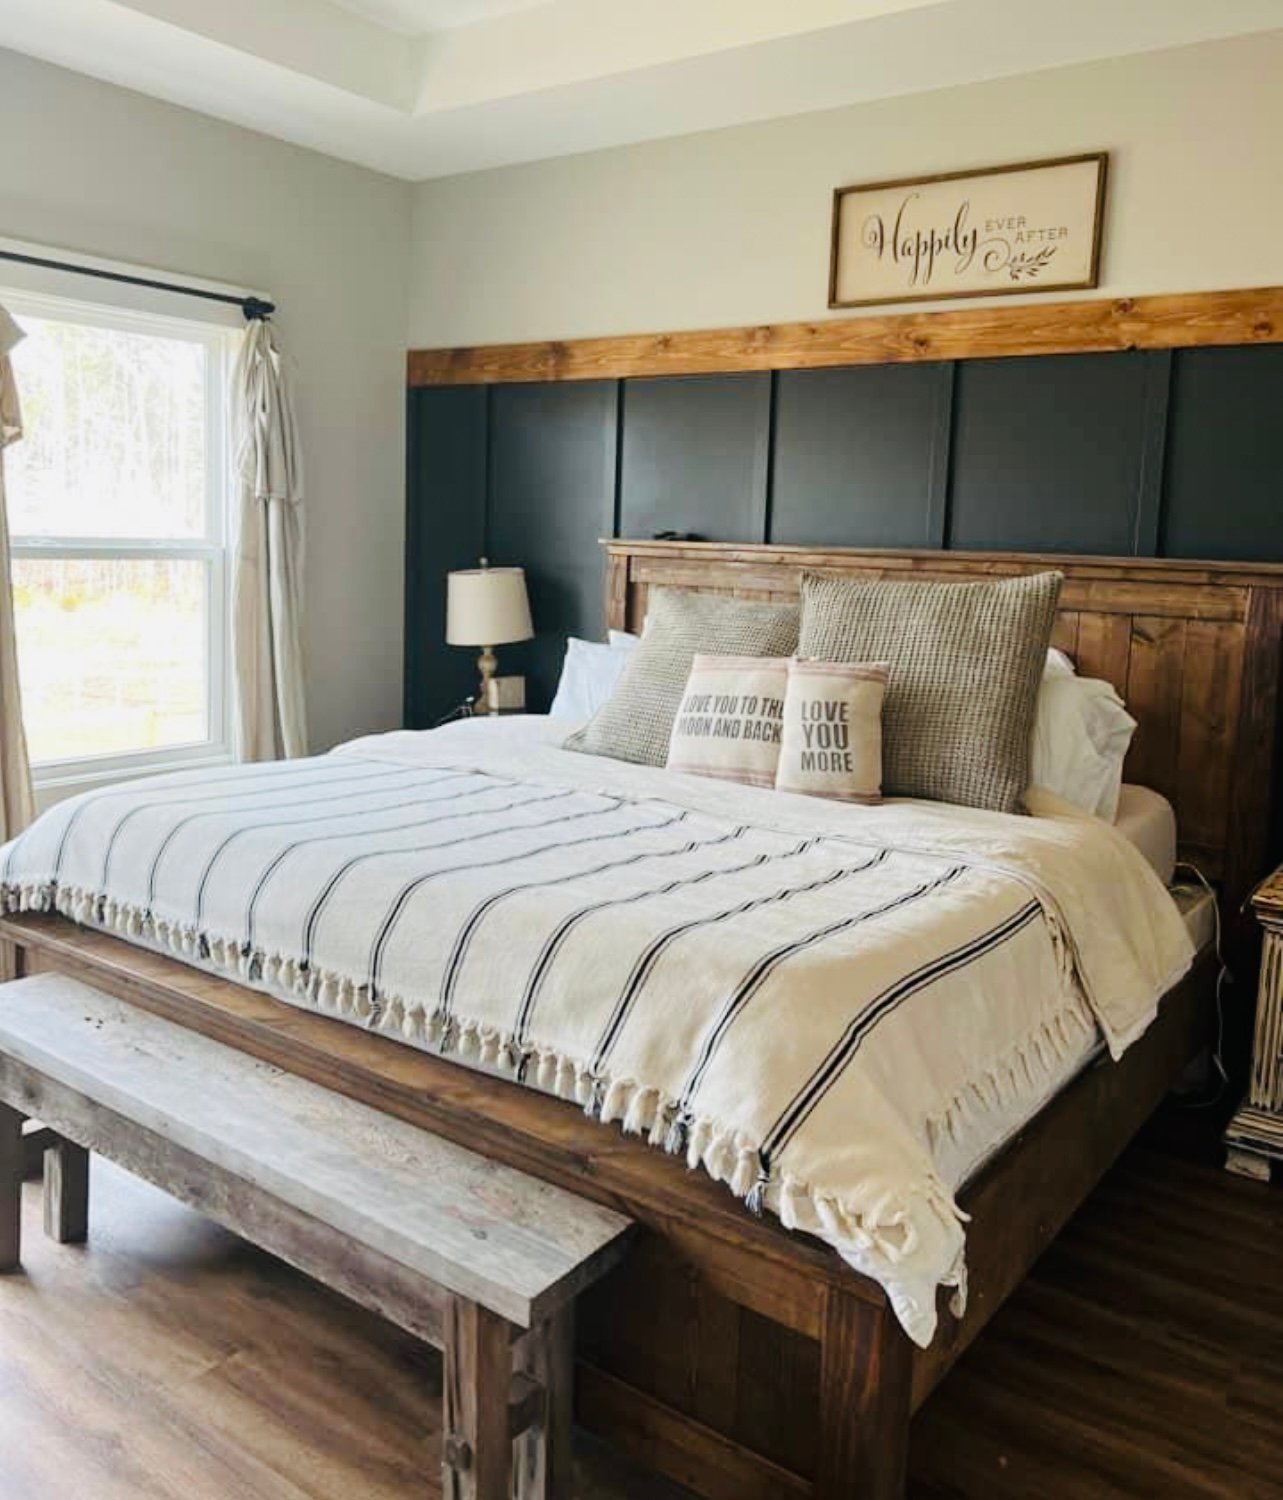
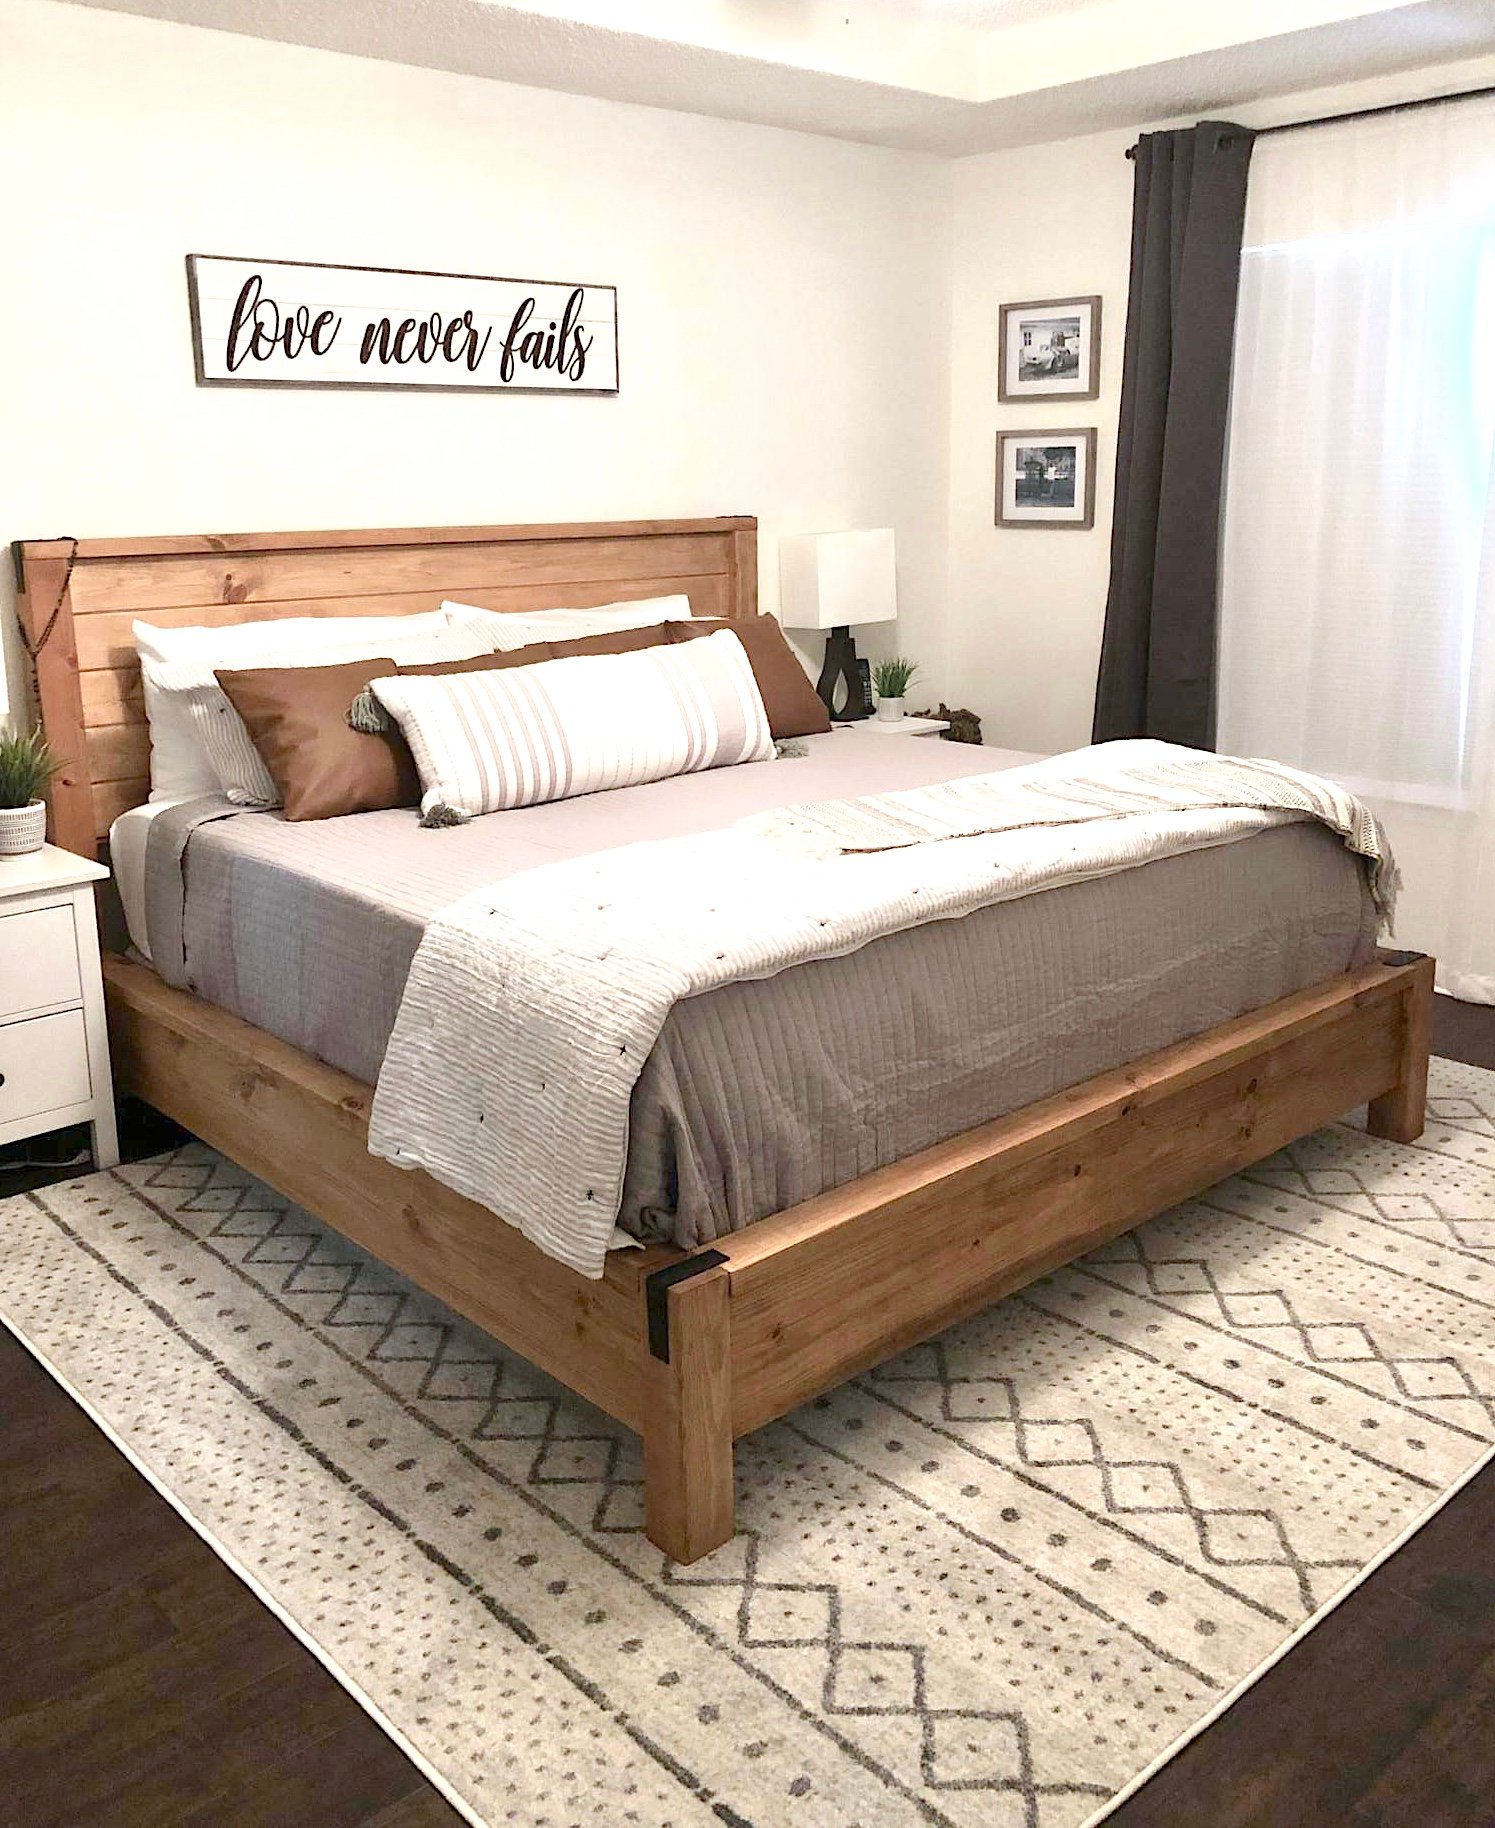
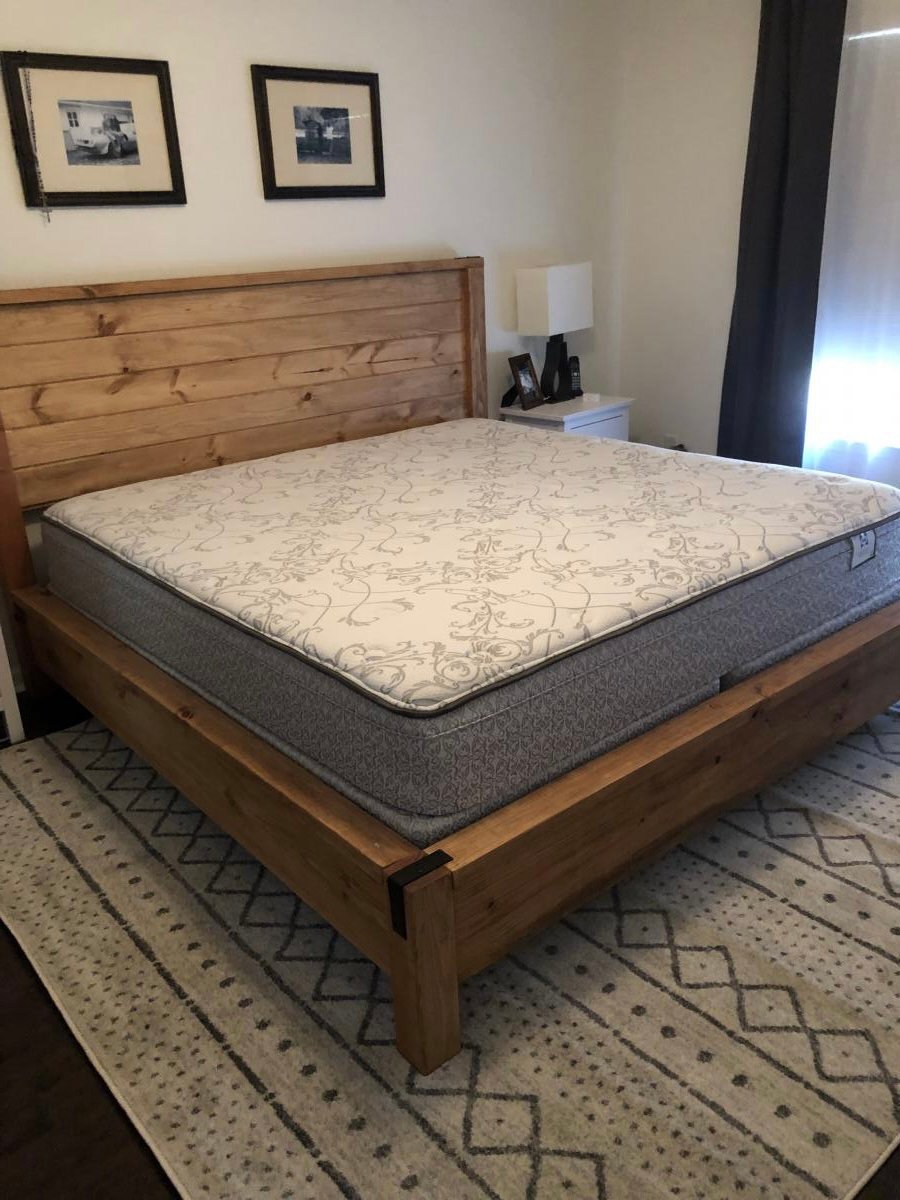
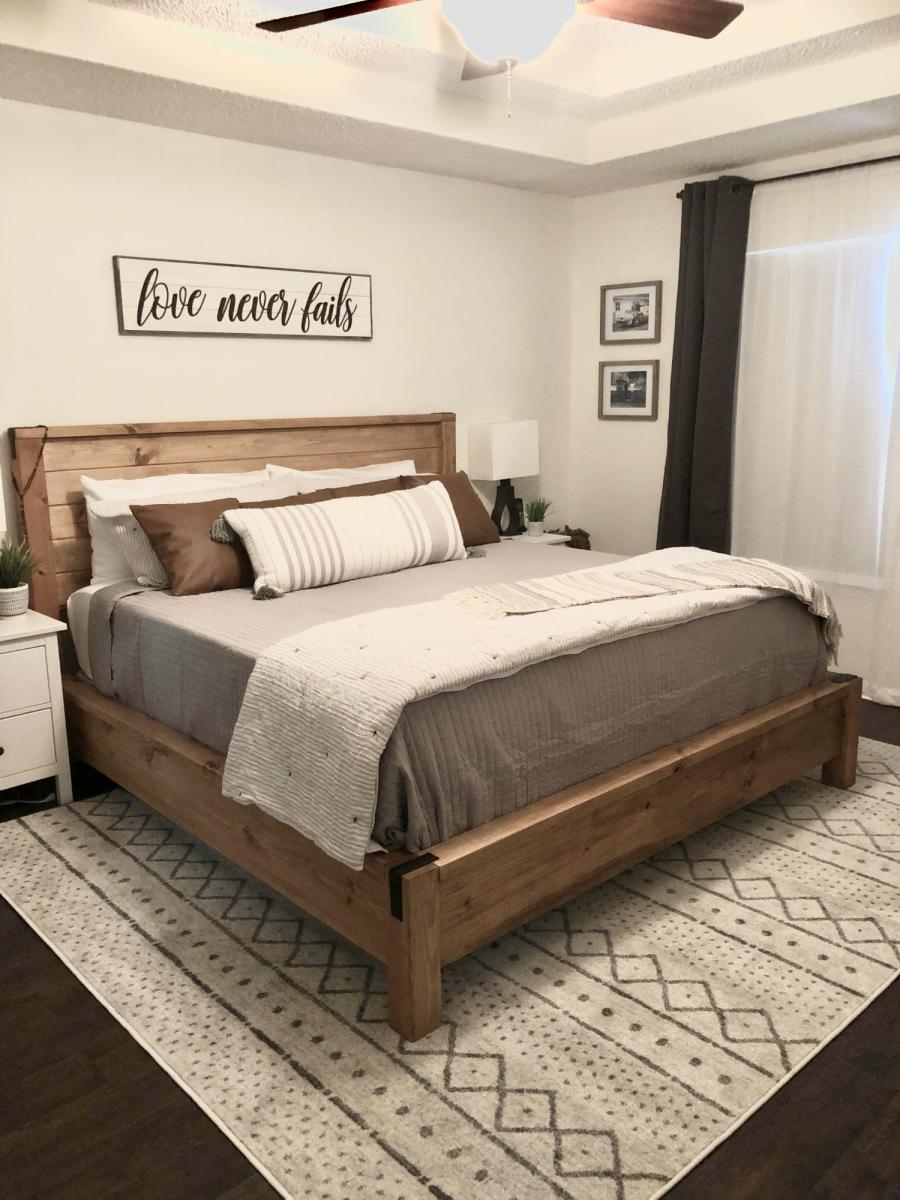
Made this bed from Ana's plans. Modified it with rail so I can add my box spring. Cost was approximately $160 for lumber, screws and stain. Absolutely loved the plans and easy to follow or modify if needed.

Built from Plan(s)
Estimated Cost
160.00
Estimated Time Investment
Afternoon Project (3-6 Hours)
Finish Used
Minwax wood conditioner, Minwax Special Walnut Stain
Recommended Skill Level
Intermediate

Comments

Back