Stool
My first project! it took me longer than it should have but I had never used a jig saw or hinges before. The kids were 2&3 (now 3&4) and they LOVE them!
This was a super easy project. We love how it turned out
Wanted a desk that was not your typical desk, this was my first project using plans from Ana White and it was easy to follow that it keeps me coming back, thank you Ana!
Built by Boatman
My daughter learned to climb out of her crib so we rushed to the furniture stores to find her a bed. I was very disappointed in the quality we found. I had this project in the back of my mind but didn't know how quickly I could get it done. It was really quite easy and we got her in her new bed in no time! She loves it and I think it was better than anything we saw in a store and way less expensive!! I even made the quilt for her.
I took these plans (http://ana-white.com/2012/01/plans/hailey-platform-bed) and adjusted the size for a king size bed. I beefed up the sides with 2x10's instead of 2x6's and extended the trim to 1x4's instead of 1x3's.
Easy project to build. I added a full board to make chair 4in wider. I also counter sank all screws and used wood plugs to cover screws. I also used 1x4's for all the slats and arm rests. Didn't use 1x3's at all. I added cup holders with some scrap left over wood. Got some plastic cup holder inserts.
Rustic farmhouse using lap-siding on 3/4” plywood for the top.
After I saw the bigger kid picnic table, I knew I HAD to make this ! I did change the measurements slightly, but I don't recall how now (I made this a year ago).
With a little project oversight, my son built and painted this chair which went on to win 1st place in his division at the local 4-H show!
First DIY, my twin brother and I decided to build a table for my parents; as they are currently remodeling their house. Thank you so much for these easy-to-follow yet very thorough set of plans! We made some adjustments to the length and width: 144inches (12ft) long by about 45inches wide!! It's a monster of a table! We made the legs wider as well to compensate for the adjustments of the table top. We are all extremely happy with the results- thanks!
I am so happy with this repurposed media center. I finally have a pantry!
This console features the style of the Apothecary Console and the functionality of the Console with DVD Storage Doors. I drew my own my plans by combining Ana's plans for the Apothecary Console and the Console with DVD Storage Doors. You can view my plans by visiting my blog at www.2crafty4myskirt.blogspot.com or by clicking the plan link below.
Sat, 03/17/2012 - 19:50
That's a really awesome cabinet. I love the look of the apothecary, and wouldn't have thought to design the doors like that for the added storage.
Sun, 03/18/2012 - 02:30
Really like this build. Just wanted to let you know there are a couple of mixed up letters in your blog address at the very beginning of the post...so it sends you to a different site.
Adore the cabinet! Thanks for sharing.
Great plans. I got a lot of attention for these tables. I think they're easy to build and a few bad cuts/mismatches can make it look more rustic so no need to worry about perfection with these. I use them in my apartment and they're both really nice. I stained with miniwax jacobean and used a satin clear poly on it after. I only needed one layer of stain.I think a dining room table version of this plan would be really awesome too!
We needed a bench in our guest room for the upcoming holidays. After searching Ana's site I decided on the Flip Top Storage Bench. (We didn't need the flip top, so I just built a flat top and added a couple boards under the top for extra support) The plans were very easy to follow and the bench works perfectly in our room for extra seating as well as suitcases. Thanks Ana!
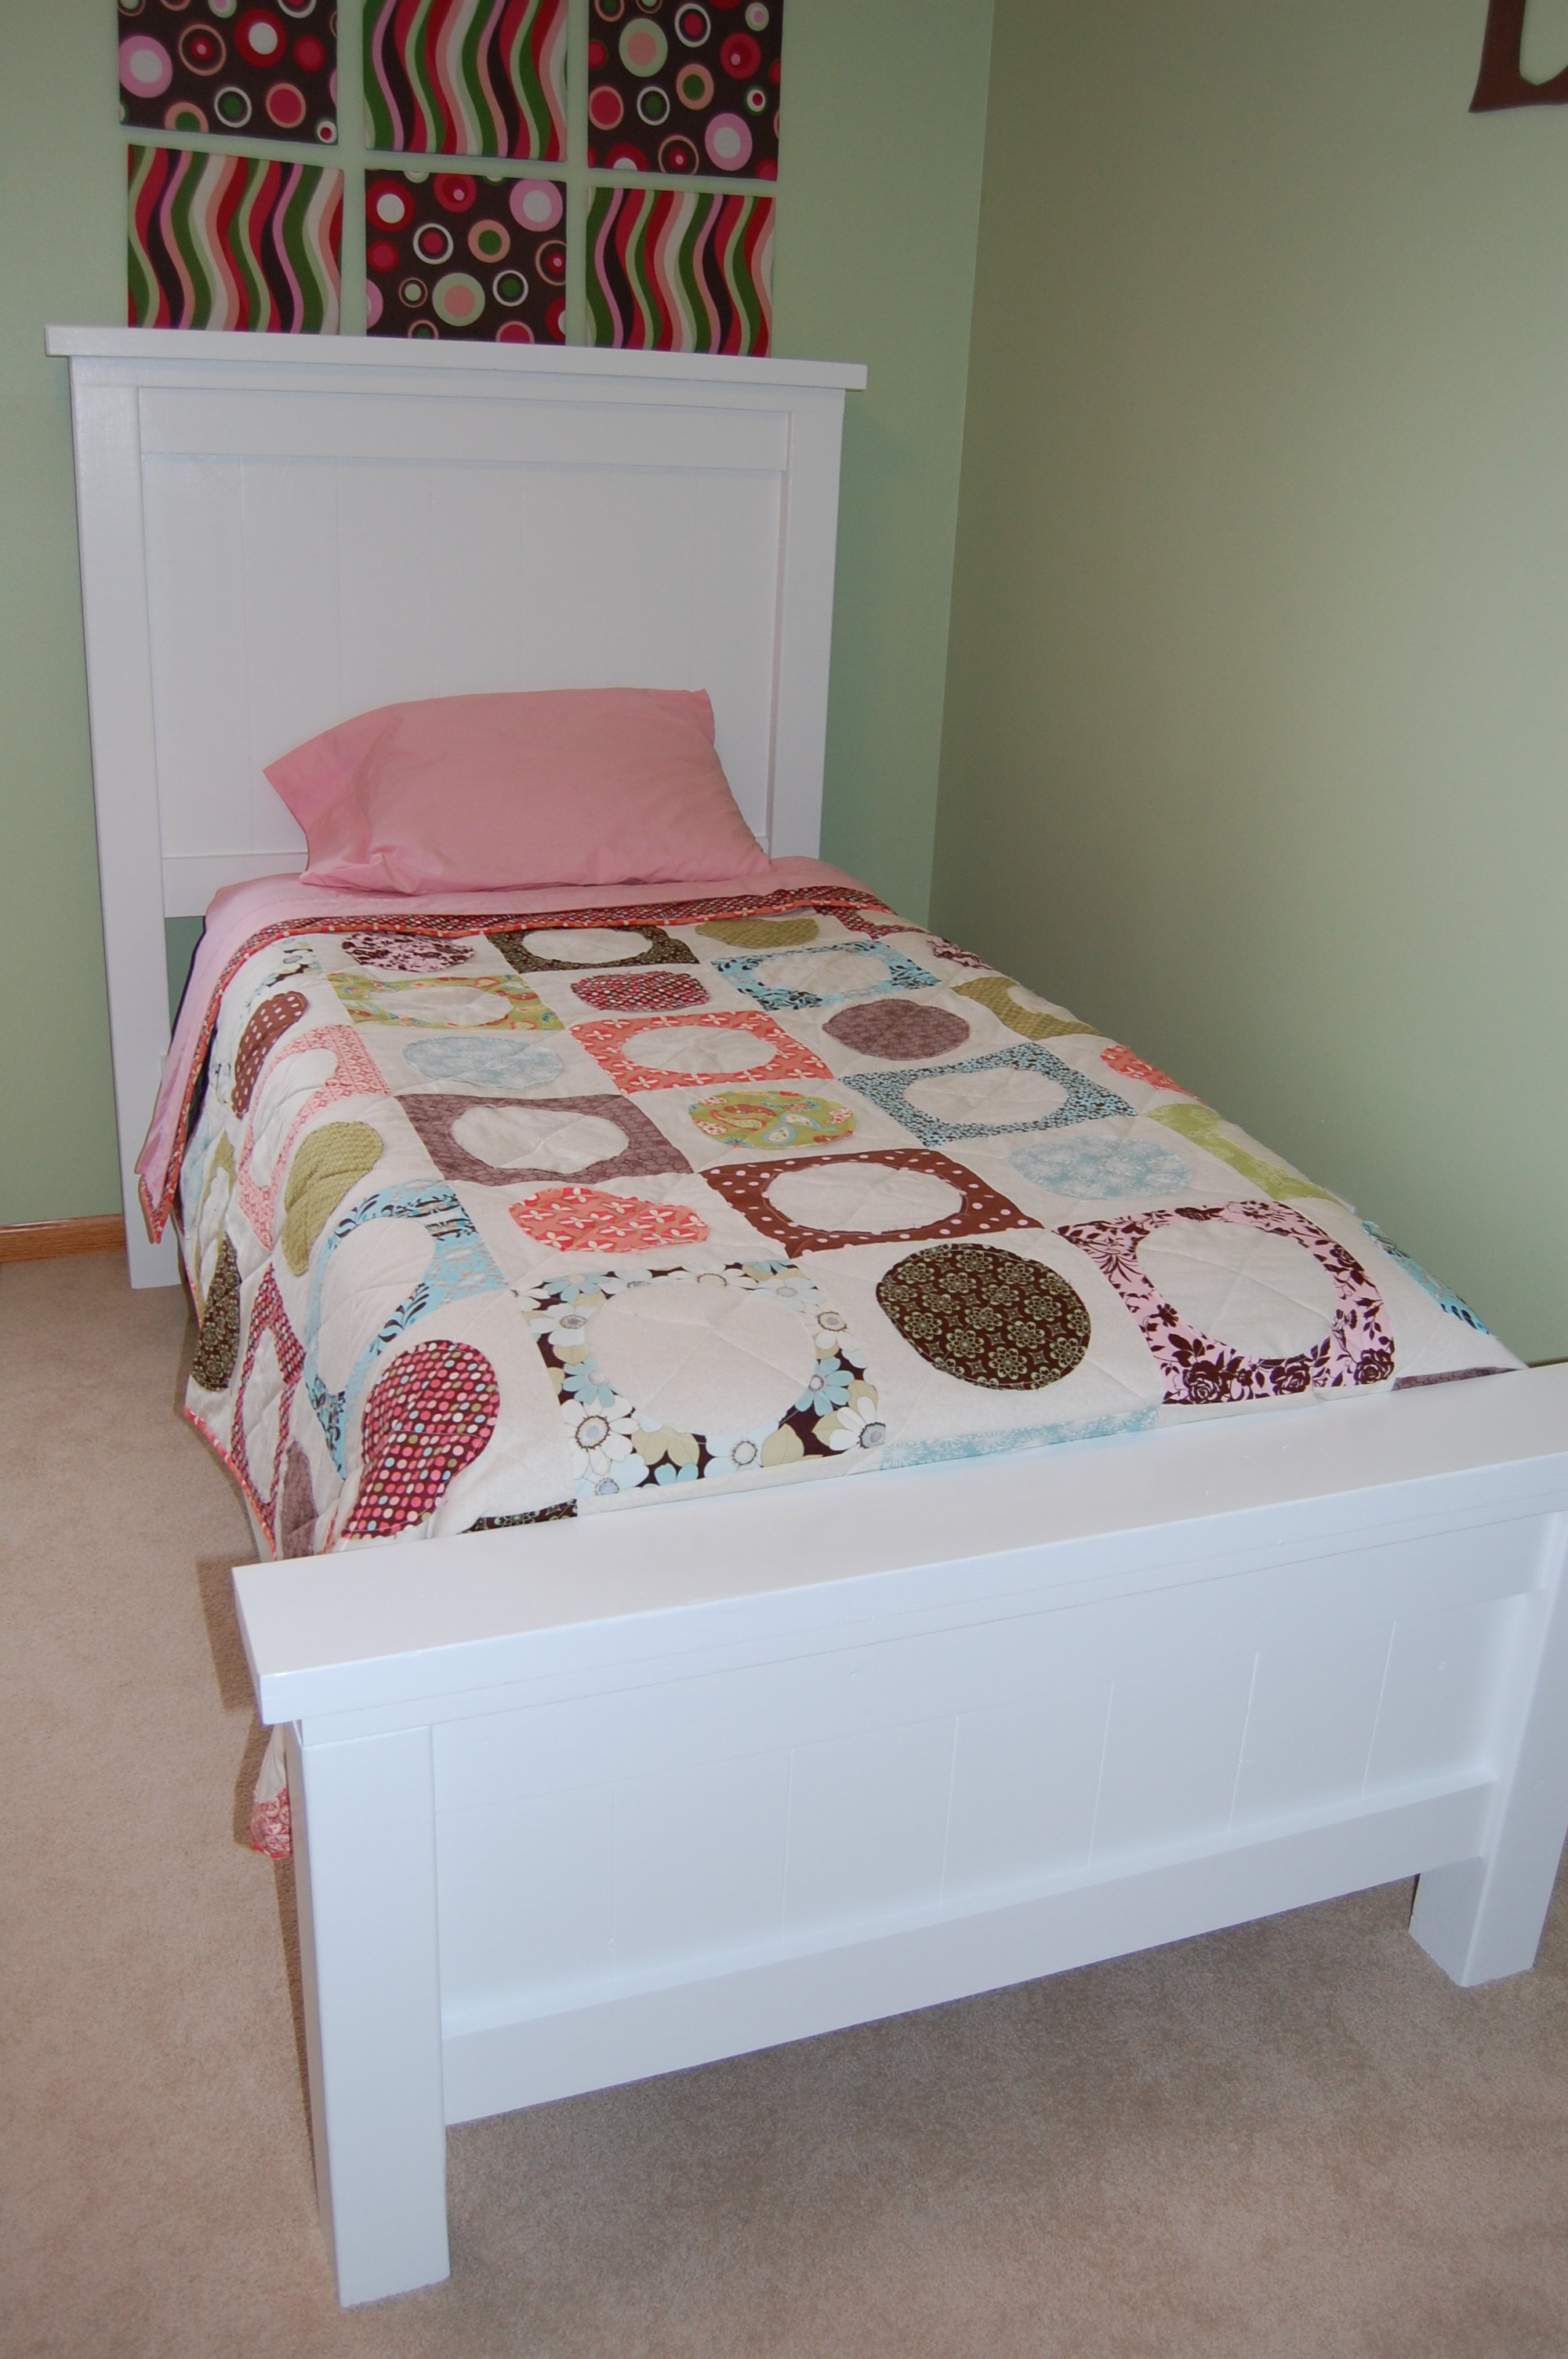
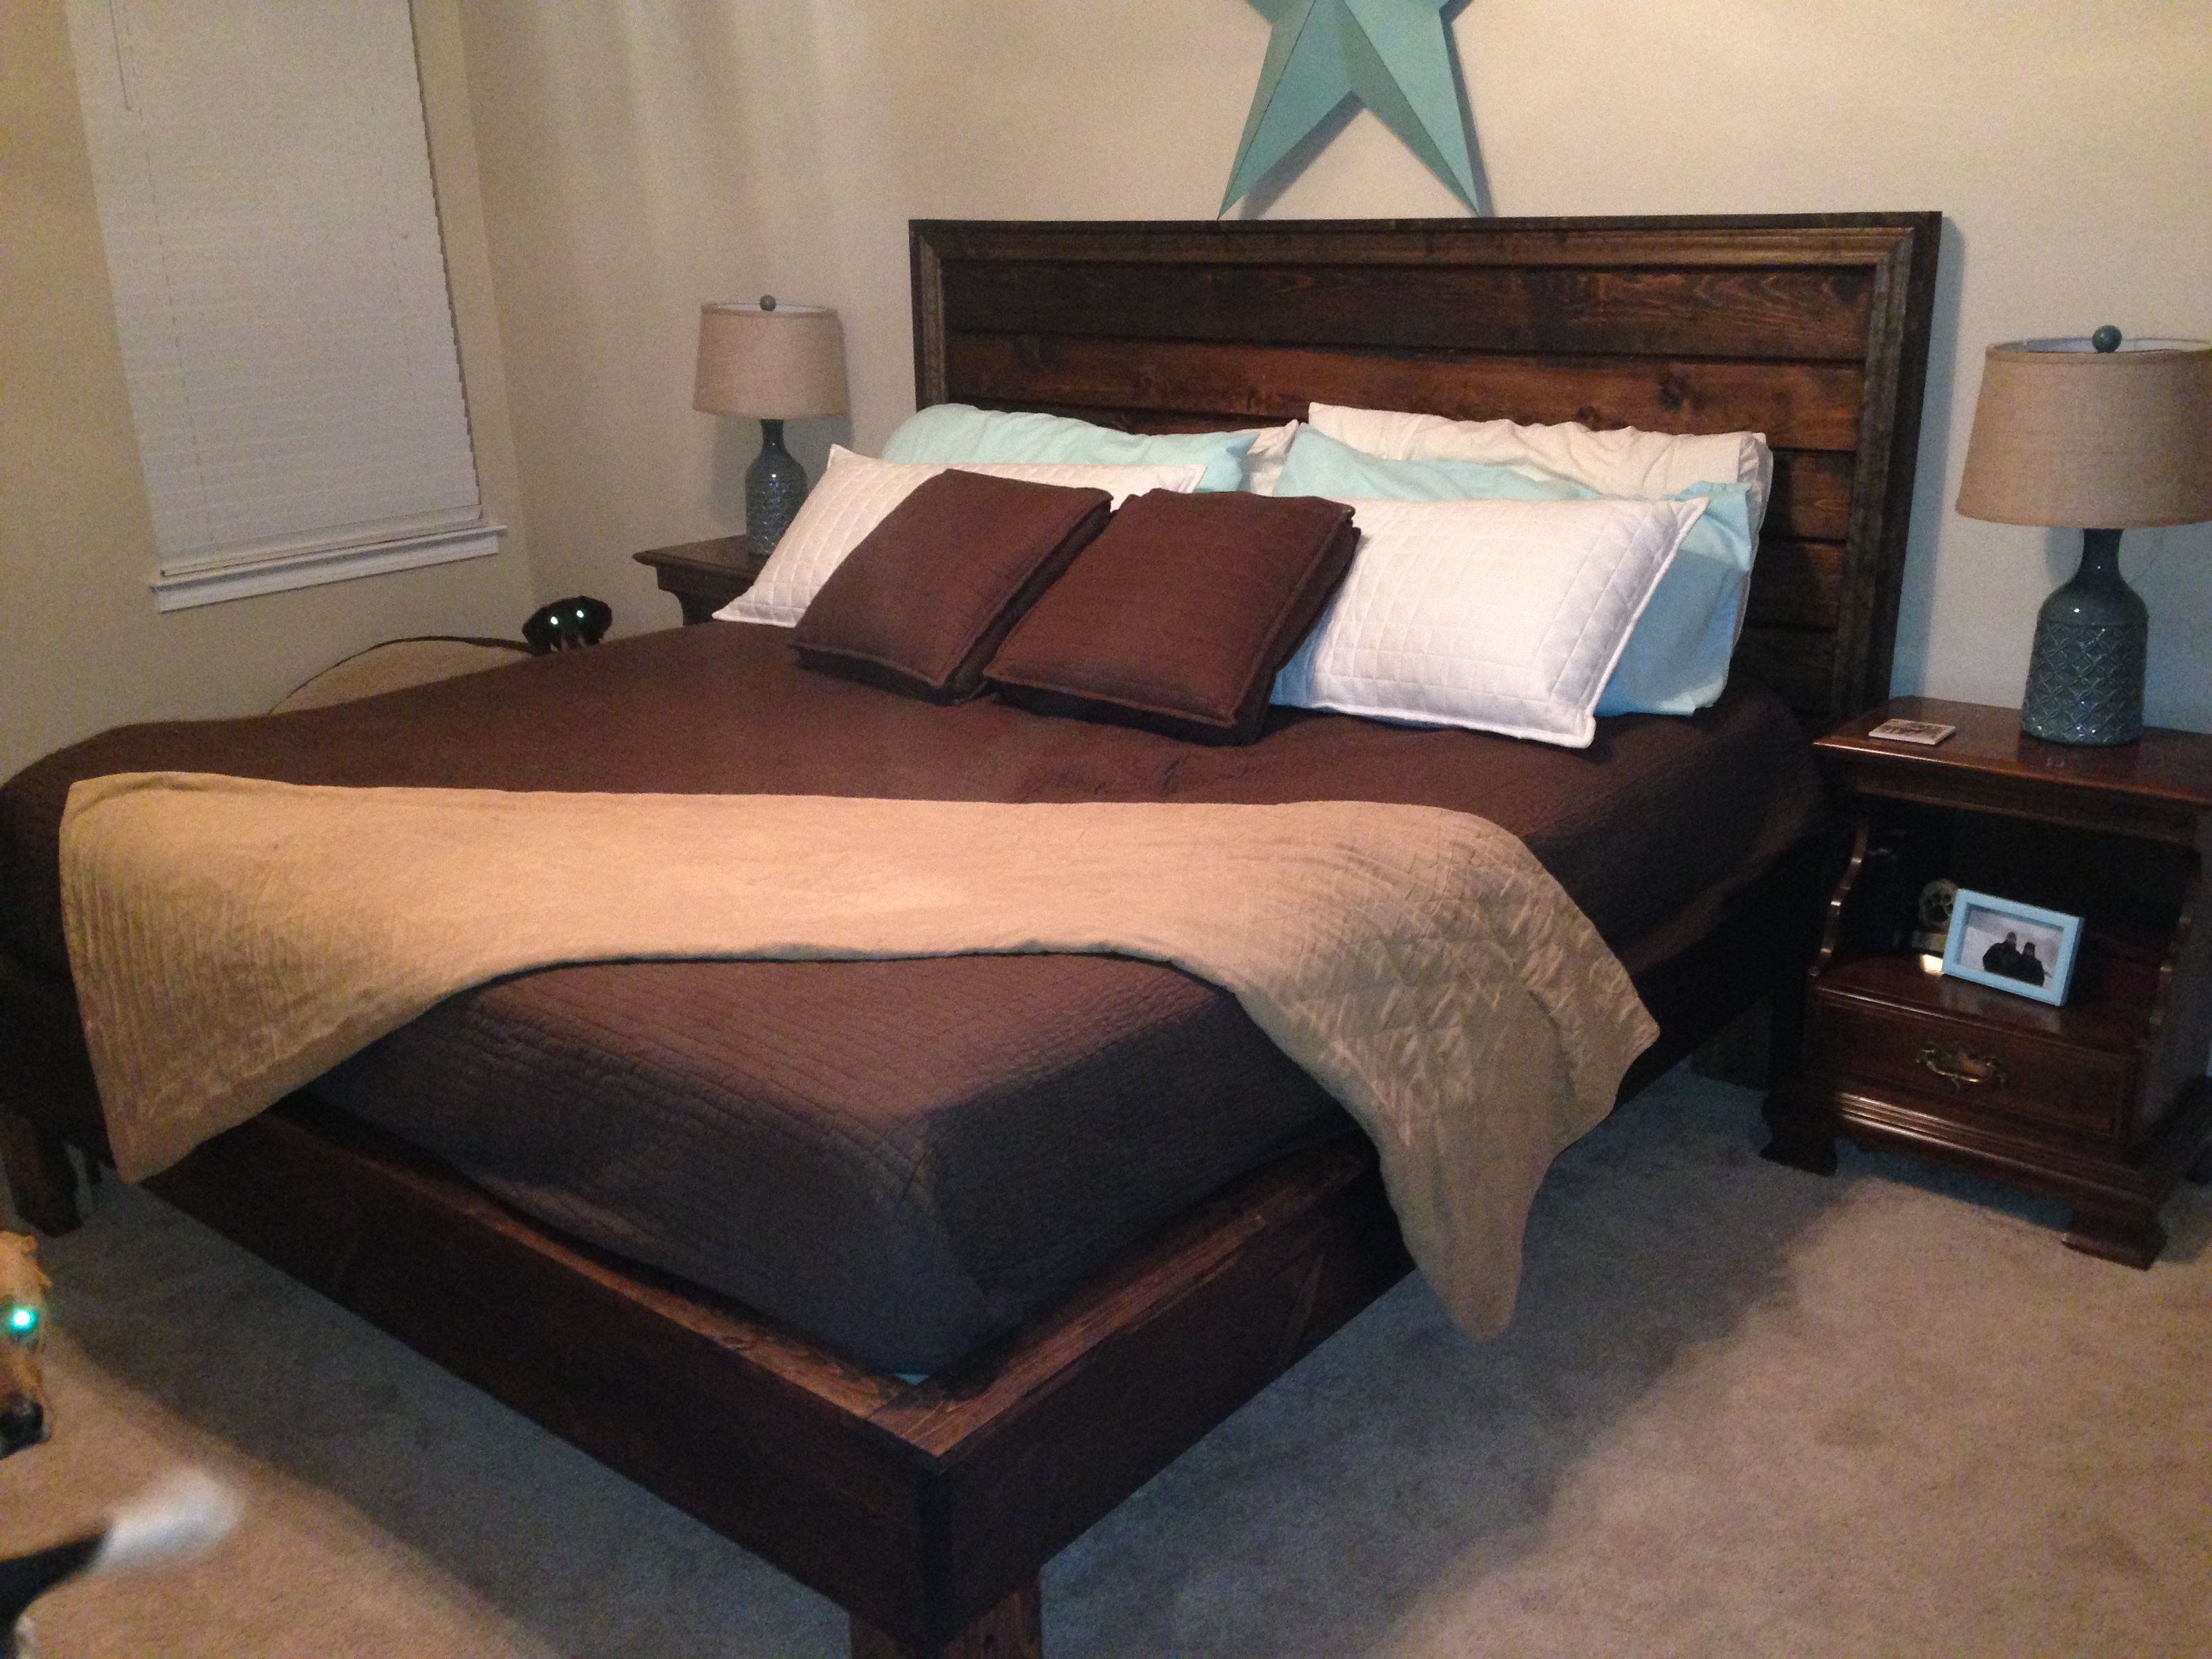
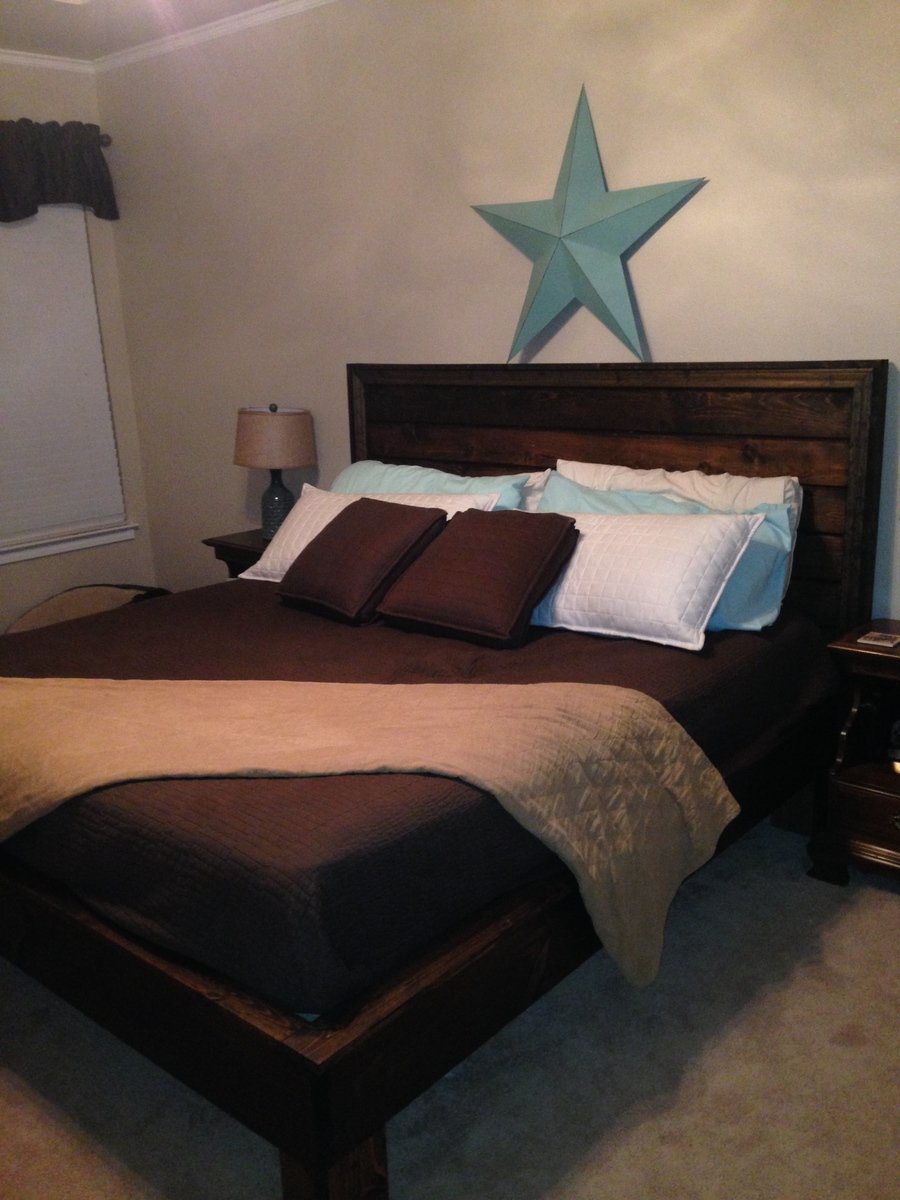
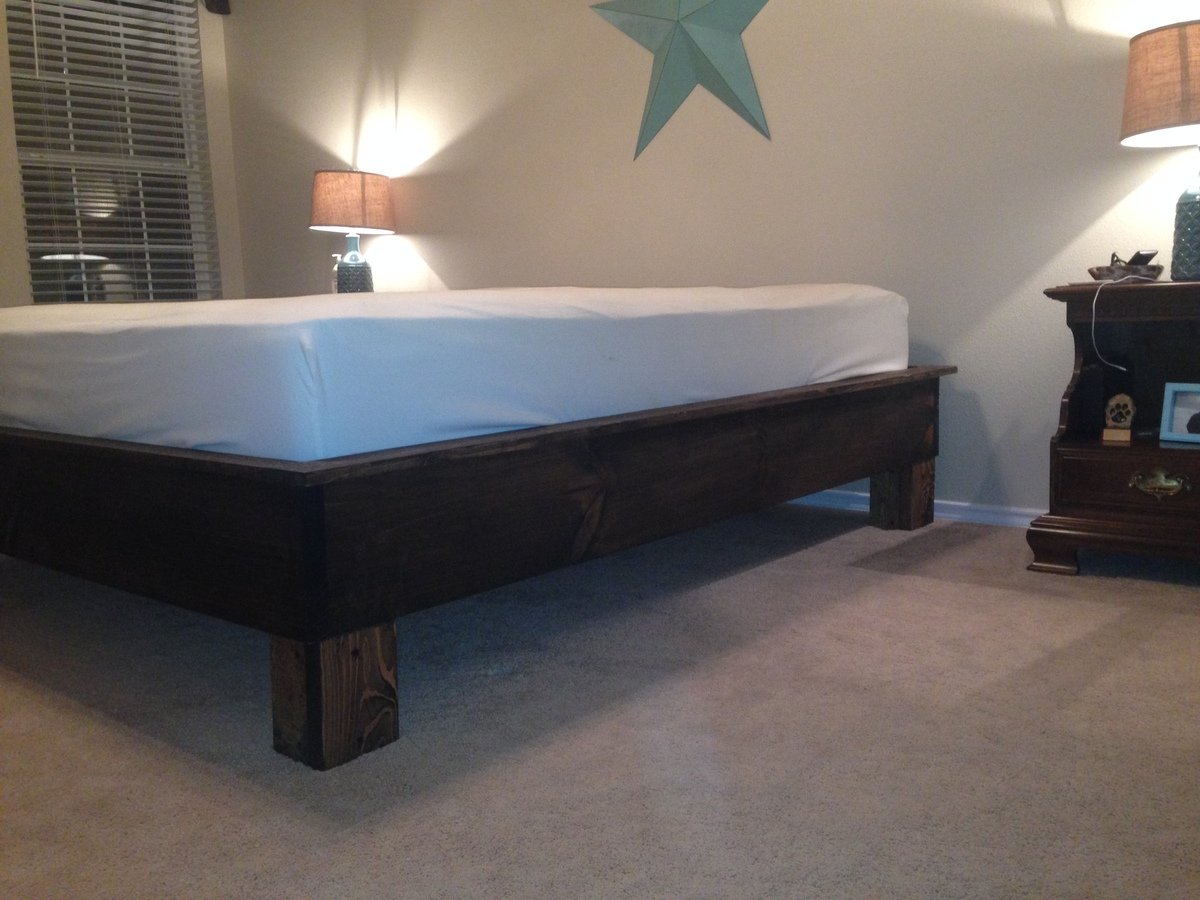
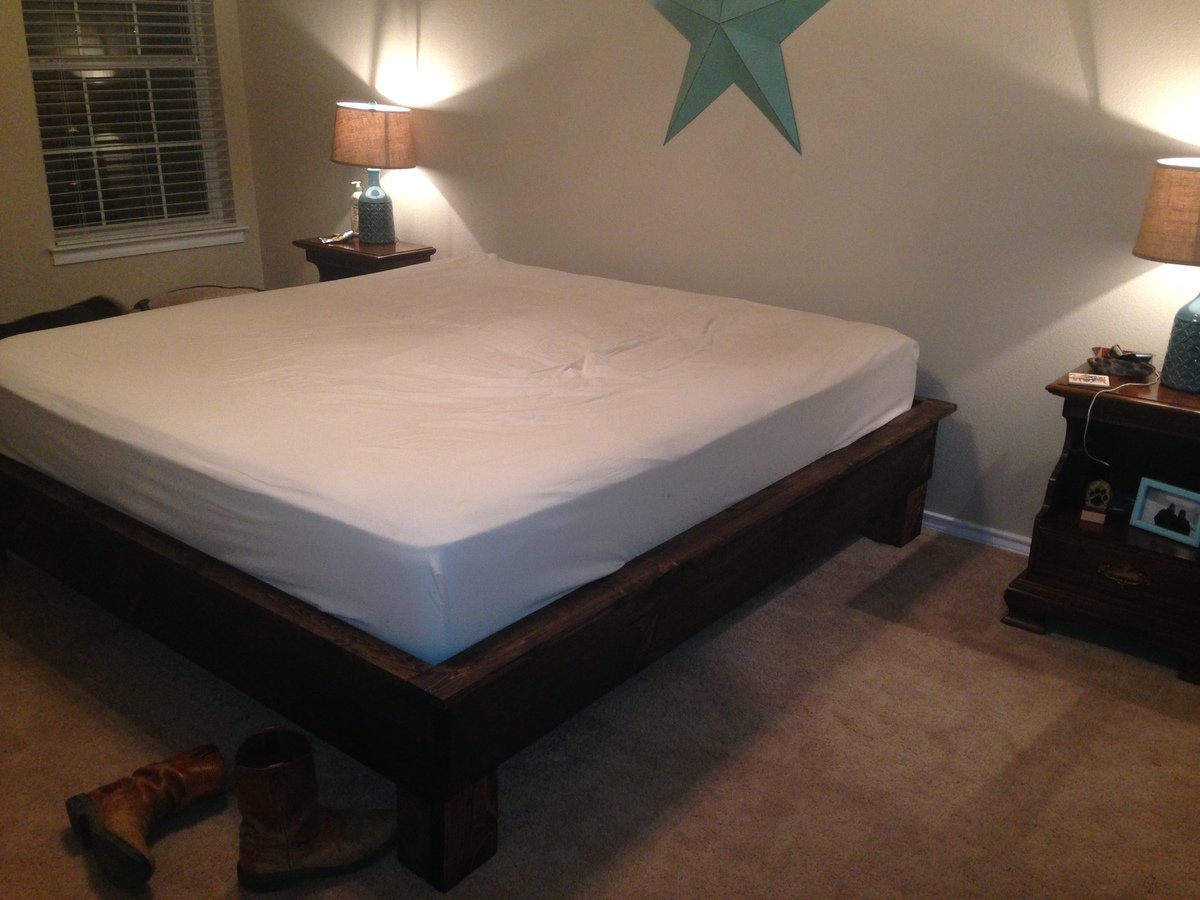
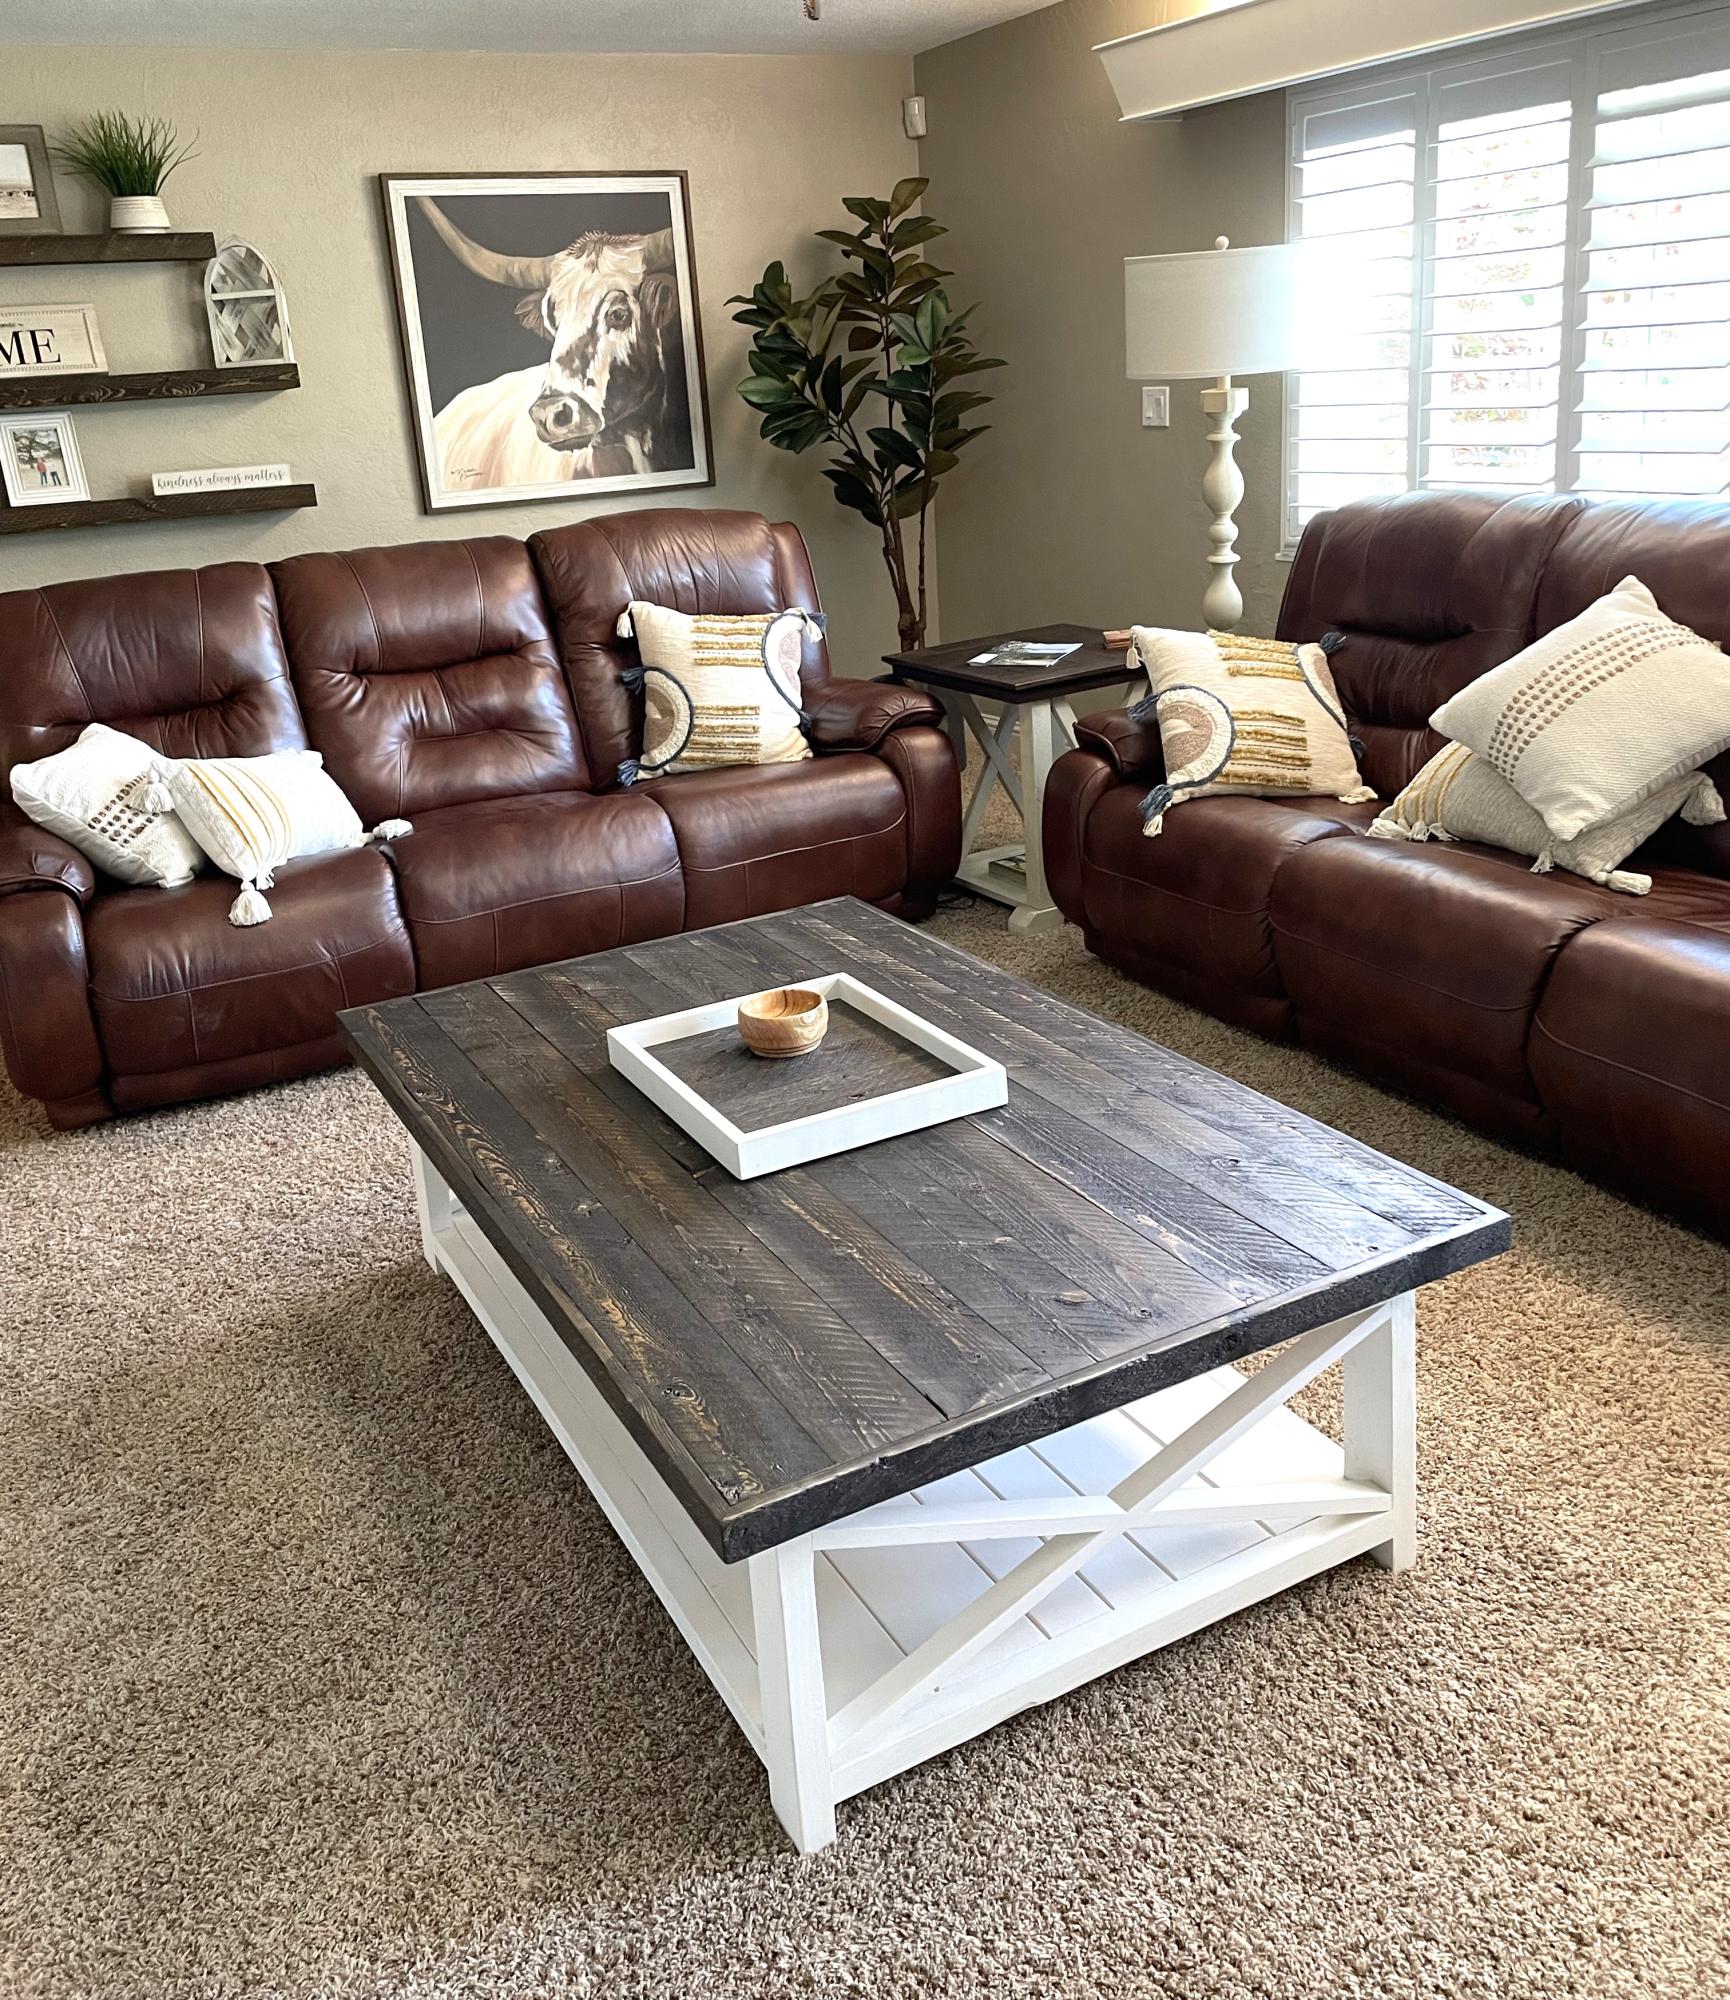
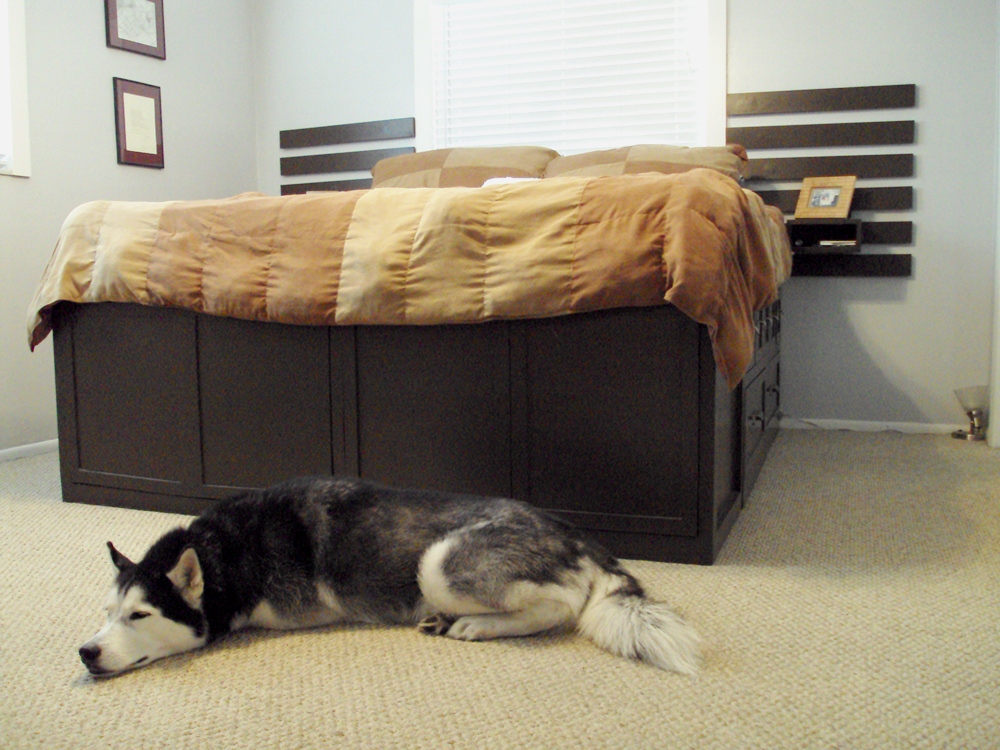
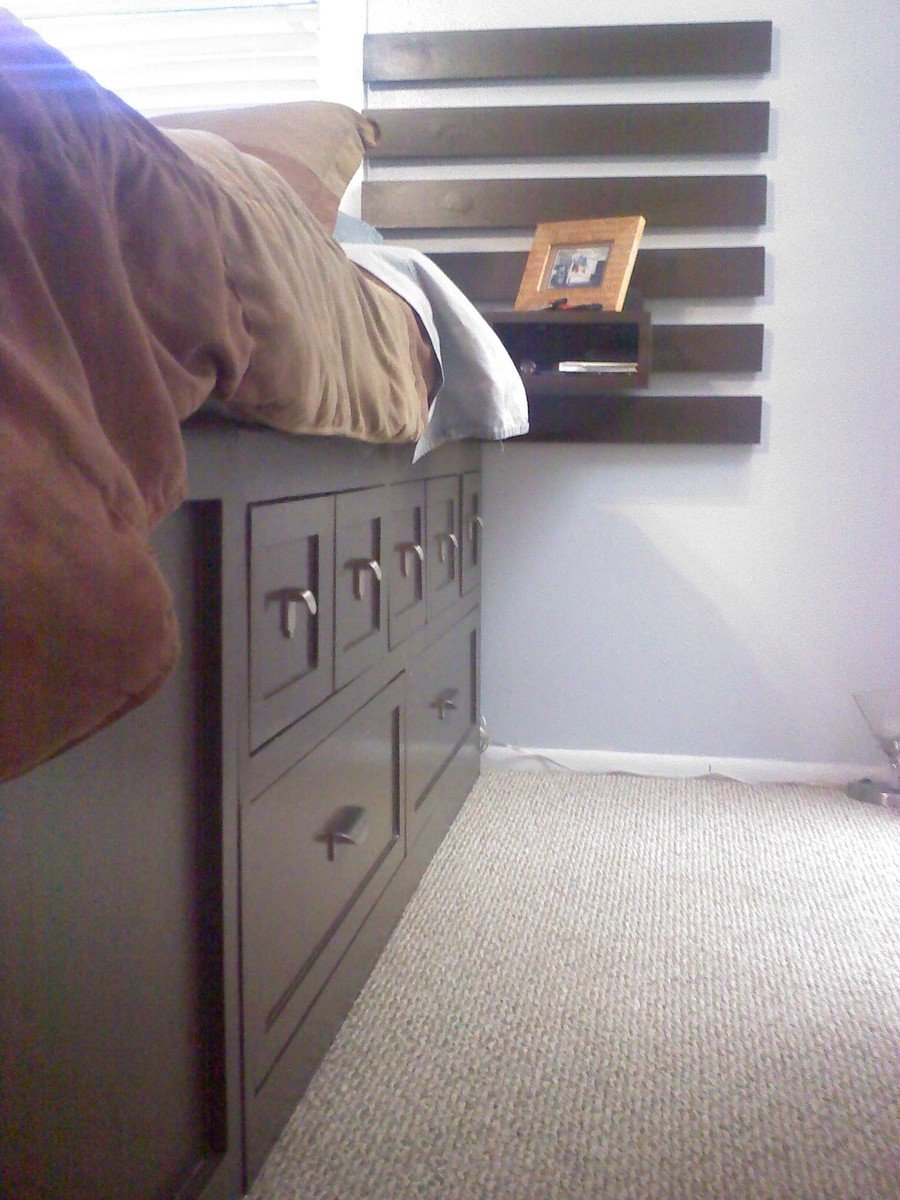
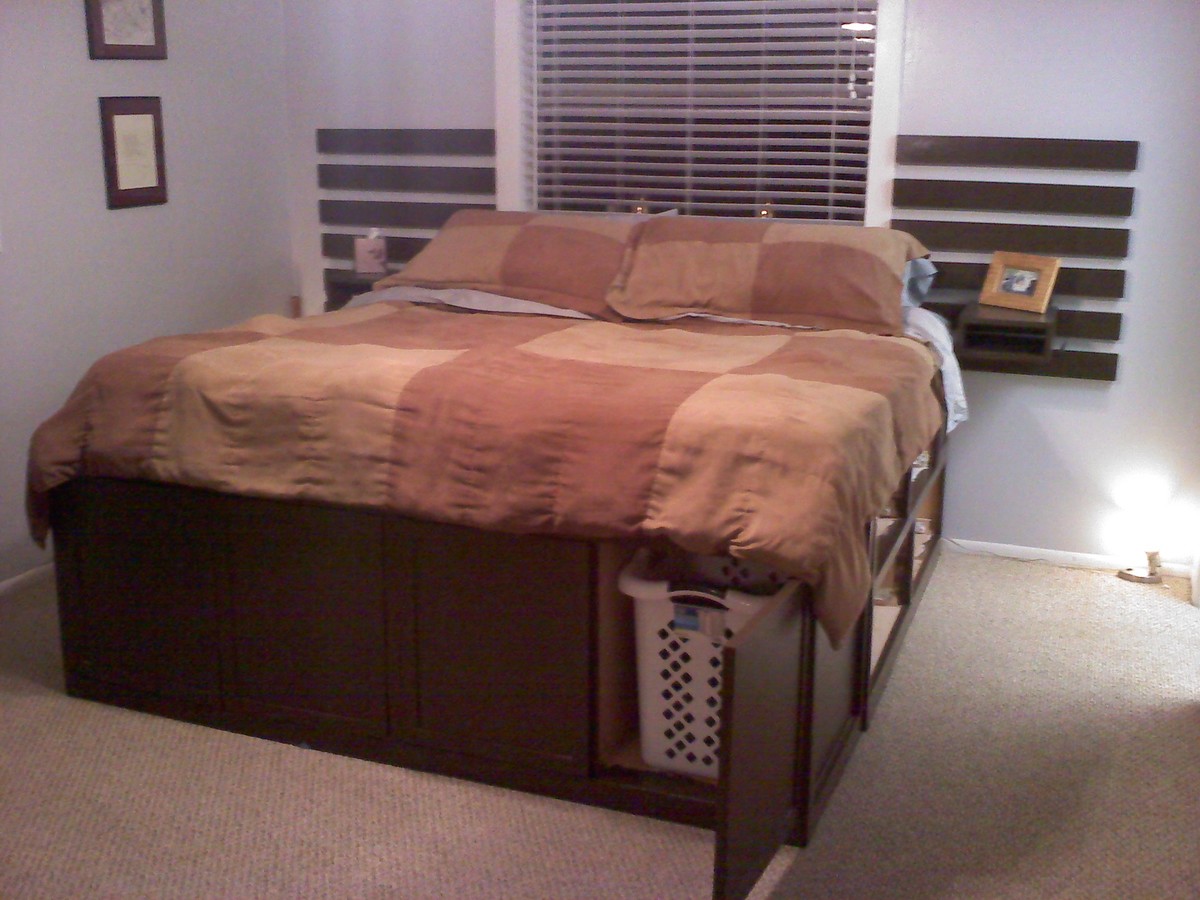
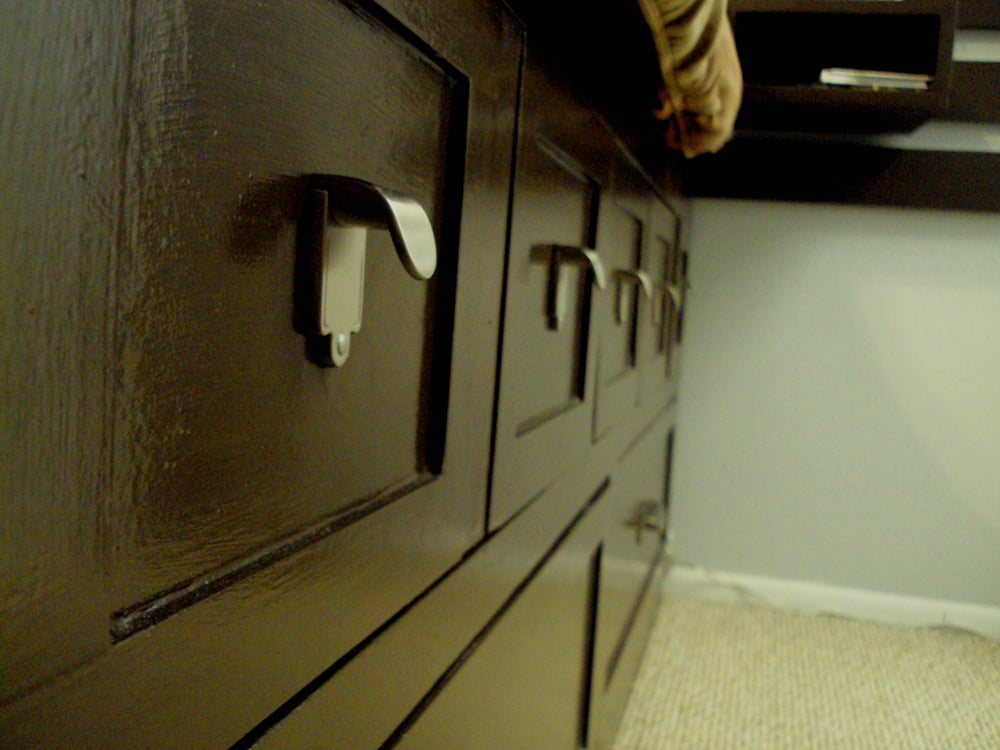
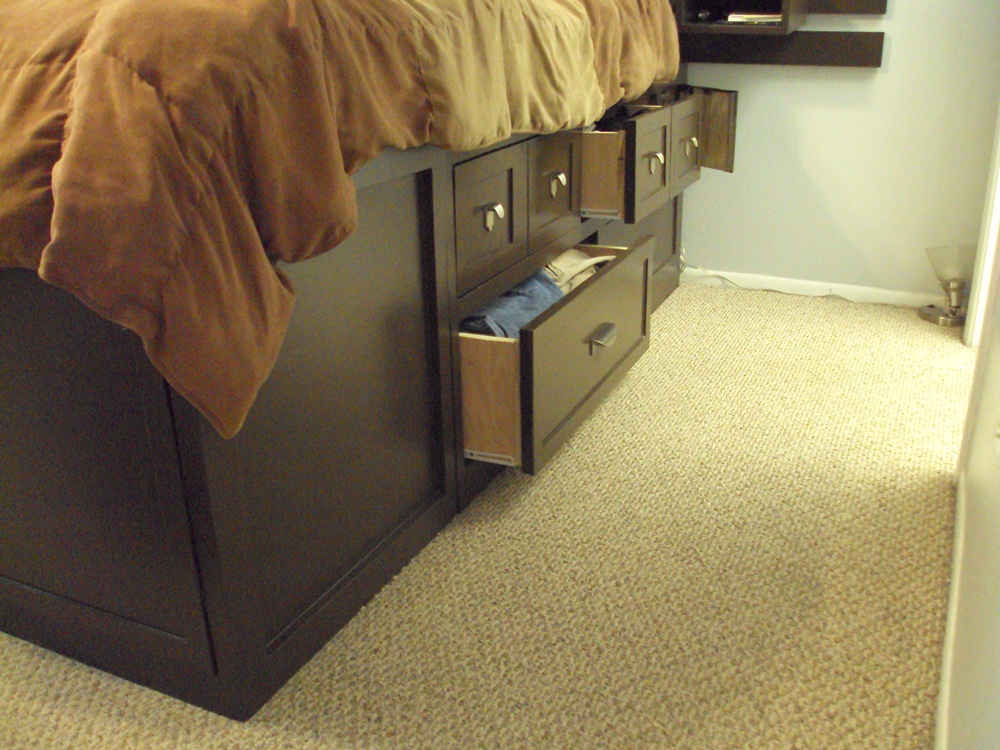
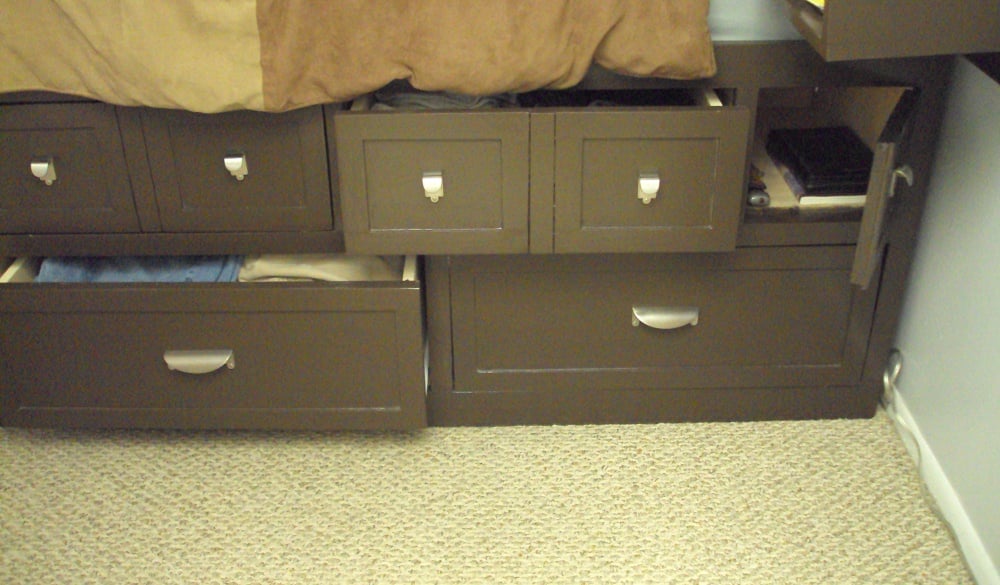
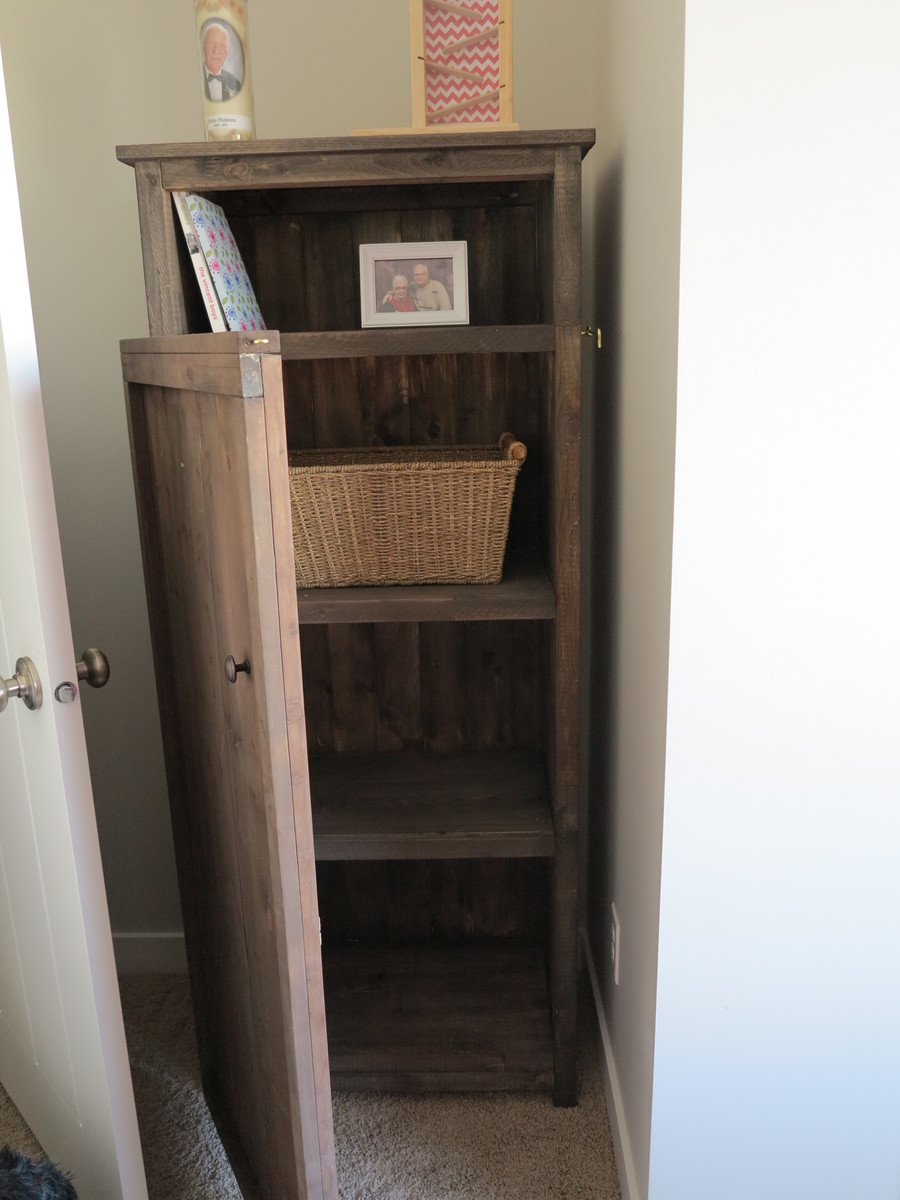
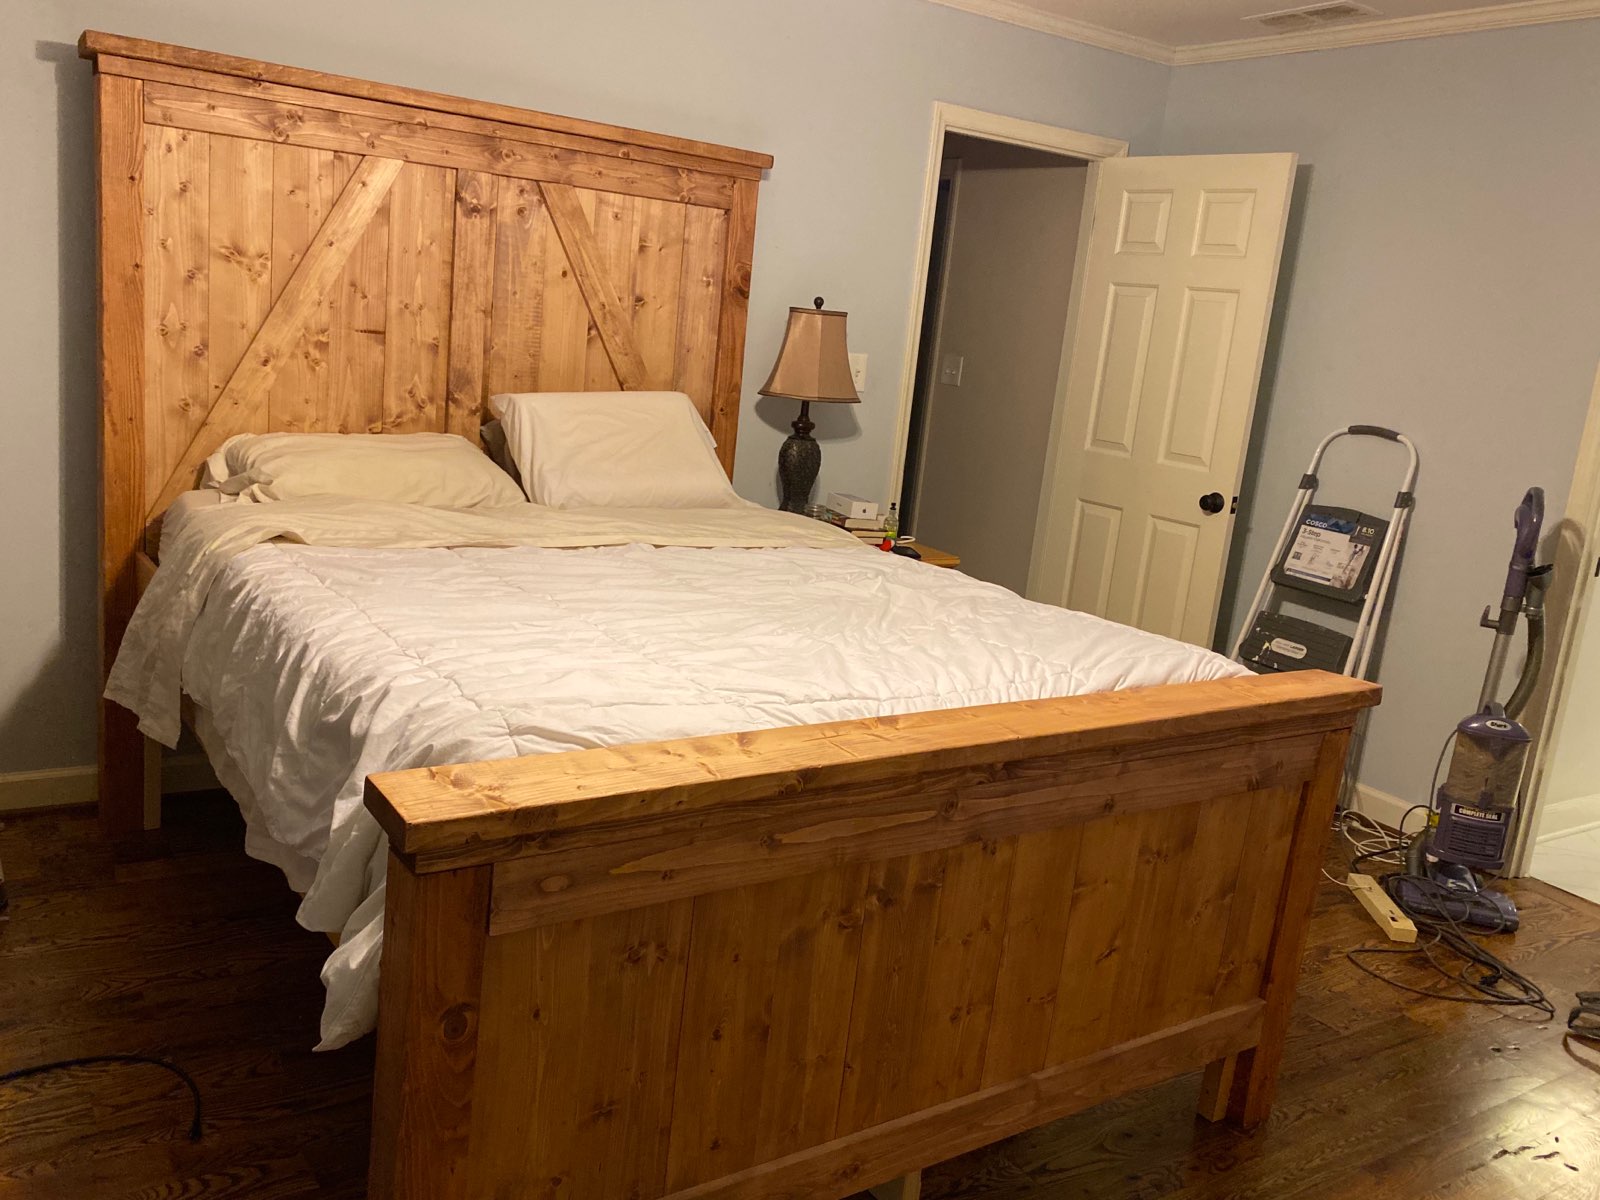
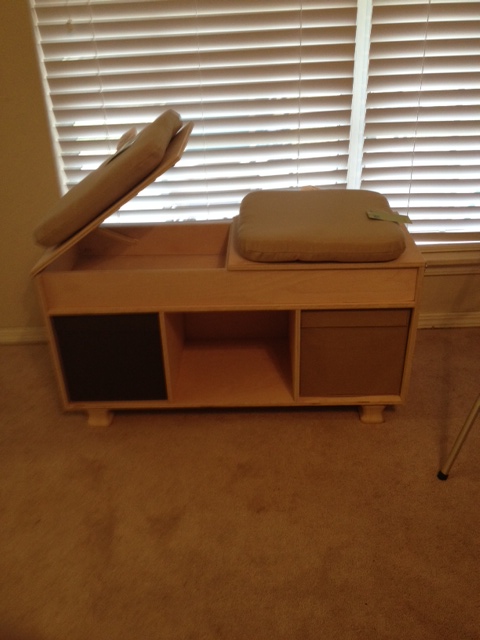
In an effort to gain some space in our home, I decided to build up. The Bed is tall (not a problem for us) but not too tall. The added heigh allowed for an extra 2 LARGE drawers on each side and an additional storage space we refer to as the "cubby." This last space has a pop open latch insted of a drawer due to the side table above them. The cabinets at the foot of the bed have the same pop open latch system and house 4 large laundry bins.
The bed feels incredibly solid and I've already had several compliments from friends. One of the best came from a rather neat and organized contractor friend of ours who's home decor is wonderful. He asked where I bought it. My response: Lowes , in a pile of lumber :)
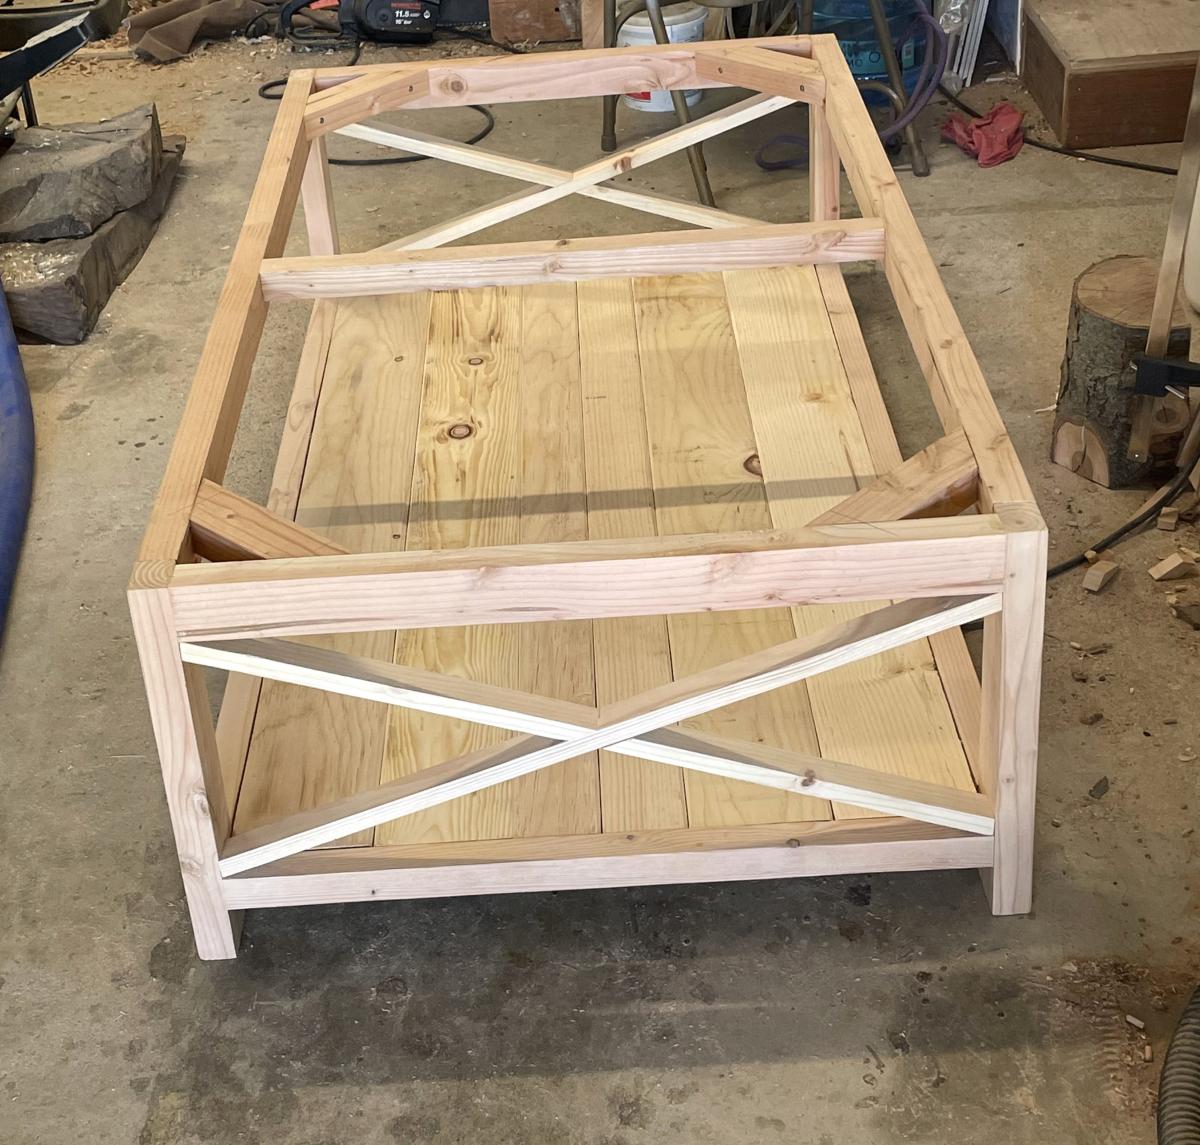
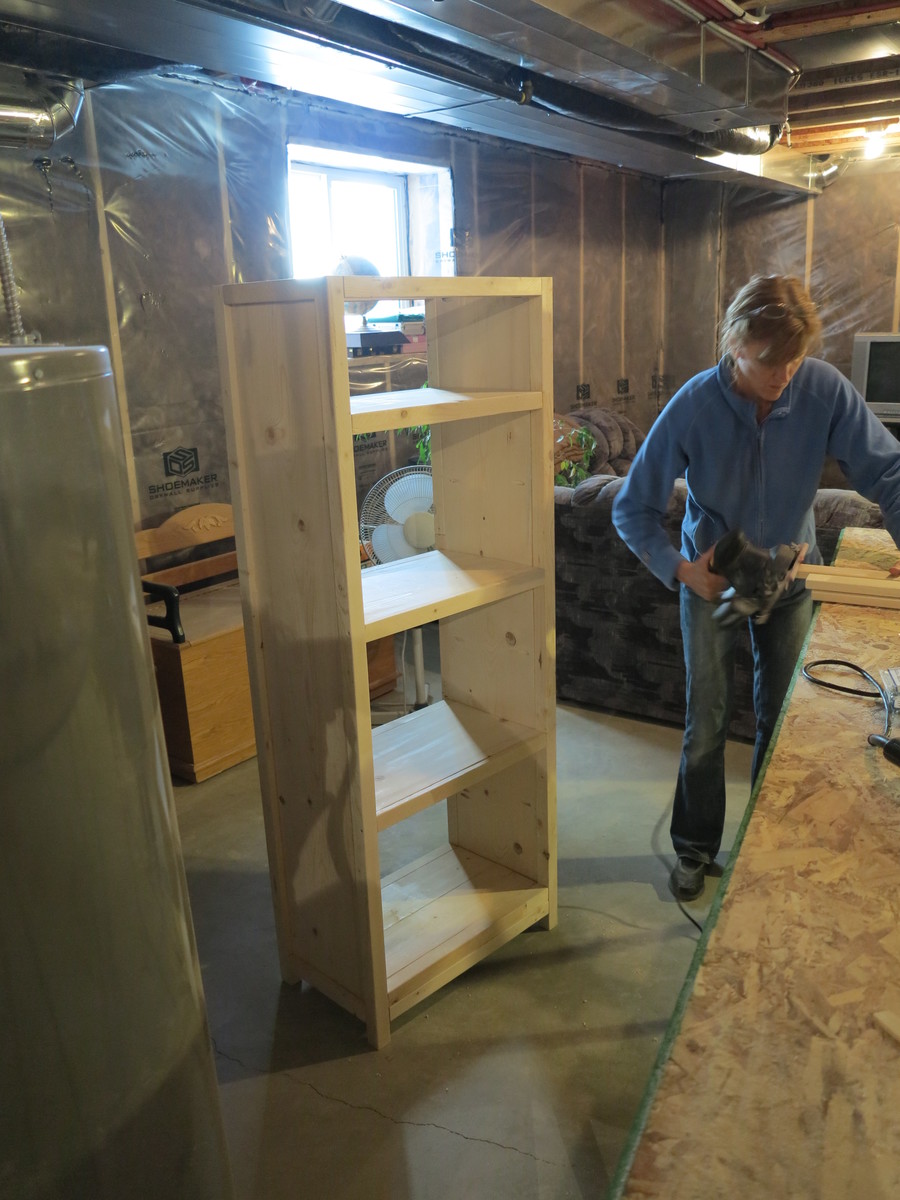
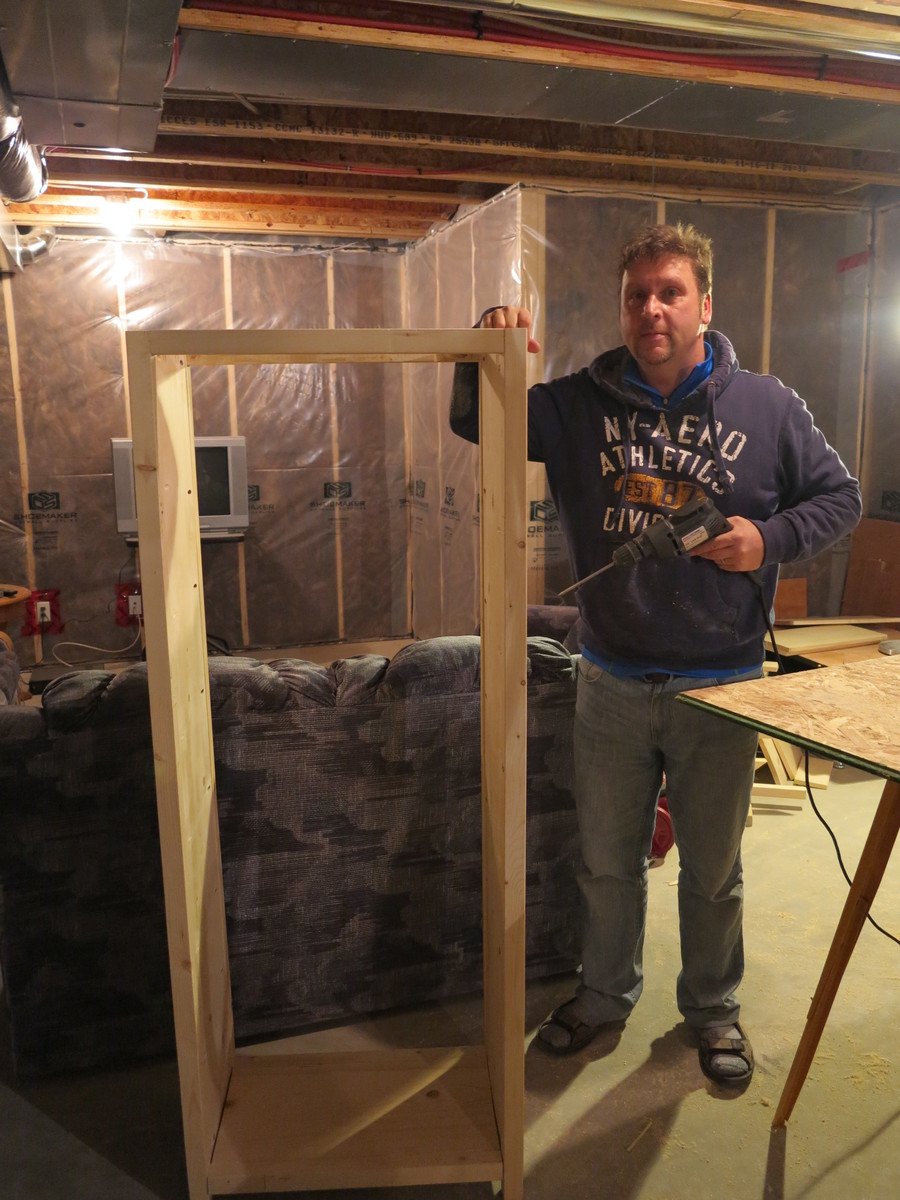
The time it took to build this was months, due to only working a night or two a week after my toddler went to bed. It could easily be week project.
Mon, 03/19/2012 - 17:33
This is wonderful. You created practical beauty. Great job!
Wed, 03/21/2012 - 14:35
I did...
But today is my first chance to start playing with sketchup. I'll see if I can put those together for you. In the meantime. Here's some numbers to look at. Remember, the bed is TALL, but my wife and I are both around 6 feet.
Each side cabinet is 60 inches wide by 20.5 deep by 22.5 tall (to the platform itself). The entire bed is 77.25 wide at the base, with trim.
Mon, 09/07/2015 - 10:30
First of all......
Amazing work!!! This is exactly what I am looking for to make for my daughters BDay. She has a small bedroom. I have never been afraid to take on a new project. Saying that I will be having the lumber company cut all the pieces for me. It will house all her clothes/shoes and hamper.
Please tell me that you have the dimensions for this platfrom bed.
Sat, 04/30/2016 - 22:05
Great job. Do you have the measurements for this bed. If so can you email them to me, [email protected]. Thanks
Wed, 04/18/2012 - 10:36
Thanks HK
Having the laundry hampers on all sides is quite doable. Email me if you want [email protected] and let me know what types of hampers you are thinking...how many... do you need doors... how tall...what materials you want to use and what size bed. I can help you with the design/modification.
Thu, 06/28/2012 - 14:05
I love the modifications you have made! I want my husband to make me this same bed that you have done. With our 3rd baby arriving in 2 months I really need the space that our clothes are currently occupying. Have you been able to make up plans for this bed? If not, do you have a list of measurements and supplies needed to make this?
Mon, 07/16/2012 - 21:12
Hey BJ,
This is the other BJ (or as Greta would term it, "chick BJ")! I was looking at this site, and saw a picture of the bed you made, with the caption "BJ D made this." So I clicked on it, and it showed a picture of you, and I was like, "Hey, I know that guy! That's the guy that married my best friend! And that's their daughter! Wow, small world!"
Anyway, I was thoroughly amused, and also, I really like the modifications you made on the bed. I'm totally stealing some of your ideas when we make our new bed frame!
-BJ
Fri, 04/18/2014 - 15:18
Hi, I emailed you, but just in case you don't still have that email or it doesn't go through to you. Did you ever make plans for your modifications? If so, I would love to see them. My email is [email protected]
Thank you!
Our second project after successfully creating the X coffee table. I used 1 x 4's both for the back and the door that I added.
I made a few changes to the queen size farmhouse bed plans. Going to add drawers underneath so we can maximize space in our room.
This is my secend ever furniture build. I build it inspired by this storage bench from bed bath and beyond. http://www.bedbathandbeyond.com/product.asp?SKU=132657
I am pretty happy with it!
I loved the idea of the shoe dresser and decided to fancy it up a bit. I changed the dimensions a little to suit the space in my home where I wanted it to go. I decided to use the dowel pins for the doors because I didn't want to be able to see the hinges - which I found to be the hardest part - you need to make sure you get them as low in the corner as you can otherwise your doors won't open. I also found that I didn't cut enough off the top of the dividers which prevented the doors from opening - they needed to be more slanted than round at the top - I ended up having to use a planer to take the excess off. Very happy with the way it turned out - just have to train the kids to put their shoes away now instead of all over the floor :)
Tue, 01/14/2014 - 00:22
Thank you! I have added the plan link and some more photos - not the best quality photos sorry :)