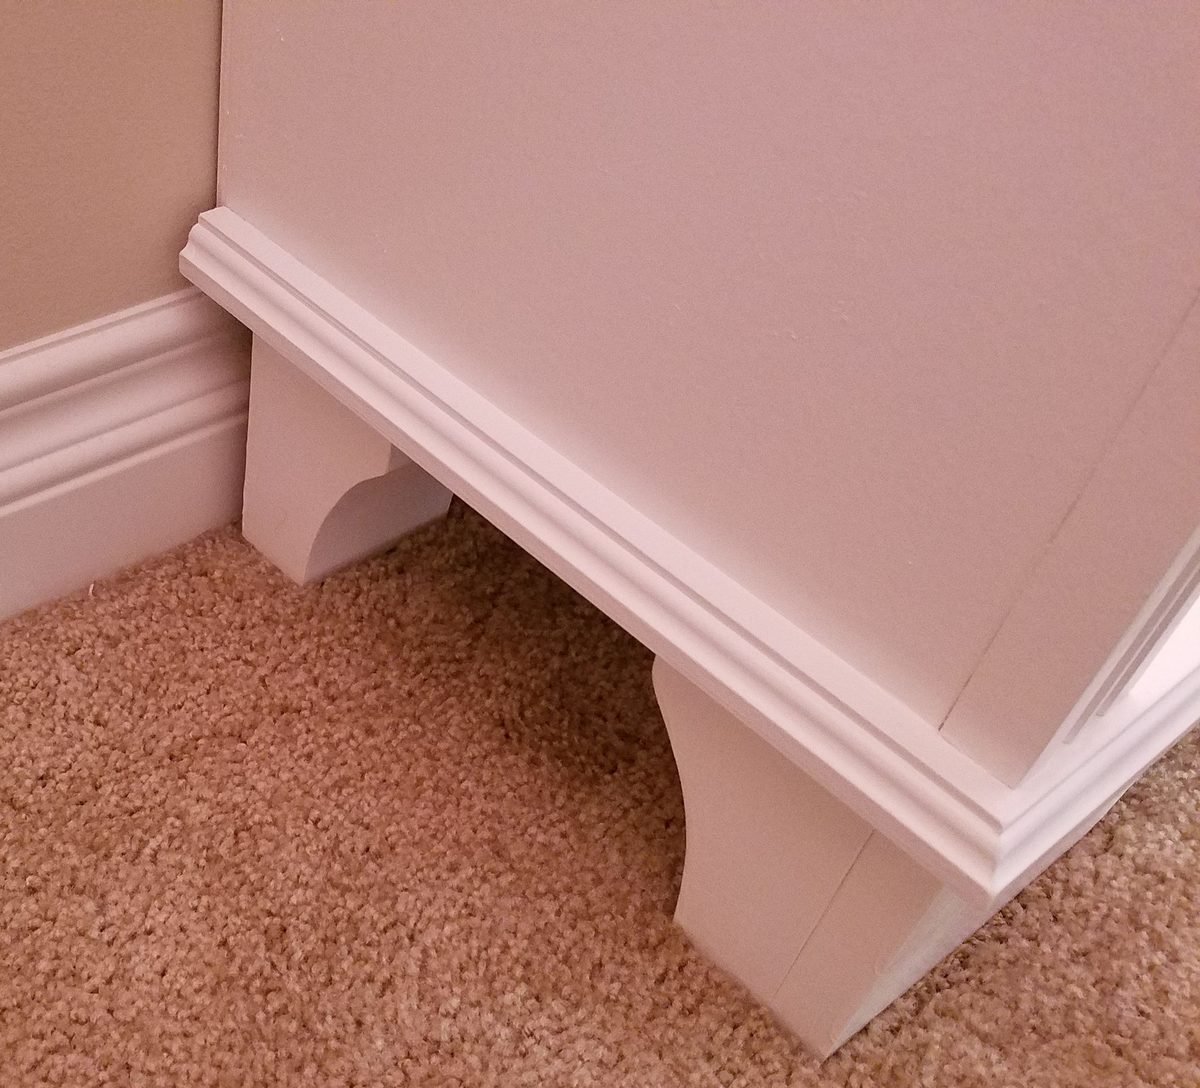
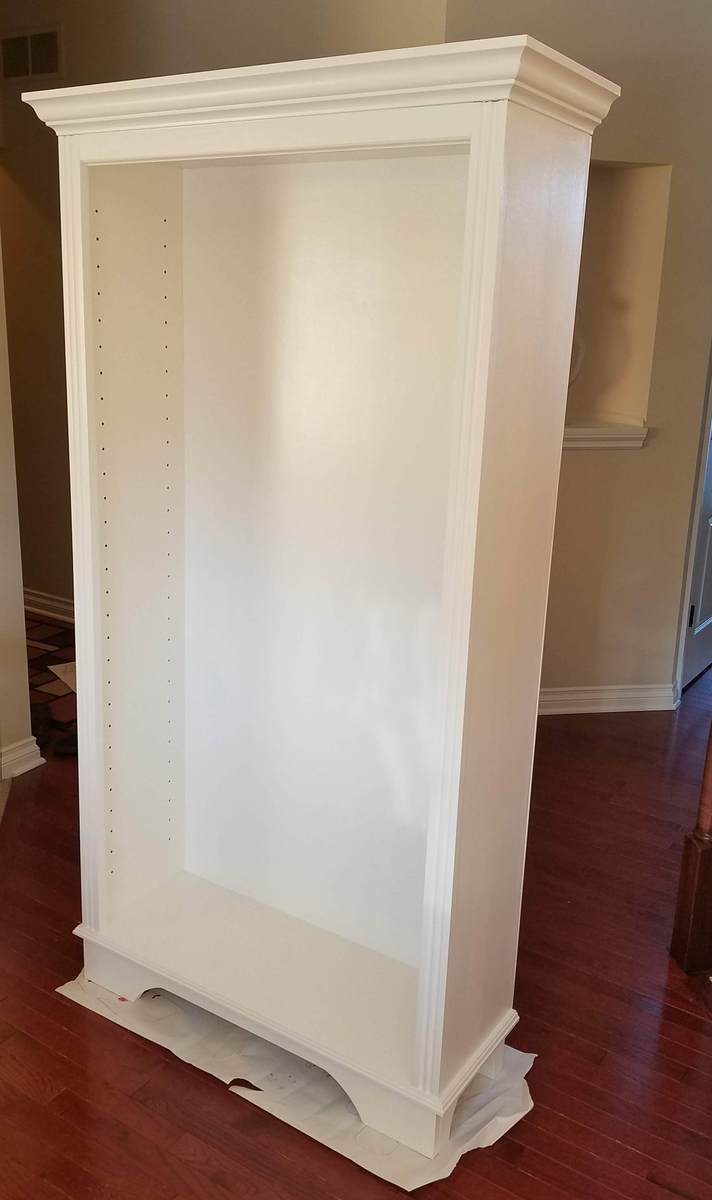
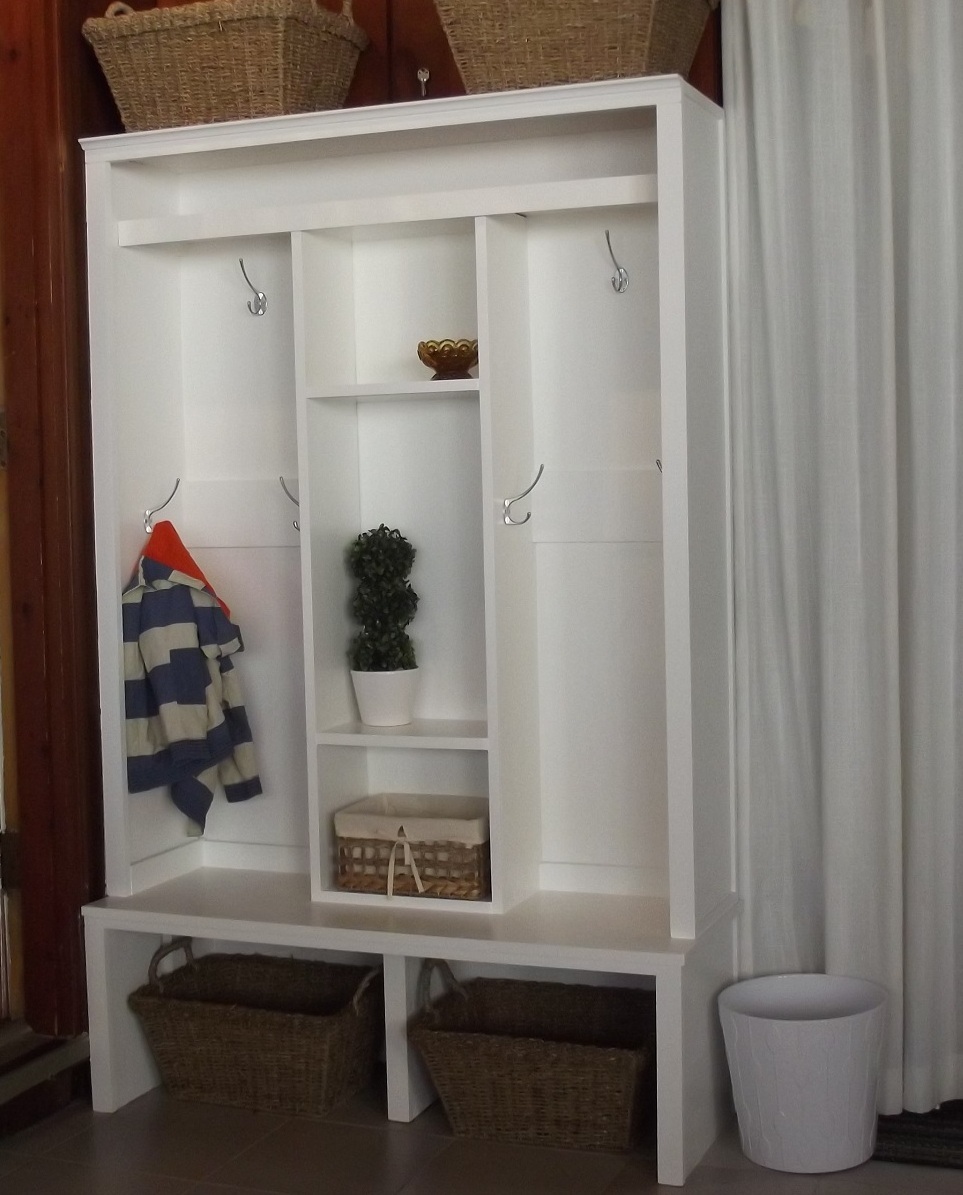
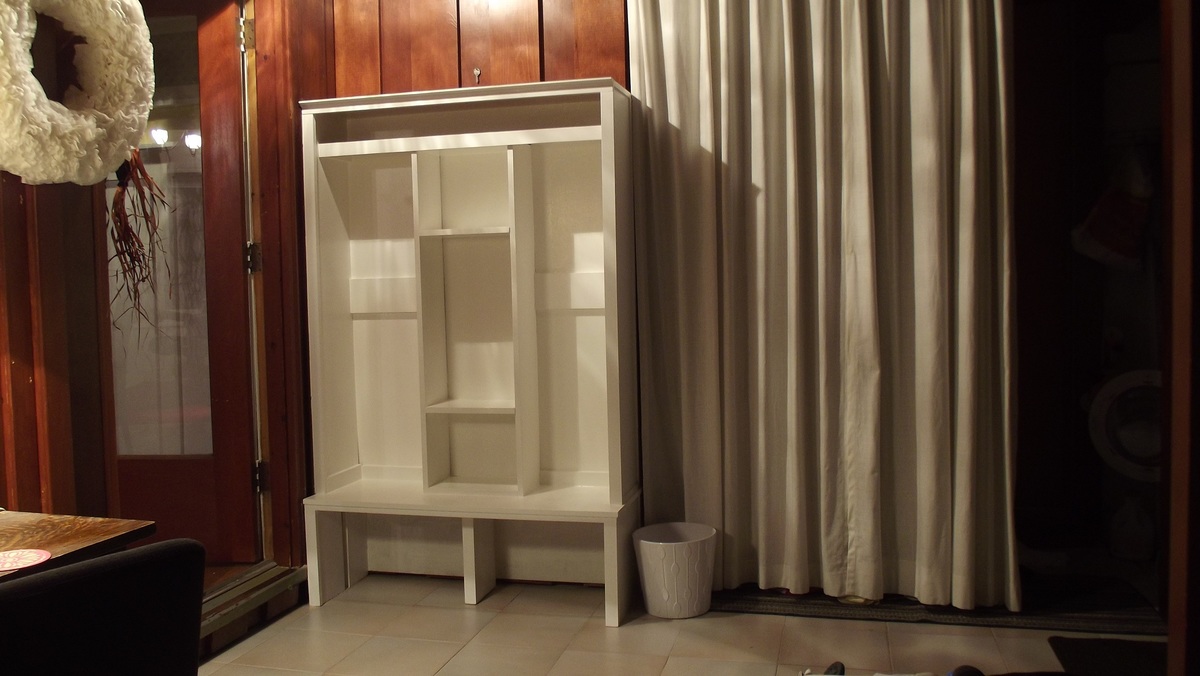
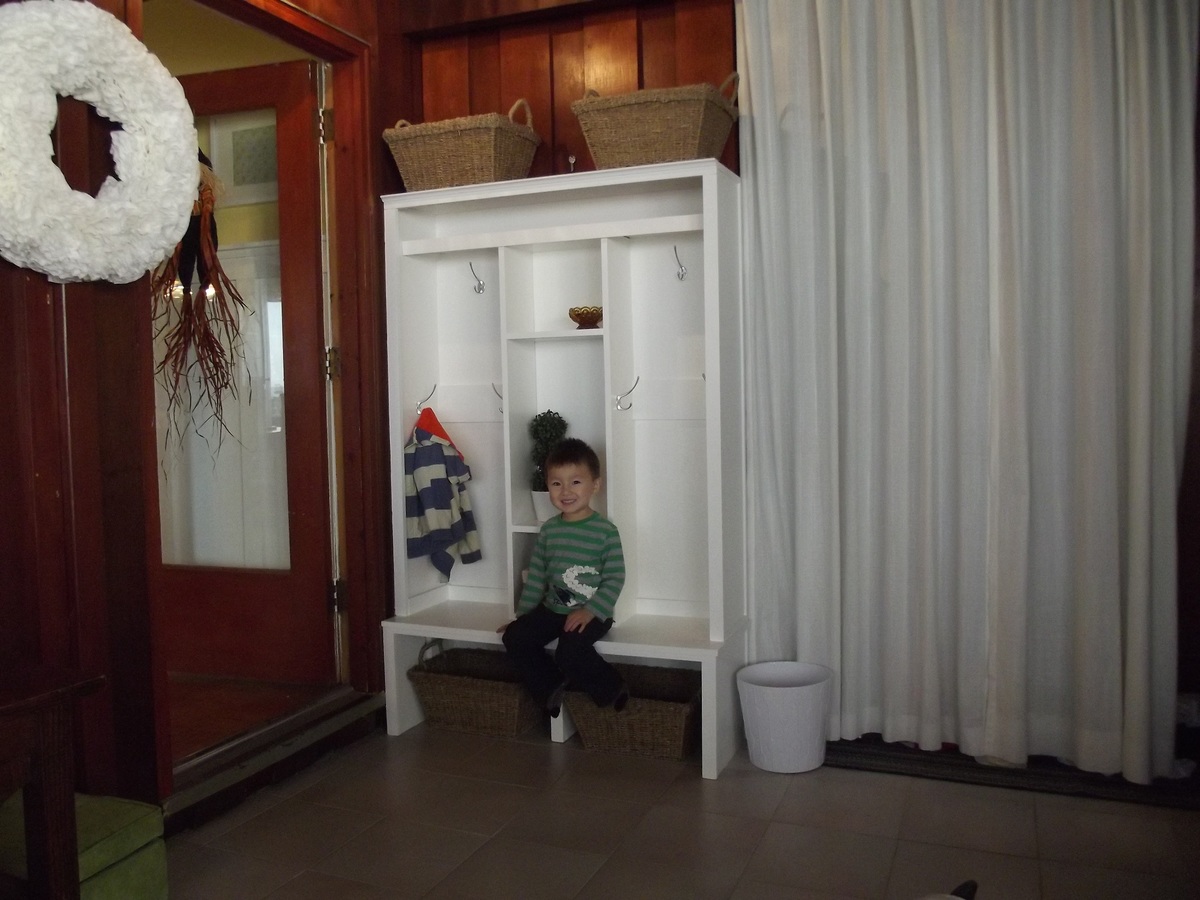
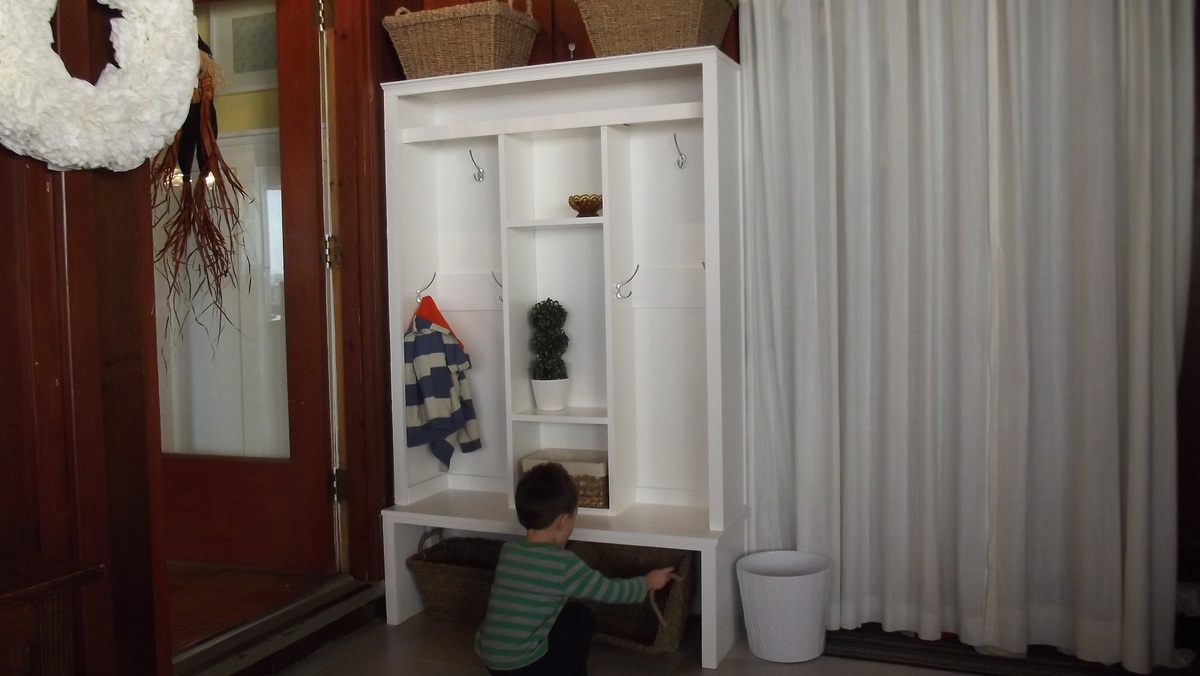
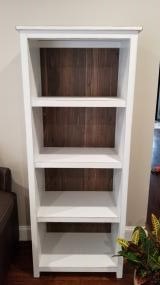
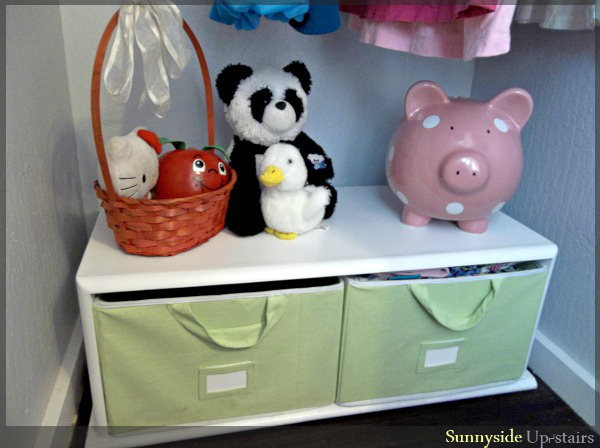
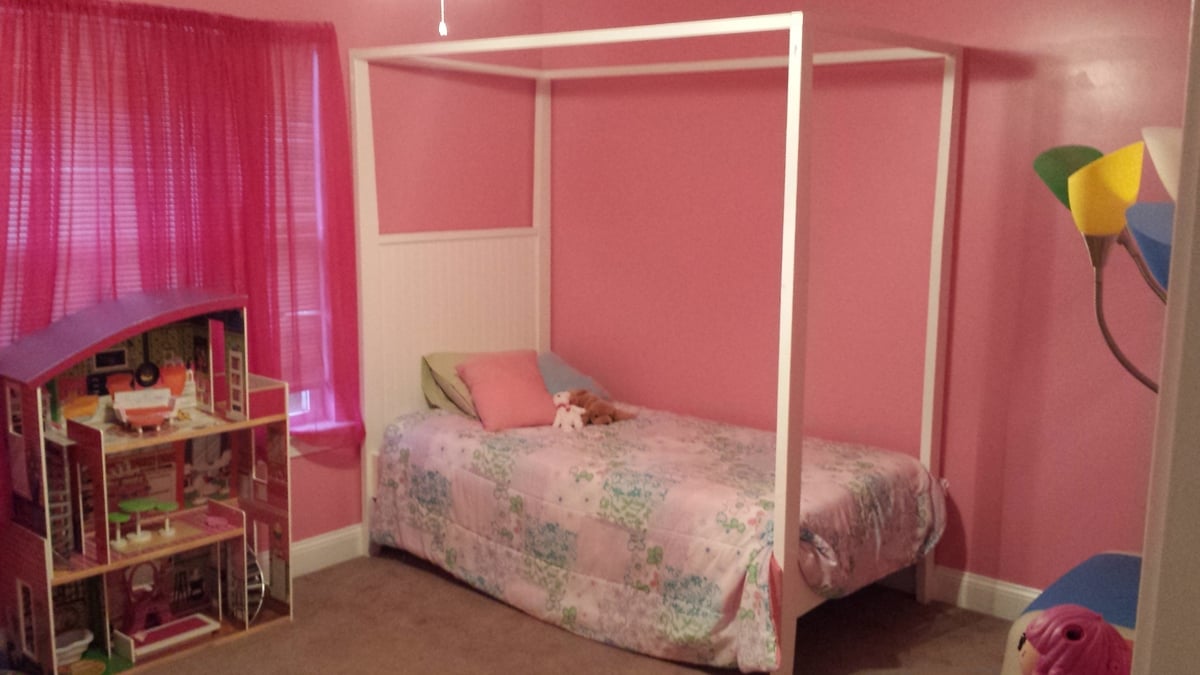
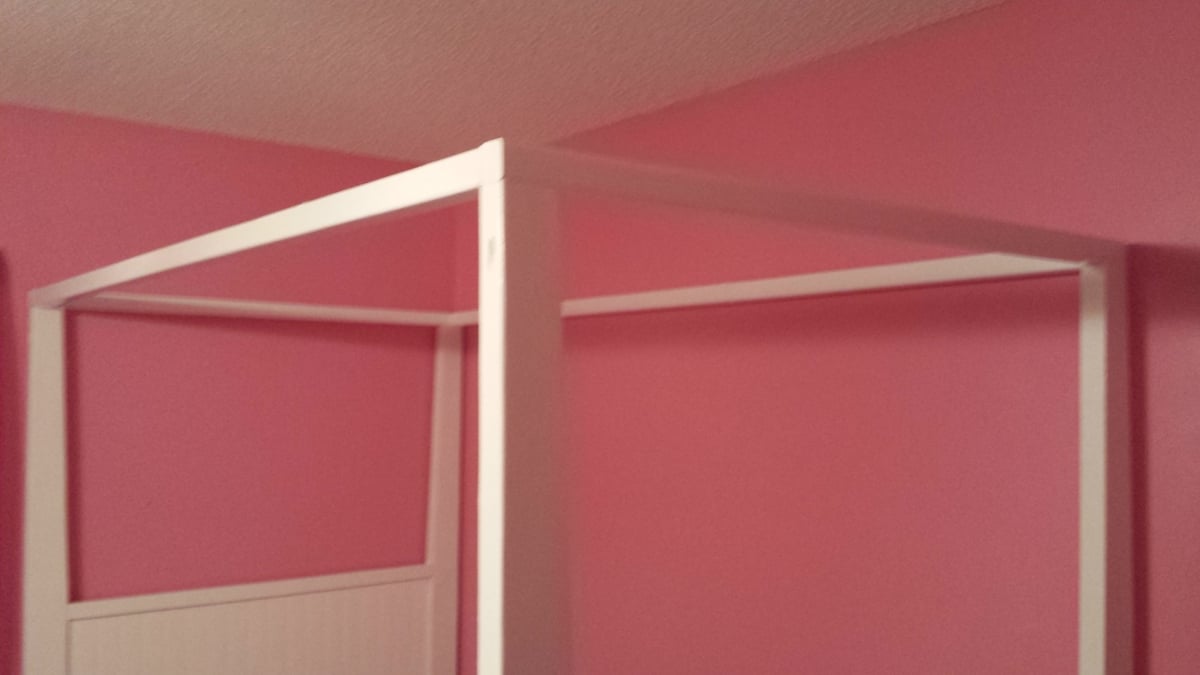
Maple Bookcase with Fluted Trim
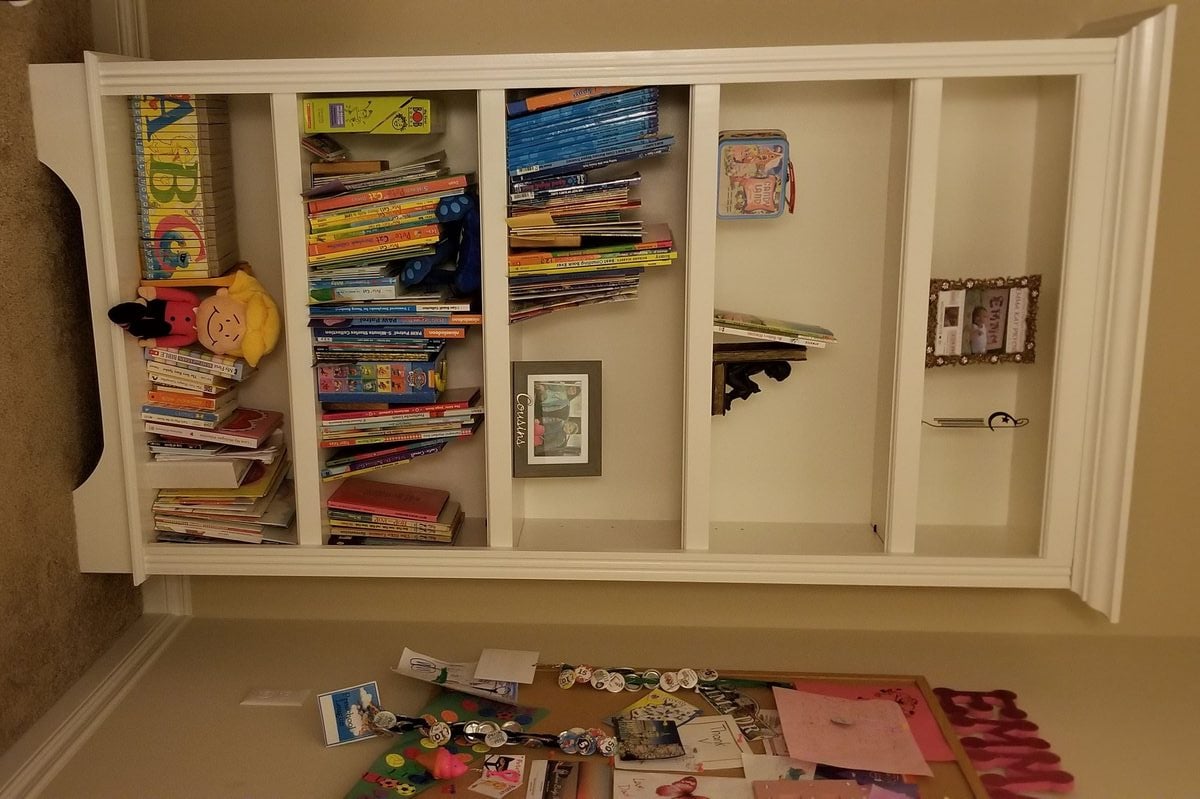
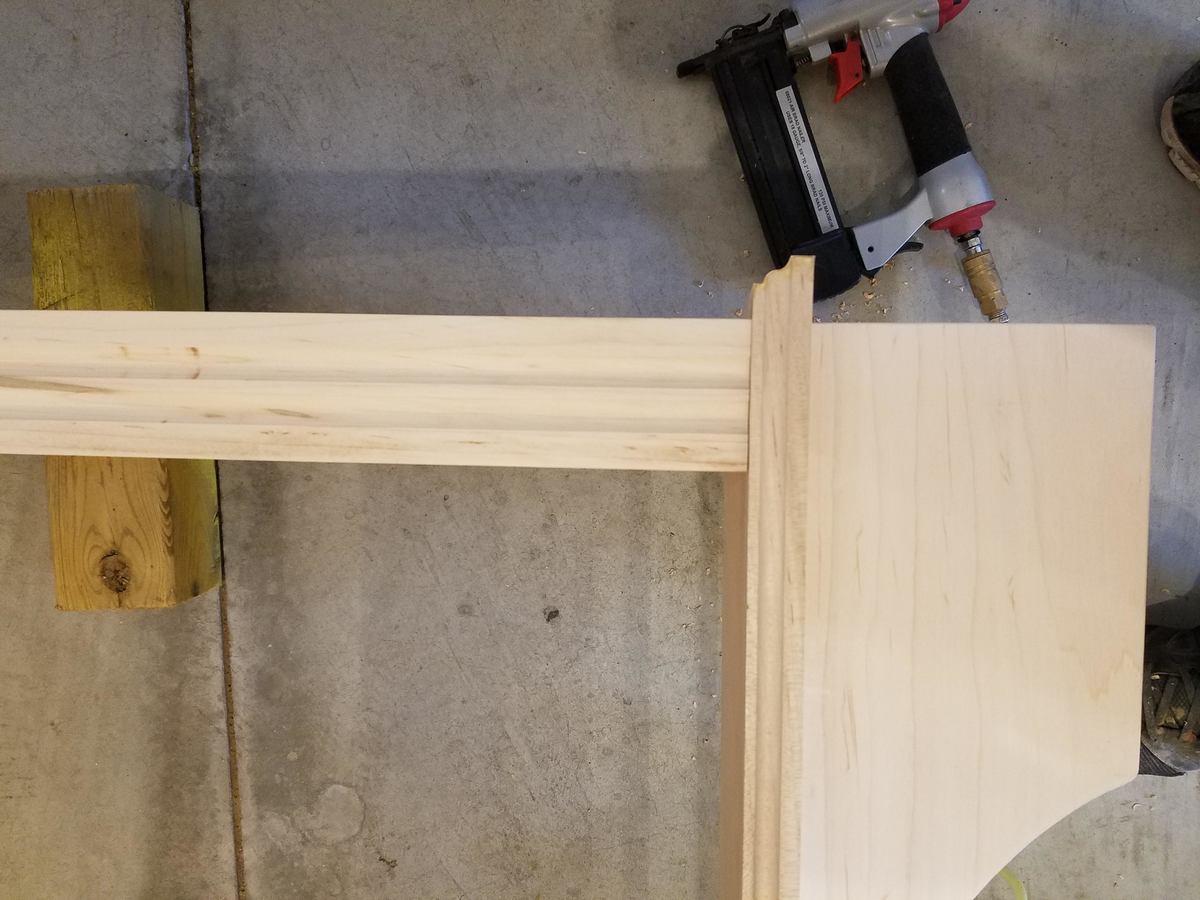
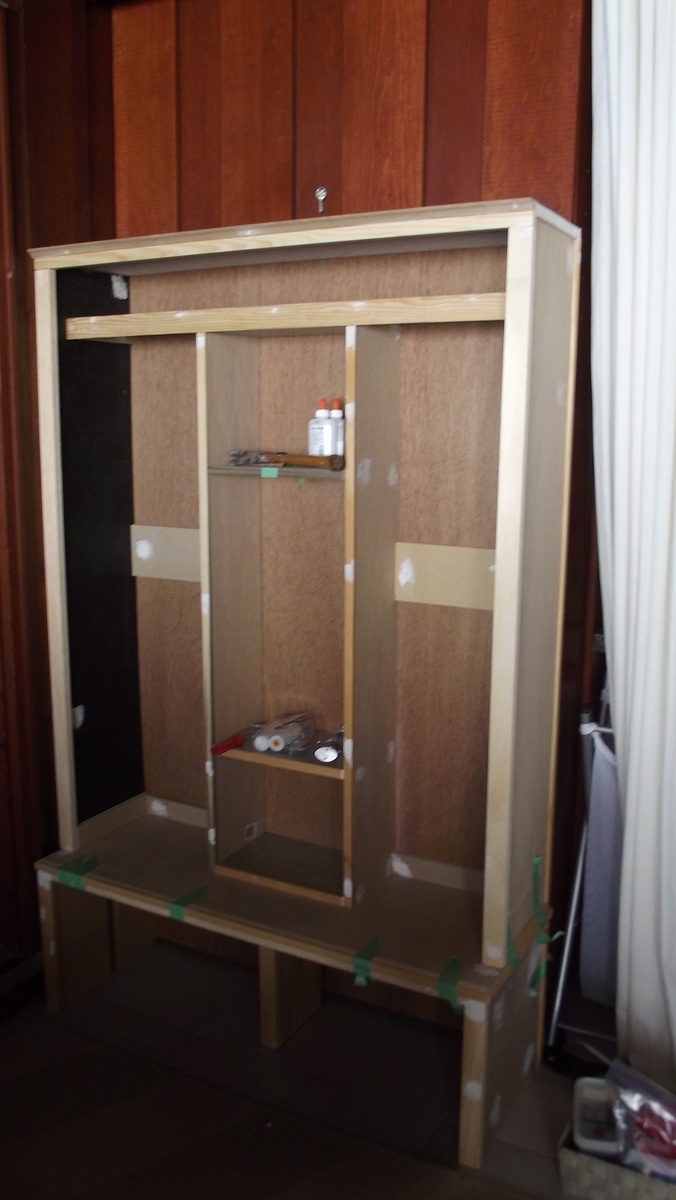
Just finished this maple bookcase with fluted trim for my daughter's room. I chose all maple trim even though it's painted because I wanted a good hardwood with low grain that would look good for decades to come. Full build details are on my website. Router bits used were a roman ogee and a core box bit.
Estimated Cost
100
Estimated Time Investment
Weekend Project (10-20 Hours)
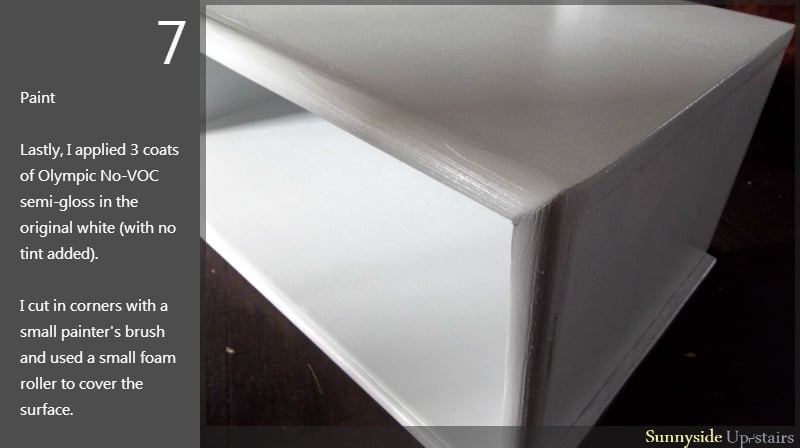
Finish Used
White Paint - Behr Premium Plus Semi-gloss
Recommended Skill Level
Intermediate


Comments
NeoMoses
Wed, 02/06/2019 - 21:21
The crown molding is store
The crown molding is store bought pine molding.