Community Brag Posts

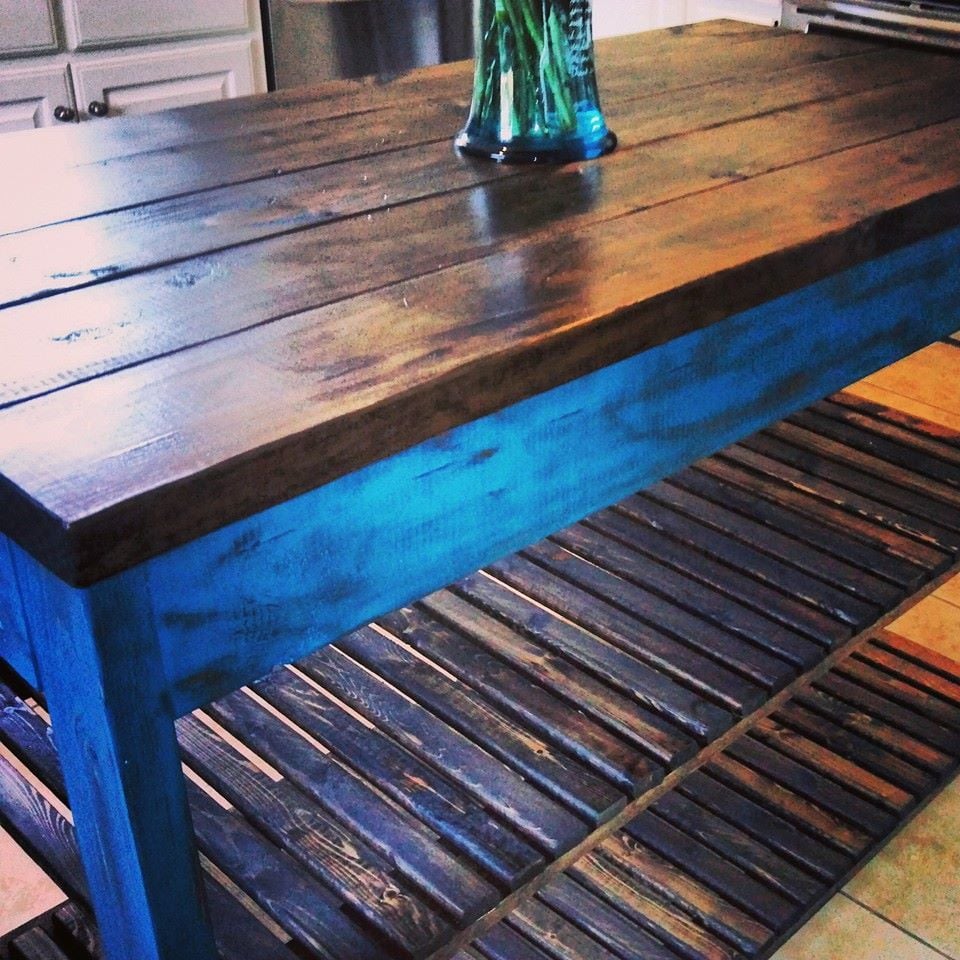
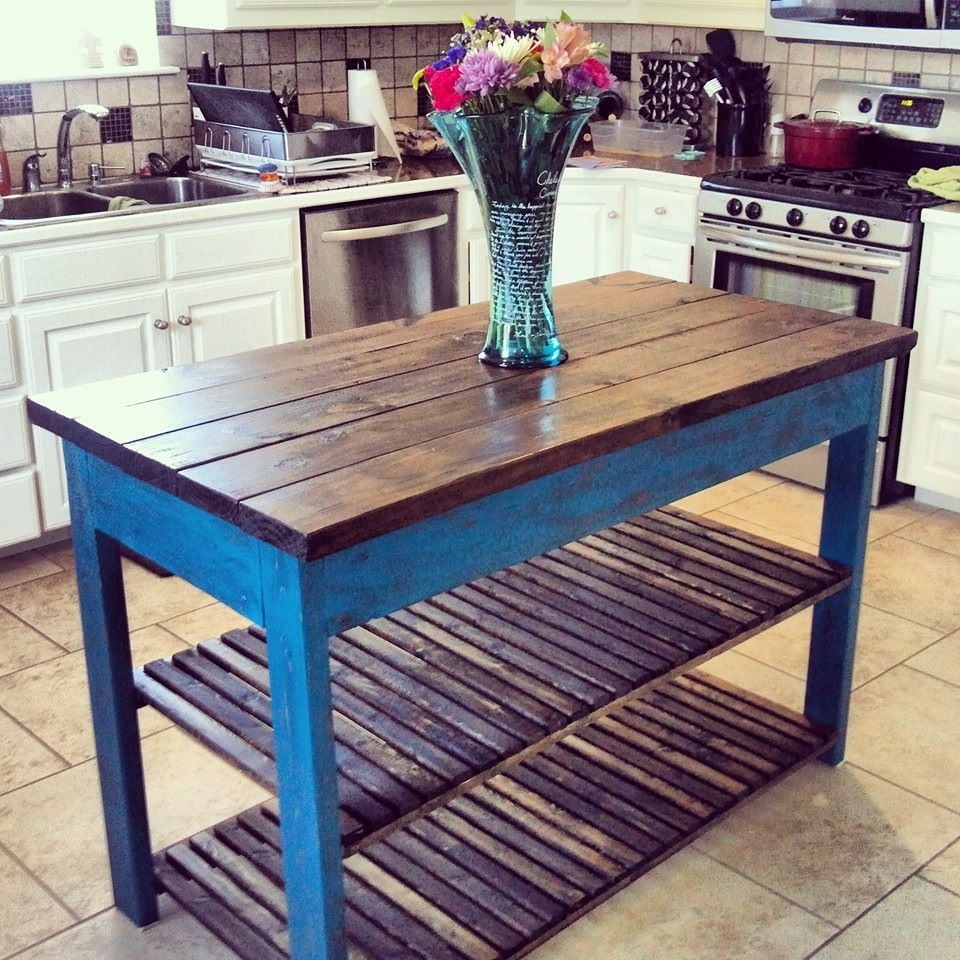
Farmhouse Table for house

Submitted by N8Heinrich on Thu, 03/13/2014 - 08:52

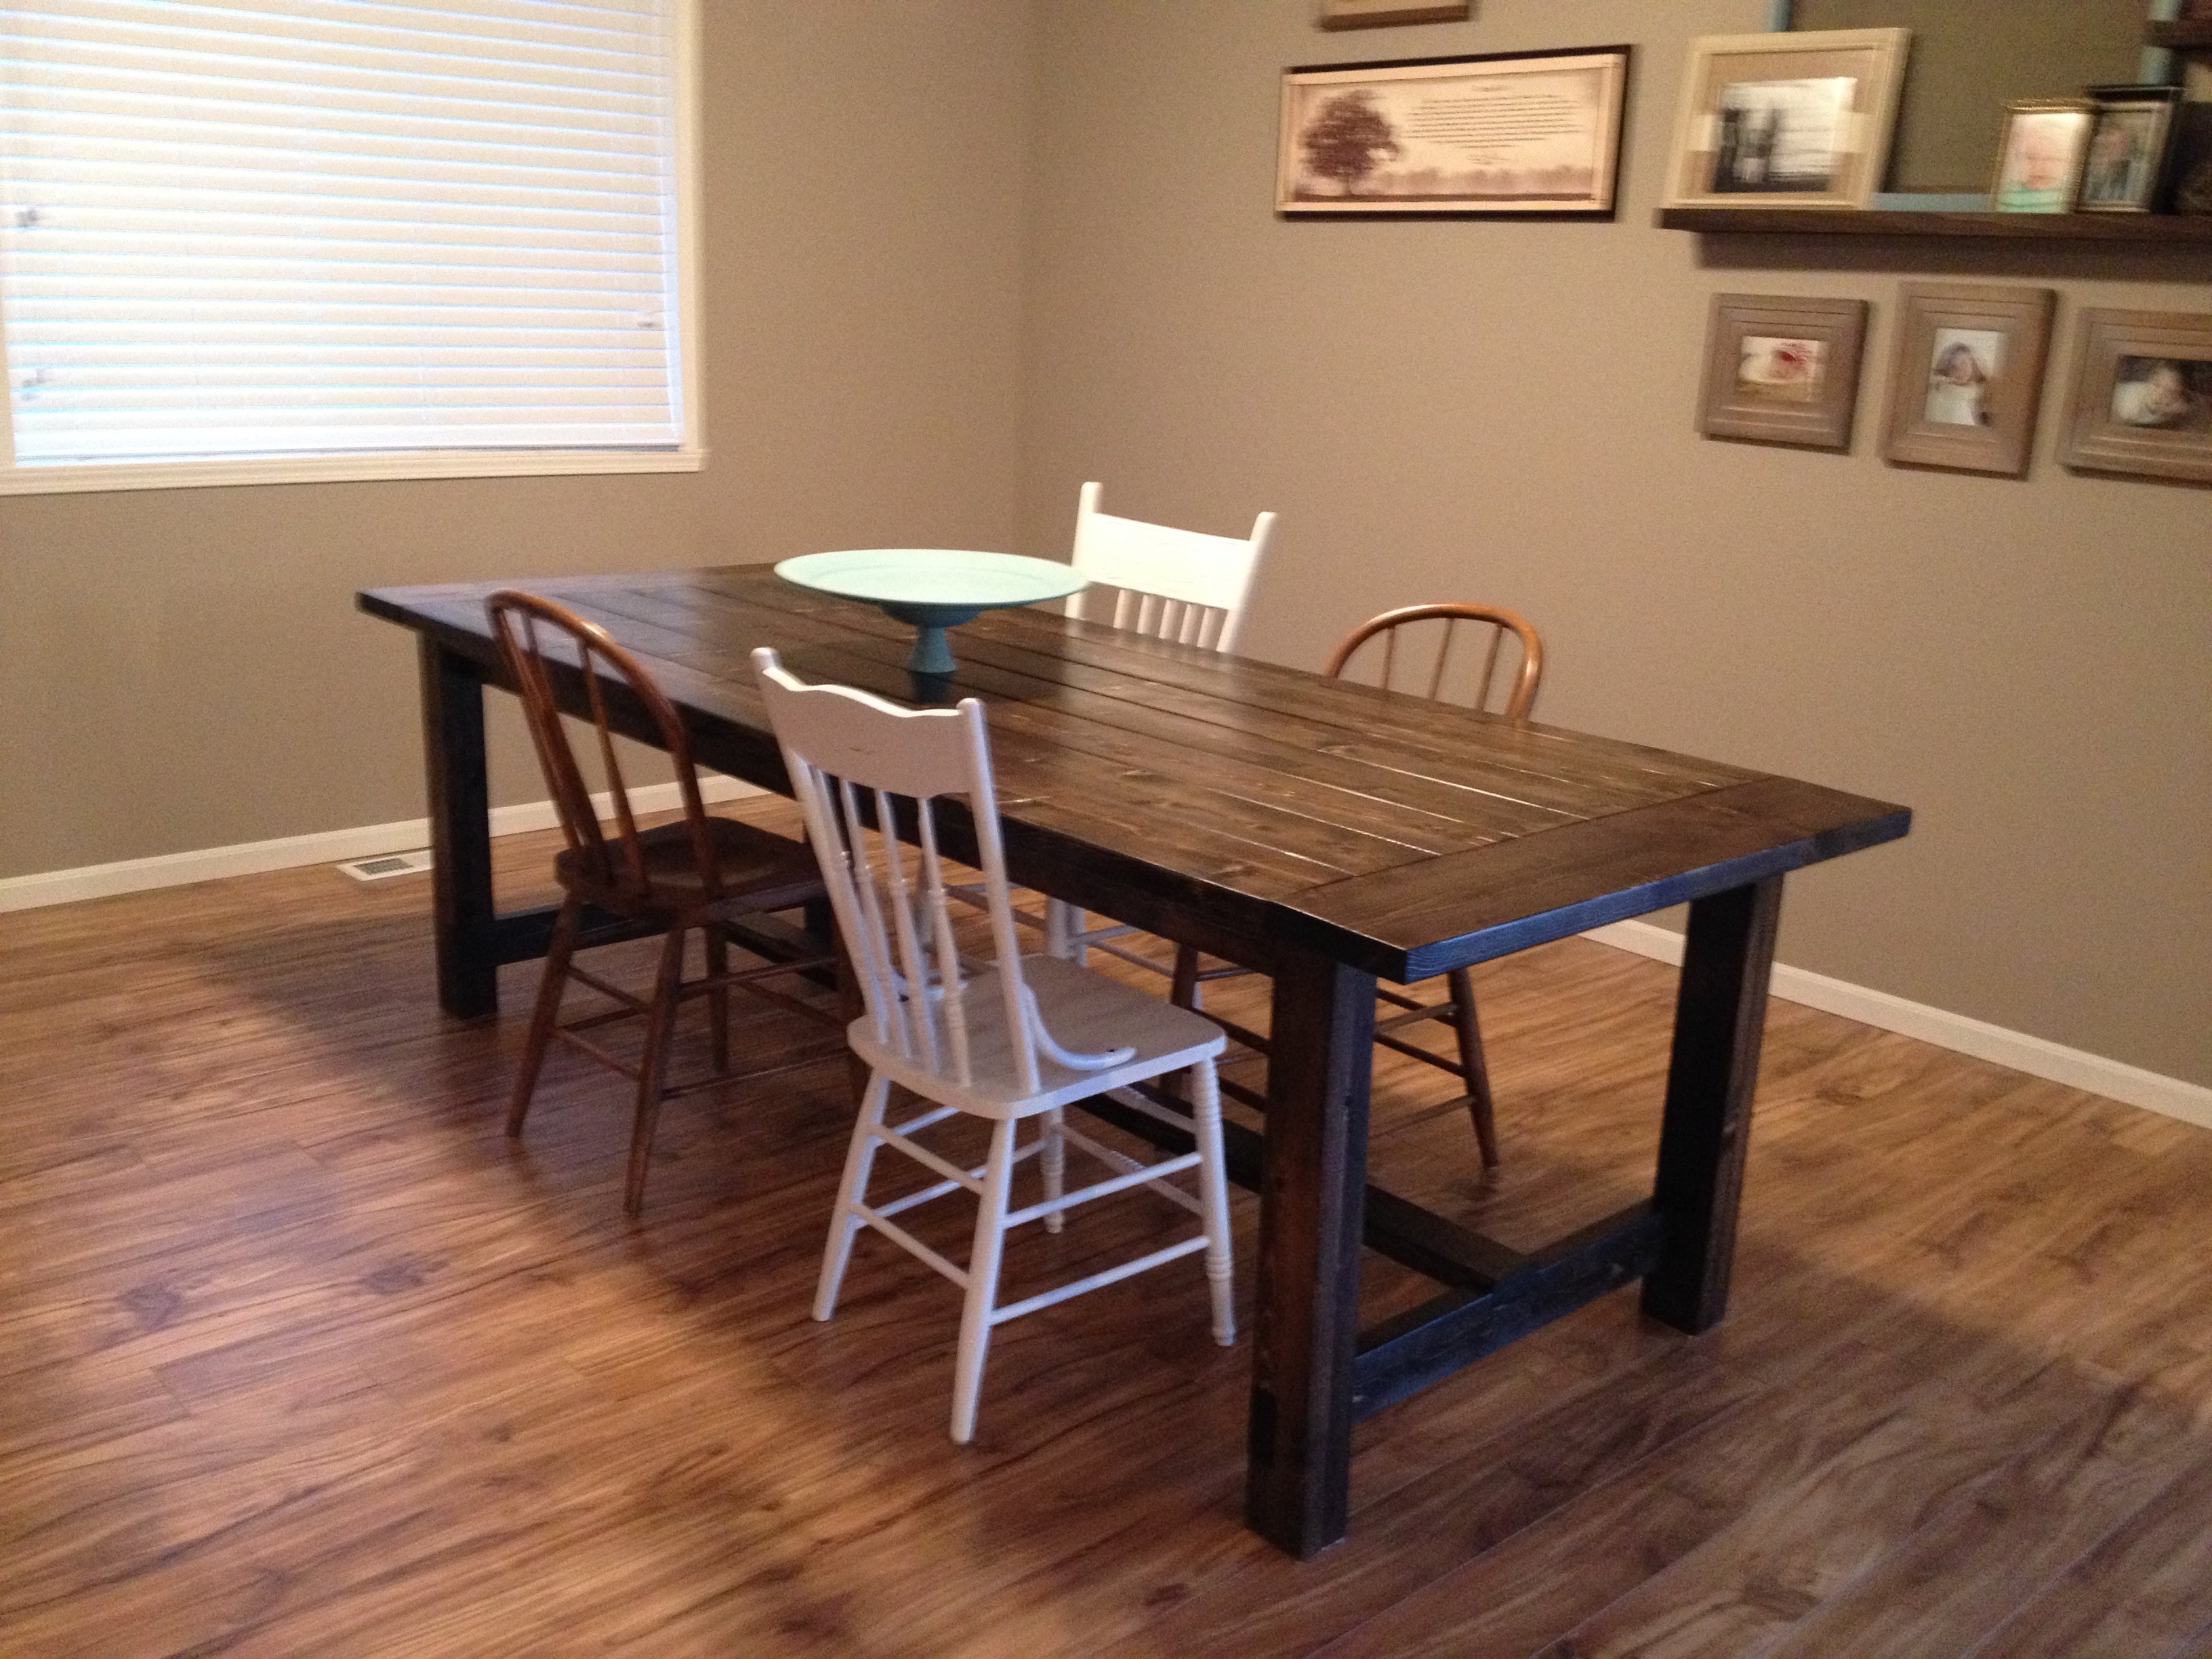
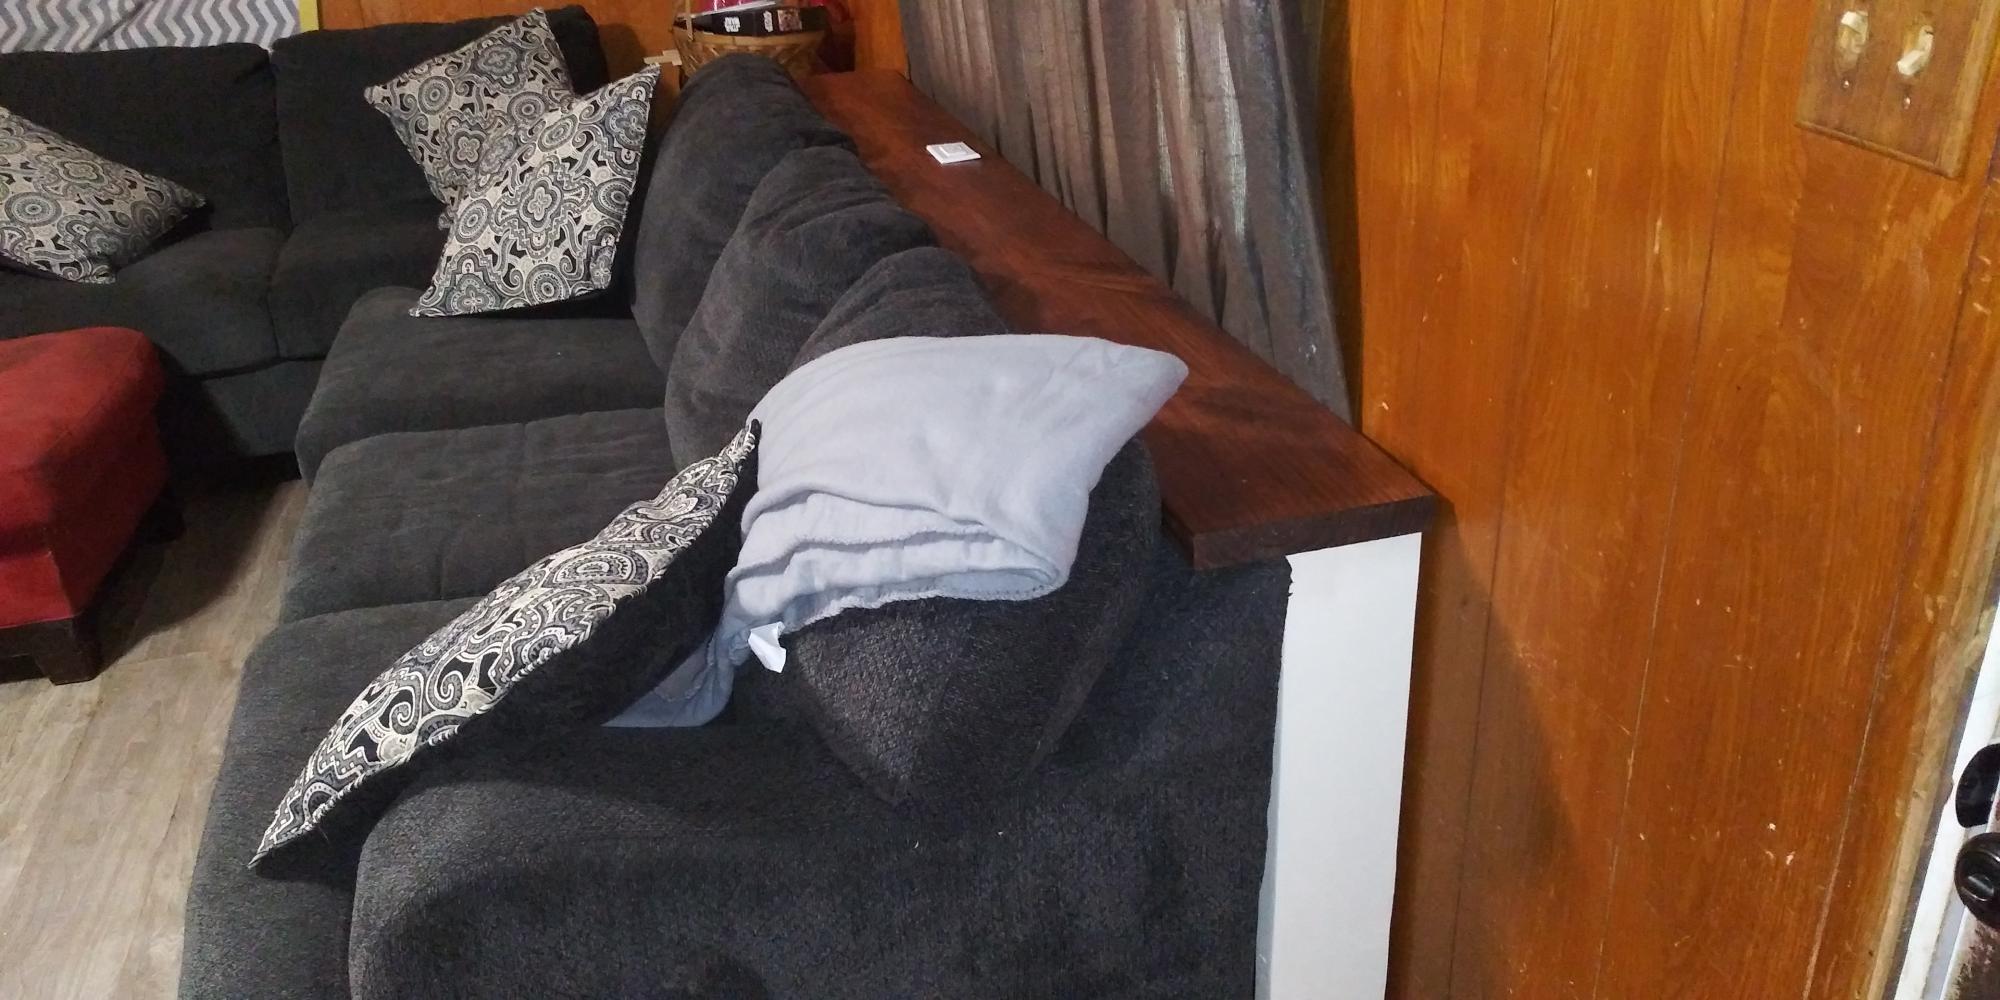
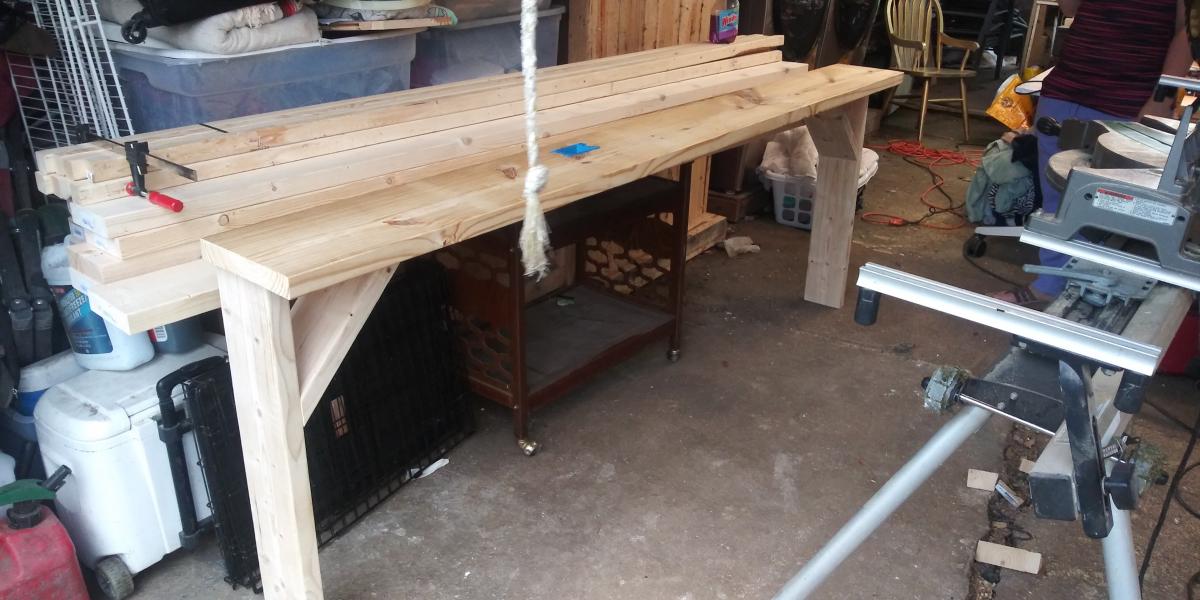
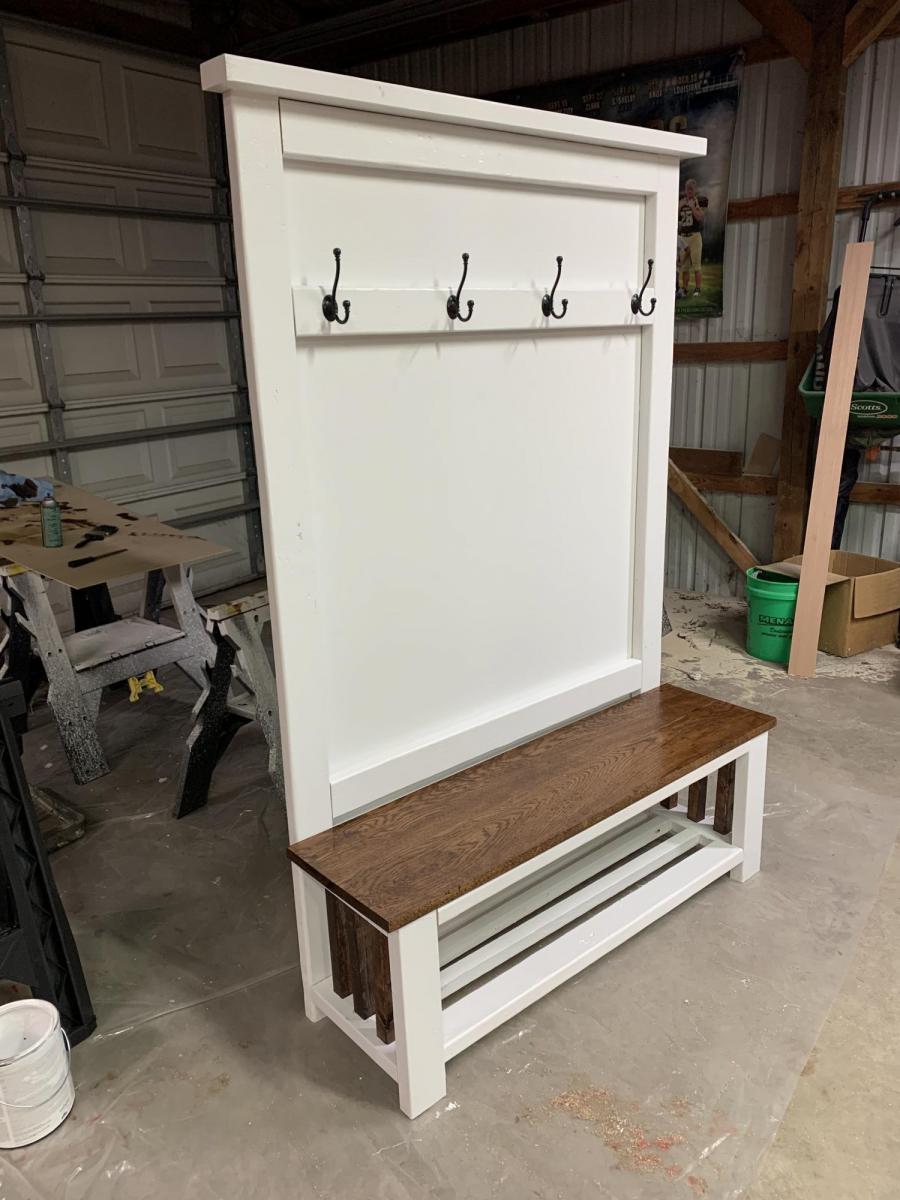
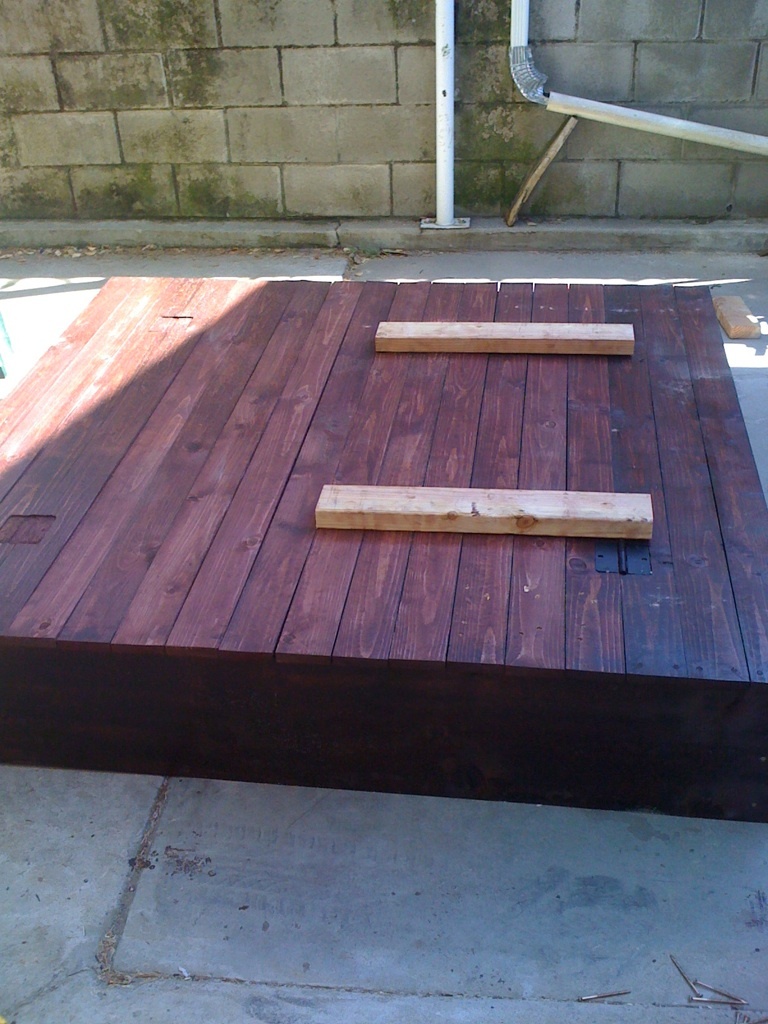
My wife wanted a new table for our dining room in our new house. I have been eyeing this project for a couple of years and finally convinced my wife that I could do it since we had the space. The plans on this site were easy to follow and I was able to really put it together. As far as the color of the stain, that is all my wife as she has the eye for colors and matching. Overall, this was a fun project and I can't wait to put the bench together next.

Estimated Cost
$150
Estimated Time Investment
Week Long Project (20 Hours or More)
Finish Used
Minwax Jacobean Stain; then 3 coats of Poly all brush applied
Recommended Skill Level
Beginner

Salsa Console

Submitted by paineda on Mon, 06/13/2016 - 08:59

There is 1x10 on the shopping list! This was the first cut to make and I realized no where does it say to grab a 1x10 board.  Other than that, the plans were great.  Definitely made some mistakes along the way but overall I am very pleased.  Thanks for the plans!

Built from Plan(s)
Estimated Cost
$350-400.
Estimated Time Investment
Week Long Project (20 Hours or More)
Finish Used
Painted two colors, brown then blue. Sanded to give it antique look and finished with polycrilic.
Recommended Skill Level
Intermediate

Sofa Table

Submitted by B.W.Martin on Thu, 04/16/2020 - 21:10

I created a sofa table and also one for the loveseat but I don't have it pictured. I used a 2" x 10" for the top and 2" x 6" boards for the legs as well as braces. Added a two outlet and two USB port socket to the table top which was wired to plug into the outlet that would be covered up. Made it so that the legs we're up against the wall allowing for the top to extend just over the back of the couch, and it allowed the two legs to keep the pets from going behind the couch.

Estimated Cost
Roughly $25 it was one 2 by 10 8ft long, one 2 by 6 8 ft long for the legs and 45 degree braces. One wall socket box, a plug, an extension cord, and then necessary items to properly wire it together.
Estimated Time Investment
Afternoon Project (3-6 Hours)
Finish Used
Eggshell antique white was used for the paint. Minwax pre stain, minwax honey stain, and minwax polyurethane.
Recommended Skill Level
Beginner

DIY Walk-in Pantry Shelving

Submitted by Greystone1 on Sat, 11/18/2023 - 12:39

Built new shelving in our 6' x 6' pantry using red oak plywood shelving and 2" x 2" red oak corner shelf supports and red oak 1" x 2" trim. Used plans modified from Ana White site.

Pat Edwards, Ashland City, TN 

Built from Plan(s)

Comments

Back Deck Furniture

Submitted by Utopia_mom on Wed, 05/30/2012 - 20:21

I started with the simple white outdoor sofa, then the factory cart table, adirondack stool, and 2 simple outdoor lounge chairs. Wow! This was my first adventure making furniture. All in all it took me about a month to make everything in my spare time. I made a few mistakes along the way, all part of the learning curve. But definitely learned so much from this site. I am forever grateful to you, Ana.

Estimated Cost
Total cost for all about $150 for all 5 pieces of furniture
Estimated Time Investment
Week Long Project (20 Hours or More)
Finish Used
I primed and painted with exterior latex (3 coats). All the furniture is on a covered back deck. I did not use cedar or any other better suited outdoor wood due to cost and the fact that all the furniture is well protected from the elements. I made the cushions for the sofa, but bought the chair cushions from Home Decorators.
Recommended Skill Level
Starter Project

Comments

Utopia_mom

Mon, 06/04/2012 - 07:10

Yes, for the factory cart I painted angle brackets black. I also painted the caster wheels that I got from Tractor Supply.

jlsillito

Sat, 05/25/2013 - 10:22

What width foam did you use for your cushions? I've been wanting to make some outdoor furniture, but the price of foam is holding me back. I've found 3" for a reasonable price, I just don't know if that will be thick enough.

Utopia_mom

Sat, 05/25/2013 - 12:17

I used a 4" foam, but I think you could easily use 3". I know foam is not cheap. I shopped online for foam suppliers and found a pretty good deal... much cheaper than local fabric stores.

VC

Sat, 07/13/2013 - 16:19

This is beautiful! I'm planning to make the chairs and I'm wondering if you changed the plans at all, especially any dimensions? Maybe it is just the angle, but the arms look a little lower, which I love. If you can let us know what you did, I would really appreciate it!

Thanks!

Play Kitchen

My Dad and I built this for my daughter's third birthday. It's been a big hit! I'm really happy with how it turned out.

Estimated Cost
$250
Estimated Time Investment
Week Long Project (20 Hours or More)
Recommended Skill Level
Intermediate

Comments

A Little Longer

I followed plan but added 20 extra inches and an extra woven insert plus an extra brace in center of seat.

Built from Plan(s)
Estimated Cost
Roughly $60
Estimated Time Investment
Week Long Project (20 Hours or More)
Finish Used
Coloured wood stain
Recommended Skill Level
Intermediate

Hall Tree minus rustic X

I followed the Rustic X Hall Tree plans almost entirely. I chose to replace the “X” with vertical posts, though I may use the X in a future project. The bench top is two 1” thick oak boards milled at my farm. Love the contrast of the white and stained oak. The plans were perfect!

Built from Plan(s)
Estimated Time Investment
Weekend Project (10-20 Hours)
Recommended Skill Level
Intermediate

Comments

Pallet Bookshelf

Submitted by stucush on Sat, 06/02/2012 - 04:35

Pallet Bookshelf.
A great project turning old pallets into a funky bookcase.
My bookcase is slightly different than the plans that dan-k put up but that is mainly because of the type of pallet i used - there may be a difference between US and european pallets?
I recommend getting 3 pallets, all of the same size, and all in pretty good condition - which is trickier than I expected.
The wood from the 3rd pallet is used as the shelves and the supports underneath the shelves.
I really enjoyed making this, and love how it turned out.
Hopefully the photos inspire others to give it a go!

Built from Plan(s)
Estimated Cost
€0
Estimated Time Investment
Day Project (6-9 Hours)
Finish Used
wood primer and matt emulsion. I used a "Farrow & Ball" paint called 'Stoney Ground'.
Recommended Skill Level
Beginner

Distressed Paint Kitchen Island

Submitted by JD Corey on Thu, 03/20/2014 - 12:52

This is the Kitchen Island I built for my wife. I painted it in my wife's favorite color and gave it a distressed look that matched the stained wood counter top. This was also my very first Ana White project... The plans were easy to follow and I had a lot of fun building it.

Built from Plan(s)
Estimated Cost
110
Estimated Time Investment
Weekend Project (10-20 Hours)
Finish Used
American Walnut Stain
Recommended Skill Level
Starter Project

Comments

michigulla

Fri, 11/21/2014 - 23:38

Hi there! This kitchen island is beautiful!! Can you tell me what paint and color you used, as well as what finish and how you distressed it?? I love it!!

Build Michaela's Kitchen Island

Submitted by Anonymous (not verified) on Tue, 06/21/2016 - 20:08

Used ana's plan as more so a guidance. The top is made out of 3/4inch hard maple planks glued/clamped together. The harder part was then planing the top down to ensure the top was relatively flat. All the other wood was pine.


The slats were stained golden oak and incurred 1 coat of polyurathane. Really love this piece. 

Estimated Cost
The maple planks costed a bit. Total was probably $200
Estimated Time Investment
Weekend Project (10-20 Hours)
Recommended Skill Level
Advanced

planked wood sideboard

Based my cabinet on the planked wood sideboard but moved away from using the tens of pocket screws the project called for. I also used hidden hinges so my doors do not enter into the cabinet. I cut and glued multiple boards to make my top after using my planer. But soft close drawers and hinges on the unit. Also installed baskets with soft close for the bottom of the 2 side cabinets. Turned out pretty good. Super heavy though which well built items will be. Routed my door and table top edges for style. Wife loves it.

Estimated Cost
500.00 counting hardware and sanded plywood
Finish Used
table used golden oak stain

Comments

Outdoor Canopy Daybed

Submitted by maw0130 on Tue, 06/05/2012 - 18:45

I asked for labor on Mother's Day and my two sons and I built the daybed in about 6 hours. I used treated wood. They did not have treated 1x3s so we used 1x4s instead. Waiting on it to cure before staining. It was a great Mother's Day!

Update: I added a crossbar and put a light up. Now I can use it anytime of day! So excited because there are so many options. Can't wait to build even more. Great plans!

Built from Plan(s)
Estimated Time Investment
Afternoon Project (3-6 Hours)
Finish Used
unfinished
Recommended Skill Level
Beginner

Comments

birdsandsoap

Wed, 06/06/2012 - 00:01

Looks like you had a great mother's day and now you have a beautiful retreat for every day! The mosquito netting makes it look so neat.

Entrance Cabinet

Submitted by AndyH on Tue, 04/01/2014 - 19:55

First project from own design and wanted to share as pretty pleased with how it turned out. Sides are 4 by 2s with a routed 45 degree grove on each edge to give some detail. Wanted to make the drawers stand out so I added the edging detail.

Estimated Cost
$220
Estimated Time Investment
Week Long Project (20 Hours or More)
Finish Used
Minwax pre stain. Minwax Ebony - 2 coats. Minwax Poly Satin - 2 coats.
Recommended Skill Level
Intermediate

Fancy Hall Tree, scaled down

I scaled down the fancy hall tree plans to 39" wide to fit along our entry way wall. I also added shelves for shoes. It was a great birthday present for my wife, thanks Ana! 

Built from Plan(s)
Estimated Time Investment
Week Long Project (20 Hours or More)
Finish Used
Minwax classic grey 271 oil stain, and minwax polycrylic sealant.
Recommended Skill Level
Intermediate

Rustic Bedside Tables

Made these rustic style bedside tables for my master bedroom. I used the Reclaimed Wood Bedside Tables plan, but modified it to make it a little wider- to 24" top width. I wished the plan had exact plans for the drawers, but I made do without them, and all in all, they turned out fantastic! I used pretty heavy duty 100 lb drawer slides, and used 1x6's for the entire drawer square (backer board for the bottoms). I wanted the slides to be able to handle the extra weight, plus all my books etc that will fill the drawers. I used standard spruce/pine from the store, but ripped my own 2x2's and 1x2's from 2x4's and 1x4's. I liked the crosscut look to stay, so I only sanded them minimally. The hardest part was putting on the top from underneath, as I didn't want my tops to have the nail holes in them, but my trusty brad-nailer came to my rescue!
It was a good day or two project by the time I got them built, stained (with Minwax Espresso), and sealed with (Minwax Poly-Acrylic).

Estimated Cost
$160 CAD
Estimated Time Investment
Weekend Project (10-20 Hours)
Finish Used
Minwax Espresso Stain, Minwax Polyacrylic
Recommended Skill Level
Intermediate

Comments

Wainscoated Hallway Upgrade

Submitted by Anonymous (not verified) on Mon, 12/04/2023 - 08:41

We moved into our new home. The hallway looked dark and gloomy. I decided wainscot the hallway. I brought 2x6 and 2x8 for hallway. Started installing on the wall and framed out the wall after completing the wainscot still didn’t look to my satisfaction. I then changed the carpet and installed laminate flooring. Everyone who comes to our home loves the look.


Sandbox :)

This sandbox is based off one on this website. We made ours 5ft x 5ft x 1ft and instead of spacing the boards out 1/2' we put them right next to each other and routered out the space for the hinges :) It looks amazing and such fun!

Estimated Cost
225.00 - With sand and we are in rural comminity so things cost little more :)
Estimated Time Investment
Weekend Project (10-20 Hours)
Finish Used
Red Mahagony wood stain and tried to use Thompsons waterseal on top.- was not working! LOL Just brushed the stain on!
Recommended Skill Level
Beginner

Wishing well projects

Submitted by Jason48 on Thu, 04/03/2014 - 08:02

Started these wishing wells as only having fun and for family it seems now that it is going to be a little more than I thought now taking orders from family friends

Estimated Cost
120.00
Estimated Time Investment
Week Long Project (20 Hours or More)
Recommended Skill Level
Intermediate

Comments

In reply to by Jason48

crafty_love

Tue, 11/19/2019 - 07:33

I love the wishing wells, but I can;t find a plan.  My mom has wanted one of these forever! She now has stage 4 squamous cell carcinoma Stage 4 and I would love to build her one before it is too late.

Sports theme Adirondack Chairs

Submitted by Anonymous (not verified) on Tue, 06/28/2016 - 11:20

 These chairs turned out awesome!!! Go Royals! Go Tigers! The step-by-step directions were great and easy to follow. We went with a fun twist on the Royals chair by cutting out the top with the scroll saw to look like the crown. Turned out great, couldn't be happier with the outcome and will definitely be making more!

Estimated Cost
$50 per chair
Estimated Time Investment
Day Project (6-9 Hours)
Finish Used
decals are all hand painted which took the longest, the chairs themselves were easy to make and assemble. Great step-by-step plans! I went with the actual team colors that I found info on at our local Home Depot (the sample size paint worked great, no reason to get quart or gallon size) and applied a couple thick (but not runny) coats of polyurethane.
Recommended Skill Level
Intermediate
Back