Mud room bench
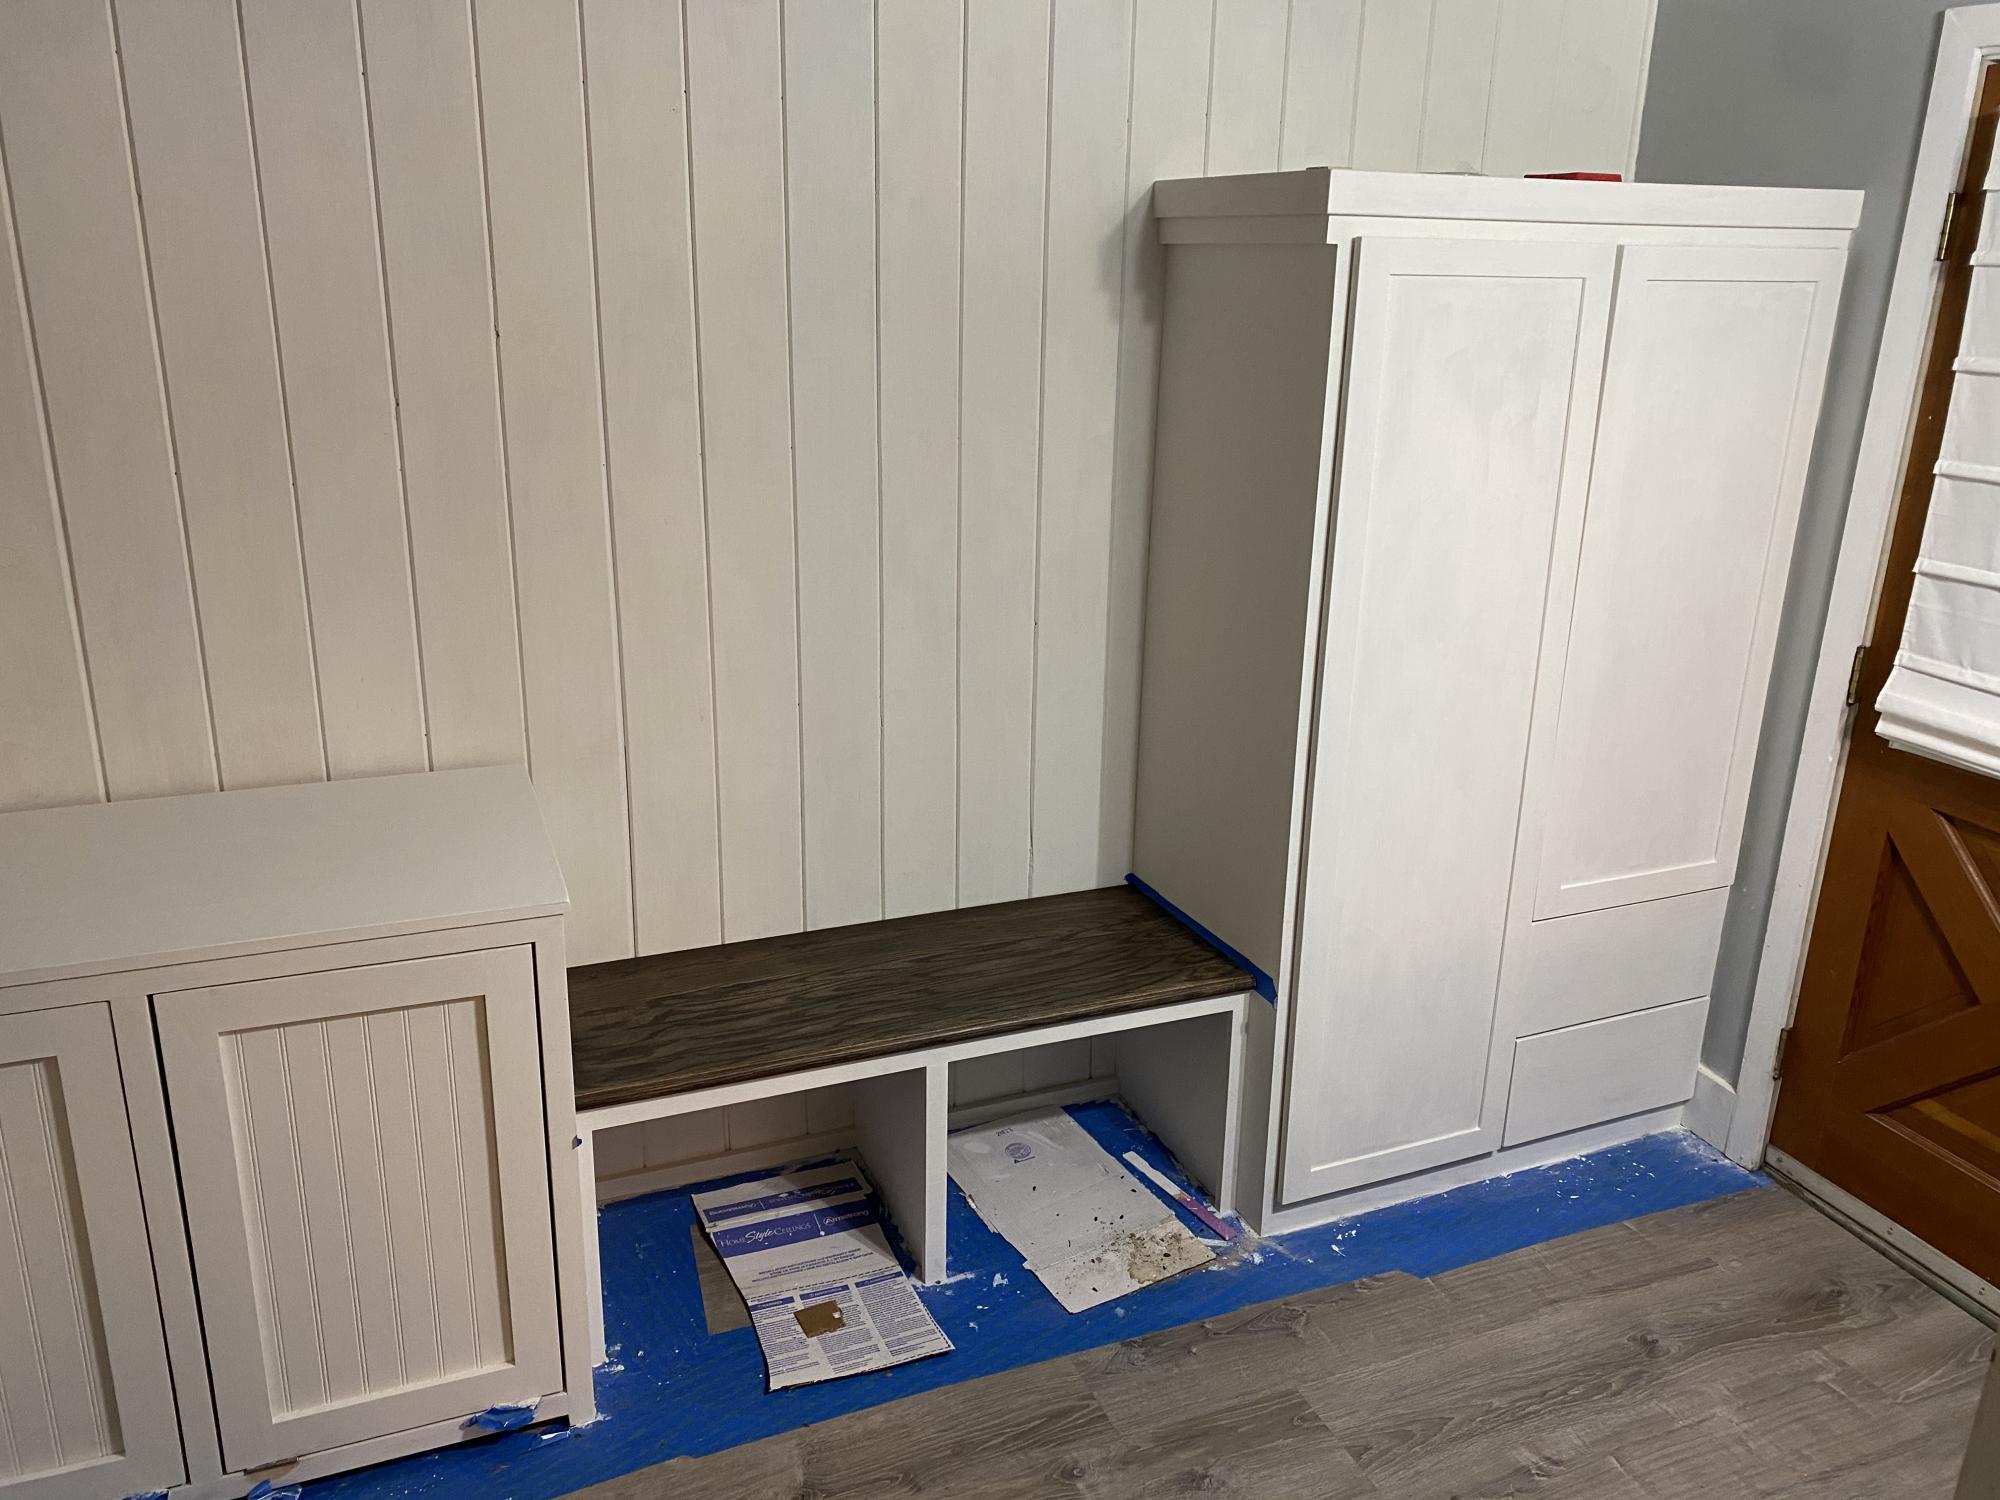
Built-in mud room bench attached to the cabinet

Built-in mud room bench attached to the cabinet
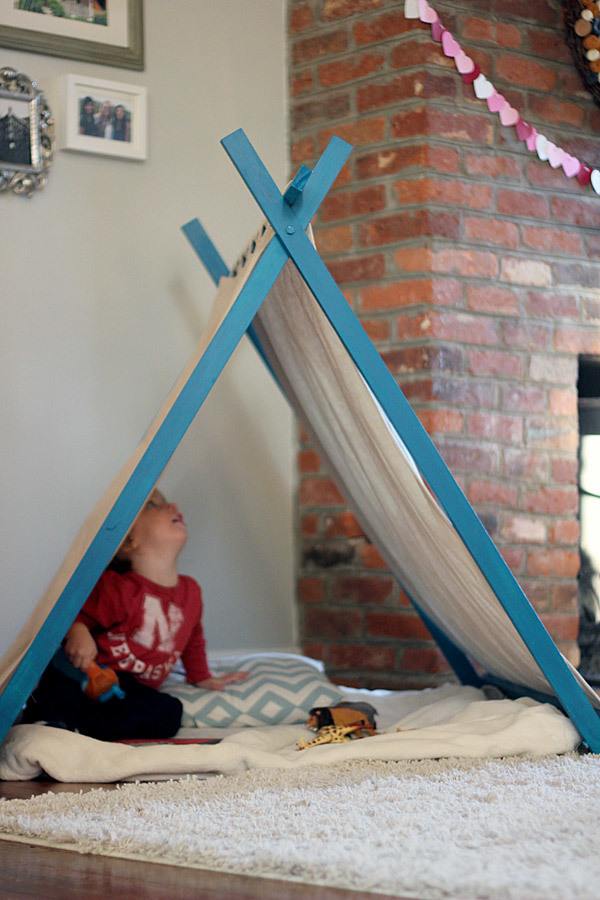
Ethan and I did a little project last week.
It’s been windy and cold outside and we’ve been running out of indoor activities. We made Valentine decor, heart-shaped food, colored, met friends at museums and toddler-rock’n-roll-playing coffee joints, played trains and kitchen and dinosaurs, read a hundred books.
One super fun source of indoor entertainment we’ve never successfully completed is building a fort.
When I was young, I was the fort-making queen. My parents had this incredible 80′s-style glass-and-metal table with huge leather and wood chairs (it was insane), each piece weighing what seemed like a million pounds—PERFECT fort building materials. Blankets, pillows, books, and toys made a wonderland of imagination for me and my friends. I remember supporting corners of blankets with this heavy old clay jug and other skull-crushing items that could have crashed down at any wrong movement. How we make it through childhood is beyond me.
I guess our furniture selection is just not fort-worthy. At least, not in the sense that doesn’t pose the risk of a chair toppling on him, undoubtedly leading to suffocation and/or a concussion.
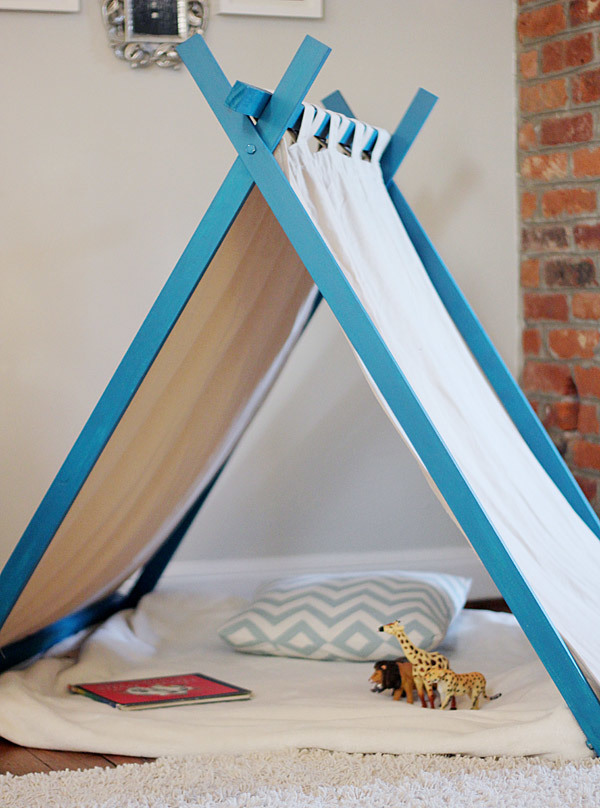
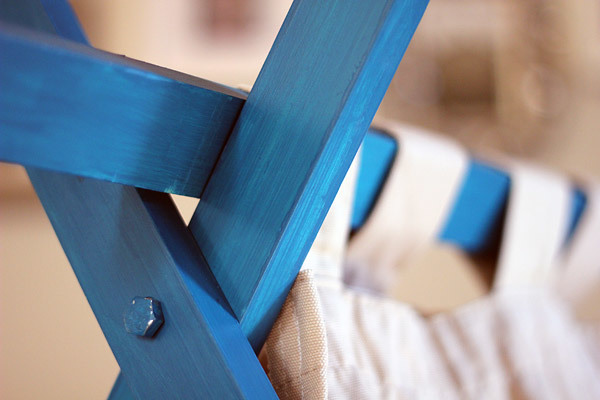
So a few minutes spent reading Ana White’s website, a little trip to the hardware store (where a visit to the “big saw” was requested only to end in wimpers of “no saw, I’m scared!”), about $25, and a little sweat later, we had a perfect little “fort” with no chance of injury, one that doesn’t need to be disassembled…ever.
We had everything cut down at the hardware store. Paint was leftover from Ethan’s train board, side panels made from Target tab-top curtains I’ve had since college. Really.
It was Ethan’s first construction project so I started him off right—with sanding.
When everything was nice and smooth, we had lunch and the Peanut hit the hay while I took out the “big mama bit collection” and started drilling. As usual, Ana’s plans were very well illustrated and straightforward…we used her oven door plan for Ethan’s kitchen and it worked perfectly.
By the time Little Man woke, we were ready for paint. I wondered if painting with a toddler was the smartest idea…but we just went for it.
He did GREAT. Thank you Ikea for the $2 smock.
As I’d feared, the (almost) finished product was about four feet too tall. It was massive in our living room!
So a few days later the Hubs helped me cut it down with our chop saw. So much for making things easy by having all the wood pre-cut. I guess Ana’s house is much bigger than ours.
My next task was hemming, narrowing, and velcro-izing the panels. With a much shorter tent, my trusty old curtains were way too long. Plus, I wasn’t so sure about Ana’s suggestion to staple curtain to tent…it seemed much too permanent What if we want to add a stamped pattern? Or a window? Or change up the fabric? Velcro seemed safer.
Sure, it’s not the fastest way, but I think it was worth the time. And my $20 craigslist sewing machine handled it like a champ.
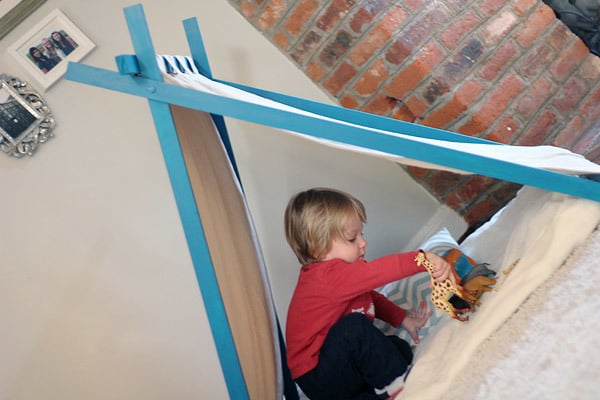
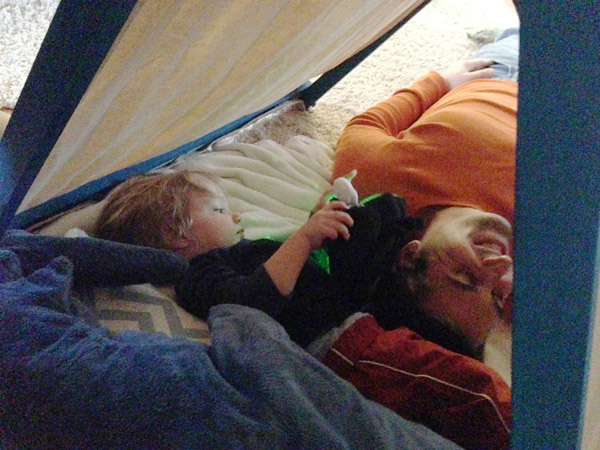
We’ve already done some good lazin’ around in the new fort. Or nook. Or tent. Whatever, Ethan seems to think it is pretty cool.
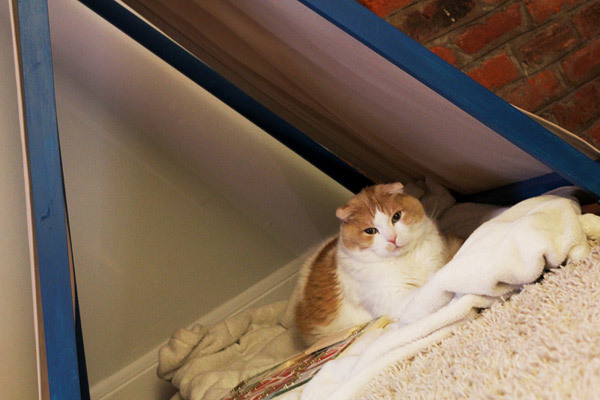
It’s also pretty popular with our furry friends.
Mon, 06/10/2013 - 12:19
So, I'm curious how long and tall everything ended up. I'm thinking I need a smaller version of the original also, and yours looks just perfect. How long are the boards now? And how tall is it?
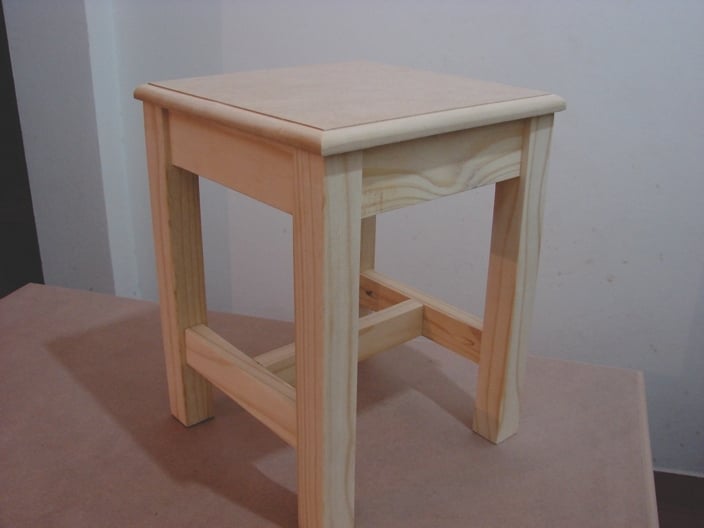
In my country there aren't Kreg jigs; i.e. no Kreg jig, no pocket holes. I obtained a Kreg Jig mini and this is my first build (really, I made four of them)
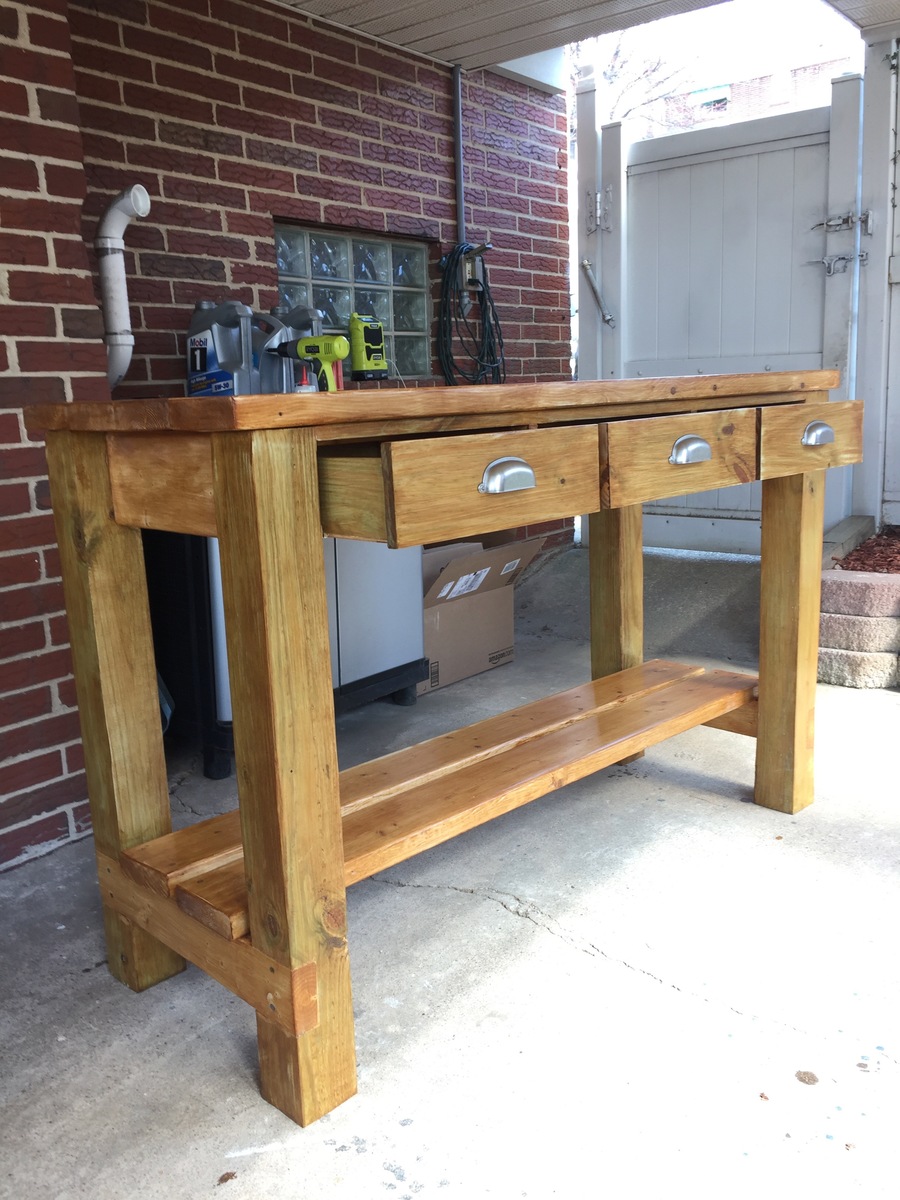
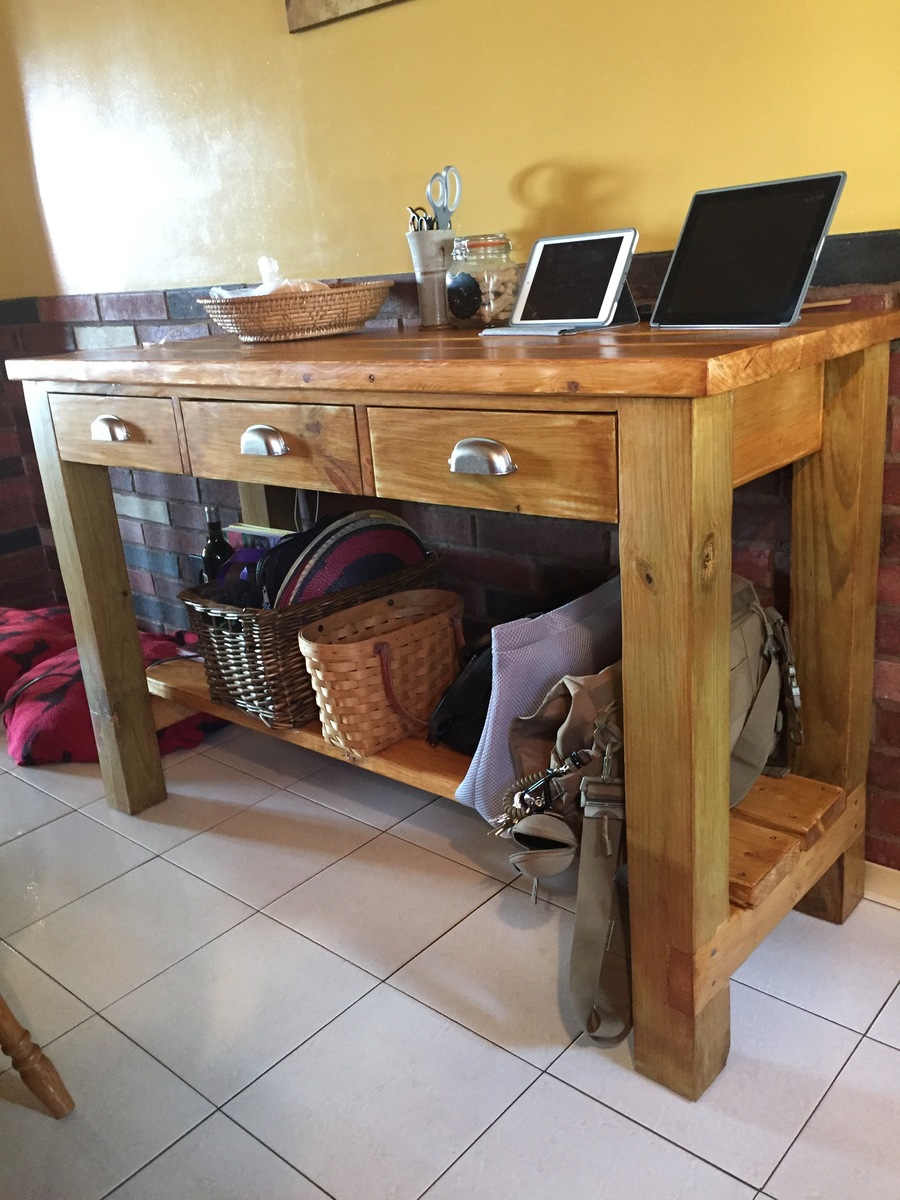
using the gaby kitchen island plan from ana white I built this over 2 weekends, taking my time! We needed a new, larger side wall island for our laptops, phones, junk, etc and we couldnt love it more. The martha stewart drawer pulls add a nice touch and it all came together quite nicely for our purposes. Thanks so much for taking your time to post such great plans!
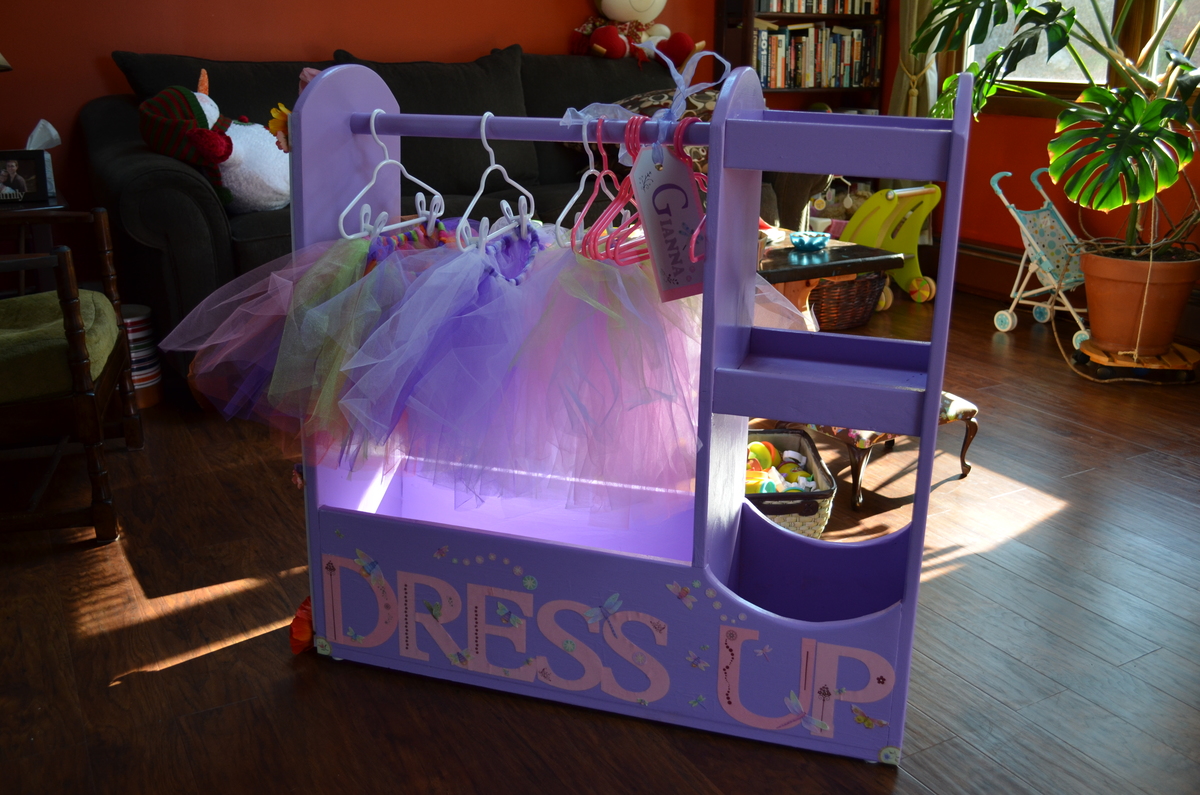
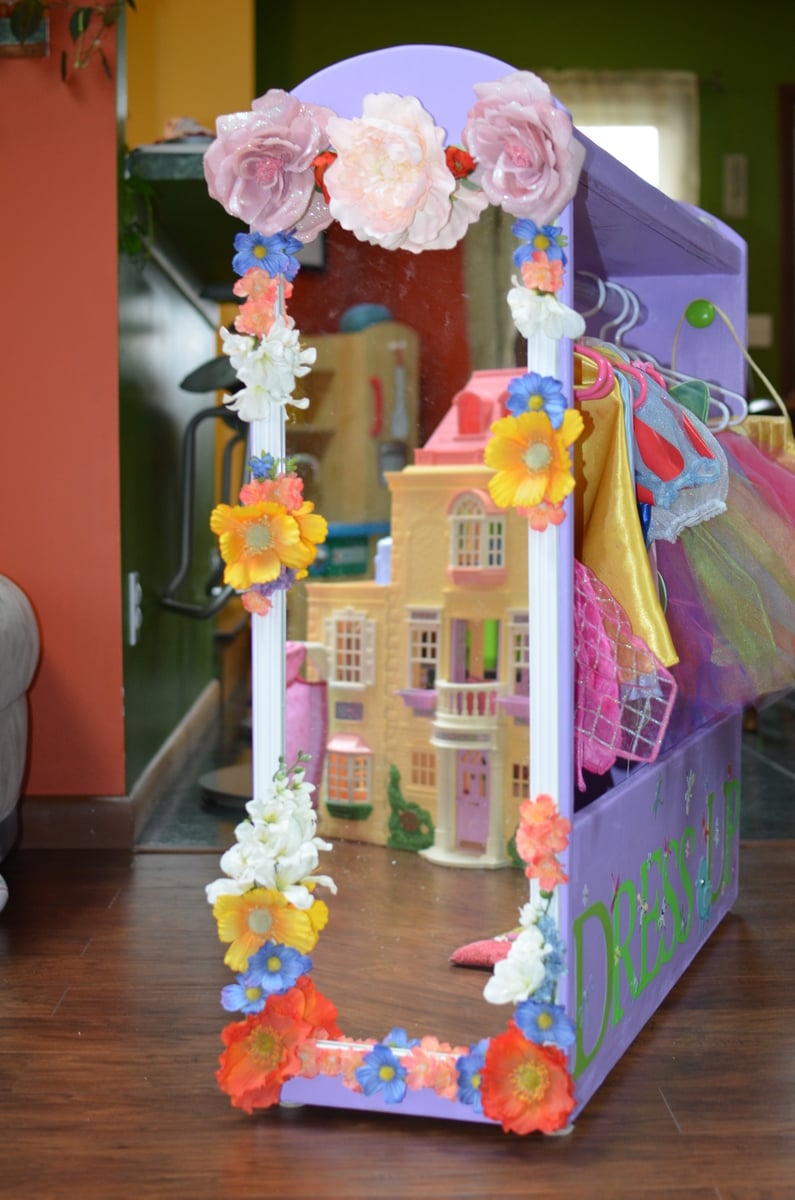
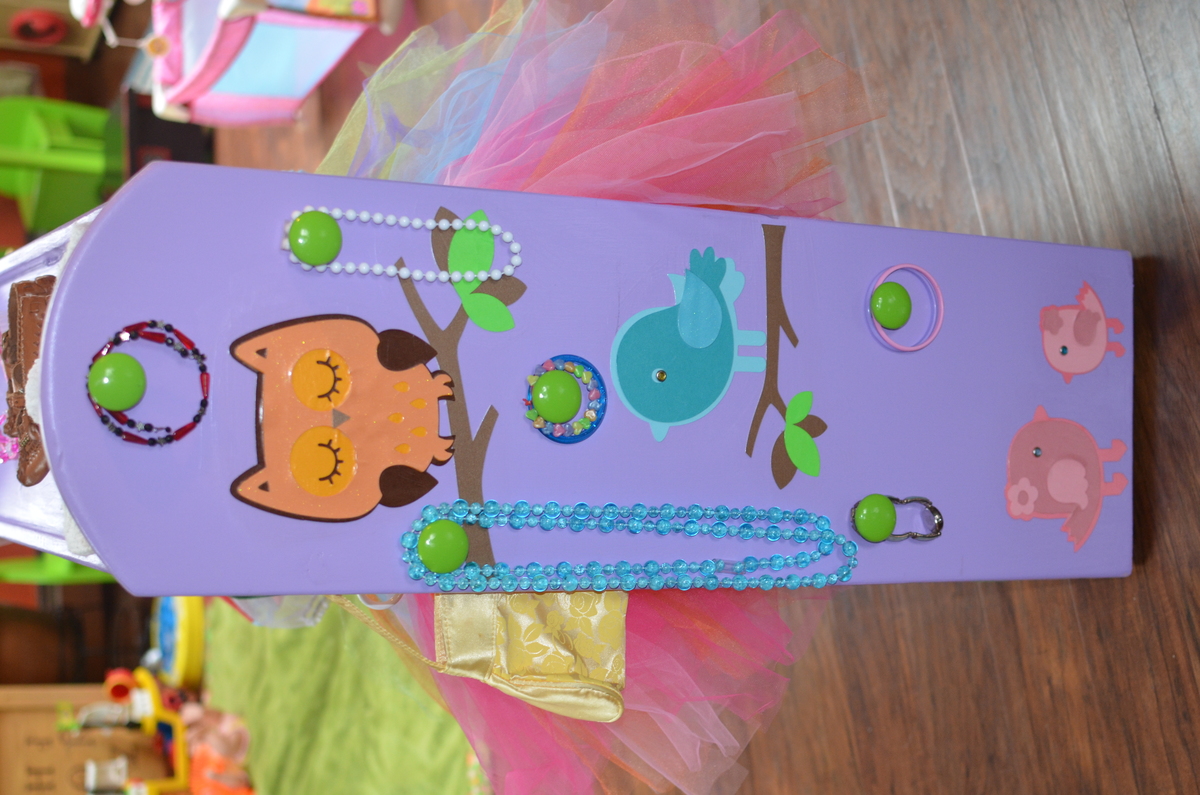
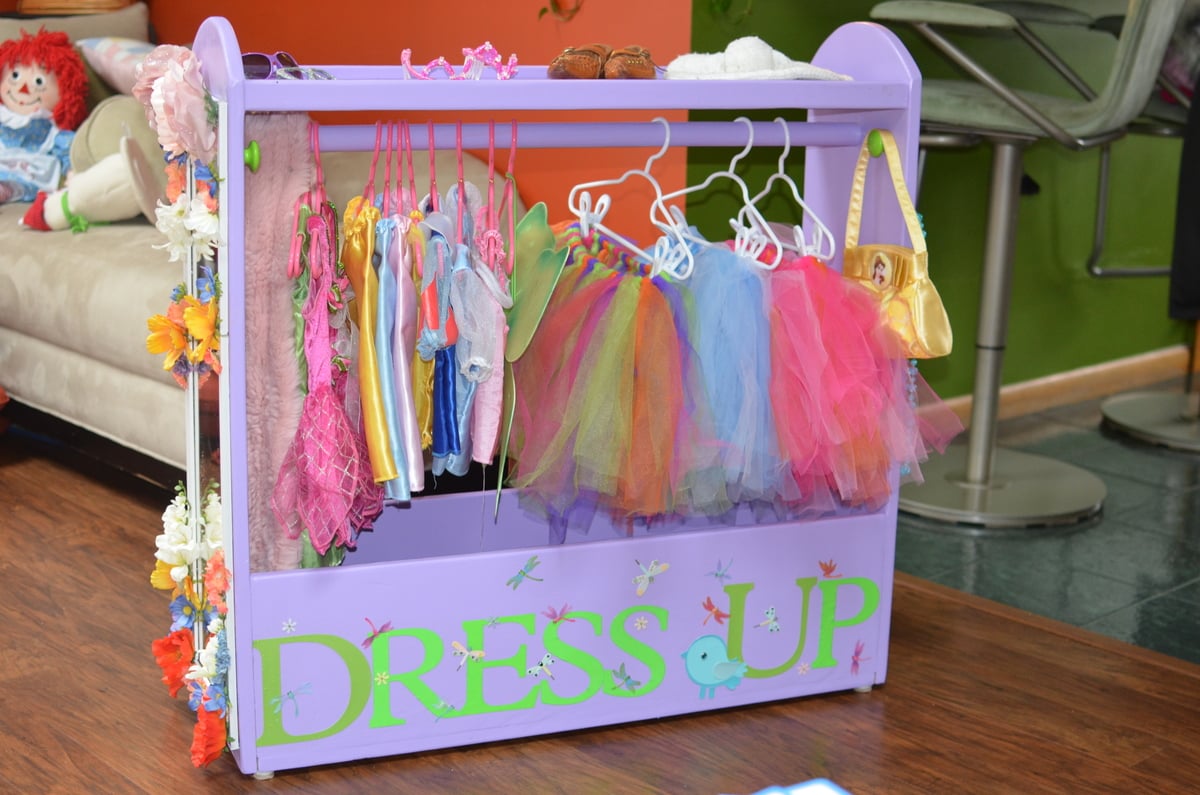
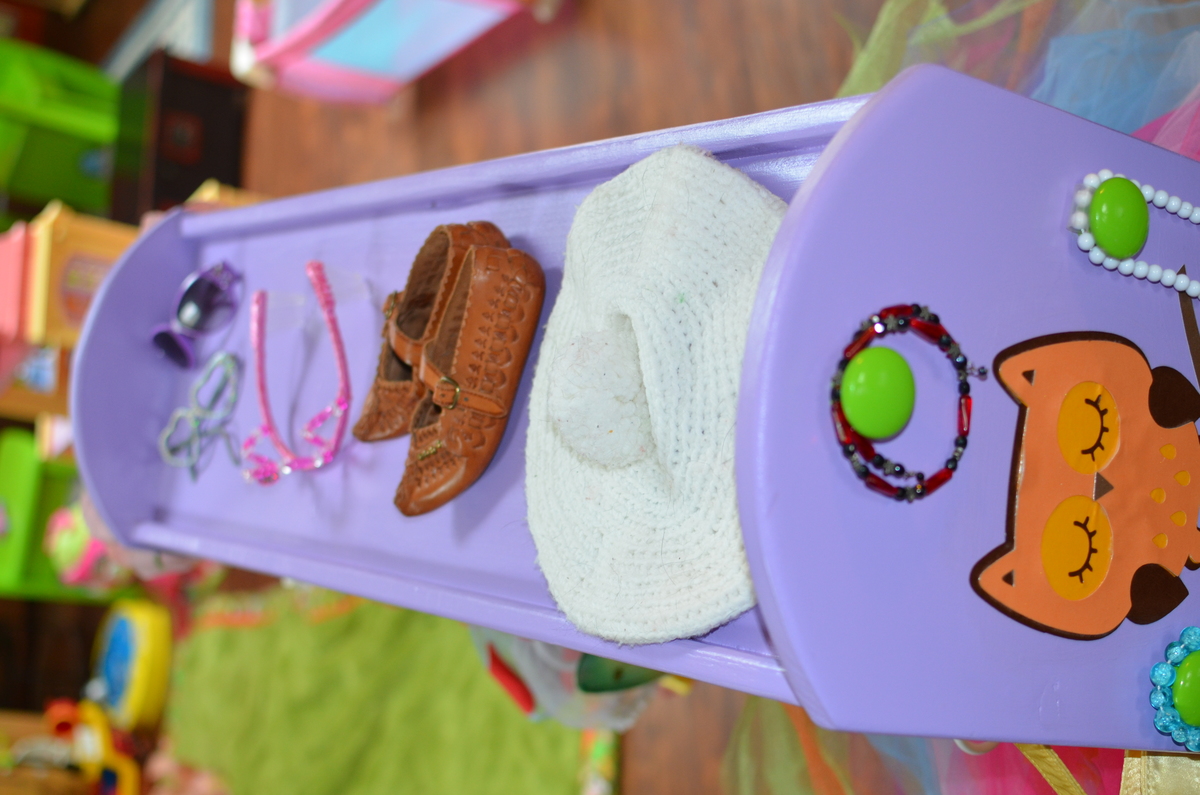
I have a 2 1/2 yo daughter and a 2 yo niece, so I make most of Ana's awesome plans in duplicate! These are two versions of her Dress Up console, one was for my niece's 2nd Bday, the other I just had to make for my own little Princess!
Tue, 06/18/2013 - 15:18
Since you've had experience with both, do you like having the cubby's or do you think it is sufficient without? Trying to decide which route to take. Thanks!
Fri, 09/26/2014 - 13:46
Hi! Where can I find the plans for this exact dress up storage?
Fri, 09/26/2014 - 14:00
Hi Rinabeens,
Link to the plans:
http://ana-white.com/2010/11/craftiness-not-optional%E2%80%99s-dress-st…
This is super cute, I hope you post a picture when you build this!
Coffee Table built from these plans: http://www.ana-white.com/2012/07/plans/rustic-x-coffee-table
Media console built from these plans: http://www.ana-white.com/2015/08/free_plans/grandy-sliding-door-console
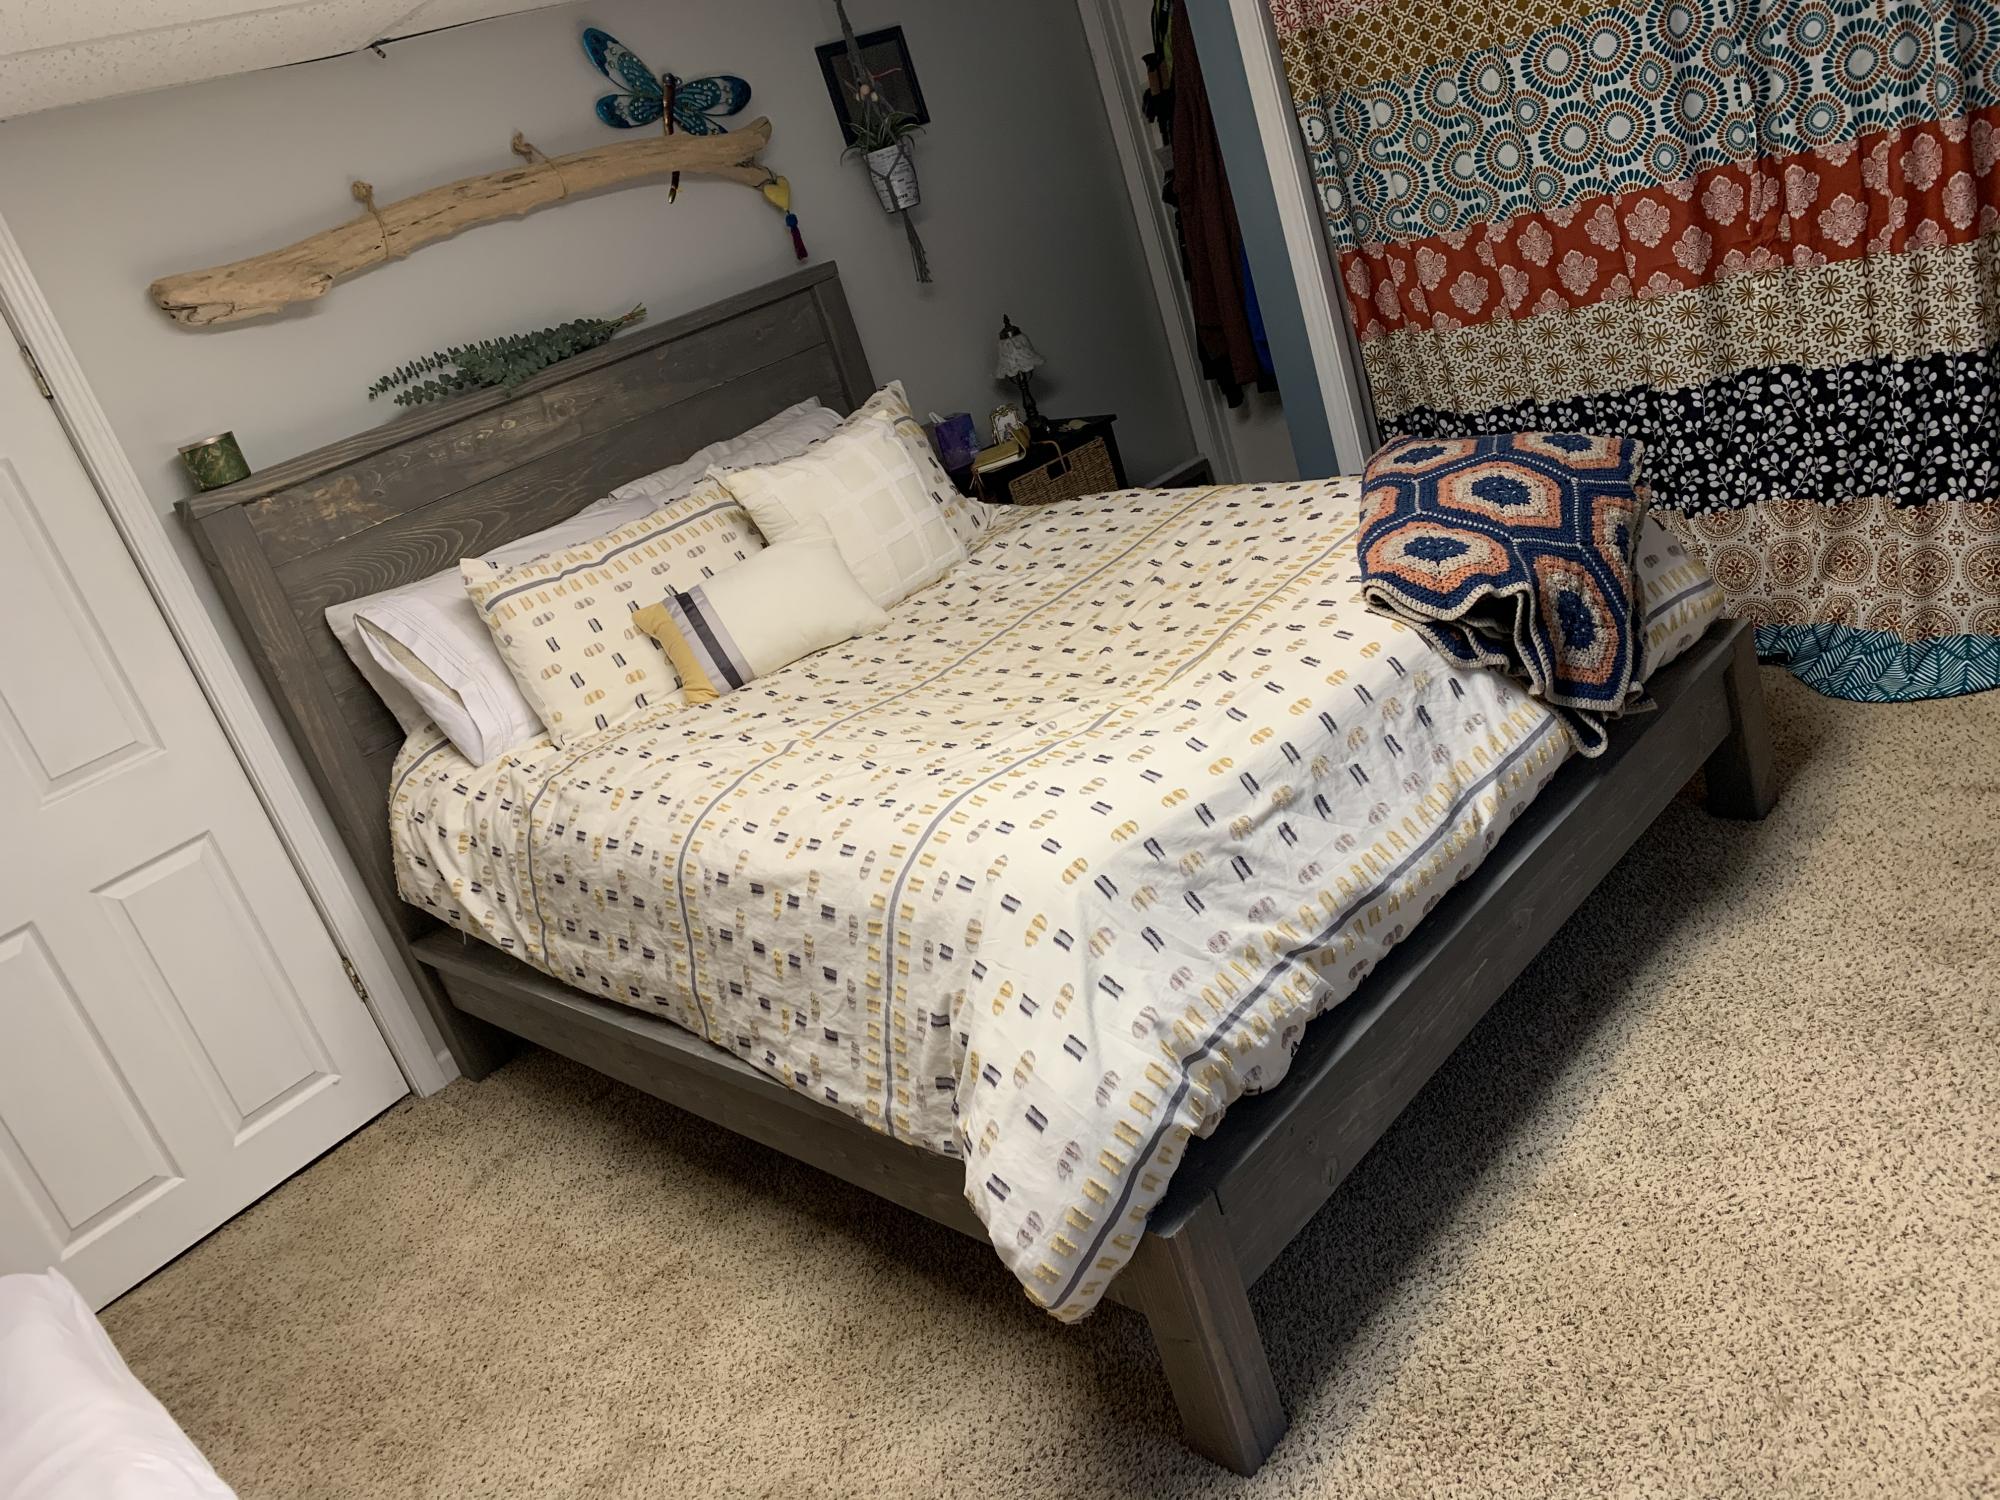
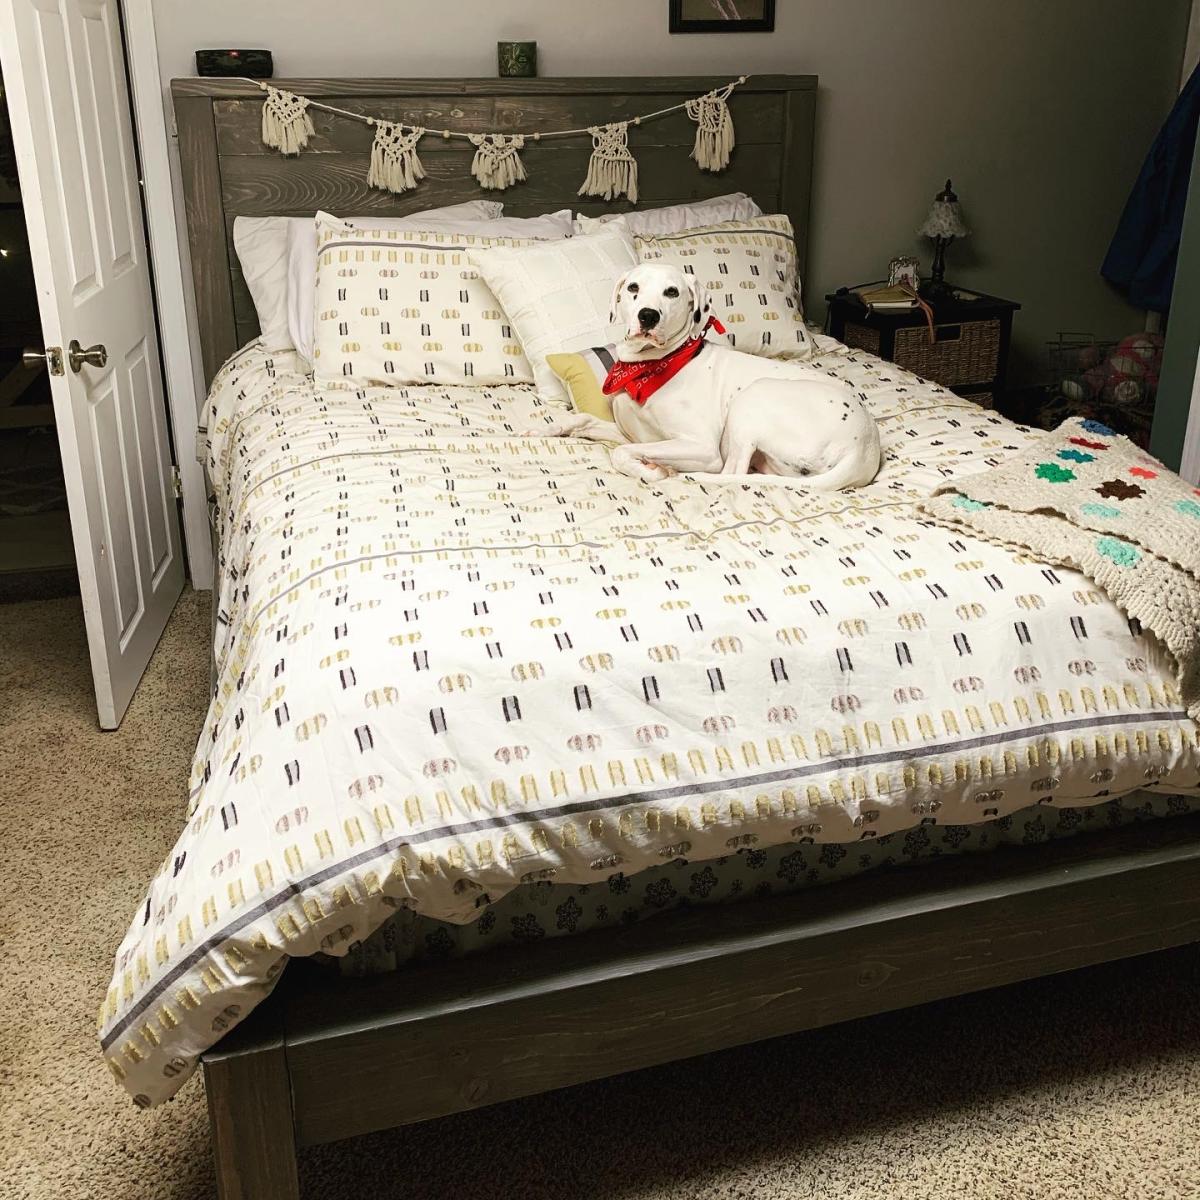
We are mediocre novice in the handy area. I more so than he, but together we wanted to tackle this project.
The directions were great and the pictures helped with some of the minor confusion. Great plan and solid beautiful bed frame.
The total cost was around $175. Wood is a bit expensive in our area...
the stain we chose was a semitransparent gray wash. I thought it was going to be a true stain but it was more a paint quality but in the end the wood grain showed through and we just used one coat! Went on thick
This was my boyfriend and my first major construction project and tackling it together we were a little intimidated ... never used a kreg jig but had purchased one a few years ago and never used it. Haha well you def want to have it. Watched a iTunes video and it Was easy and we faired well.
Only one argument that taught us both a few things and ended up giving us the desire to make more furniture together.
Thank you Ana white
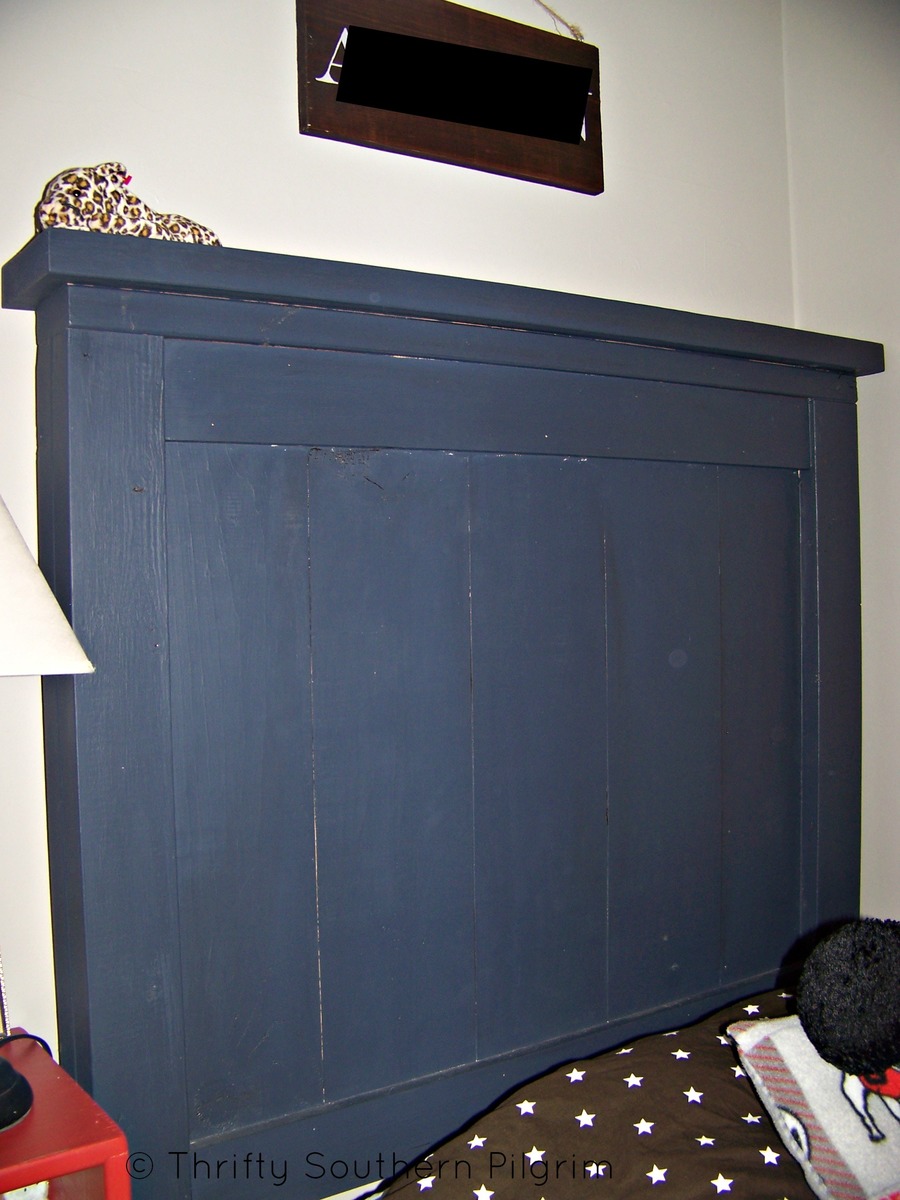
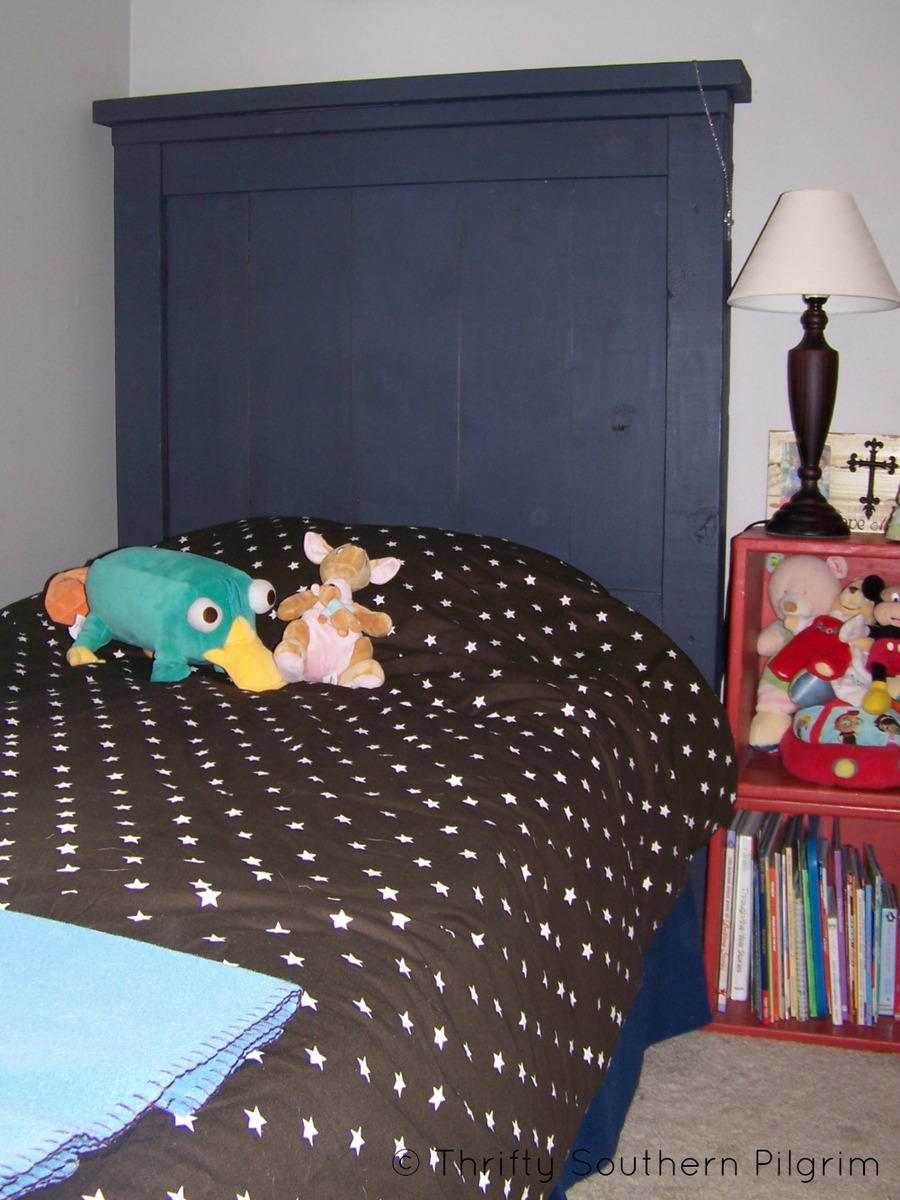
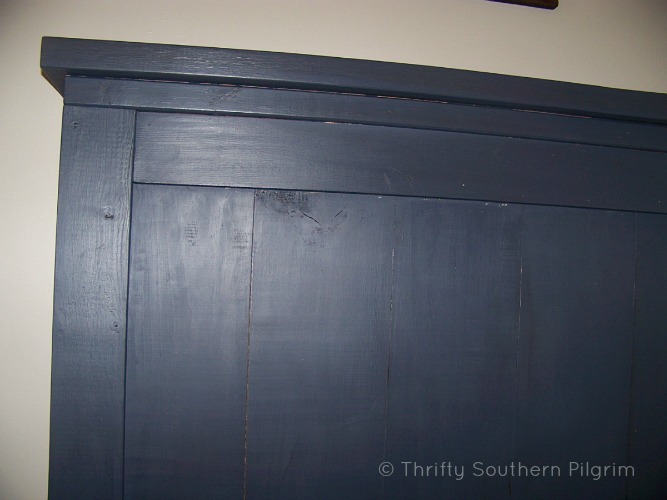
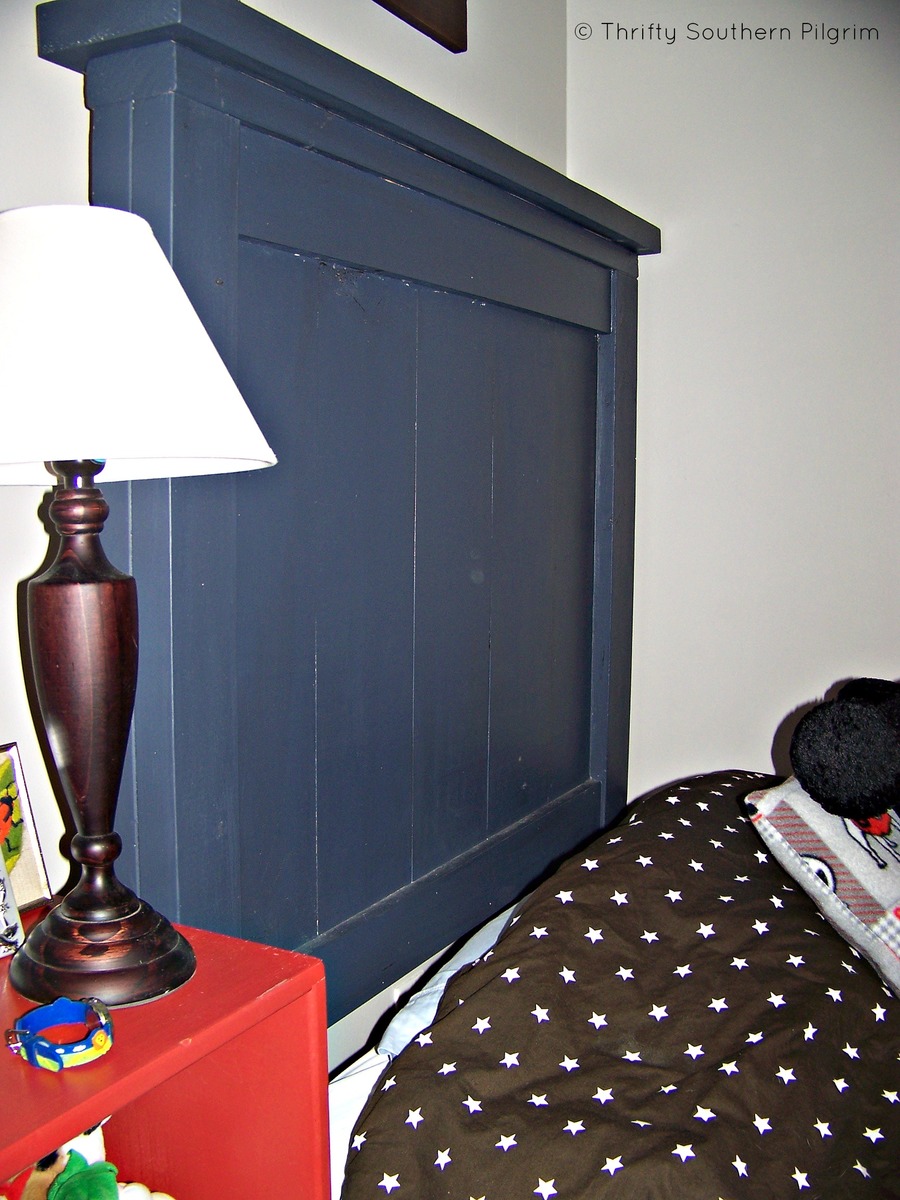
I used a combination of Ana White's book, The Handbuilt Home, and her website plans to build TWO twin sized headboards. I did not build the rails and/or footboard, because the room is too small. I simply attached the metal bed frame to the posts of the headboard. My boys love their new beds!
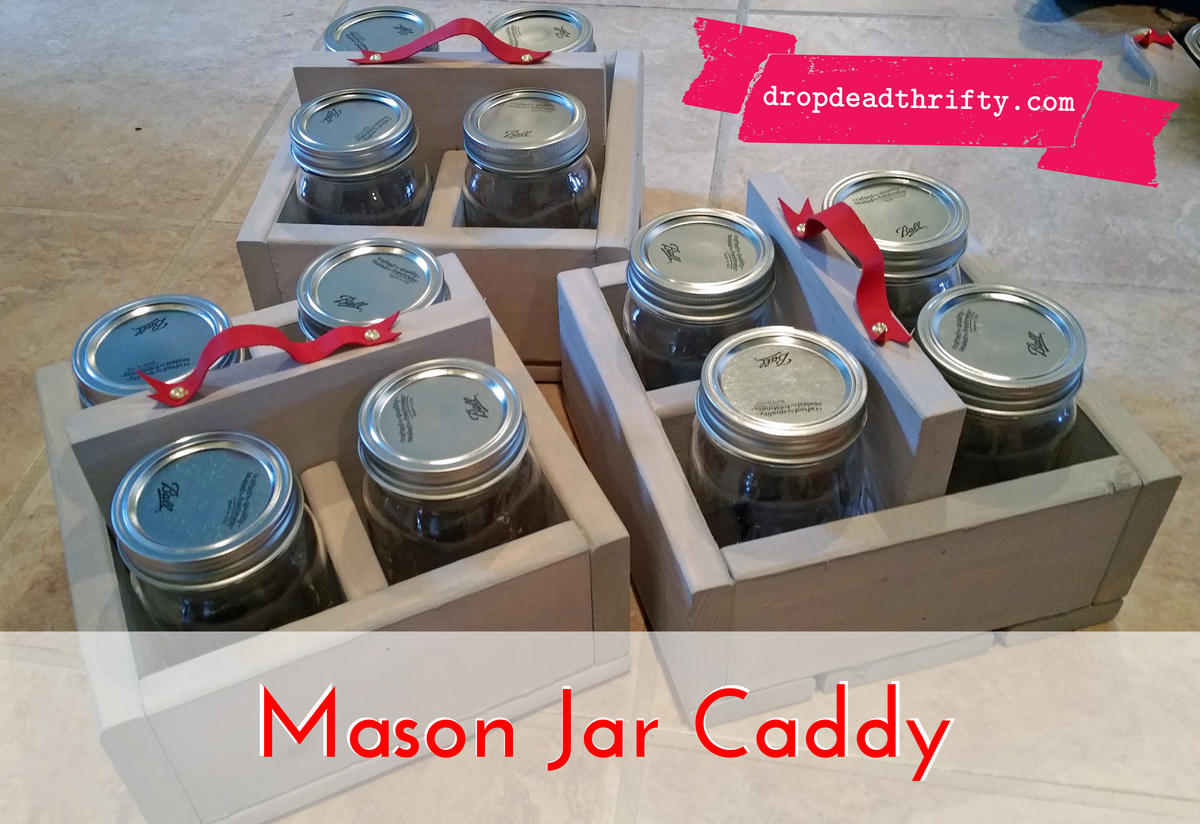
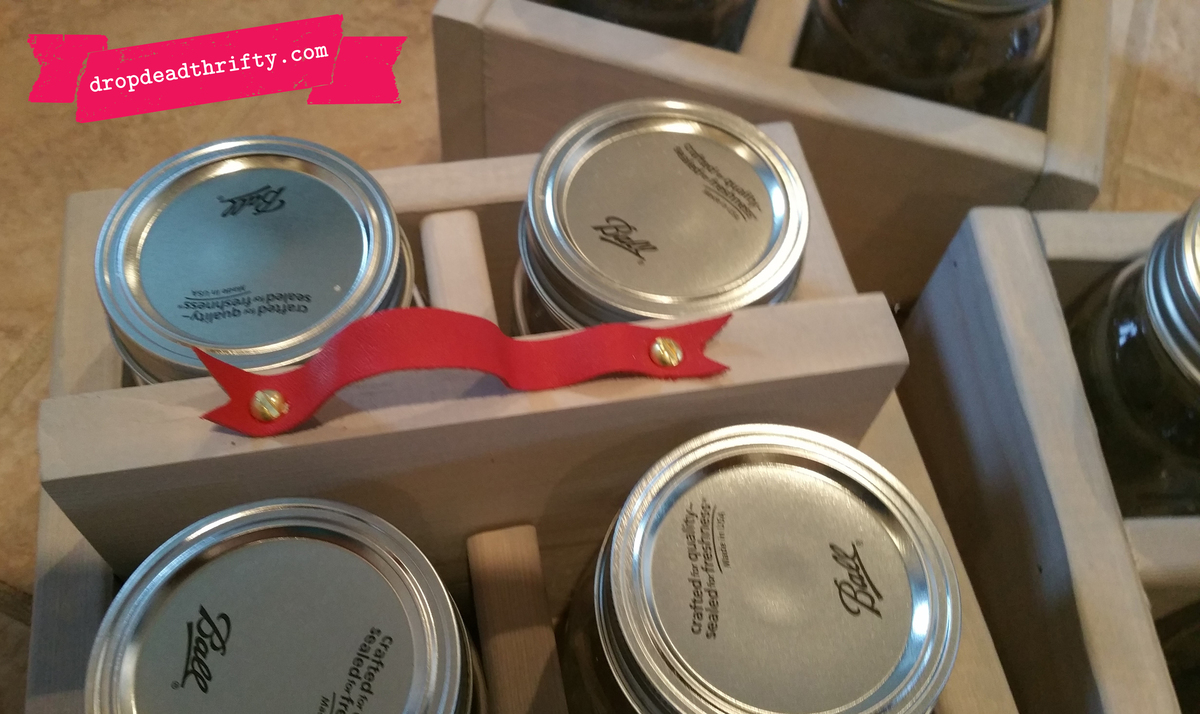
I made this version of Ana's Reclaimed Soda Crate as Christmas gifts for my kids' teachers. Less than $6 per gift! Full instructions can be found on my blog at www.dropdeadthrifty.com
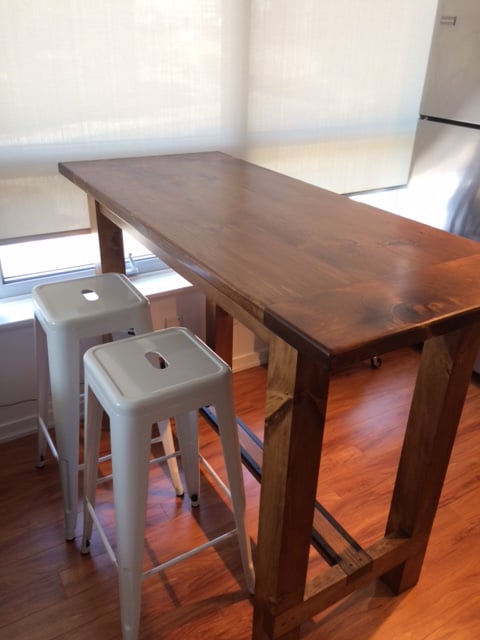
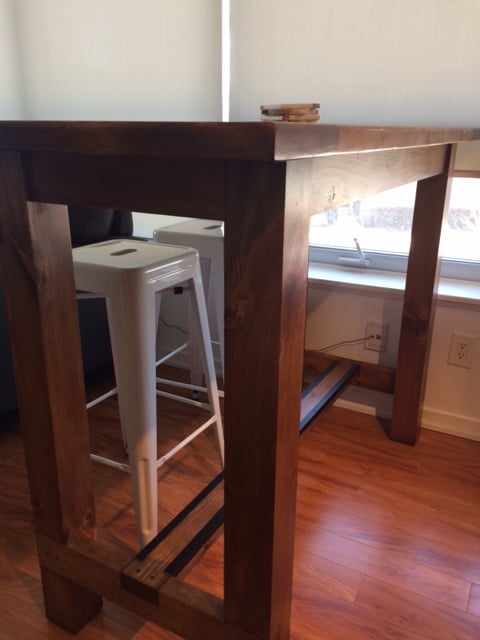
Variation on the Farmhouse Table plans. Built from knotty pine and finished with Minwax Early American stain.
We bought our adjustable bed and needed something to make it look better. I loved this bed and modified it to fit our needs. It was easy to build and really made such a difference in our room!
Tue, 02/13/2024 - 06:42
Would you happen to have plans or instructions for this project? Thanks in advance!
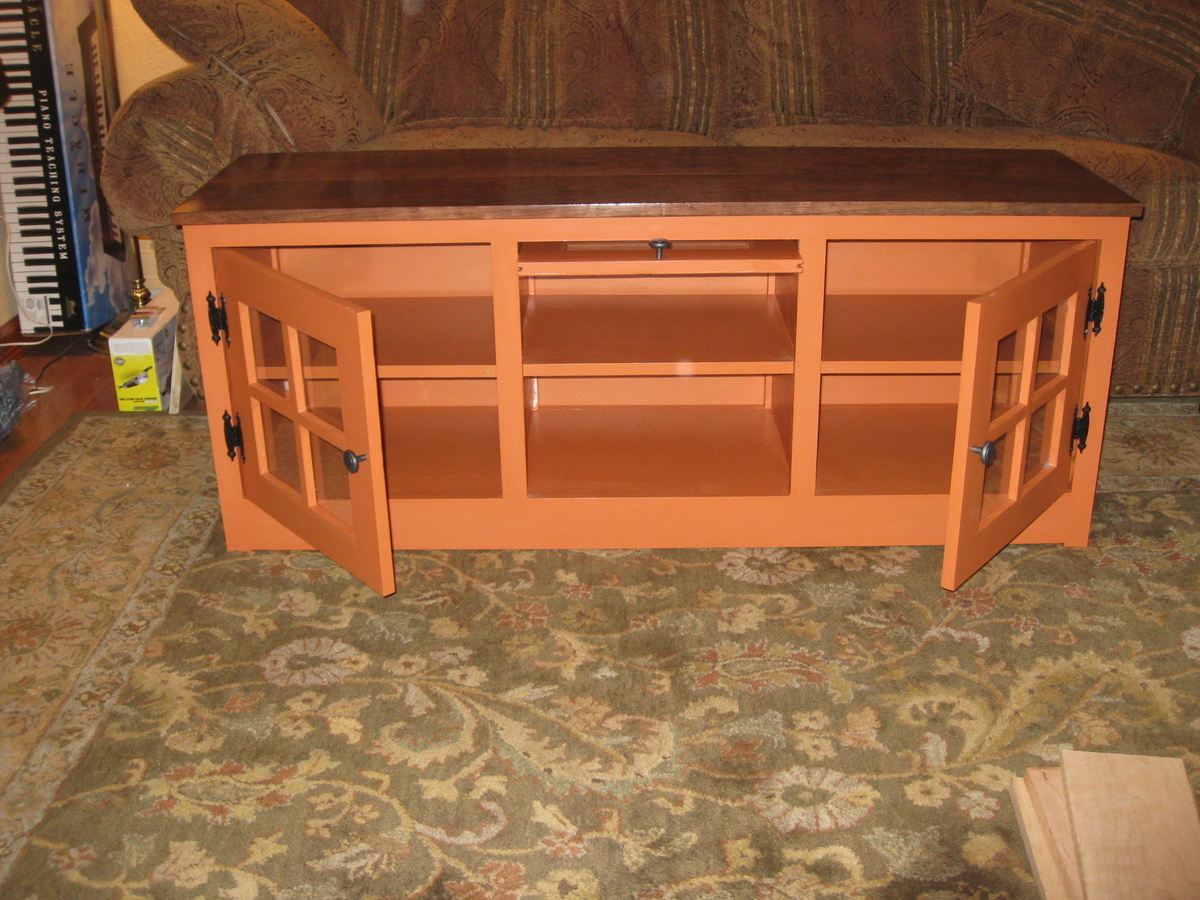
Followed the plans on the site but made it 3" wider to better fit our electronics.
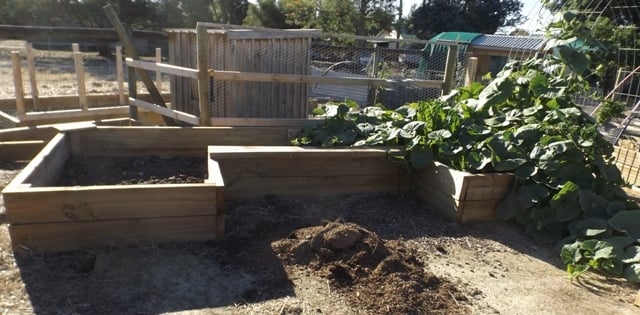
I changed a few things and it's not 100% finished, but far enough along for some production to start. It takes a LOT of dirt to fill this and I only made it 400mm high.
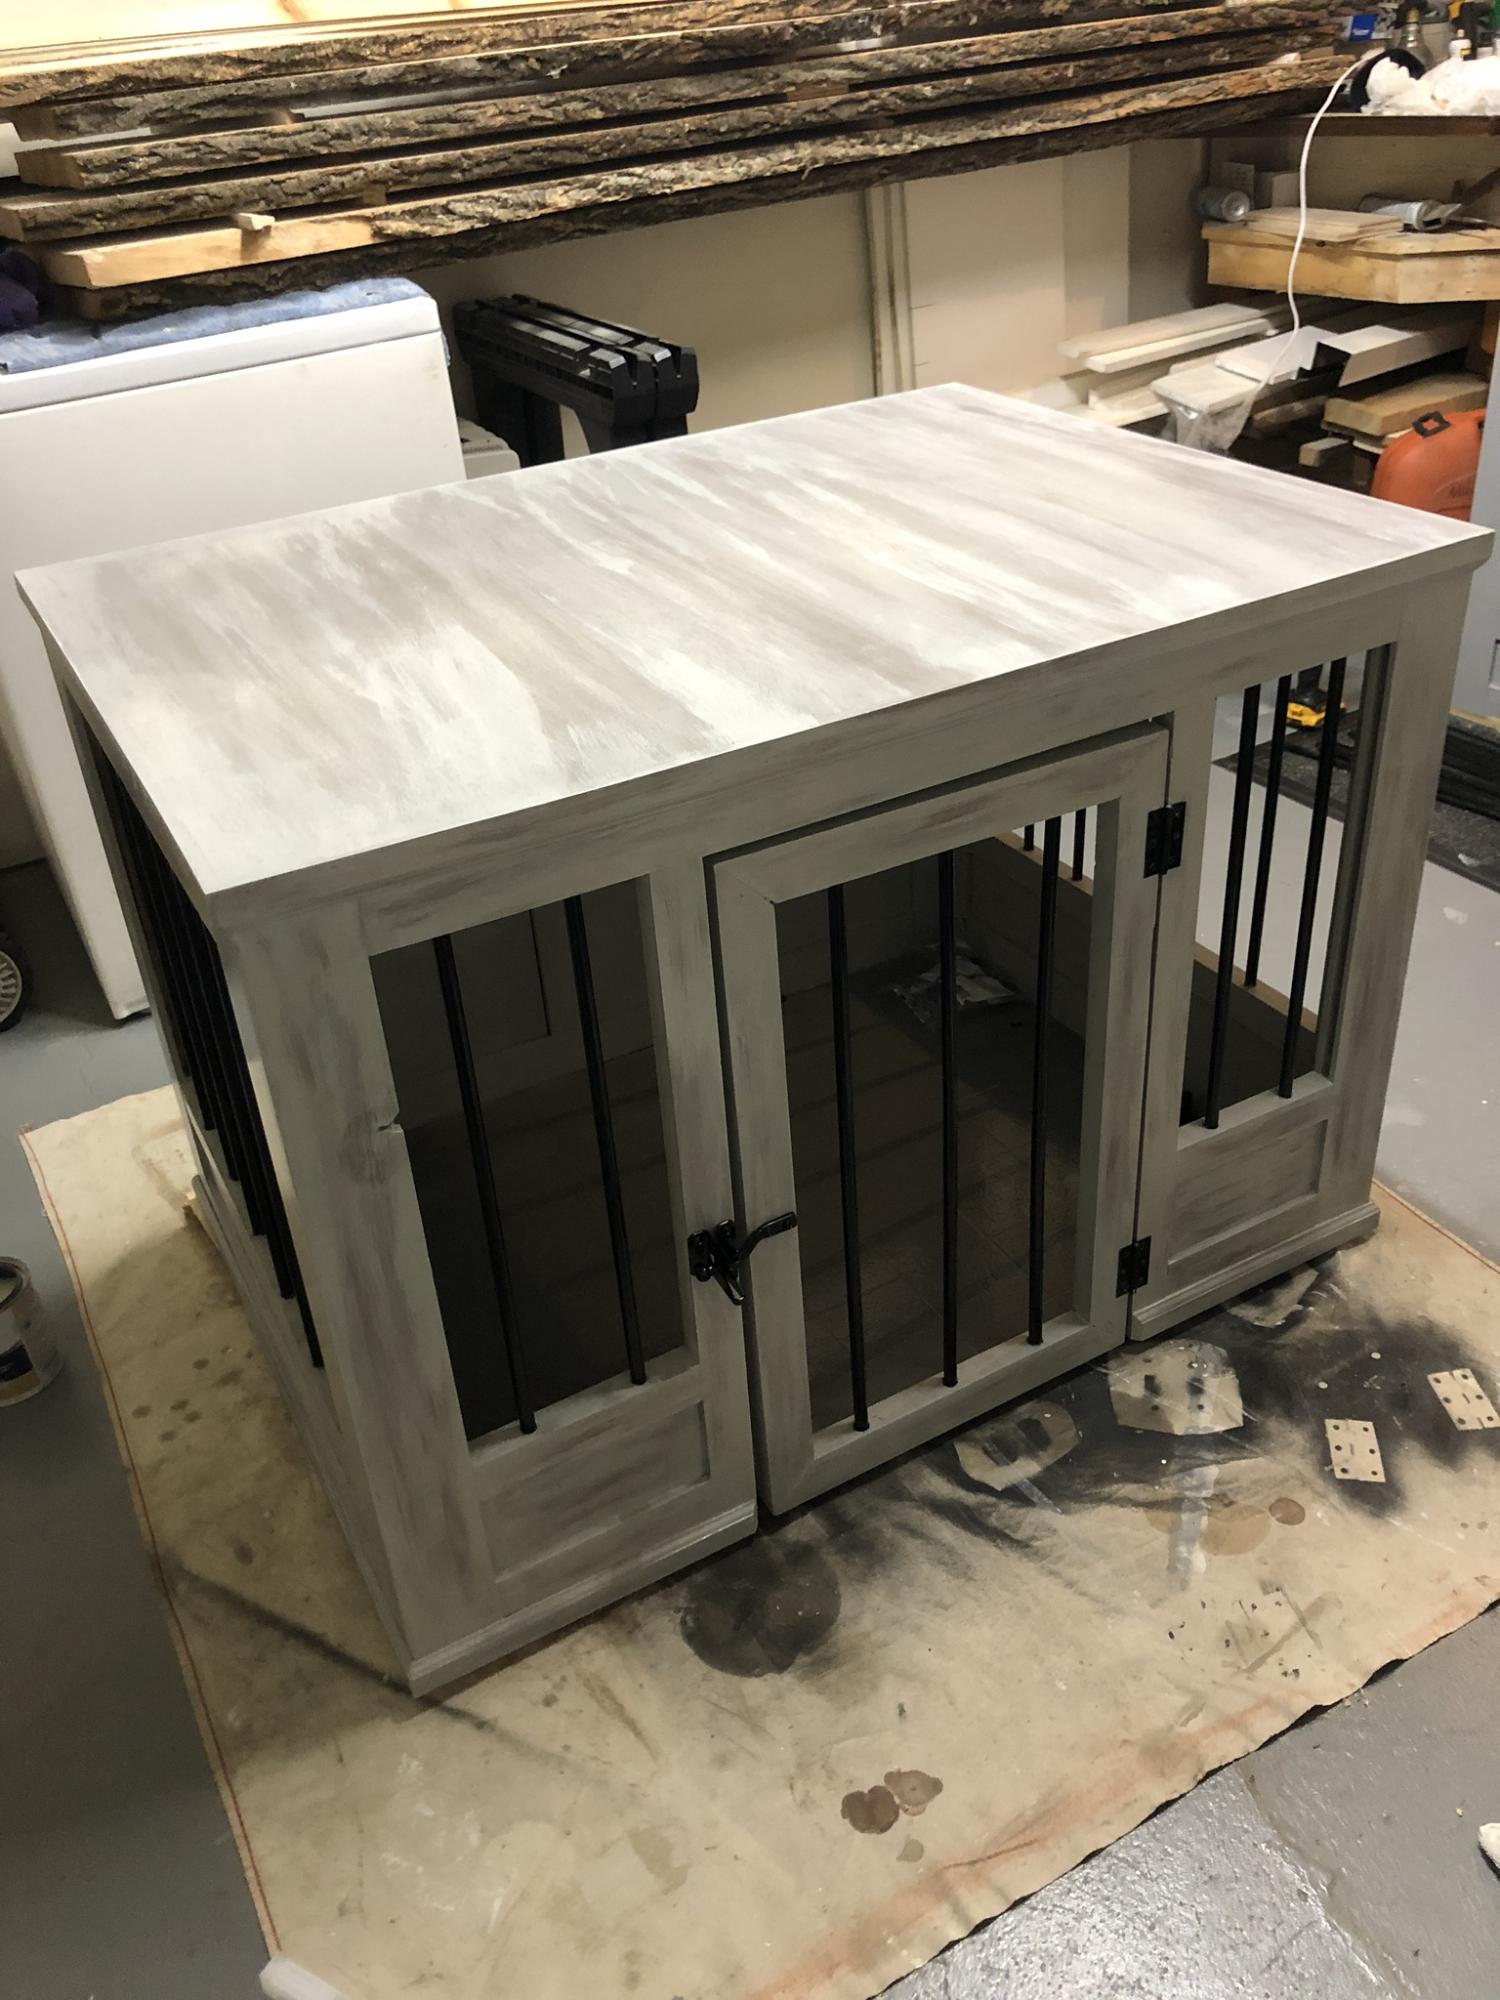
Xl farmhouse style dog crate table with metal bars.
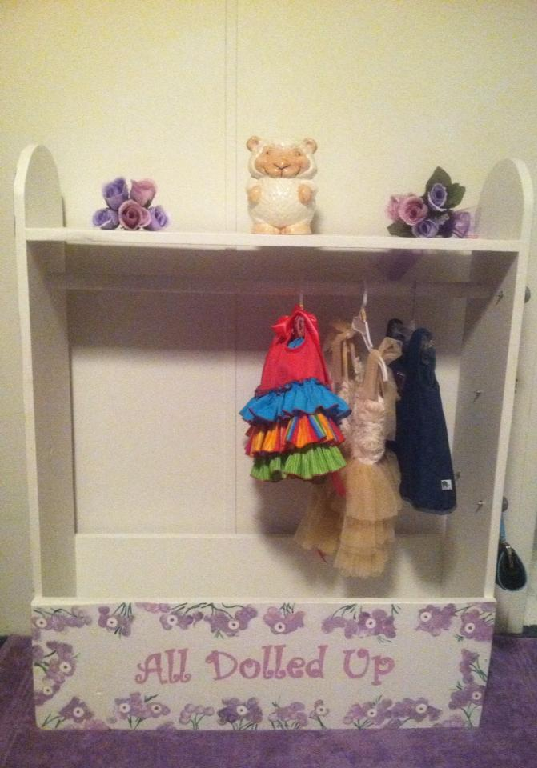
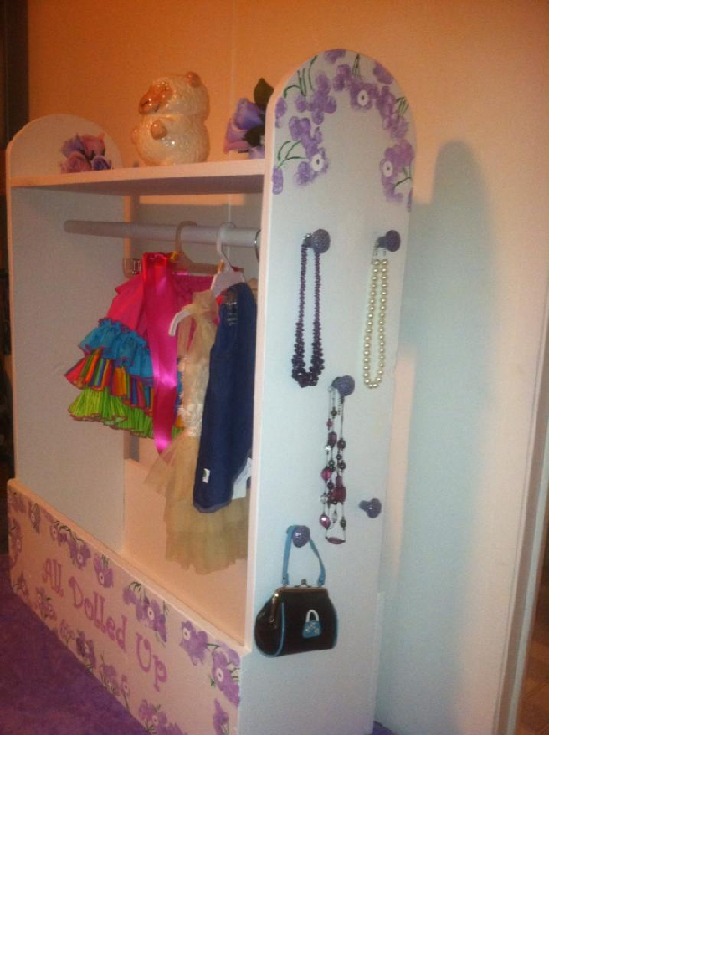
This is my first project. My husband was out one morning so i decided to try to figure out how to work his tools and create this dress up cabinet. I love the way it turned out and it was so easy! I am praying God will bless me with a little girl, so I made this for her--for I WALK BY FAITH not by SIGHT! Thanks Ana, your plans are amazing!
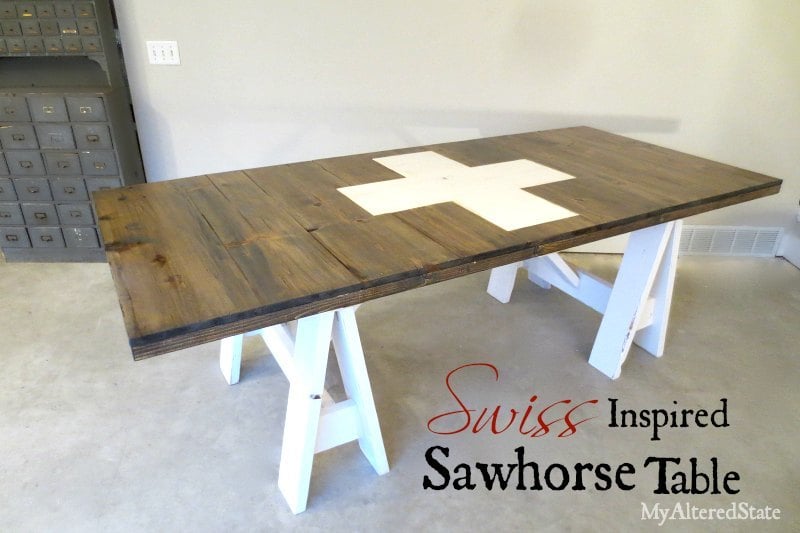
I saw an outdoor Pottery Barn Table that Shanty 2 Chic did, and used the same plans they collaborated with Ana White on.
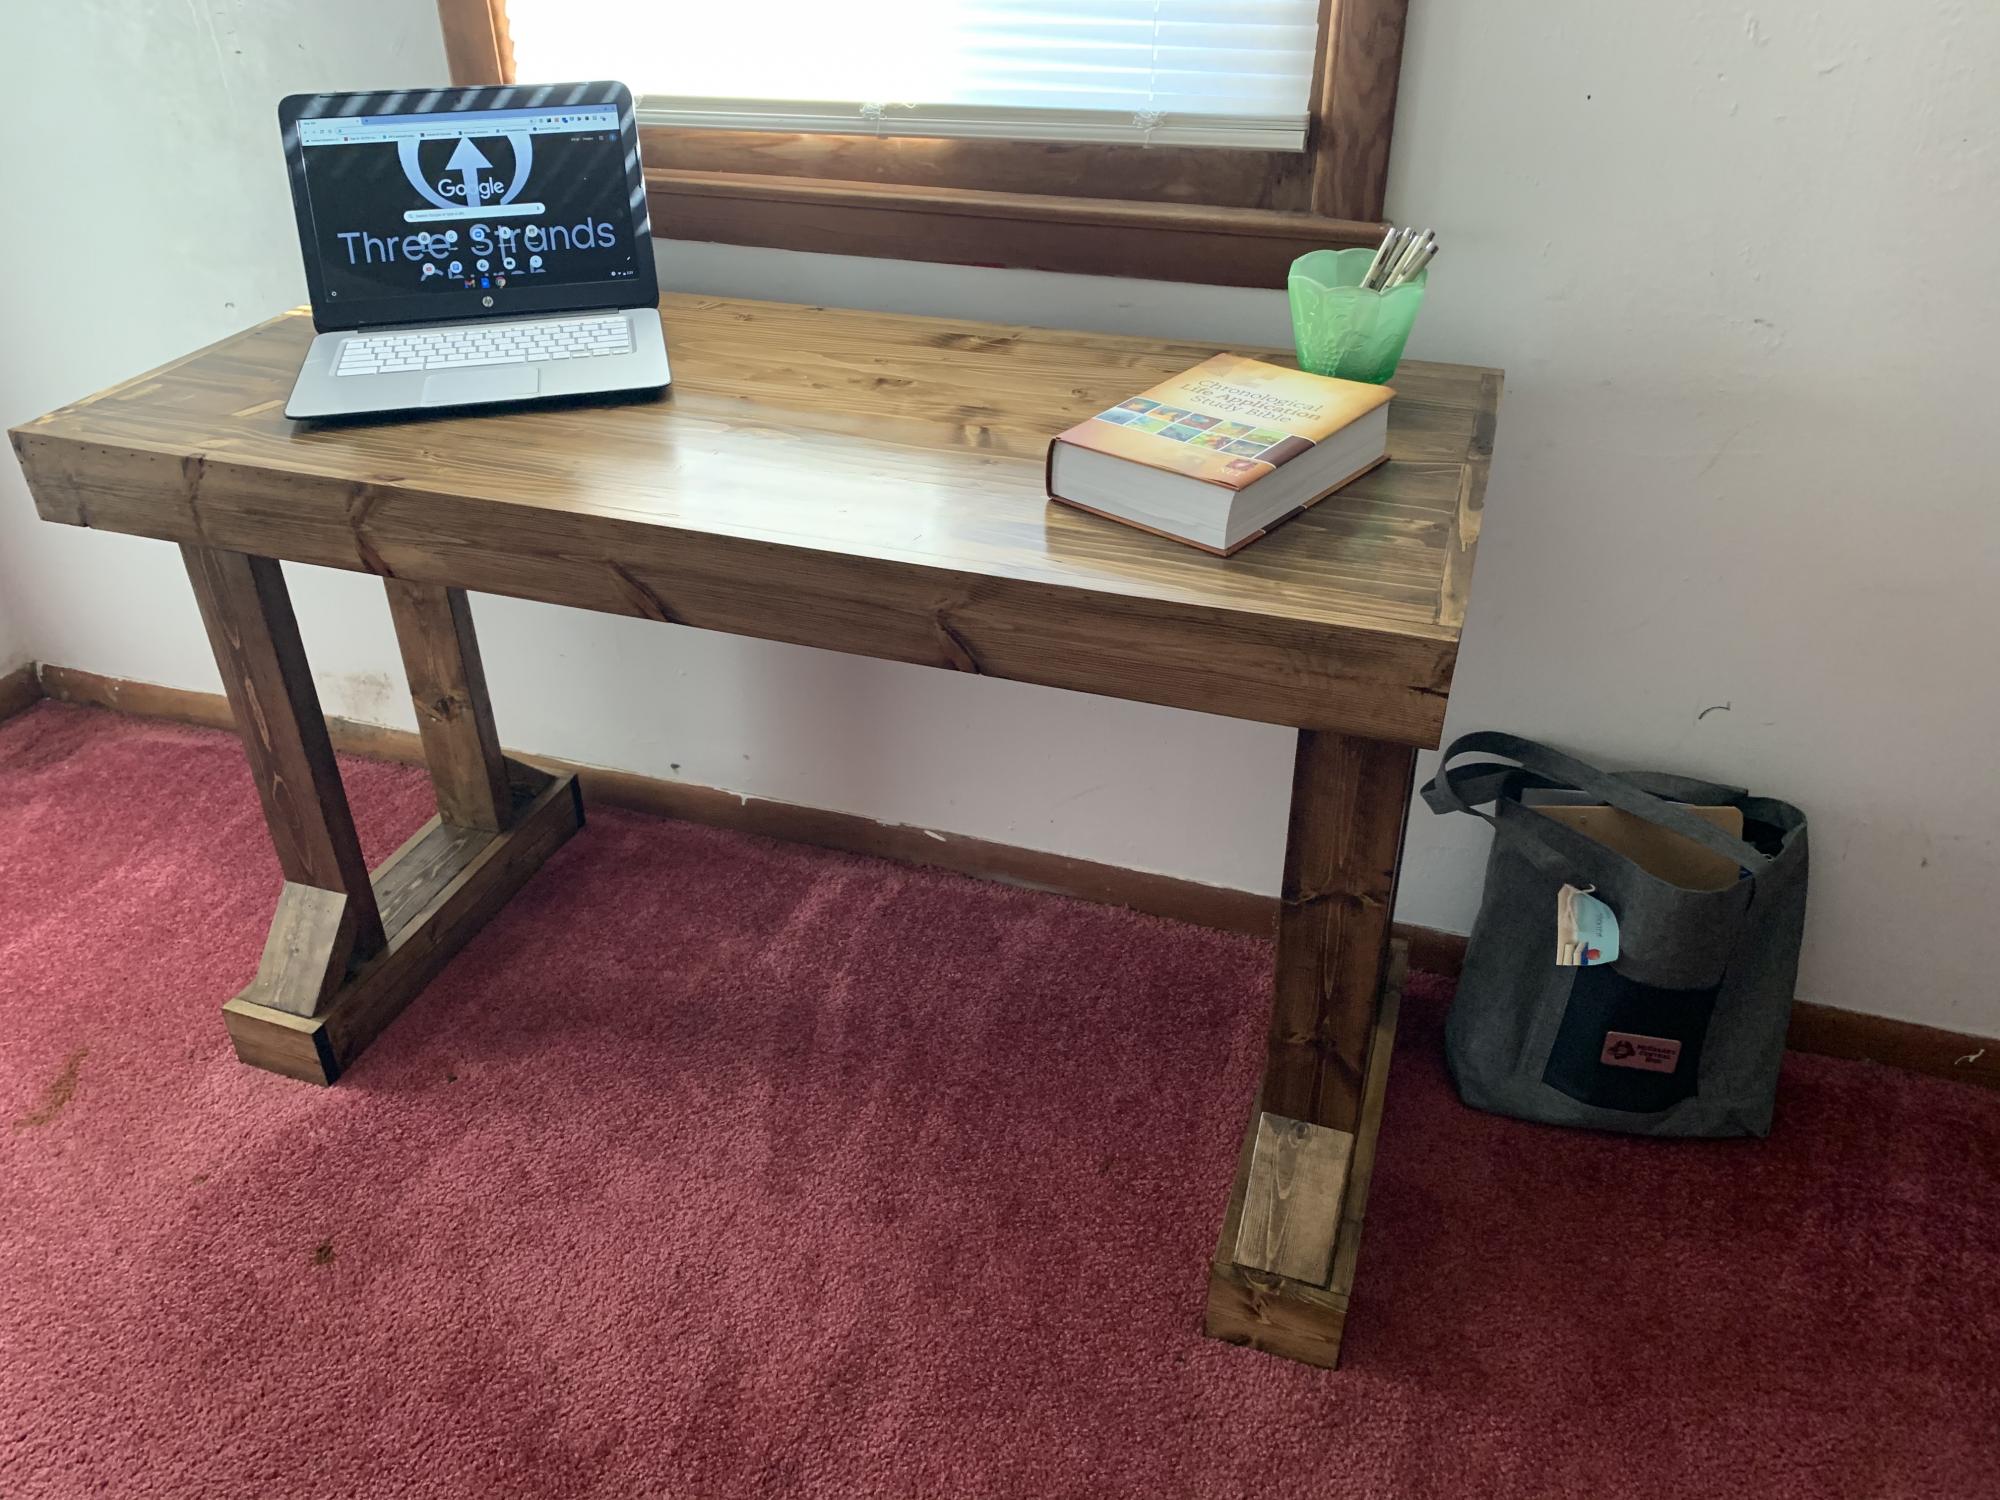
Made this for my wife who is an English teacher. I renovated a spare room into her an office space. She loves the desk.
Wed, 02/03/2021 - 10:28
Very nice and I am sure she loves being able to work and look out the window!
Wed, 03/27/2024 - 03:27
Creating a cozy and functional workspace with the modern writers desk has transformed my writing experience. And with help of useful reviews from https://paper24.com/reviews I found the perfect tools to enhance my productivity and creativity. Now completing a difficult writing task no longer seems like a big problem to me.
My wife's Christmas present. I modified the Cabin Wide Dresser plan to include two extra bottom drawers. I also built the drawers without metal slides which made the drawers a little bigger. Technically, I need to finish this with some nylo-tape to make the drawers slide more smoothly. A similar style/size dresser made of solid wood was easily over $500, this cost less than $200 in materials and my boys were able to help out.
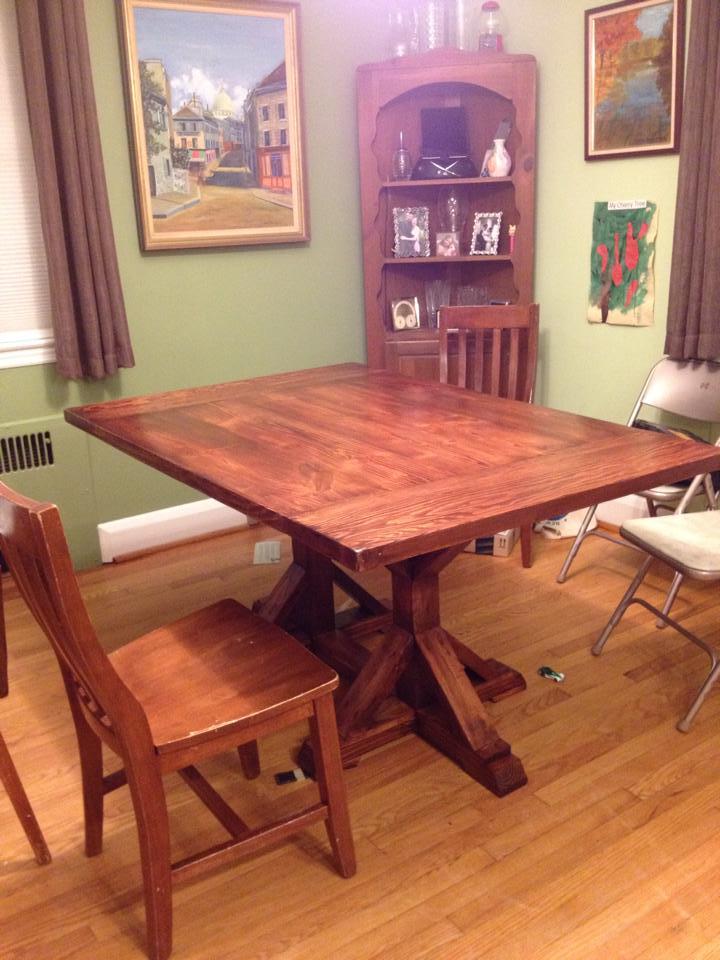
Thanks for the great plans. I modified them slightly by building a 60x40 farmhouse style top and a double pedastel. The other change is that I made the side 4x4s into 2x4s.
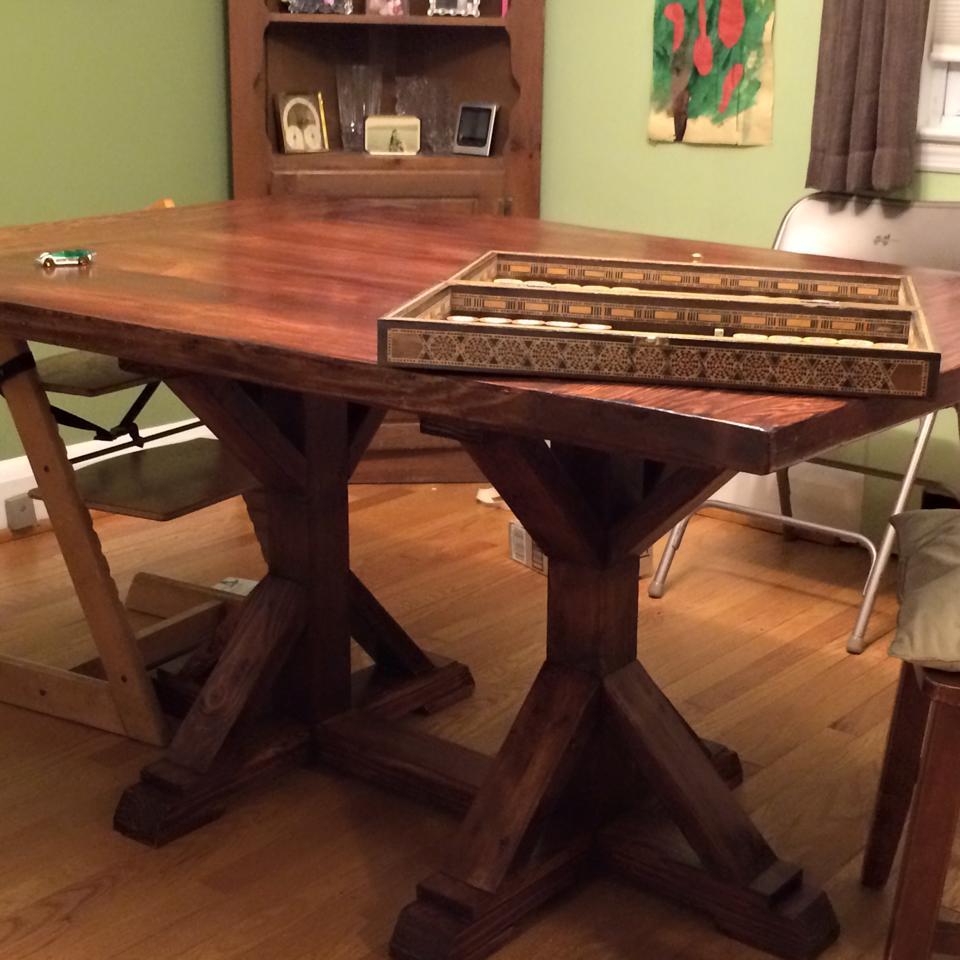
Fri, 08/12/2016 - 12:58
Your table looks great! Love the farmhouse top and your revisions.
Would you mind sharing what dimensions you went for the table top and what width you went on the doubt pedestal length?
THanks so much!!! I hope I get to have one like yours someday soon :)
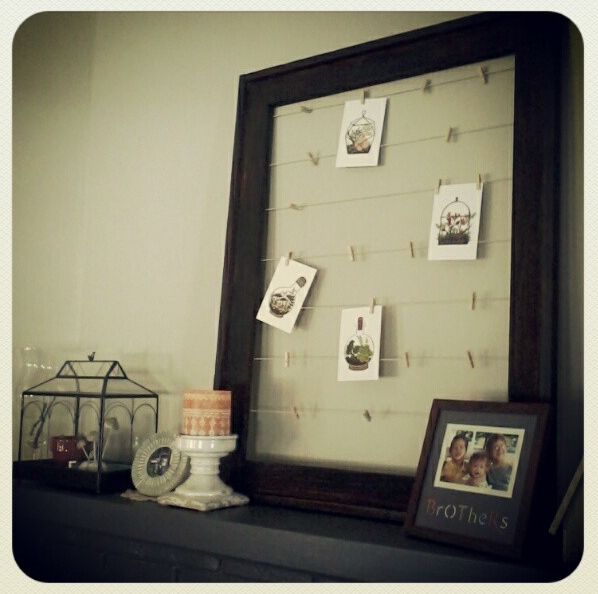
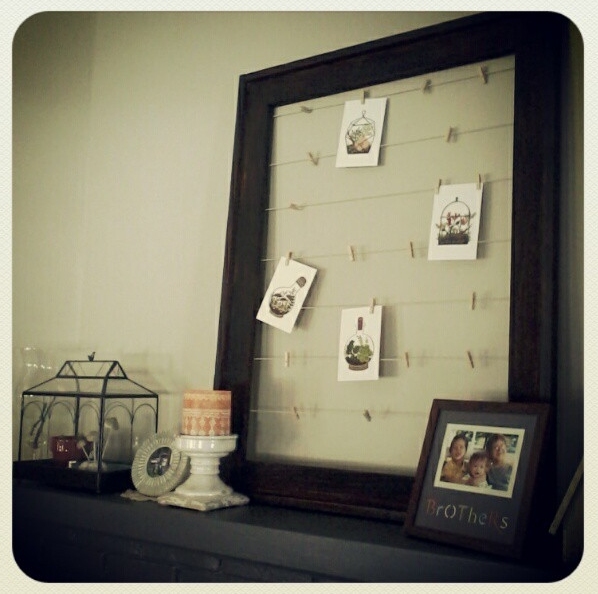
When I saw this, I knew it would be perfect for our mantle. I need to add photos to it, but I love it! I plan on changing things out for each season... I can see autumn photos of the kids hanging beside pressed leaves in the fall, christmas cards hanging here during the holidays, etc. So many possibilities. Very simple to make. Love it!
Comments
Ana White Admin
Tue, 01/12/2021 - 14:05
Very Nice!
Very functional and nice storage!