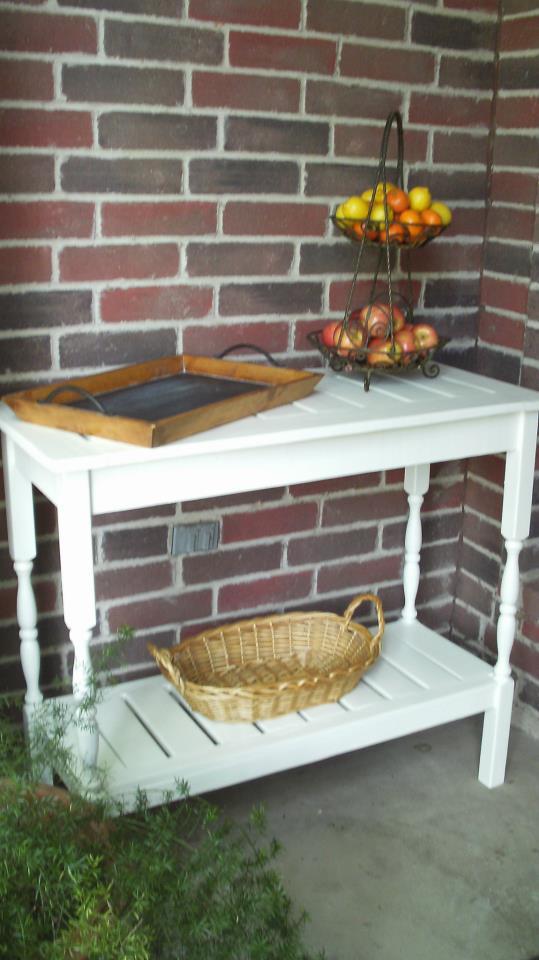
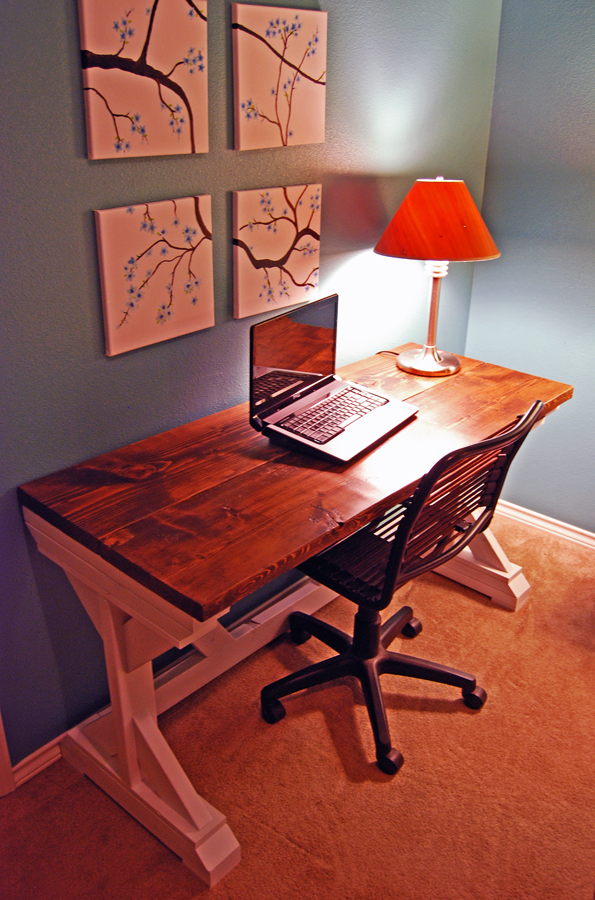
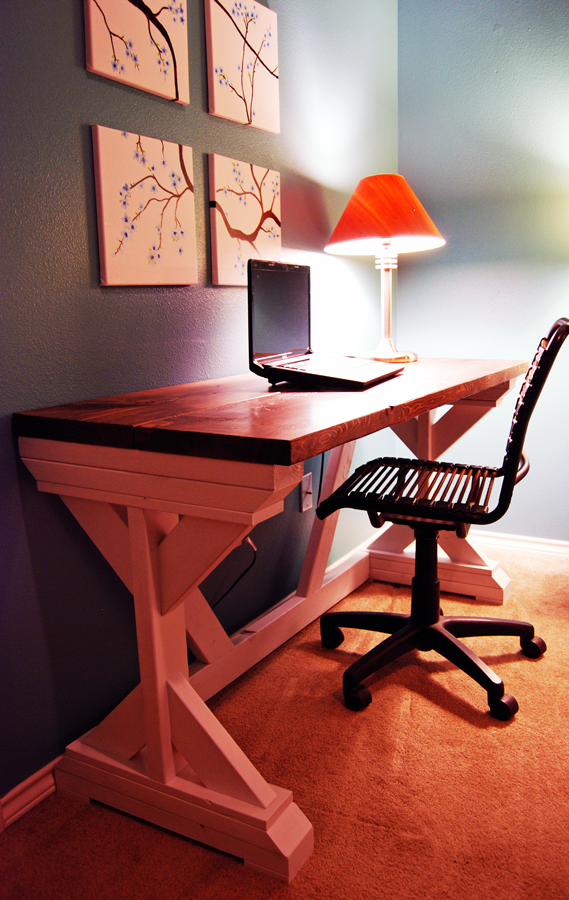
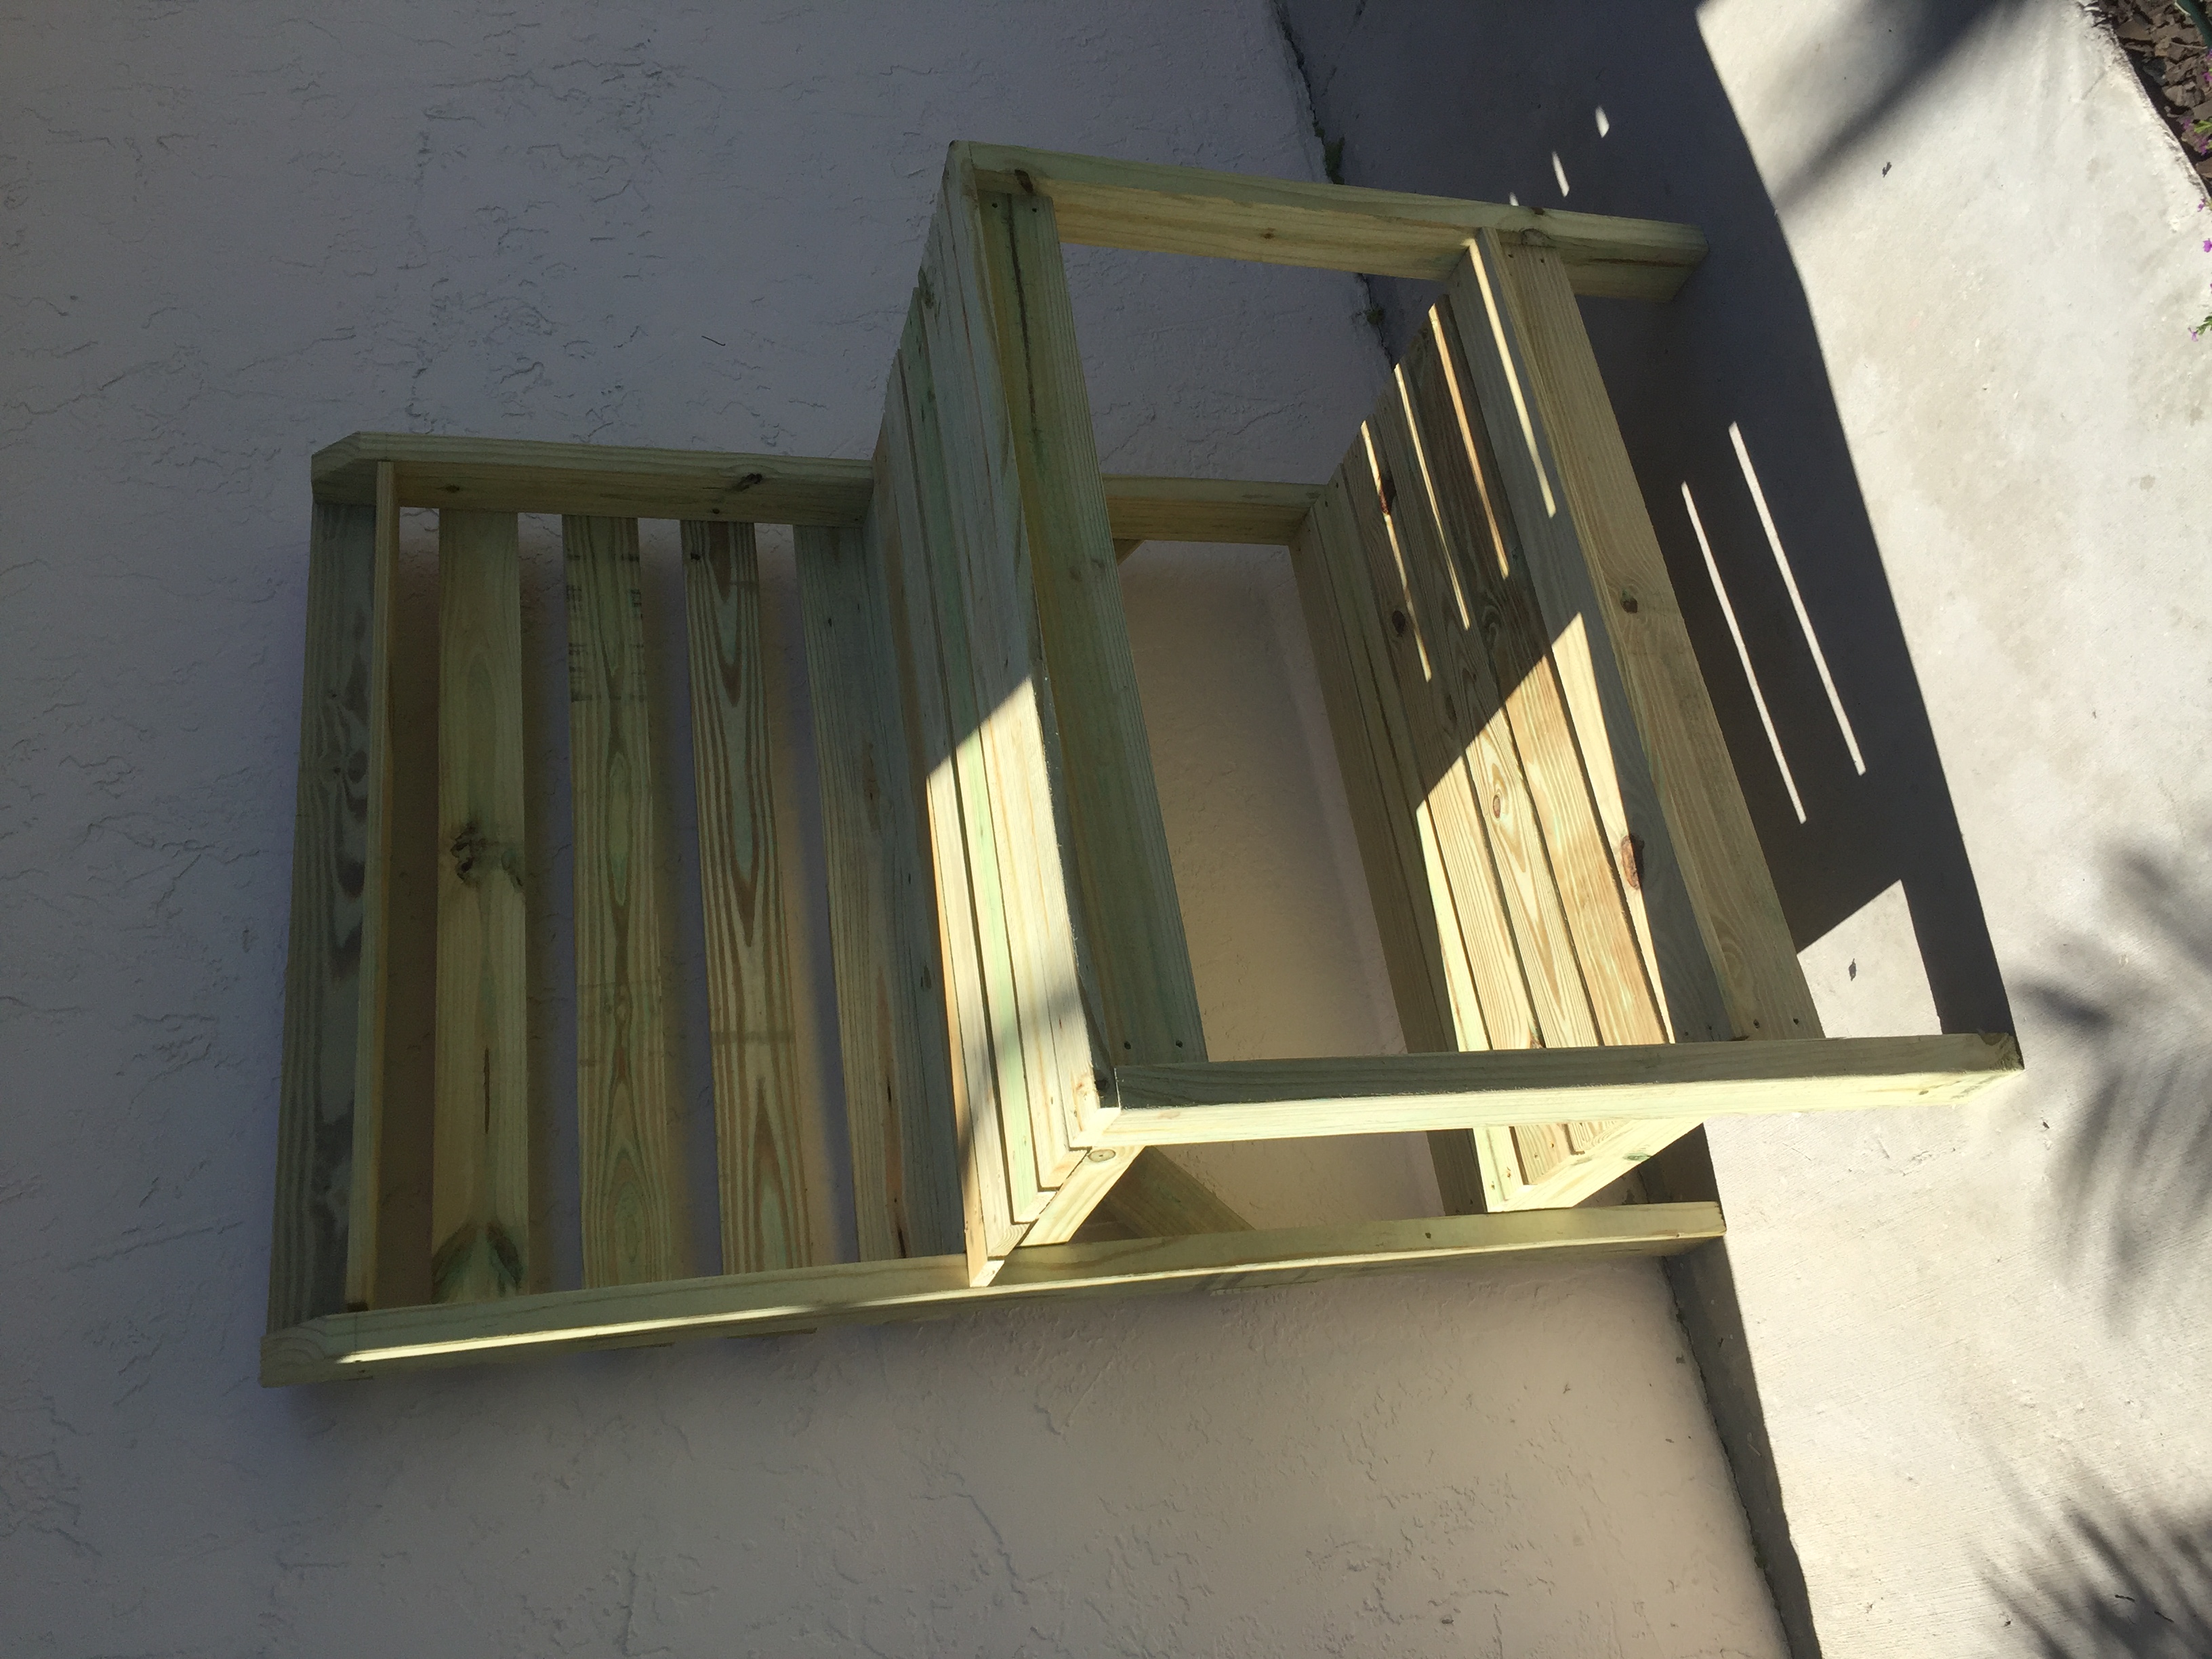
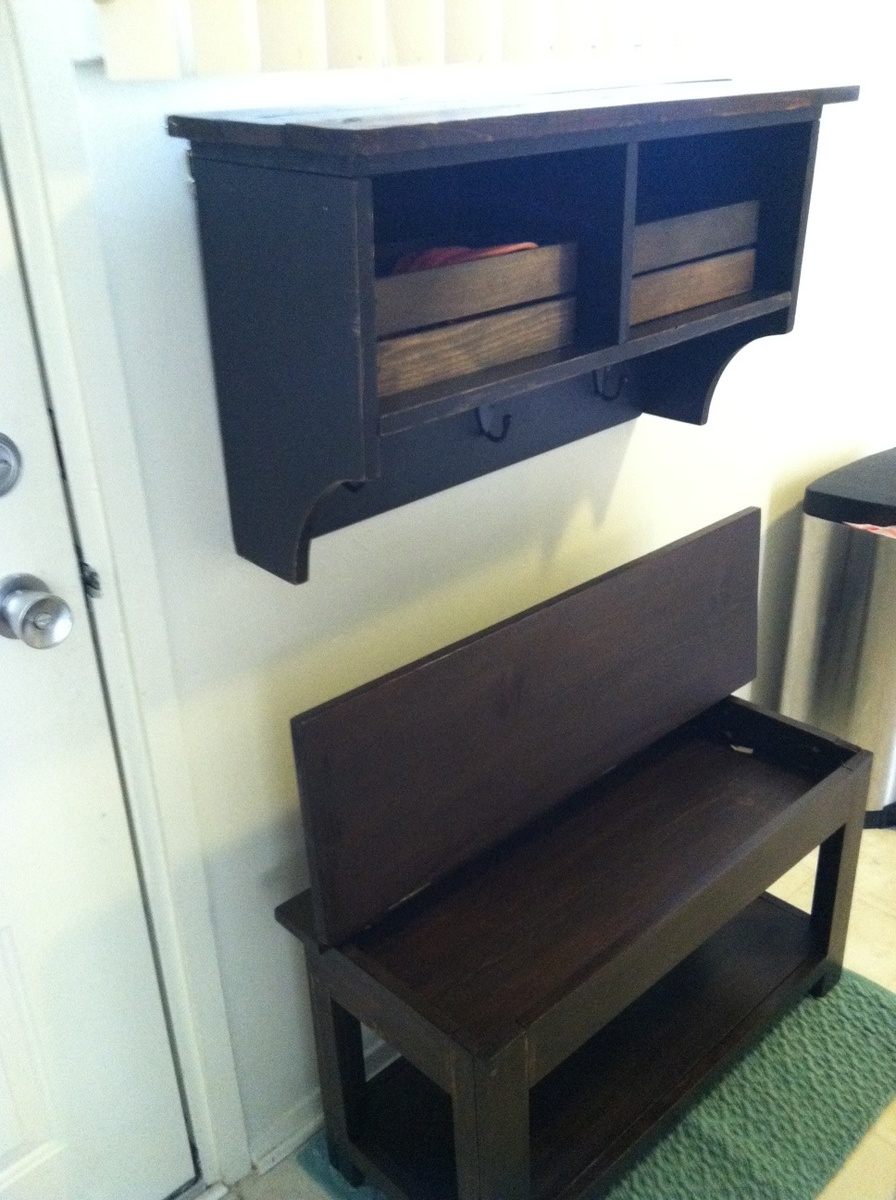
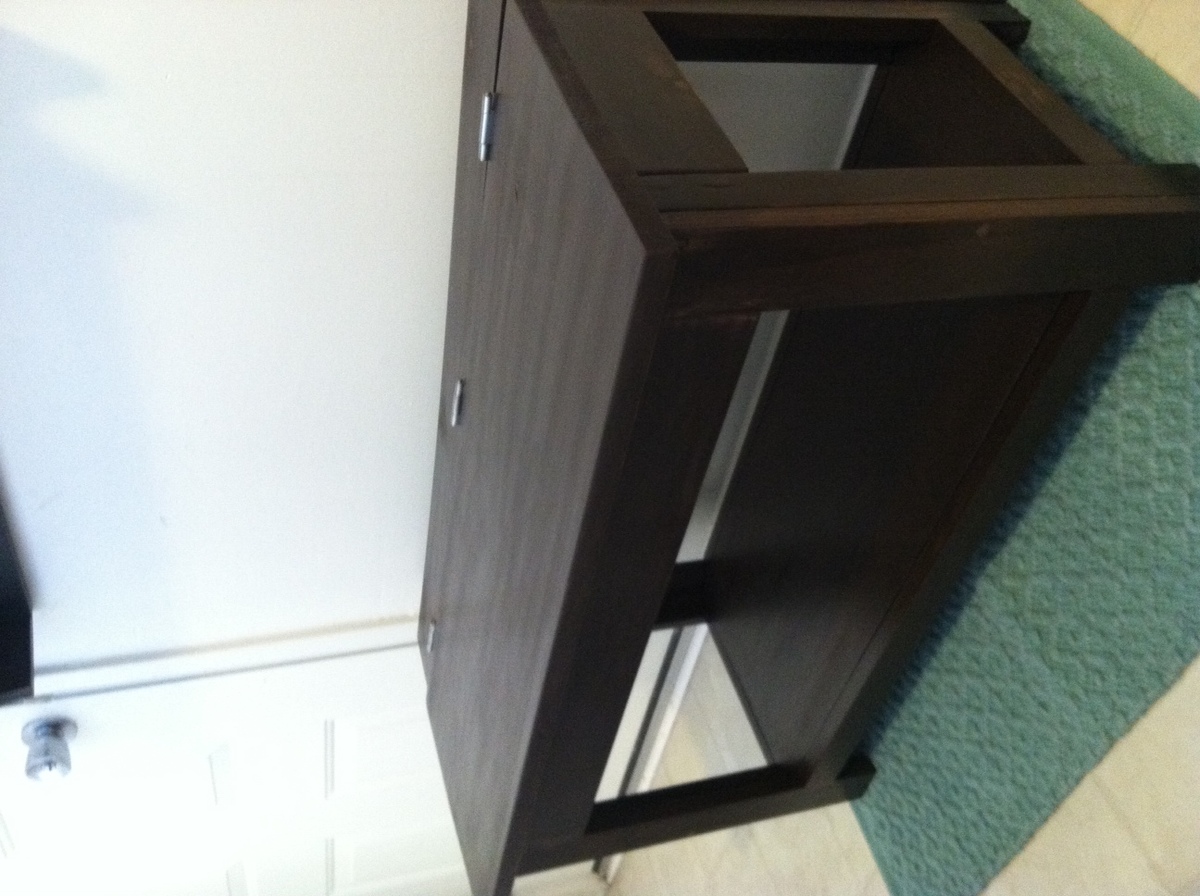
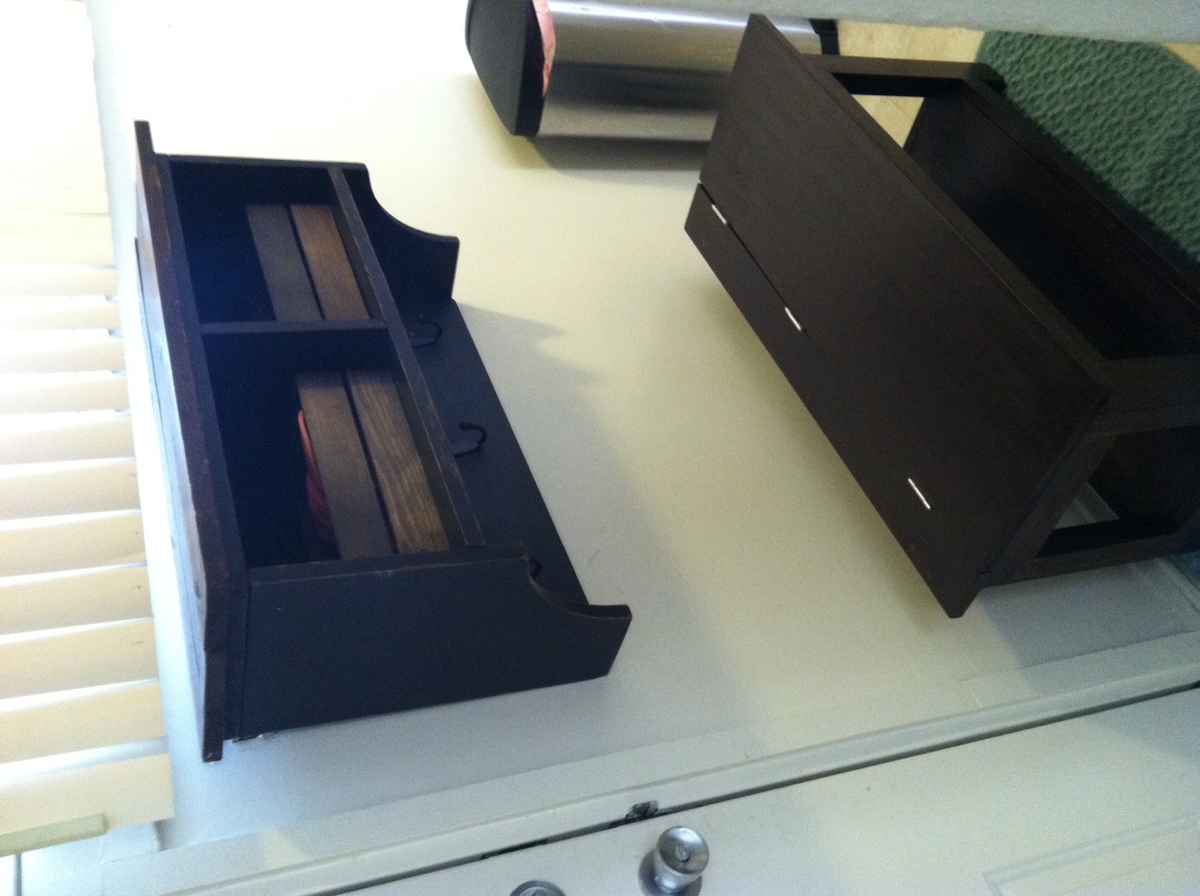
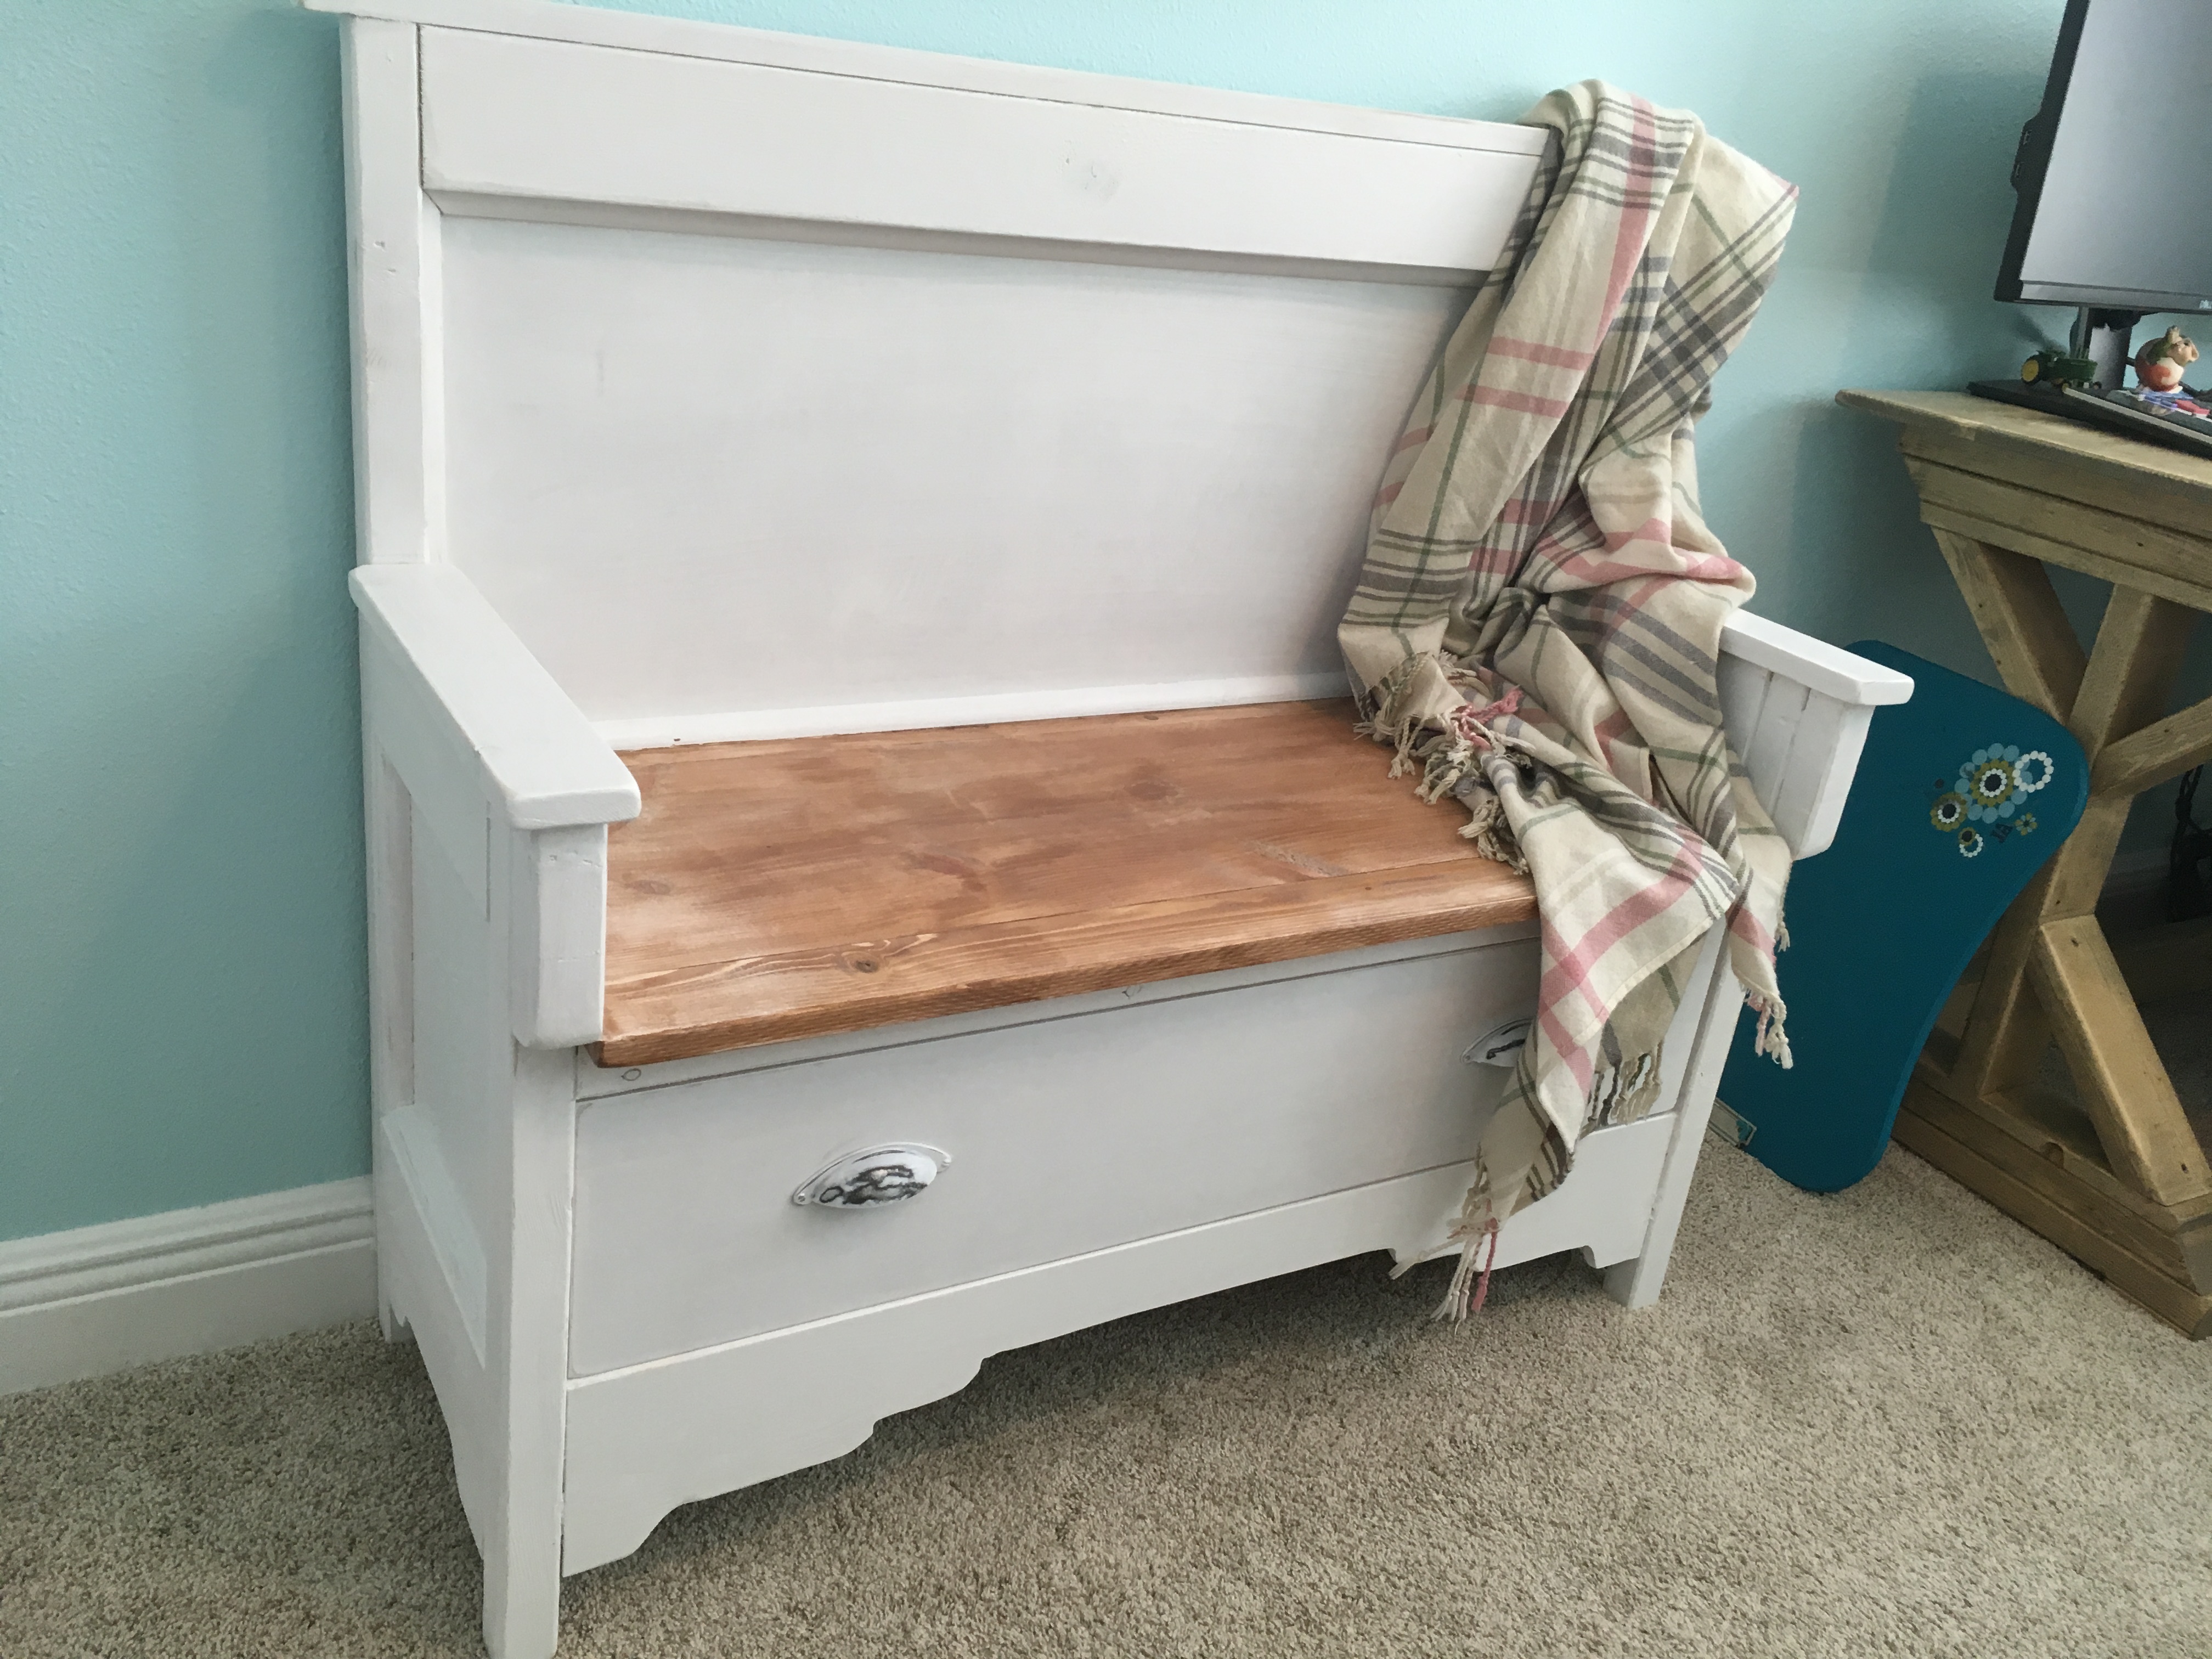
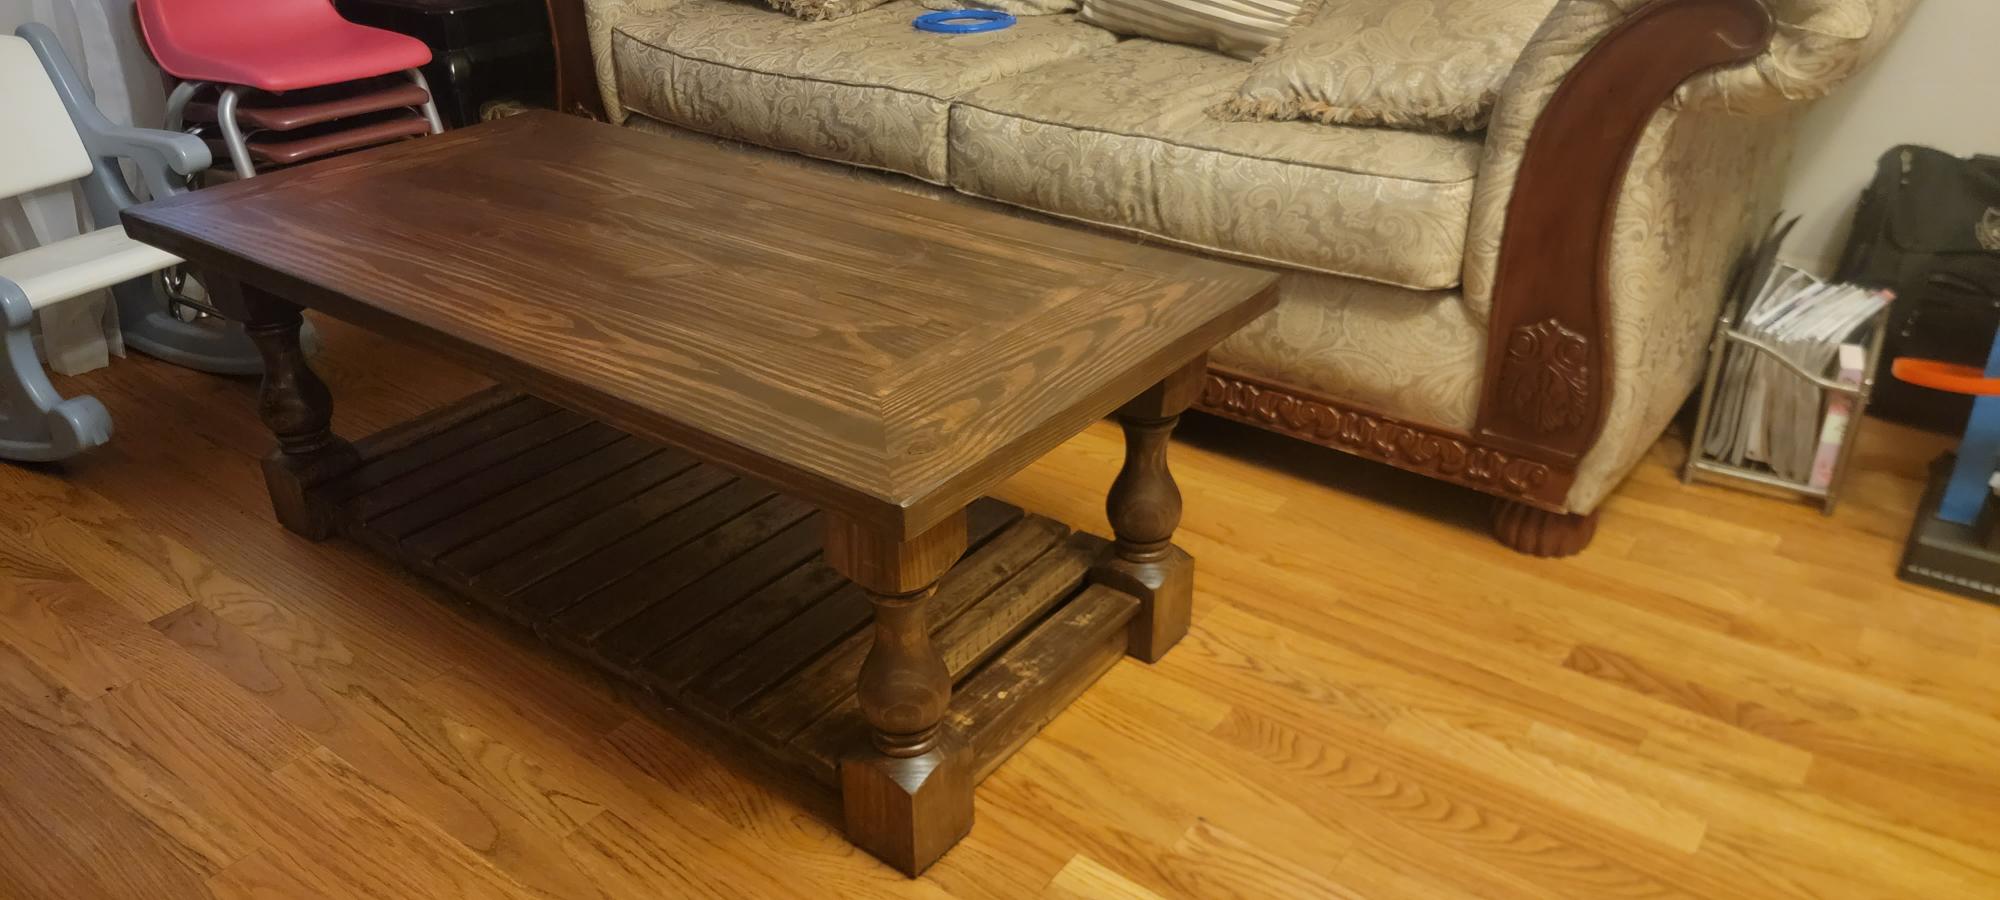
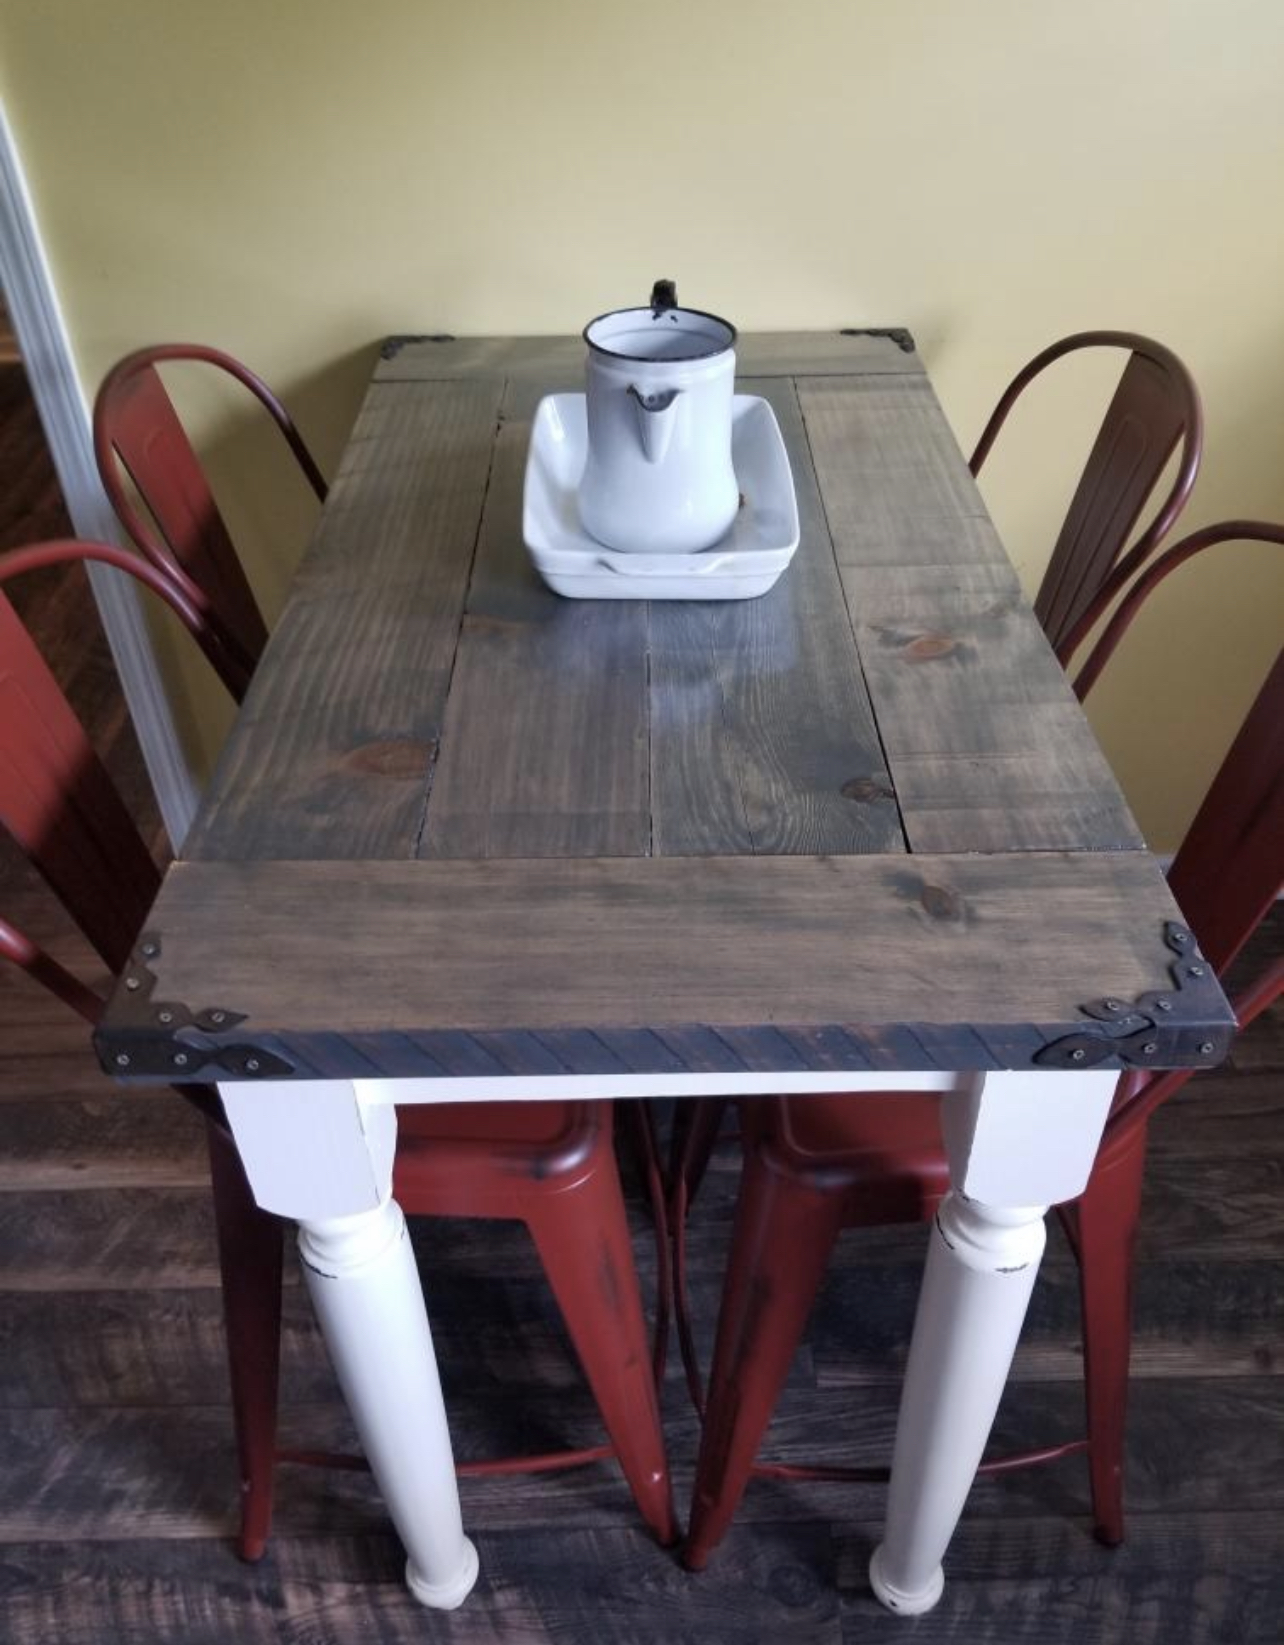
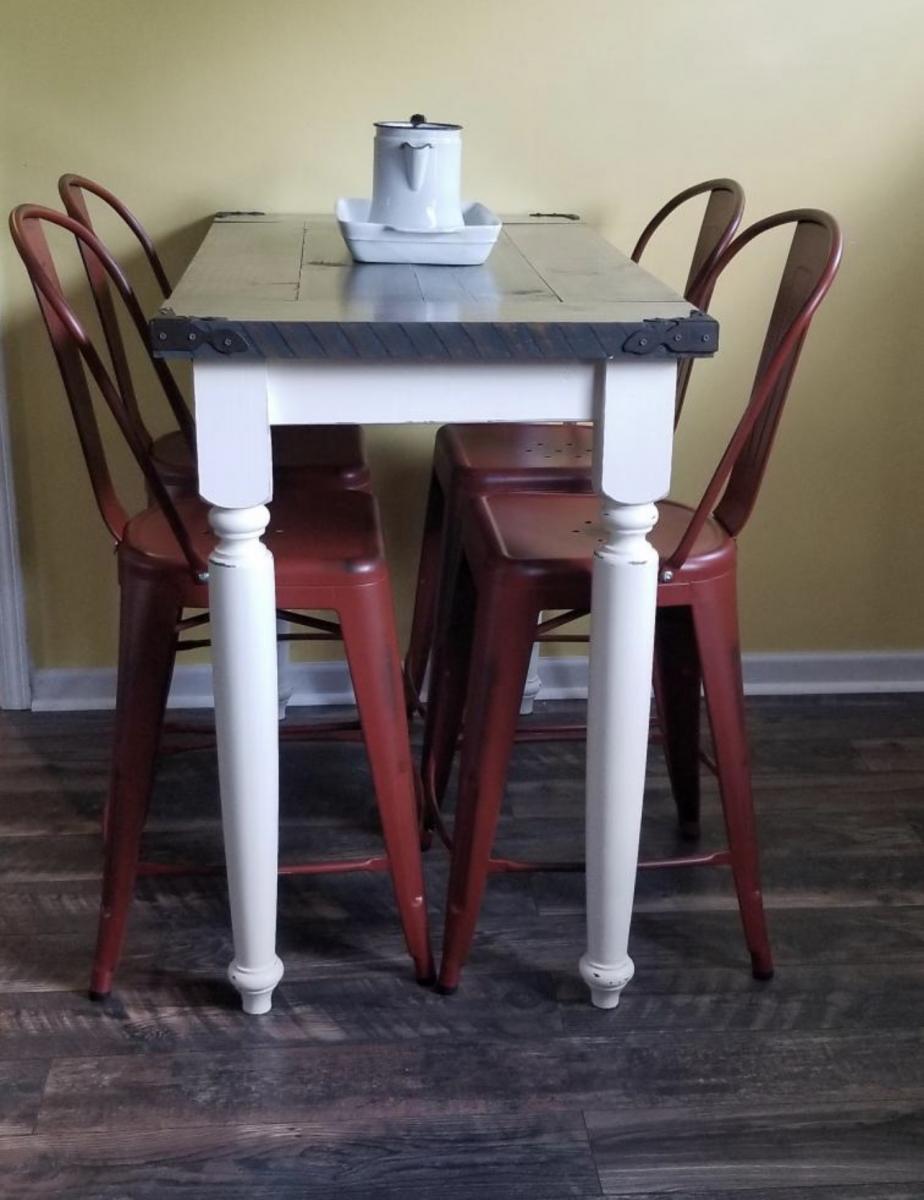
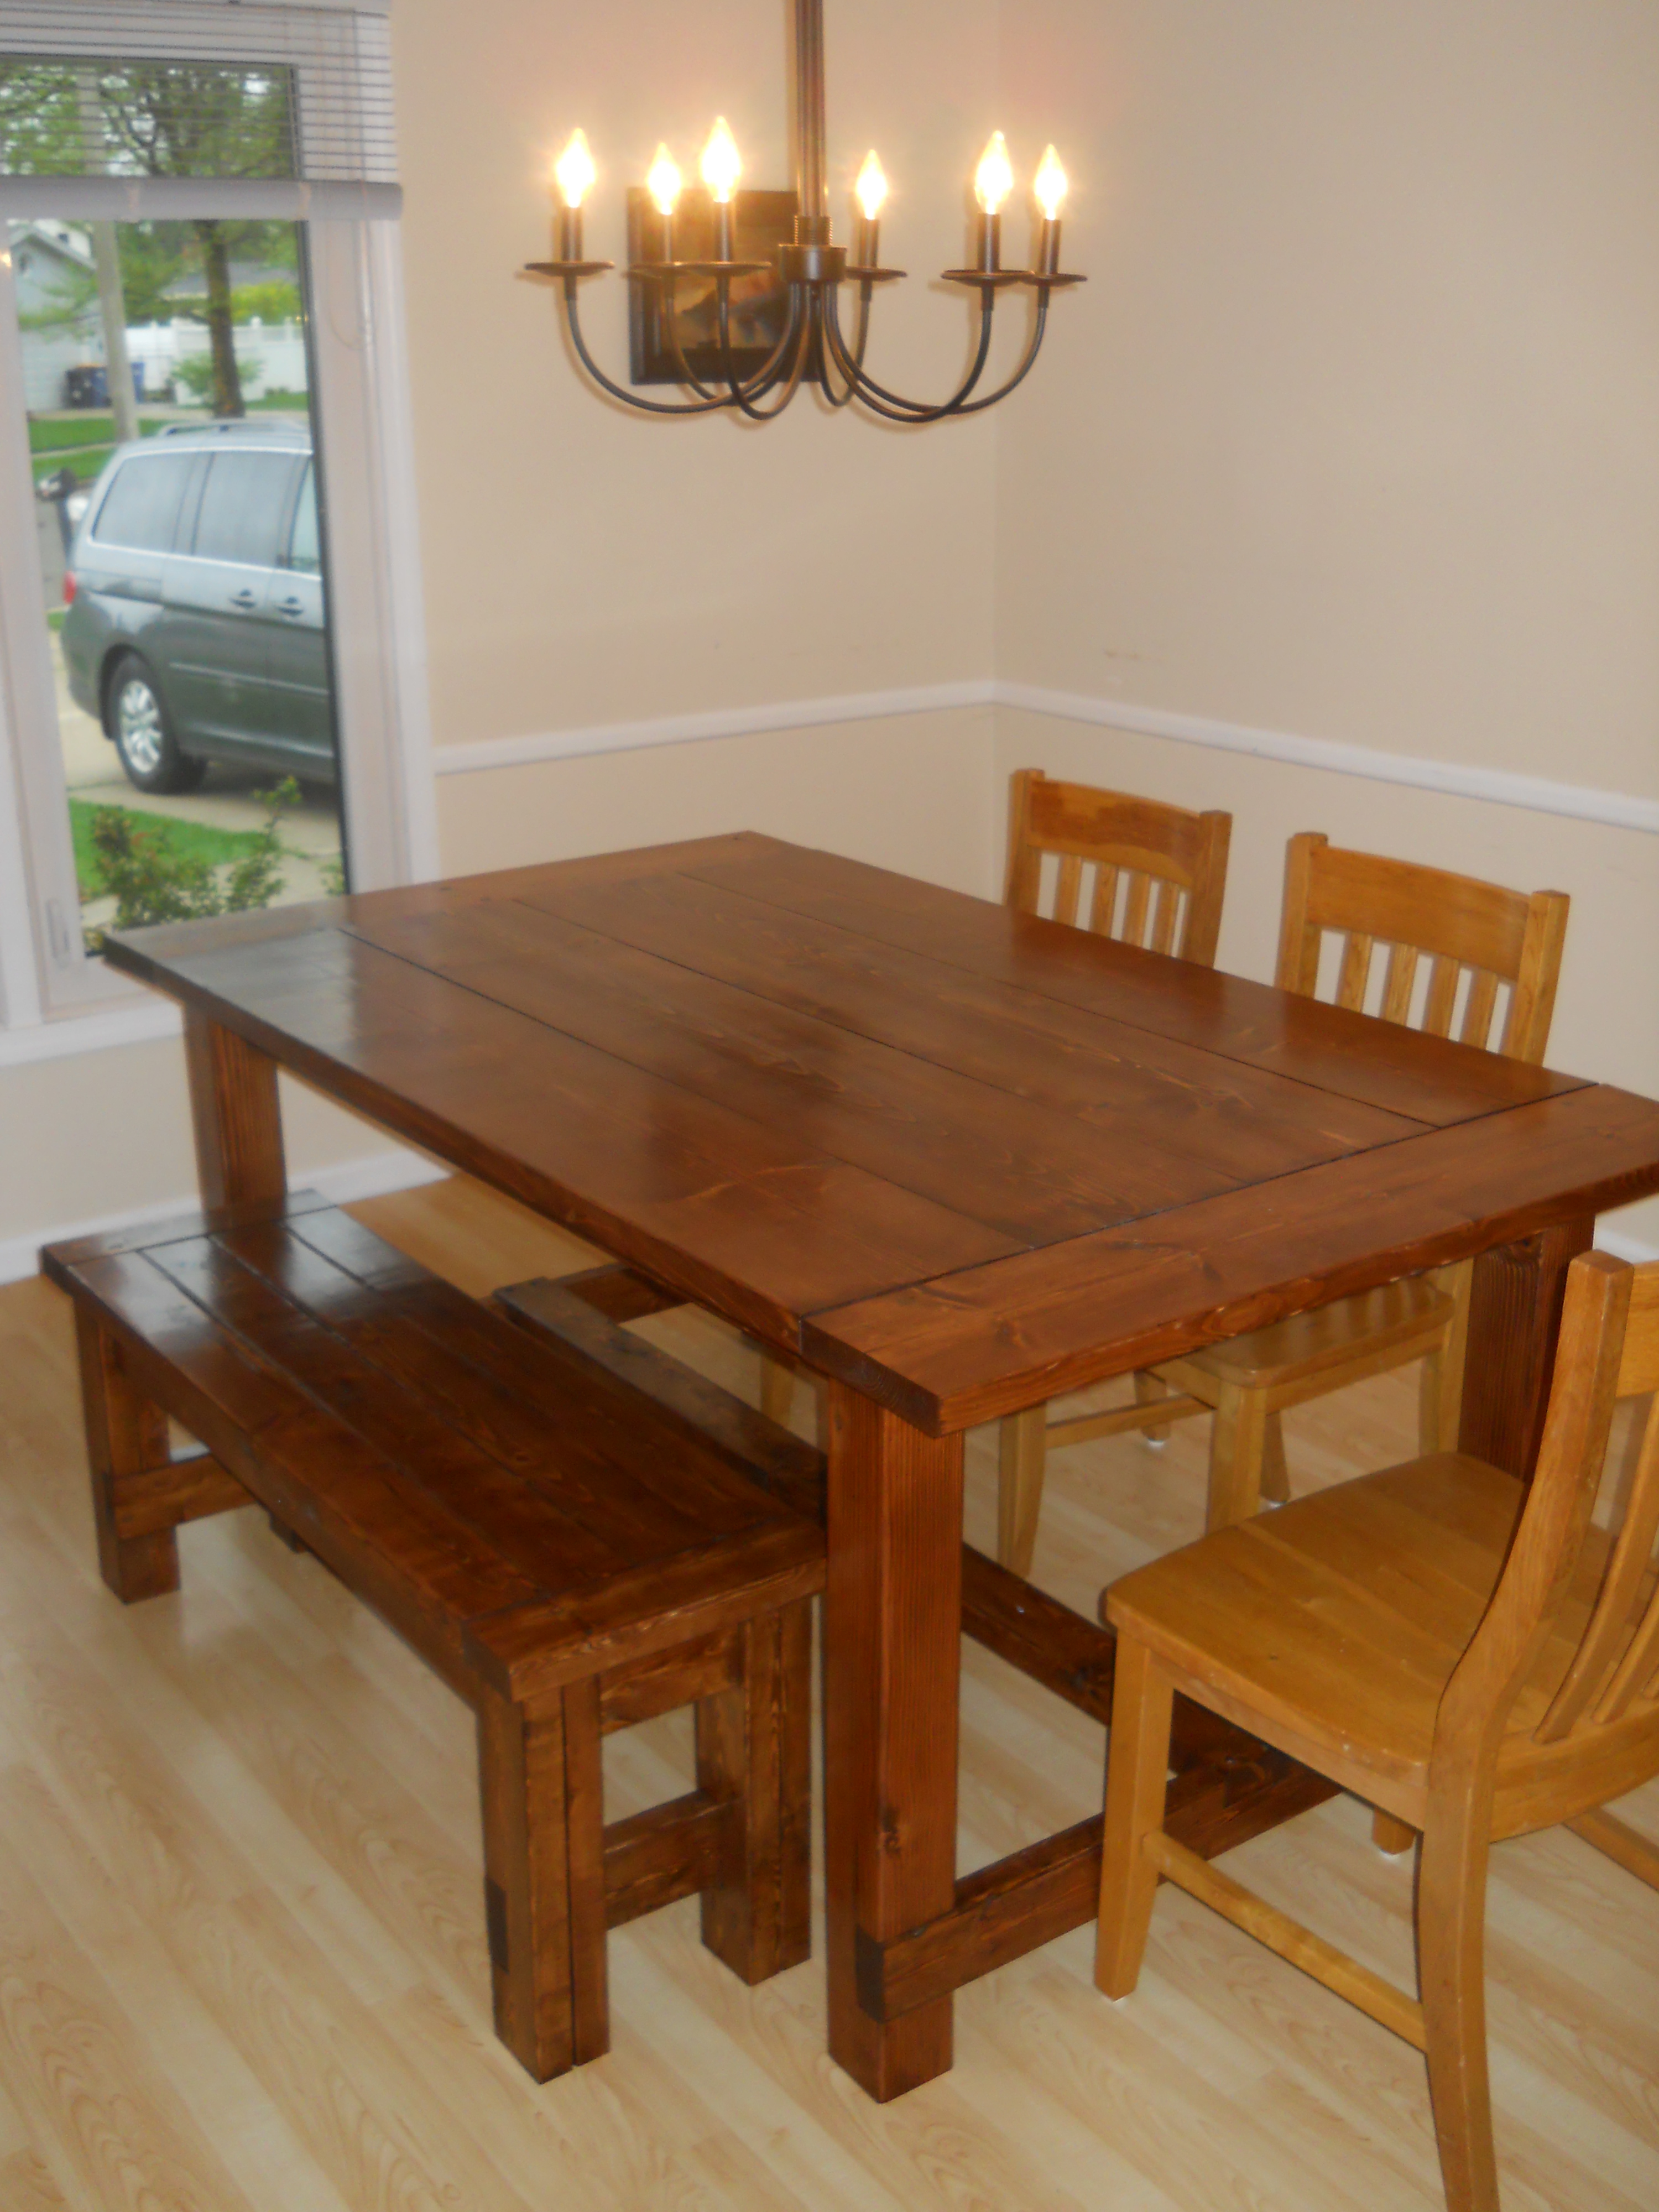
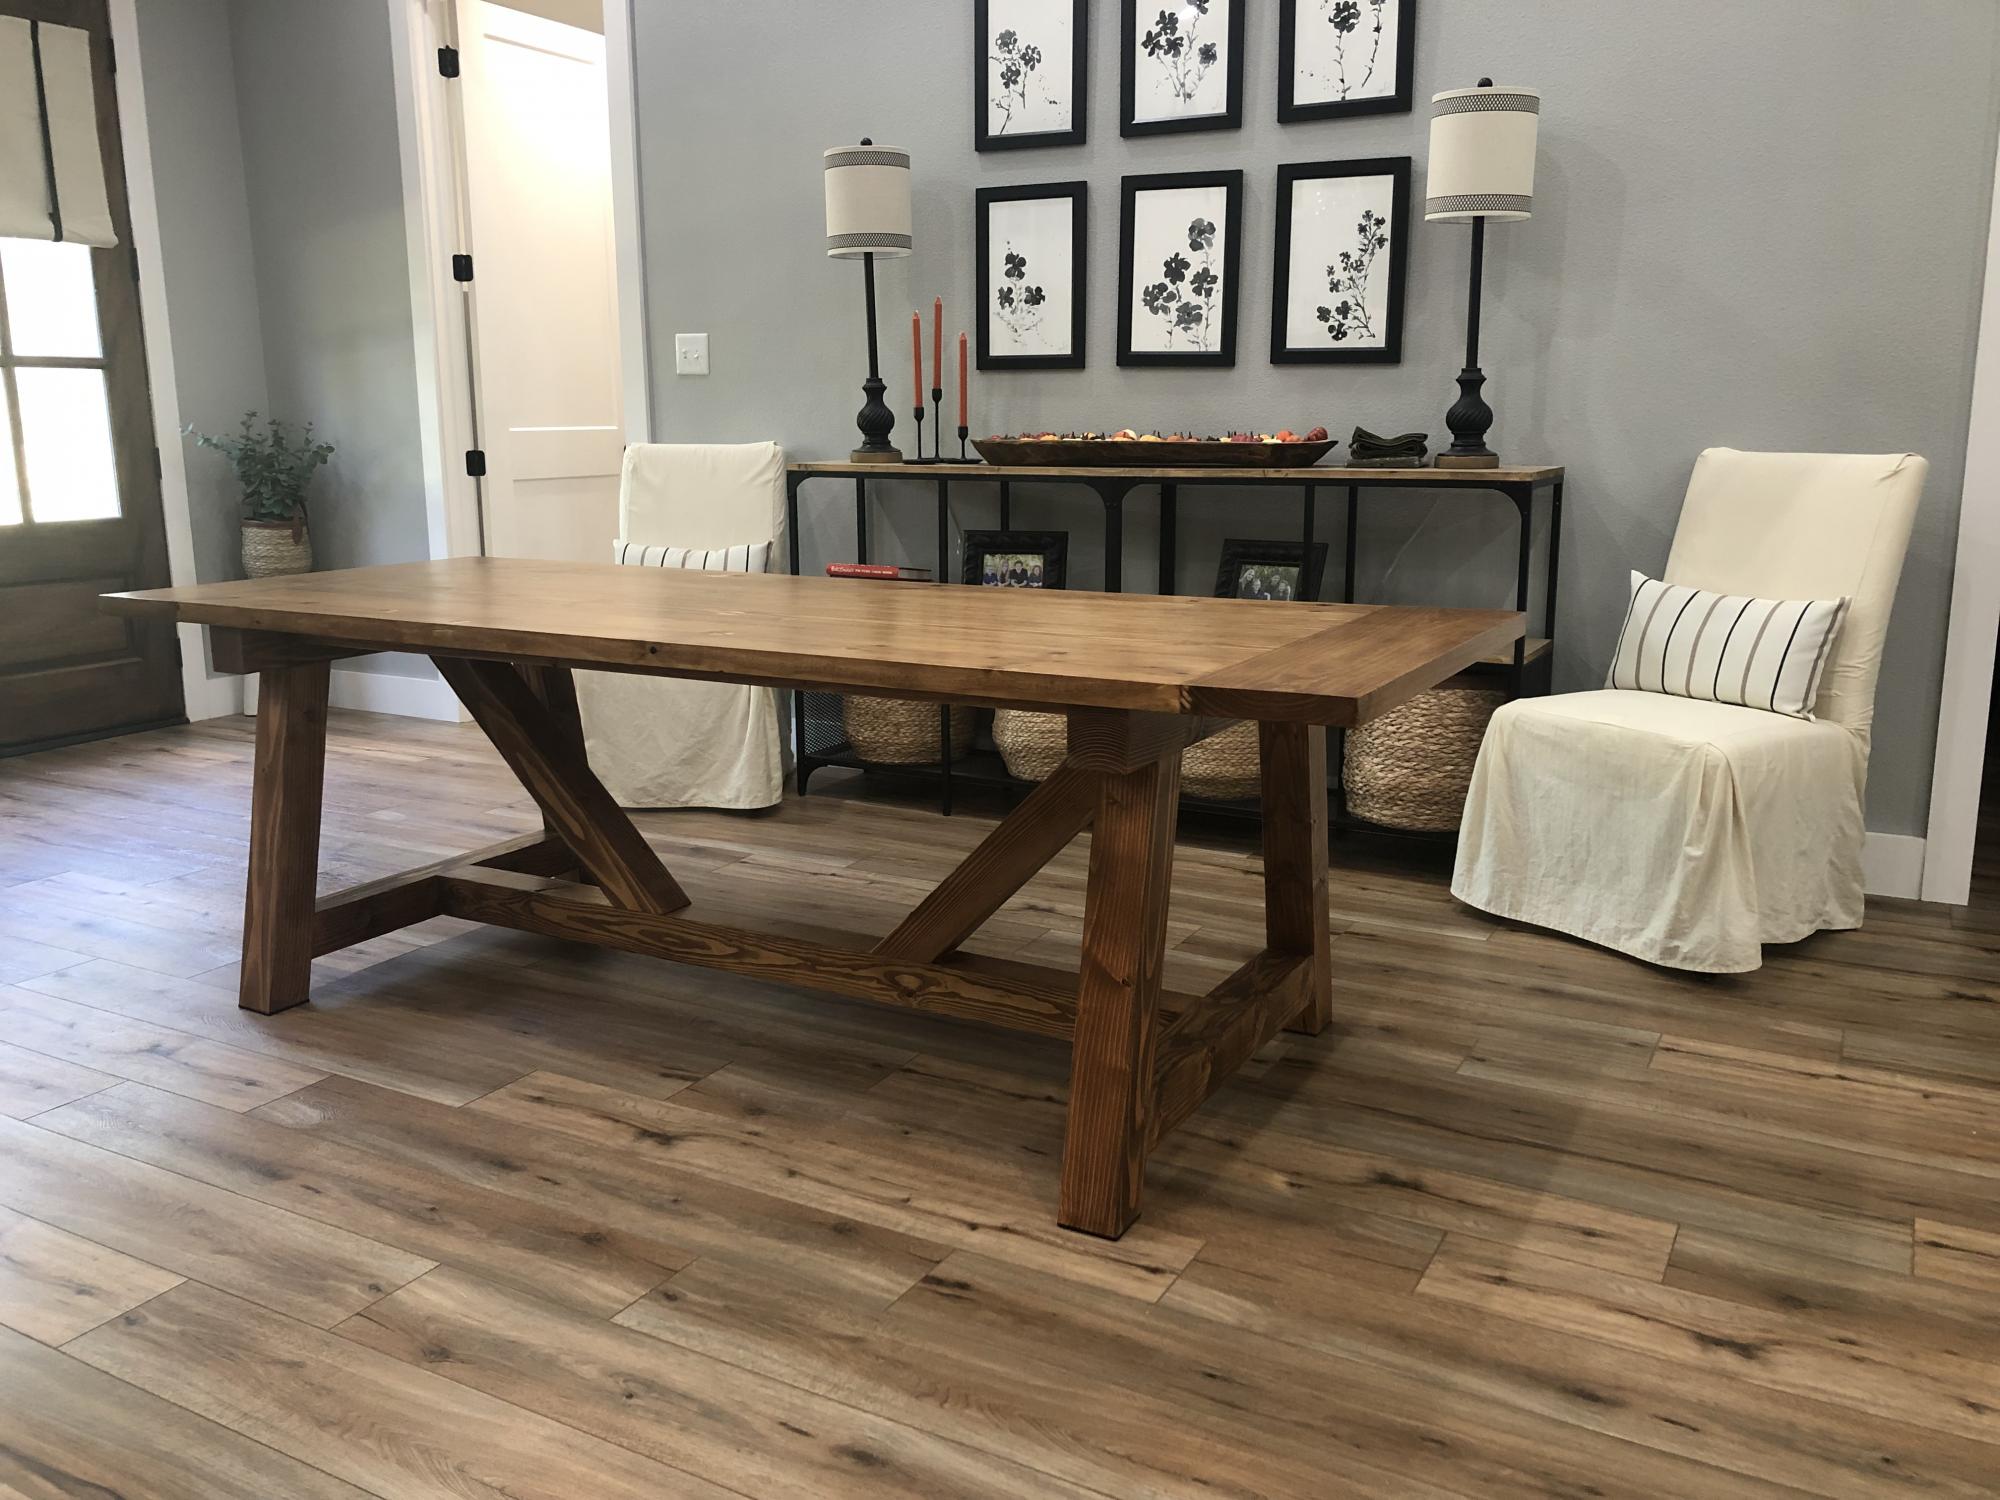
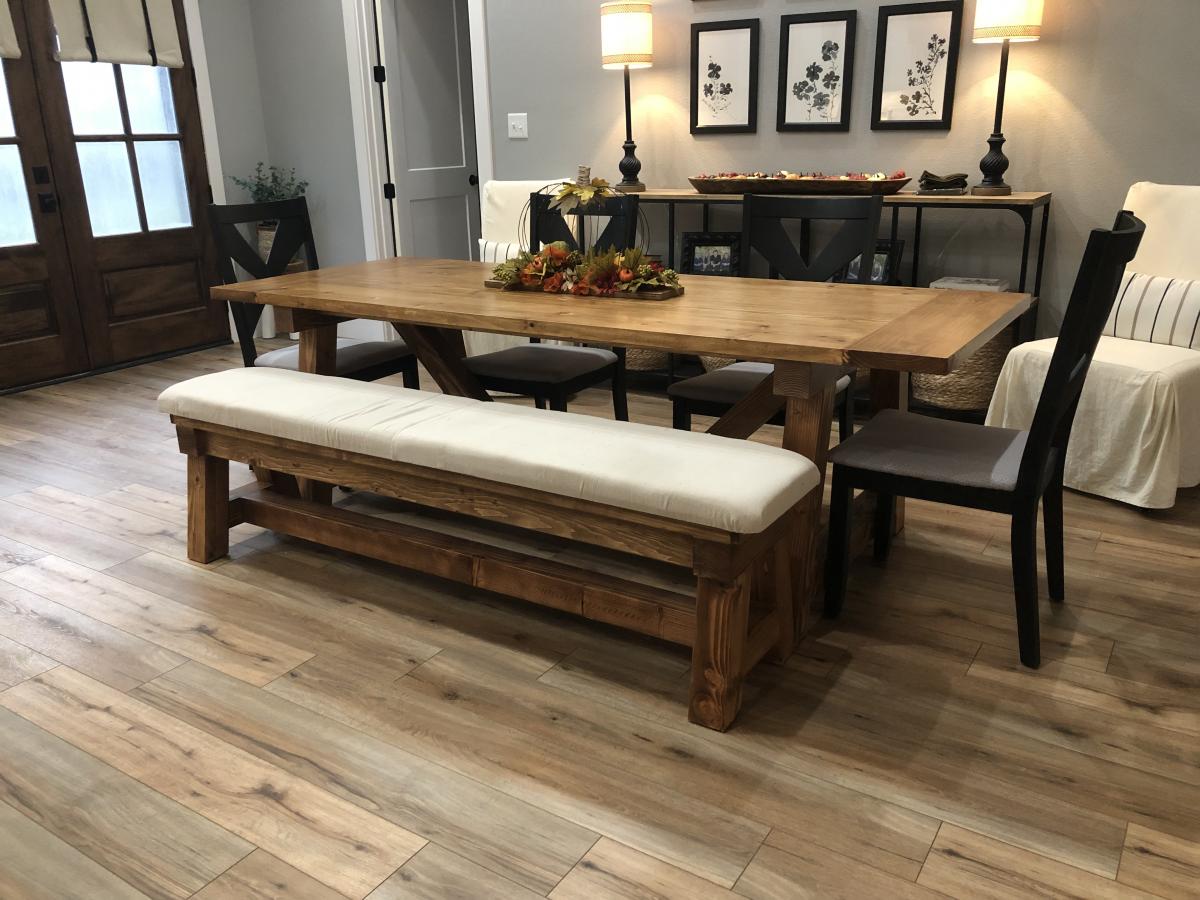
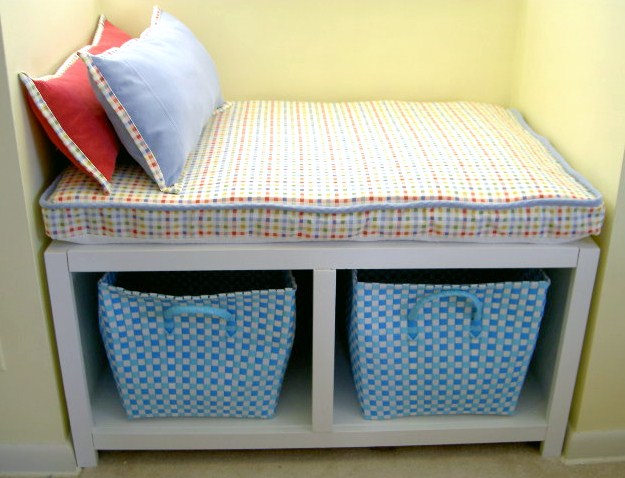
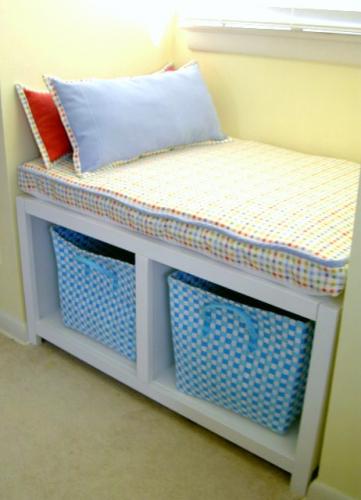
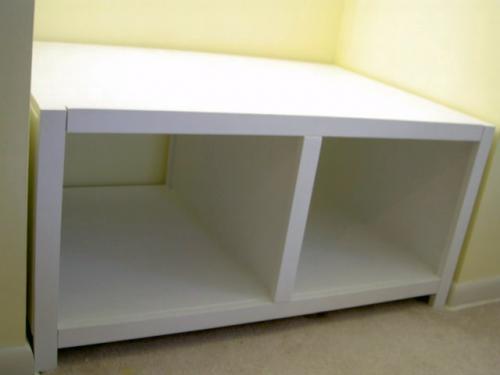
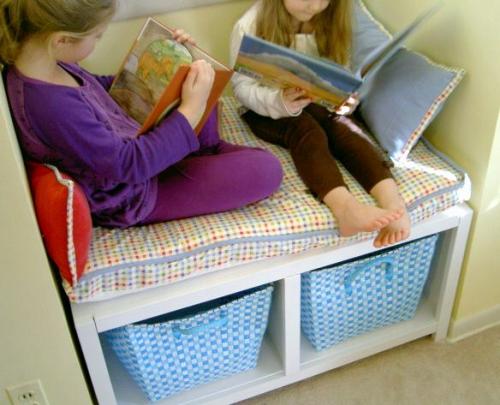
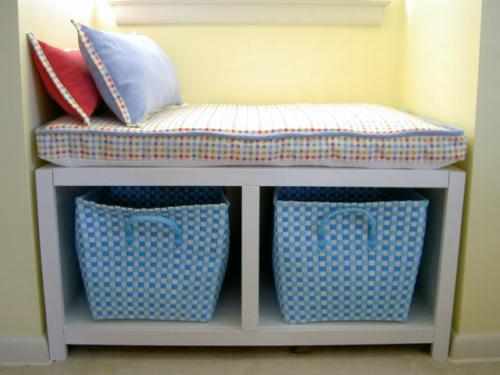
Community Brag Posts

Table and bench

Submitted by jasondk on Fri, 03/20/2015 - 09:03

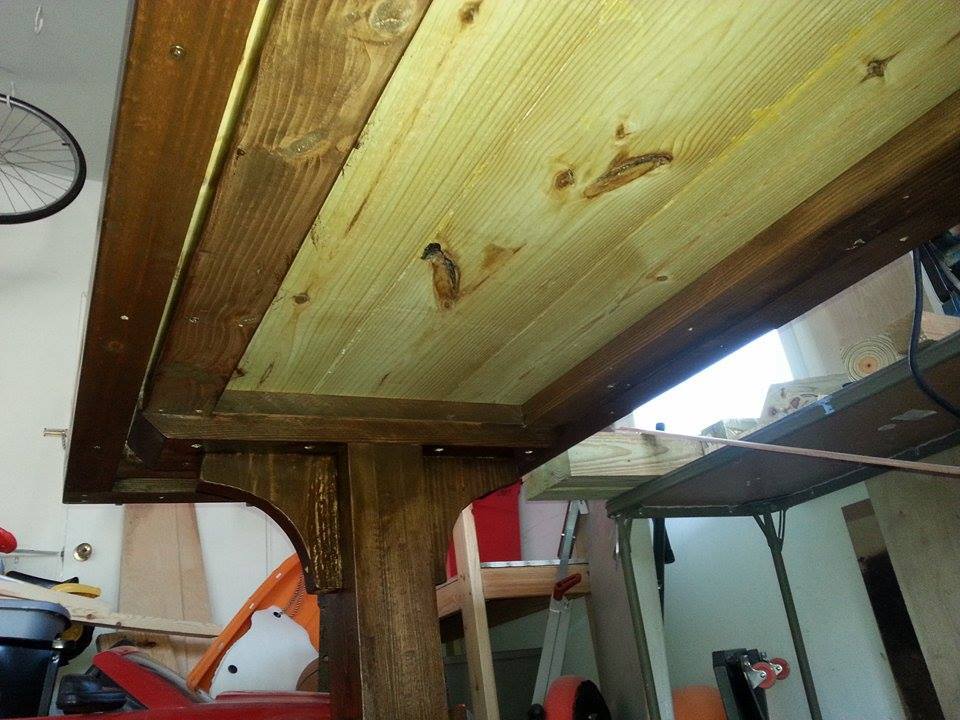
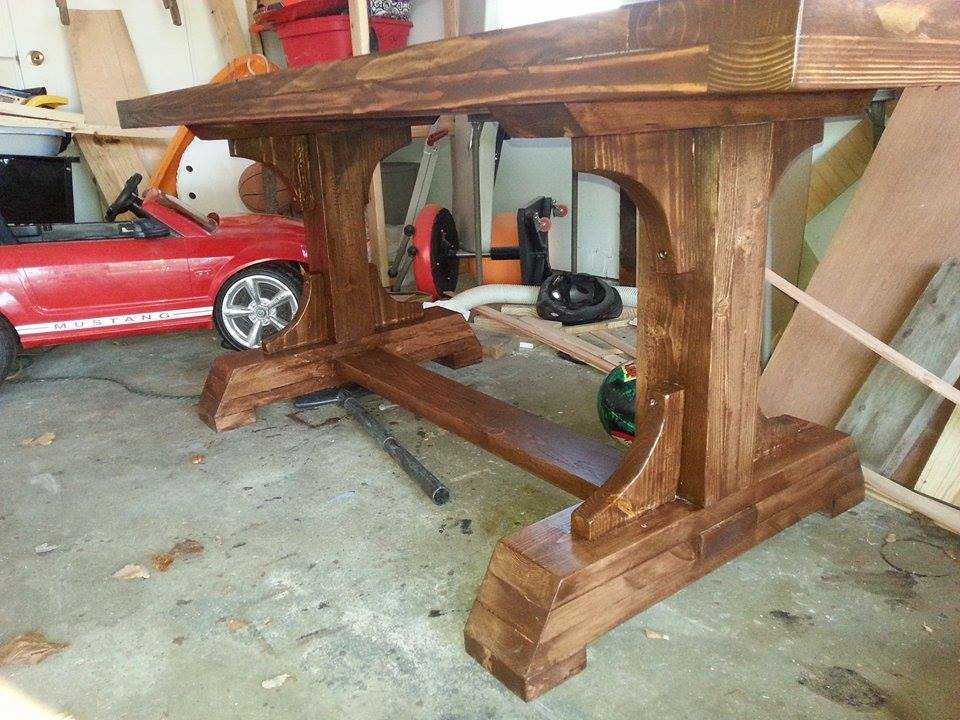
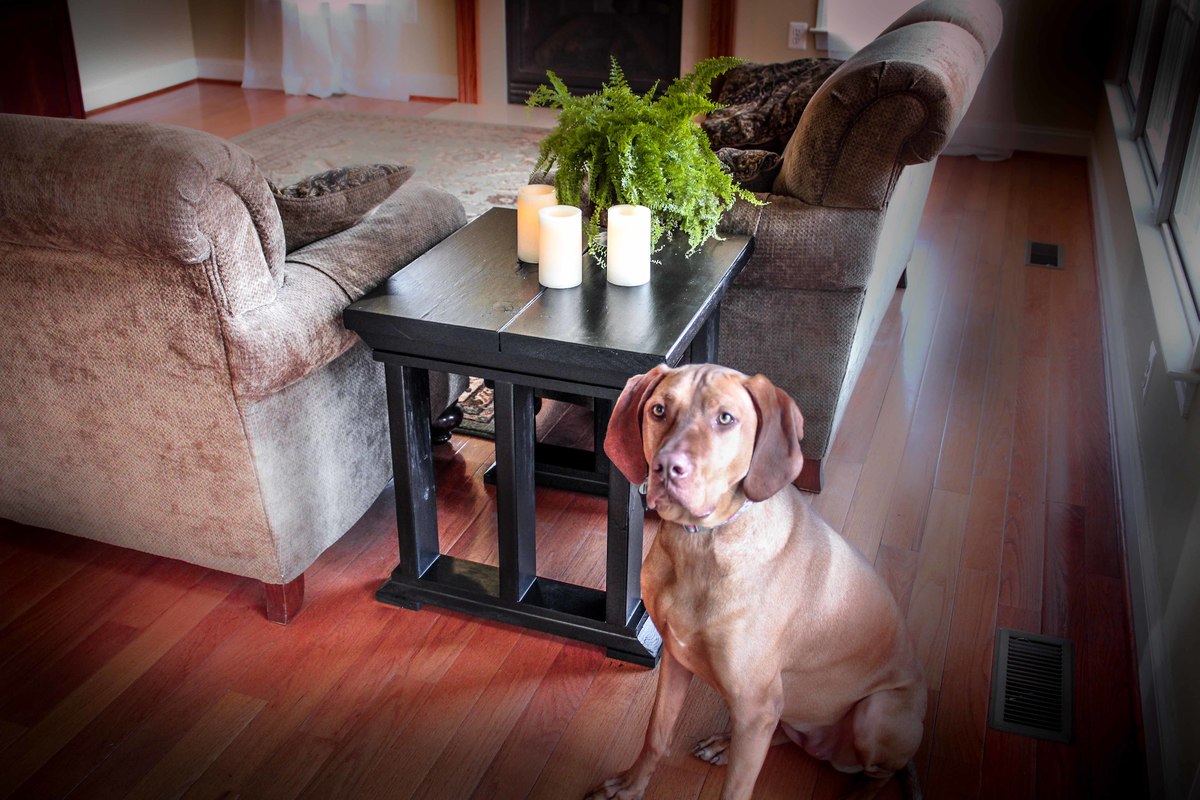
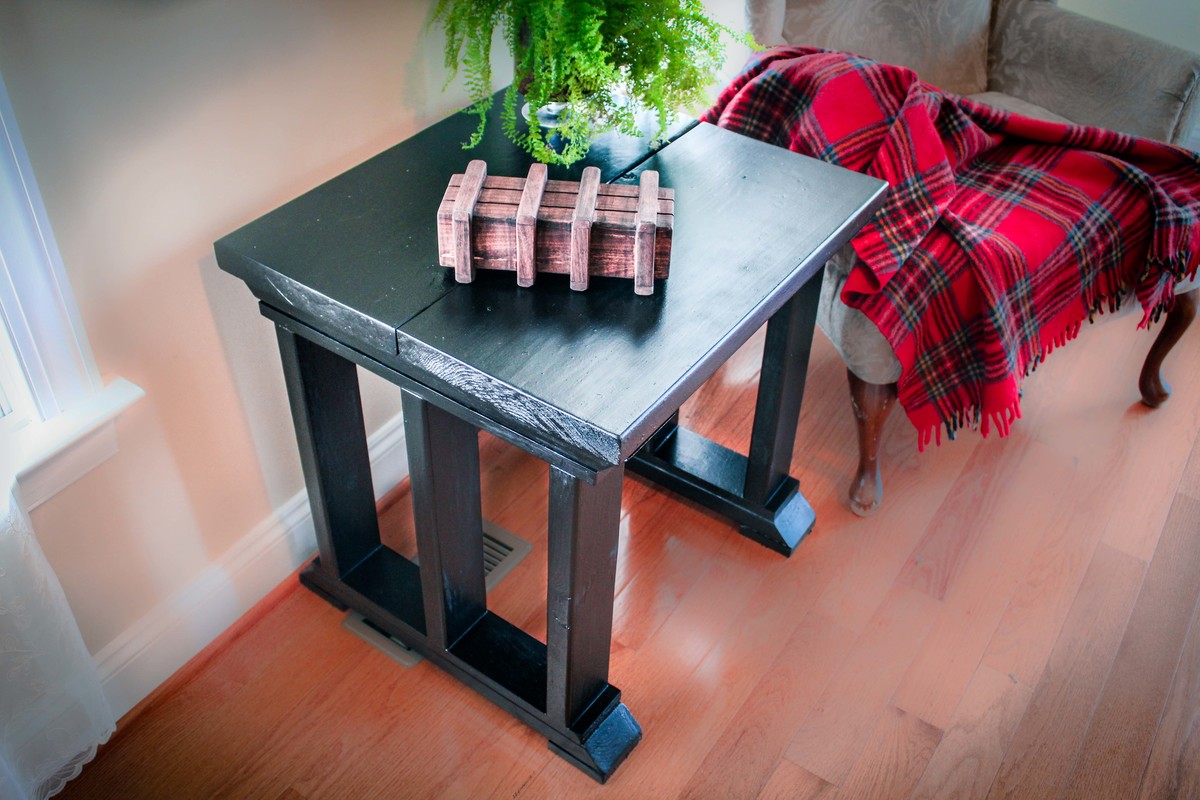
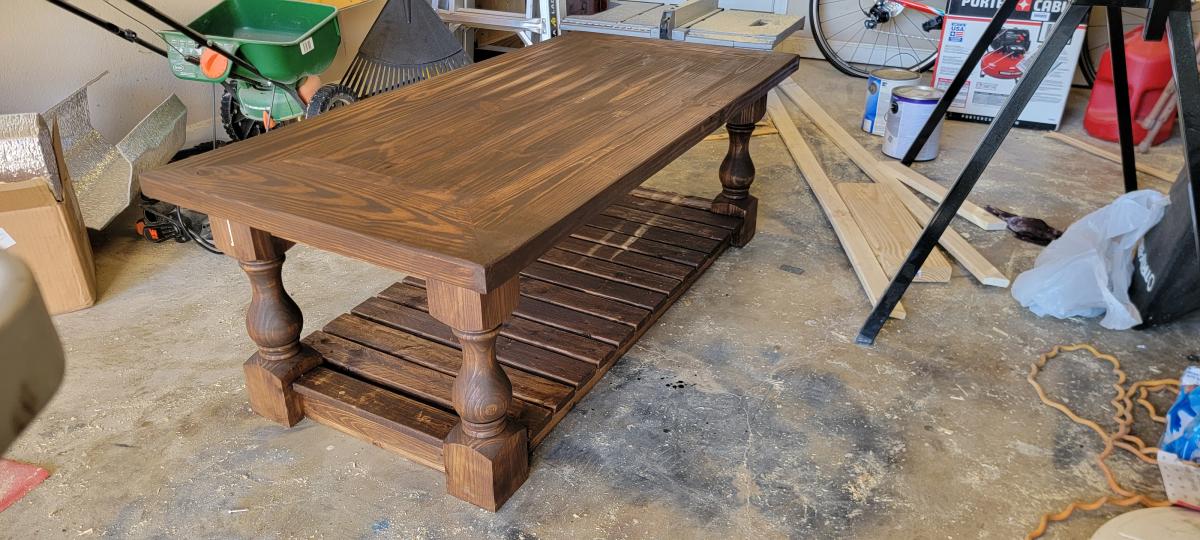
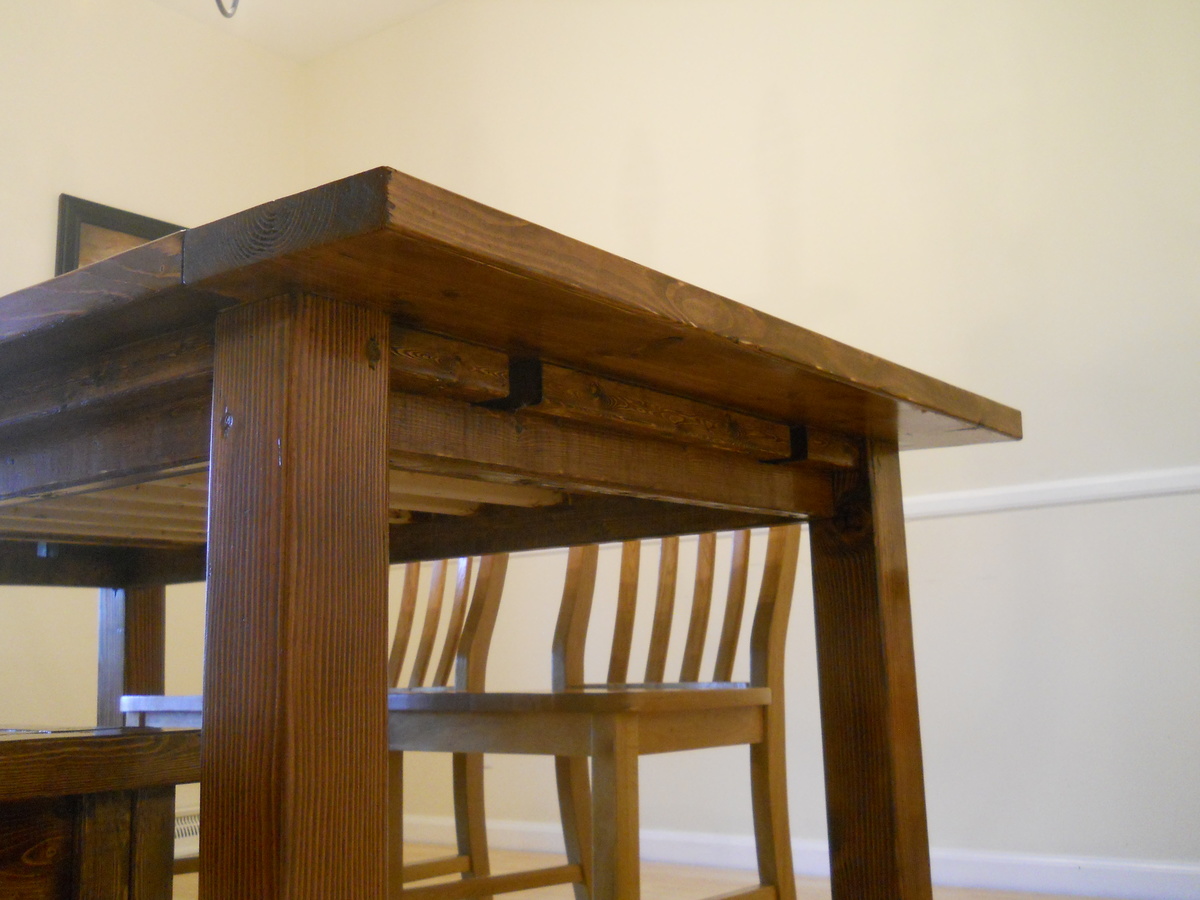
Tried to replicate the Double Pedestal table that has no plans provided. I had to modify a bit to the specifications i wanted. Table top bowed up a bit at the ends after i glued it up and when i tried to attach it to the base, it pulled one side of the base up. To fix this, i added a couple of cross beams at the top of the base, to stablilize the base a bit.

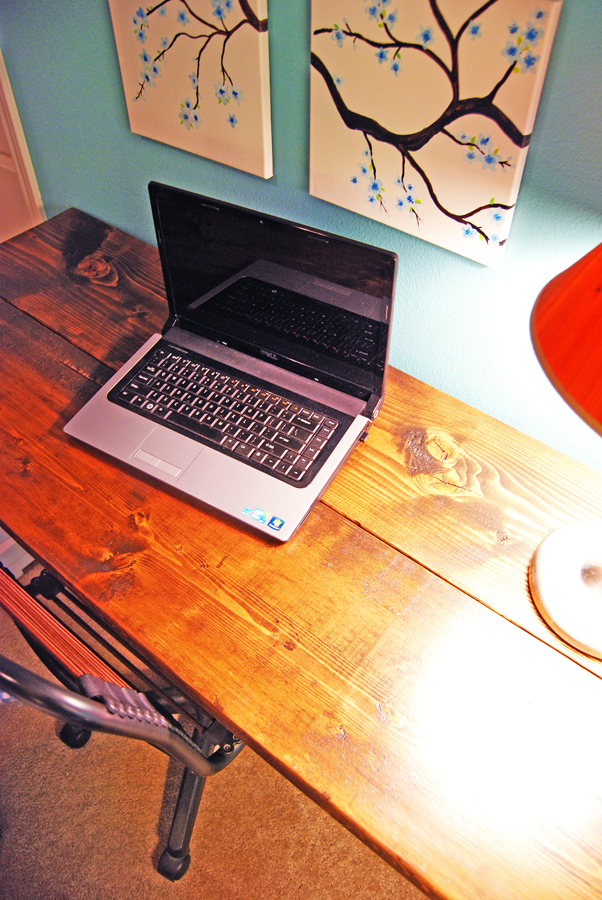
I finished with a minwax gel stain, i forget the color. It was a bit too dark for my liking, so when it dried, i took a cabinet scraper (or card scraper) and scraped off some of the finish. Pretty pleased with how it turned out. then i added 3 coats of lacquer. 


Estimated Cost
$150
Estimated Time Investment
Week Long Project (20 Hours or More)
Finish Used
minwax gel stain. Minwax Lacquer
Recommended Skill Level
Intermediate

Comments

Weekend Woodhacks

Fri, 03/20/2015 - 15:06

We will be beginning building our 2 pedestal table in the next month or so and anticipate that outs will be similar in size / style and weight. OUTCH! We know it is going to be heavy. Pleased to see how well yours turned out.

Rustic Desk

Submitted by frmoody on Sat, 09/11/2021 - 06:10

I have build several of these rustic desks. I left the "X" off of this one as I had trouble getting it to fit properly. My last desk I had no issues but not this time. I use MinWax "Provincial" stain followed by three coats of Varathan 3X glossy finish on the top and two everywhere else. I also added a cross piece between the two end sections to better secure the top to.

Built from Plan(s)

Comments

Outdoor Console Table

Submitted by scokenour on Wed, 05/01/2013 - 16:32

I have a small booth at a local Outdoor Market & a client asked if I had any outdoor tables - she needed some for an upcoming party. I tried convincing her that a potting bench would be perfect (since Ana already had plans for that), but she wanted something a little different. She shared a picture of a "Faraday" console table by Pottery Barn, so I used that as my inspiration. I opted for a counter-height table vs. a table height, but both can be easily achieved using the same size balusters, just cut accordingly. I did have a hard time finding "chunky" balusters with a "flat" section on both the top and bottom. I didn't want to use pre-made legs because they are too pricey. At both Orange and Blue they had "skinny" balusters, but at the Orange near my home I found 1 thicker baluster. I had to go to another store to find more in stock, so supplies may vary in your area. The balusters were less than $3 each. Ana was so kind to create plans and I hope you enjoy your table as much as my client enjoyed hers!

Estimated Cost
$40
Estimated Time Investment
Afternoon Project (3-6 Hours)
Finish Used
exterior grade semi-gloss
Recommended Skill Level
Intermediate

Comments

spiceylg

Thu, 05/02/2013 - 07:31

Really like this and love how you used balusters for legs for added detail.

Rustic End Table

Submitted by mtairymd on Sun, 03/22/2015 - 09:04

This End Table matches the shelf from a few weeks ago which is my attempt of matching the $55 Fancy Desk from Ana White.  As with the shelf, the design is simple, easy to make and is relatively low cost (under $25).   

Estimated Cost
$25
Estimated Time Investment
Afternoon Project (3-6 Hours)
Finish Used
PolyShades Classic Black Satin Stain and Polyurethane from Minwax
Recommended Skill Level
Beginner

Comments

Brayden and Harper's Playhouse

Submitted by Anonymous (not verified) on Fri, 06/23/2017 - 07:51

Built by my son and I. Followed the awesome plans for that most part. 

Recommended Skill Level
Intermediate

Comments

X Desk

Submitted by blenz on Tue, 03/24/2015 - 12:34

Pretty straightforward build, fun to use and build!
 

Built from Plan(s)
Estimated Cost
$70 ish
Estimated Time Investment
Afternoon Project (3-6 Hours)
Recommended Skill Level
Beginner

Comments

Potting Table

Submitted by Anonymous (not verified) on Sun, 06/25/2017 - 17:11

Thanks Ana, built it out of pressure treated wood for South Florida. Had the Home Depot cut most of the wood from your plans.


Estimated Cost
$80
Estimated Time Investment
Afternoon Project (3-6 Hours)
Recommended Skill Level
Intermediate

Montessori bed

Submitted by Anonymous (not verified) on Mon, 10/04/2021 - 12:24

Was a little challenging at first but I was able to pull it off and it came out to be perfect

Comments

Flip Top Storage Bench

Submitted by DMax2010 on Tue, 05/07/2013 - 05:56

I made the entryway cubby from the book and finally couldn't stand the pile of shoes (3 year old) in the front entryway any longer! So I made the bench and my son is thrilled that he can open and close it and put things in it. I have a few touch-ups to do yet from the pocketholes and countersink holes, but I love it! It was really easy to do. I did modify the plans to fit my entryway, so it's about 36 inches long.

I love it!

Estimated Cost
40.00
Estimated Time Investment
Weekend Project (10-20 Hours)
Finish Used
Minwax Pre-Stain Wood Conditioner (1 coat)
Rustoleum Dark Walnut Stain (3 coats)
Rustoleum Soft-touch matte polyurethane (2 coats)

I sanded in between coats of finish and in between polyurethane coats
Recommended Skill Level
Beginner

Adjusted Pew Bench

Submitted by Anonymous (not verified) on Tue, 06/27/2017 - 21:13

I liked the other brag post with shorter arms

Really helps add storage to my office.  Thanks Ana and Shanty 2 Chic

Recommended Skill Level
Beginner

Latest Project

Submitted by Anonymous (not verified) on Mon, 10/04/2021 - 12:45

Built this for my mother in law. Was so excited how it turned out.

Built from Plan(s)

Comments

Cedar Planter - Mother's Day Gift

Submitted by MMTruncale on Thu, 05/09/2013 - 08:09

We made this for my husband's Granny who has a bright green thumb, campared to my slightly black one. It turned out great.

This is also the project I learned how to use a Kreg Jig. Amazing. My husband is hooked.

Built from Plan(s)
Estimated Cost
$25
Estimated Time Investment
Afternoon Project (3-6 Hours)
Finish Used
We used what was left of our SPRAY stain. I think it turned out well. Still has a bit of that cedar to it. We really did it so the Pine wouldn't stick out tremendously.
Recommended Skill Level
Beginner

Counter height table/ island

Submitted by Anonymous (not verified) on Mon, 10/04/2021 - 12:56

This table was built using wooden counter height legs purchased from Home Depot. The top was 3x6 natural pine cut from Stinking Creek Tennessee. The boards were rough cut lumber from a saw mill. I ran the boards thru a plainer. We left the saw marks on the edge, but sanded the rough part off. The apron is 2x4 wall studs purchased from Lowe’s. I screwed it all together with pocket hole screws and wood glue. The corner decorative metal pieces are from Hobby Lobby. The metal bar stools were ordered from amazon.

Comments

Outdoor Canopy Daybed

This is made from cedar, but I painted it anyway. Used a standard single mattress. I highly recommend painting everything first before you put the project together. Full plans are here.

Estimated Cost
$225 for lumber
Estimated Time Investment
Week Long Project (20 Hours or More)
Finish Used
Primed the entire piece with Kilz and then used Rustoleum Spray Paint (Espresso).

The canopy is made from Ikea curtains (19.95/2). I purchased 2 packages, each containing 2 panels. I then sewed the 2 panels together from each package, now having 2 extra long panels. To secure to the bed, I hand-stitched velcro fasteners to the curtains and wrapped around the top part of the canopy.
Recommended Skill Level
Intermediate
Seasonal And Holiday

Farm House Dining Room Table (Modified with Breadboard Extensions)

Submitted by jvanhorn on Fri, 05/10/2013 - 07:56

This is a modified plan for Ana White's Farm House Table.

I shortened the table to about 72 inches with breadboards on the ends and added removable breadboard extensions for a total of about 100 inches of table for a 12x11 room. I also built the Farm House bench but shortened it to 48 inches.

The wood is white pine and Douglas Fir 4x4 legs. The total cost was $198 for the wood/screws and about $30 for the stain and sand paper. I bought an additional set of countersink bits for holes.

I used the following tools:

  • Hand Saw
  • Table Saw
  • Compound Miter Saw
  • Hand Drill with various bits and countersinks
  • Square, pencil and straight edges
  • Tape measure
  • Clamps
  • Wood Chisel Set
  • Sharpening Stone
  • Level
  • It took about 35 hours of work.

    The stain is English Chestnut and we pretreated the wood to accept the stain by using wood conditioner. This made a dramatic difference in leveling out the stain between the white pine and Douglas Fir. I used 3 coats of clear polyurethane and 2 coats of satin on the top with gentle sanding in between coats.

Estimated Cost
$230
Estimated Time Investment
Week Long Project (20 Hours or More)
Finish Used
Prepped the wood with wood conditioner before applying stain. English Chestnut stain with 3-clear polyurethane coats followed by 2-satin coats. Light sanding in between coats.
Recommended Skill Level
Intermediate

Cabin Bunk System

Submitted by tracylee on Tue, 03/31/2015 - 12:23

I made this bed for my son. I was a beginner with little to no experience before I started this project. I learned a LOT along the way and now I'm addicted to building things. It wouldn't have taken me so long if  I had a little more experience. Staining was difficult, especially when you have two kids wanting to help. My drawers slides were absolutely impossible! Next time I will use a different method for the drawers. I still need to make the ladder. I haven't come across any plans for that so I'm going to wing it. The bed is not perfect by any means but my son doesn't care. 

Estimated Cost
$300-400
Estimated Time Investment
Week Long Project (20 Hours or More)
Finish Used
I used one coat of Safecoat DuroStain, water based, Walnut color, low odor. For the poly, I used two coats of Vermont Natural Coatings, PolyWhey, water-based, clear satin. I should have used three coats of the poly but I ran out of energy. It took me 8 hours to sand the entire bunk system and apply the second coat. I like these products because they are not toxic and green.
Recommended Skill Level
Beginner

4x4 Truss beam table and bench

Submitted by Anonymous (not verified) on Mon, 10/04/2021 - 13:42

The plans were very easy to follow for non avid woodworkers. We decided to upholster the seat on the bench.

Built from Plan(s)

Comments

Magnetic White Board Organizer Wall

Submitted by Christian on Mon, 05/13/2013 - 10:24

Easy project that has helped us stay more organized. We use Cozi to maintain the calendar, but this allows us to highlight things that the kiddos need to know during the week. We keep the chore schedule, laundry schedule, meal plan, and out of routine activities on the week calendar so the kids can tell what is going on at a glance. The allowance is also hanging up at the top as an incentive to get their respective jobs done for the week. I used galvanized sheet metal glued onto a 1/4 inch plywood base and coated it with whiteboard paint. This allows it to be magnetic and easily written on. Love the letter holder for homework and important paperwork.

Things we have used it for so far:
Activity schedule (swimming lessons, soccer practice, etc.)
Meal plan
Unusual activities (parties, movie night, etc.)
School stuff (project due, spirit week, etc.)
Chore schedule
Laundry Schedule
Room of the week: what part of the house gets a deep clean this week.
Servant of the week: which kid is the designated helper for non-chore activities when an extra hand is needed.

We are still figuring out all the ways to use this to good effect, but the kids really like being able to see what is coming up in the schedule for the week.

Estimated Cost
$100
Estimated Time Investment
Weekend Project (10-20 Hours)
Finish Used
Whiteboard paint
Minwax Walnut Stain
Spray Acrylic to whiteboard marker proof the wooden parts.
Recommended Skill Level
Beginner