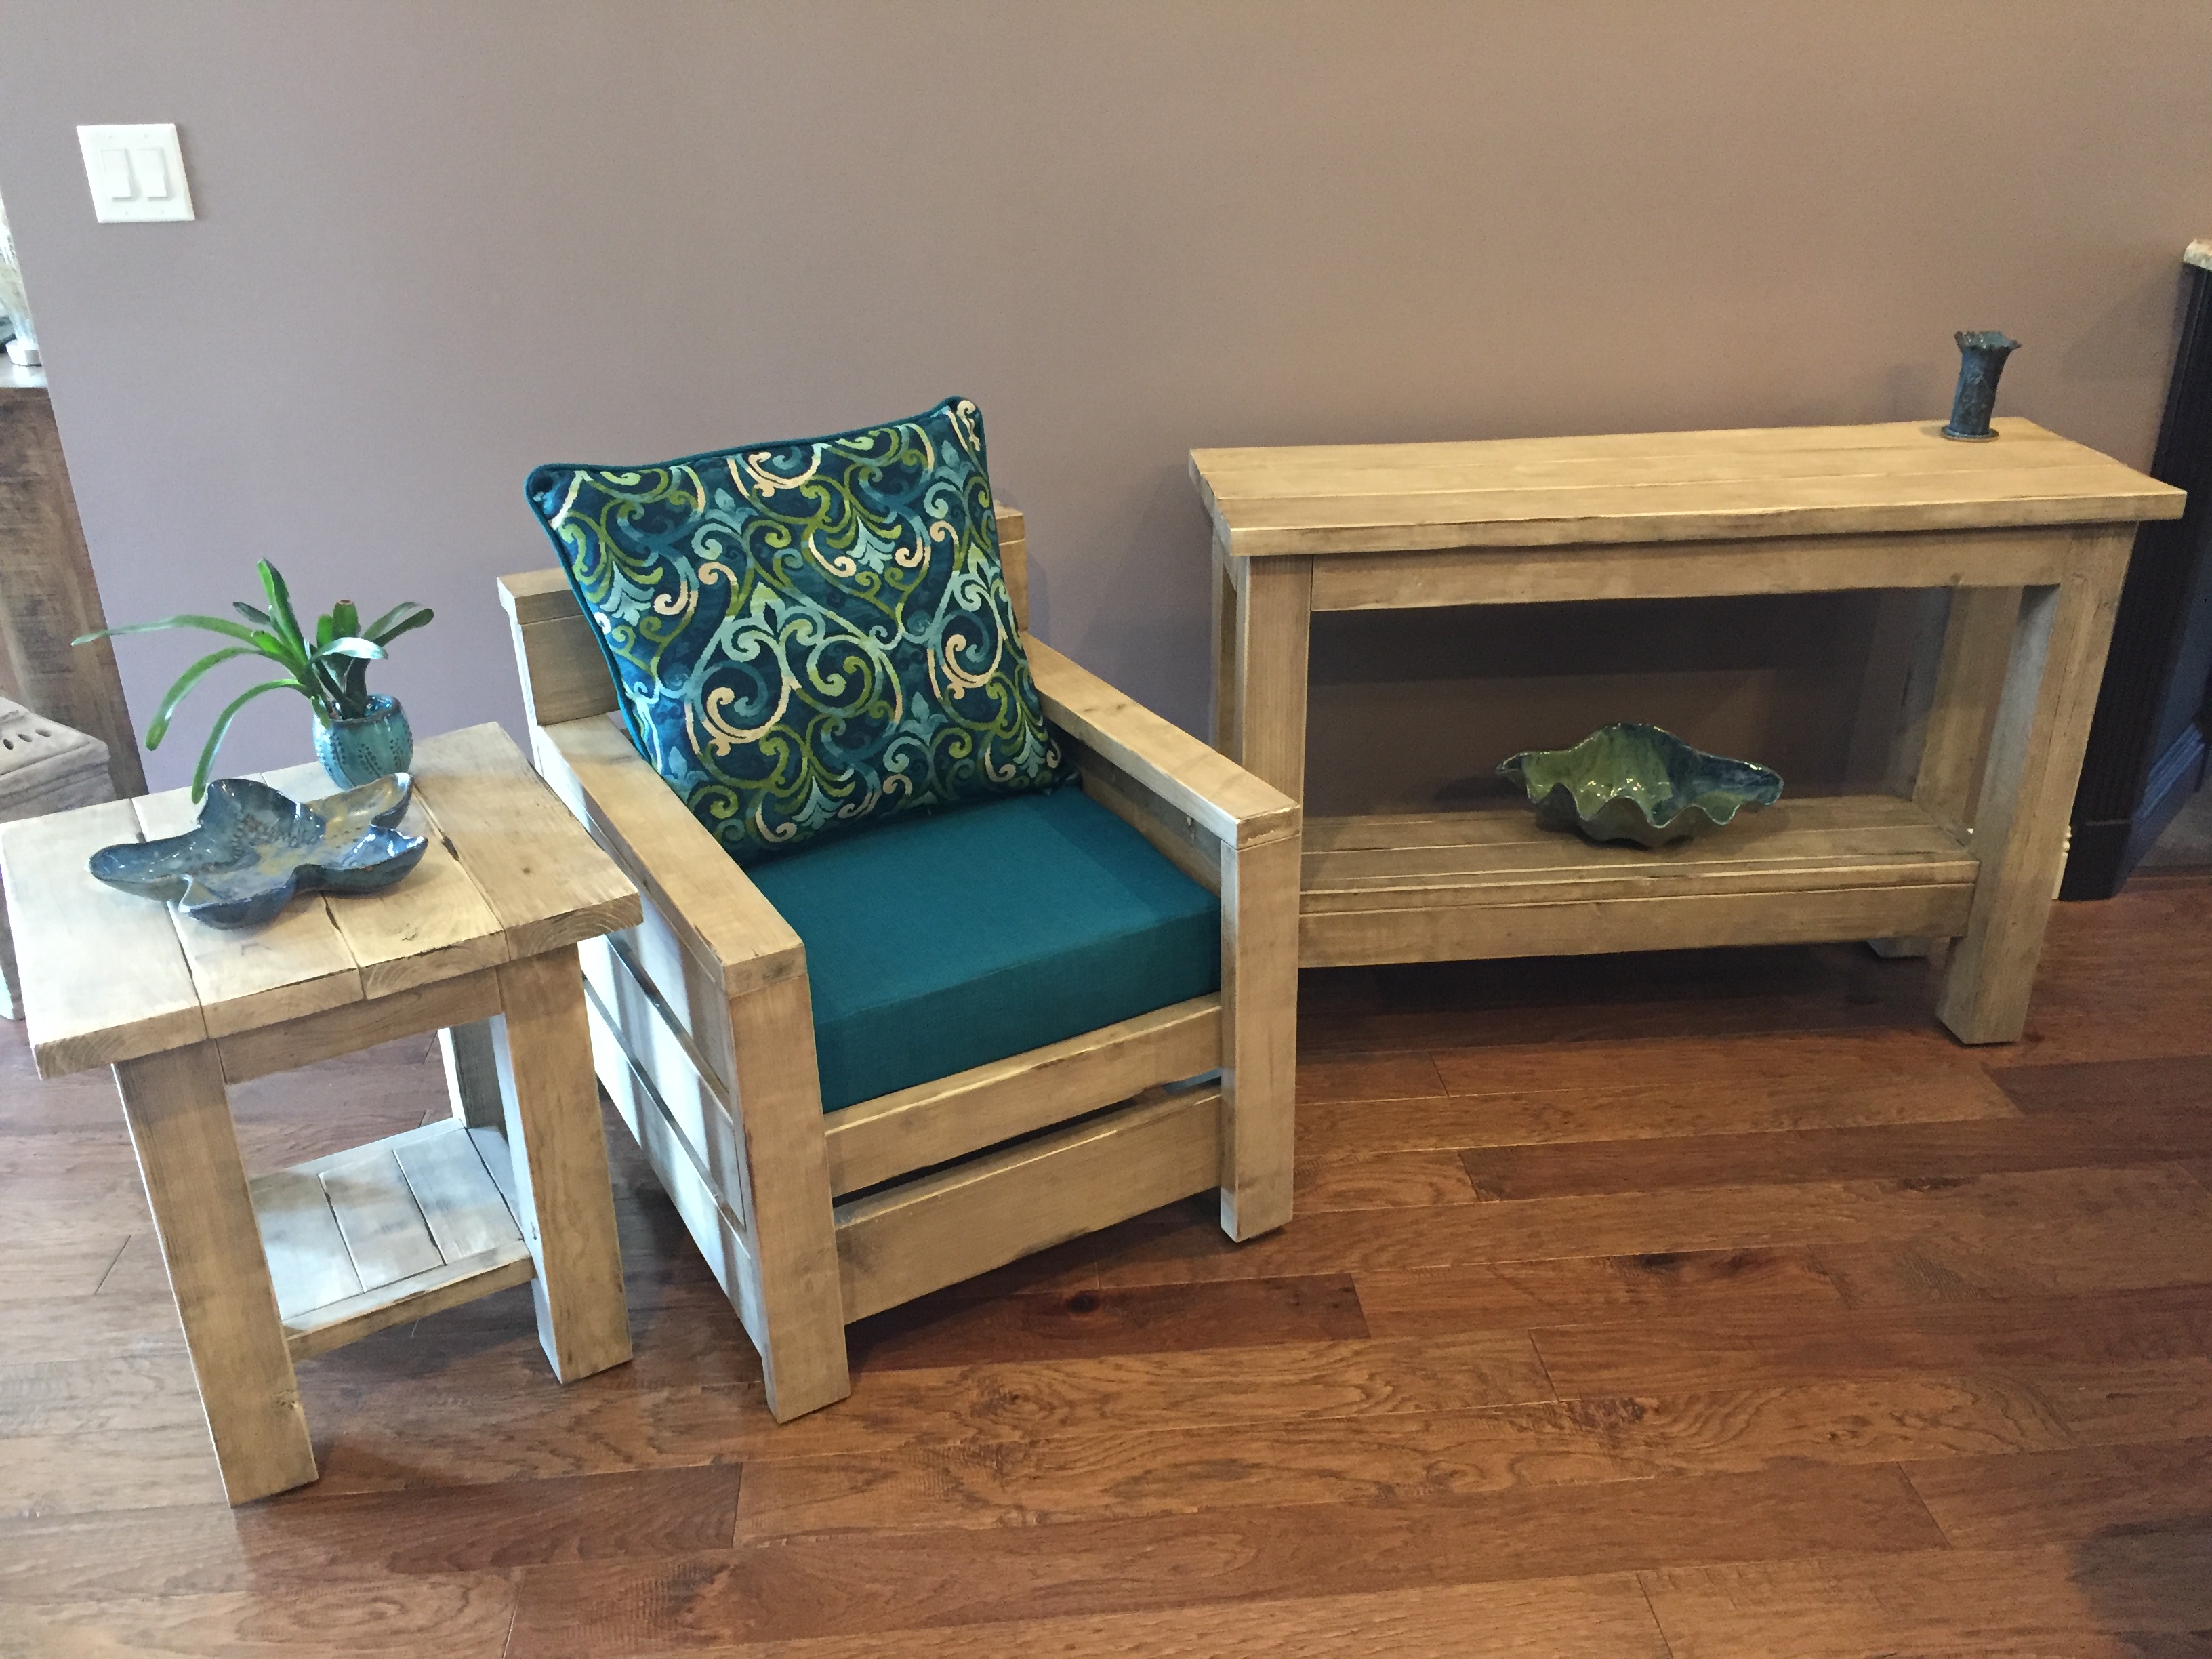
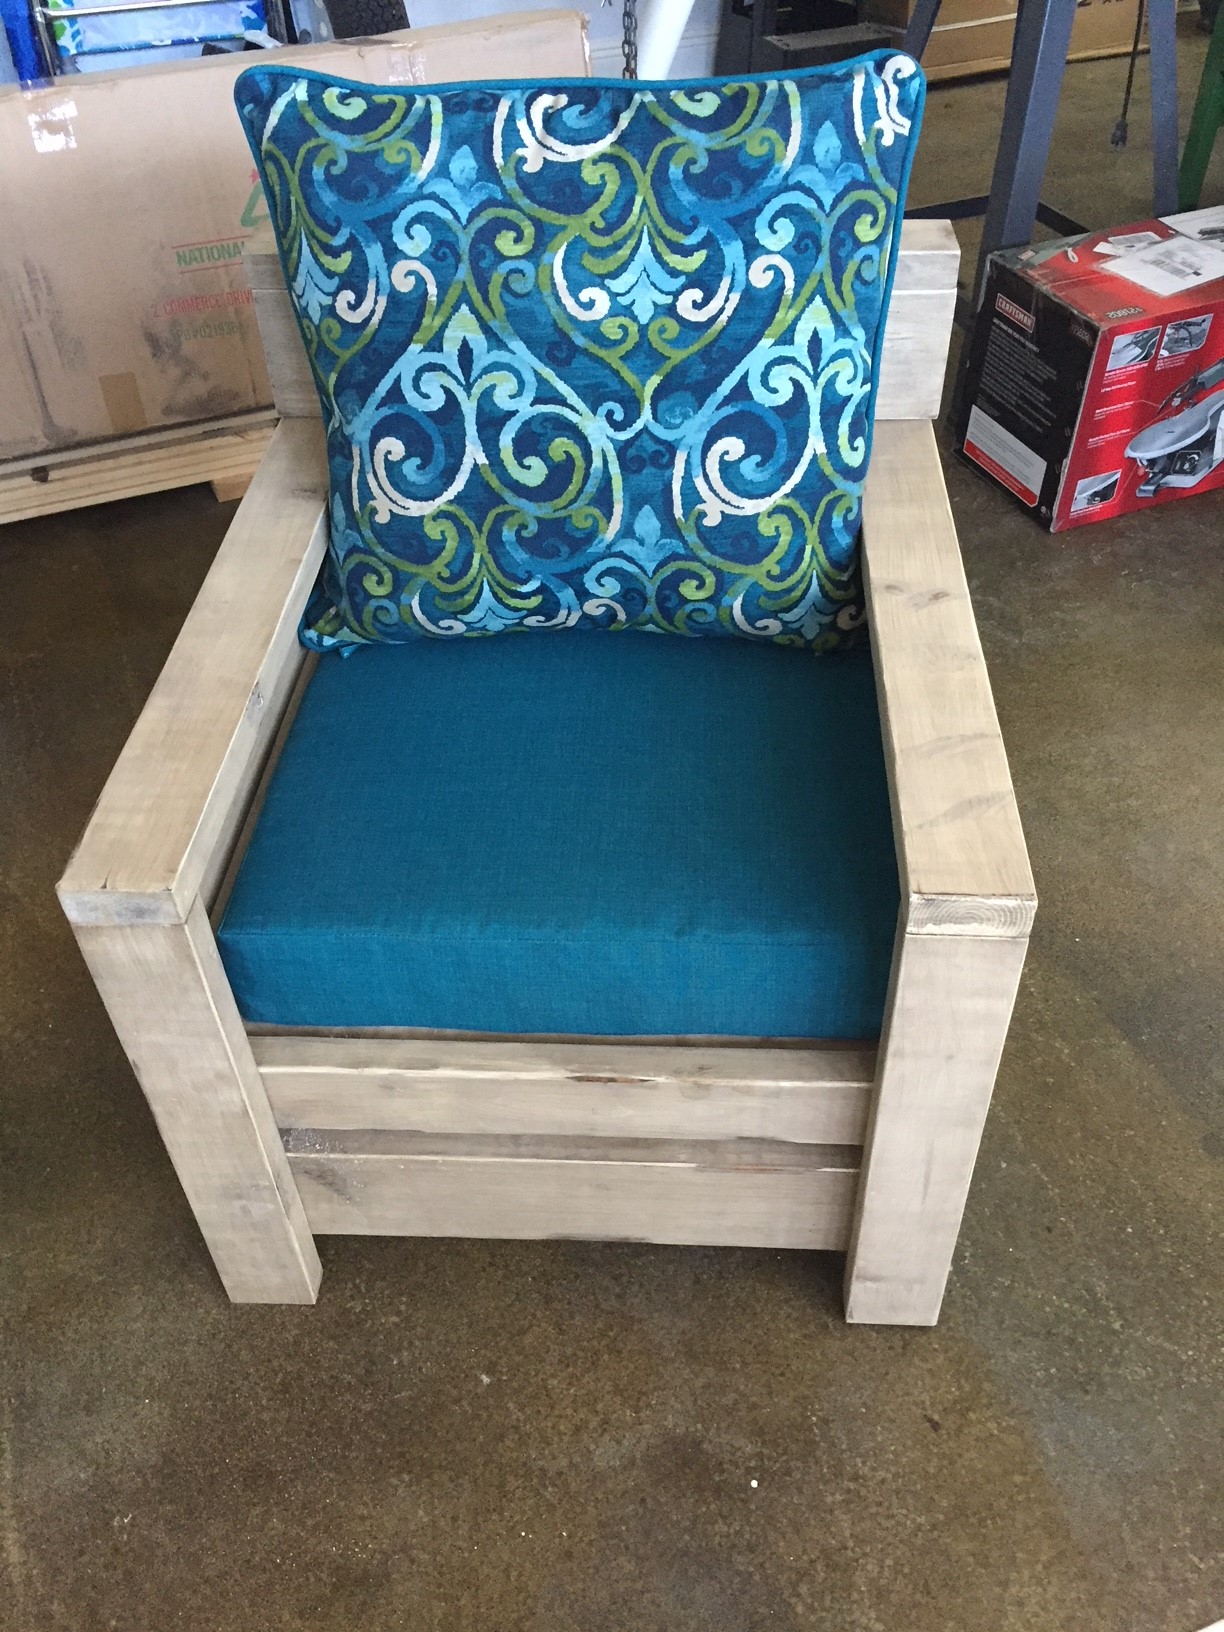
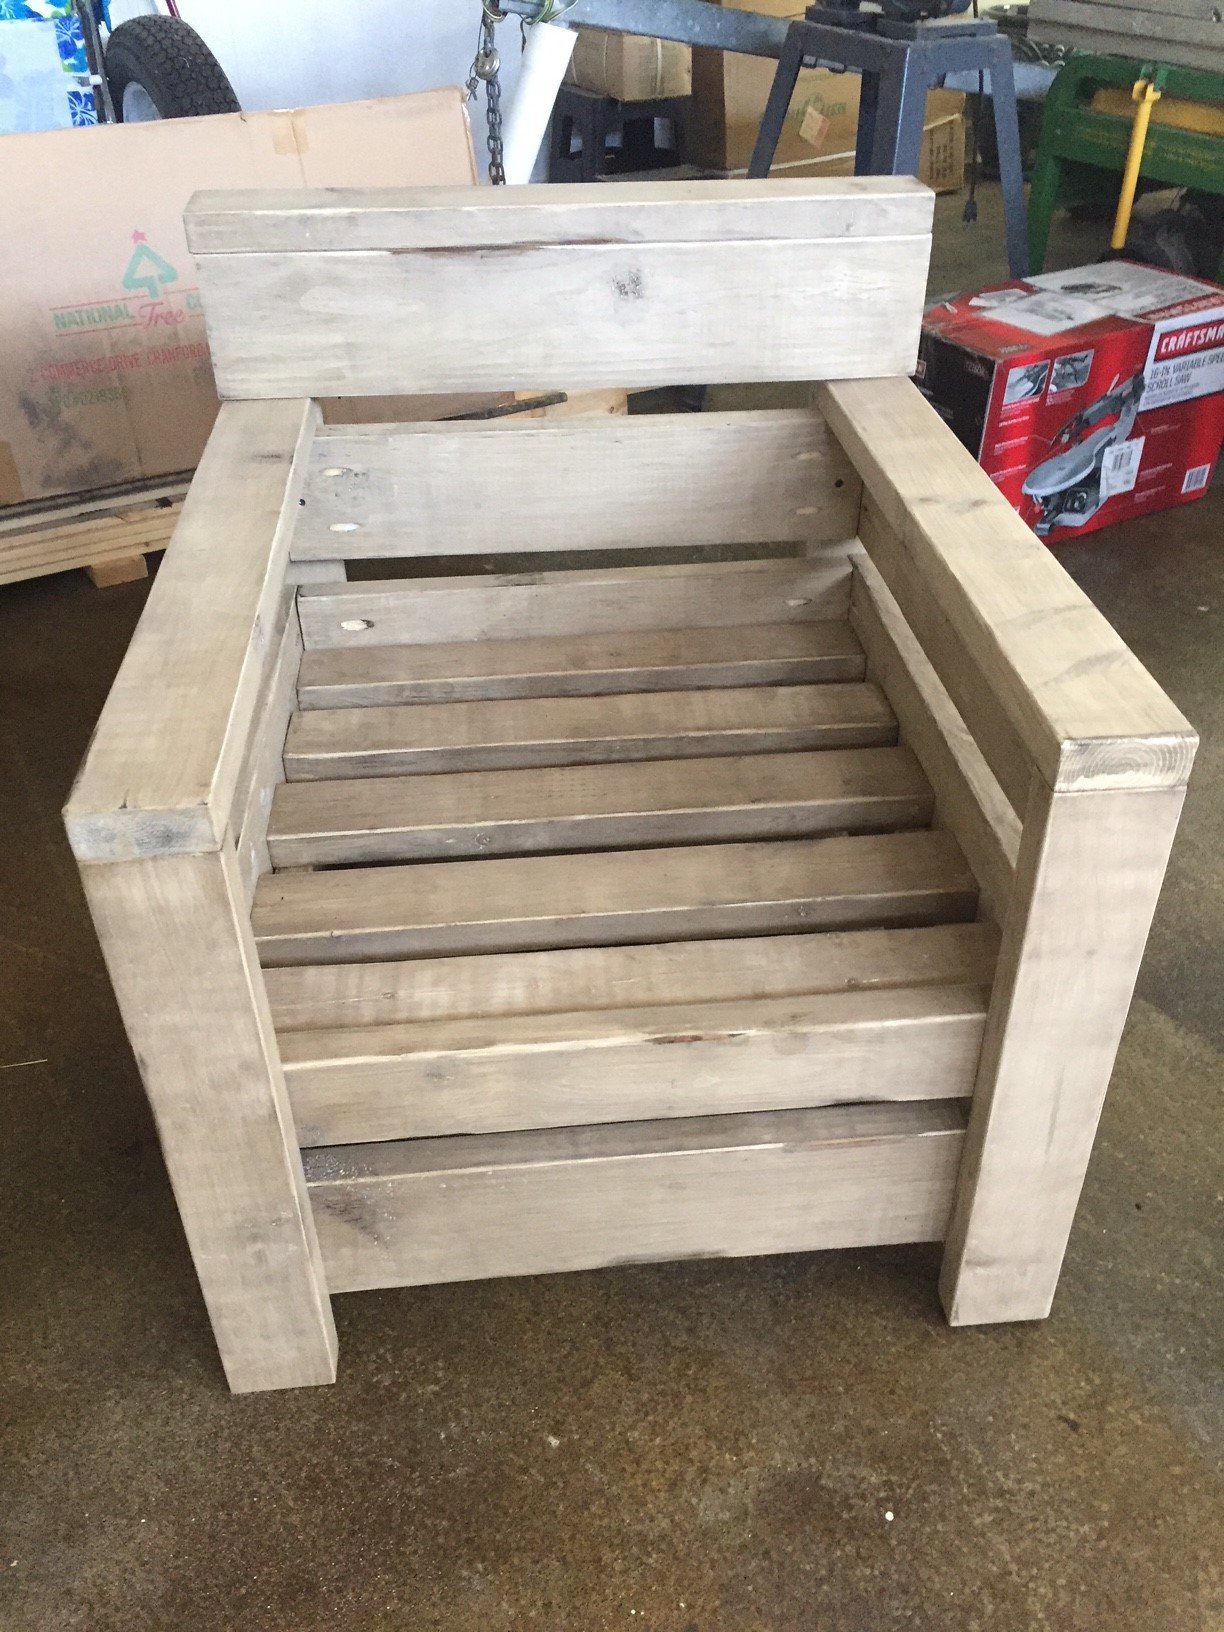
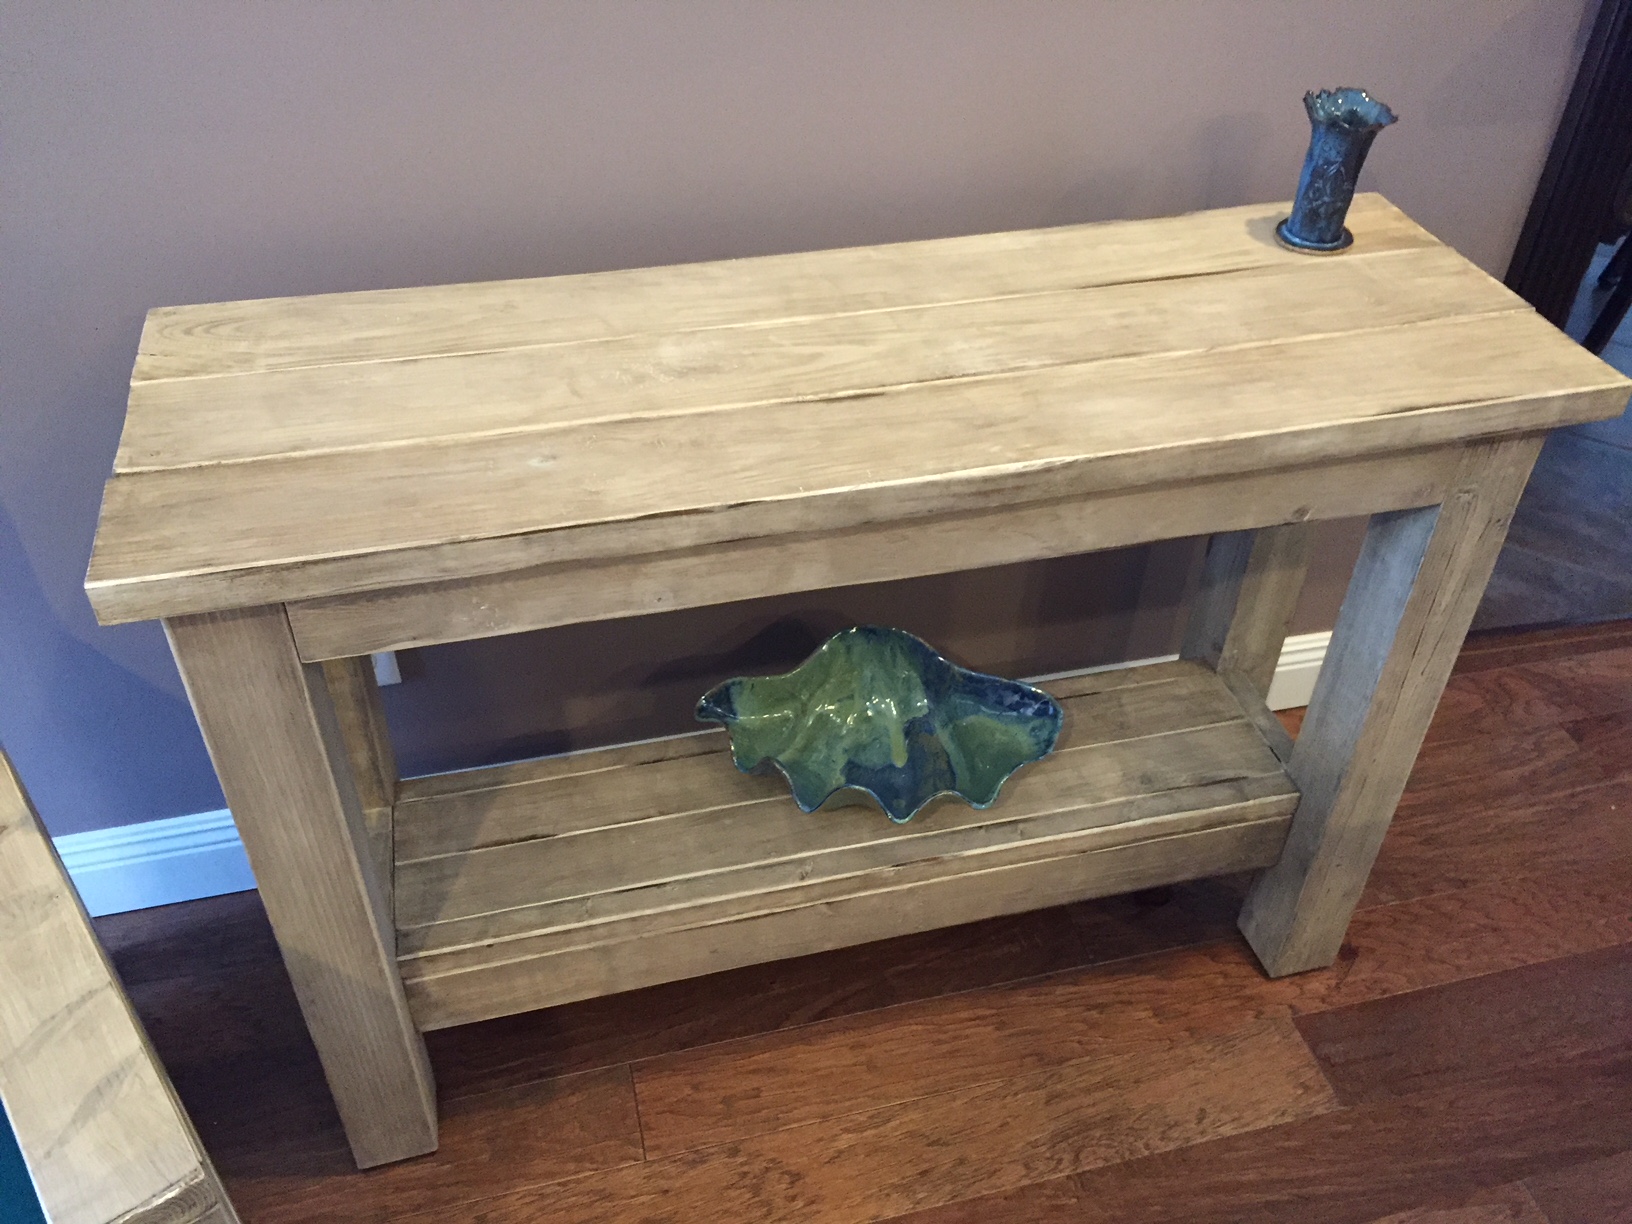
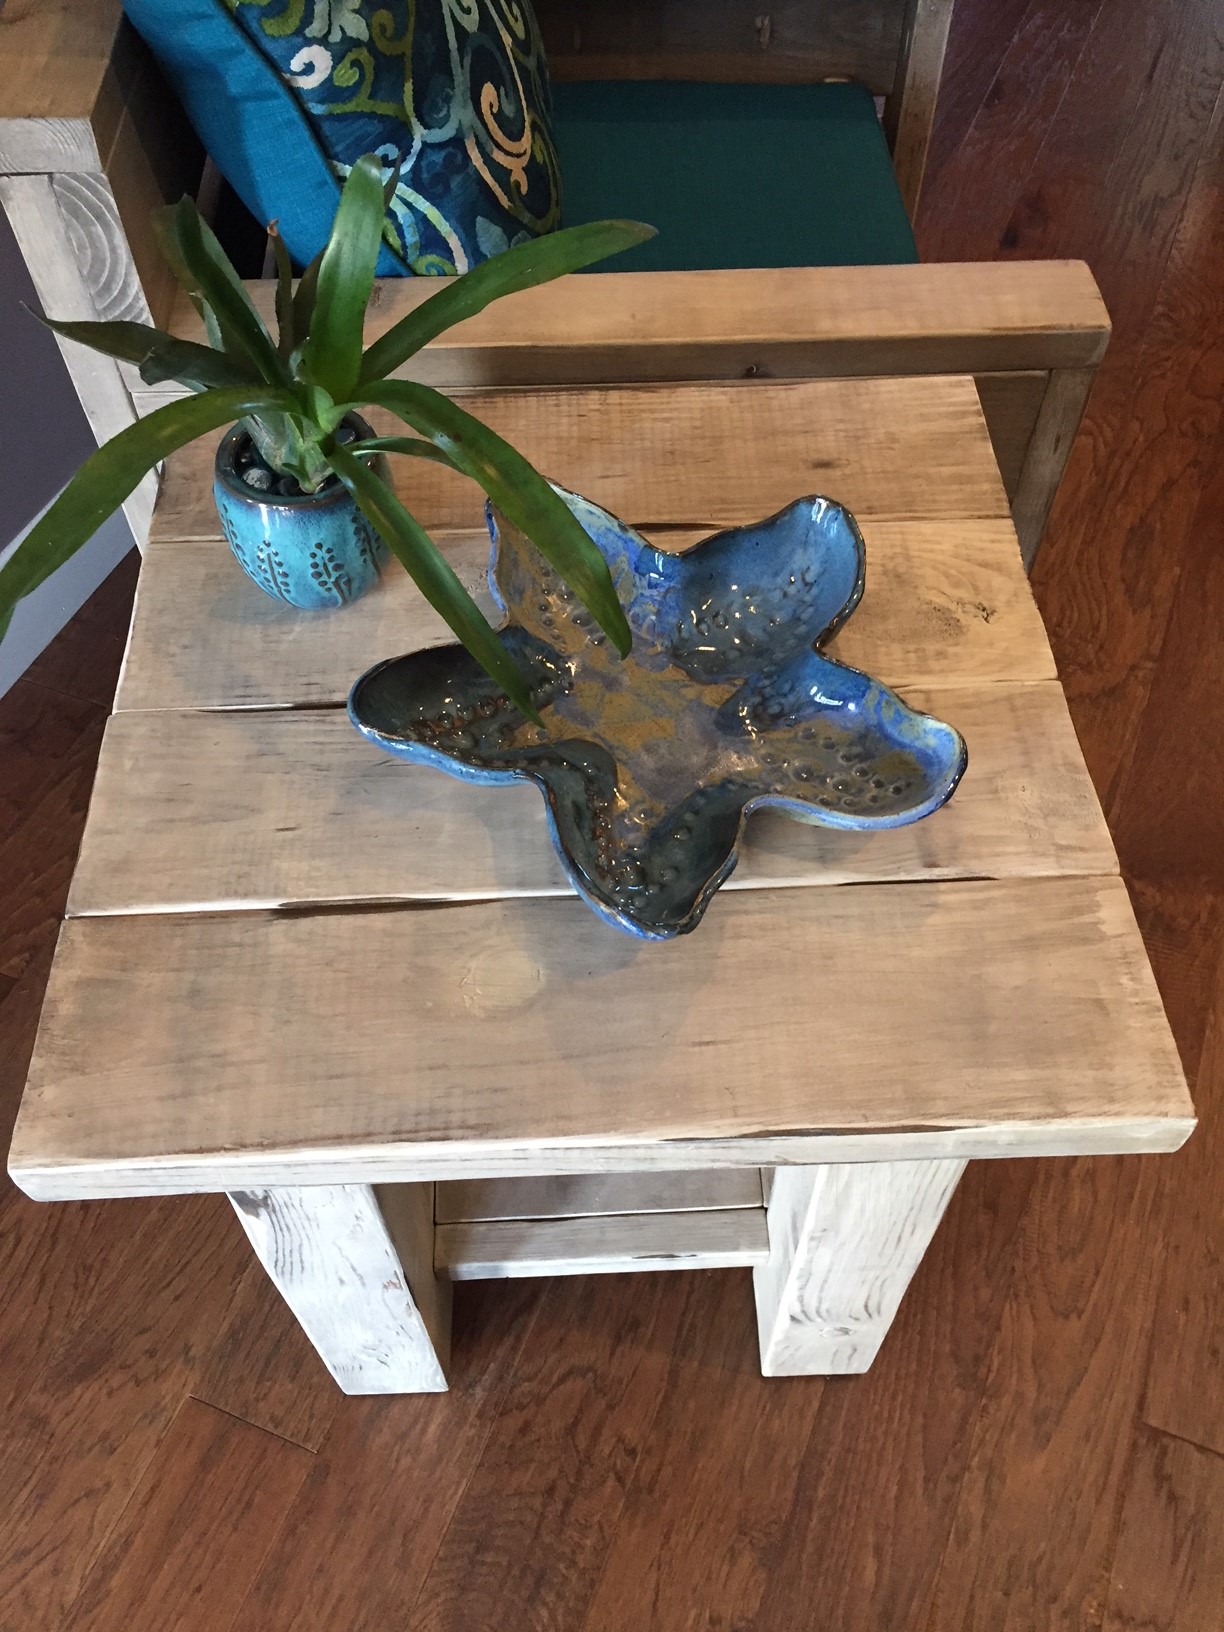
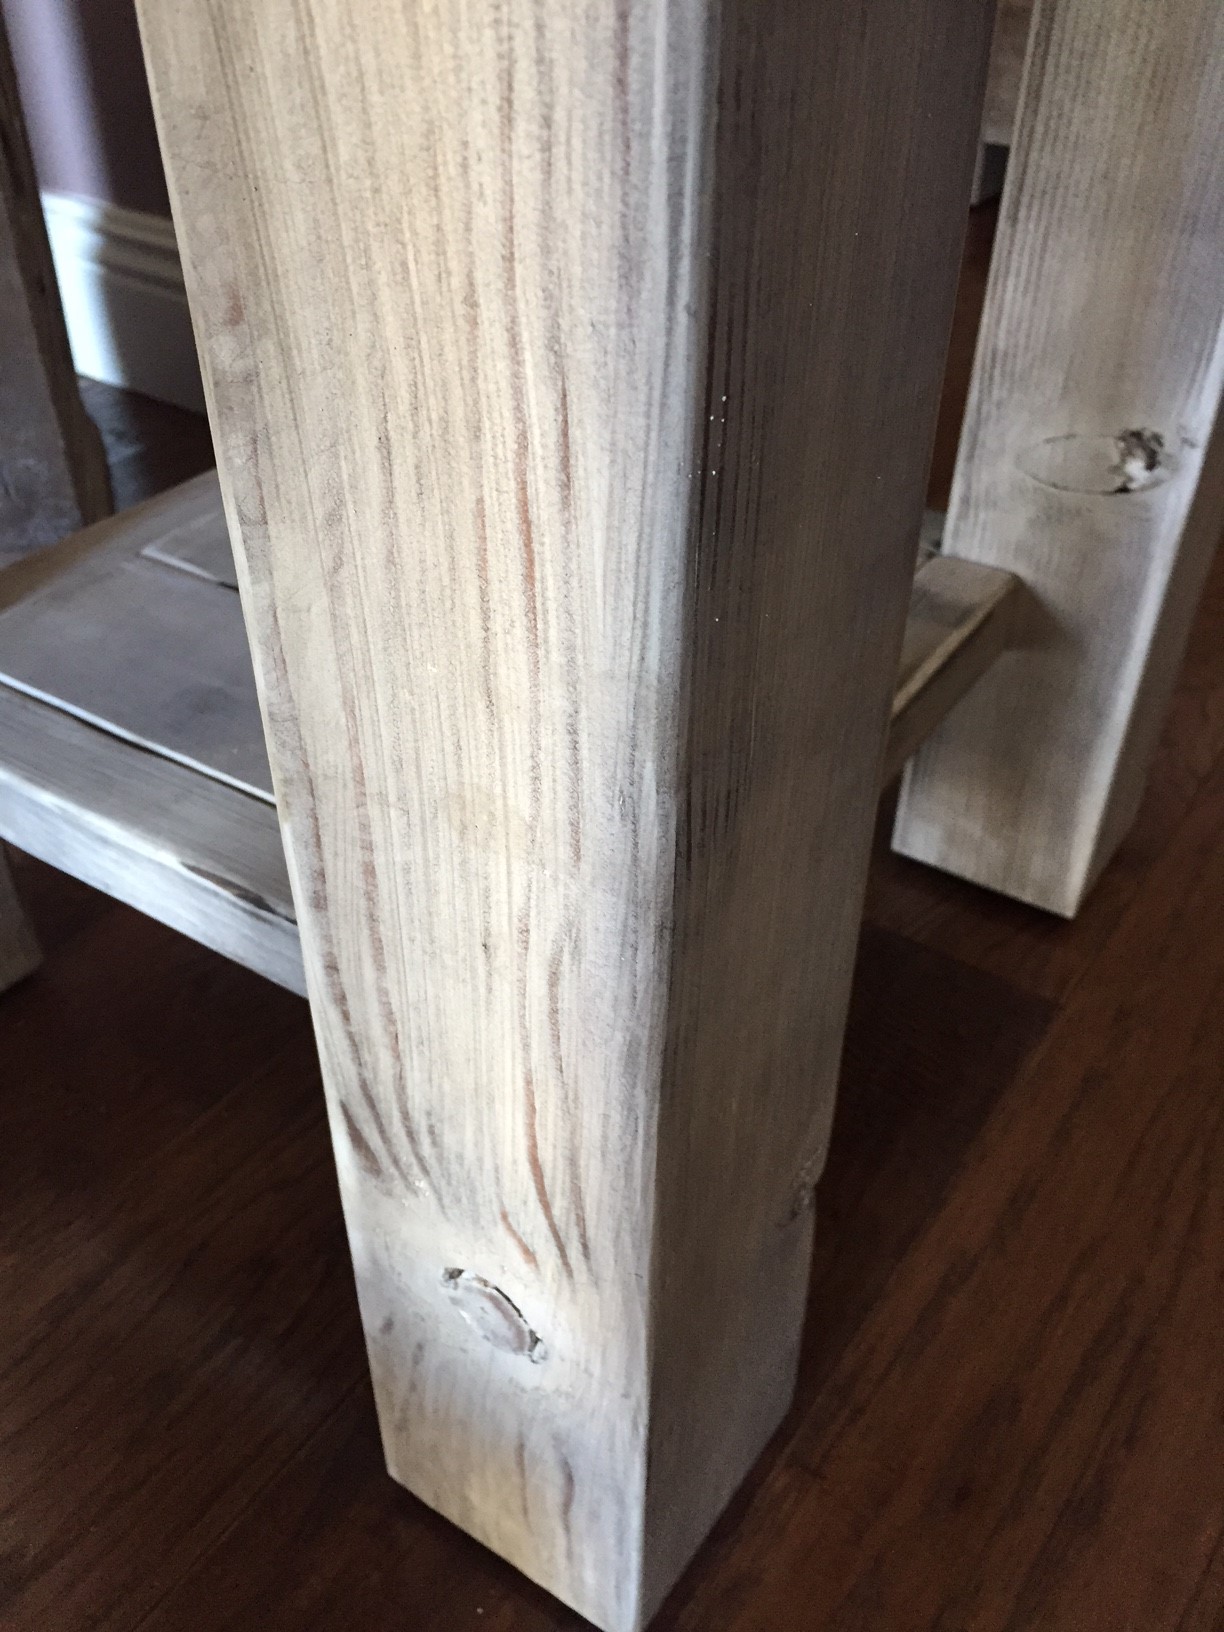
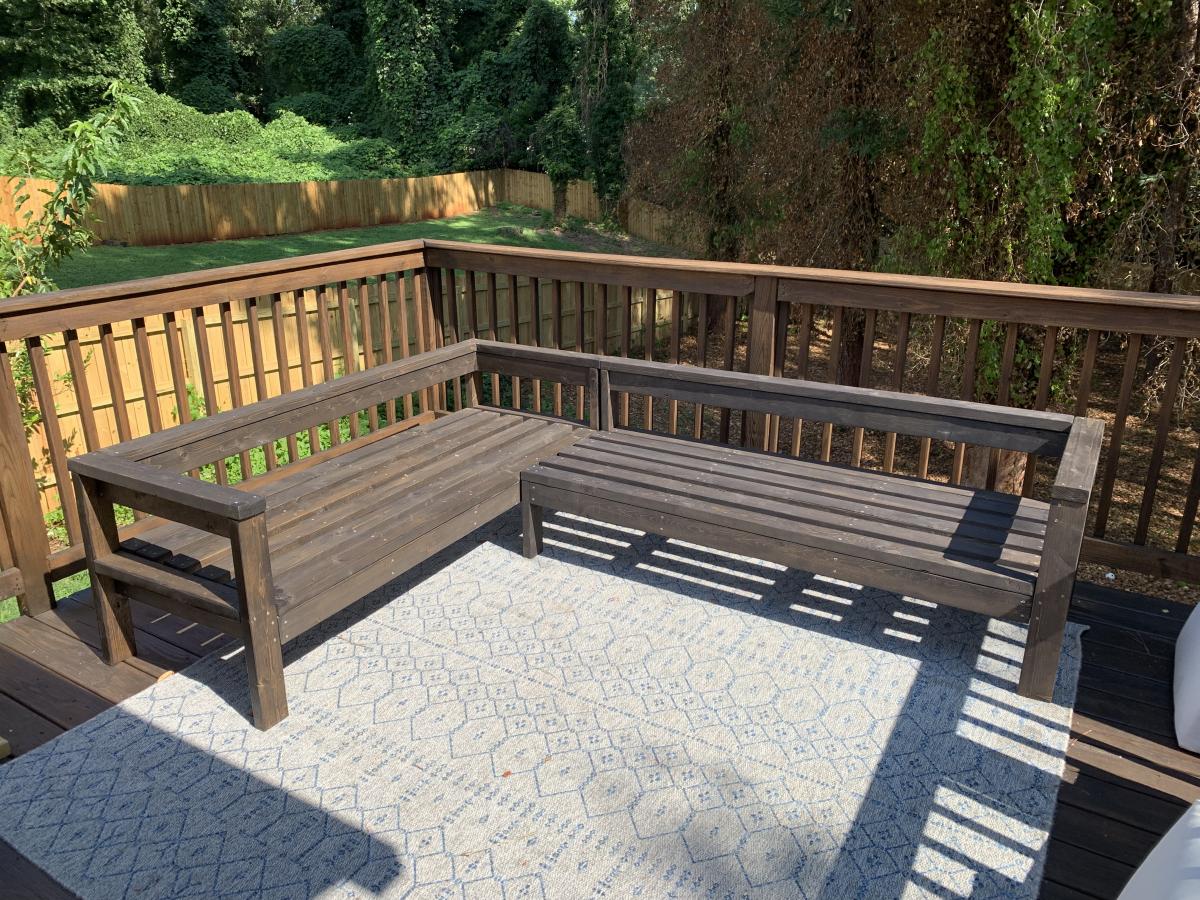
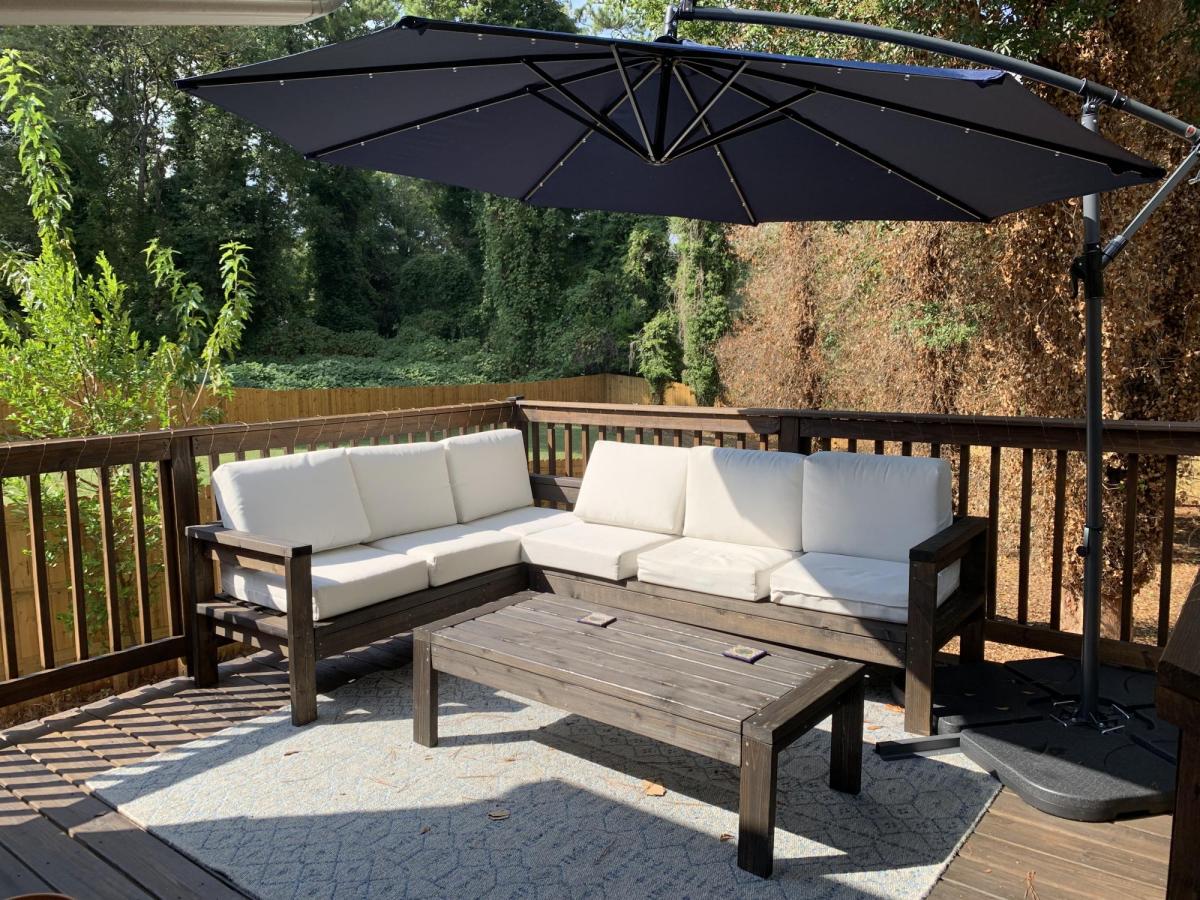
Outdoor Sectional
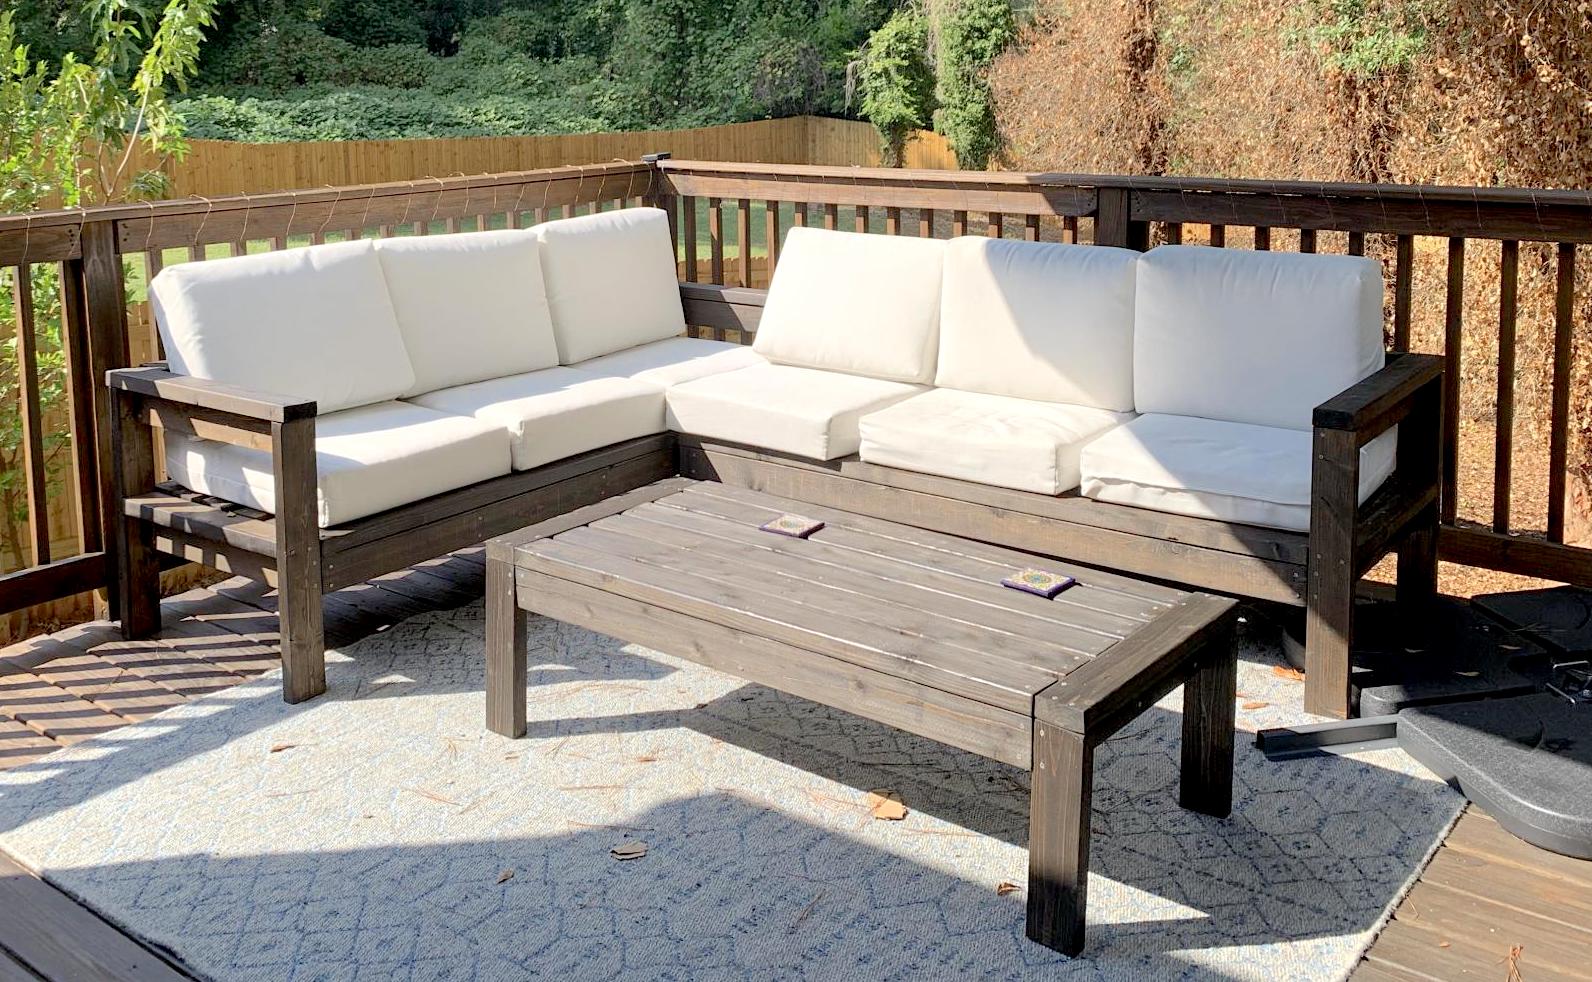
This was my first real woodworking project and was so much fun! I use my deck much more now and am excited to build more!
Built from Plan(s)
Estimated Cost
$500 (with cushions)
Estimated Time Investment
Week Long Project (20 Hours or More)
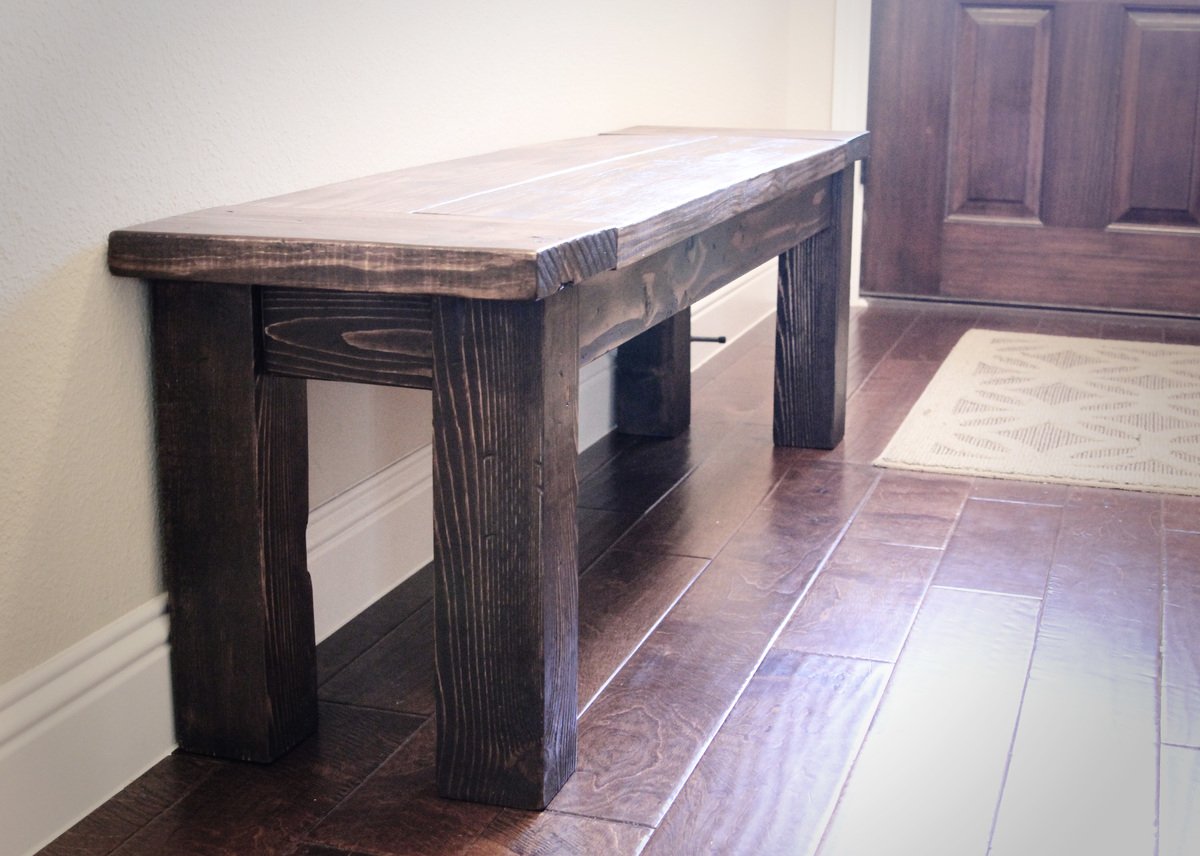
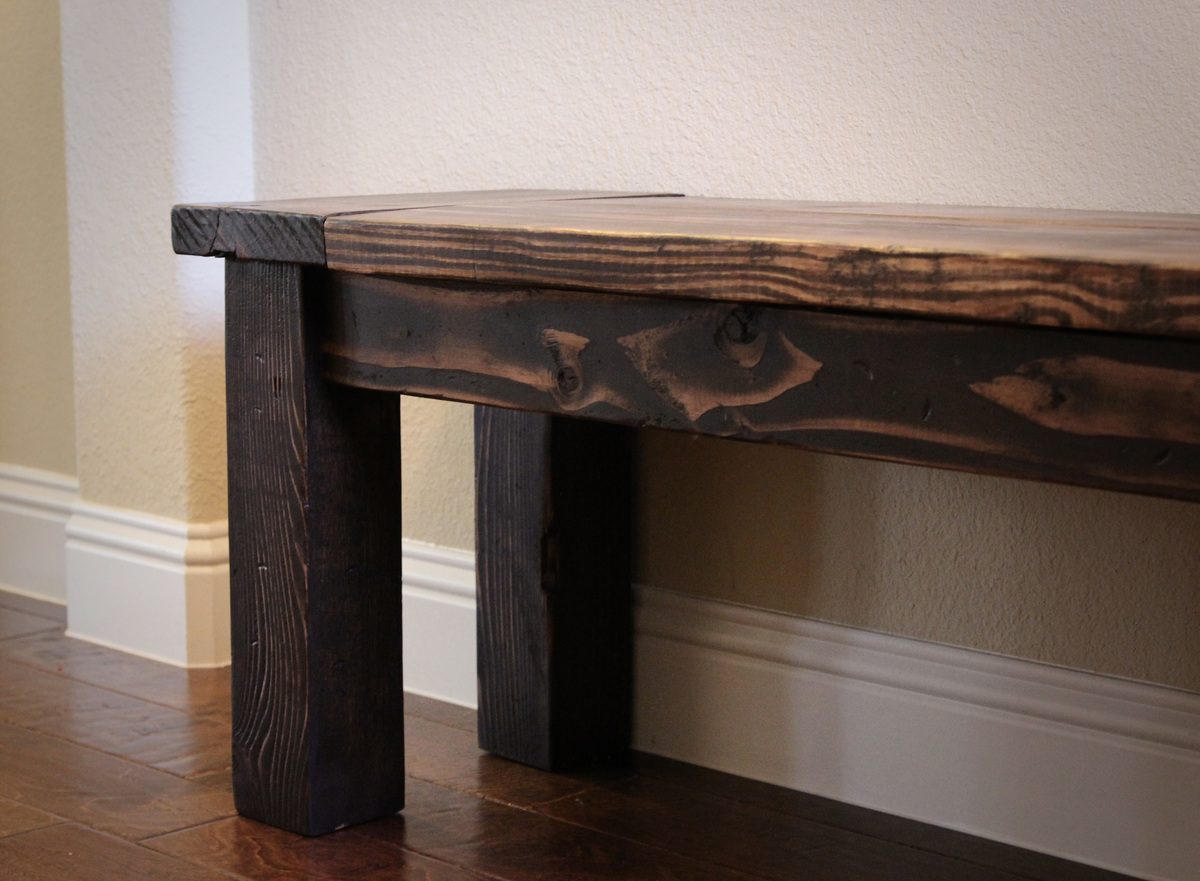
Finish Used
Varathane Jacobean stain
Recommended Skill Level
Beginner