Community Brag Posts

Do-It-All Mobile Workbench

Submitted by JL Hurst on Wed, 11/28/2012 - 11:02

The need for a proper workbench in my garage/shop is a must, but. So is space! I already have a fold down workbench I’ve made with ¾ inch pipe & a door, but. I just need something that can handle all my tools. So, I stumbled upon these plans from the Family Handyman & couldn’t find a reason why this wouldn’t work in my shop. It has room for storage, can easily accommodate my tools & most importantly fold up to store. Easy to build too! Make sure you read all the plans first as some of the materials could be pricey, but well worth it. Technically it’s taken 2 months to build this bench, as I operate on a firefighter/teacher’s budget & during the holiday season no doubt. I ordered all the shelf standards & brackets through Amazon, $210.00 for those alone, but they hold so much weight to support your tools I figure it’s worth it. The rest materials (wood, screws) were purchased at Home Depot for around $150.00. The plans called for ¾ inch ply & it was $45.00 per sheet. However they did have a smaller thickness for $22.00 per sheet & was only a 1/32 inch thinner. I plan on topping all my surfaces with some ¼ inch tempered hardboard later on so I knew it would work. That also left me adjusting my screw size to mount my brackets. Due to the reduction in thickness of the plywood all my #8-1 inch screws needed to be adjusted to ¾ inch so to not screw through the ply. I also hit the molding isle to nab some pieces to use as furring strips to use under the shelves before attaching the brackets. This way I can sand each strip to match before mounting to make sure it lined up flat with the center top. One more thing; where it says “drill 1/8 inch hole in brackets make sure you use 1/8 inch pop rivets. I barrowed a pop rivet gun & was handed some rivets as well. Popped two & they had to be trashed because the rivet size turned out to be 5/32. So I stepped up in drill bit size & it all worked out. As I said, I’ll be topping it with some ¼ inch hardboard. I also plan to run it’s own electrical with an outlet on each post. I hope you all enjoy & this can help!

Estimated Cost
$350.00
Estimated Time Investment
Weekend Project (10-20 Hours)
Recommended Skill Level
Beginner

Comments

Rusty Cottage

Thu, 11/29/2012 - 07:03

This is by far the best workbench I have ever seen!!! Thanks for sharing. And excellent choice of table saw and miter saw.
JL Hurst

Thu, 11/29/2012 - 14:59

If I had it to do over I'd had gotten the contractor grade portable saw from Dewalt. The smaller version I have is the same 10" saw, but. It's maximum rip capasity is only 16. The other will at least rip a sheet of ply in 1/2.

Thanks for the kind words on the bench! I hope everyone that may find this valuable will. The plans came out of a 2005 issue & were hard to find on the internet.

uniquetrio2000

Thu, 07/04/2013 - 18:28

I love this work bench and would love to build it but i cant find them. Could you post them or email them to me please. uniquetrio2000 [at] gmail [dot] com

phantom1

Tue, 06/02/2015 - 05:39

I built this bench 3 years ago and I couldn't be happier. The portability, space savings and functionality make it wonderful!

StepFar

Mon, 01/08/2018 - 14:44

Am I missing the actual plans for this. I downloaded the pdf but it doesn't have the build plans apart of it.

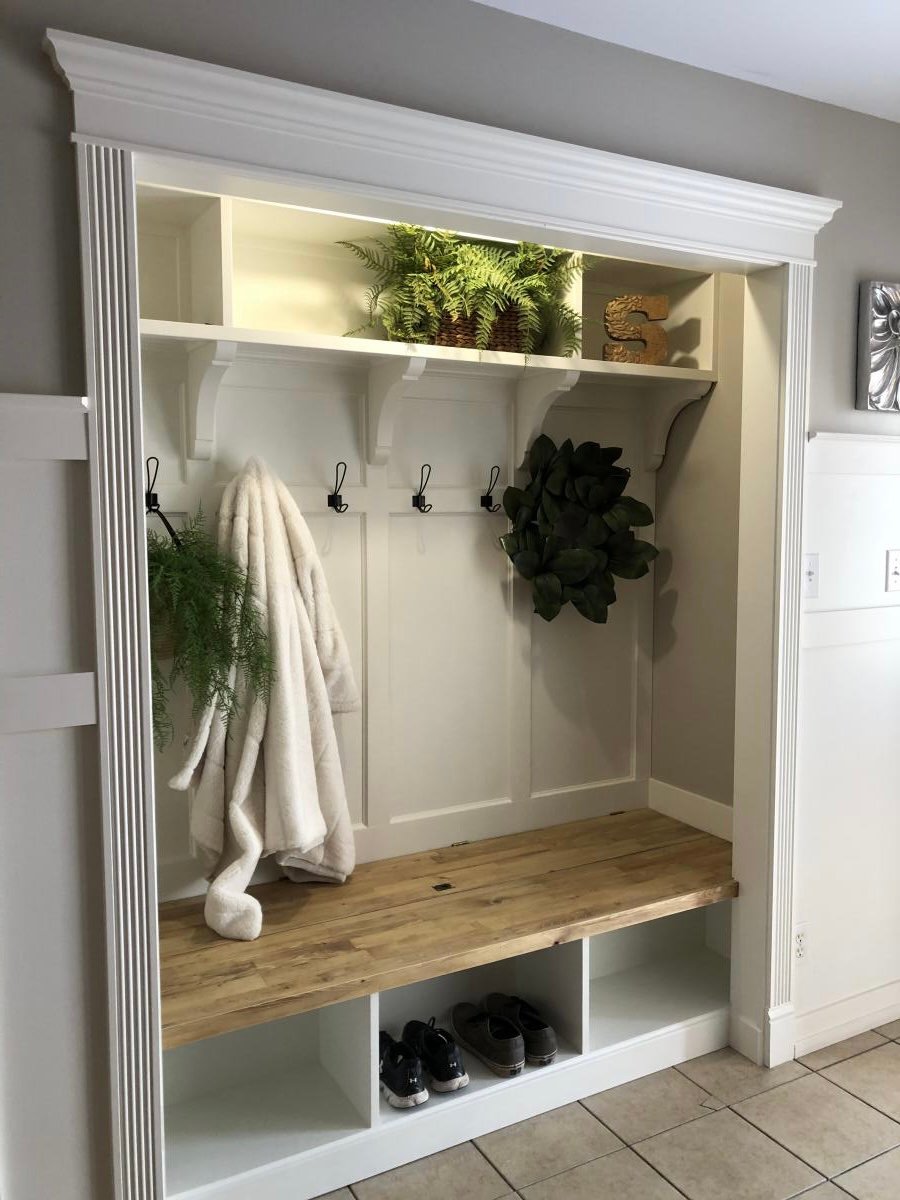
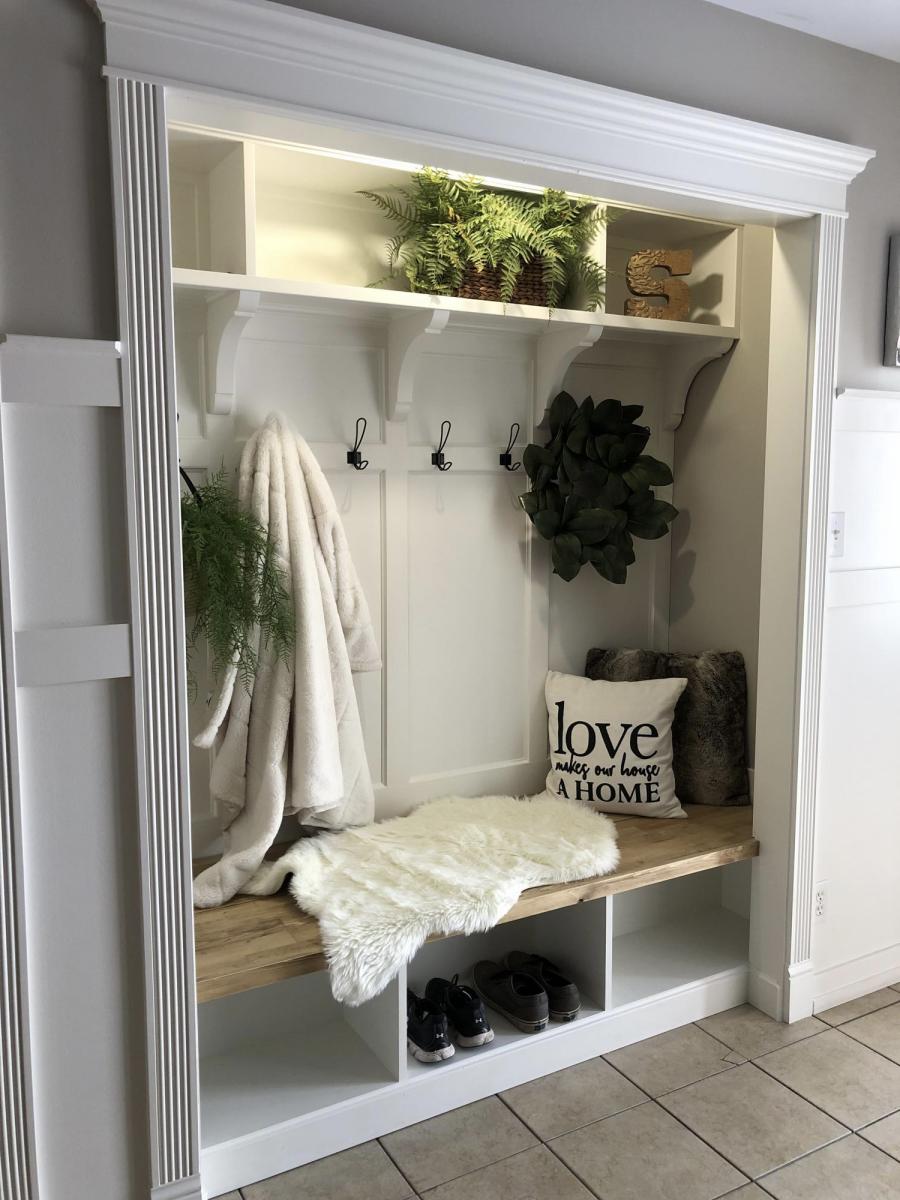
Mudroom Closet Makeover

Submitted by Anonymous (not verified) on Thu, 01/21/2021 - 07:10

The concept of hidden boot storage at the back is genius!!! I knew as soon as I saw your plan that I needed that in this space! Thank you so much for what you do!

Finish Used
Bench seat was wood conditioner, minwax early American, minwax weathered oak. Then finished with shellac. The coat hooks are from Amazon. The ring pull is from Lee Valley.

Comments

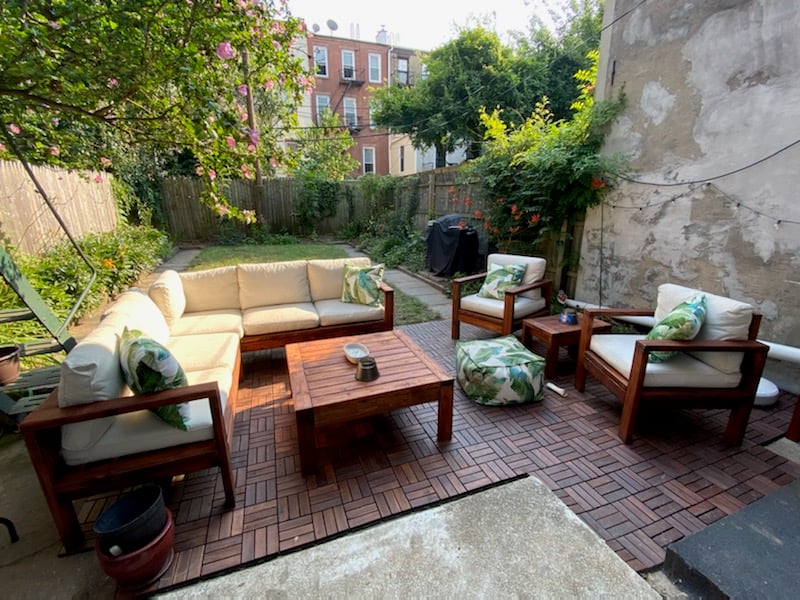
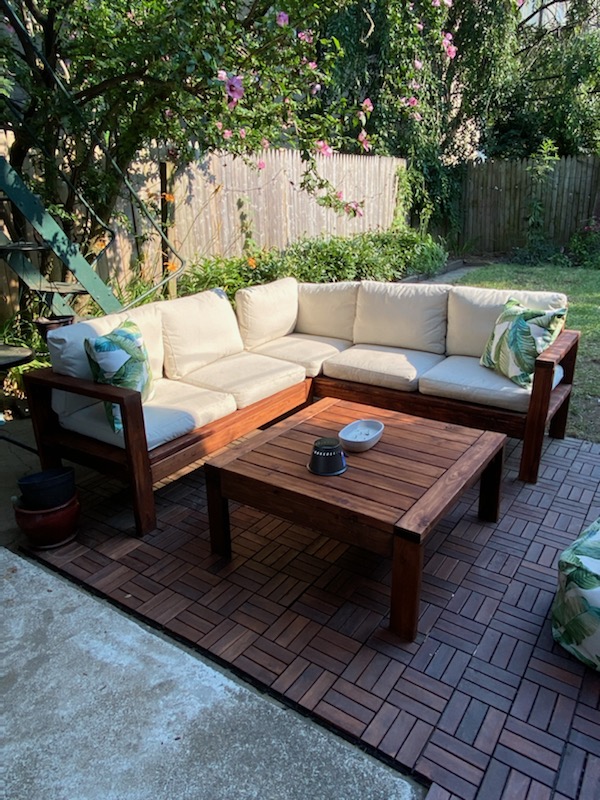
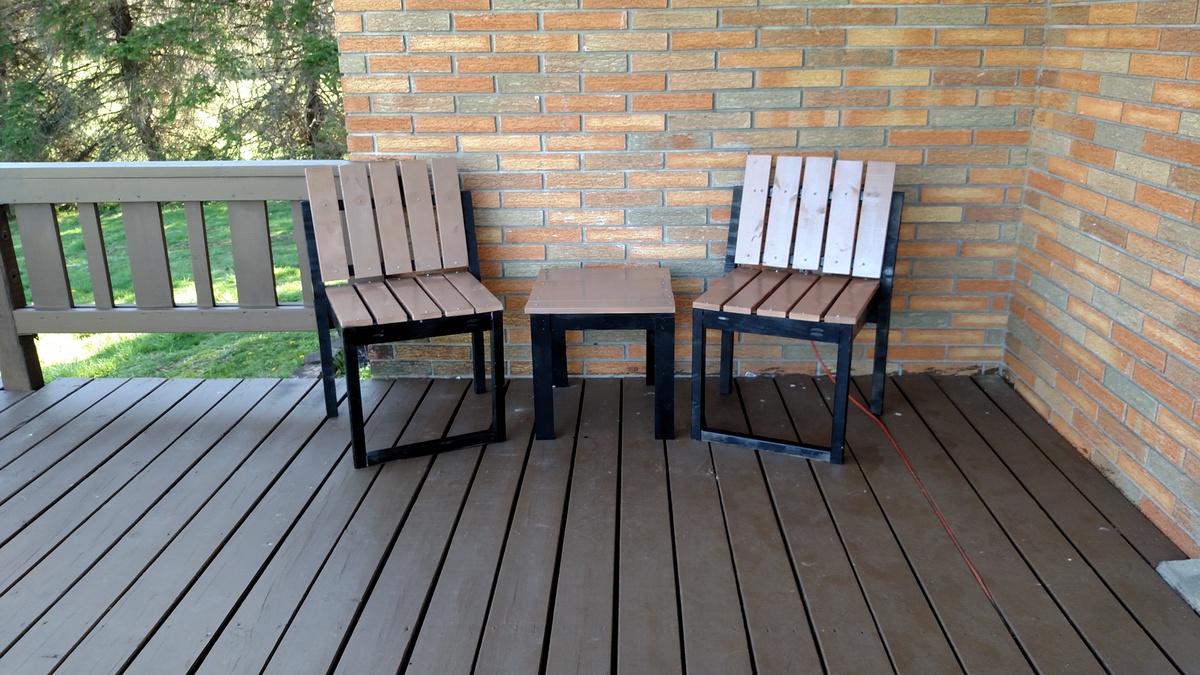
2x4 full outdoor patio set

Submitted by dtirrell on Tue, 07/06/2021 - 06:44

Used the plans for the 2x4 outdoor sofa. Modified the dimensions to better fit my personal needs. Made the coffee table a square instead of the rectangle plans posted here

Estimated Cost
$1200
Estimated Time Investment
Week Long Project (20 Hours or More)
Recommended Skill Level
Beginner

Comments

Full over Full Bunk Bed

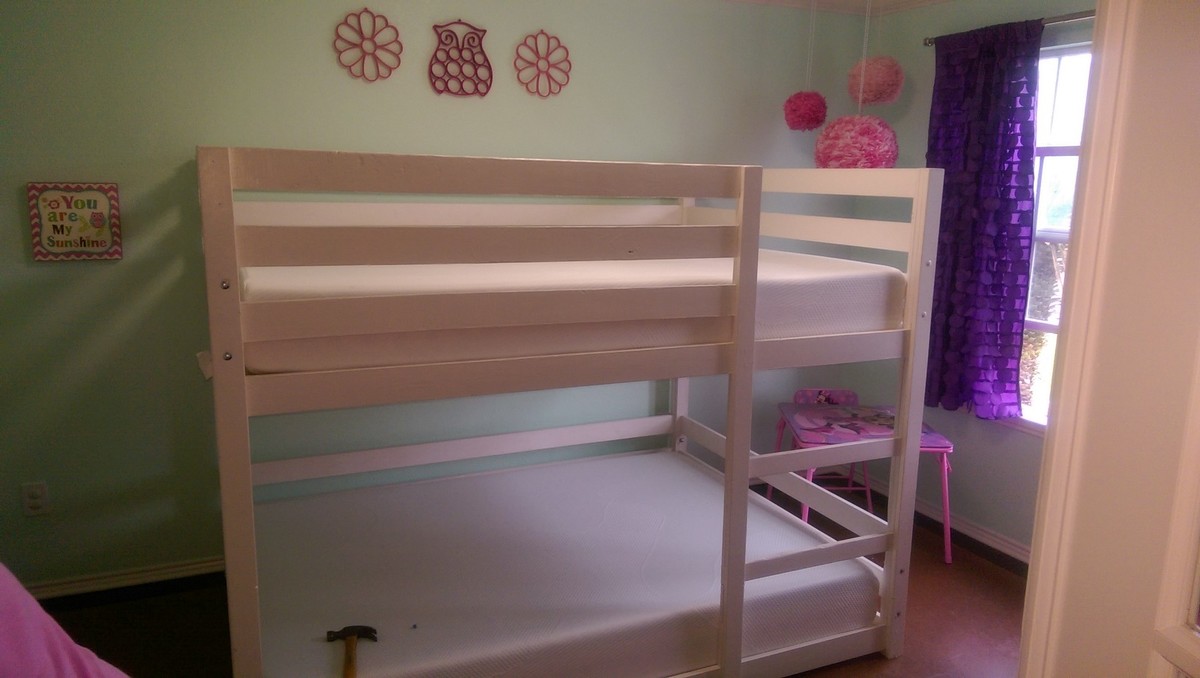
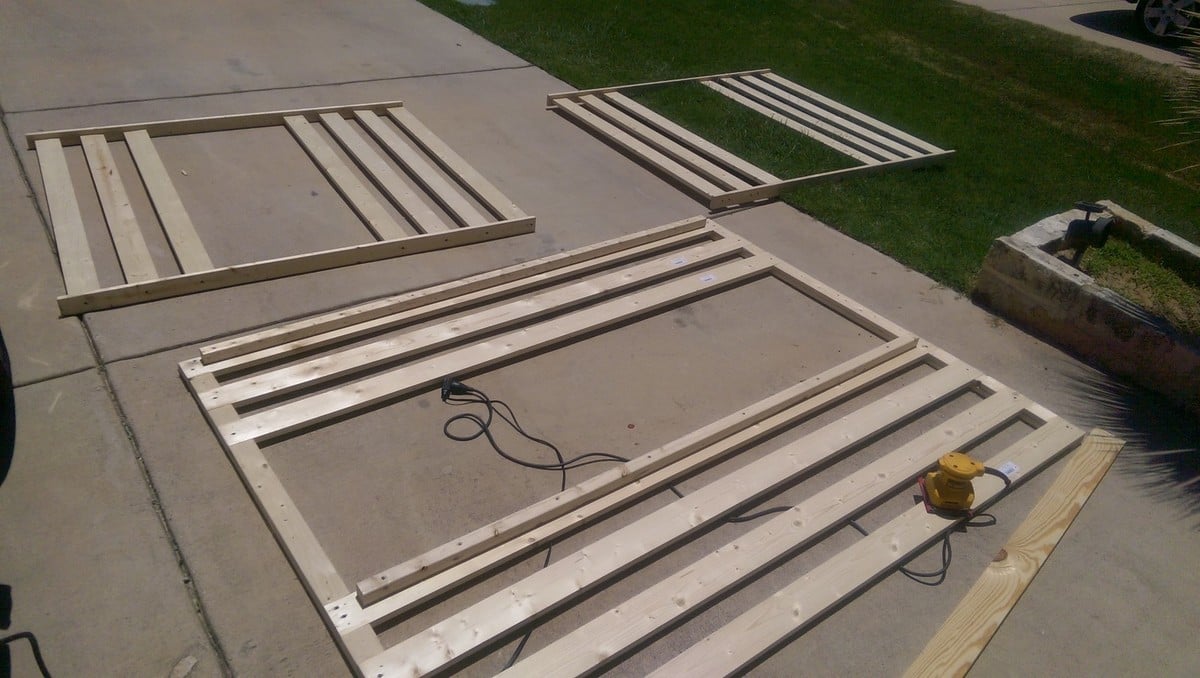
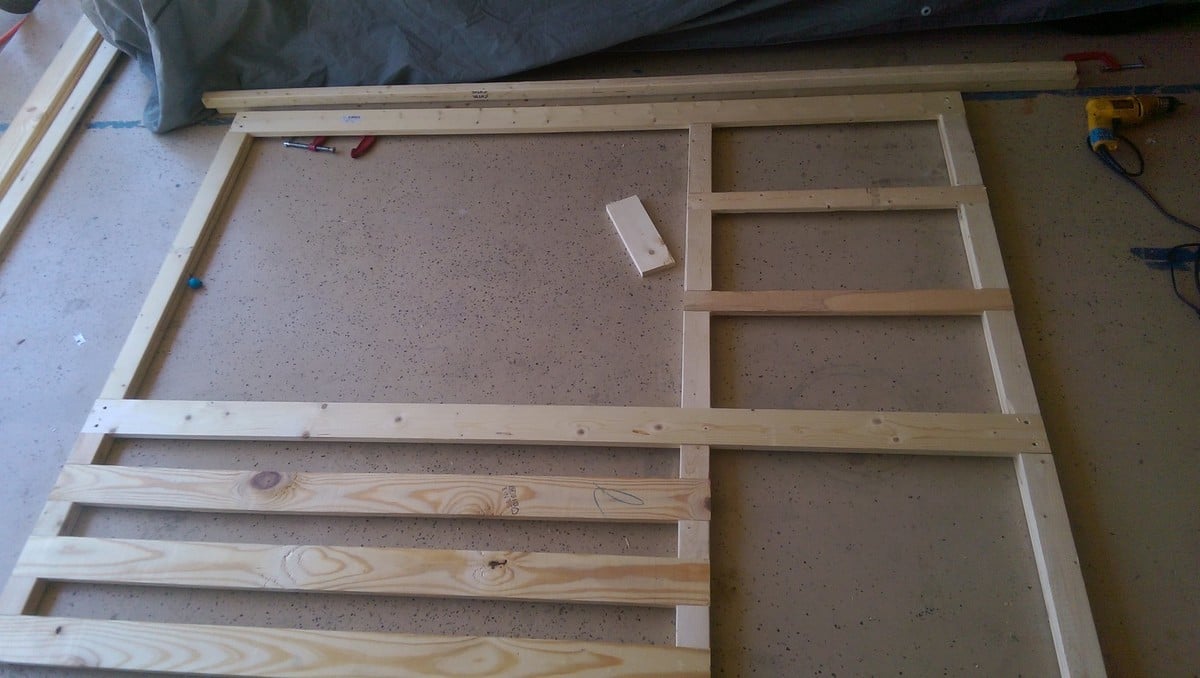
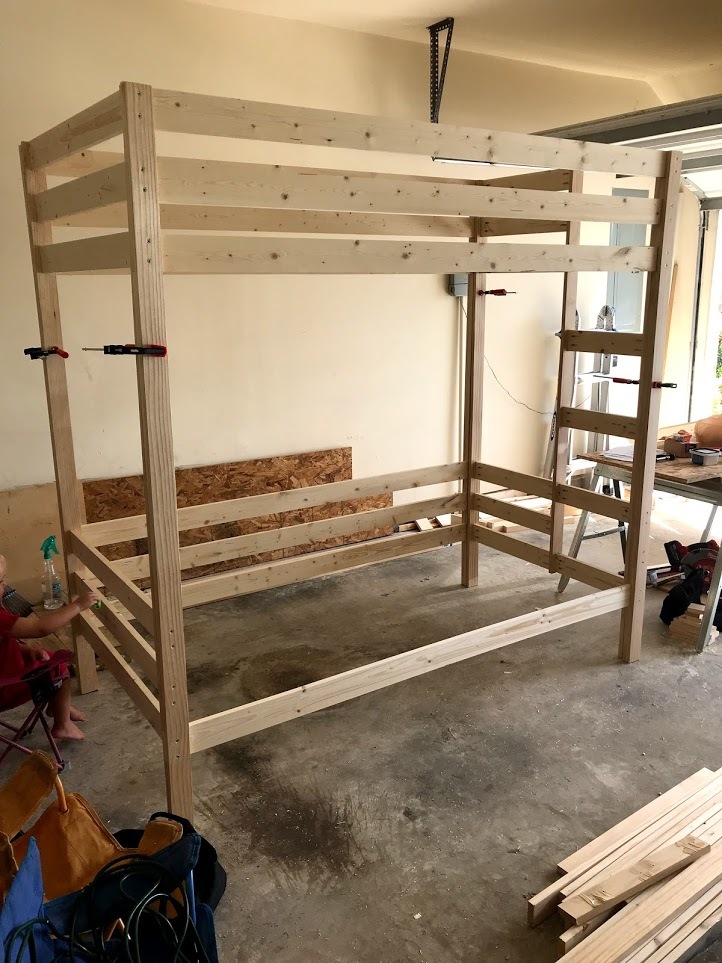
Full over Full bunk beds. Adjusted for Full from a twin measurement. only 1" off floor for more head room.extra rail bar coverage upstairs for my daughter who rolls out of bed regularly.

Built from Plan(s)
Estimated Cost
used common board mix and a few premium cuts. Pine was more costly. @$250
Estimated Time Investment
Weekend Project (10-20 Hours)
Finish Used
White primer/paint
Recommended Skill Level
Beginner

Comments

bjerfr

Sat, 07/11/2020 - 10:12

What measurements did you use to adjust to a full size?

Garden cutie

Submitted by Anonymous (not verified) on Sun, 04/26/2020 - 16:18

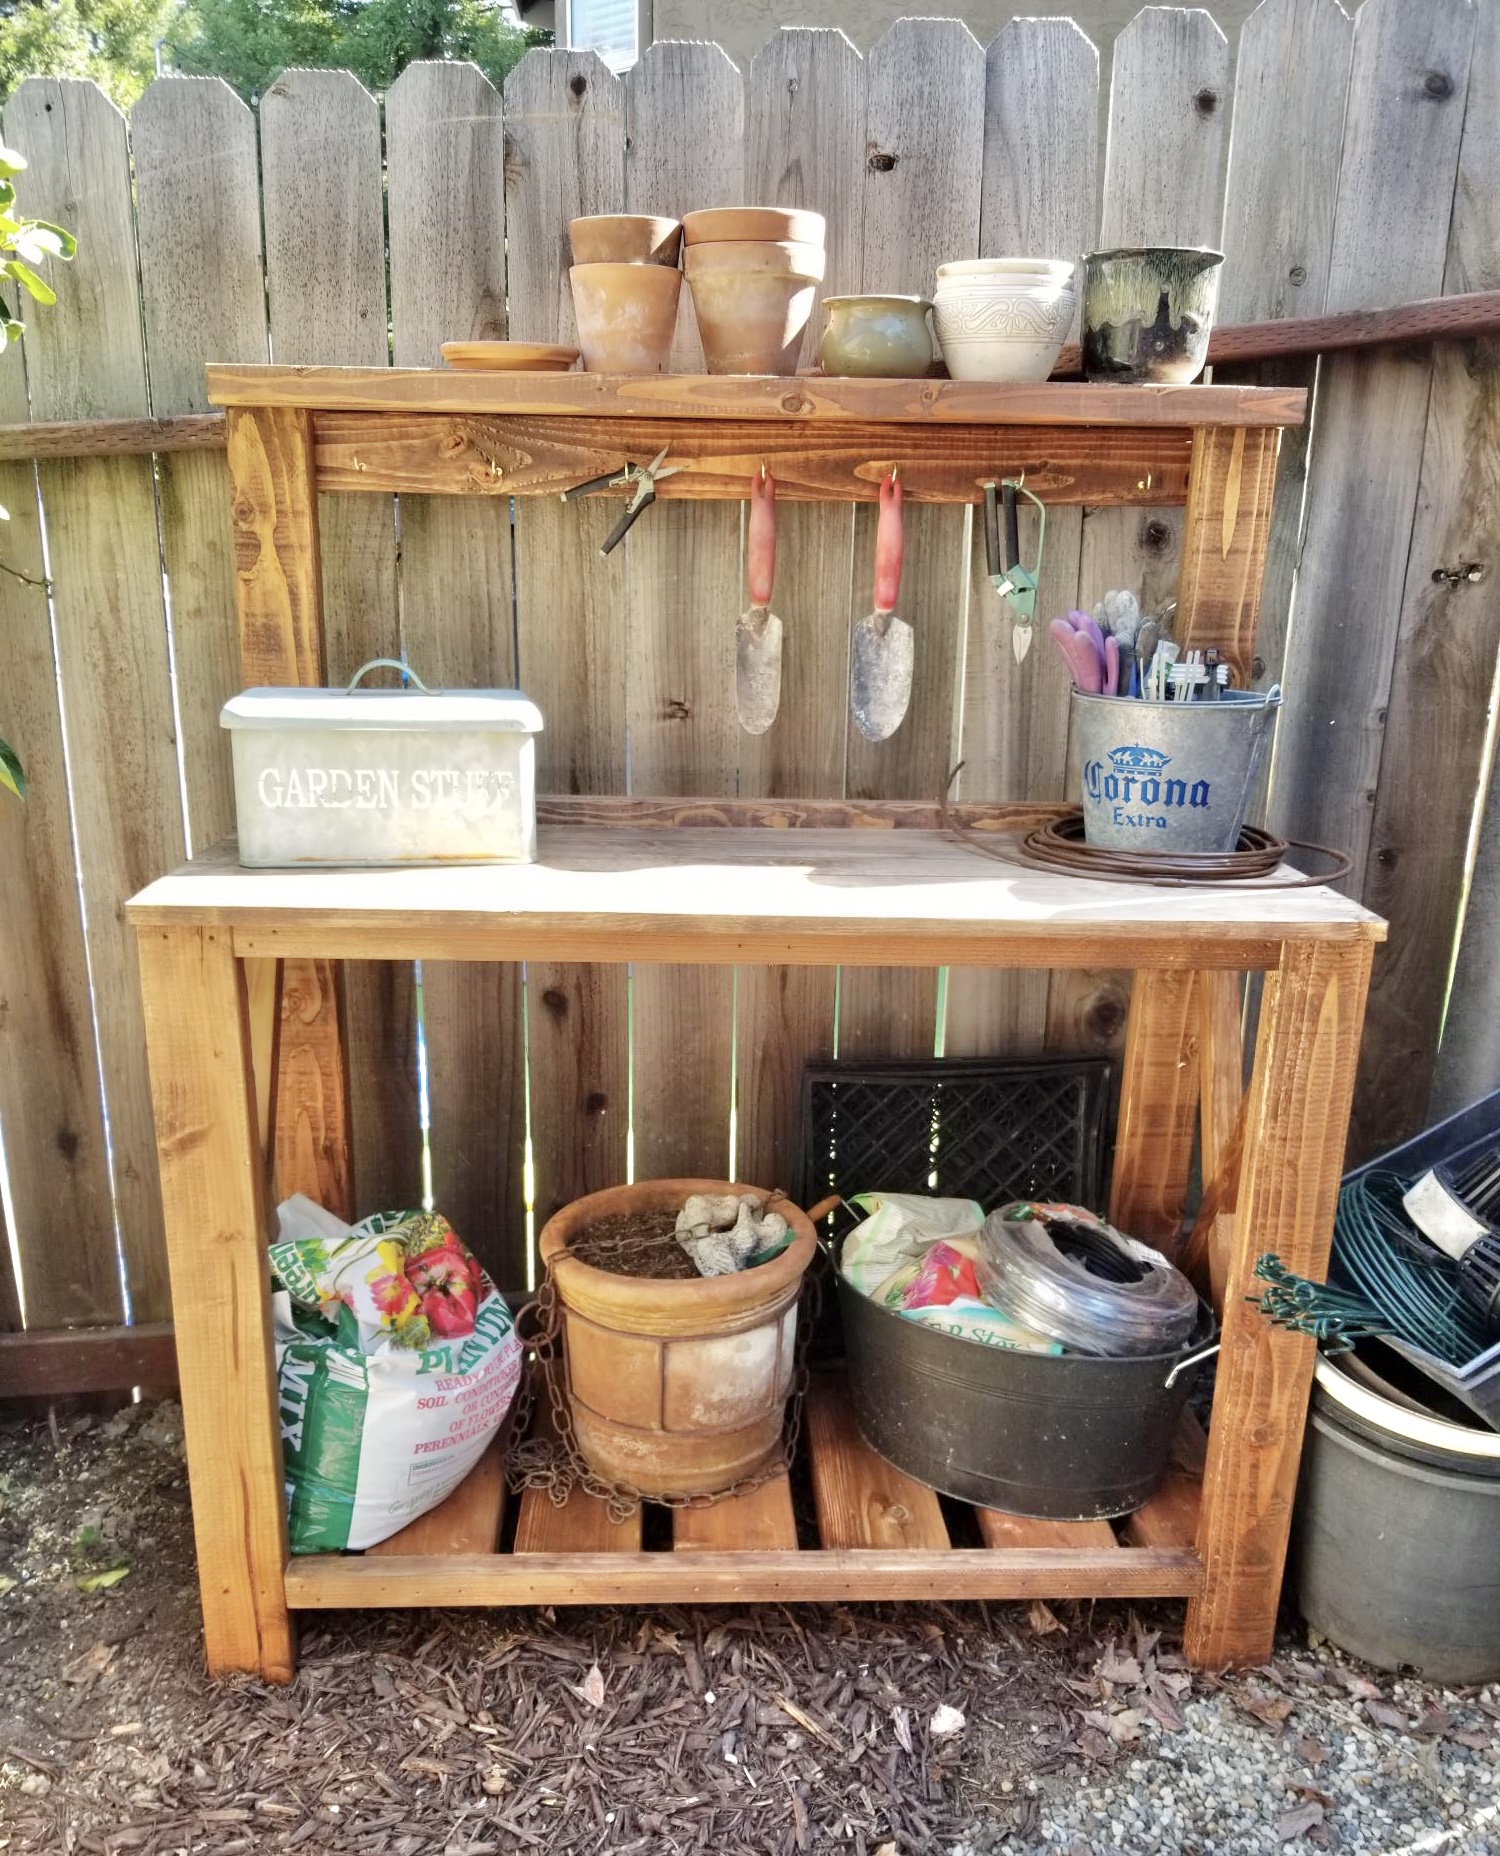
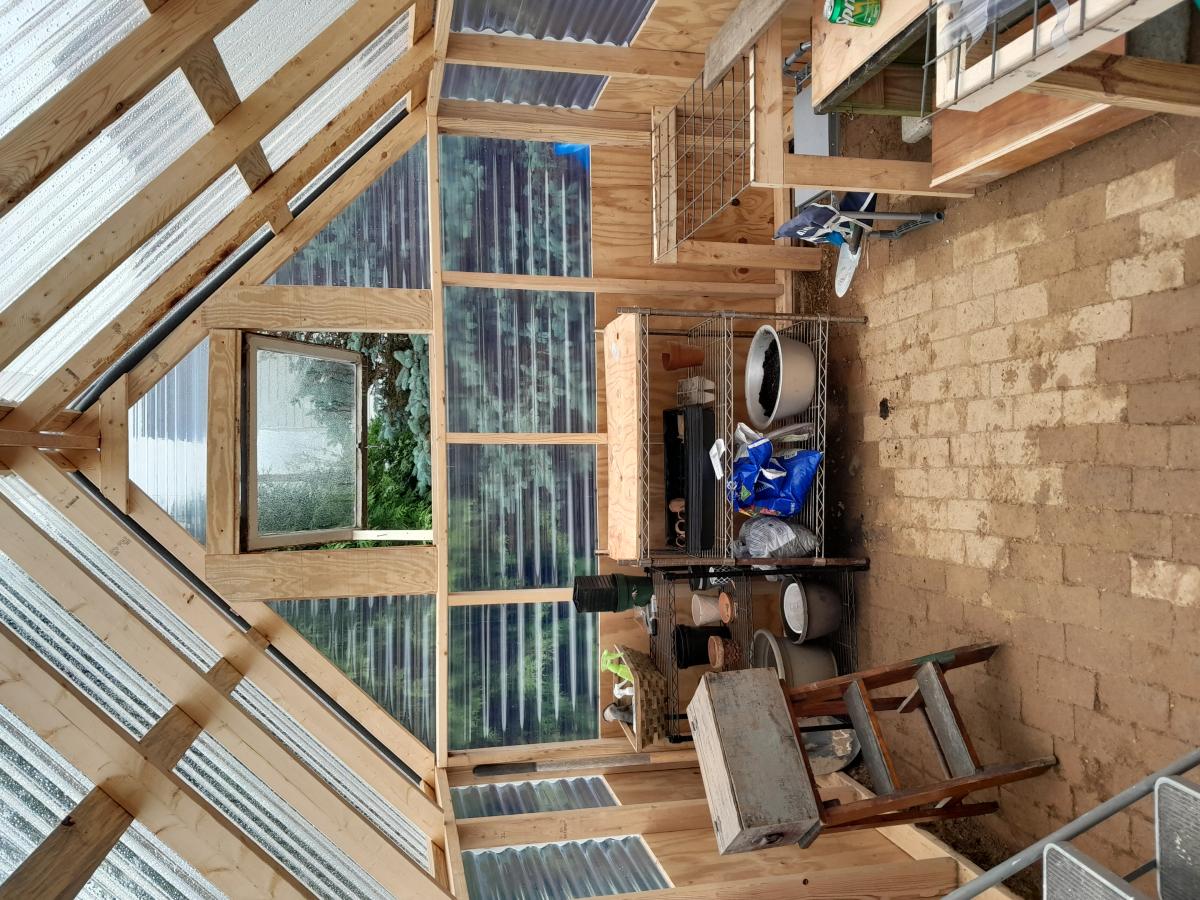
My honey built this farmhouse potting bench in a few hours. I needed it to store all the junk that was laying on the ground. It's so cute!

Built from Plan(s)
Estimated Cost
$100
Estimated Time Investment
Afternoon Project (3-6 Hours)
Finish Used
Early American minwax
Recommended Skill Level
Beginner

Floor-to-Ceiling Garage Storage

Submitted by Anonymous (not verified) on Mon, 09/05/2016 - 20:21

My floor-to-ceiling garage storage is 6' w x 8' h. I wanted to utilize the entire height of the wall for the rack. I also created a small cubby at the end for tall items like brooms, poles, etc. I also added 2x4 pieces on the top, sides and foot of the rack so I can add doors to hide the clutter stored on the shelves.

Estimated Cost
$80: $70 for wood and $10 for screws.
Estimated Time Investment
Day Project (6-9 Hours)
Recommended Skill Level
Starter Project

Second Project: table saw/ miter saw work bench

Submitted by jamesjill on Sat, 01/30/2021 - 20:34

Used part of the Ultimate Roll Away Workbench with Miter Saw Stand to just build one of the roll-away workbenches to work with my miter saw and table saw. I'm very happy with how it turned out.

Recommended Skill Level
Beginner

Comments

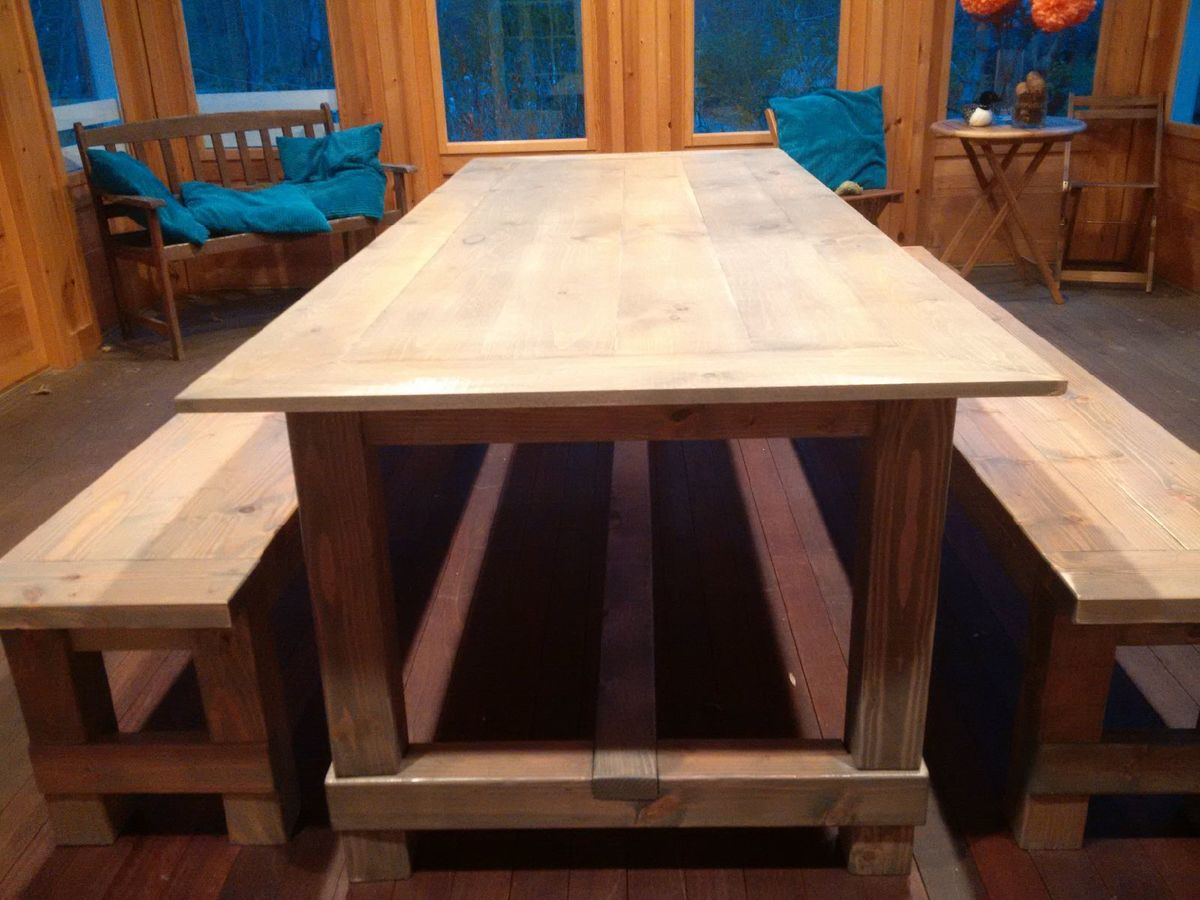
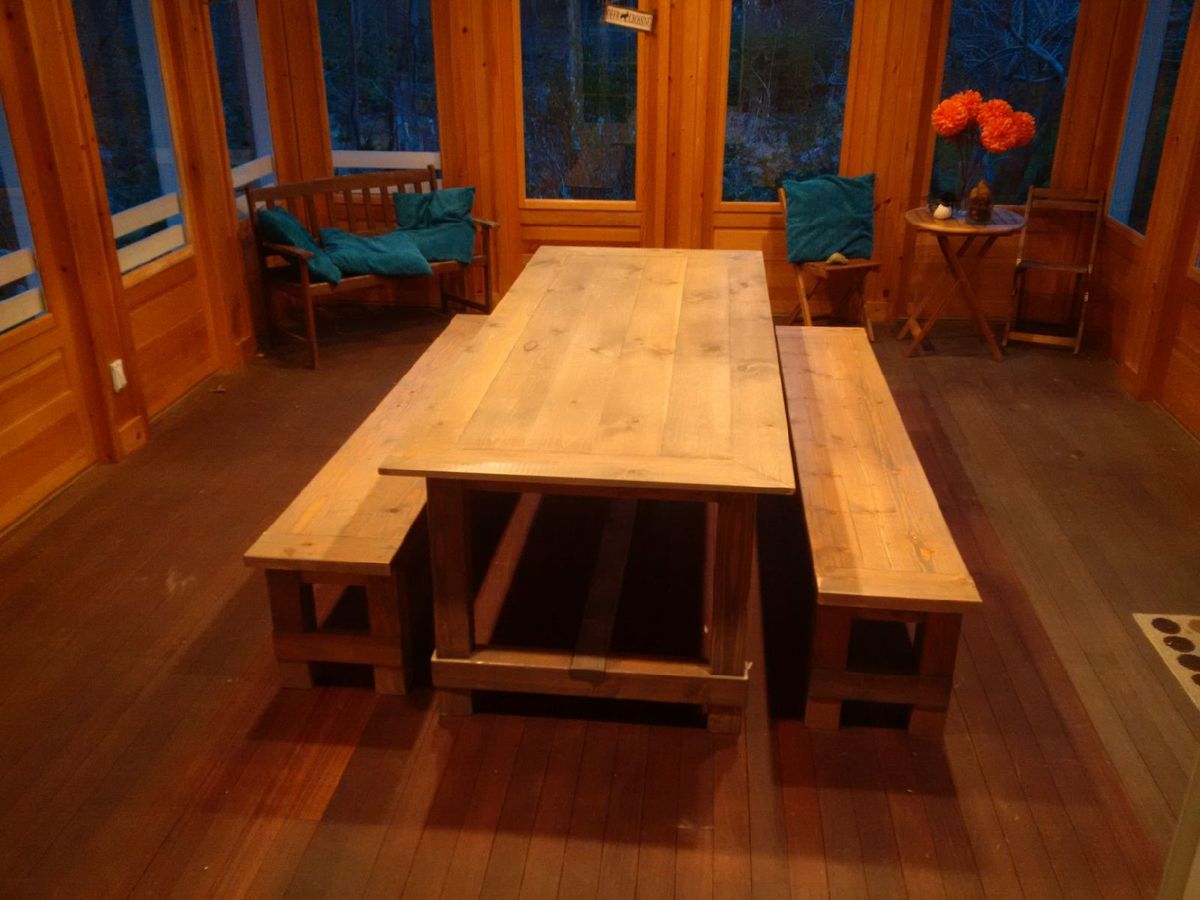
mitered corner farmhouse table - shiplap top.

Submitted by Anonymous (not verified) on Tue, 04/25/2017 - 13:07

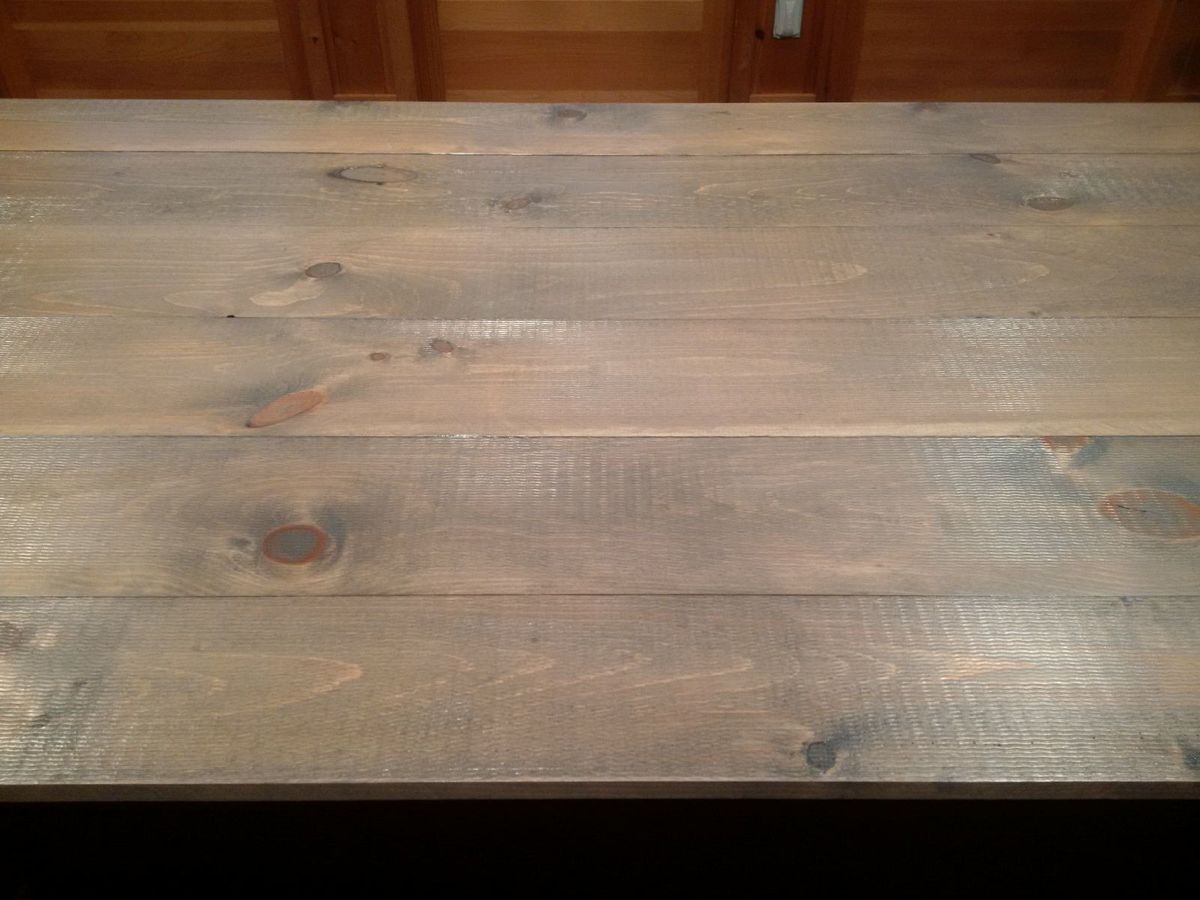
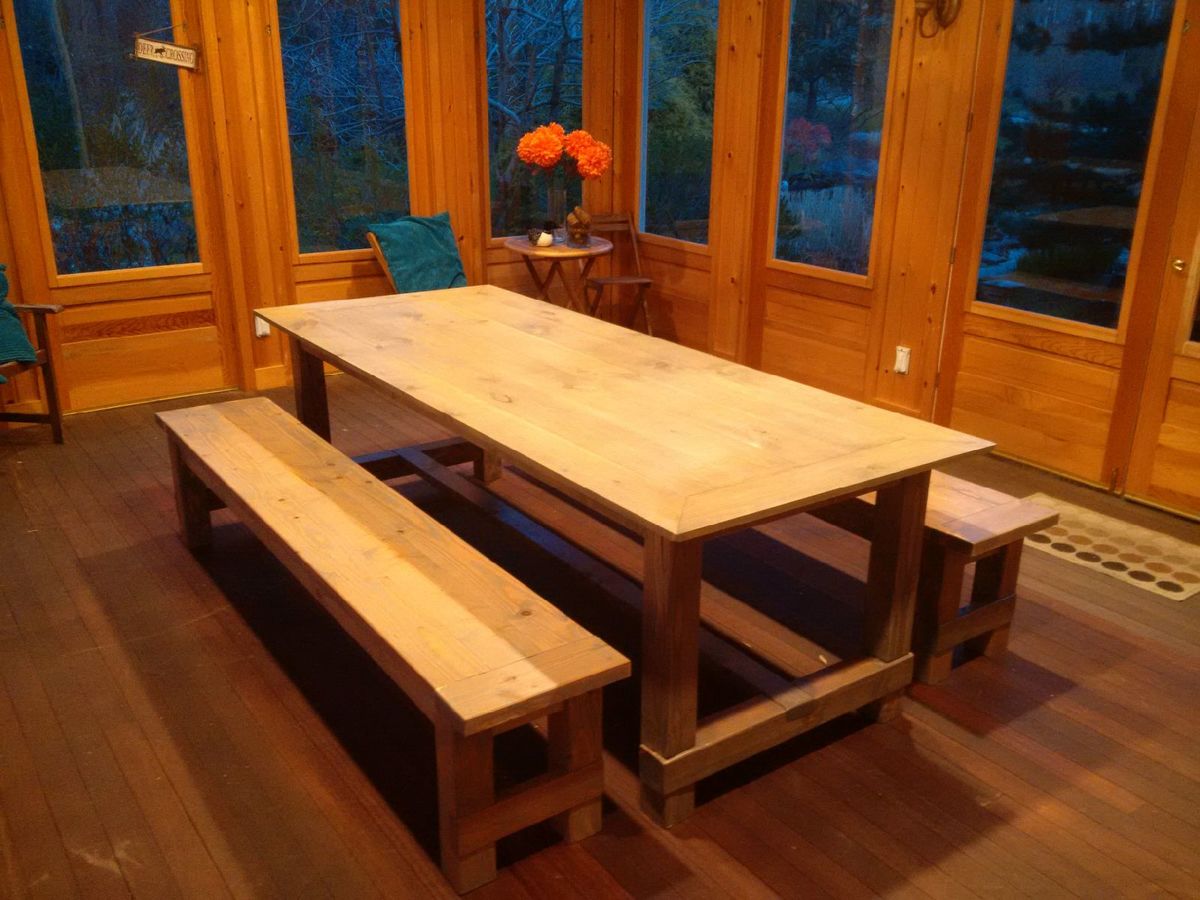
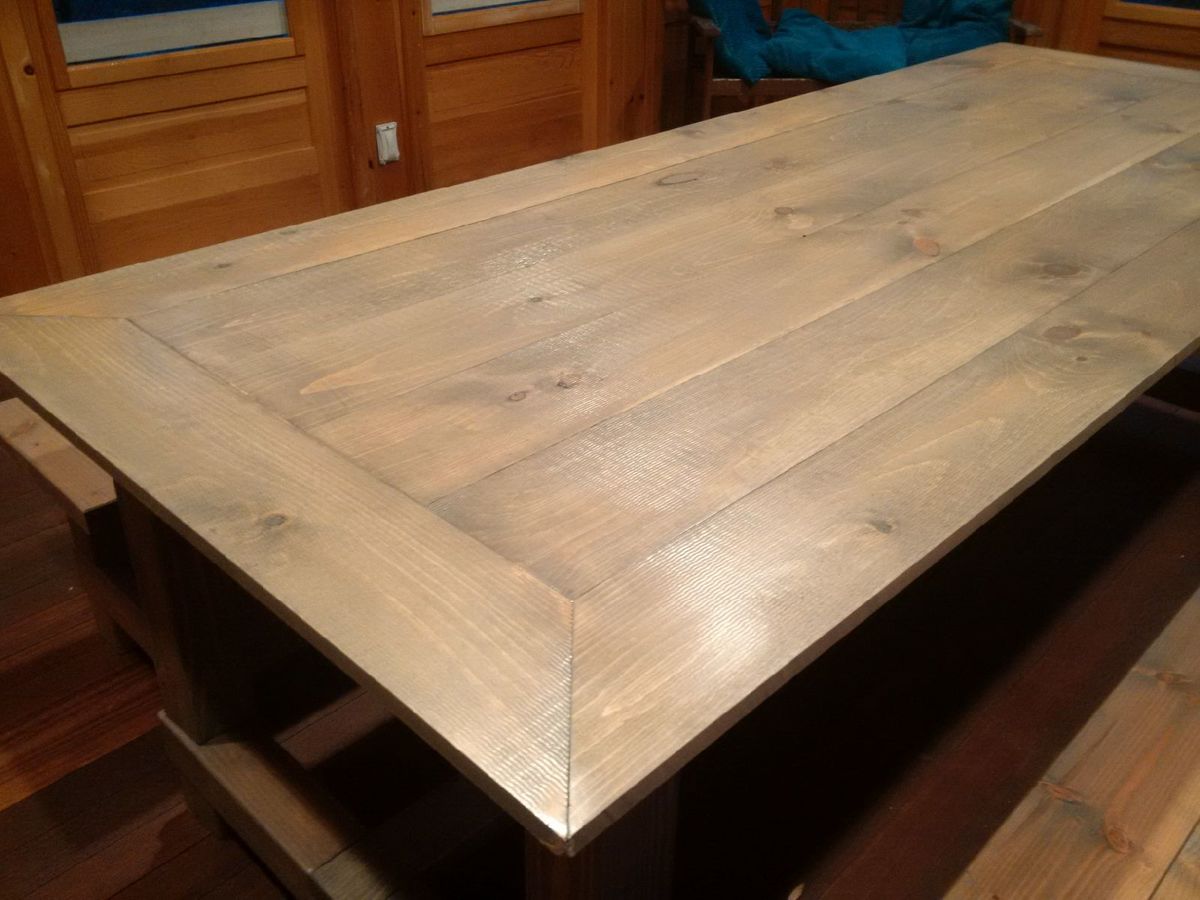
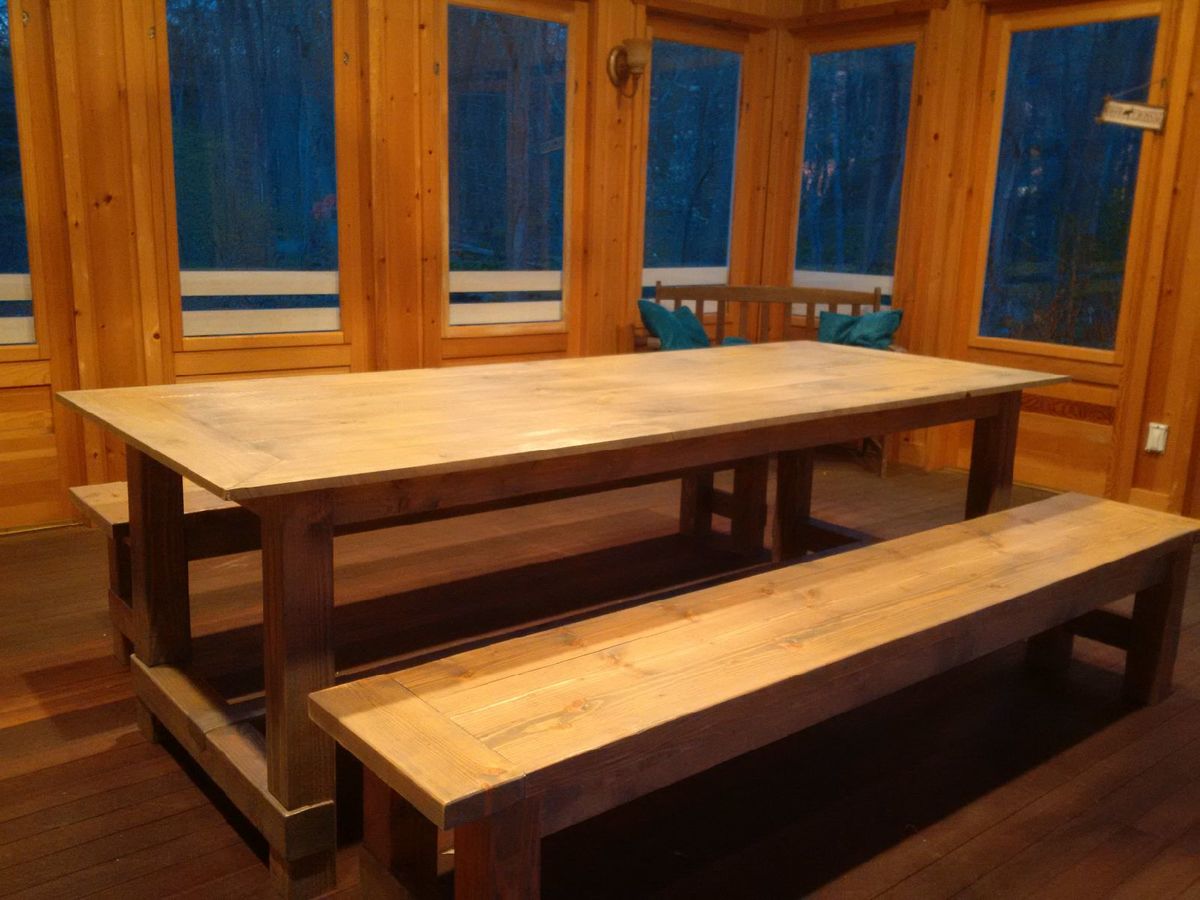
Slightly modified the farmhouse table plans to build the top out of 6 inch pine shiplap, its thinner than the farmhouse plans (its 3/4inch), but I liked the rough cut on the top surface, and overlapping edges made for a great fit. 

I cut the outside edge boards down to 4inch wide, and then mitred the corners to act as a frame for the 6 inch boards. I will build copper corner protectors. 

Finish was: pre-conditioner on the wood, 3 coats of minwax weathered oak stain, 3 coats of polyurethane. Sanded the benches between coats, but not the table, as the table has a rough surface. 

benches are 2x6 fir boards, cut the long edges off on a table saw to make them join better, as I dont have a jointer.  Same finish applied as the table. 

Table is 8 feet long, 38 inches wide.  seats 10 comfortably.

It was half finished in my garage for several months, in which time I used it as a workbench - so it has plenty of authentic weathering dings and dents. 

It was my first project, as I have only recently moved into a house with a garage. 

Loved the construction part, hated the finishing steps. 

thanks!

oz


Estimated Cost
200 in wood, fasteners, stains, etc
Estimated Time Investment
Week Long Project (20 Hours or More)
Finish Used
minwax pre-conditioner, weathered oak and polyurethane
Recommended Skill Level
Intermediate

2x4 Adirondack Chair

Submitted by Anonymous (not verified) on Tue, 08/03/2021 - 06:27

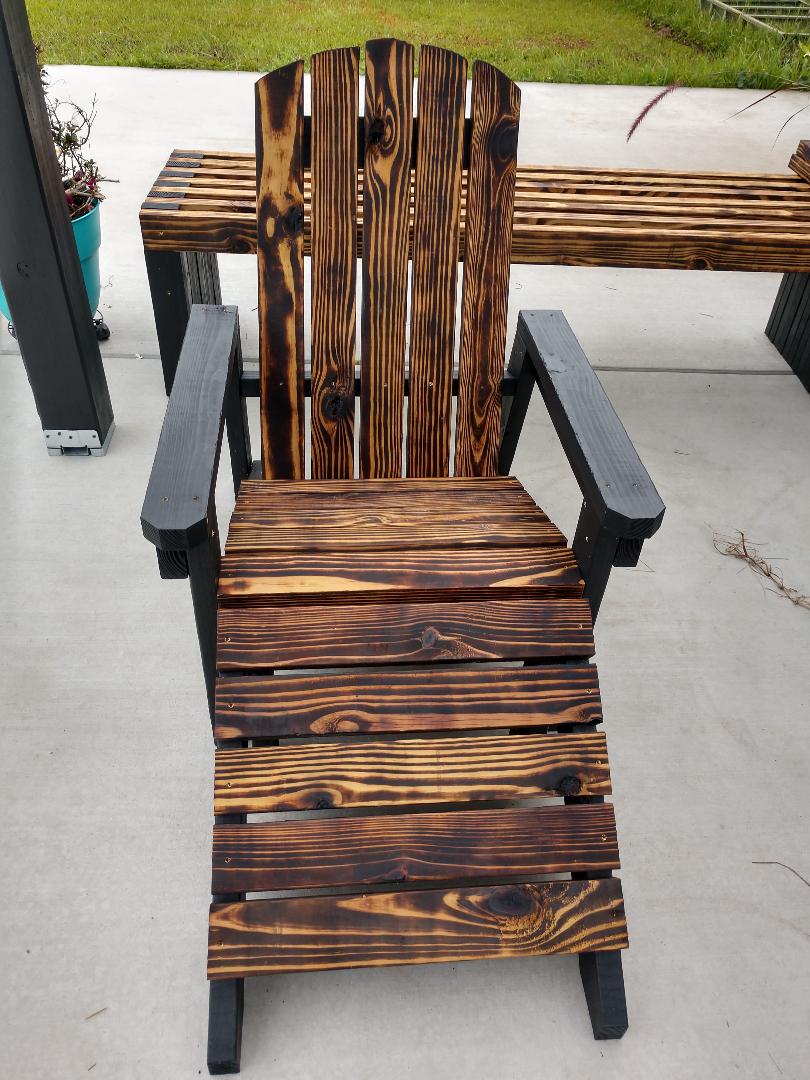
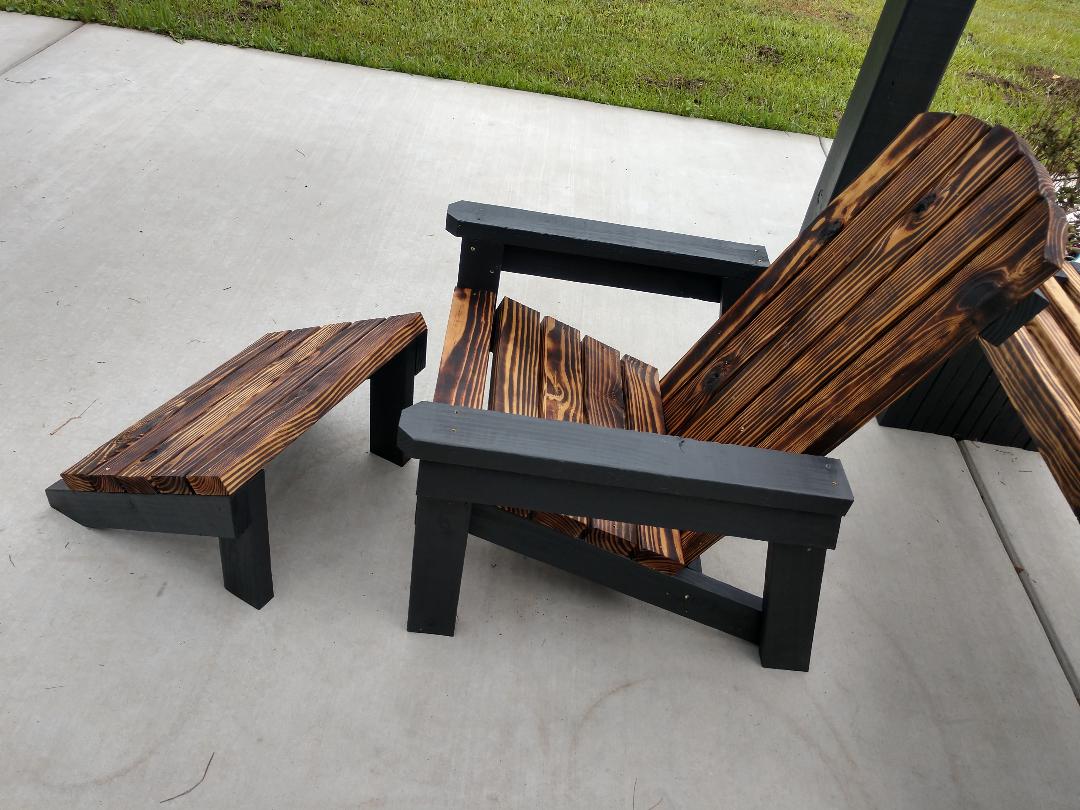
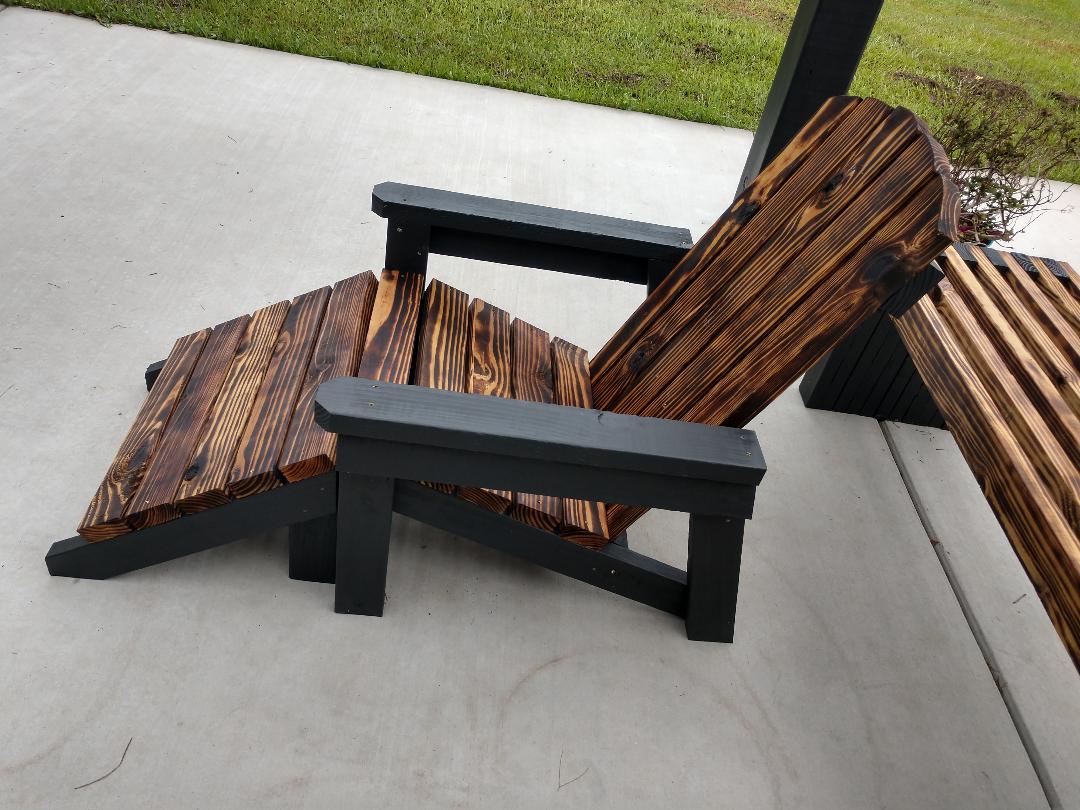
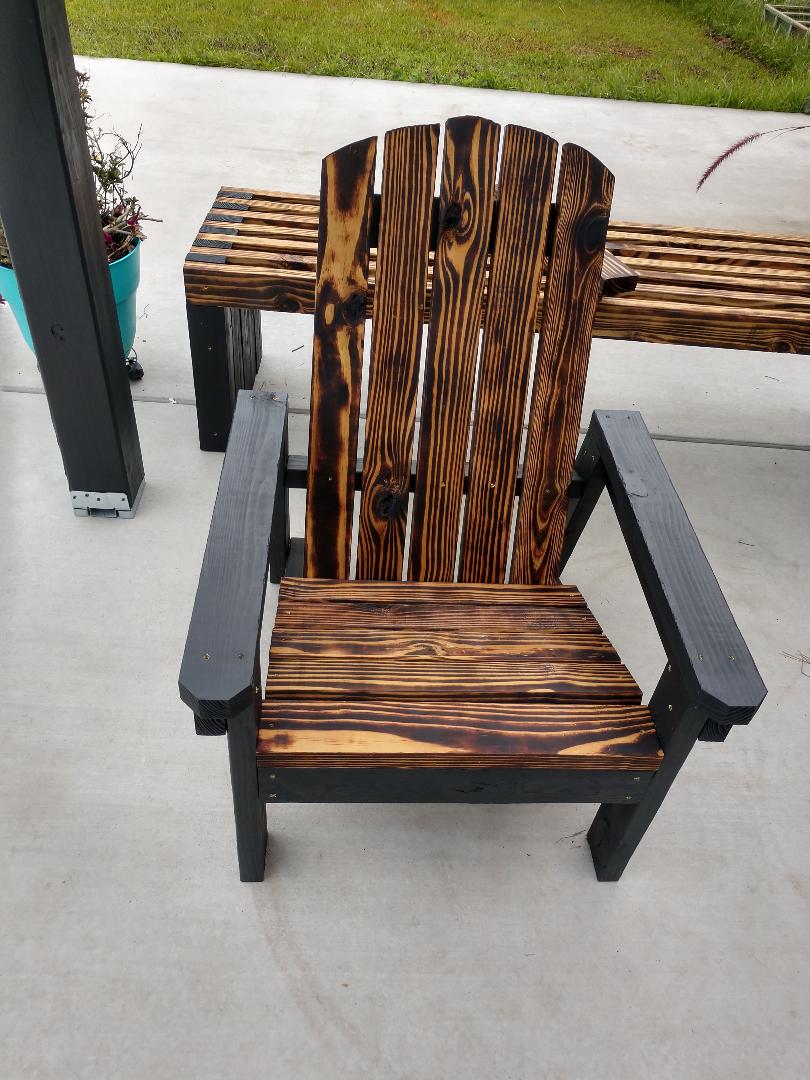
Very easy instructions. I love the way they turned out. I used all 2x4's that I had left over from another project. I burned the top pieces and painted all other pieces. Love your easy instructions. My first time making furniture.
Thanks
Yvette

Recommended Skill Level
Beginner

Full size Murphy Bed

Submitted by Hartung26 on Wed, 06/26/2013 - 20:07

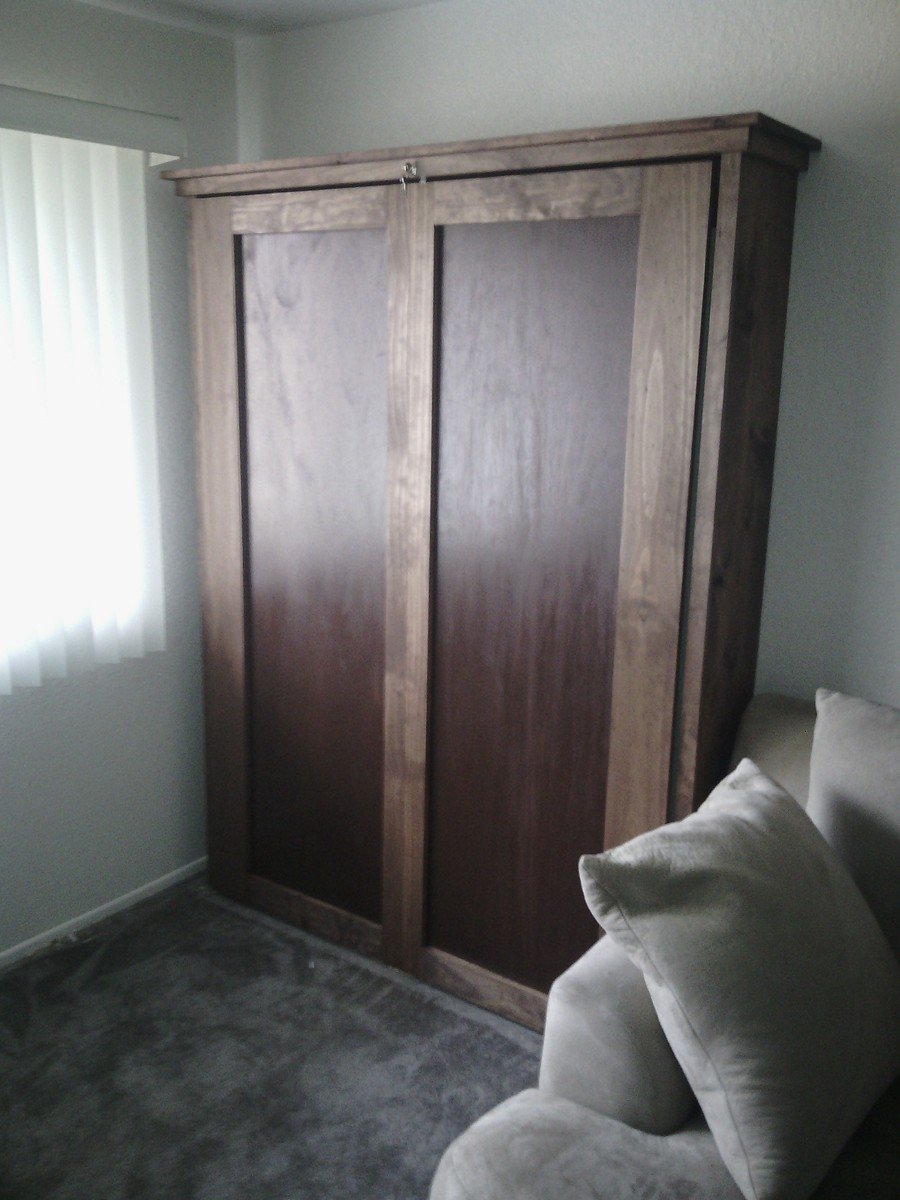
Used the plans for the twin bed, just added the difference in mattress size to the measurements. Pretty simple really. Used a cam lock centered above the door and a sawtooth picture hanger on the inside as a locking mechanism.

Estimated Cost
$275
Estimated Time Investment
Week Long Project (20 Hours or More)
Finish Used
WinMax English Chestnut
Recommended Skill Level
Intermediate

Comments

spiceylg

Thu, 06/27/2013 - 12:16

Been thinking of building one of these. Yours looks beautiful, nice job!

campbelllsara

Tue, 09/30/2014 - 14:16

Hello,

I have been scowering the internet... I too would like to have my murphy bed raised off of the ground and be a full size murphy bed.  But everytime I try to do "adjustments" and get "creative" it ends in disaster.  I am better at following instructions.  Is there anyway that you could give me the exact measurements for your fullsize bed and let me know how it is that you propped the bed up at the end?

[email protected]


Thank you.

The playhouse project!

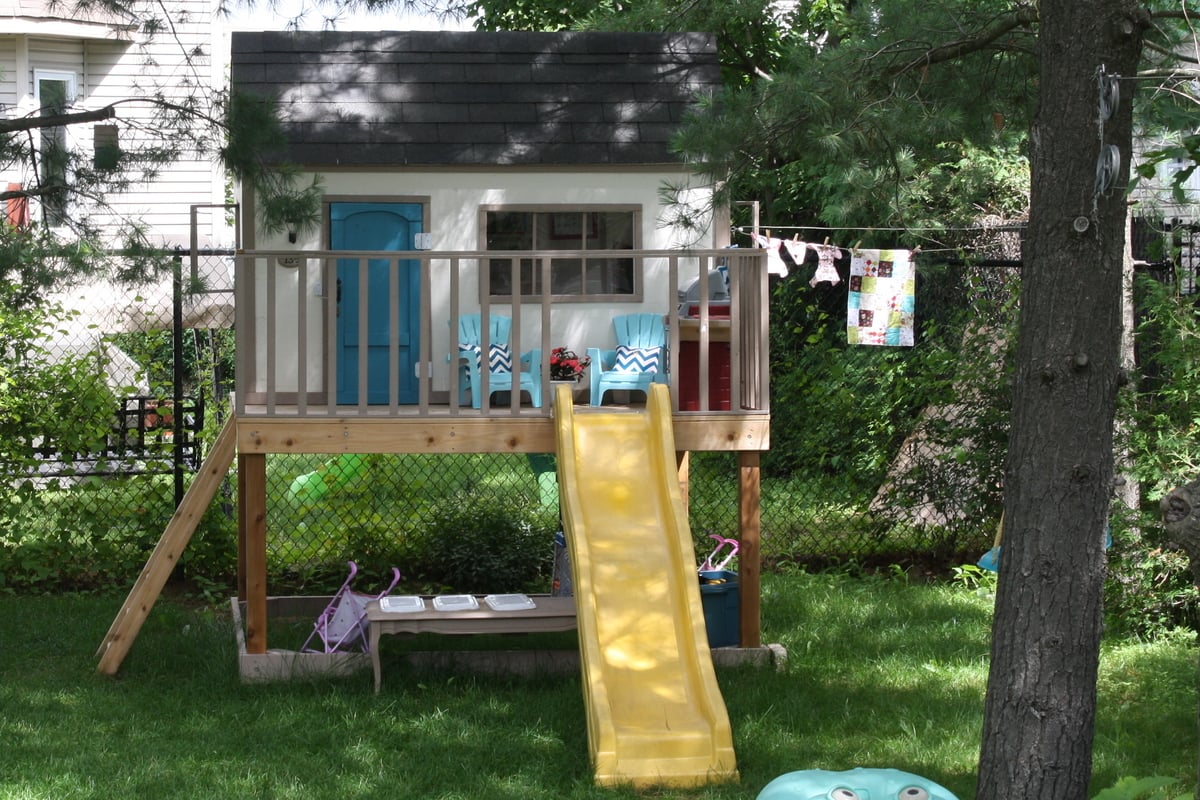
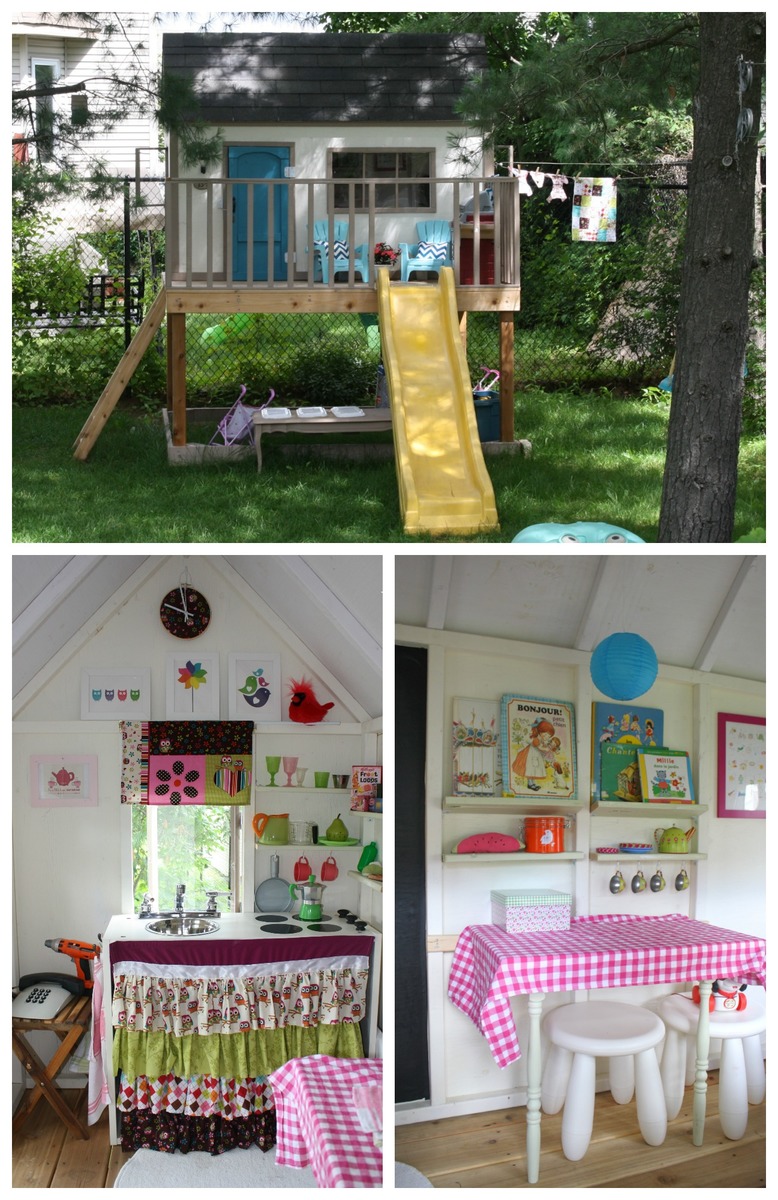
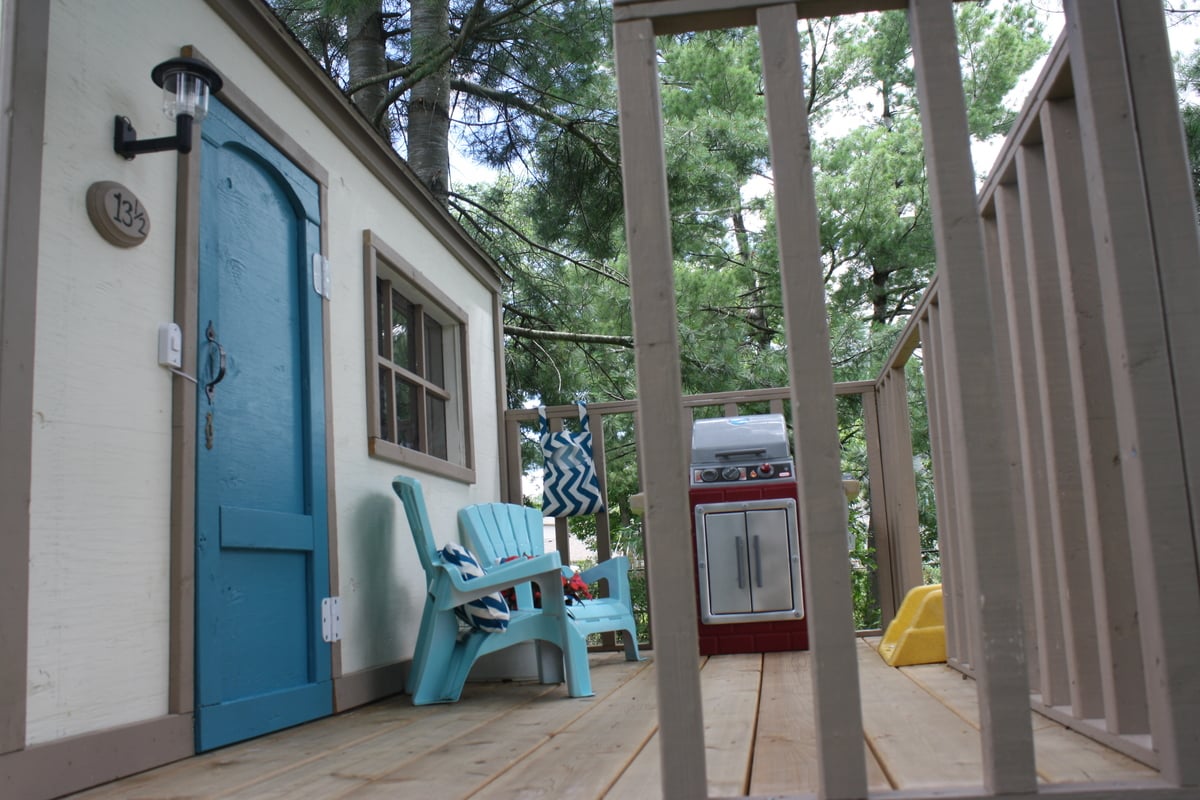
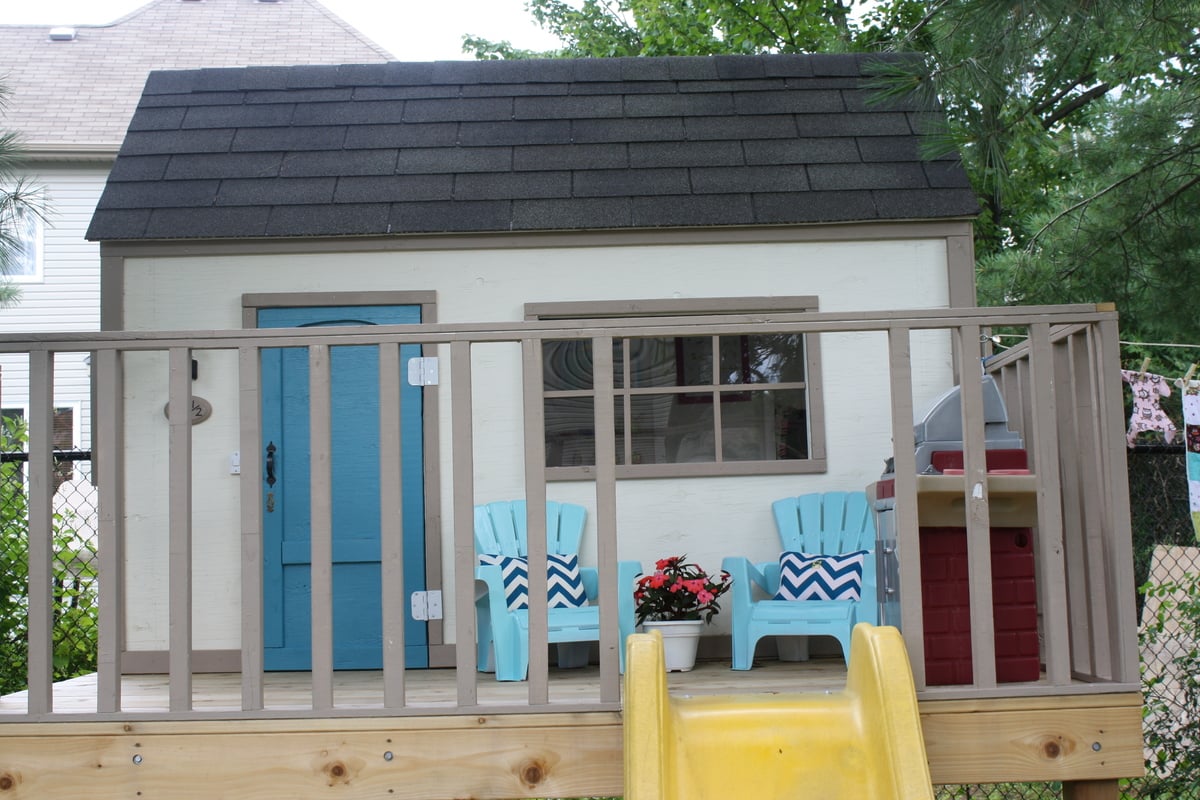
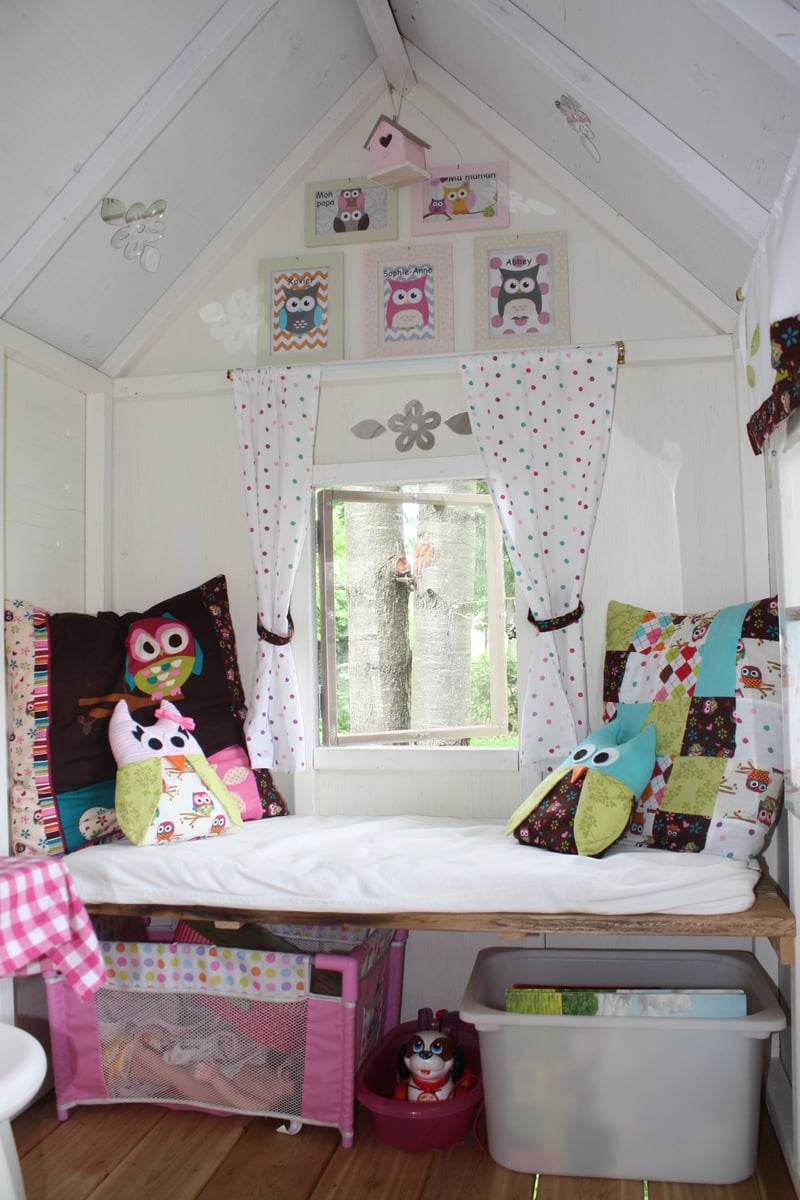
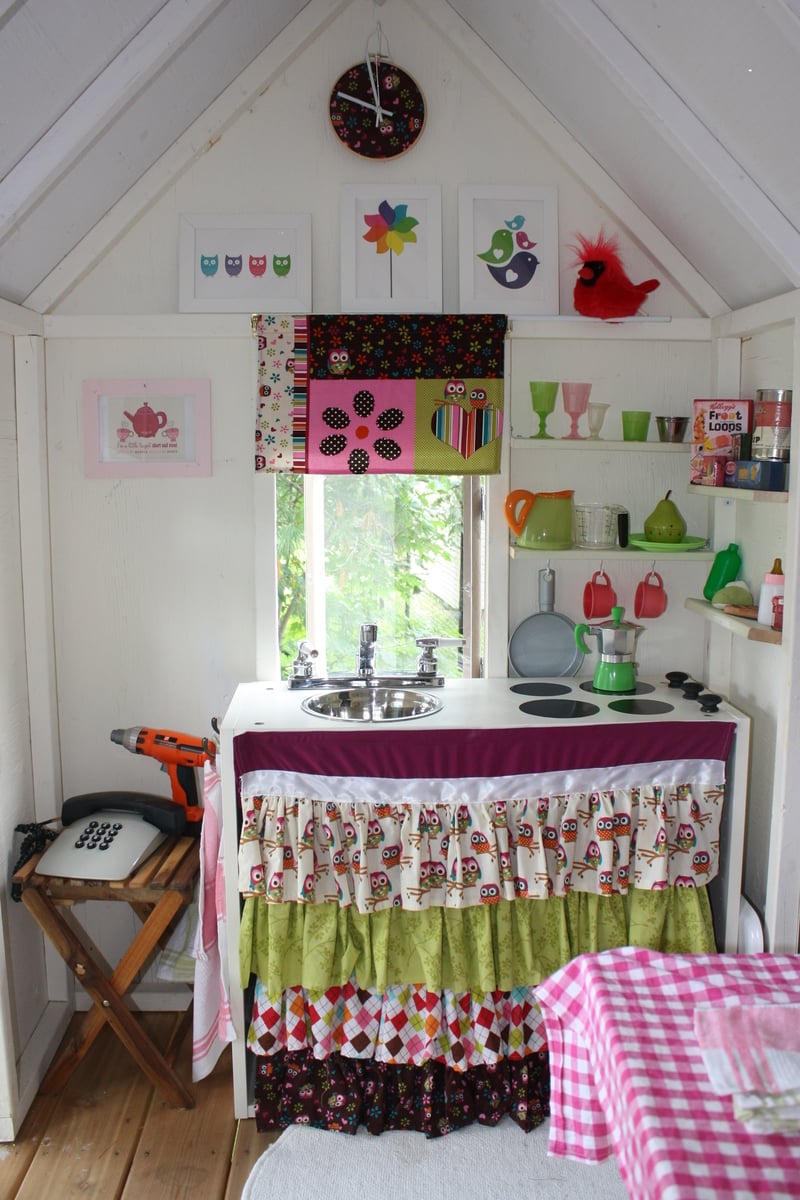
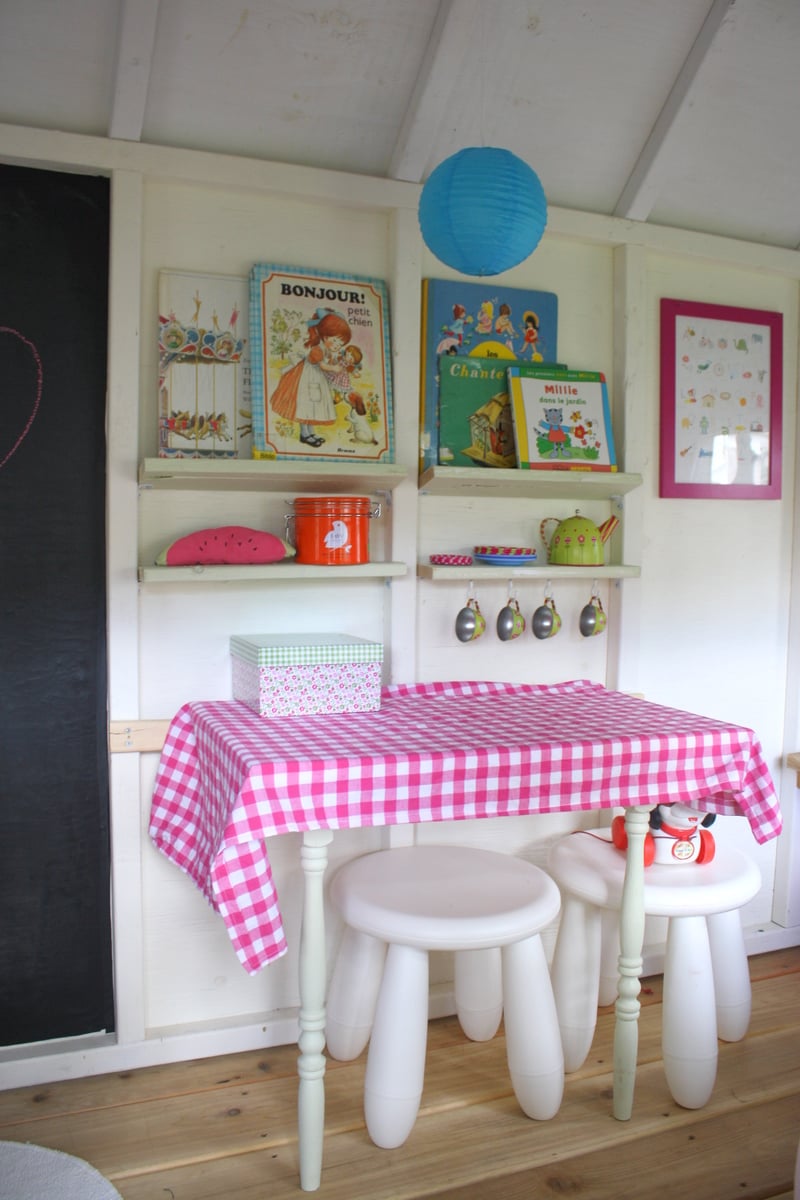
We started this project a few months ago. My husband made most of the construction, and I decorated the inside. We added many little details, including a clothesline, windows with plexiglass, a BBQ, a little kitchen, a doorbell, a solar light, a slide, shelves, a table, a bench, etc. The kids loooooove their new house. The whole project took many many hours, but I am really happy with the results. Thank you so much Ana for the plans!!

Estimated Cost
900 $
Estimated Time Investment
Week Long Project (20 Hours or More)
Finish Used
primer and extorior paint
Recommended Skill Level
Intermediate

Comments

Theresa W

Sun, 07/14/2013 - 17:24

It is beautiful. I can only imagine how excited your kids are to play in this gorgeous space made just for them. Well Done!

LadyBird

Sun, 07/14/2013 - 21:10

Looks like your child has everything they need. Including a phone! I love the bench seat and the pillows with the window. So cool. You put a lot of work into this. Well done.

denaschance2

Thu, 04/03/2014 - 08:23

Love, love it! Couple of questions... how did you attach the walls to the decking and how far apart? How tall is the railing? I'm curious to know the sturdiness of the project overall and my SIL has concerns about the 3/4 roof sheeting over 1/4 walls. Comments please. My son-in-law and I have just started this project.

L-Shaped Triple Bunk

Submitted by mommy to 3 on Sat, 09/01/2018 - 20:21

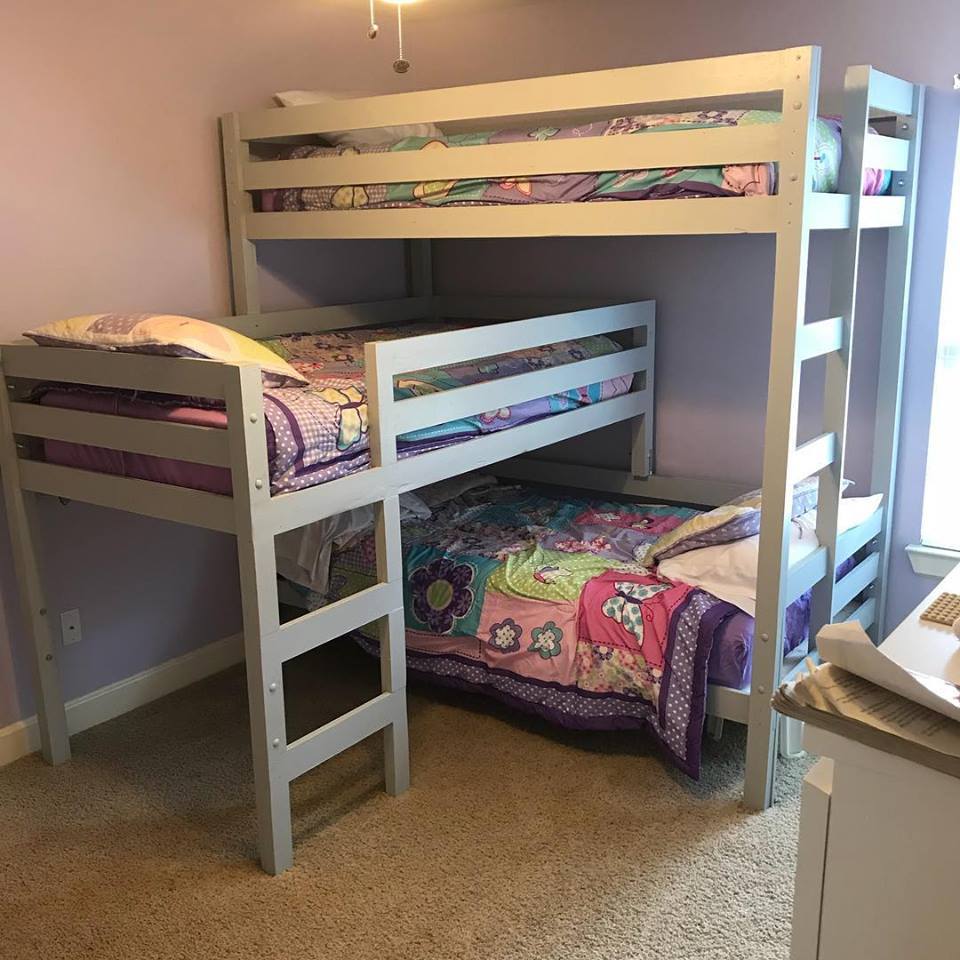
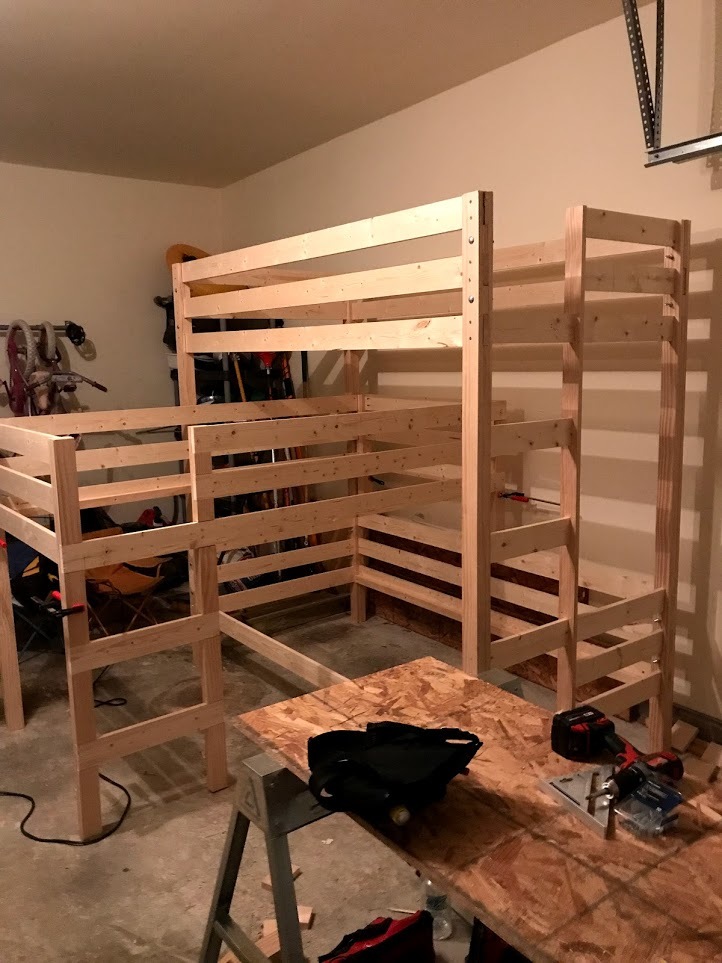
We recently had our 6th child and needed to rearrange our kids' rooms.  We decided to put our 3 oldest girls together and wanted a triple bunk.  We used the classic bunk plans, but increased the height to allow for a middle bunk.  We wanted L-shaped to give each child some headroom.  We used pine wood, common board and select pine.  We finished it off with two coats of Behr interior latex paint/primer in one, satin finish.  Finished dimensions--height from floor to base of bottom bunk, 10 in.  from floor to top of top rail, 79.5 in.

Built from Plan(s)
Estimated Cost
$350 for wood/screws
$40 for paint
~$500 for tools--this was only our second build and our last build only required a drill.
Estimated Time Investment
Week Long Project (20 Hours or More)
Finish Used
Behr interior latex paint/primer in one, satin finish. Color is "classic silver"
Recommended Skill Level
Intermediate

Comments

bcheese06

Tue, 02/18/2020 - 20:41

This is exactly what my boys need in their room. I'm having a hard time grasping how you did the middle bunk. Is it just the top bunk chopped right before the horizontal slats of the bottom bunk? tia

Farmhouse Writing Desk with Turned Legs

Submitted by kwildman on Mon, 01/07/2019 - 08:53

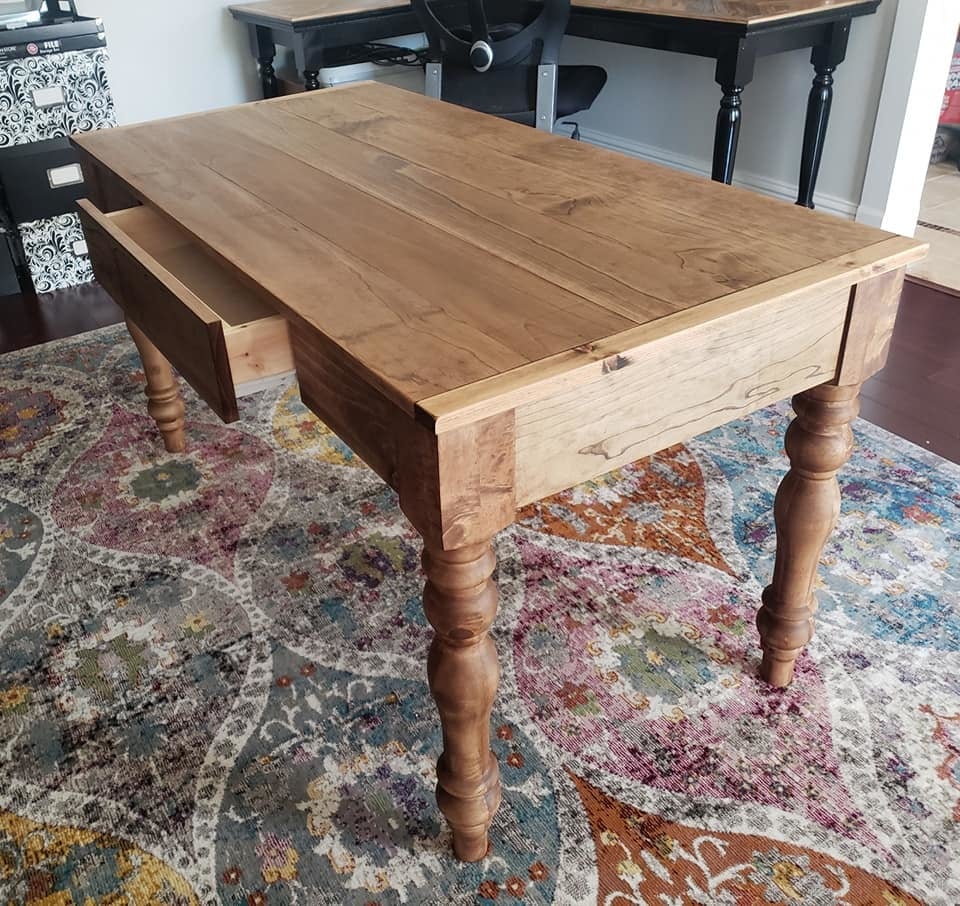
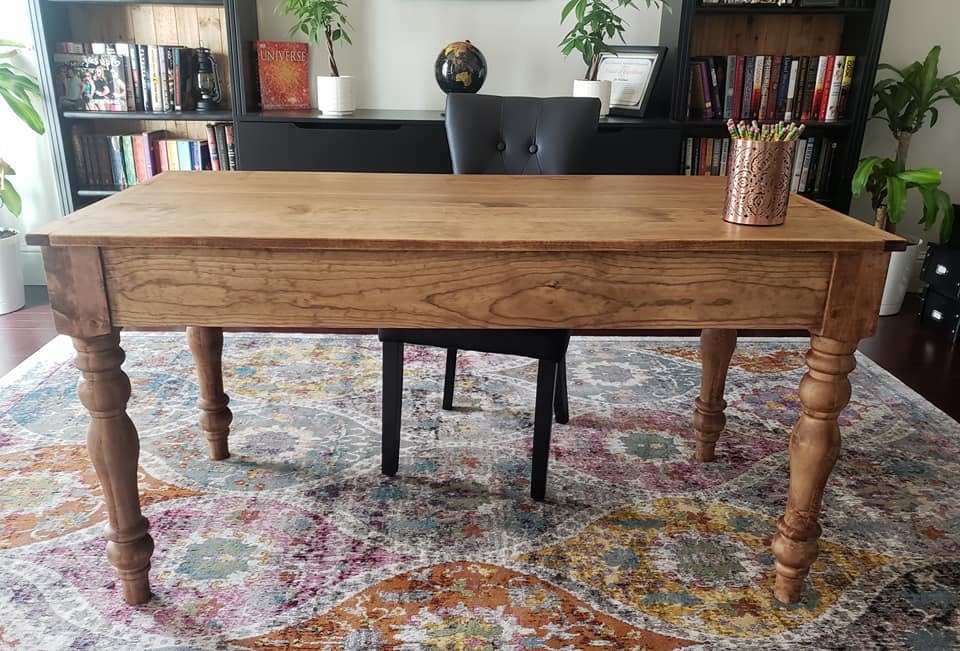
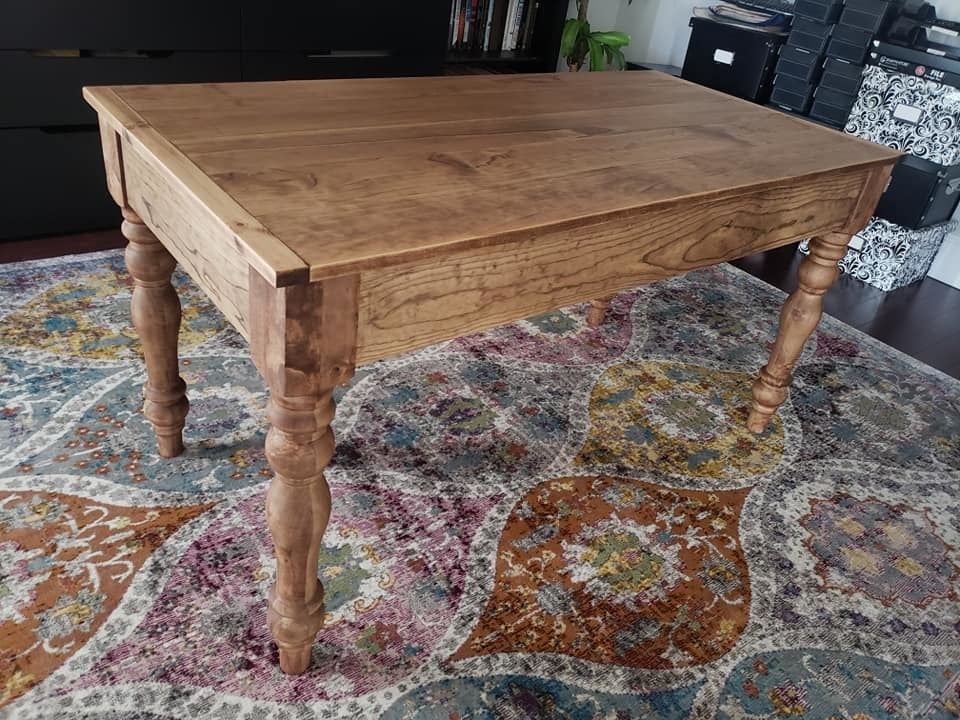
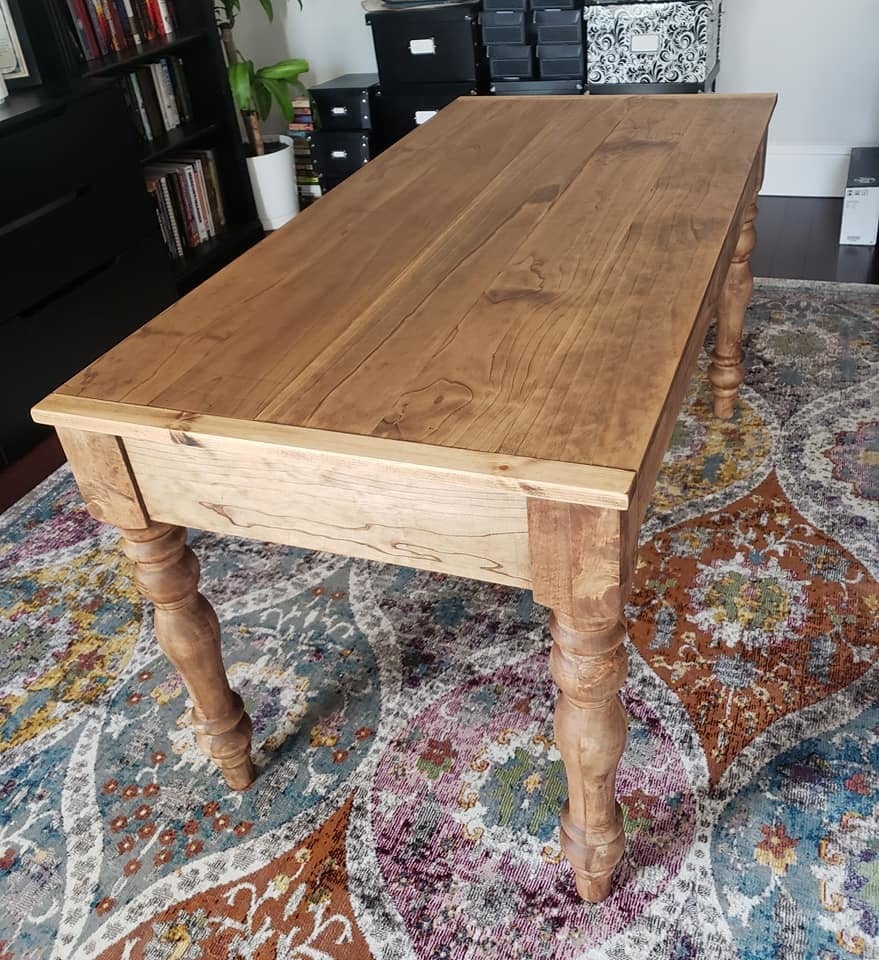
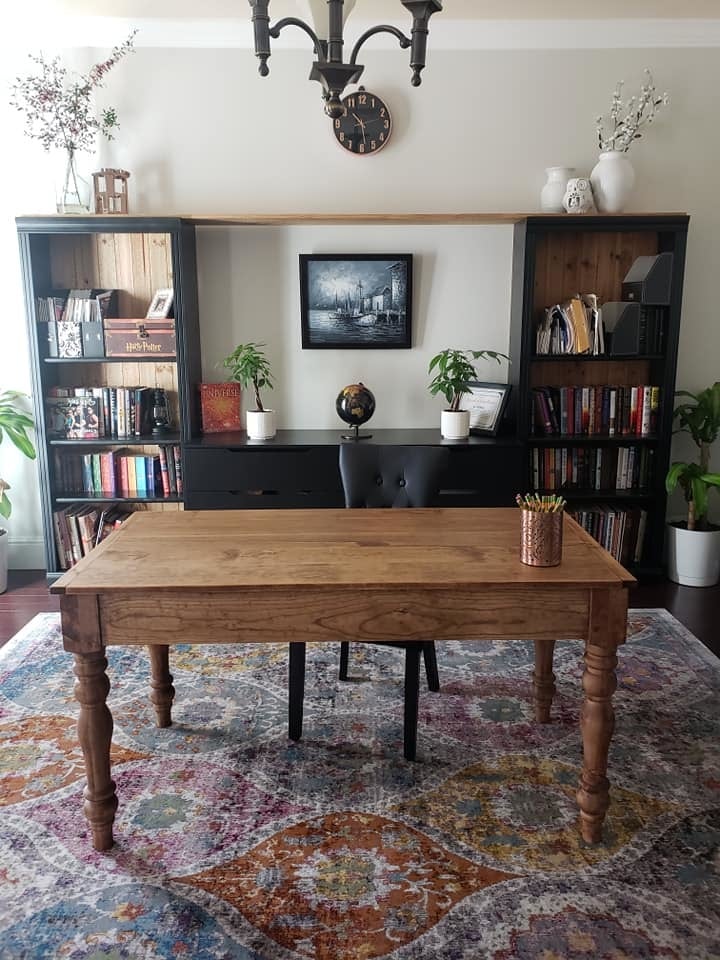
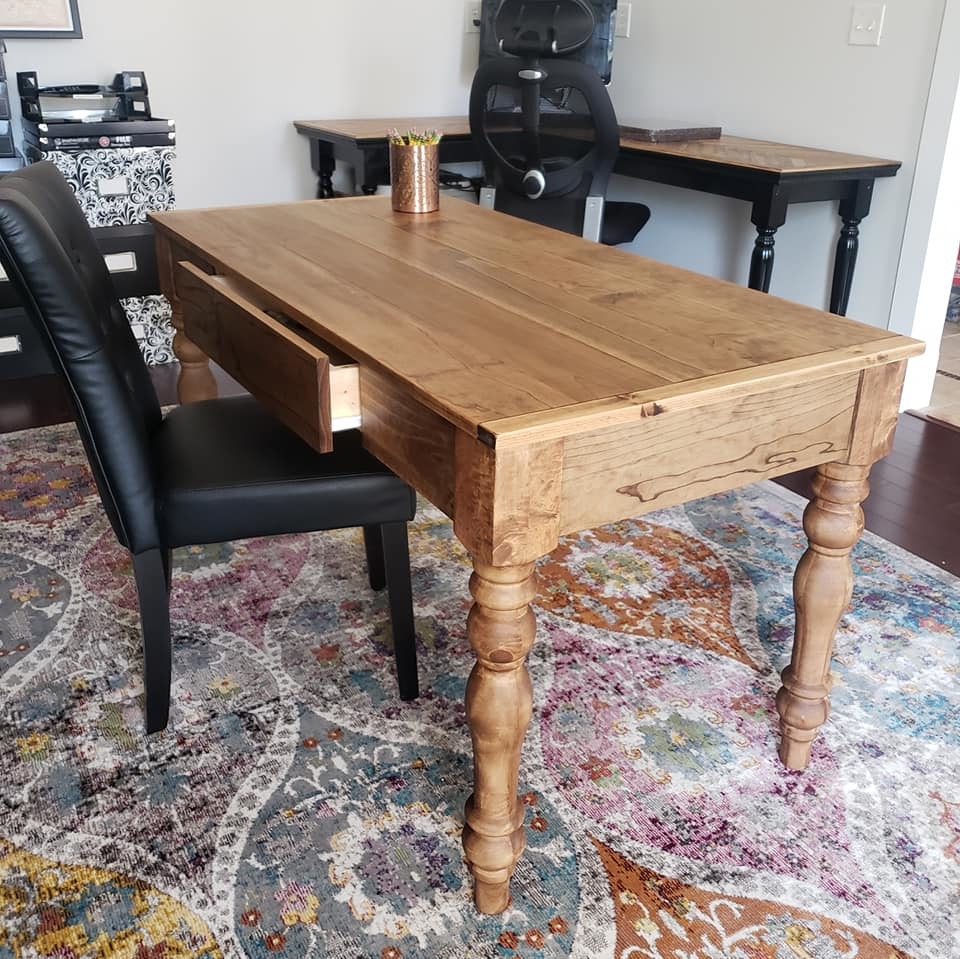
I modified the Small Old English Style Farmhouse Dining Table plan to build a writing desk.   I used five 1x6 boards for the top for a width of 27.5 inches.   I made my desk 56 inches in length.  I put the drawer on the long side like a pencil drawer.   I did use the legs that Ana recommended in the plan.   I love how it turned out.  I used dark walnut danish oil and dark wax for the finish.  

Estimated Cost
225
Estimated Time Investment
Day Project (6-9 Hours)
Finish Used
I used Watco dark walnut danish oil and Minwax dark paste wax.
Recommended Skill Level
Intermediate

Comments

kwildman

Fri, 10/04/2019 - 21:46

Thank you!  I used Watco Danish oil and I used Minwax dark wax.  I've tried alot of different wax brands and I always come back to Minwax.  It dries the hardest in my opinion.

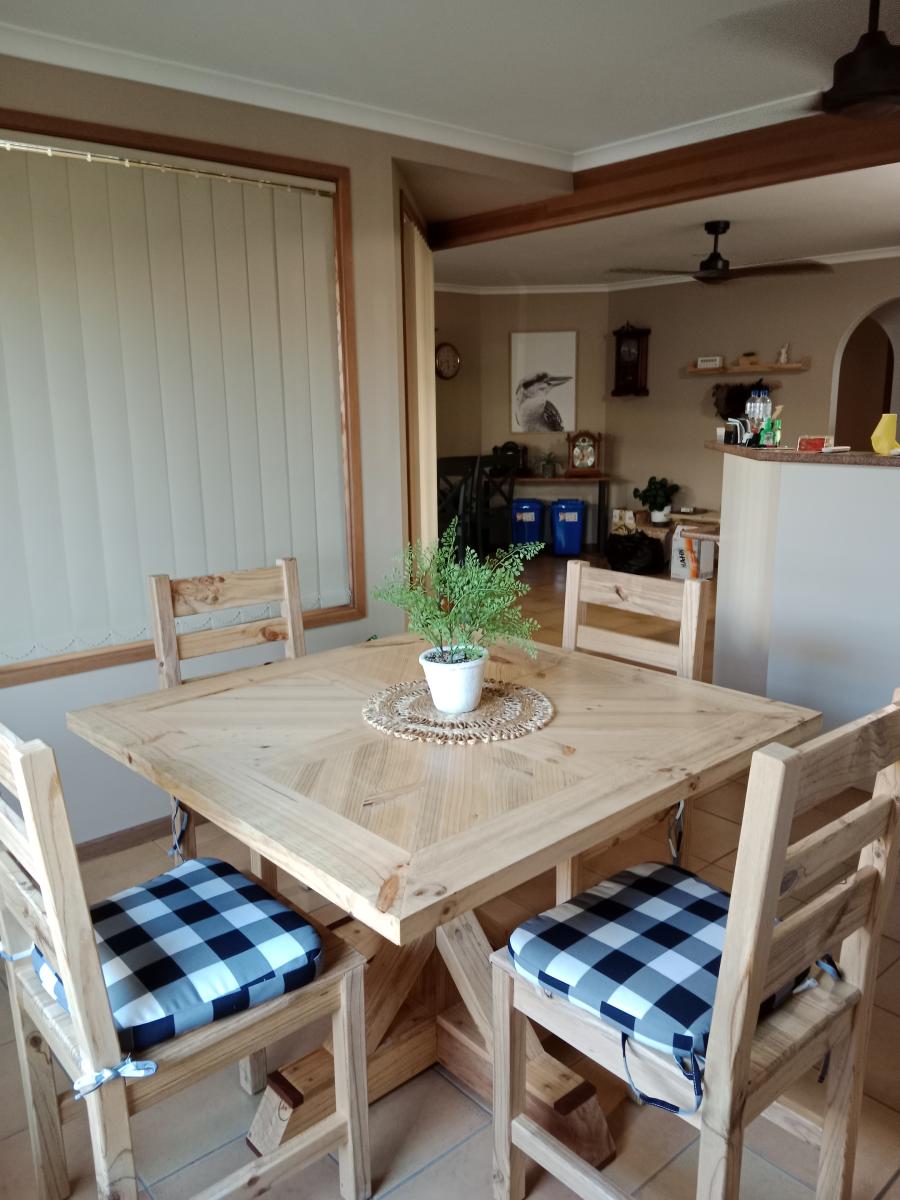
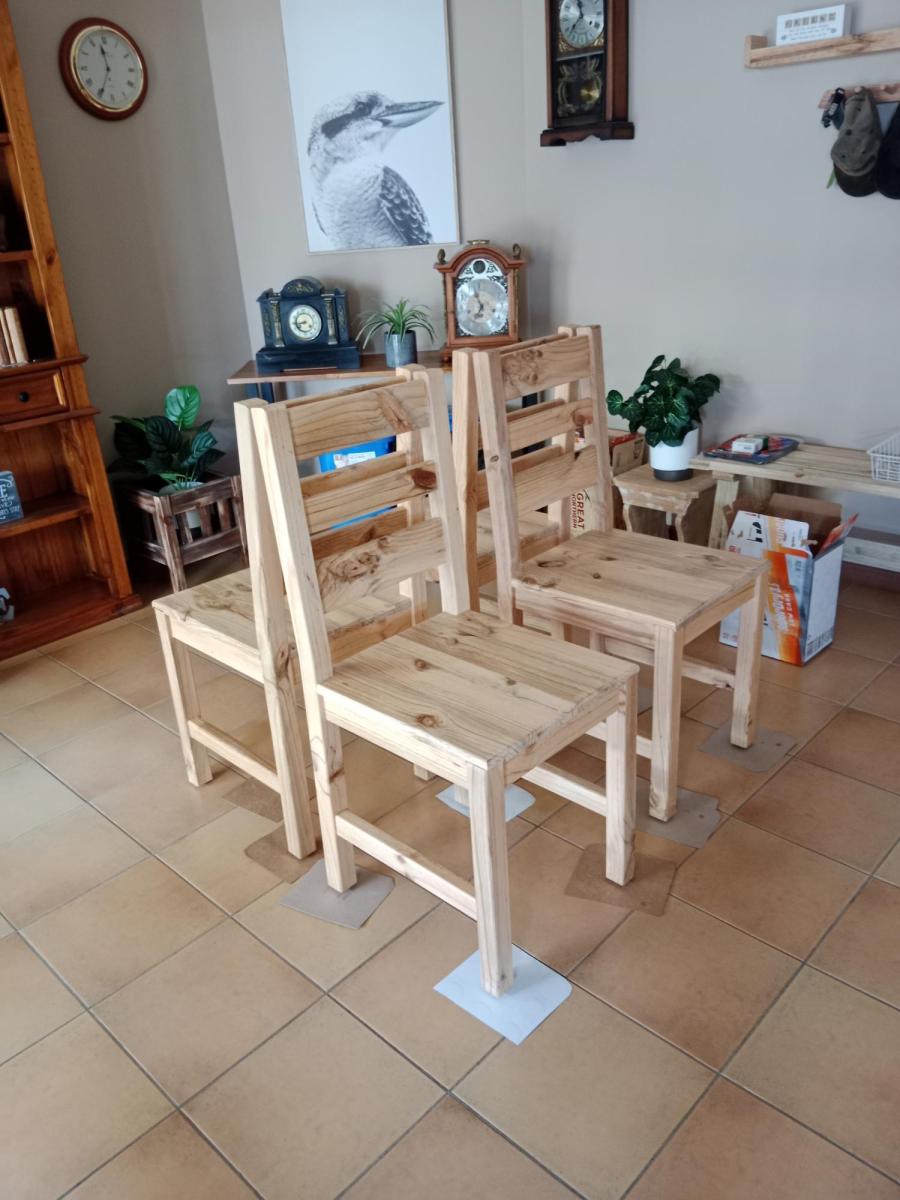
Dining chairs for X based pedestal table

Submitted by Anonymous (not verified) on Mon, 03/06/2023 - 10:15

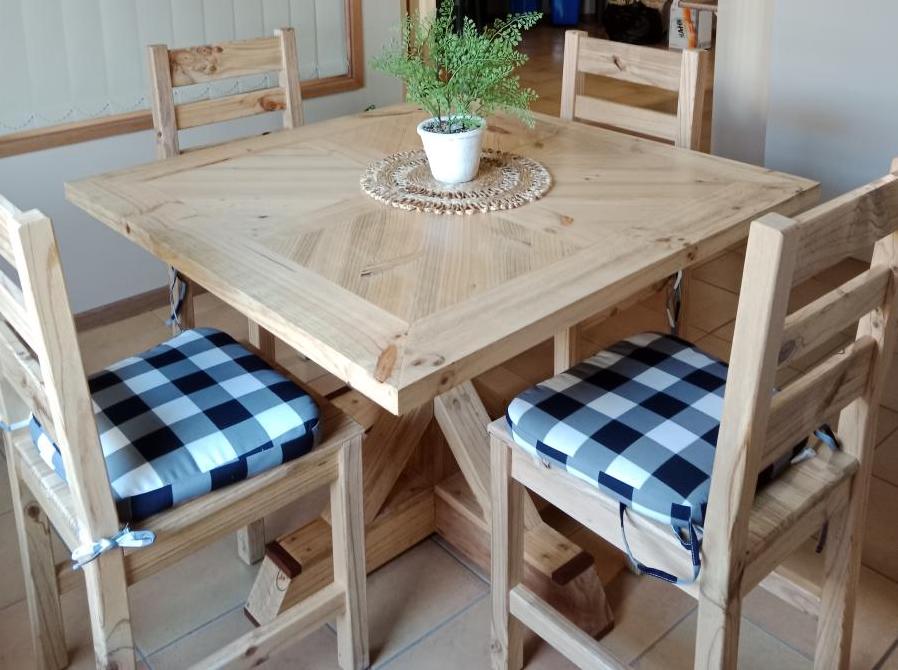
I made the 4 chairs to complete the dining suite. The table was made from the X based pedestal table plan.

The timber was all cut from 200mm x 50mm pine sleepers and finished with Cabots clear finish.

Comments

Rustic Coffee Table Success!

Submitted by Esquared34 on Thu, 01/30/2014 - 19:57

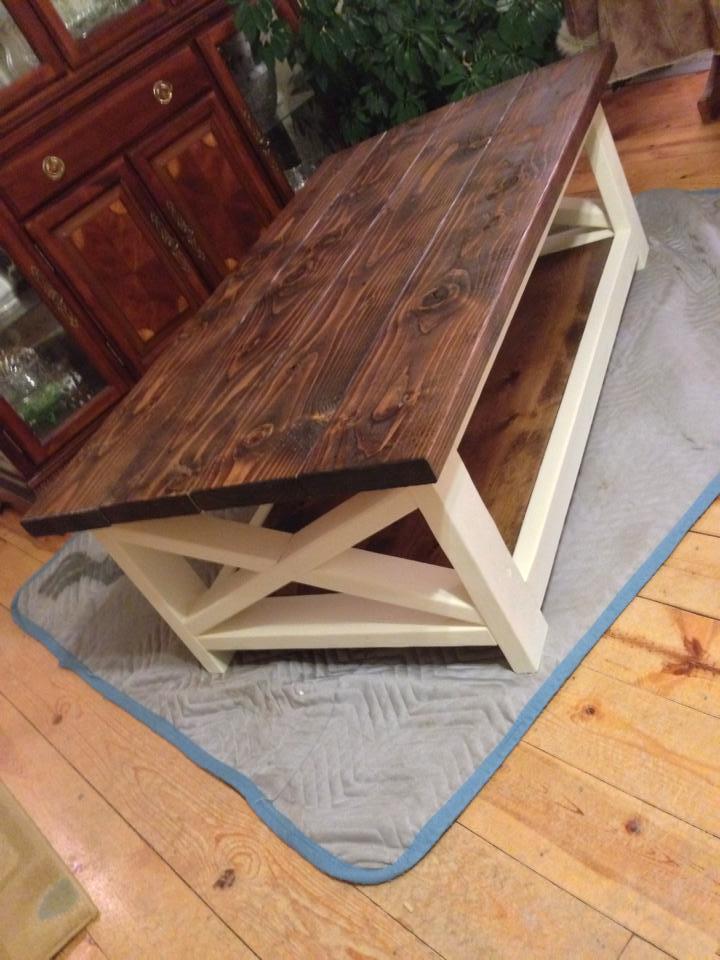
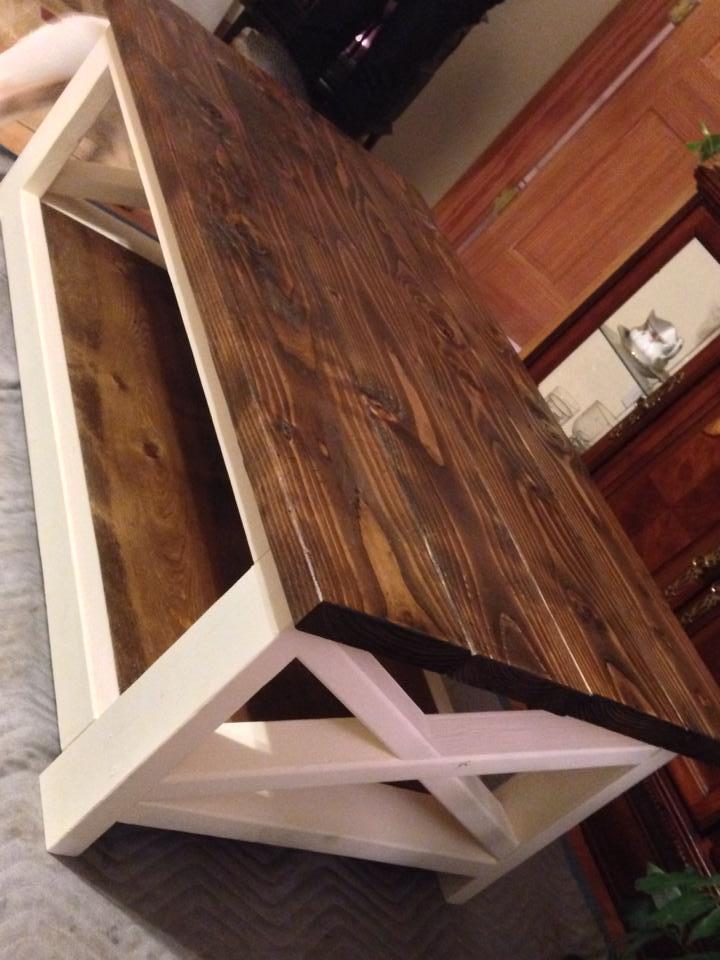
The plans were pretty simple to follow, I did change the way I set the bottom shelf in because it wasn't very stable and I was worried it would eventually dip in the middle. I screwed some pieces of scrap wood onto the back to hold it together better and then built a ledge for it to sit on around the bottom. After that I screwed it into the and BAM.. much more stable..

Estimated Cost
$85
Estimated Time Investment
Weekend Project (10-20 Hours)
Finish Used
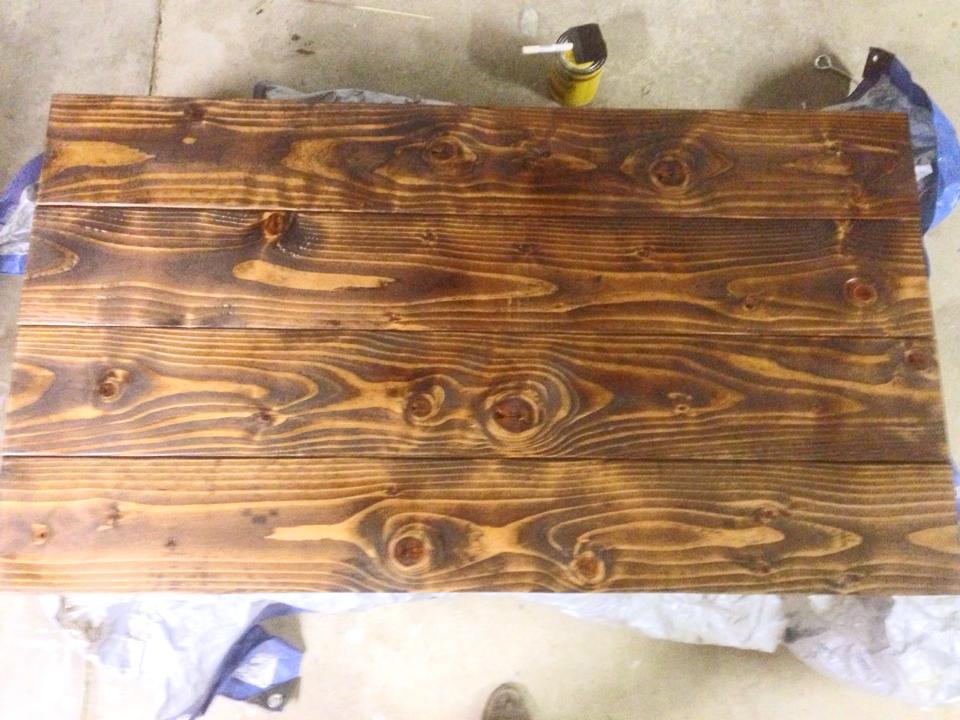
Minwax Provincial for the top(two coats) and shelf with a semi gloss finish(3 coats). Glidden Buttermilk matte(3 coats) for the frame.
Recommended Skill Level
Beginner

Comments

bwardwell02

Sat, 09/06/2014 - 05:41

I would like to have the detailed plans for this too!! I have looked everywhere for the perfect coffee table for my screened in porch and here it is.... I'm so excited!!! 

Cedar Fence Board Planter Box

Submitted by iowachap on Sat, 03/15/2014 - 19:40

Using Ana's 10 dollar raised garden planter box idea, I made my own using the cedar fence boards and then used 2 x 3 x 8 studs for the L corner supports and mid center support along with top rail. This photo is the first 3, I will have a total of 6 boxes. Will post more as I progress.

Estimated Cost
20 to 25 dollars per box
Estimated Time Investment
Afternoon Project (3-6 Hours)
Finish Used
I used 6 fence boards, 2 for each side of the 6' long runs, and 1 for each short 3' section cut in half.

I got the 6' x 5 1/2 " x 5/8 " cedar fence boards at the orange box

I used 2 x 3 x 8 boards for the corners the middle support and the top rail. I got these at the blue box

I used 2 " and 2 1/2" exterior star bit screws.

NOTE: I pre drilled holes in the fence boards and screwed all the boards to the L corner sections from the inside out, so the screws are on the inside of the box, they did not poke through the 2 x 3 boards.

Instead of trying to measure how far off the side of the board I needed to go to match the vertical 2 x 3 boards, I just cut 10 11 inch long 2 x3 sections, and then used the 2 1/2" screws and made 4 L corner pieces the shorter side I screwed the short 3 foot length fence boards too, once I had both my short sections screwed to the L corner sections, I then stood one up and screwed 2 of the 6' length boards to the L corner section. Then the other side.

Once all 4 walls were done, I would then measure 3' in the middle of the 6' long side runs, and put in an additional 2 x 3 x 11" again screwed from the inside of the box out.

Now that all the 2 x 3 x 11" L corners and side support sections were connected to the fence boards I then cut 76 1/4" 2 x3 boards one for each length run, and then 2 26" 2 x 3 sections that were all cut on 45 degree angle to complete the top rail.
Recommended Skill Level
Starter Project

Porch Swing Glider

Submitted by Anonymous (not verified) on Fri, 05/19/2017 - 09:25

Built the porch swing and was inspired to build the glider frame by another "Brag Post" Looks great and fits perfectly in my back yard!

Built from Plan(s)
Estimated Cost
$200
Estimated Time Investment
Weekend Project (10-20 Hours)
Finish Used
Transparent deck sealant for frame, white exterior paint for seat panels
Recommended Skill Level
Beginner

Comments

Rachael Brown

Fri, 02/18/2022 - 08:20

Are there any dimensions for the glider part? I have first year agriculture students building this, but we are unsure of the cut list for this. I am sure I can figure it out as the teacher, but with 20 students in the class, it would be better to be able to give them instructions to follow on paper. Thank you!!!