Rustic x hall tree
My first wood working project. Made it a little taller and added a shelf.
My husband built this for my birthday. He adjusted the seat height so the storage bins would fit underneath. We also added the corbels under the shelf on top. I can't stop staring at it! Just love it! We had no place for coats etc by the front door of our apartment before!
Anther creation of my own but this would easily be created from Ana's plans for this wall shelf. There isn’t much cupboard storage in our kitchen so when friends gave us a sideboard they didn’t have use for & it fit perfectly in one of our kitchen’s oddly spaced corners we were thrilled. It became our “Toasting Station” where the toaster & Panini grill are. I decided that we needed matching shelving to house our “Carbs” since it was much easier to make toast & sandwiches when the bread was right above the toasting implements.
First project from own design and wanted to share as pretty pleased with how it turned out. Sides are 4 by 2s with a routed 45 degree grove on each edge to give some detail. Wanted to make the drawers stand out so I added the edging detail.
After moving from Hawaii to Maryland, I was finally able to make good on my promise to make a new bed for Suzie. I made very few minor modifications to the plans as posted.
A great way to display books in the kids playroom. So easy to make.
I'm a 65 year-old woman and proud to say I built this all by myself with leftover lumber from our deck project. I'm almost finished with a second sofa and plan on building the section piece and a dining table and benches.
Keren Weaver
This was my first project using an Ana White plan. I thought the plans were easy to understand and follow which made the project go smooth. I am a fan of painted and distressed furniture so I went with that look for this project. After painting the tables I used a hand sander to scuff up the corners and then added "worm holes" using a hammer and nail.
I used the plans from your site to build this table for a friend. I made a couple of little design changes just to make it look different. The plans were very easy to follow, and I had a lot of fun putting this together. I did have a small problem with the pine stock wanting to bow and twist, but that was taken care of with the planer and sander.
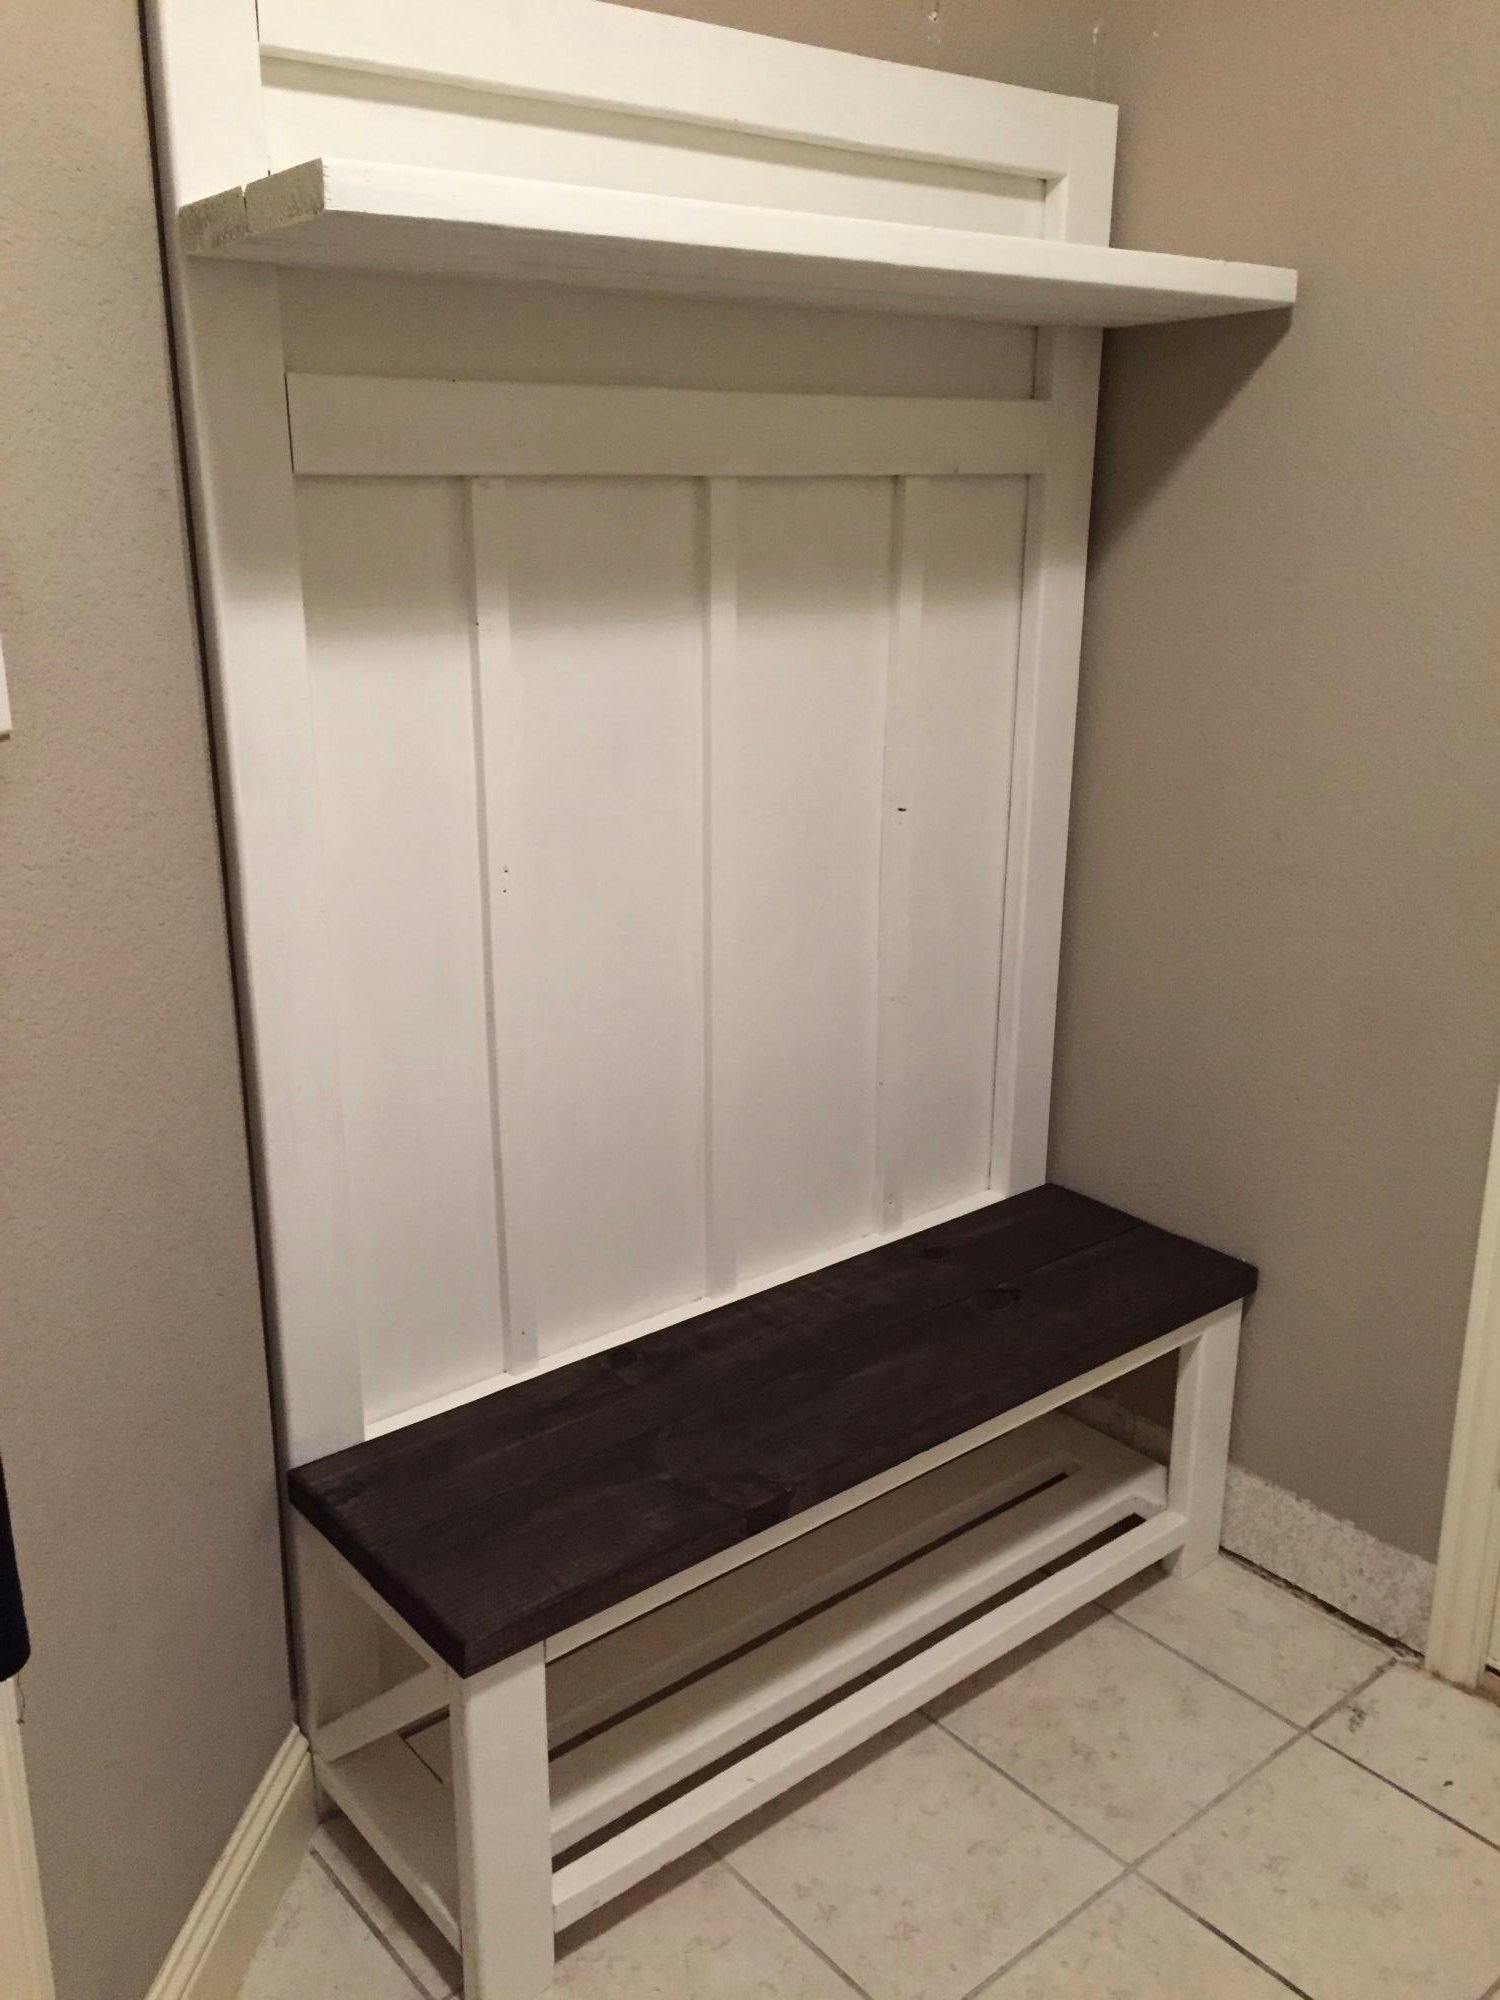
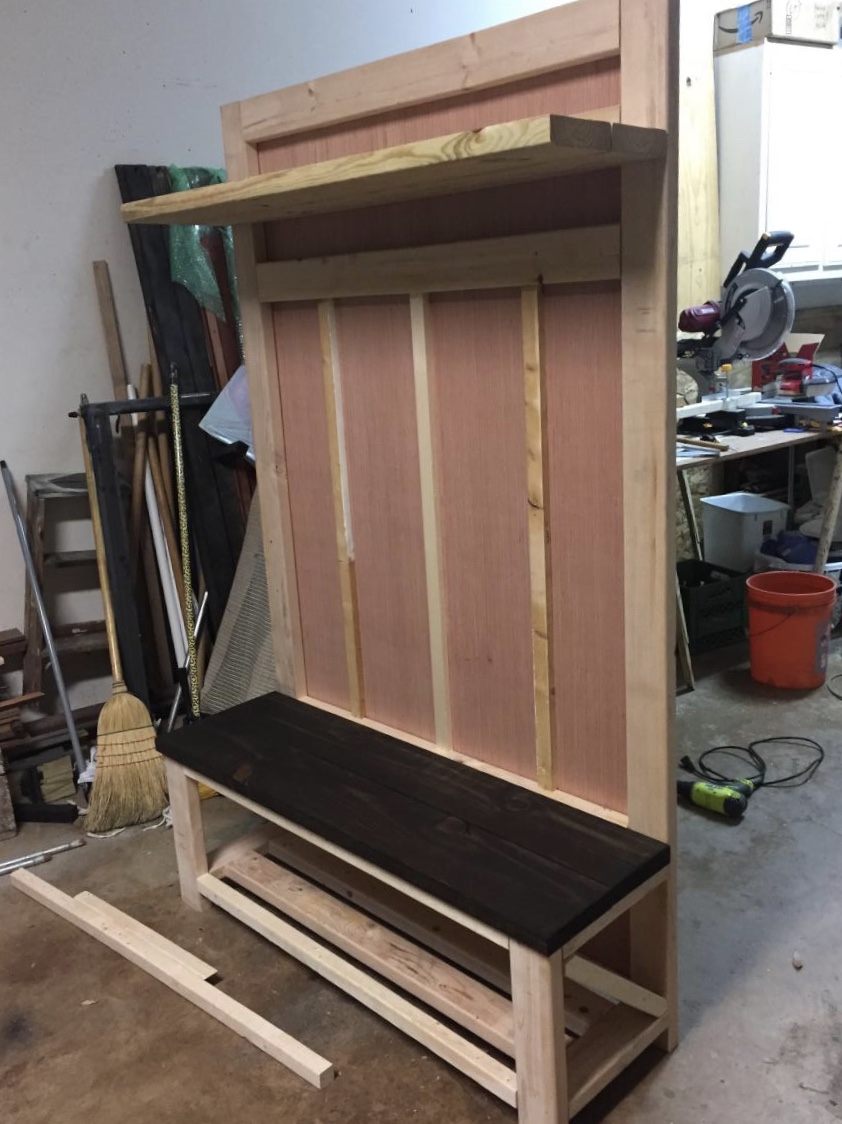
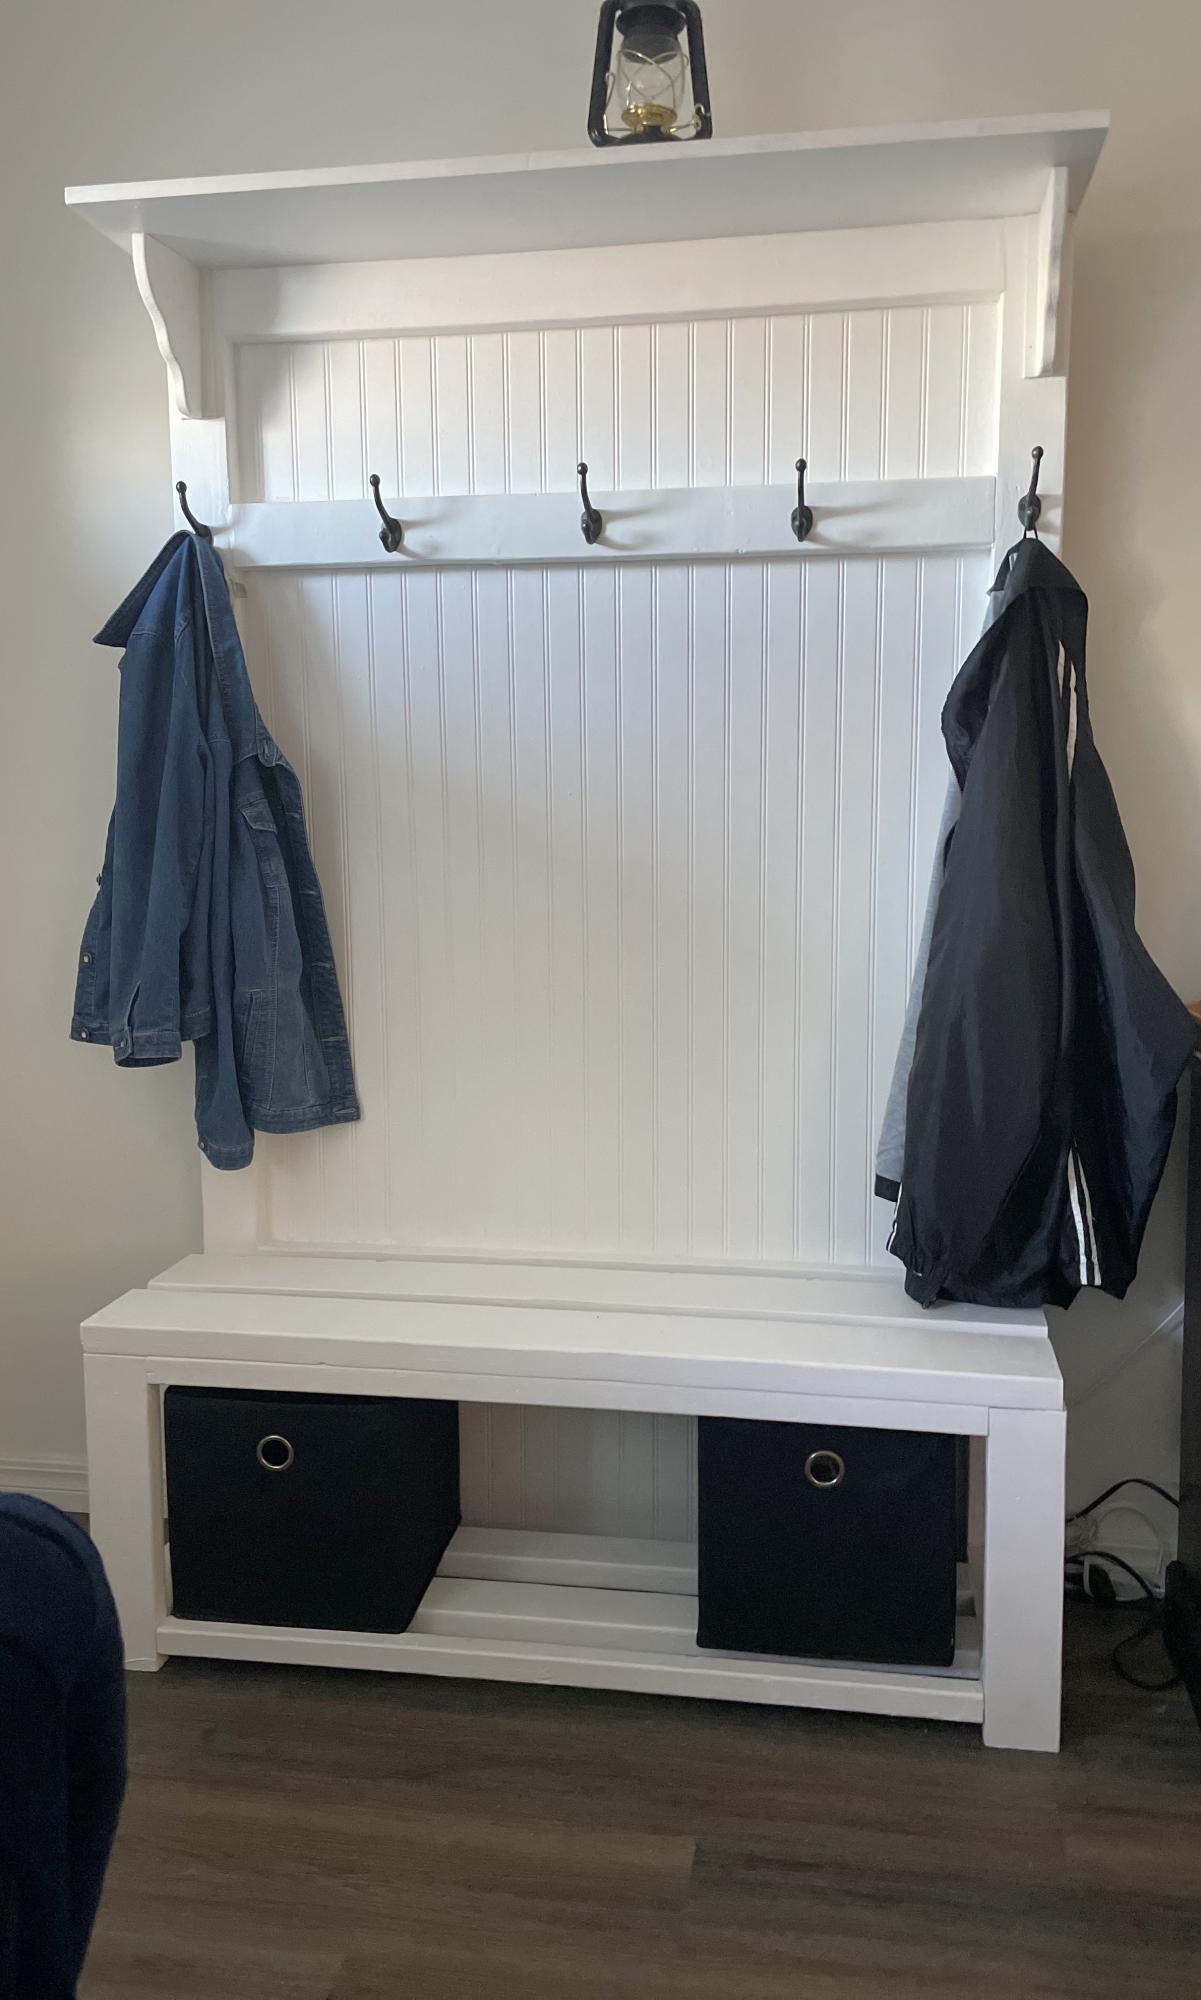
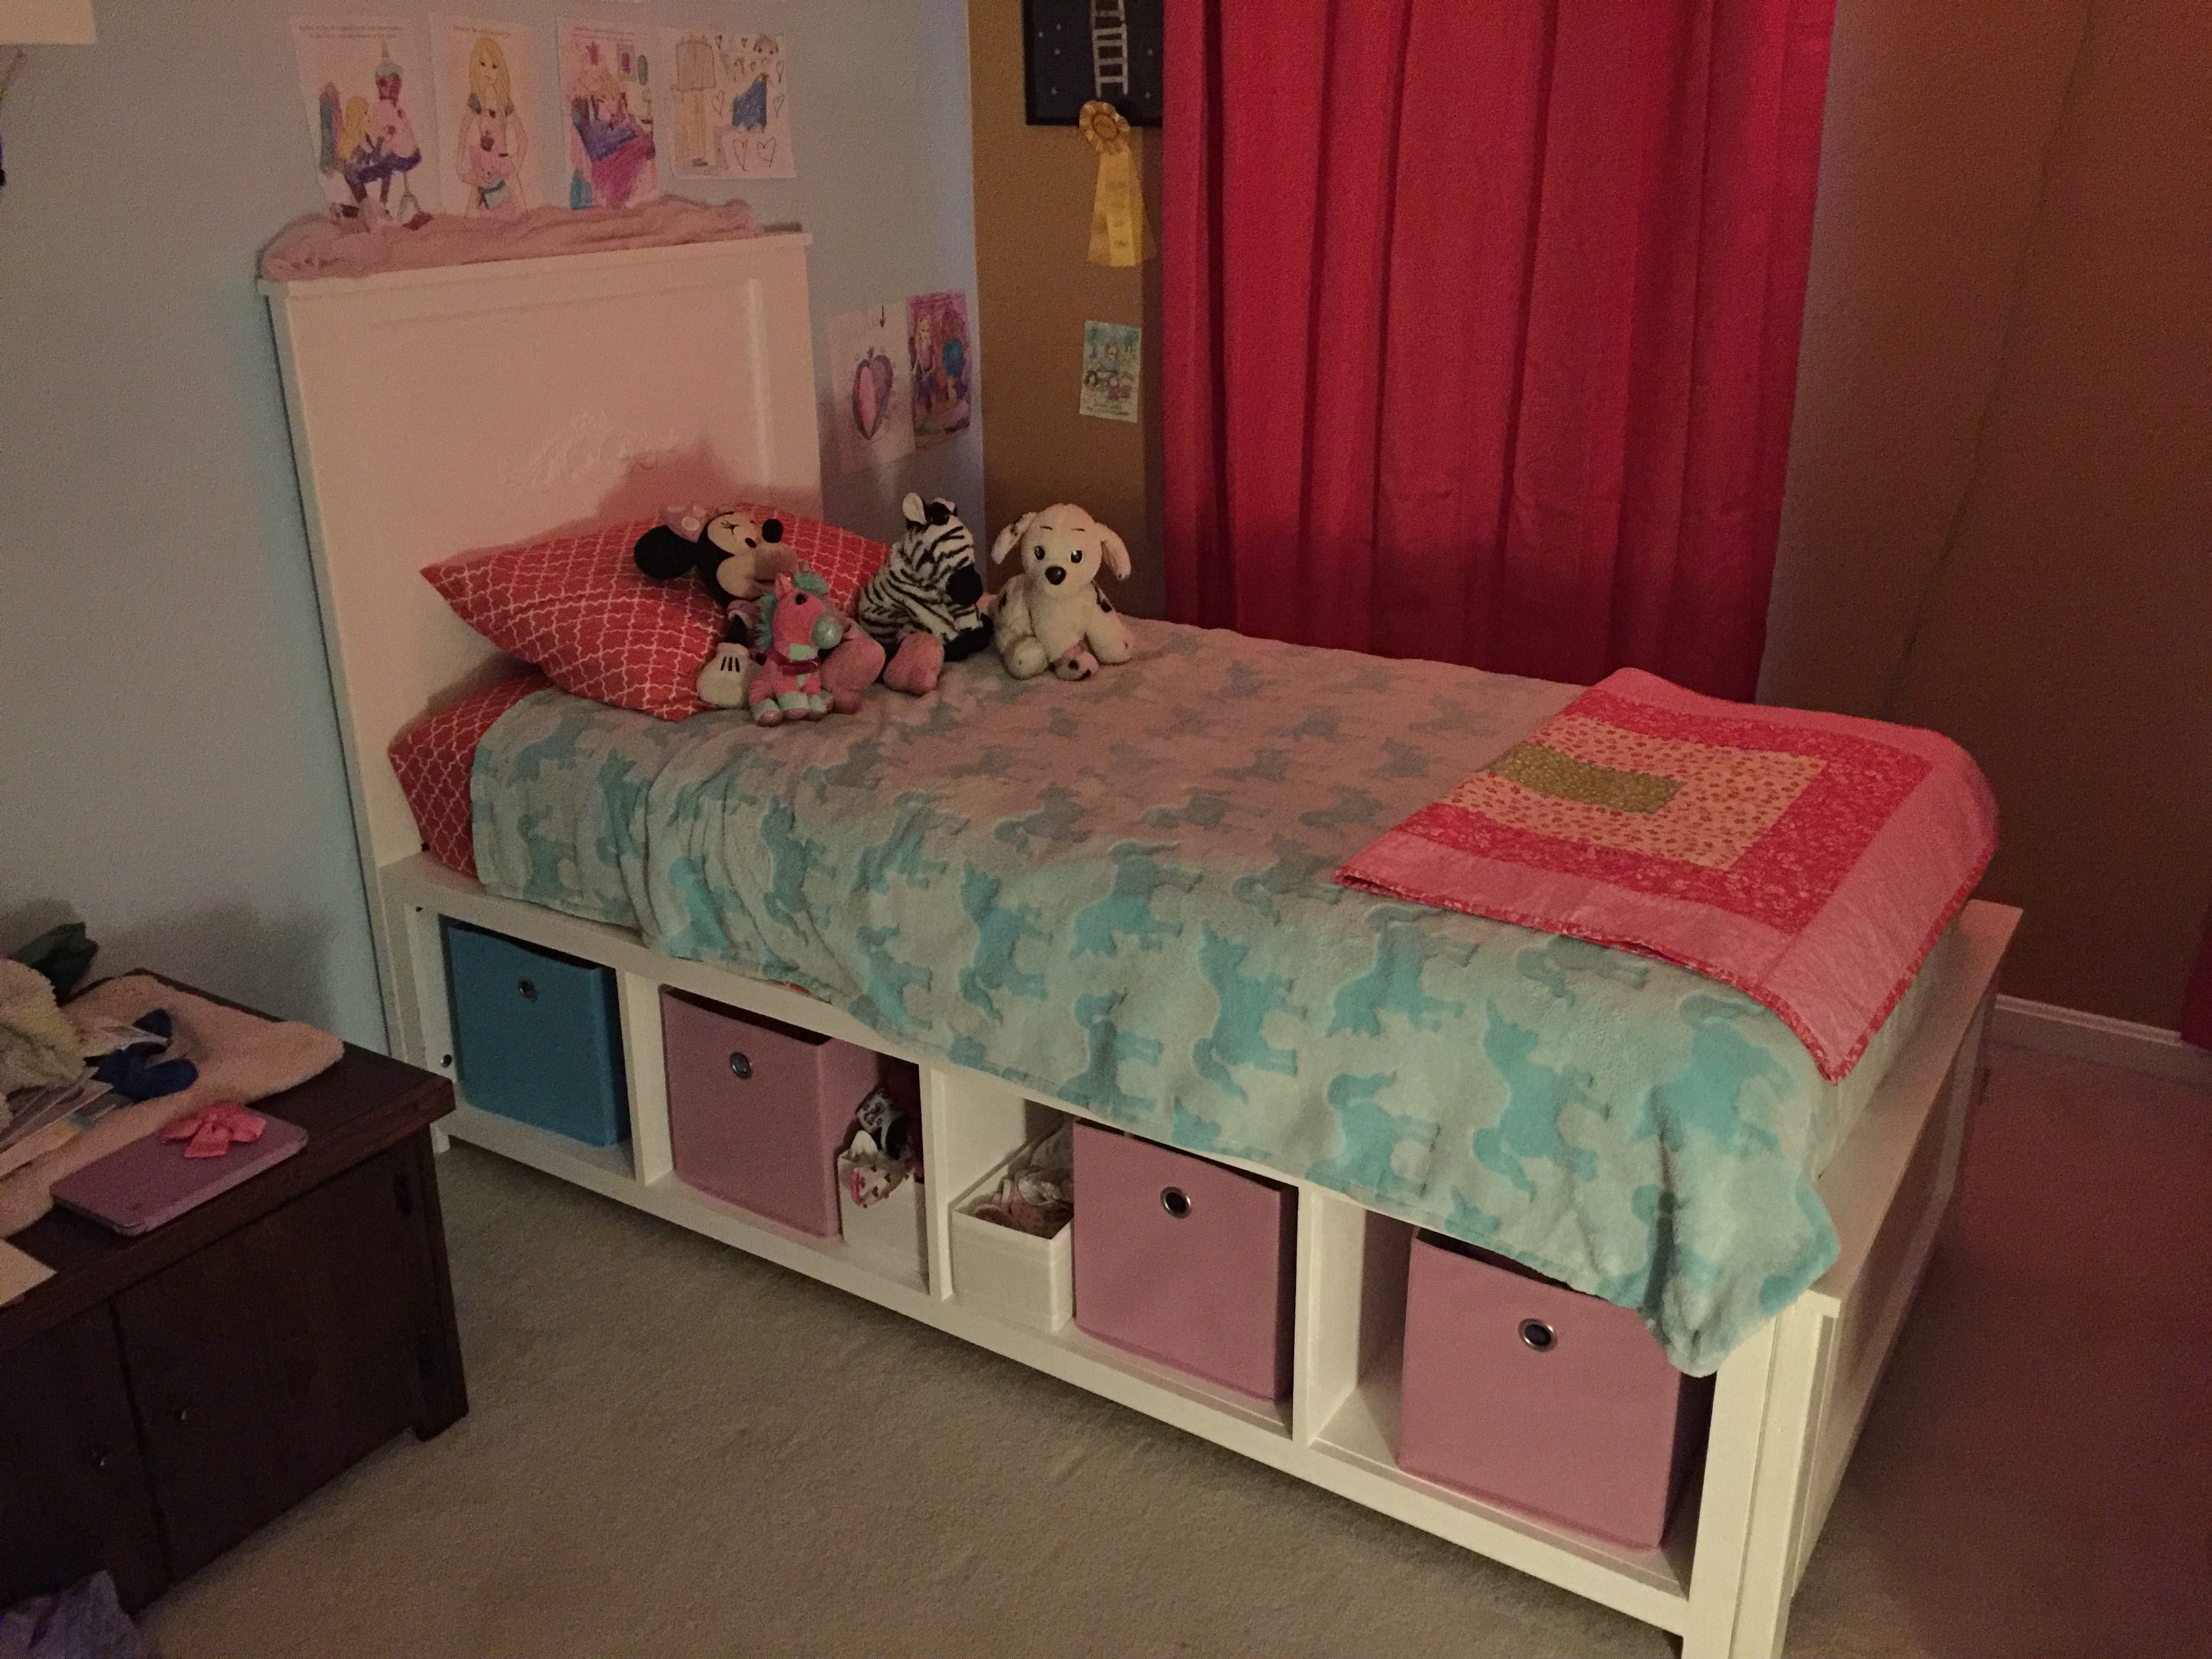
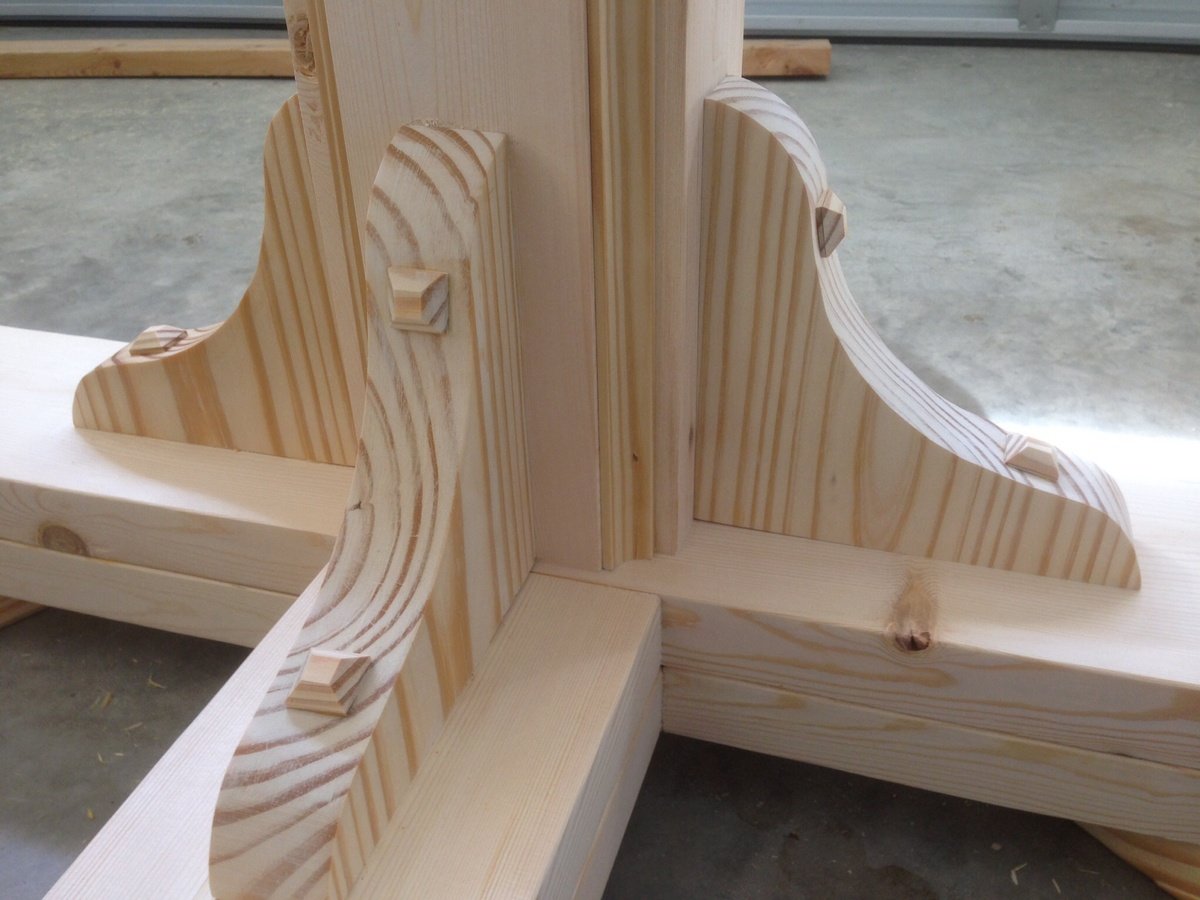
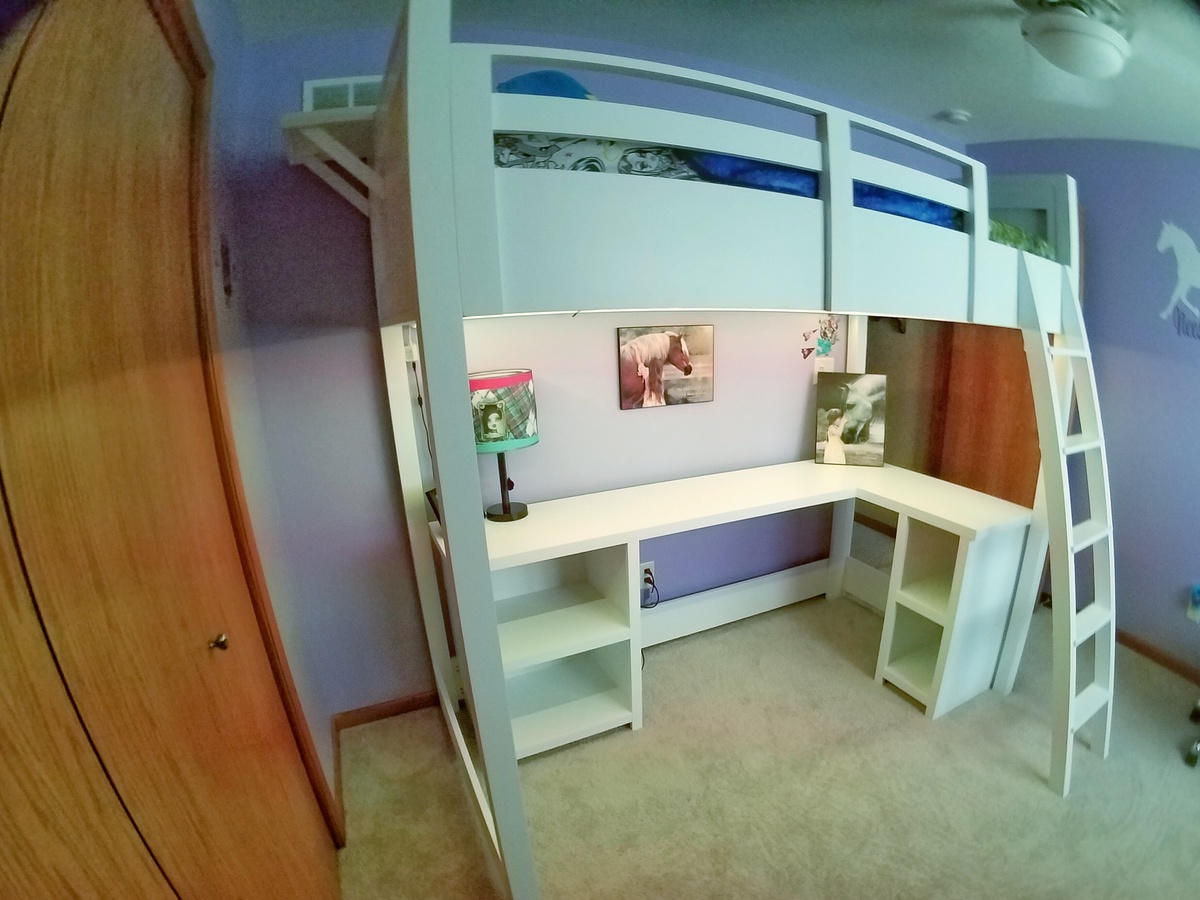
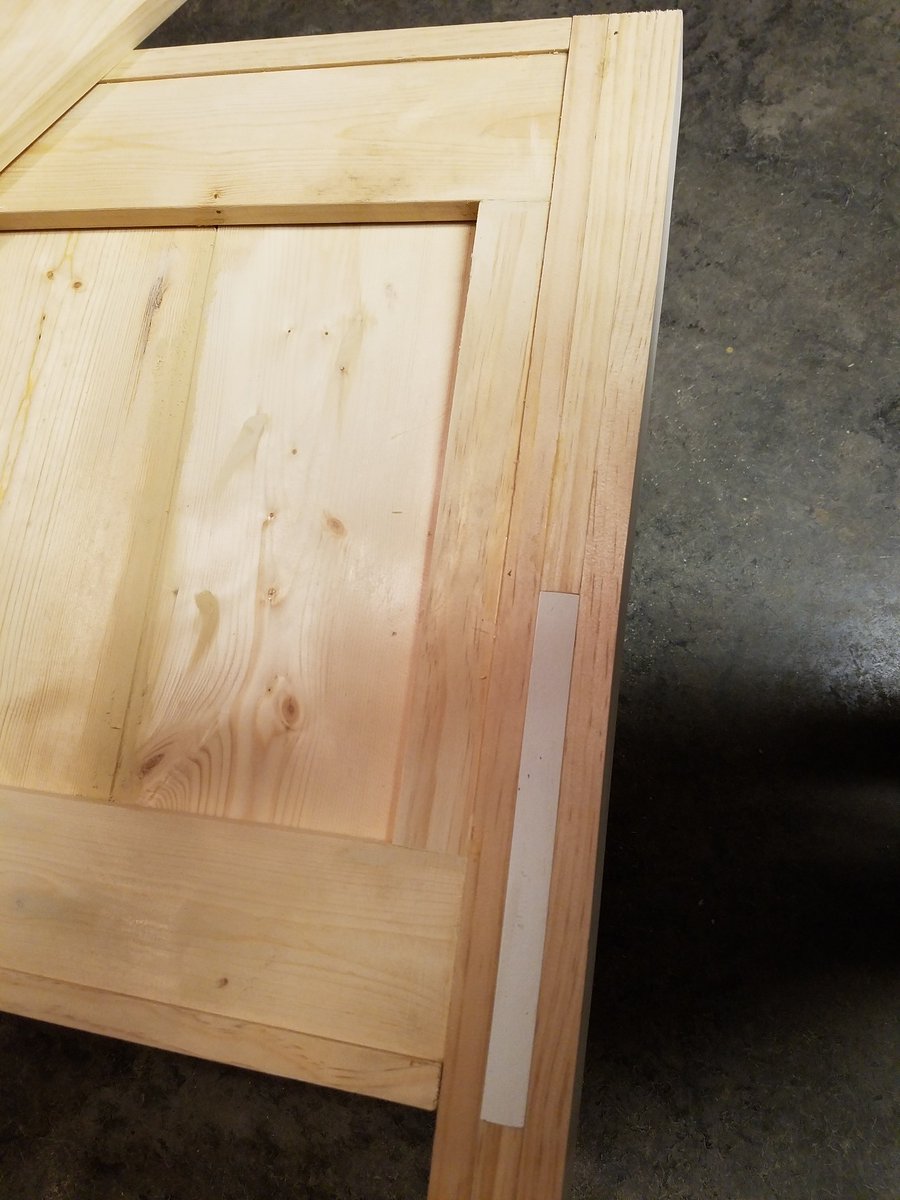
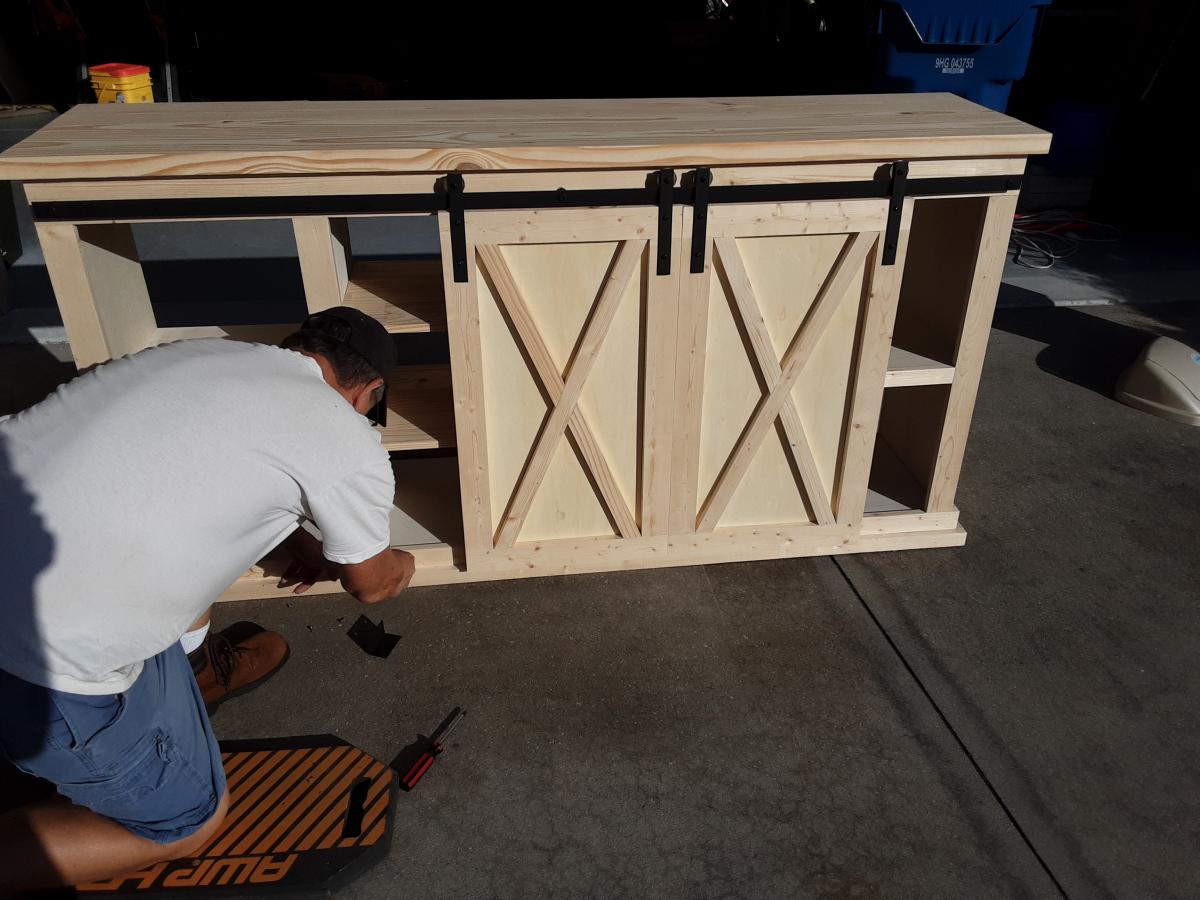
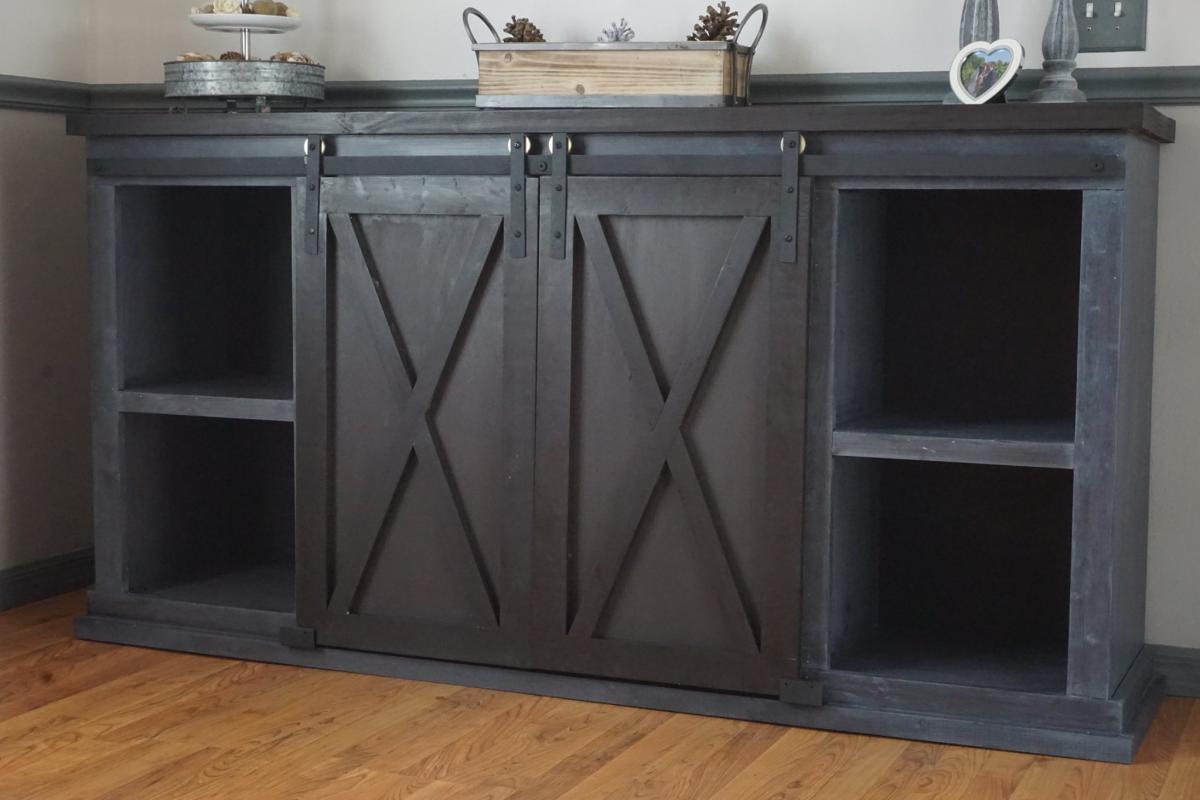
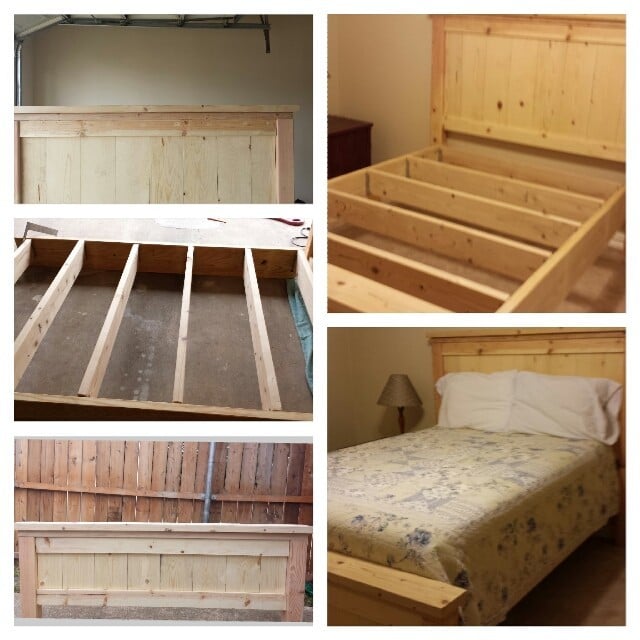
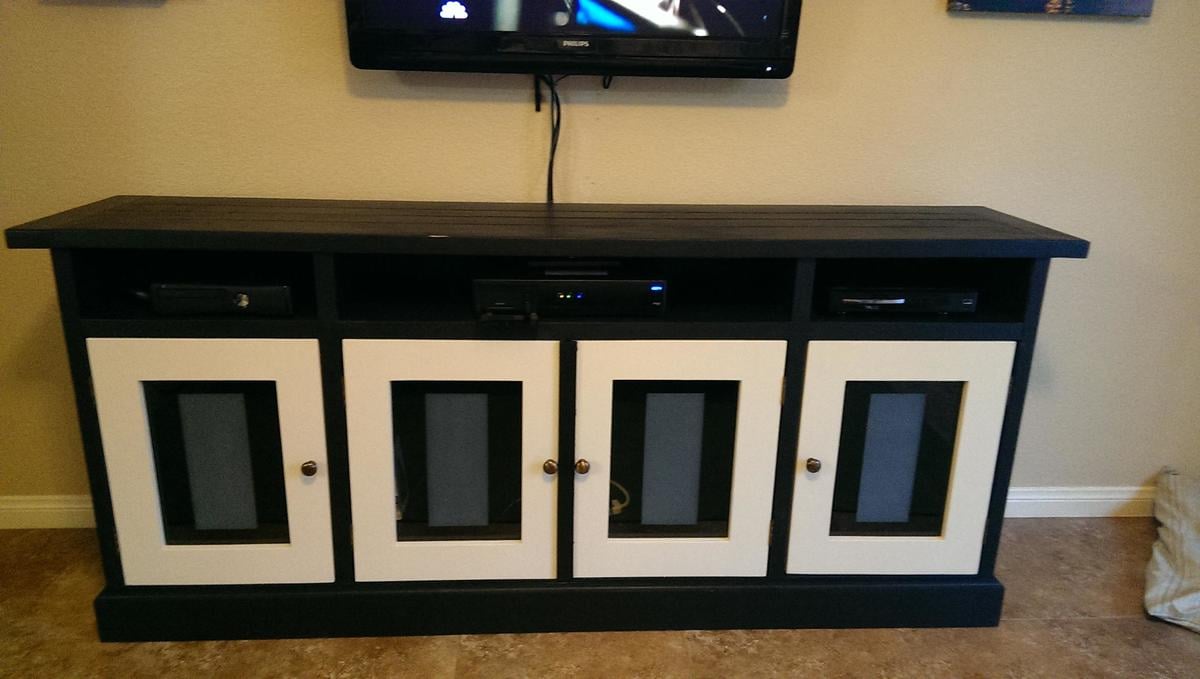
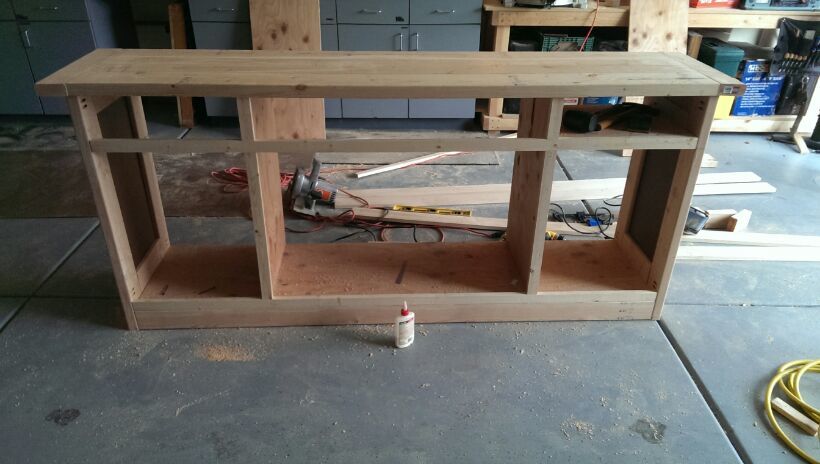
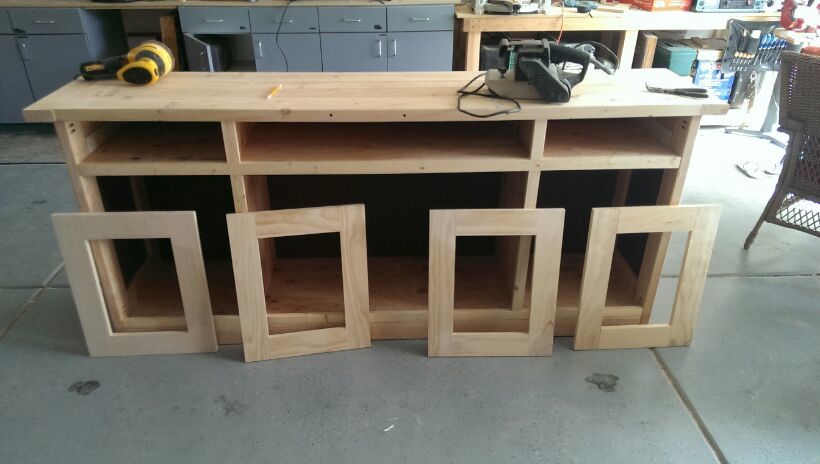
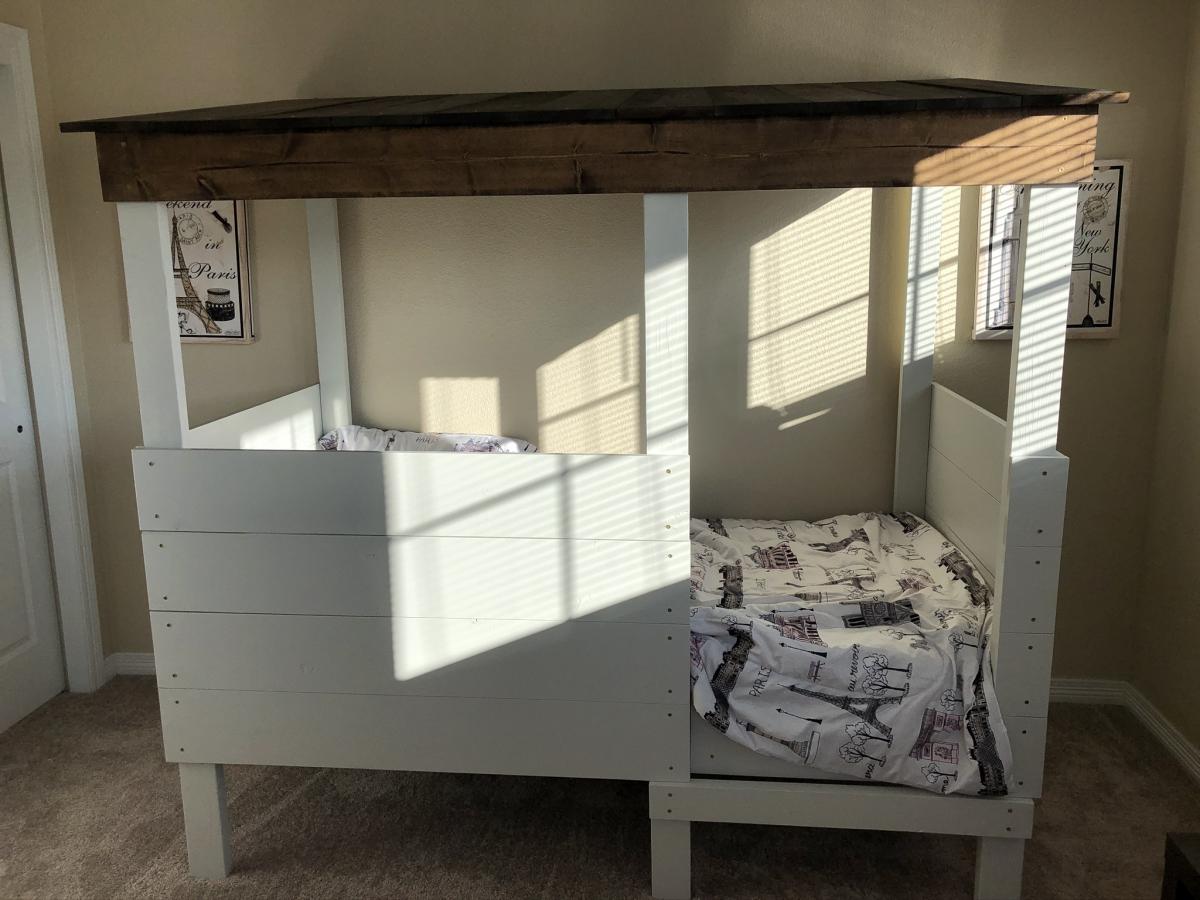
The bed is a mixutre of the loft bed plan and the farmhouse loft bed plan with some modifications of my own thrown in. I liked the headboard look of the farmhouse loft bed and incorporated it into the plan. I also made the side rails out of 1x10's to make it more beefy looking and I think it works better. The supports for the mattress are made out of 3/4" bookshelves, cut down to fit as it added more support than 1/2's. The desk is based off the loft bed desk plan, but I made the top piece out of 3/4" MDF. I think it makes a nicer look. I added 1x2's to the face of the bookcases and desk top to finish it off and make everything look more finished.
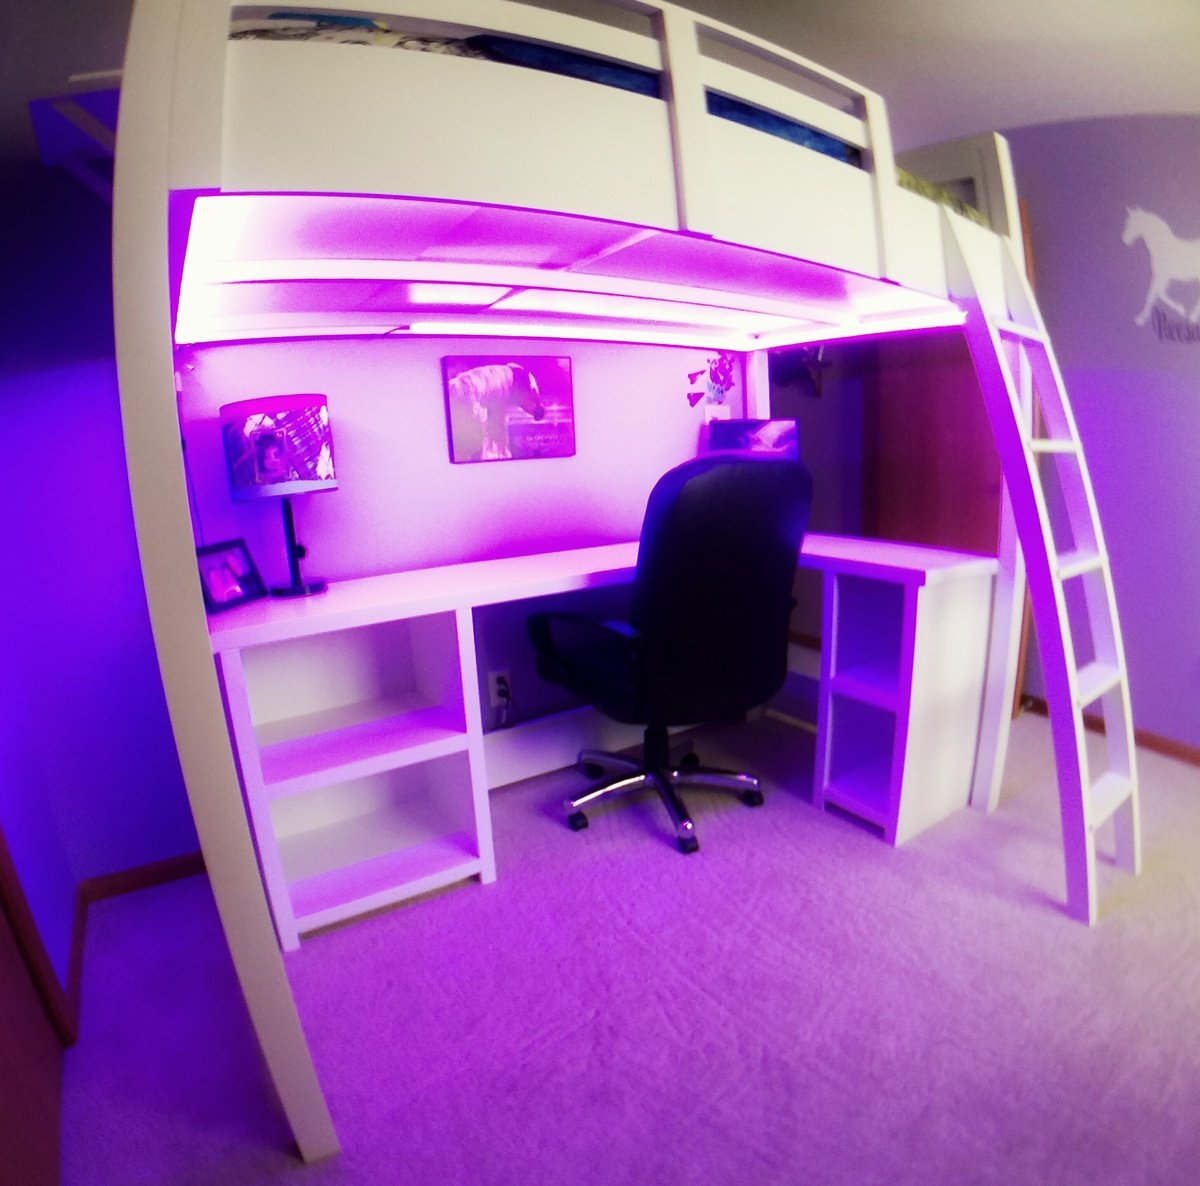
I also added a programmable, remote controlled, RBG LED lighting system under the bed. My daughter can go from dance party to mood lighting depending on the situation. This bed will deliver.
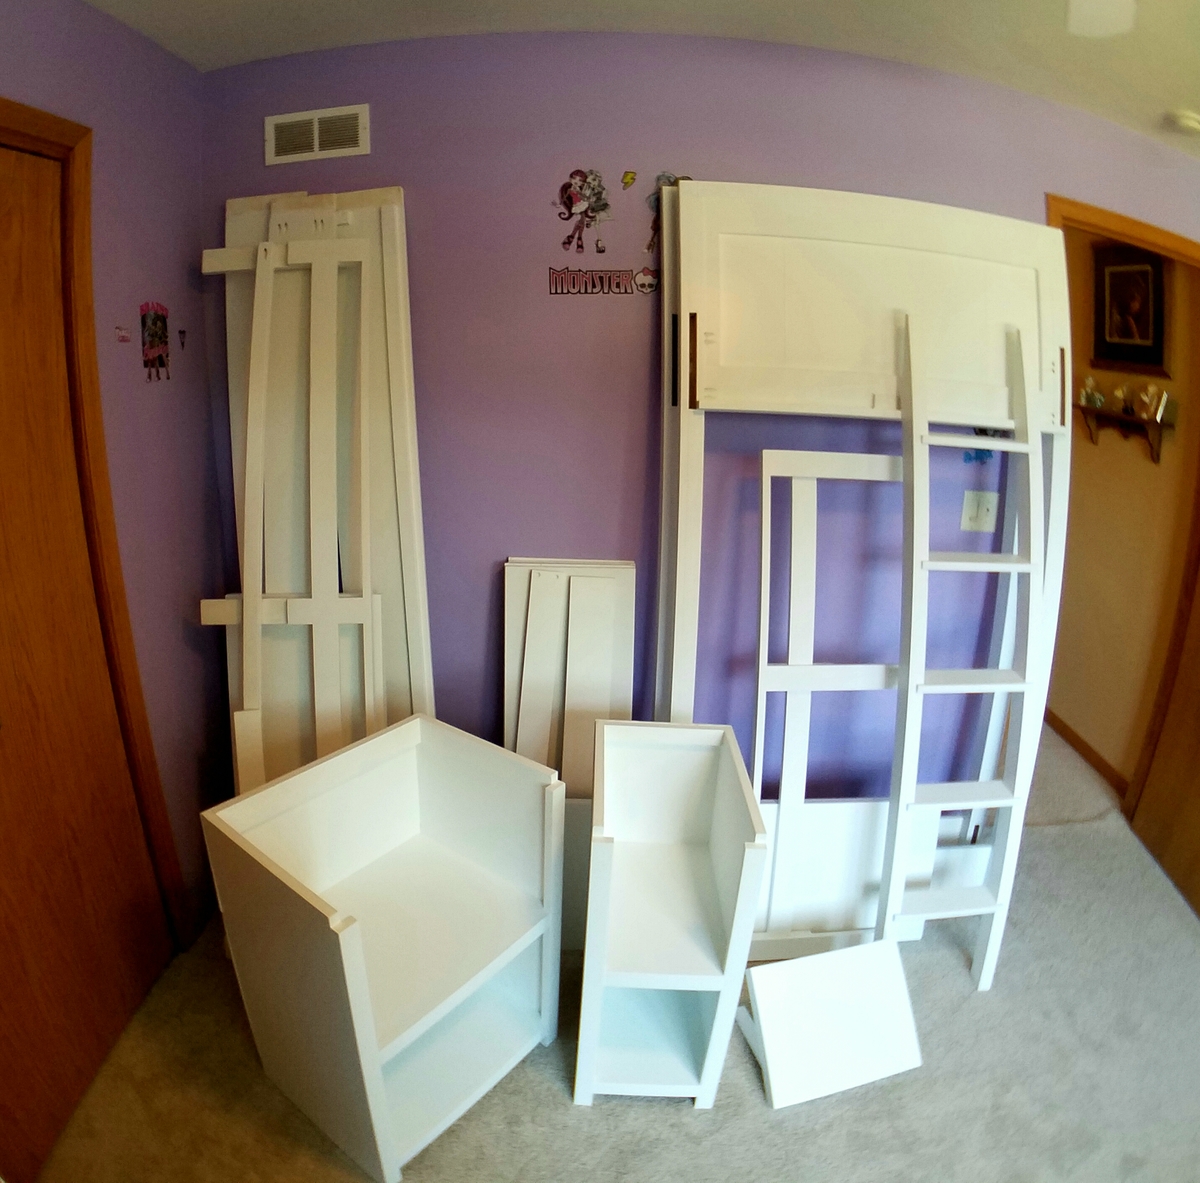
I also modeled everything in 3D CAD using Solid Edge. This was a very helpful tool to get all the measurements correct as well as incorporating 3 different deisigns blended with my own.
Followed the overall plan to build the console for my daughter's birthday. Made several modifications including using (3) 2 X 6 inch pine boards attached using Kreg pocket hole screws for a seamless and sturdy top; substituted barn door hardware rollers with Barton Kramer 1-1/2 in. Patio Door Wheels providing a smooth glide and budget friendly alternative; added more partitions to accommodate extra shelving; and utilized u shaped brackets lined with felt to keep barn doors in line.
Used Kreg pocket holes to assemble the unit which gave us the ability to easily transport this rather heavy and
6-foot large console. My daughter was extremely pleased and actually many of her friends wanted to know where she bought the unit. This was truly a rewarding experience and confidence builder for me and my wife.
This was a pretty quick and easy project. My third one from this site, as well as being my third one ever. We rented a mitre saw to cut the wood (and cut wood for a few more projects we had on the go at the same time), and then it was just a matter of staining it and putting it together. The staining and waiting for it to dry actually took a couple of weeks, mostly because we don't have a lot of room to do that, so couldn't do it all at once, and it wouldn't stop raining. Once we actually had that done, drilling and assembling only took 2-3 hours at most. (Maybe even less, but hard to judge as I had two children helping the whole time.)
I've put a video of it in use on my blog as well. :)
Day one...Two of us making cuts and starting headboard and footboard.
Day two...Working solo, had to get creative in order to add posts and 24 and 26 to top of headboard. Sanding and staining complete.
Day three...Two of us again. Built frame and added slats using decking brackets rather than screws for ease in disassembly. Attached headboard and rails with bolts.
Only issue not specified in plans was how to attach frame to footboard. But we made it work.
Thanks, Ana!!
Our rabbit lives in a 2'x6' Xpen cage set up in my tiny sewing room. As cute and fluffy as he is, I couldn't help but see his space as intruding on some valuable sewing real estate. I had to do all my fabric cutting on the kitchen table and lug everything back upstairs to the sewing room when it was time to eat. Laying out patterns had to occur on the floor. I thought it would be quite nice to have a table in the rabbit's corner ... :) I've used 2 of Ana's plans for bookshelves years ago and so I KNEW I could come up with a simple table plan and execute it. It took me about 10 minutes to formulate my plan and about 4 days to build it. :) The top is removable so we can easily move the table ... otherwise it would be a real back-breaker!
Note: The estimated cost is $100, but that's because I had supplies other than wood to buy. Screws, glue, stain, etc. I'd say it was $60 in lumber.
Thanks Anna, great design great plan. My first attempt at a chair. Was a lot of fun , just have to build 5 more, my wife loves it.
Bob
Duluth MN
Tue, 04/28/2020 - 09:21
Thank you so much for building and sharing a brag post! Looks great! Can't wait to see the other 5!
My sister wanted this to go with the Simple Outdoor Chairs I had built her for her birthday. I added a 2x4 between each leg to make it more stable and shortened it by one slat to fit the cushion. This was very easy to build and would make a great beginner project.
I found this plan while looking for a entertainment center, I had never built such a large piece of furniture. After reading thru plans I decided to build my first. Plans were simple, yet effective. I did make some modifications on the fly. I didn't want to go with the panel look so I replaced side panels with 1/4 plywood routered into outer legs (cleaner look than nailing to inside). Also went with glass doors(partially frosted to hid junk stored inside). I deleted the drawers and placed shelfs instead for tv components.
My advice to anyone making this is to be really careful when building main frame of cabinet and check square-ness several times and when applying wood strips around door jams careful measuring openings for consistency top to bottom and side to side. This will make hanging doors much easier. I learned the hard way, had to make some adjustments when hanging door. Also have hinges you plan on using on hand so as to measure thinkness of desired hinge to check clearance of door.
I built this for our two year old, who absolutely loves it. We really like the rustic look, and it's a very sturdy bed. This is a weekend project if you don't have young children. If you do, and you have limited free time like we do, it's more like a month-long here-and-there project ;) Try to get the flattest boards possible, so you don't have to spend a lot of time jointing and planing to correct any twists or warping. We chose to mount the step a little higher than Ana's plan, but aside from that everything is to her plan's spec. Thanks for the great plan, Ana!
Well, it's not a barnyard play set, but there are farm animals in it. This is my wife's nativity set that her late sister made. Never had a barn till yesterday. All scraps from my shop. Keep the plans coming!
mccabechristopher
I have been redoing furniture for quite some time, but had never actually thought of making my own furniture, until I ran across Ana's blog. Now I am so addicted! My husband is very handy with his tools and can follow plans fairly easily (unlike me) so I definitely had to enlist his help with this project. We are stationed overseas in Germany so our project costs us a bit more than it would have if we were stateside, but still quite a bit cheaper than purchasing the similar one at Pottery Barn.Since it was our first project it did take us a bit longer than normal, but still easy enough to do. I absolutely love how this turned out and now my husband and I are ready for our next project of a rustic console table that we made our own plans for.
I have boys that share a room and we needed some sturdy twin beds. My wife looked online and found some on potterybarn.com or crateandbarrel.com for $425 each and that's before shipping. I told her I could make them for half that. The plans were pretty straight forward. The finishing (sanding, sanding and more sanding - then painting) was the hardest and longest part. I would recommend an electric palm or disc sander. It will be your best friend. I used 100 grit and then moved to 120 to sand all of the wood. I did this after I made all of the cuts and before I assembled. Seemed to make it easier. We decided to paint them to go with the colors in the room. The bed is very heavy and sturdy. I made both beds at the same time, which cost me right at $300. Clock hours was about 20-22 from beginning to end and it took me a little longer than a weekend since I was working around weekend soccer games and birthday parties.