Seesaw
I built this for my daughter for Christmas this year. For the seats I used 2" foam wrapped in decorative fabric. Then I covered that with a thick plastic that I found at the local hobby store, to make it waterproof.
Chestwick queen platform bed! My first building project ever! Altered slightly from original plans in that I left the feet off so it sits on the ground. Added a canopy that hangs from the ceiling. The chandelier is an antique from Great Barrington, MA that I found at an antique shop while hiking the Appalachian Trail. Took the wiring out and sprayed it black. Now it's rigged to use with candles for a super-romantic look. :)
I made this table to sit between a sofa and a wall with a window. Used the Rustic X Console plan as my jumping off point. I increased the height to meet the window sill and increased the width to the width of the sofa. I used 2x2s instead of 2x4s for the legs, and 1x6s instead of 2x6s for the top. I dd not include the middle shelf. Since the table is sandwiched between a sofa and a wall only the sides are exposed, so I left off the Xs. Because of this it now serves as a tunnel for the cats and dog.
All in all it basically turned out how I wanted it, though I could have worked on the stain a bit more.
This designed was modified to specifically fit a wine fridge. Same height and depth, but measuring 80" long. Drawers replaced with cubbies. All of the wood is reclaimed from wood we took out of the adjacent living room which used to be a sun room - 125 year old pine, fir, oak beadboard.
I follow Ana's plan to build these chairs, I am new to this, (second project) but the plans were easy to follow and I had the tools to do it, had to adjust the size to meet my space requirements, and play around some, but my wife loved them, so its a good start. Thank you Ana White, I didn't know I could build this, but did it :)
Thu, 09/24/2020 - 13:36
AND it looks fabulous! Thanks for sharing and happy building!
This was a fan and easy project to build. I wanted the sides a little bit more decorative so I added a tree branch effect instead of the x's. I used a paint samples from lowes and did the under coat of paint in a rusty orange color. I put Vaseline on the parts I wanted to look weathered when the paint was dry. Then I found a diy chalk paint recipe online and did the outer coat again with a lowes paint sample in a reddish color that I mixed to make the chalk paint. When it was dry I sanded the parts tht had Vaseline to let the orange come out. Then I took minwax finishing paste wax and polished the whole thing. I reduced the size of the console to half and added 3 inches to fit perfectly under my tv.
From our blog, 1885 Prospect Hill Renovation:
Annie and I have four kids. One of the most amazing things about Annie is that three of them are not biologically hers, but she is an intensely loving and caring parent to them. I brought them with me into our relationship and she never saw them as "baggage", but as more outlets for her seemingly unending displays of love and affection. We bought this house, in part, because it was big enough for our family. One of the best features was this "bonus" room between the dining room and the kitchen.
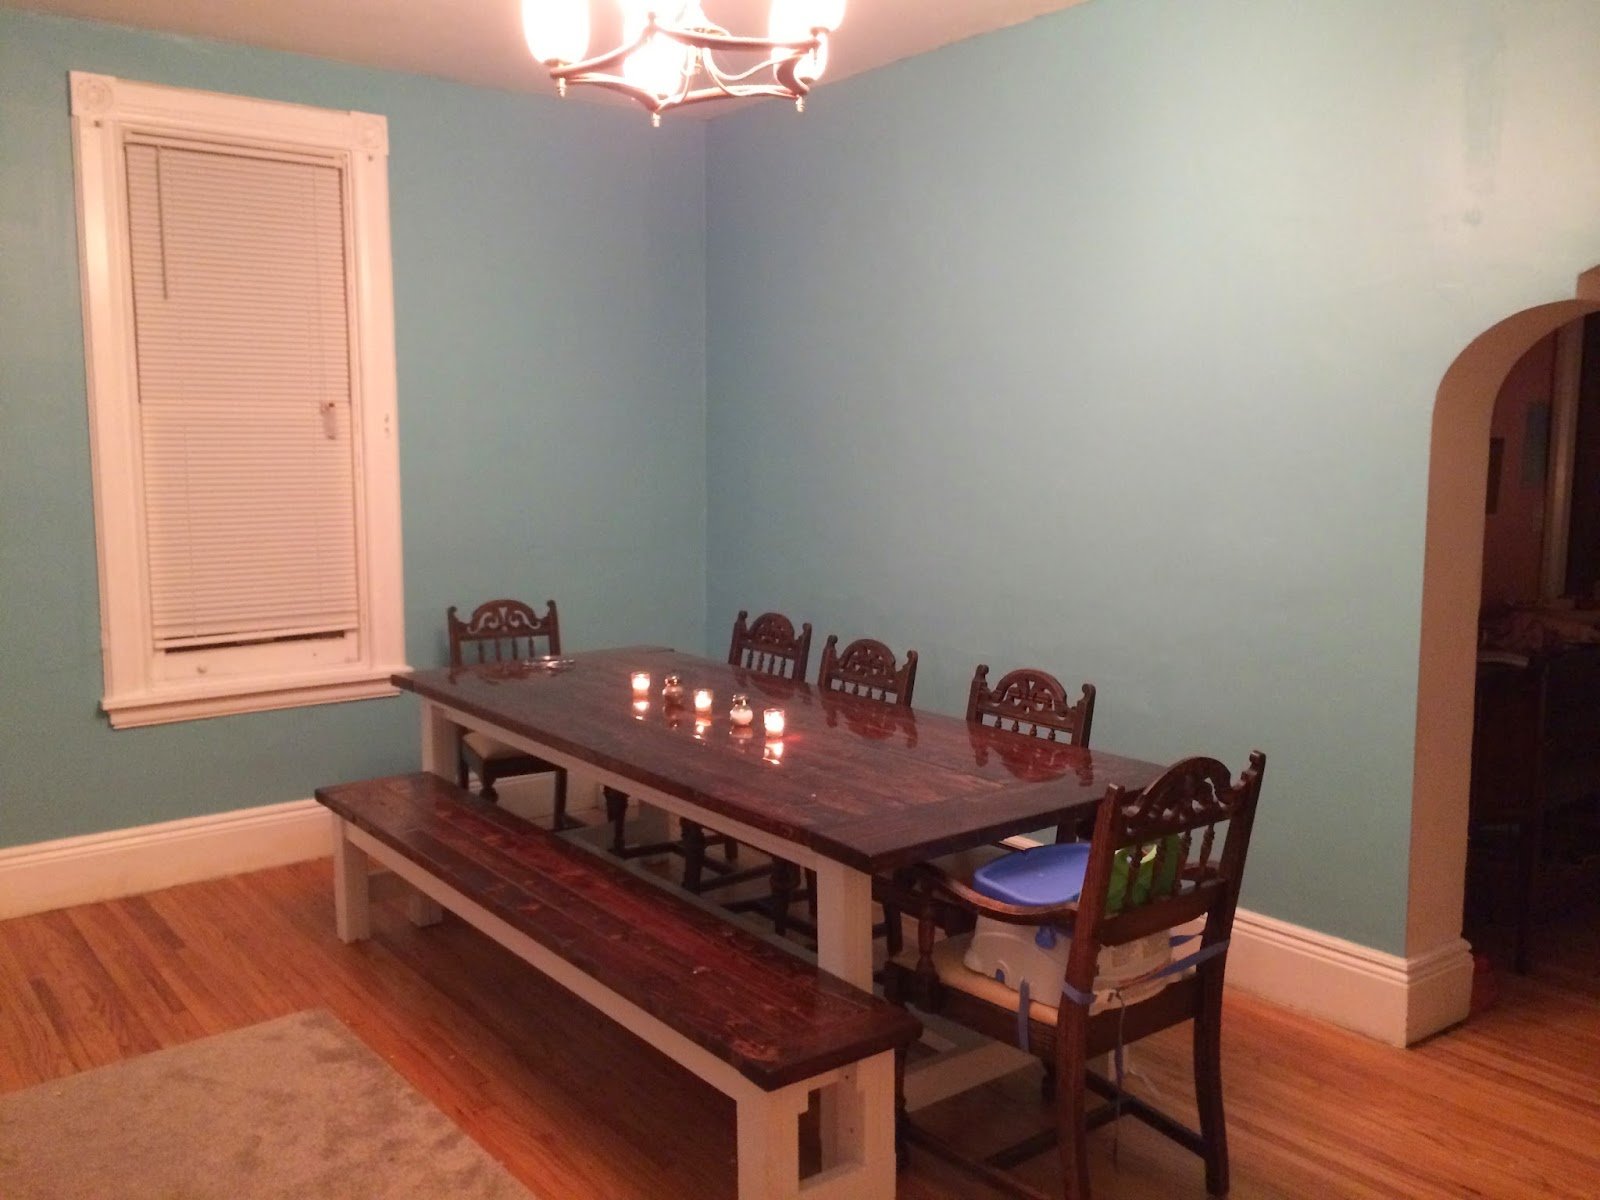
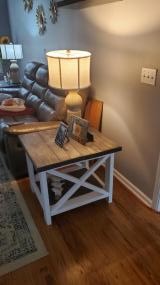
Now most houses of this period have a front entryway, a front parlor, a second parlor, a side room and a kitchen. For some reason, the builders of our home stuck an extra room that we lovingly call our "family room". This is where the kids play. Where they do their homework. Where we have our family game nights. Where we sing happy birthdays. It is the heart of our home and we needed a table worthy of accommodating these things.
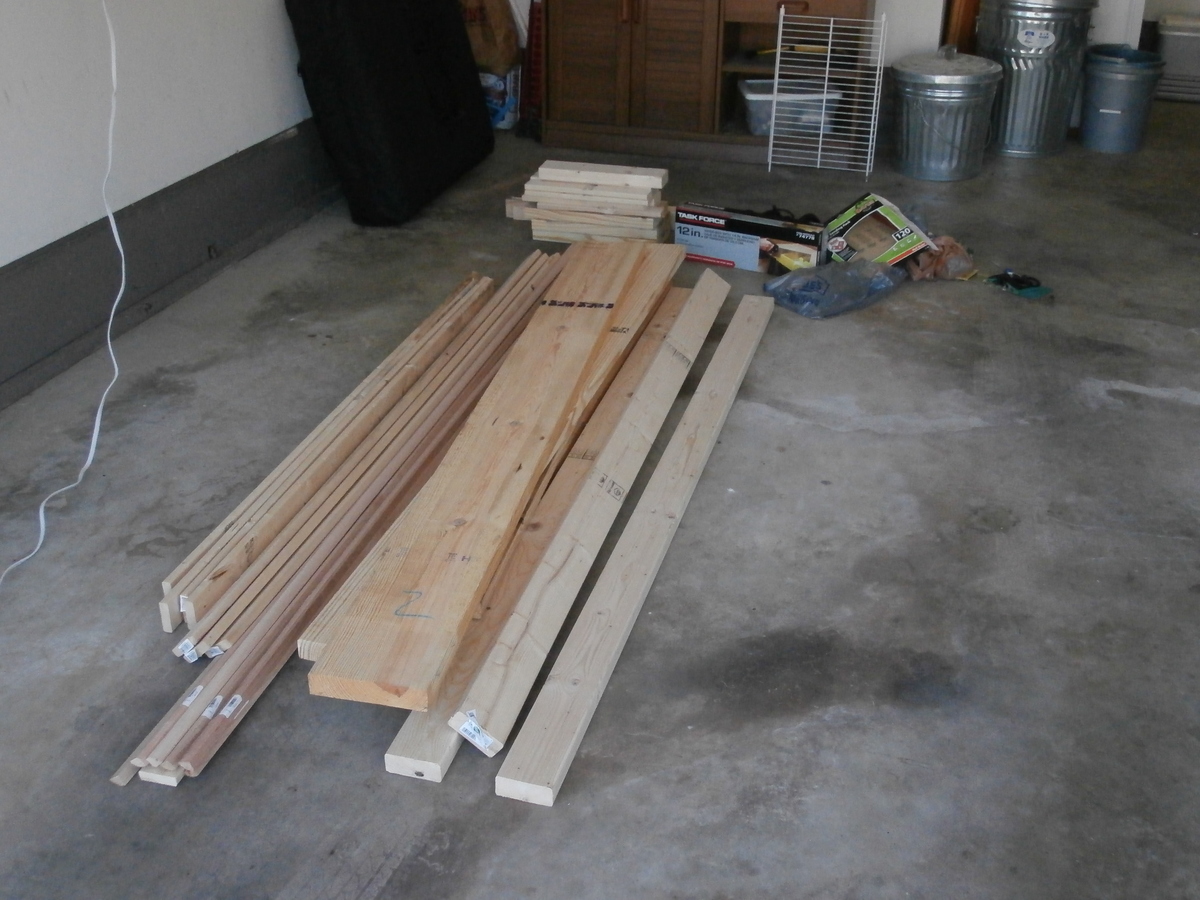
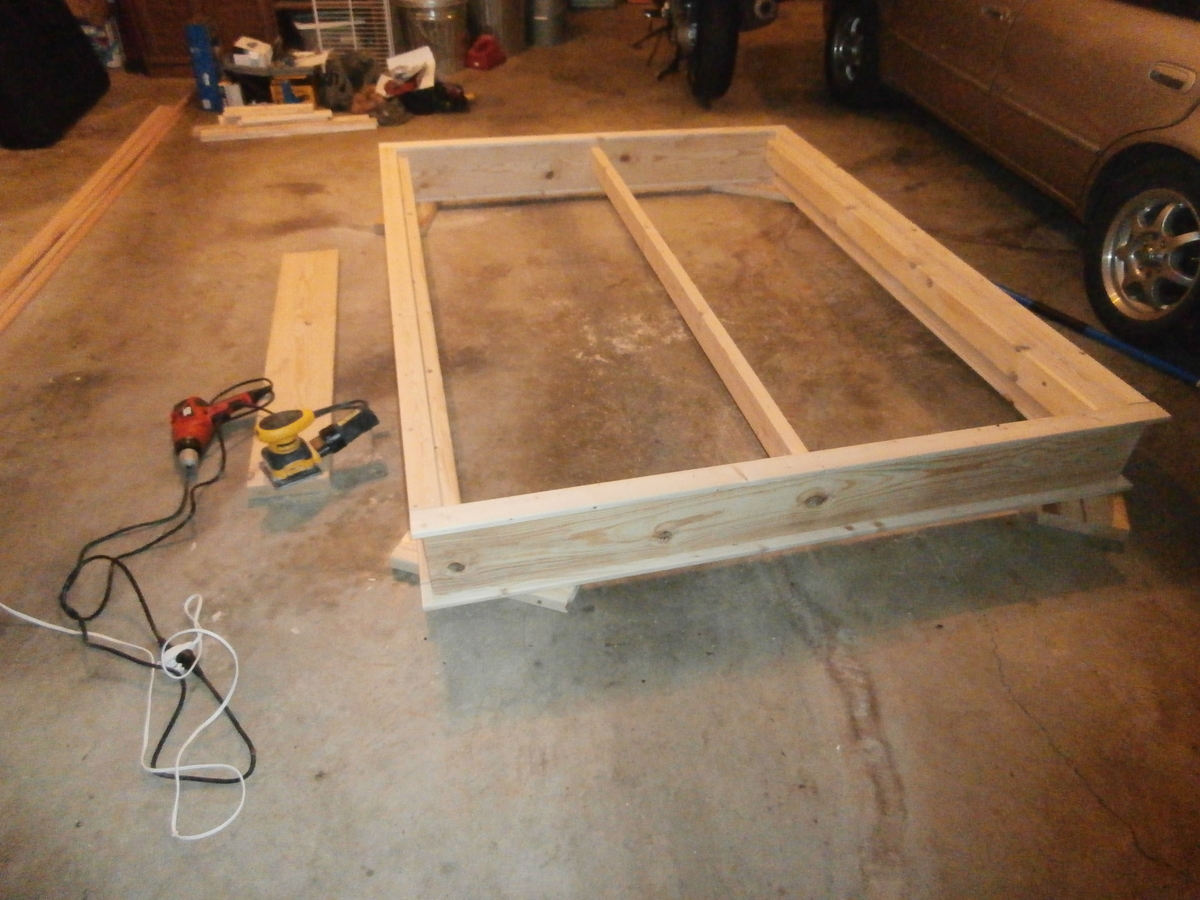
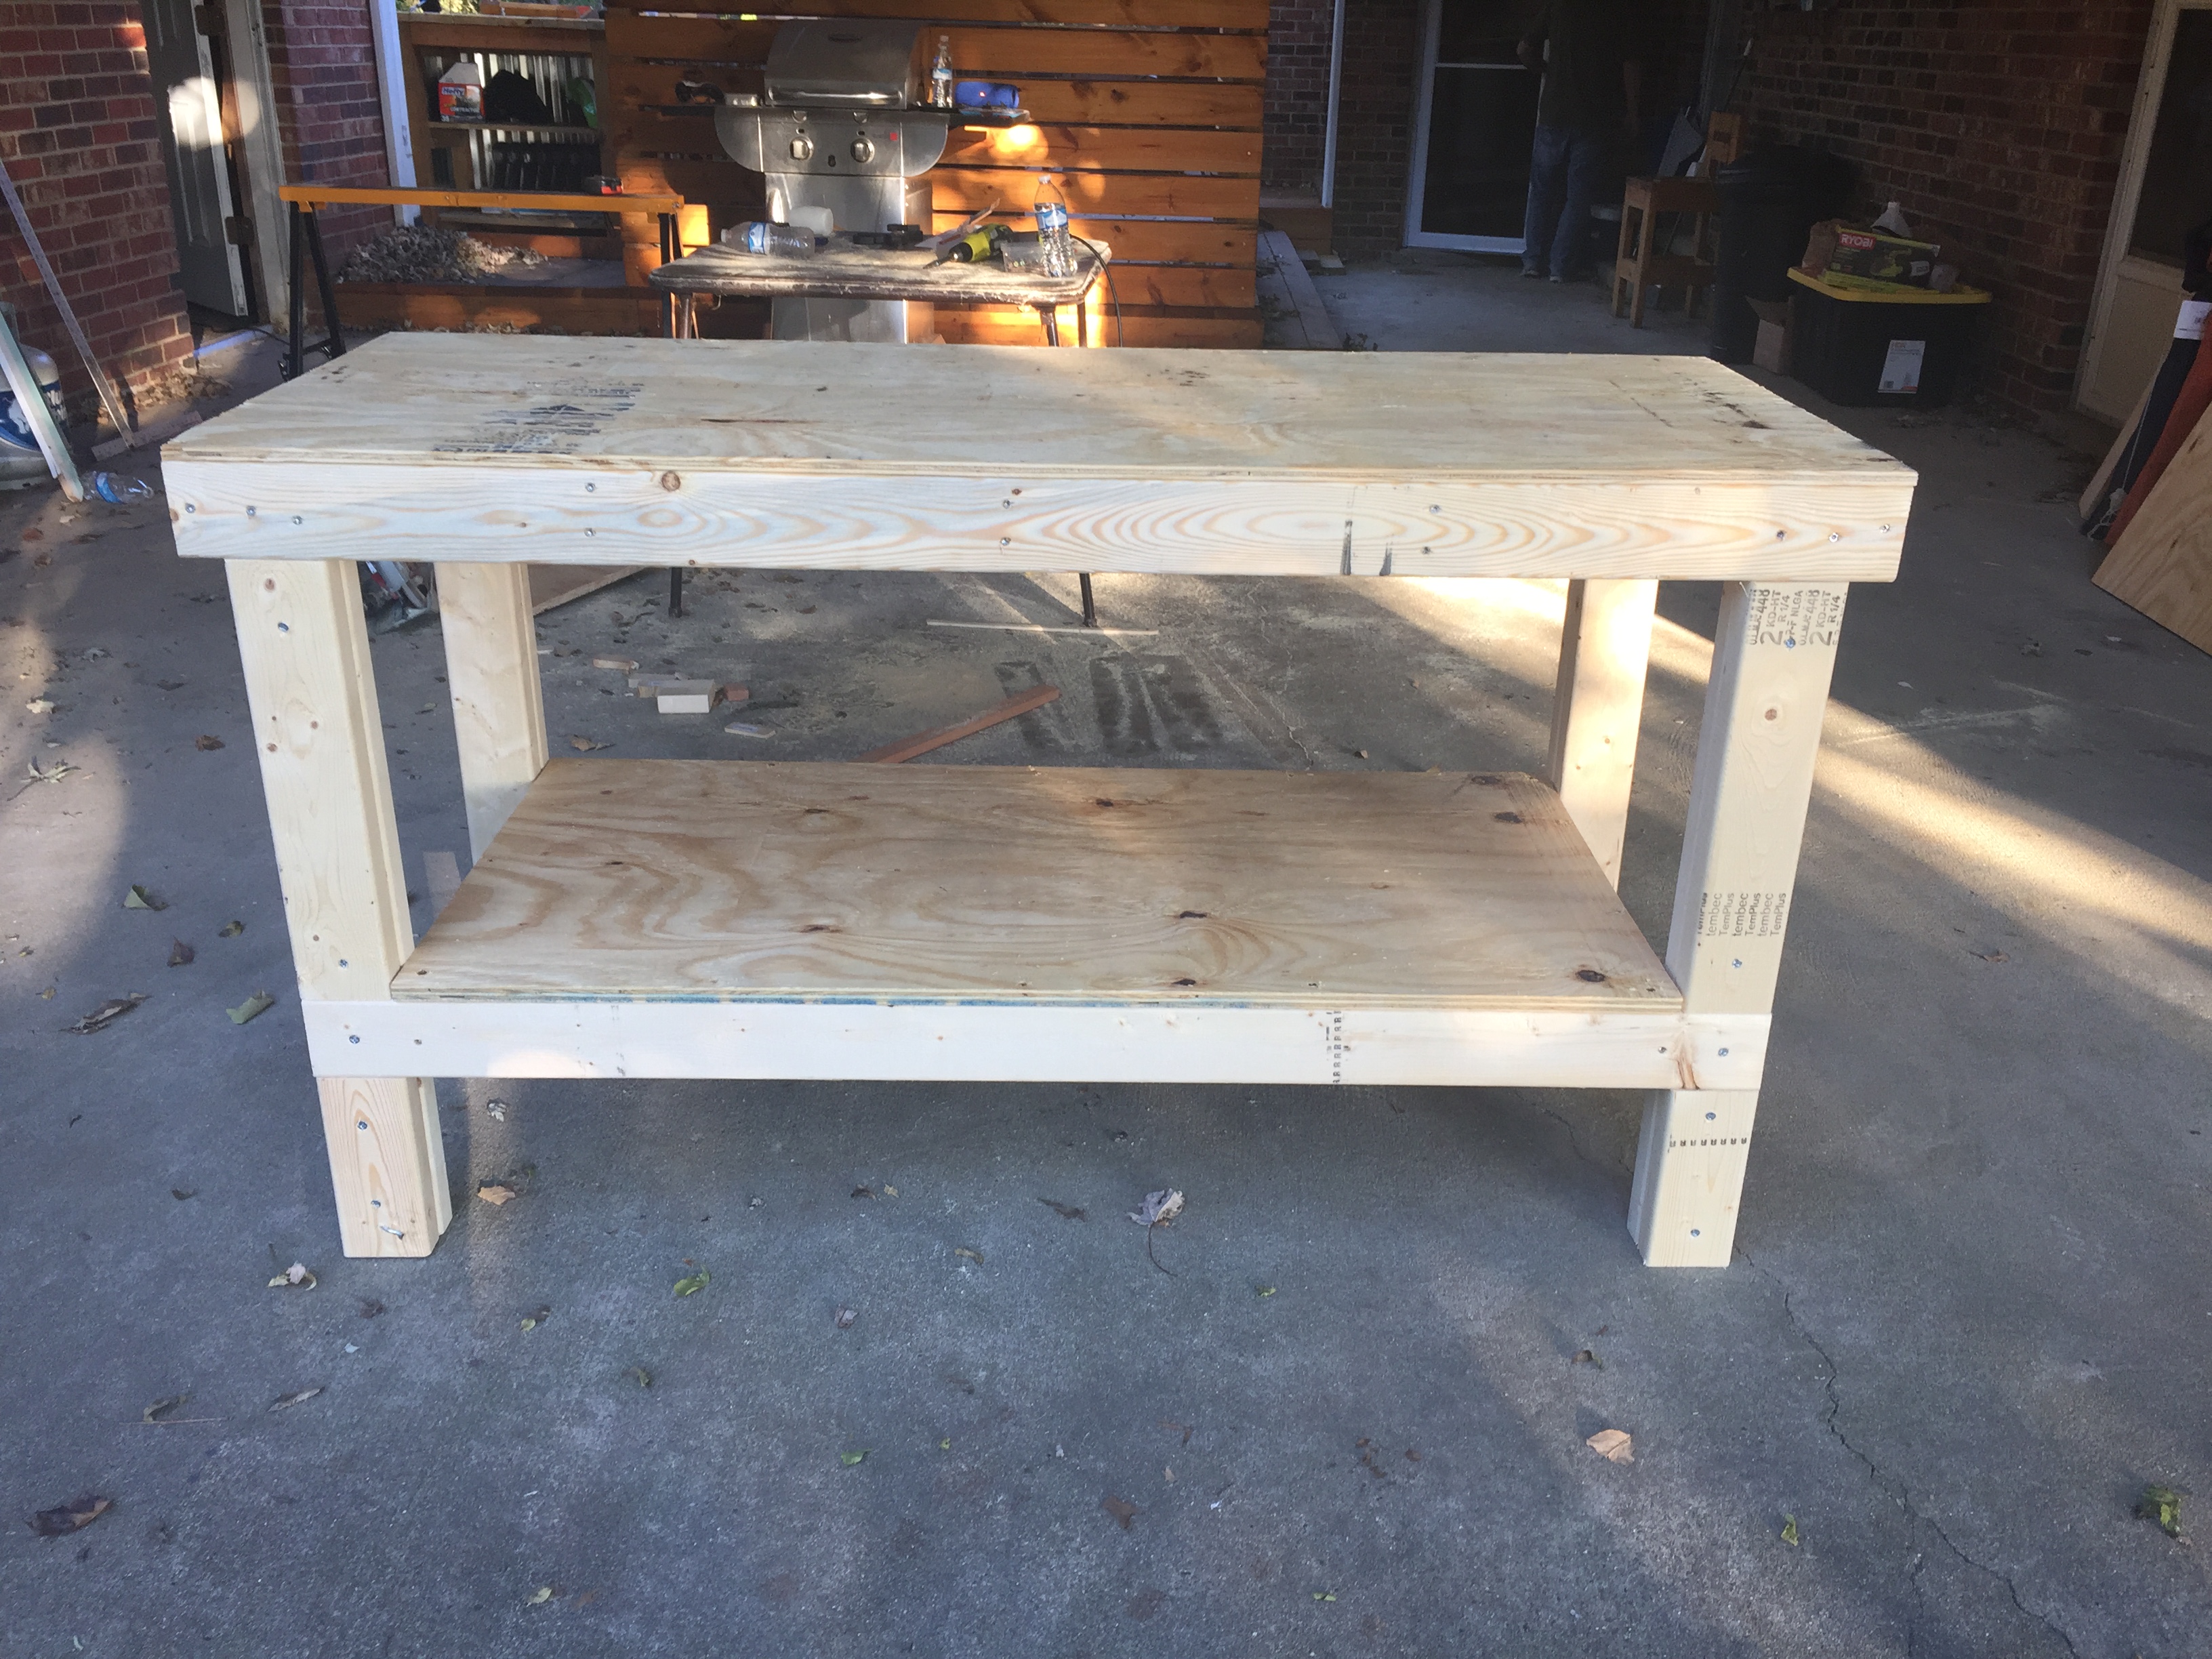
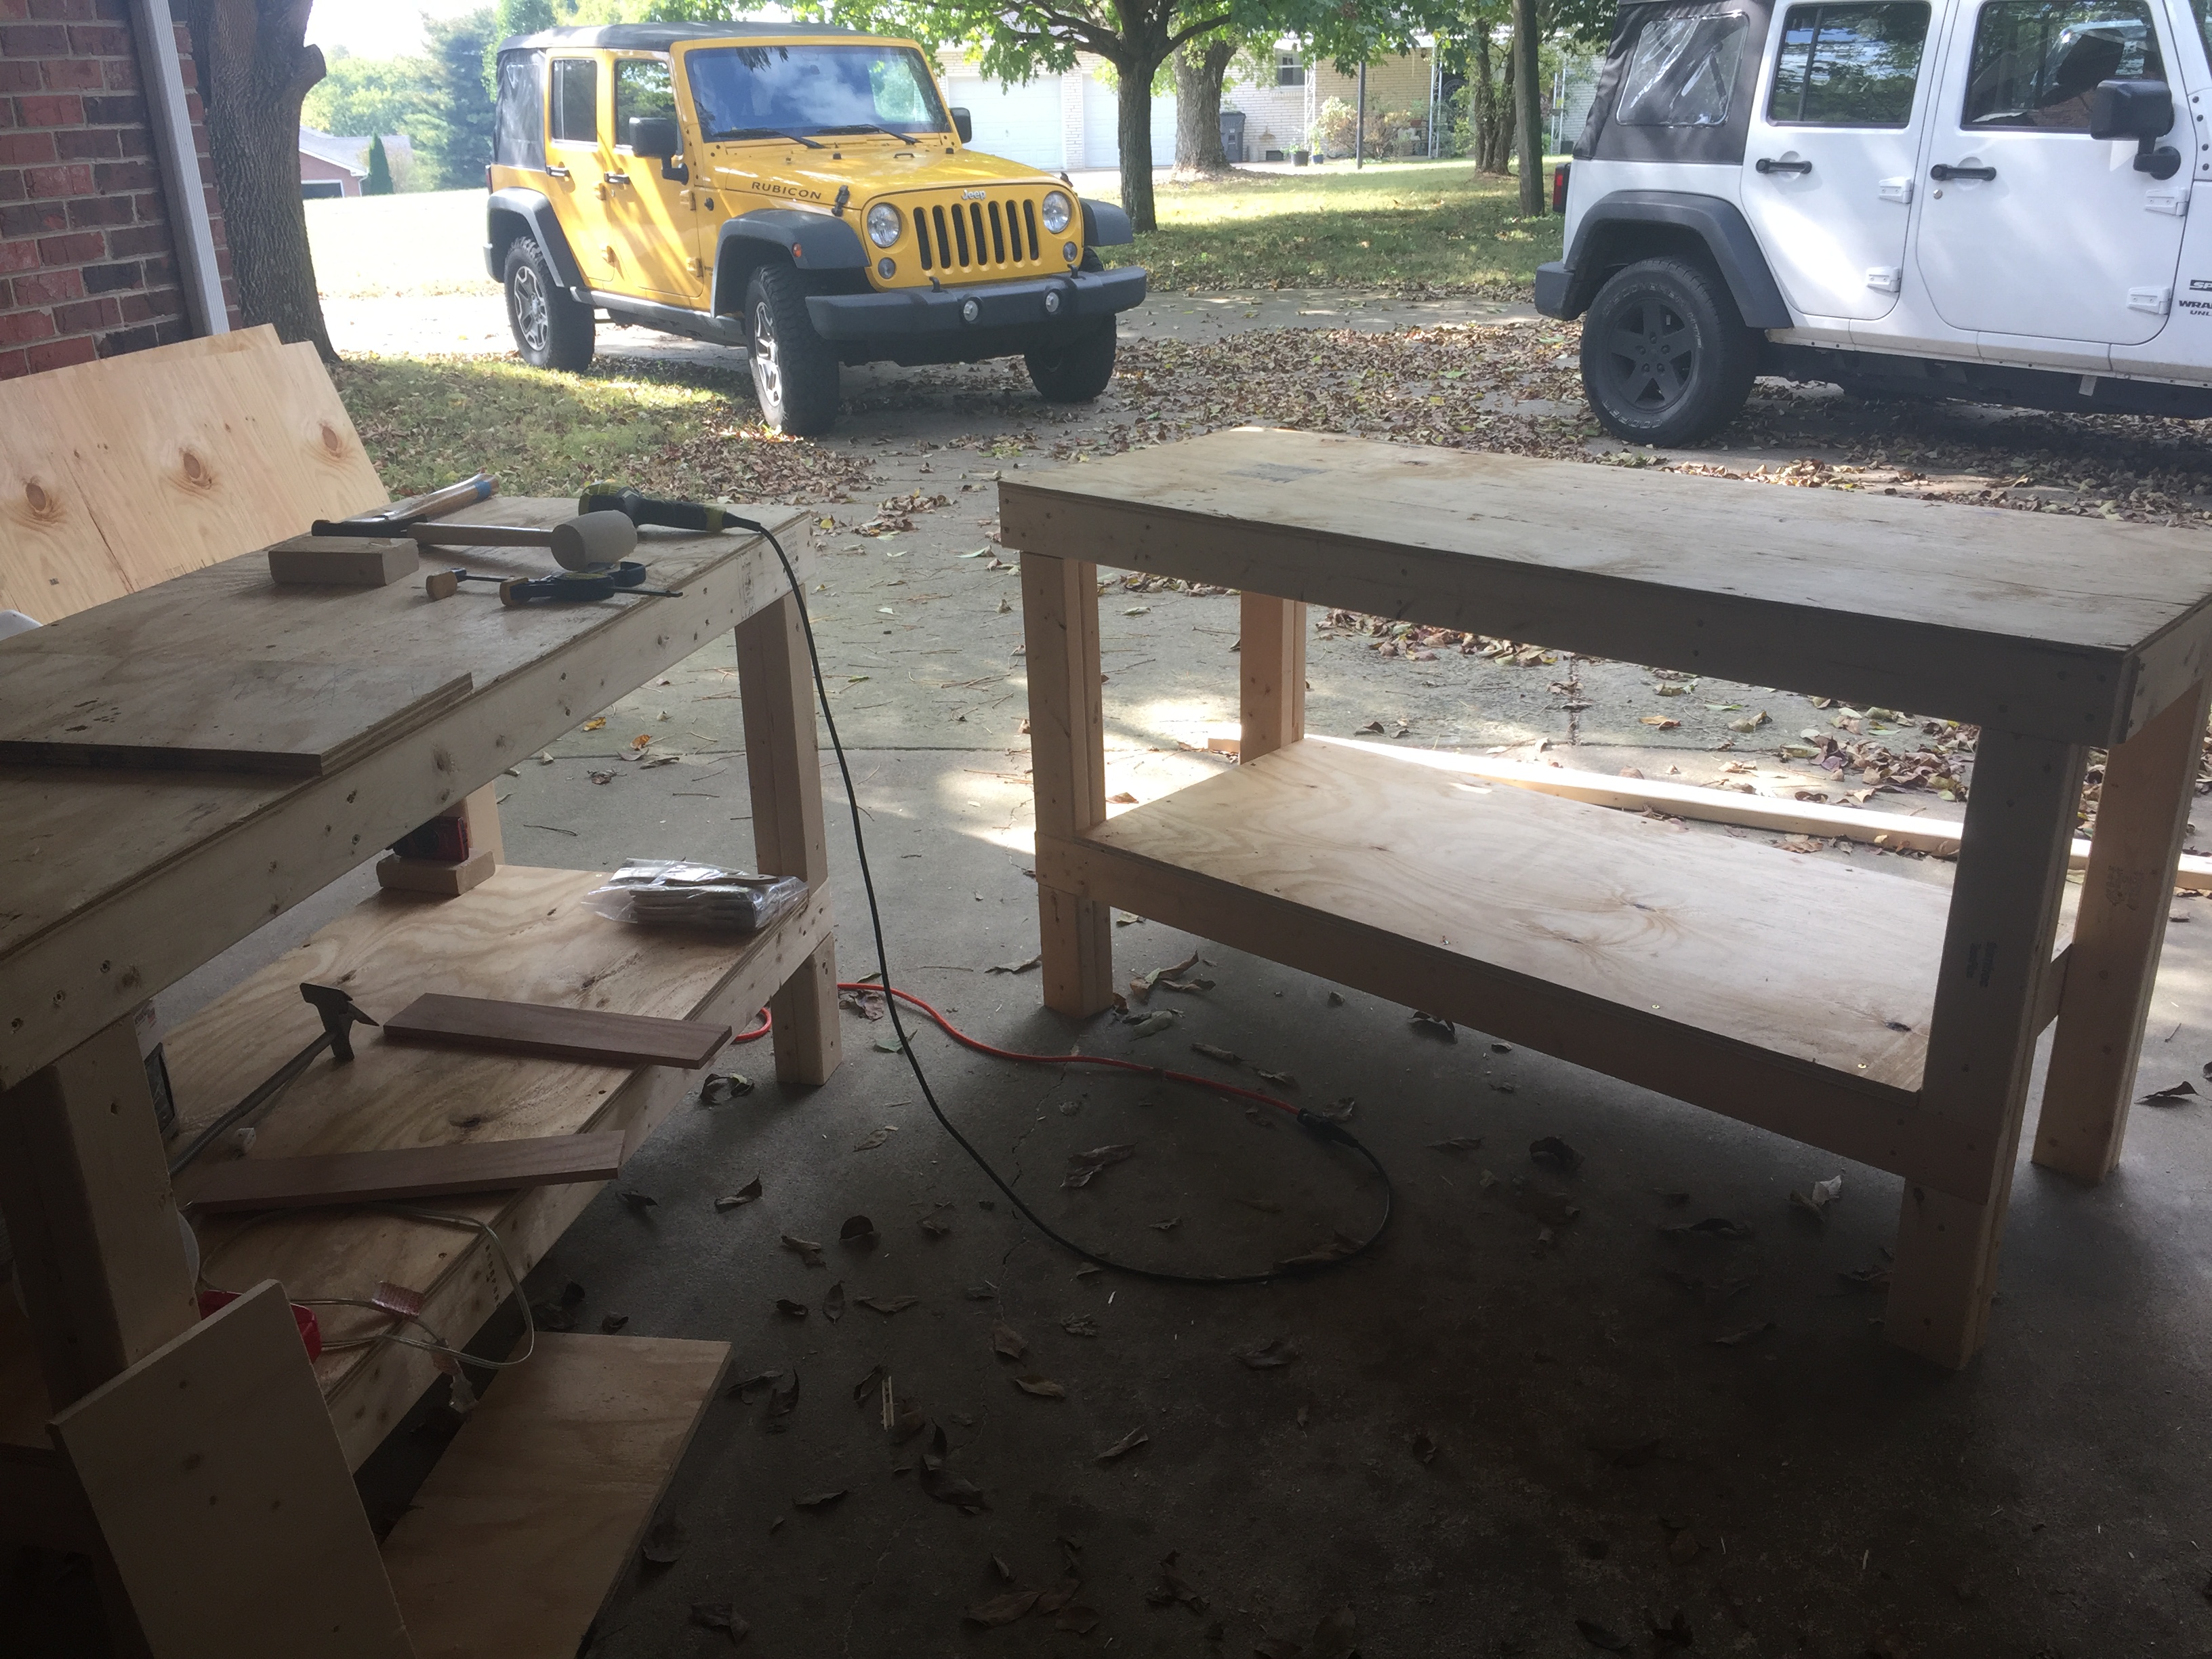
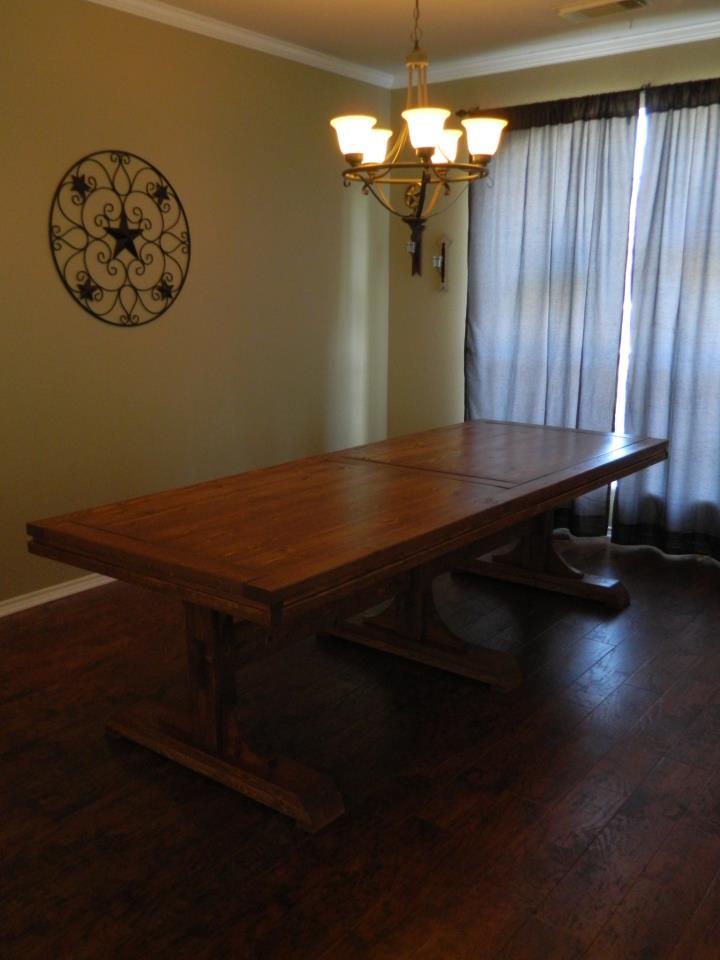
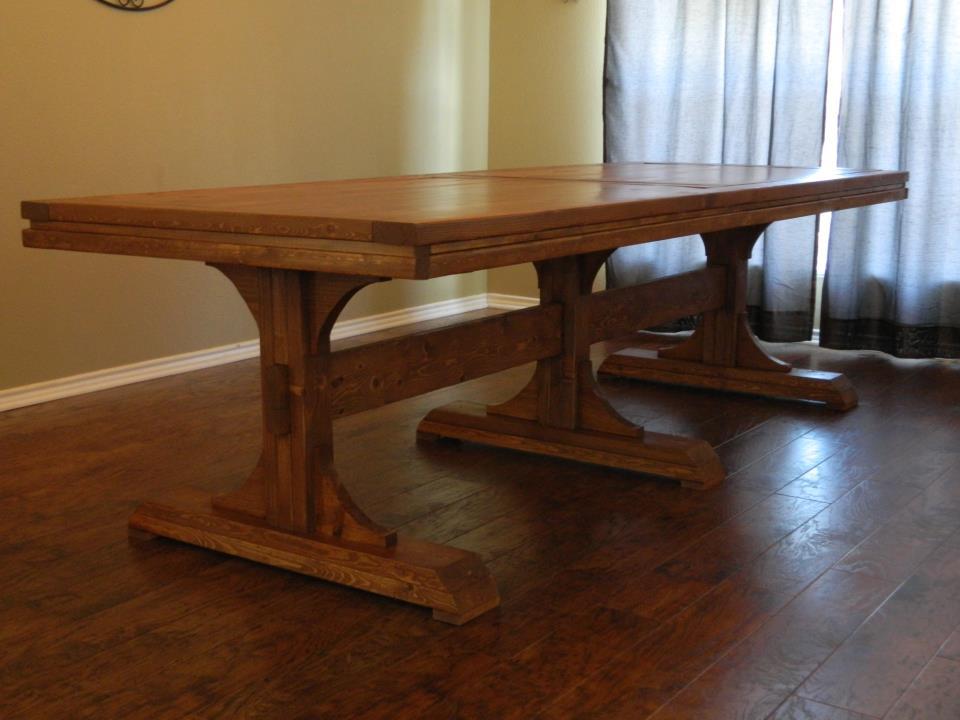
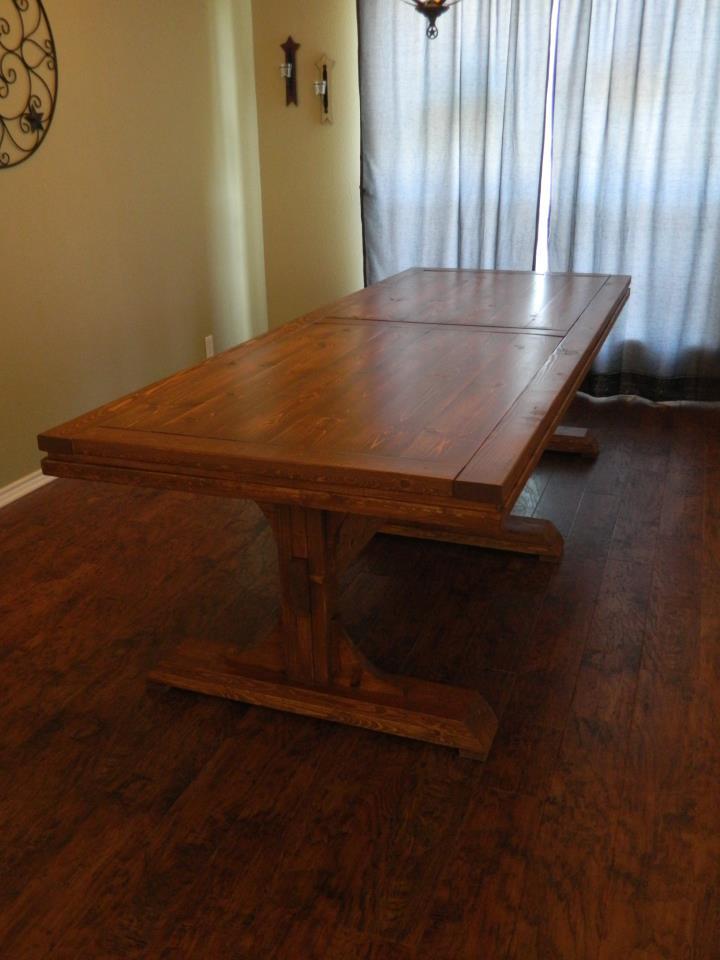
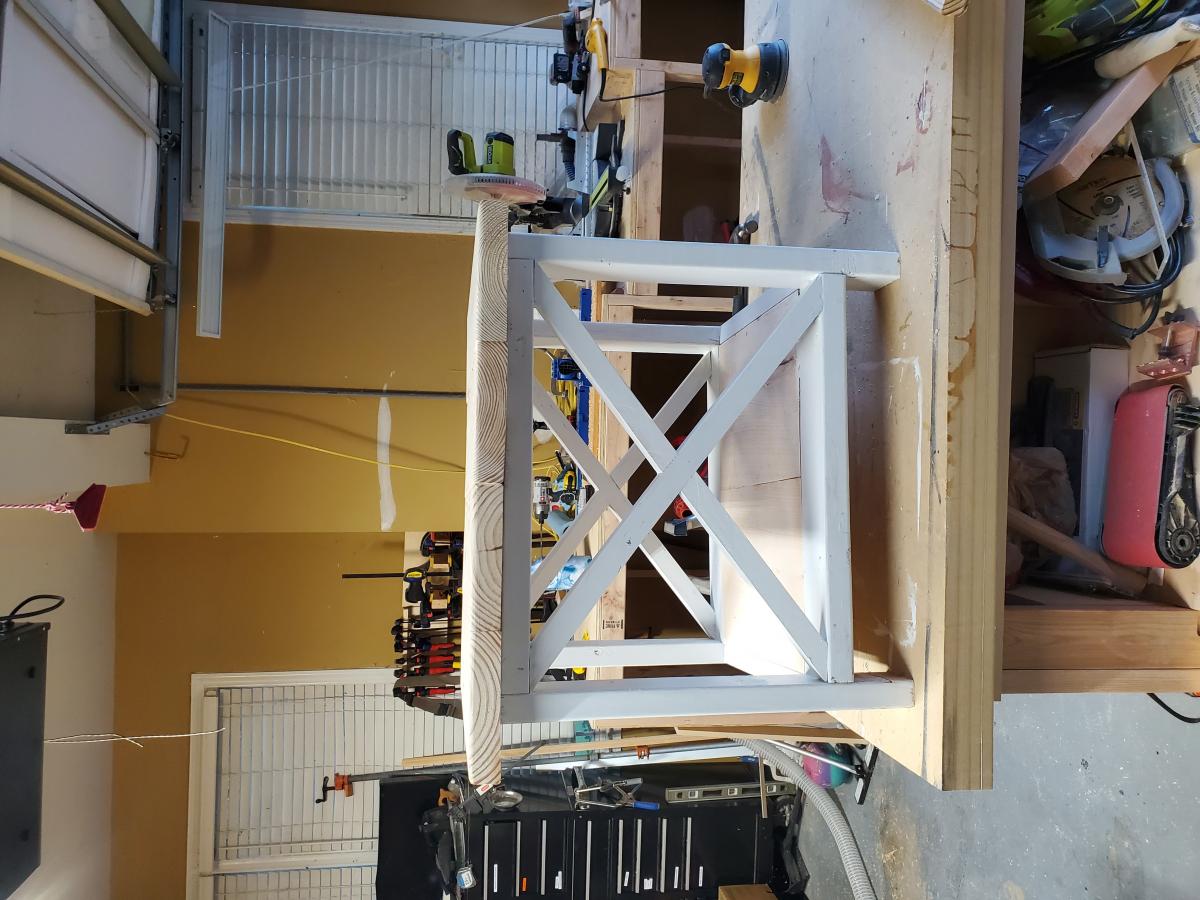
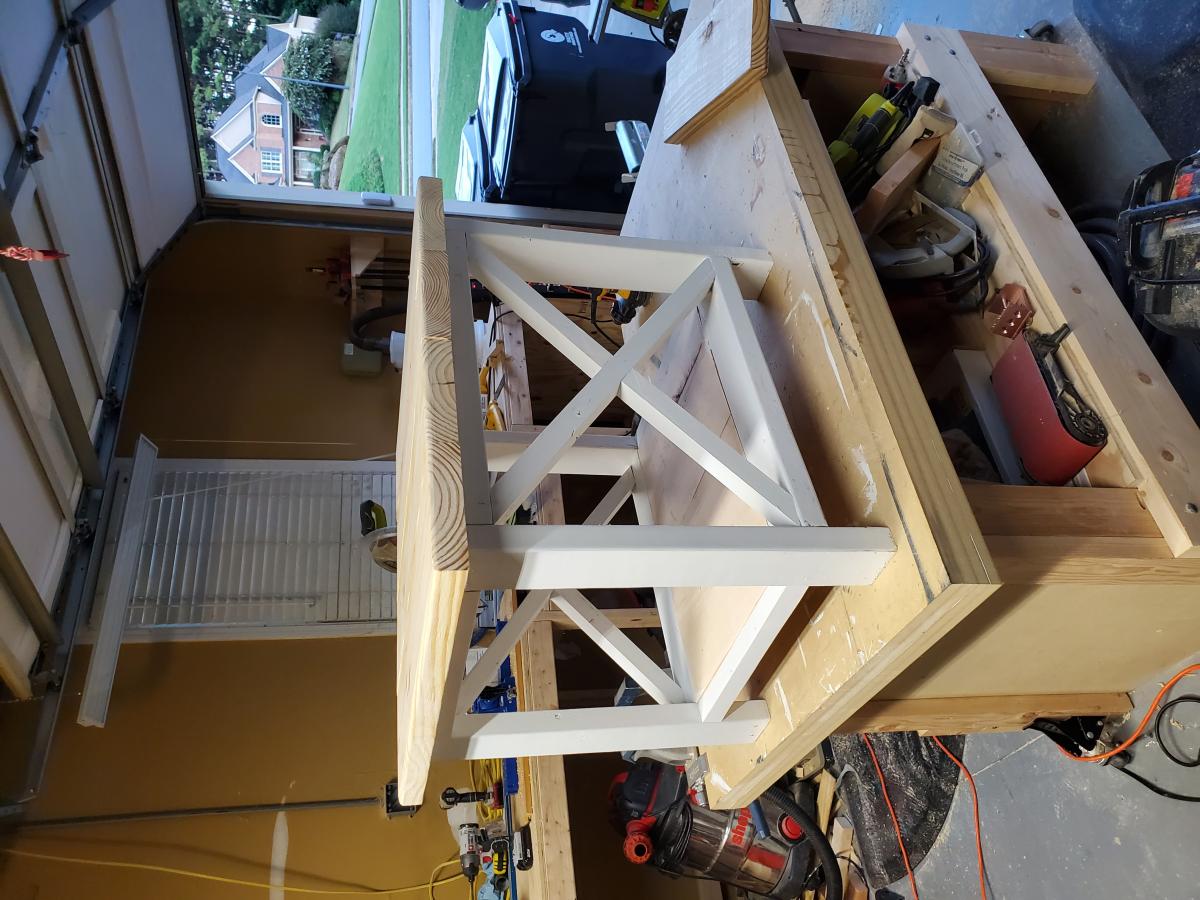
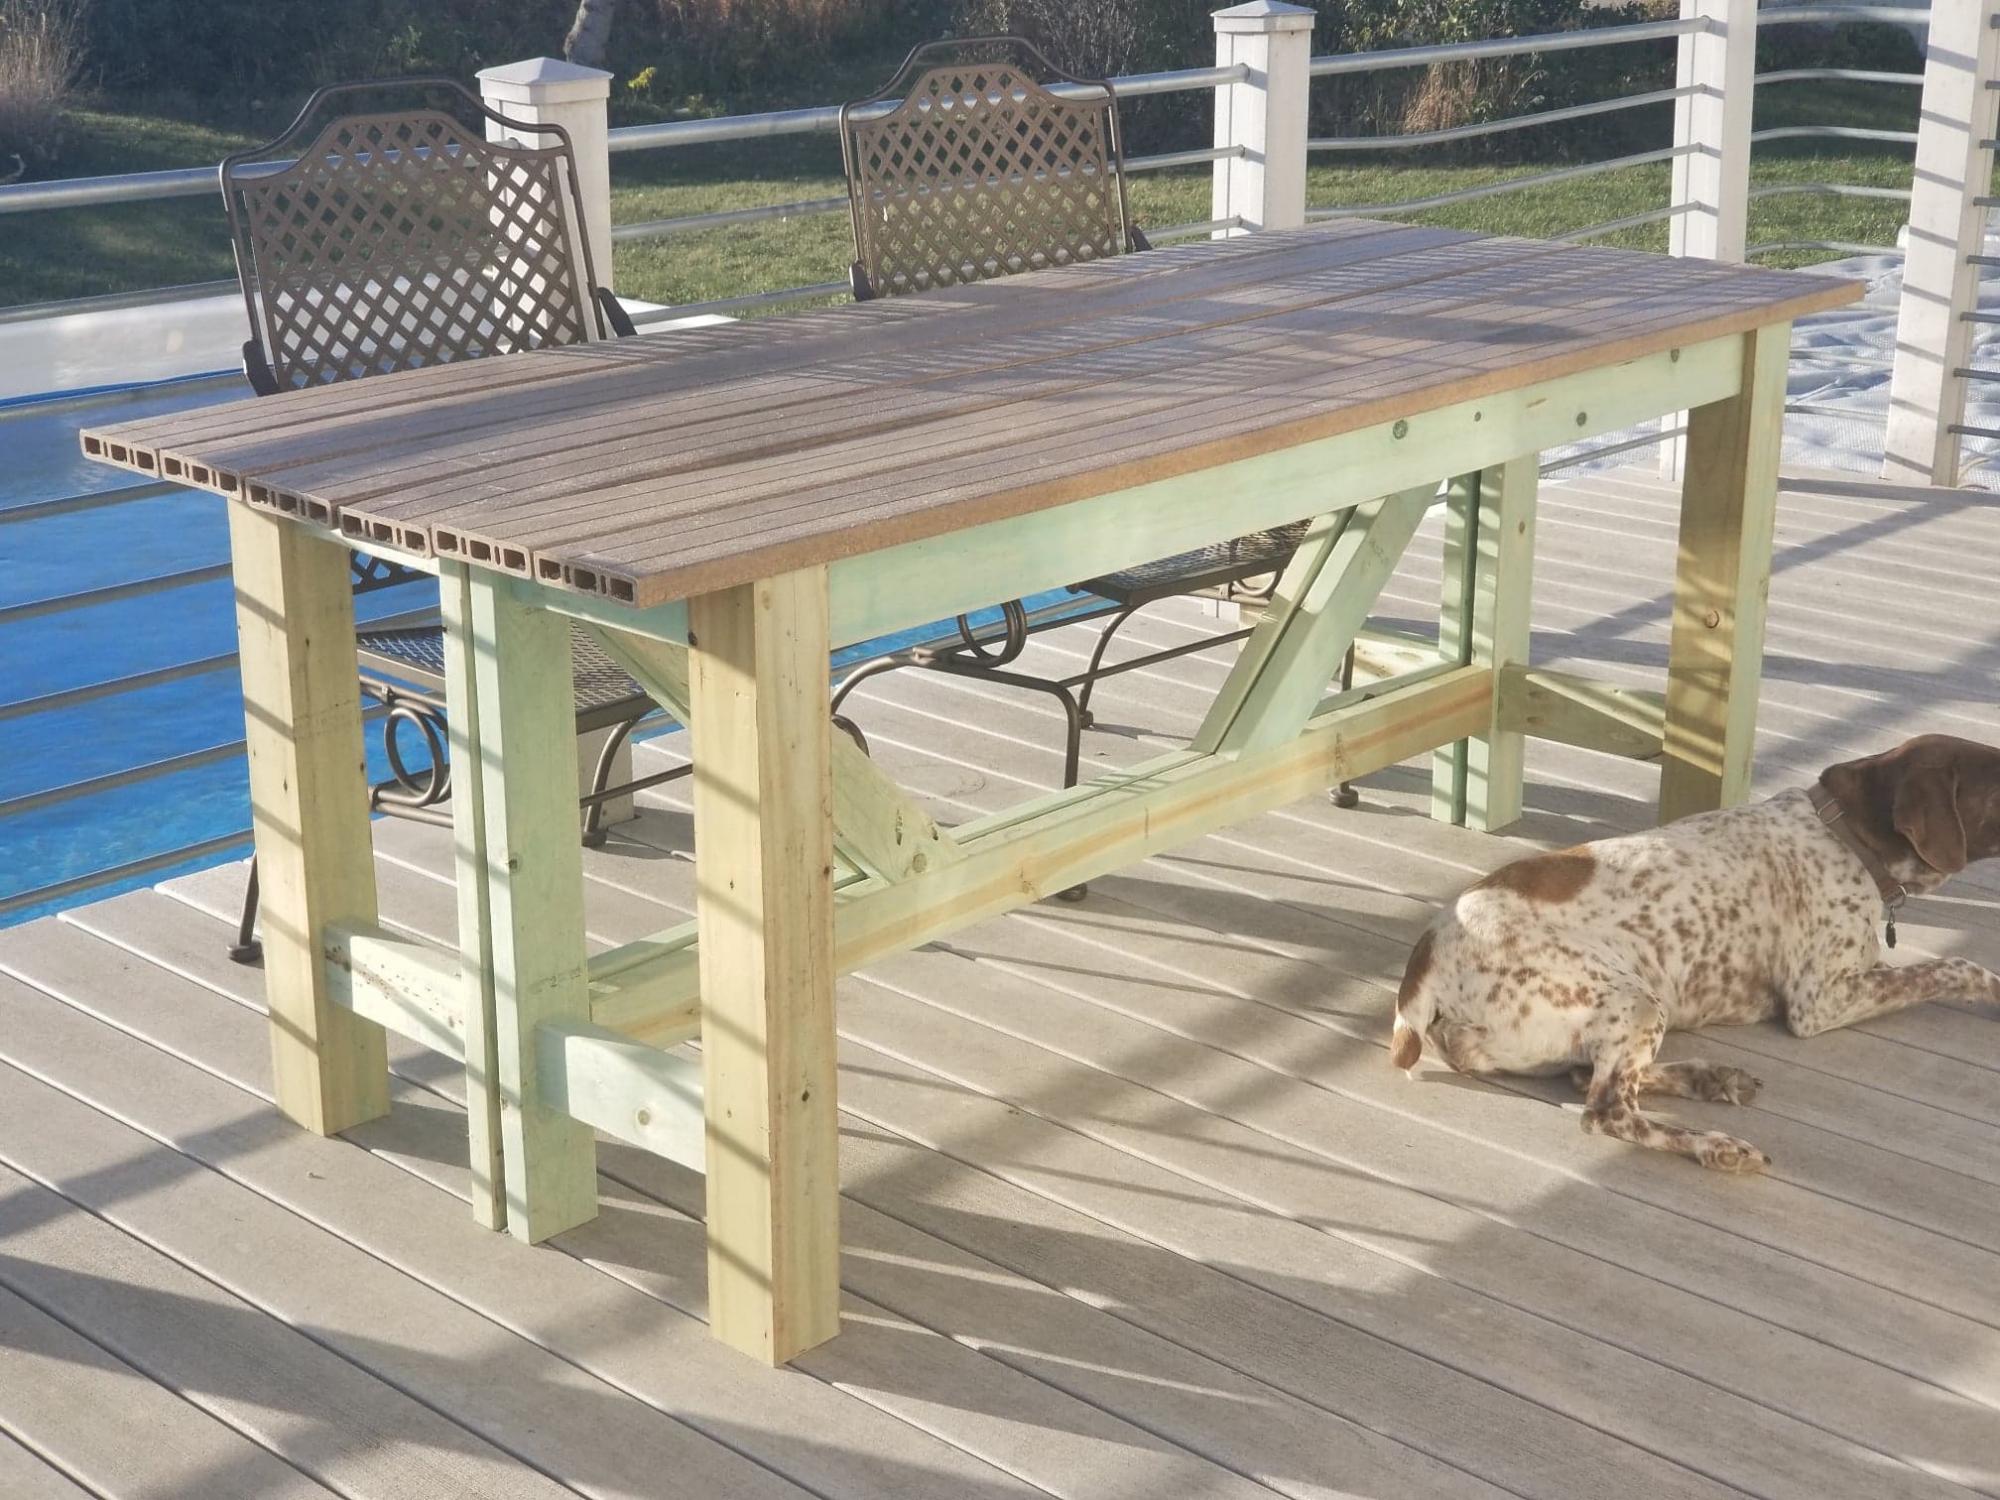
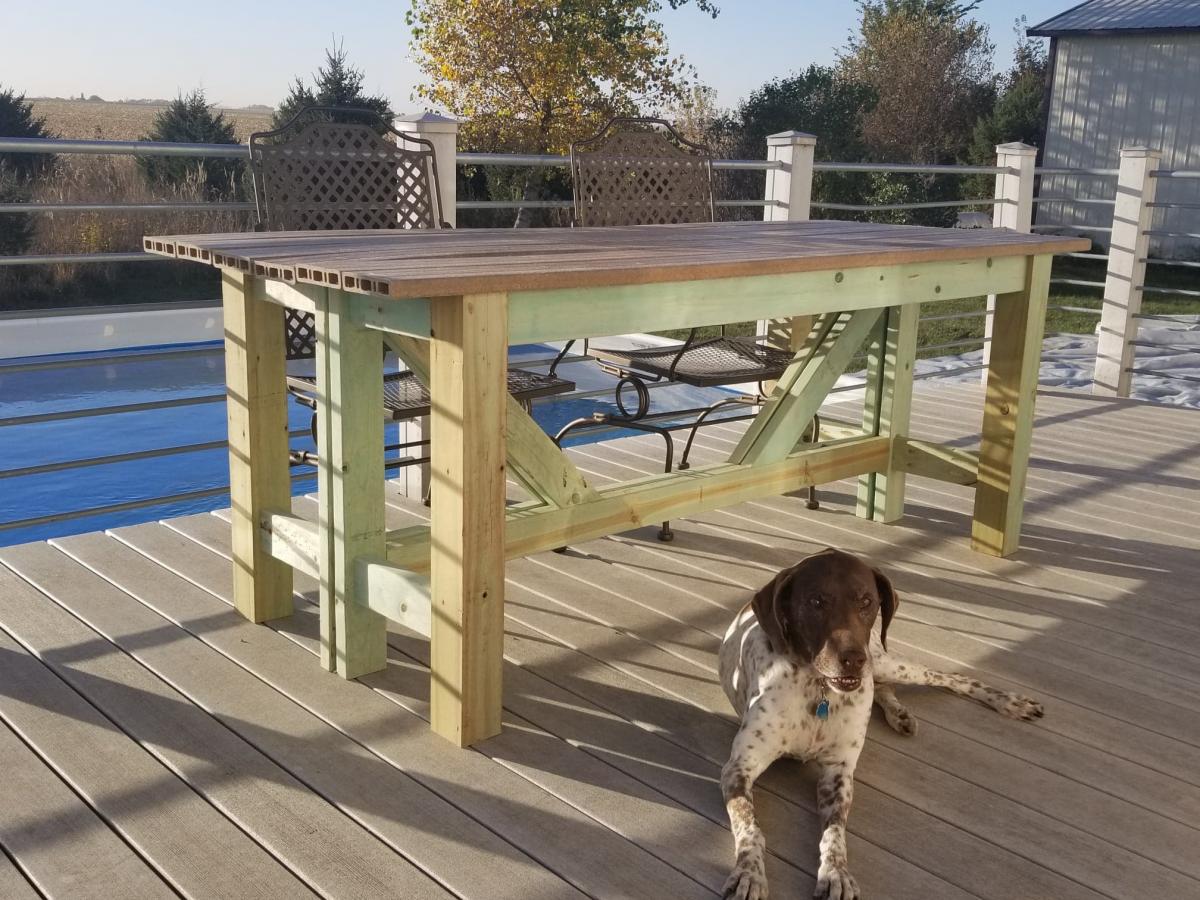
Now, Annie doesn’t like to spend money on things. Ever. So it was up to me to build this table. So I leaned on my favorite website, the queen of all DIY projects, Ana White. She has plans for many great projects, and she makes them easily accessible and affordable. My favorite was for her Farmhouse Table. It was big and it was doable.
I used stock wood from my favorite lumber place in Western New York, Lenco Lumber. Using my new compound miter saw, my grandfather's old dado blades on my table saw, and about 1,000 screws, I built this guy. It is so sturdy the kids can all dance on it and it won't budge. It is now a permanent fixture in our home and when we die, it stays behind.
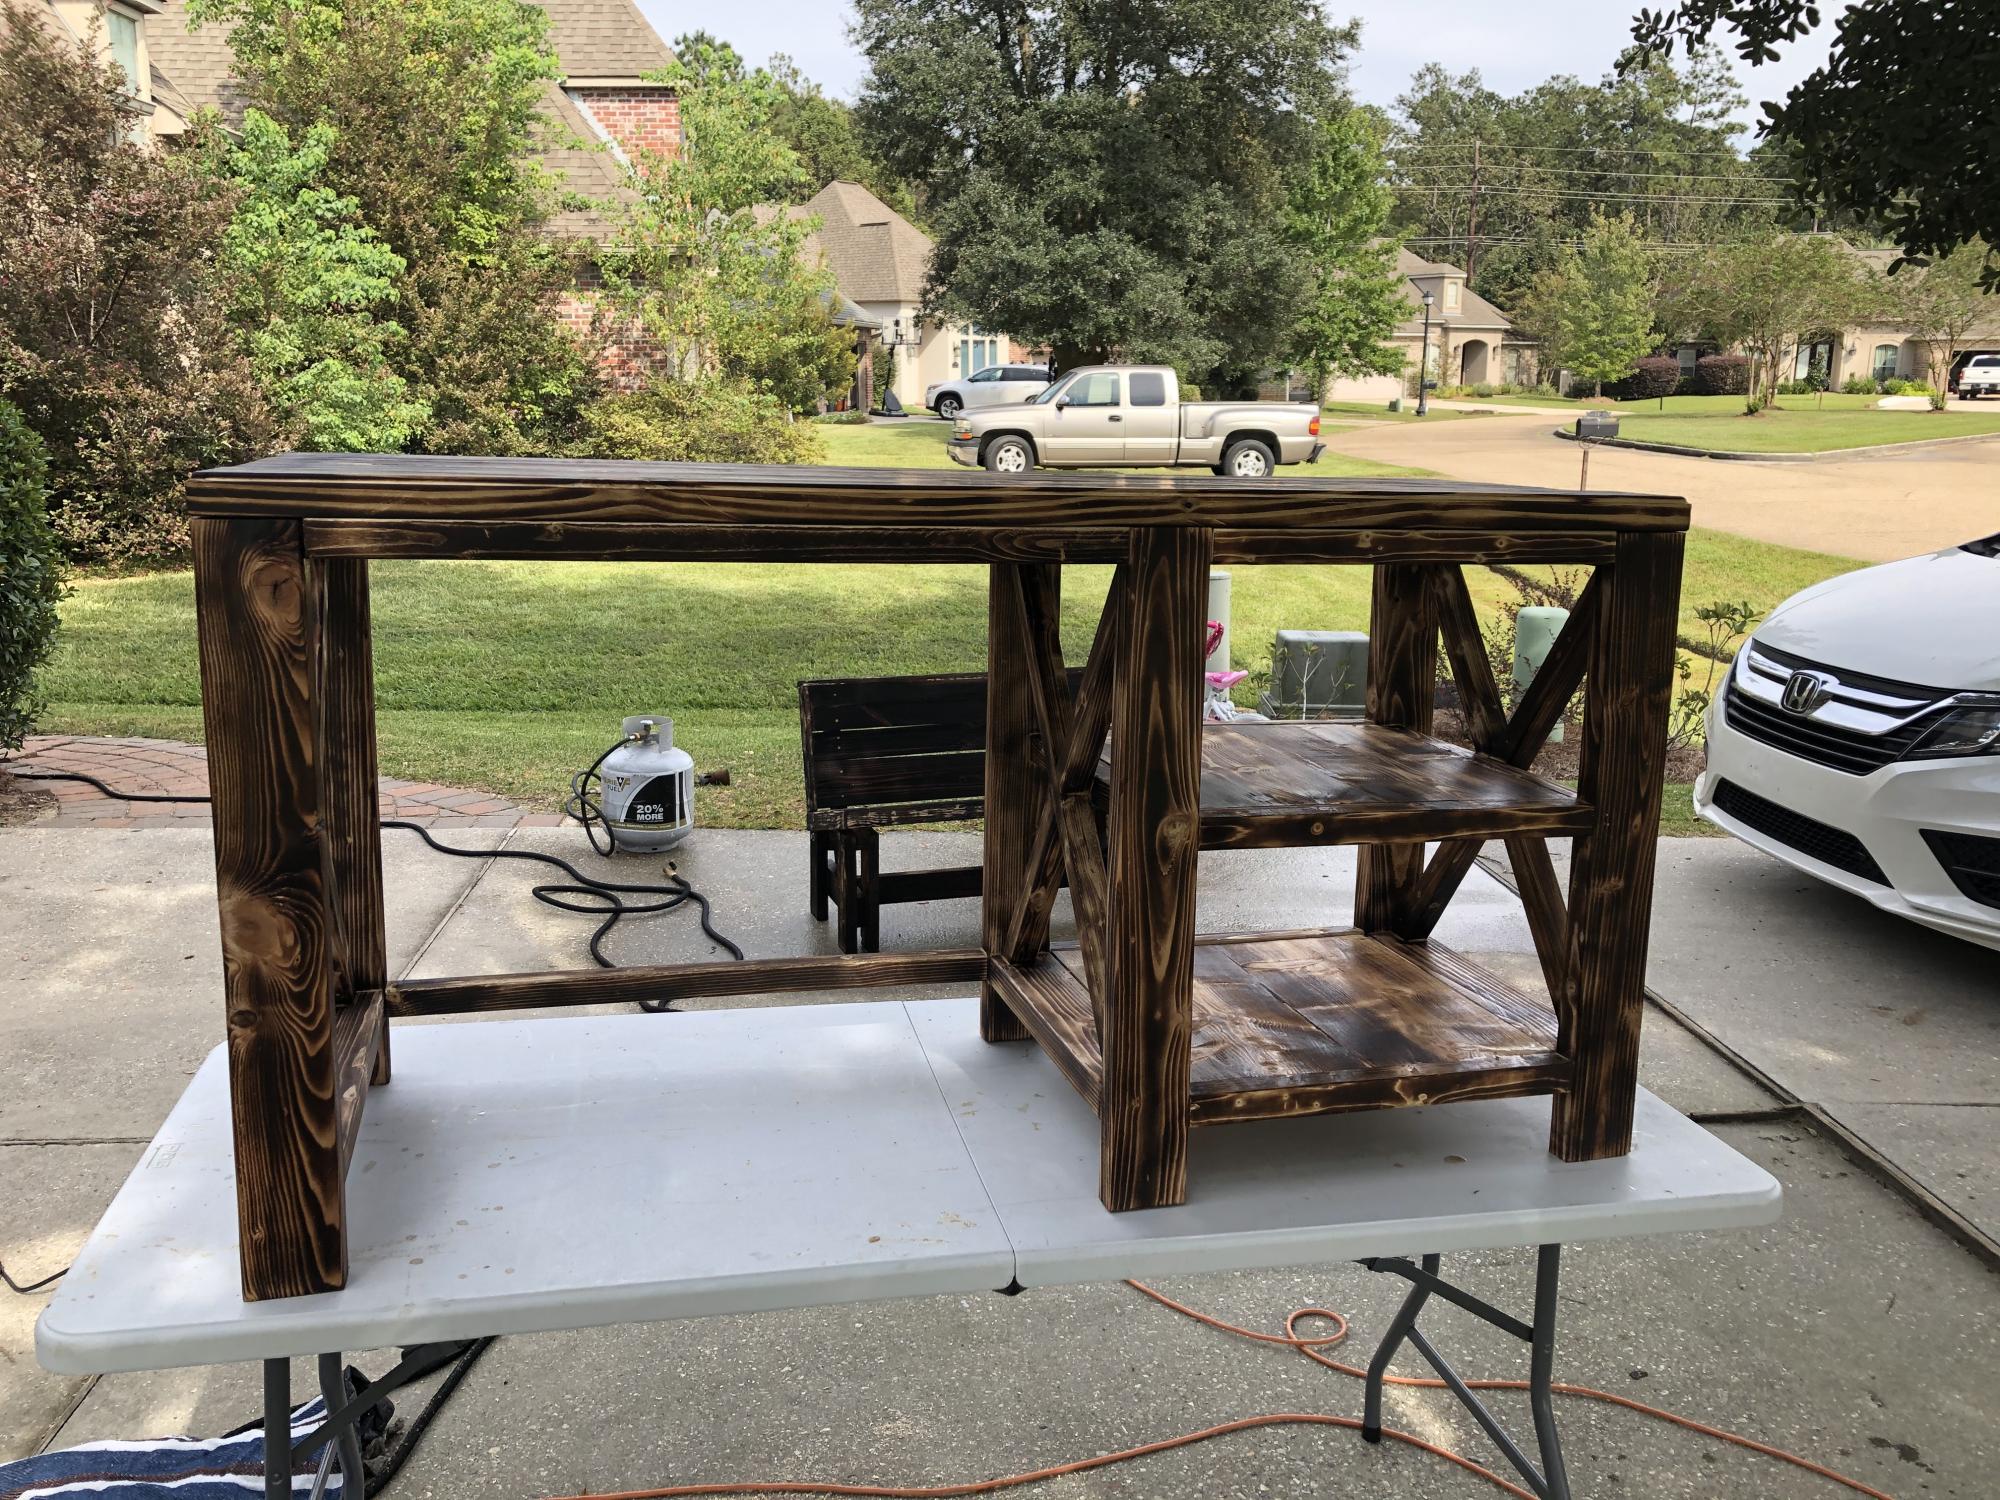
We painted the legs white and stained the top a dark red oak. Because we wanted it to be durable and stand up to anything the kids could throw at it or spill on it, we gave it a thick epoxy bar coat. This was a challenge. We had to mix the two parts and spread evenly across the table, letting the epoxy drip over the edges to cover the sides. Then came the blow torch. Heating the wet epoxy forces the bubbles to the surface and allows them to burst, leaving a smooth and even finish.
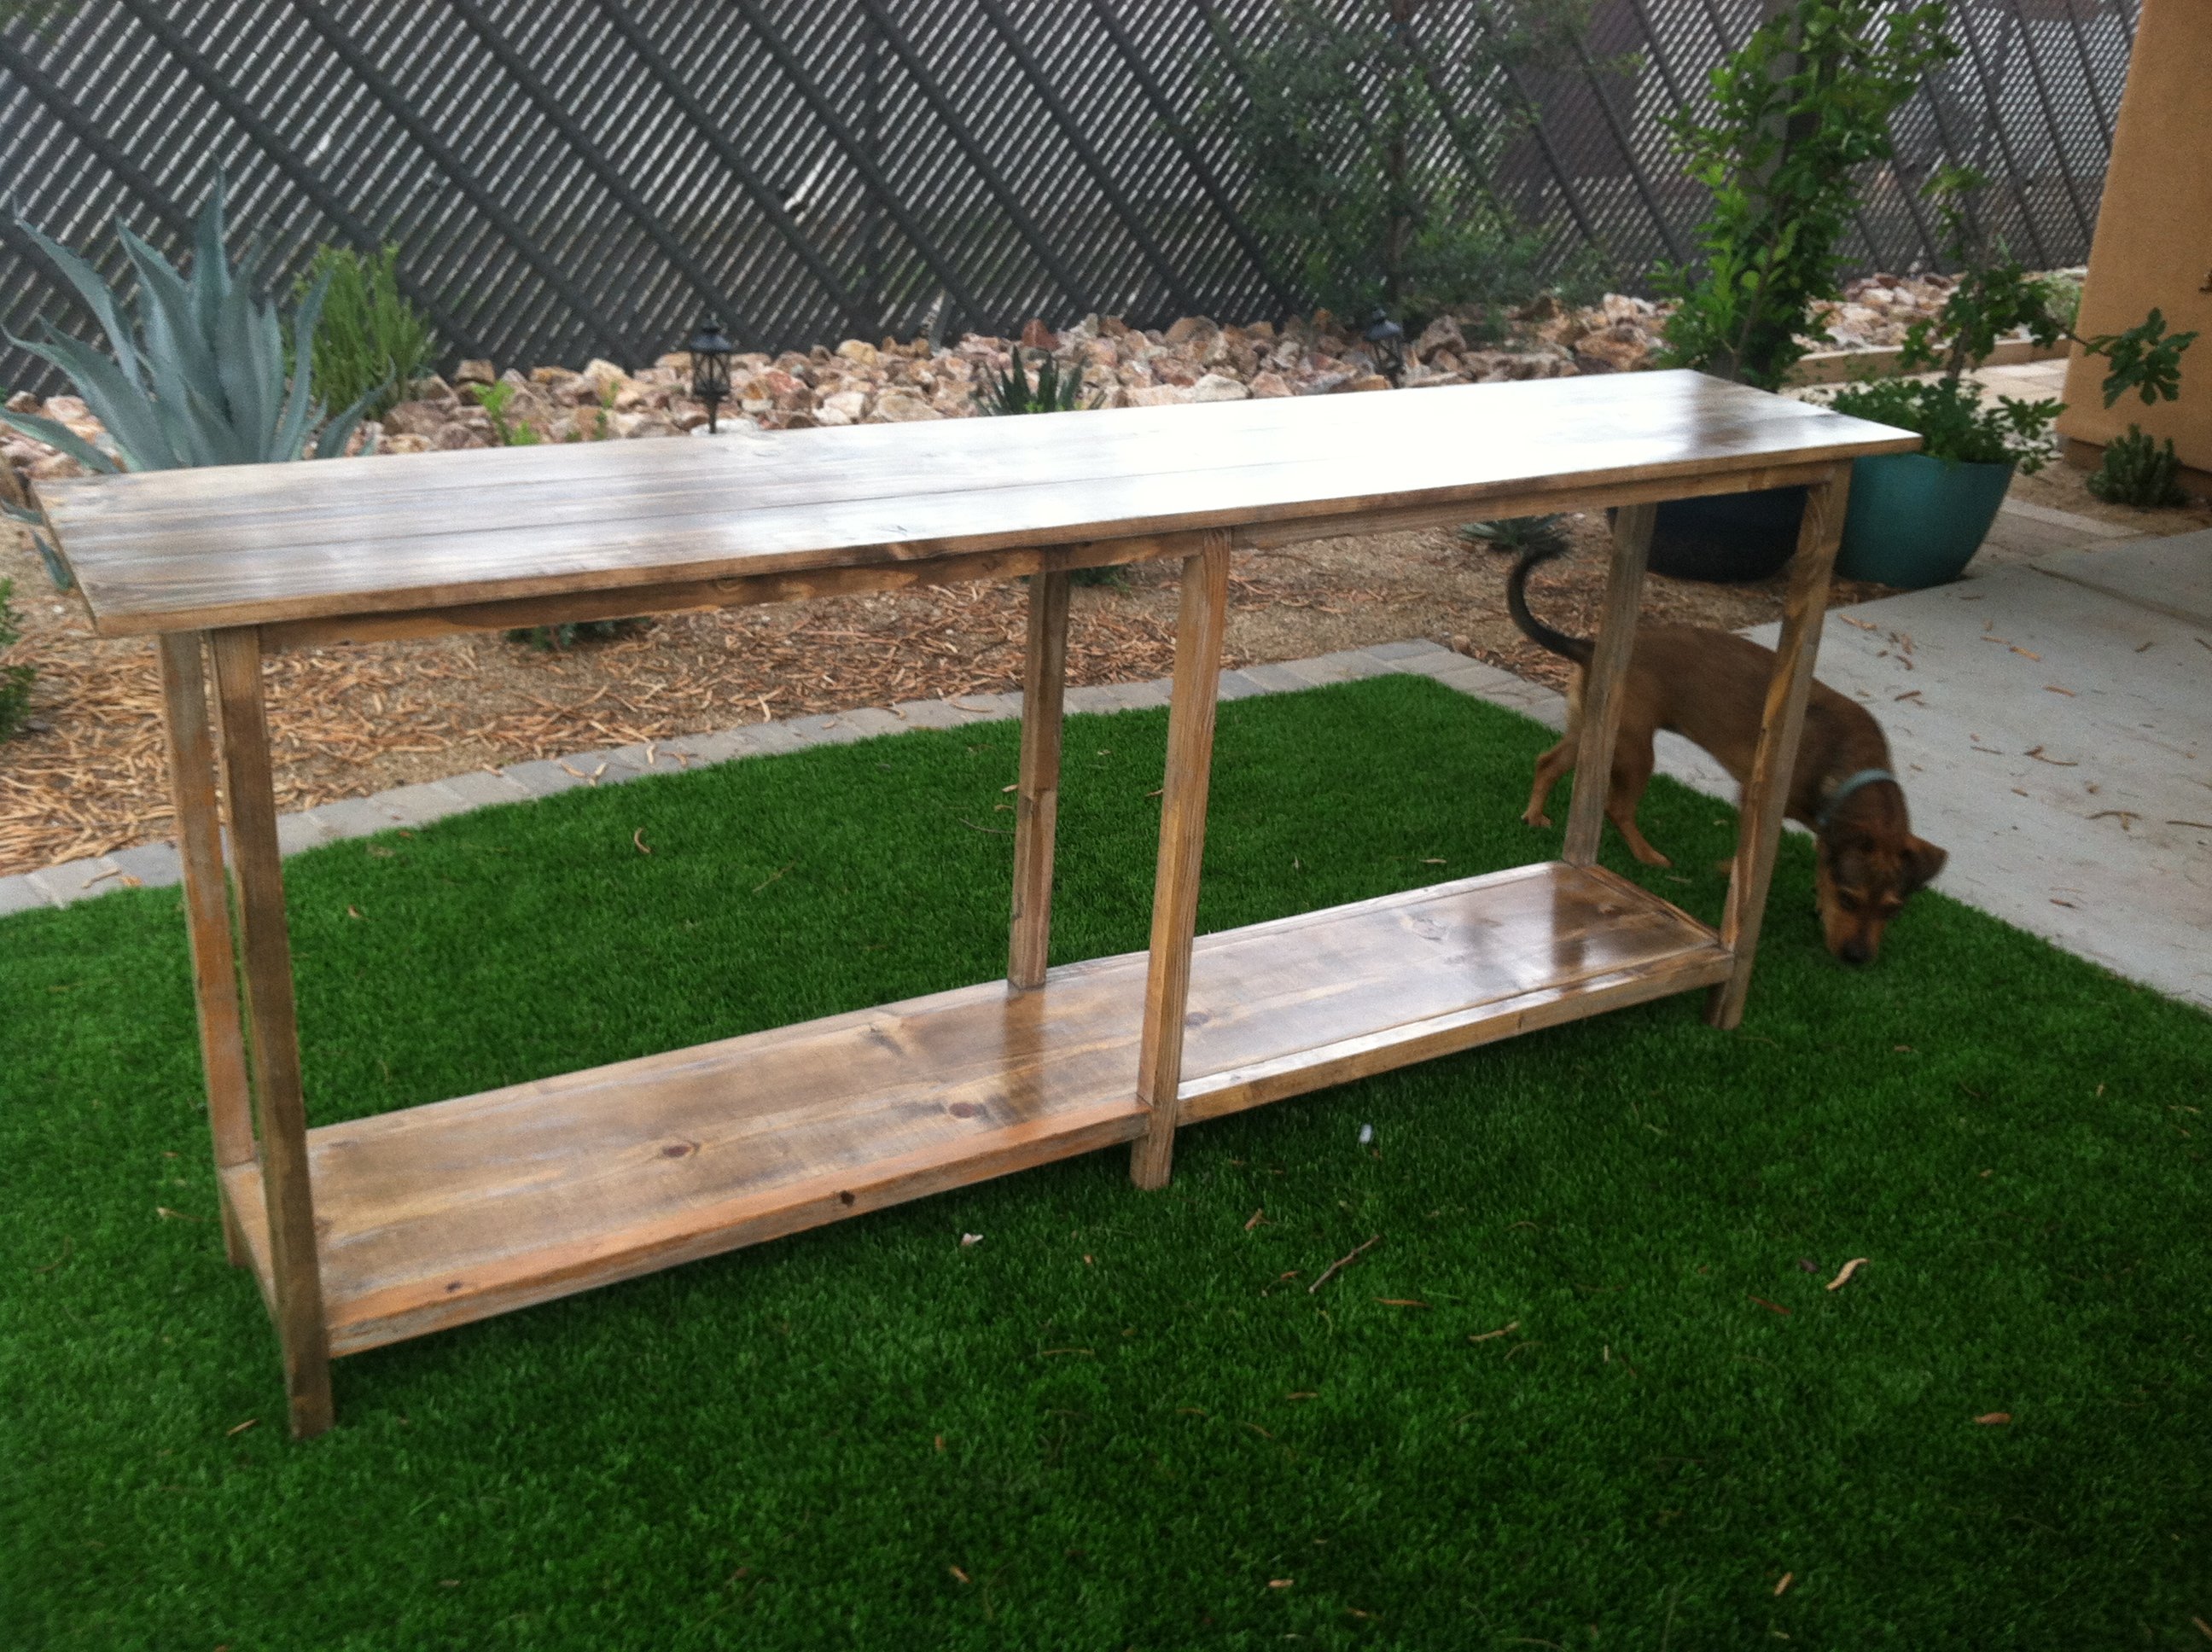
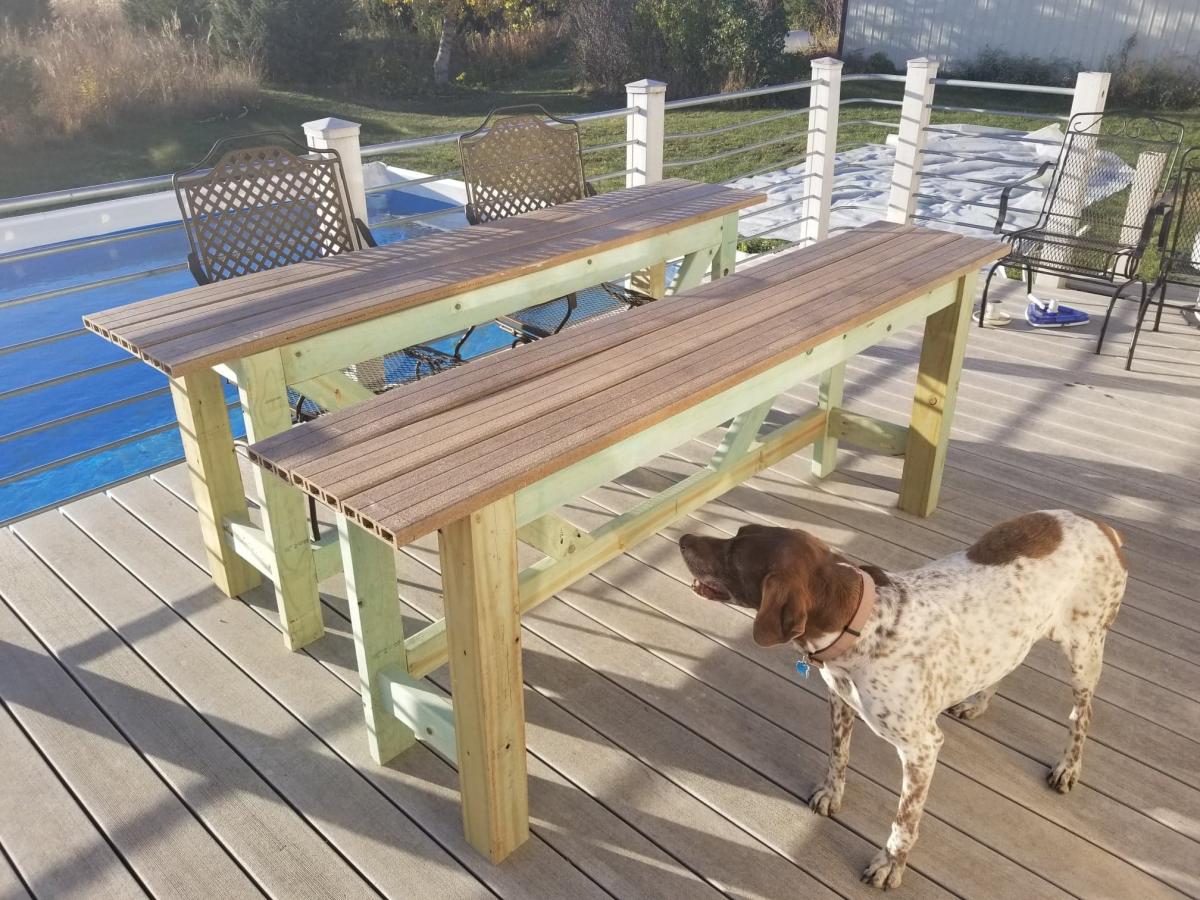
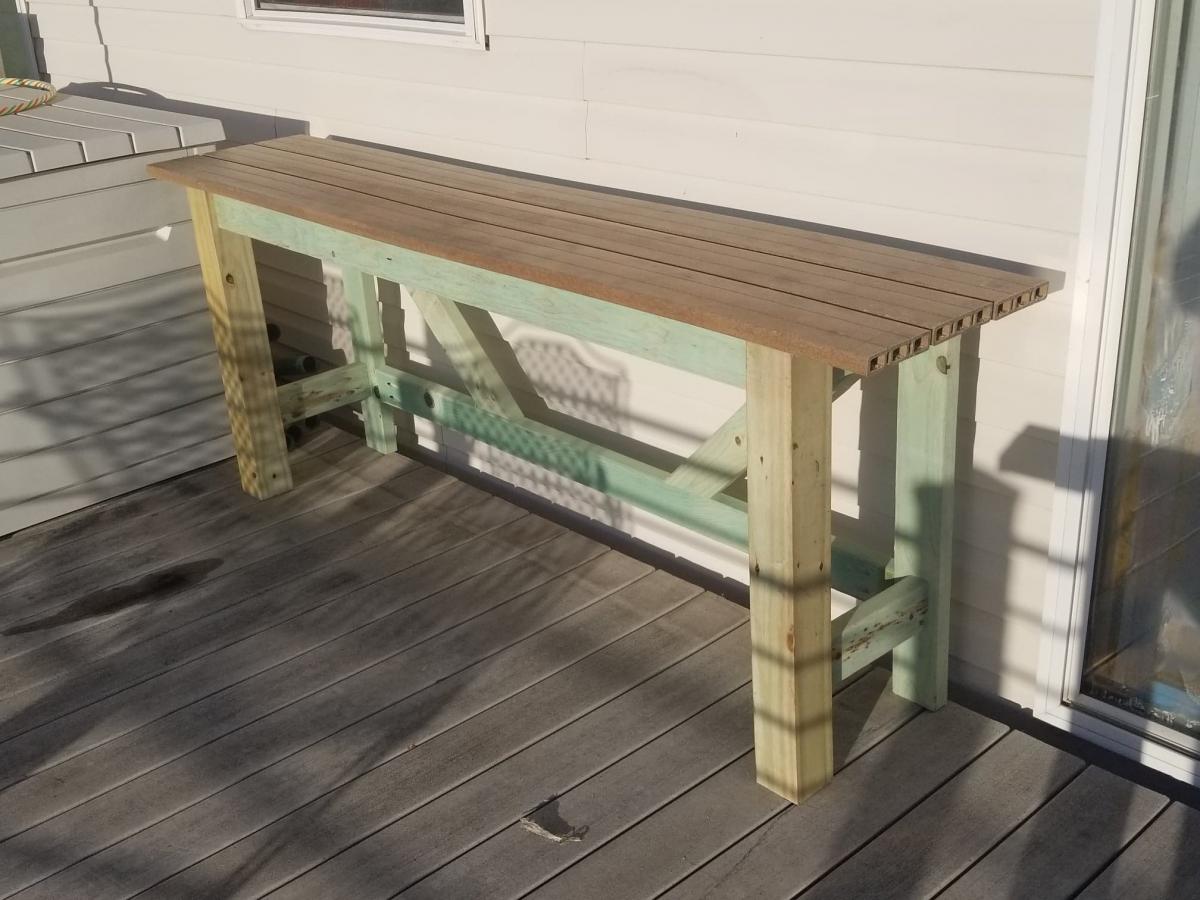
We built a bench to match, also thanks to Ana White's design.
Finally, we found some chairs on Craigslist from a family that was moving. They look pretty old and needed some reinforcement, but we think they look great! Oh, and we also painted the walls to a brighter, more playful color. Now it is truly a Family Room that we love!
Tue, 09/30/2014 - 21:52
Annie and Jeff your table is just lovely. I thoroughly enjoyed reading your post, so I jumped over to your blog. You have done amazing things with your home. The history of the home is so interesting, and I'm sure your family will be the custodians it deserves throughout your tenure there.
We live on a 40 acre farm and I needed some great shelves to make a nice work area off the kitchen for our canning and other projects. My wonderful husband built these for me and I could not be happier. I put the metal bars in the back so I could use baskets more easily and I am still looking for attractive corner brackets to add to them.
Here is the cabinet I built for our home office. I used the top and bottom design from the Console Table, but since I live in Texas where there is lots of humidity, I cut one piece from maple plywood.
We made this for our daughter for Christmas. We used purple spray paint and I made the mattresses and pillows from Ana's plans, too. Our son sanded it and we presented it to a very happy little girl!
There really aren't any plans for this bed. I scaled down the camp loft bed and copied the other brag post on here
Sat, 10/04/2014 - 18:10
That is a wonderful job and a very lucky child to have such a great bed.
Sun, 10/05/2014 - 08:38
I built the other tractor bed so I know how much work went into this! You did an awesome job and it turned out beautifully! Hopefully it helps your grandson have the confidence to sleep in his own bed! I'm happy to say it worked with my oldest. My three and a half year old is sleeping through the night and in his own bed for the first time in his life since building him and his brother the tractor bunk bed! Good luck!
Wed, 10/08/2014 - 20:28
I don't mind at all! I've been inspired by so many plans and brag posts on this amazing site, I'm glad my build could help inspire someone else! :)
We have been using a number of folding tables to do our builds and feeling the pain in our backs and frustrations in our brains for doing it. I found this pattern and rushed to Home Depot! A few hours later we had a workbench. Loved it so much a day later we had two!! We use them all the time. Thank you Ana for such a great pattern!
Decided to lightly char this one with a propane torch and then apply a wipe on poly.
Great Plans, I had a blast making this table for my wife! It turned out great. Thank you for sharing the plans for this beautiful piece!
-Mike
Thu, 12/27/2012 - 09:21
Your table turned out fantastic! I'm glad to see that because I am considering this table for a project in the near future :)
Thu, 12/27/2012 - 12:30
Your table turned out just beautiful!! Great job and I love the finish!!
Sun, 09/14/2014 - 13:45
Love your table!! How did you attach the 1x6s to the frame? I am stuck at that step! Thank you for your help!
Modified plans it fit our wall. Looks great and only took a few hours start to finish.
This was a weekend project using pocket hole screws pine wood and a regular stain and wax coating
I based my shelves on the Subway Tile Bookshelf plans. The space I needed to fill was roughly 72x108. I wanted the offset shelves so I didn't need extra supports and it also had to be lifted off the floor because of a space heater. I used 12 inch melamine boards that I had the store cut for me because I have no experience. I used a drill for the first time and it came together very quickly. I used 14 inch pre-made legs that I spray painted white.
My wife and I were looking for a dining table for our deck. We looked at a few to purchase but could not decide. I wanted something that would not take up a lot of deck space. When the Facebook post for the "Outdoor Bar Table" came up, it inspired me to try to build a similar table. I already had purchased a Kreg HD pockethole jig for a project I never got to (At least yet), so I figured construction would be pretty simple.
I should say my tables are loosely based off of Ana's plans, they served as a good reference. I lowered the table to 30" to match our existing deck chairs. I decided to actually build 2 half tables, so that when we were not using the table they could be set to the side of the deck. The back of each table is constructed with 2x4s so when the tables are put together it maintains the 4x4 look.
For the tabletop I had extra composite deck boards that I never used for the deck, so the depth of each half table was based on using 3 deck boards, with a 1/4" gap between each deck board. I used the same hidden fastener method I used on the original deck, so the deck boards are secured from under the table.
This being my first pocket hole project, there are a couple of small mistakes. 1) On the 45 degree trusses cut all 4 at the same time, then did the pocket holes. I missed the fact that I needed to drill 2 of the pocket holes on the opposite side. 2) I built the 2nd table back on top of the 1st table back so they matched. but I got mixed up when assembling the 2nd table so the pocket holes that should have been on the side facing the other table back, are facing the opposite side.
I did use Treated lumber for the table frame, and some of the pieces were still pretty wet, so we will wait until next year to paint the base.
We really like how they turned out, and that we still have almost all of our deck space when the tables are in the "Stored" locations.
Mon, 10/12/2020 - 09:54
I love your creation and the use of deck boards for the top, thanks for sharing!
Mon, 10/12/2020 - 20:50
I should say Thank You for all your sharing, which made this project possible!
The doll size version of PB camp bunk beds with a solid head and footboard made to mimic the real life size version. I made these bunks to match the life size version which the girls have in their ski house complete with matching quilts using the same fabric from their bedding.
My wife needed a new bookshelf in her classroom so I took this plan and customized it. She wanted three shelves and to be able to fit a three ring binder on the shelves upright. I mitered the top to have a finished edge all the way around the top. I ripped about 1/4" off the back of the two middle shelves so I could put the back planking inside and flush. I patterened 1x2's and 1x4's on the back to give a cool look.