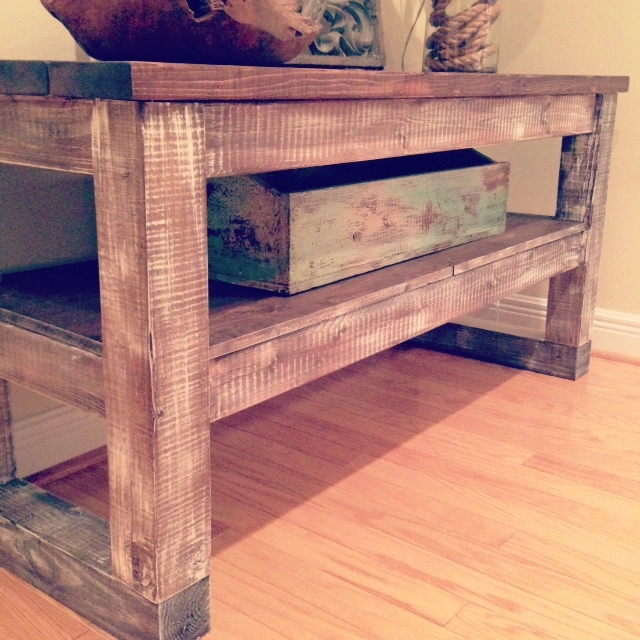
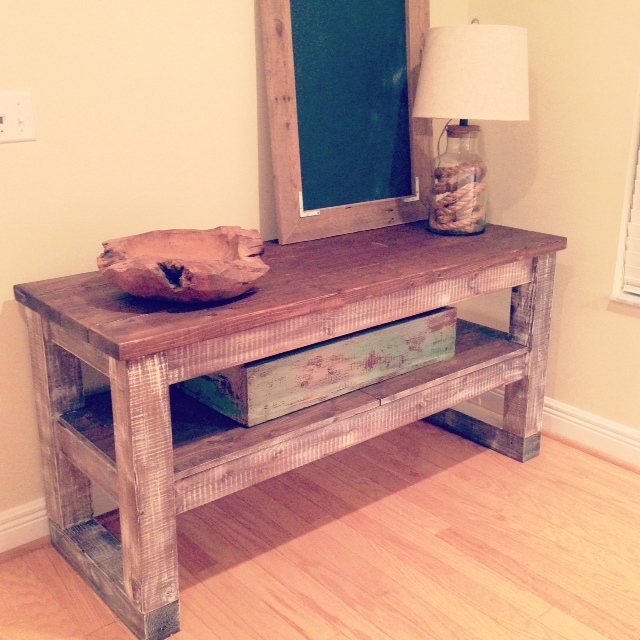
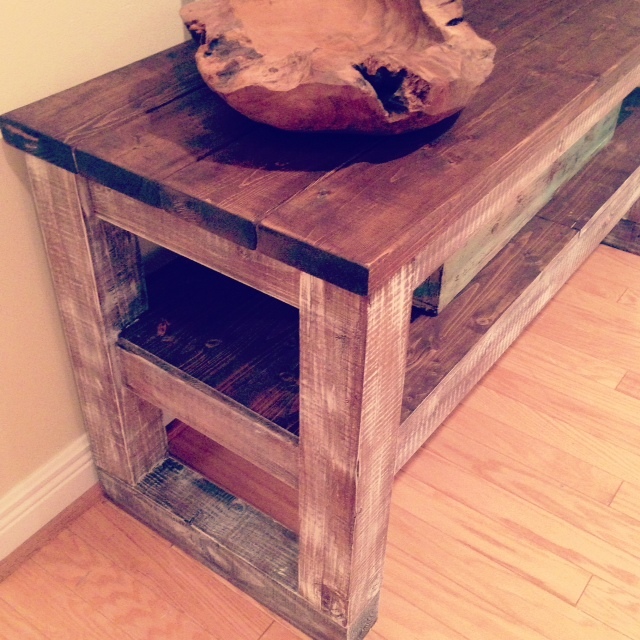
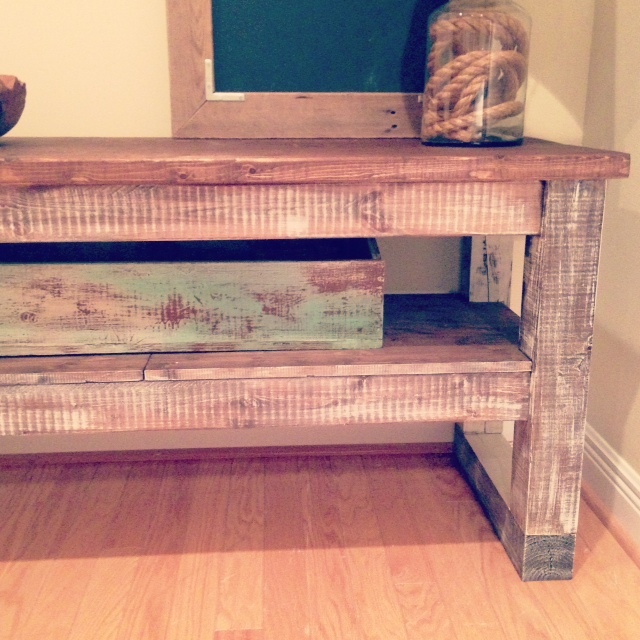
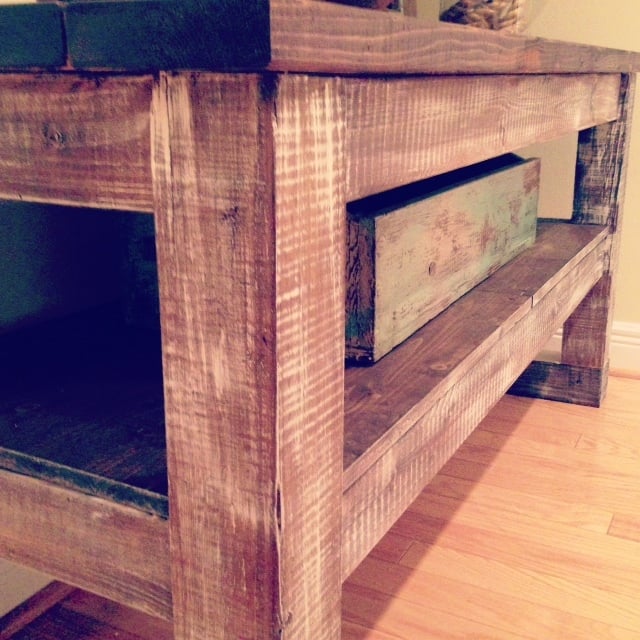
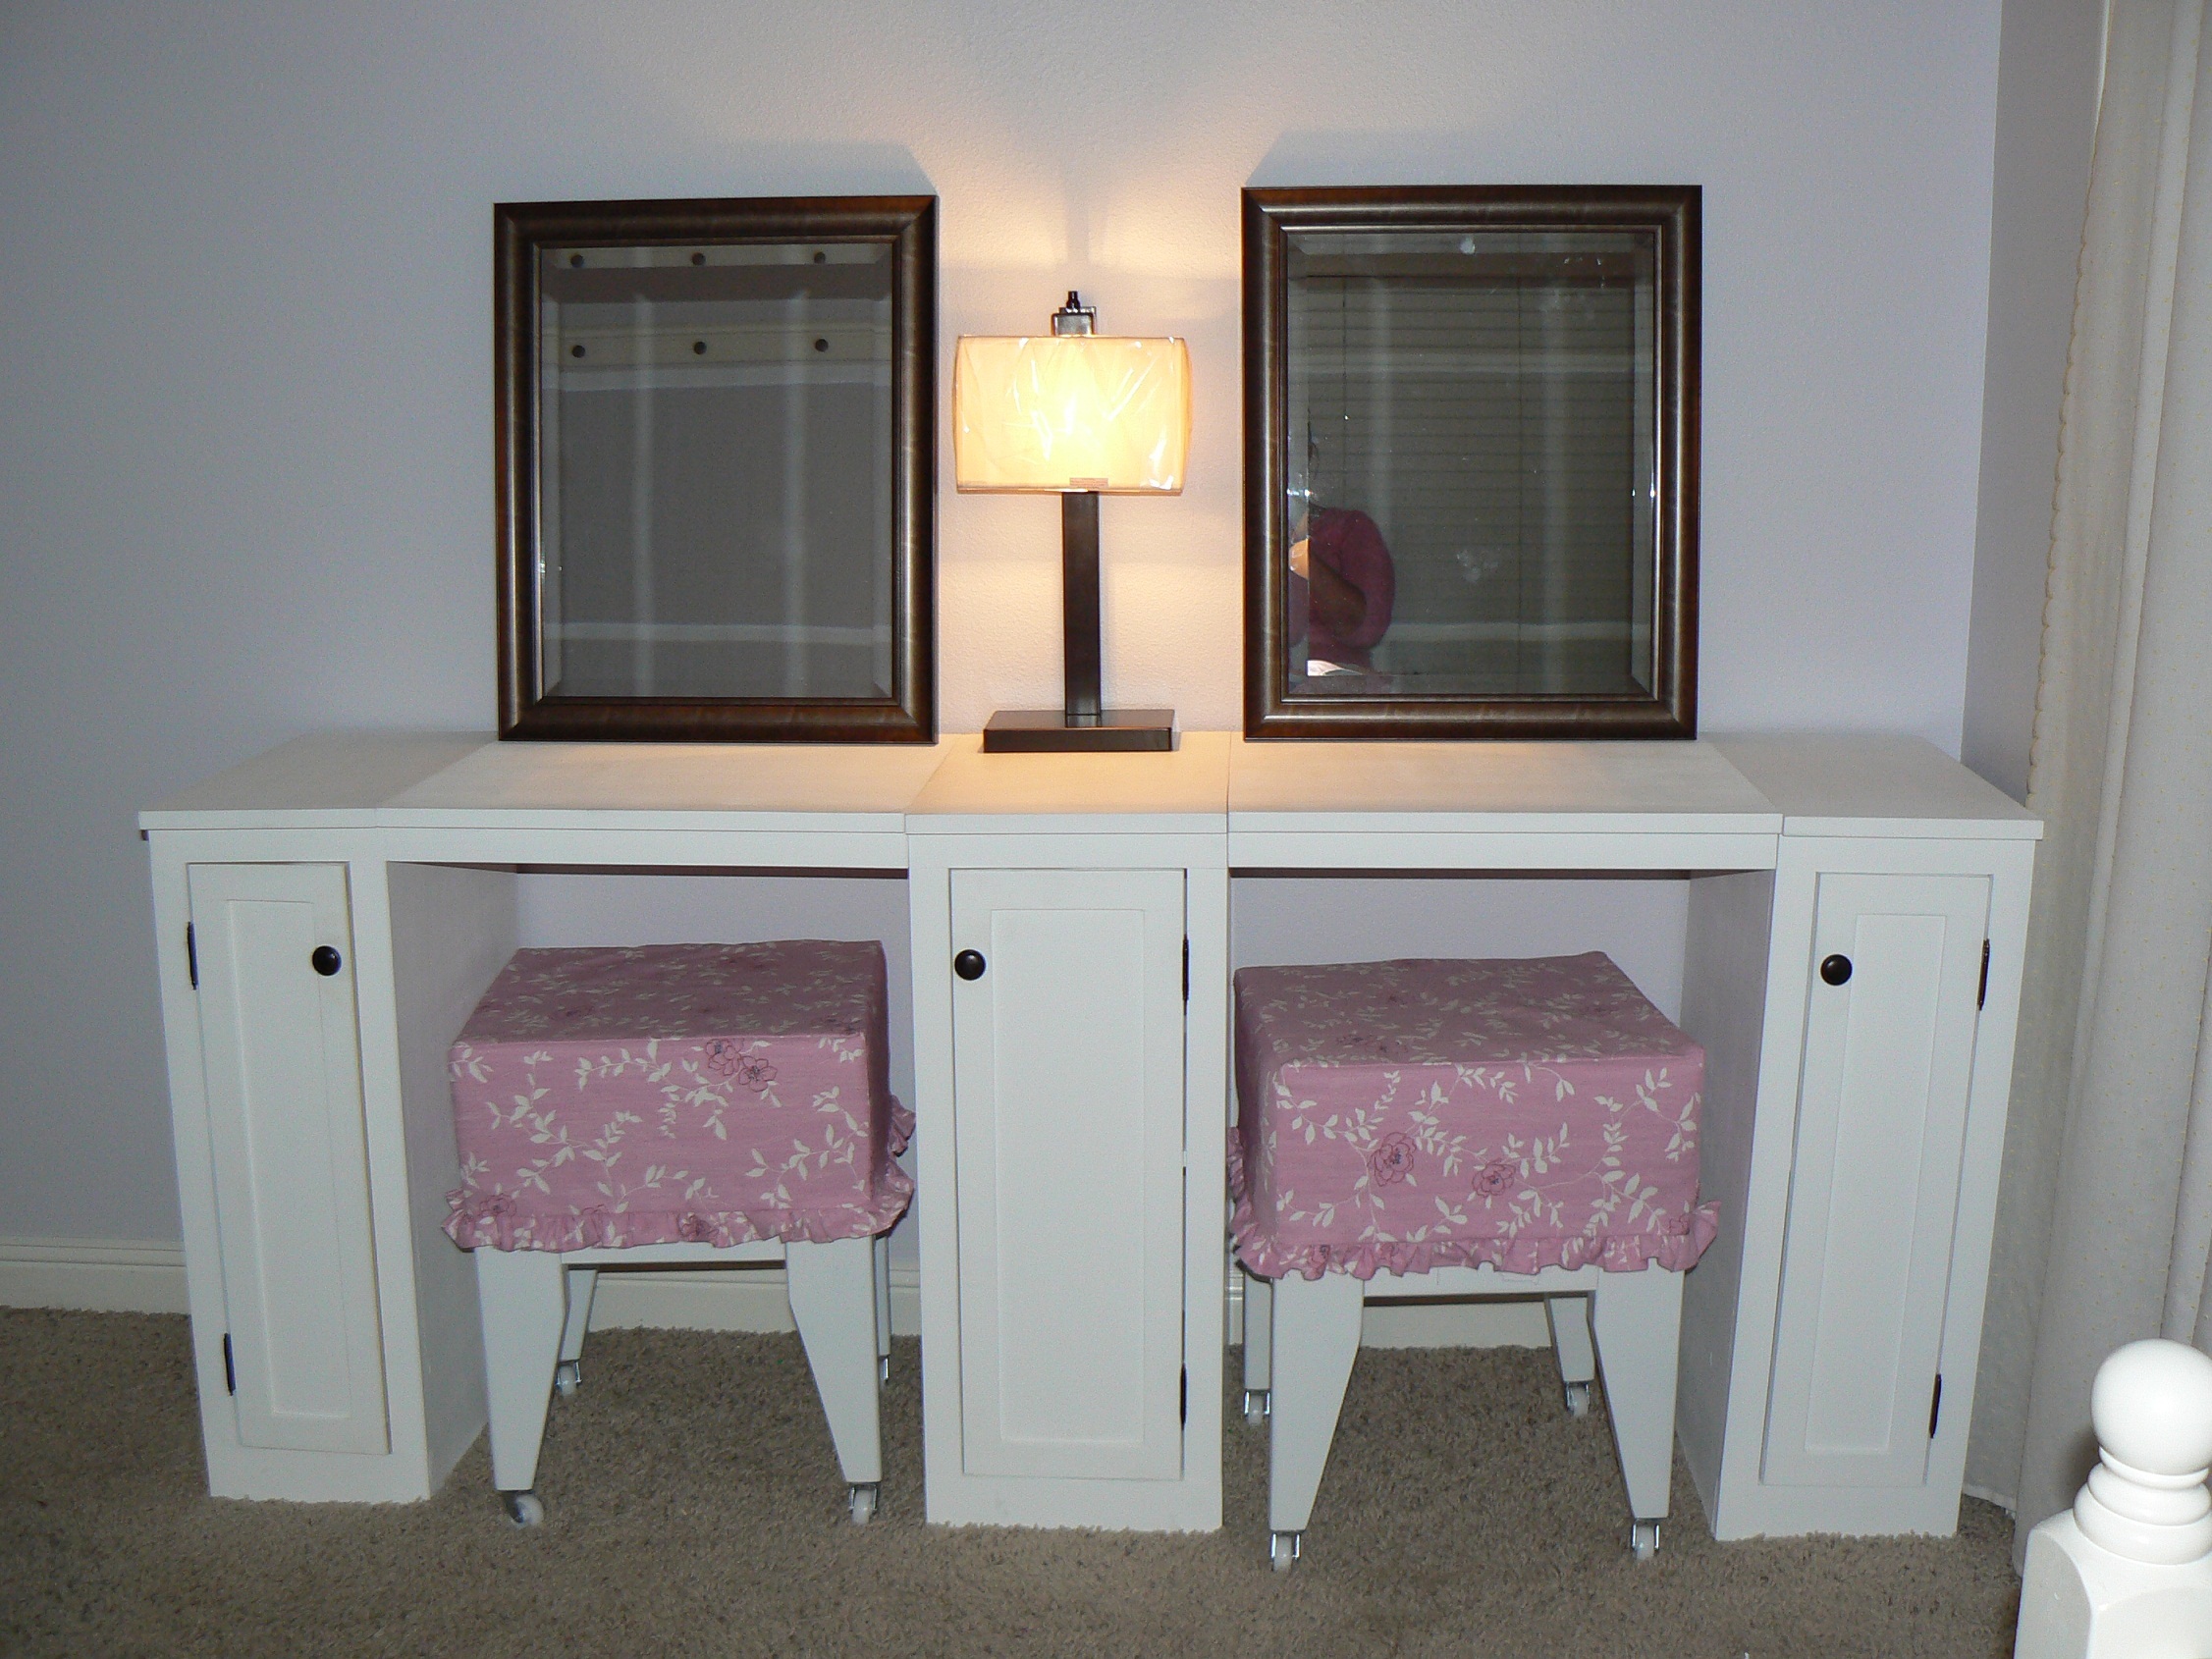
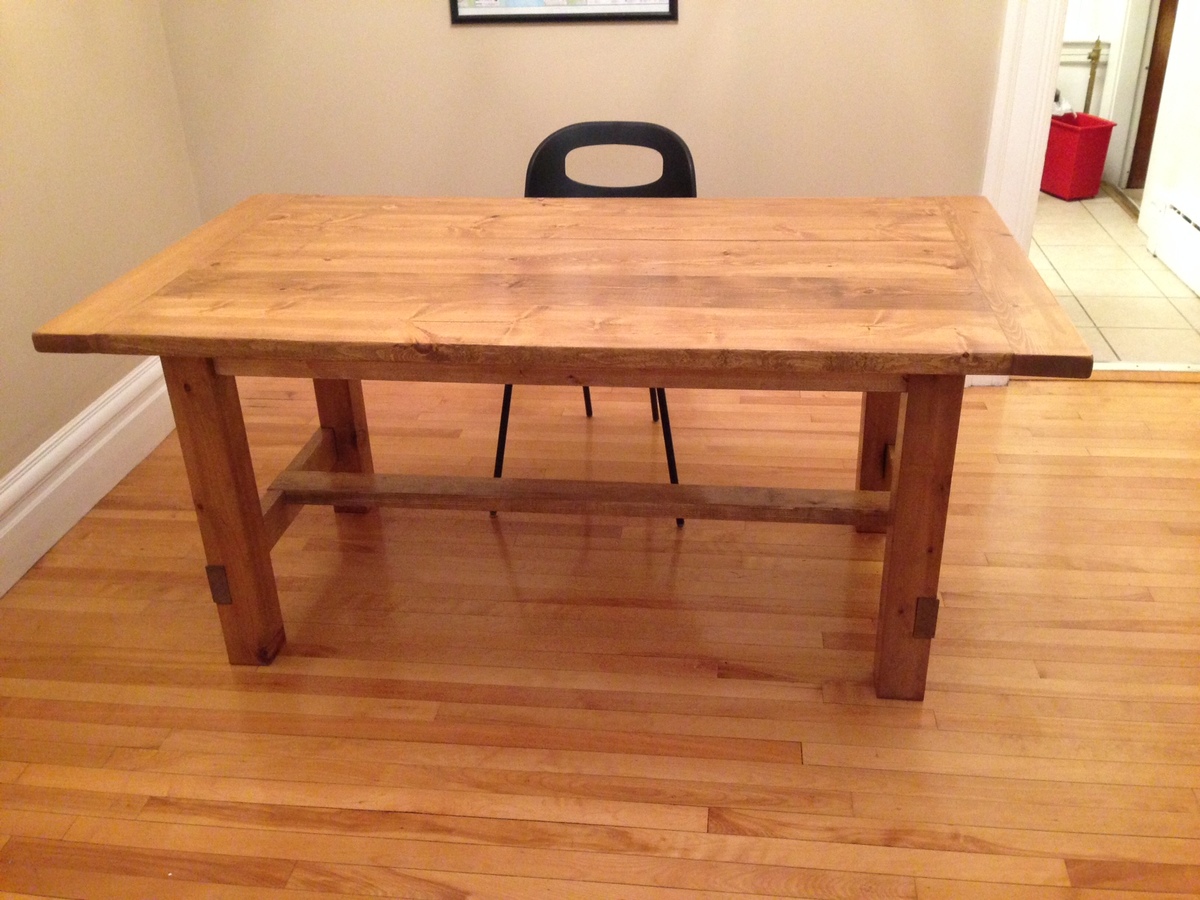
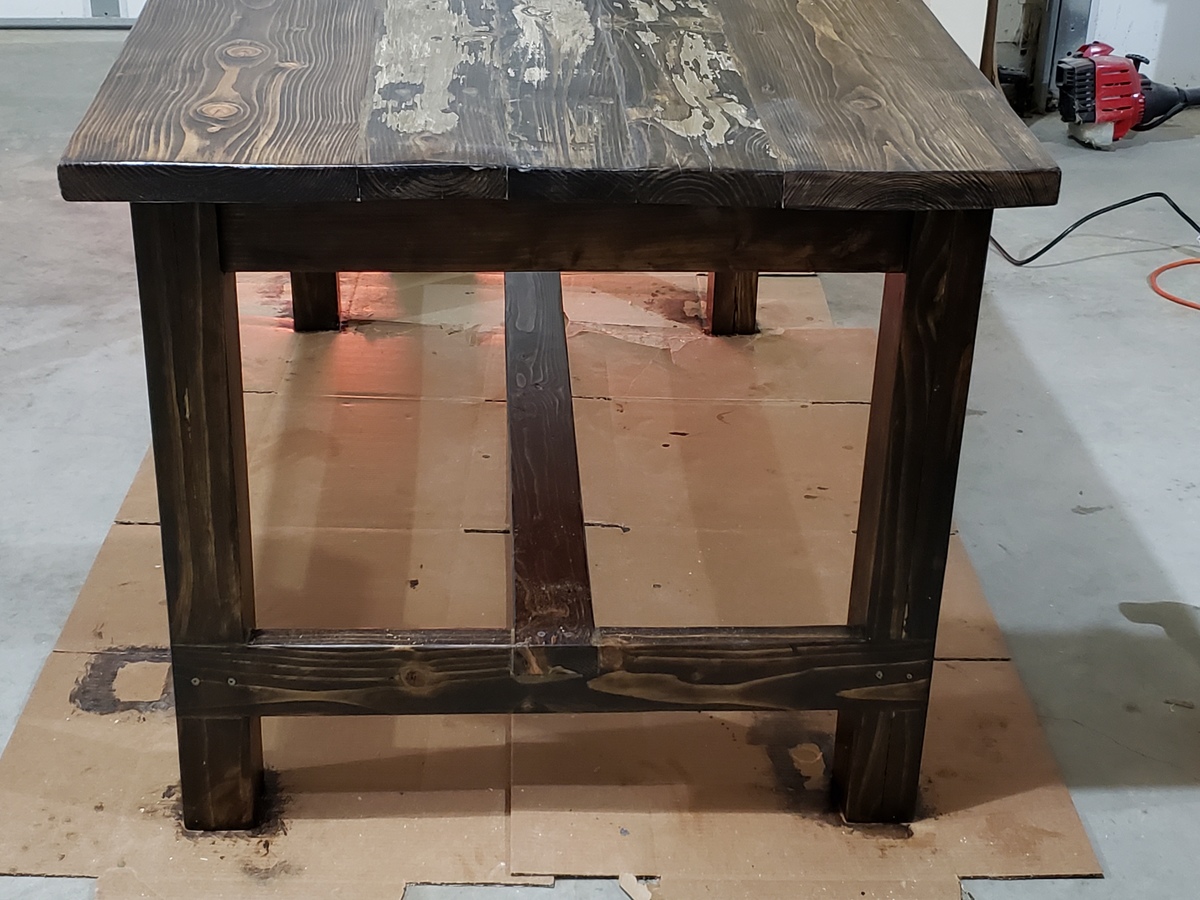
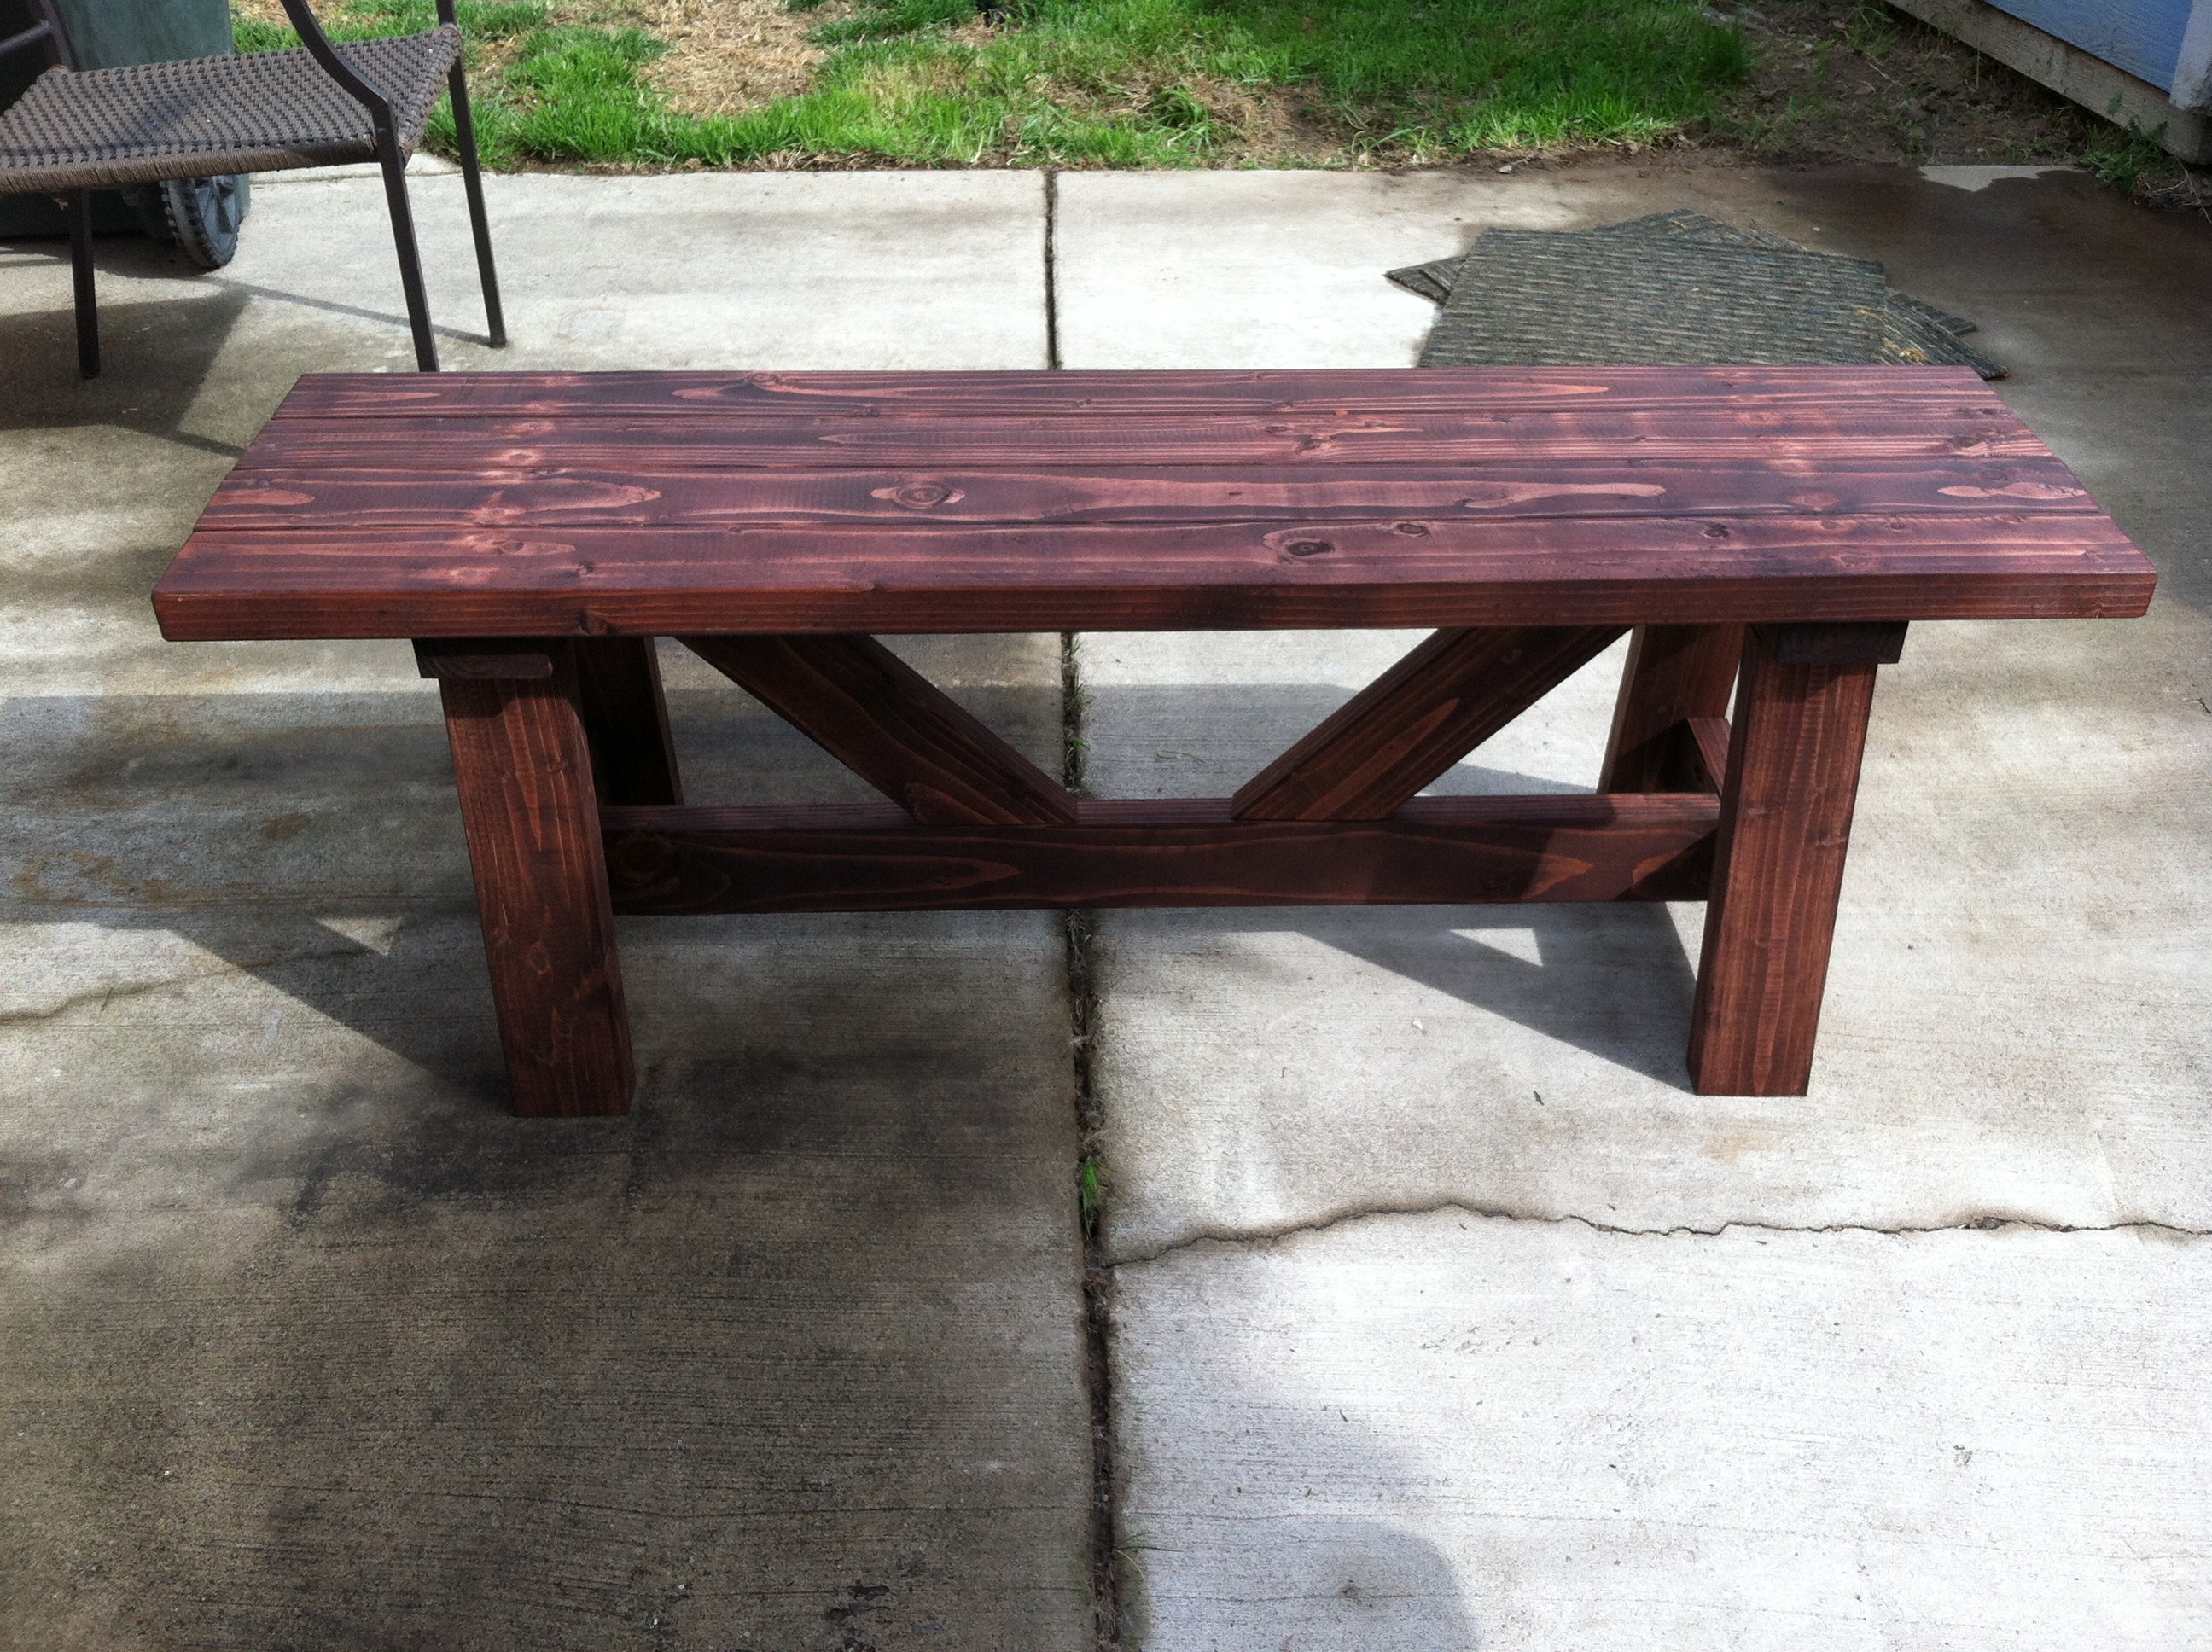
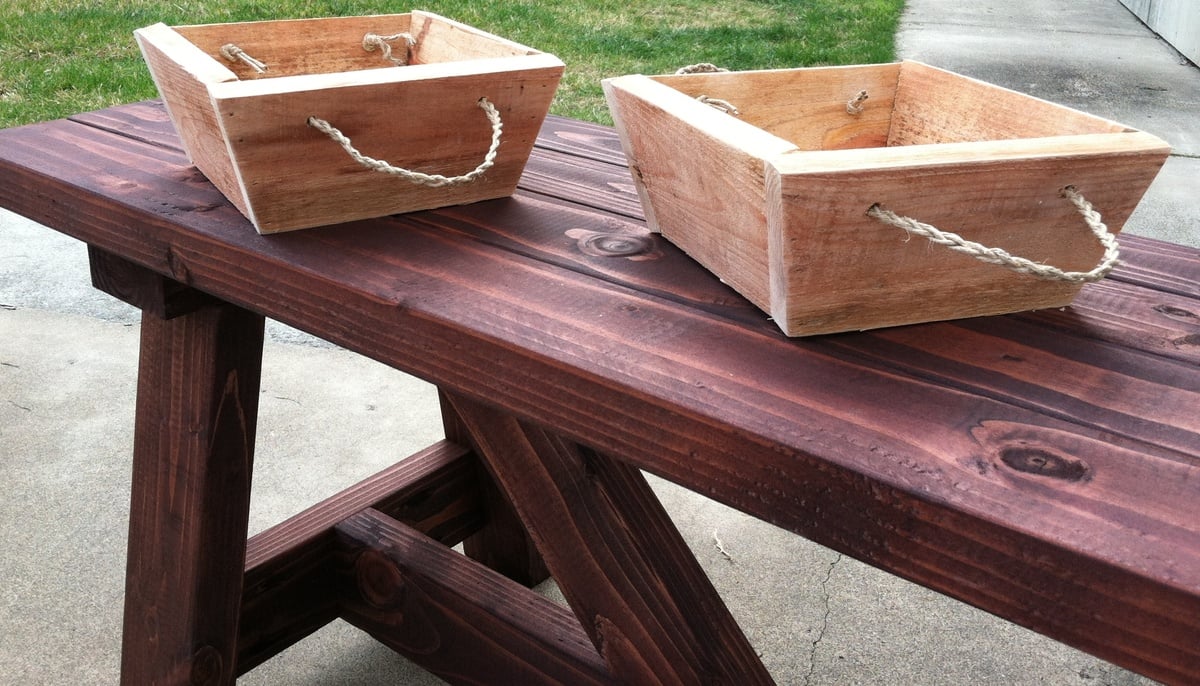
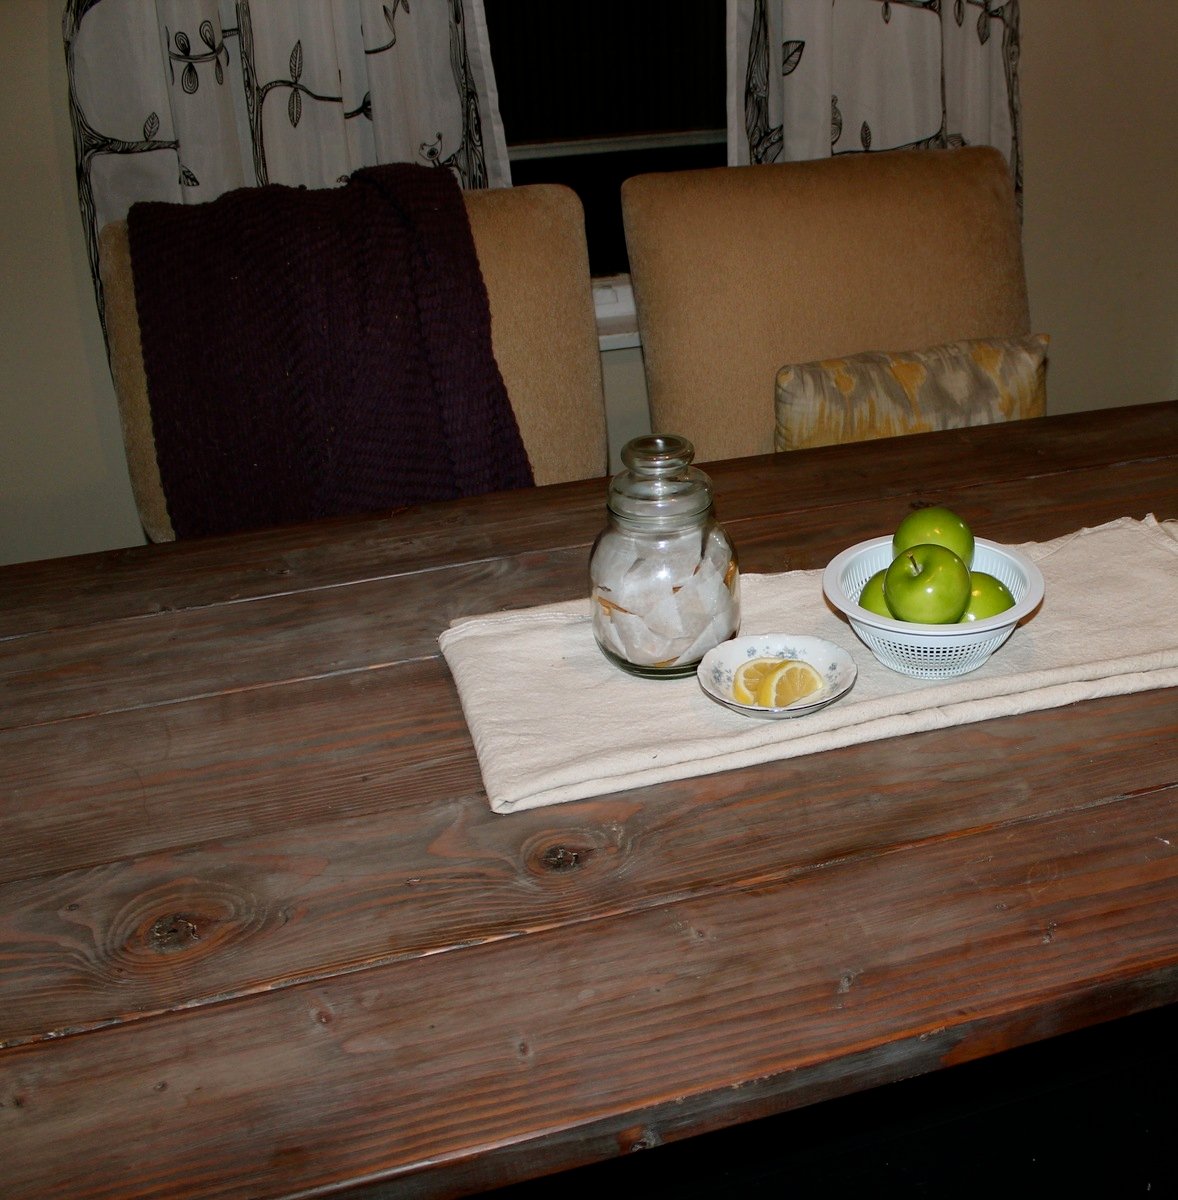
Taylors console
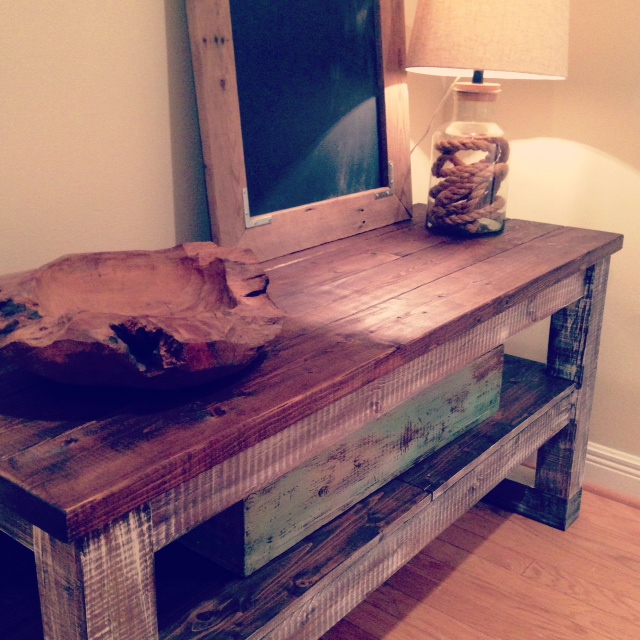
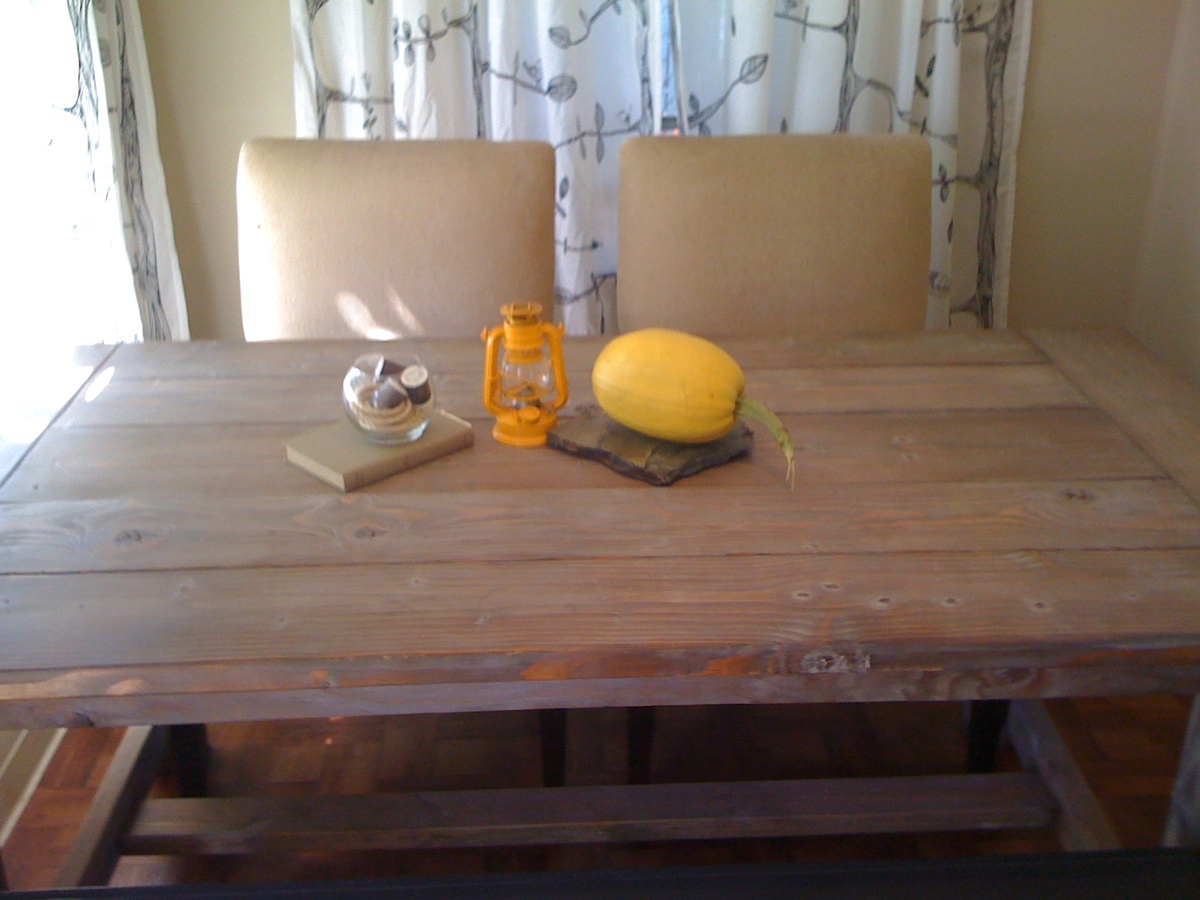
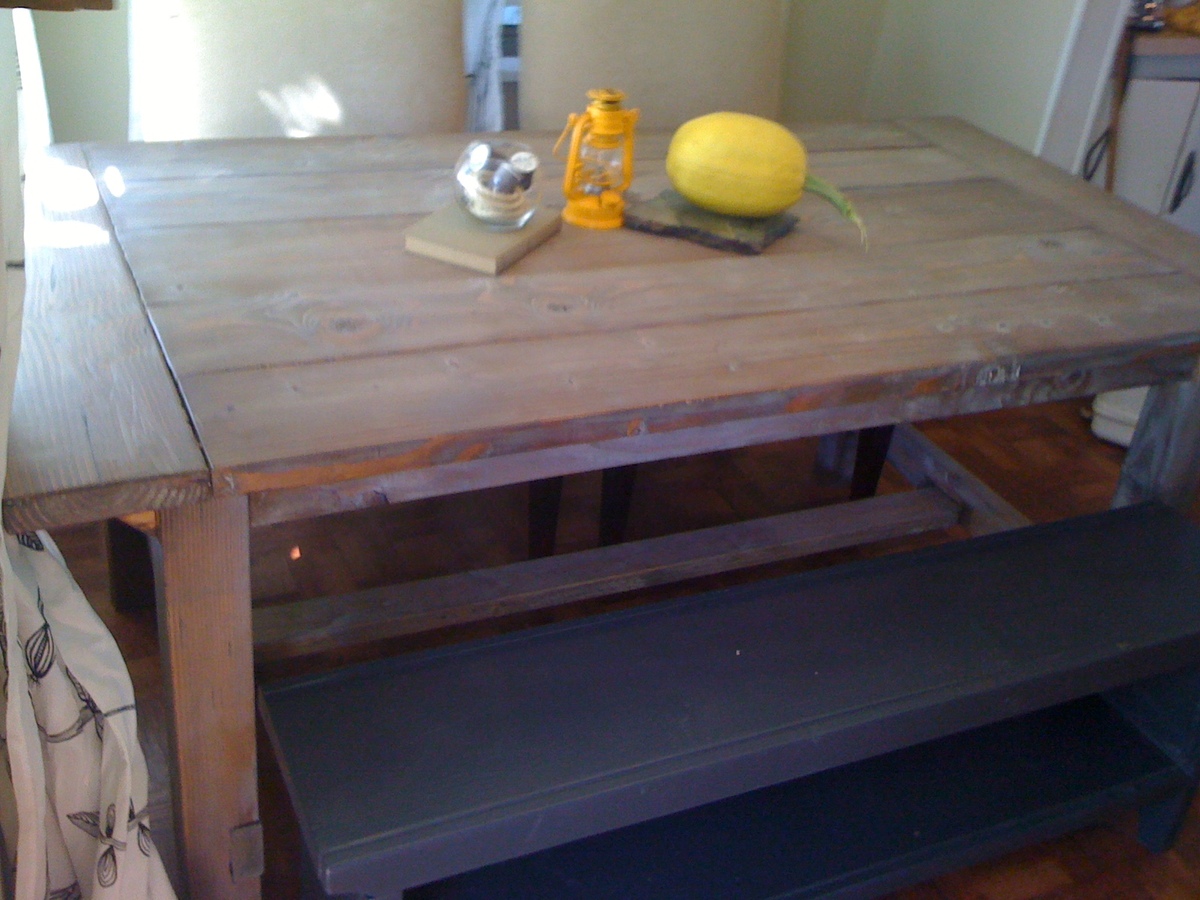
Loved working on this table. An easy build for sure. Couldn't find wheel casters that I liked so had to use another 4x4 to give it height. Will be building another one soon :)
Thank you so much for sharing the plans.
Built from Plan(s)
Estimated Time Investment
Weekend Project (10-20 Hours)
Finish Used
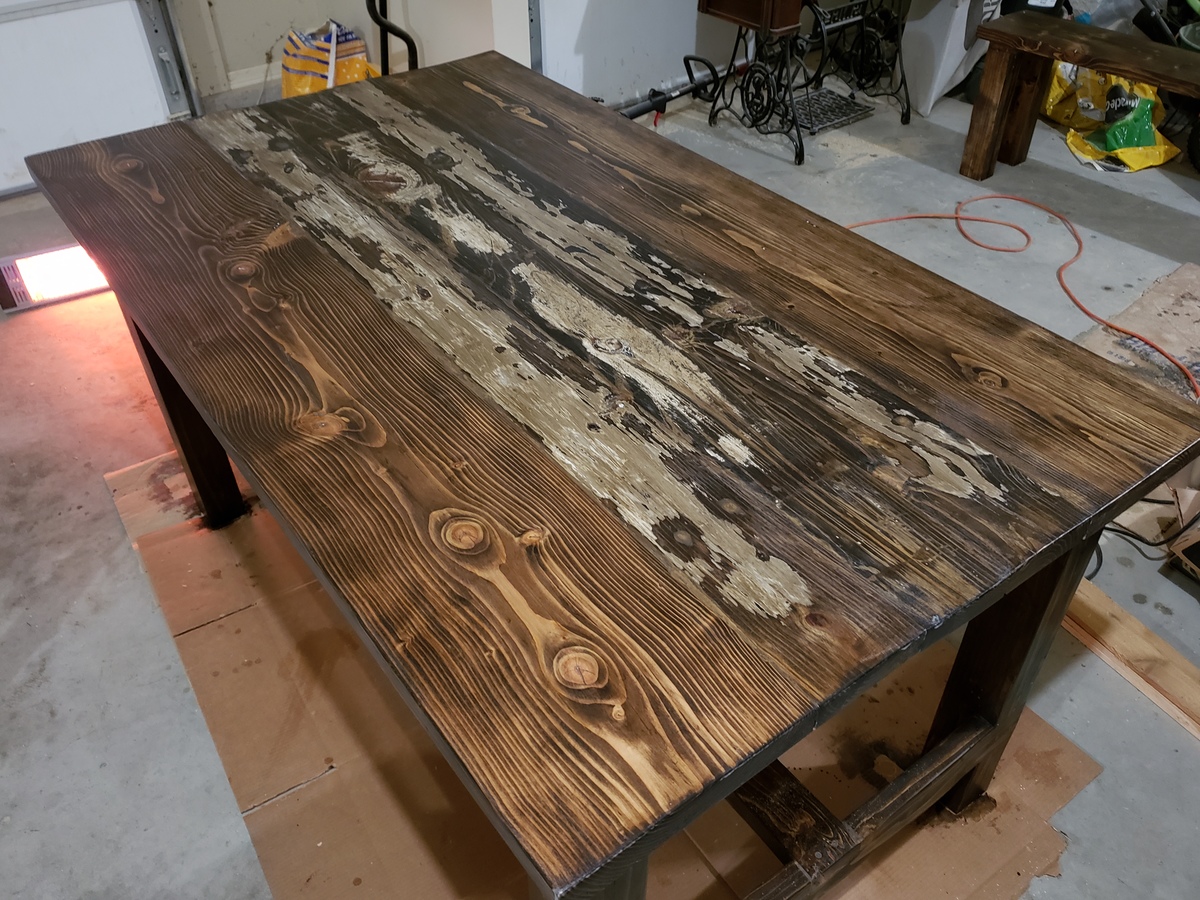
Stain and wry brushing
Recommended Skill Level
Starter Project


Comments
Val Manchuk
Sat, 09/21/2013 - 08:15
Unique Finish!
I love how you finished your project!
And the 2x4's across the bottom really make it look solid.
Val
artsybuildinglady
Juanita_r
Mon, 09/23/2013 - 05:40
Love the finish, could you elaborate
Love the finish, would it be possible to elaborate on how you got it to look so AWESOME!!! Did you just brush on the stain and the use a wire brush????
KSmith123
Mon, 12/30/2013 - 19:28
Hi! What color stain did you
Hi! What color stain did you use and technique? It looks beautiful! Would love to make something similar!