Community Brag Posts

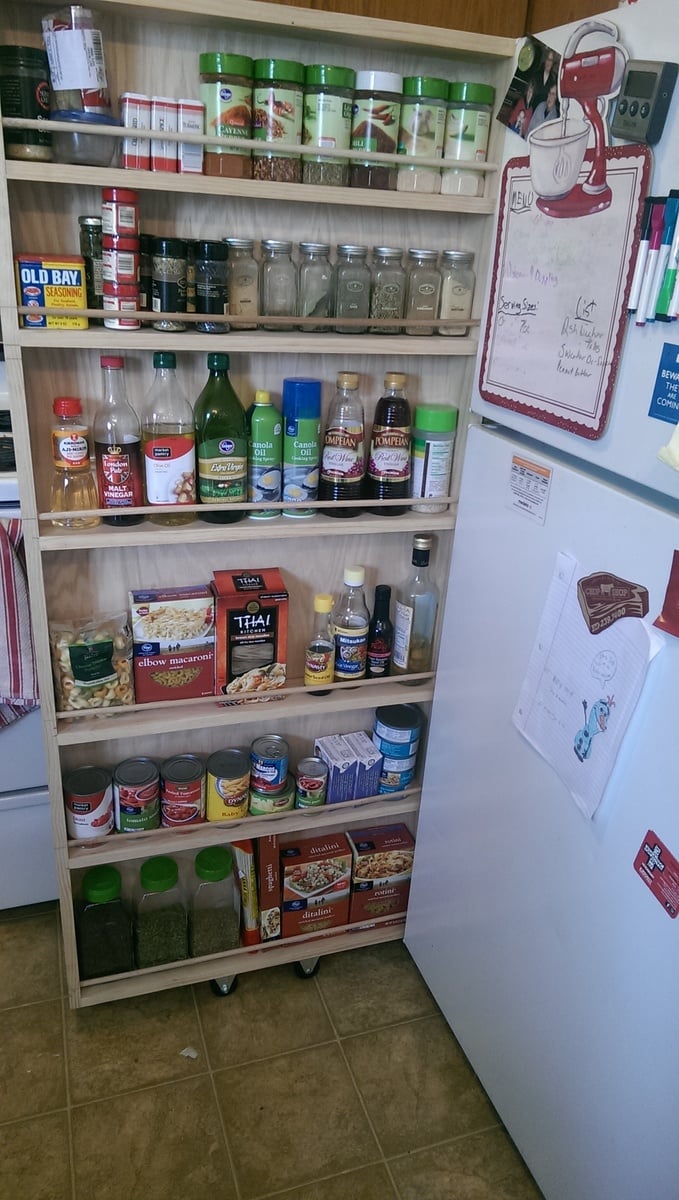
Mobile Kitchen Pantry

Submitted by webjr on Wed, 01/07/2015 - 19:56

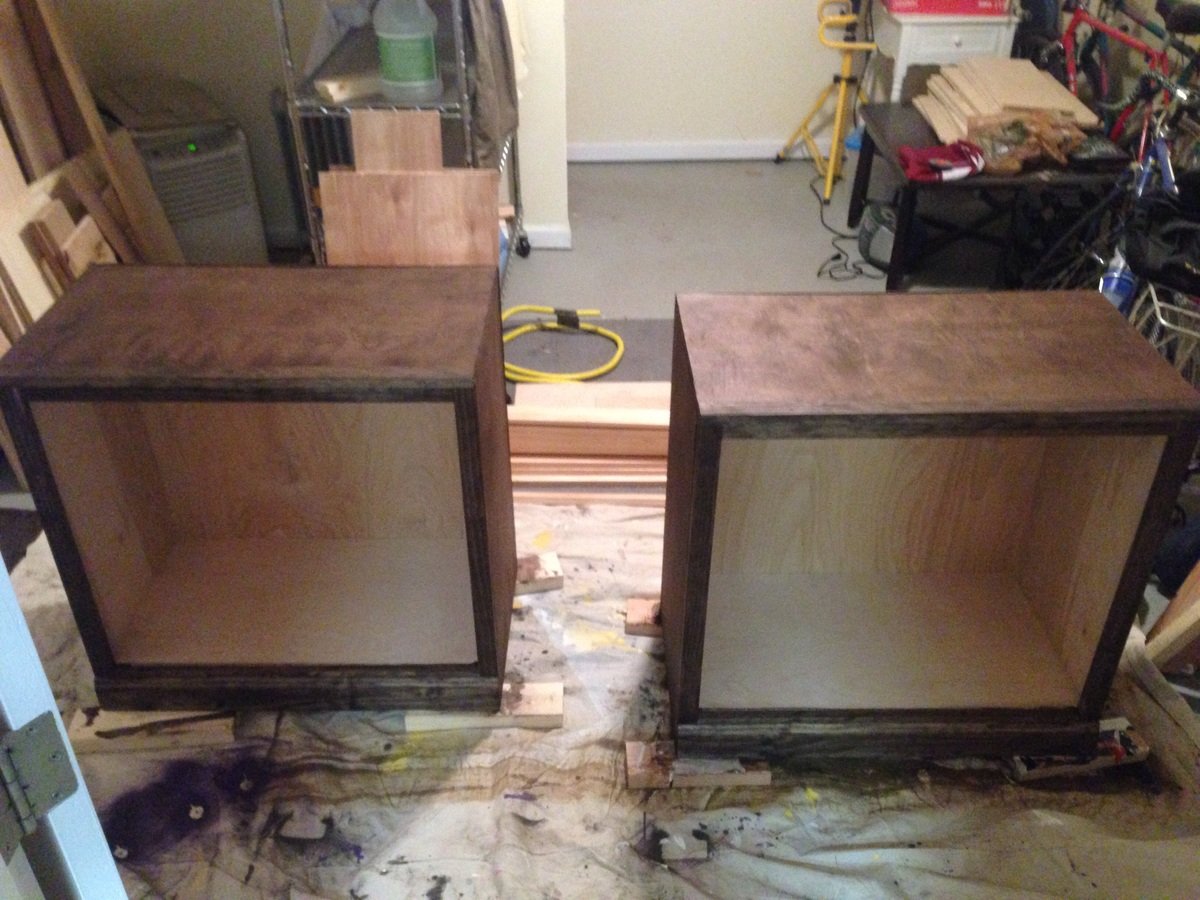
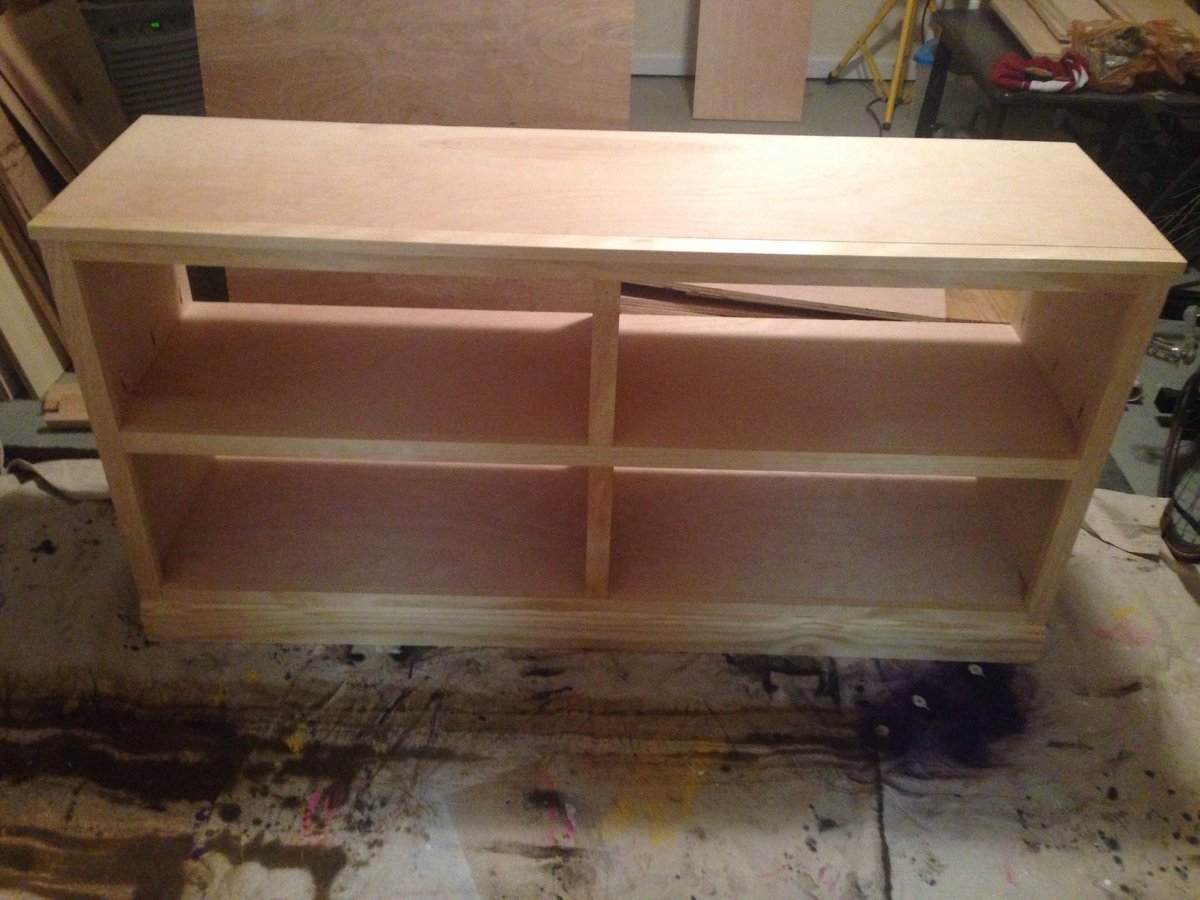
I made a version of the "DIY Rolling Pantry - Classy Clutter" project, but I sized my shelves differently than in the original photo. This is an easy starter project for just about anybody. It is full of counter-sunk butt joints and can be constructed in a single afternoon or evening.

We couldn't apply any finish because it is too damn cold.

The frame is 59"x26" to match the size of my fridge (minus the door). Add in the casters on the bottom and it matches my fridge perfectly.

Materials Used:
- 4, 1x4" select Pine boards
- 1, 4'x8' sheet of Red Oak plywood
- A bunch of 1 1/2" wood screws
- A bunch of nails

Estimated Cost
$50
Estimated Time Investment
Afternoon Project (3-6 Hours)
Finish Used
None at the time. It is too cold to finish in my garage shop right now.
Recommended Skill Level
Starter Project

Comments

webjr

Thu, 01/08/2015 - 13:33

To be perfectly honest, other than some stuff in shop class in middle school and the quick work table in my garage, I hadn't done any woodworking in my life. I have the tools, but I never just sat down and did it. It was a learning experience. I can't wait for my next project.

Counter stools for our breakfast bar

Submitted by Anonymous (not verified) on Sun, 04/09/2017 - 15:48

I made these to use as counter stools for our breakfast bar. They're shown in the pics at our outdoor grill island but that's only until the finish dries completely. I built the set of three in "assembly line" fashion - in other worlds I built 12 leg assemblies, 3 seats, etc and then assembled it all. Total it took me around 8 -10 hours to build all three. My 11 year old daughter even helped.  I taught her how to use the drill press and had her drill and countersink all of the pilot holes on the legs. I used pocket holes to attach the cross braces and the seats are attached with just wood glue. A pretty easy project and we ended up with a nice, simple set of counter stools.

Estimated Cost
$30 per stool
Estimated Time Investment
Day Project (6-9 Hours)
Finish Used
Minwax colonial maple for base; Minwax English chestnut for seats. Three coats of poly coat. The distressed look of the seats was accidental but we decided it looked nice so we stuck with it. For some reason I had a weird piece of pine that wasn't taking stain well (it was not drying after 24 hours). I ended up re-sanding and re-doing the stain only to have the exact same results. This time I tried wiping off the stain that wasn't drying with mineral spirits and it gave me this distressed look, which my wife and I decided looked nice, so we kept it.
Recommended Skill Level
Beginner

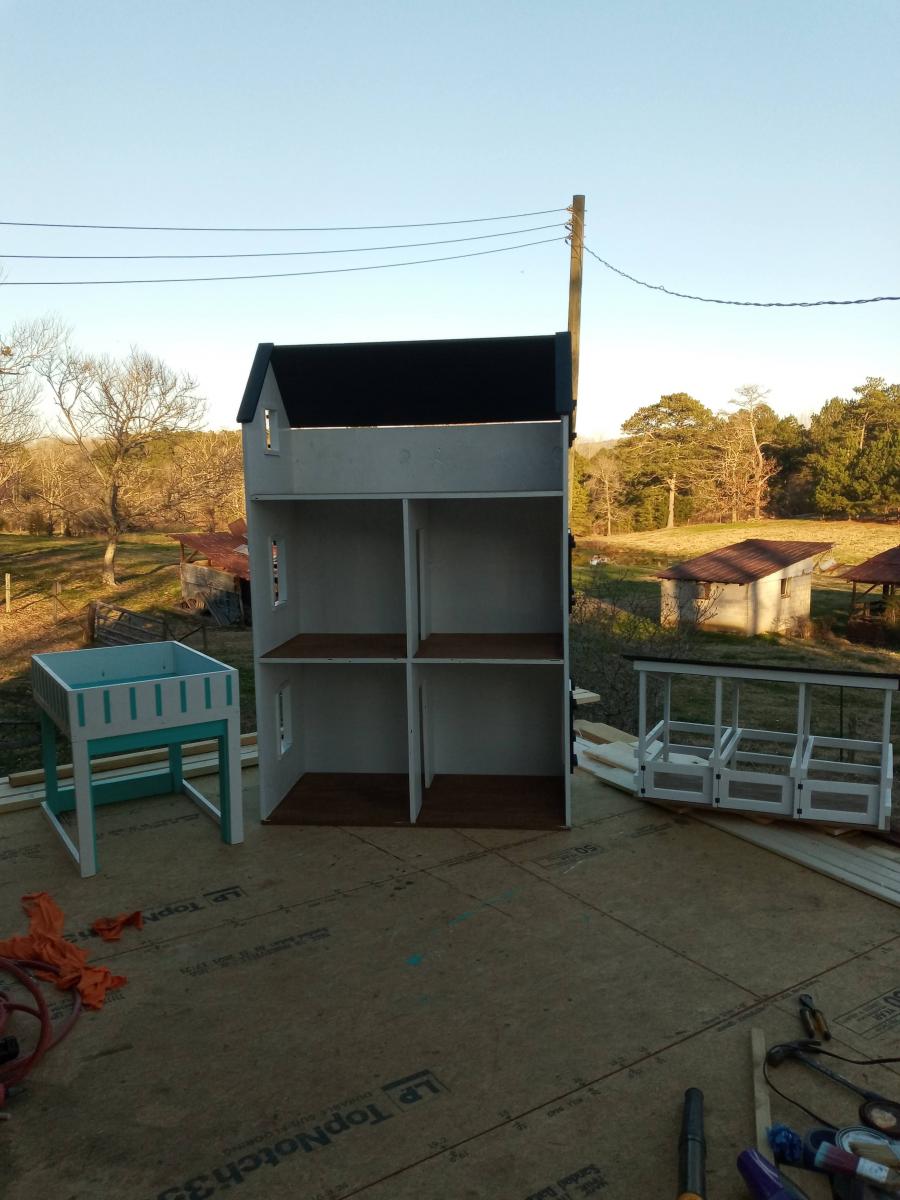
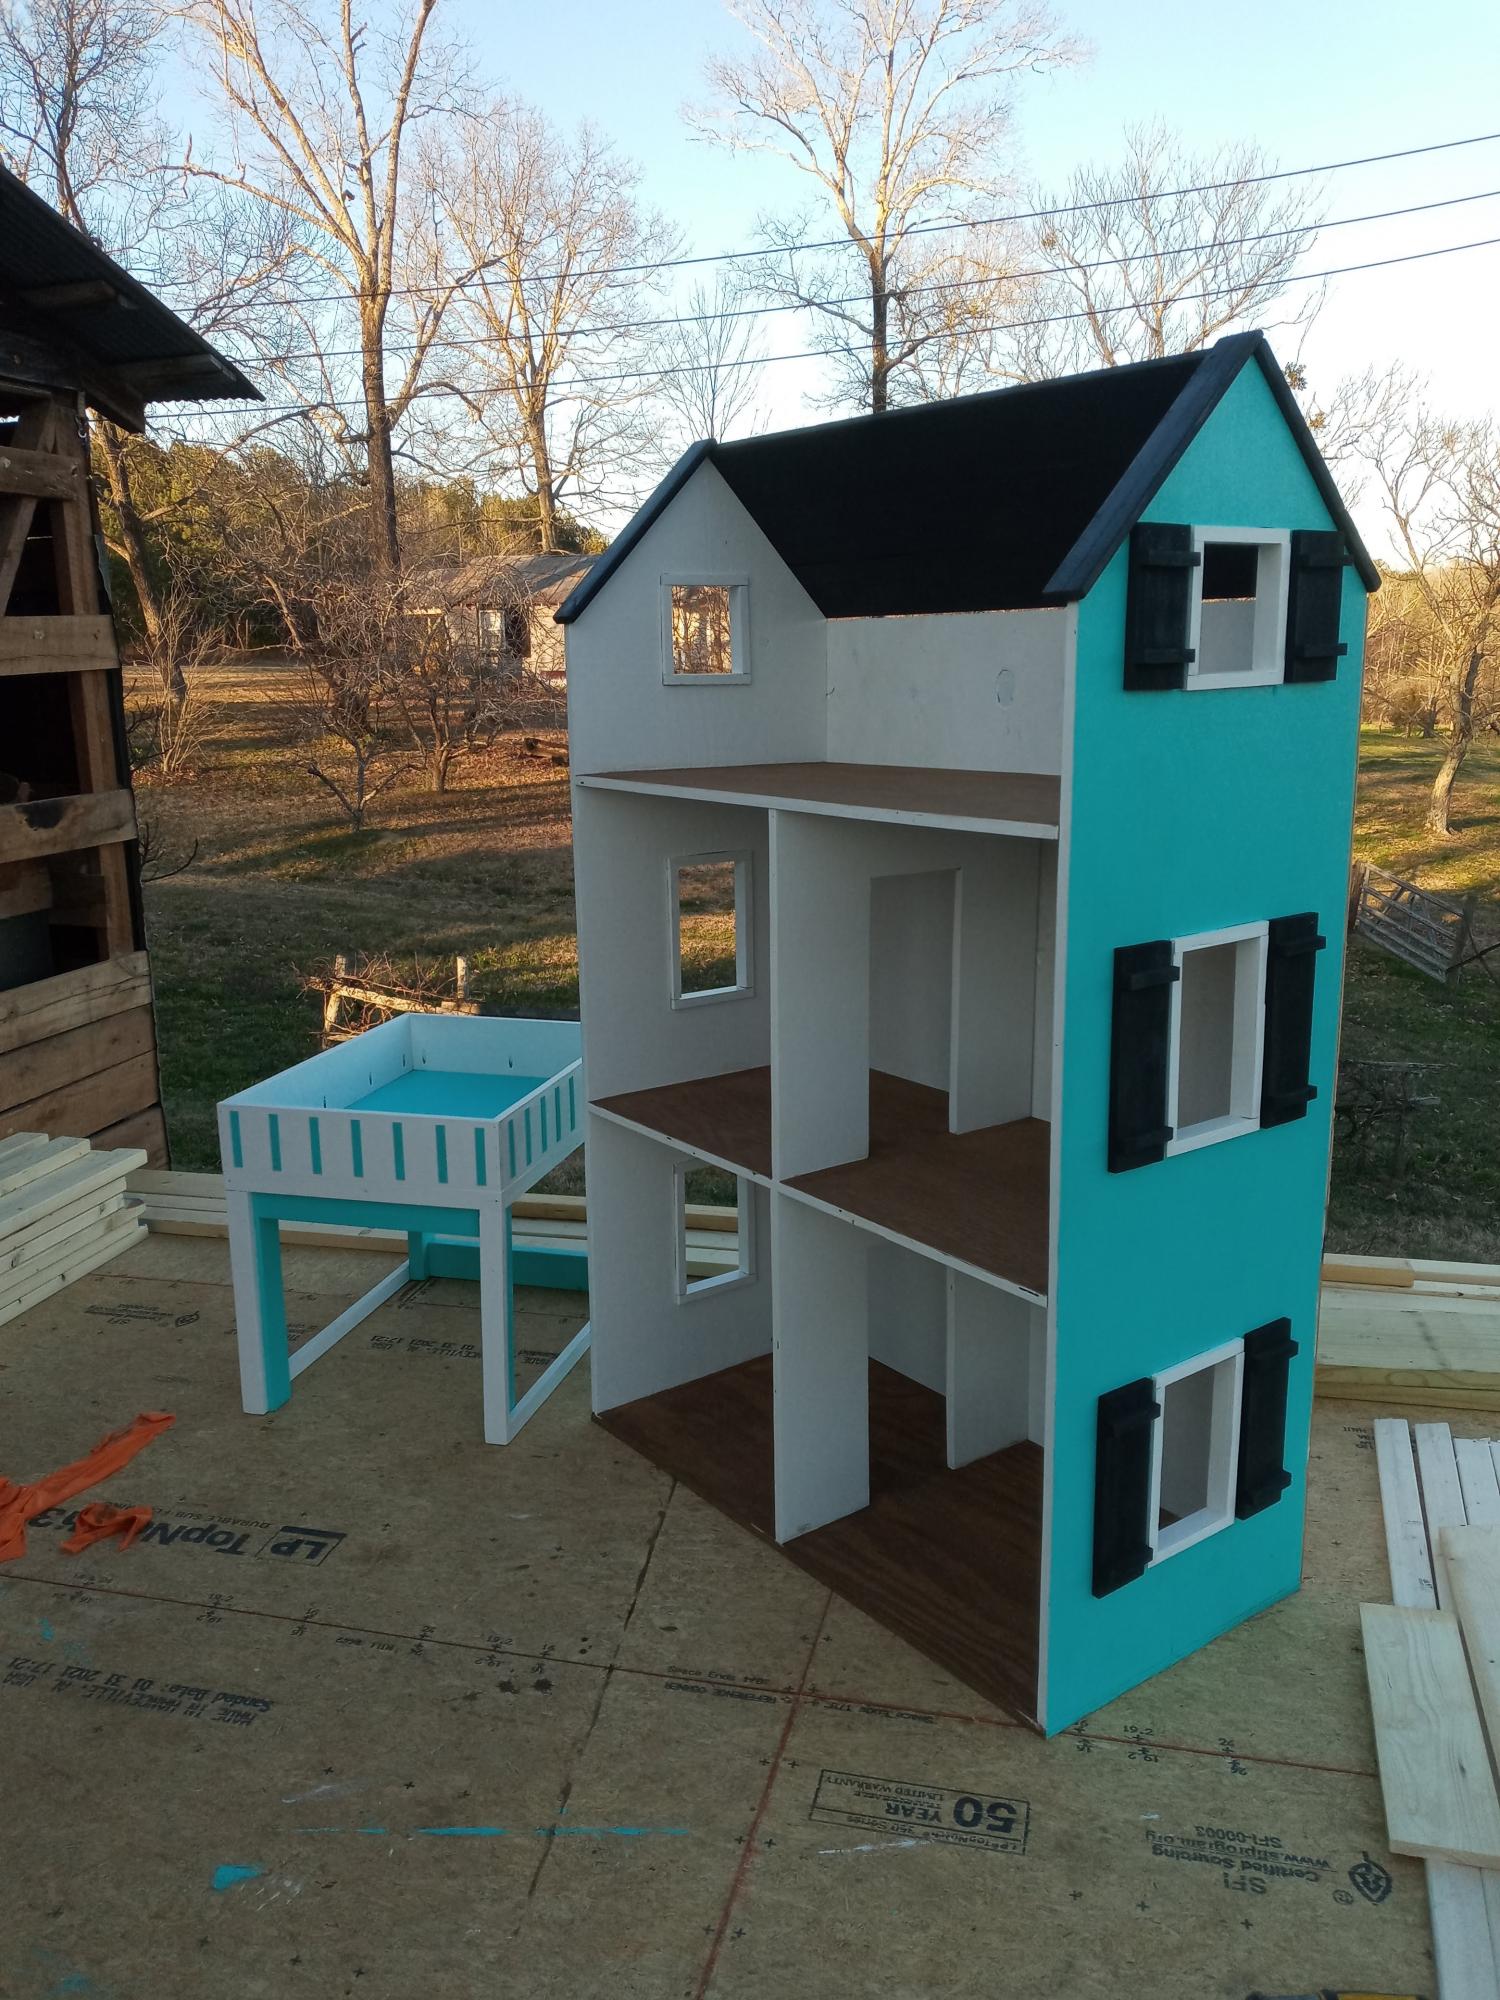
American Girl doll house with stable and carport

Really good plans helped make these.

Estimated Cost
500
Estimated Time Investment
Week Long Project (20 Hours or More)
Recommended Skill Level
Intermediate

Comments

My daughter and niece's new stables, they painted them themselves

my first project, the second went a lot easier. We are still waiting on the doors to dry to hang them but the girls are excited for their horses to have a place to sleep.

Estimated Time Investment
Afternoon Project (3-6 Hours)
Recommended Skill Level
Beginner

Comments

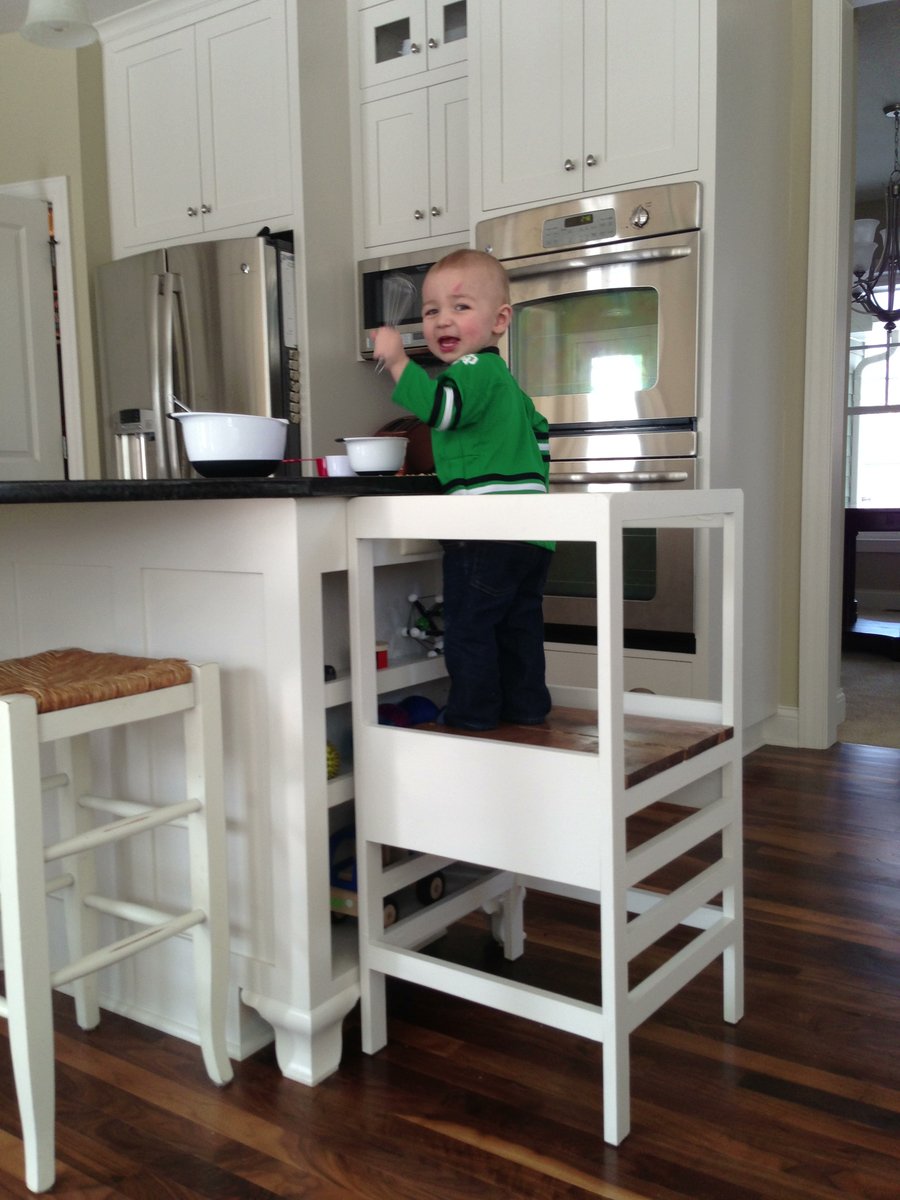
Simple under-counter helper tower

This was our first time using the kreg jig. We bought the recommended $99 one and boy was it worth it. Can see a lot of kreg jigging in my future! :) We cut the legs at 35" and omitted the arches so it can be stored under the kitchen counter. The crawl-in space is definitely a little tight, but he's getting the hang of it after just one day of practice. We built the tip resisters, but haven't added them yet. It seems sturdy enough without them for our cautious 17-month-old, but I suspect we'll have to attach them when he gets bigger and more rambunctious. We sanded the edges liberally, and notched the top four corners to avoid taking eyes out. We also added felt pads to the bottom of each leg so it doesn't damage our wood floors.

Built from Plan(s)
Estimated Cost
40
Estimated Time Investment
Day Project (6-9 Hours)
Finish Used
Tower is painted with Behr self-priming interior enamel color-matched to my kitchen cabinets. Platform is stained, then painted with a simple clear coat. I wanted them to blend in with the cabinets and coordinate with my bar stools.
Recommended Skill Level
Beginner

Comments

Arialvetica

Tue, 06/18/2013 - 20:07

The tower gets constant daily use. My son is now 20 months and pushes the tower around the kitchen to access counters and light switches. Definitely the #1 most used baby item in our home!

PotteryBarn Benchwright Console TAble

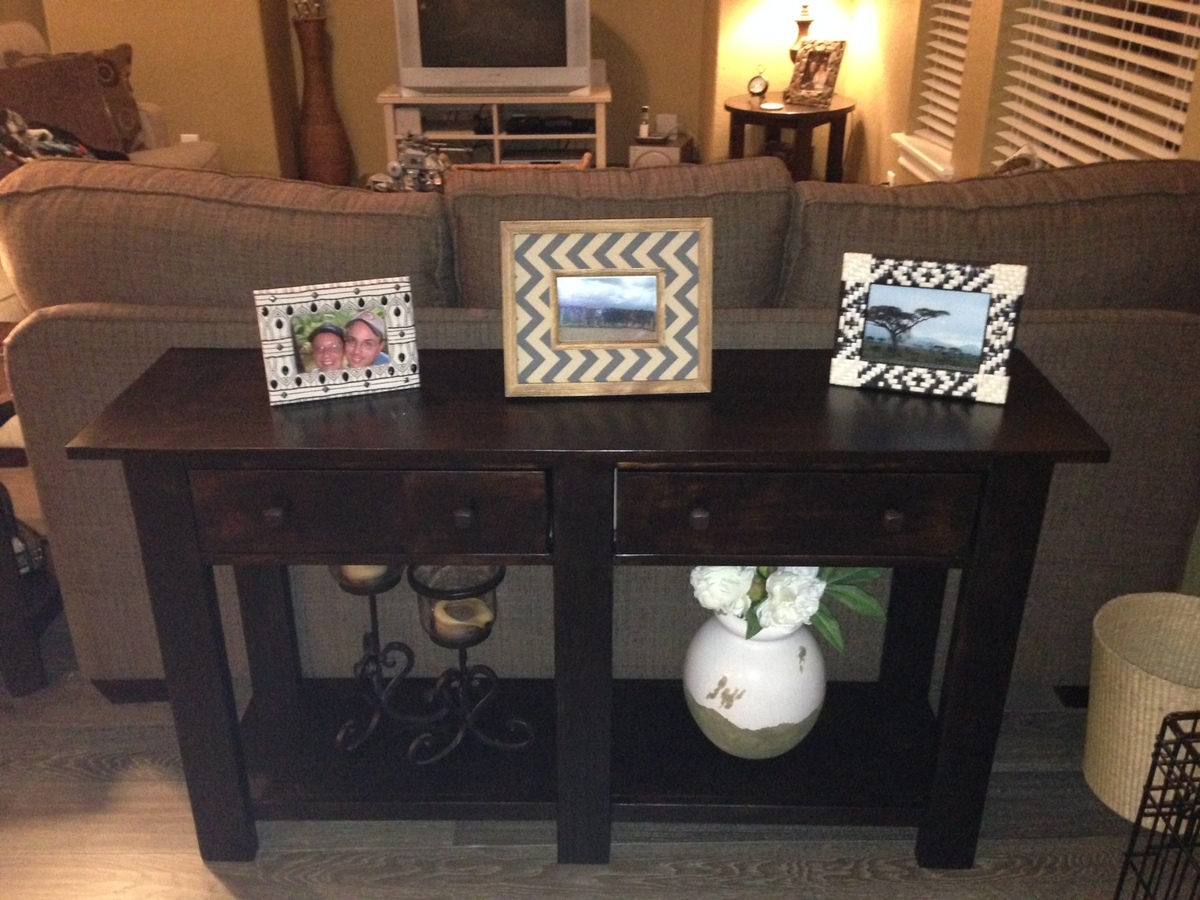
Great Plans for this project from Ana-White. Took about 1 day to fabricate, 1 day to sand/prep, and 1 day for stain. I used Espresso Stain finish (two coats), and knobs from Home Depot. Kreg Jig used for most all joints, including the breadboard top.

Built from Plan(s)
Estimated Cost
$160
Estimated Time Investment
Week Long Project (20 Hours or More)
Finish Used
Minwax "Espresso" Stain. Two coats.
Recommended Skill Level
Intermediate

Comments

Outdoor sectional couch

Submitted by Anonymous (not verified) on Sun, 04/16/2017 - 07:33

Thanks Ana for the plans, we love our new outdoor sectional. I was able to find Redwood for my project I think it gives it a lot of character. I have an idea to make a chair similar to this. 

Estimated Cost
$800 for the whole thing
Estimated Time Investment
Weekend Project (10-20 Hours)
Finish Used
Preservation Wood oil stain and sealer. Clear
Recommended Skill Level
Beginner

Comments

Garage shelving to fit workbenches

Submitted by jamesjill on Wed, 03/17/2021 - 20:40

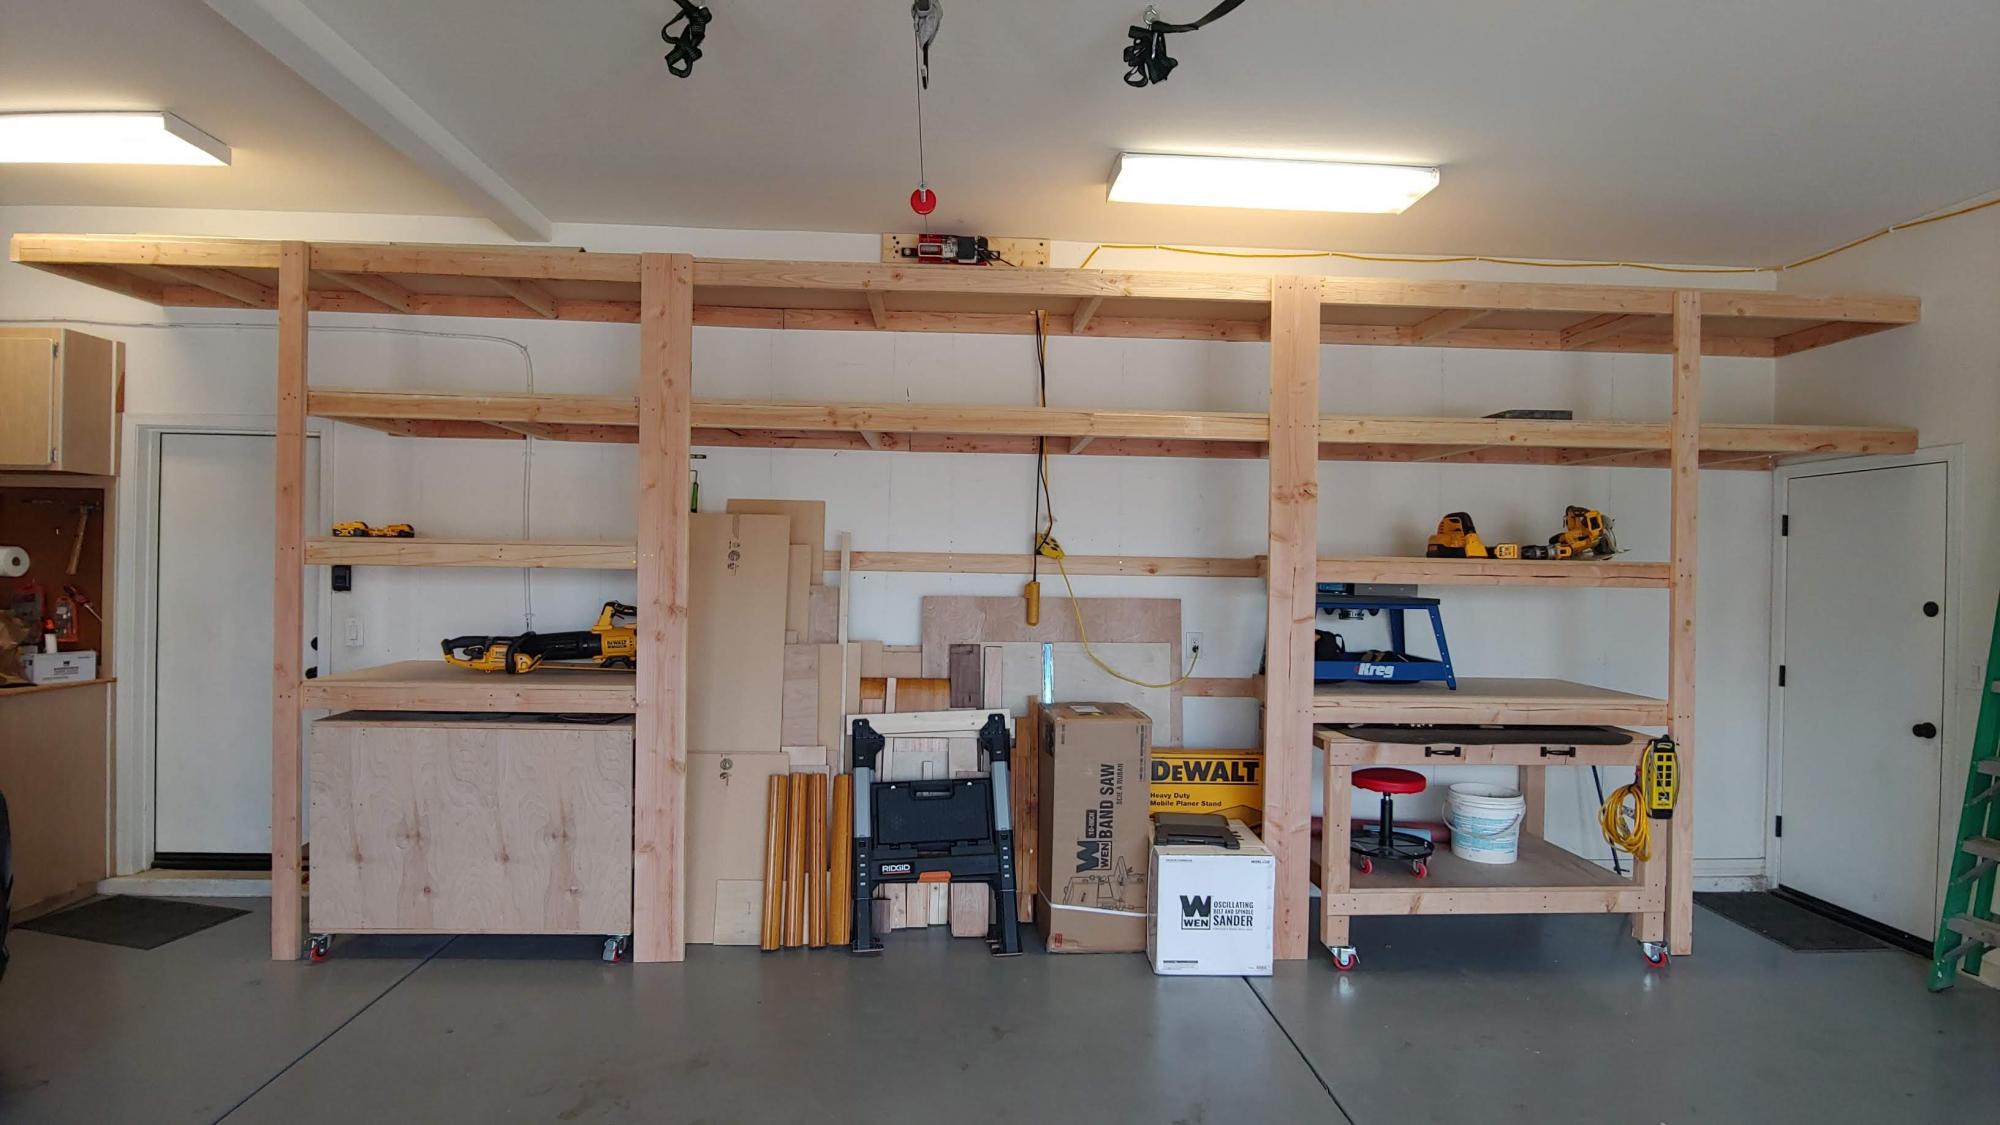
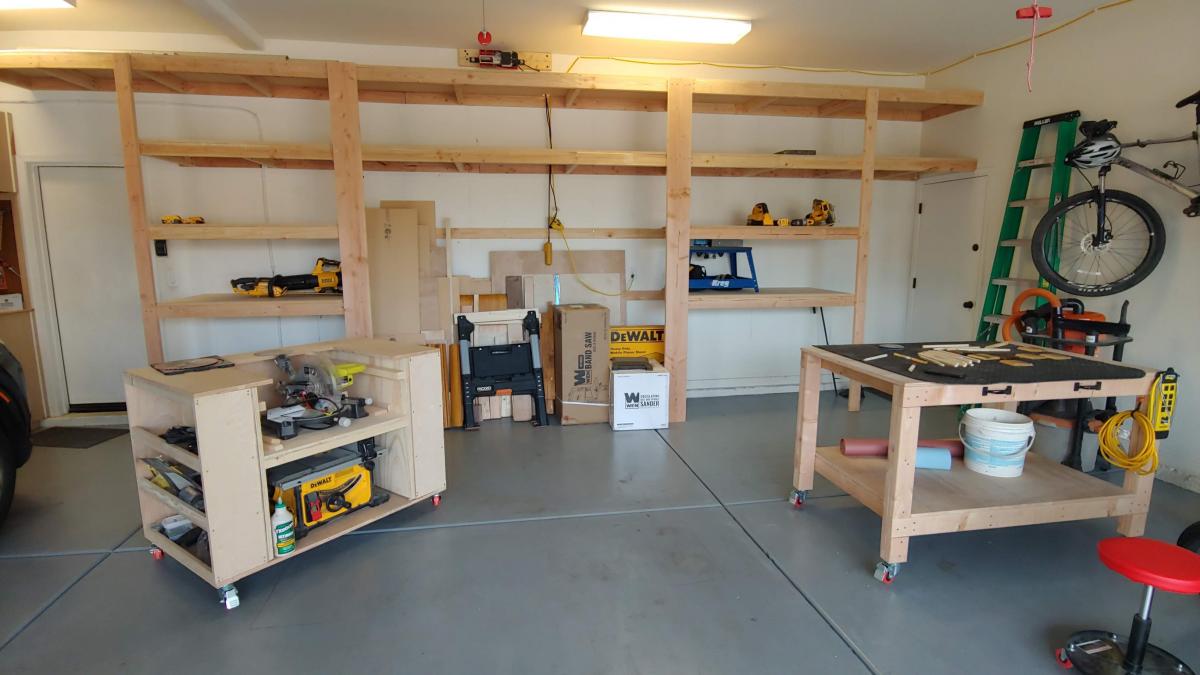
Garage shelving fit to allow workbenches to slide under when not in use.

Estimated Time Investment
Weekend Project (10-20 Hours)
Recommended Skill Level
Intermediate

Comments

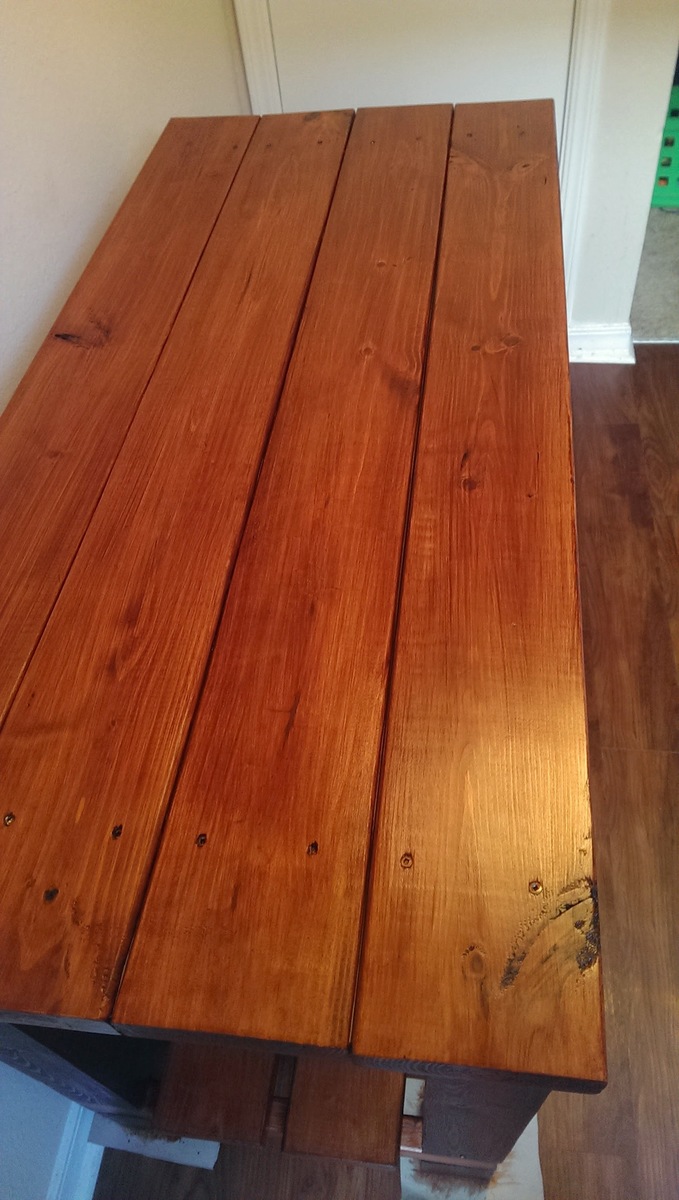
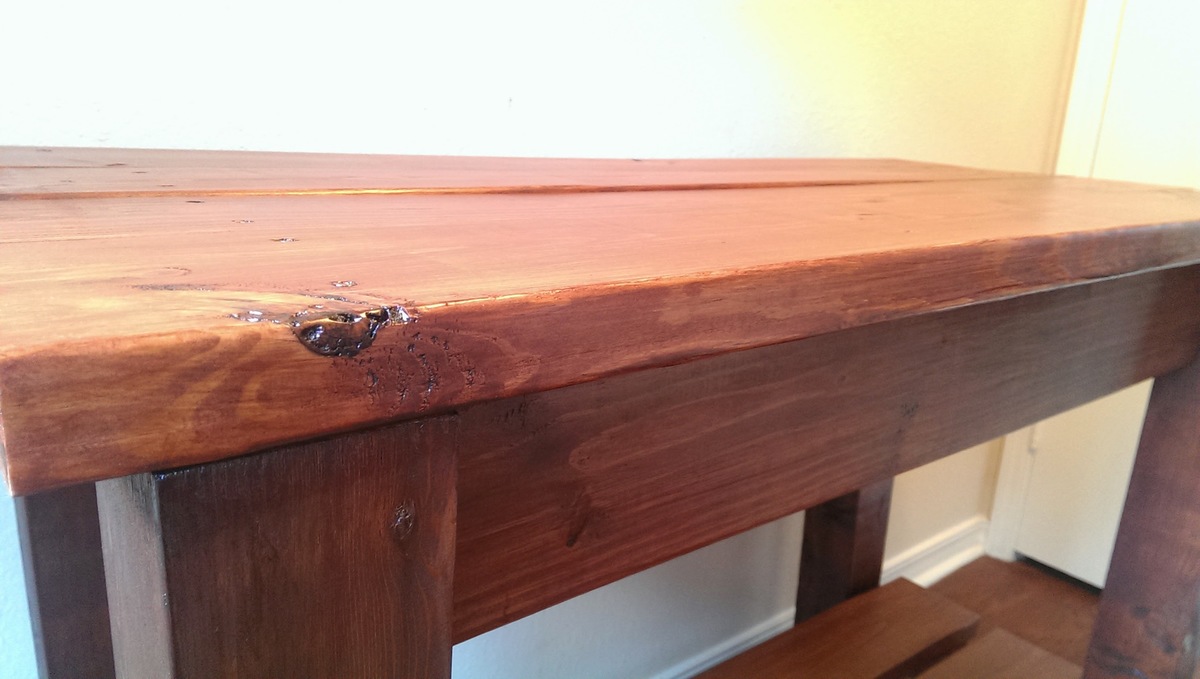
My First Build: Console Table from "The Handbuilt Home"

Submitted by timgerdes on Mon, 03/11/2013 - 12:56

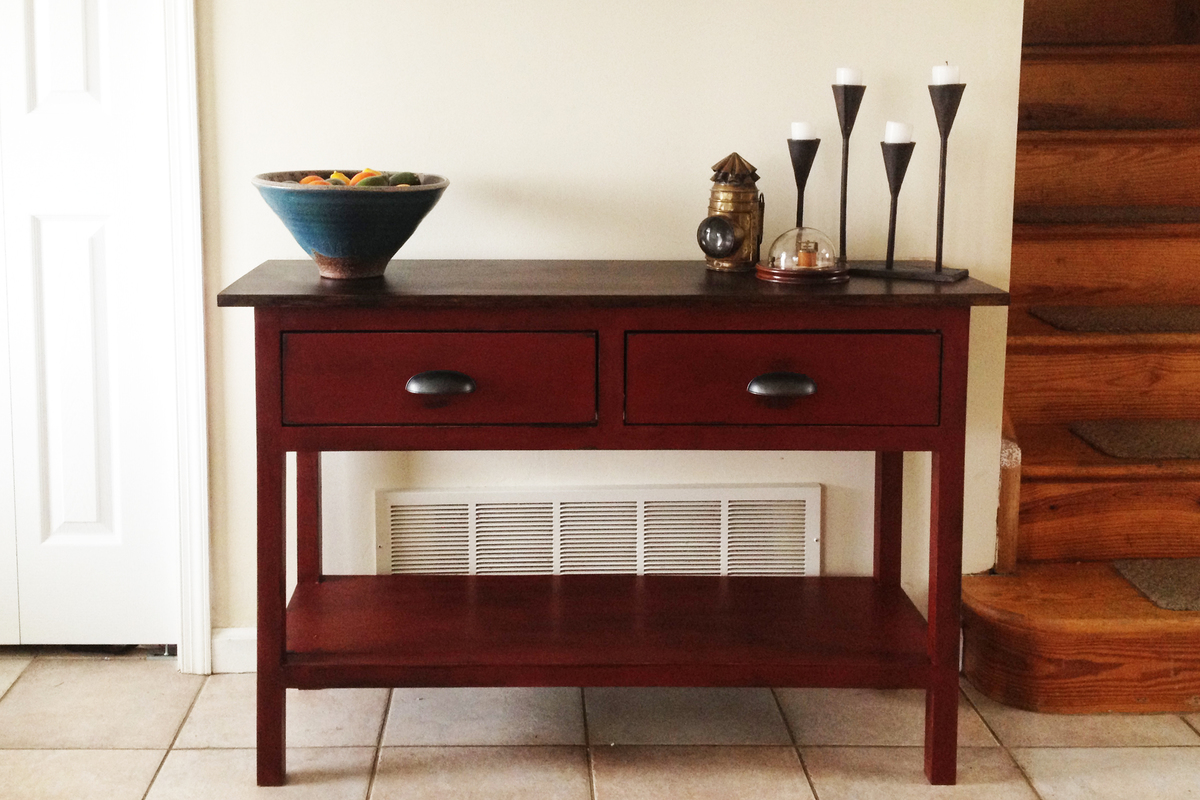
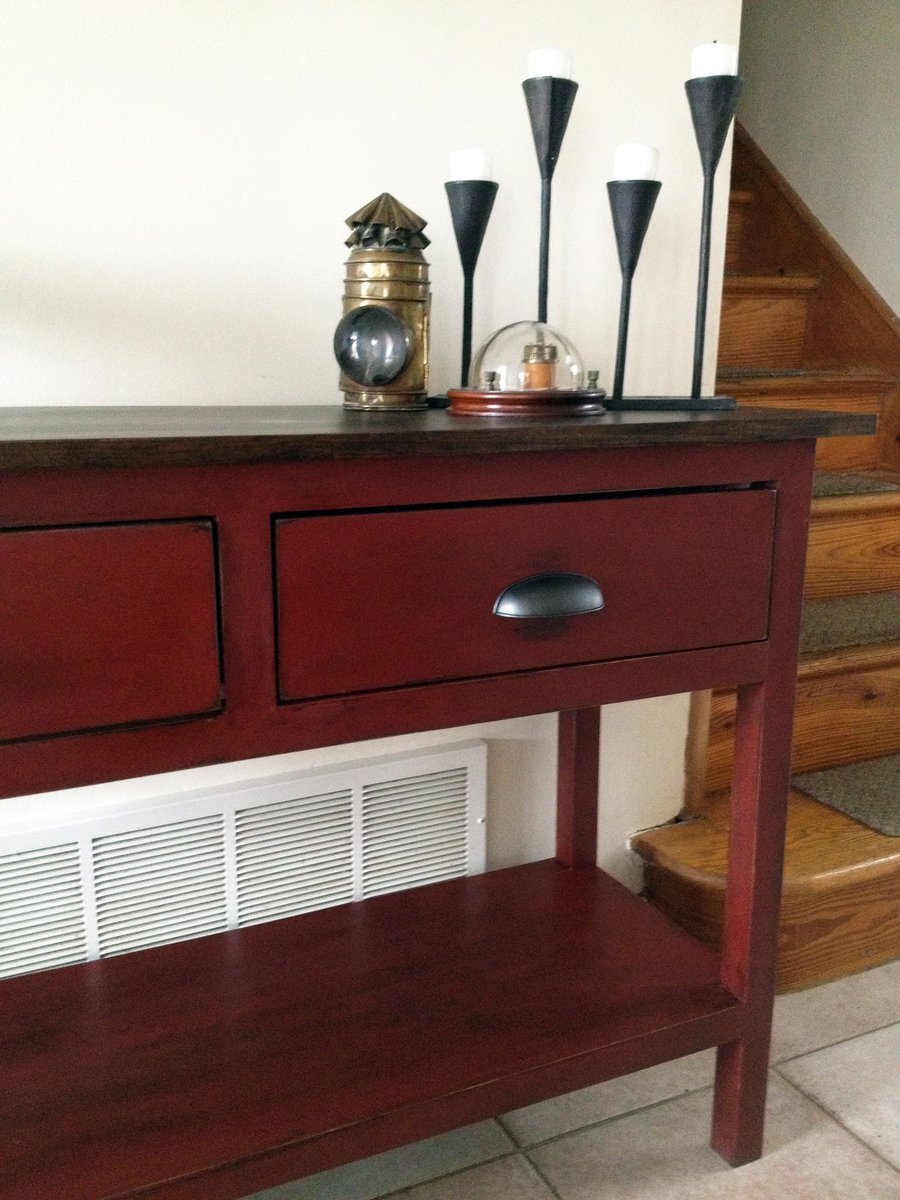
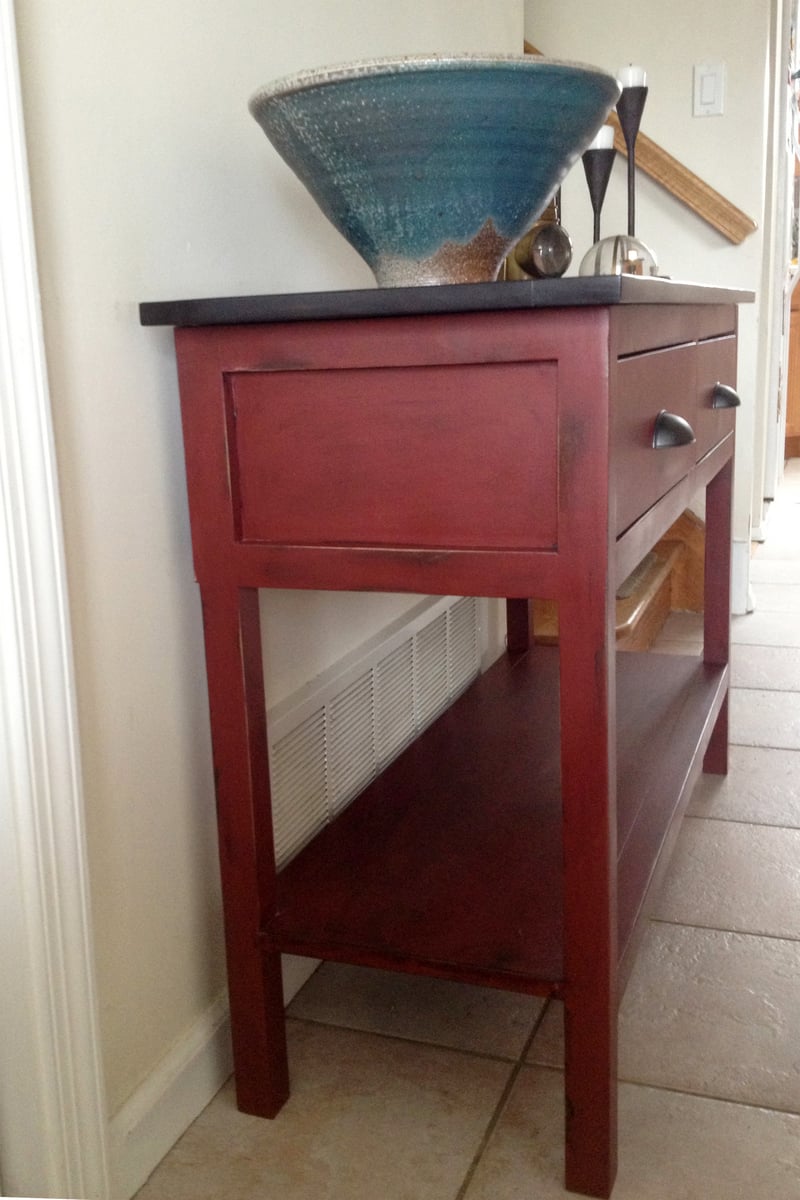
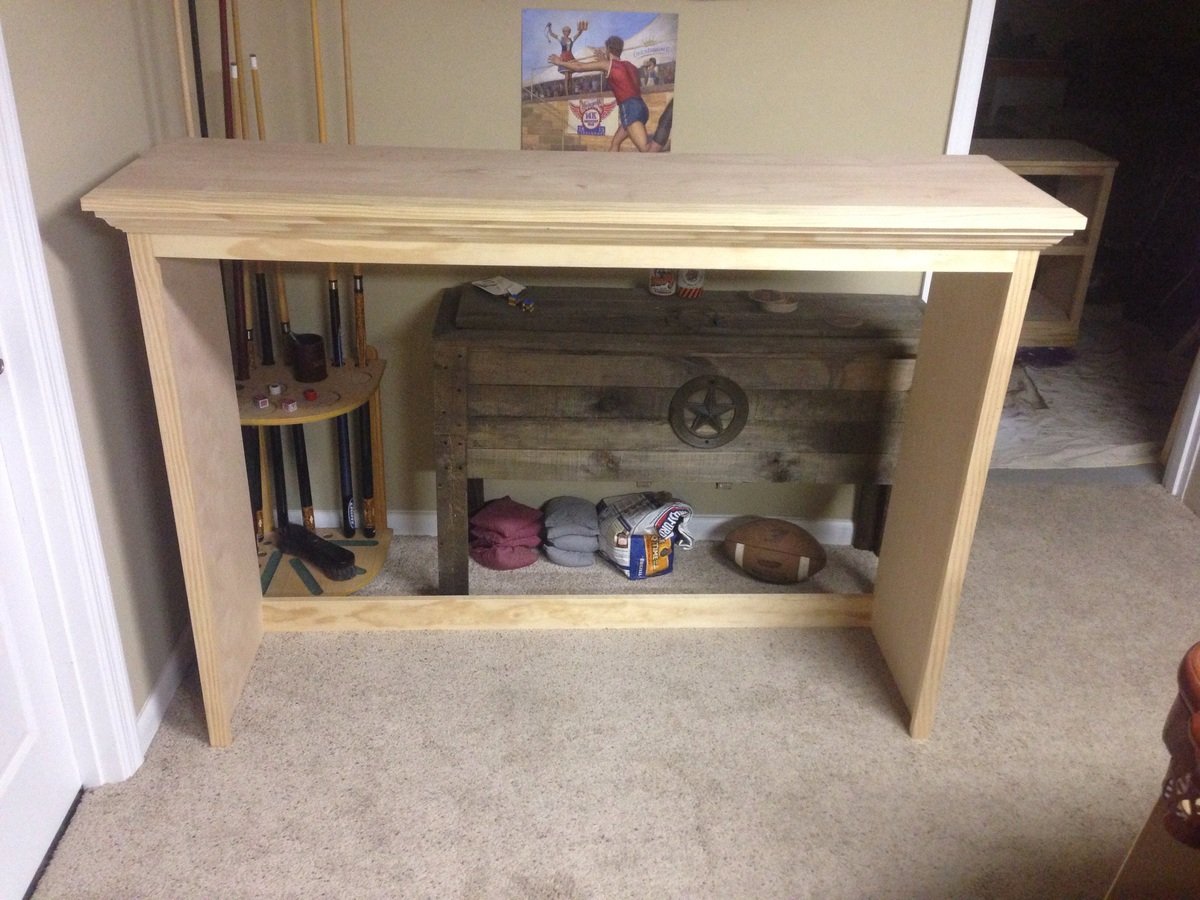
Not only was this my first furniture project from an Ana White plan, it was my first ever furniture project. I discovered this website and Ana's site through Pinterest and was inspired to build a table for my wife's craft room.

Leafing through "The Handbuilt Home," I found plans for a modern craft table, but decided I'd better get my feet wet first with a "smaller" project. Our front hall console table was a cheap, particle board piece from Target which seemed like the perfect candidate for replacement.

In retrospect, with drawer slides and hardware to contend with the craft table may in fact be an easier project than the console, but I found the plans straightforward and easy to read. Expecting to be intimidated by my own lack of experience, as the table came together I was, instead, continually inspired by my ability to actually build beautiful furniture for my home.

The most challenging part of building the console table was finding lumber, particularly straight lumber. Here in New Jersey, the local Home Depot and Lowes stores did not have a large selection of wood, virtually nothing beyond pine and most of that was visibly warped.

I eventually found boards that were relatively straight, though not perfect. As a result, getting the table perfectly square was an impossible task. For future builds I have already discovered some local lumber suppliers that offer a broader quality of materials than the big box stores.

The other part of this project that was really challenging was applying spray-on polycrylic. I never got a protective coat I was particularly happy with and decided to stop fussing because I feel like I was making things worse trying to correct my application mistakes.

In a few weeks I plan to add a layer of wax, which I hope will give the table a finish a more satisfying finish.

All things considered, especially as this was my first furniture project of any kind, I look at the beautiful console that now graces my front entry, dumbfounded that it's something I built from a small pile of wood. Many thanks to Ana White and her website and book for the inspiration!
Estimated Time Investment
Week Long Project (20 Hours or More)
Finish Used
The table top was finished in Minwax dark walnut stain and Minwax spray-on polyurethane in satin finish. The base was finished with a coat of the Minwax dark walnut stain, painted with General Finishes milk paint in Tuscan Red, hand sanded for a distressed look, treated with General Finishes glaze effects in Van Dyke Brown and a Minwax spray-on Polycrylic in satin finish.
Recommended Skill Level
Beginner

Comments

troy h

Mon, 03/11/2013 - 19:21

Great job, inset drawers can be a huge challenge. Love the finish.

Jibby

Fri, 05/10/2013 - 10:52

Hi!

Amazing job! Would you please direct me to where you found these plans. I've searched all throughout this website and can't seem to locate them...

Thanks :)

Brothers media wall

Submitted by DIYJosh62 on Sun, 01/18/2015 - 13:13

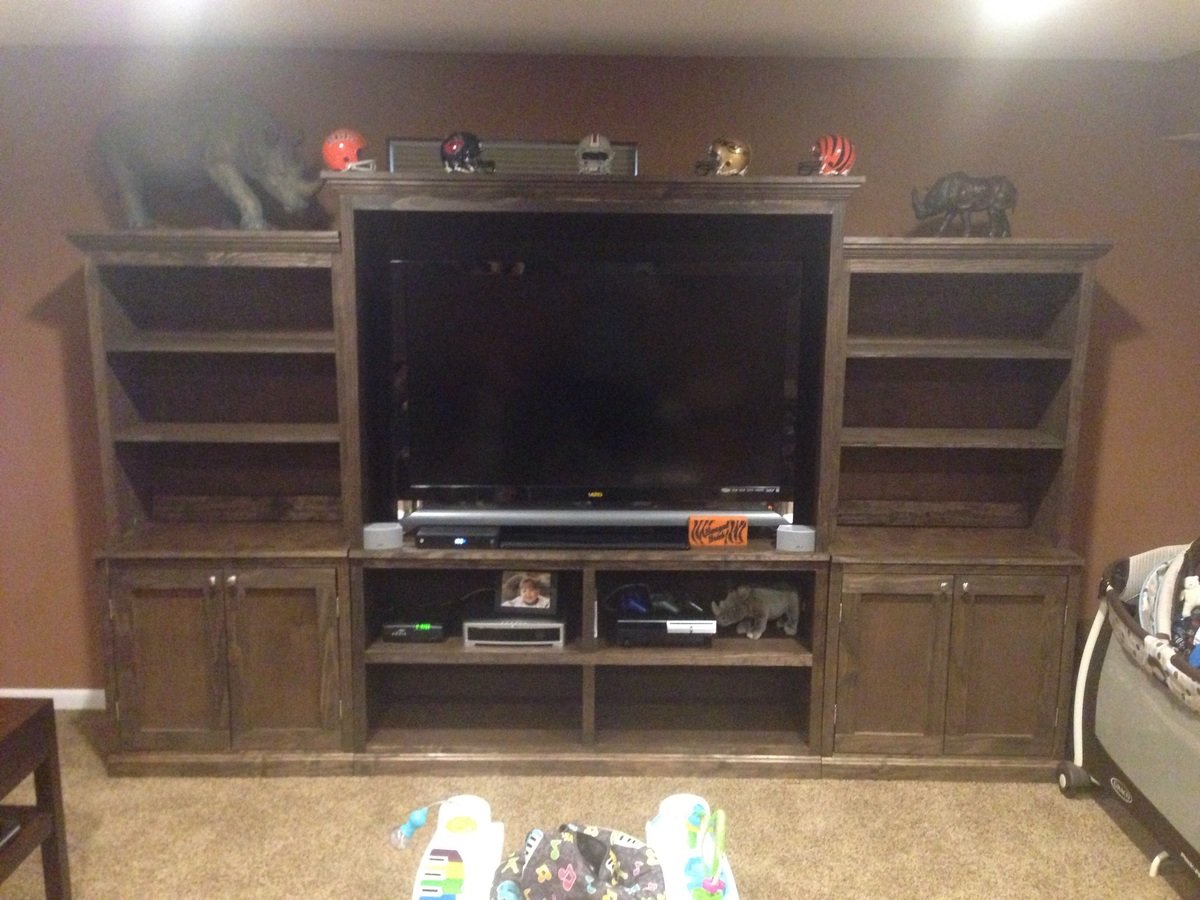
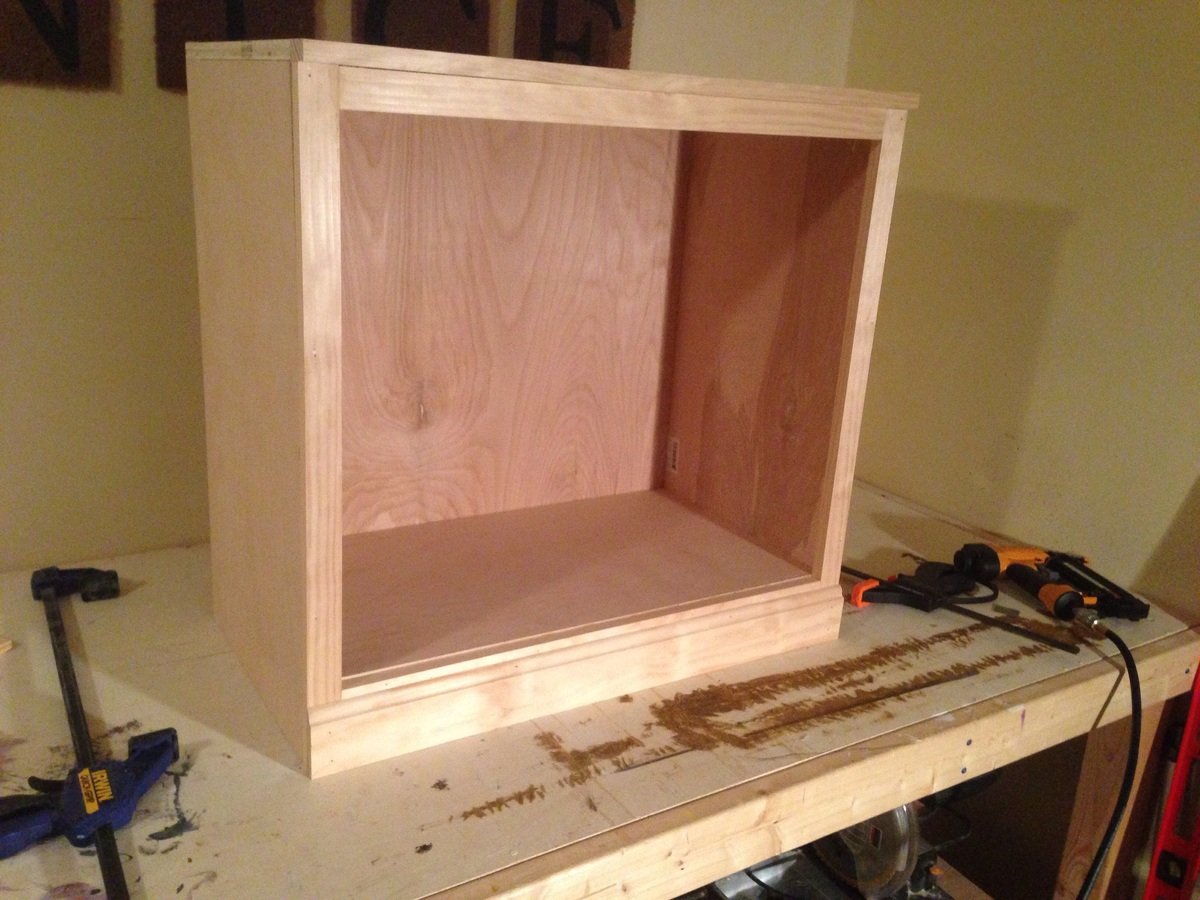
My brother saw me making a bunch of stuff at my house and begged me To do something with his basement TV room. So after talking with him and seeing what Ana had to offer i settled on the smith media wall collection. I loved he way it turned out and I have happy brother to boot. I modified the plans to fit his bigger TV. 

Estimated Cost
$550 for the total project.
Estimated Time Investment
Weekend Project (10-20 Hours)
Finish Used
Rustoleum stain. Kona
Recommended Skill Level
Intermediate

Comments

Sofa table

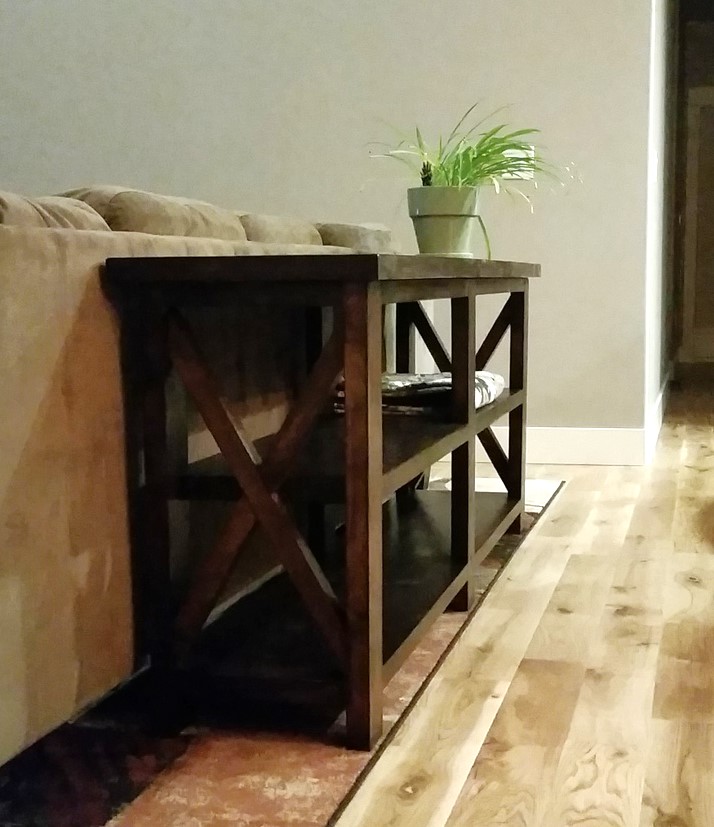
Submitted by Anonymous (not verified) on Tue, 04/18/2017 - 19:31

This was so much easier then I thought it was going to be. 

Estimated Time Investment
Weekend Project (10-20 Hours)
Recommended Skill Level
Intermediate

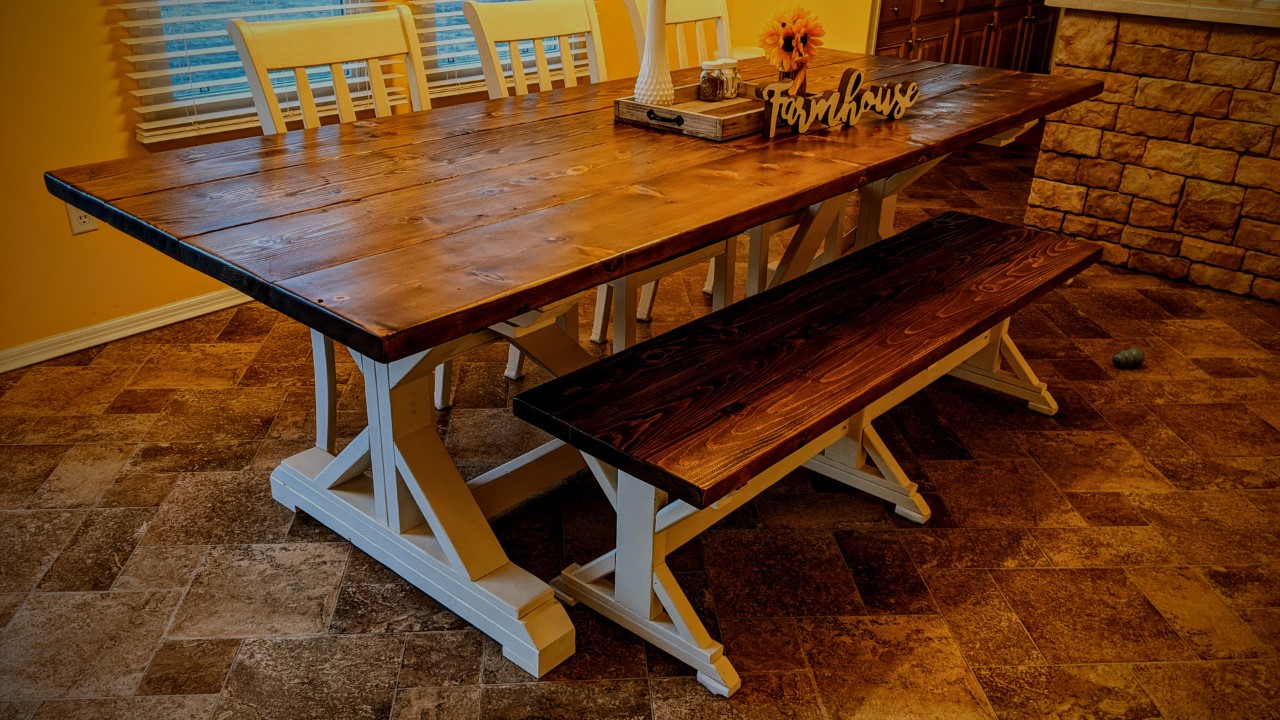
Fancy X Farmhouse Table & Bench

Submitted by Anonymous (not verified) on Sun, 03/21/2021 - 16:22

Thank you for the easy to follow plans! This table is a wonderful addition to our home!

Comments

Toy Chest

Submitted by brittanyj on Wed, 01/21/2015 - 08:31

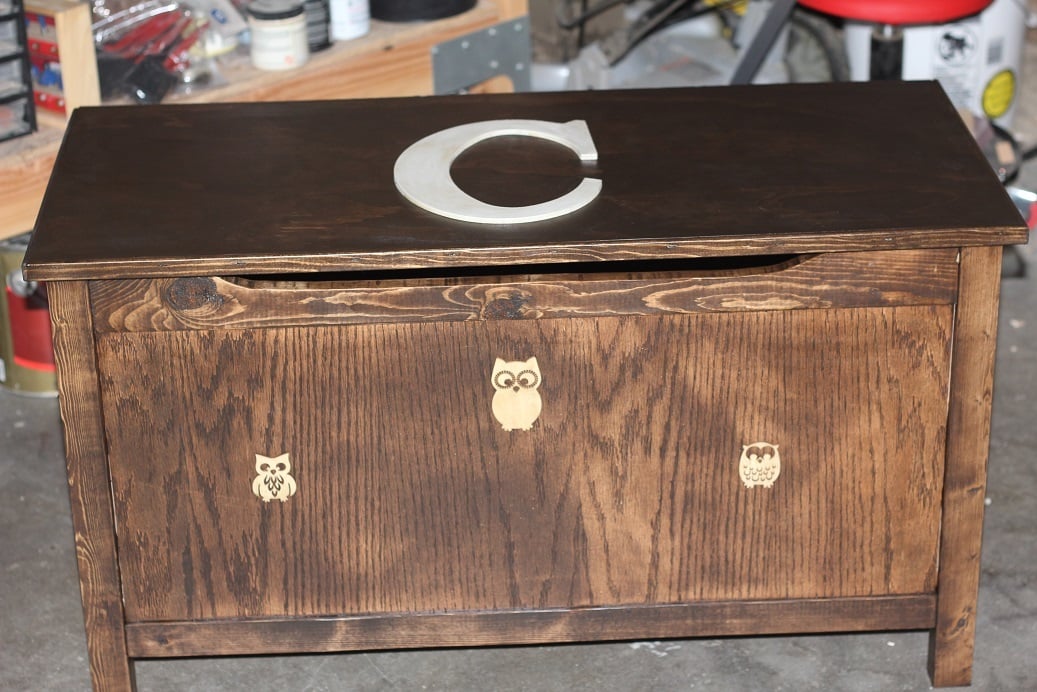
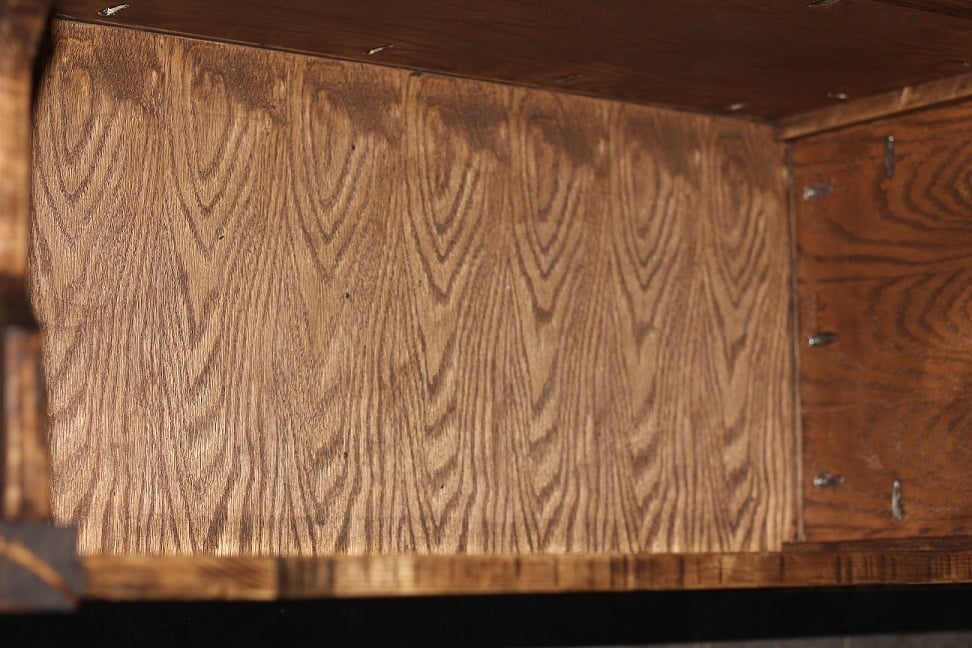
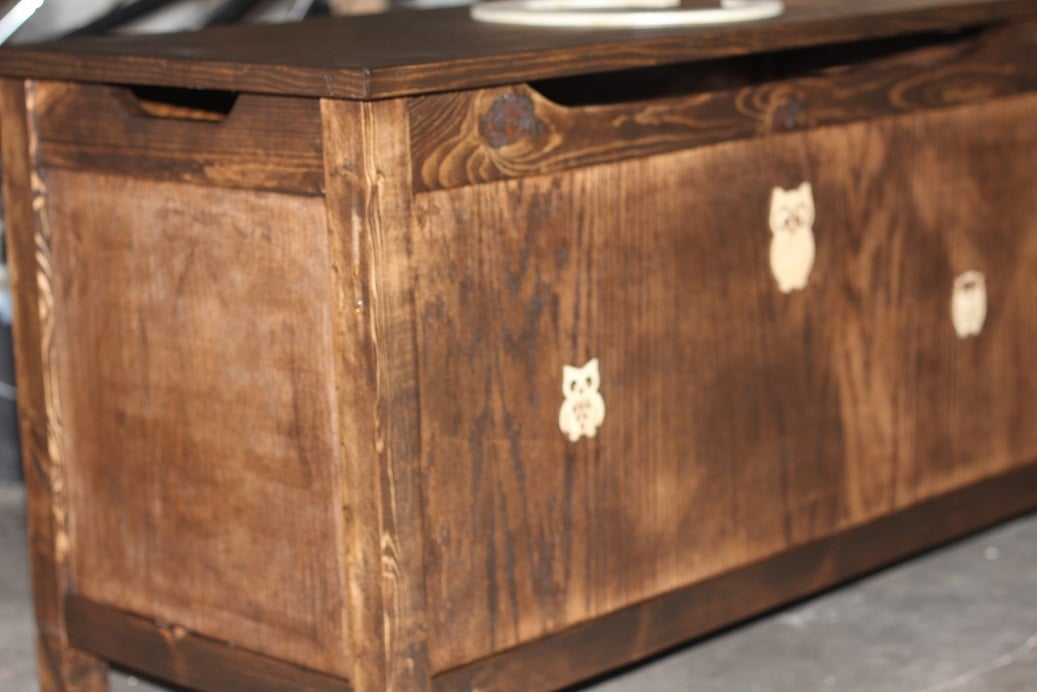
Made this toy chest for my niece this Christmas.  Pretty easy build.  Used some leftover wood and plywood for the top to cut down on cost.  Instead of edge banding, I used some screen moulding.  The wooden owls were purchased from Hobby Lobby and glued on to match her room, as well as the "C" on top.  Cutouts routered on both front and sides to better protect fingers, and for looks. 

Built from Plan(s)
Estimated Cost
$25
Estimated Time Investment
Day Project (6-9 Hours)
Finish Used
walnut stain, poly
Recommended Skill Level
Intermediate

Marine Ply Stools and Benches

Submitted by Anonymous (not verified) on Fri, 04/21/2017 - 15:31

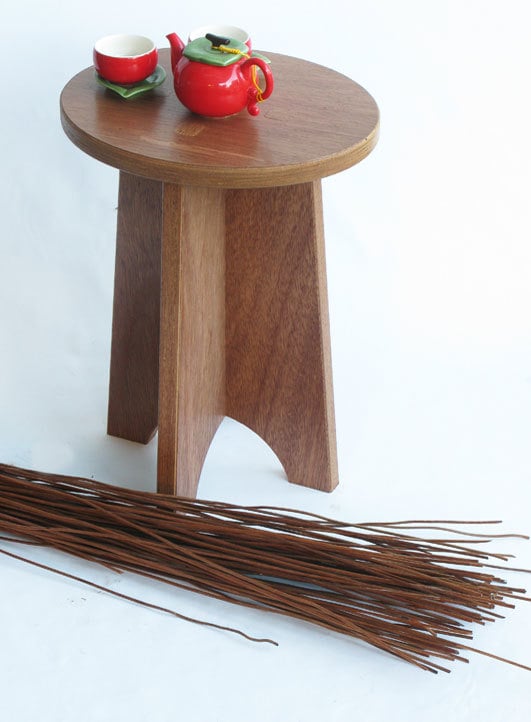
I have been working on using my cad skills to make somthing using a CNC router so this is what I came up with. I designed it a a flat pack with minimal assembly. Very comfortable.

Estimated Cost
$20
Estimated Time Investment
Day Project (6-9 Hours)
Finish Used
Stain and Varnish
Recommended Skill Level
Advanced

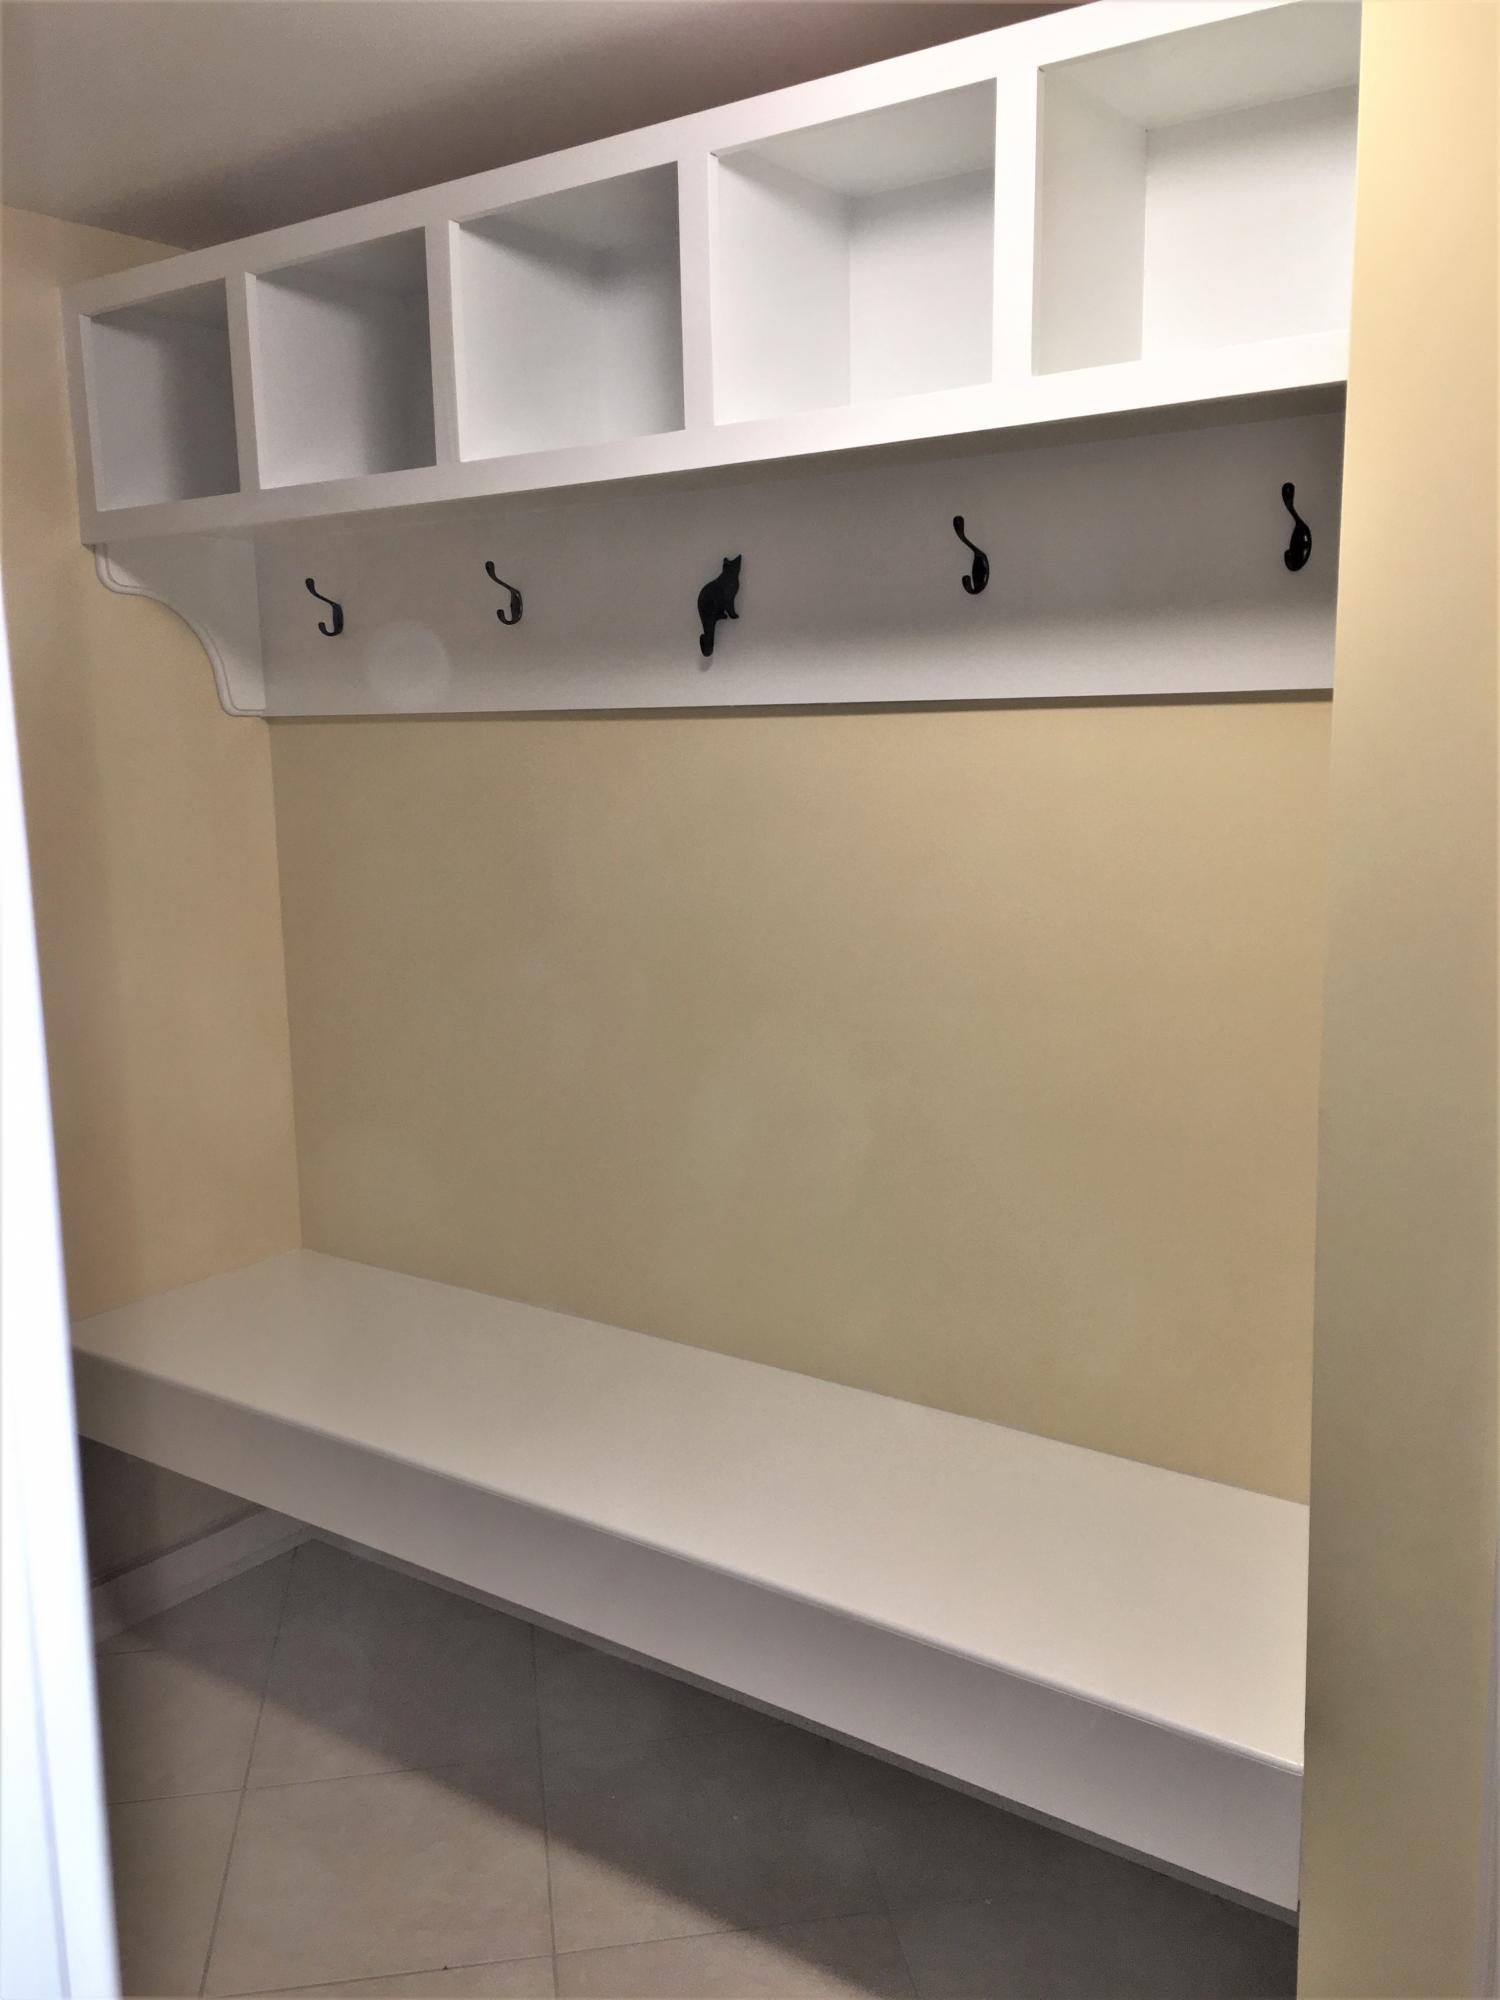
Farmhouse Mudroom Bench with Drawers

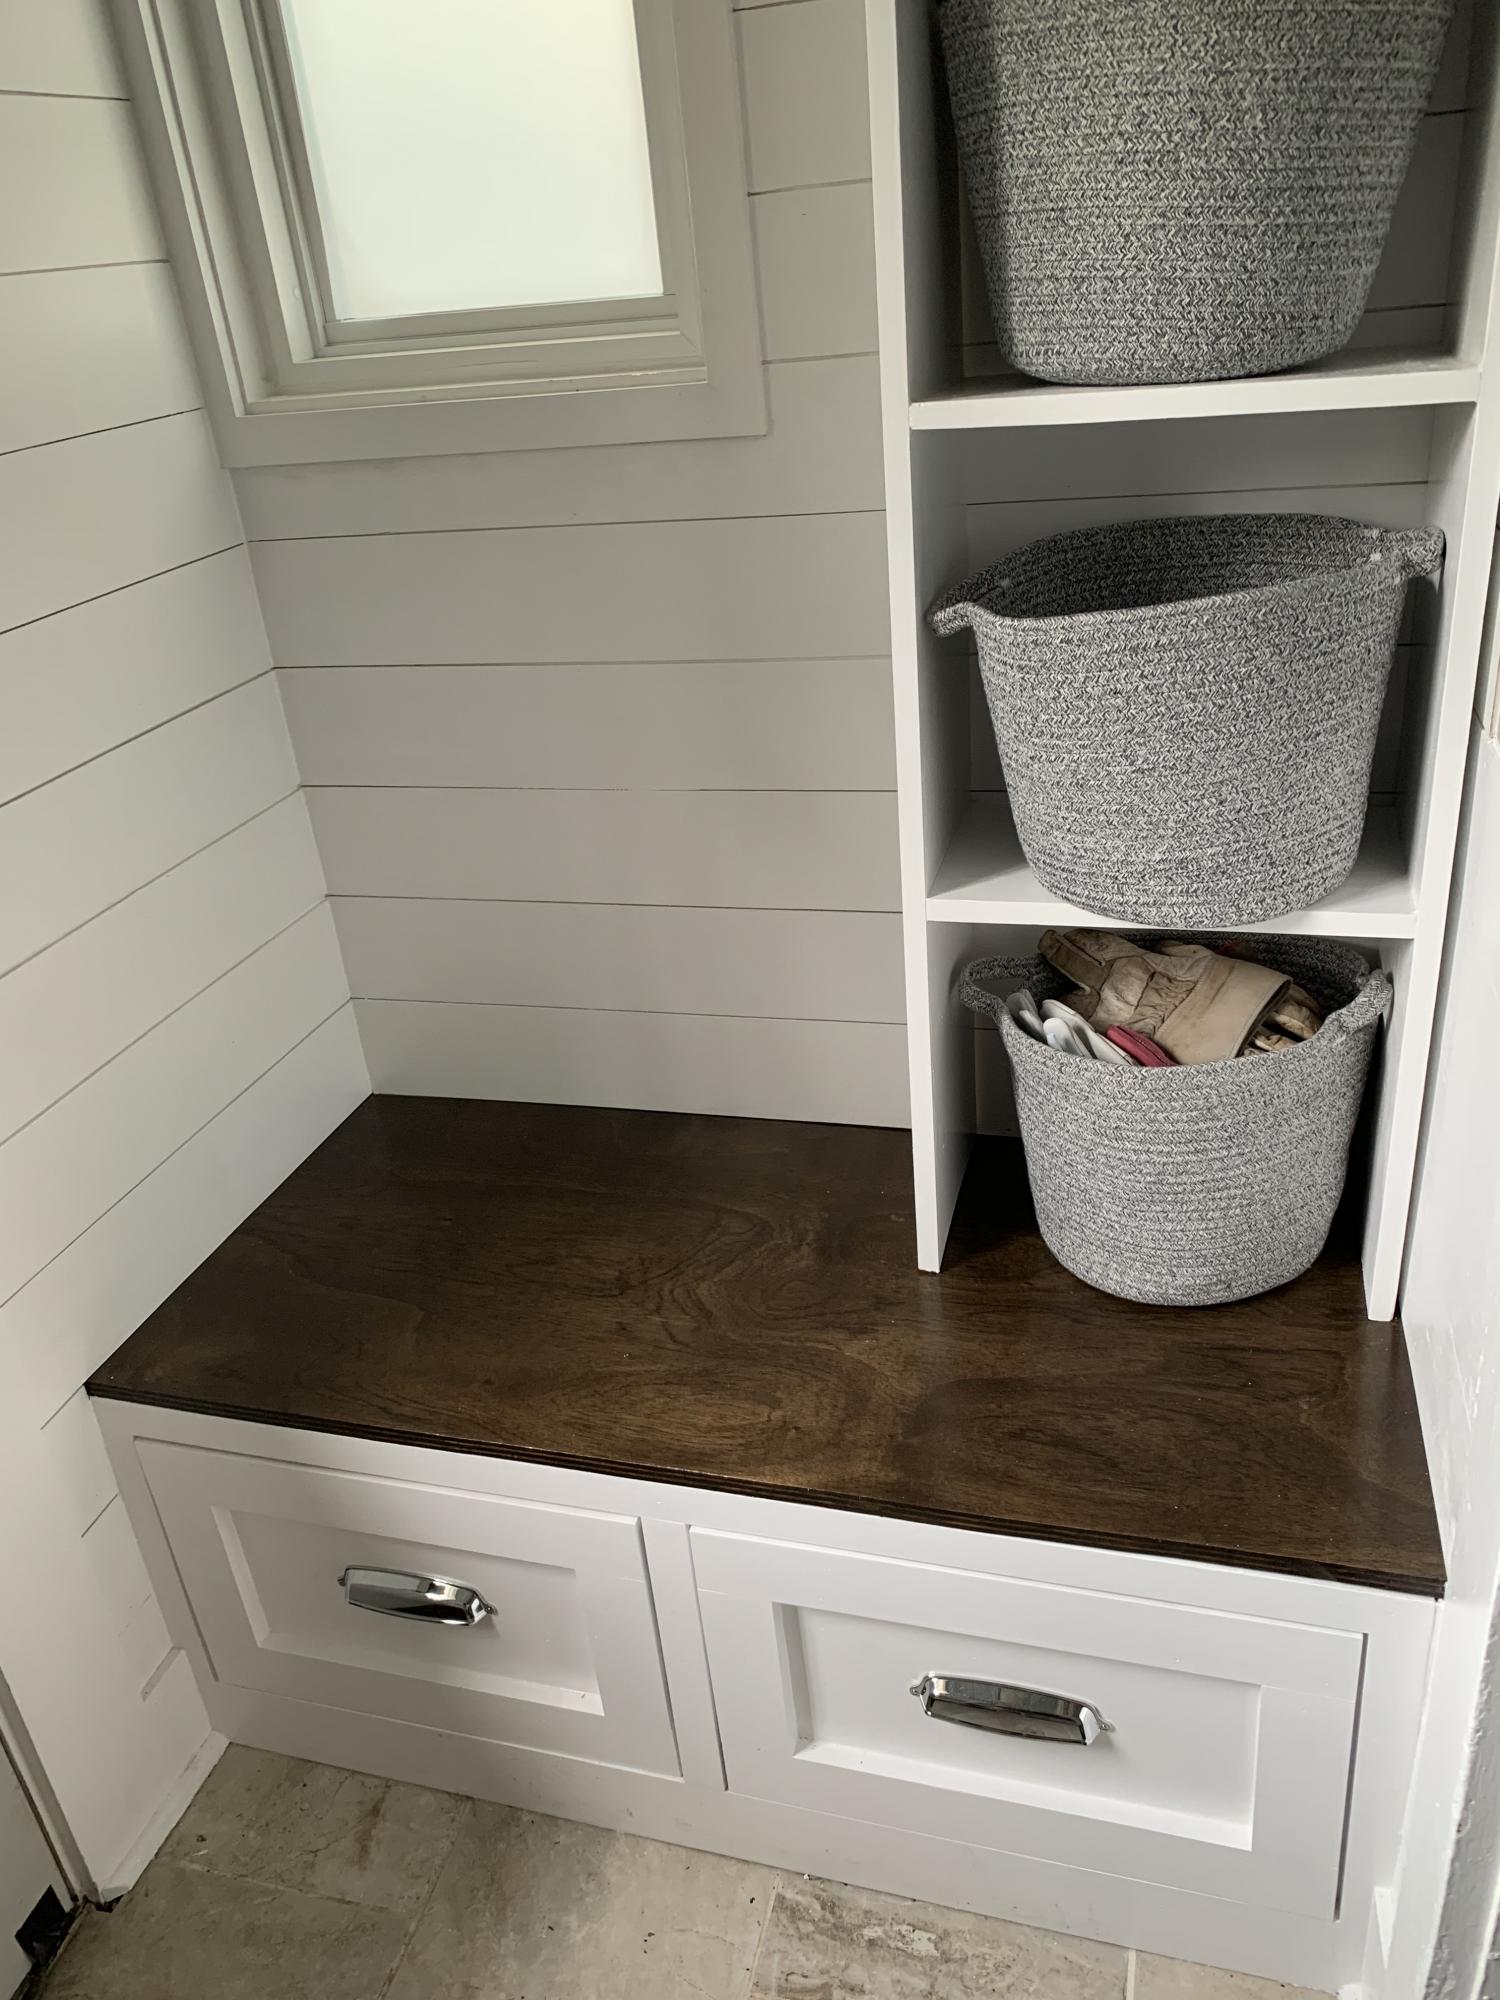
I cannot thank you enough for the great plans for this mudroom bench! Being my very first woodworking project, I couldn't be happier with the result. Having a home built in 1927 means I have to use every inch of space for multiple things. I attempted to store tools and shoes in an Ikea cabinet which meant I never saw the cute little window. After weeks of planning, I finally got up the nerve to start building and wow!

In fact, having successfully built my mudroom out, I proceeded to rip out my pantry to the studs and redo it, too. Keep the great plans coming!

Built from Plan(s)
Finish Used
Dark walnut stain
High gloss white paint
Cotton baskets from Lowes
Hardware from Amazon

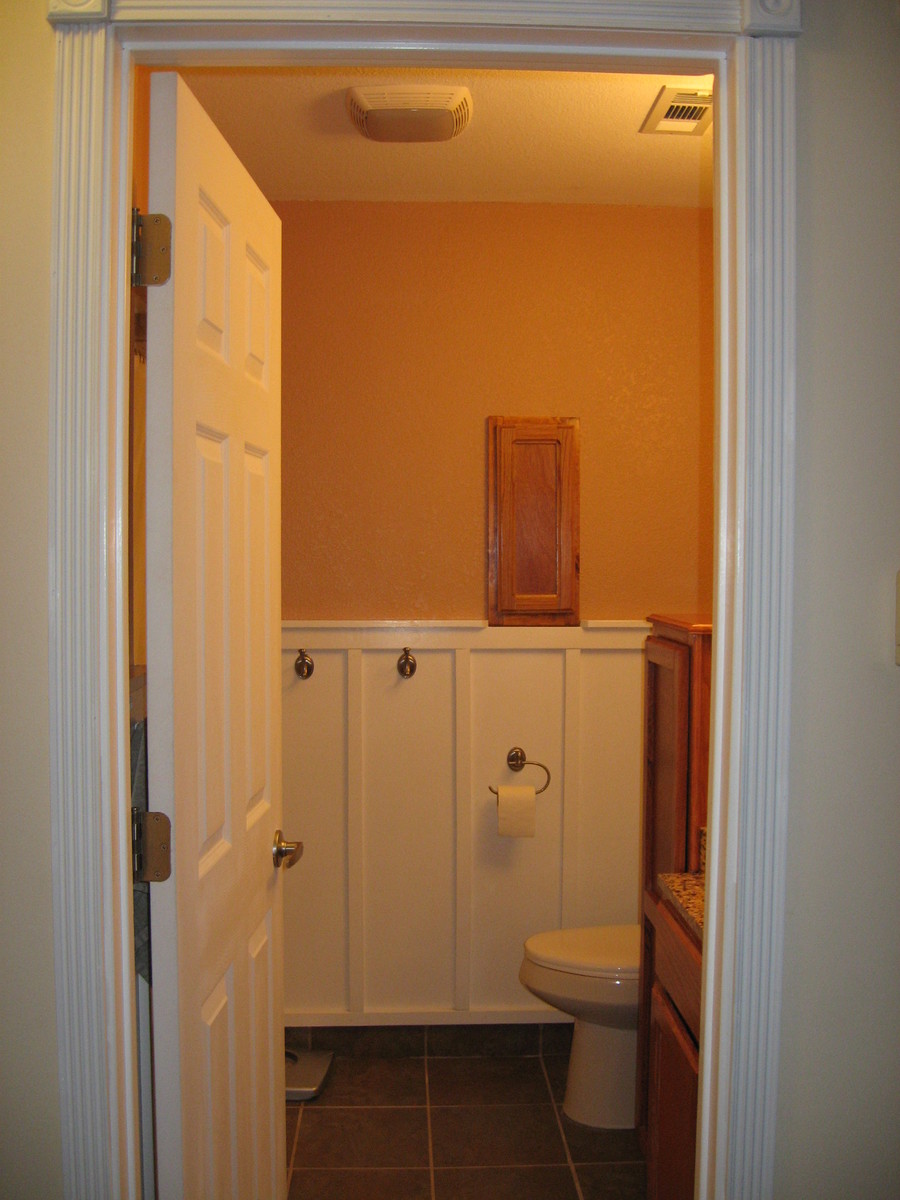
Guest Bathroom Remodel with Board and Battten

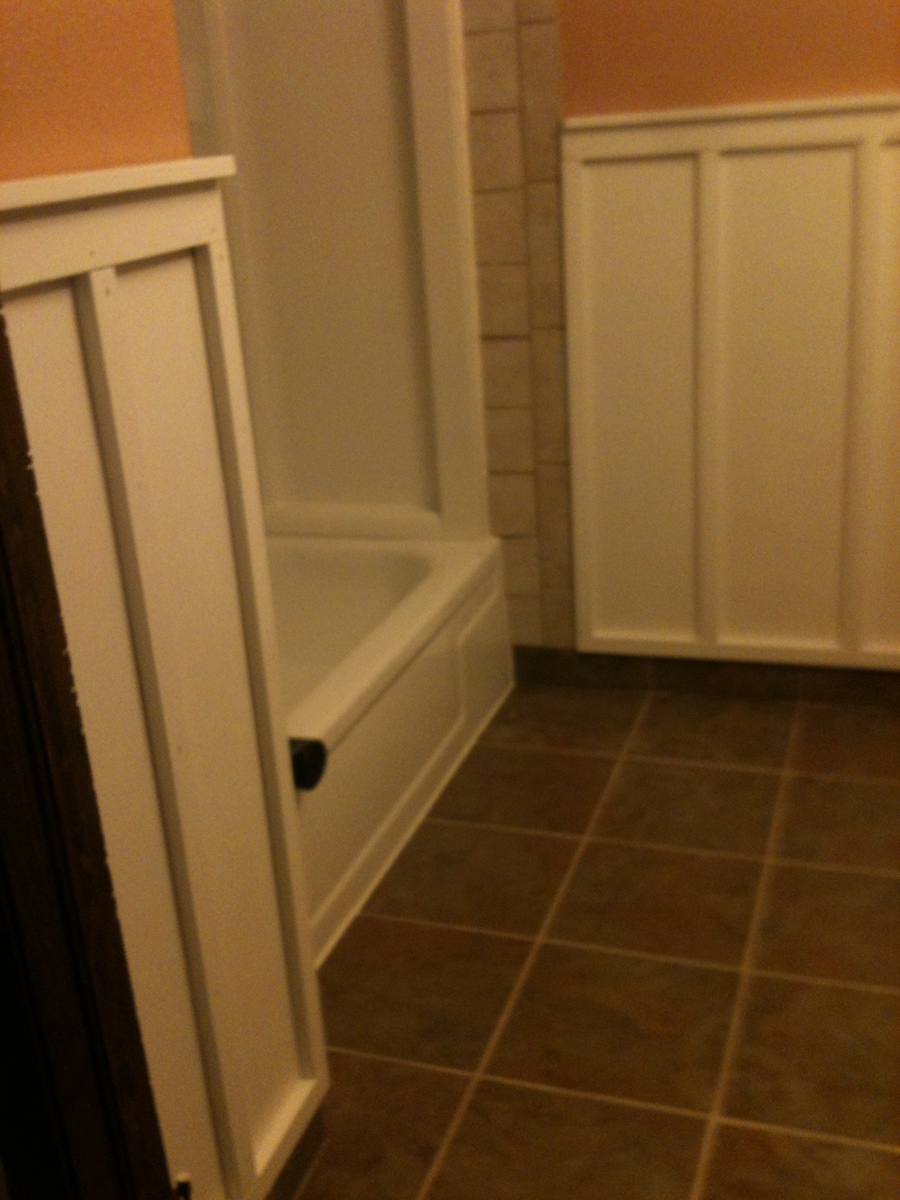
This project was actually completed last year, but I am late getting it posted. I had been asking for a board and batten bathroom, and then luckily Ana posted pictures of one, giving the handy hubby a better idea of what I was wanting.

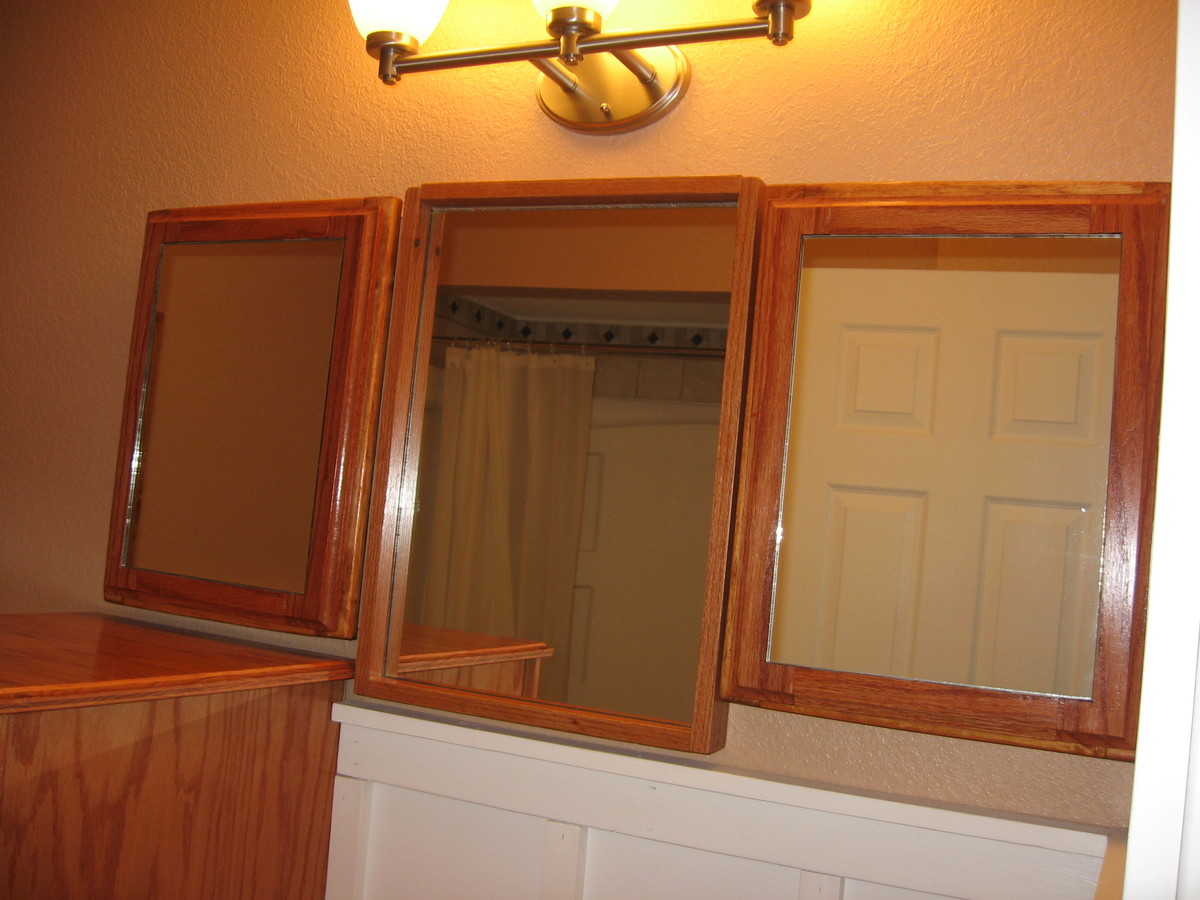
The cabinets, built-in medicine cabinets, mirror frame, and toilet paper niche are all custom designed and built by the hubby. The counter top and sink were custom ordered through Home Depot to fit the space.

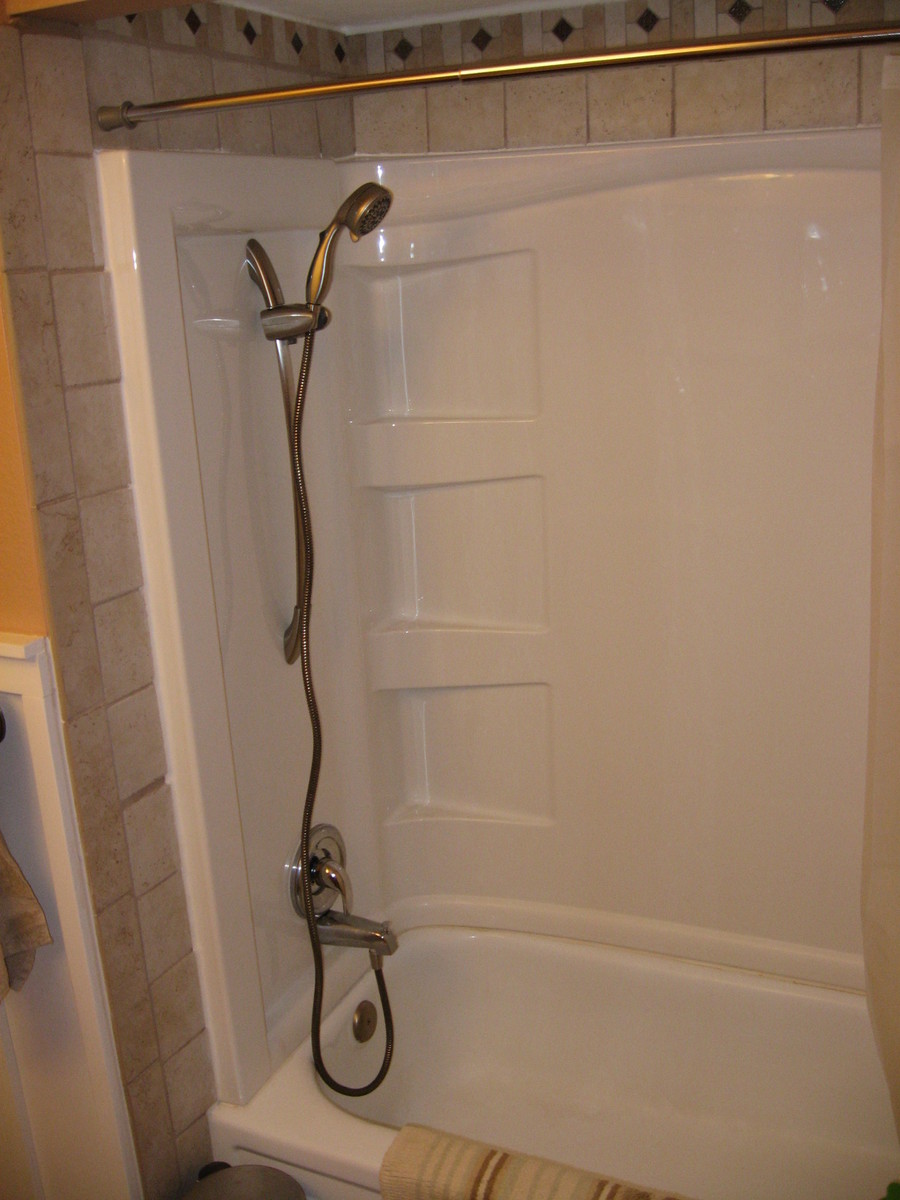
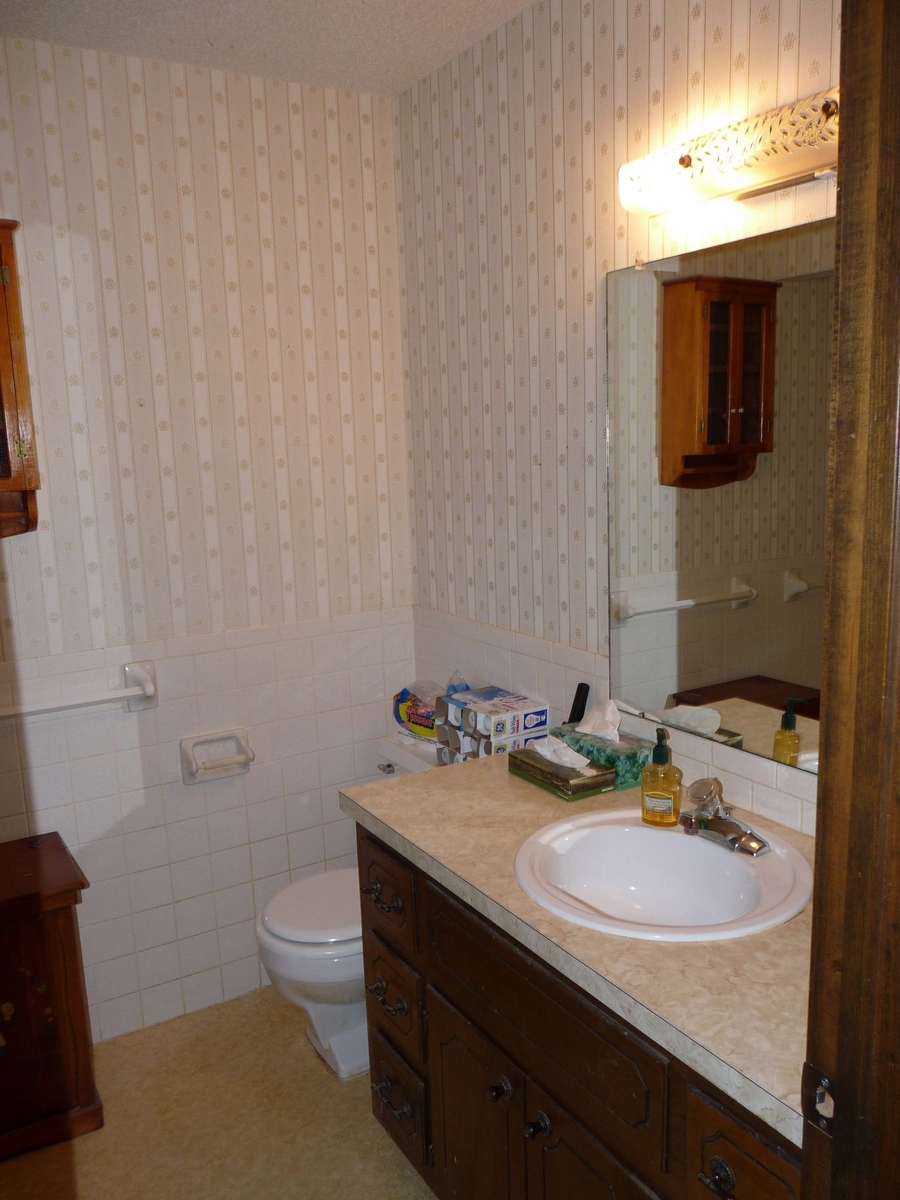
The bathroom didn't originally have a shower head, so after removing the 70s gold flecked tiles covering the walls up to chair rail height and repairing/replacing drywall we purchased shower walls and then he tiled around and above.

This was a major, months-long undertaking that included gutting the entire room, and then the building began. Everything in the room from the popcorn ceiling down to the yellow linoleum flooring save for the toilet and tub had to be replaced,the toilet we had bought since we moved in and the tub is metal and was in great condition.

Estimated Cost
about $3500
Estimated Time Investment
Week Long Project (20 Hours or More)
Finish Used
Watco Danish Oil in Cherry
Recommended Skill Level
Intermediate

Rustic x Bench Minus the X

Submitted by sraper2 on Mon, 03/18/2013 - 18:59

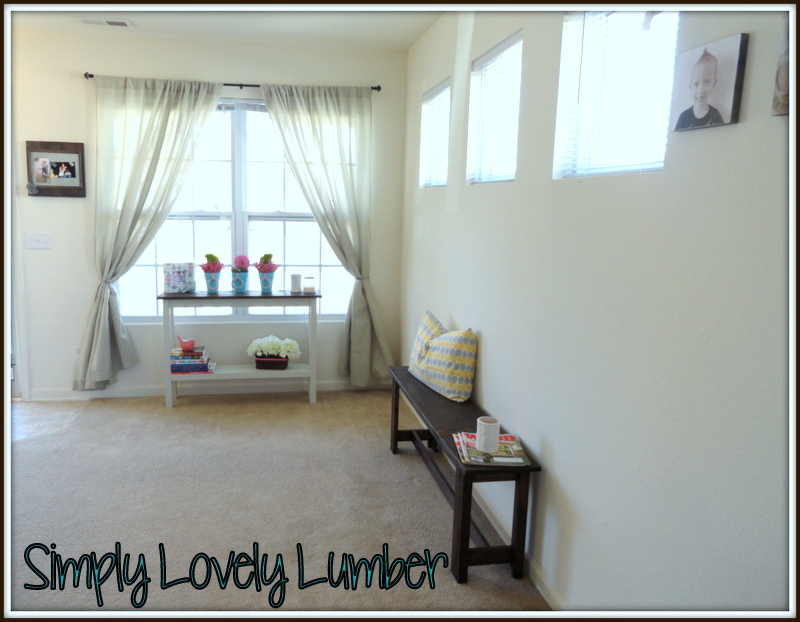
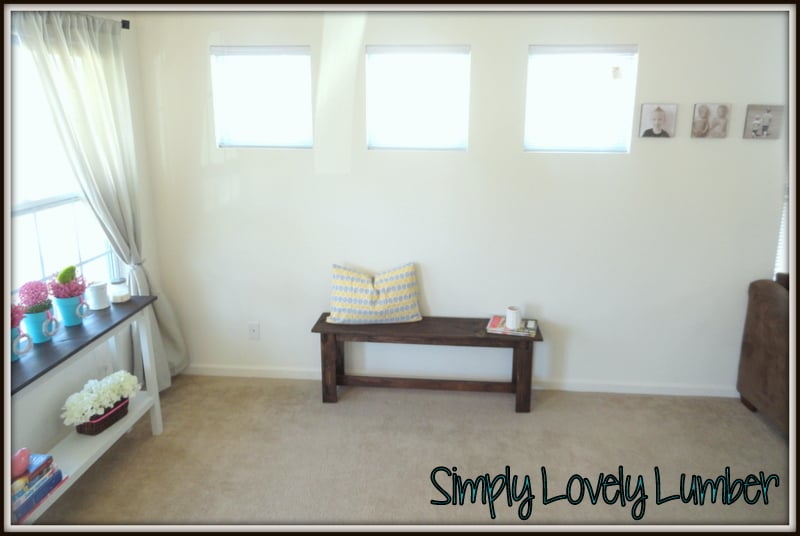
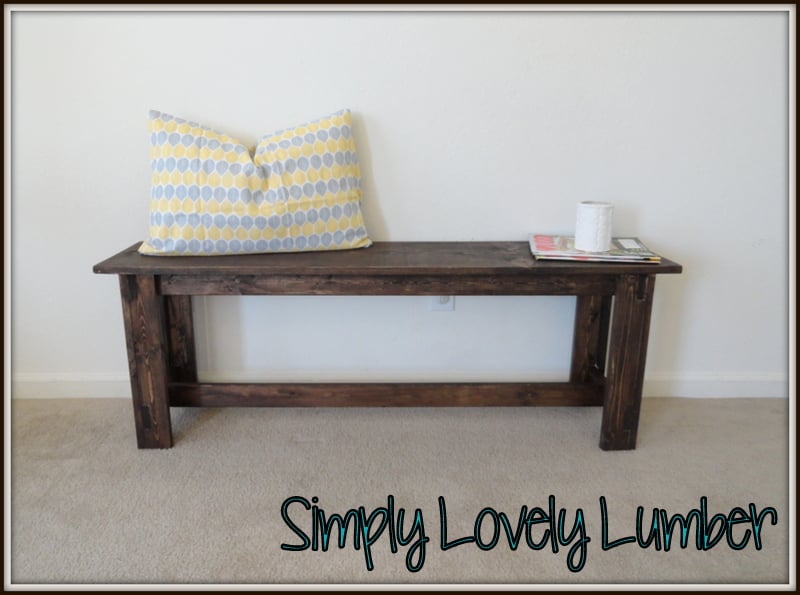
Built this mostly out of scraps I had in my garage. I had to get a few pieces but it was an easy build. I left out the x but I will probably be adding it soon and putting it out on my front porch once it warms up. For now it's filling a big empty wall in my living room!

Estimated Time Investment
Afternoon Project (3-6 Hours)
Finish Used
Kona stain. Still need to poly.
Recommended Skill Level
Beginner

Kitchen Island - minus the drawers

Submitted by bensona on Tue, 01/27/2015 - 12:41

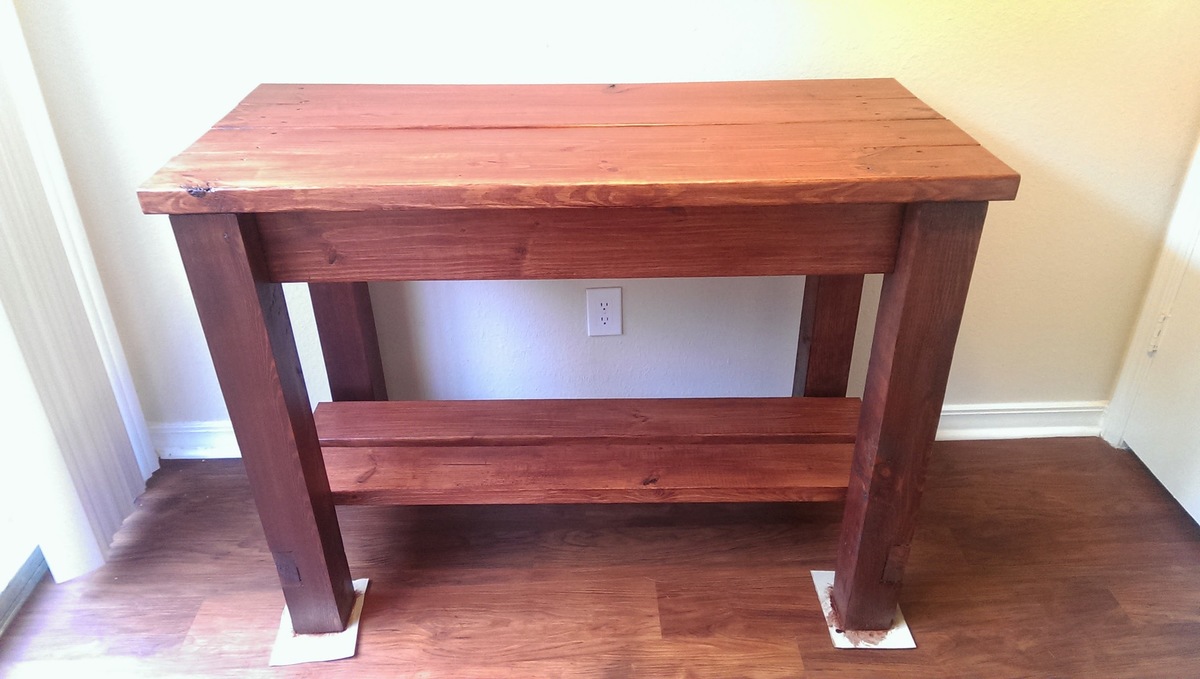
Found this plans for the Gaby kitchen island and fell in love. So, I decided to try my handy work at it one weekend.

Built from Plan(s)
Estimated Cost
$80
Estimated Time Investment
Weekend Project (10-20 Hours)
Finish Used
Cabot water-based stain Paprika. Shellac sealer
Recommended Skill Level
Intermediate

Comments