Community Brag Posts

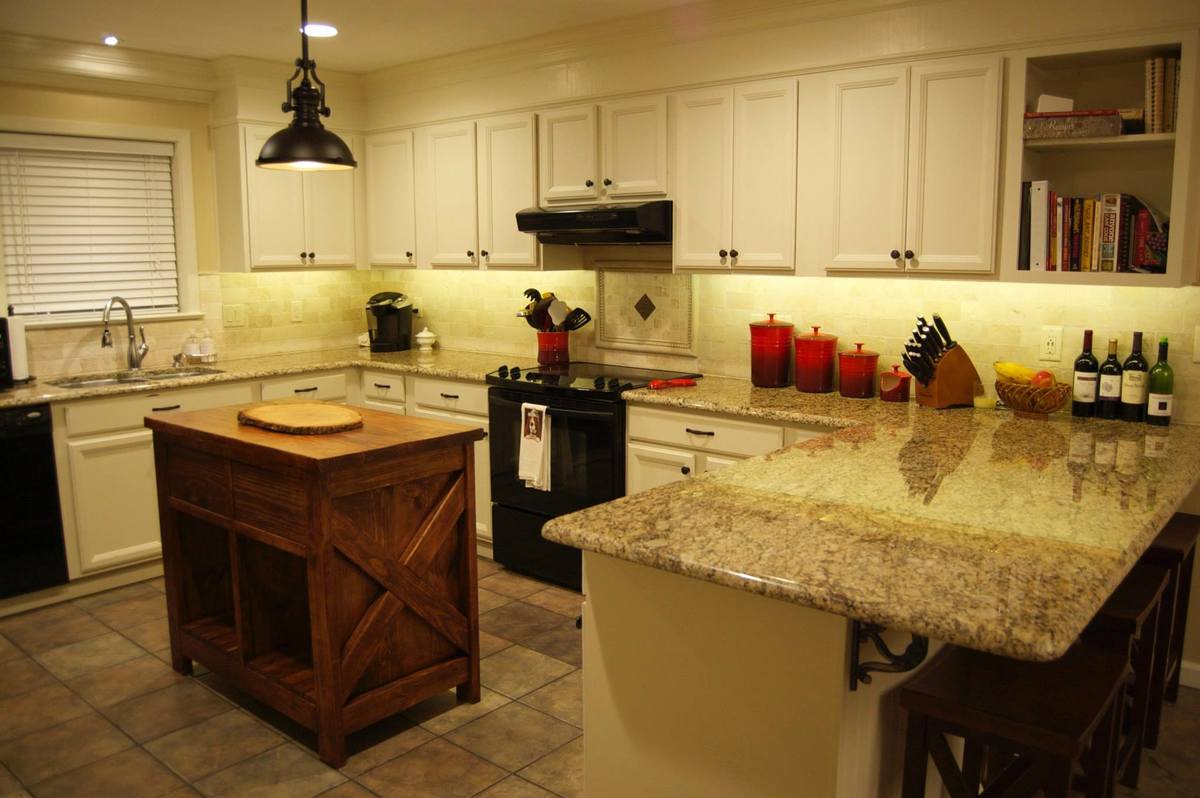
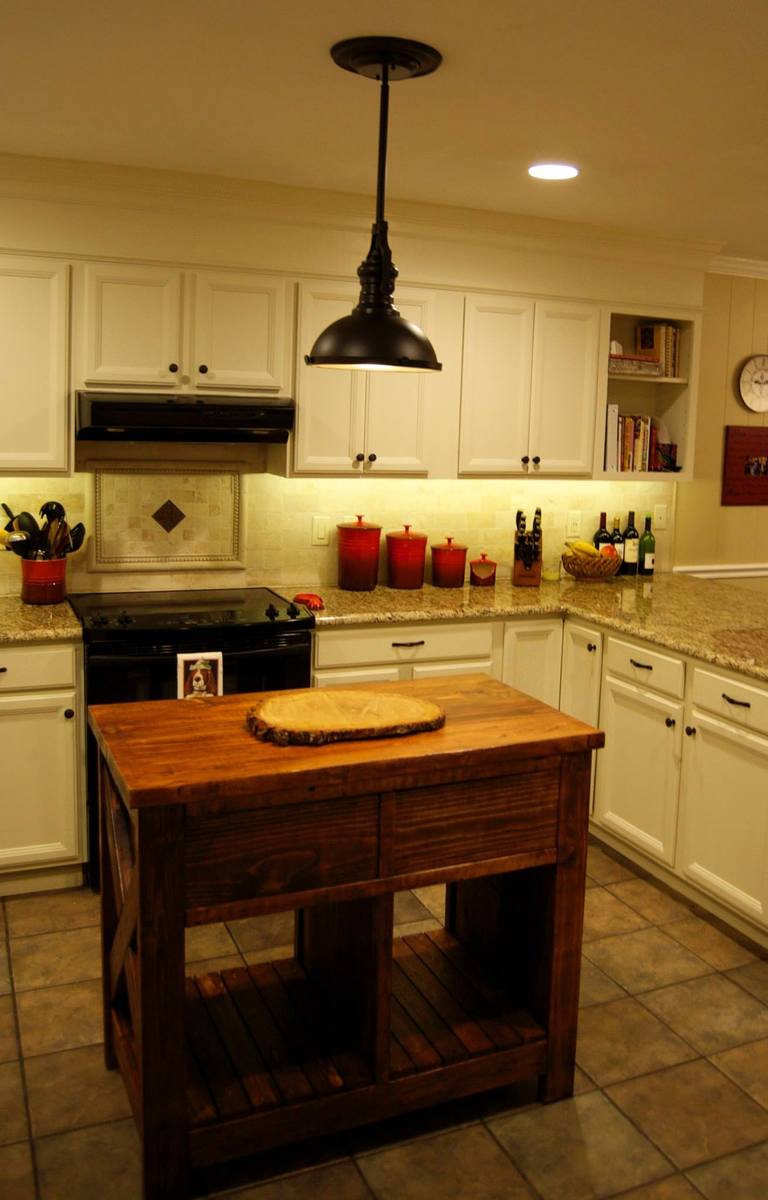
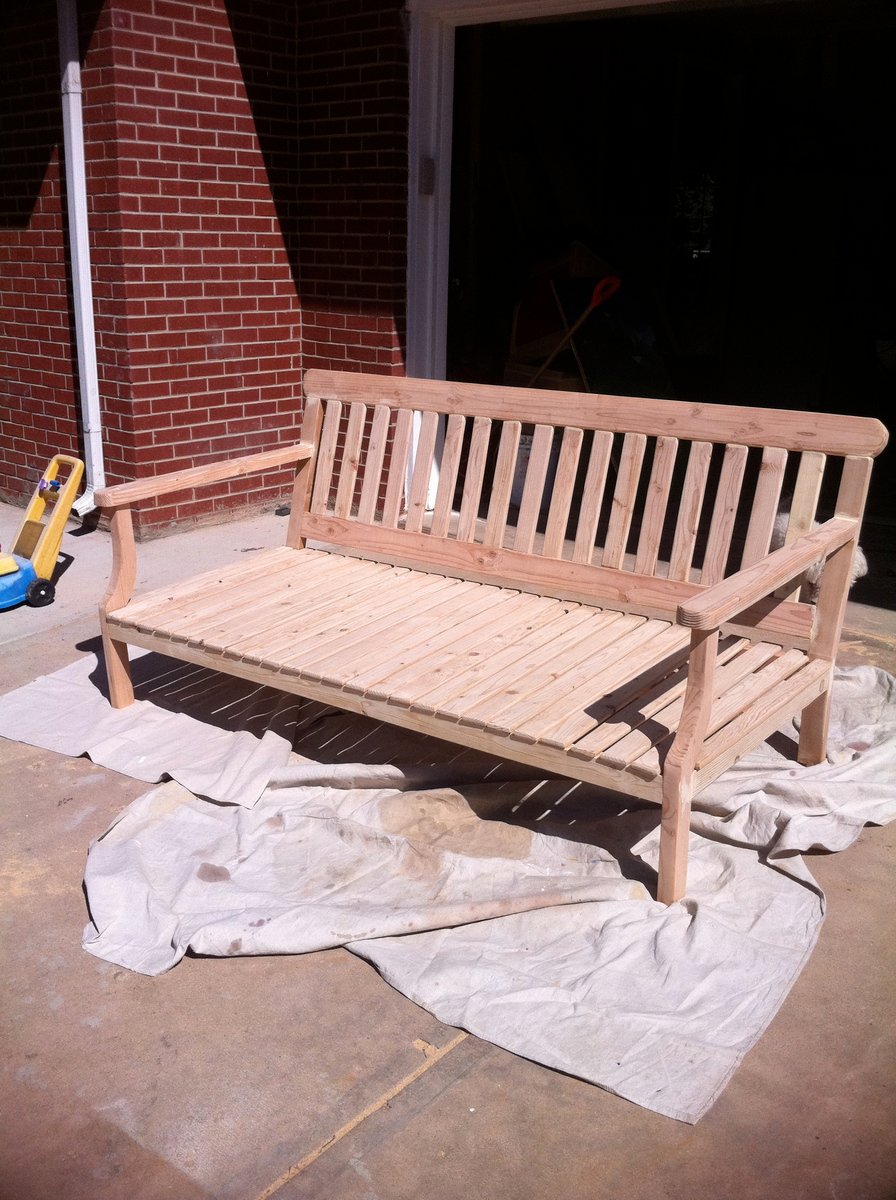
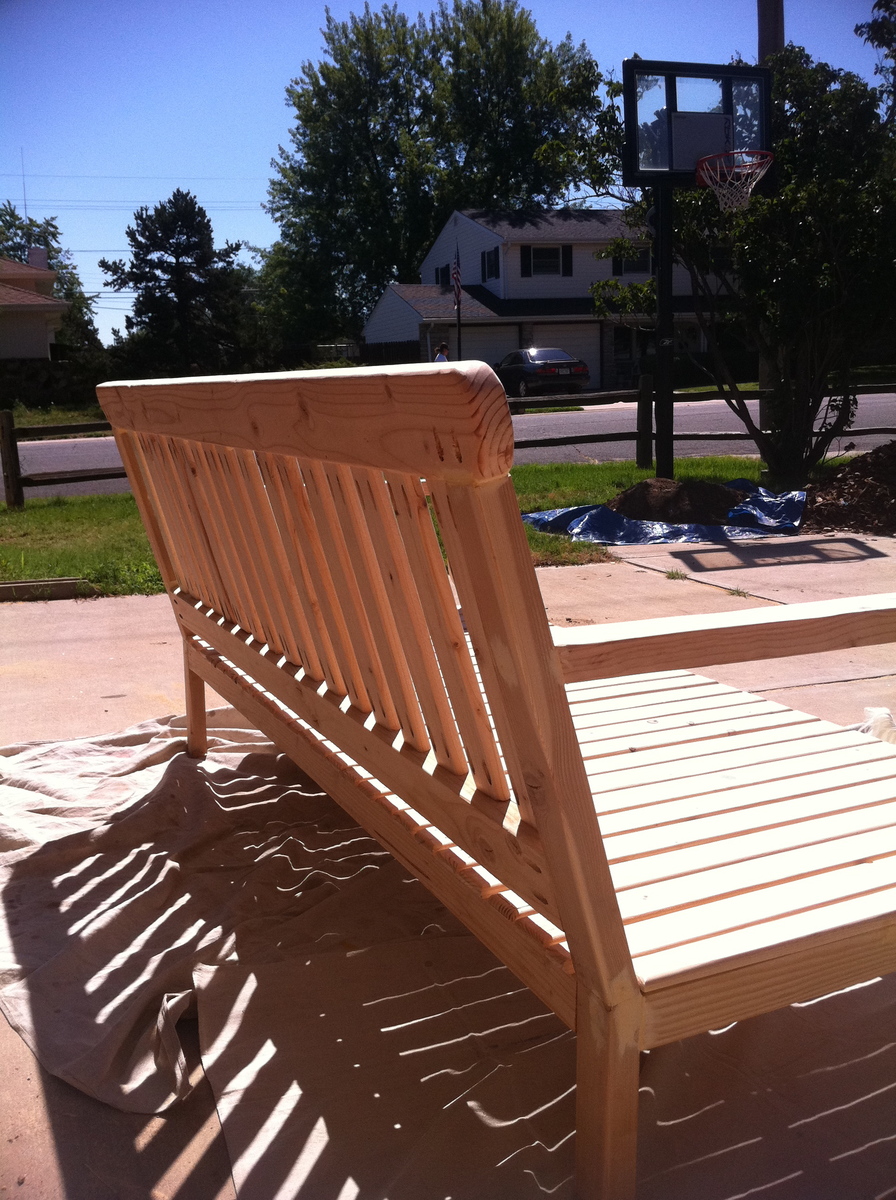
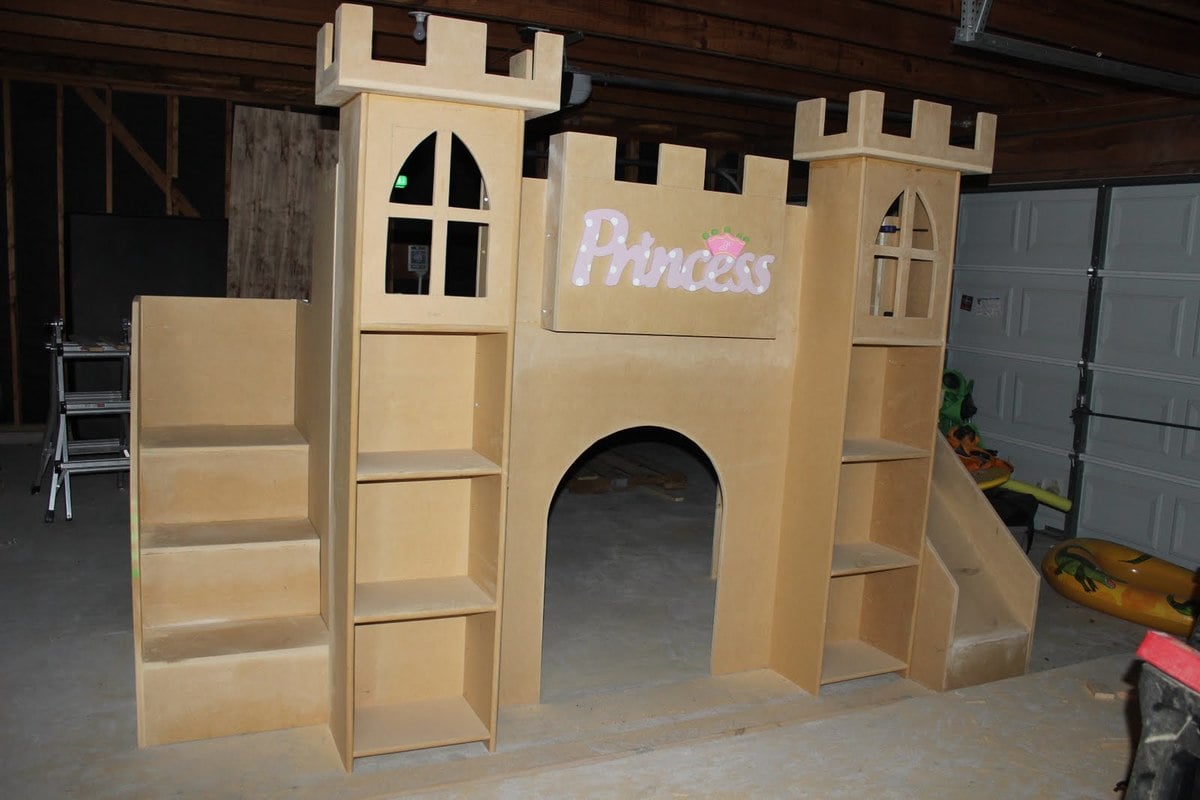
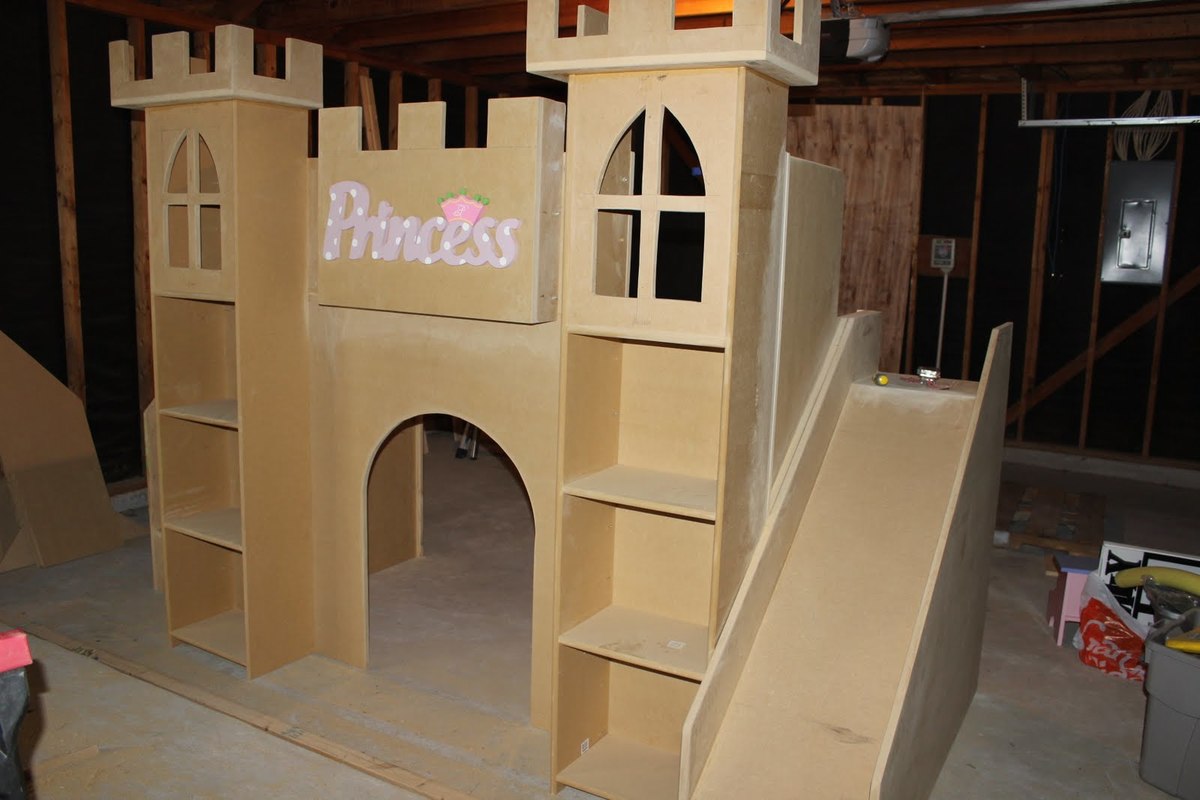
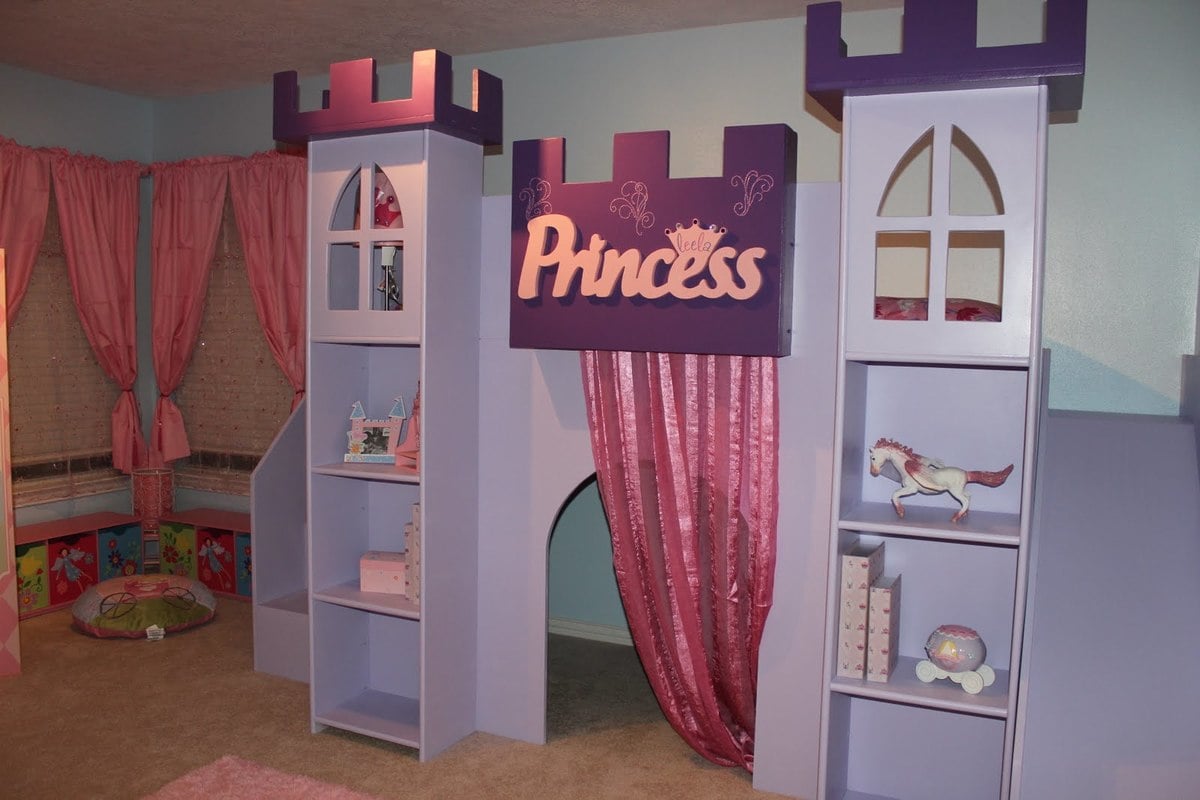
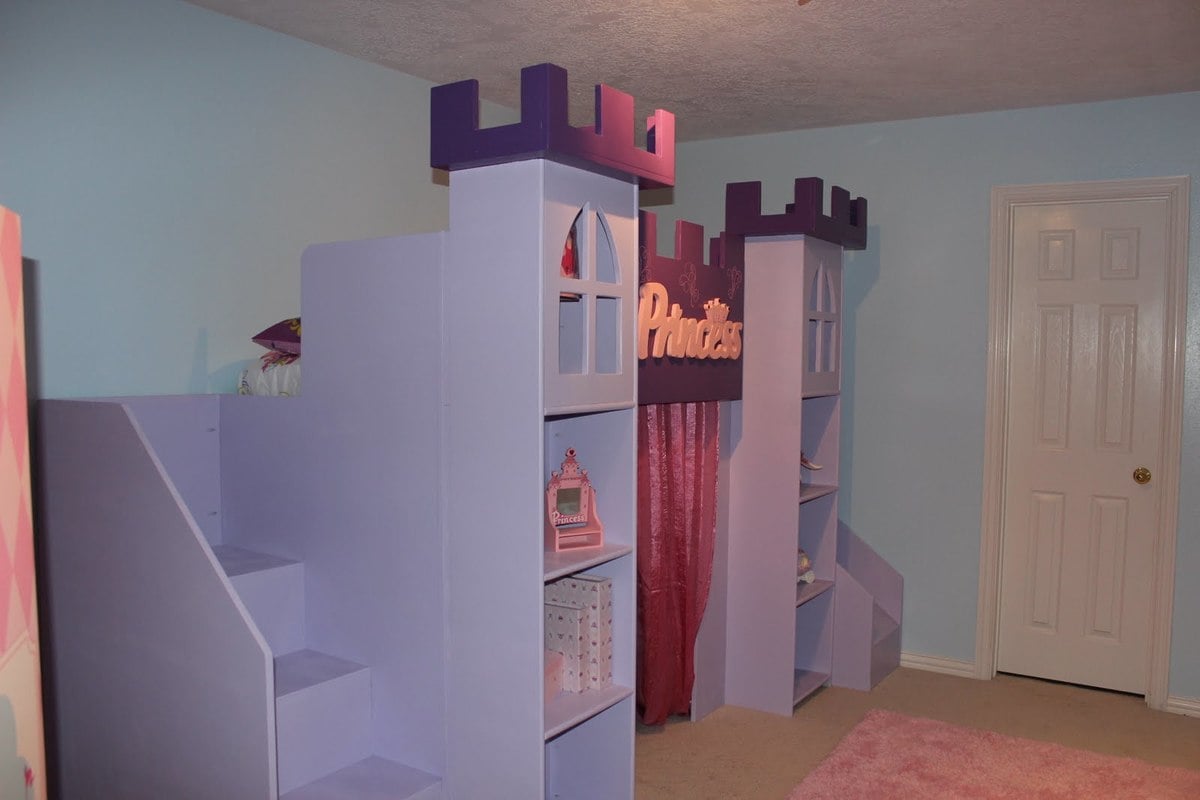
Camp Loft Bed with Stair

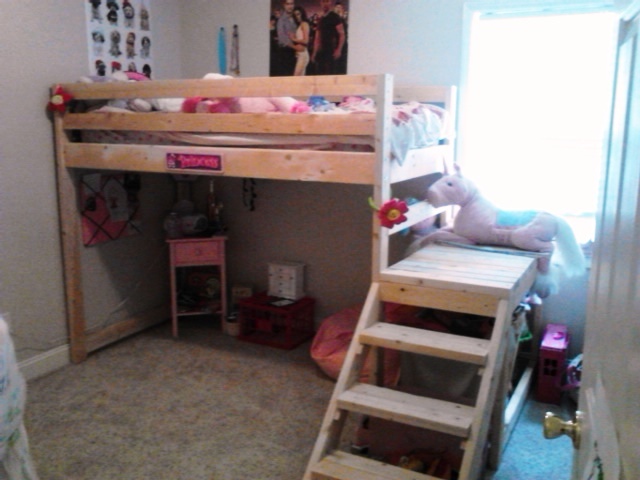
Thank you for this plan! We had a blast building this project and watching our daughter's expression once she saw it complete made it all worth while! She has a very small bedroom and this bed allows her so much more floor space now plus it has the "fort" feeling. She loves it! Thanks, Ana!

Estimated Cost
0
Estimated Time Investment
Week Long Project (20 Hours or More)
Finish Used
Natural
Recommended Skill Level
Beginner

Modified Rustic X Kitchen Island

Submitted by palmer225 on Sat, 06/21/2014 - 07:58

This is a my take on the Rustic X Kitchen Island. I couldn't find an island that was the right size for my space, so I modified this plan to fit. It is 24x42. I built the slat shelves, drawers, and side boards to go the full width of the piece. I also made the top by ripping 2x8's, and joining them with Kreg pocket holes and wood glue. Instead of using casters, I just cut the legs a little bit longer. This thing is pretty heavy and does not move. After it was in use, I added some additional 12" deep shelves. I finished it by hand rubbing with General Finishes Gel Stain in Brown Mahogany and their Gel Topcoat.

Built from Plan(s)
Estimated Cost
$150 ($50 of that for the General Finishes products)
Estimated Time Investment
Weekend Project (10-20 Hours)
Finish Used
General Finishes Brown Mahogany and Gel Topcoat.
Recommended Skill Level
Beginner

Comments

Bench Right Coffee table

Submitted by Nick862 on Wed, 09/21/2016 - 00:07

This was my first real project and I am happy with how it turned out. 

Estimated Cost
80.00
Estimated Time Investment
Weekend Project (10-20 Hours)
Recommended Skill Level
Beginner

Comments

Chest of Drawers

This is a 10-drawer cabinet that I designed and built. It's the first woodworking project I've ever undertaken. It took about 2 weeks to complete the build (between bedroom remodeling and this project), but I think it can easily be completed in half the time. The cabinet carcass was built with 3/4" plywood. The drawers were built using 1/2" plywood. The drawer bases are also 1/2" thick as I intend to store some heavy items in these drawers. The drawers all measure 23" in outside length and 17" in outside width. The bottom 4 drawers measure 10" deep (internal dimension). The top 4 drawers measure 3" deep and the 2 remaining drawers measure 6" deep (internal dimensions). The drawer banks (Each vertical set of drawers) are separated by a 1.5" thick center wall (glued two 3/4" plywood boards) to allow fastening of drawer slides using 3/4" truss head screws. All joints on the cabinet carcass and drawers are glued and pocket screwed (512 pocket holes all told). Having the Kreg K4MS pocket hole jig was a time saver compared to the Kreg R3 jig that I had before as I was able to "assembly line" the pocket hole drilling process. The drawer fronts were designed to be flush with the outsides of the cabinet and have a 1/8" gap between drawers (both vertically and horizontally) and were made out of 3/4" plywood. They were then veneered with White Oak Veneer sheet and edge banding

Estimated Cost
Around $250
Estimated Time Investment
Week Long Project (20 Hours or More)
Finish Used
The chest was finish sanded to 400-grit and then stained with Varethane Golden Oak stain (2 coats), followed by 2 coats of Fast Drying Satin Polyurethane
Recommended Skill Level
Intermediate

DIY Bookshelf and Side Table

Submitted by Anonymous (not verified) on Fri, 04/26/2024 - 13:43

Madethe framed three shelf bookshelf with plans from Ana White. It was a gift for new baby in the family. I added a matching side table I designed based off Ana's plans! I used poplar 3/4" plywood, pine trim and poplar top for both pieces. Used Sherwin Williams Emerald trim paint in light green. Love the way these turned out!

Ray Bruhn

Built from Plan(s)

Sylvie's Fancy X Computer Desk

Submitted by smacneil on Tue, 08/28/2012 - 19:19

These are the shots from my dry-fitting assembly. I have yet to instal the back supports and to secure the top 2x6s but that will be done shortly.

I did run short of 2x4, I needed 1 more probably because of my inexperience with maximizing my cuts and minimizing waste. I plan on testing out my cuts in SketchUp for future projects and see if that helps. I find it much easier when the cut plan is already worked out before I get to the saw.

I cut and dry-fit the whole thing in 1 day although it would have been faster if I worked out the regional dimensions first. Again, SketchUp to the rescue!

I plan on adding pocket holes in the inside top piece of the leg assembly as well as the tabletop supports to secure the table top assembly.

This was a great build, I built it for my husband as a 25th anniversary present and he absolutely loves it.

I used knotty pine S4S and we plan to stain it to show off all those pretty knots.

This is only my 4th build, if I can make this anyone can!

Estimated Cost
$100
Estimated Time Investment
Day Project (6-9 Hours)
Finish Used
not yet determined
Recommended Skill Level
Beginner

Comments

seesaw

Submitted by gtg352j on Mon, 06/23/2014 - 19:35

This was our first foray into a built-it-yourself Anna White project, and WE DID IT!!!

(and you can see from the picture that it's structurally sound!)

It took a little longer than the 45 minutes in the plans, but was finished before the birthday party :-) Our kids ( 5 and 7) even had ownership in this project and enjoyed helping sand.

Only modification we made to the plans was to turn the seats 90 degrees to make a bit more of a seat so that our 2 year old could seesaw too.

Built from Plan(s)
Estimated Cost
$60
Estimated Time Investment
Day Project (6-9 Hours)
Finish Used
polyurethane
Recommended Skill Level
Beginner

Kimara's first build

Submitted by kimara on Thu, 08/30/2012 - 12:00

I had been looking for a small table for our small entry space. When I was searching, I was hoping to buy a table but couldn't find something I liked. I found this plan but it scared me because I had NEVER built anything. After researching on this site, I decided to jump in and try it. I made it much smaller to match our space. I added the shelf higher than recommended because I wanted to be able to use it as a homework spot when the kitchen table is covered by a project. I don't like the finish, but it will stay for a while because others like it.

Estimated Cost
30
Estimated Time Investment
Afternoon Project (3-6 Hours)
Finish Used
Cherry by Cabot
Recommended Skill Level
Starter Project

Comments

MzBarasha (not verified)

Sat, 10/06/2012 - 21:08

By chance did you have the cut measurements?

Mini Flat BookShelf

Submitted by kenmc on Thu, 06/26/2014 - 01:18

A mini flat shelf for my daughter. Initially sized to fit on the landing until I realized I had just built her a ladder to climb the banisters, so relocated it to the hall.

Width increased to 630mm between uprights to allow 3x A4 books side by side. Height is 830mm to fit initial planned location.

Painted with Annie Sloan Duck-Egg Blue distressed at the edges and waxed with Annie Sloan soft wax.

Built from Plan(s)
Estimated Cost
€20-€25
Estimated Time Investment
Day Project (6-9 Hours)
Finish Used
Annie Sloan Chalk Paint and wax
Recommended Skill Level
Starter Project

Little Boy's Version

Submitted by Anonymous (not verified) on Mon, 09/26/2016 - 11:23

Thank you for the great plans!  I modified it a bit to fit our needs.  I made the footboard identical with the headboard; added feet from Osbourne Wood and finials I found on Etsy.  To accomodate the feet, I made the vertical corner posts flush with the siderails and head/foot boards.

Estimated Time Investment
Weekend Project (10-20 Hours)
Recommended Skill Level
Intermediate

Comments

YellowKlondike

Mon, 09/26/2016 - 11:28

I forgot to mention that I went to Ikea and bought slats for their toddler bed to use as the mattress support for mine.  They were $9.99 discounted to $5.99 and it was a lot cheaper and easier to just use that as the support.

outdoor couch

So I love Restoration Hardware but think their prices are exploitative. I found a picture of a couch I really like from there. Turns out it was discontinued so I looked on Ebay and found cushions for it and I just tried to copy the picture as best I could. I considered trying to learn about bending wood for the arms but that would have significantly delayed the process so I just took a 2x6 and cut the curves with a band saw. It worked.

Estimated Cost
$60 not including cushions
Estimated Time Investment
Weekend Project (10-20 Hours)
Finish Used
white semi gloss
Recommended Skill Level
Intermediate

Comments

Sarah Jane

Thu, 05/16/2013 - 11:30

I love your variation!! It looks like a cross between the outdoor sofa and the Bristol? Could you tell us what size wood you used for the different components? I know 2x6 cut to shape for the front leg......but what about the seating area slats (1x3?) and the back rest slats (1x3?) and the back leg/backrest upright (2x4?) and the top of the back rest(2x4? with radius end) and the box for the seating area (2x4?) You did a truly amazing job!!!!!!! I would love to see more pictures if you have any showing your progress through the build! [email protected]

Michael J

Tue, 05/13/2014 - 12:51

I like the way you curved the front legs.
I am wondering how you curved the back legs/backrest?

Patio Makeover

Submitted by Chris 1975 on Sun, 06/29/2014 - 08:47

This is my 10ft long picnic table (which is bar height) that we built for the patio. We needed better seating for parties and BBQ's. I will post the plans later! Also featured is the couch that we designed and built with the center table.

Estimated Time Investment
Day Project (6-9 Hours)
Finish Used
minwax stain
Recommended Skill Level
Beginner

Comments

Double Farmhouse Bed

Submitted by Anonymous (not verified) on Sun, 10/02/2016 - 06:34

This was my first Farmhouse bed!  I am totally in love with how it turned out!  These plans were very detailed and easy to follow.  I added some fancy trim like in the Mom's Fancy Farmhouse bed. I also changed the way I attached the side rails.  I used siderail supports from Lee Valley as I wanted to be able to dismantle the bed for easier moving if needed.

I am also thinking of adding a trundle to it.


Thank you so much Ana, for these wonderful plans.

I have made numerous items from your site and will continue to do so. 

Built from Plan(s)
Estimated Cost
150-200
Estimated Time Investment
Weekend Project (10-20 Hours)
Finish Used
Varathane Triple thick one coat stain-Expresso
Varathane Triple thick one coat clear finish.
Recommended Skill Level
Intermediate

Bench

Submitted by carlablock on Tue, 07/07/2020 - 10:10

Fun to make and so pretty!

Built from Plan(s)
Estimated Cost
30.00
Estimated Time Investment
Afternoon Project (3-6 Hours)
Recommended Skill Level
Beginner

Queen Farmhouse Guest Bed

Submitted by Anonymous (not verified) on Wed, 05/08/2024 - 09:33

Ana - built this Queen Farmhouse Bed from your plans and videos. Really a warm, guest room that I built inspired from your work and detailed plans — thanks again!

Chris K

Built from Plan(s)

Princess Castle Bed

Submitted by ajjasser on Mon, 09/03/2012 - 22:00

Thanks to Ana White and fsmumford, I was inspired to create a castle bed for my princess. It was a lot of hard work but it paid off seeing her going up the stairs and down the slide a million times the 1st day!

Estimated Cost
Around $500 painted
Estimated Time Investment
Week Long Project (20 Hours or More)
Recommended Skill Level
Intermediate

Comments

NicoleStruck

Mon, 01/11/2016 - 07:13

Have you found the plans yet for this bed? I would love to make this for my daughter's new room, but I can't seem to find them either :[

Joey Oc

Thu, 11/26/2015 - 15:49

Thanks  so  much  for  being  so  generous  with your plans. I just  had  my  first  granddaughter  and you've  given  me so many options  for  what  I can do for  her. The castle bed will be great  in a few years. Thank you.

Joshnewton

Fri, 06/17/2016 - 17:52

Is there any plans i can get you to send me? I am building my daughter a princess bed and would love to see your plans.


THanks for your help.


JOsh #struggling dad

DIY Playstand

My husband and I made this completely fabulous DIY playstand for my niece's birthday. It turned out fantastic. Ana's plans were straightforward and easy to follow. The most difficult part was making the buntings, but even those turned out fine. The only recommendations that I have beyond what is in Ana's post are use a good piece of plywood since it isn't easy to sand, and to put the extra velcro for holding back the theater curtains on the back. My cost is a little higher than the one on the original plans, but I also factored in the cost of the different fabrics, velcro, etc.

You can read more about it on my blog.

Built from Plan(s)
Estimated Cost
$100
Estimated Time Investment
Afternoon Project (3-6 Hours)
Finish Used
Cedar colored stain, chalkboard spray paint.
Recommended Skill Level
Starter Project

Comments

Play farmhouse table

Submitted by Anonymous (not verified) on Wed, 10/05/2016 - 10:47

My husband took care of cutting, drilling and putting together the table. I took care of sanding, staining and sealing. It was an easy project. Thank you for the plans, our kids love this table! 


Built from Plan(s)
Estimated Cost
100+ we had to buy tools we didn't have.
Estimated Time Investment
An Hour or Two (0-2 Hours)
Recommended Skill Level
Beginner

Girly Girl Doll Bed

This was a quick and easy project we made with all the scrap wood in the garage. It went together in a few hours, and made a great gift for one of my daughter's friends. It was so much cuter than any of the American Girl doll beds at the store, and WAY cheaper, too.

Estimated Time Investment
An Hour or Two (0-2 Hours)
Recommended Skill Level
Starter Project

Comments

Back