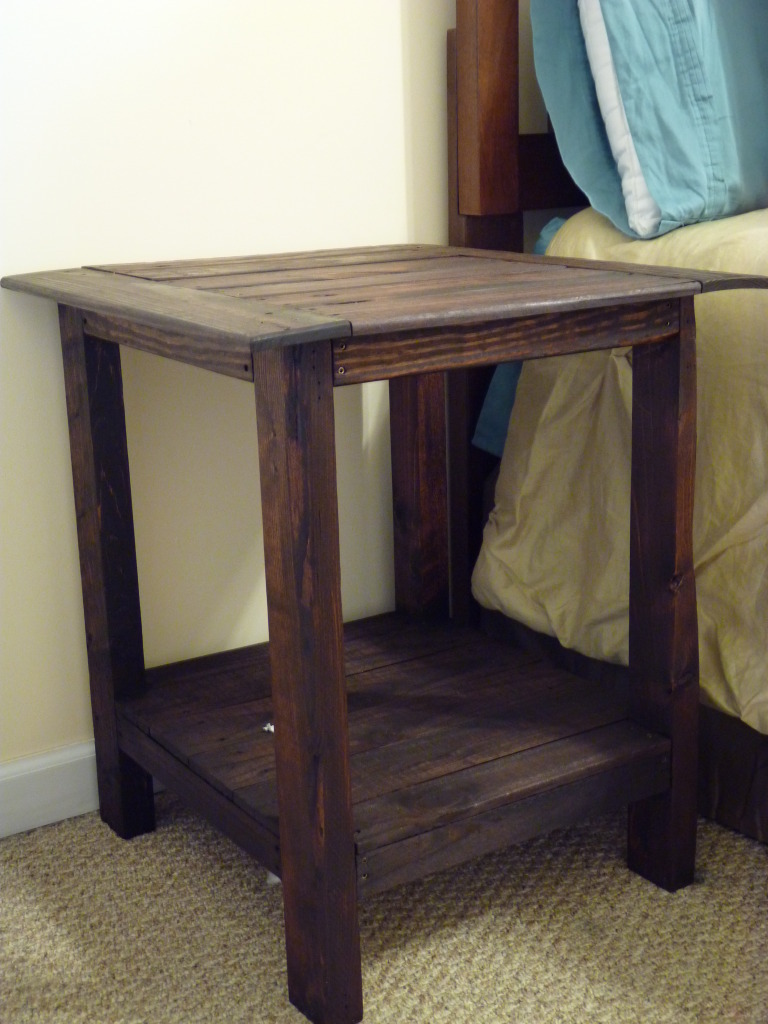
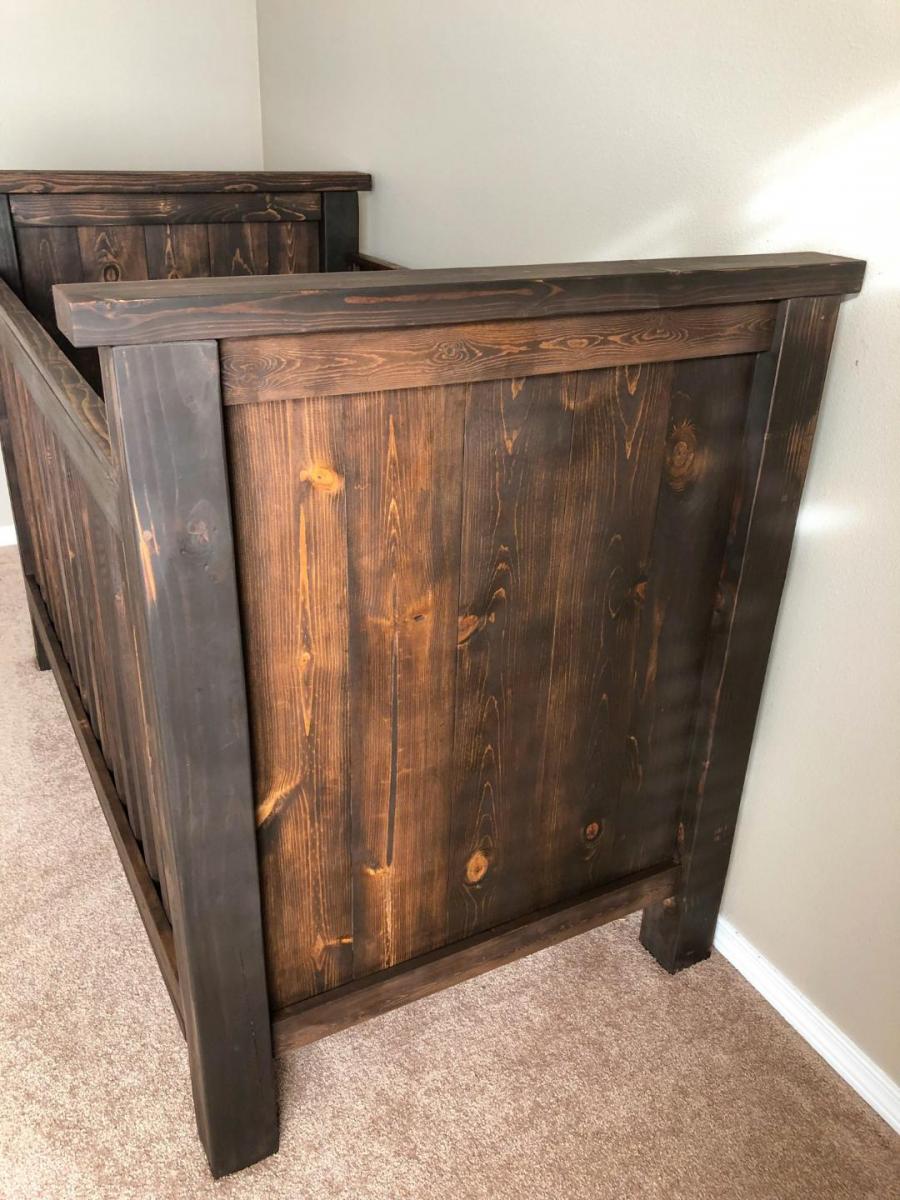
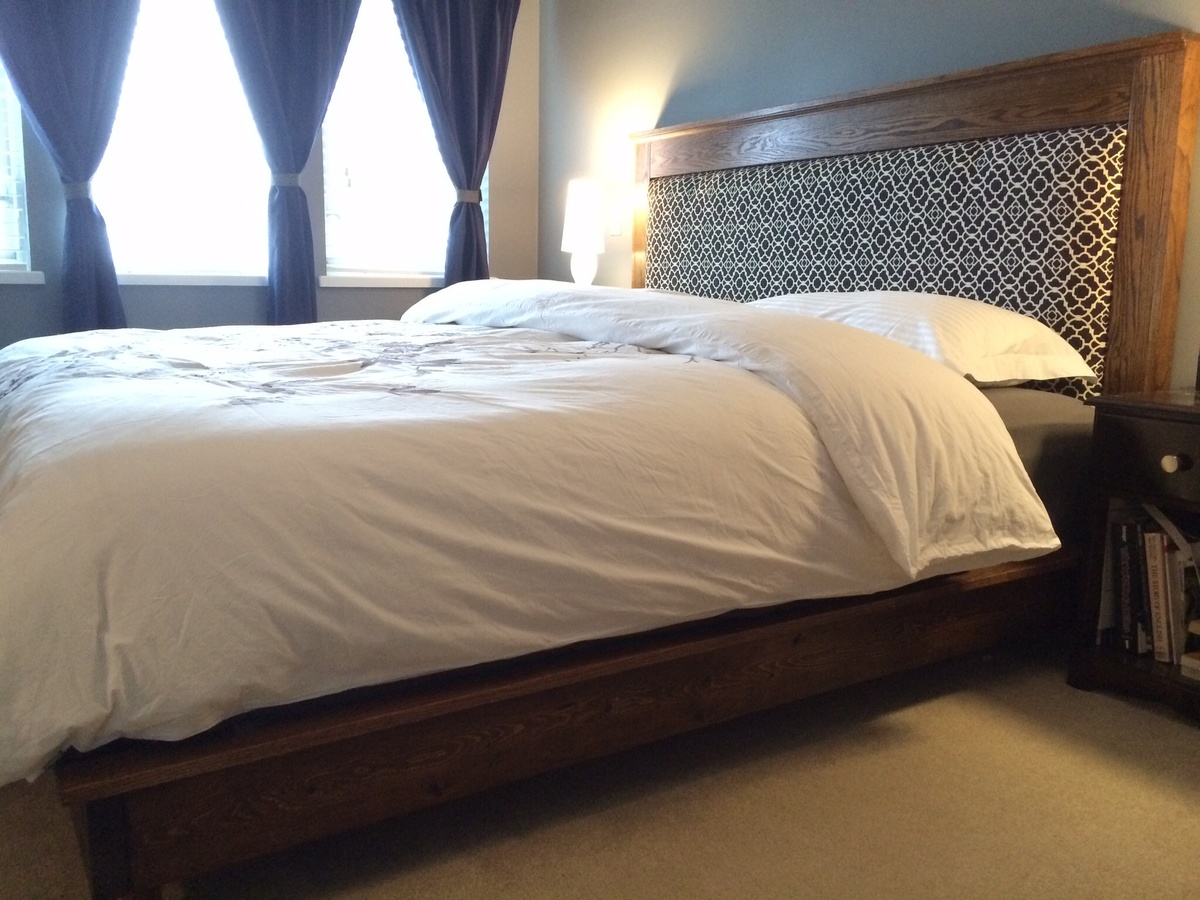
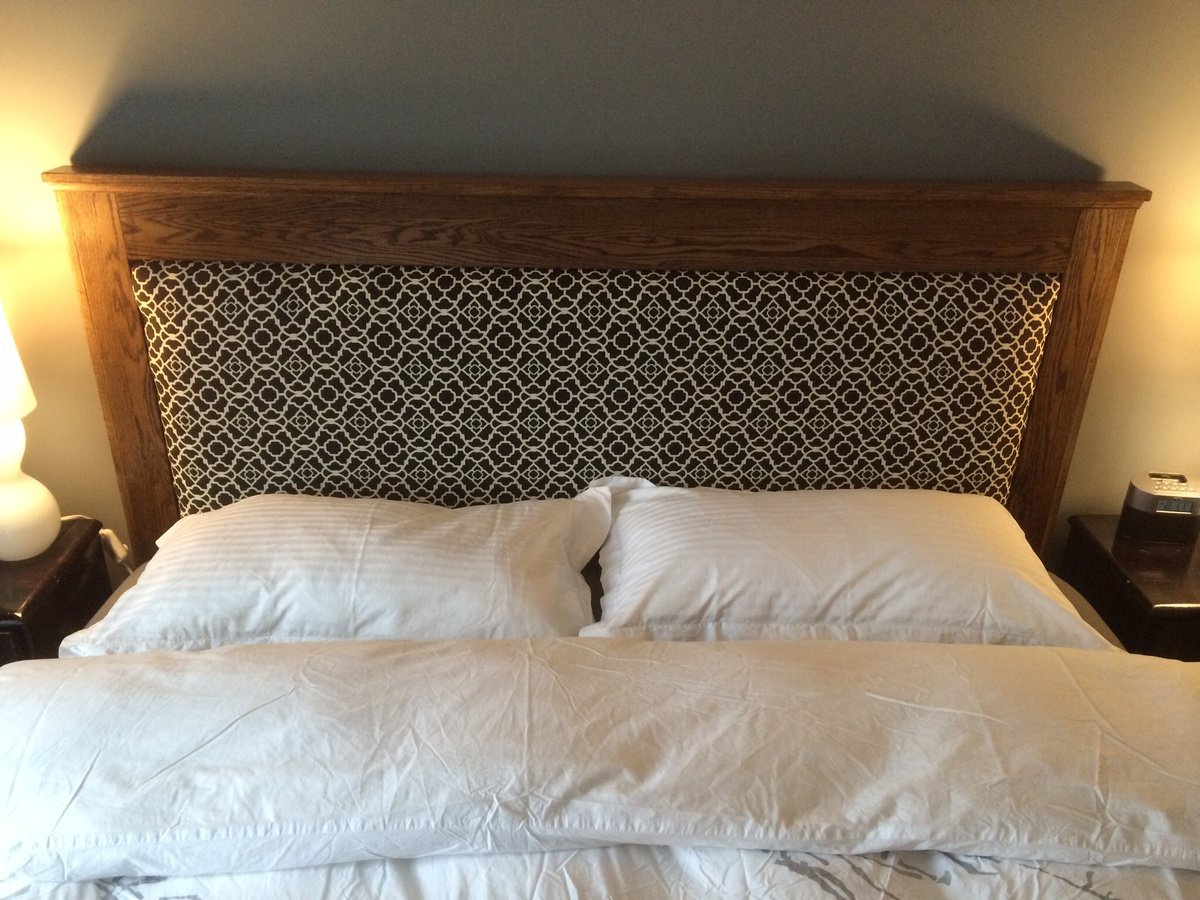
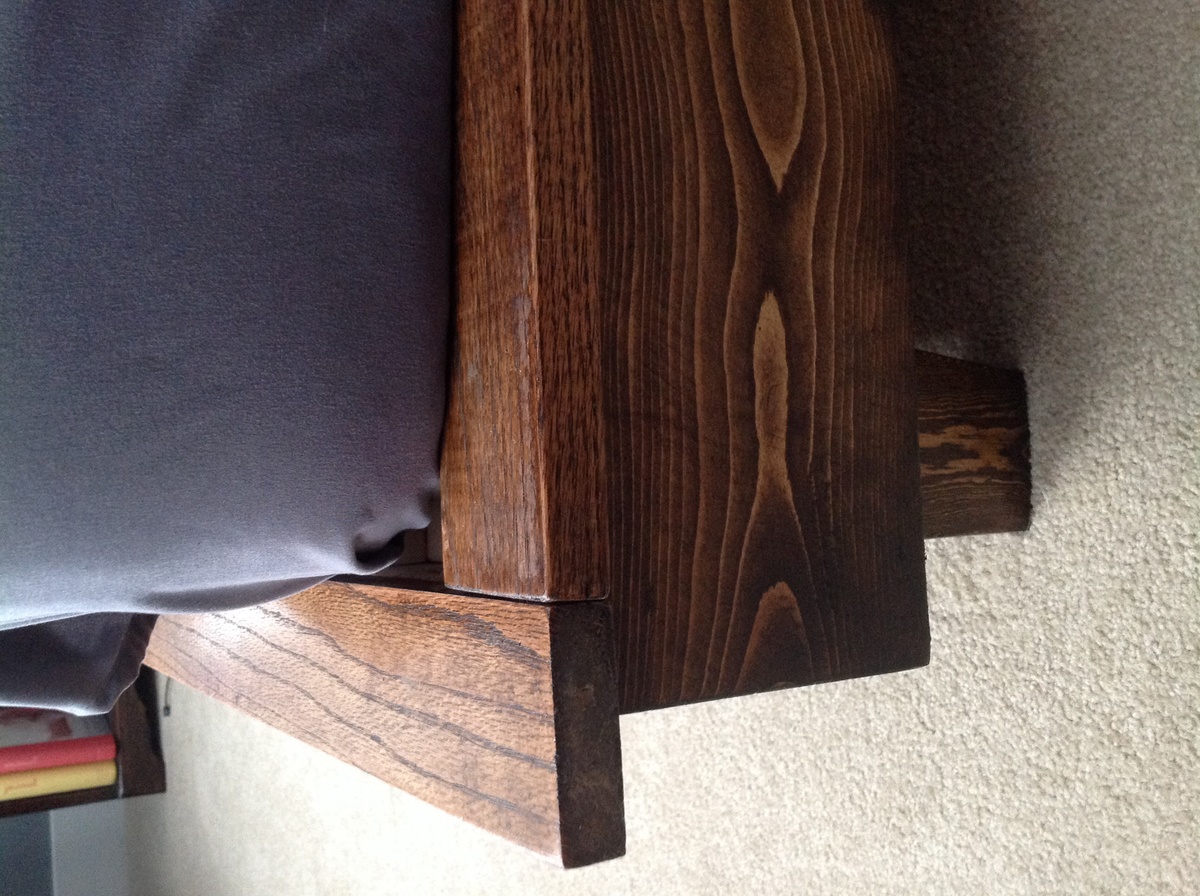
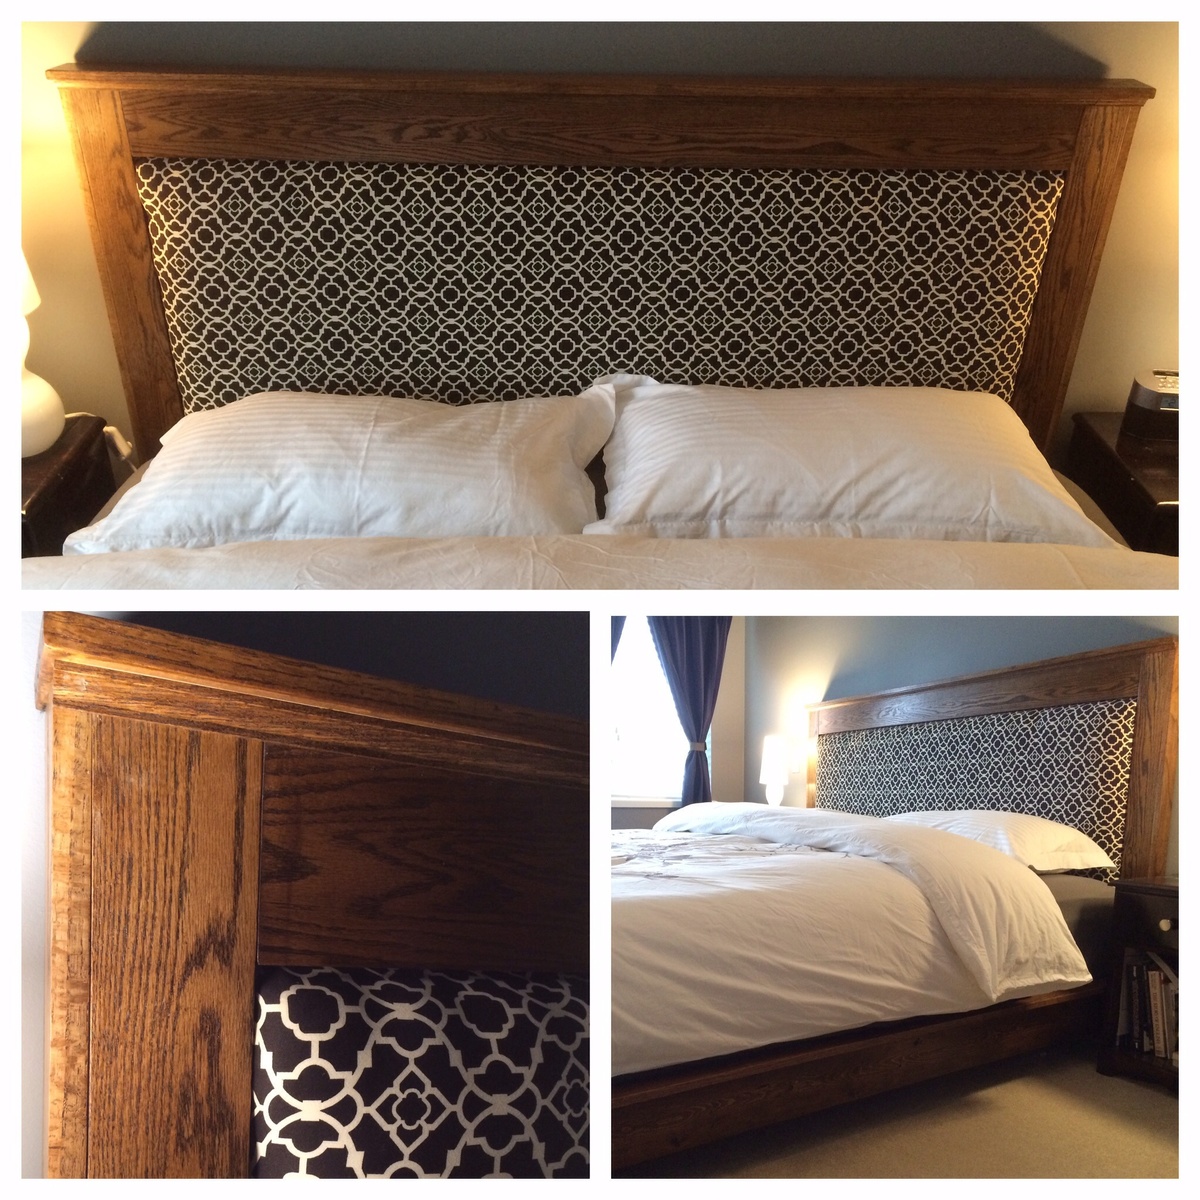
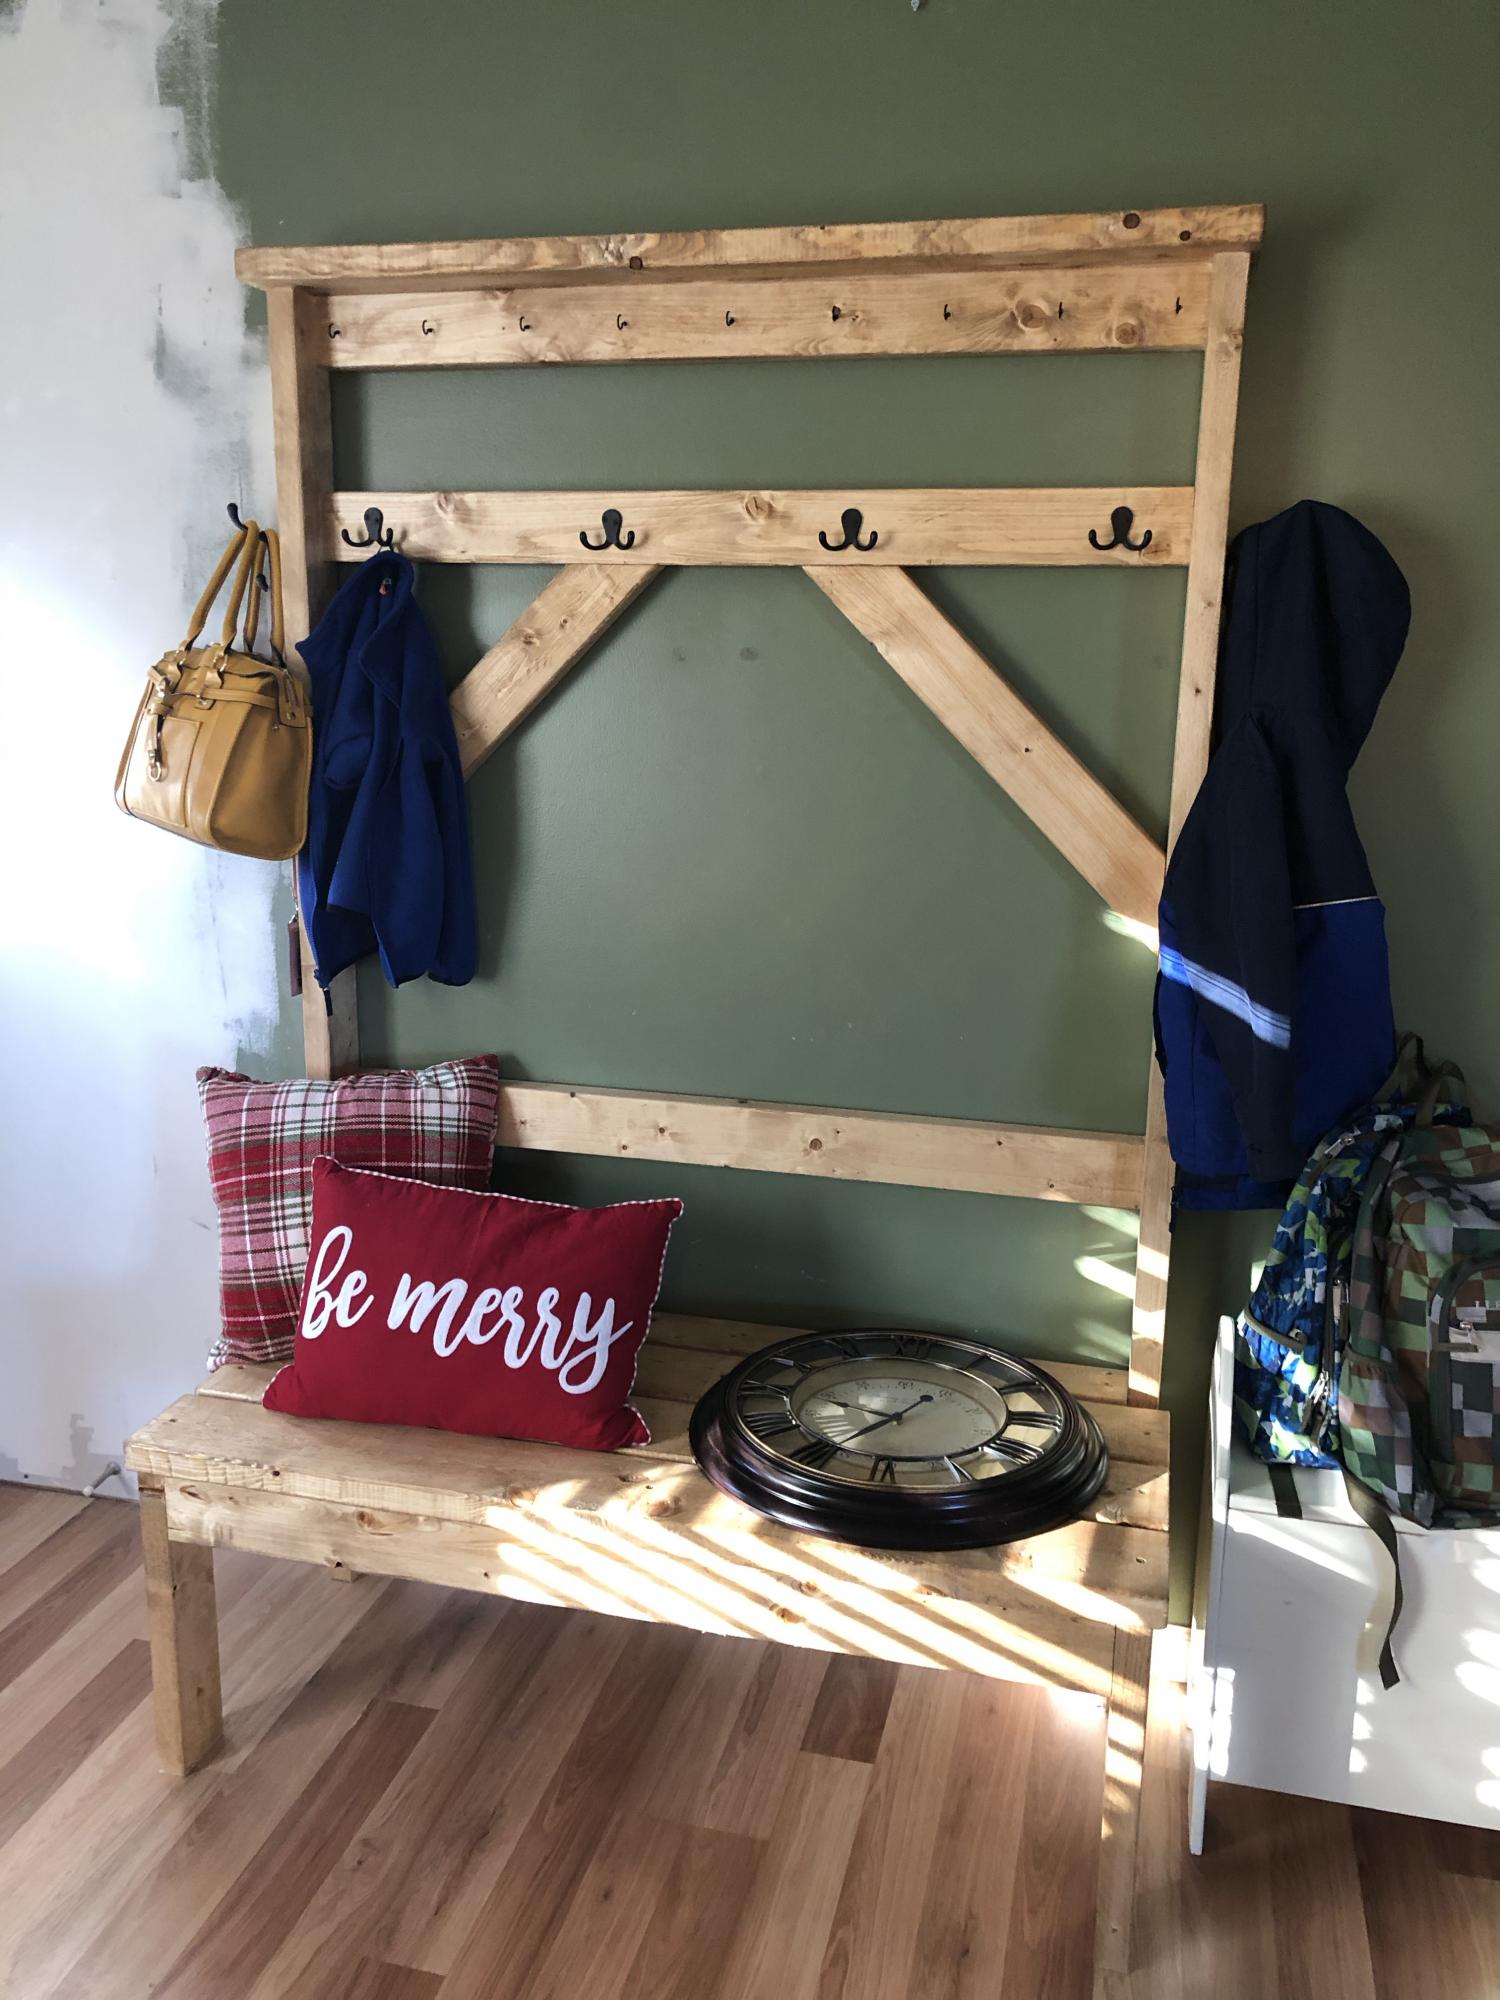
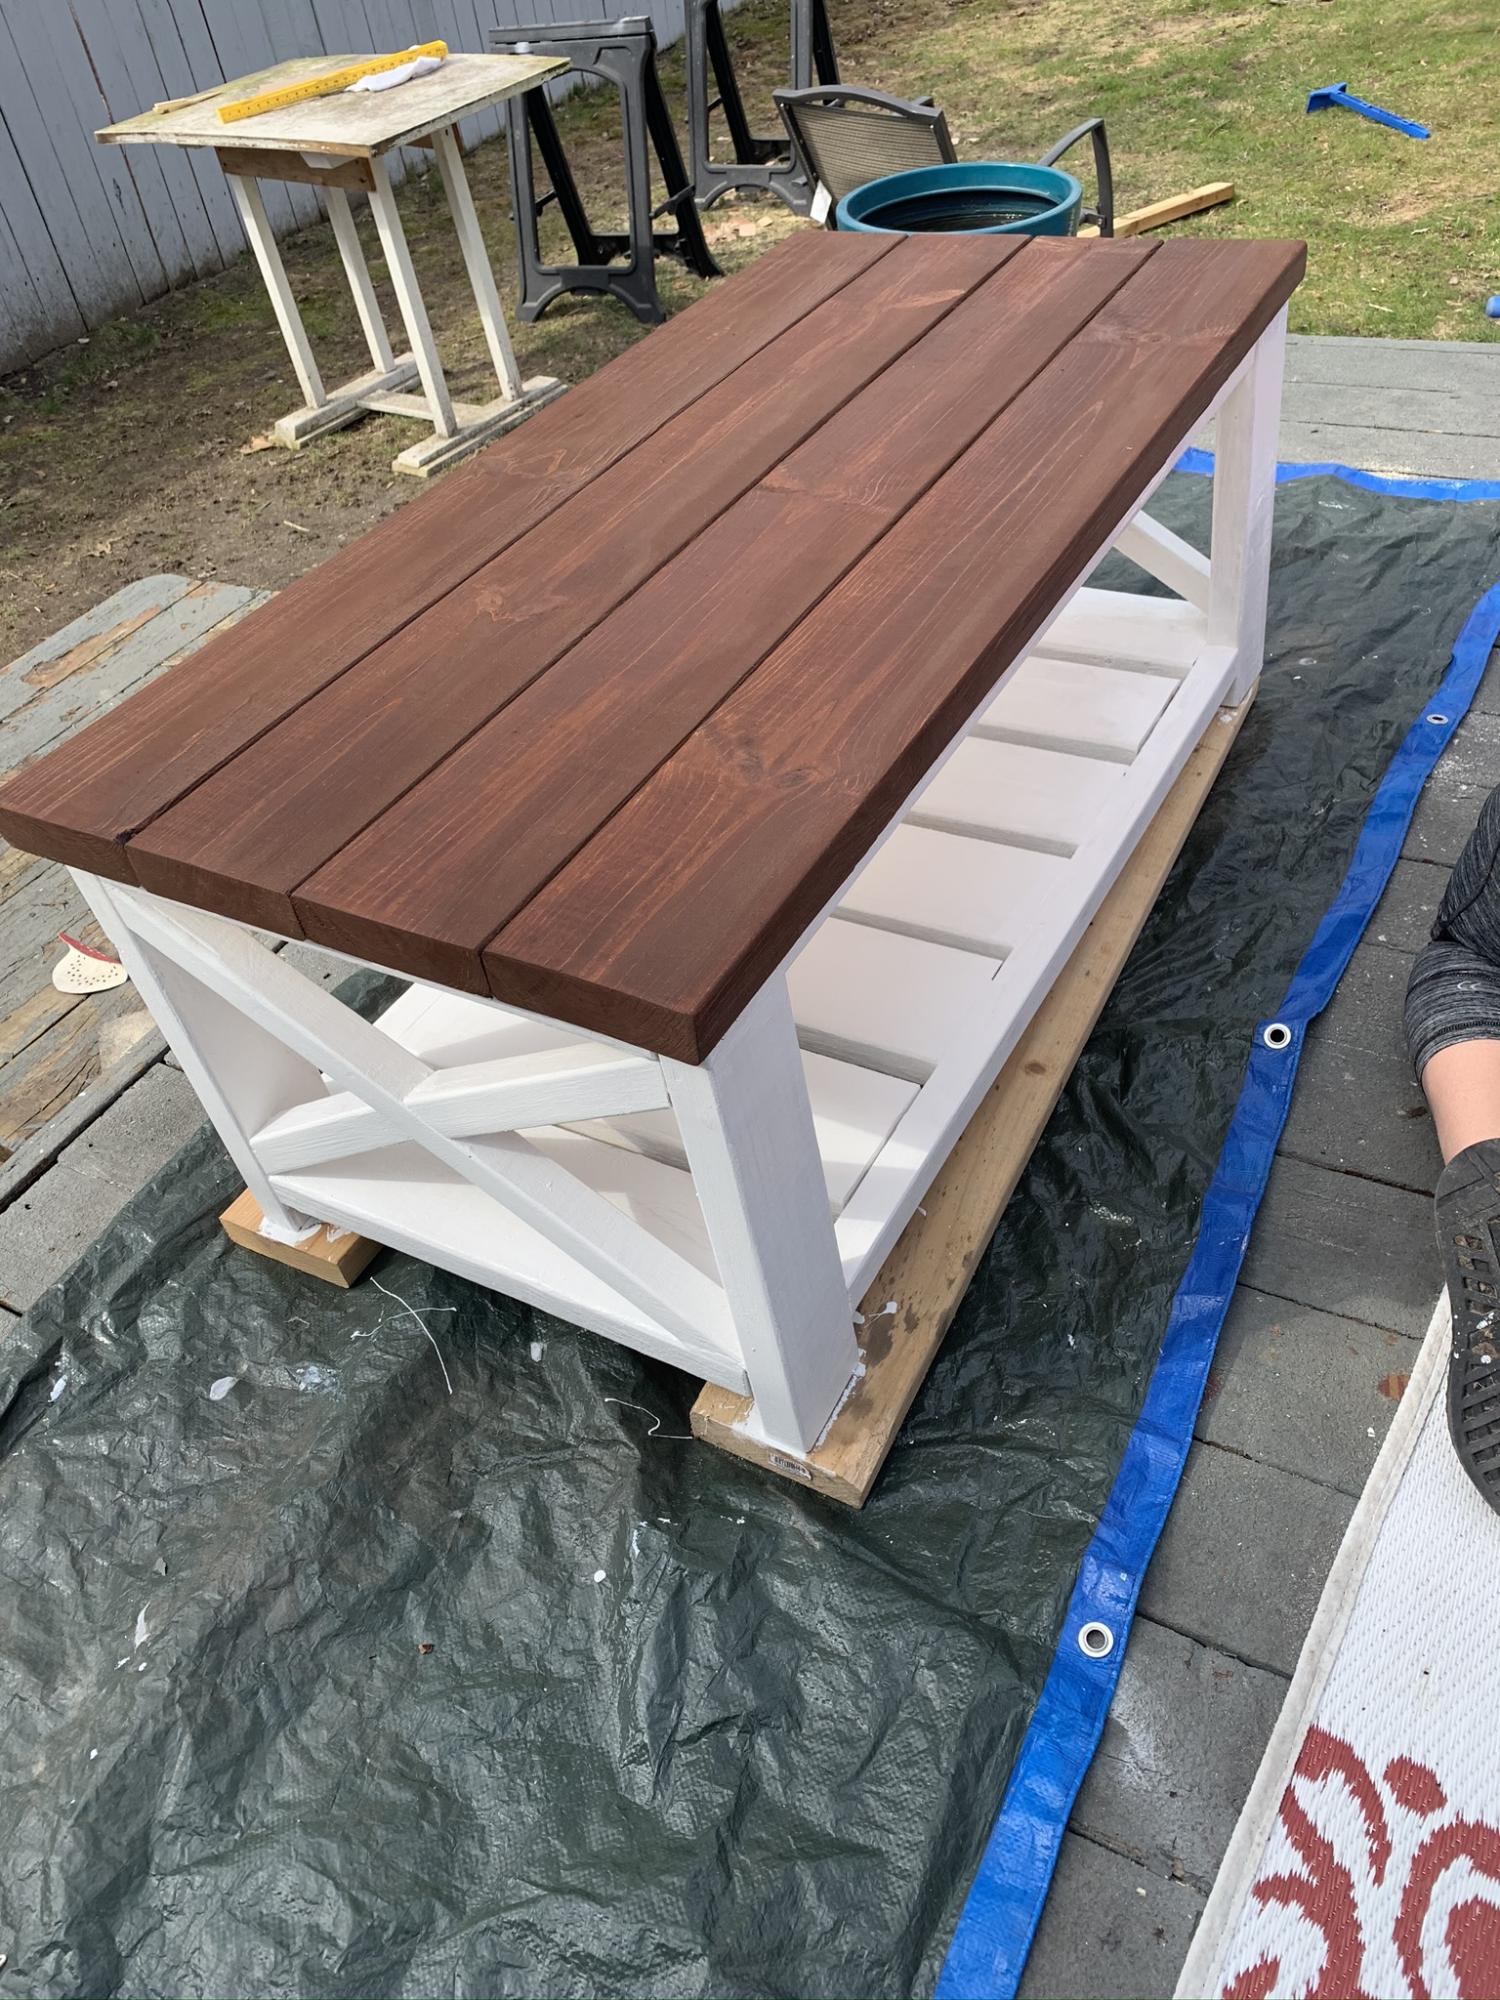
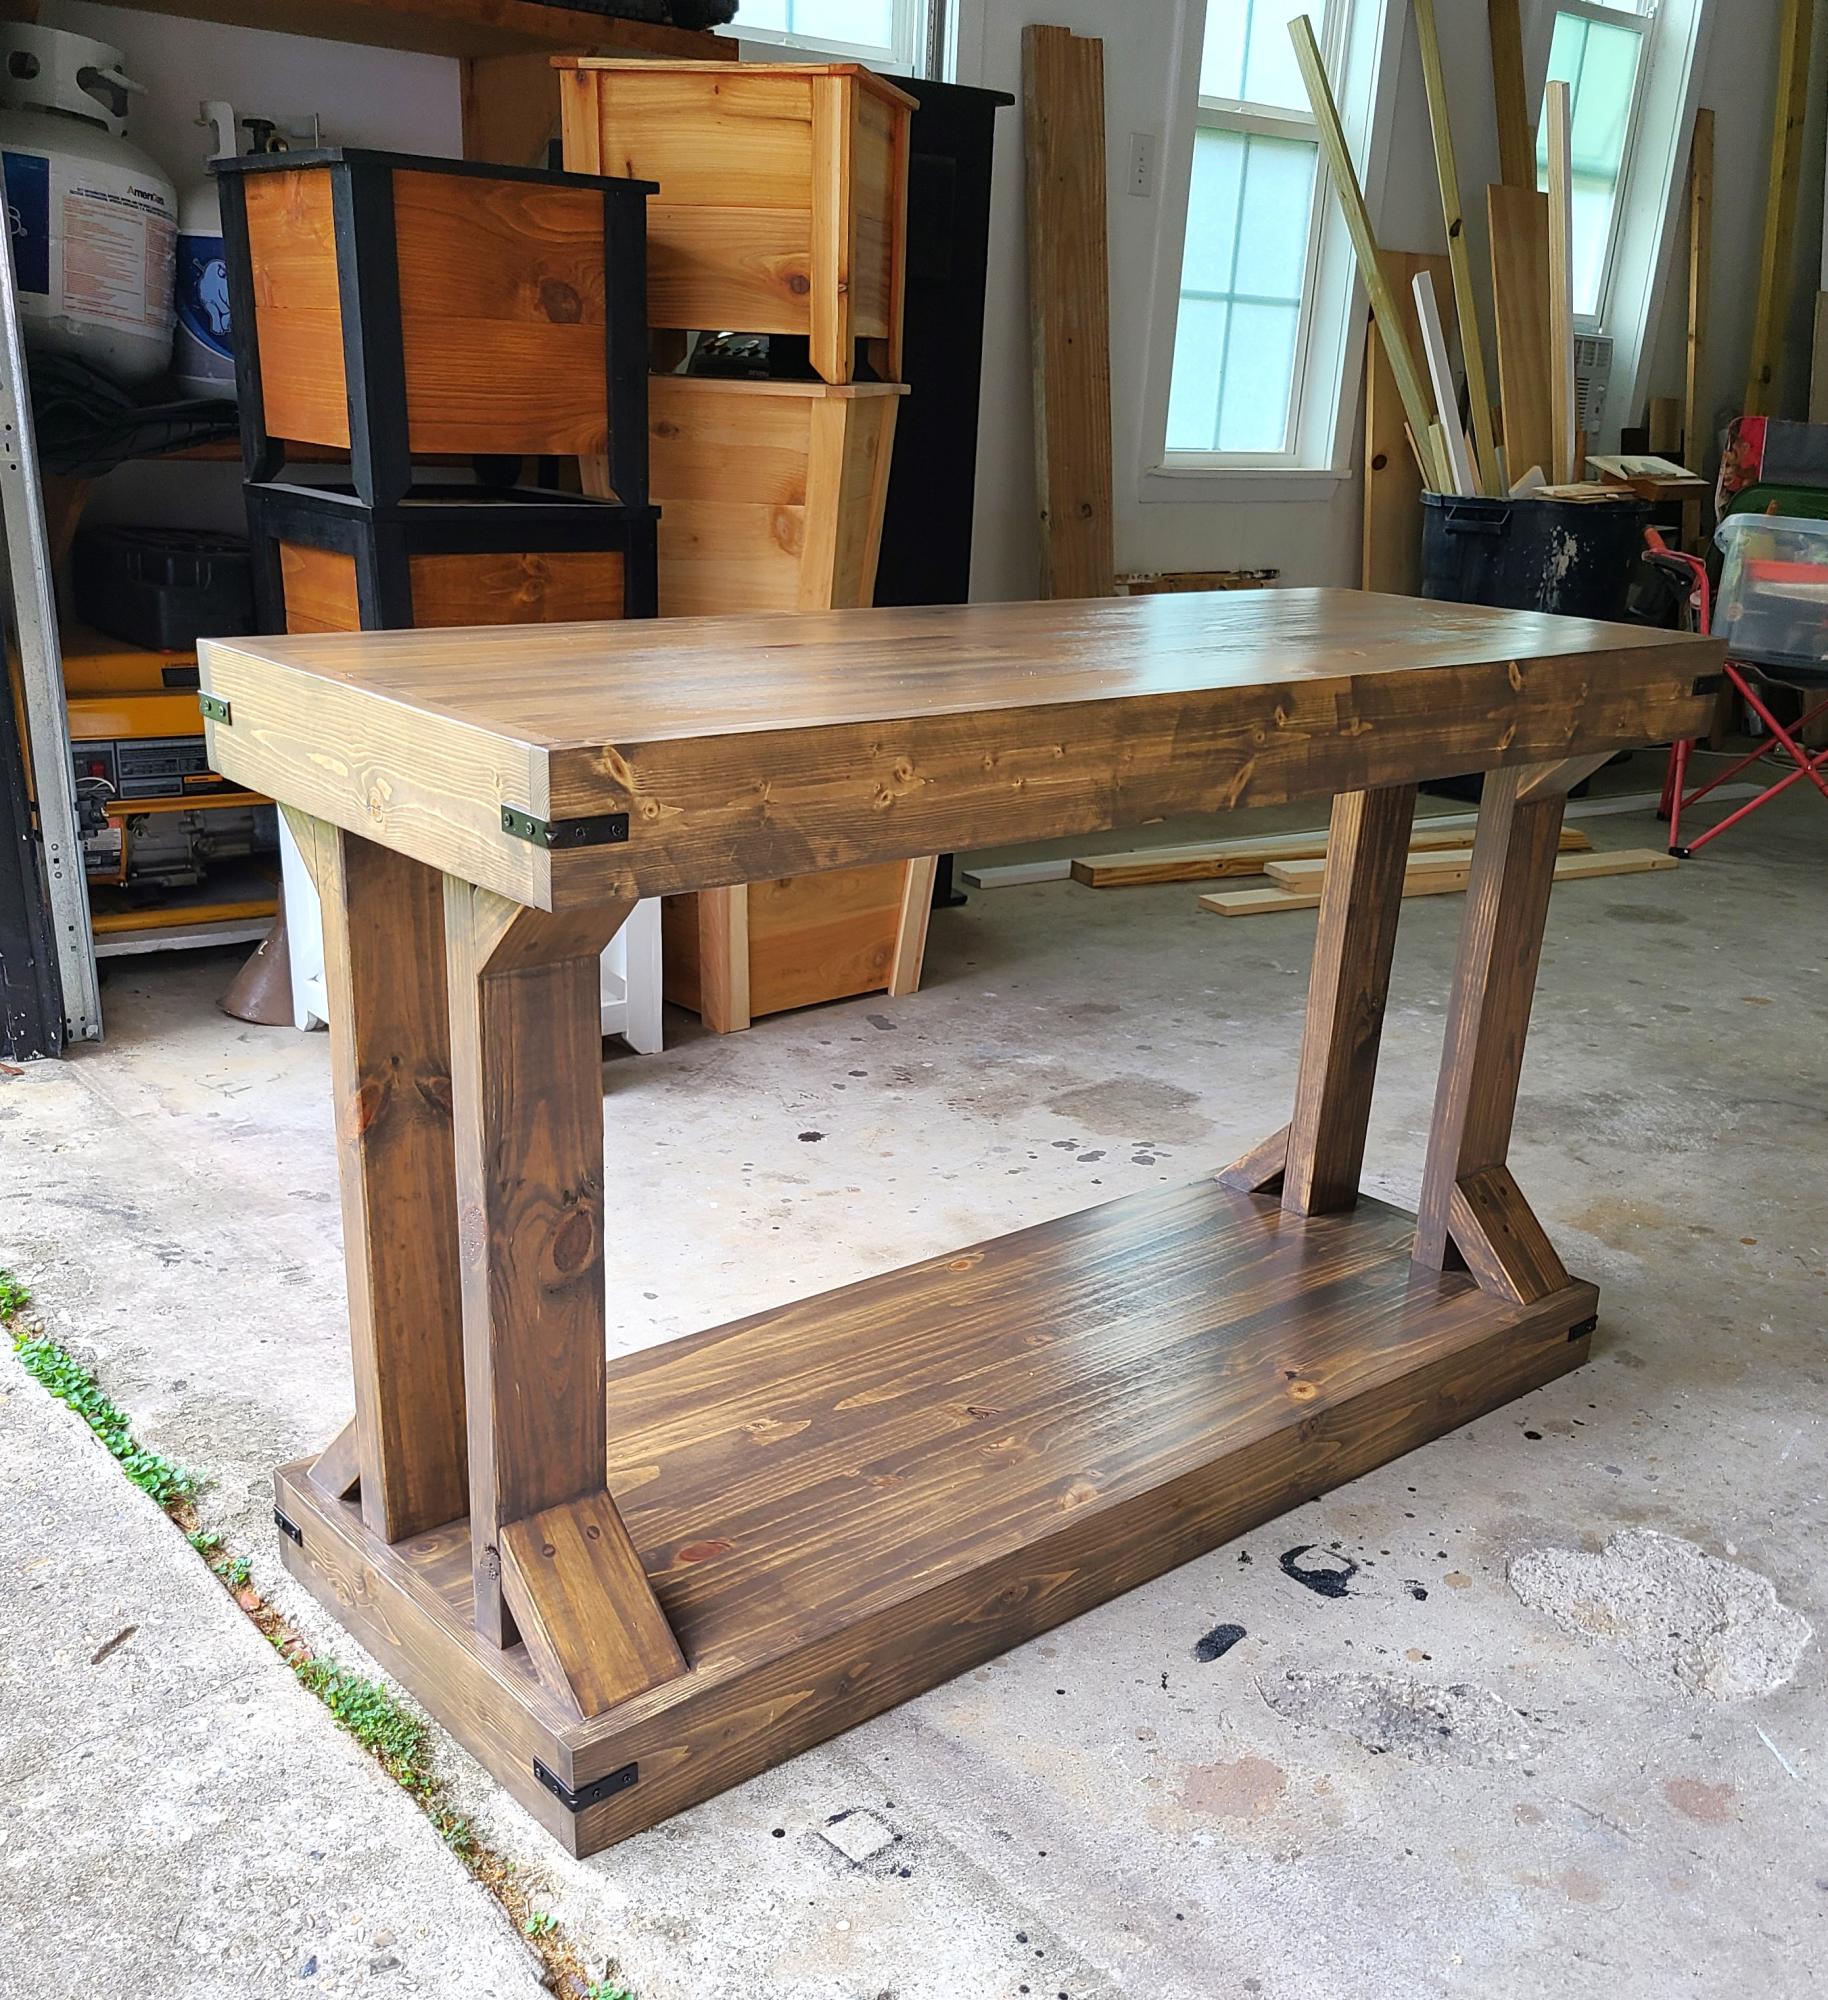
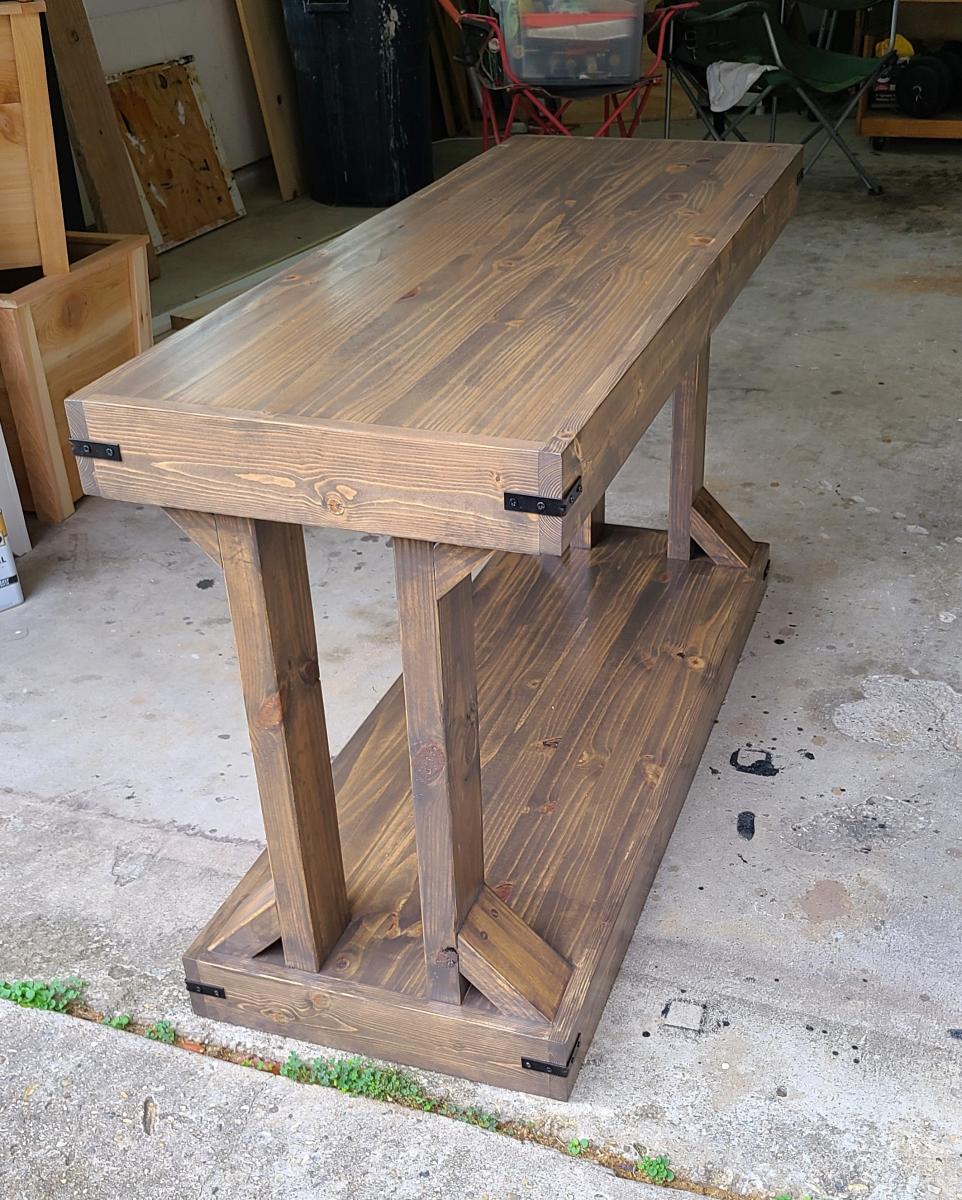
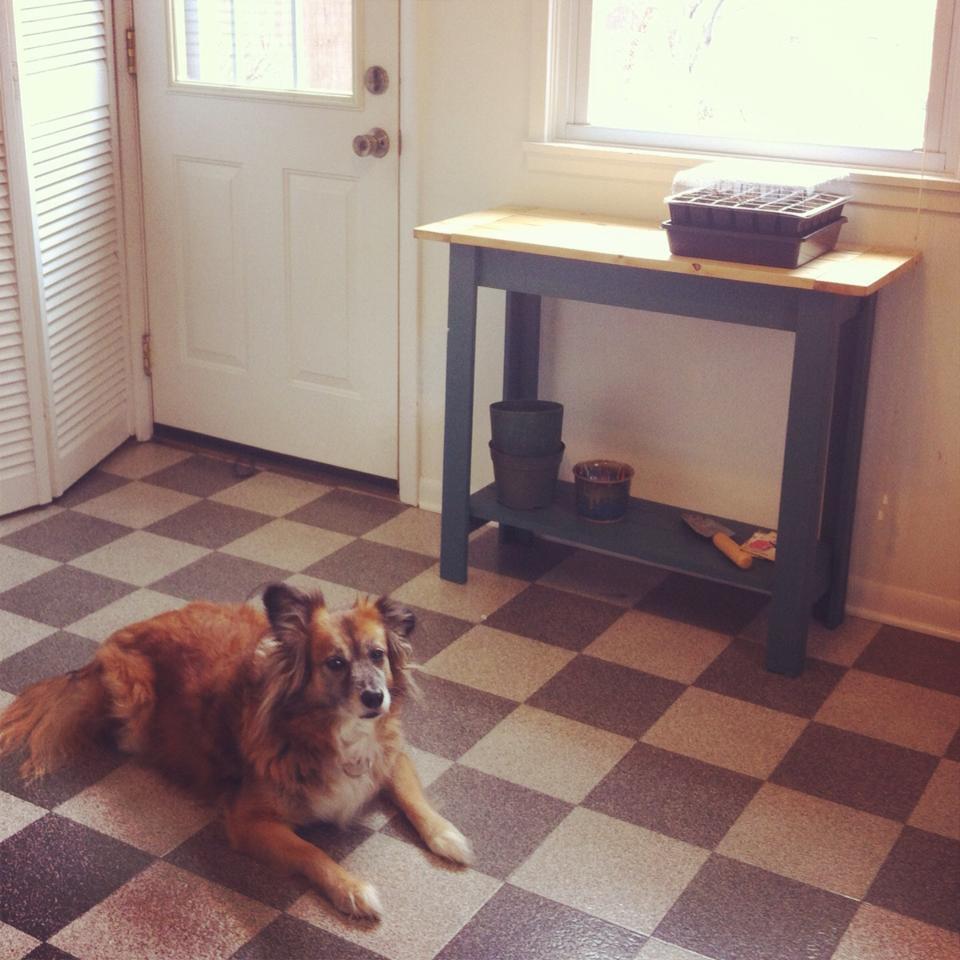
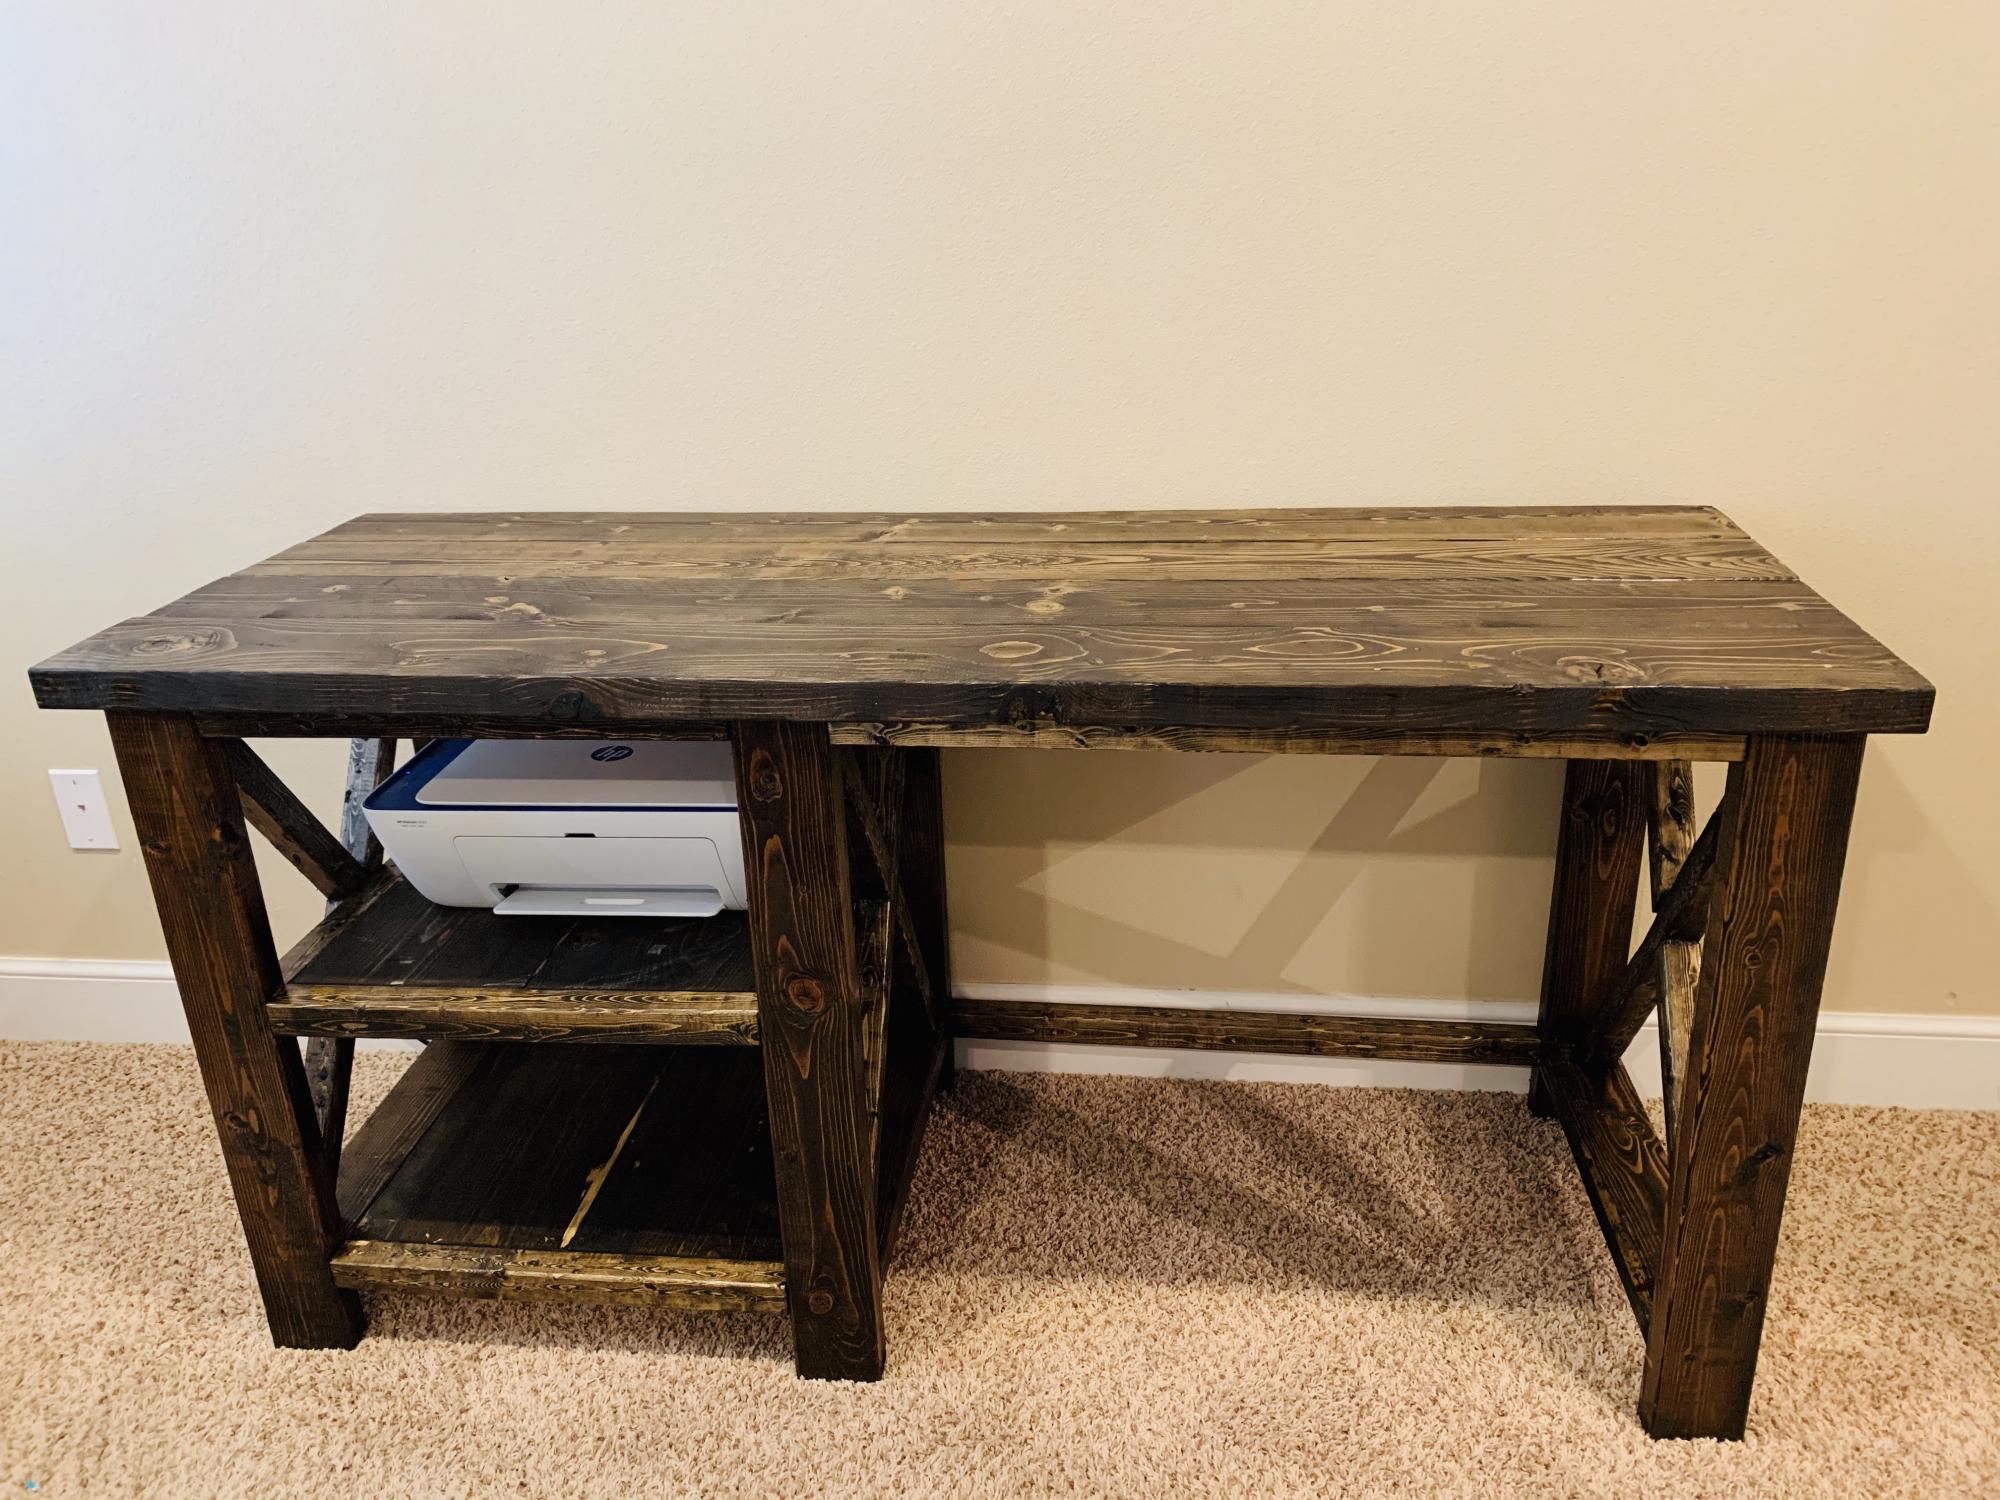
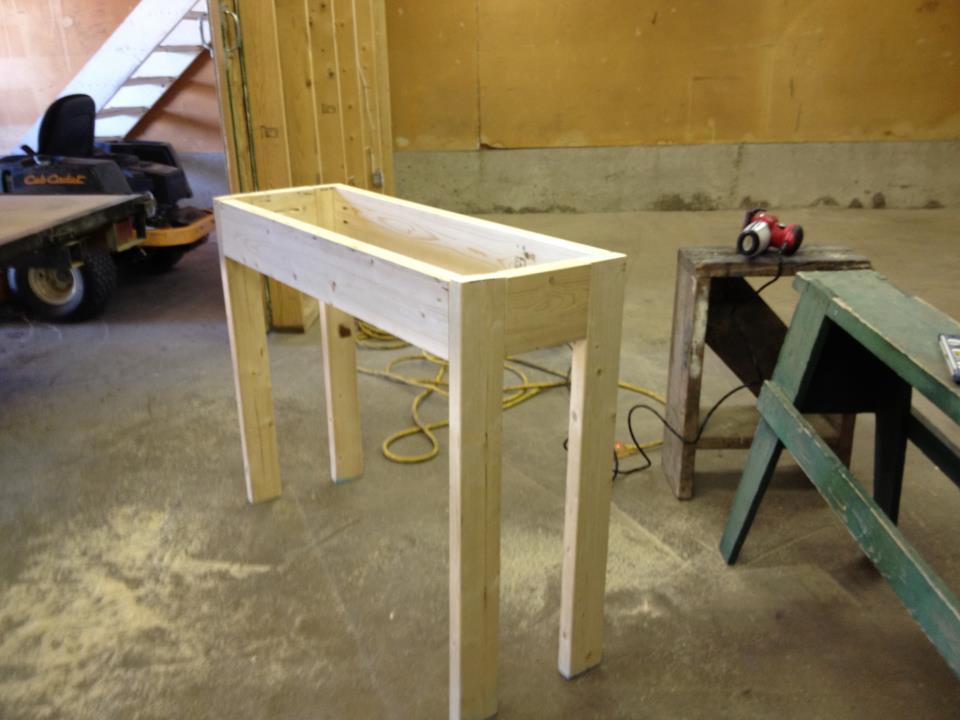
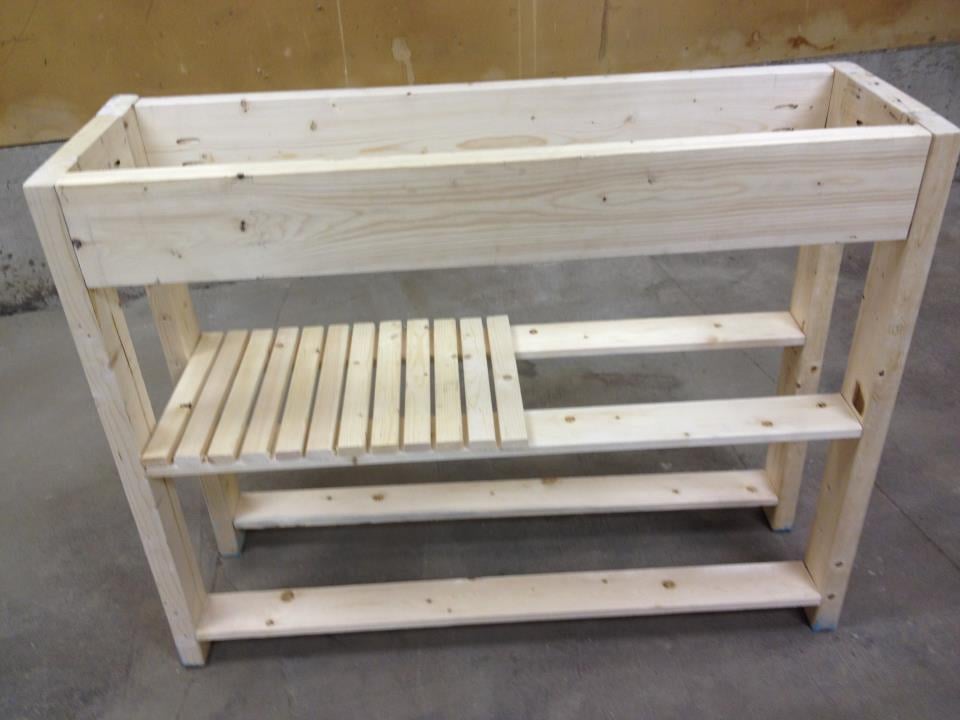
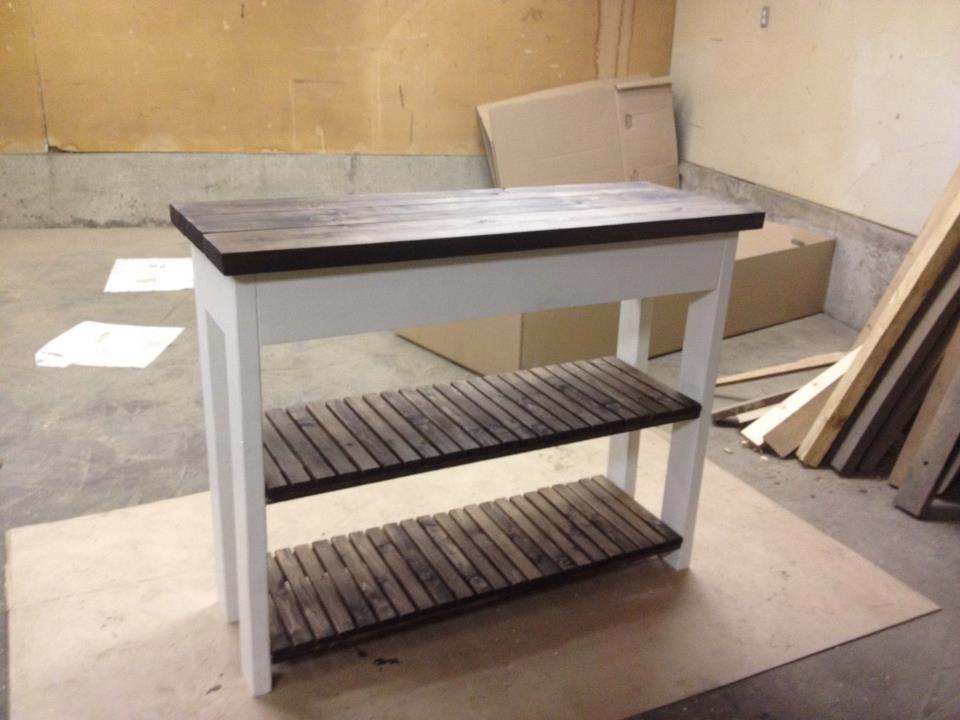
Community Brag Posts

Entryway Shelf

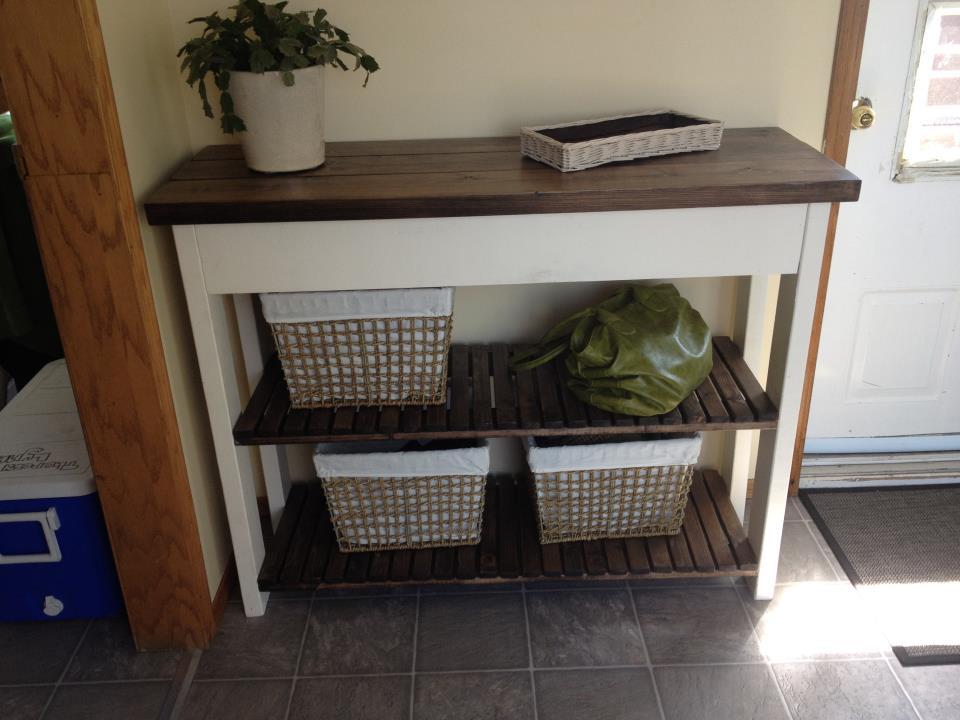
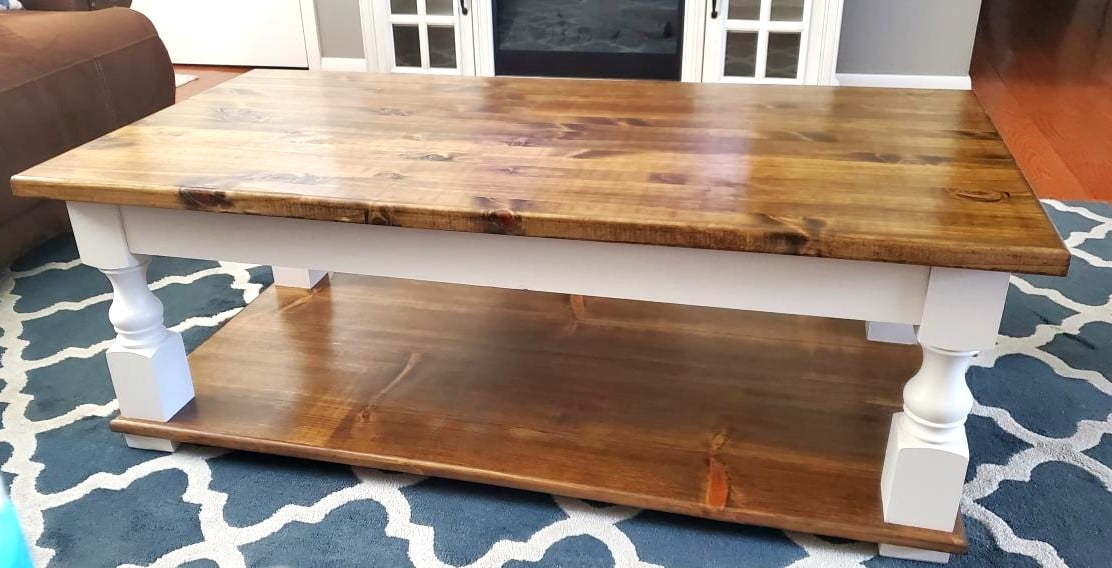
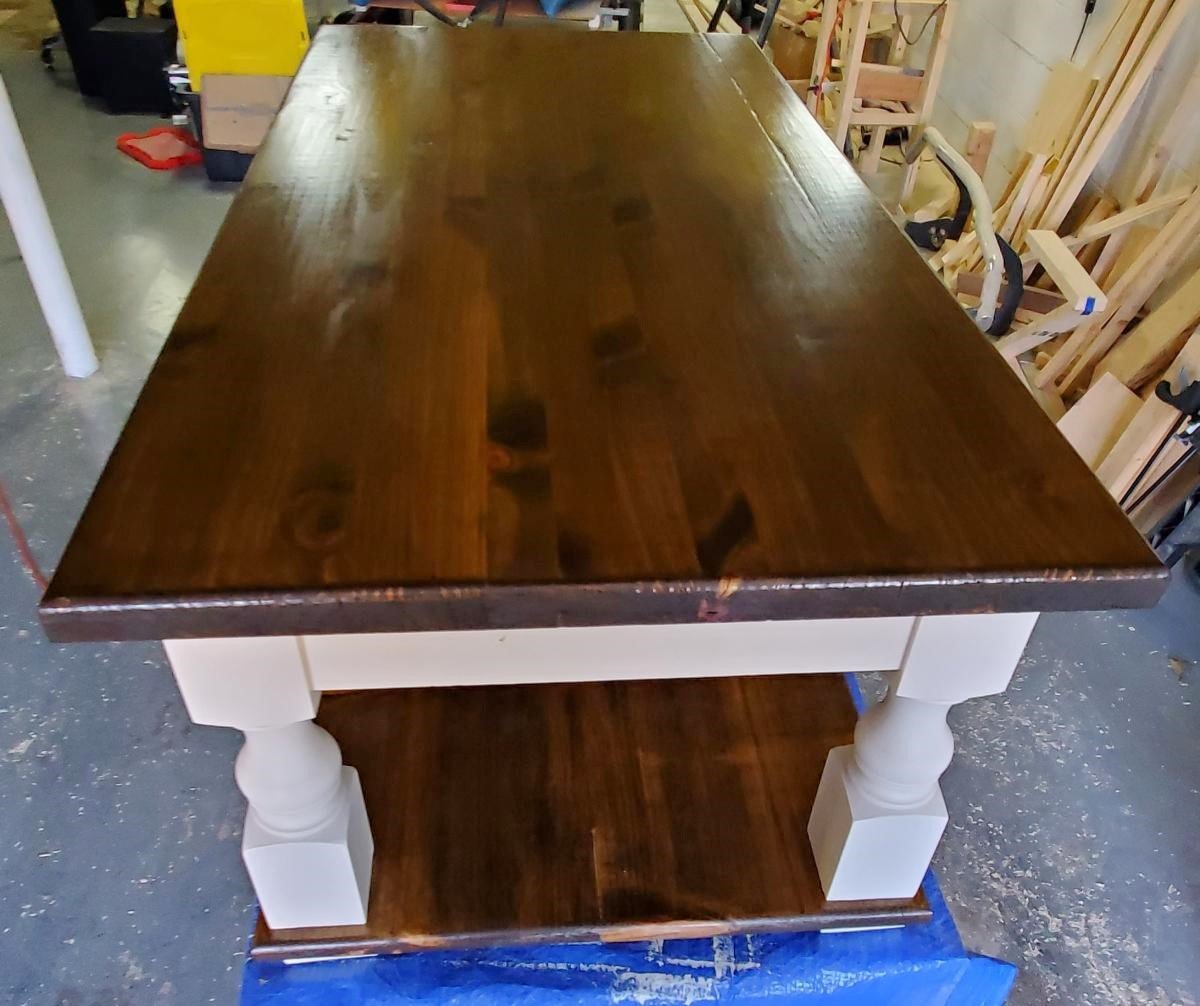
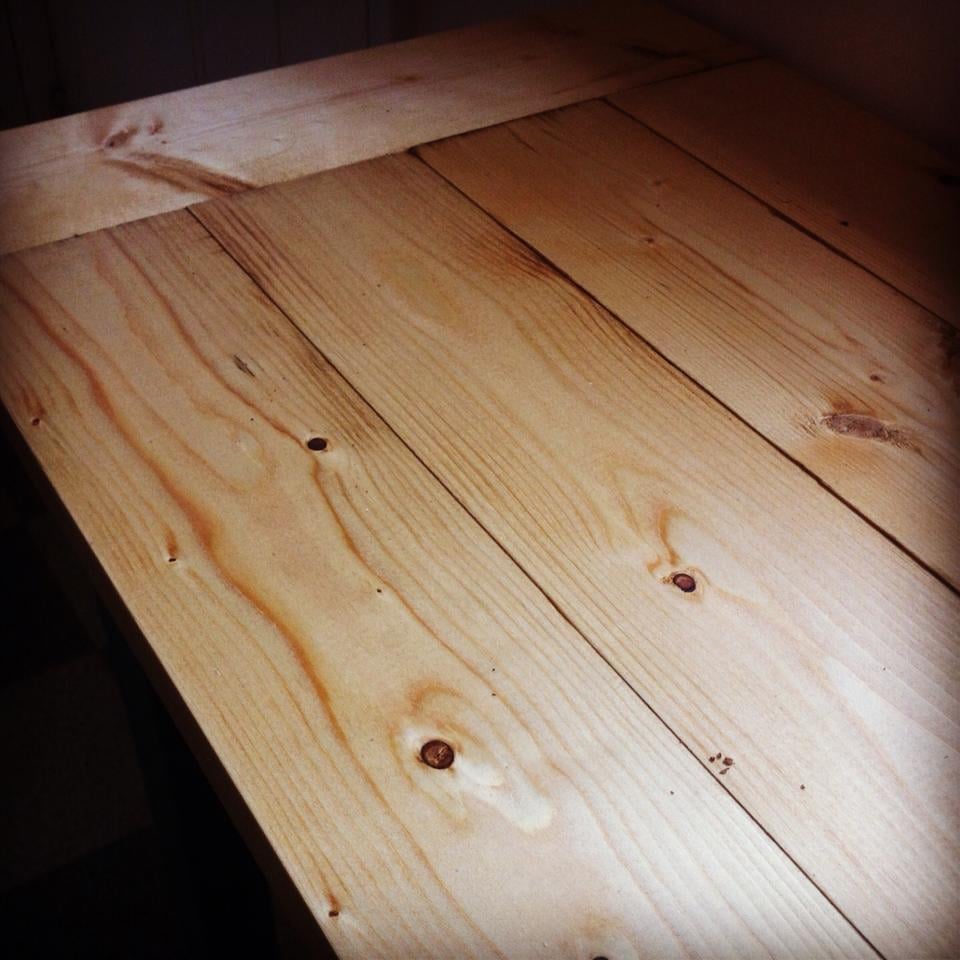
I built this from the Easy Kitchen Shelf Plan, but only used 3 2x6's as the top to make it 16.5" in width and shortened the length to 46" to fit the space.

Built from Plan(s)
Estimated Cost
100
Estimated Time Investment
Day Project (6-9 Hours)
Finish Used
I finished it with Minwax Dark Walnut Stain and used some leftover off-white Beautitone paint for the legs. Finished it with 3 coats of Crystal Clear Varathane.
Recommended Skill Level
Beginner

Disney inspired SeeSaw

Submitted by Anne in AL on Mon, 03/03/2014 - 11:51

Our 2 year old granddaughter loves seesaws, so my husband built this one for her. We had just been to Disney World and decided to make the seat Mickey shaped for a little extra fun. He used his bandsaw to cut the seat.

The seesaw is plenty stable enough for us to go on it with her and has been a BIG hit with the neighborhood kids.

More pictures on our blog: http://yearoflivingdisney.wordpress.com/2014/03/03/disney-ride-at-home/

Thank you, Ana, for these plans!

Built from Plan(s)
Estimated Cost
wood was minimal cost, the paint was the expense!
Estimated Time Investment
Afternoon Project (3-6 Hours)
Finish Used
exterior semigloss
Recommended Skill Level
Beginner

Fancy X Desk Success!

Submitted by mrcleland on Thu, 06/02/2016 - 06:07

Started this project out of boredom. I had some time and some extra wood laying around. Some was from pallets I took apart, some from a salvage house, and some from an old barn. I built the table in a few hours and worked through any misshaped boards as best as possible. It was a relativley easy project and fun to see the legs turn out with each step. I plan to use cables and turnbuckles for the cross braces on the back and will update the pic when I do. I just need to find a home for it now.

Estimated Cost
Free since all wood was salvaged or scrap.
Estimated Time Investment
Afternoon Project (3-6 Hours)
Recommended Skill Level
Beginner

Card catalog shoe cabinet

Submitted by Anonymous (not verified) on Wed, 03/25/2020 - 15:43

I built the shoe cabinet but added card catalog handles. Also used deck railing toppers for the feet

Built from Plan(s)
Estimated Cost
$100
Estimated Time Investment
Day Project (6-9 Hours)
Finish Used
Benjamin Moore advanced

Tryed Side Table with Shelf

Submitted by papadaddy on Mon, 05/21/2012 - 18:59

All the wood is from pallets, which you can find for free at local big box stores.
I added the shelf with the same support system used for the table top.
Made with as little cost as possible so materials are not too much.

Material:
A few pallets
Wood screws

Tools:
Table Saw
Miter Saw
Drill
Sander
Measuring Tape
Square
Pencil and Paper
Stain
Brush
Shop Cloth

This is my first Project :)

Built from Plan(s)
Estimated Cost
$7
Estimated Time Investment
Afternoon Project (3-6 Hours)
Finish Used
1 coat of Red Mahogany 225, applied with a brush and rubbed with a shop cloth after 15 minutes.
Recommended Skill Level
Beginner

Comments

anderjes

Tue, 02/12/2013 - 07:55

Do you have blue prints or suggested measurements for this table?

8 Foot long Book Shelves

We recently created a Dr. Seuss themed reading nook on our upper level. We have one large book shelf near it, but have also wanted a way to display children's books. These ledge shelves make the books easy to access while also creating a beautiful piece artwork at the top of our stairs. Now, instead of have a long blank wall in the hallway between doors on the little landing we have a beautiful library. I have loved how they have turned out and wanted to share with others!

Built from Plan(s)
Estimated Cost
60
Estimated Time Investment
Day Project (6-9 Hours)
Finish Used
After screwing them all together we painted them white. It gives a elegant look!
Recommended Skill Level
Starter Project

Comments

Simple vanity

Submitted by jlrd13 on Sat, 06/04/2016 - 19:57

My husband and I built a house doing all the work that we could. When we started the project, I told the men in my life they were going to build the kitchen cabinets. They were pretty adamant they weren't.  I started visiting with experienced cabinet makers. One kept repeating, "It's just a box. It's not that hard to build a box."  With that encouragement, I found Ana's website and set about learning woodworking. First I built a step stool for my grandson, next I built some shelves for the shop, then I built this vanity. After I finally got it finished, I called an experienced woodworker to build my kitchen cabinets. Ha! I will say though, when the appraiser came out, he commented on what a nice vanity it was! Thank you, Ana, for opening up a new world to me!!

Built from Plan(s)
Estimated Cost
I had to buy an additional piece of oak as I made a wrong cut. It also took me a lot longer than someone with more experience, but it is doable for a beginner.
Finish Used
Custom stain. 24 oz mission oak, 24 oz paint thinner, 12 oz English chestnut.
Recommended Skill Level
Beginner

DIY Stinctly Made Crib

Submitted by Anonymous (not verified) on Thu, 03/26/2020 - 10:15

While I found the plans a little difficult to follow as there were steps left out, missing measurements, and misinformation, it was an easy project and I'm so glad I made it. Even at 21 weeks pregnant it was totally doable alone. The only thing I needed my husband for was to hold the side rails at the correct height.

Estimated Time Investment
Week Long Project (20 Hours or More)
Finish Used
Kona by Varathane
Recommended Skill Level
Beginner

Wardrobe

Submitted by dustimausi on Thu, 05/24/2012 - 14:57

Since I had little space in my floor I took to logs from the field.
I first polished them with sandpaper and steelwool. 1st time dry, 2nd time wet. After drying I paintetd one with white stain. The other one with nutchest stain and clear coat.

The white log was once more polished with steelwool after painting.
Therefore it has an used/bleached look.

I added warderobe hooks to each log and screwed them to the wall.

Price 30 €

About 10 € for 20 € for the hooks and screws.

Sorry, my english is not so good - I'm not a native speaker.

Estimated Cost
30
Estimated Time Investment
Afternoon Project (3-6 Hours)
Recommended Skill Level
Starter Project

King size platform bed and headboard

Submitted by Rgb057 on Sun, 03/09/2014 - 11:25

I converted the plans to king size and used oak for the headboard and the platform edge on the bed. The oak added to the cost as it is almost 10x the cost as construction lumber.
I made the headboard frame with pocket holes and attached it to the plywood with screws from behind. I also used pocket screws to assemble the bed frame.

Estimated Cost
500
Estimated Time Investment
Weekend Project (10-20 Hours)
Finish Used
Minwax dark walnut
Recommended Skill Level
Beginner

Comments

CreativeChaos

Sun, 04/20/2014 - 06:54

I've been waiting to see if anyone would modify this for a king size. Would you mind sharing the dimensions you used for your headboard? I love your fabric and the oak gives it such a quality appearance. Nice job!

Wood Hall Tree

Submitted by advanlente on Sat, 03/28/2020 - 11:41

My family was all coming over for Christmas and we were going to have about 30 people at my house. I only had my mudroom hooks but no other place to store people's keys, coats, etc. When I saw these plans they looked quick enough to build in one night (the night before the party lol). So I did! And man did it get use. I wish I would've taken a picture with all the coats and purses and keys on it. 

Built from Plan(s)

Simple Outdoor Dining

I am enamored by the Simple Outdoor Table that is usually featured on the homepage. This was my second project, and in hindsight, I it took several weeks to finish working at night because I made several mistakes that required some problem solving. Naively, though, I studied the plans, borrowed a saw and got to work.

I opted for two benches to save space on the patio when not in use. As you can see in the picture of the bench tops, I opted for a smaller spacer (1/16")because it improved the looks dramatically, but that left me with a gap. There will be a skinny slat in the middle of each bench.

I also opted for 3/16" spacers on the tabletop which required one more board than was scripted. That is much easier to account for on the table then the benches.

You can see from the stacks of lumber in the garage, assembling is the easy part! I hope to never see the words, sand, stain, and seal in sequence again. I also learned a few difficult lessons when it came to using the Kreg Jig, which was new to me.

Now that it's done, though, I am very proud of the outcome.

Estimated Cost
$150
Recommended Skill Level
Beginner

Comments

Andrew Spearns (not verified)

Thu, 07/26/2012 - 13:24

Hi - Table looks great. What did you use to stain and seal?

Thx
Andrew

Log Cabin Birdhouse

I enjoy making birdhouses and log cabin style is my favorite. I make the logs by setting my saw to rip 3/4 pine at 3/4 so I have 3/4 square strips. I then decide the size of my birdhouse and cut the logs accordingly. I also "wittle" on them a little to make it look more authentic. I simply then just stack, glue and nail one row at a time. You can use 1/4 poplar for the roof but I ripped pine at 1/16 and cut shakes with my utility knife and glue them on one at a time (there are 104 on this roof).

Estimated Cost
7.00
Estimated Time Investment
Afternoon Project (3-6 Hours)
Recommended Skill Level
Intermediate

Modern Farmhouse Entryway Console

Submitted by Anonymous (not verified) on Sat, 11/18/2023 - 12:28

Built 2. Stained one Briarsmoke the other to be determined. Thank you Ana for the inspiration and plans!

Tim Basoco

Comments

My New Couch

Submitted by PriscaW on Thu, 05/31/2012 - 02:30

This is my new couch ,that I built with my husbands help,I could not find a one piece cushion in my area but, I did manage to find individual cushion.I am no expert , but I am learning as I go.

Estimated Cost
about 100 dollars
Estimated Time Investment
Weekend Project (10-20 Hours)
Recommended Skill Level
Starter Project

Comments

Garden console

Submitted by DogDoc25 on Sun, 03/16/2014 - 19:31

I had my seed starters sitting on a TV stand by my sunny window, which was as ugly as it gets (see before photo...). So, I built this little console for my gardening stuff to sit on while my seedlings are growing. It turned out being the perfect size for what I'm using it for. I only modified it slightly, by adding end pieces to the top (just subtracted 6'' from the length of the top pieces and measured the width of the top to decide the length of the end pieces. I also used pocket holes to attach my bottom shelf pieces and the top shelf pieces, instead of nails. I've never done a 2 tone piece (I love the look of stained wood) so I was nervous about painting over the wood...but I'm really really happy with how it turned out! It was easy to make, and mine was done in an afternoon. Thanks Ana!!

Built from Plan(s)
Estimated Cost
$30 maybe?
Estimated Time Investment
Afternoon Project (3-6 Hours)
Finish Used
For the top I used a base coat of pre-stain conditioner. Then applied 1 coat of Minwax Golden Oak (left on for 15 minutes then wiped off), then 1 coat of Polycrylic. The base paint is a color from Home Depot...I can't remember the name but if anyone is interested, just message below and I'll look it up.
Recommended Skill Level
Beginner

DIY Junk Drawer Organizer

My kitchen drawer wasn't as deep as the one in the tutorial, so I had to use 1x2 hobby poplar instead of 1x3's.  I can't wait to do more drawers!  It's been more than 6 months, and the drawer is still neat and organized.

Estimated Time Investment
An Hour or Two (0-2 Hours)
Finish Used
None
Recommended Skill Level
Beginner

Office Desk

This was my first project. I followed the plans exactly! I LOVE it! It is a perfect desk that I will be using to work through this remote teaching I'm having to do. Thank you for the plans. Next up-Rustic X Console!

Built from Plan(s)
Estimated Cost
$70
Estimated Time Investment
Day Project (6-9 Hours)
Finish Used
Wood Conditioner, Stain, Polyurethane Top Coat
Recommended Skill Level
Intermediate
Back