Community Brag Posts

Upper Cabinet Awesomeness
Submitted by romanweel on Fri, 04/04/2014 - 15:01

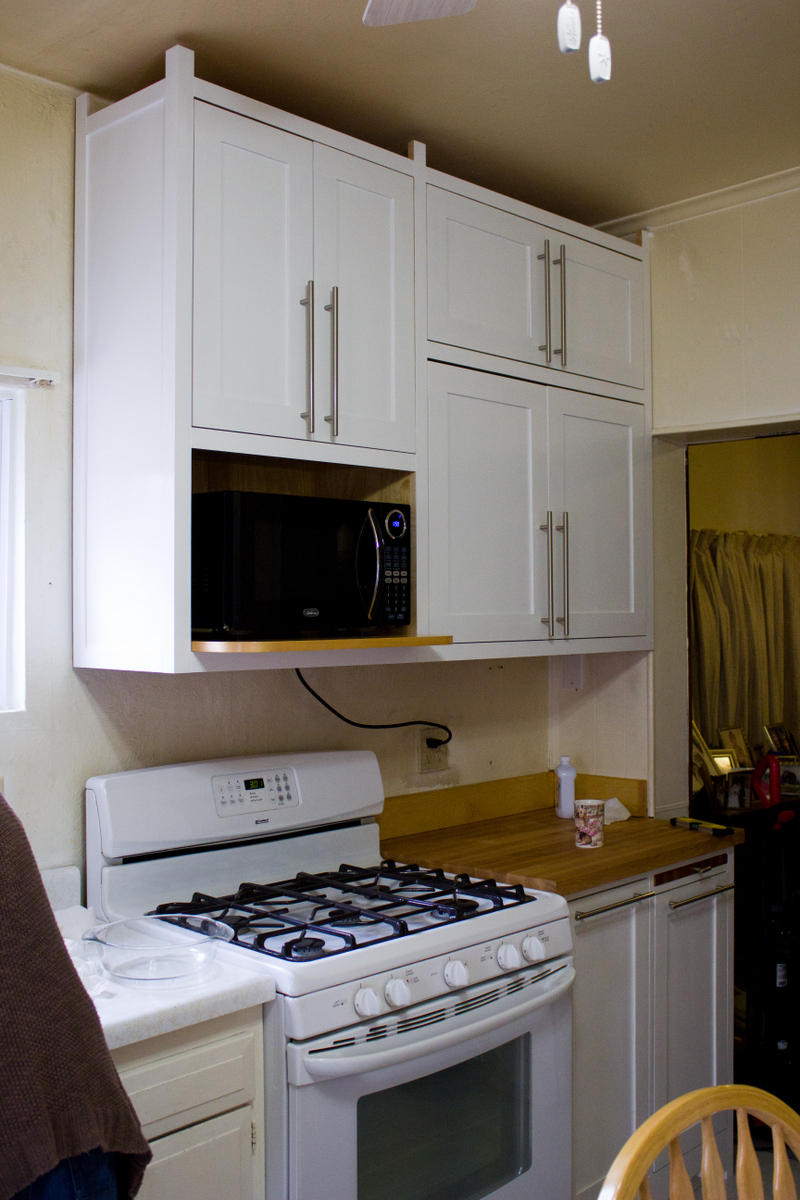
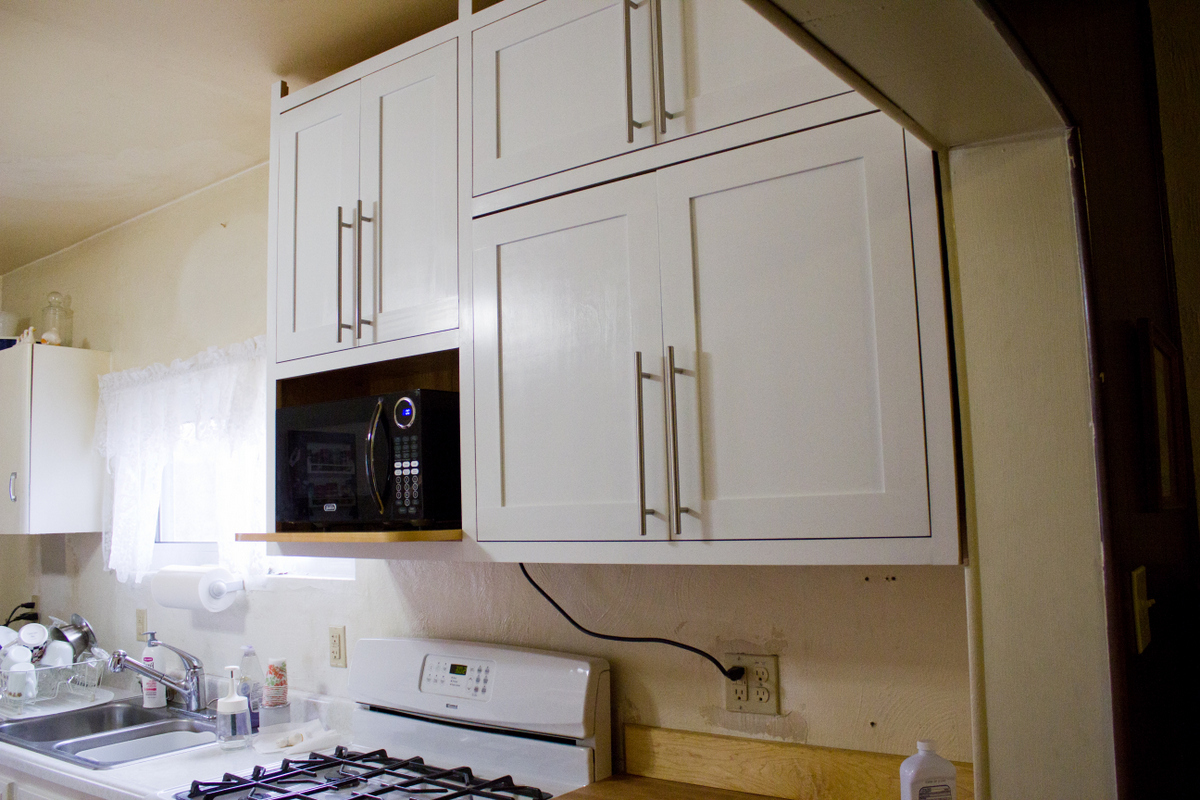
This is the sequel to my first kitchen cabinet build, the awesome base unit to the right of the stove. It's another custom design to fit the space (and replace some horribly inefficient metal cabinets that, while cute, really looked like they belonged in a different kitchen). And my first time working with maple and edge banding! Thank you, thank you, no applause please. I'm calling this project "intermediate" skill only because I chose to router the doors and install cup hinges. Otherwise, they're just big boxes on the wall, for real.

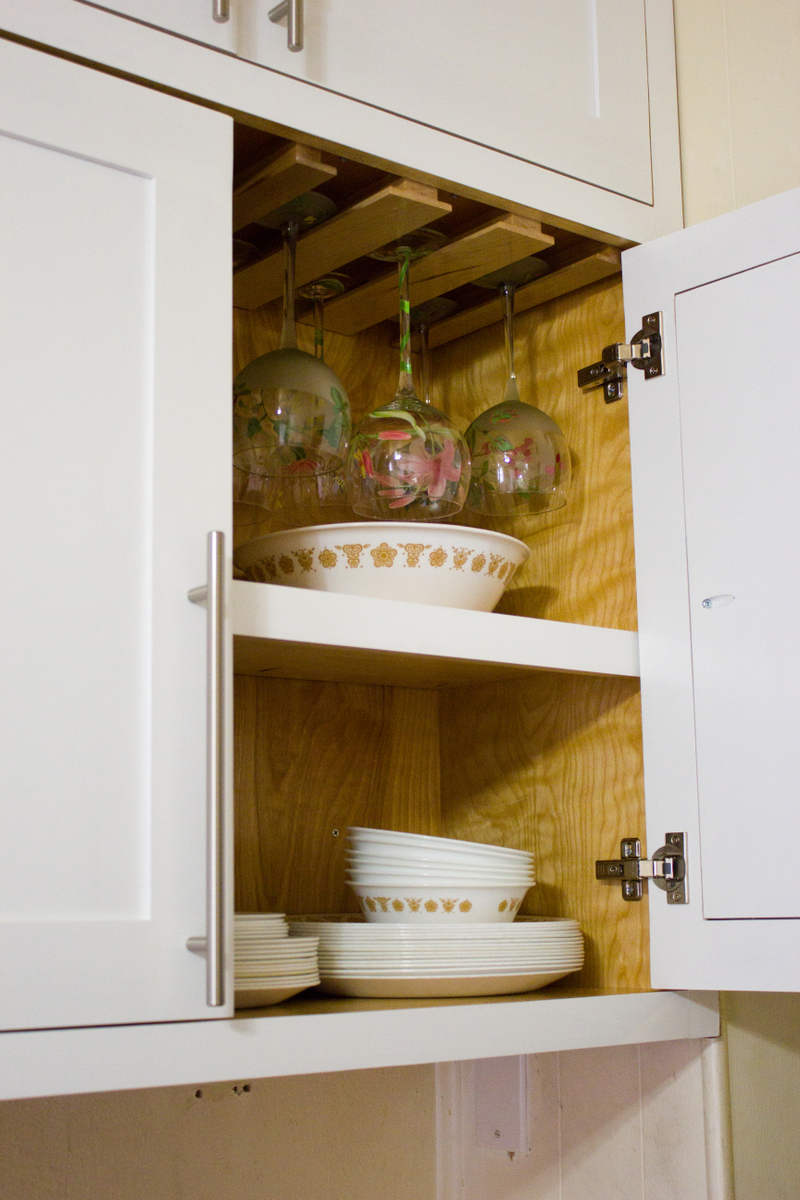
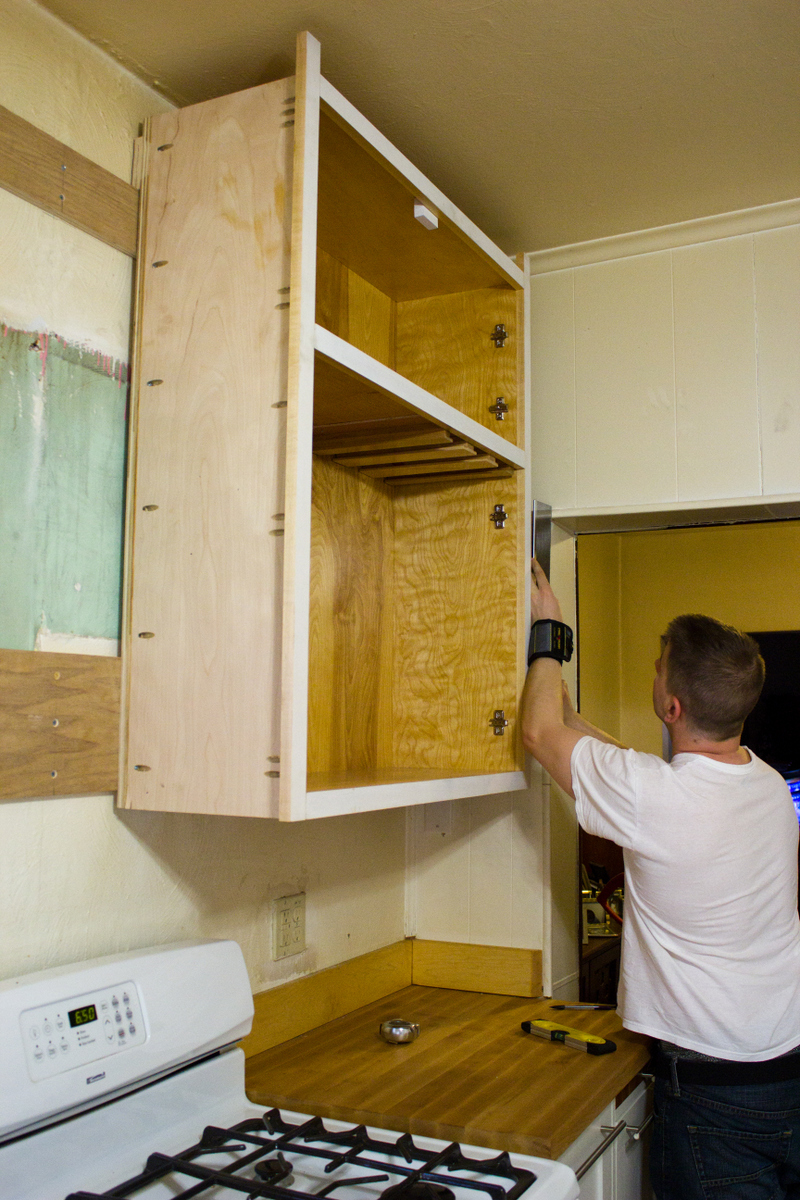
The carcasses, shelves, and door panels are all Purebond plywood. The face and door frames are 1x2 and 1x3 maple. The french cleat used to hang the two pieces is also plywood (more on my blog about that). Unfortunately, I don't know enough about wiring to add/move that outlet so that the microwave cord could be hidden...but at least the microwave itself is off the counter! It doesn't have to be perfect to be beautiful.

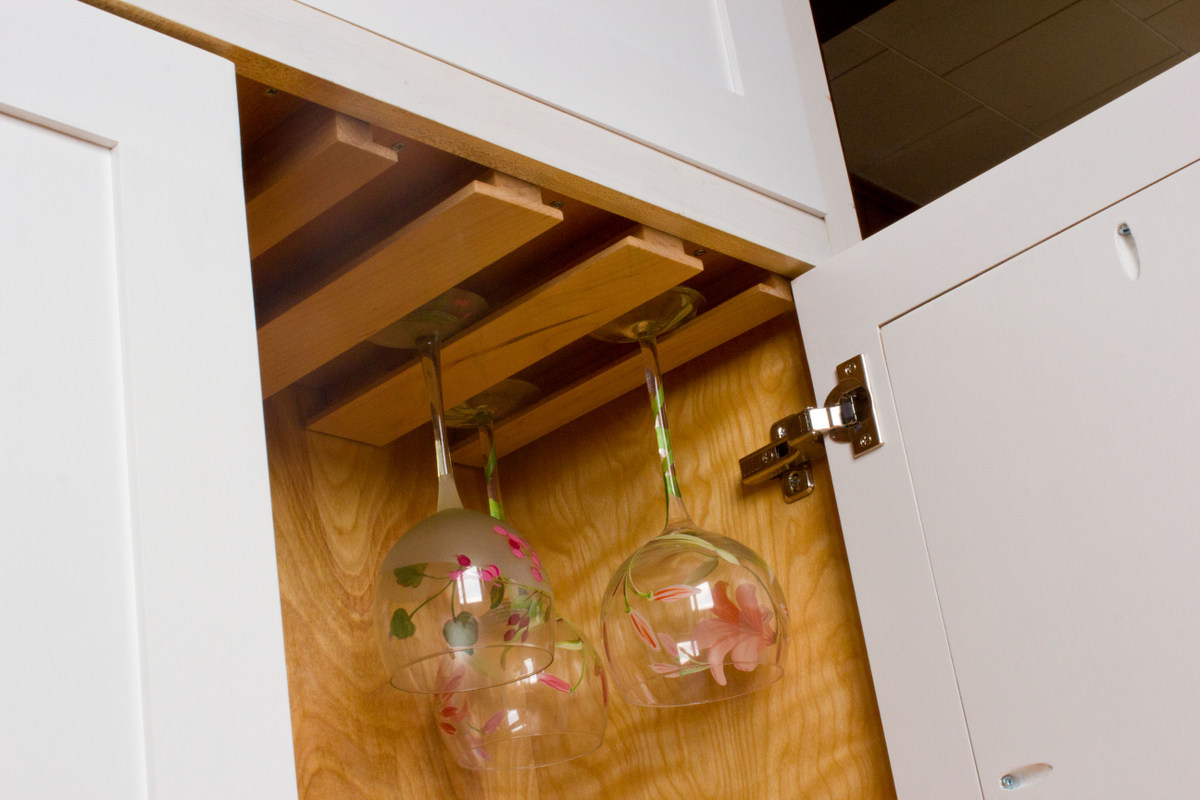
The wineglass storage is a sort-of take-off on a few other plans on here and some pieces I saw down in Amish country. It's a little rough-looking outside of the cabinet into which it is installed because I didn't design that element very elegantly. Plus I kept changing things on myself mid-stream.

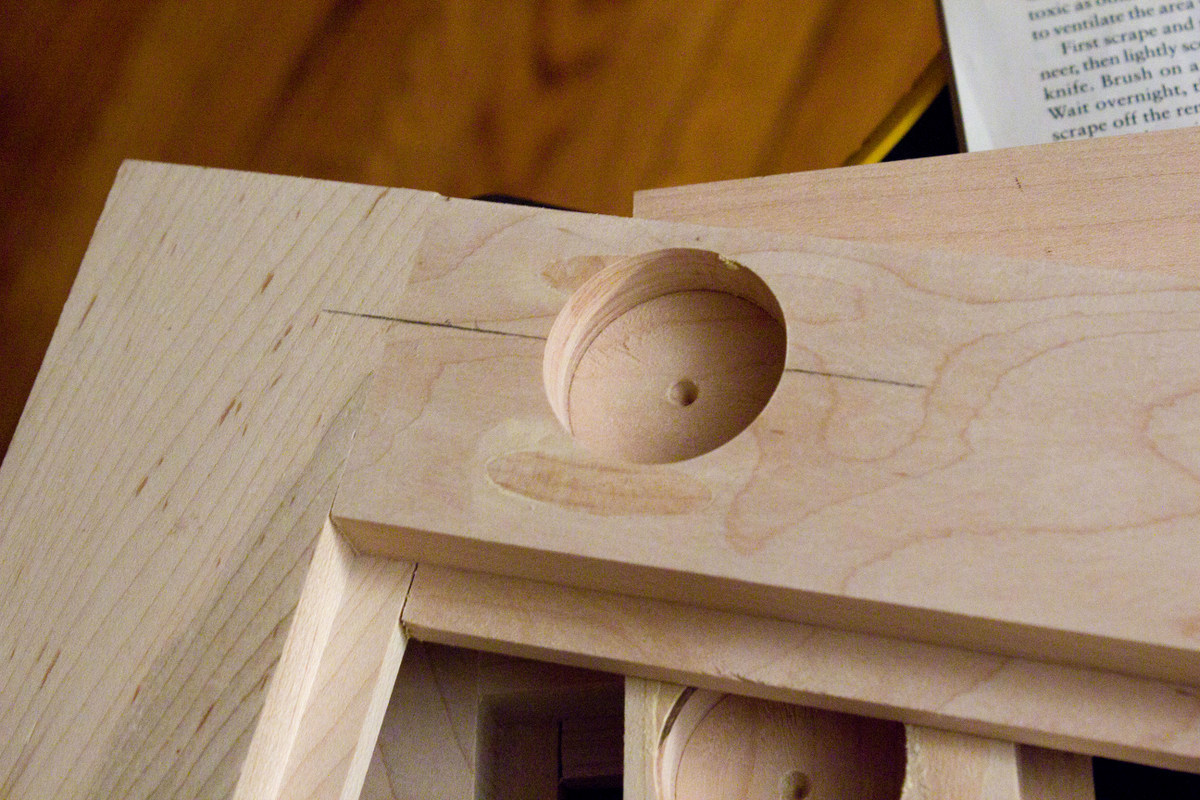
The concealed cup hinges...were totally intimidating. And at first I bought into all the hype about "you HAVE to use a drill press or you'll RUIN your doors", but in the end I just eyeballed it with a plain old forstner bit, and all 6 doors turned out fine! Plus, I got to use Blumotion hinges...you physically cannot slam these doors!!

I'm super proud of this project, and my mother-in-law (in whose kitchen they reside) is thrilled. Btw, the crown moulding is not yet installed, which is why the trim pieces up top look so funny.
Estimated Time Investment
Week Long Project (20 Hours or More)
Finish Used
Sherwin Williams ProClassic Interior Acrylic Latex Enamel, plain old white
Polyurethane on the shelves (which in retrospect should have used polycrylic...they turned out a little yellow, which is unfortunate)
Recommended Skill Level
Intermediate

Comments

Furniture for the Deck

Submitted by Adevney on Mon, 07/25/2016 - 10:05

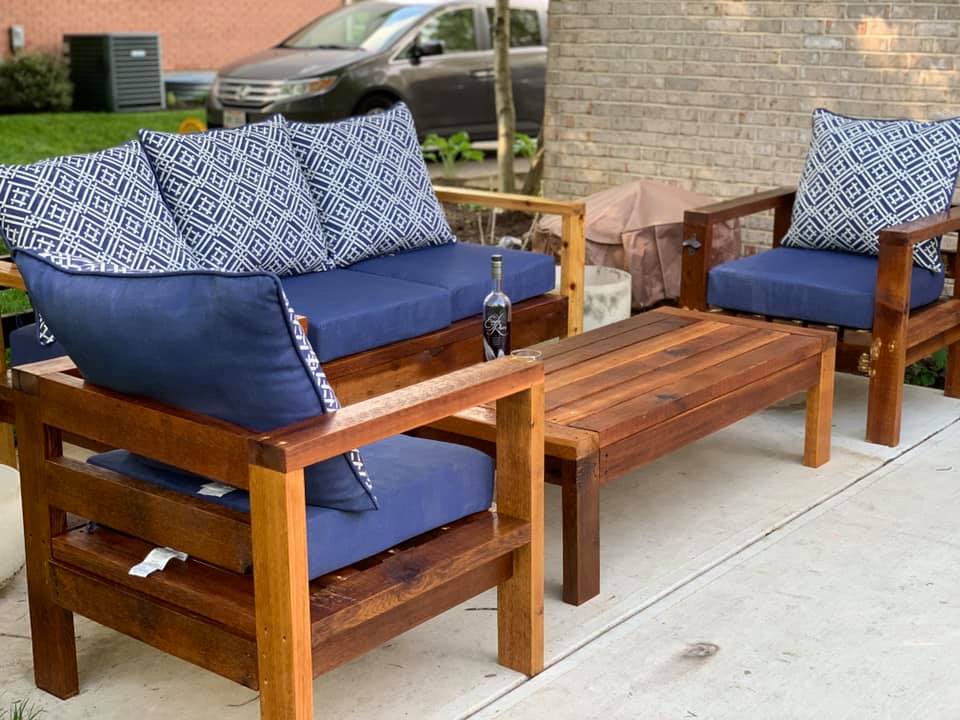
 I followed the plans to build the counch.  My wife liked it so much she requested the love seat and chairs.  The chair plans were not up on the site yet.  That said, the plans were so easy to follow, I was able to adjust the loveseat plans to make the chairs with ease. Thank you very much!  

Estimated Cost
Couch, Loveseat, and 2 Chairs - Wood, Screws, Stain - $500.00 - Cushions were another $420.00

Each piece took about two to three hours to cut and assemble. The sanding and staining took another two hours per peice
Estimated Time Investment
Weekend Project (10-20 Hours)
Finish Used
Minwax Mission Oak
Recommended Skill Level
Beginner
Seasonal And Holiday

Better Than I Hoped!

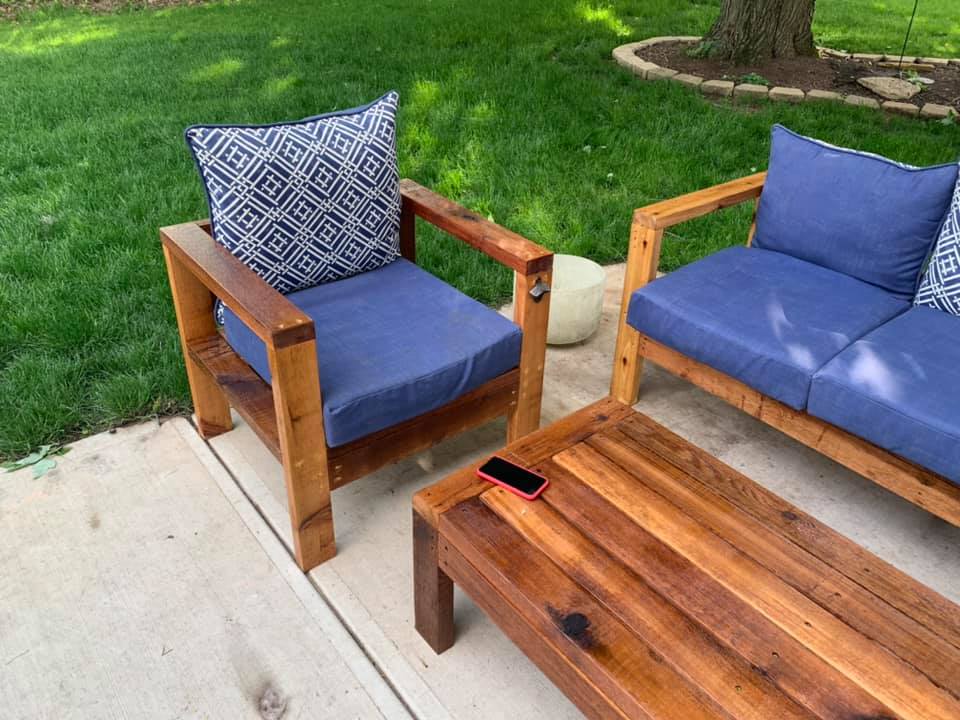
Been working from home for the past two months due to the health crisis. To stop from going crazy from being at home with my wife and four kids, I decided up pick up a hobby - here's where my homie Ana enters! I didn't want the sectional for my patio, but certainly the couch, chairs and table. The only mistakes had were my own (using wood putty, not sanding it well), but the plans were spot on. The only real issue I ran into was the cedar wood I used wasn't 1.5 x 3.5, but 1.75 x 3.5. This caused me to make additional cuts were I otherwise would not have needed it. Other than that, just remember to make the longest cuts first... I ended up needing to buy about five additional boards because it.

Estimated Cost
$350 (I used cedar, which is much more expensive)
Estimated Time Investment
Day Project (6-9 Hours)
Finish Used
Minwax Spar Urethane, clear
Recommended Skill Level
Beginner
Seasonal And Holiday

Easy Farm Table

Submitted by Anonymous (not verified) on Tue, 06/16/2020 - 17:08

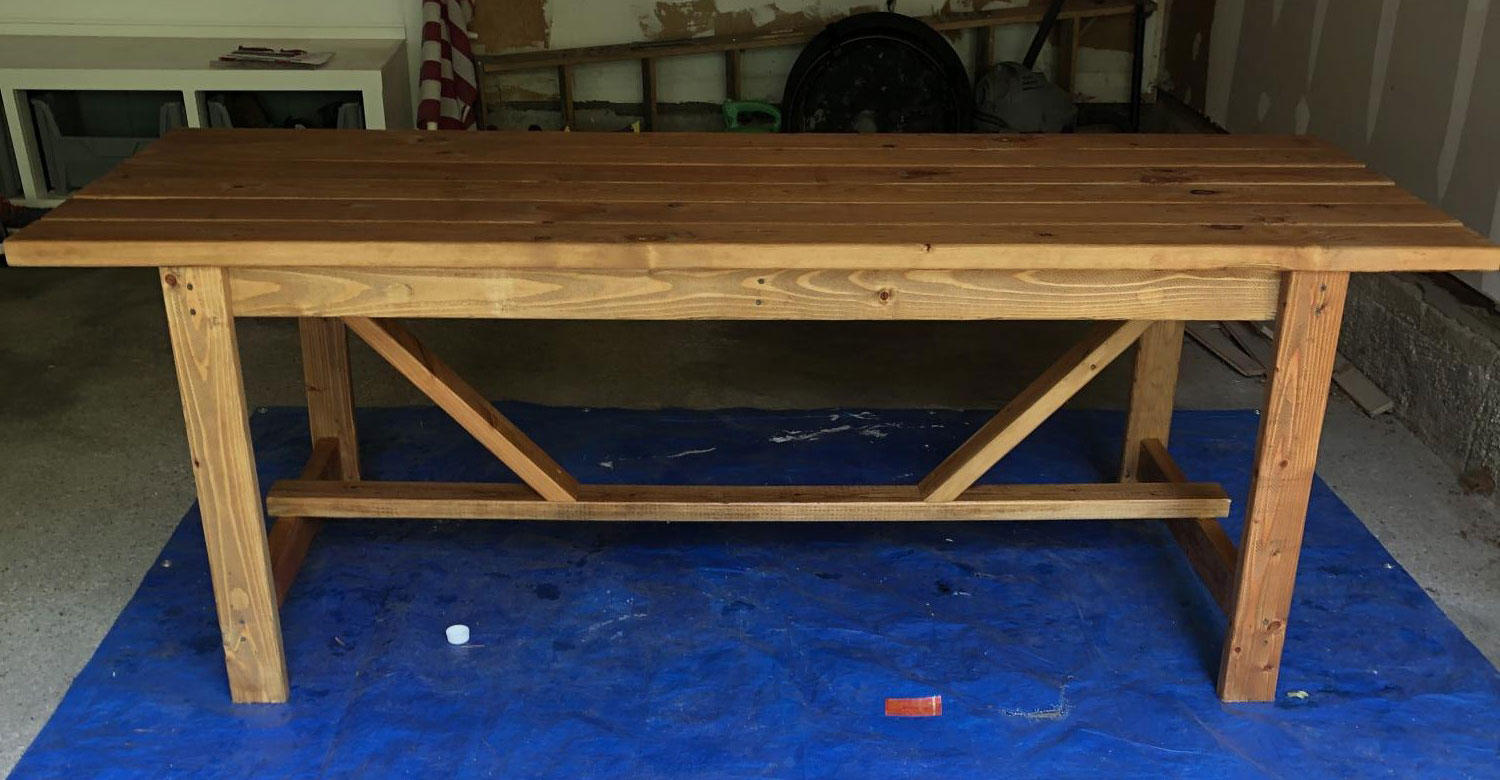
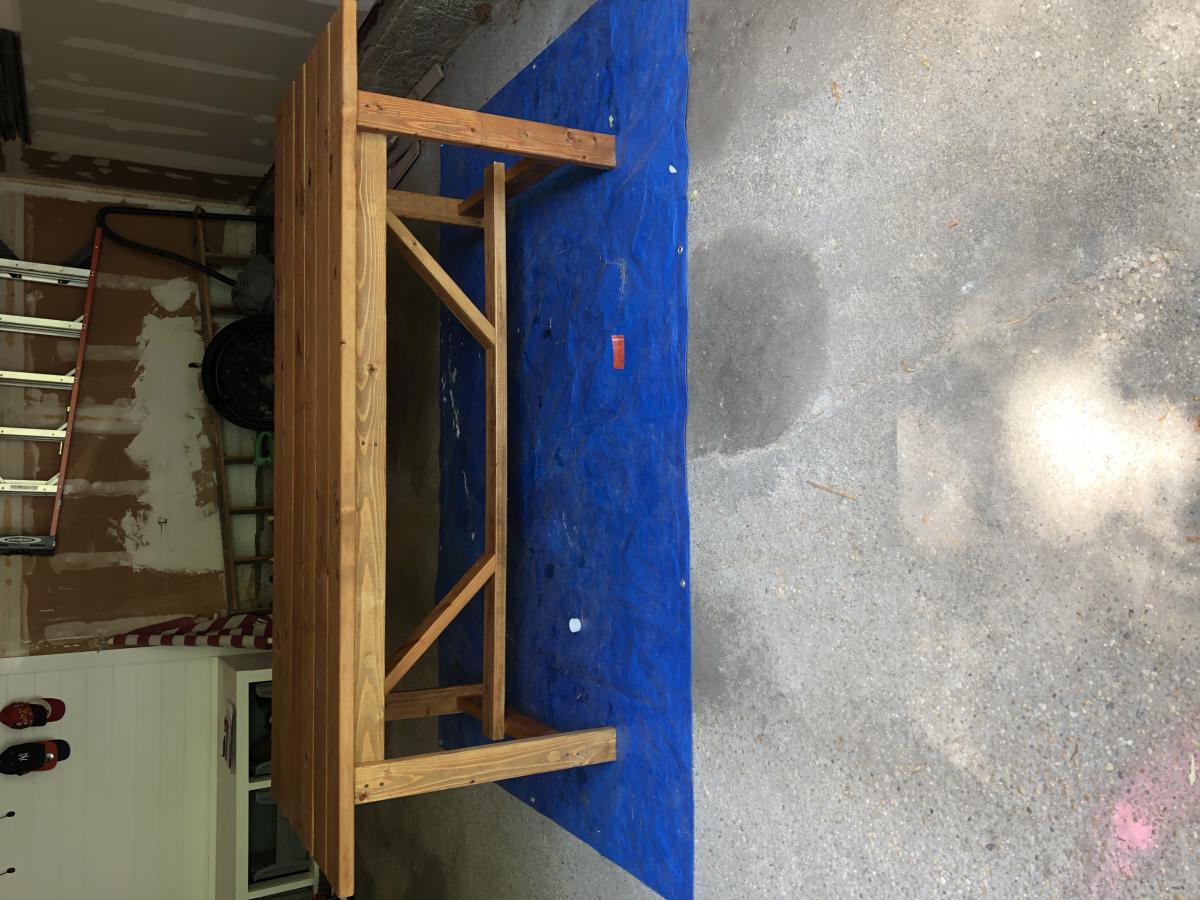
Used watco danish oil. Table will be used outside not sure how the danish oil will hold up by itself. May add polyurethane or if it falls apart I’ll build new next years. Also added diagonal supports at the bottom because it swayed a bit

Estimated Cost
75
Estimated Time Investment
Day Project (6-9 Hours)
Finish Used
Watco danish oil light walnut
Recommended Skill Level
Beginner

Wedding Bench Guestbook

Submitted by MrsGig on Fri, 09/07/2012 - 14:53

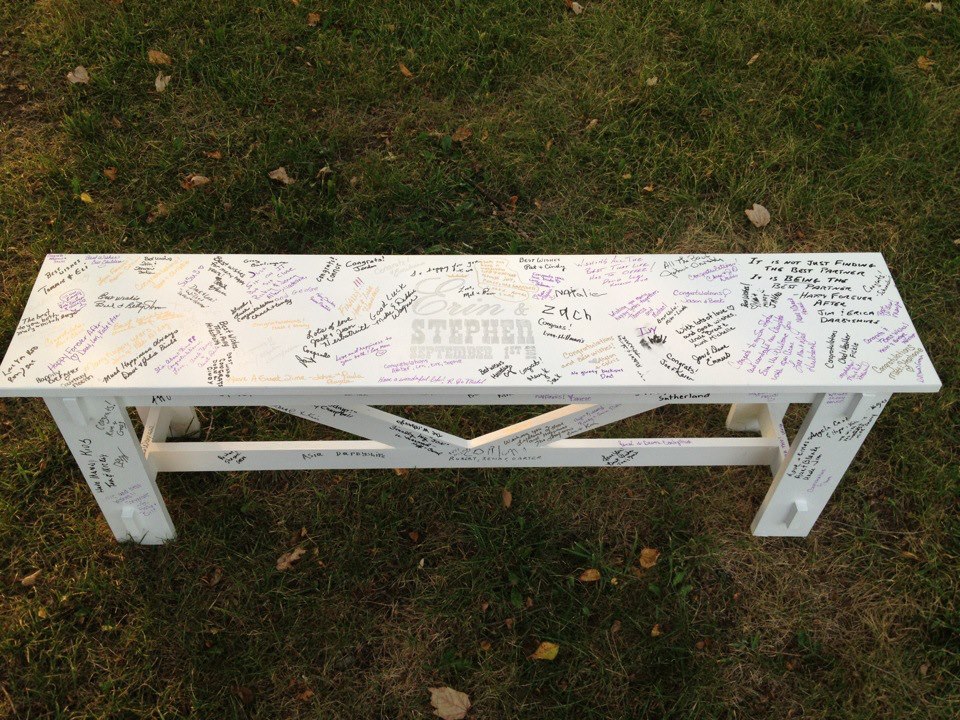
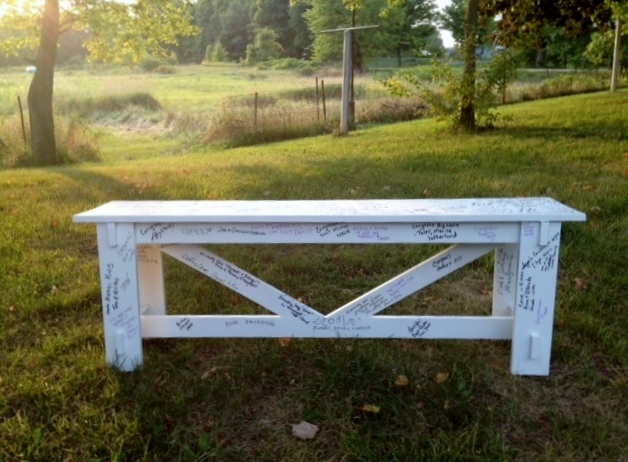
I really loved what brookifer86 did with the Rustic Bench plans here: http://ana-white.com/2011/03/rustic-bench-wedding-guestbook. When my daughter got engaged last fall, I knew that this would be a great wedding gift for the new couple.

It was helpful to read several times through her posts and followups. It took longer to come up with the name design than it did to build the bench, so give yourself plenty of lead time on this part. I was able to create the graphic in PowerPoint and enlarge it on my computer screen so that I could tape paper on the monitor and lightly trace the design for transfer to the bench. My husband suggested the addition of a princess crown over our daughter's name just for fun.

Thanks for the tip to use paint pens instead of markers. I made a sign at the reception with spare paper to alert people to shake the pens and give them a spot to test before writing on the bench.

I am doing a test with a spare painted board and the pens to make sure the application of the poly finish does not smear the signatures before sealing the signed bench.

Many thanks for the idea, Brooke, and thanks to Ana for the great bench plan!

Estimated Cost
$50 including wood, paint, and paint pens
Estimated Time Investment
Afternoon Project (3-6 Hours)
Finish Used
White exterior paint - satin finish
Recommended Skill Level
Starter Project

Comments

brookifer86

Sat, 09/08/2012 - 14:26

Oh my goodness, it looks so good! I'm so happy that someone else gets this awesome bench to look at forever ;) I know we totally love ours and it's one of my favorite builds in the house. Definitely test your finish, though, because I used ModPodge (horrible idea) and it's already yellowed in spots :( I'm hoping to figure out some way to salvage it and refinish the poly coat

MrsGig

Sun, 09/09/2012 - 16:32

Brooke, one of the comments on your posting from the person that used brown permanent markers and then had problems with the poly coat smearing gives me pause for caution. Too bad about the ModPodge yellowing. Everything that I have read so far does not indicate yellowing as a problem with it.

Don't feel bad, even the Minwax Polycrylic website for that product states "Because slight ambering may occur, spot test on an inconspicuous area and let dry to ensure satisfactory results." Because of that, I am leery about using it for my white painted bench.

I am testing Rust-Oleum’s Painter’s Touch Ultra Cover 2x Clear - initial results shows it going on clear and not smearing the signatures.

maharg1231

Sat, 02/16/2013 - 16:55

What a great idea! My niece is getting married in July and I think I might do this for her. I was just curious what your results were with the Rust-Oleum clear coat? Or if you found something that didn't end up yellowing?

Kids Toy Outdoor Storage Box

Submitted by MattCad on Sat, 08/01/2020 - 20:28

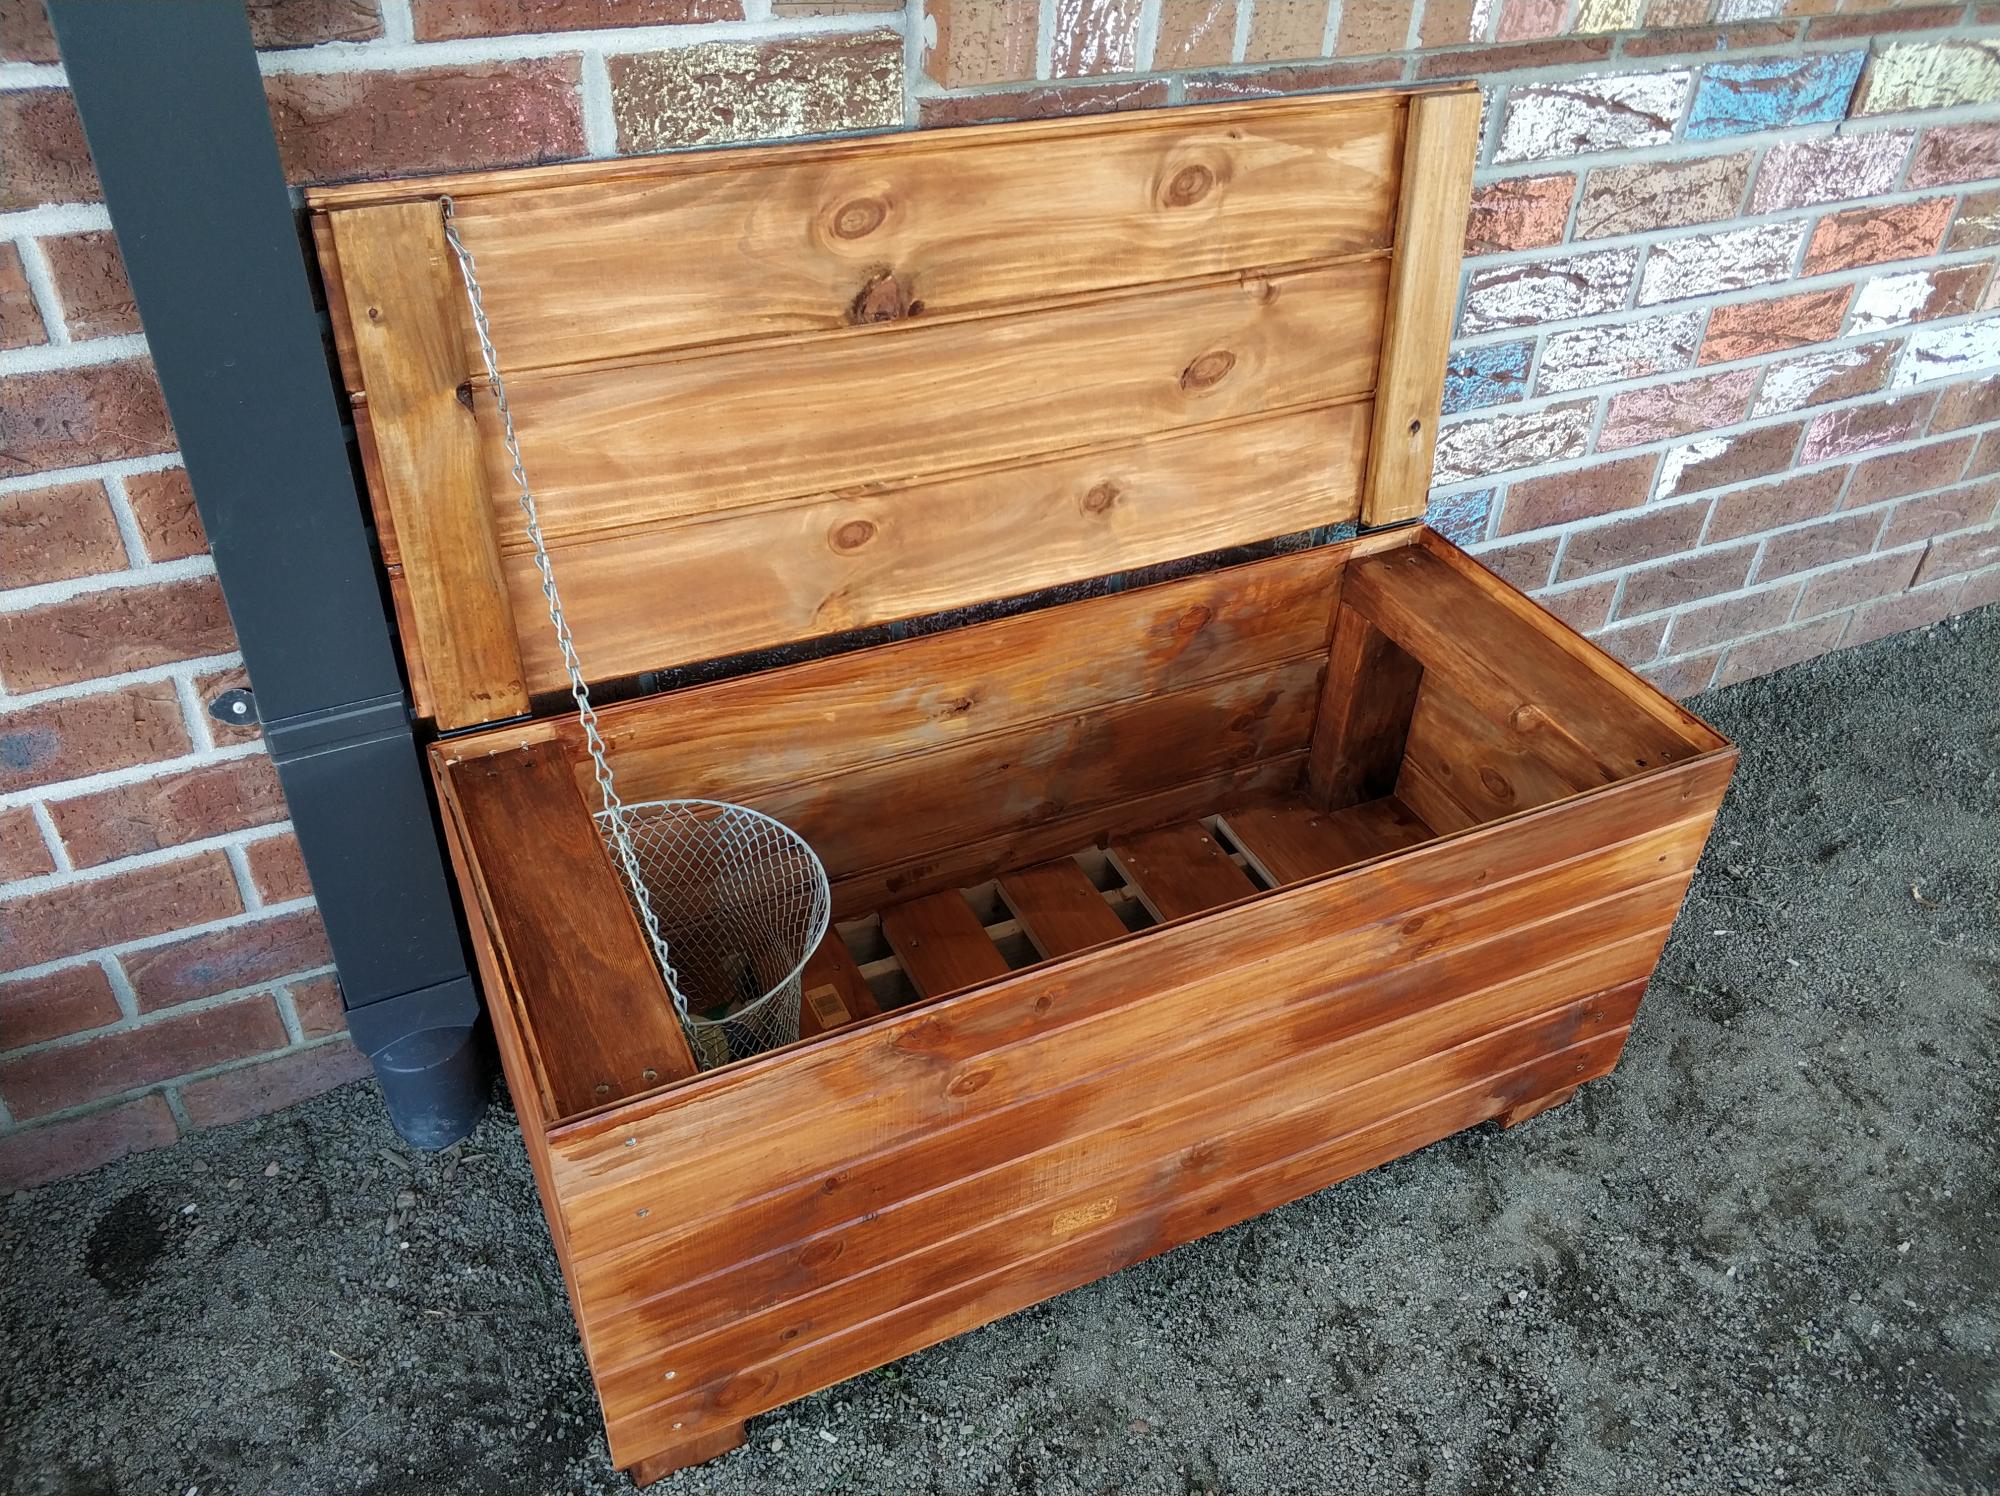
First time making anything half decent and it turned out ok. Followed the Cedar Box plans with a few adaptations. I live in regional Australia so used different materials, also extended the length. Used an app on the phone to convert the measurements to as close as I could. Worked out well, a few teething issues but does the job.

Estimated Cost
70 AUD
Estimated Time Investment
Day Project (6-9 Hours)
Finish Used
Intergrain Merbau Stain
Recommended Skill Level
Beginner

Comments

Adirondack chair from Pallets

Submitted by Anonymous (not verified) on Fri, 03/24/2017 - 19:42

I decided to try and use the plans on Ana's site but with a twist. I wanted to limit myself to using only pallets. I think it turned out great! I can't upload all the photos because they exceed the maximum size limit. If I was able to you could see how each chair is slightly different and has a lot of character. I finished them with a waterproofing oil which I highly recommend over other finishes. 

Estimated Cost
$10 for screws.
Estimated Time Investment
Afternoon Project (3-6 Hours)
Finish Used
Cabot oil
Recommended Skill Level
Beginner

Comments

Living Room Wall Makeover

Submitted by djolly1231 on Sun, 05/30/2021 - 10:36

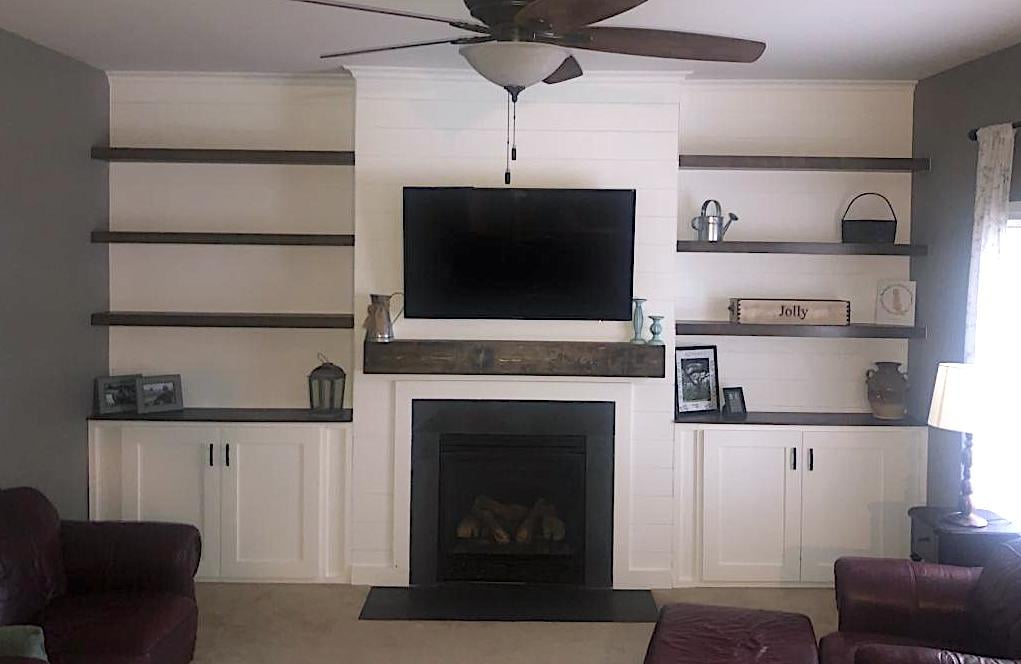
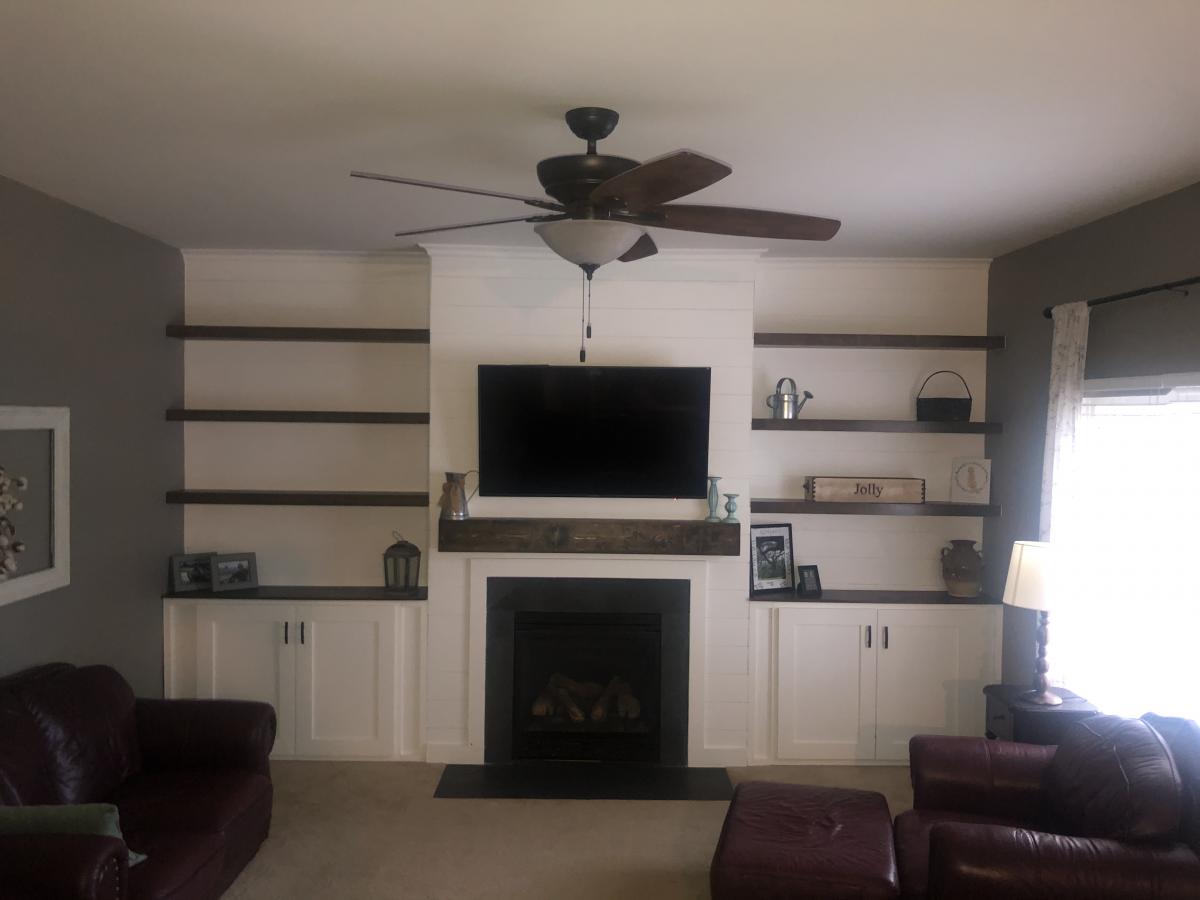
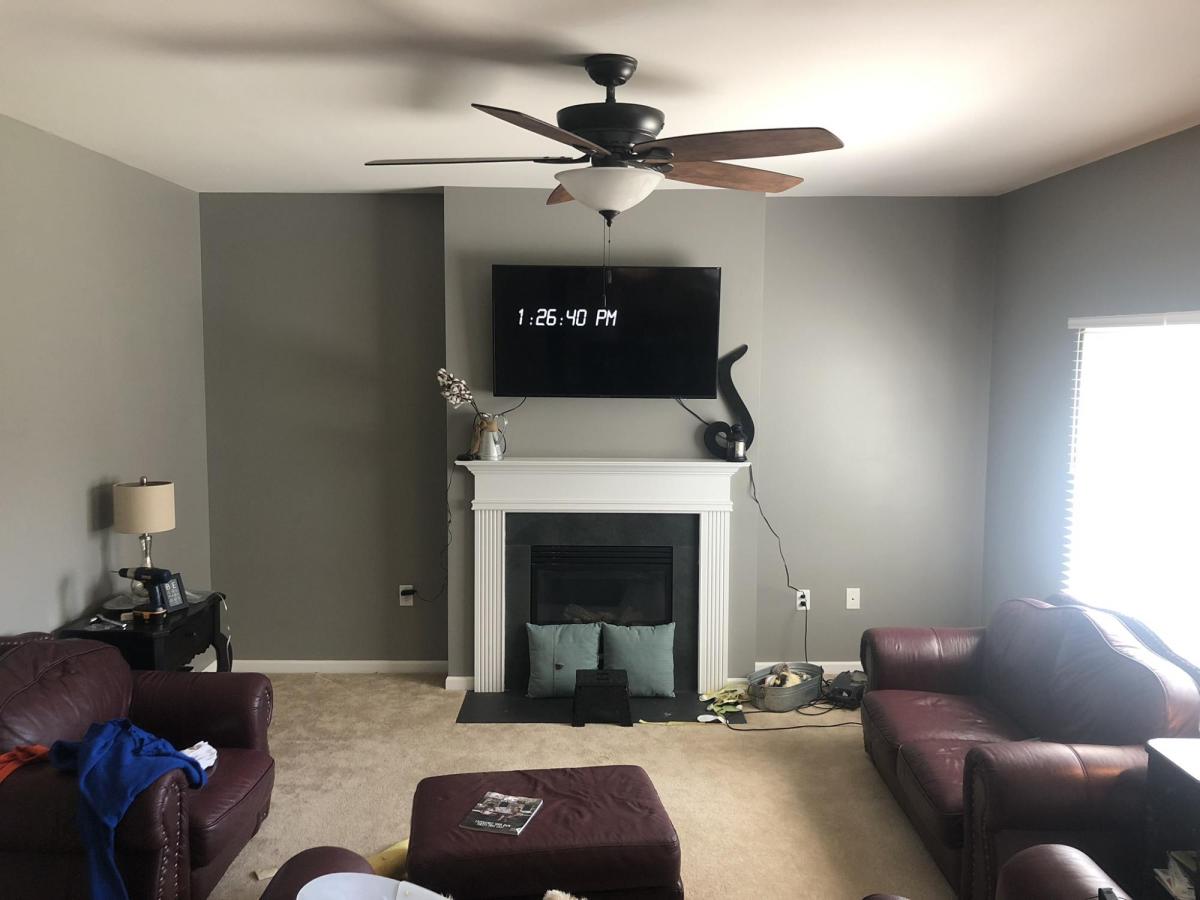
We have lived in our home for 2 yrs now and have been trying to figure out what we wanted to do with the plain boring wall with cords handing from out behind the tv due to no power outlet on that wall. We finally decided to do the whole wall in shiplap but the the cost of lumber going through the roof I went with 1/4 underlayment that I had ripped down to 6in strips at my local hardware store. I cut them down to size with my miter saw the painted them white before I attached them to the wall with 1 1/4 brad nails and used nickels for my space in between each row. The cabinets are 36 in tall. The carcass is made fro 3/4 in MDF and the face frames are made from 1x3 pine and attached with wood glue and brad nails. Cabinet doors are made from 1x4 pine for the frame and 1/4 underlayment for the center. I used my hand router to route out a 1/4 deep groove for the center to drop into the frame I used wood glue and brad nails to attach it to the frame and filled in any gaps with paintable caulk. They are attached to the studs in the wall with 3 in wood screws. The mantle is made from 1x6 pine boards and attached to a wall bracket made from 1x6 that are attached to the wall in each stud with 3 in wood screws. The mantle is attached with wood glue and 1 1/4 brad nails. The shelves were made out of 1/2 Poplar 4x8 plywood sheet ripped down to size. The wall brackets are made from 1x2 pine attached to studs with 3 in wood screws. And the shelves are attached with wood glue and 1 1/4 brad nails. I added 3 1x2 spacers to each shelf between the top and bottom board to prevent them from sagging before attaching the face of the shelves with wood glue and 1 1/4 in brad nails. This project took about a month to complete because I worked on it during free time. Also this was the first major build I have ever done so I was also learning along the way. Some parts were frustrating but most of it was fun and a great learning experience. Also this project evolved as I was building it. My wife loves the finished product. Now it’s time to find my next project.

Estimated Cost
500
Estimated Time Investment
Week Long Project (20 Hours or More)
Finish Used
Dark walnut stain. Valspar Ultra in eggshell and ultra white for the color of the cabinets , shiplap and crown
Recommended Skill Level
Intermediate

Comments

DIYGina

Tue, 12/05/2023 - 11:47

Surprisingly makes your living room appear so much larger compared to the before picture! Thank you for sharing your photos with us and congrats on a great result!

Modified Garage Shelf (w/ Workbench)

Submitted by Anonymous (not verified) on Thu, 06/08/2017 - 11:15

Great plans allow for versatility and easy customization. Put the whole thing together in a day w/ one other person. My set up is 16' long - 5' on the side shelves and 6' for the workbench. Added a pegboard and fluorescent light under the top middle shelves. I'm also designing a slim drawer to go under the workbencheck area. Thanks a bunch!

Estimated Cost
~$150 including pegboard.
Estimated Time Investment
Afternoon Project (3-6 Hours)
Finish Used
Will stain dark in the future
Recommended Skill Level
Starter Project

Comments

4x4 truss beam table concrete top with benches

Submitted by upnarms on Sat, 03/14/2015 - 12:20

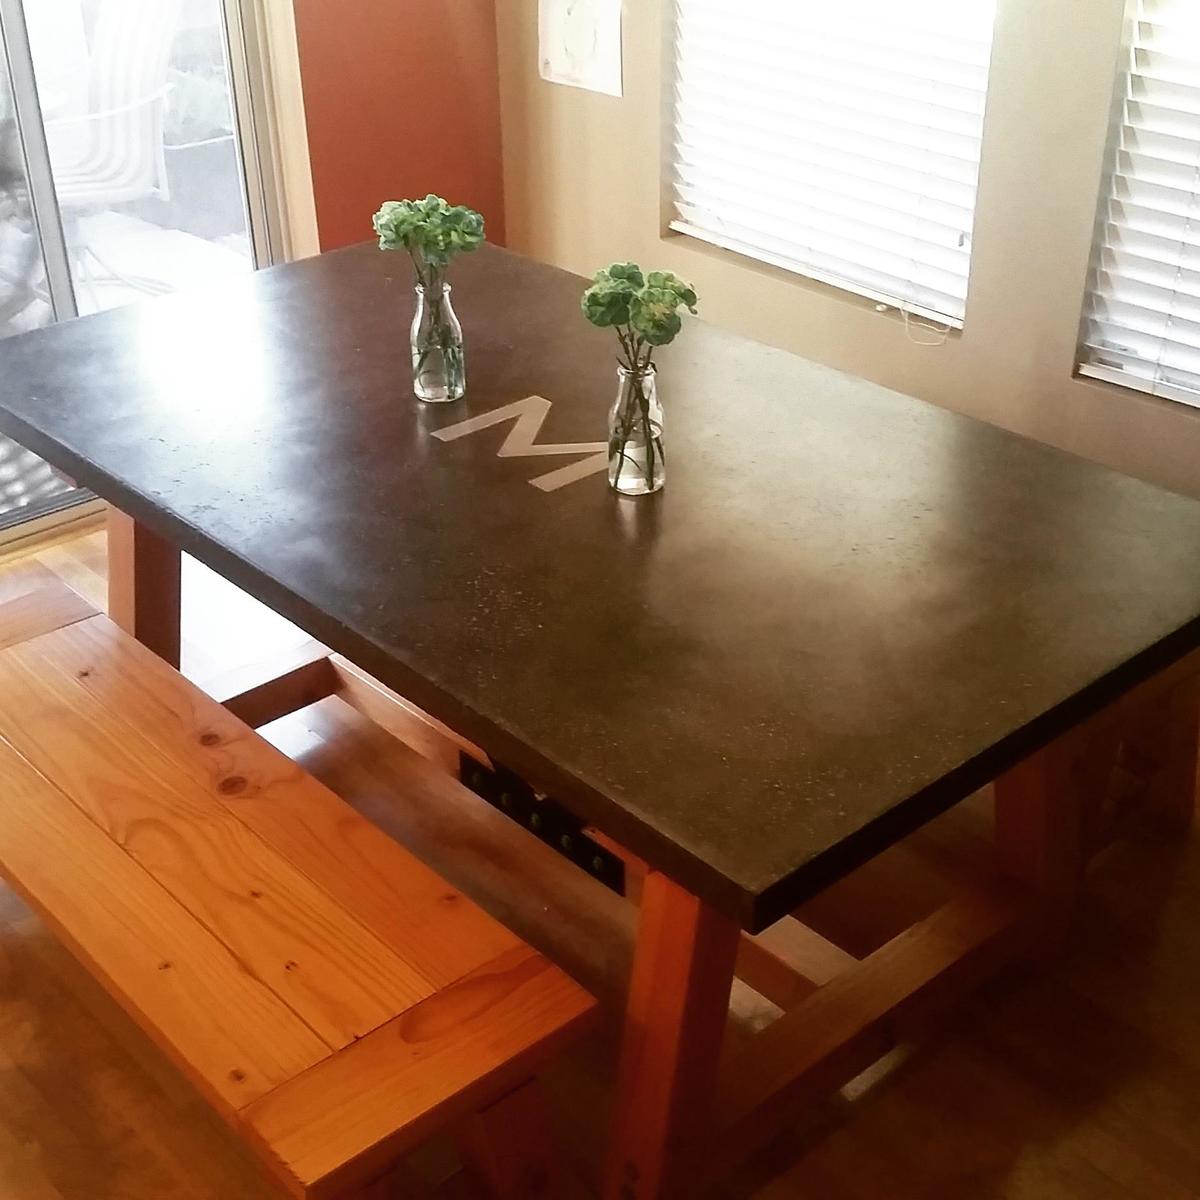
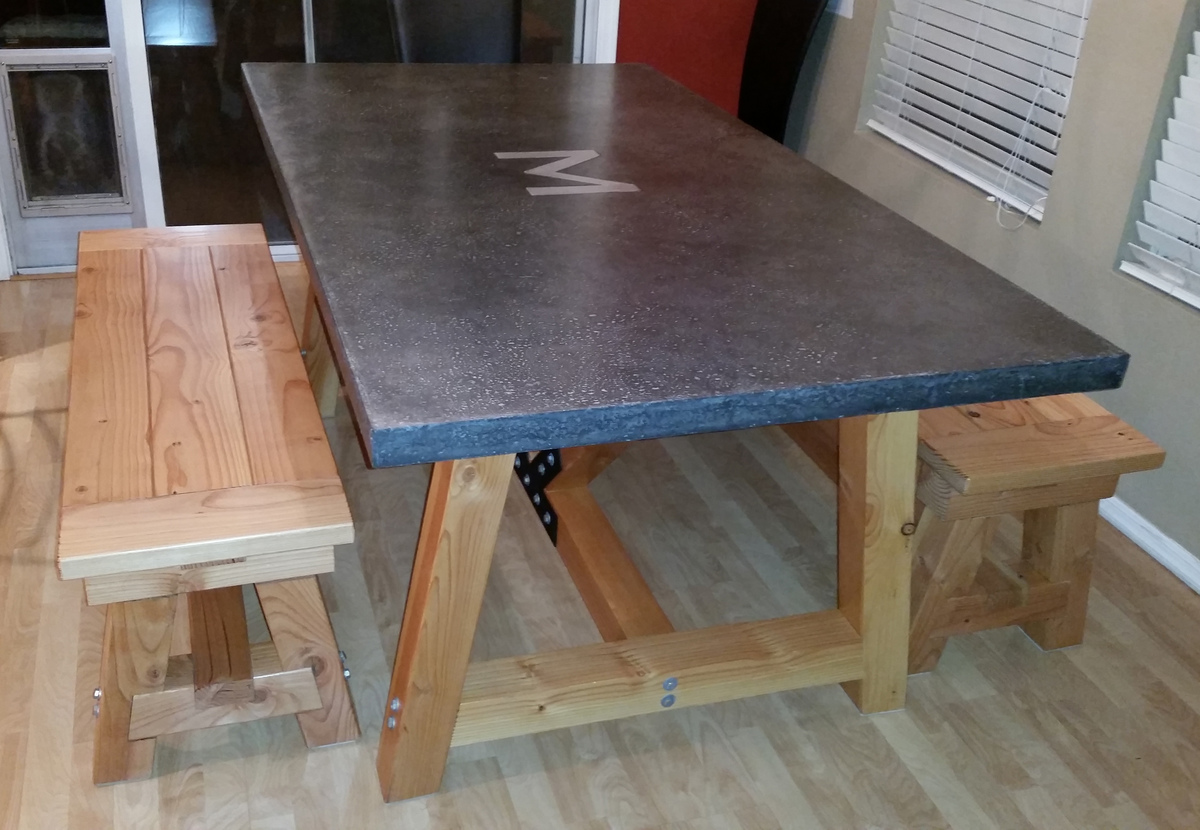
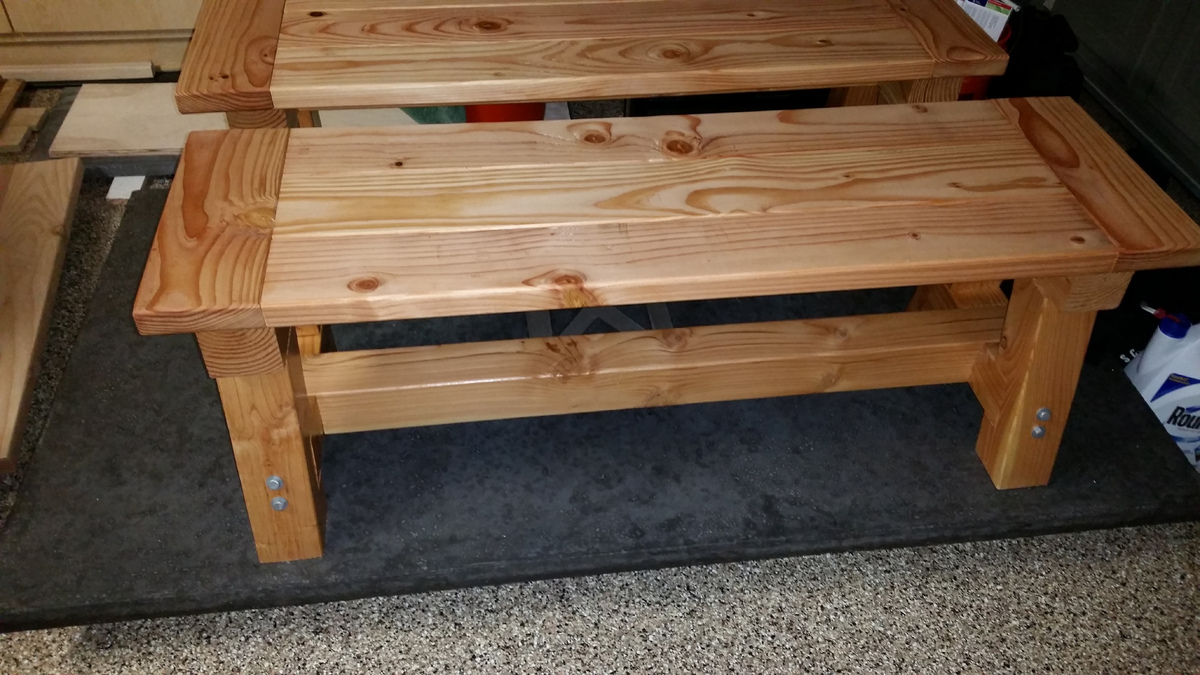
Douglas Fir 4x4 truss beam table, made from the listed plans (modified for a 72" table top and concrete used for the top).  Also, added steal gusset plates with lag bolts to replicate appearance of exposed truss beams.  Used pocket screws in conjunction with lag bolts.  Benches were altered with half-lap joints for strength (very time consuming).  Concrete table top made with Quikrete countertop mix (charcoal powder pigment added), an aluminum "M" inlay, and slurry coated with a lighter gray grout to fill in bugholes/ voids.


Table was fairly easy- hard part was finding straight wood (mostly green DF is sold near me, so some beams would warp beyond suitability as they dried).  I had to purchase a few extras to get the pieces correct.  If KD is available, go with that.  I was able to find KD DF at another hardware store for the benches.


Concrete was a PITA.  I never worked with concrete before. Watched a million youtube videos, read countless blogs, etc.  So much good info out there and I probably over-researched it.  I despise concrete, now (the mixing/ pouring/ screeding/ and weight) but I LOVE the result.


The project was my secret excuse to buy tools Ive always wanted.


If I wouldve been able to work straight through, I think I couldve completed this in a month.  The table and benches were a couple of weekends worth.  The concrete took most of my time with making melamine molds, special ordering the bags, renting the mixer, waiting it to cure, polishing and filling the top, etc.  A wood top wouldve cut down on the overall time considerably.


If you do a wood top (as I did for my benches), either use some type of joiner to get the board edges perfectly squared against one another with no gaps, OR leave gaps big enough between boards to let crumbs fall through, OR (this is what I did for my benches) I used a super clear (Lexel) caulk for the seams of the boards and then went over it after it dried with the satin polycrylic to take away any gloss.  Now all those crumbs dont get wedged between the boards.  They wipe away with ease.


Finally, I used heavy duty felt (4x6") from the local HD at $2.50 a pair.  Cut them to size and used the self-adhesive WITH gel superglue to put on bottom of bench and table legs.  A must.

Estimated Cost
Materials-

DF beams for table- $70
DF wood for benches- $100
Concrete, pigment, grout, melamine form molds- $250
Misc hardware- $50
Stain and clear finish- $20

Custom steel gusset plates and aluminum inlay letter- $150
Concrete Mixer rental- $40

I purchased several tools for this, as I did not own them before. I know I will use them for several projects in the future, so to me it was well worth the investment. I was able to make the table and benches with tools for under $1200. Not bad, considering the table without benches is sold at a retailer for $3000. I obtained a better finished product, customized, with some nice new tools for less than half. Plus I got to learn A TON!

I bought the following tools:
Kreg HD jig
Sliding compound miter saw (12")
orbital polisher/ sander (7")
random orbit handheld sander (5")

The concrete added the extra expense of diamond polishing pads as well.
Estimated Time Investment
Week Long Project (20 Hours or More)
Finish Used
Minwax natural stain, Minwax Polycrylic satin. I used one coat of natural stain. I wanted it to be light, but finished. I love the way the natural finish came out. I wasn't going to put any clear on it, as I did not want any sheen. However, I have children and the wood wouldve been dirty by the second day. The Polycrylic satin was amazing. Not as shiny as I was afraid of. Much more forgiving than semi gloss or gloss. Three coats applied with foam brushes. Lay it on, dont brush it on to avoid bubbles. Go slow and smooth. Dries nice. I did 2 coats, then a very light sanding with 220, just to get rid of the roughness. One coat after that and done.
Recommended Skill Level
Intermediate

Comments

upnarms

Mon, 03/16/2015 - 10:57

The top was made from nearly 4 bags of counter top mix. I did create a lip by placing an insert in the mold, taking out a bit of weight, while giving it a 2" profile edge. It's about 300lbs still! I had 3 people help me lift it into place.

petesveen

Tue, 03/17/2015 - 07:26

Nice job on the concrete top! Turned out great and coordinates well with the base. Cheers! - DIY Pete

Junior loft bed

Submitted by Anonymous (not verified) on Thu, 06/29/2017 - 09:55

My very first furniture build! Took me about 5 days, but as a beginner I found it very easy to follow the plans. I did buy a Kreg jog for this project, highly recommend it! Other tools used were a miter saw, circular saw, and drill.

Estimated Cost
$80
Estimated Time Investment
Week Long Project (20 Hours or More)
Finish Used
Ebony stain
Recommended Skill Level
Beginner

Easy DIY Workbench

Submitted by Anonymous (not verified) on Mon, 10/04/2021 - 14:32

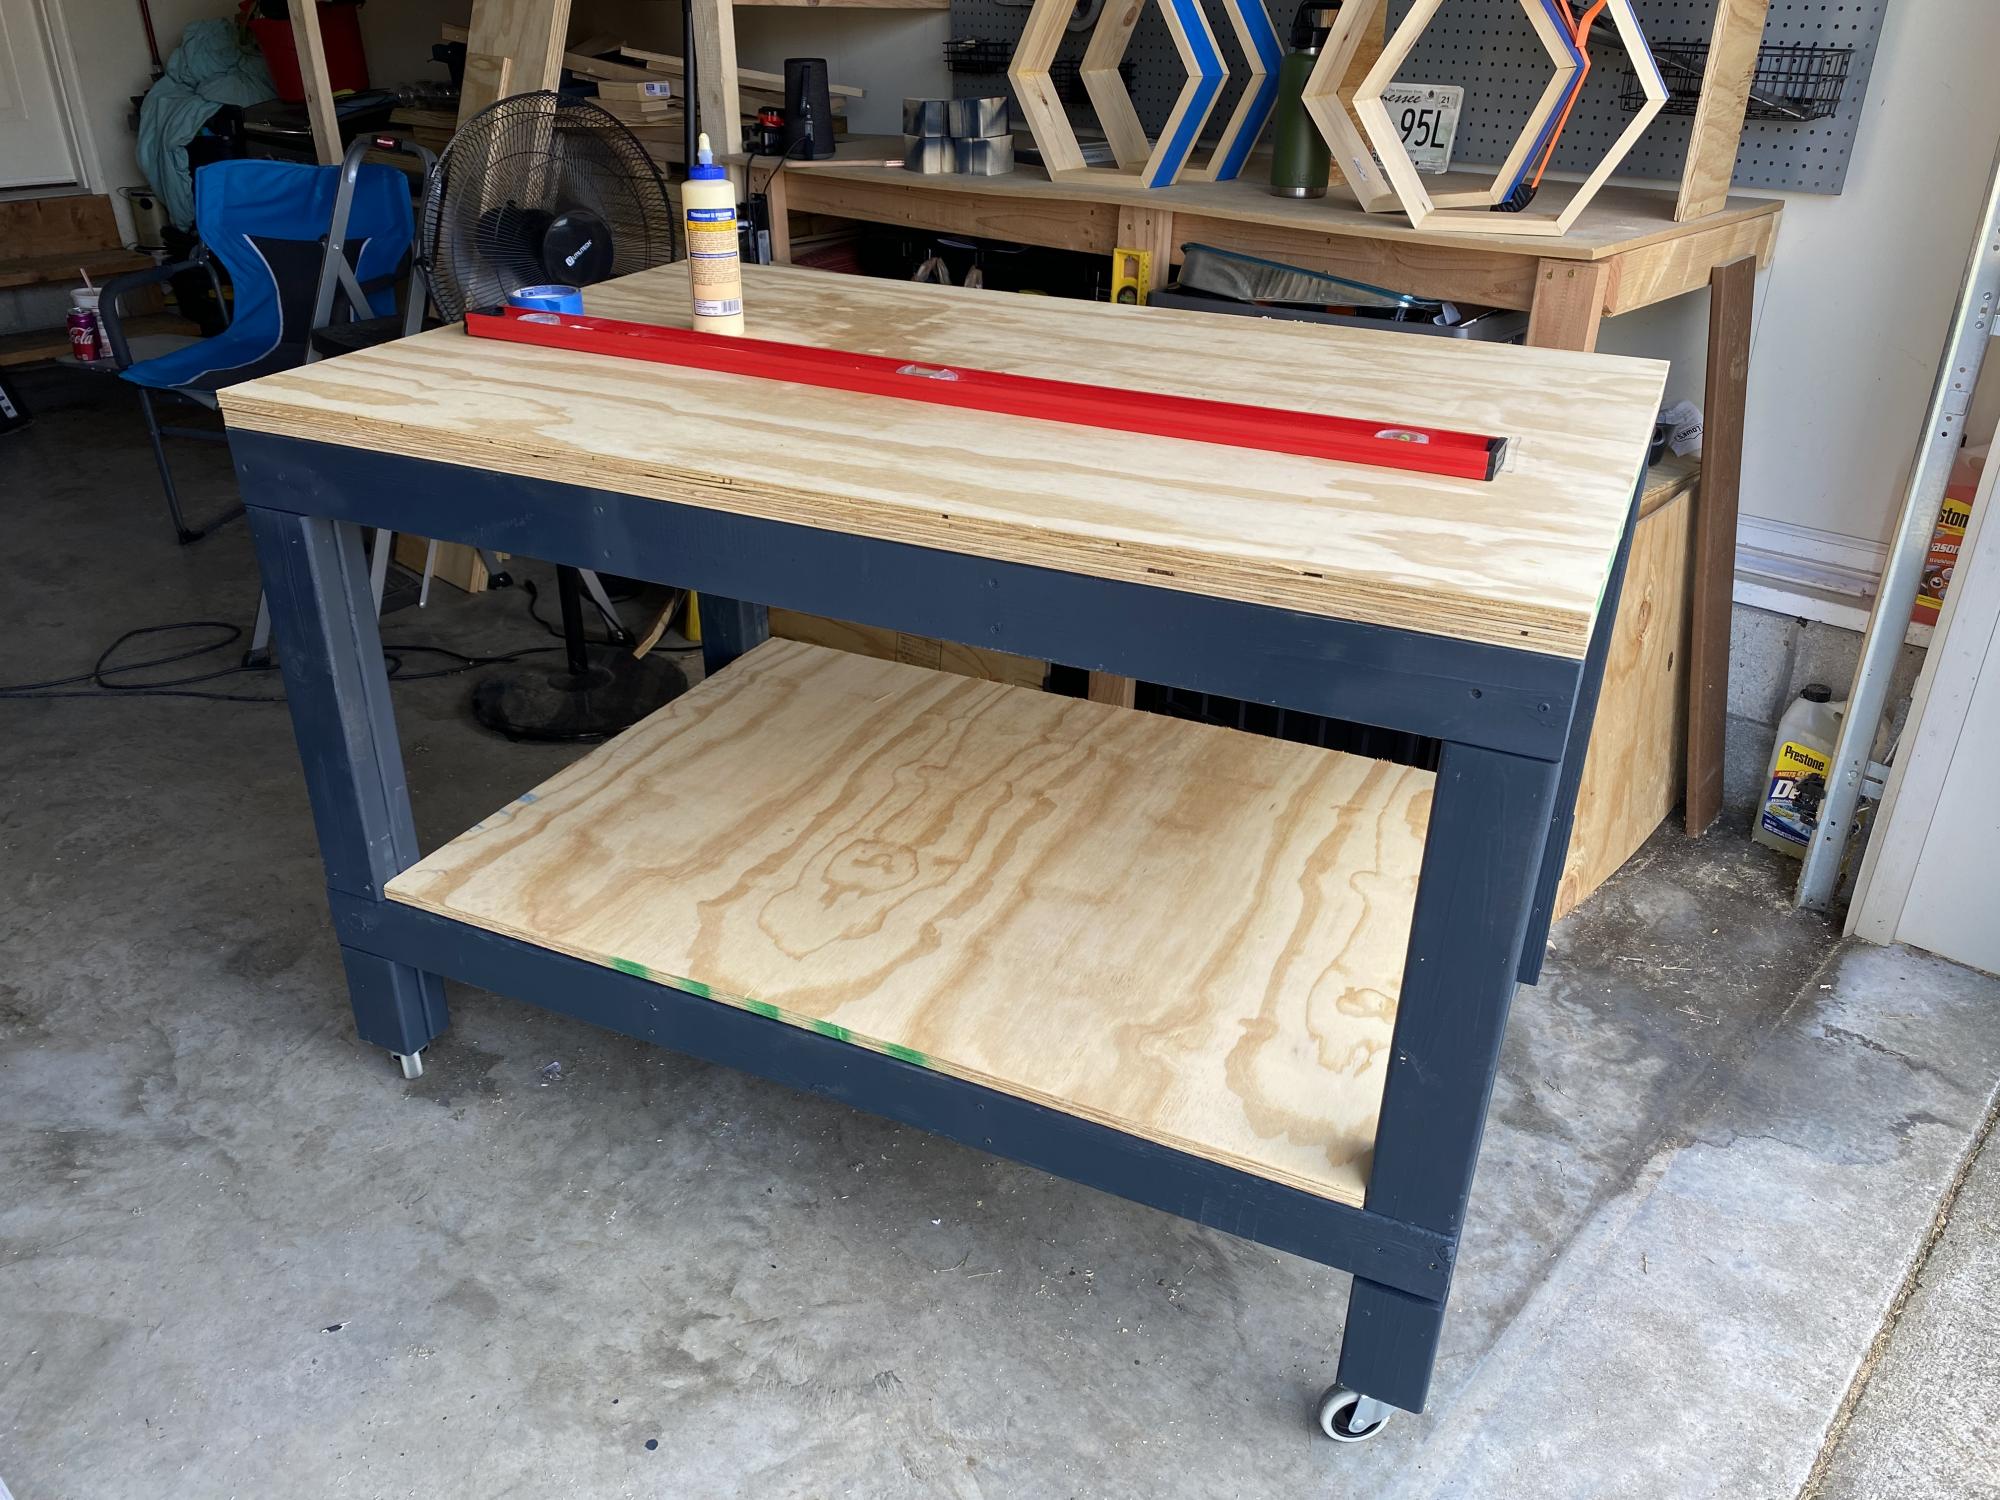
Ana I’m new to wood working and I really love your plans. They are so much easier to follow than a lot of other plans that I’ve seen. It makes me feel like I can build almost anything. Thank you.

Brandy

Comments

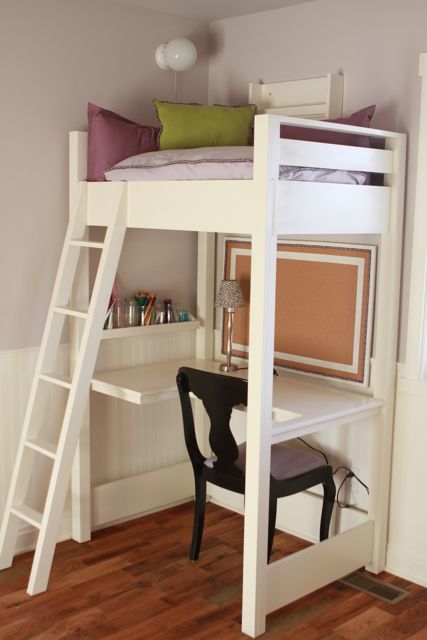
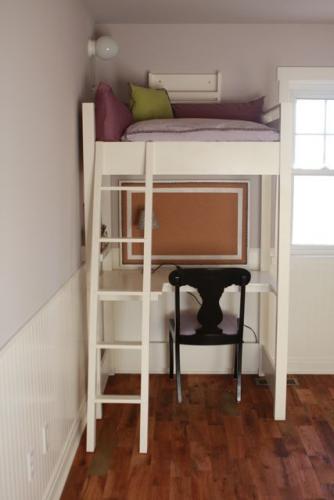
Kid-sized reading loft and desk

This project is a modified version of Ana's loft bed. We shortened it and made it a bit more narrow to fit our space and because we only needed a place for our eight year old daughter to read and work, not a place to sleep. We also added a desk to the bottom, making it a full-service work station for our elementary school girl!

Built from Plan(s)
Estimated Cost
$125
Estimated Time Investment
Week Long Project (20 Hours or More)
Finish Used
Sherwin-Williams ProClassic white followed by Minwax Polycrylic.
Recommended Skill Level
Intermediate

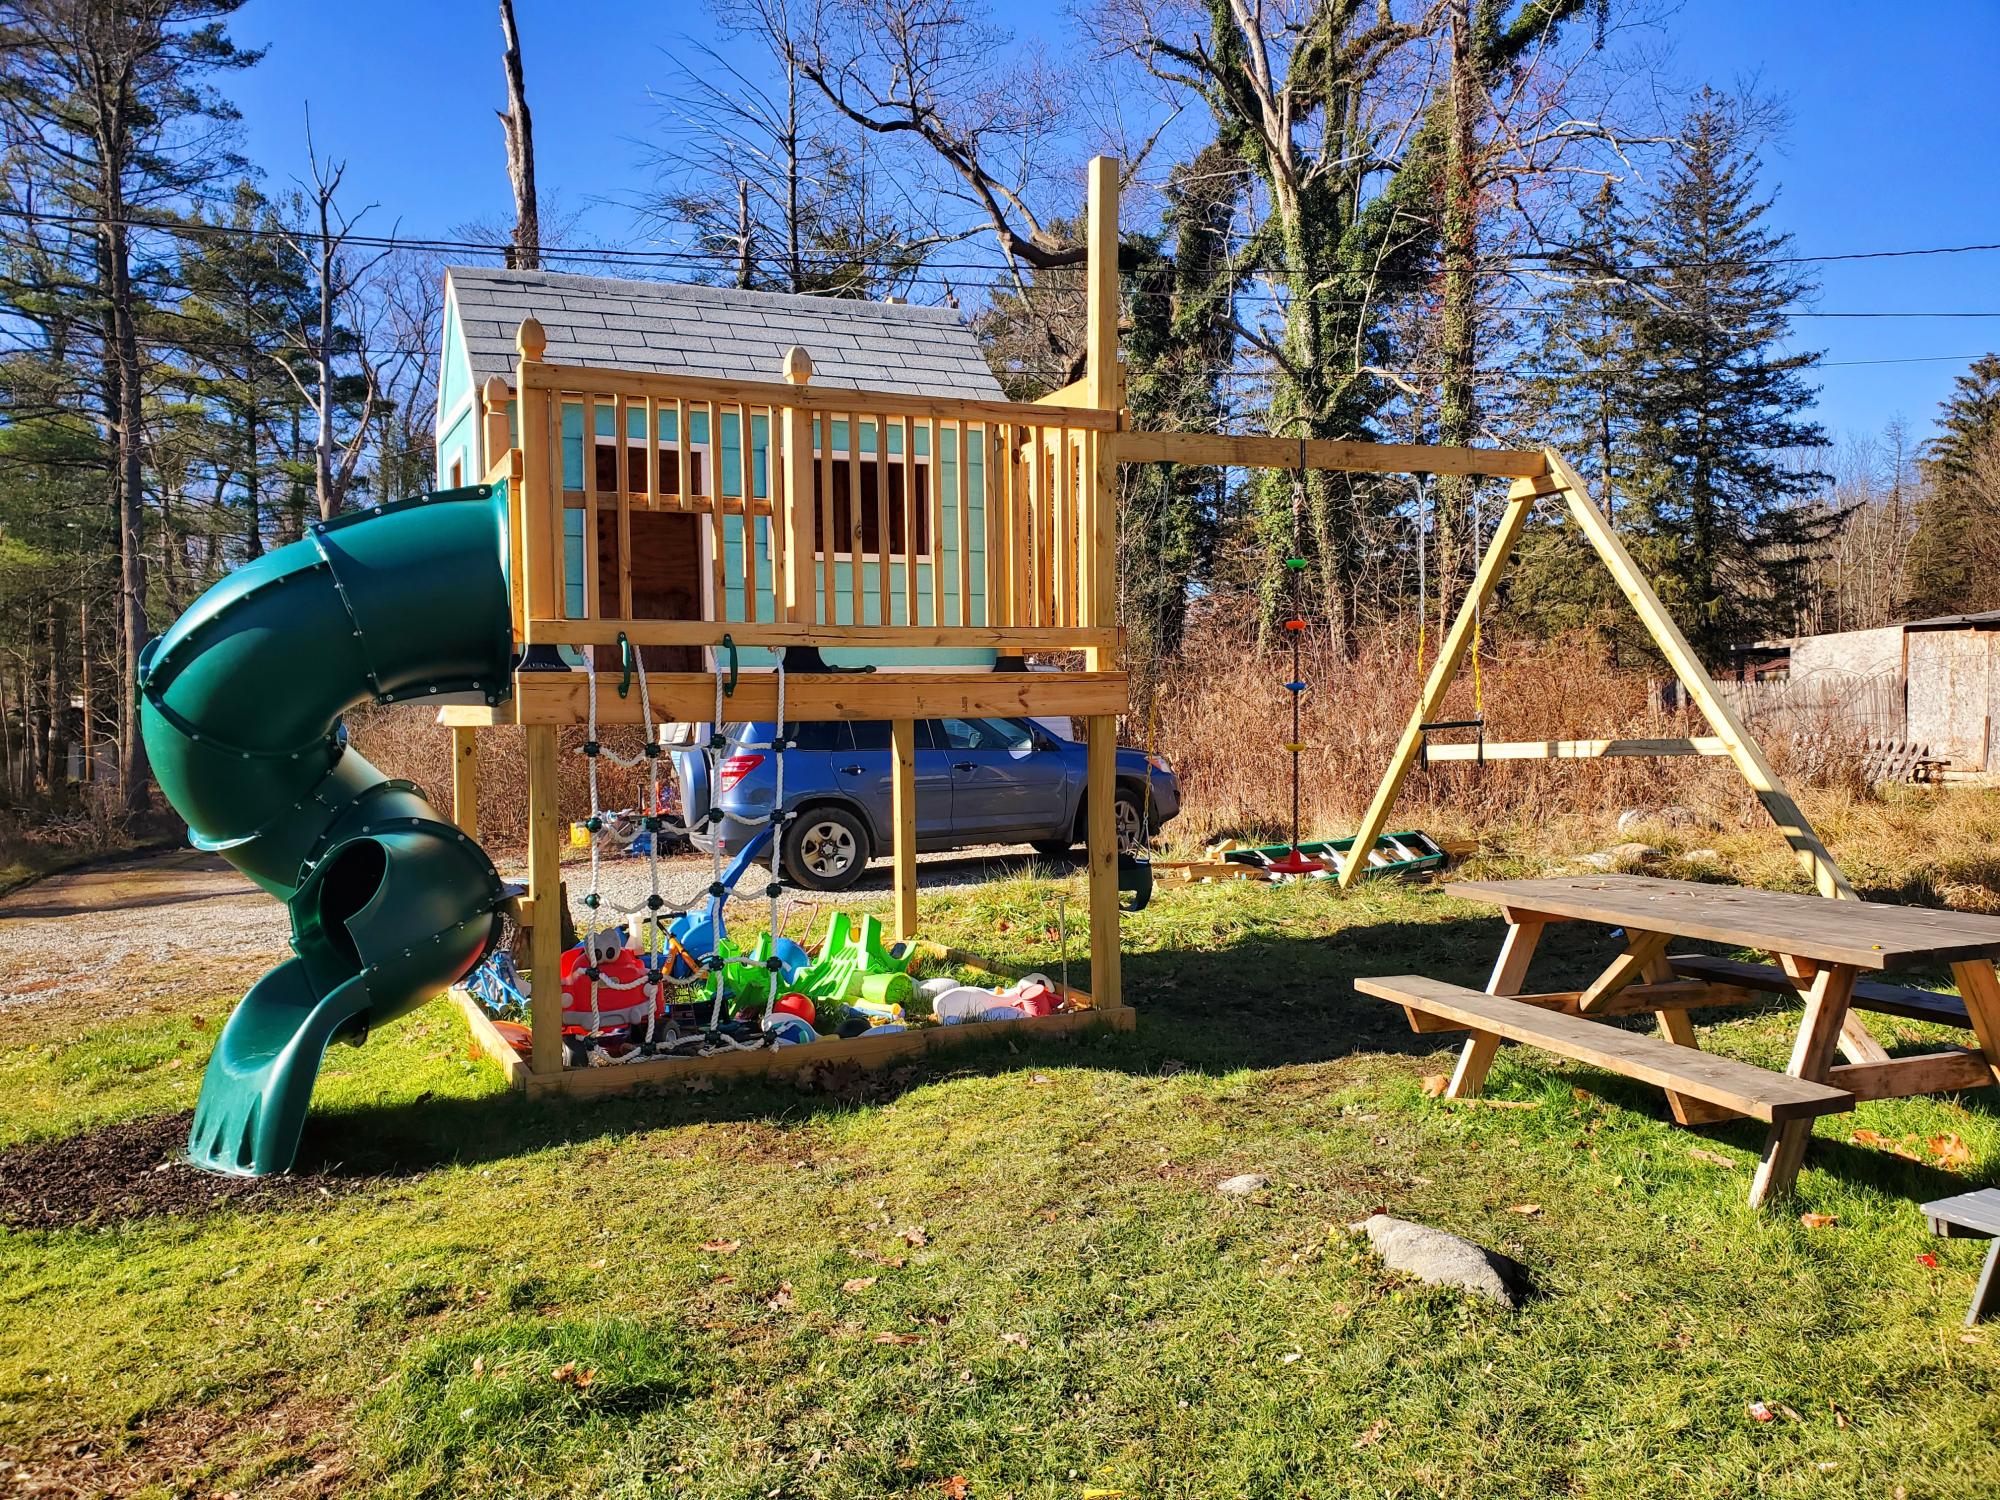
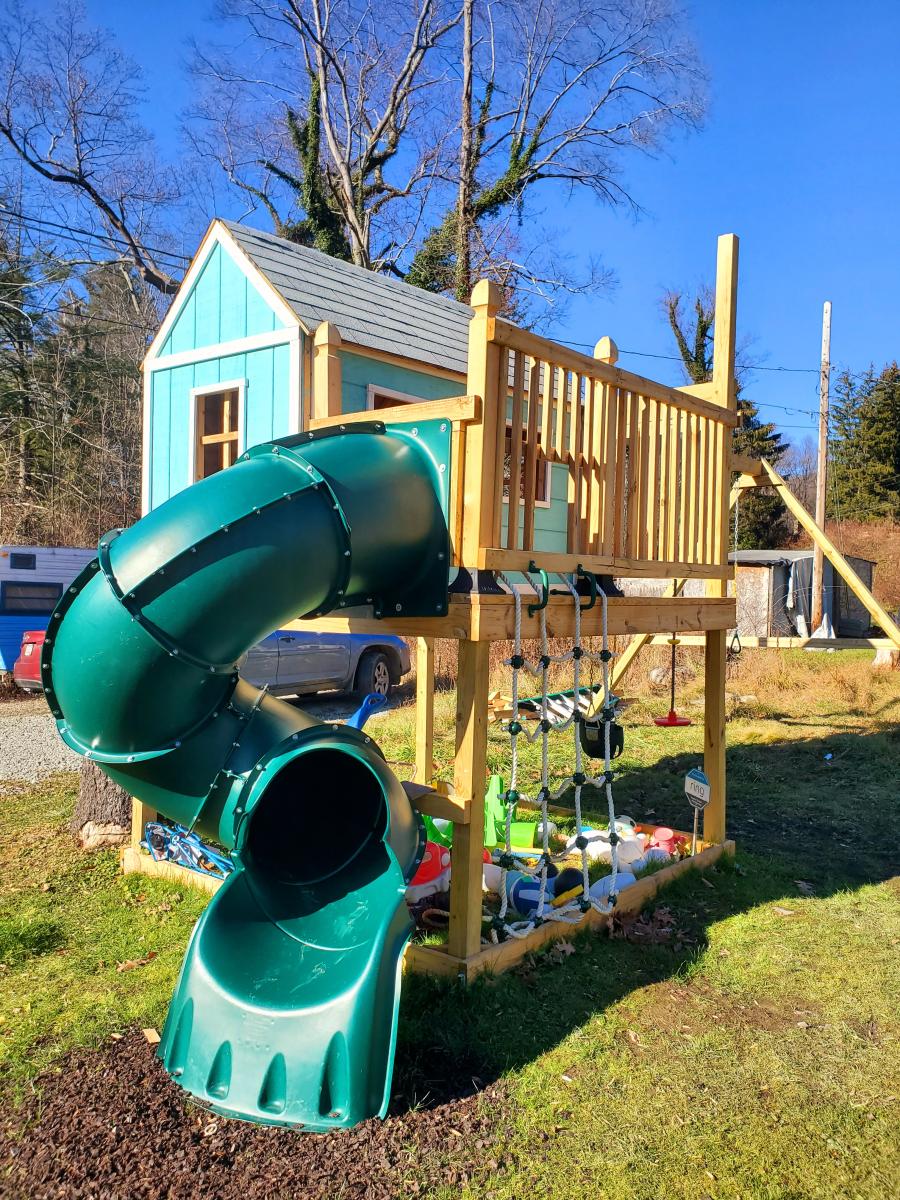
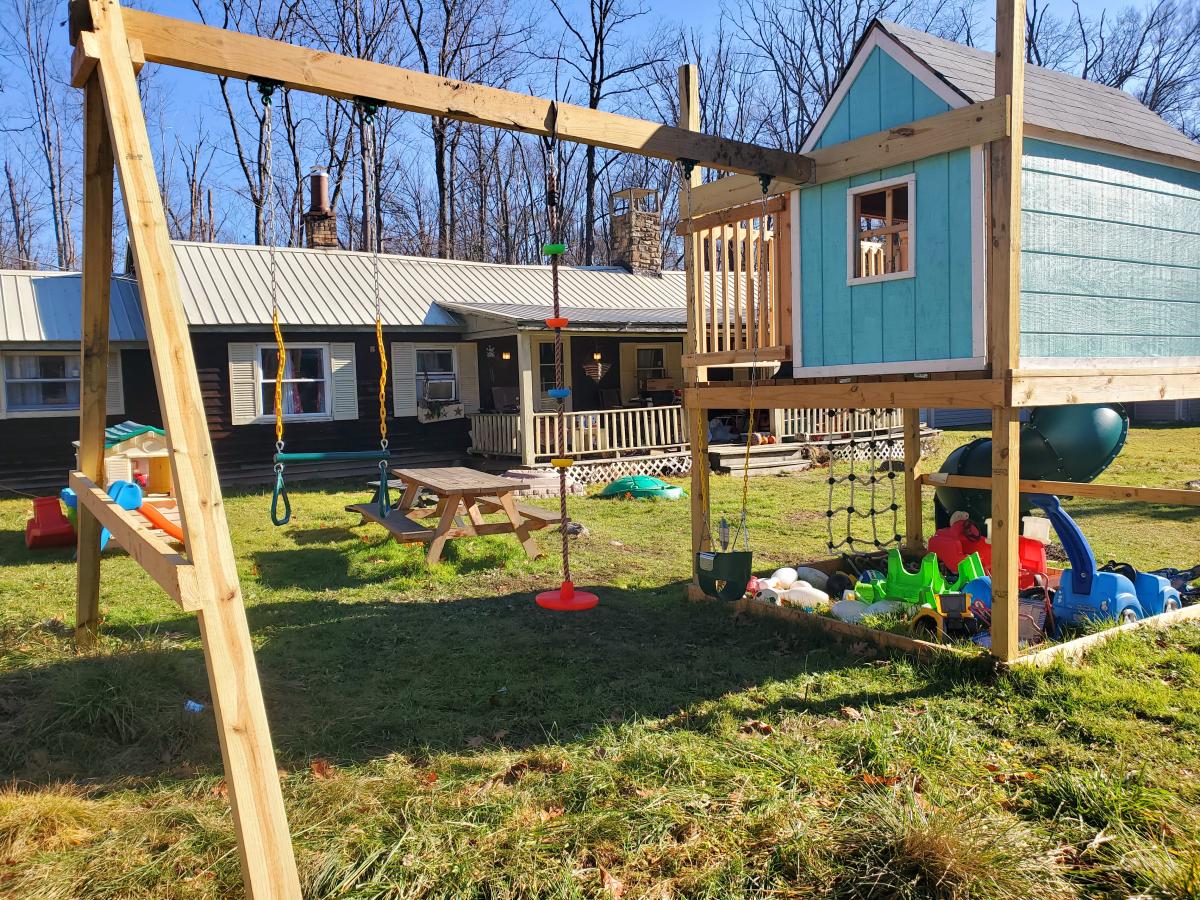
My Boys Playhouse!

Submitted by Anonymous (not verified) on Fri, 01/28/2022 - 03:18

We made a few changes to fit our needs but love the design. Way better than any kit you can buy!

Comments

DIY Chaise Lounge Chairs

Submitted by jroubinek on Wed, 07/06/2011 - 10:44

This was my very first project to take on with Ana's plans. It took a little longer than I would have liked only because I got frustrated and put it to the side for a MONTH. I realized how important it was to pre-drill my holes and then got the motivation to get back to it. Once I got started again, it was finished in NO TIME! I still need to stain one of them, but I couldn't be happier with the result.

Estimated Cost
$60
Estimated Time Investment
Weekend Project (10-20 Hours)
Finish Used
I used Wood Conditioner to make sure I didn't have to worry about blotchiness. Then I used a paintbrush to apply Minwax's Dark Walnut stain.
Recommended Skill Level
Beginner

Comments

geophyrd

Sun, 07/31/2011 - 07:55

I'm right in the middle of building one of these. My problem is that the 2x4s specified are 2" thick...having to rip them down and that took a lot of guts. Did them all except the long boards. Going to do those later today (if I don't melt) and when my wife can give me a hand.

How did you rip them to size?

Also, did you use a router table to round the edges?

MichelleC

Fri, 07/20/2012 - 09:21

These look great! Geophyrd...do you mean 2x2's? You just use the ones straight from the store, also referred to as furring strips...that will save you a lot of time and stress rather than ripping down 2x4's. When the plans say 2x2's, they aren't going to actually be 2", and the plans don't say that they have to be 2". Ana writes the plans as simply as possible without us having to do complicated steps like ripping down boards thank goodness!

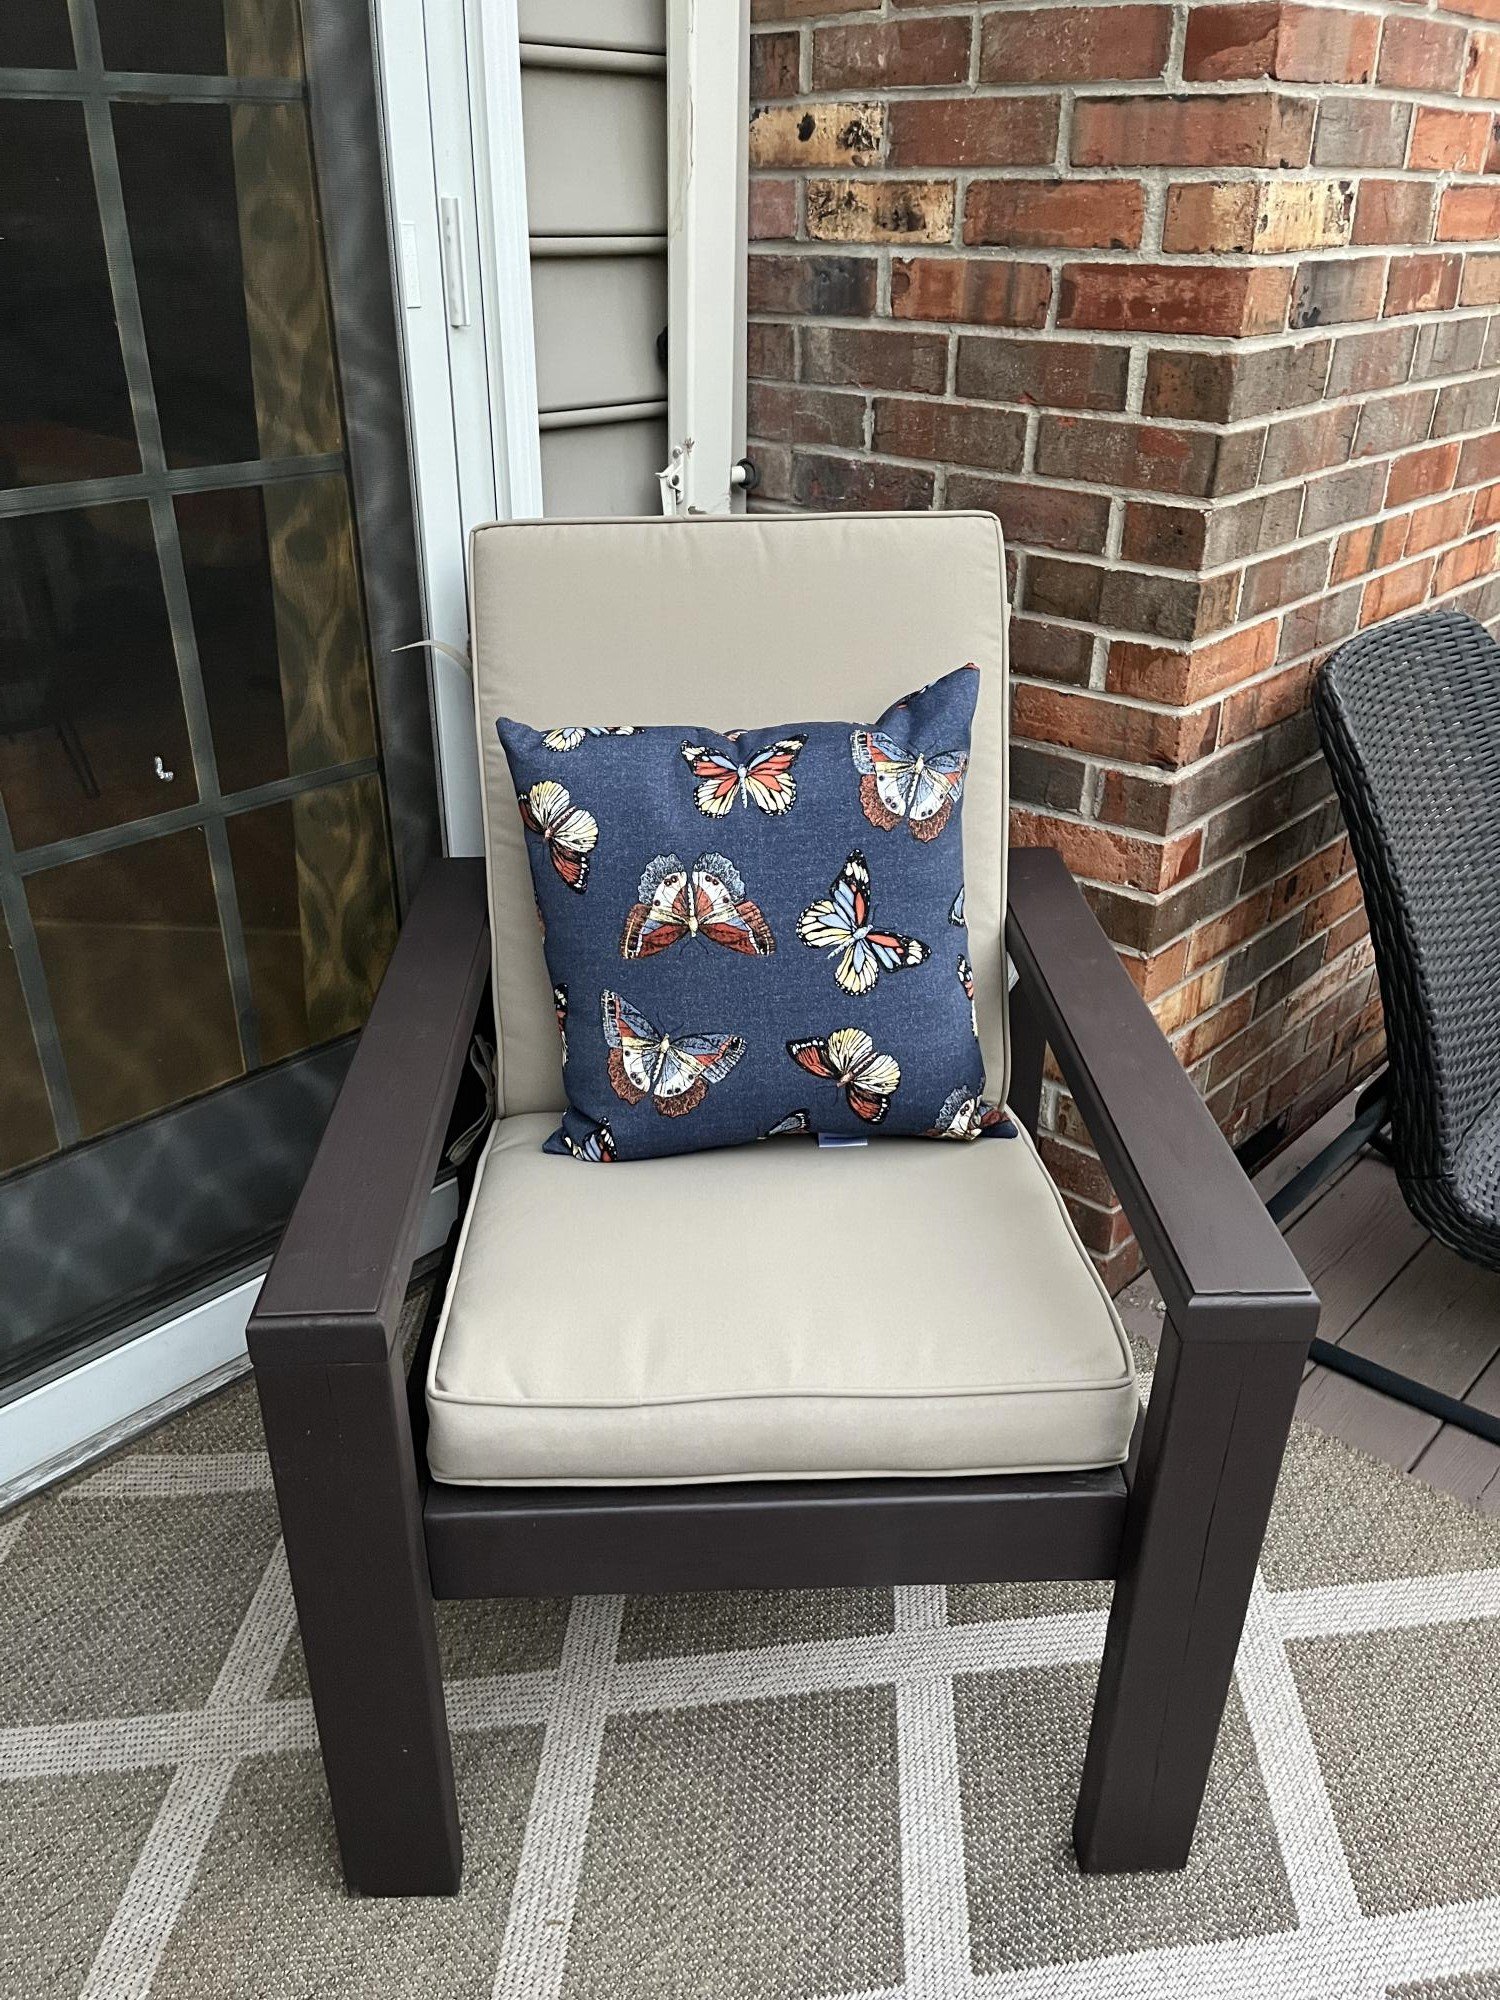
Essential Outdoor Wood Chair for standard cushion

Submitted by Anonymous (not verified) on Tue, 08/09/2022 - 19:09

I was so excited to try this plan! It was the perfect size for this corner! Now I need to make a few of the chairs for the deep seat cushions! Thank you for these great plans, Ana!

Comments

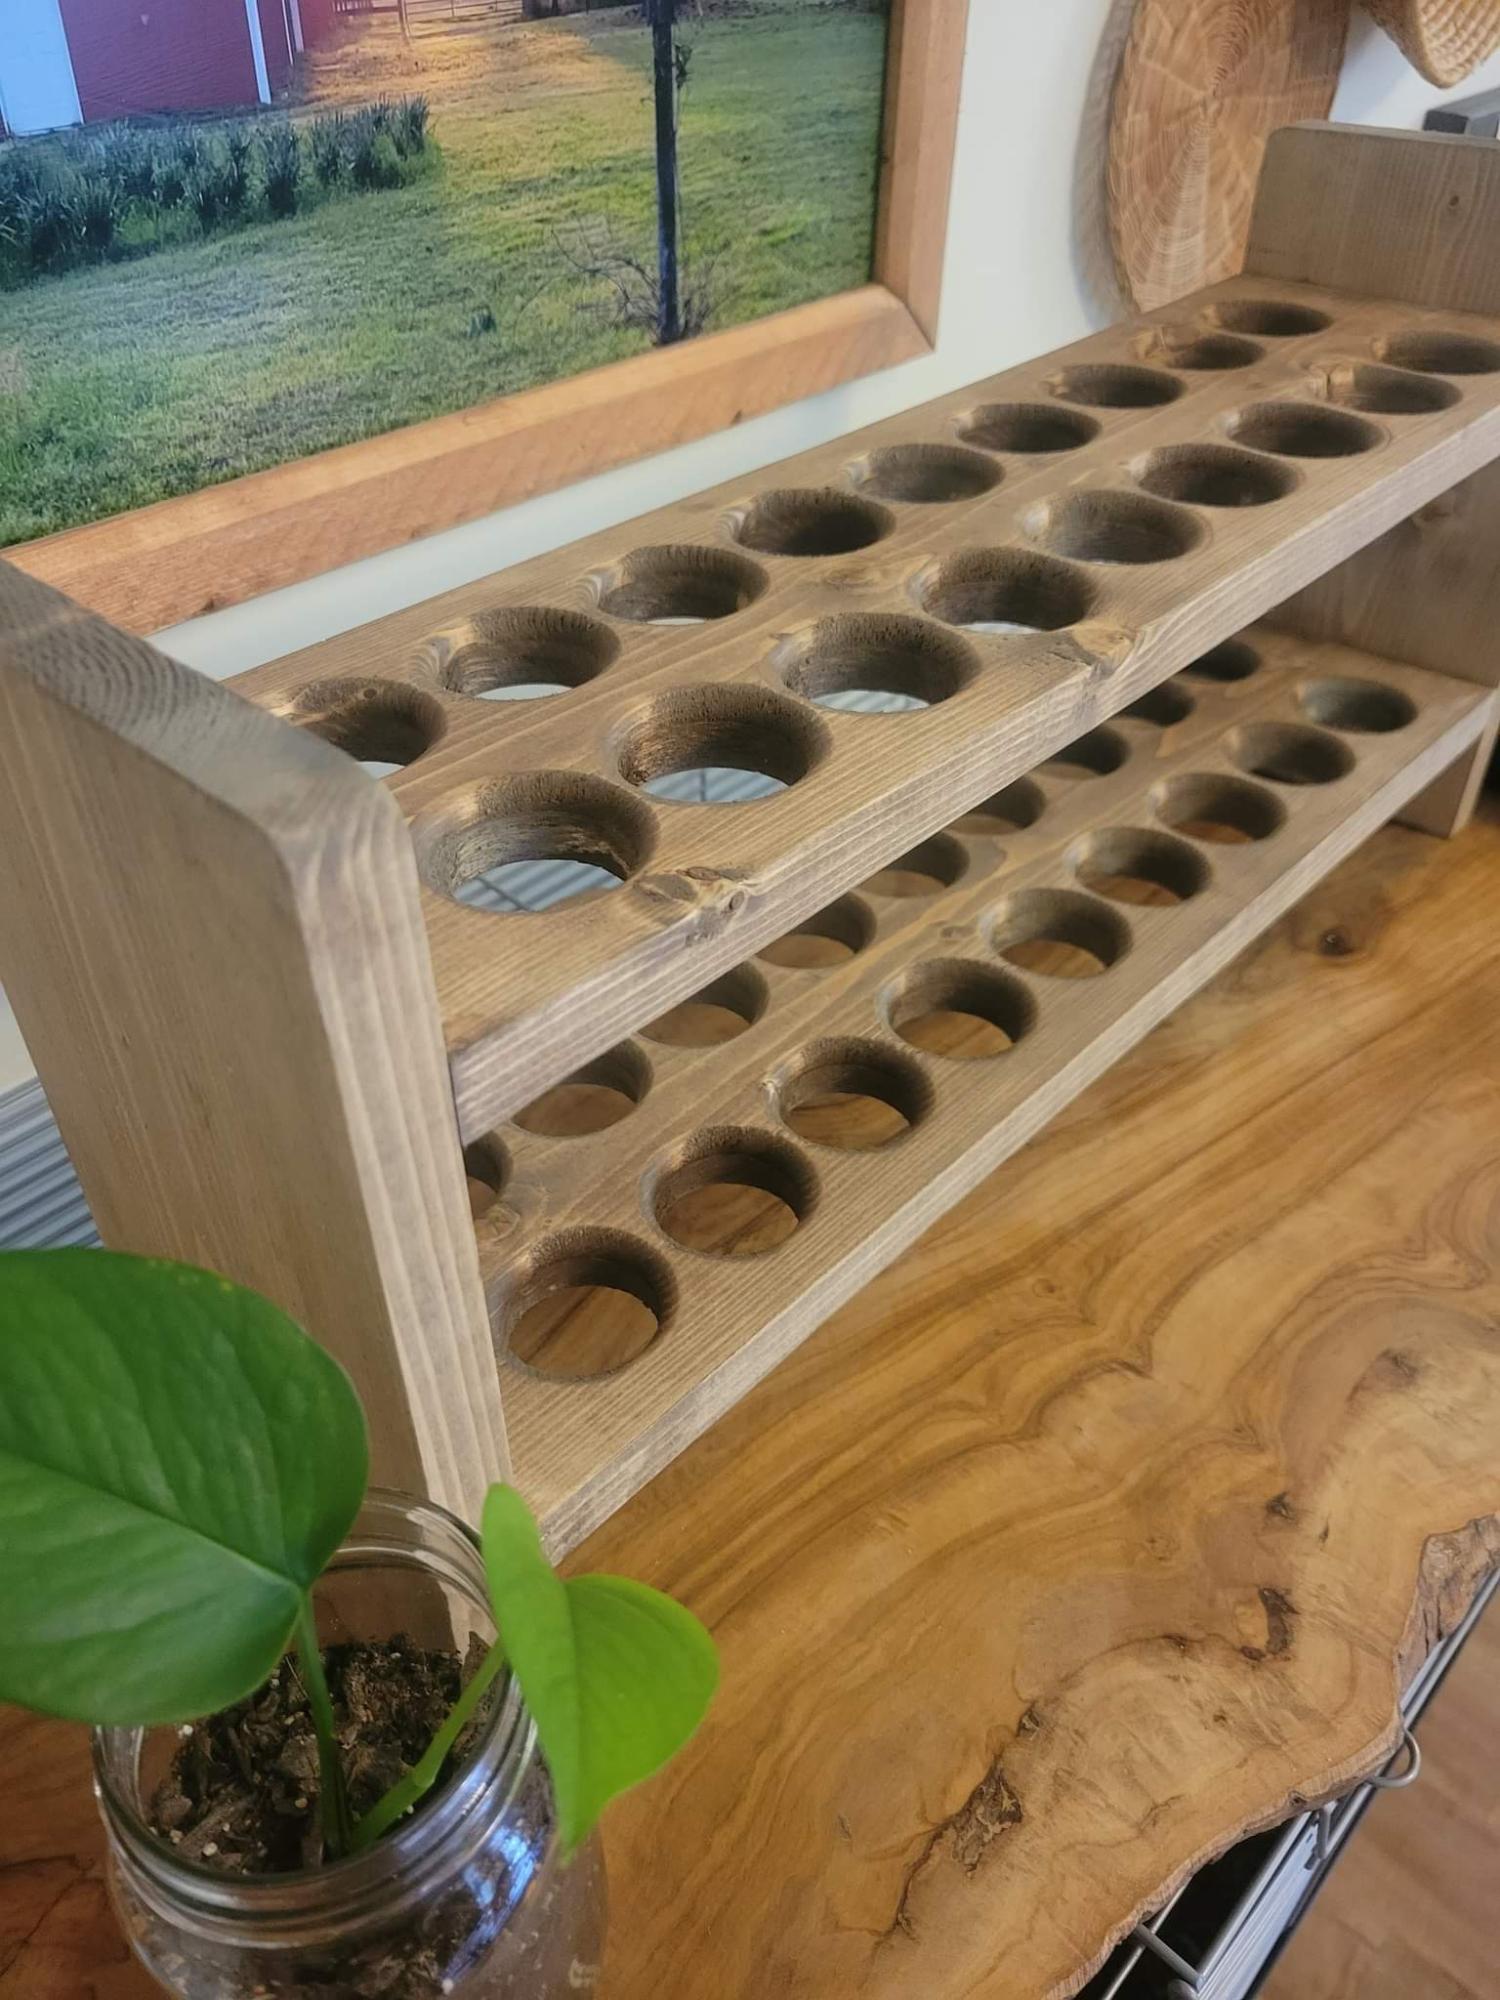
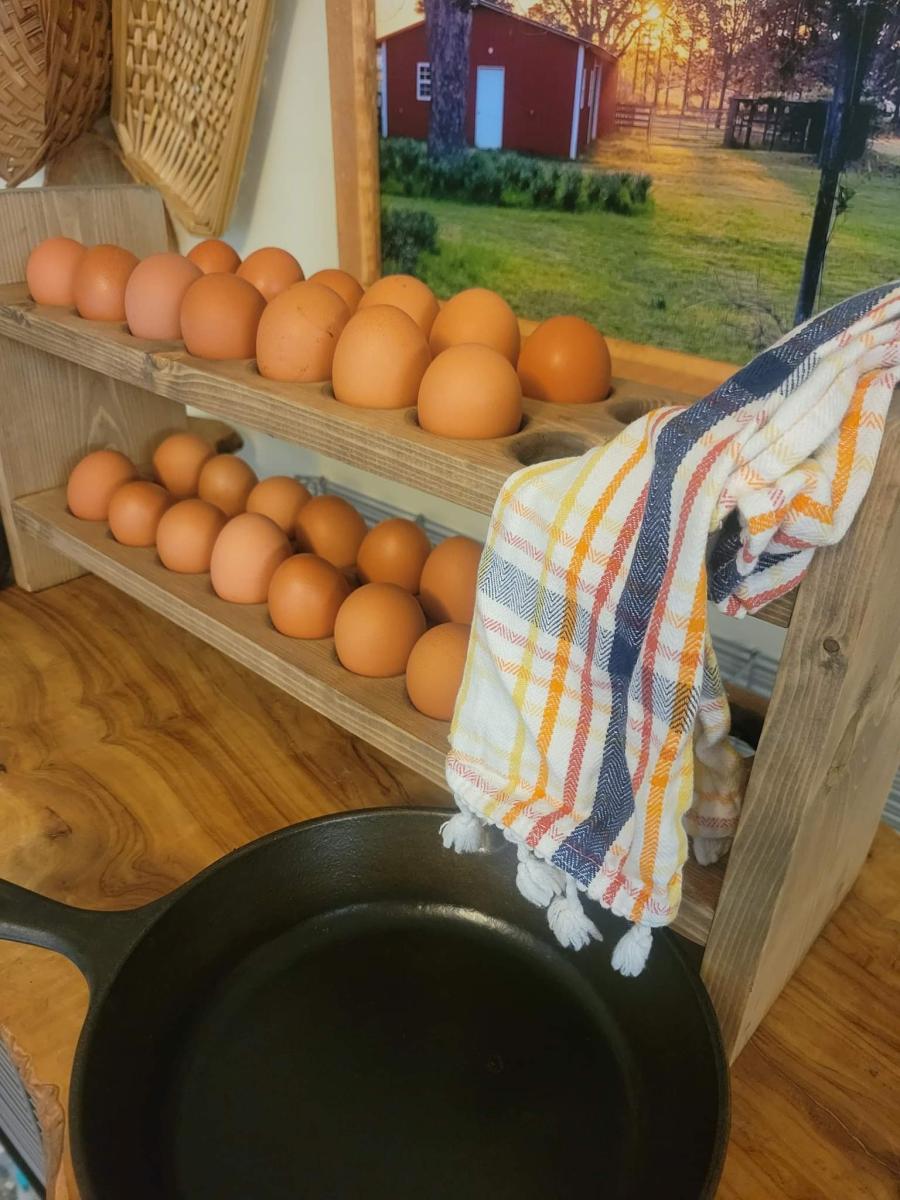
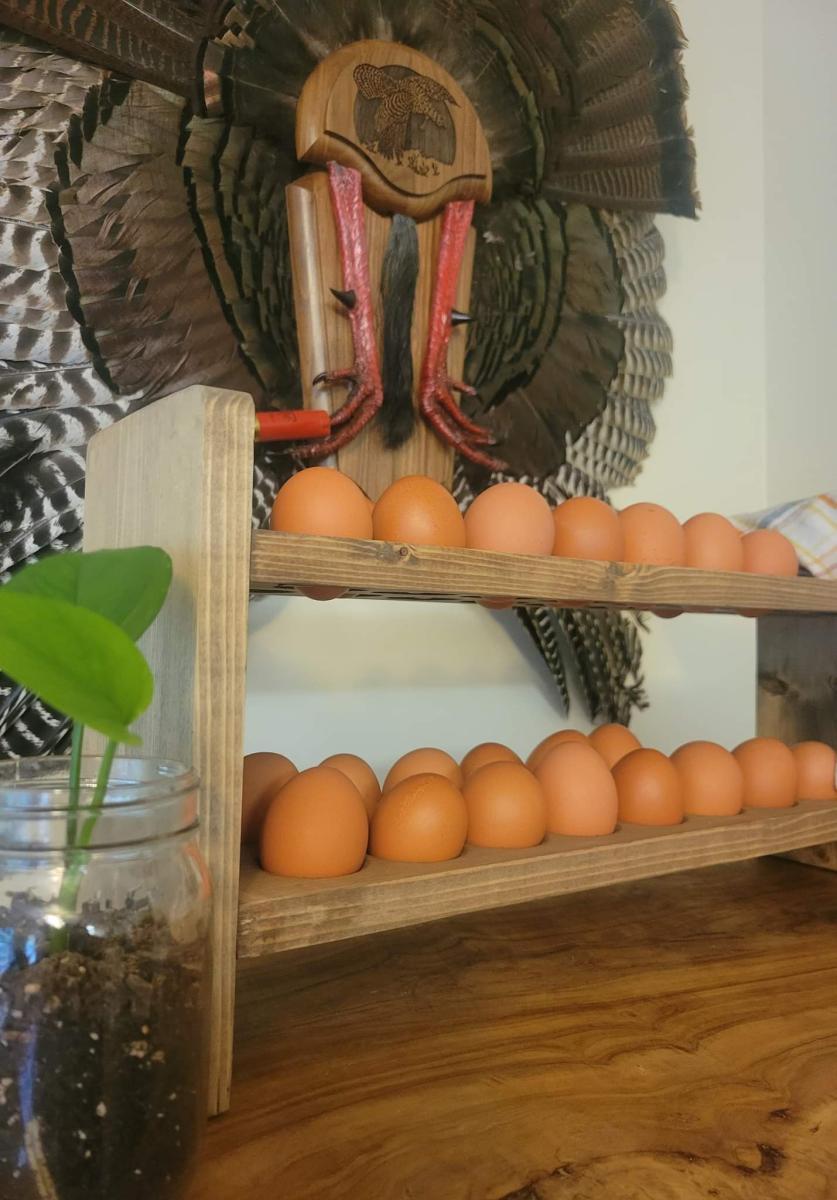
Wooden Egg holder

Submitted by Lukilla on Fri, 09/30/2022 - 15:31

We've got a friend that basically supplies us with unlimited farm fresh eggs. The instant my wife saw this on ana-white she started asking me for one. Rounded over the holes with the router and rounded the corners of the sides. Took us about an hour total.

Combo of varathane special walnut and weathered oak stain on the finish.

Built from Plan(s)

Comments

Cube Bookshelf

Submitted by Anna H on Sat, 08/27/2011 - 08:35

I love this bookshelf! It was quick and easy to build, the finishing took the longest. I decided to add a contrasting top with pine boards stained with dark walnut. I love how it came out! Now, on to my next Ana White project...

Built from Plan(s)
Estimated Cost
$50
Estimated Time Investment
Afternoon Project (3-6 Hours)
Finish Used
Behr Ultra in Bone distressed then antiqued with Valspar mixing glaze mixed with dark walnut stain. Top is dark walnut stain and sealed with wipe-on poly.
Recommended Skill Level
Beginner

Comments

Guest (not verified)

Wed, 10/19/2011 - 18:20

Did you use the Bone distressed paint then put a glaze over top of it? The top dark walnut looks amazing.

ehansen25

Wed, 07/17/2013 - 12:23

I love love LOVE the look of your version of the cube shelves. I have a question for you though. How did you attach the pine boards on top?