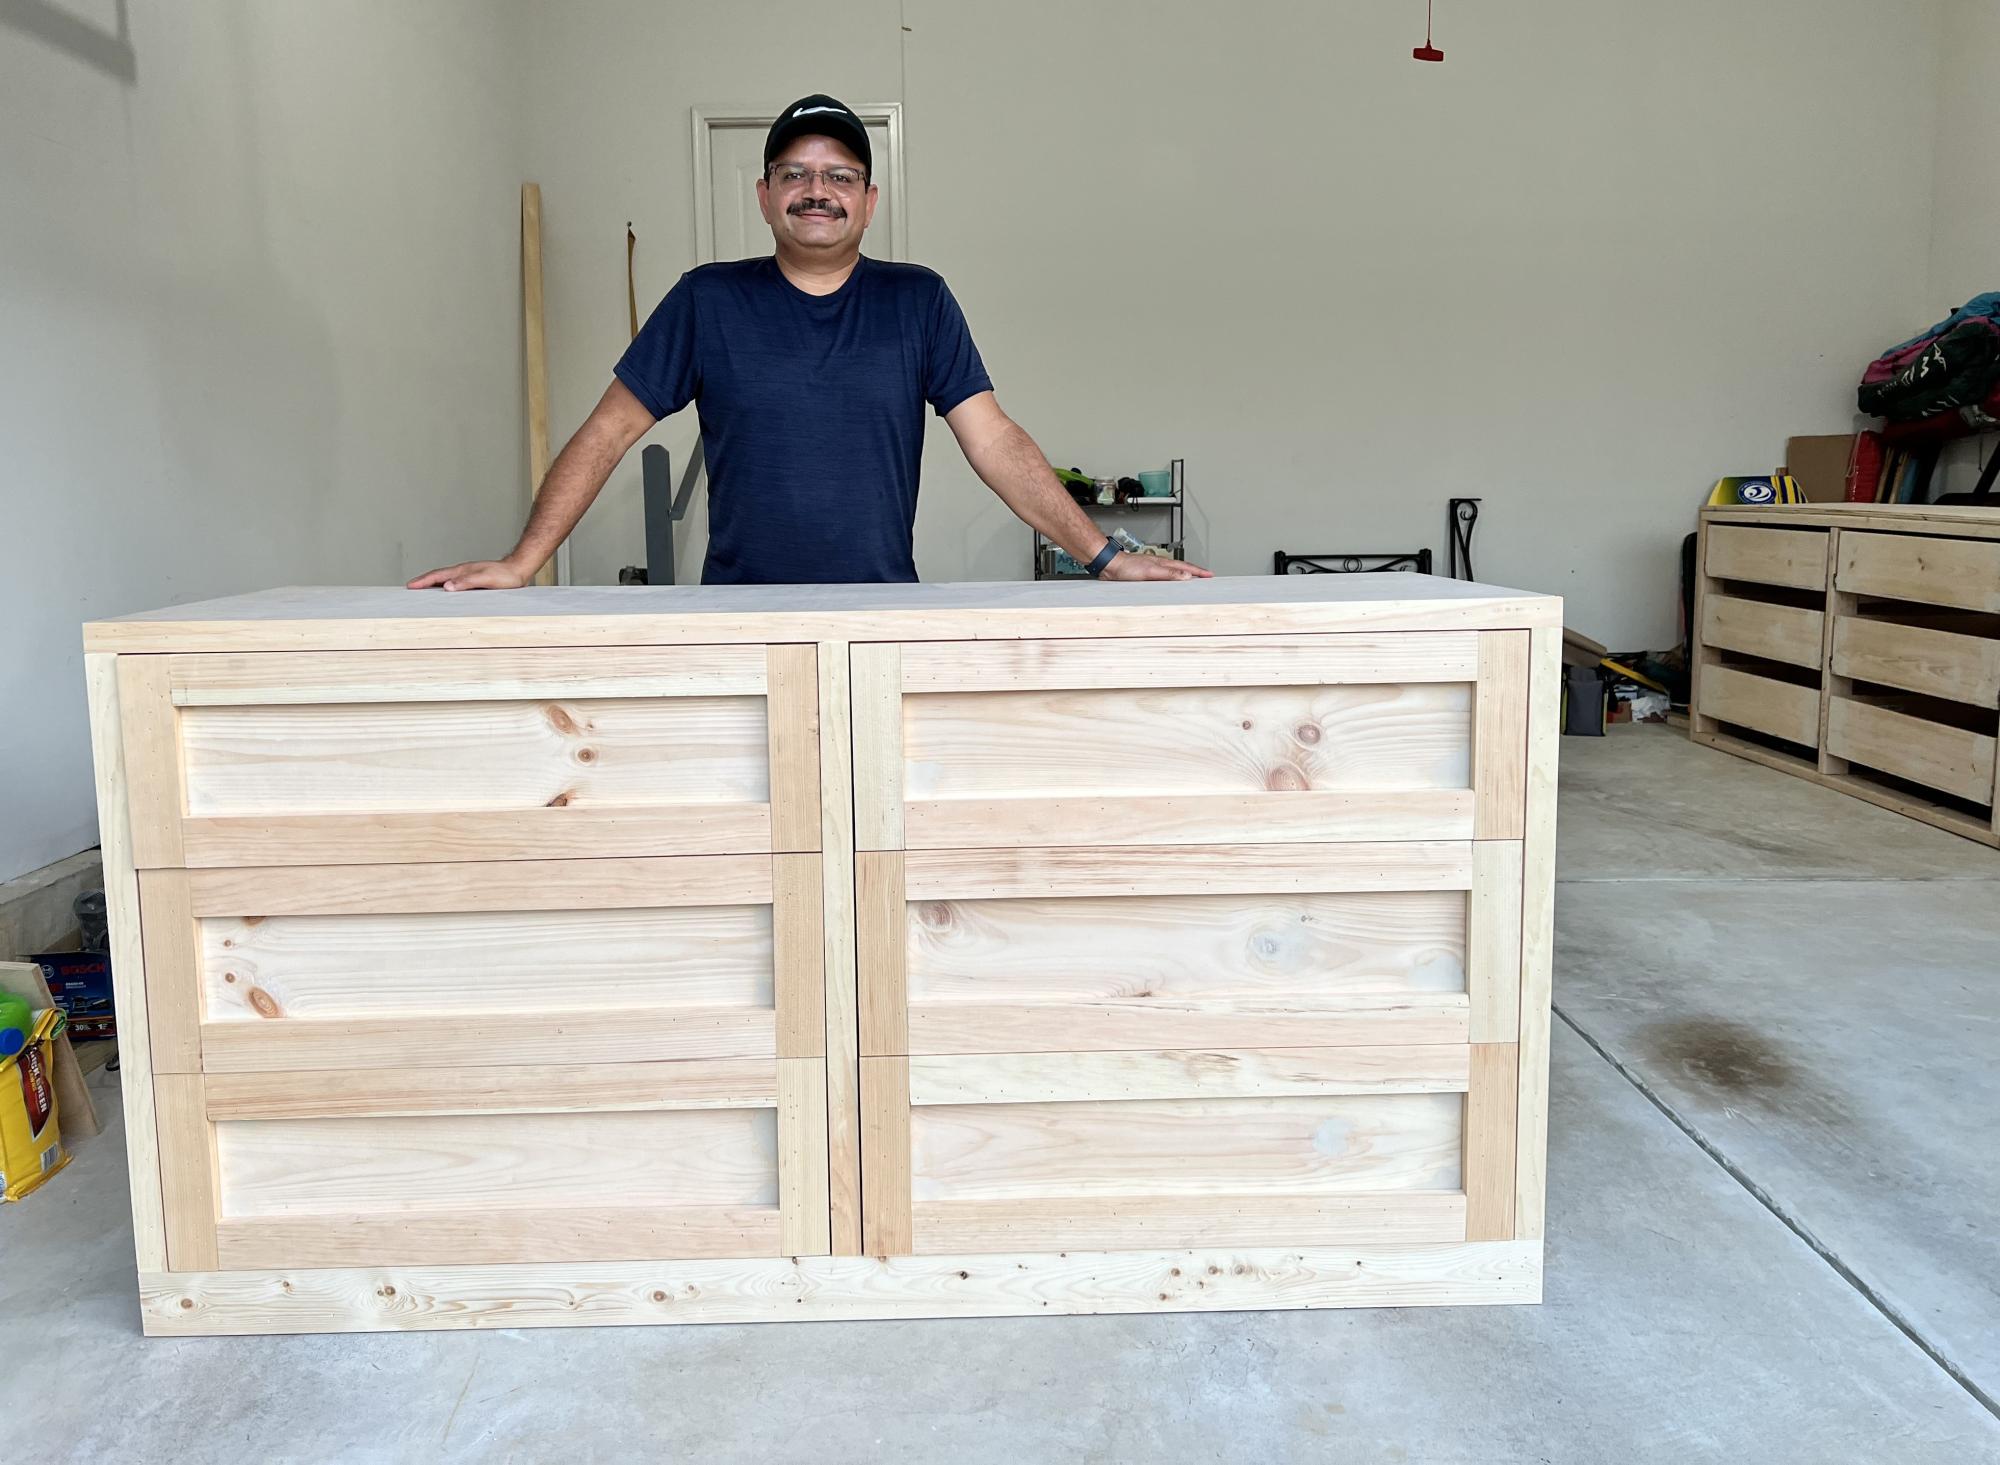
My Boys Playhouse!
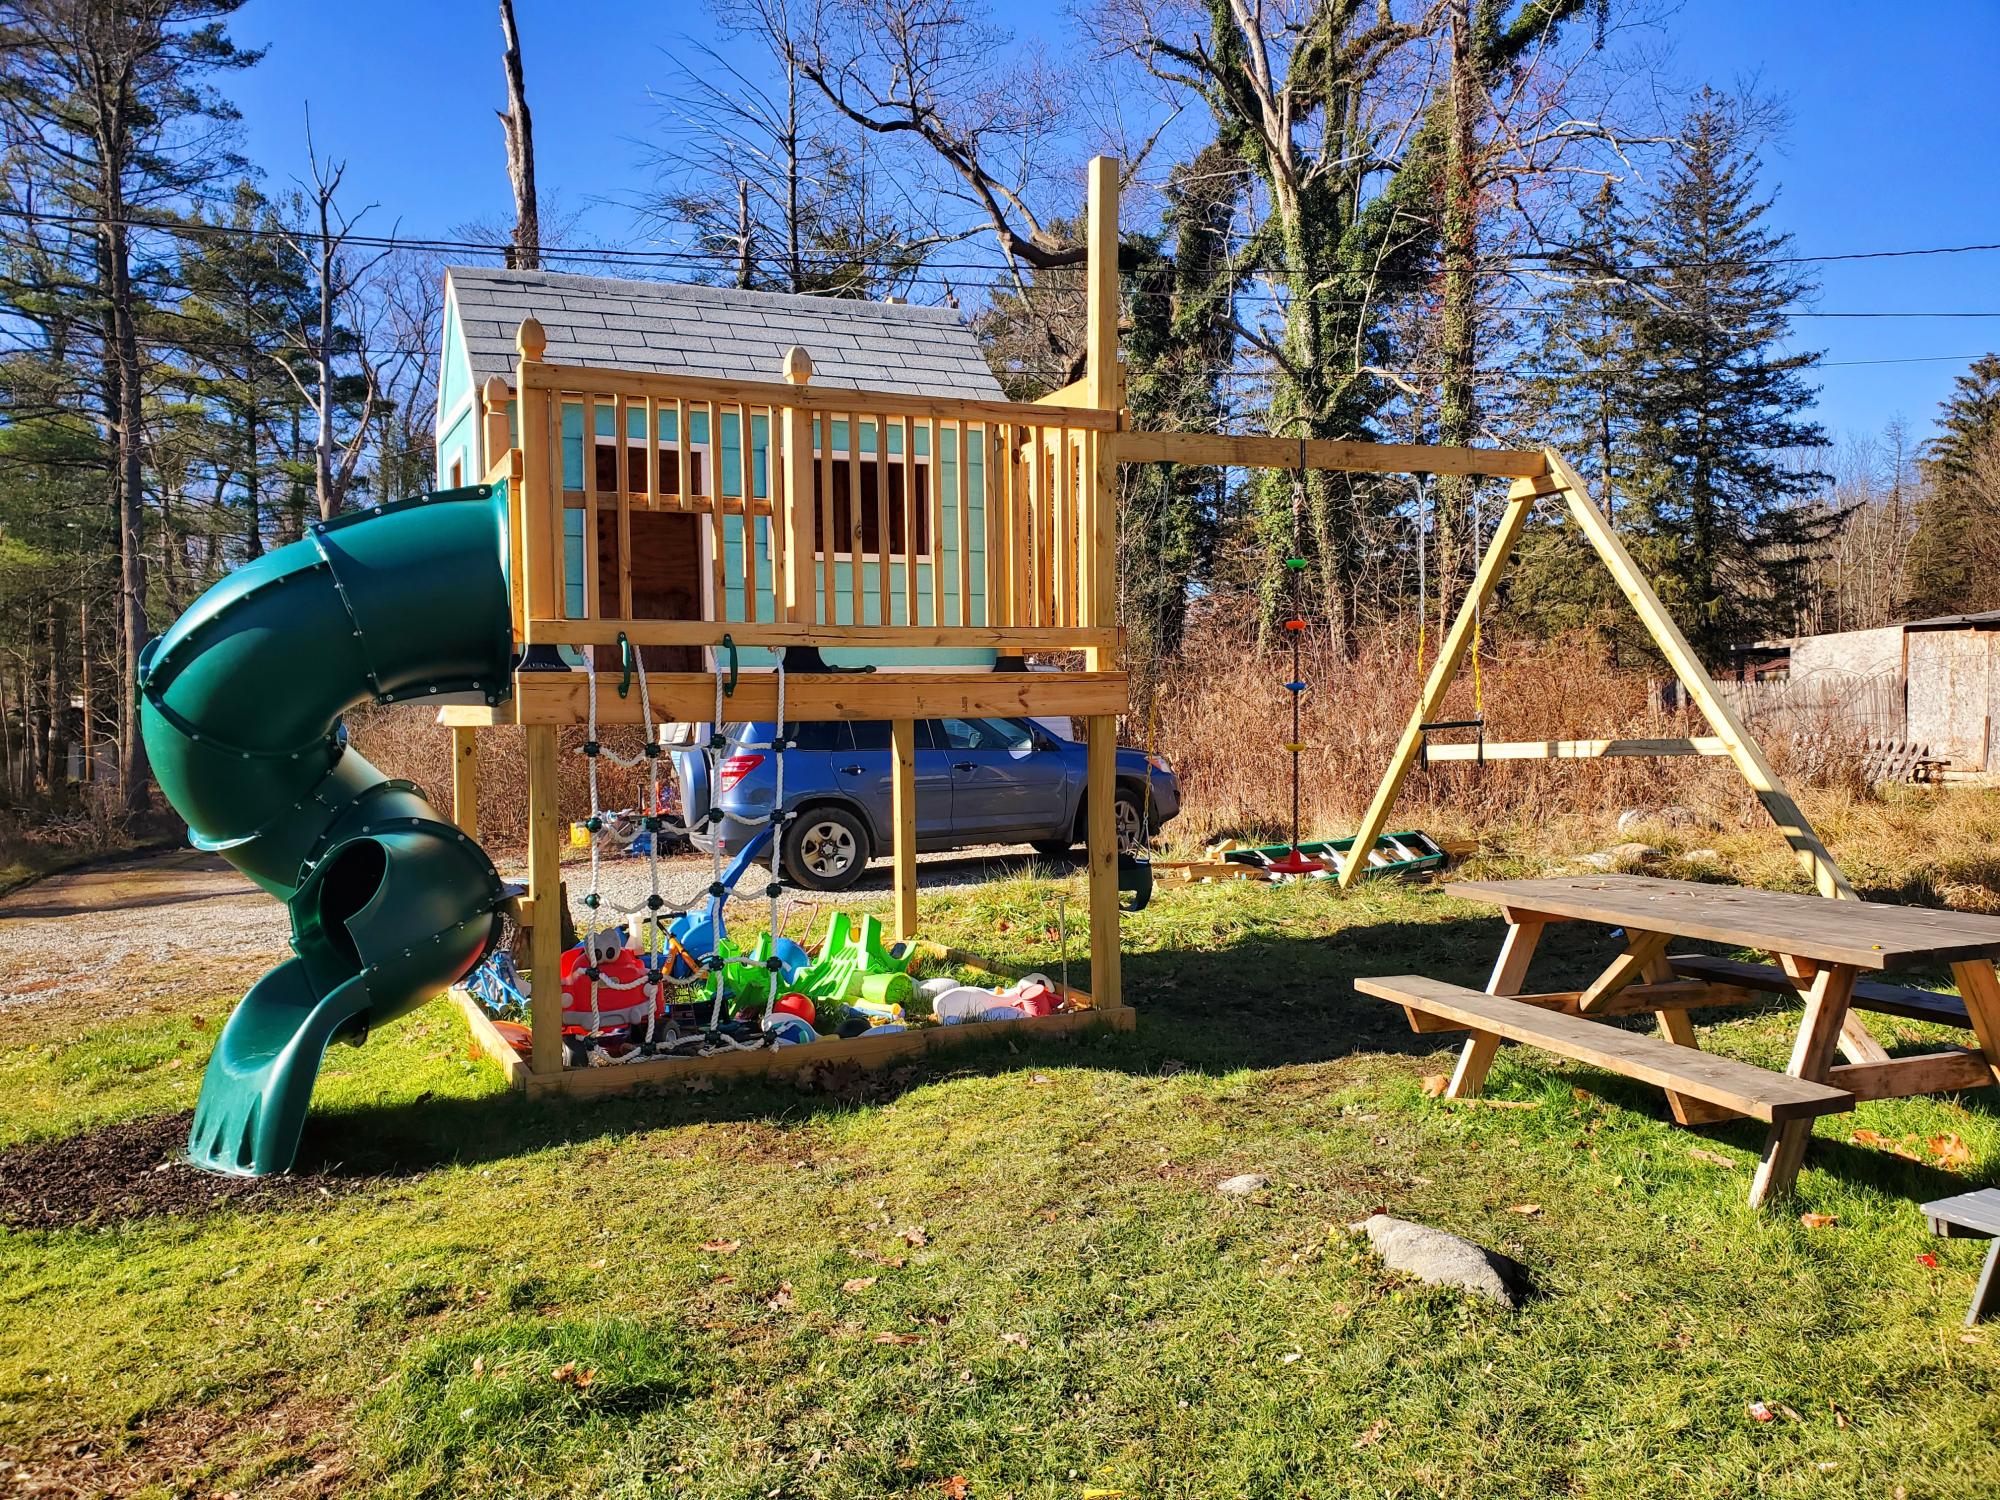
We made a few changes to fit our needs but love the design. Way better than any kit you can buy!
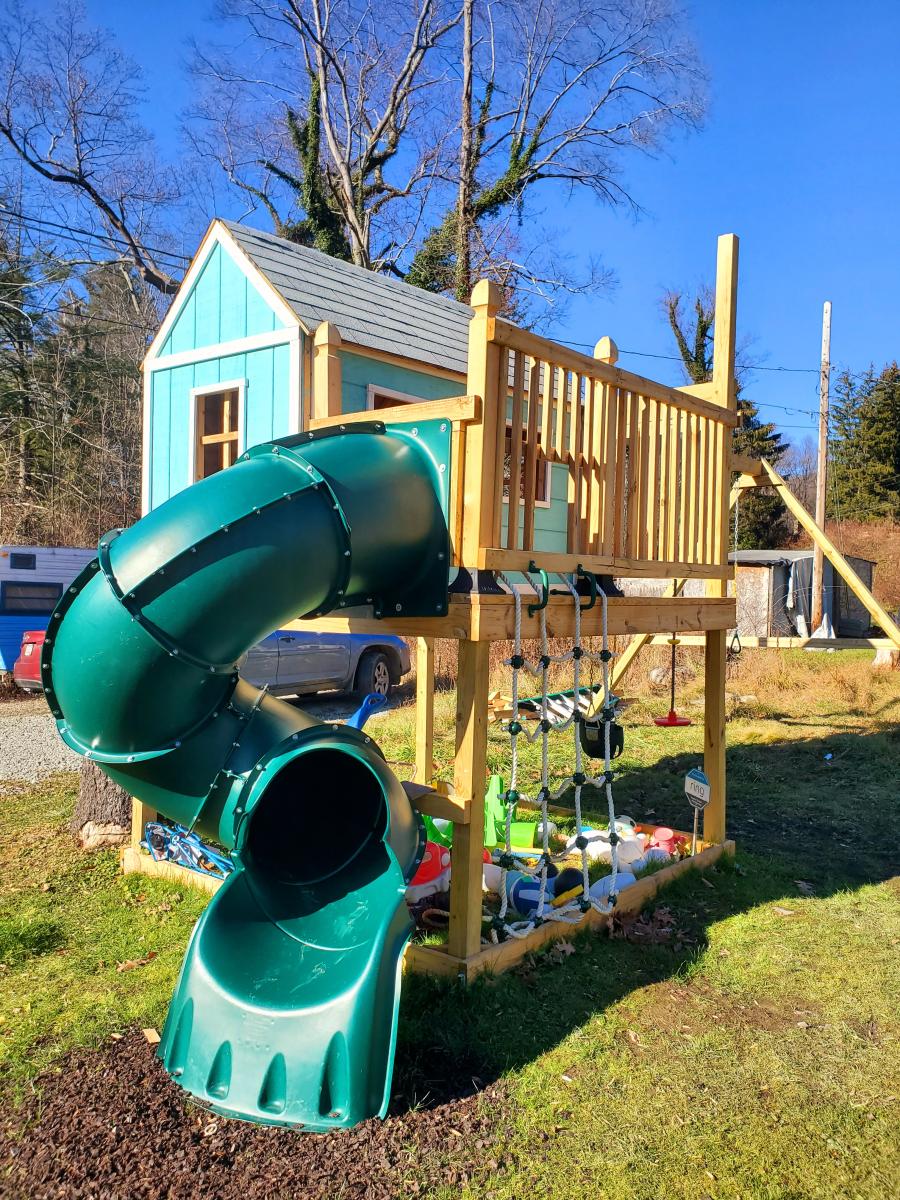
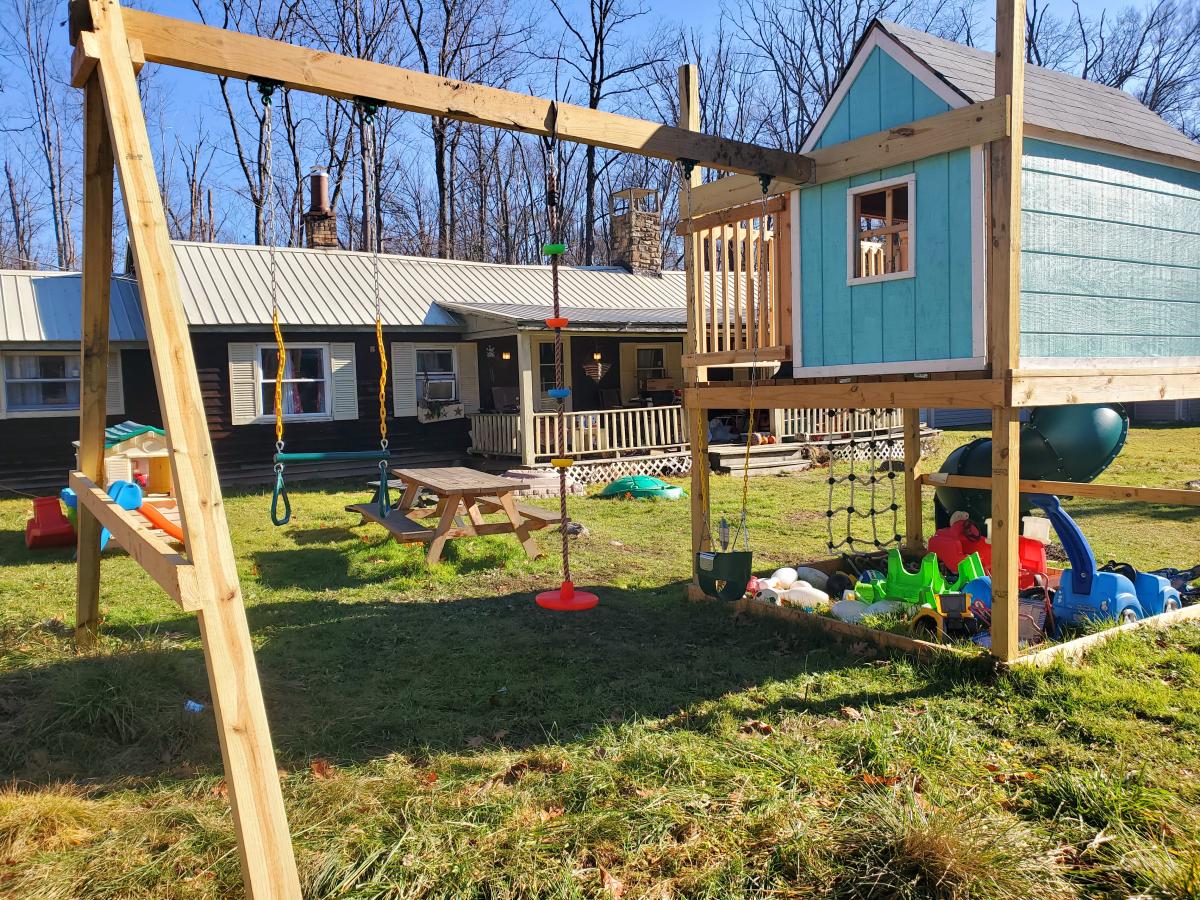
We made a few changes to fit our needs but love the design. Way better than any kit you can buy!

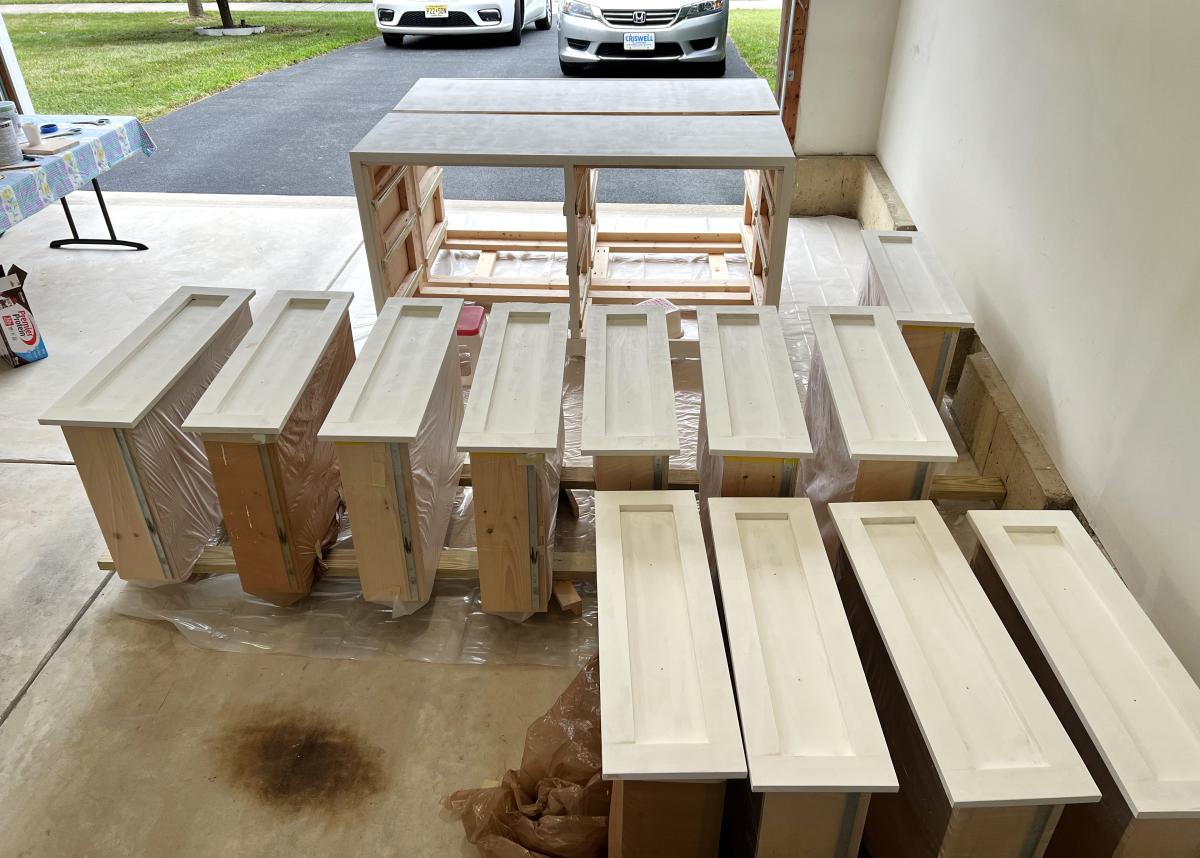
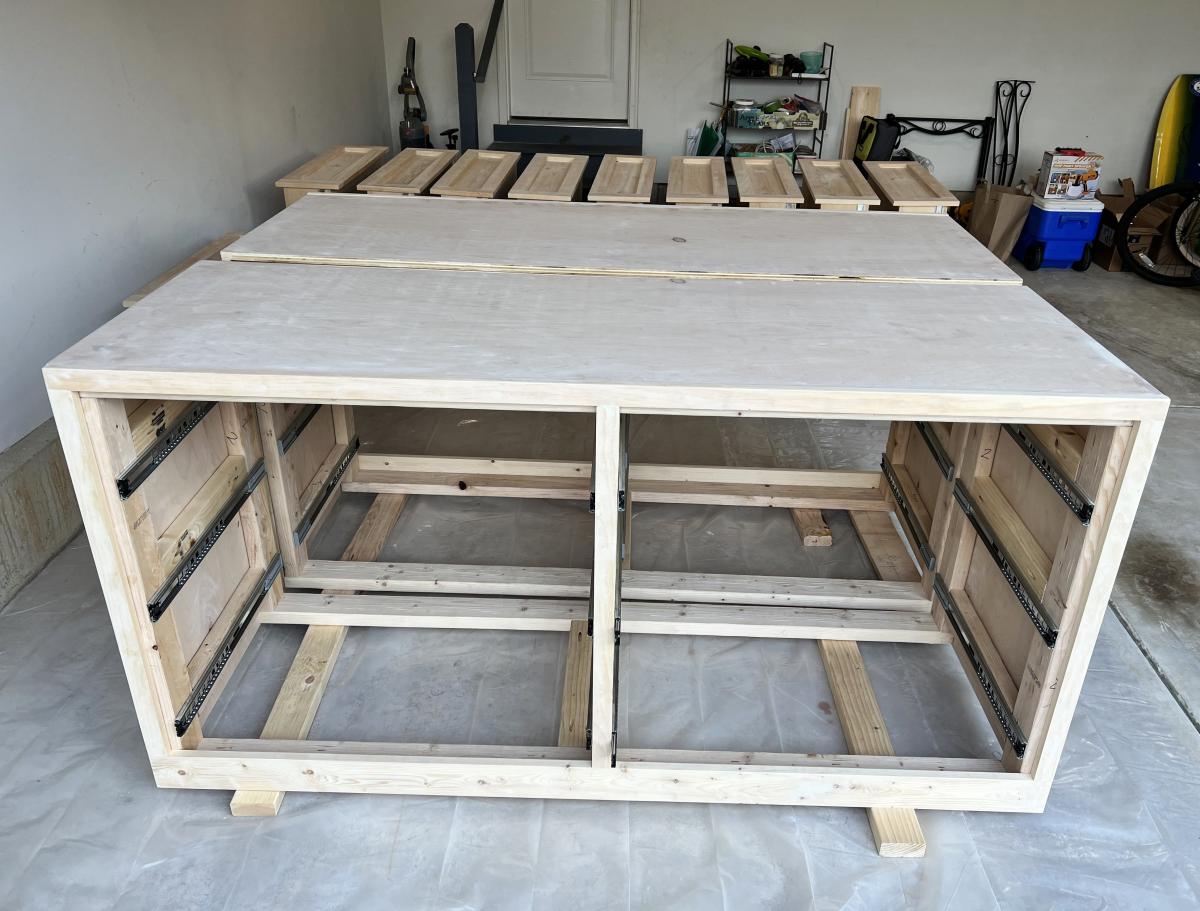
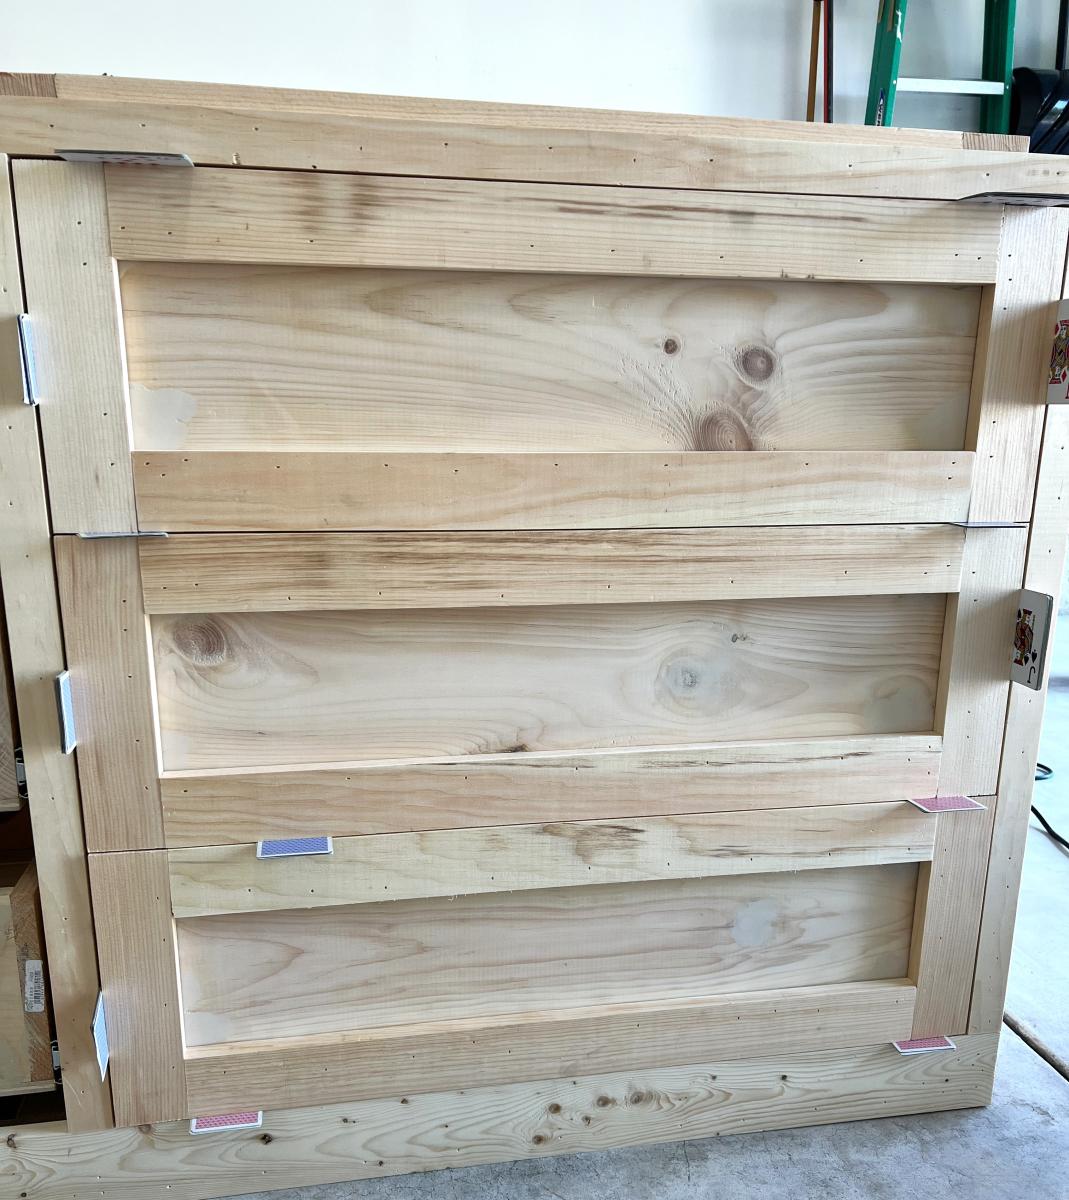
This was my very first project to take on with Ana's plans. It took a little longer than I would have liked only because I got frustrated and put it to the side for a MONTH. I realized how important it was to pre-drill my holes and then got the motivation to get back to it. Once I got started again, it was finished in NO TIME! I still need to stain one of them, but I couldn't be happier with the result.

Fri, 07/08/2011 - 08:47
Great job on these! This is what we are building now. Hope they come out as good as yours
Sun, 07/31/2011 - 07:55
I'm right in the middle of building one of these. My problem is that the 2x4s specified are 2" thick...having to rip them down and that took a lot of guts. Did them all except the long boards. Going to do those later today (if I don't melt) and when my wife can give me a hand.
How did you rip them to size?
Also, did you use a router table to round the edges?
Fri, 07/20/2012 - 09:21
These look great! Geophyrd...do you mean 2x2's? You just use the ones straight from the store, also referred to as furring strips...that will save you a lot of time and stress rather than ripping down 2x4's. When the plans say 2x2's, they aren't going to actually be 2", and the plans don't say that they have to be 2". Ana writes the plans as simply as possible without us having to do complicated steps like ripping down boards thank goodness!
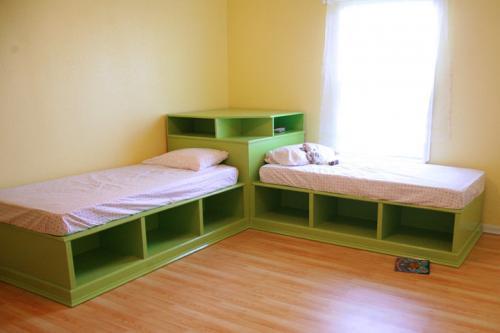
I was so excited to try this plan! It was the perfect size for this corner! Now I need to make a few of the chairs for the deep seat cushions! Thank you for these great plans, Ana!
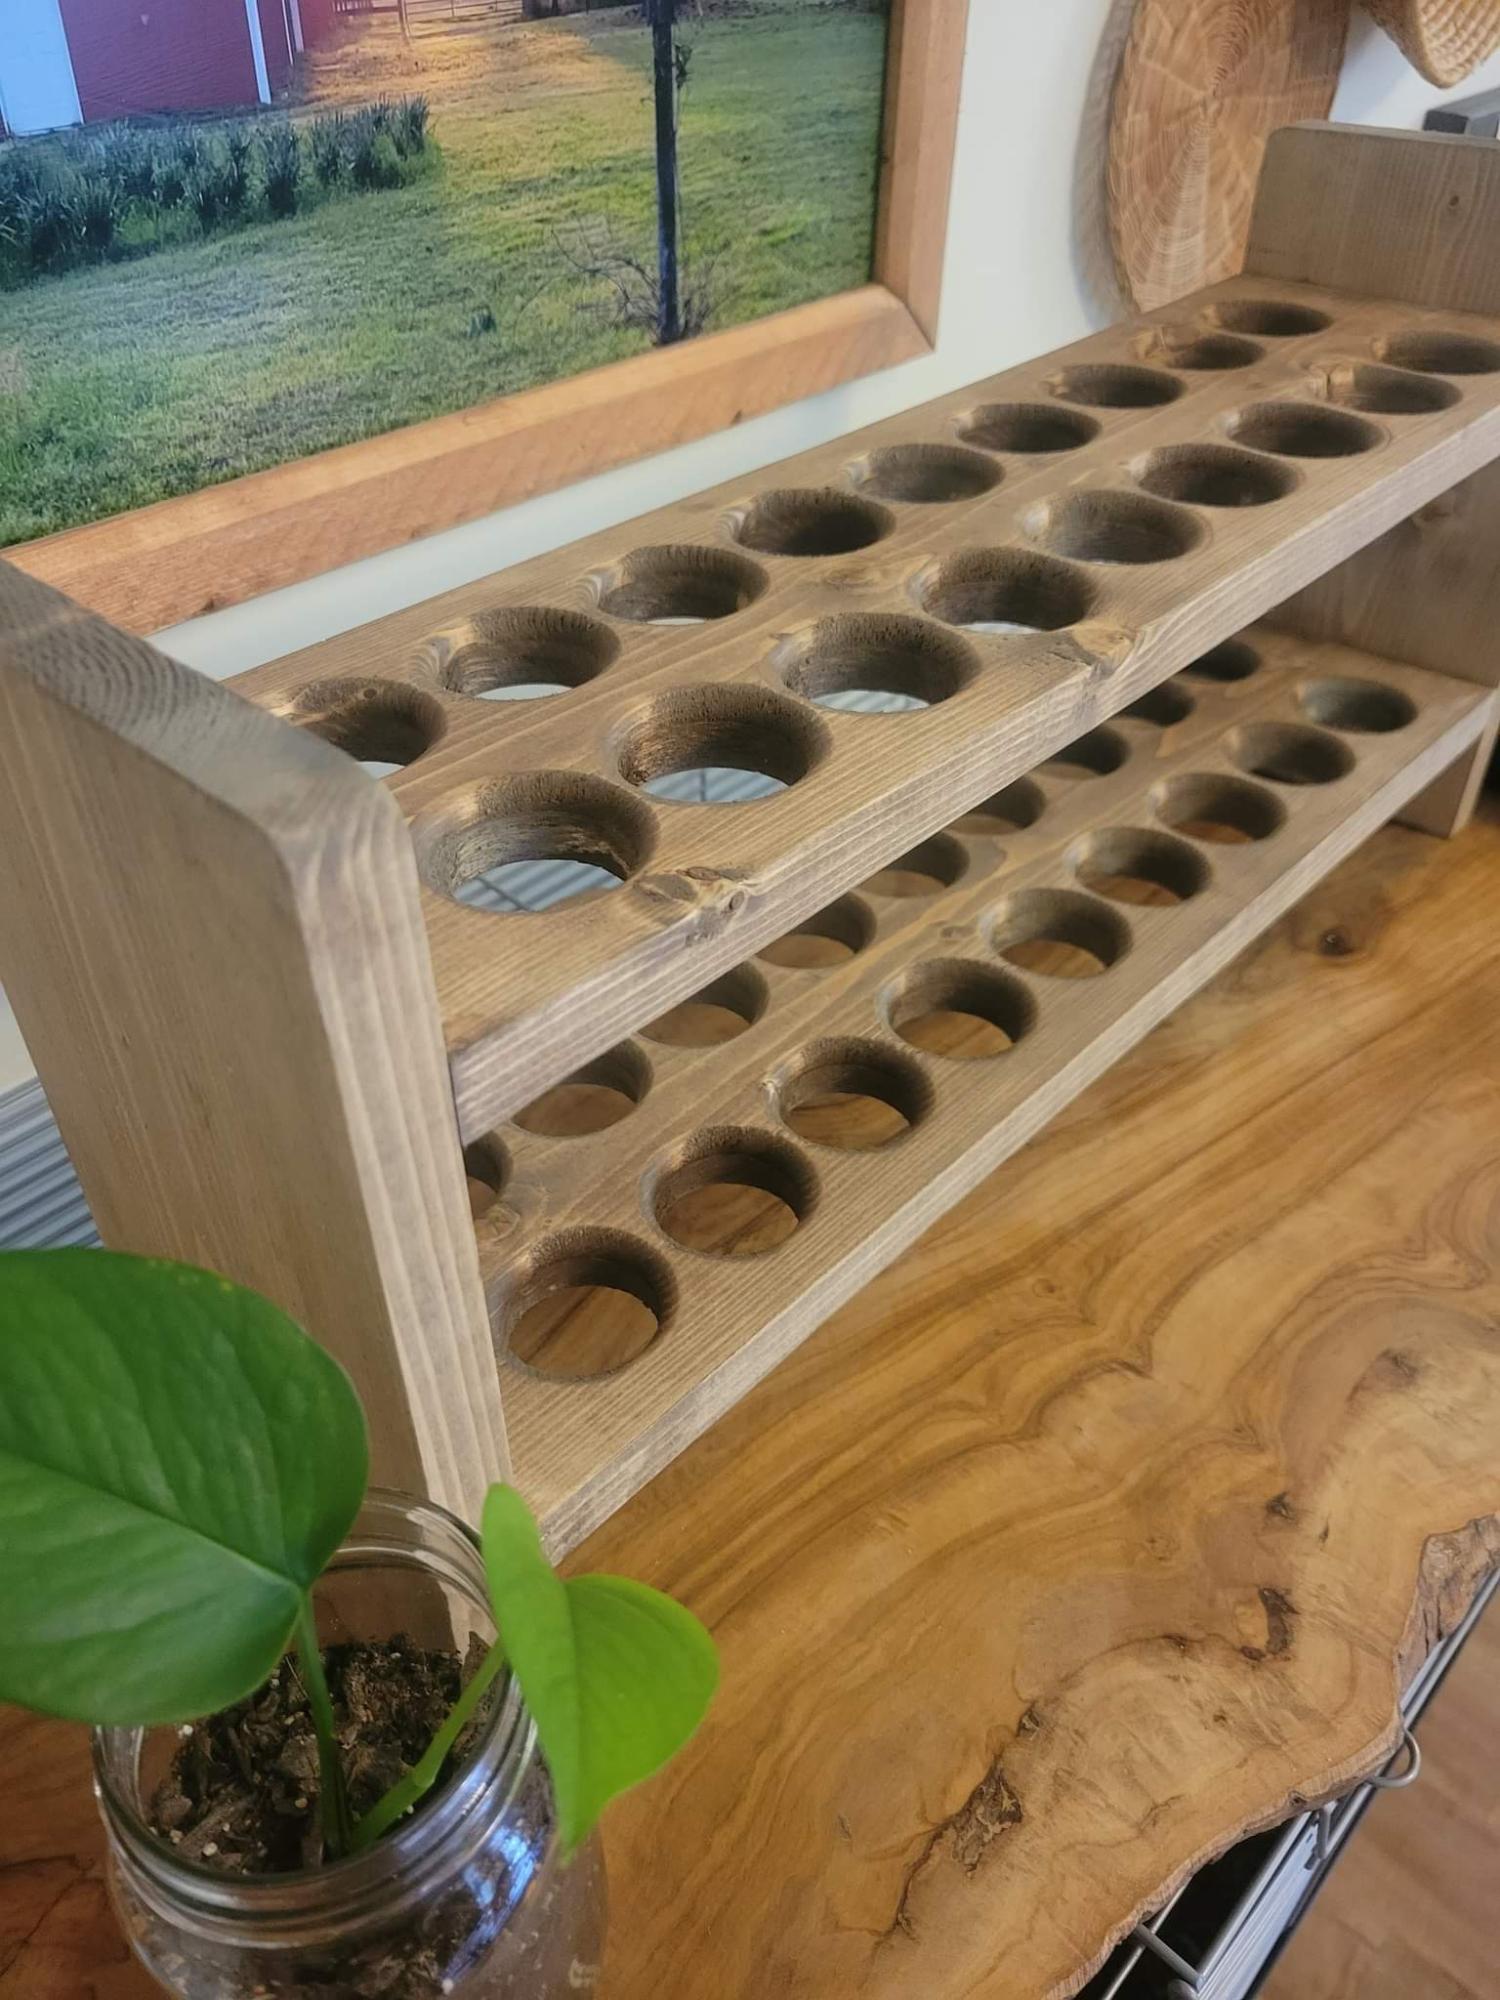
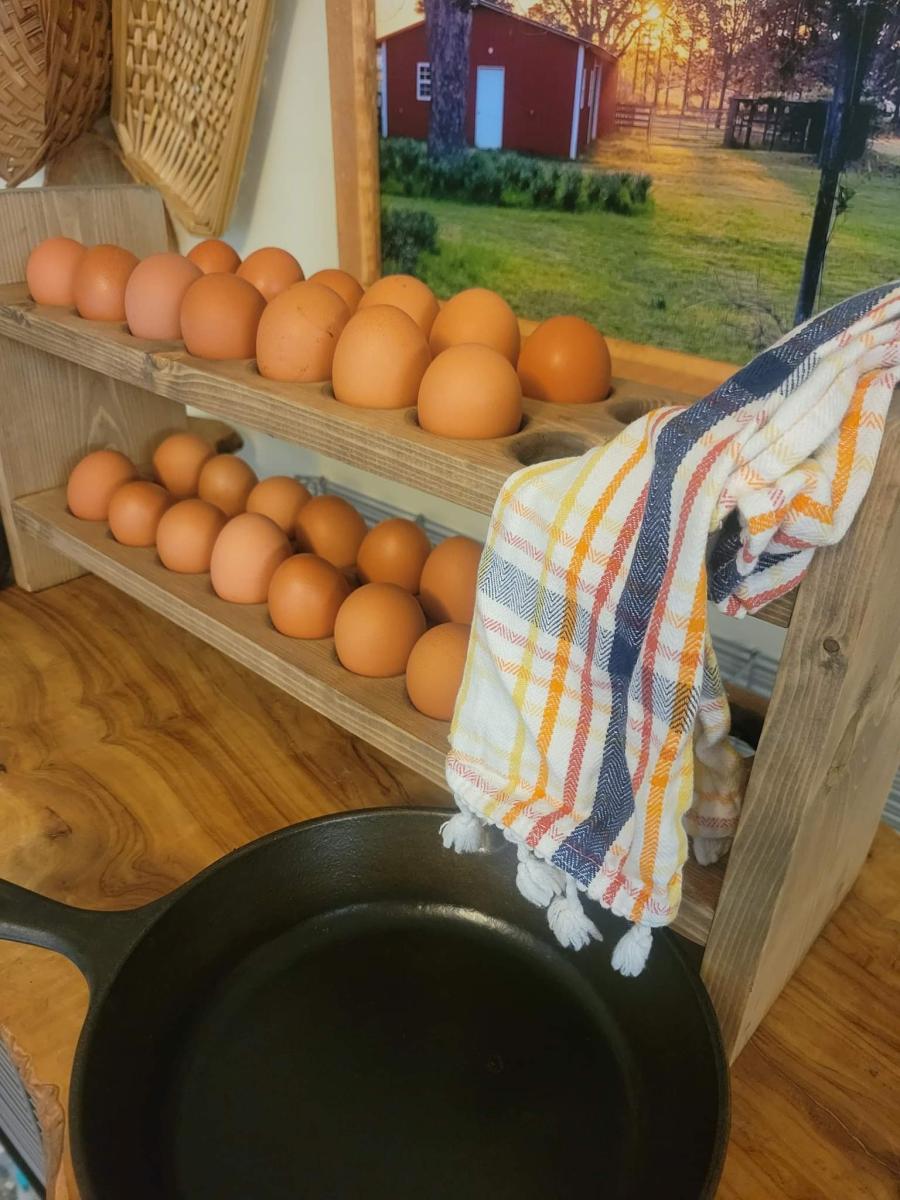
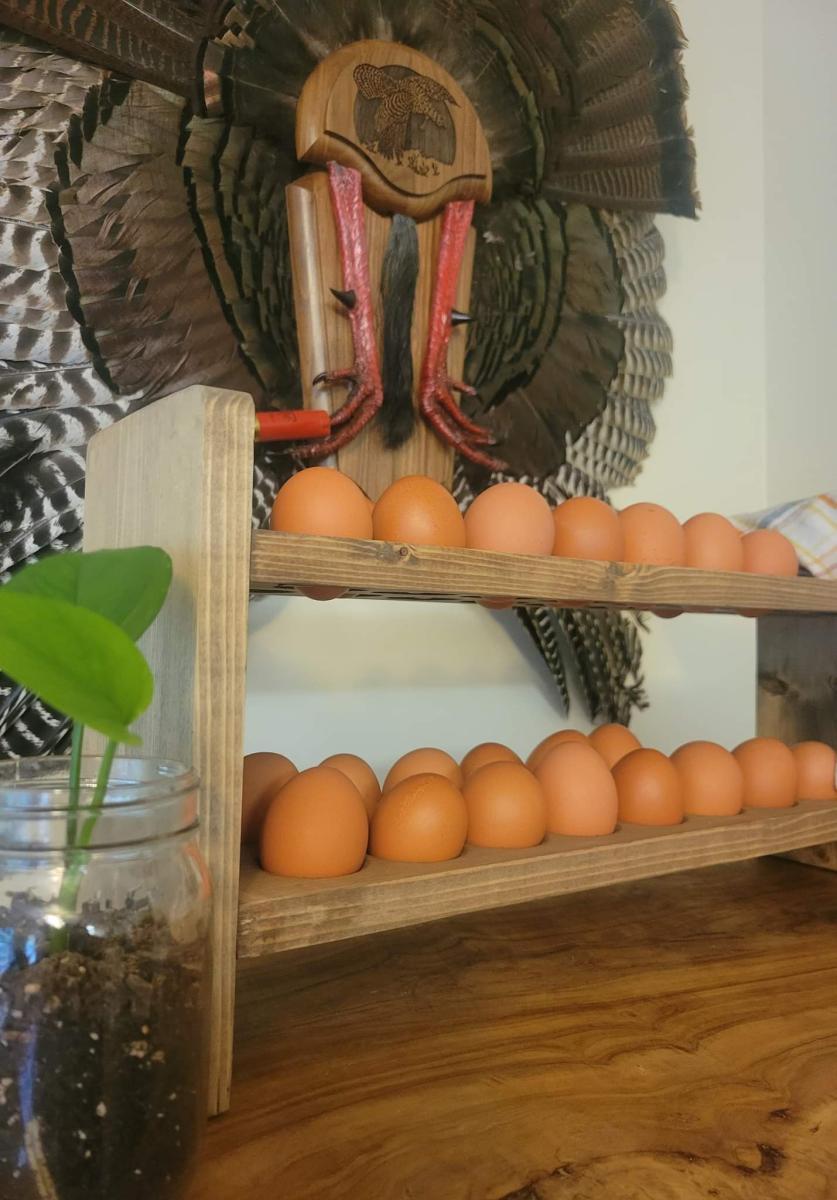
We've got a friend that basically supplies us with unlimited farm fresh eggs. The instant my wife saw this on ana-white she started asking me for one. Rounded over the holes with the router and rounded the corners of the sides. Took us about an hour total.
Combo of varathane special walnut and weathered oak stain on the finish.
Fri, 09/30/2022 - 18:20
Love it, it looks awesome! Thanks so much for sharing and great idea with the router:)
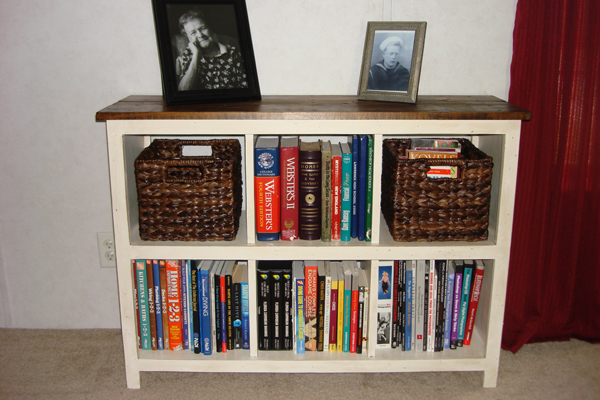
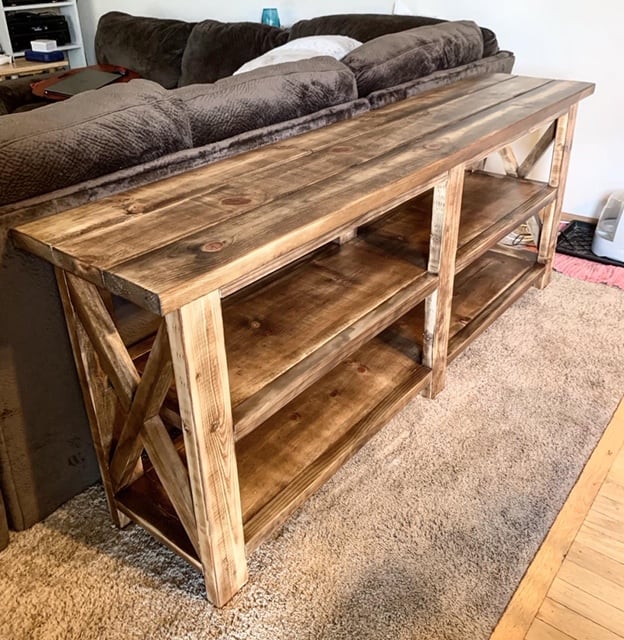
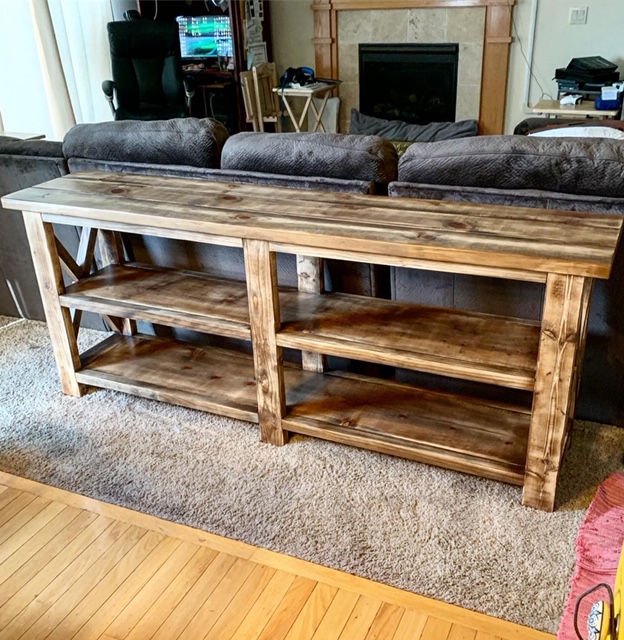
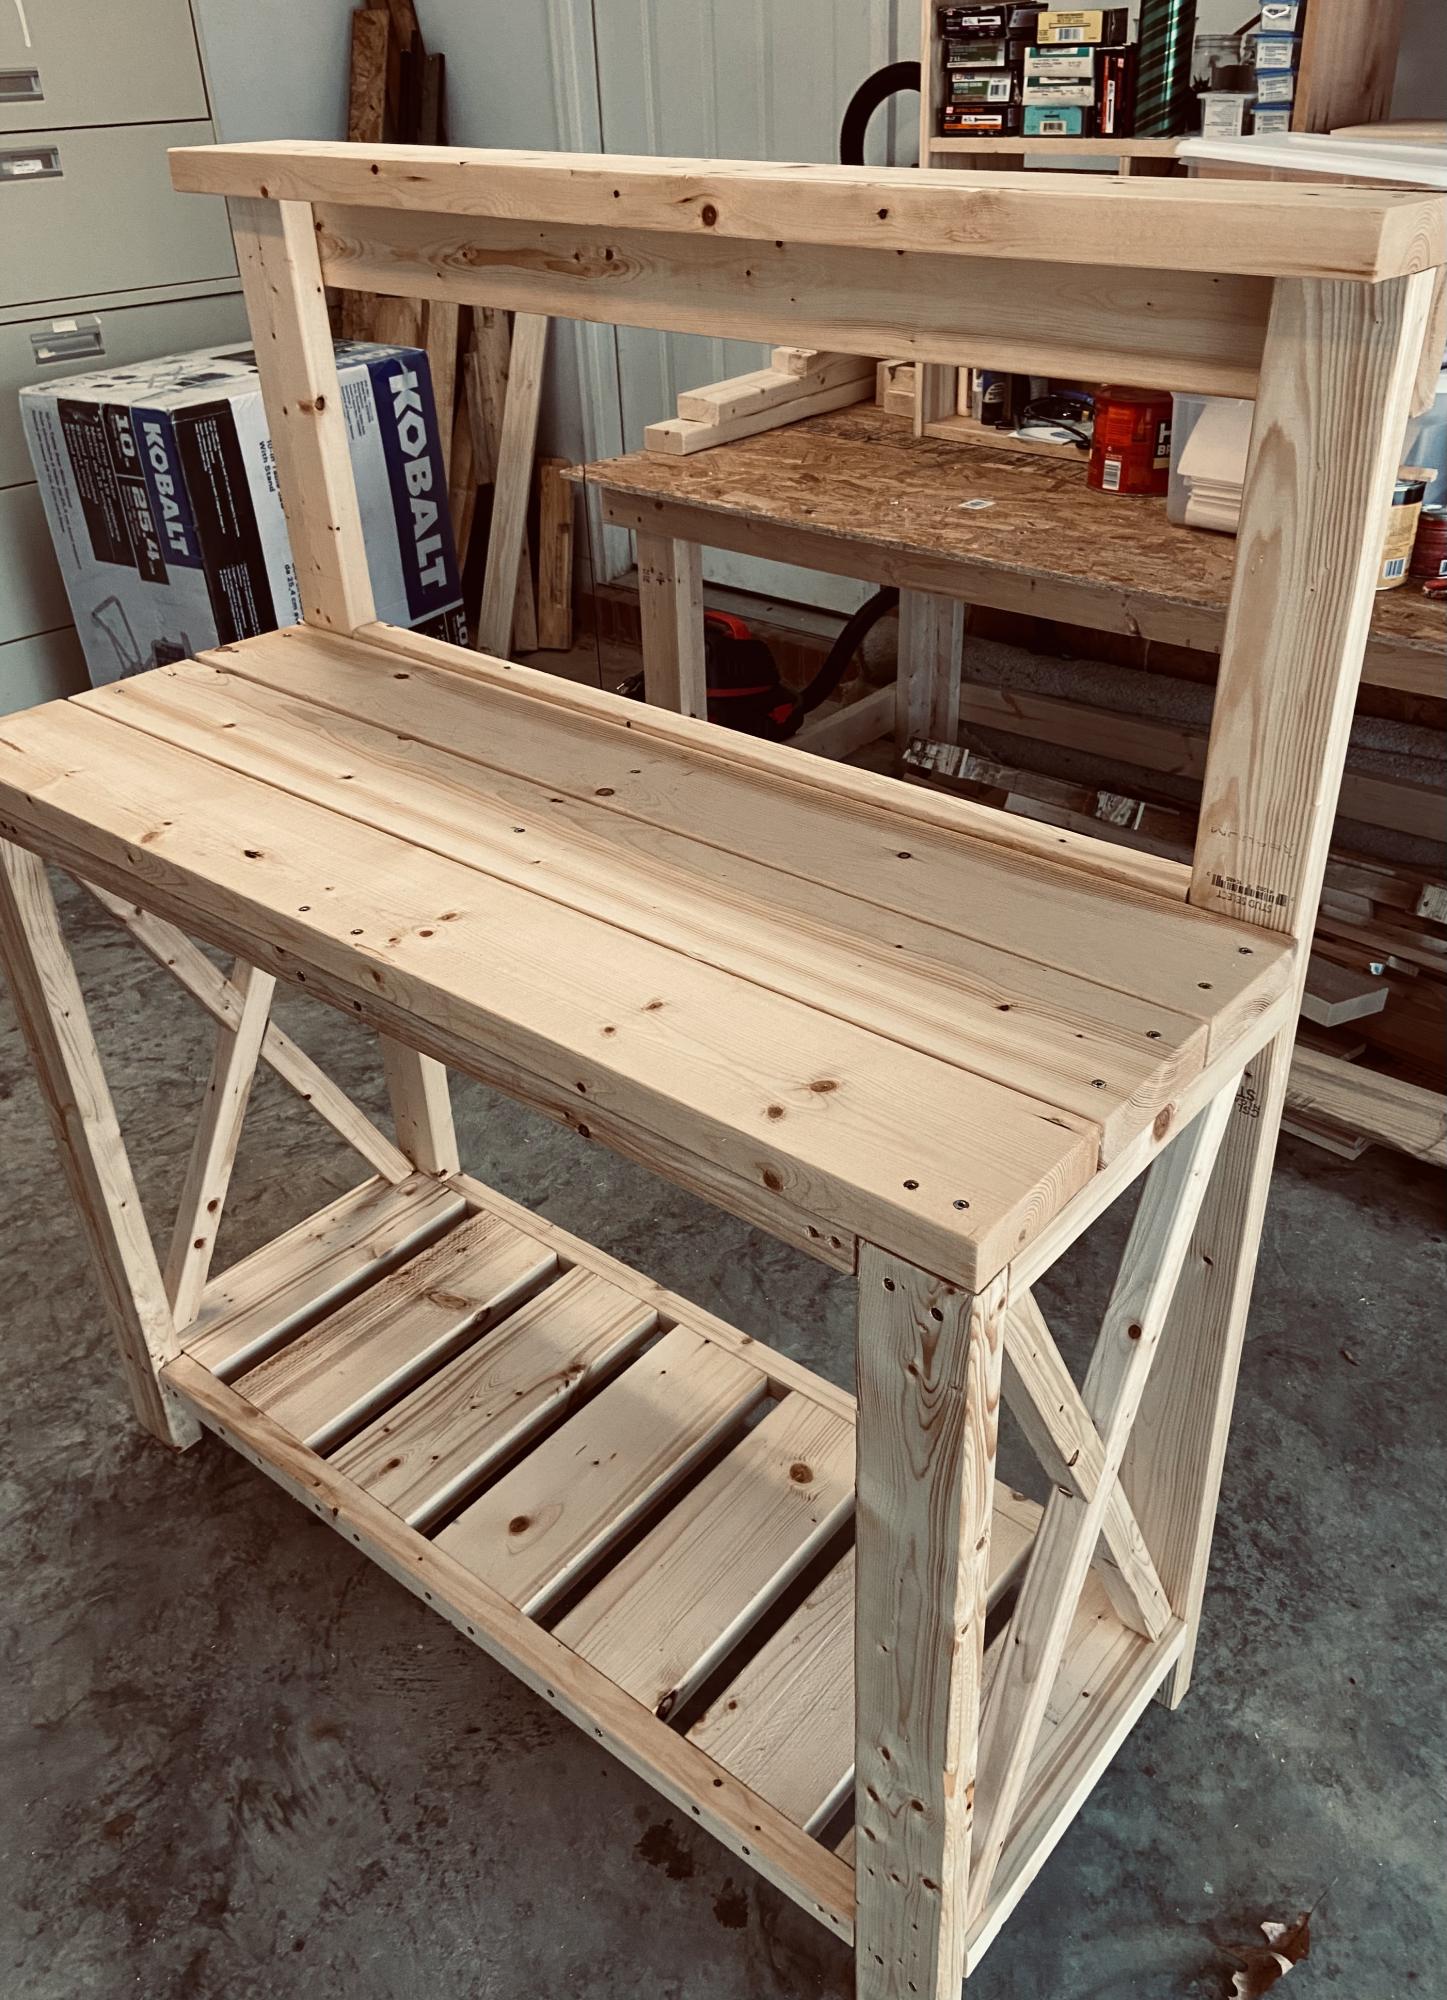
I love this bookshelf! It was quick and easy to build, the finishing took the longest. I decided to add a contrasting top with pine boards stained with dark walnut. I love how it came out! Now, on to my next Ana White project...
Used Douglas from Lowes and used a jointer and planer to get everything square. Also used eight 2'x6's on the top to allow to properly use the jointer. Also used biscuits in addition to pocket holes to hold everything togther


Tue, 07/23/2019 - 00:18
Gorgeous table build! The extra steps really paid off!
I fell in love with this design right away, and rushed out to buy the wood. The build itself was super quick... 4-6 hours start to finish. Oxidizing the wood took a lot of trial and error... I was hoping for a more grey look like the plans showed, but I ended up with a richer brown. Still love it!
Fri, 08/23/2019 - 10:48
Love this! I think the color is beautiful! Thanks much for sending in a brag post.
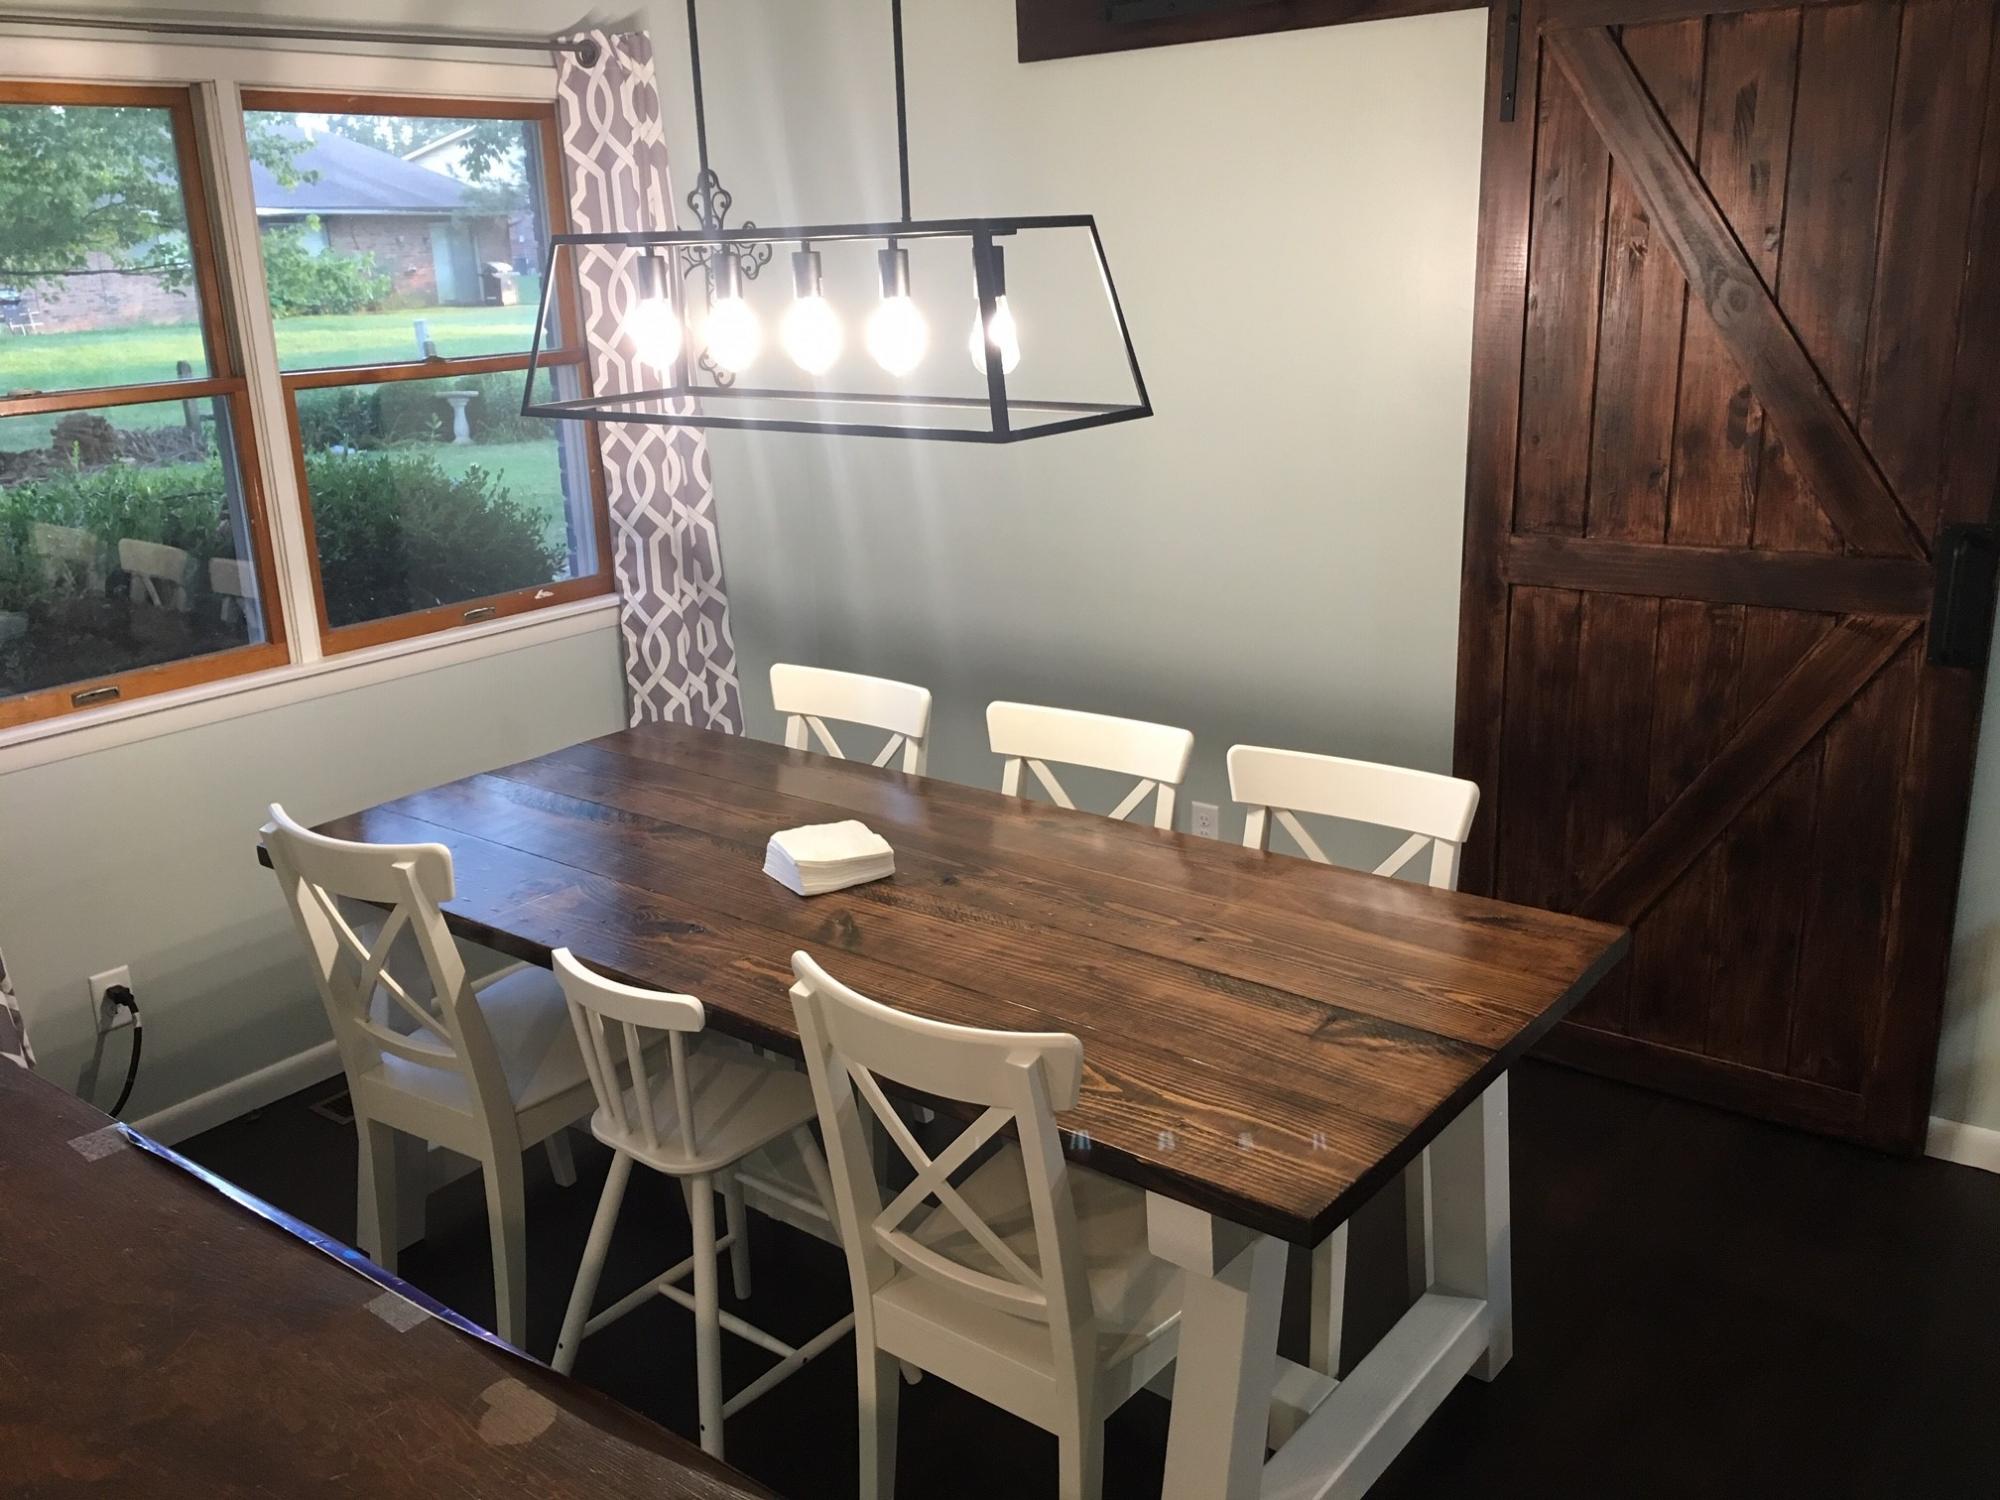
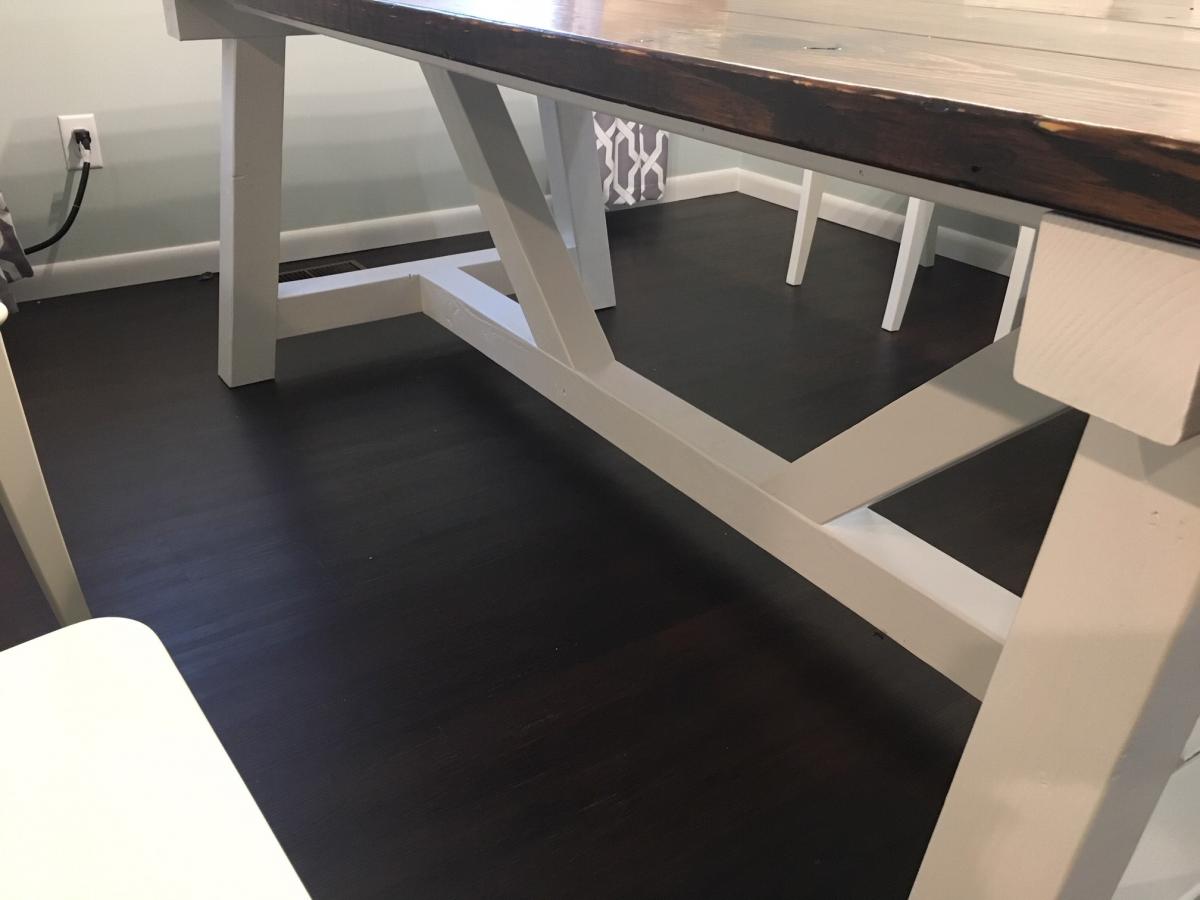
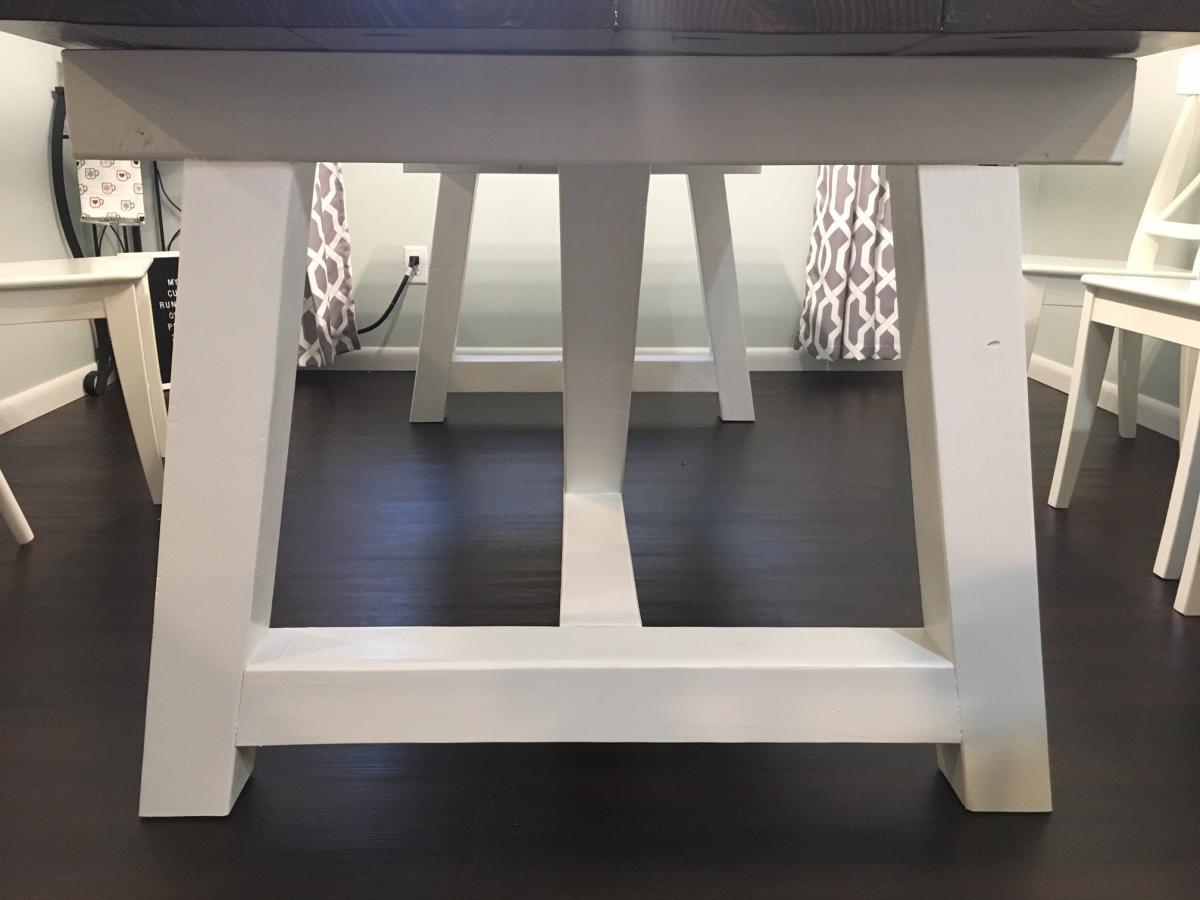
Build the 4x4 Truss Beam Table base with the Fancy X Farmhouse Table top shortened to 7' (84") for my wife's birthday! We love how it looks and can not wait to build the matching benches! Also, this is my first time attempting a building project and Ana-White Plan. The plans are very easy to follow and execute!!

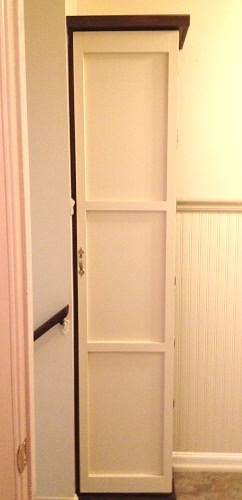
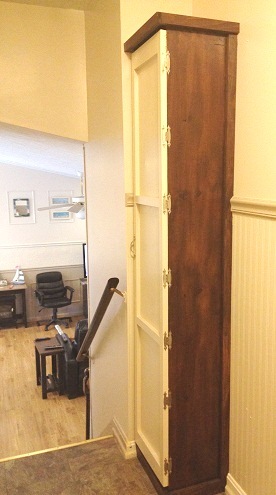
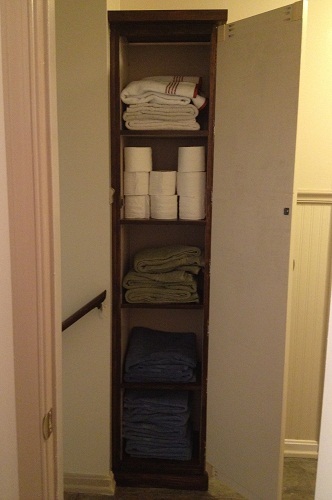
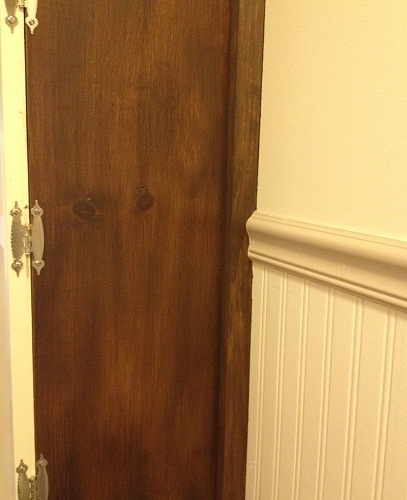
This tower plan was perfect for re-using some already stained 1x12’s I had from another project. It fills up that little square of unused space at the top of the stairs, and gives us extra storage for towels and TP for the 3 bathrooms in our house. I substituted 1x2 and ¼” plywood for the door and used some 1x2 and 1x3 to attach and build it in. This project has been up for a couple of months now, and has come in handy. This was my first attempt at doing something as a ‘built-in,’ and it gave me confidence that we could do our next big project (the pantry) as a built-in. Since the side and shelf boards were already stained, once it was assembled the finishing was easy- all I had to do was stain the trim boards to match, and paint the door and the inside.
Thanks for this great plan, Ana! I’m planning to build several more of these, for my sewing room.
This was my first table, so there were a few hiccups, but I was pretty content with it.
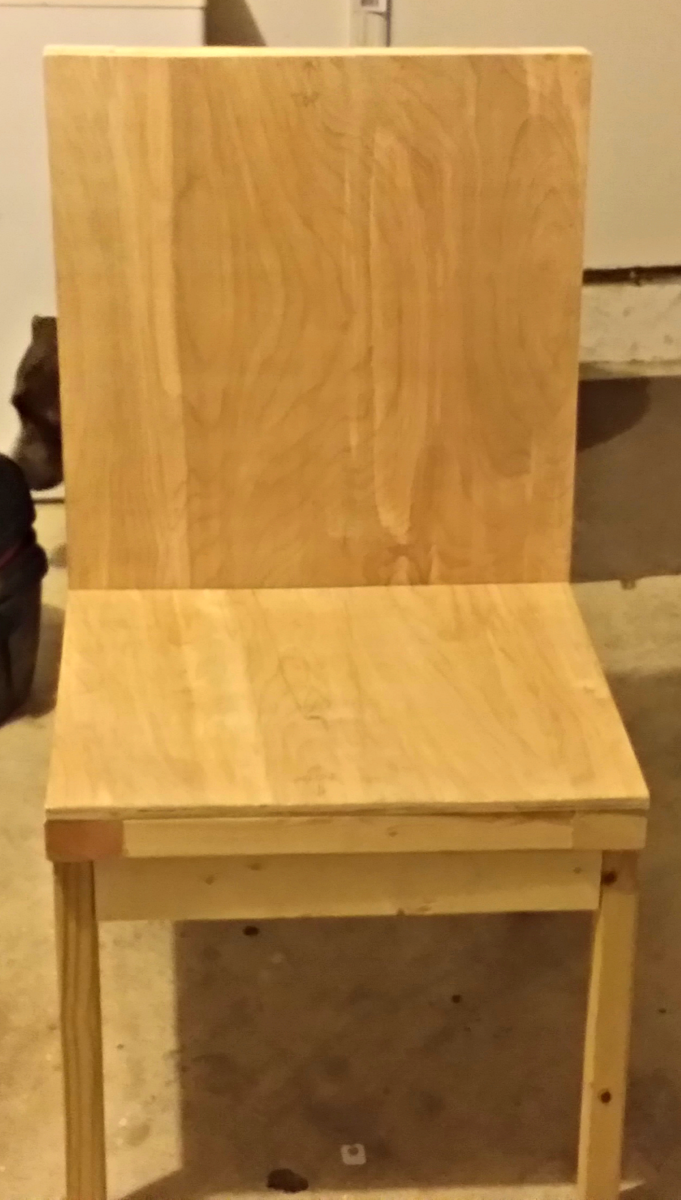
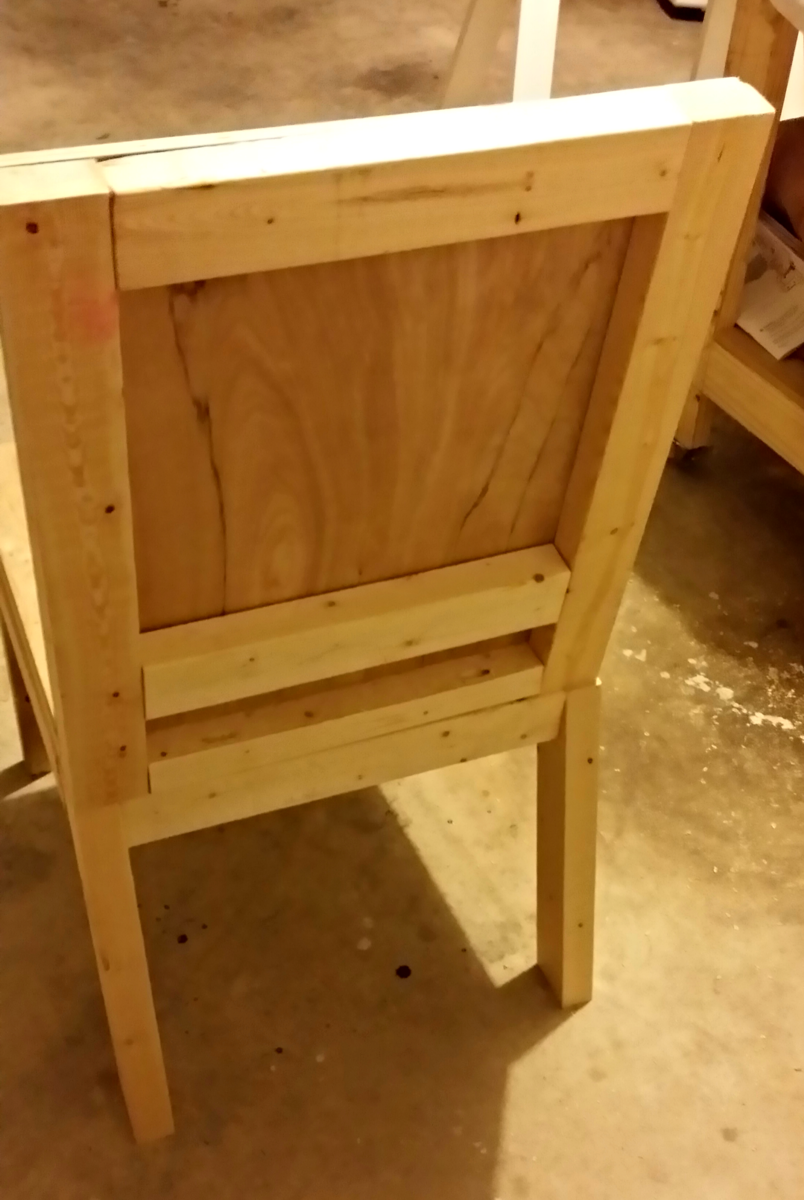
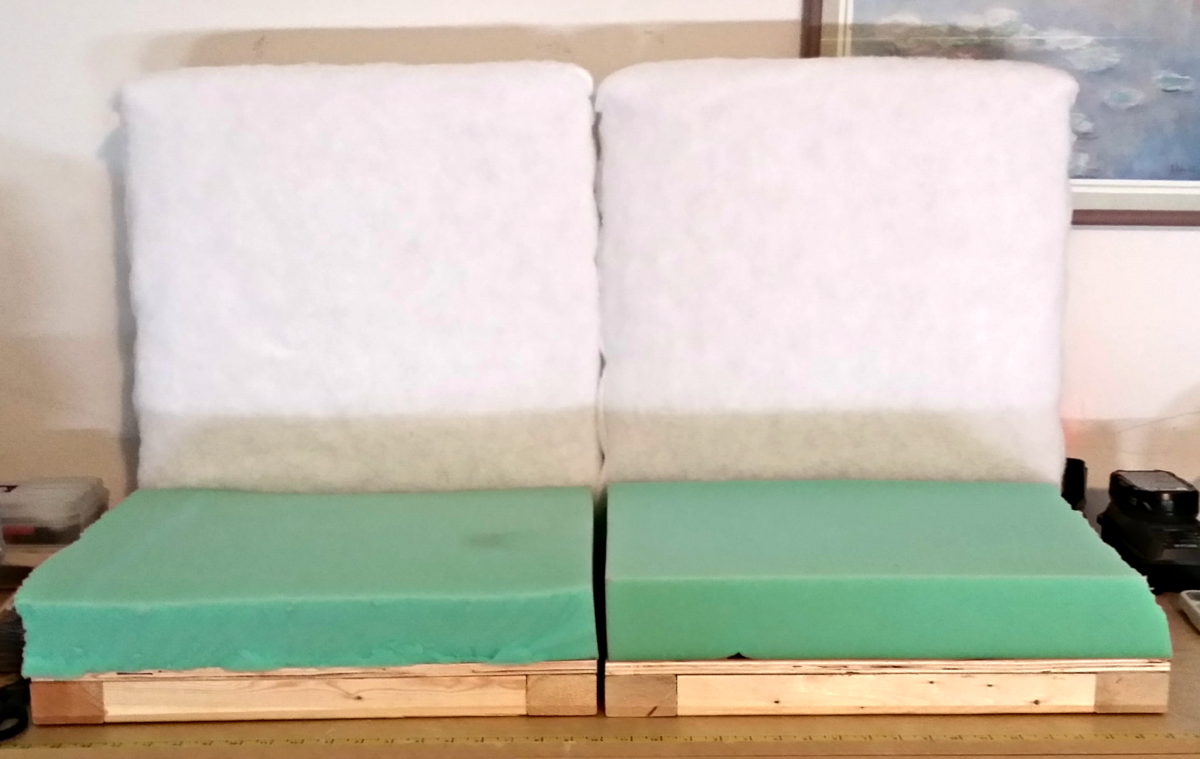
I recently made the bench that you see in the picture as well. I made it to match the table, so I pretended I was making a mini table. Used plywood for the top, padding, and wrapped it with fabric. I was trying to match the charis as much as possible. Finished it by making the buttons and tufting it.


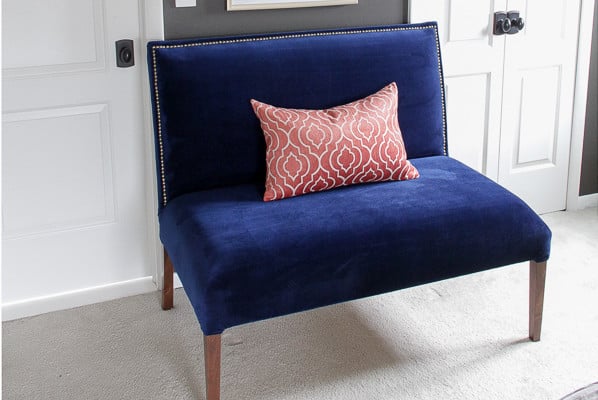
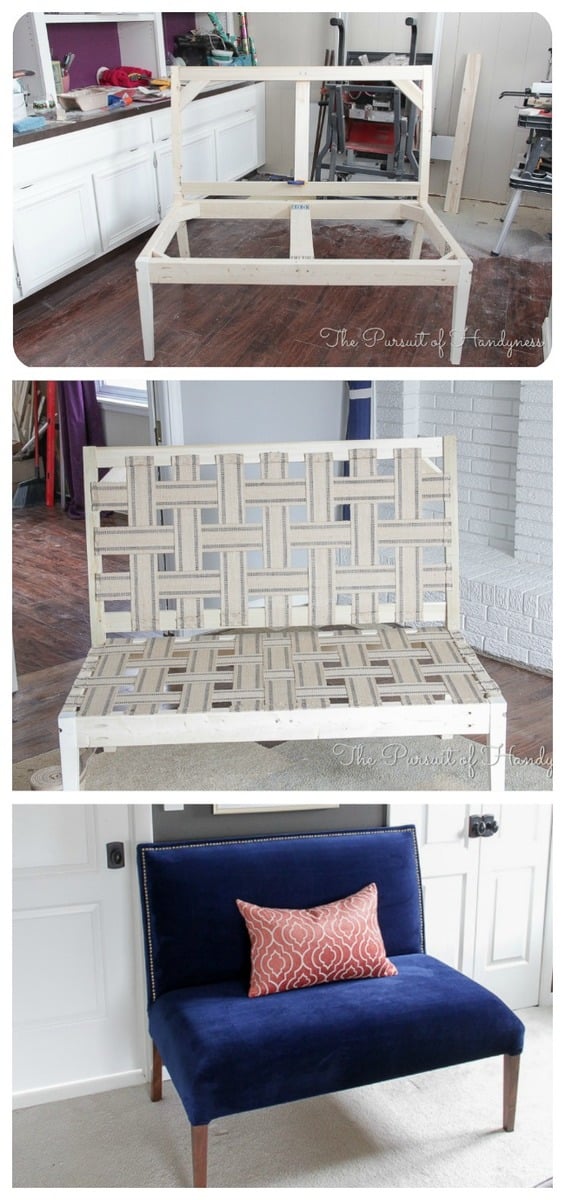
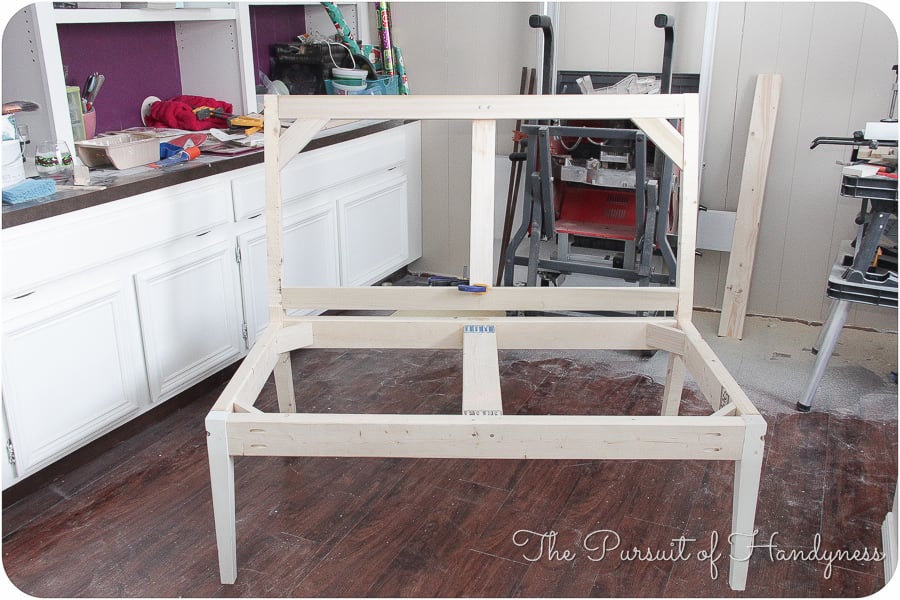
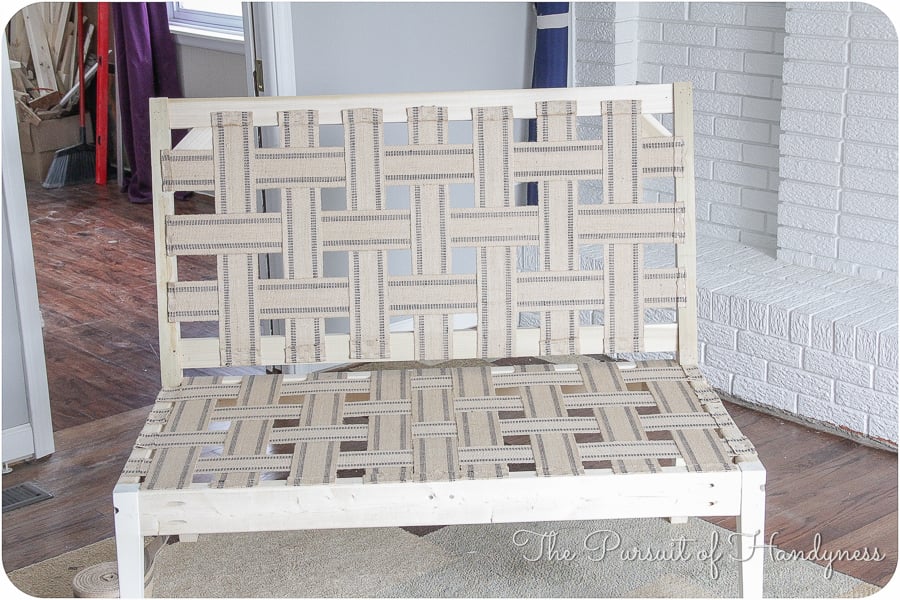
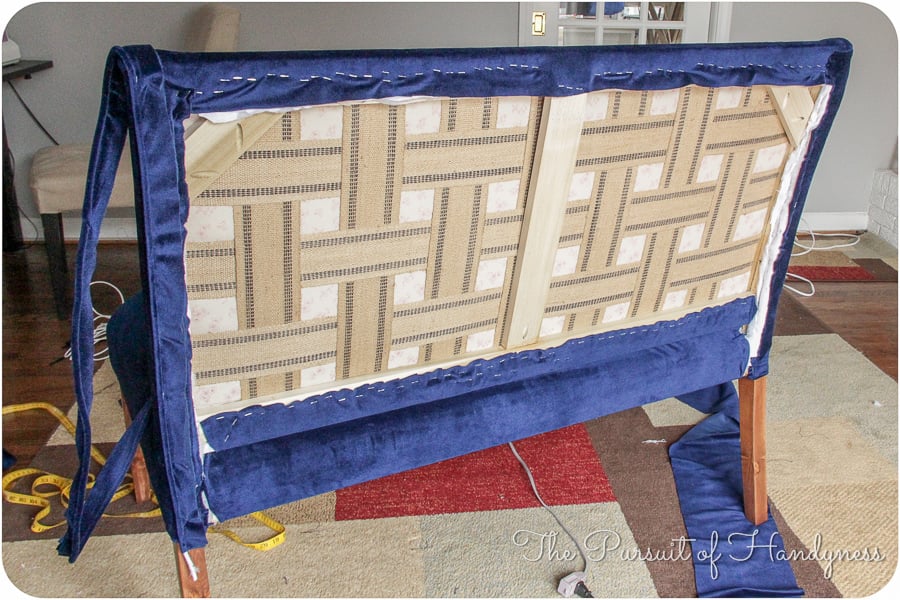
I started off with Ana's plans and kinda went rogue from there. The idea of creating those curved back legs scared me so I thought I'd sacrifice an Ikea dining chair and use it as the legs. When I ruined one of the legs I decided that I'd come too far to back out and that I must continue. I adapted many conventional methods to make the settee but I'm super pleased with the outcome. For the full step by step on how I completed the settee, please check it out here Part 1 Part 2 Part 3
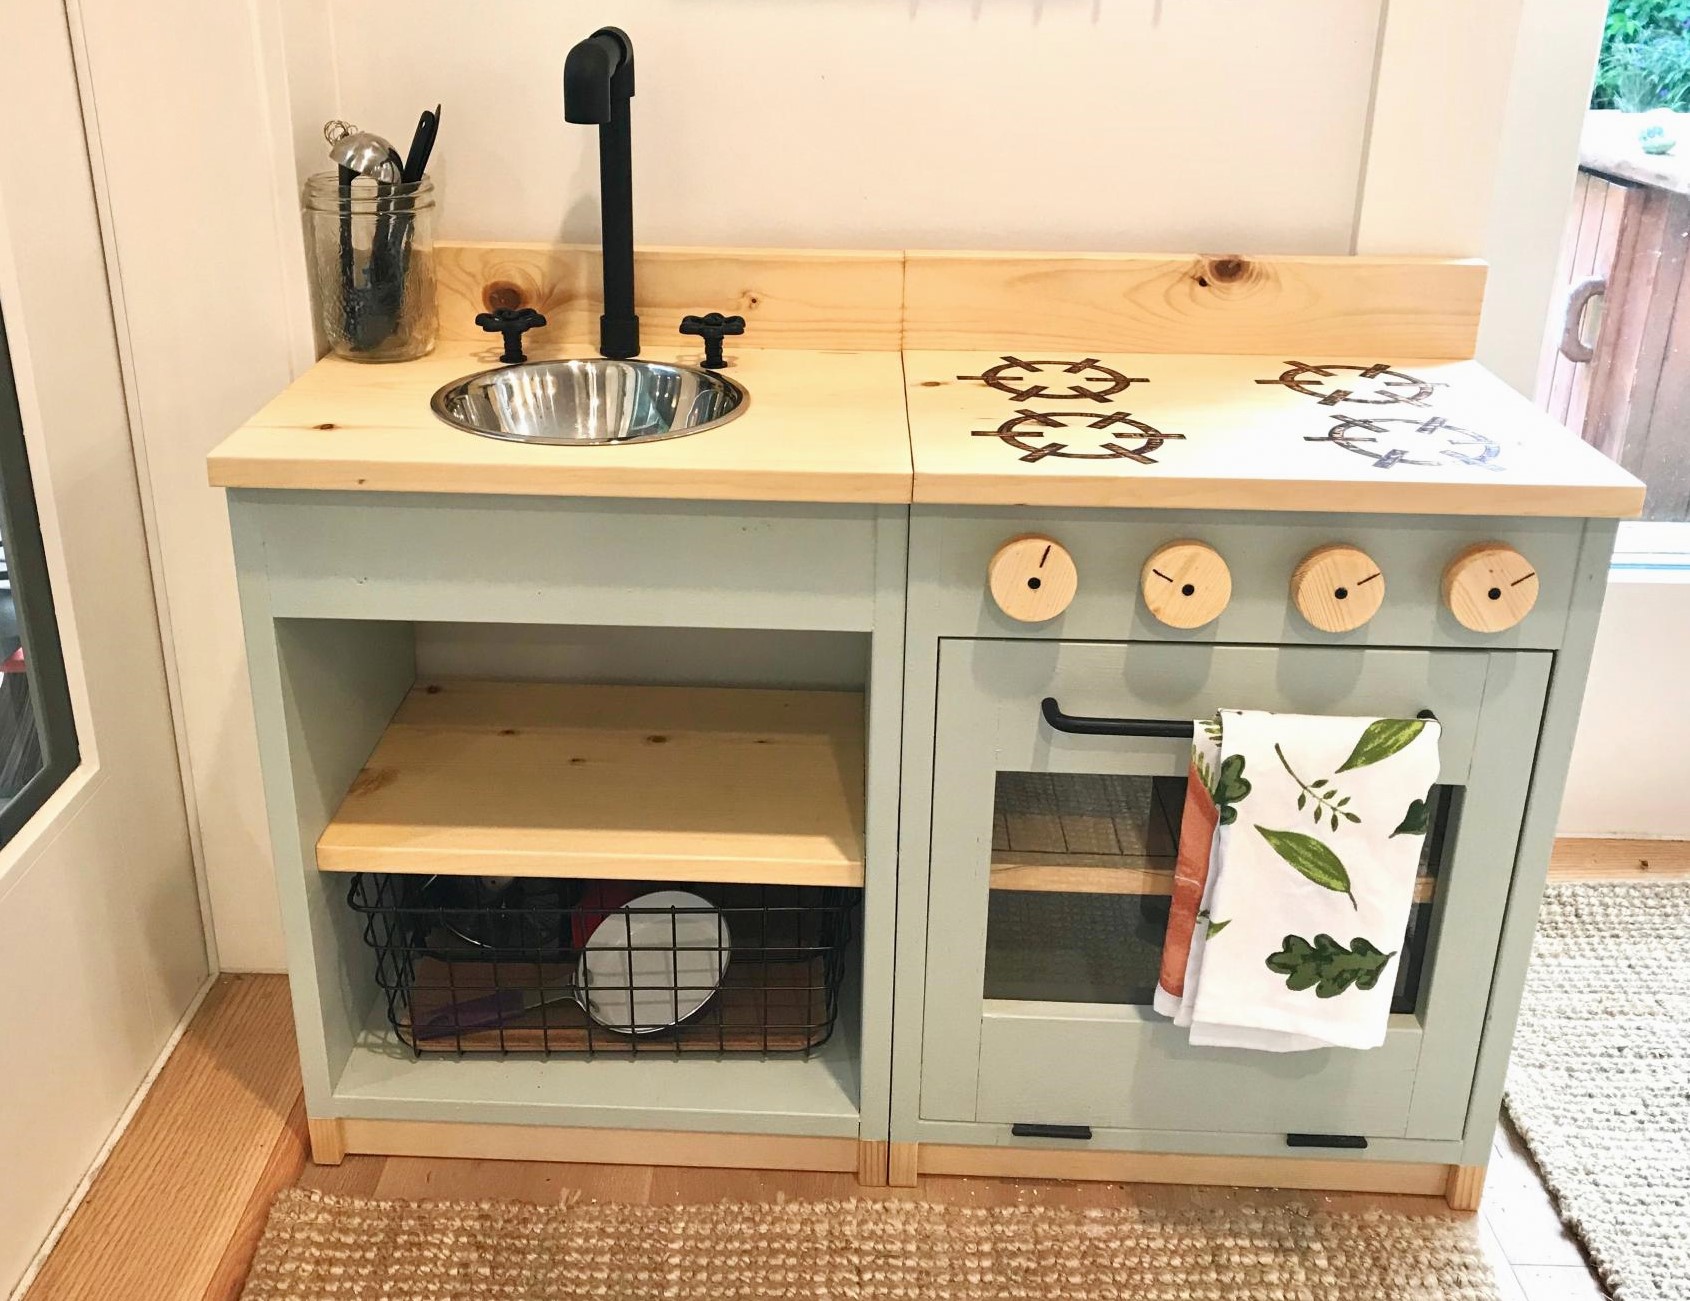
Loved the plans from the site Ana! I got inspired seeing all the lovely play kitchens that everyone had created! Thought I'd share the one I've made for my little one as well, she loves it!
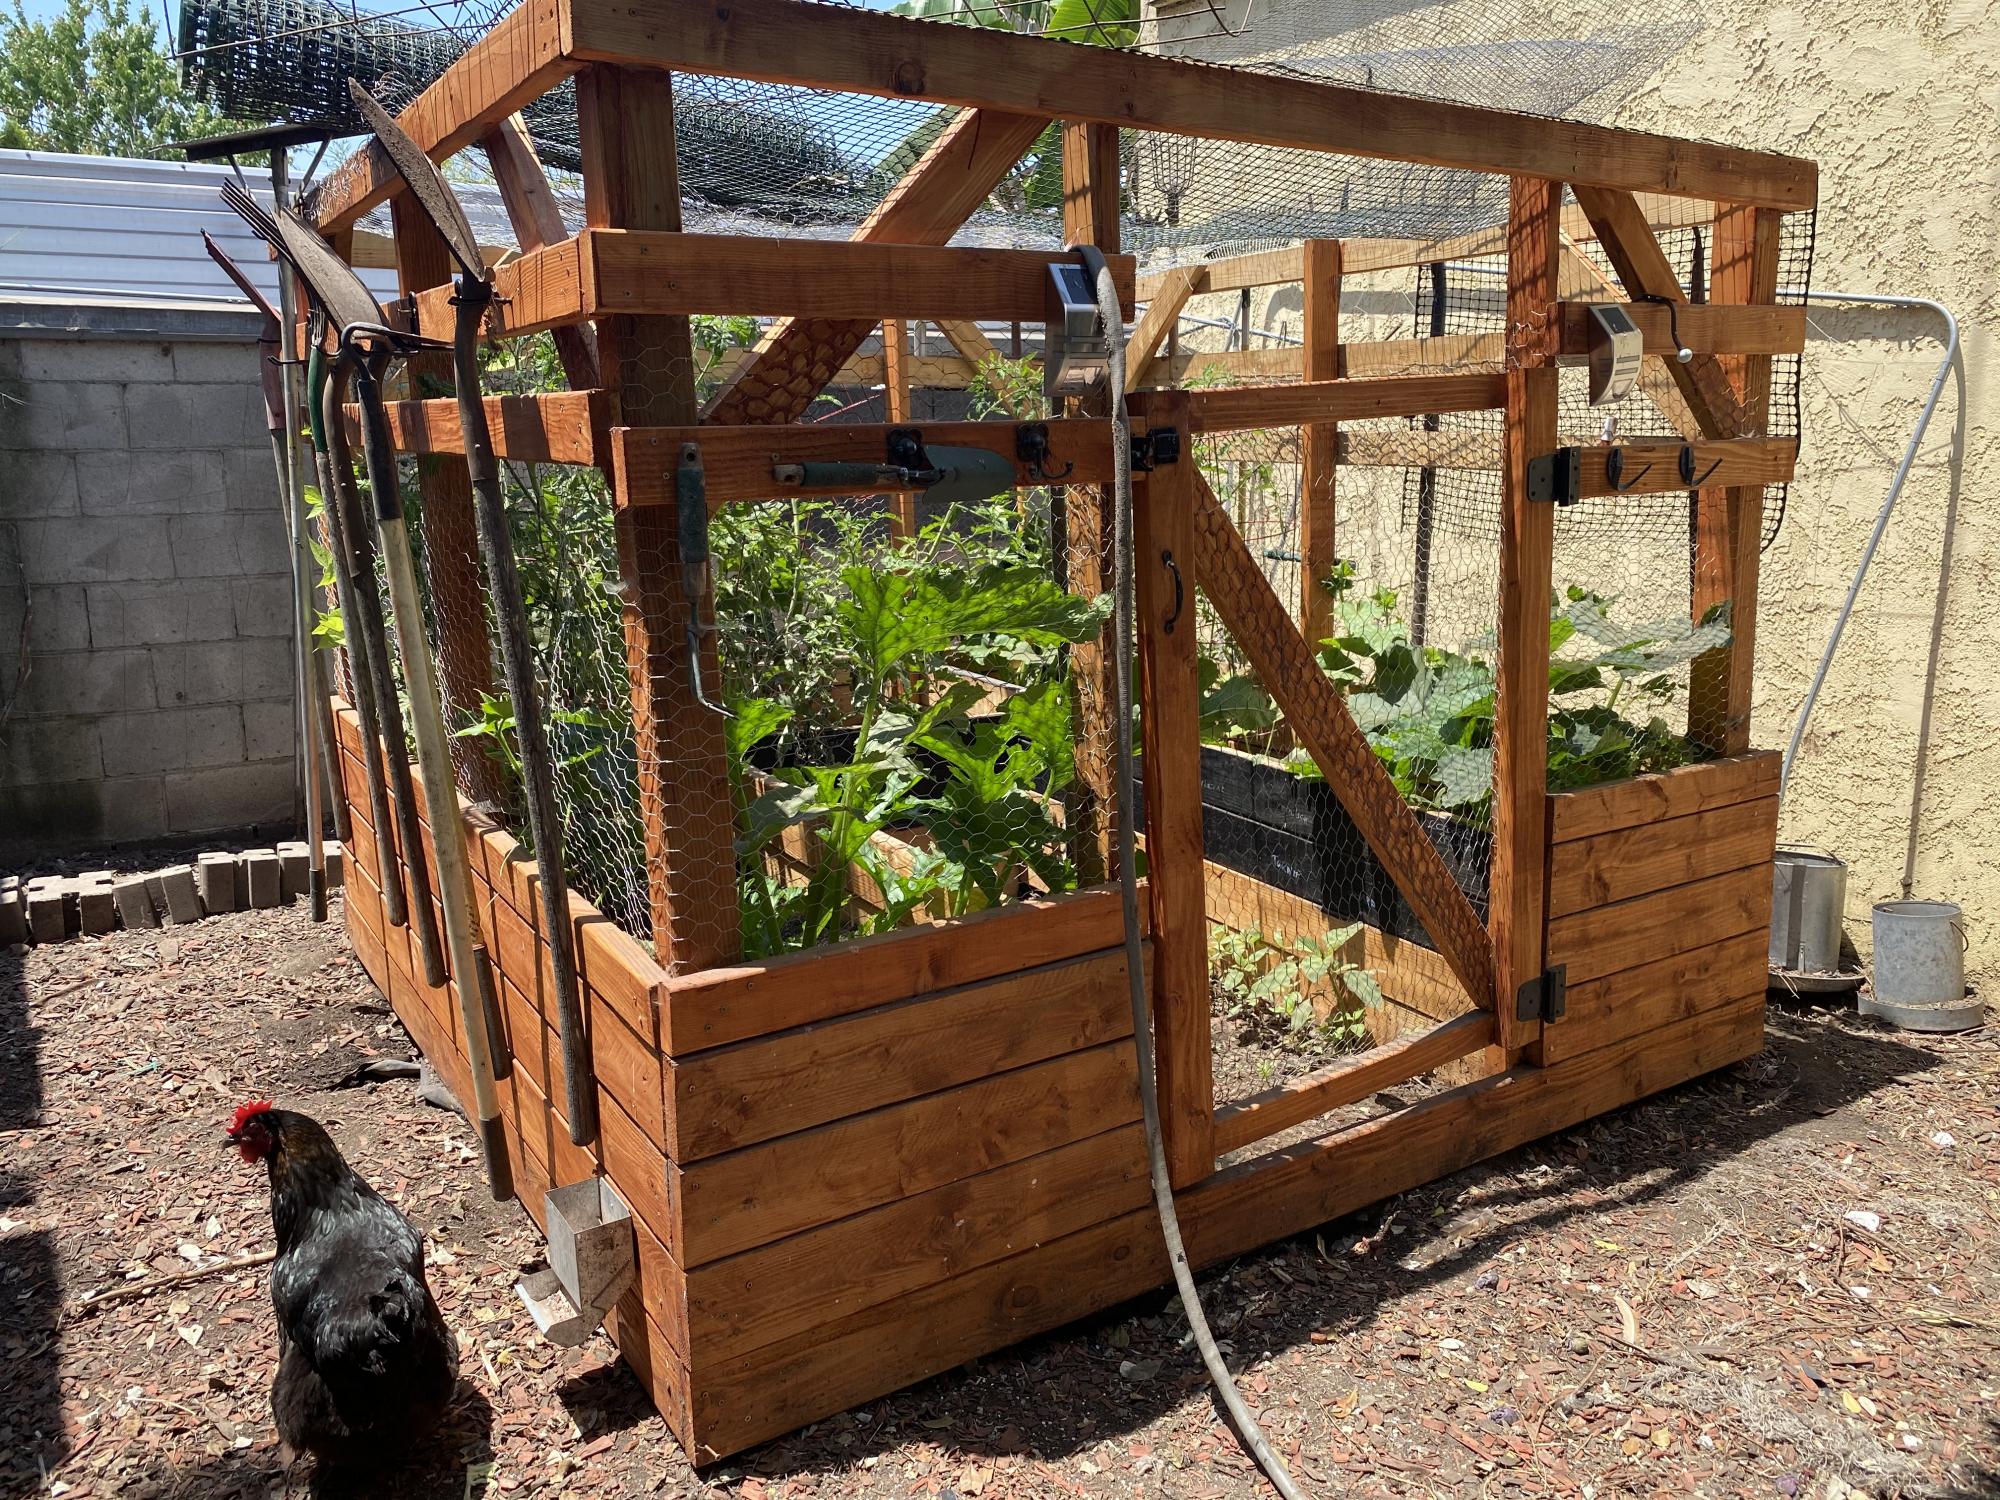
My chickens took over my garden area and being the voracious raptors they are, I needed to build a garden enclosure to keep my veggies safe. I modified a little, making my beds deeper. I also had to stretch chicken wire over the top to keep the great flyers out. I also used it as a way to organize my garden tools (which is possible because I live in Southern California with moderate temperatures and little rain. Thanks for the plans! Yvonne

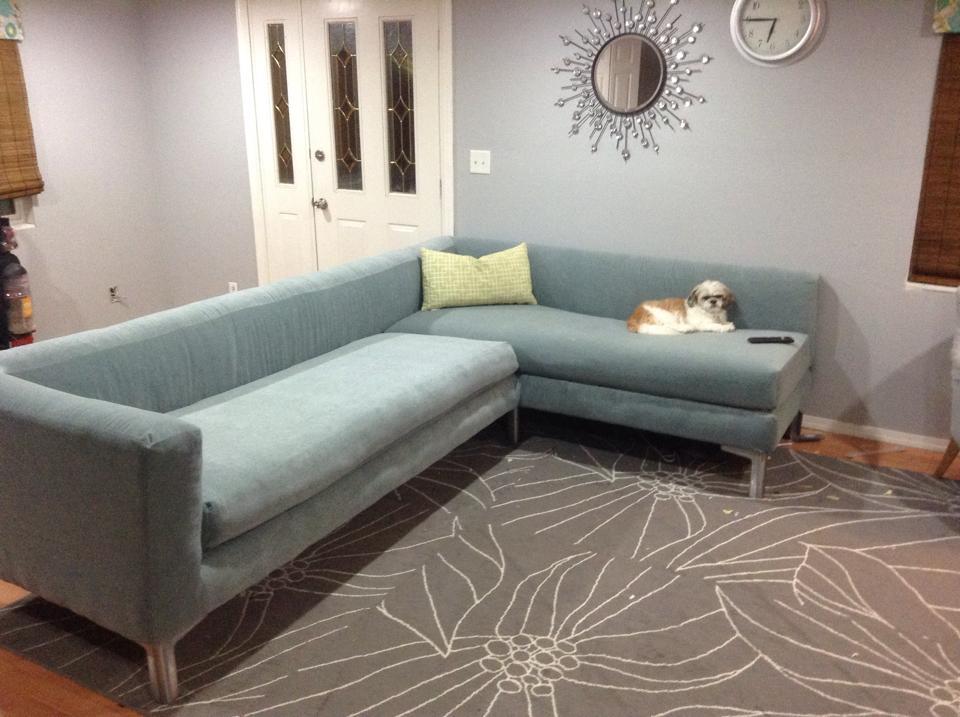
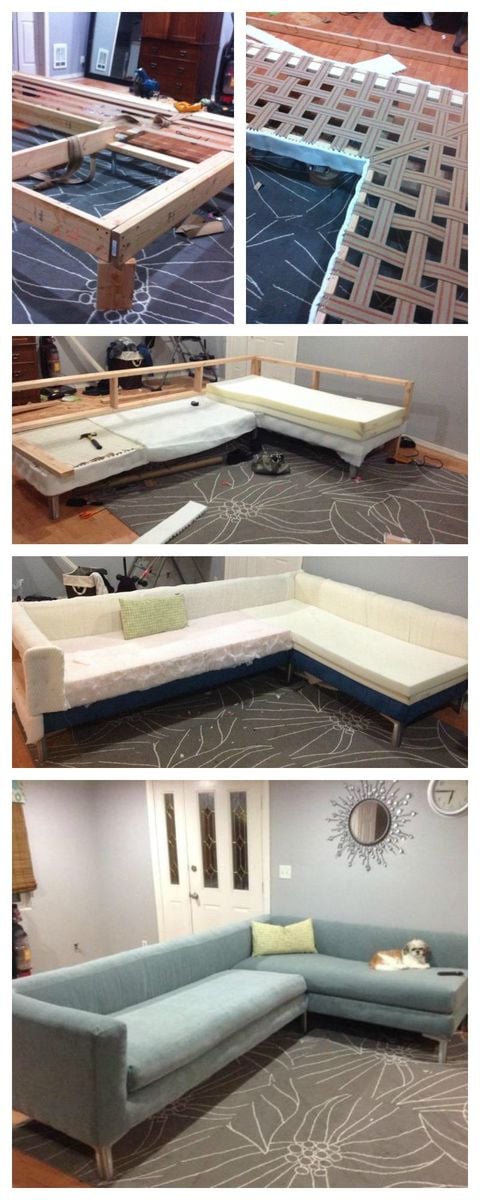
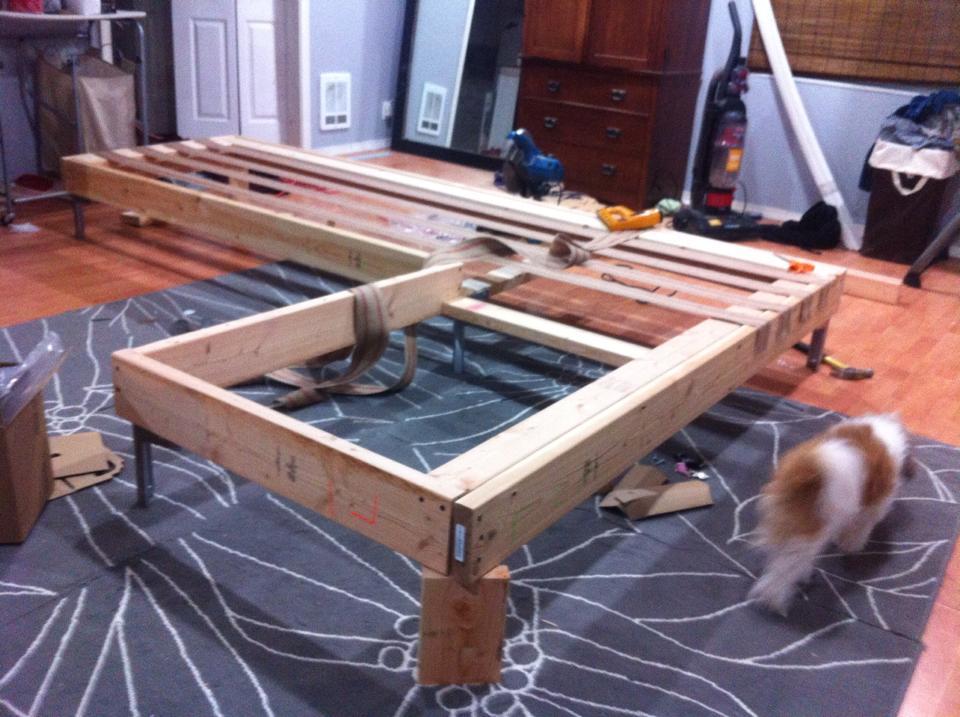
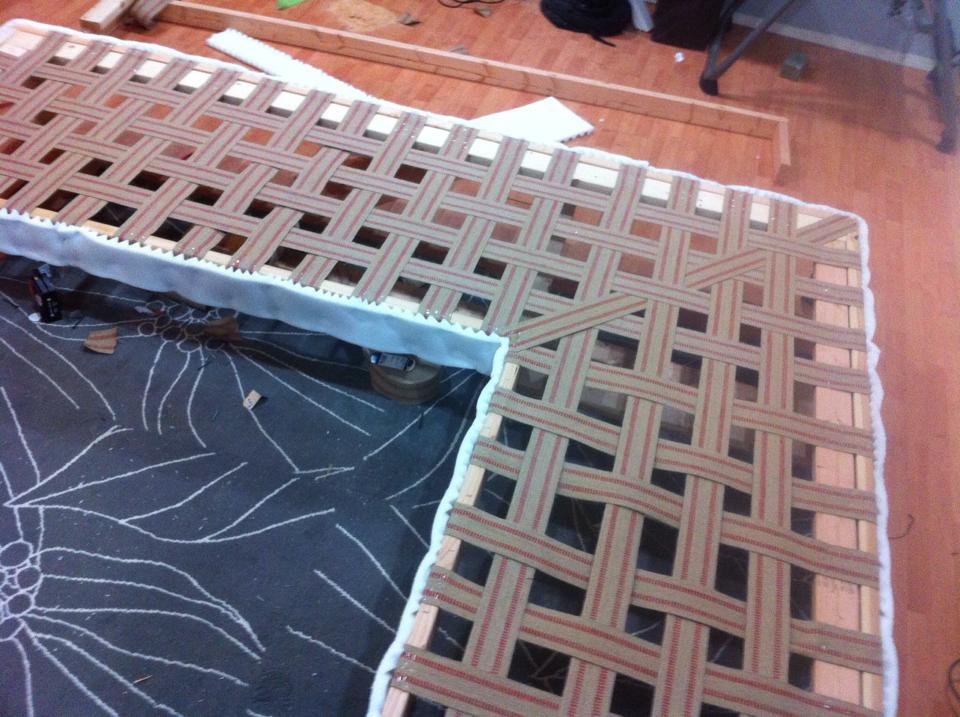
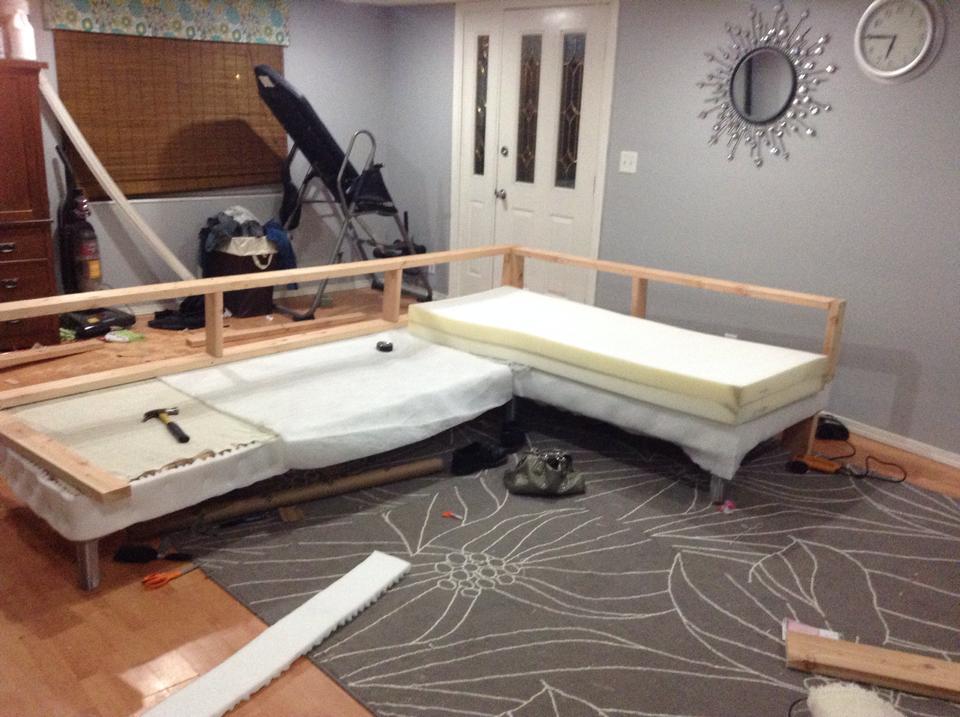
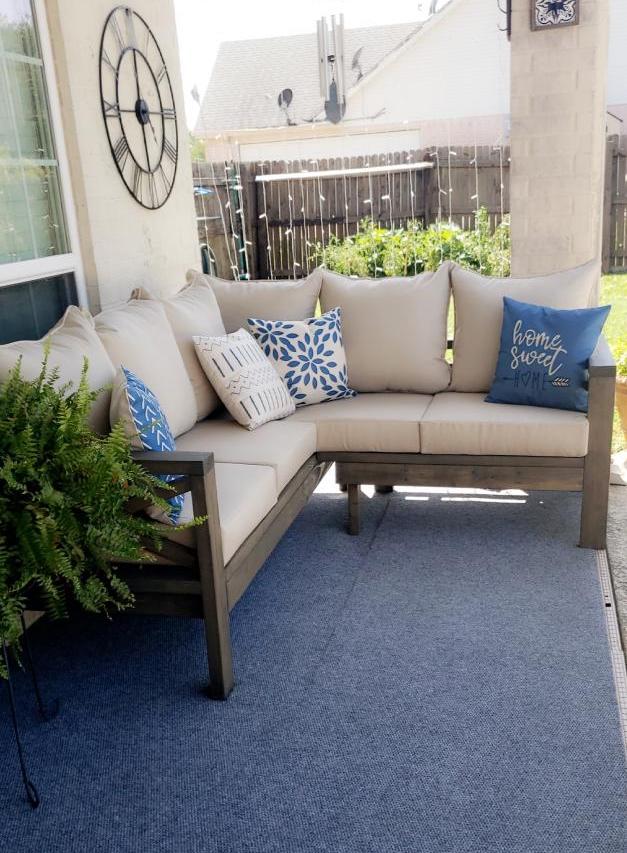
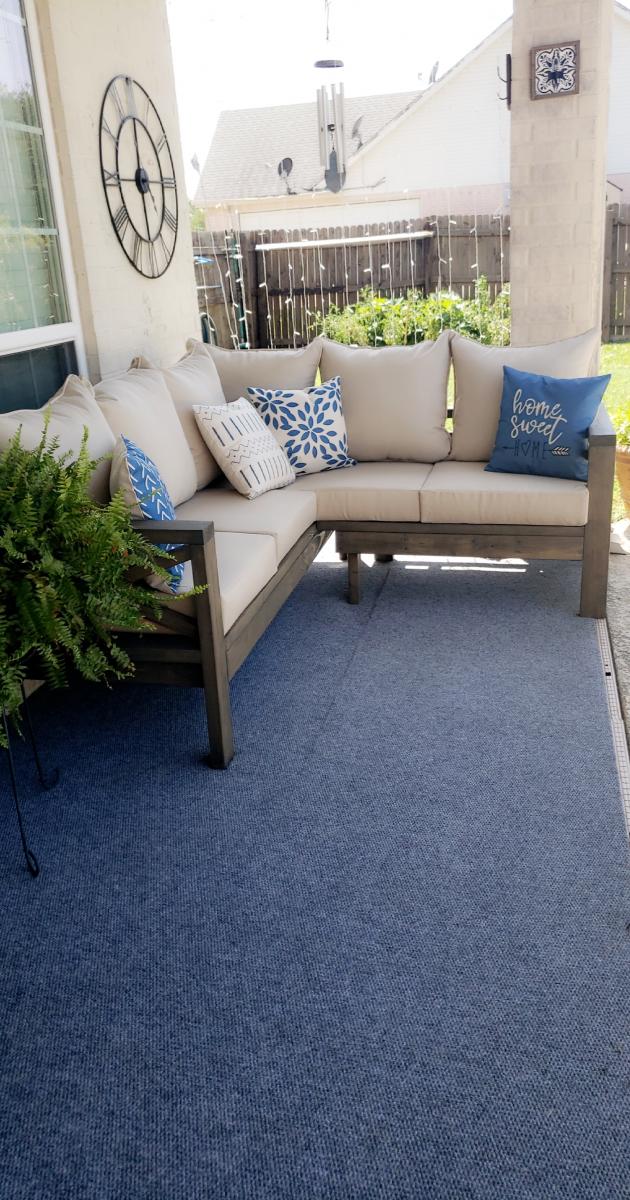
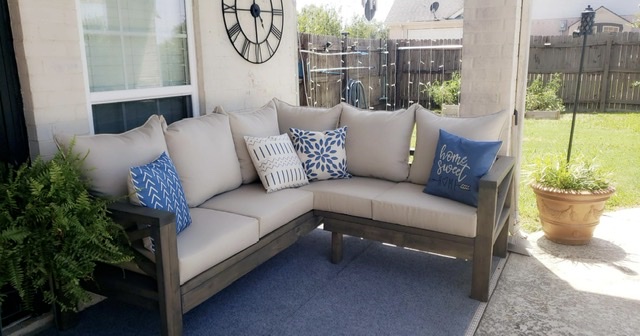
I looked all around my town for a sofa that meet my needs. I wanted something with tall legs, modern lines and fit my living room. I did not have $3,000 to buy one online so I said to myself why not???

Sat, 07/25/2015 - 12:28
You are my hero ! Your modern diy sectional is amazing, love the blue fabric! Thank you so much for sharing! Ana
Mon, 08/03/2015 - 14:52
I've been looking for plans for a big sectional this would be perfect!
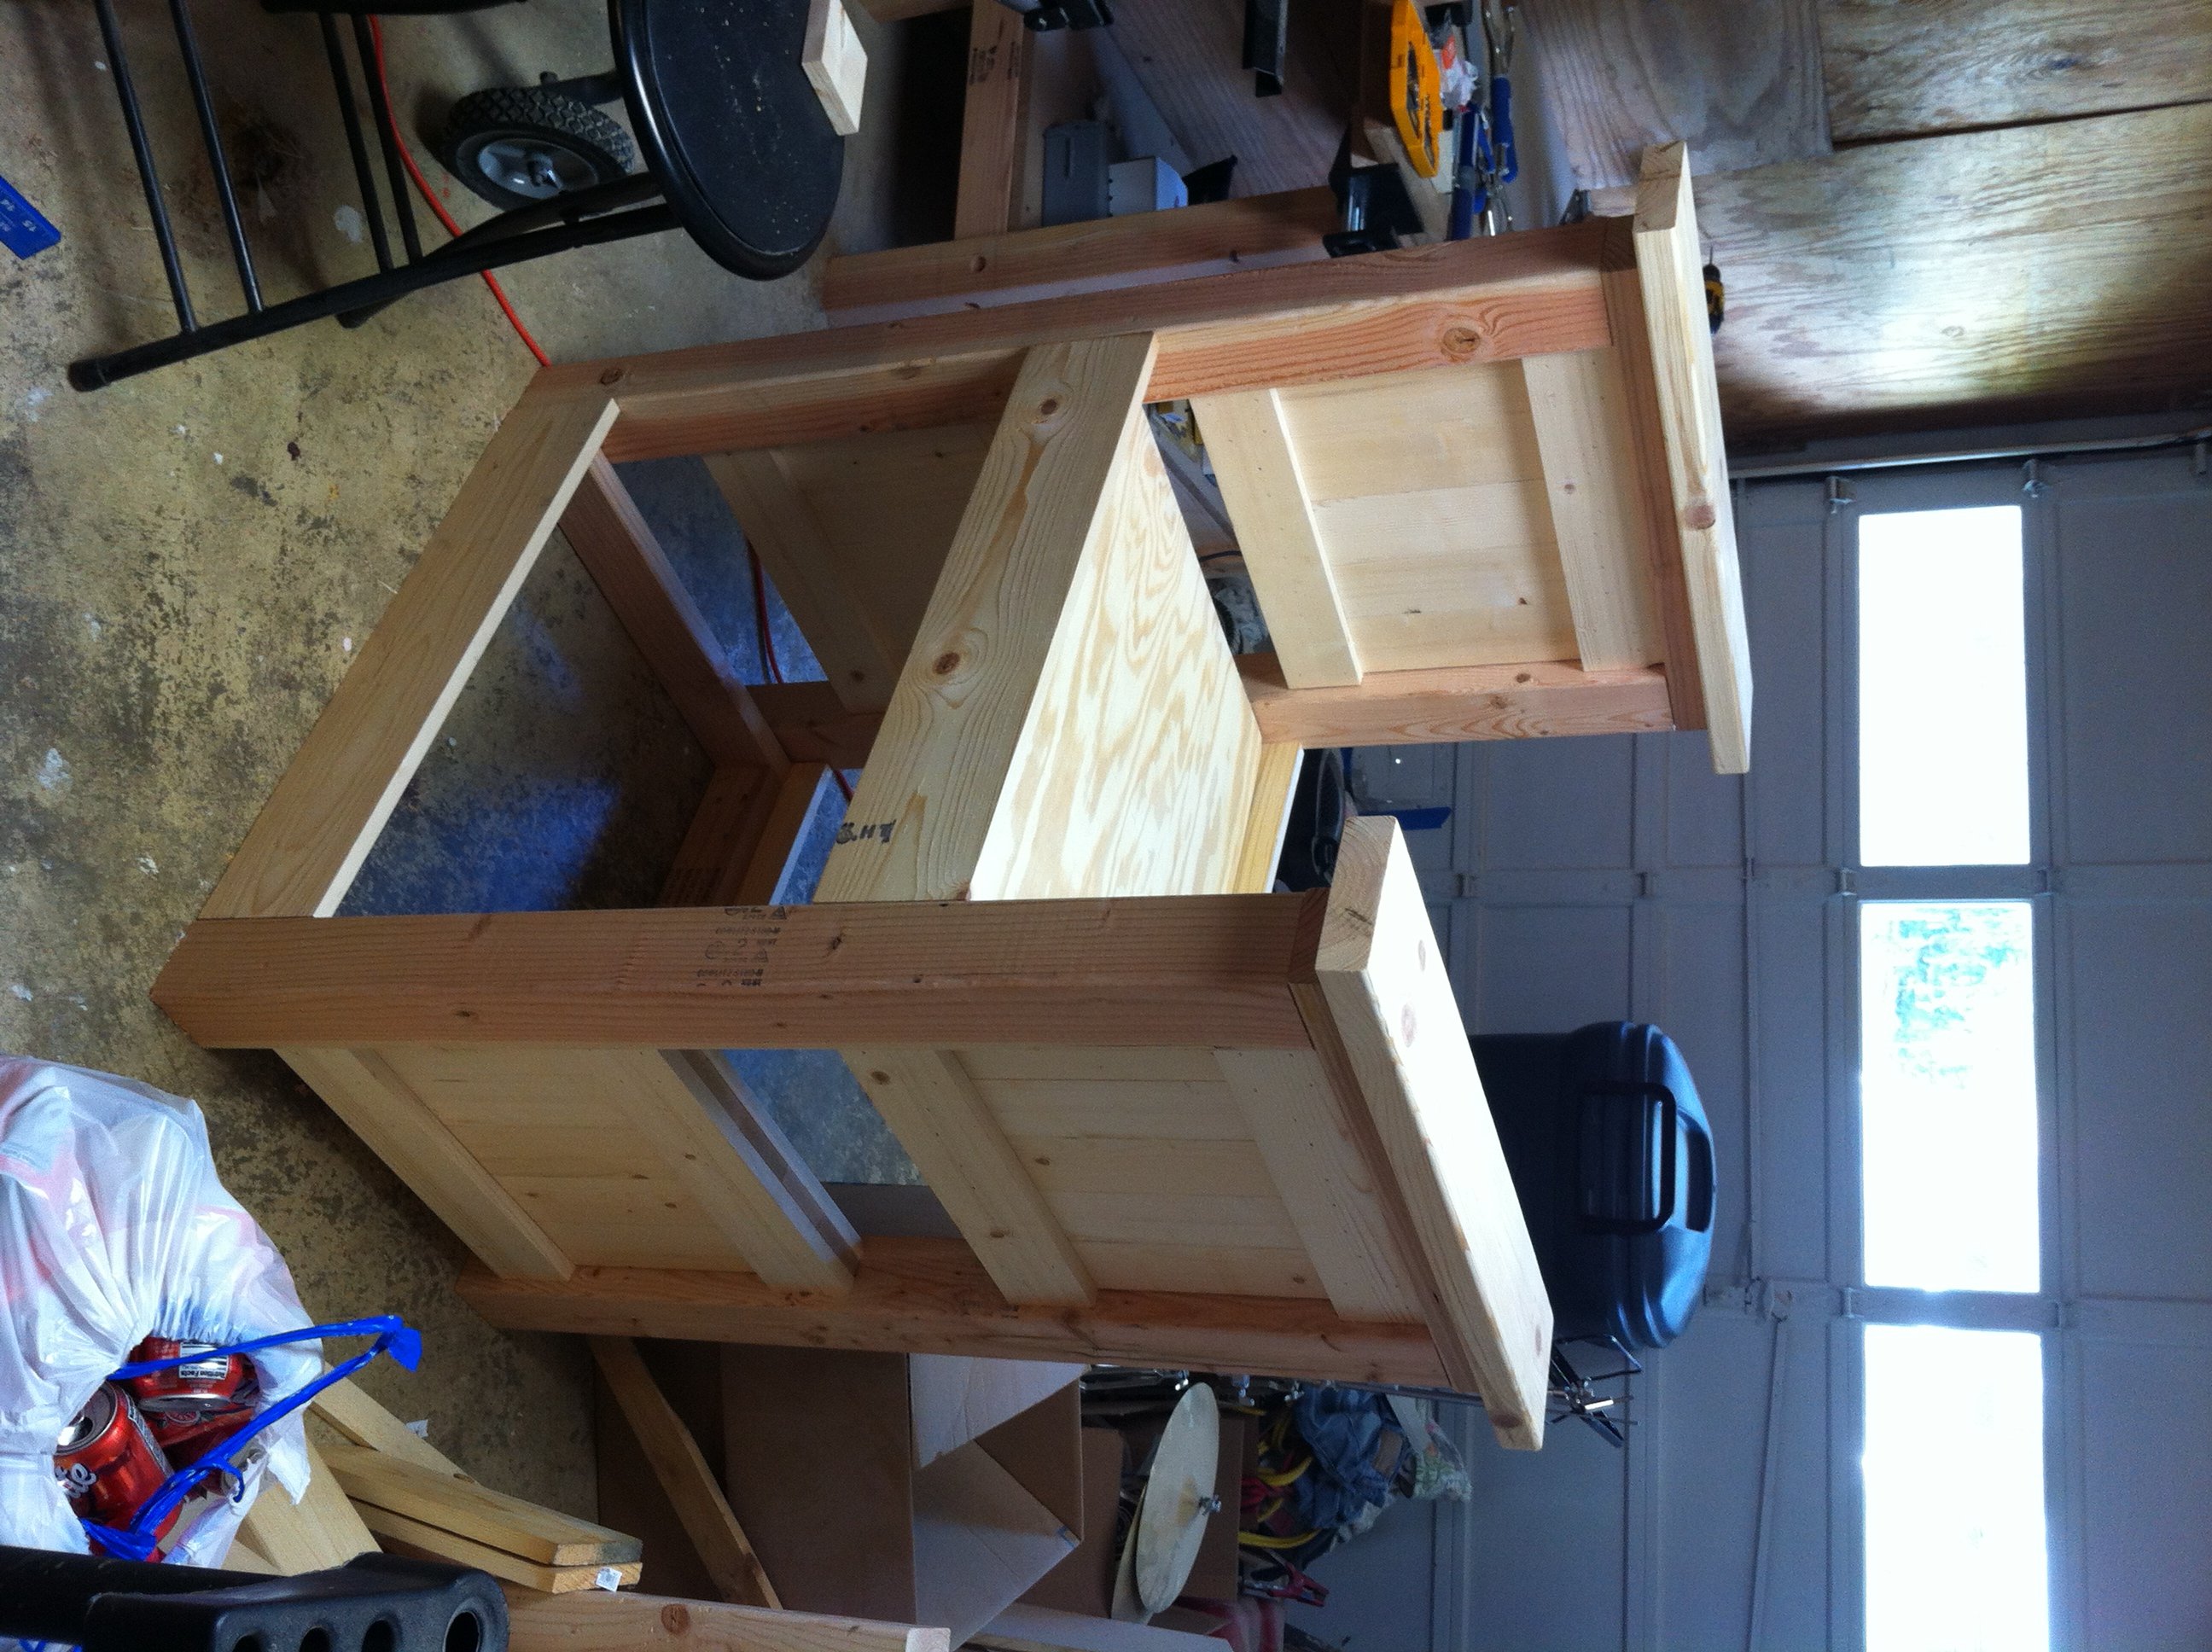
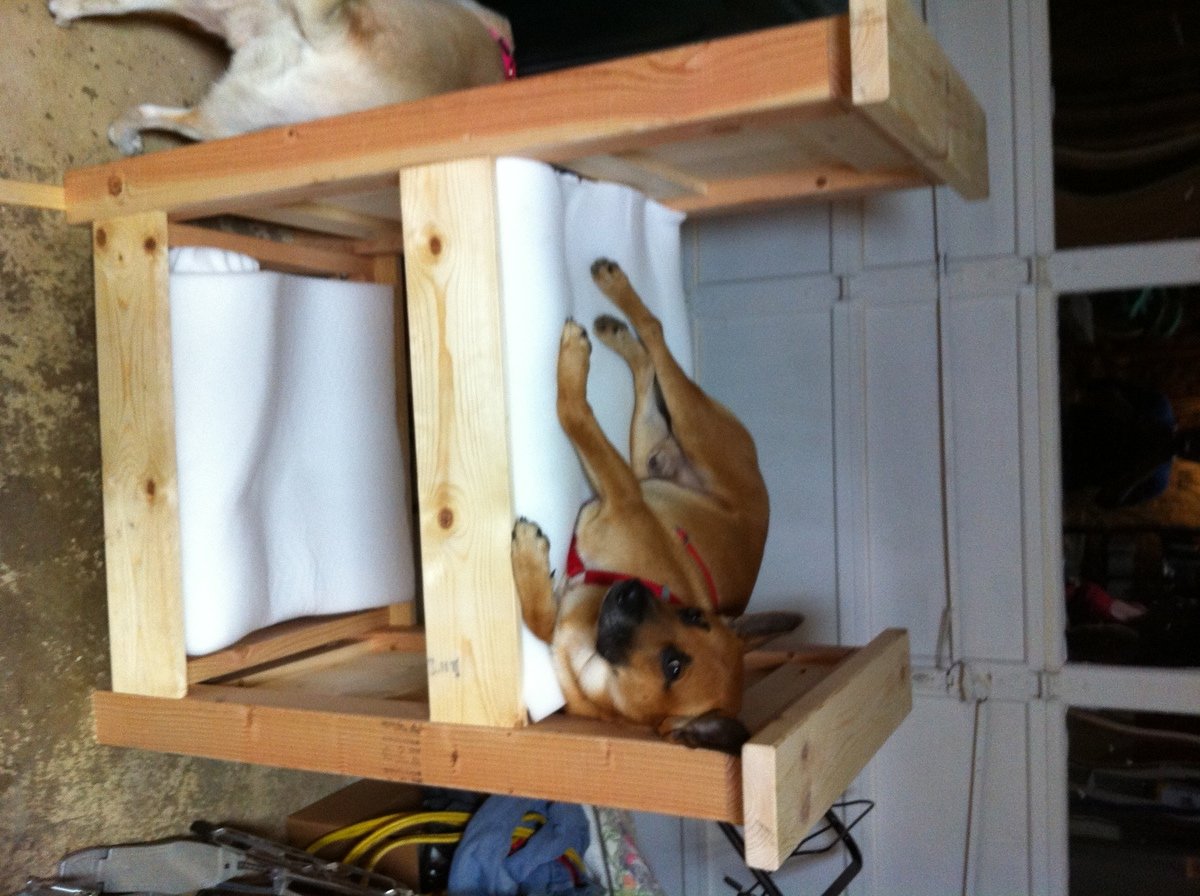
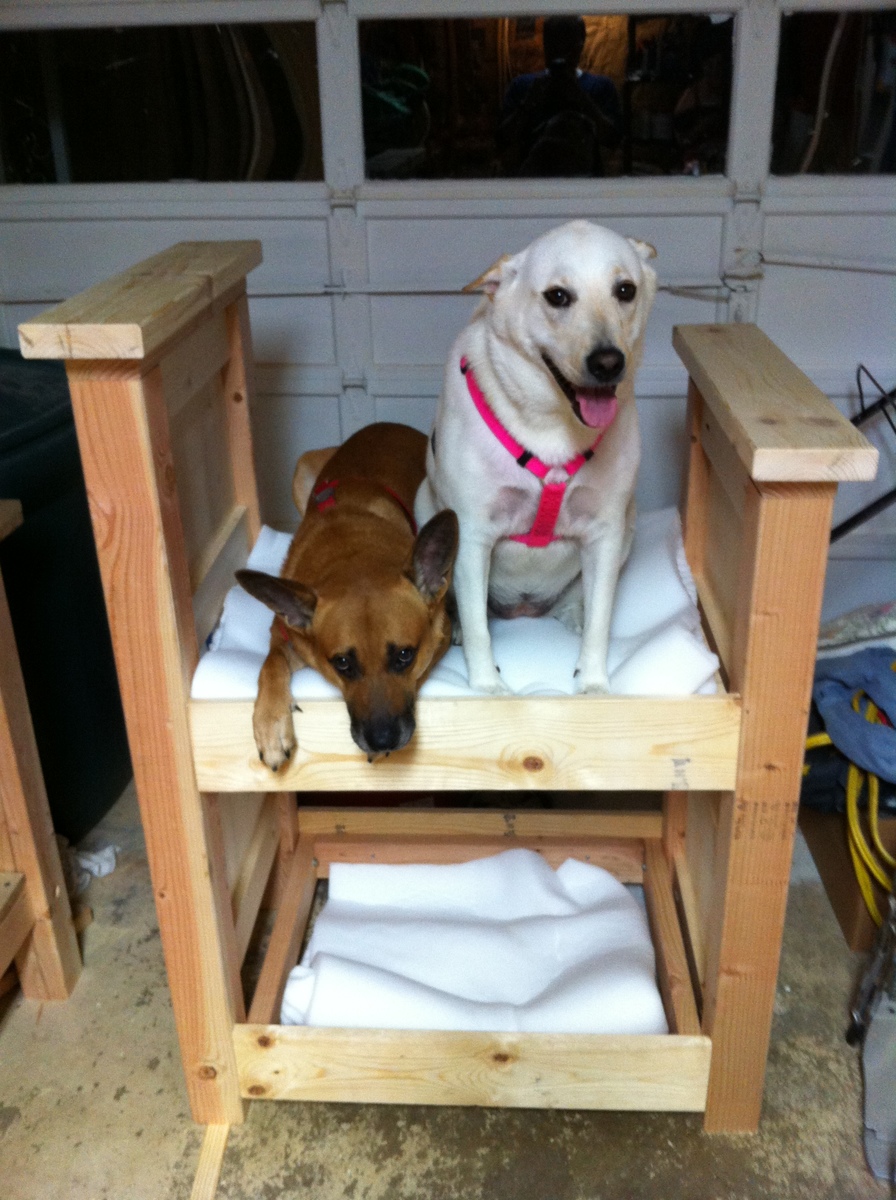
I built this dog bunk bed based on the queen farmhouse bed. As you can see the dogs are already fighting over the top bunk. This bed is very very sturdy and should give many years of use. Yes I spoil my dogs.
Tue, 08/14/2012 - 17:23
Can you tell they're already fighting over the top bunk! I'm debating on painting it white. I like the natural look though. Thanks for the comment! :)
Loved these plans! Was my first project I tackled trying my hand with a new hobby of wood working to stave off quarantine craziness :-) finished project looked awesome and got me started working on other plans on the site.
**note**
Side table was just sanded and refinished, wasn't built just tried to match.
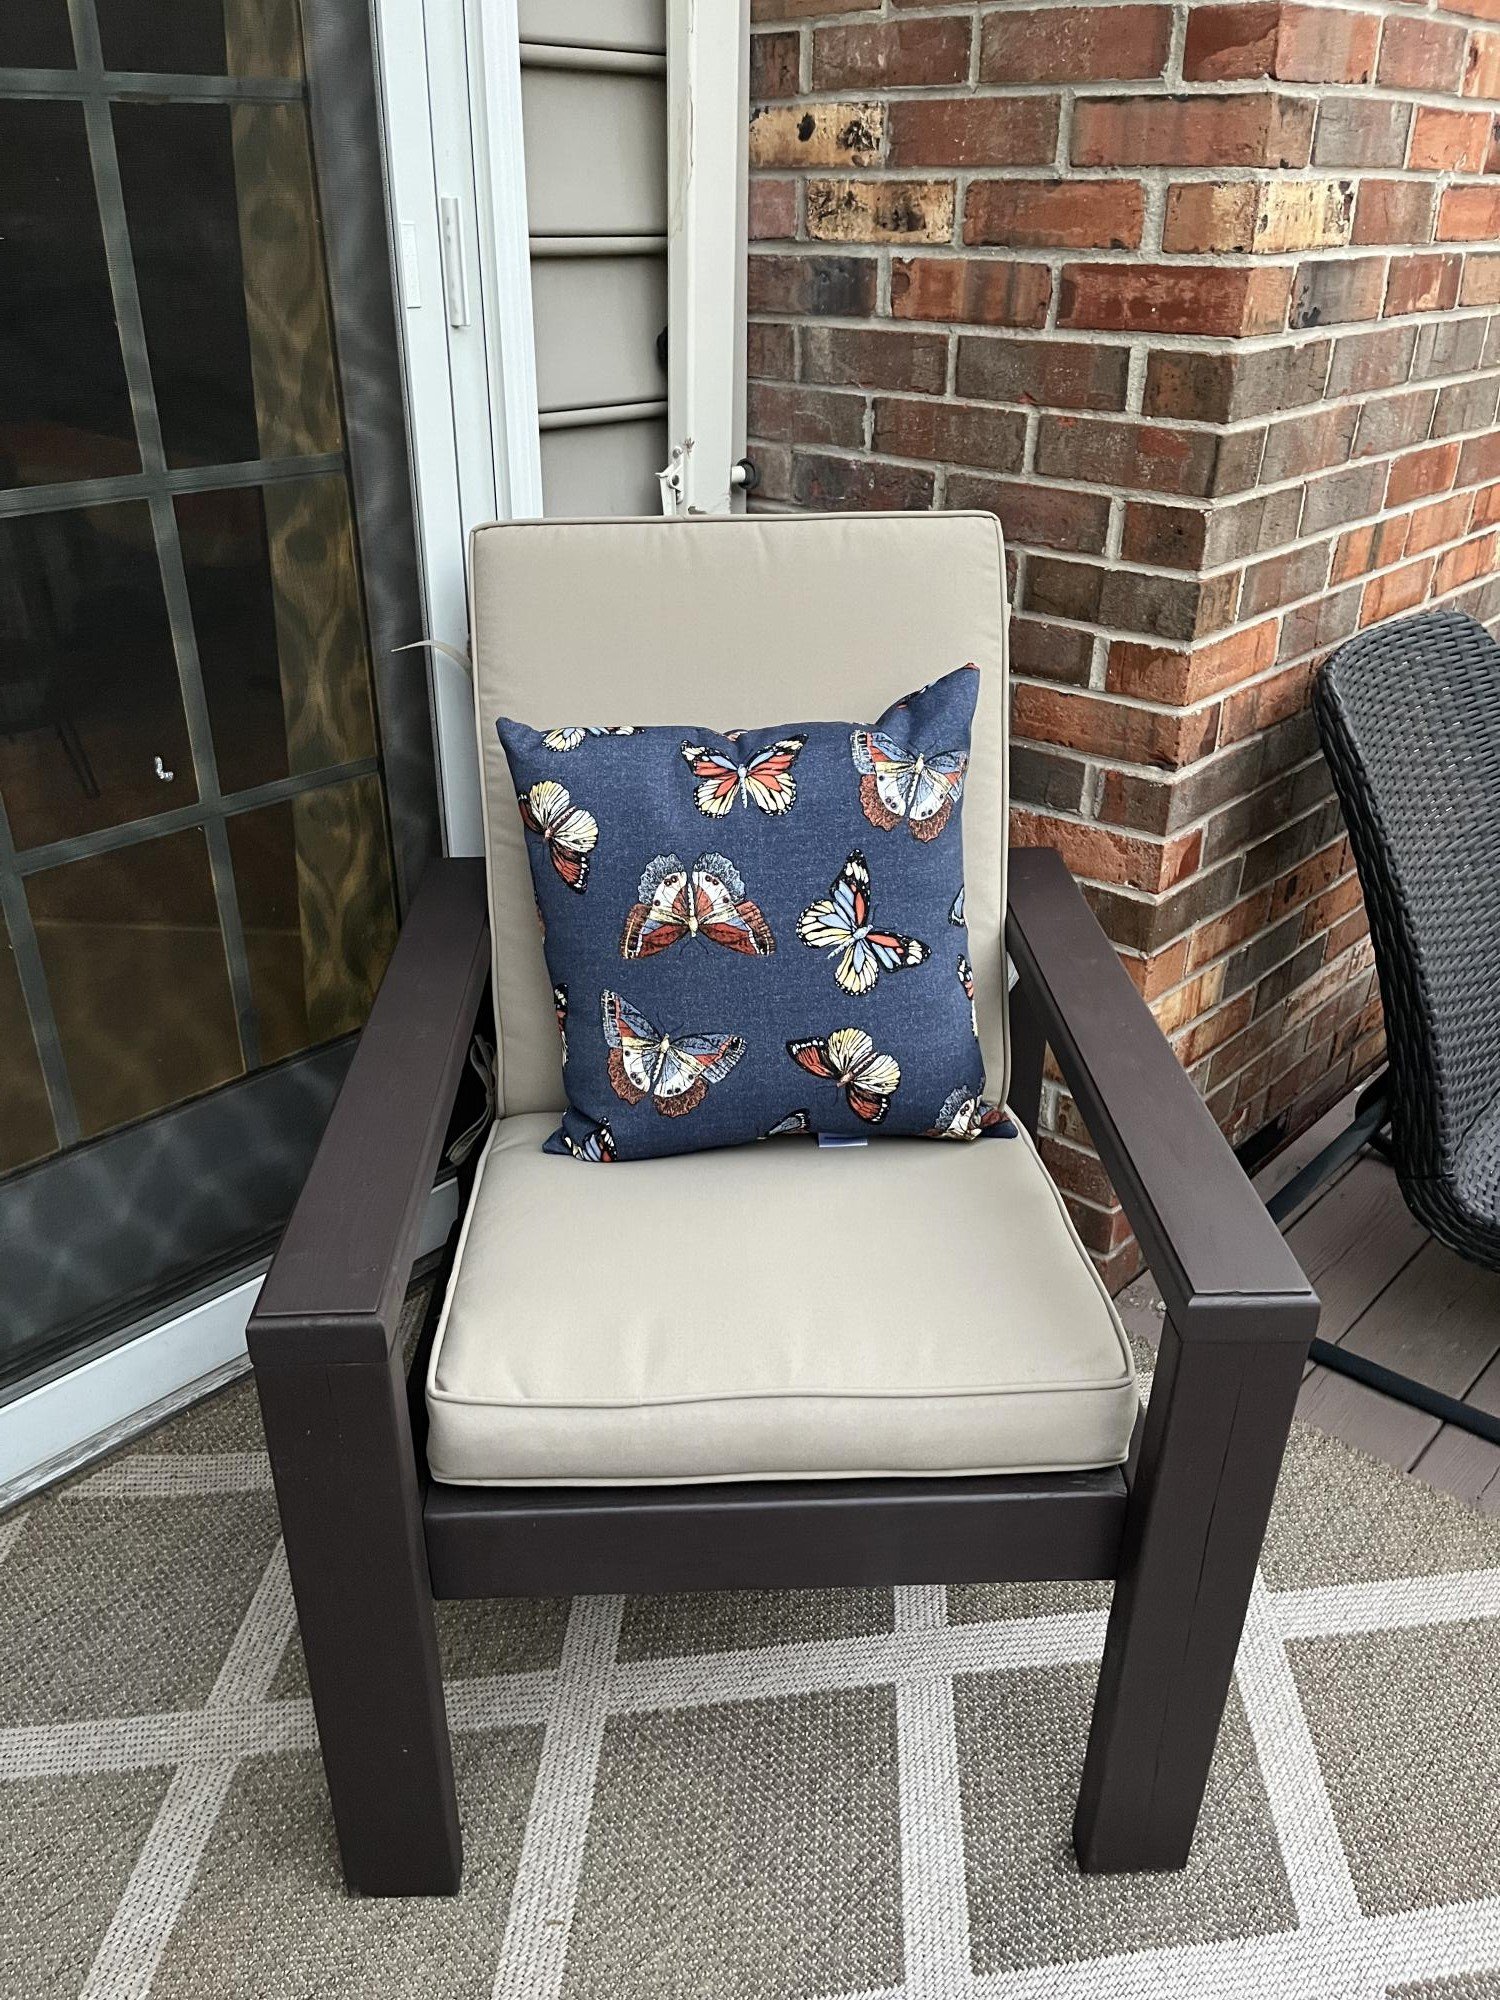
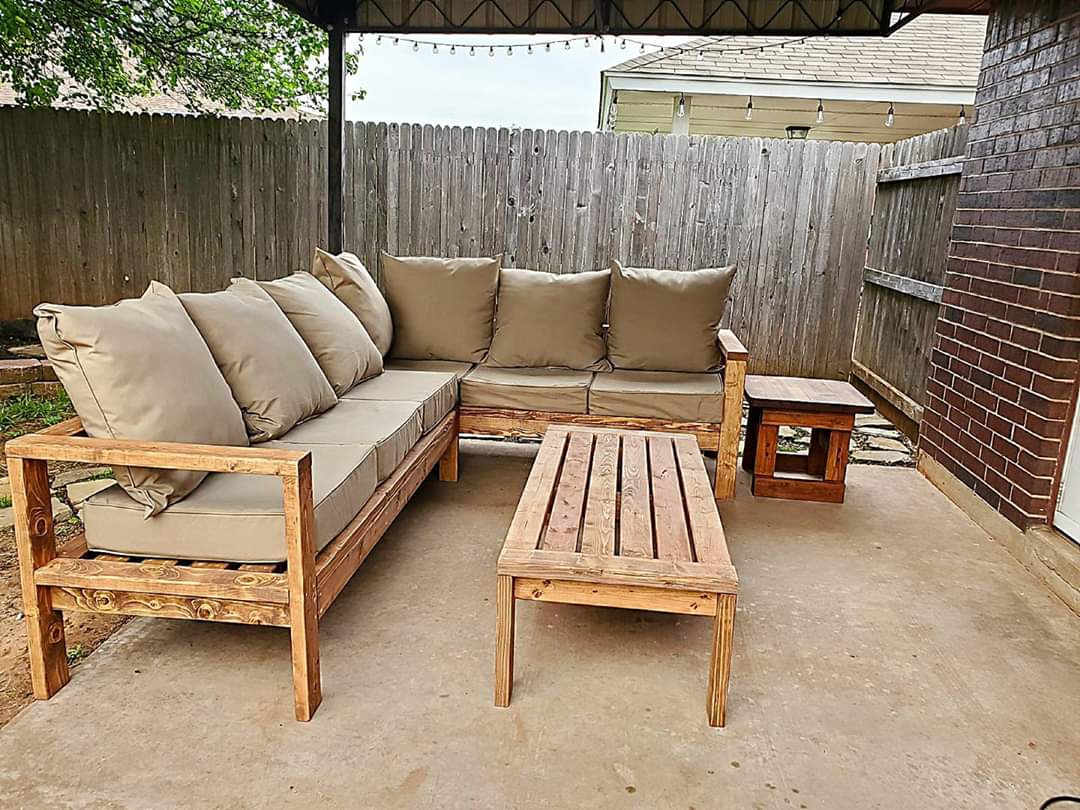
I made this outdoor sofa on a weekend.
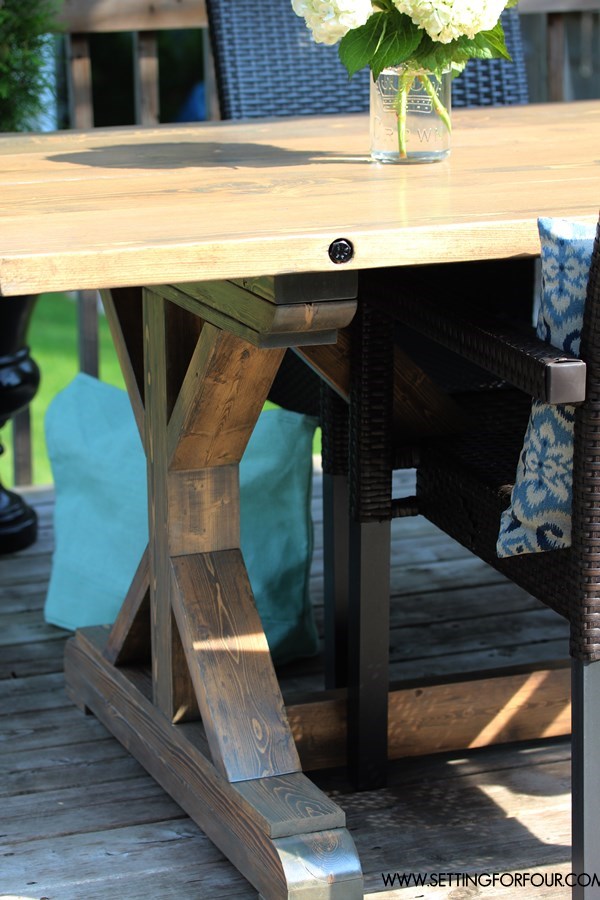
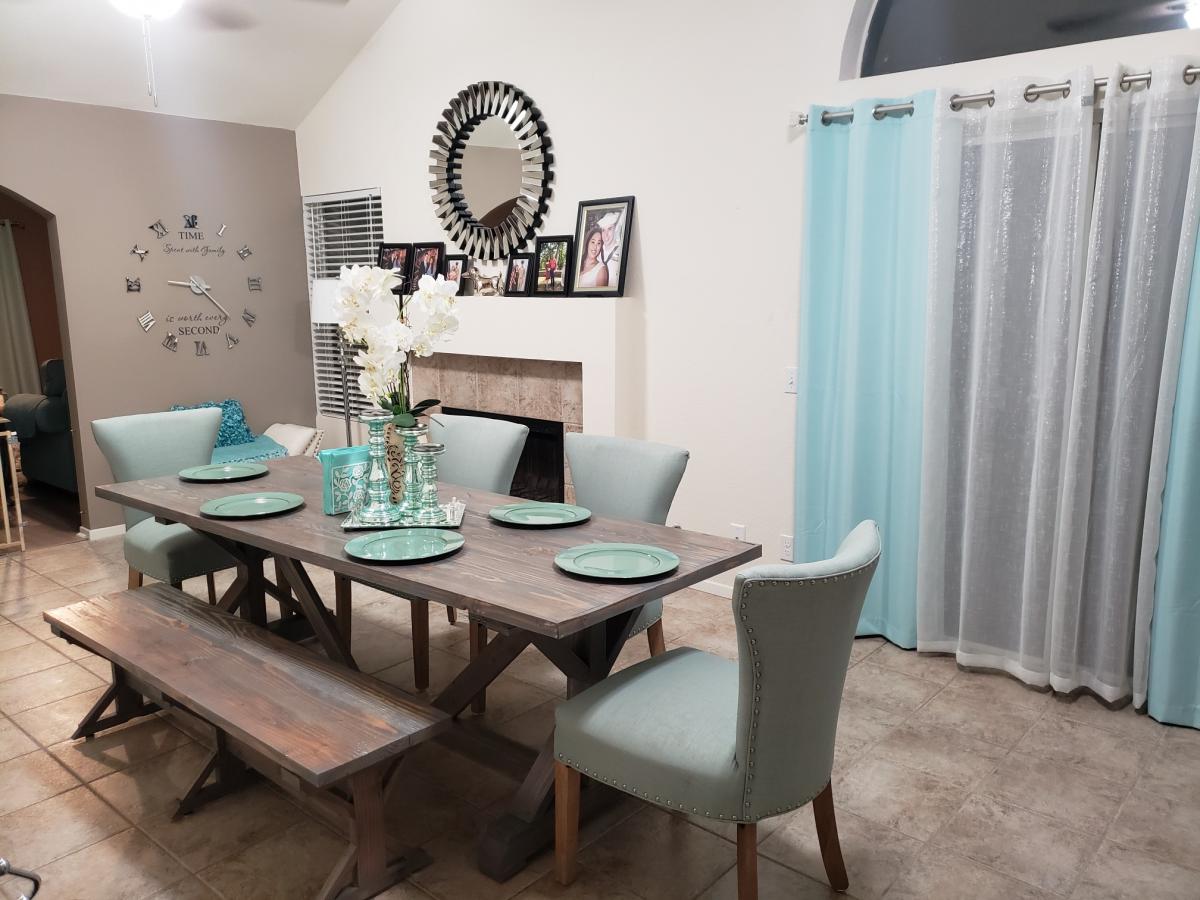
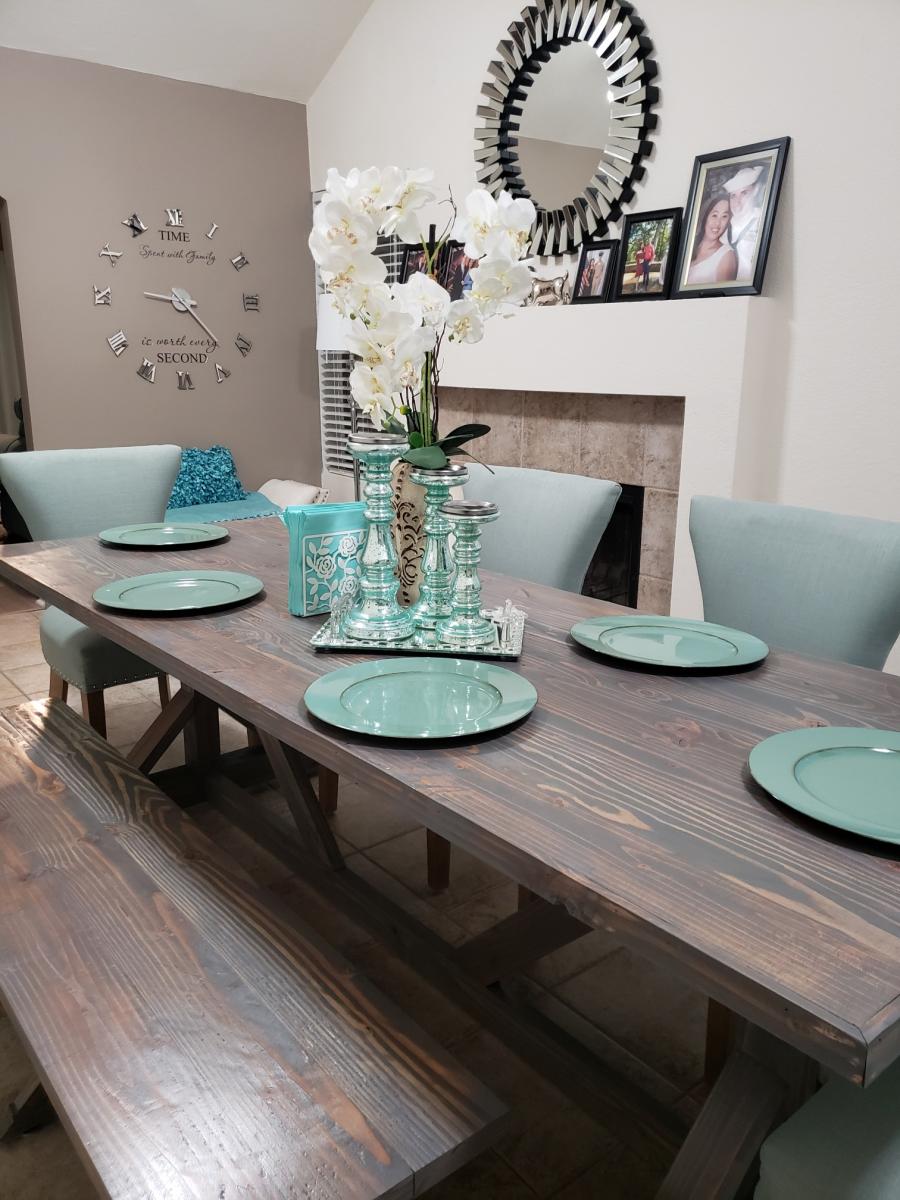
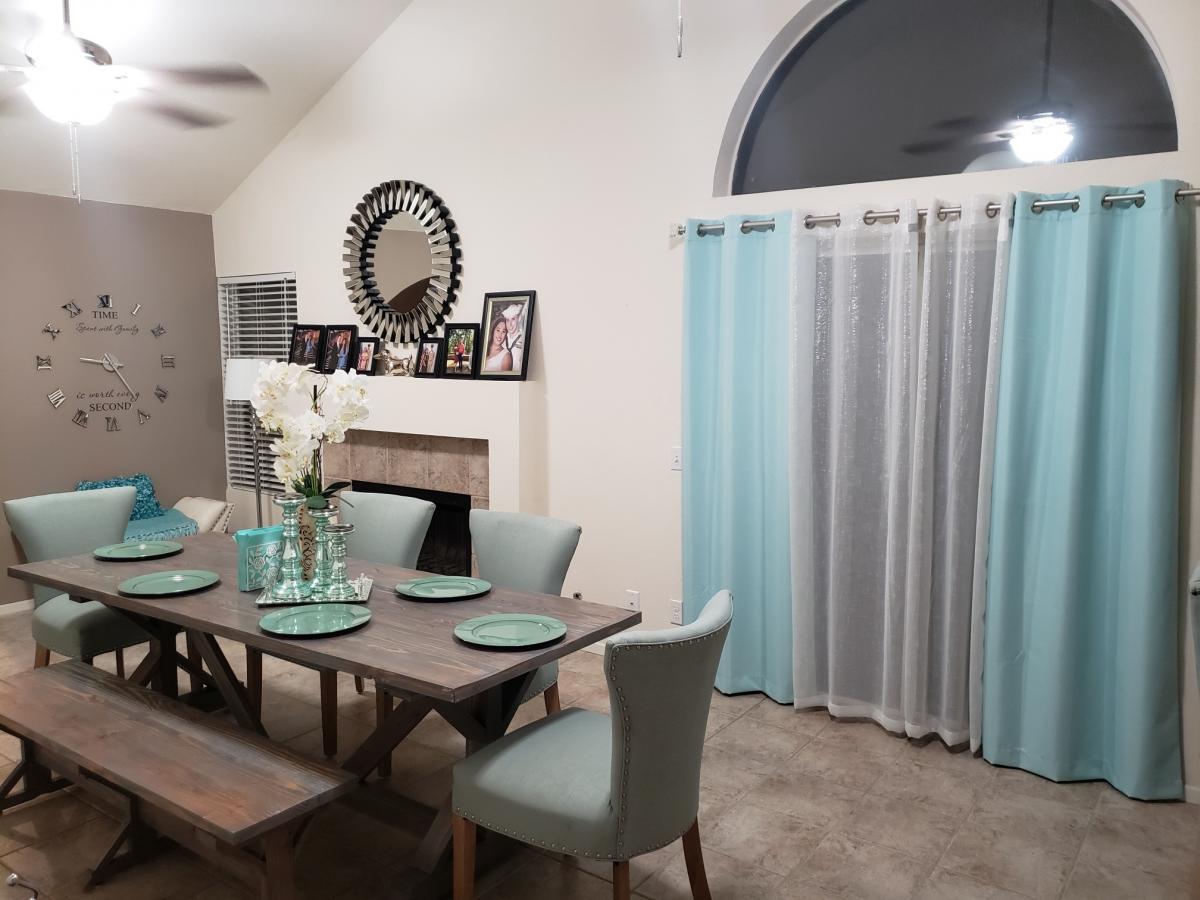
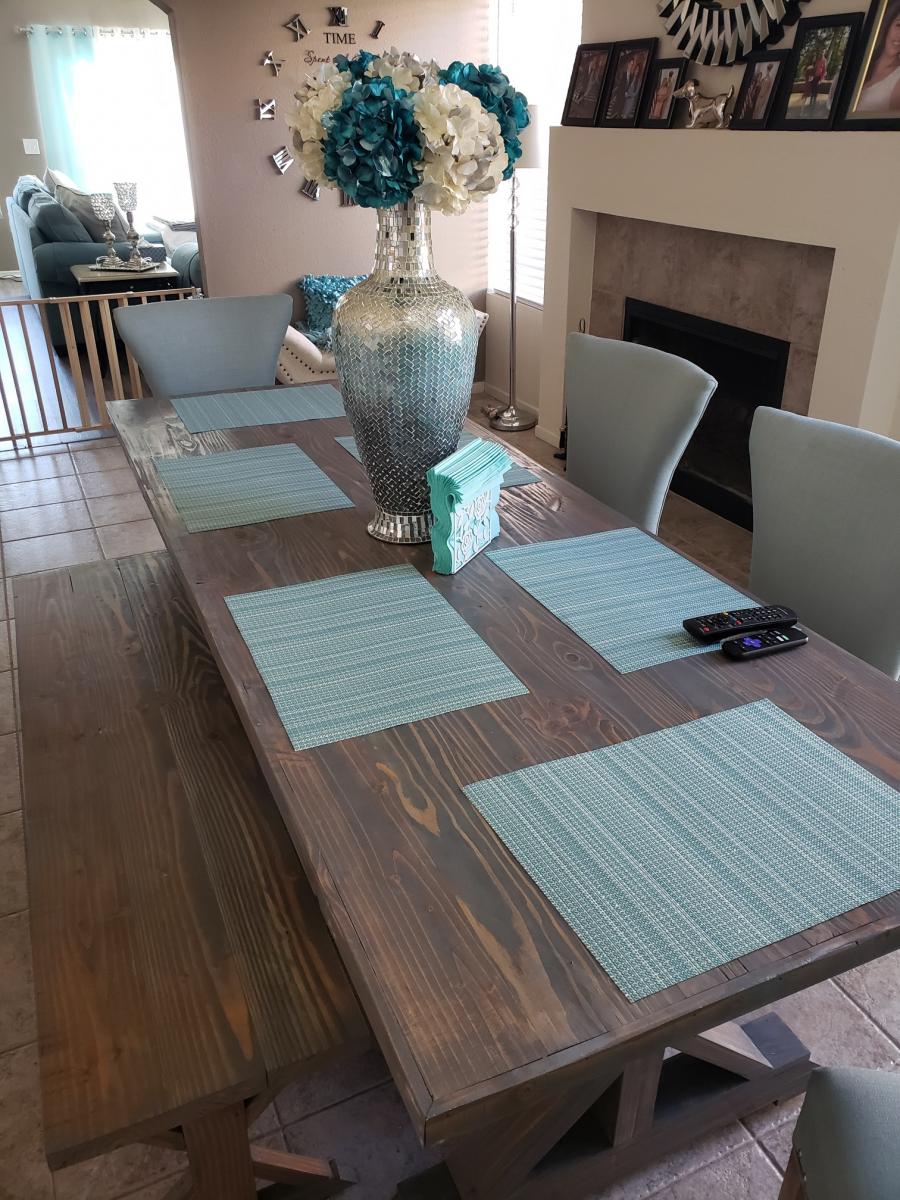
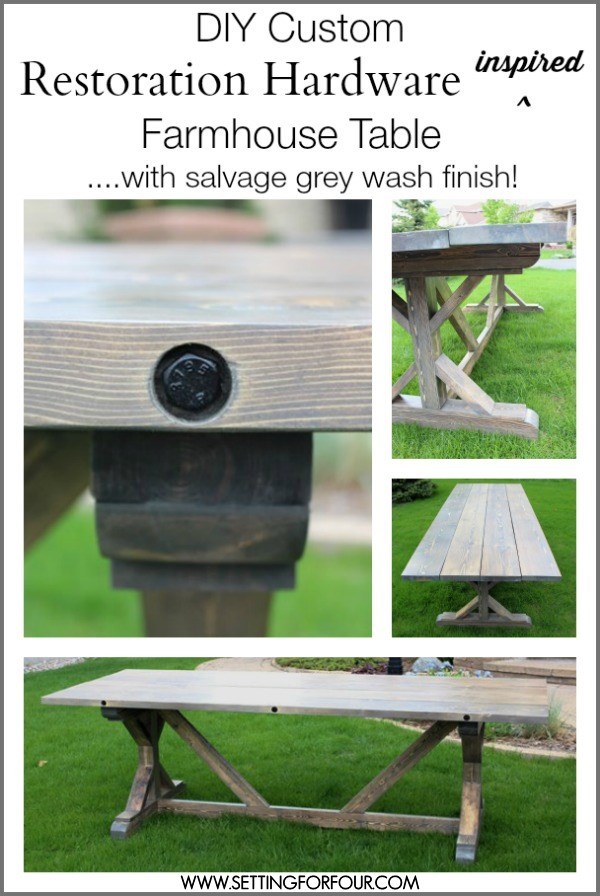
My family needed a new outdoor dining table so my husband and I made this DIY Restoration Hardware Inspired Farmhouse table with Salvage Grey Wash Finish! I combined two popular RH table styles, the rectangular X-base Table and the Brickmaker’s Table, to come up with this distinctive innovative design: an X-base bottom with an industrial bolted plank table top! This will blow your mind....this table cost us only $157.00 to make, just a small fraction of the the RH $4690.00 price tag for their tables! We started with Ana White's Farmhouse Table plans, added inset lag bolts to the planked top and then gave our table a customized salvage grey wash finish to add a touch of gorgeous grey to a dark walnut base layer. We've had many fun dinners on our large farmhouse table with family and friends! See my blog post for all of the steps and materials!

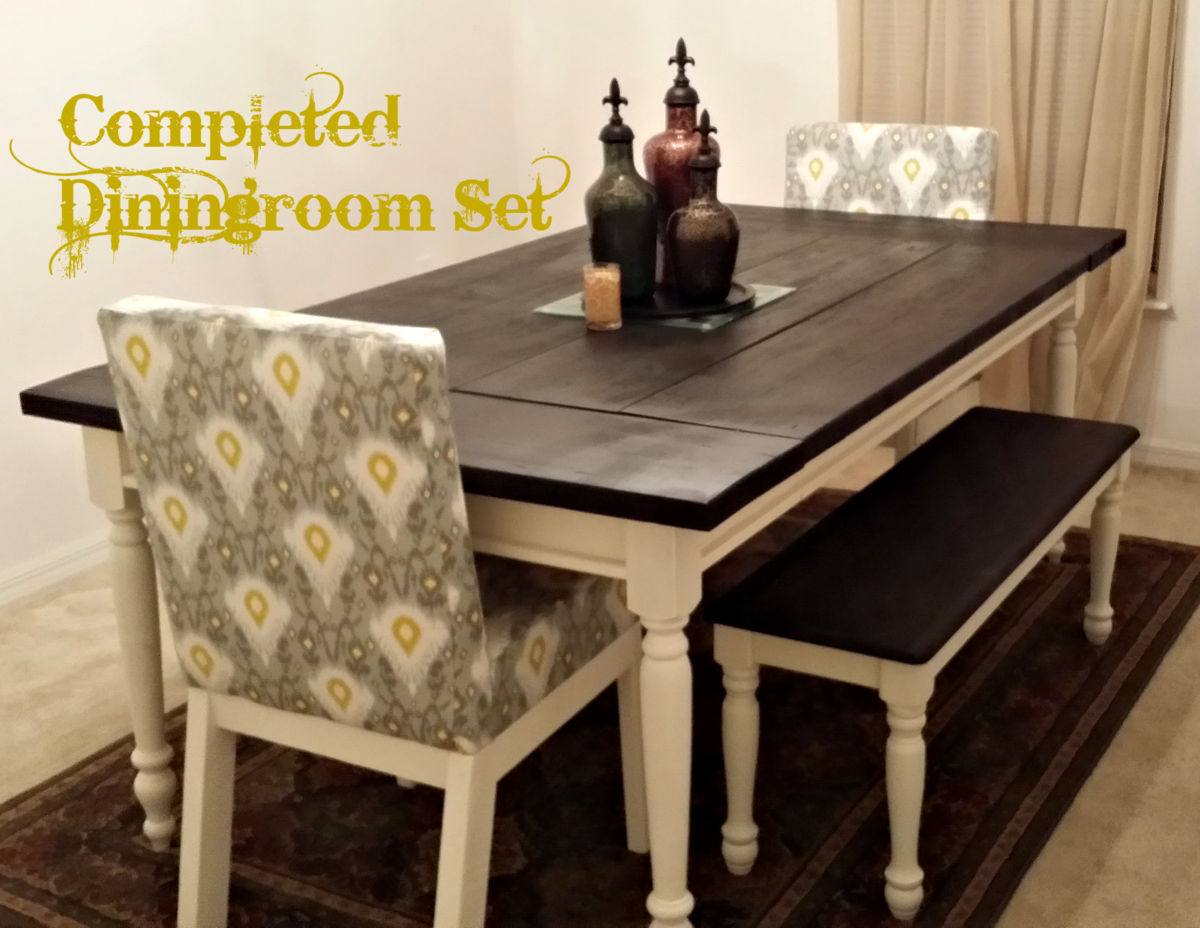
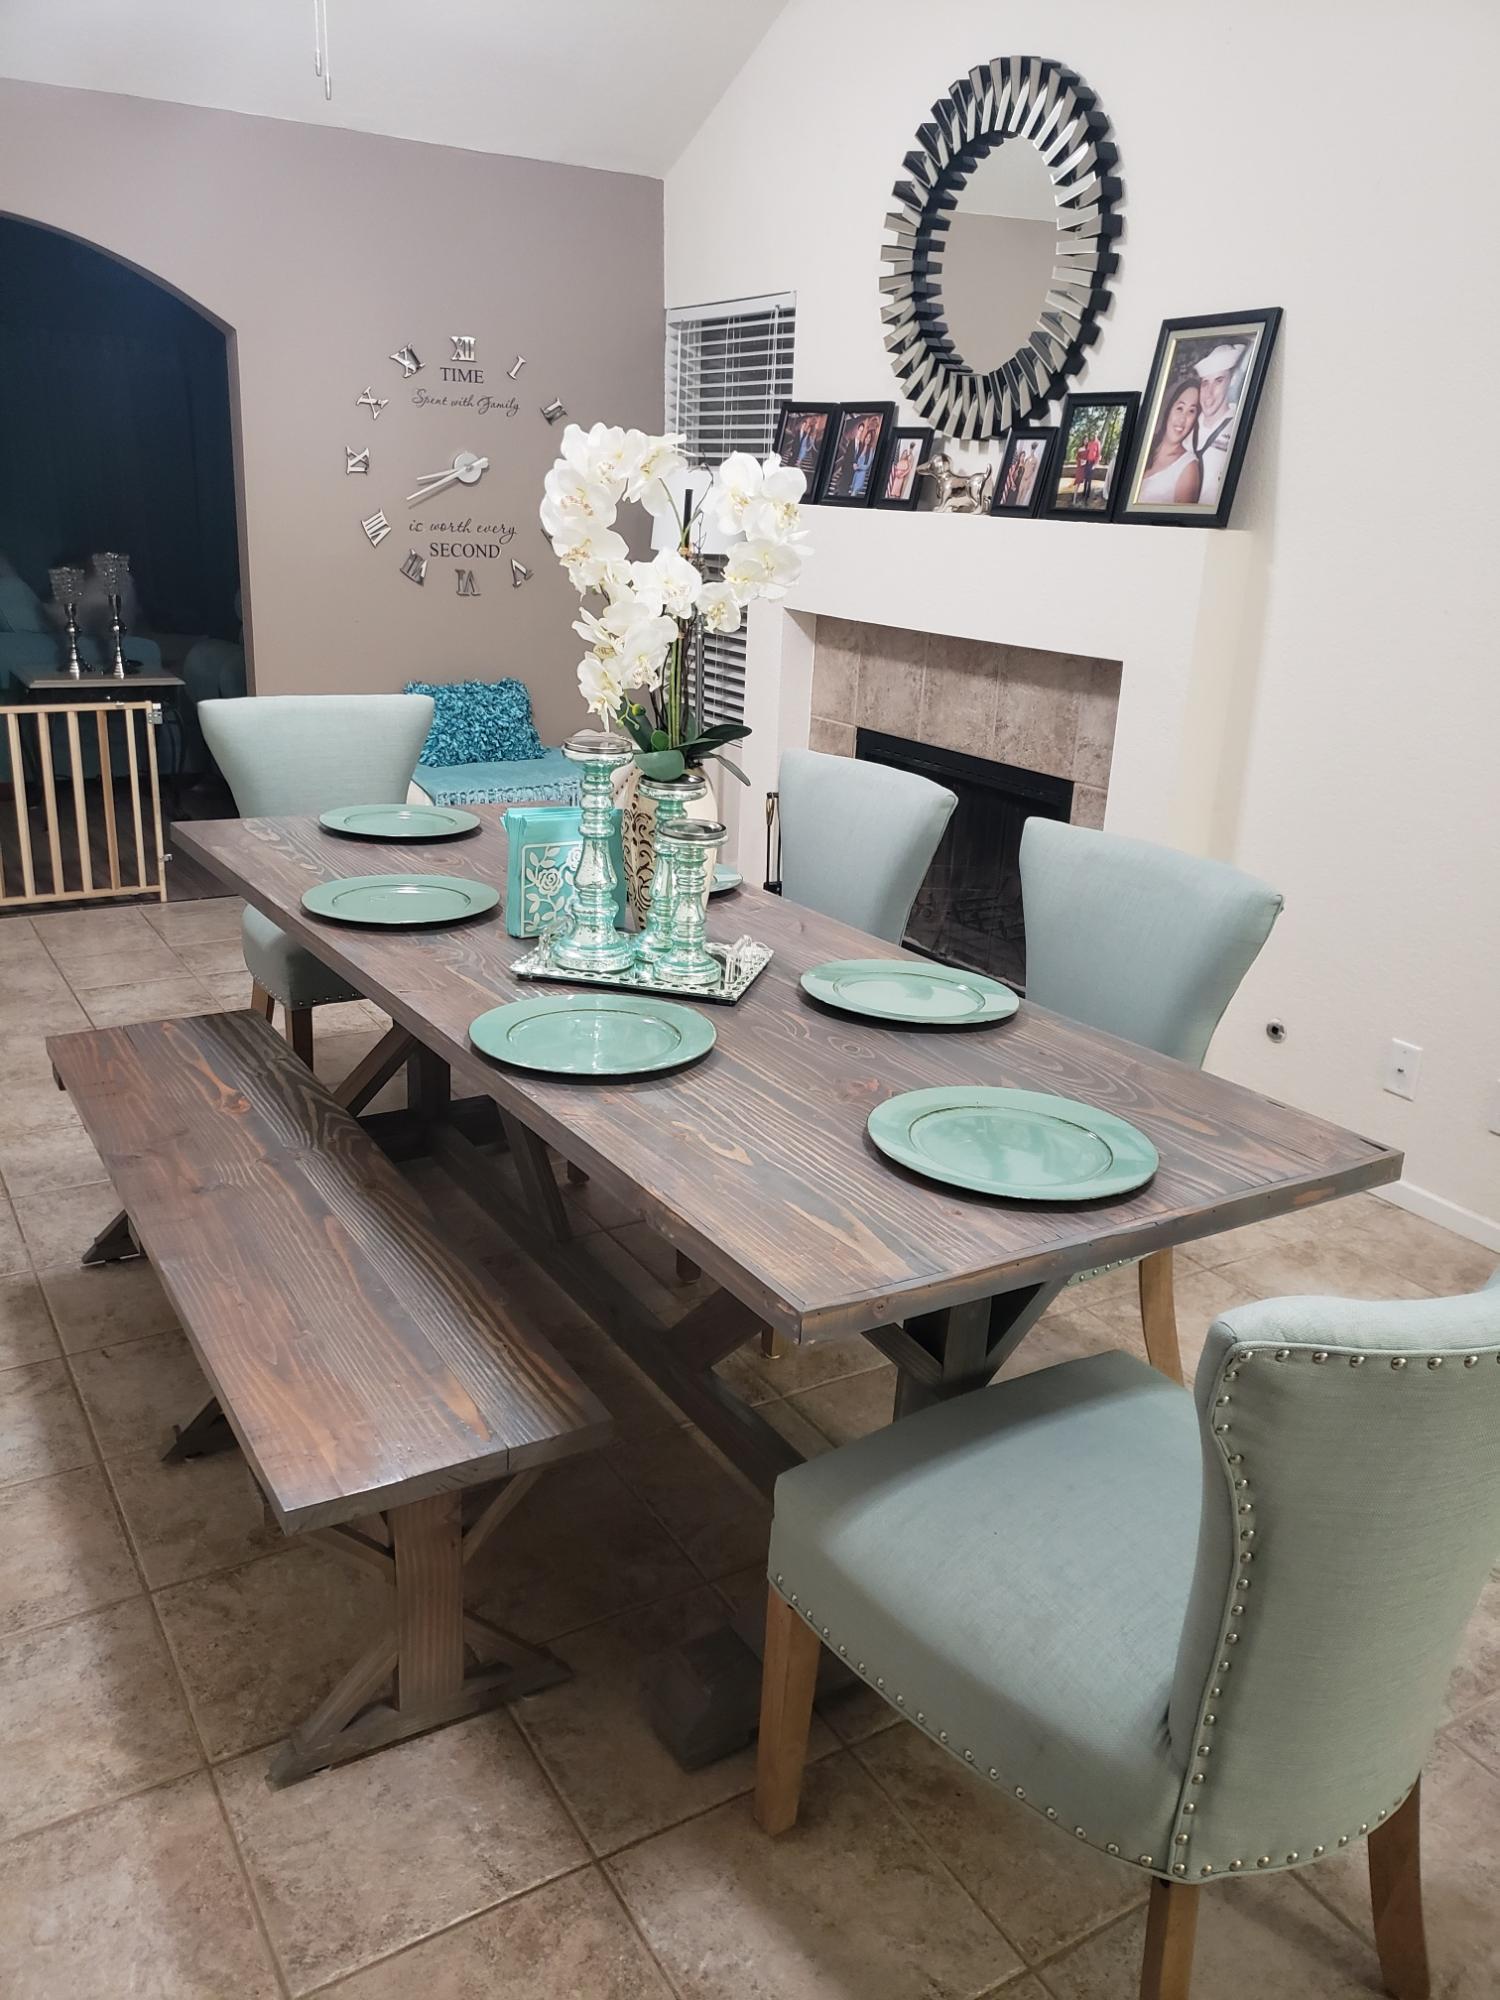
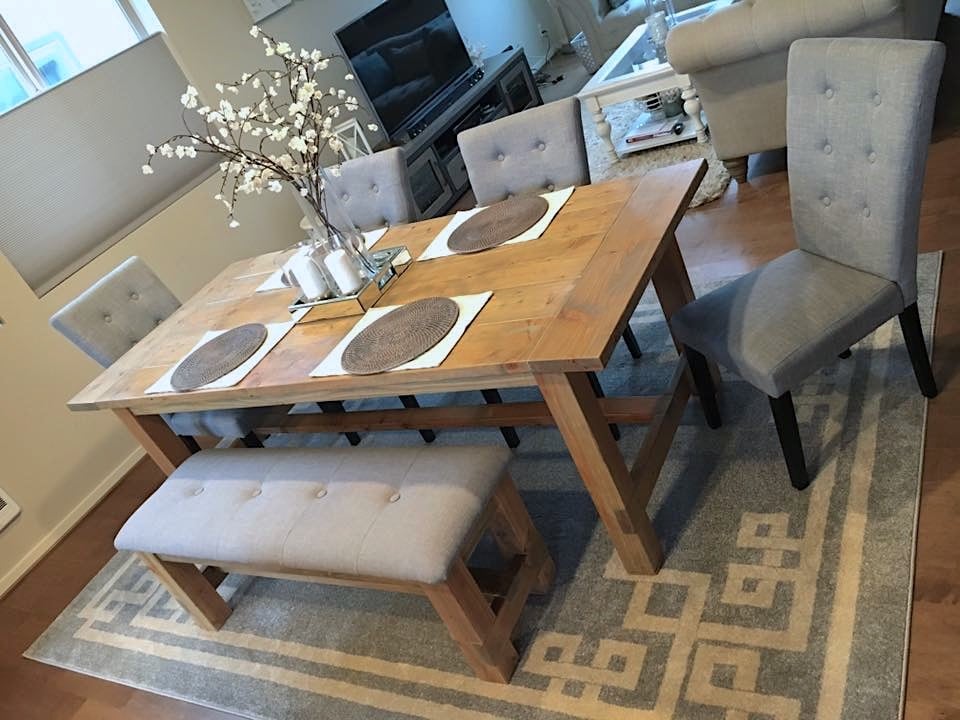
I have lived in my house for over 9 years and have never done anything to it until recently. I have made the commitment to move away from plain white walls and boring "plug-n-play" furniture. I discovered Ana's site a few months ago and have been a daily visitor. I made this dining room set with the confidence Ana's instructions gave me and I am forever grateful.
I made a few adjustments to the Parson Chair, making it longer in the back and used 5 degree angle instead of 15 and made the seat wider for our hefty hips and I used all 2x3s for the "chair bones".


Fri, 08/29/2014 - 10:42
You did such a beautiful job on these! The chairs, bench, table, and finish all look spectacular!
Sun, 04/03/2016 - 17:33
I really like the matching bench. I am going to make this table for my daughter and she wants a bench with it. I am wondering where you found matching legs short enough for the bench? I have been looking but what I find are legs for end tables but they are too long. Seems the bench-top height should be a standard 18 inches. Thanks for any help.
I am a complete newbie to anything woodworking. I just turned 60 and used a drill for the first time about 9 months ago. Thanks to Anna and her plans and videos, I have developed some some self confidence in this art and absolutely loving it.
Farmhouse coffee table and king size bed is next.
Thank YOU Anna!!! You totally rock!!!!!!!!

In reply to Amazing! by Ana White Admin
Tue, 01/19/2021 - 14:31
Awwwww thank you sooooo much! That means so much coming from you! I appreciate you. 🤗🤗


Comments
Ana White Admin
Fri, 01/28/2022 - 10:16
Sweet playhouse!
That looks amazing, thank you for sharing!
Ana White Admin
Fri, 01/28/2022 - 10:16
Sweet playhouse!
That looks amazing, thank you for sharing!