Community Brag Posts

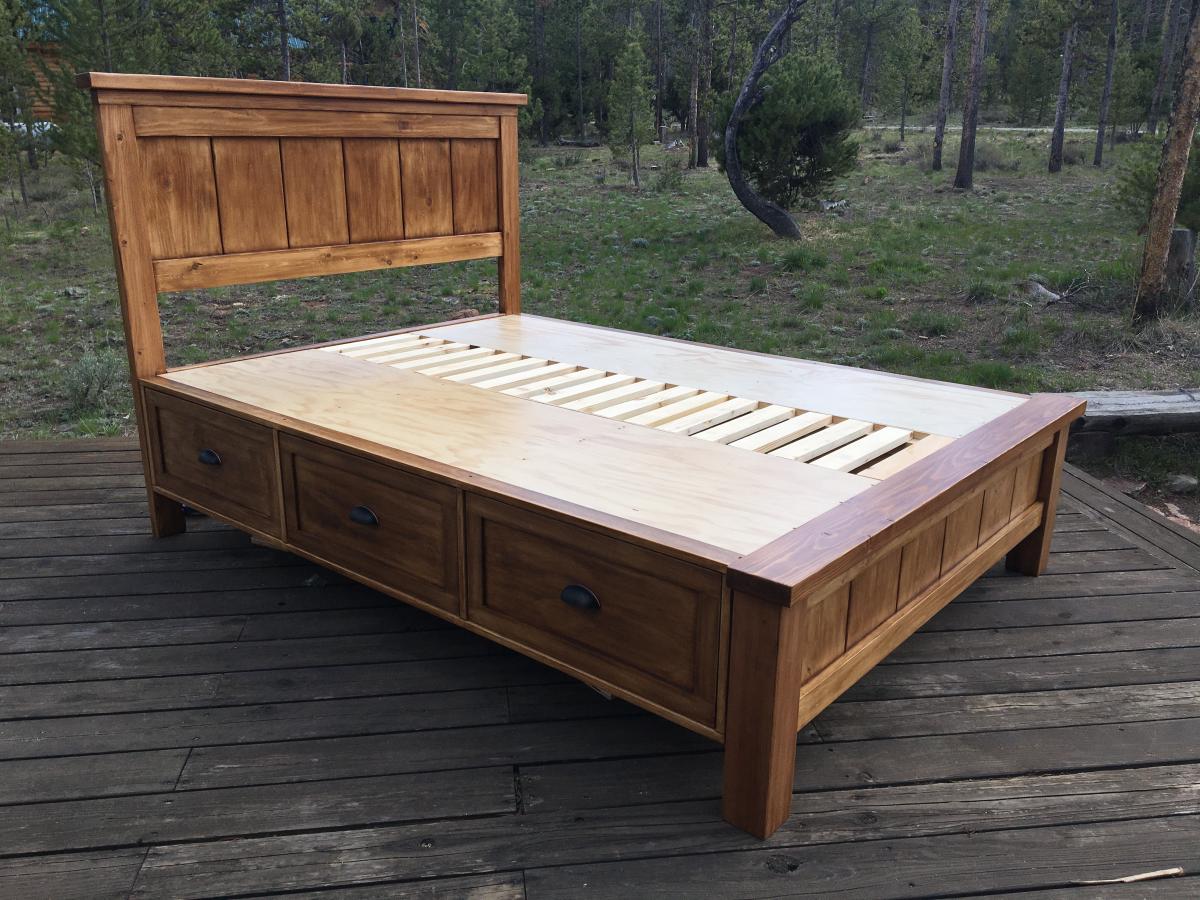
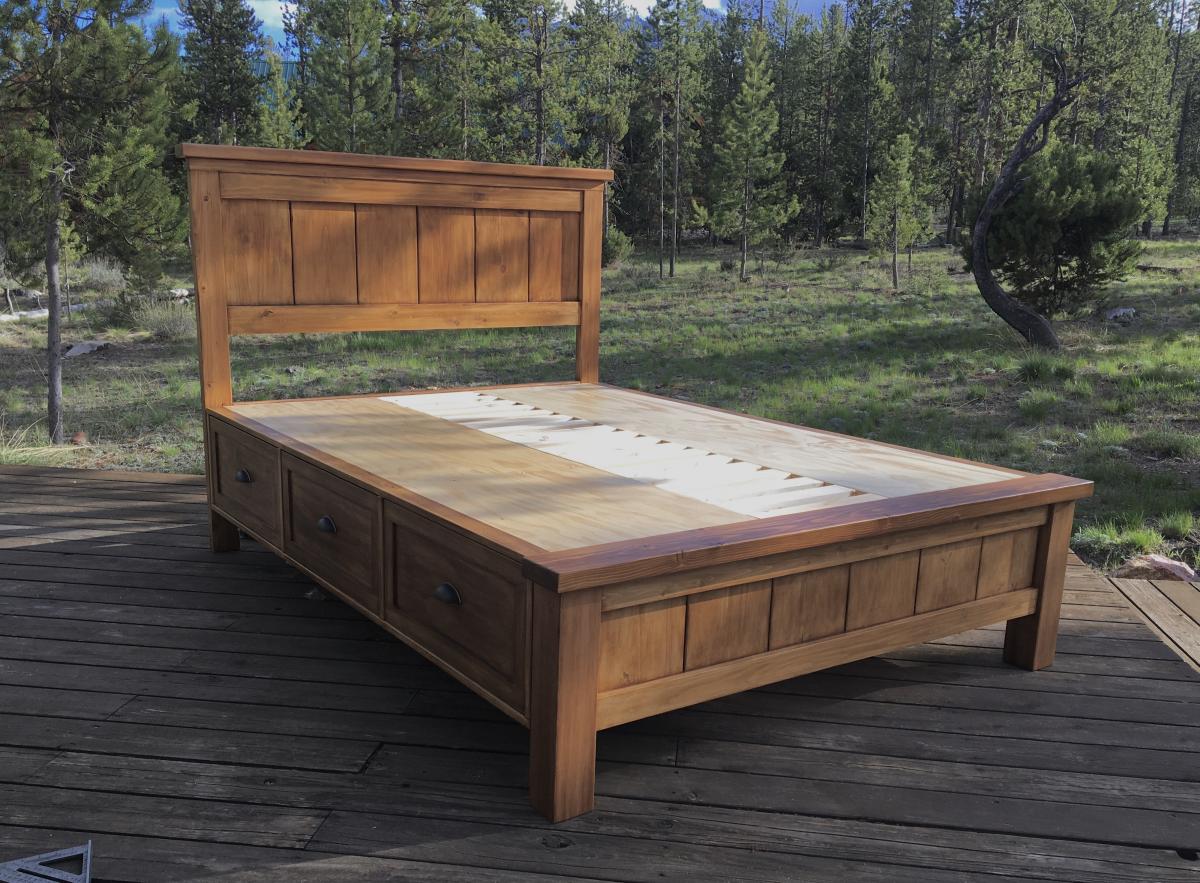
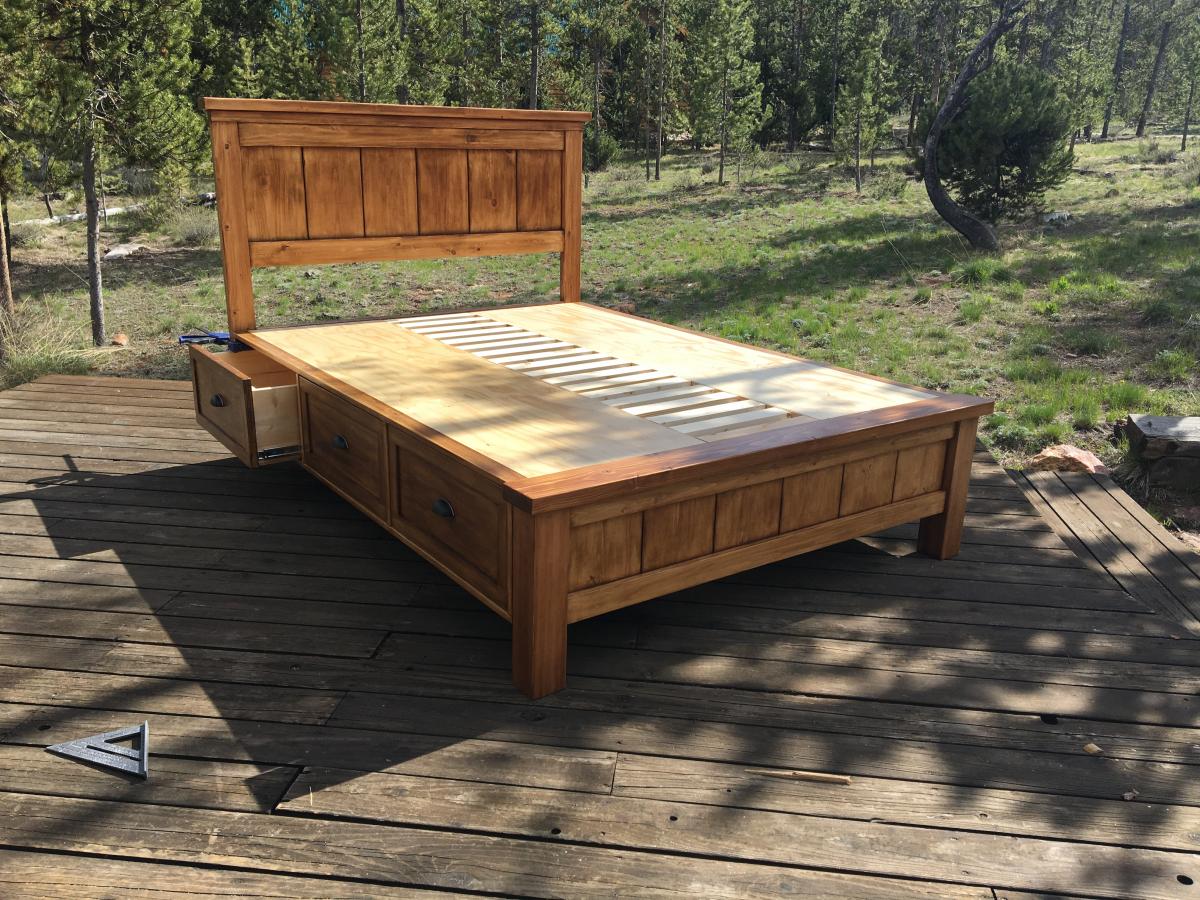
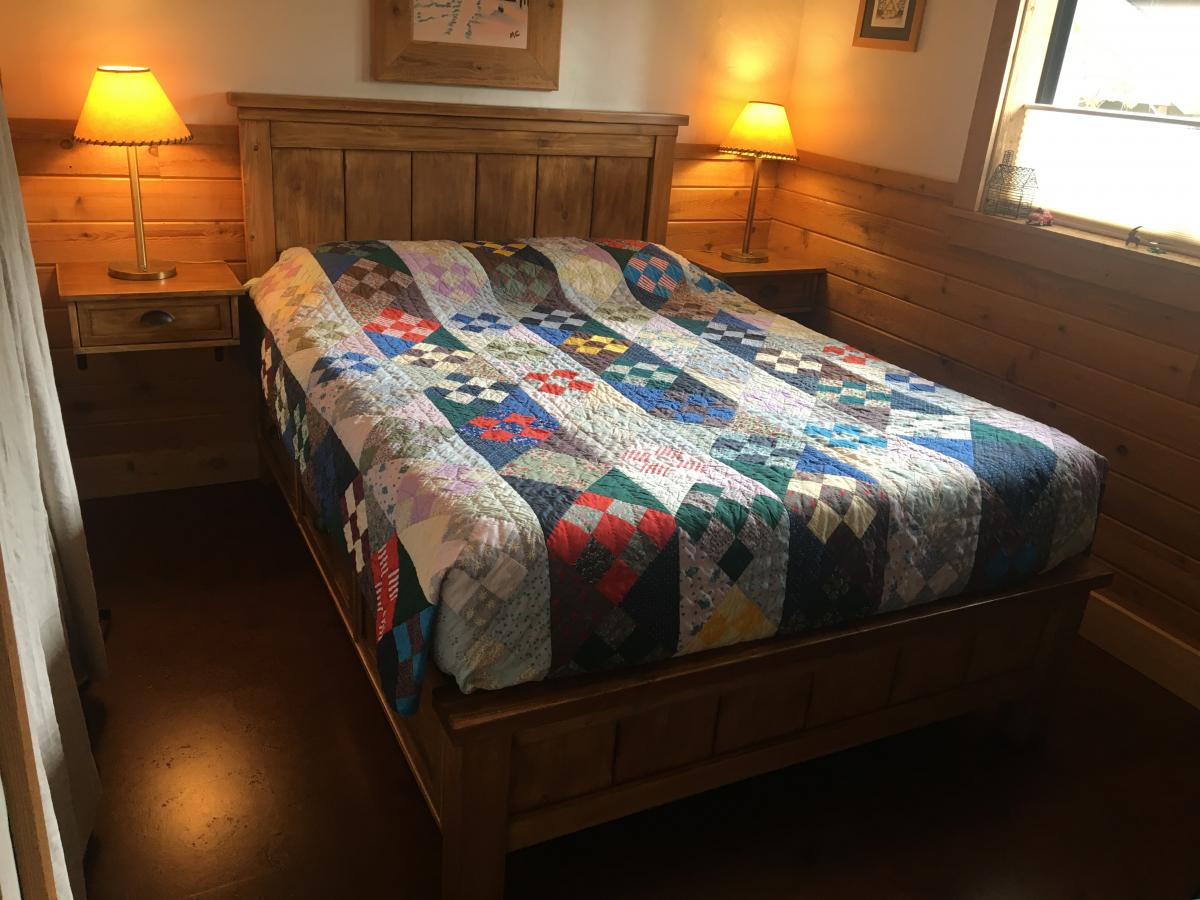
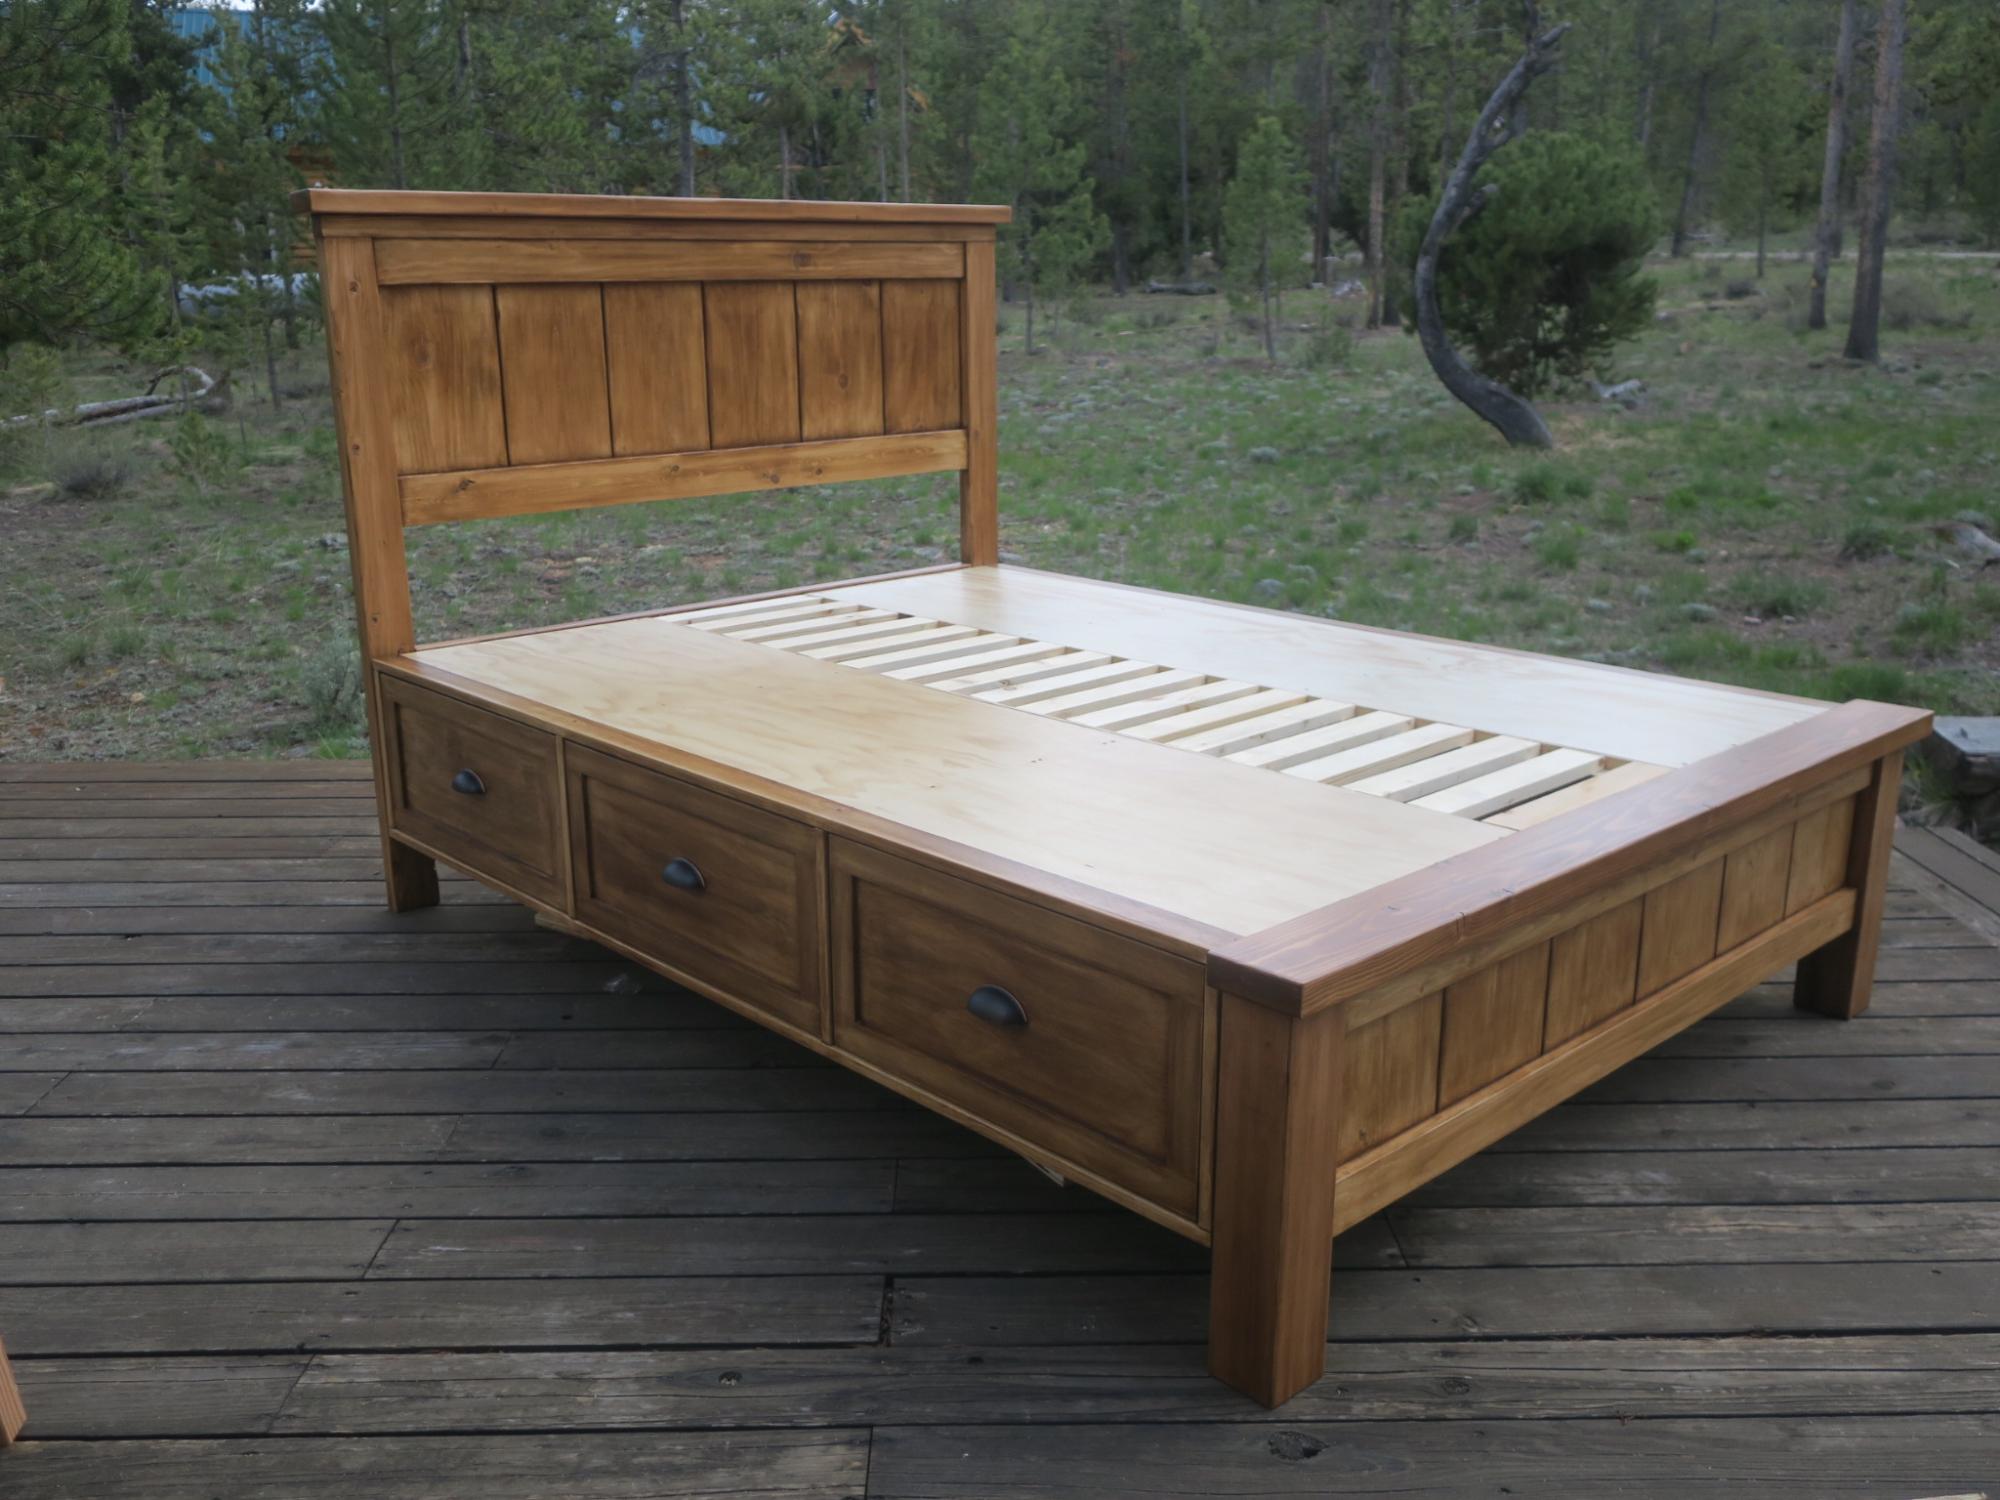
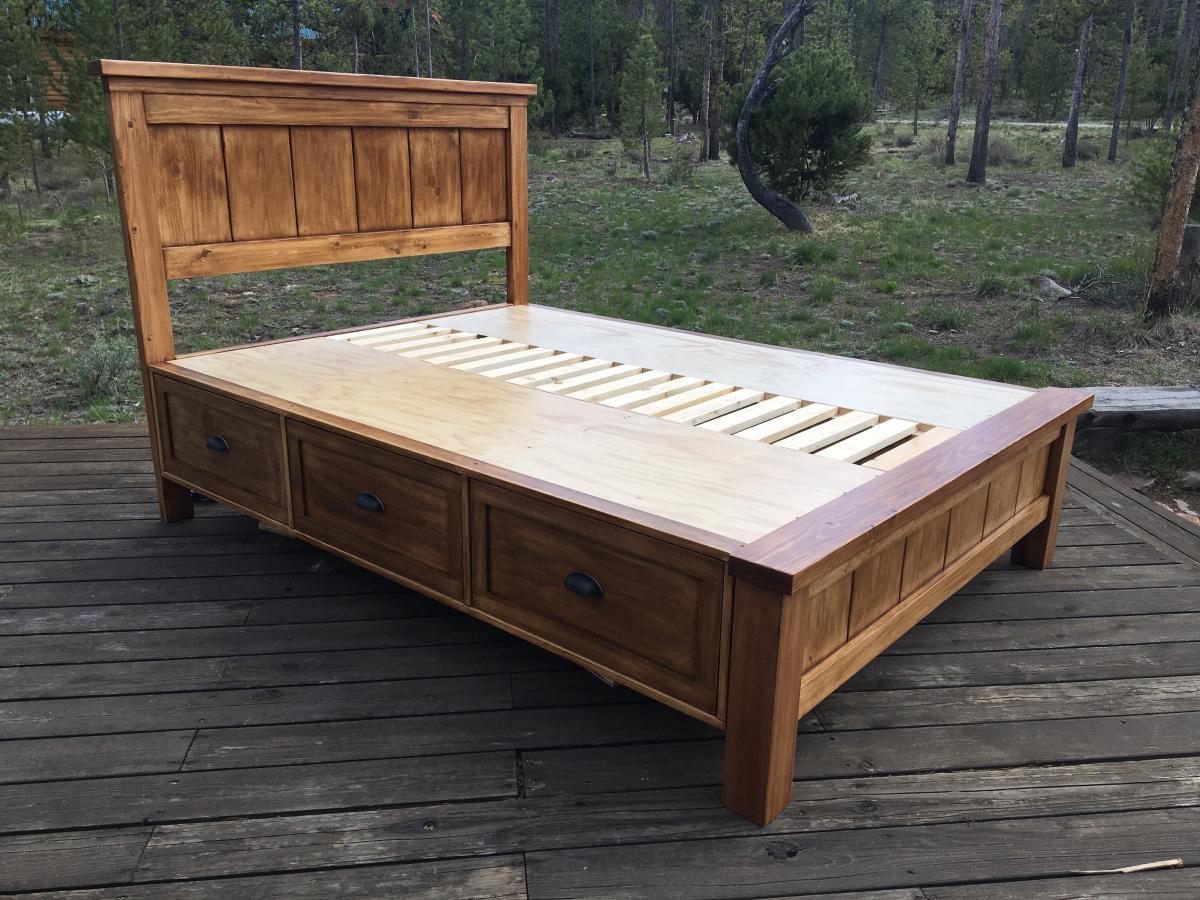
Farmhouse Storage bed with platform modification

Submitted by Anonymous (not verified) on Mon, 10/04/2021 - 13:06

Hi, I’m Joe and love working on my cabin in Stanley Idaho. I needed a queen size bed on the ground floor but the room is small so I incorporated the footboard into into the platform to gain 6 inches of space in the room. It took a couple months working off and on but all fun. I also made the drawers deeper front to back to maximize storage. I did this at the peak of lumber prices and spent like $900 on lumber. It came out great, my Airbnb guests love it!

Comments

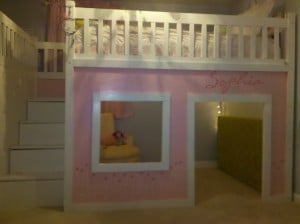
Playhouse Loft Bed with Storage Stairs

I changed this plan and made it into Full size. Feel free to contact me if you would like more information about how to do this too. 

Estimated Cost
$350
Estimated Time Investment
Week Long Project (20 Hours or More)
Recommended Skill Level
Beginner

Golf Club Locker

Utilized the plan for the Locker Book Shelf-Full Size and modified it a bit to convert to a golf club locker. Definitely keeps all the clubs, shoes, and accessories organized and eliminates the clutter. My wife loves it, course she added the baskets, which makes it look awesome! Actually this is how I stumbled upon Ana White's website. I was looking high and low for a plan for golf club lockers, and found Ana's website as part of the process. Best google search I've ever done!

Built from Plan(s)

Comments

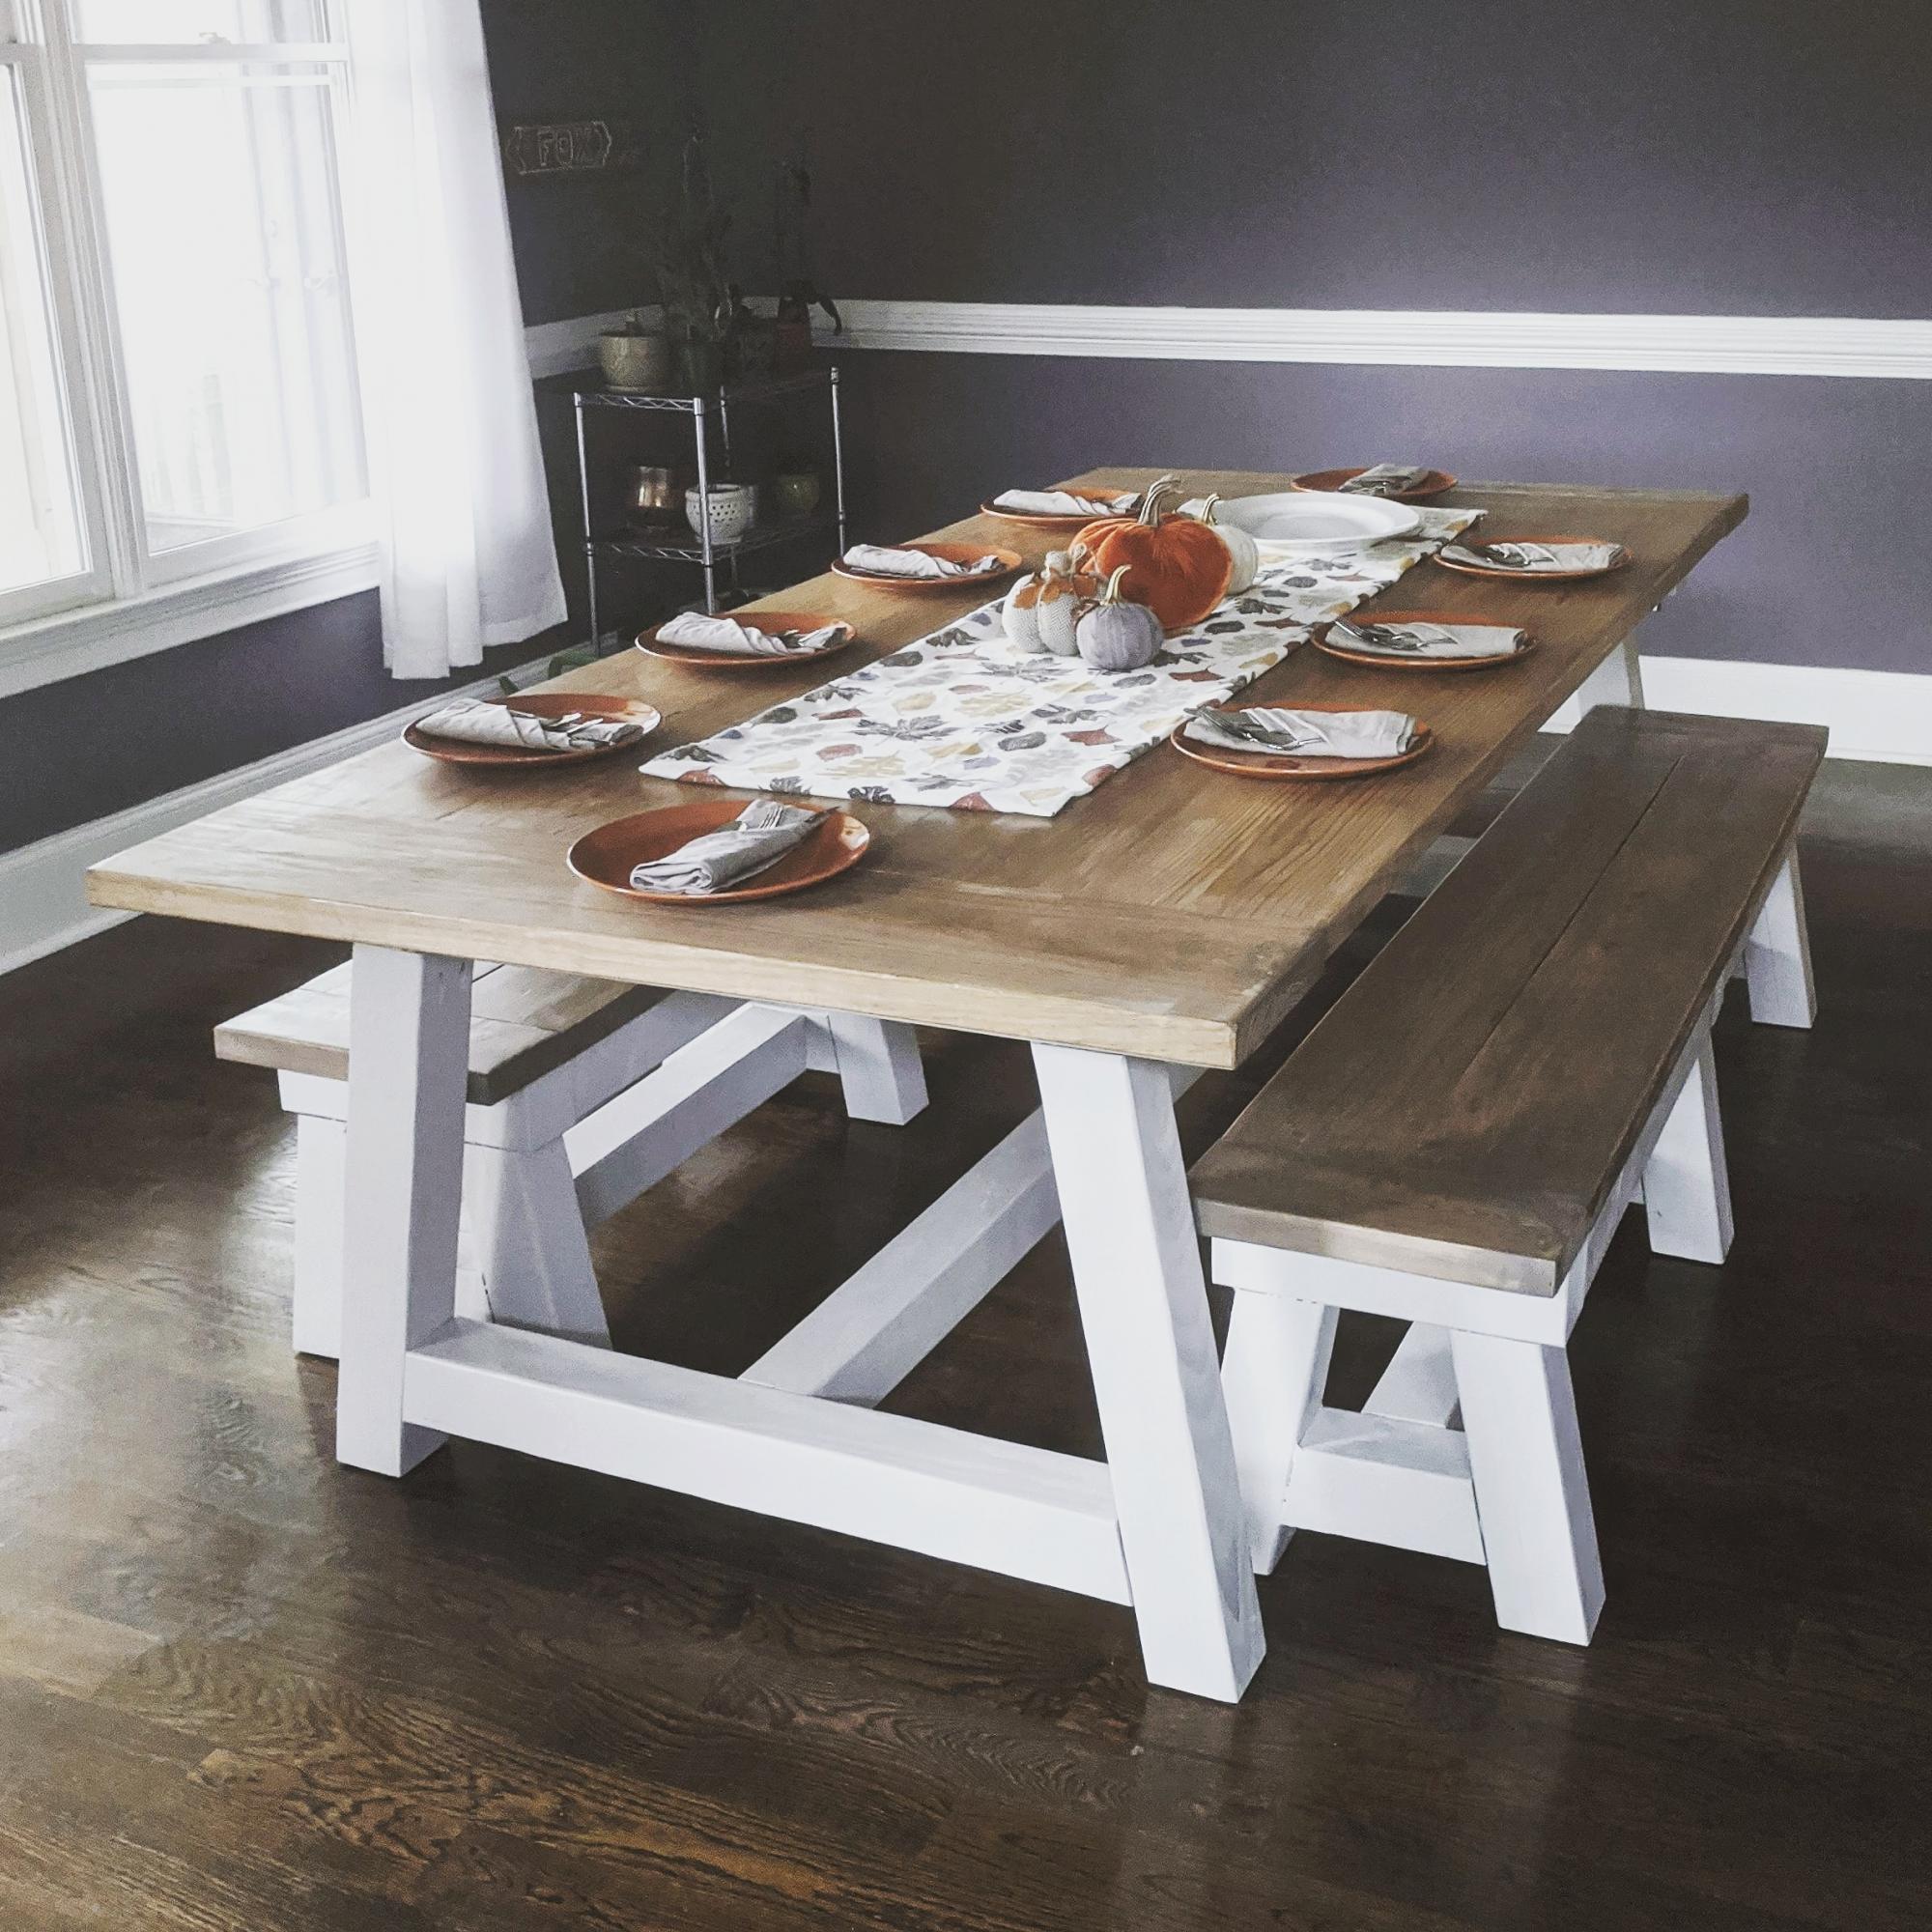
4x4 Truss Table and Benches

Submitted by Anonymous (not verified) on Sun, 11/24/2019 - 12:41

Modified so that it could fit 12 people comfortably.

Estimated Time Investment
Week Long Project (20 Hours or More)
Recommended Skill Level
Intermediate

Comments

Seasonal And Holiday

Mega work bench with miter station

Submitted by Anonymous (not verified) on Mon, 10/04/2021 - 16:51

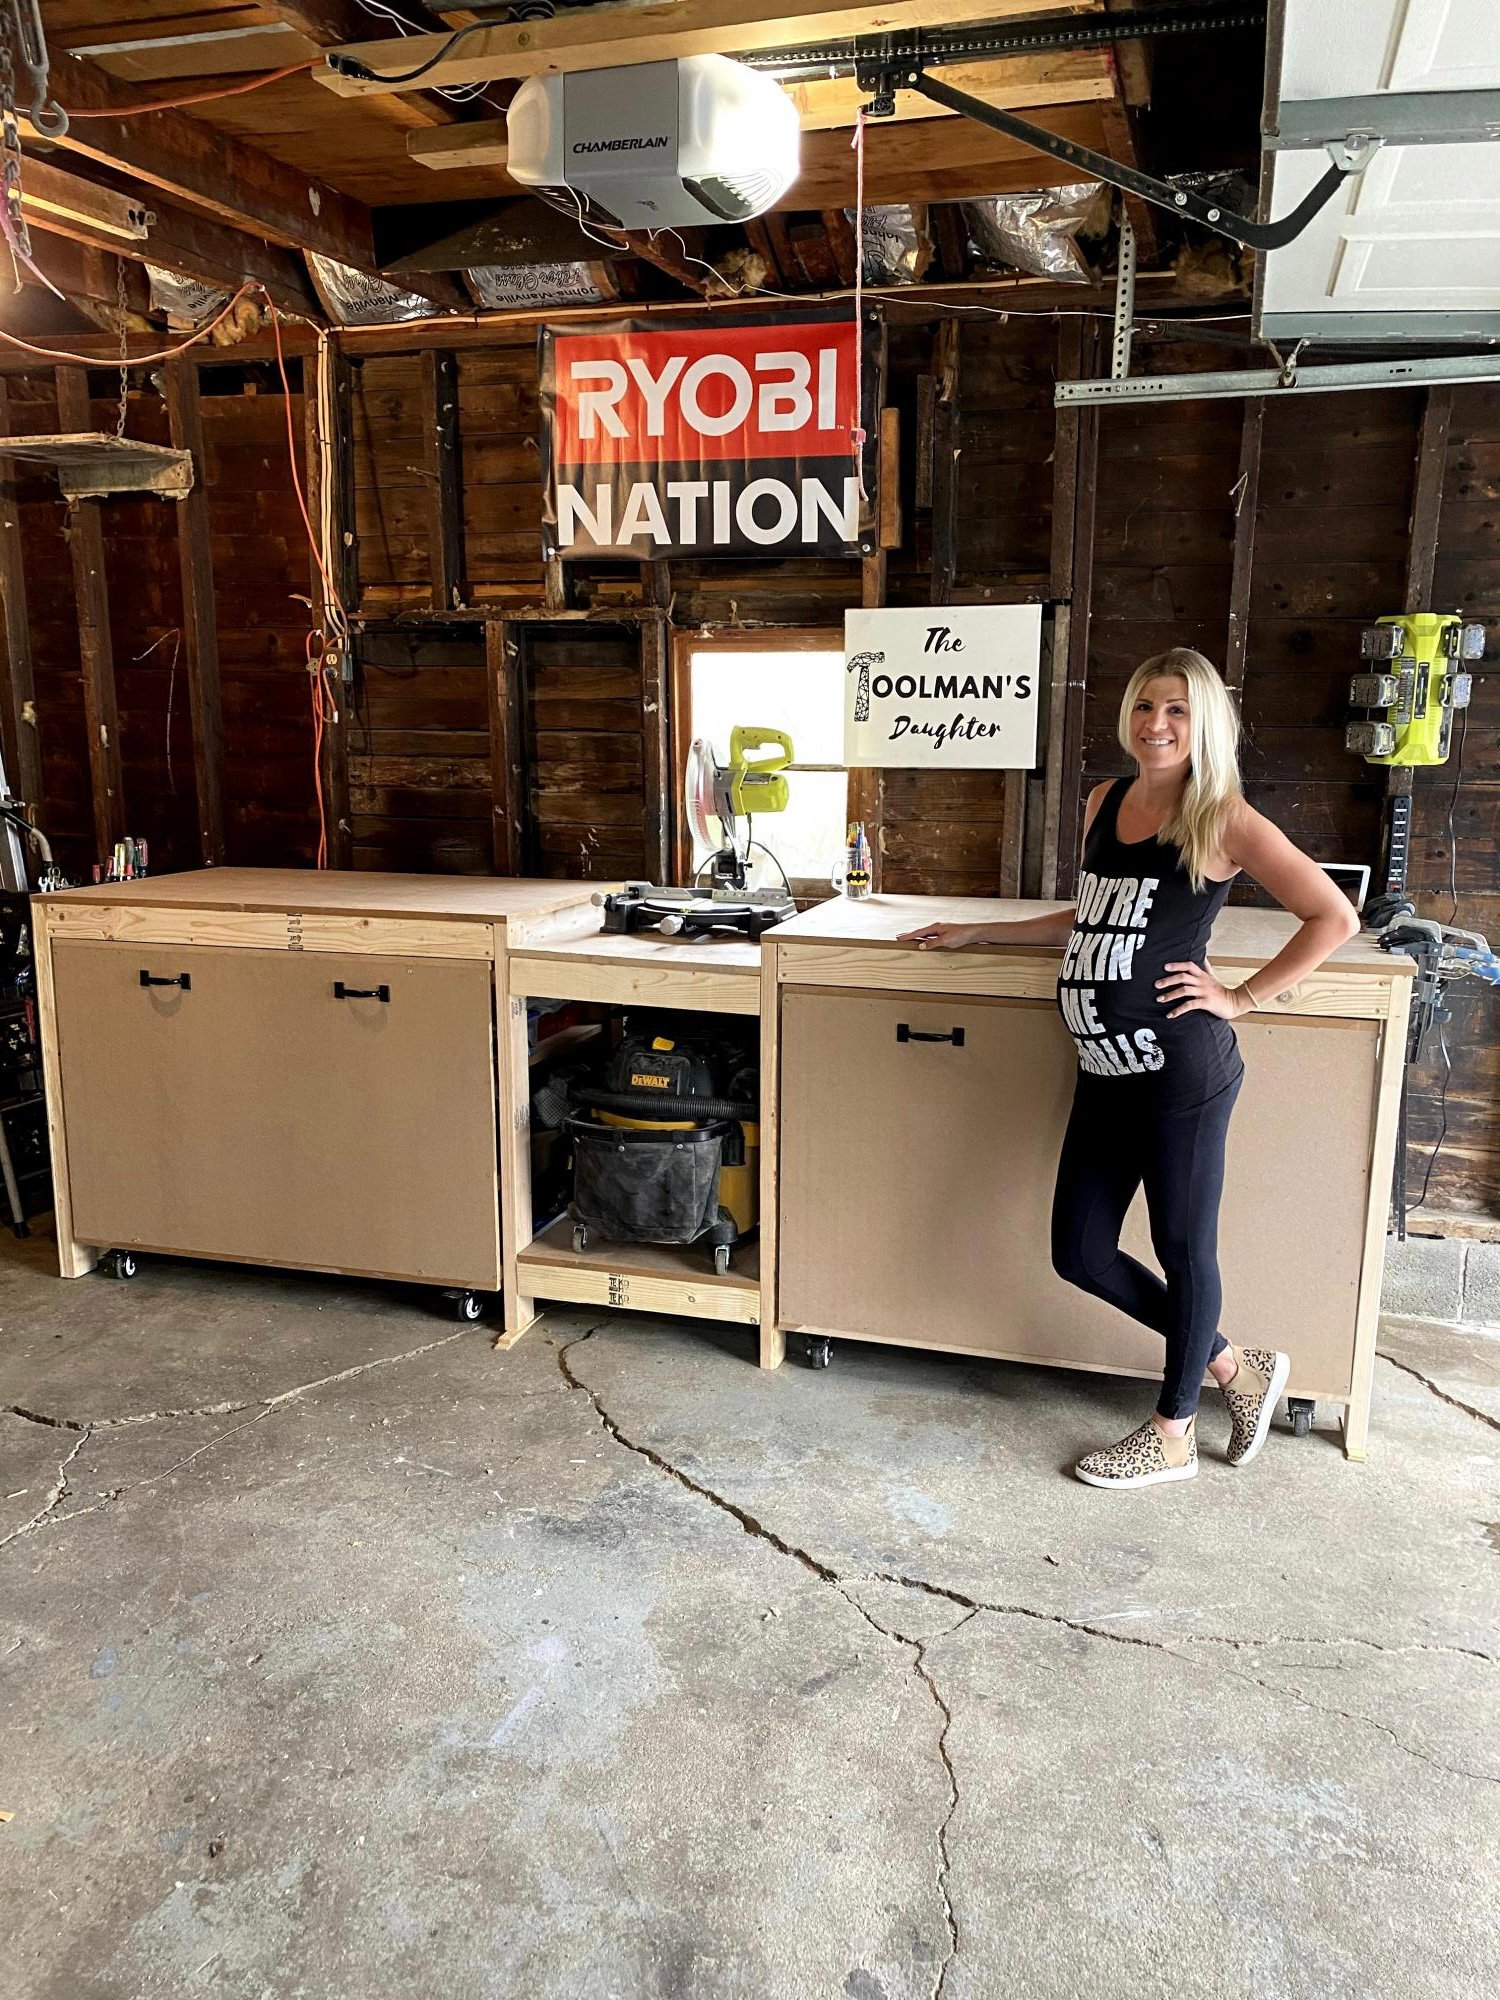
When I was 8 months pregnant and going through my “nesting phase” I knew I needed to get my garage organized. Prior to building this, my tools were all over the place. To try to get it done before the baby came, I called my dad to help me out, and we built it together in just a couple days. It was a weekend I will never forget and I smile every time I walk into my shop knowing we did it together.

Comments

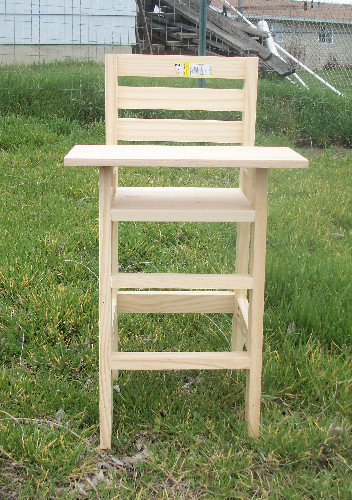
Cutest Baby Doll High Chair

Submitted by tracysmith on Sun, 03/27/2011 - 15:29

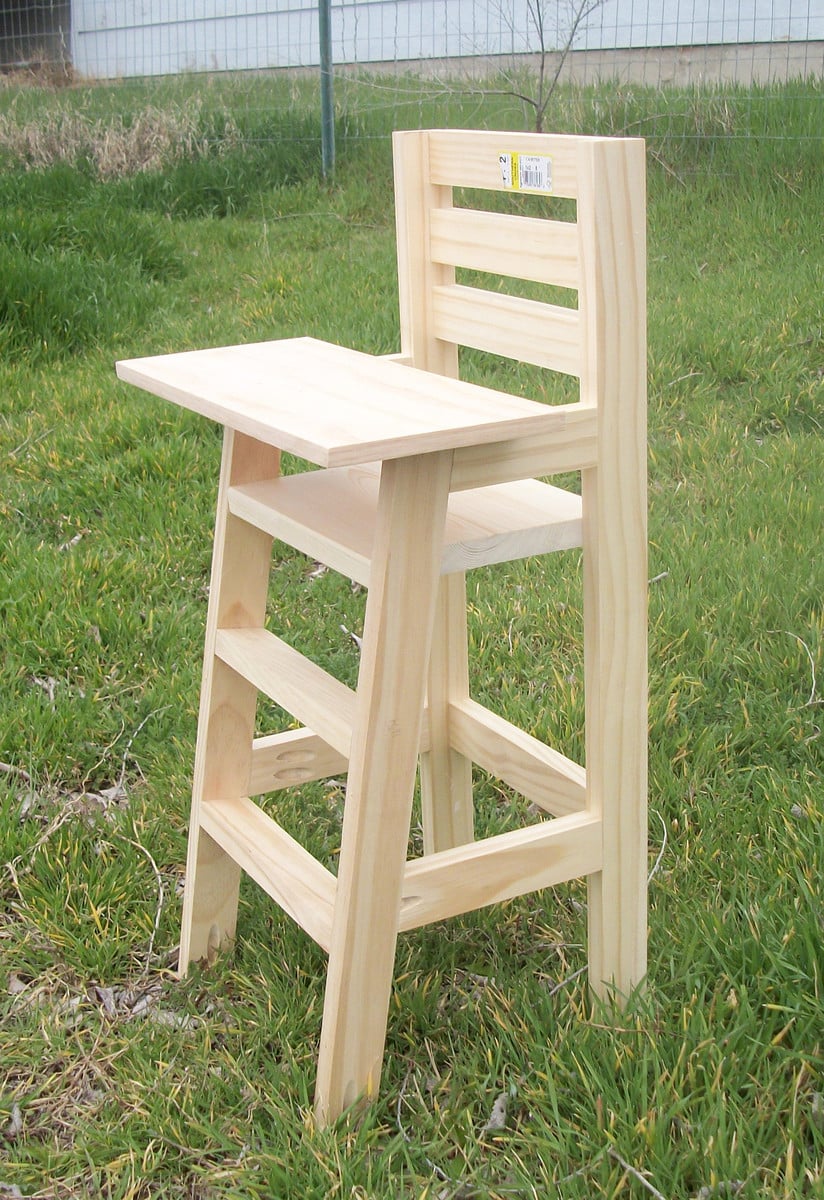
My neighbors grand-daughter is about to turn 3 and I thought this would make a great present for her.. plus, when she saw it online while visiting me (I was checking the website as usual), she said "Oh, I NEED one of those!".  I laughed and then that night went out and checked my scrap pile to see if I had everything I needed to build it.

I only needed one 8' piece of 1x2 to complete it.. .everything else I had, so great!
Estimated Cost
About $10 with paint.
Estimated Time Investment
An Hour or Two (0-2 Hours)
Finish Used
I have yet to paint this little project, but it will be painted in a gloss lavender purple so it's easy to clean.
Recommended Skill Level
Starter Project

Comments

Craftsman playhouse - in shades of blue

Submitted by richsea on Sat, 06/11/2022 - 21:58

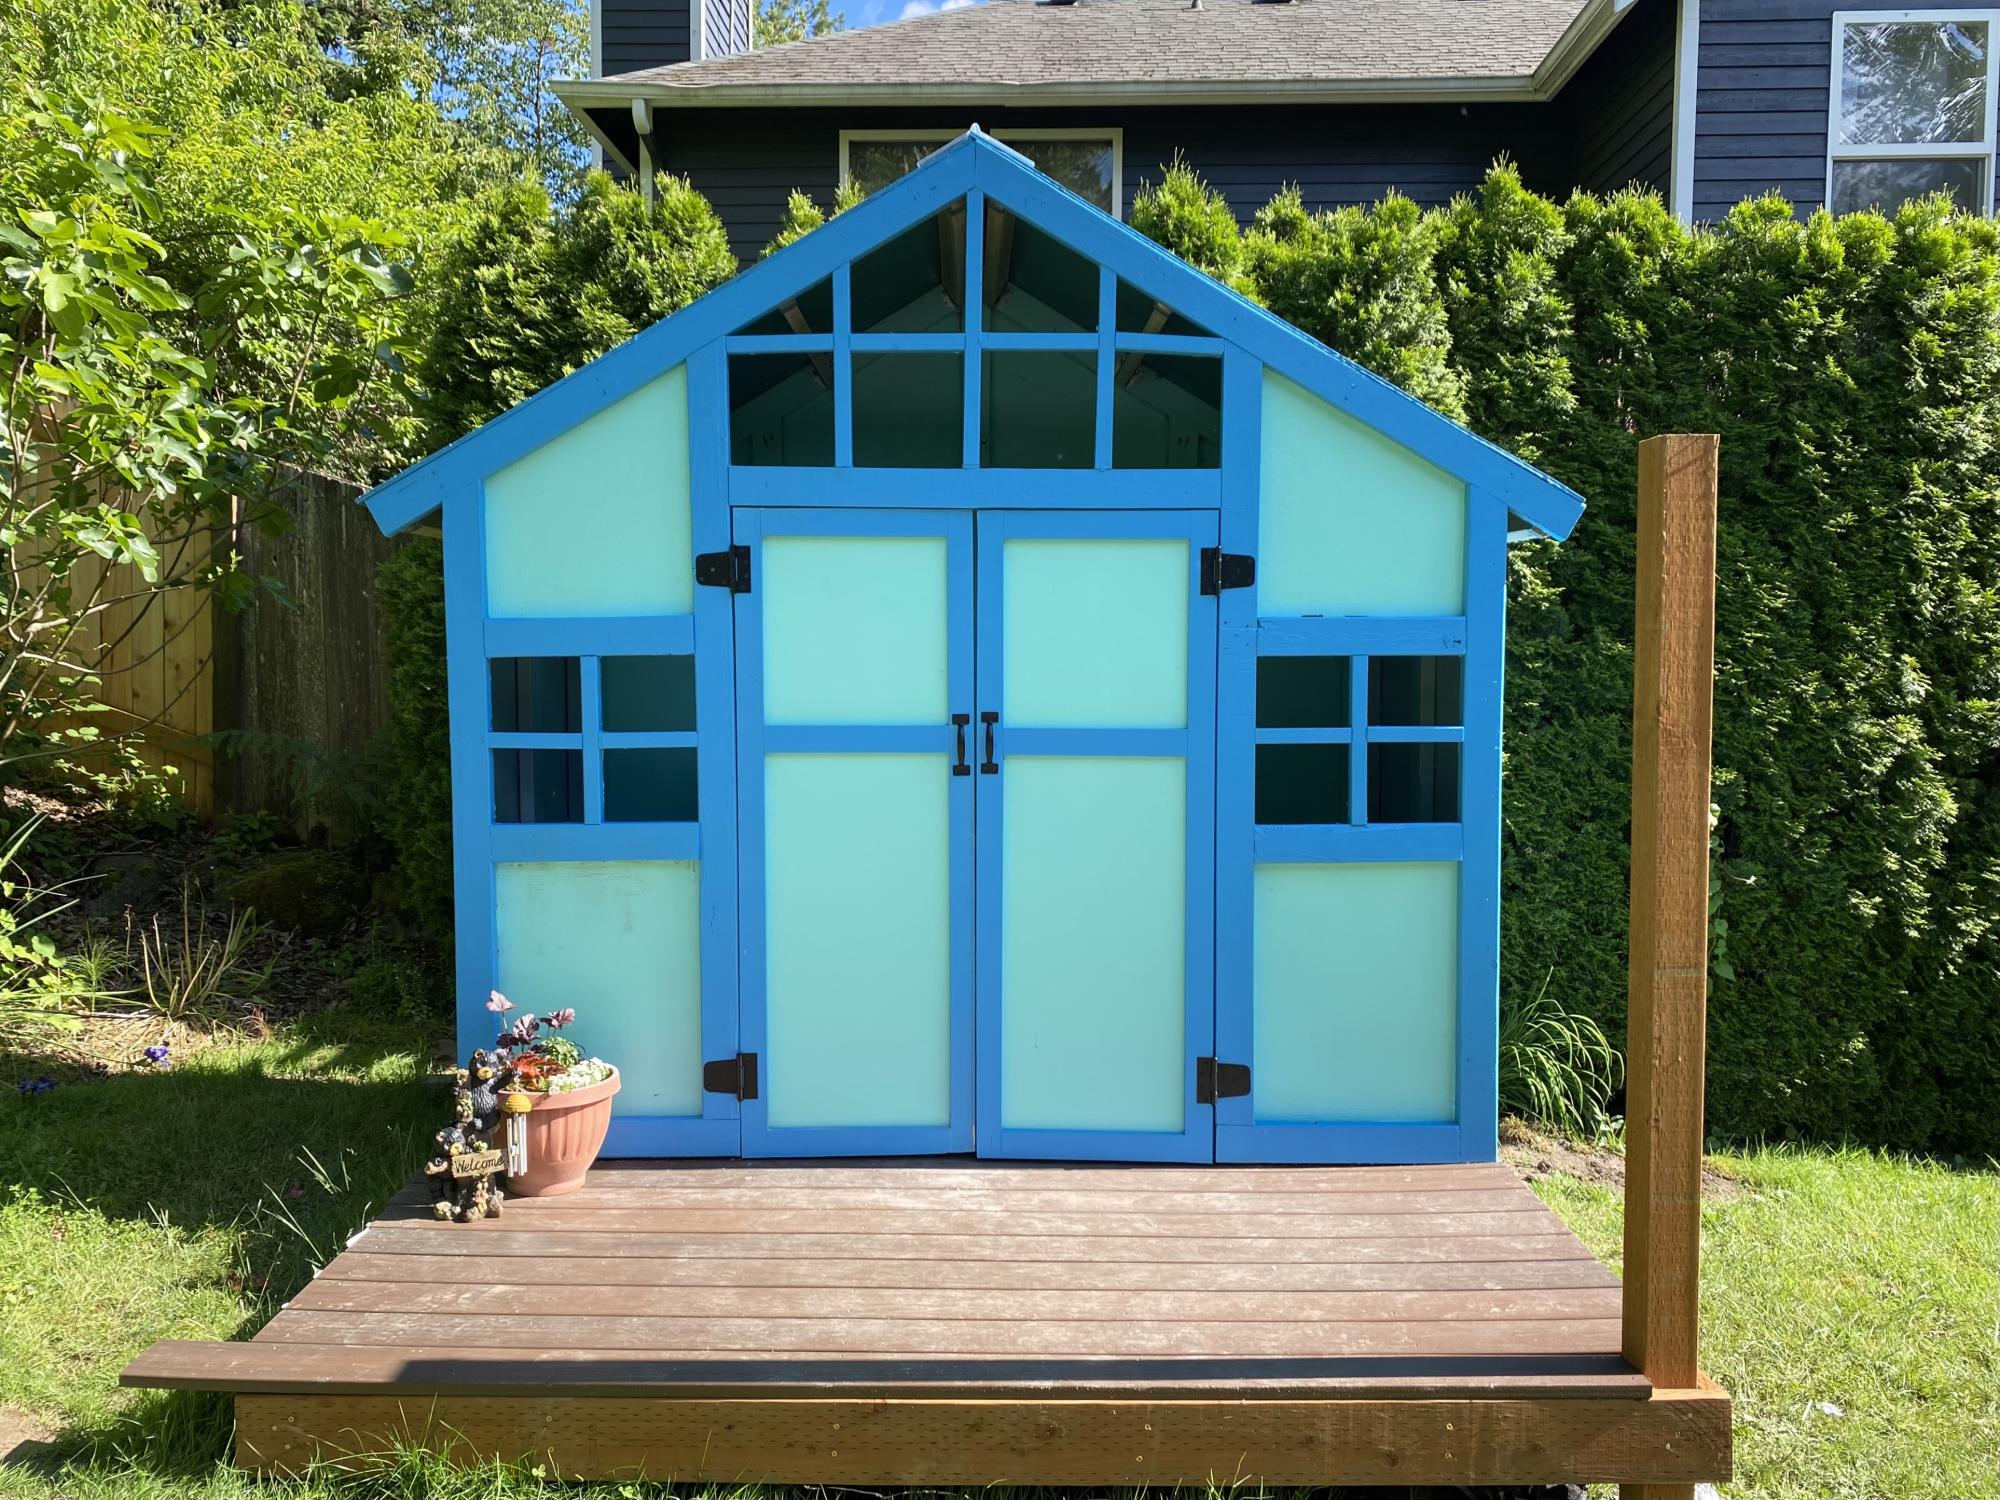
I’ve been working on building up to this playhouse for a while. Just got the doors on and am pretty pleased with what’s my first project of any size. Built on top of a modified version of the playhouse deck with a to be added (hopefully) swing in front. Color selection by the end customer (who’s 8). Modified to add 12 inches for a 5’ doorway. Thankfully I caught that at the last minute for the kiddo. Still a menace if I forget to duck. But super roomy once inside.

Comments

Seasonal And Holiday

Chicken Coop with run

Submitted by Anonymous (not verified) on Sun, 01/31/2016 - 19:36

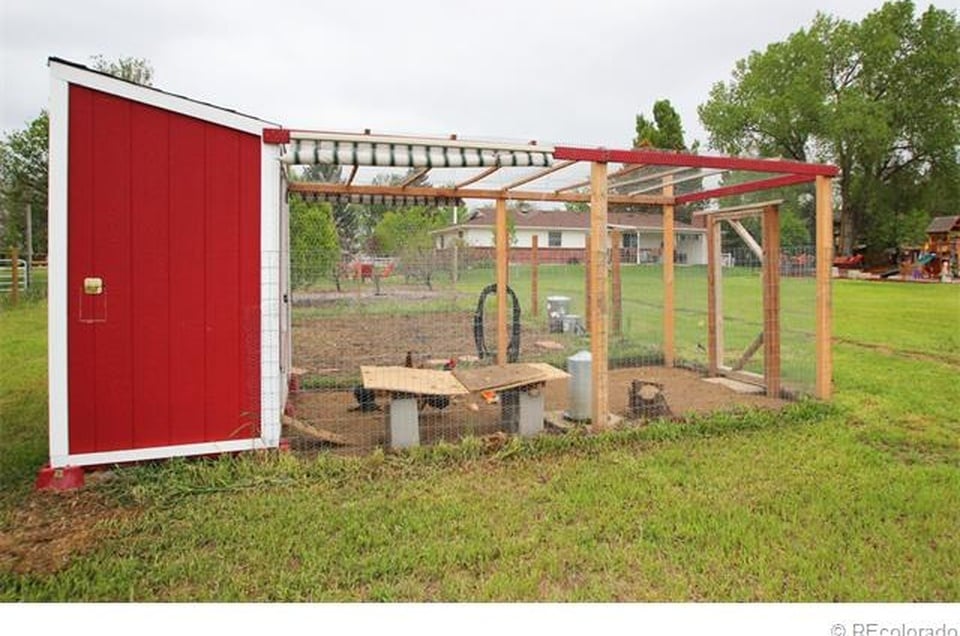
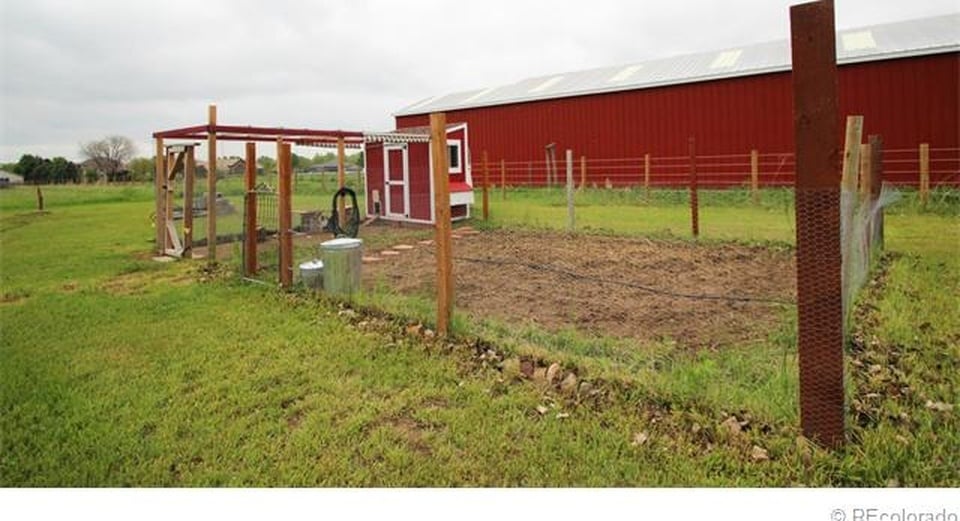
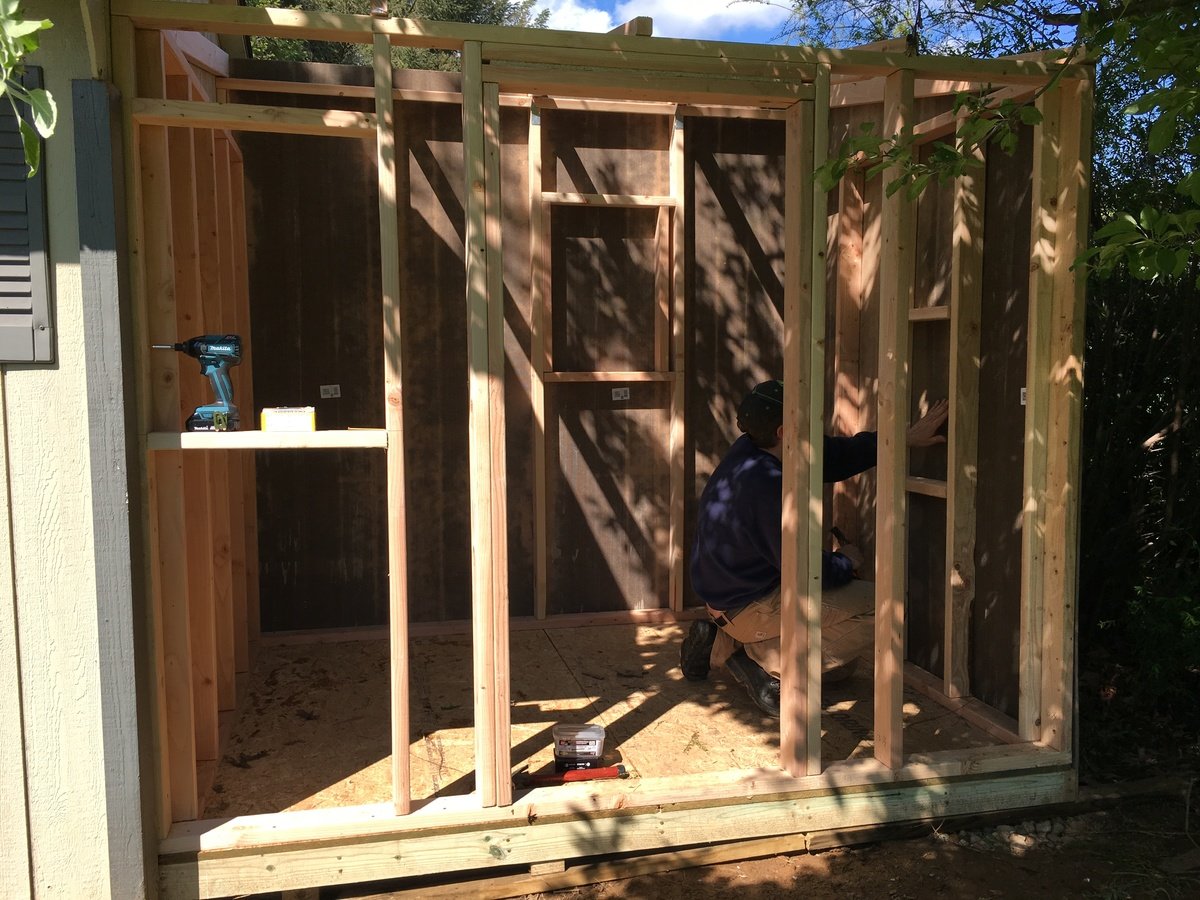
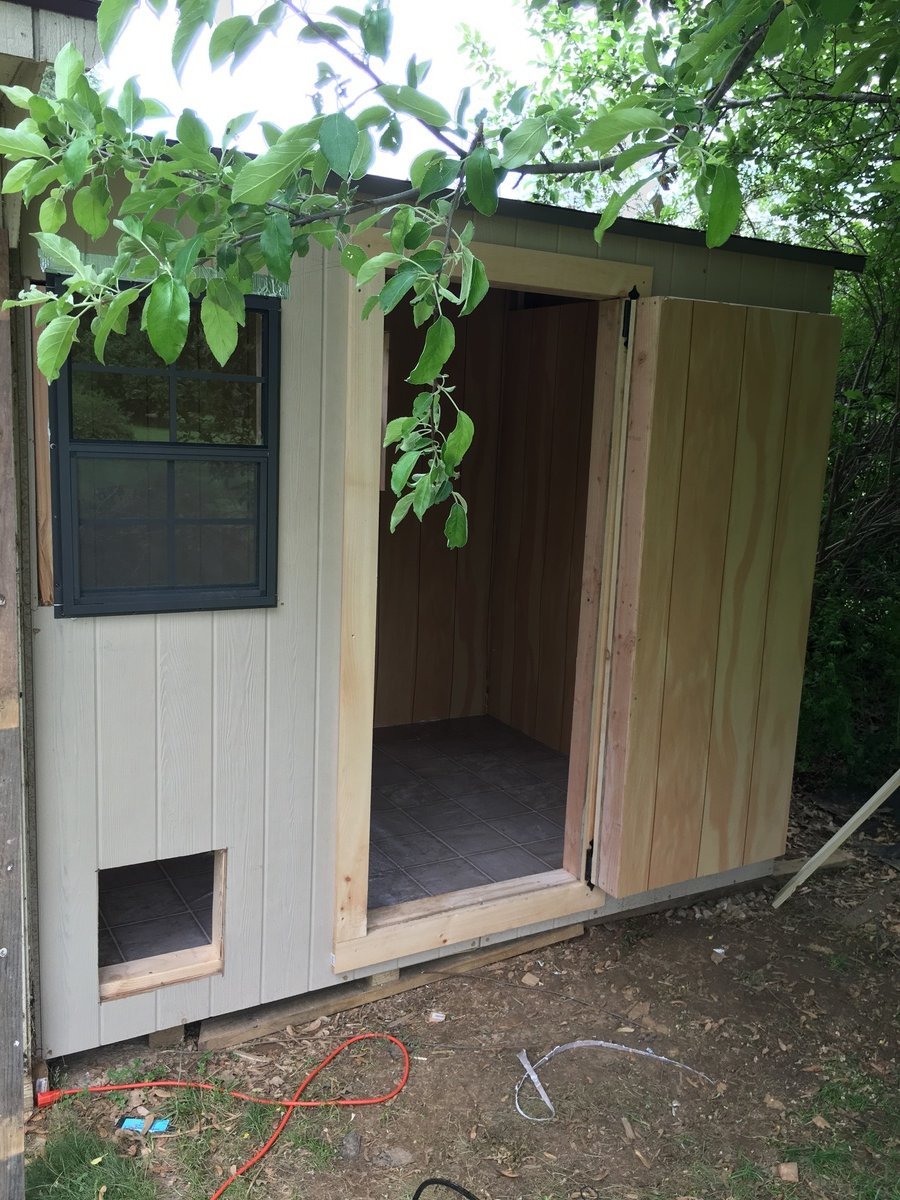
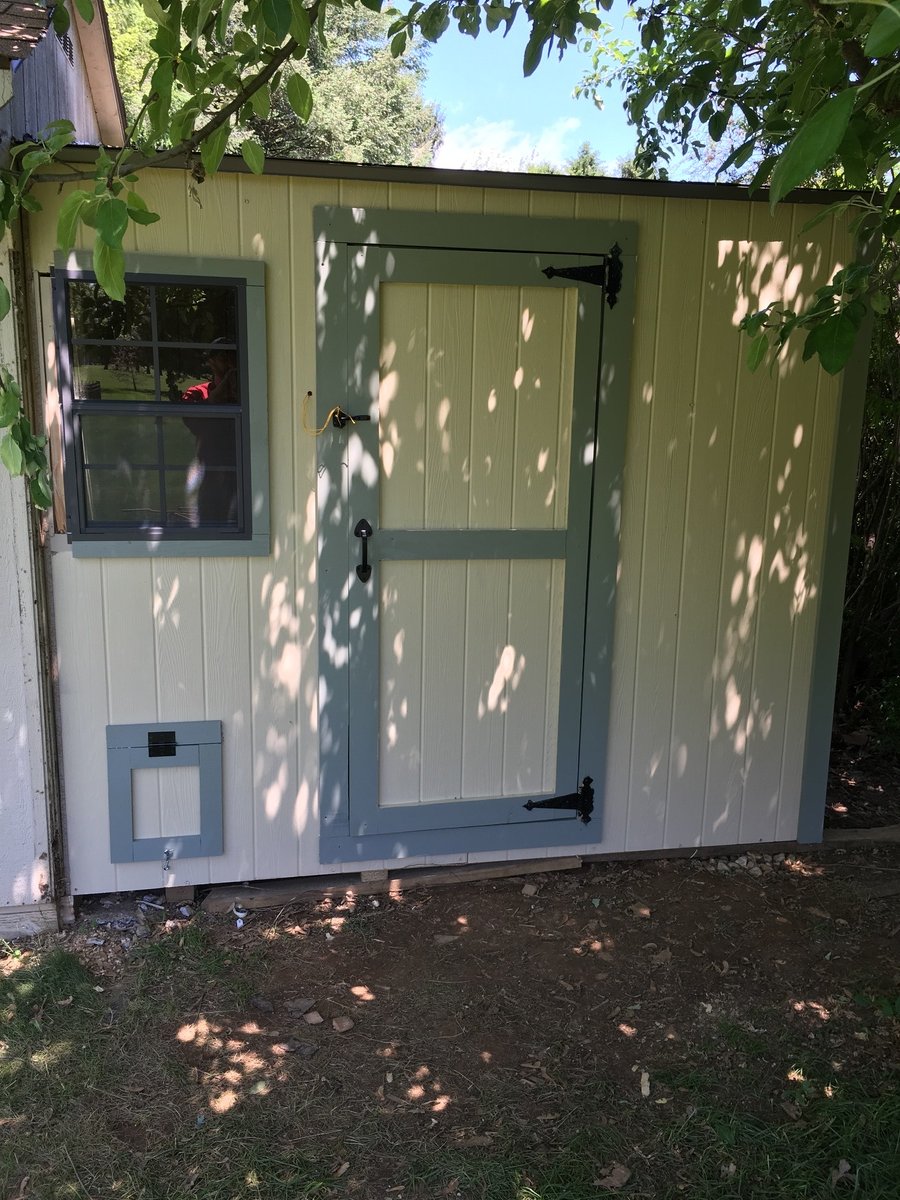
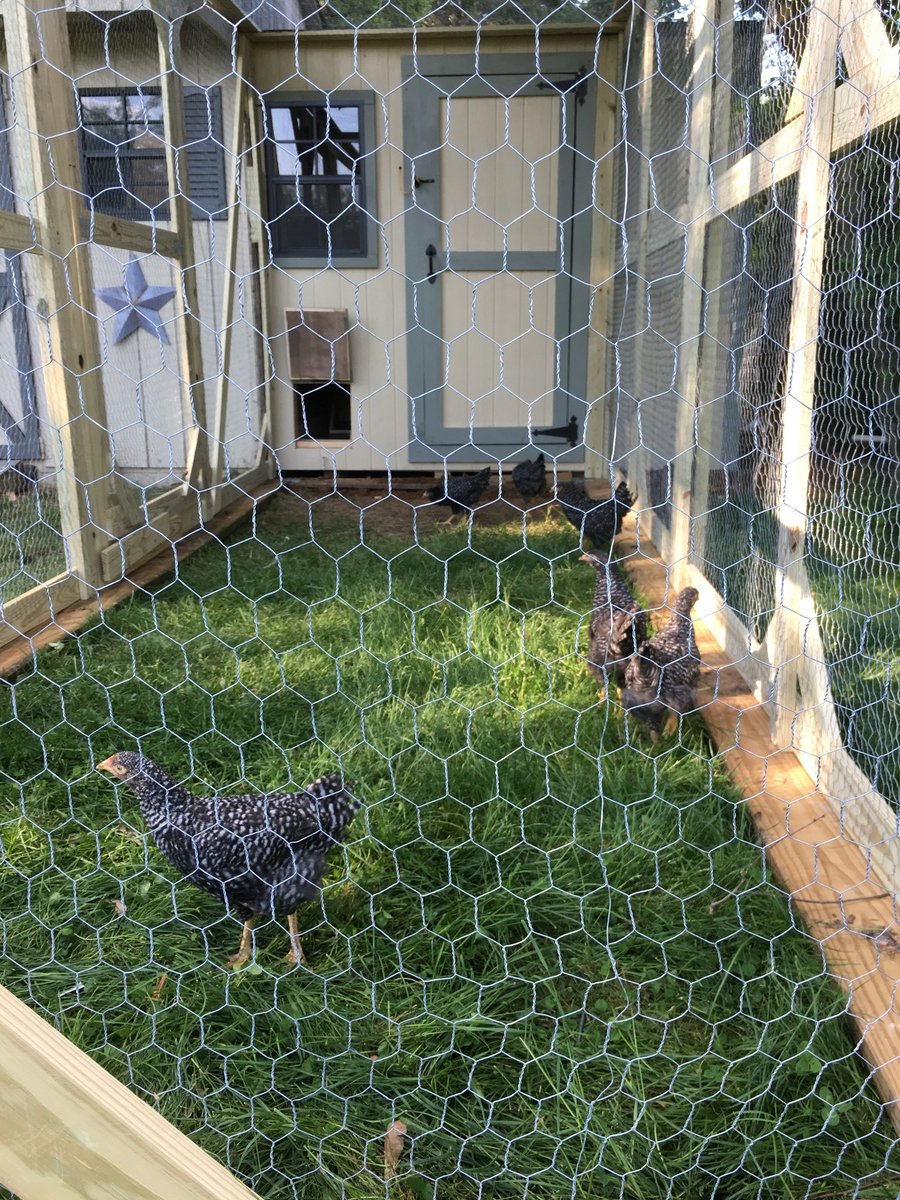
It took a while to come together and made several modifications but it is a great coop and was a major selling point of the house when we were relocated.  I had added a main tray under the roosts and a door to srape the poop out.  This made keeping the coop clean very easy.  

Built from Plan(s)
Estimated Cost
$800
Estimated Time Investment
Week Long Project (20 Hours or More)
Finish Used
Chicken Coop
Recommended Skill Level
Intermediate

Interior Wood Rack

My brother just bought house and has a large living room with a large fireplace. He needed something that would hold firewood and also was decorative. We came up with this plan after I built the Grandy Sliding Door Console. Instead of putting in shelves or doors, we put a bottom on and a back on and add the x (2x4's) in the center. We didn't know what to expect, but after finishing it and delivering it to his house, it turned out great.

Built from Plan(s)
Estimated Cost
$75-$100. Depending on what paint/screws you have on hand. If you have to buy all paint, stain, and screws, probably closer to $100. The back we used leftover ply wood from the Grandy sliding door console.
Estimated Time Investment
Weekend Project (10-20 Hours)
Finish Used
Minwax, dark walknut for the top. Then 3 coats of poly. The base is a white paint, distressed with a small amount of dark walnut stain. The base was sealed with Minwax Polycrylic.
Recommended Skill Level
Beginner

Comments

Paulodbe323

Sat, 02/06/2016 - 20:49

Thanks for the comment. I have made many other projects from this site. I need to upload them all soon. 

Paulodbe323

Mon, 05/30/2016 - 00:02

I do not have the full plans exactly. I originally built the grandy sliding media console from this site. Then I got the idea to make this firewood holder with the same concept. The only thing I did different was I didn't add any shelving inside except the very bottom shelf, and I didn't add any doors. I just used 2x4s in the center for the x's. Sorry for the late response. Hope this helps. 

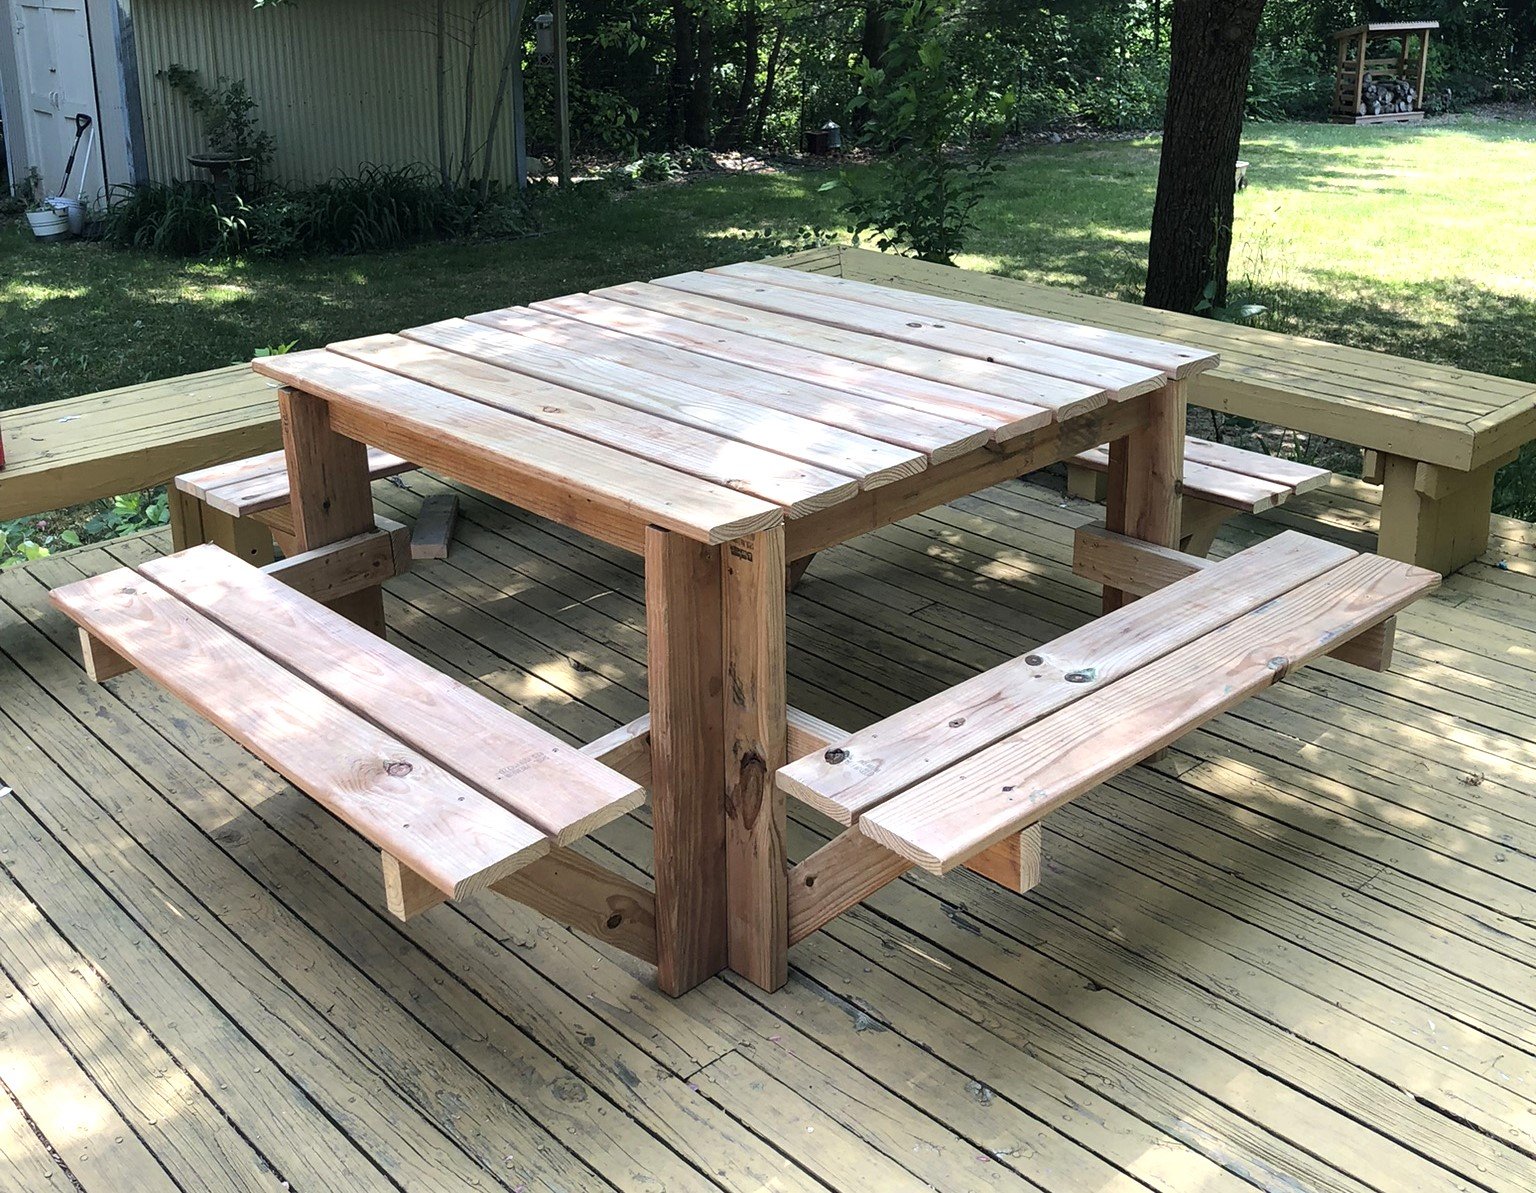
Square Picnic Table using Deck Boards

Submitted by Anonymous (not verified) on Fri, 07/07/2023 - 11:32

I used deck boards instead of 2x6 for the top and seats; this lightened the table overall while negating the need to sand and finish the boards.

I also used a cedar-tone treated board so staining wasn't necessary.

Kelly S.

Built from Plan(s)
Seasonal And Holiday

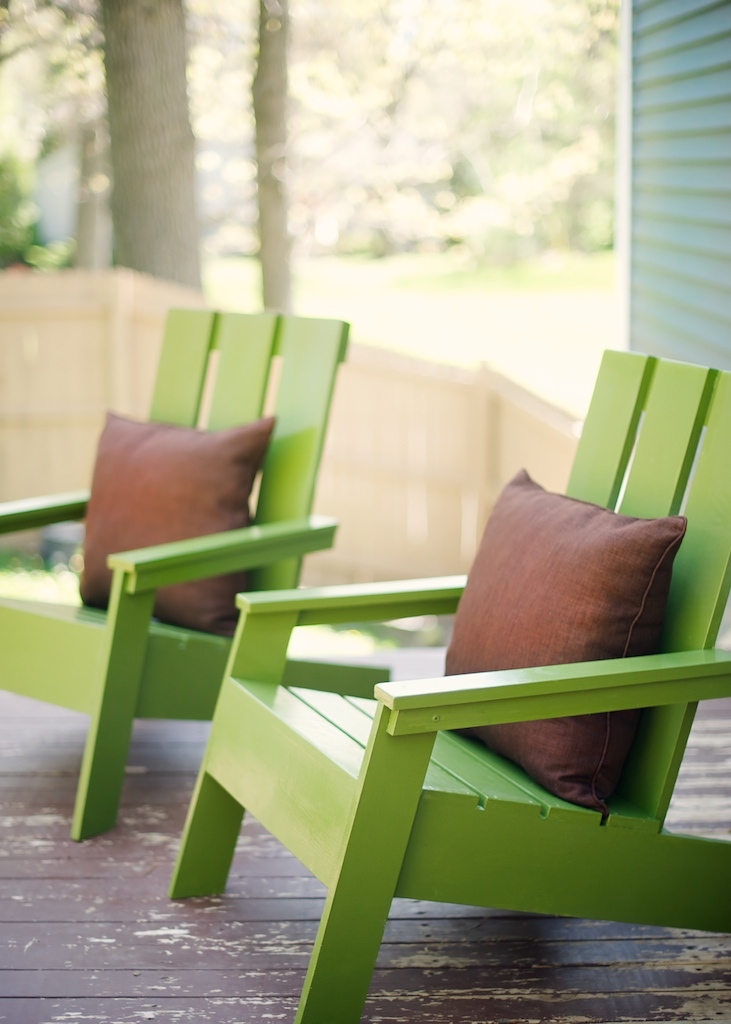
Modern Adirondack Chairs

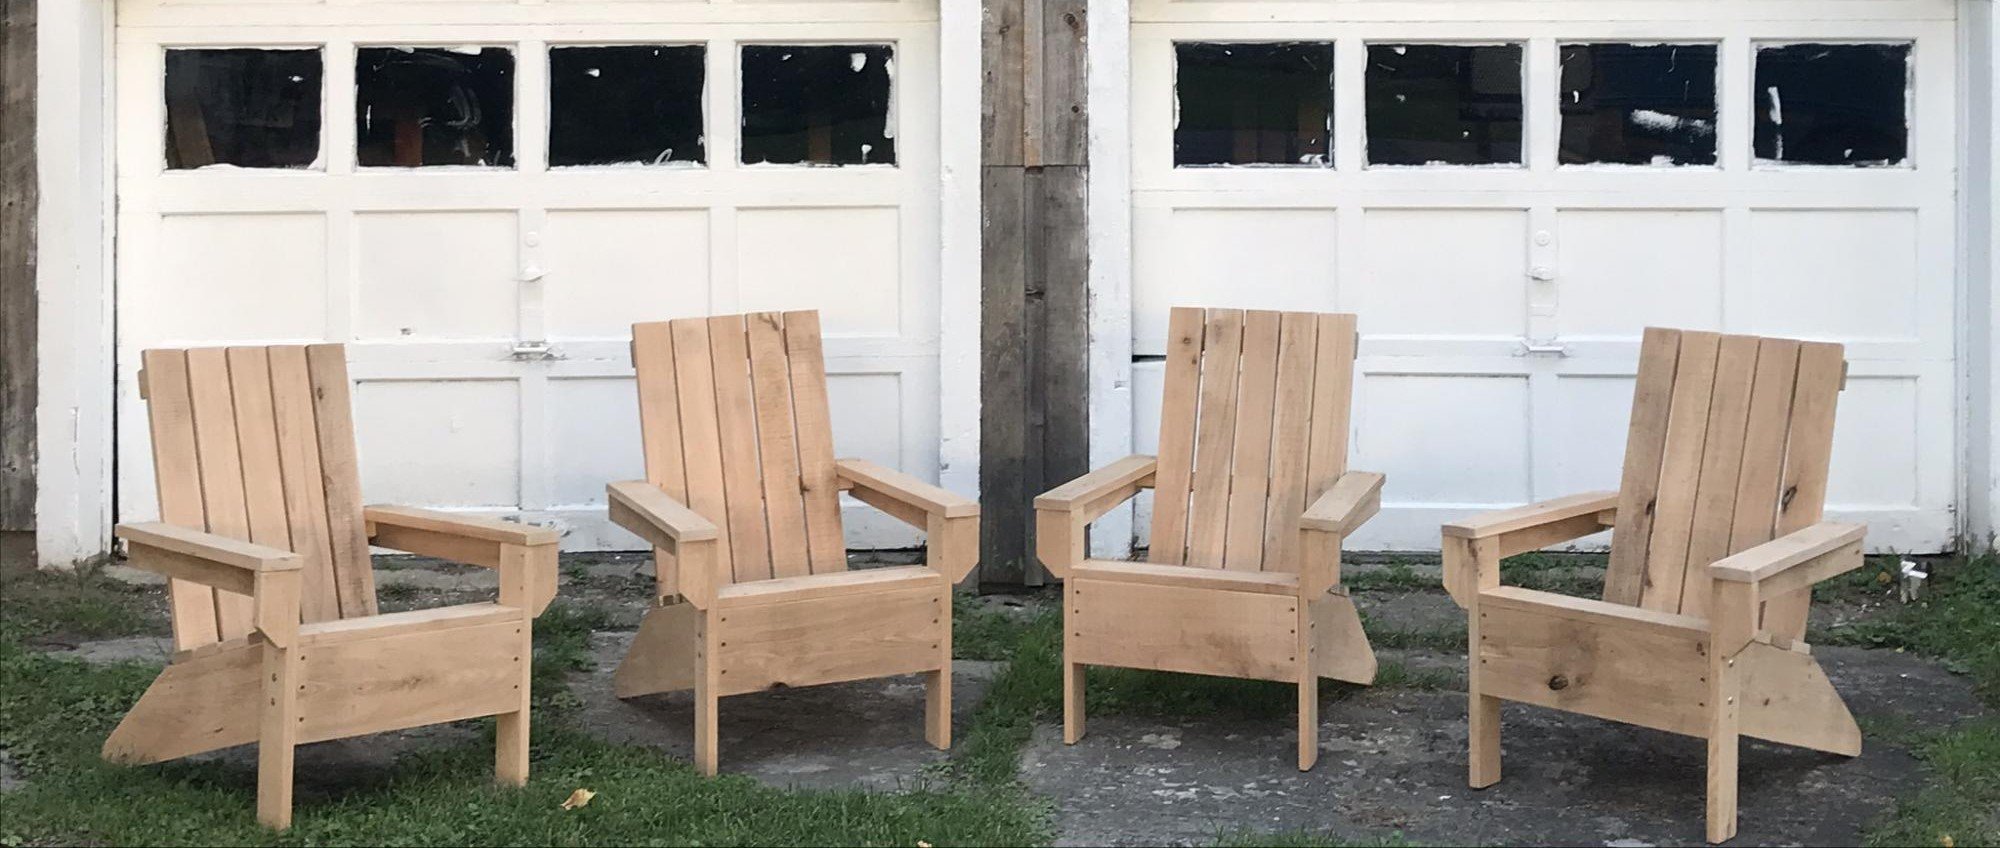
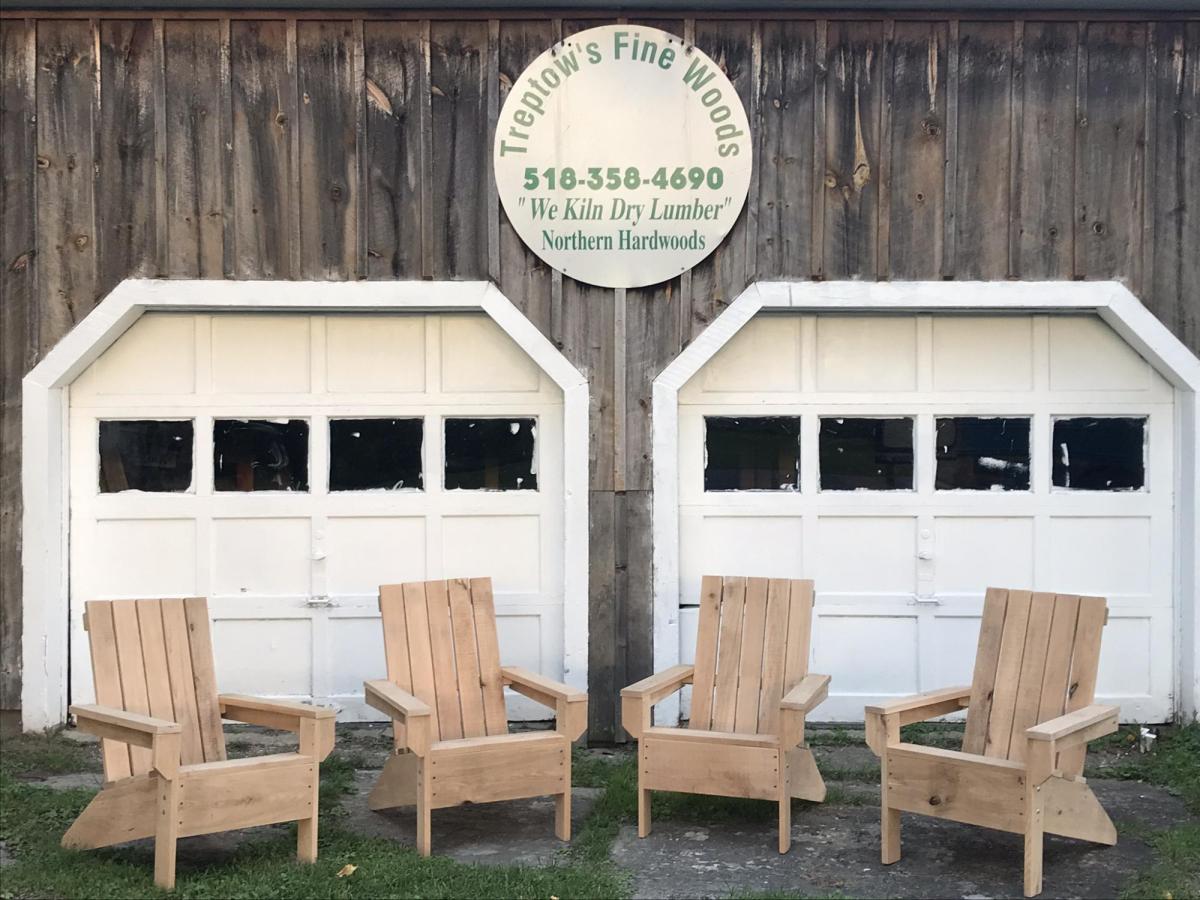
We love how these modified 3-panel adirondack chairs turned out! The pillows were from Costco- $15 for a two pack.

Built from Plan(s)
Estimated Cost
$30 per chair
Estimated Time Investment
Afternoon Project (3-6 Hours)
Finish Used
The color used is Relentless Olive (SW 6425) from Sherwin Williams. These chairs got a coat of exterior primer and were finished with one quart of green high-gloss exterior enamel.
Recommended Skill Level
Beginner

Comments

Seasonal And Holiday

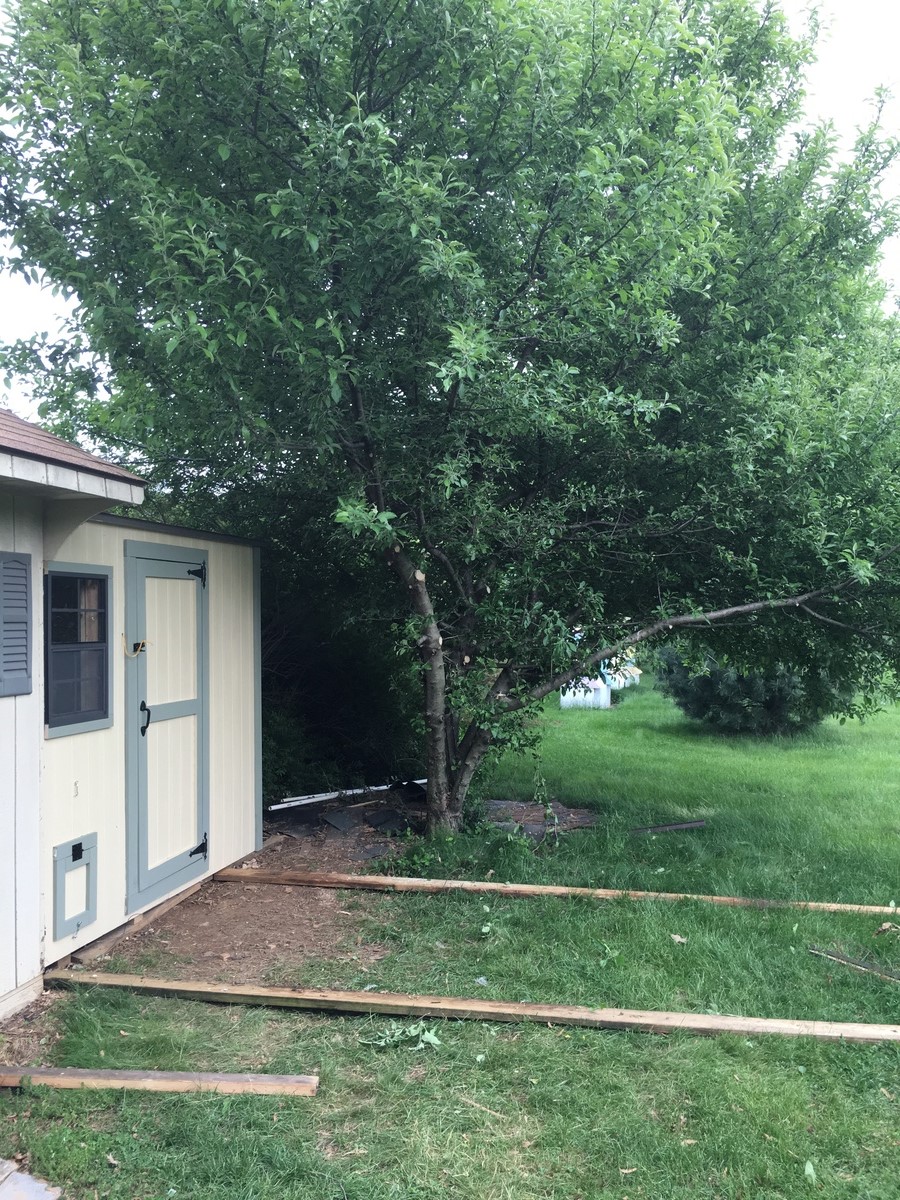
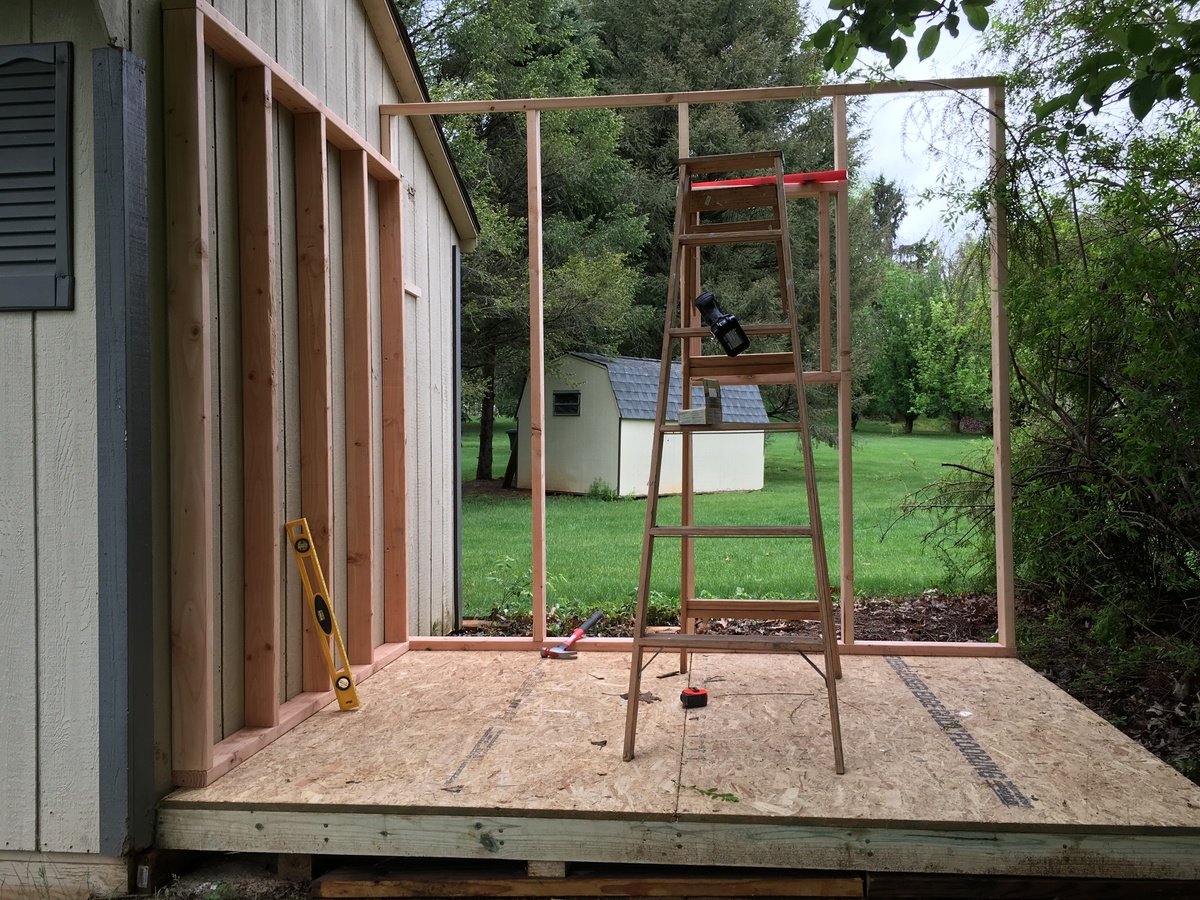
DIY Shed Chicken Coop 6x8

Submitted by Anonymous (not verified) on Thu, 05/19/2016 - 19:50

 The project was used using the same plans but I extended the floor to be 6 feet wide vice 4 feet the additional 2 feet provided the perfect amount space I wanted. I also added an extra windows  to get cross ventilation.    I also insulated the coop and put paneling on the walls and lenolium on the floors.  I dropped the back wall sheeting 1.5 inches for additional airflow since the shed doesn't have a ridge vent.   The plans are easy to follow and easily adaptable.   

Built from Plan(s)
Estimated Cost
$700. You may think that is a lot but you will learn a lot. Coops we were looking at were $1,200. This coop was less expensive and bigger and better plus you can say you built that.
Estimated Time Investment
Week Long Project (20 Hours or More)
Finish Used
T1-11 with home depot behr exterior paint.
Recommended Skill Level
Beginner

Comments

Sandbox with Built-In Seats

Submitted by Loral on Wed, 05/09/2012 - 15:32

This is a fun project even for beginners. If you have an interest in building a sandbox, and have some tools, I'm sure you can make this easy enough!

I used 2" X 10" wood for my sides instead of the 1" as the plans call for. This gives extra strength and more depth. When you use 2" wood, you will have to turn your 1 X 4's the other way to match the 47½" width, because with the added width of the 2 side boards, your new width is now 49¼". It's not difficult, you just have to match your 1 X 4 X 47½ boards to the proper width. It will turn out fine, they just won't match the plans or pics of those using 1 X 8's for sides.

Sorry, I'm delivering this to my grandson's house for his birthday present, so no sand, but use landscaping cloth under this sandbox, then fill with sand.

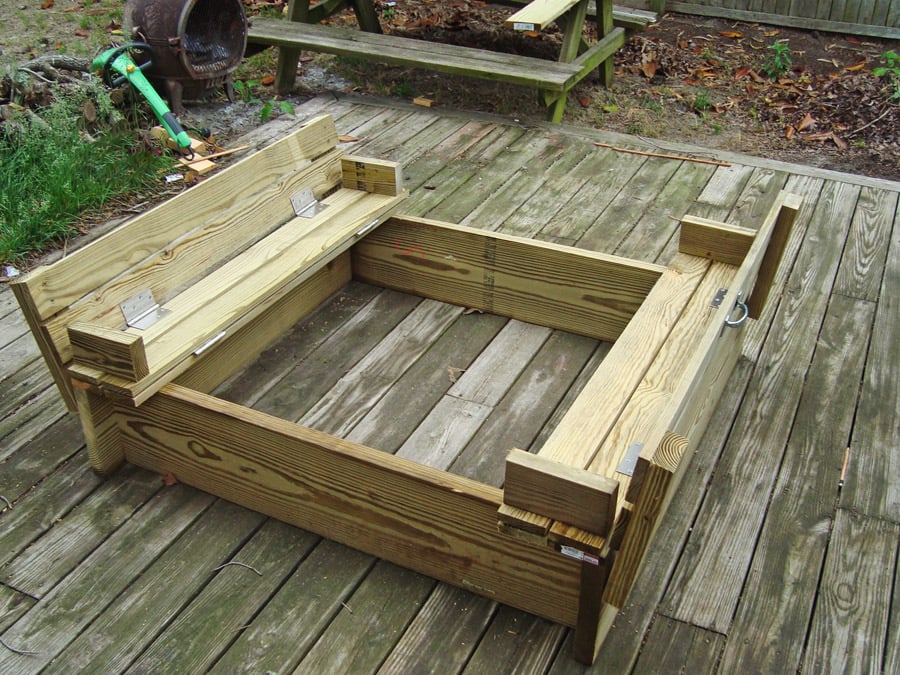
One other thing, I'm toying with the idea of matching the angle the backrest is at and re-cut new pieces of 7½" arm rests. I think that may look a little better than the rectangle blocks.

My added pics are as follows:
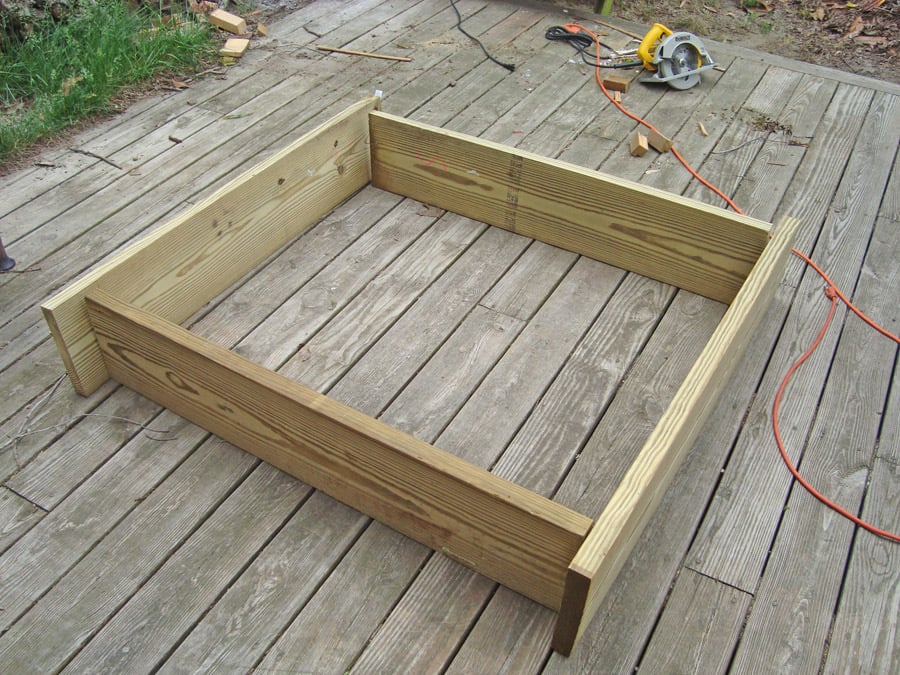
1. The side boards all cut, and sizing up the frame.
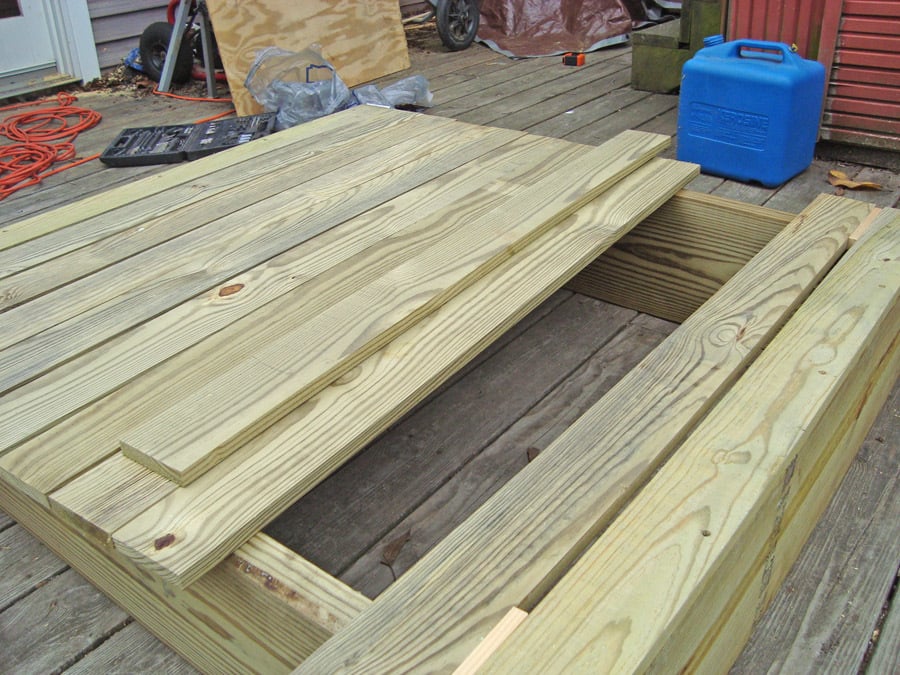
2. All other boards are cut; I laid them out for fit before screwing the pieces together.
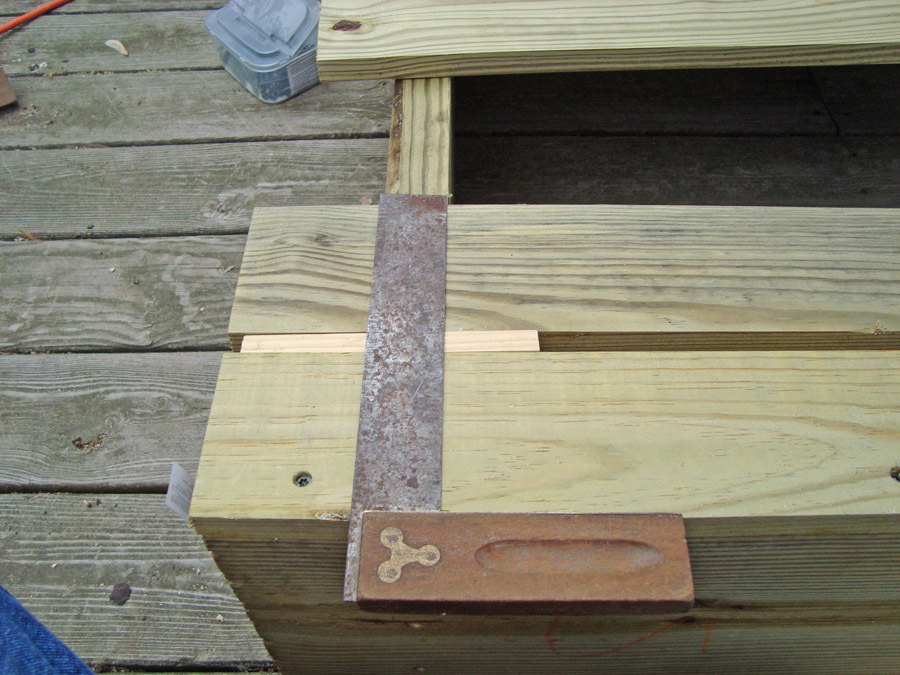
3. Using a square will help you keep everything at the correct angles. Also note in this picture and the next where I used two ½" pieces of wood I ripped to keep the ½" spacing uniform. Just rip any wood to the ½" width, make 2 pieces and butt against the next board on both sides, then screw them down. Makes it VERY easy to keep a uniform gap.
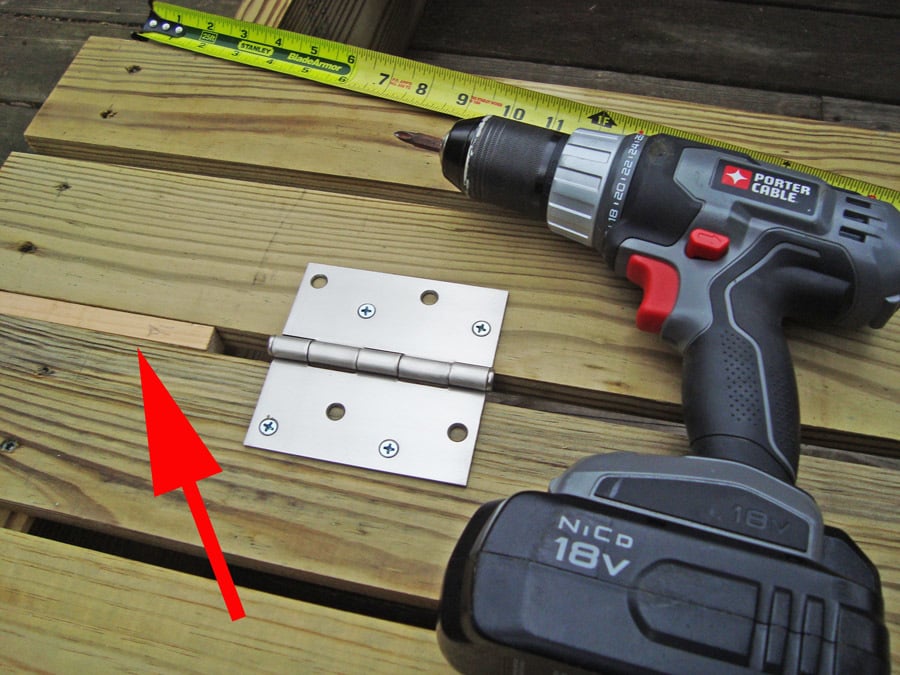
4. This picture shows me using the same "spacer" when putting the hinges in place. The red arrow points to the wood spacer.
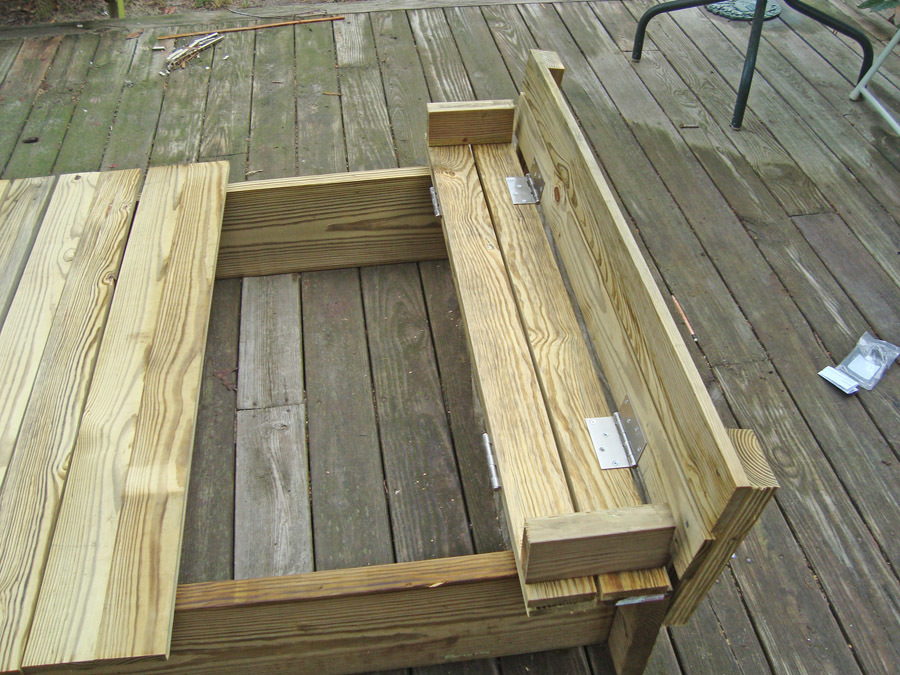
5. The first bench is complete, and working fine!!

With the wood I used in my project, I used 2½" self tapping deck screws for the frame and attaching the 1X4's to the frame; I used 2" galvanized for attaching the 1X4's to any 2X4's; and for the hinges, I used ¾" wood screws. Using these sizes prevented the screws from coming through the other side.

I bought everything needed in this project at Lowe's and it was under $90 in costs; this is all the lumber (upgrading to 2 X 10's), hinges, screws, and handles.
Estimated Cost
$90 - Everything purchased new at Lowe's
Estimated Time Investment
Afternoon Project (3-6 Hours)
Finish Used
This is a gift, so I'll leave it to my daughter and son-in-law to use fence or deck stain to match their house. All pics are un-toned raw pressure treated lumber.
Recommended Skill Level
Beginner

Comments

Lady Goats

Wed, 05/09/2012 - 16:25

I was just going to tell you how to add a brag blog when I saw that you'd already done so! YAY! Your sandbox looks awesome! You guys are all making me wish I had a tolerable yard to put a full-sized box in!!!

Loral

Thu, 05/10/2012 - 13:49

Yeah, you made the plans easy to follow. It was a lot of fun. I spanned it over 2 days, but still was only around 4 hours of work.

I'm considering cutting the "arm rests" at an angle to match the slope of the back rest. I may play with that this weekend.

Thanks for all the help!

Also, what did you use to make the sketch type pics for the plans? I know you mentioned something about not knowing how to put the hindges on them. If I can help, I can probably do it for you in PhotoShop.... Just let me know.

Thanks again!
Loral

2x4 Outdoor Sectional with Matching Ottomans, Chairs & Table

Submitted by cqueiruga on Fri, 06/12/2020 - 21:01

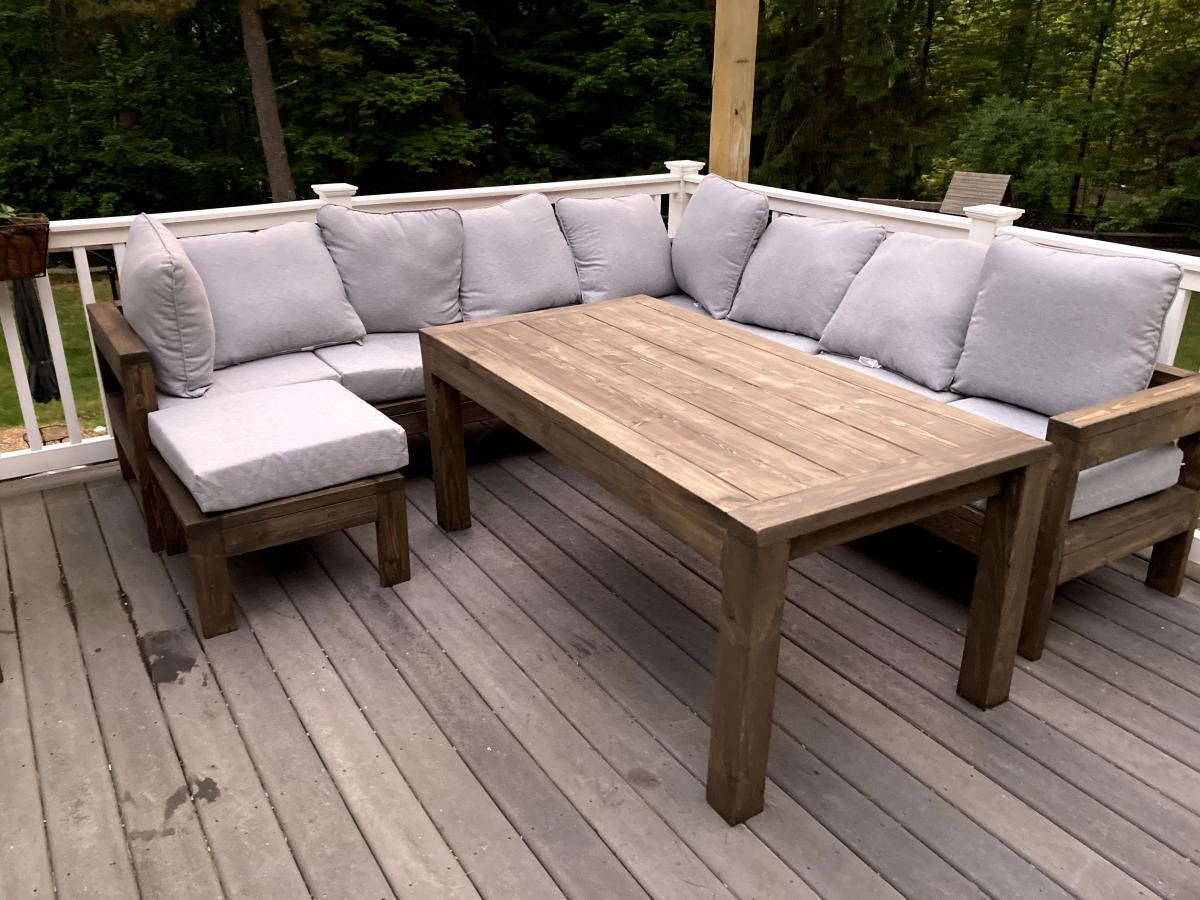
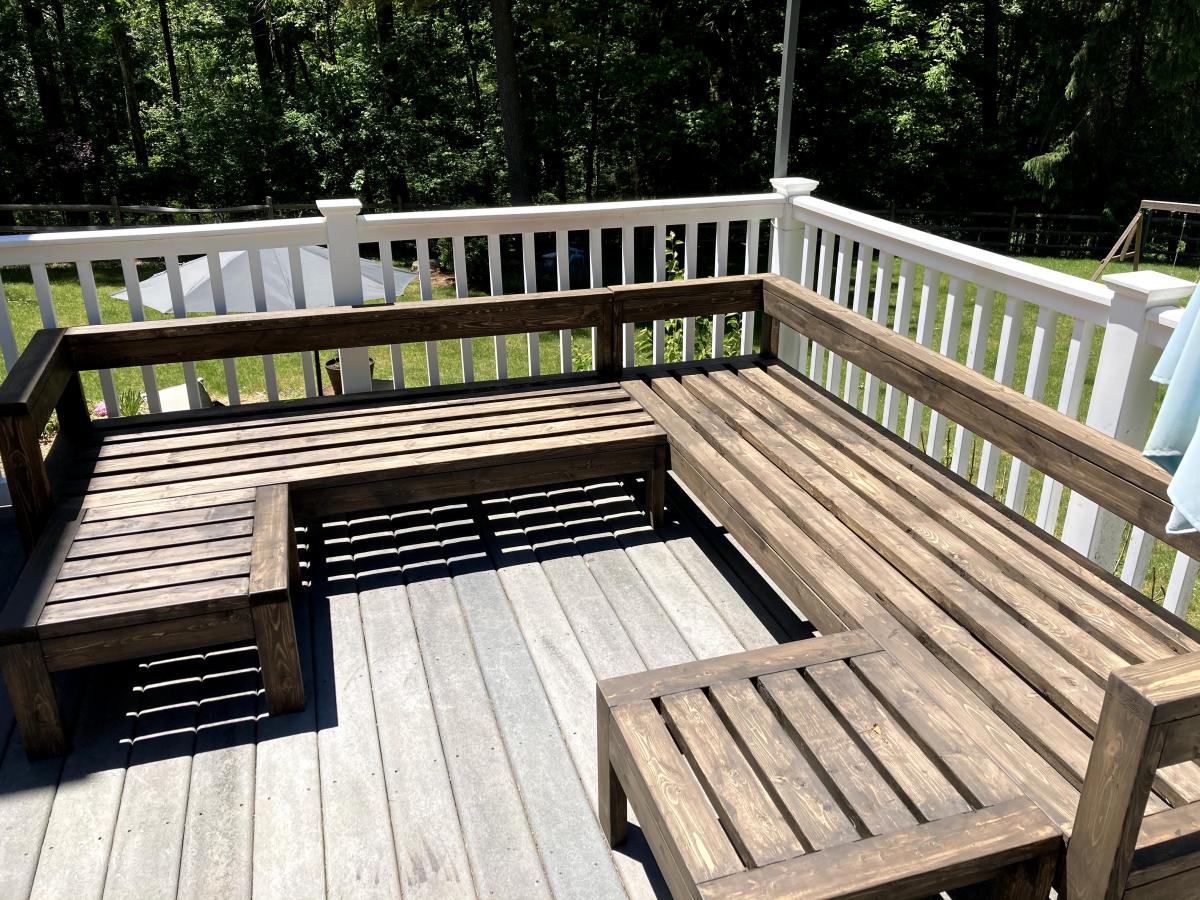
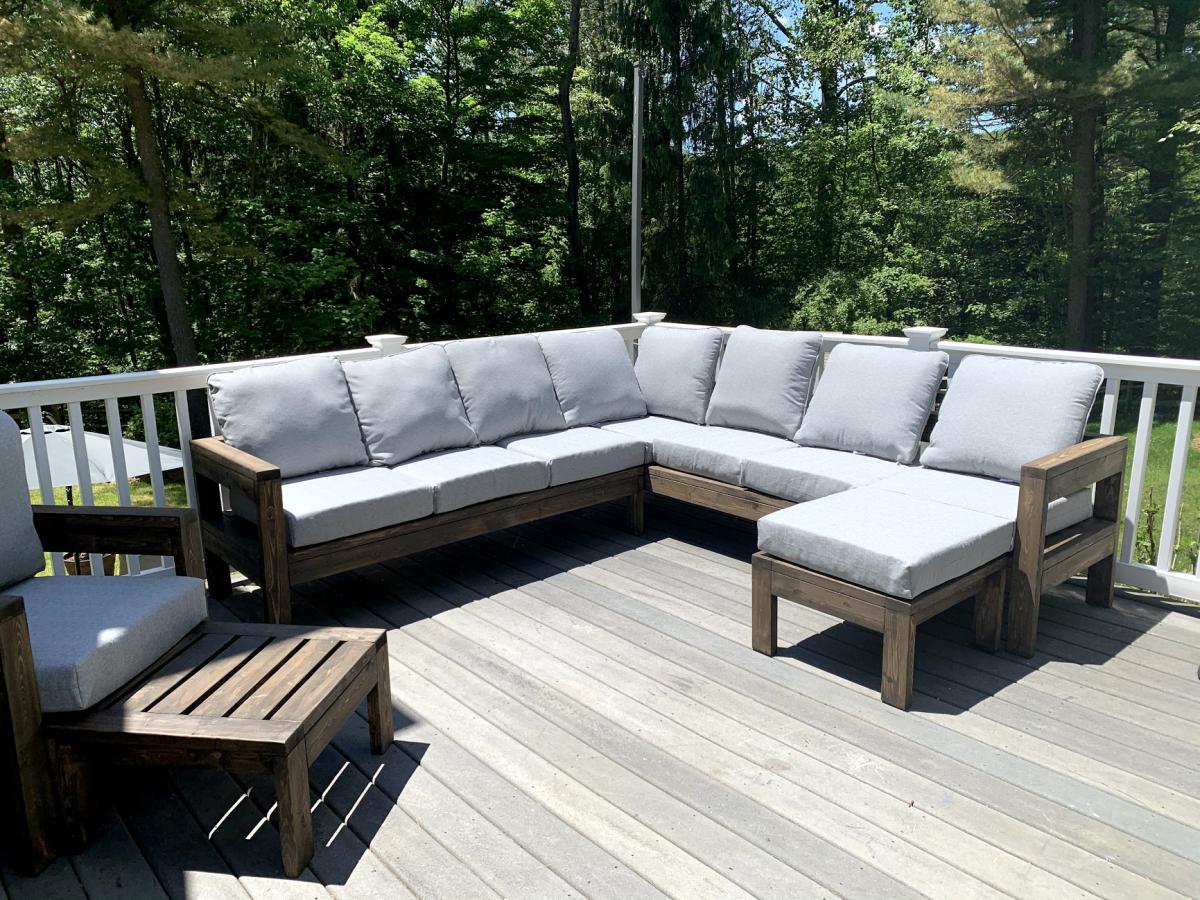
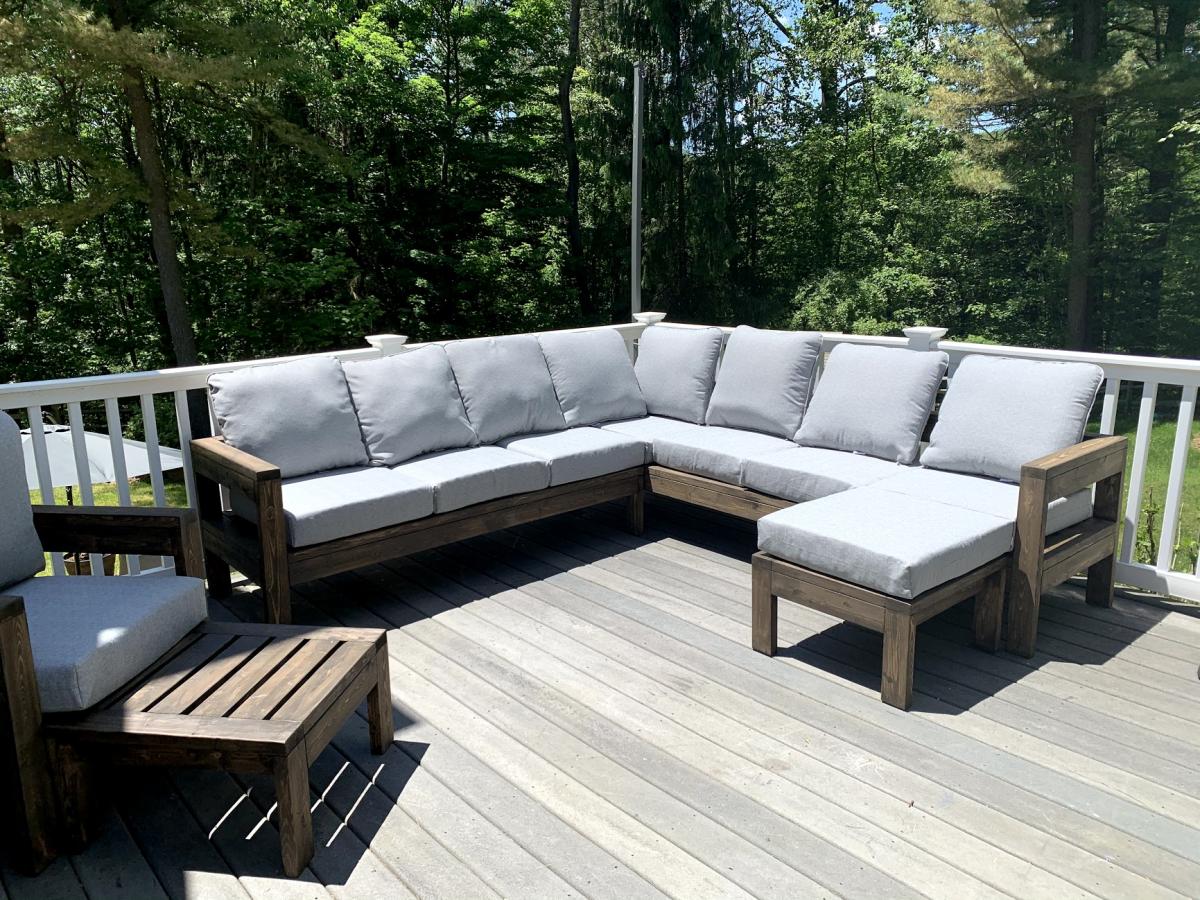
We were looking for outdoor furniture for our deck, and for the size and amount we needed it would have cost us at least $2000. We really like the idea of having an outdoor sectional that we can also use for dining, and we had trouble finding a set we liked. We found Ana's plans for the 2x4 Outdoor Sectional, and i loved the look. After seeing what others have done with the plans, I thought I would be able to modify it to get everything we needed for much less cost than buying a set.

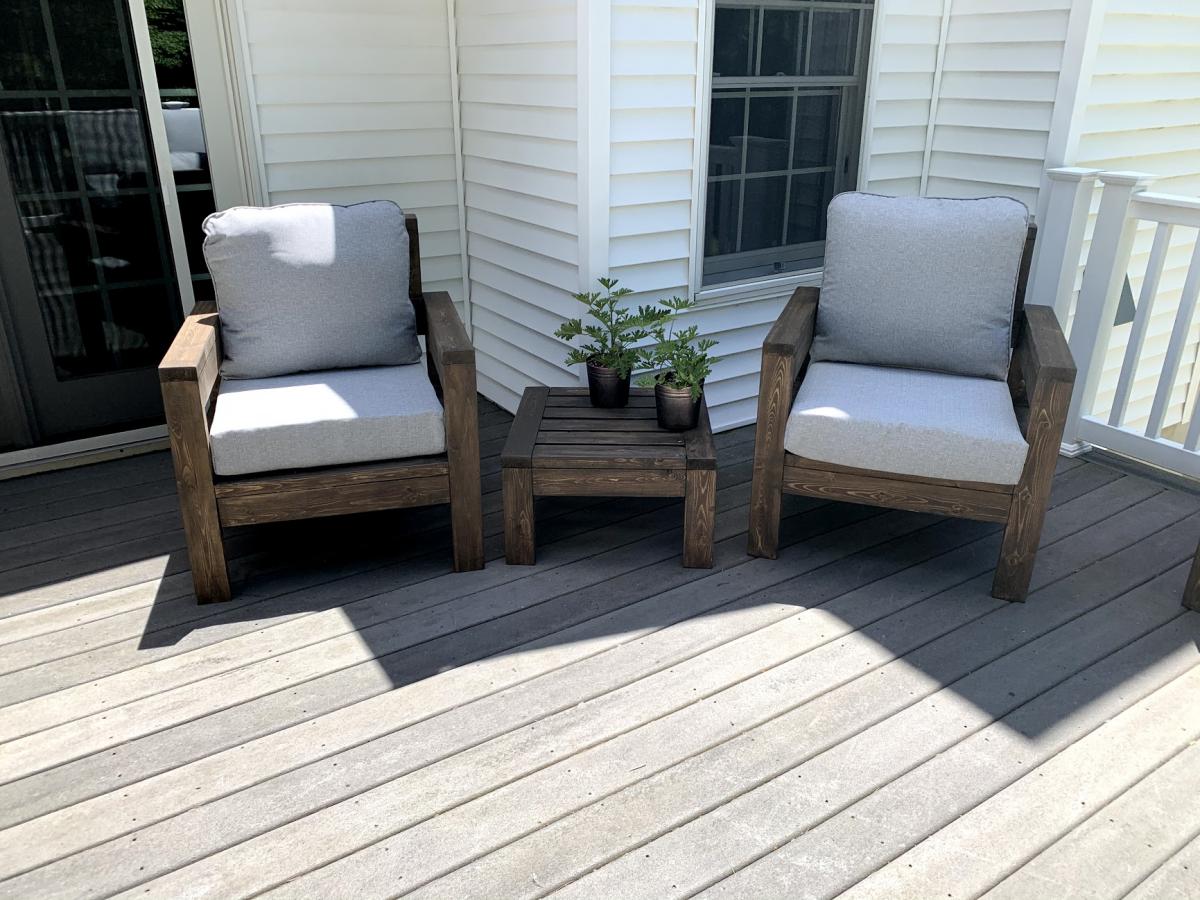
We ended up extending the size of the 2x4 outdoor sofa by one 24" section, for a total length of 96". I then used the same design to make two outdoor chairs, just reduced the length to 24". I modified the 2x4 outdoor coffee table plans to create two ottoman's that can be moved around to make the seating more lounge style Finally, I modified the coffee table plans to make a 5 foot outdoor dining table. All in all, it took about a week and I couldn't be happier with how it turned out!

Estimated Cost
$800 ($200 for wood, $600 for cushions)
Estimated Time Investment
Week Long Project (20 Hours or More)
Finish Used
Valspar Semi-Transparent Antique Oak Stain
Recommended Skill Level
Beginner

Comments

jwood4

Mon, 08/02/2021 - 09:44

Looks amazing! What method did you use (pocket holes, dowels, deck screws, etc) to join the visible portions like the arms?

Firewood Shed

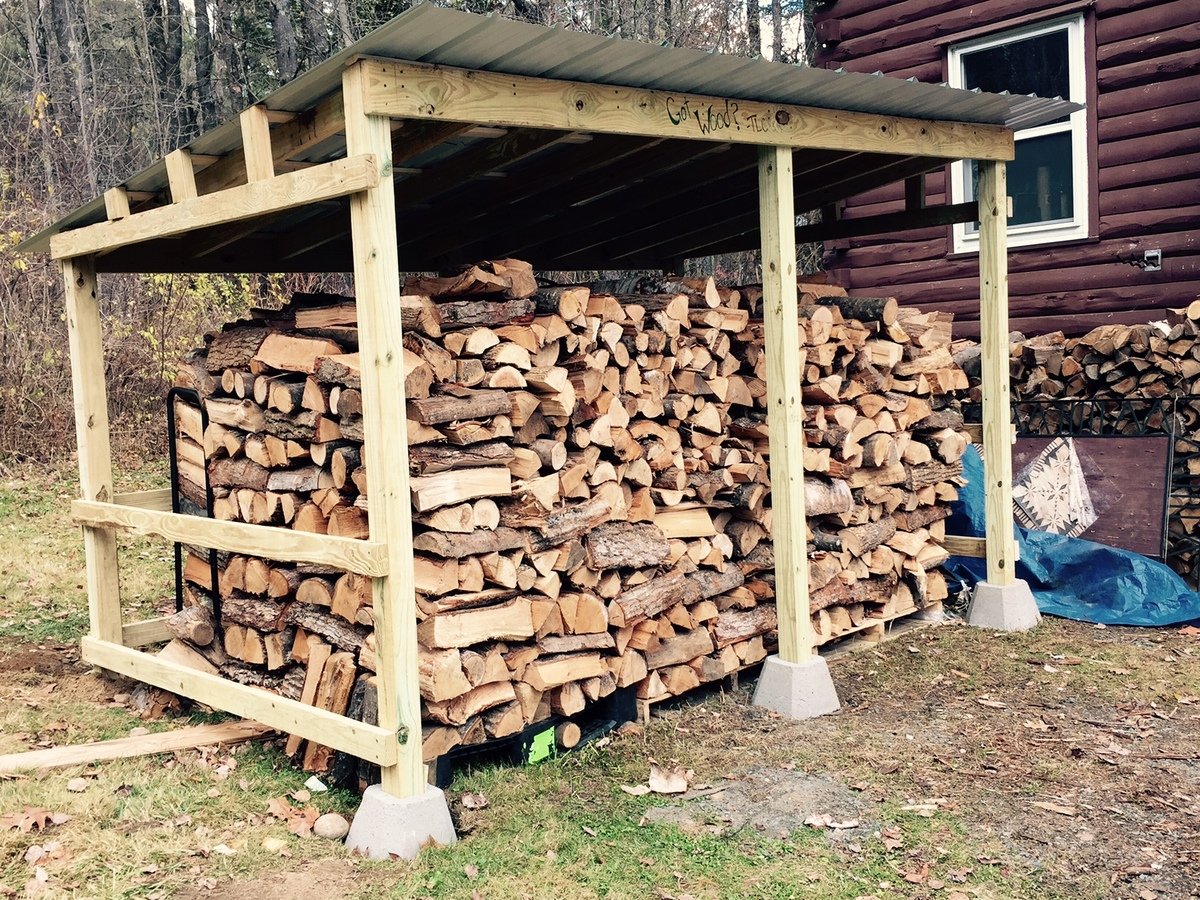
When I decided to build a woodshed I was freaked out because I've never done anything even remotely like this.  I struggle with precision and patience, which made this project seem overwhelming as I knew I had to do a lot of prep work to properly level the ground, measure the wood, learn how to operate a saw, calculate angles to cut, etc...  I did a lot of research online and found this simple blueprint a great starting point.   I made some adjustments since i needed a much bigger shed, it's 11.5' x 7' x 7'.  Also, I already had the wood resting on pallets so I just build this shed around the wood with no built in floor.  Overall, I'm thrilled with how it turned out!
Built from Plan(s)
Estimated Cost
$500
Estimated Time Investment
Weekend Project (10-20 Hours)
Recommended Skill Level
Beginner

Comments

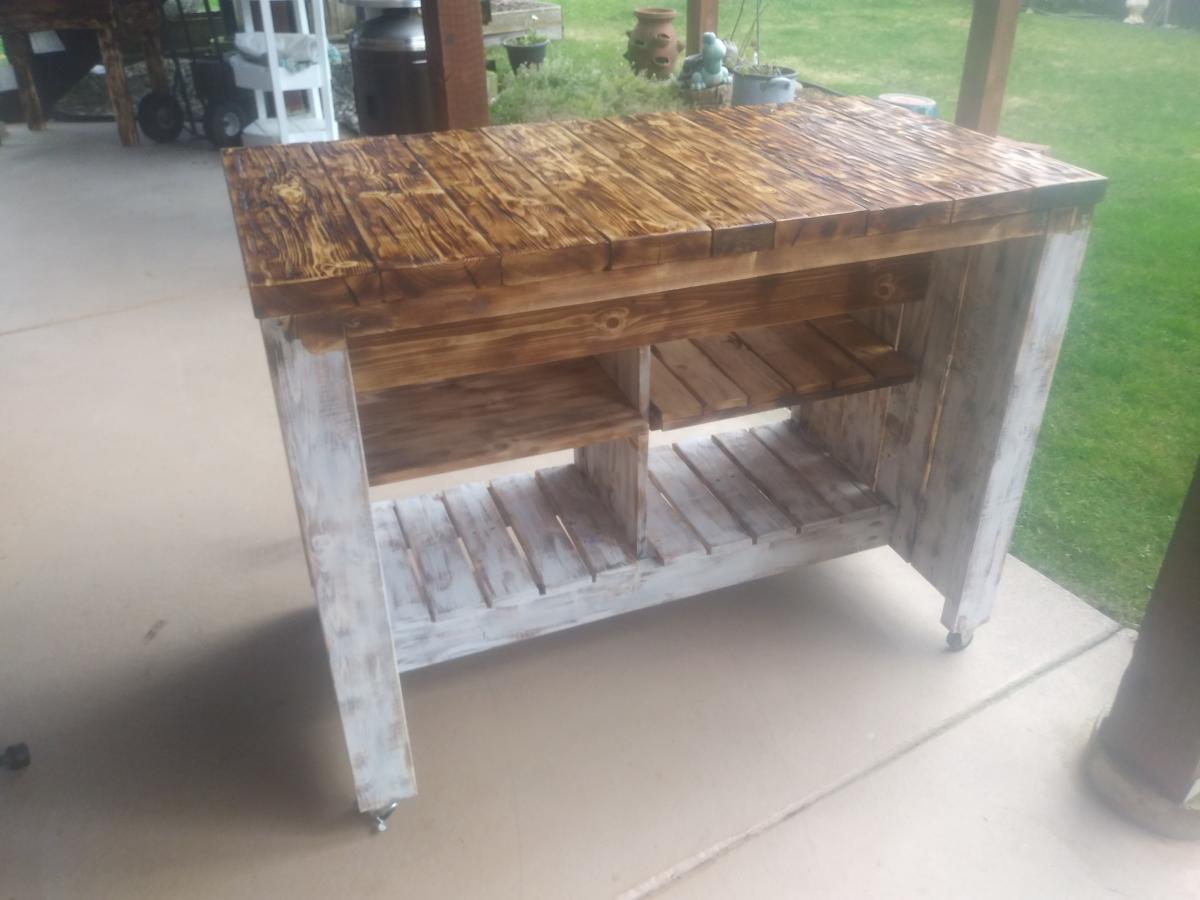
Kitchen Island with pallet wood

Submitted by Anonymous (not verified) on Sat, 01/23/2021 - 19:35

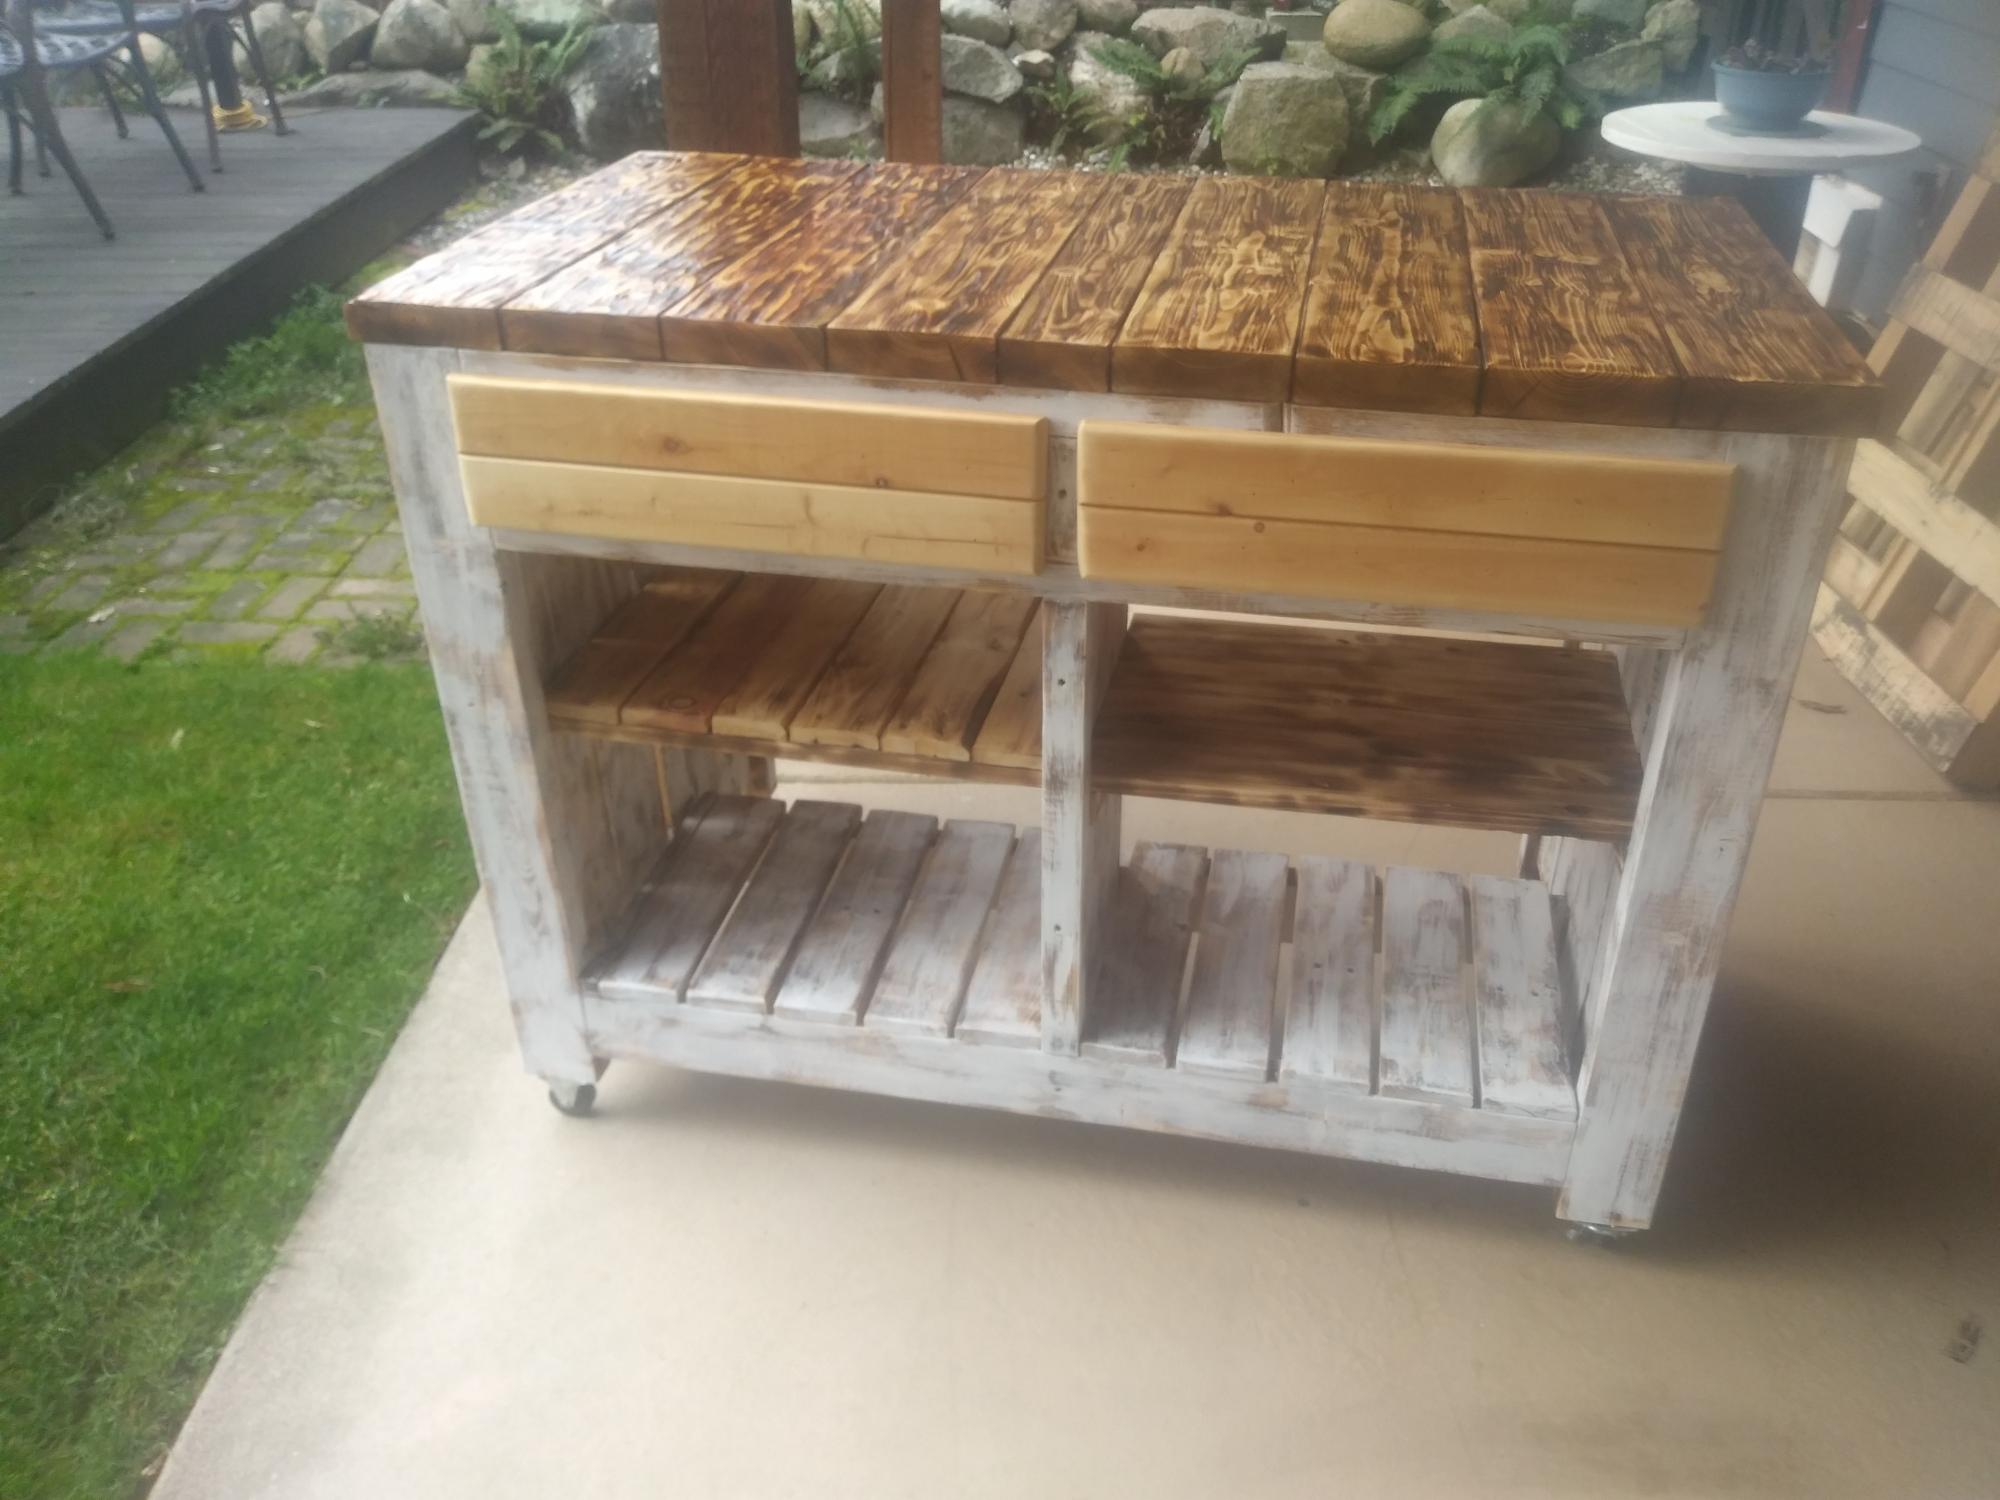
After following Ana Whit and other bloggers for a long time i figured my skills were at a level to try an advanced build like the Kitchen Island.. But i also wanted to challenge myself even more and was determined to make it from as much reclaimed wood as i could, mainly pallet wood.
With a lot of modifications to make it work i think I got a good result from these plans.

While i used as much reclaimed wood as i could, i still needed some clean 2x4's , 2x2's

Built from Plan(s)
Estimated Cost
$50
Estimated Time Investment
Week Long Project (20 Hours or More)
Finish Used
I burned the top and used a cup wire brush on an angle grinder to get the effect of barn wood. then a couple coats of lacquer on the top. And a spray finish of polyacrylic for everything else.
chalk pain ( linin) to do the White wash
Recommended Skill Level
Advanced

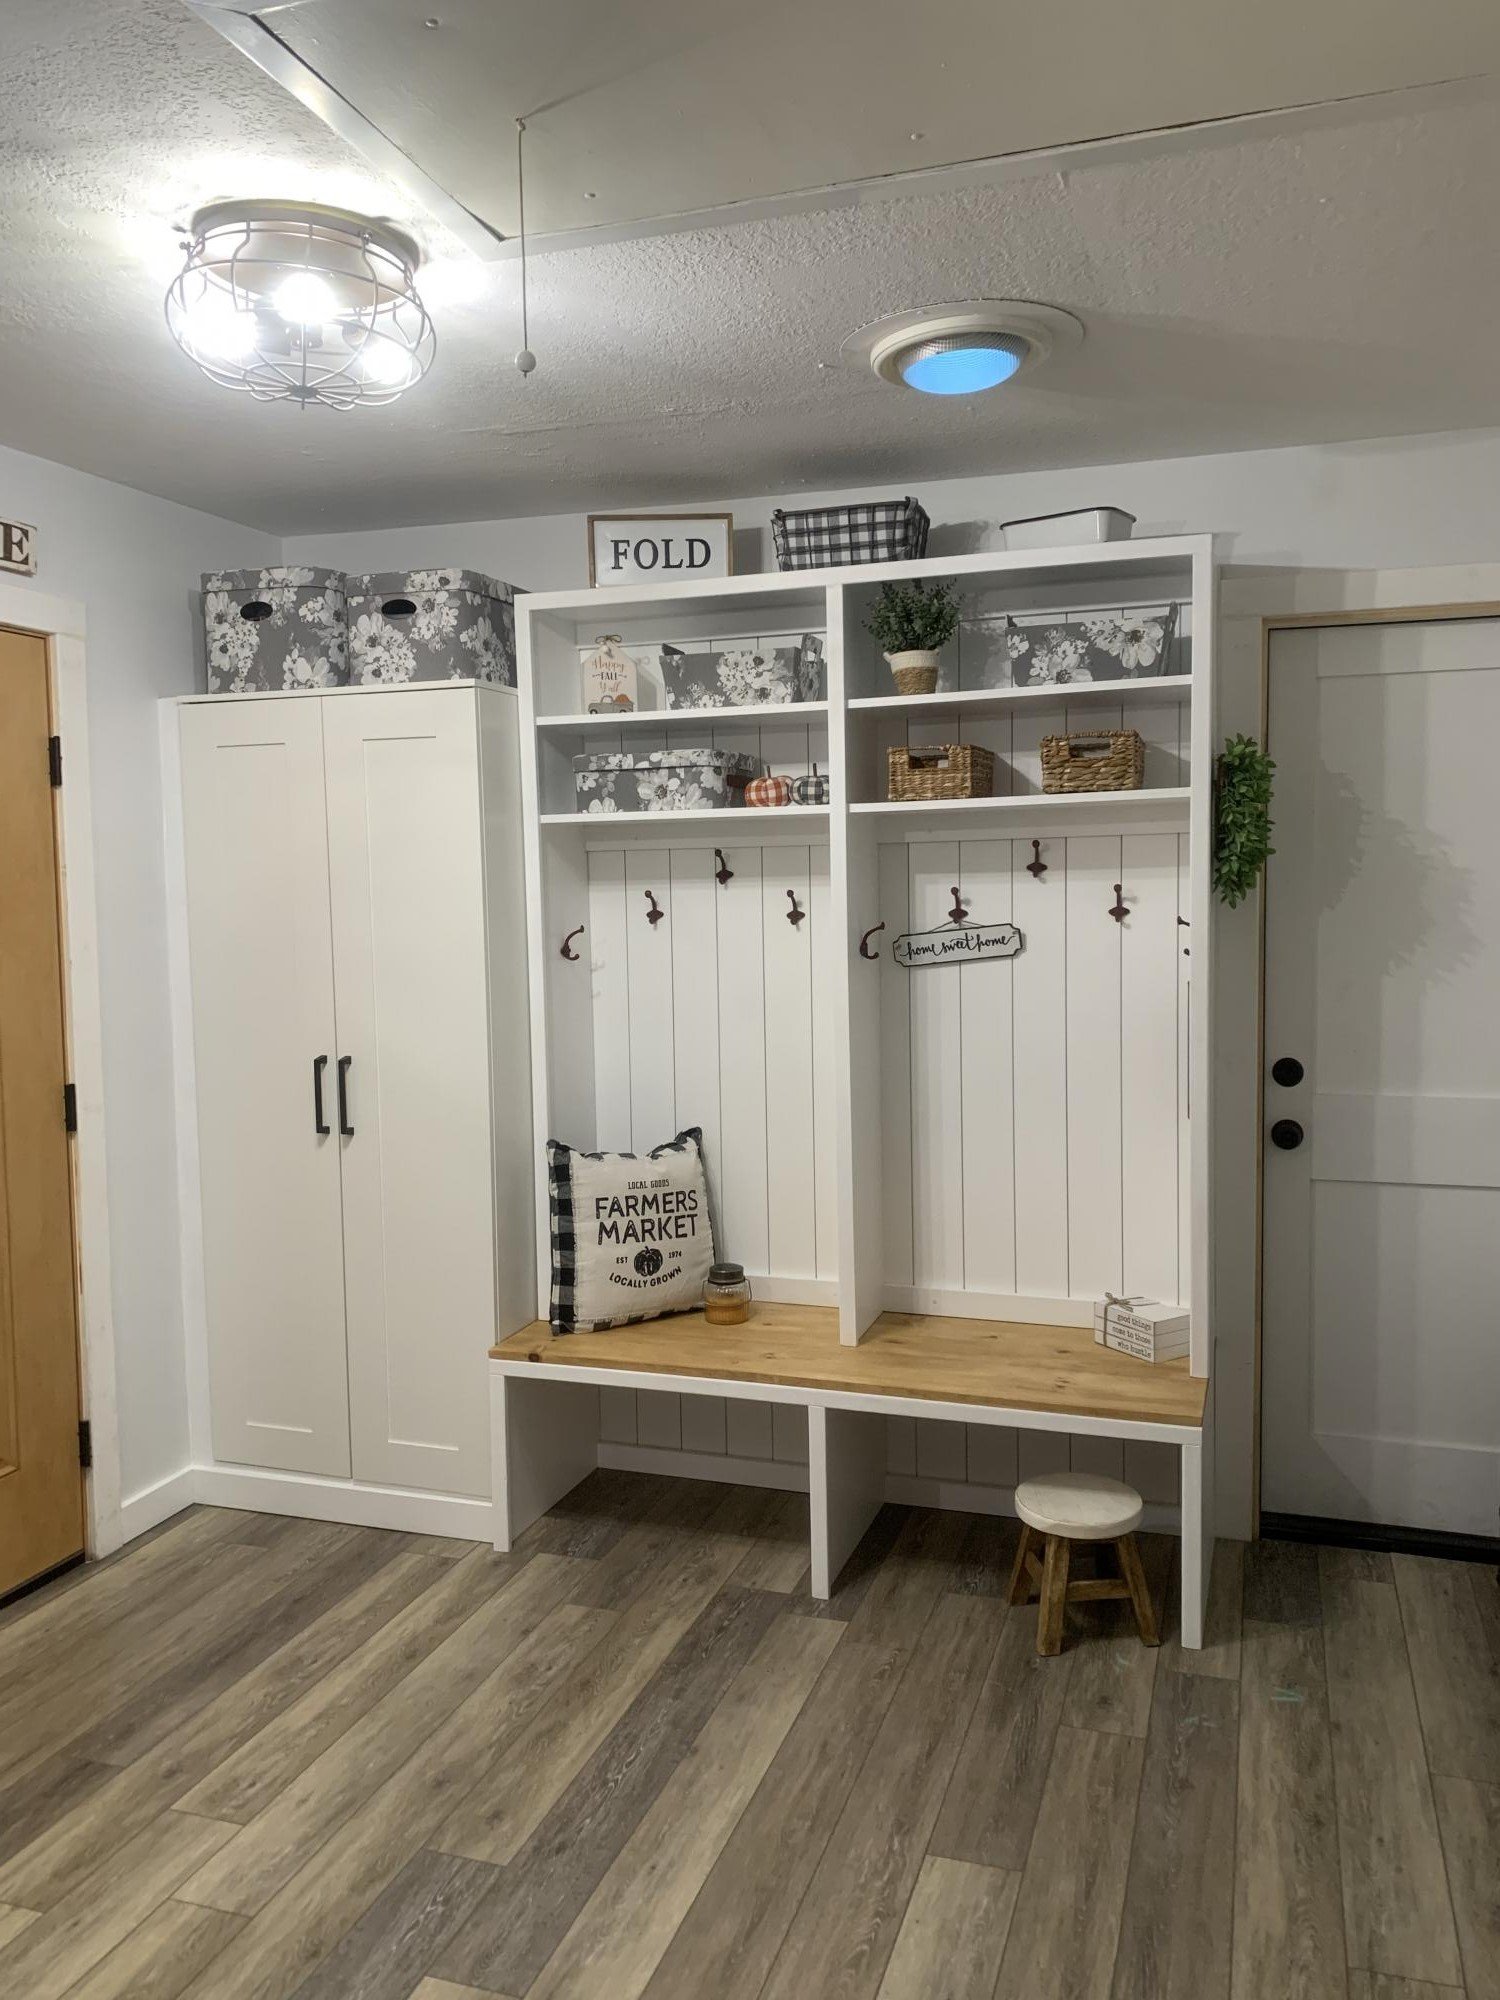
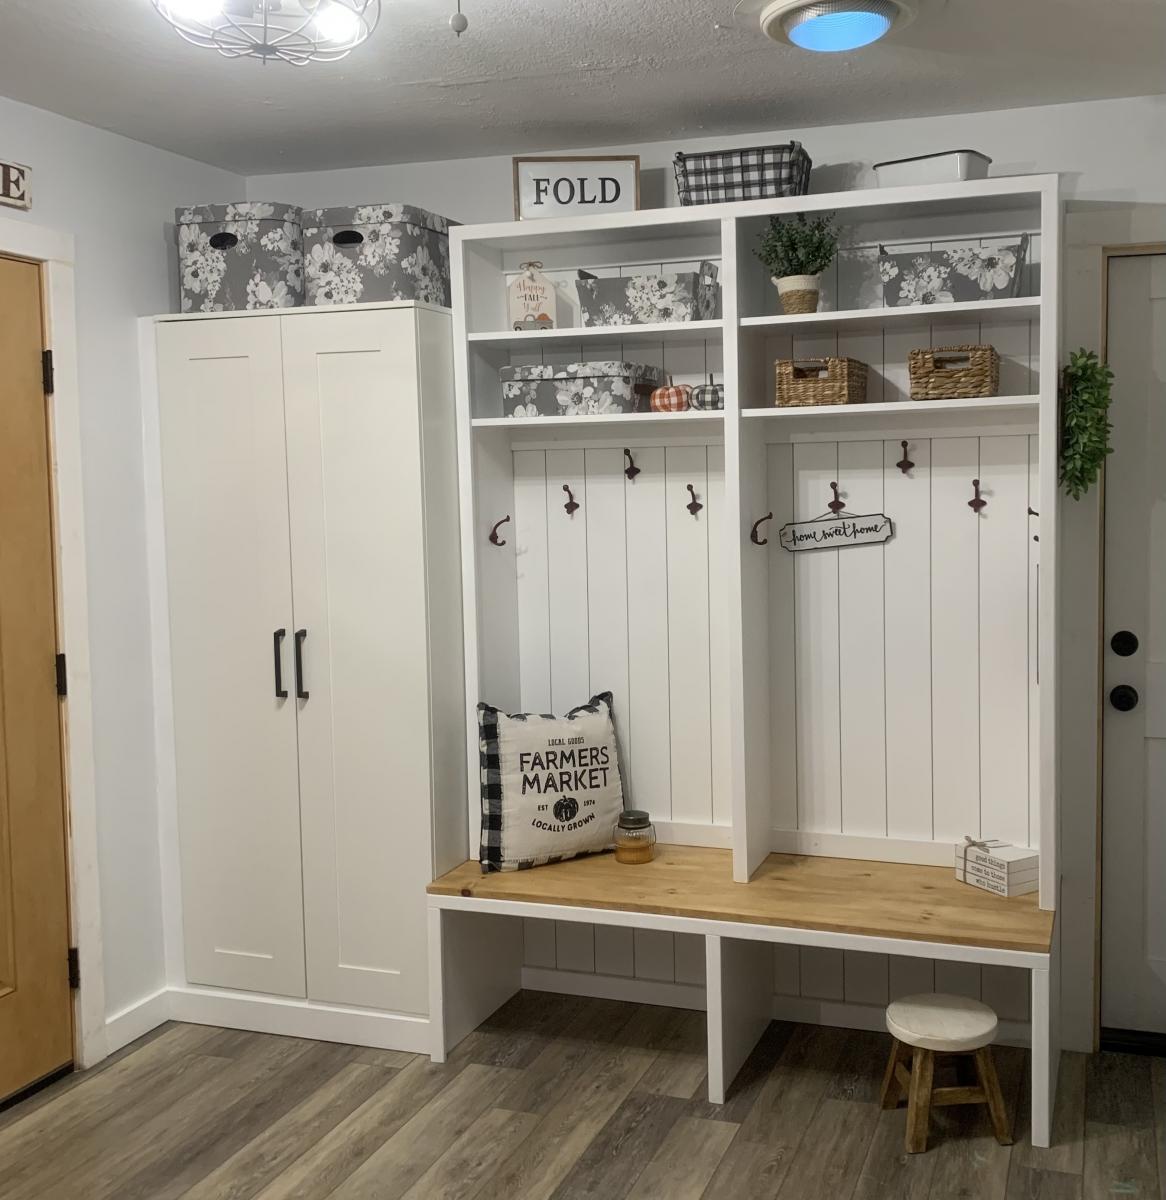
Mudroom Bench with Hutch

Submitted by calliher on Sun, 09/12/2021 - 18:45

This is my laundry room and it is about 12x10. It looked so bare with only the washer and dryer. So I thought making this a mudroom also. I live in the mountains and have snow 3 to 4 months a year. This will be perfect. I purchased an IKEA cabinet built it in and added the Ana White plans with two bays.

Comments

Ana White Greenhouse

Submitted by Anonymous (not verified) on Wed, 04/06/2022 - 12:41

We built the first one about 8 years ago, and then the wind flipped it over and scattered it all over the back part of the property. I then dug footings and anchored the second one down; I was able to save the Dutch Door I made for the first one. Thanks for the plans!!!

Built from Plan(s)

Comments

Seasonal And Holiday