Community Brag Posts

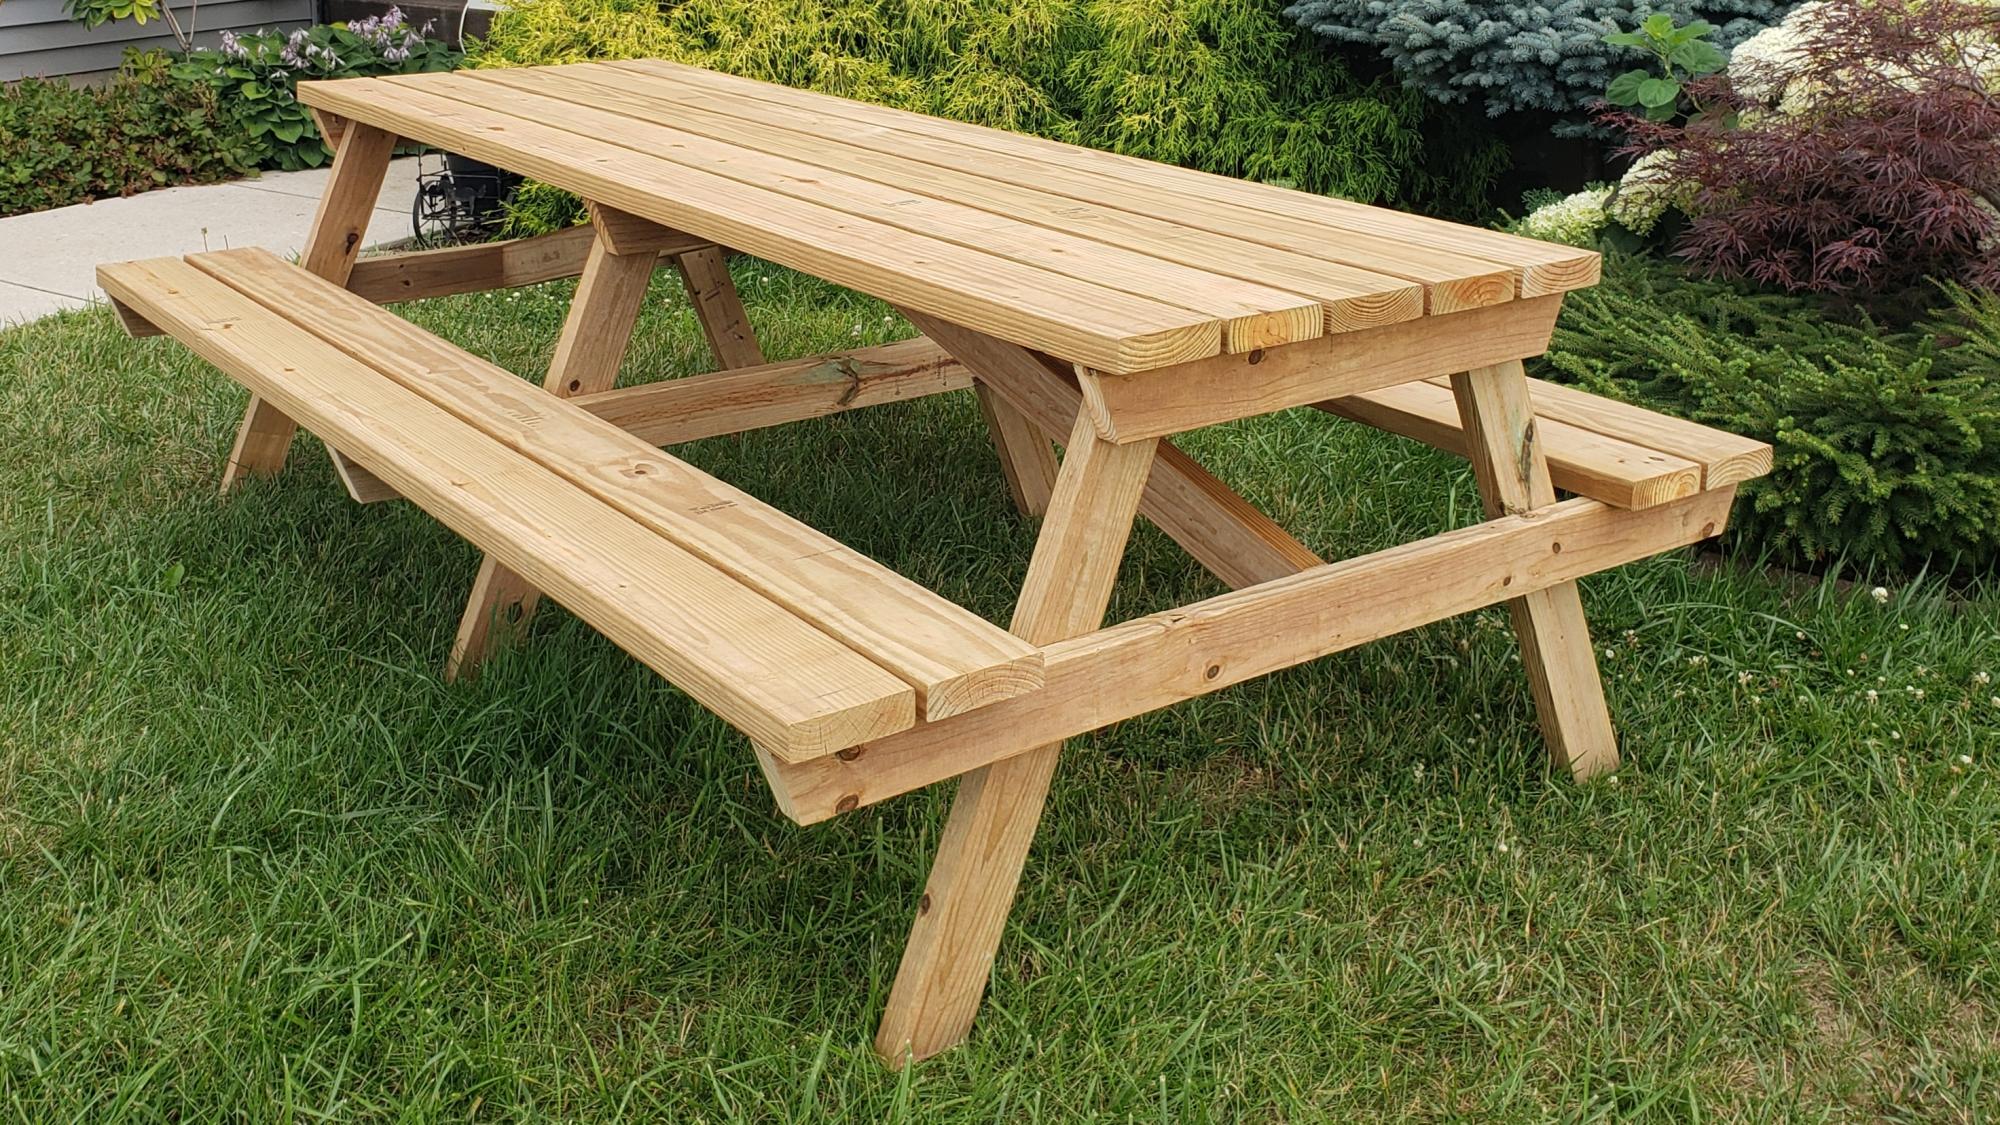
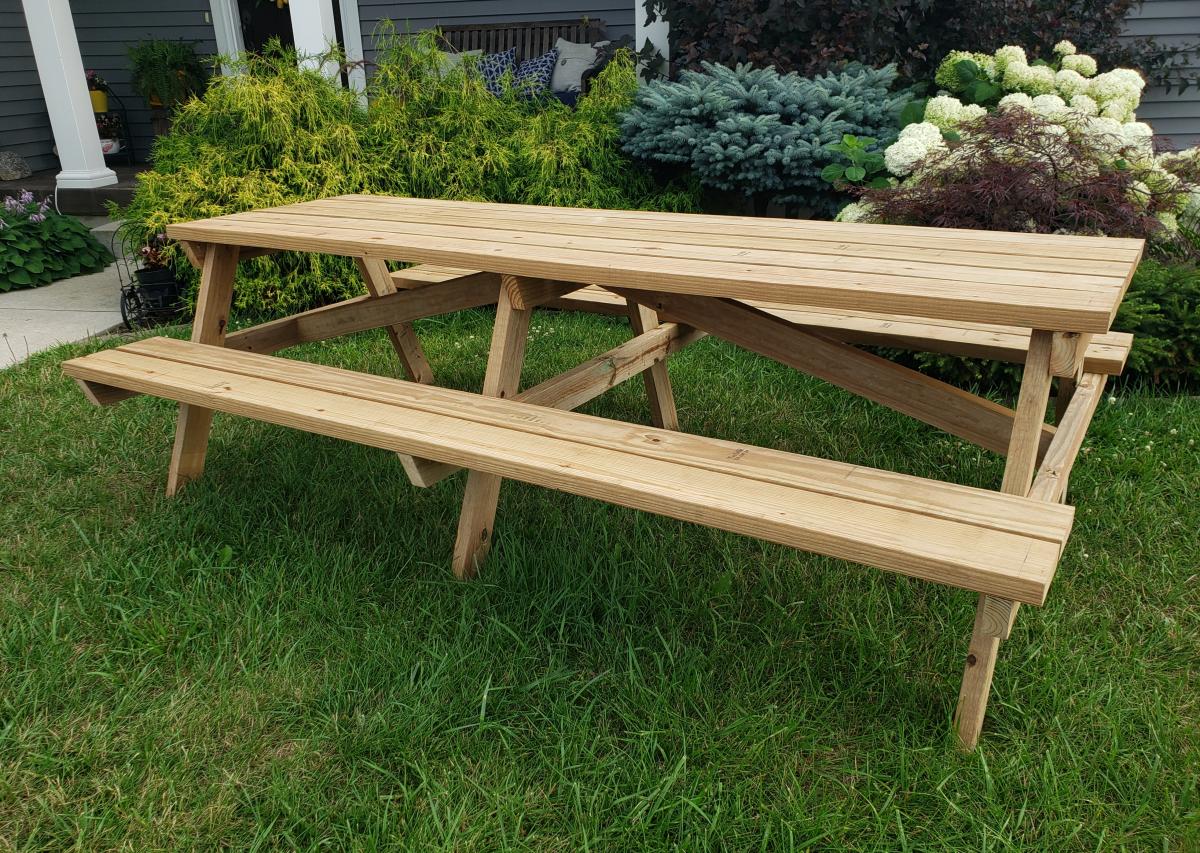
8 Foot Picnic Table

Submitted by milleall on Wed, 07/22/2020 - 12:07

My teenage son and his father took over the bulk of the building duties this time. We chose to use treated lumber as untreated lumber with finish applied doesn't do well in Michigan weather in my experience. We made it more beautiful by using the treated lumber in cedartone. We used pocket holes to attach the top and seats to the supports to make for a smooth appearance. This is one large and heavy table! The plans were accurate and the build was fairly simple, but having many hands made working with the large piece easier.

Built from Plan(s)
Estimated Cost
$150
Estimated Time Investment
Afternoon Project (3-6 Hours)
Finish Used
None
Recommended Skill Level
Intermediate

Comments

Seasonal And Holiday

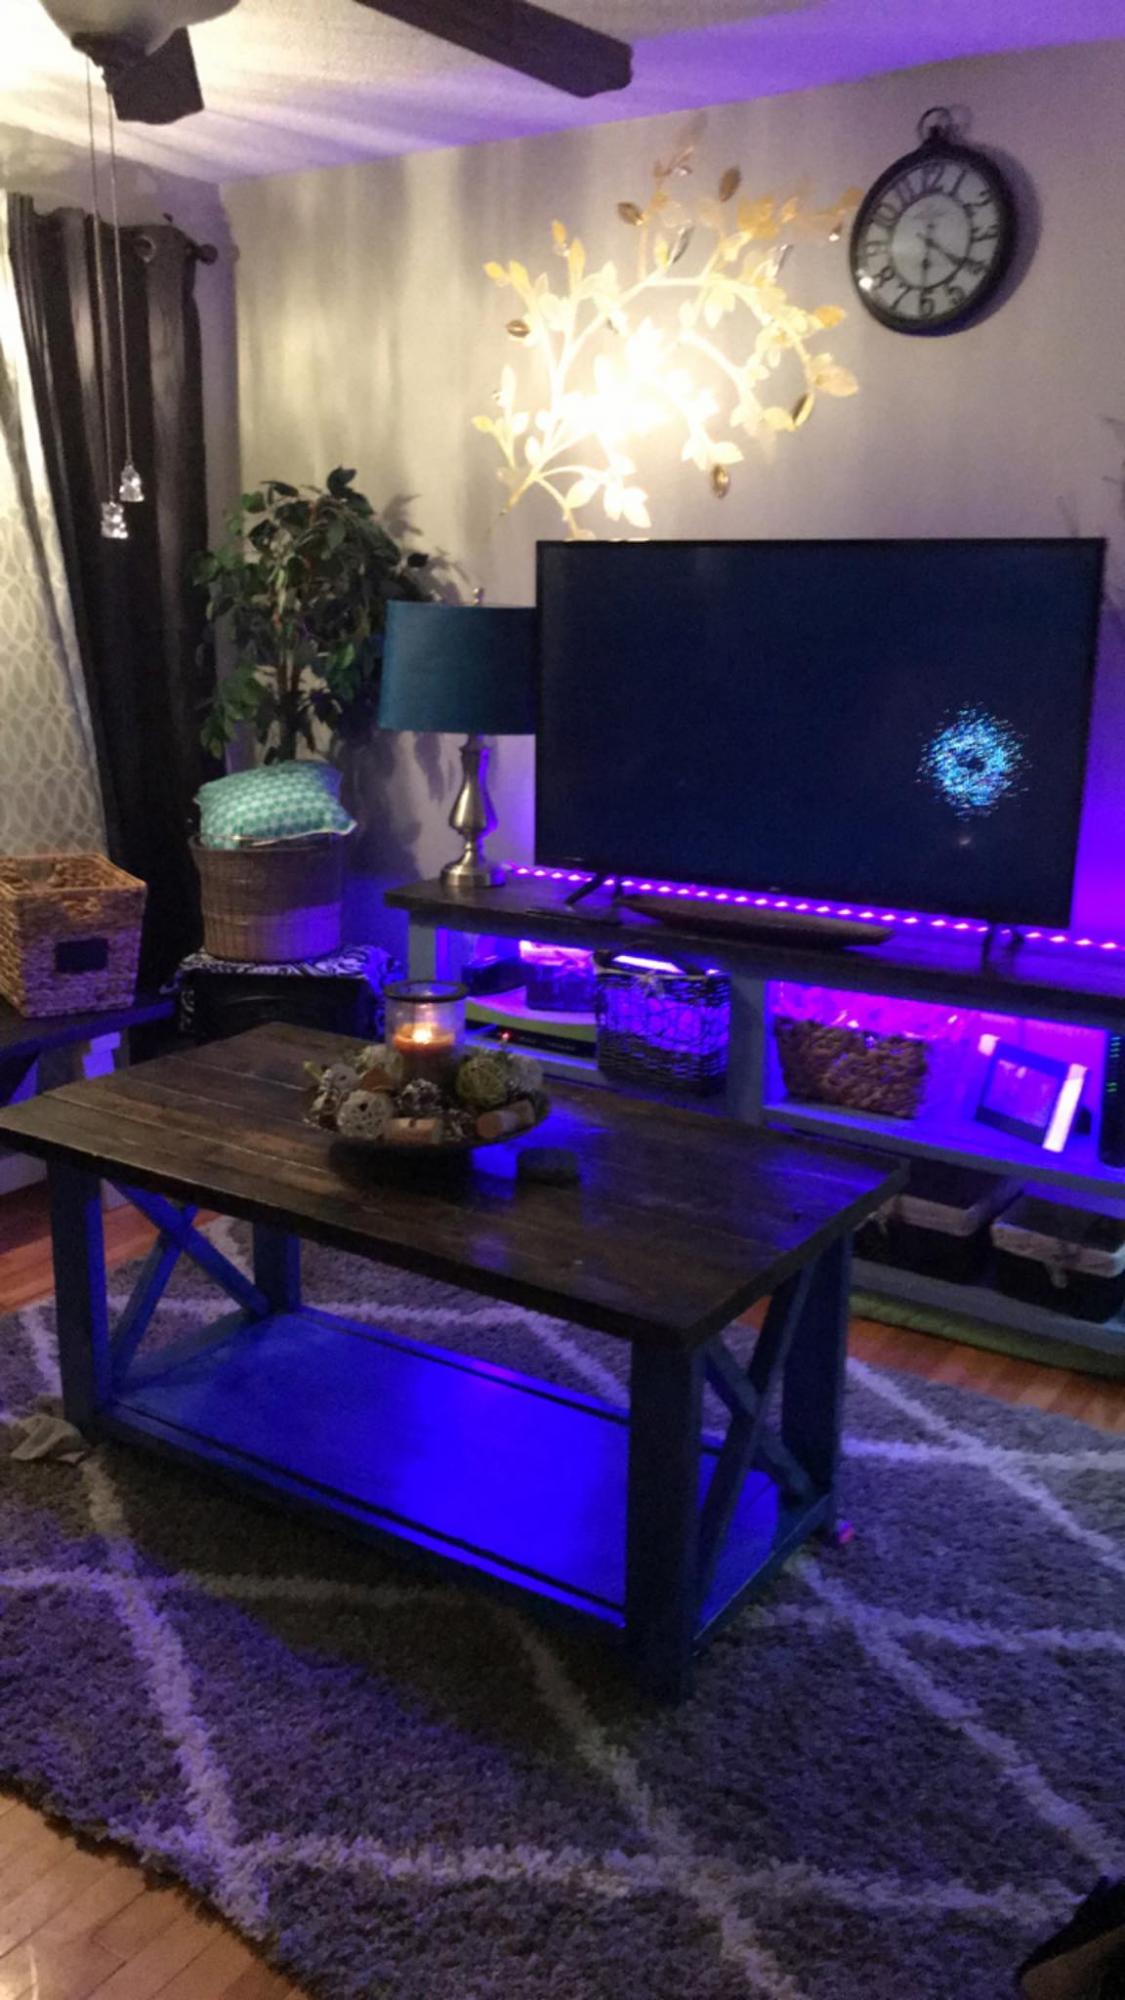
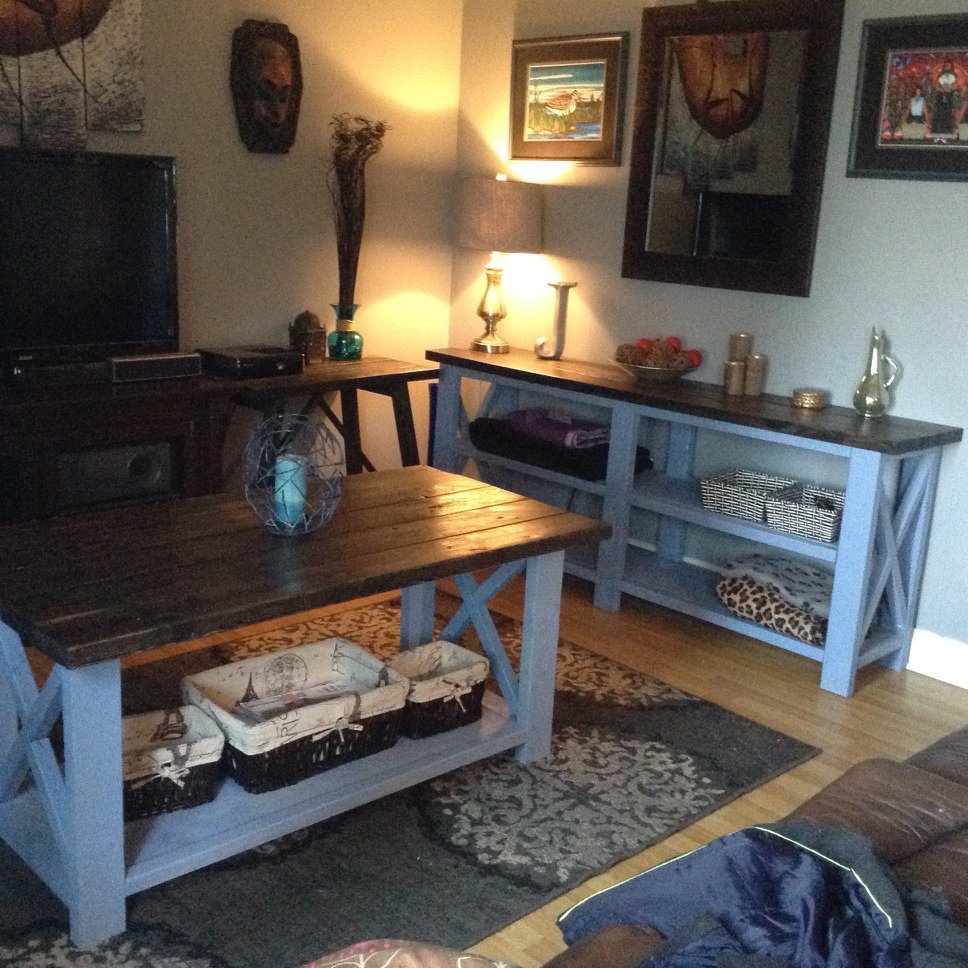
Rustic x coffee table and rustic x console table

Submitted by Anonymous (not verified) on Fri, 07/24/2020 - 10:31

Made exactly as according to Ana Whites plans. Easy to build and very pretty once completed

Estimated Cost
180
Estimated Time Investment
Weekend Project (10-20 Hours)
Finish Used
Espresso with varathane and lacquer on top and base is a light blue stain
Recommended Skill Level
Beginner

Farmhouse Kitchen Table

Submitted by Anonymous (not verified) on Tue, 11/22/2016 - 18:28

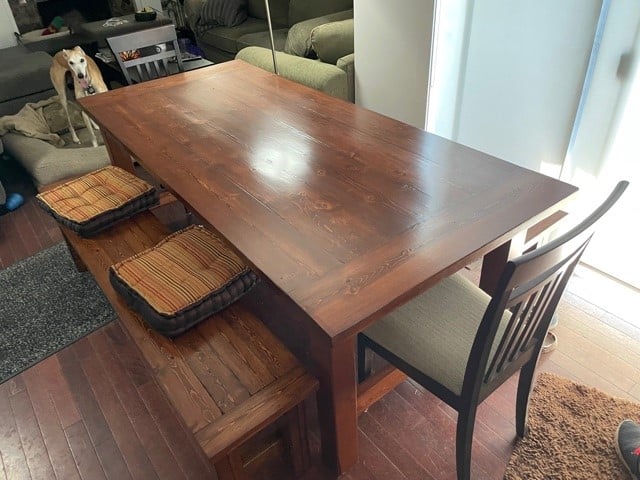
This Farmhouse table and bench were made, stained, and painted over the course of two weekends. This makes a great project for a beginner woodworker to cut their teeth on.  You can make something fantastic while learning various woodworking techniques (i.e. joinery, planing, sanding, and staining). The chairs were purchased separately at the At Home store for $150 each. 

Estimated Cost
$150
Estimated Time Investment
Weekend Project (10-20 Hours)
Finish Used
Special walnut stain and 3 coats of satin clearcoat on top. The legs are stained, then painted with spun cotton paint (behr), then scuffed for a Farmhouse look, and finally sealed with 2 coats of satin clearcoat.
Recommended Skill Level
Beginner

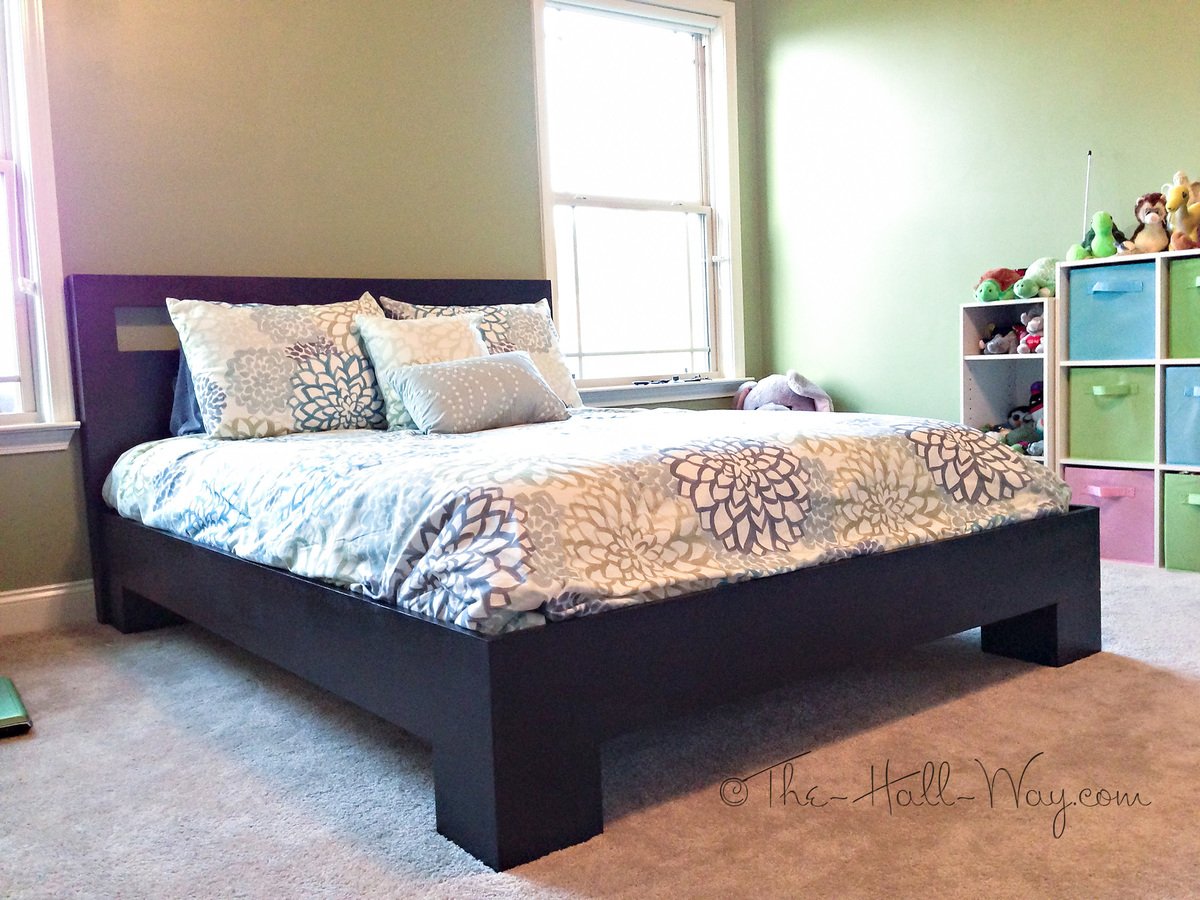
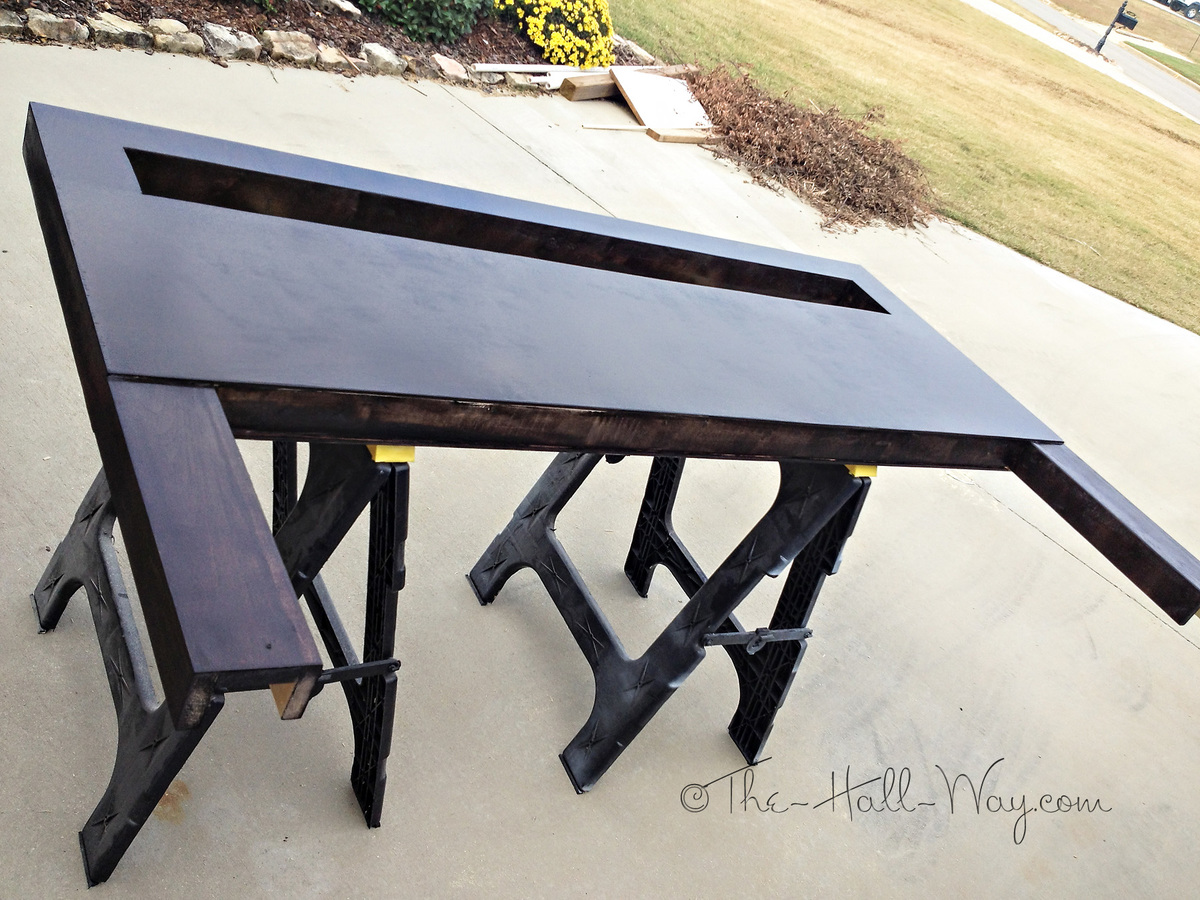
Chunky Leg Bed

Submitted by thehallway on Fri, 10/26/2012 - 08:46

I built this bed for my sister's new house. I used aspen for the visible boards and furring strips and regular lumber for the rest. The only change from the original plan is that I used 1x6s for the legs so it would sit higher off the floor.

I painted it with Rustoleum Painter's Touch Metallic in Oil Rubbed Bronze and I really like how it turned out. I didn't use any primer, so you can almost see the wood grain which gives it the illusion of being stained. It also has a metallic sheen in the right light, but it's very subtle. The only downside is the metallic gives it a rough texture. I contemplated putting a couple coats of poly over it, which I may do later.

*Picture was taken with her old full size mattress

Estimated Cost
~$200 including headboard
Estimated Time Investment
Day Project (6-9 Hours)
Finish Used
Rustoleum Painter's Touch Metallic in Oil Rubbed Bronze
Recommended Skill Level
Intermediate

Comments

Francoise

Fri, 10/26/2012 - 19:44

Looks so gorgeous, the combo of headboard and frame, the chunky legs and the paint job is attention grabbing. It's a cohesive whole.

Traditional Toddler Bed with Rustic Headboard

Submitted by jenmac75 on Tue, 11/27/2012 - 17:42

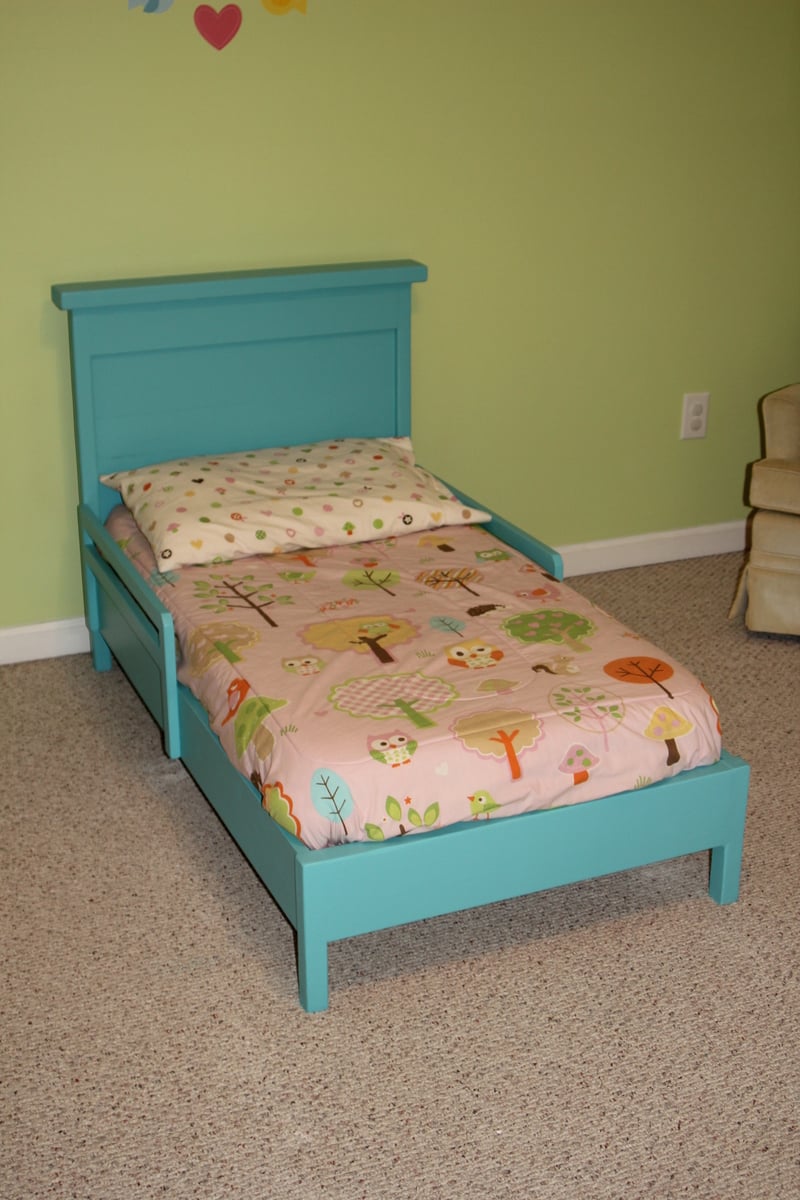
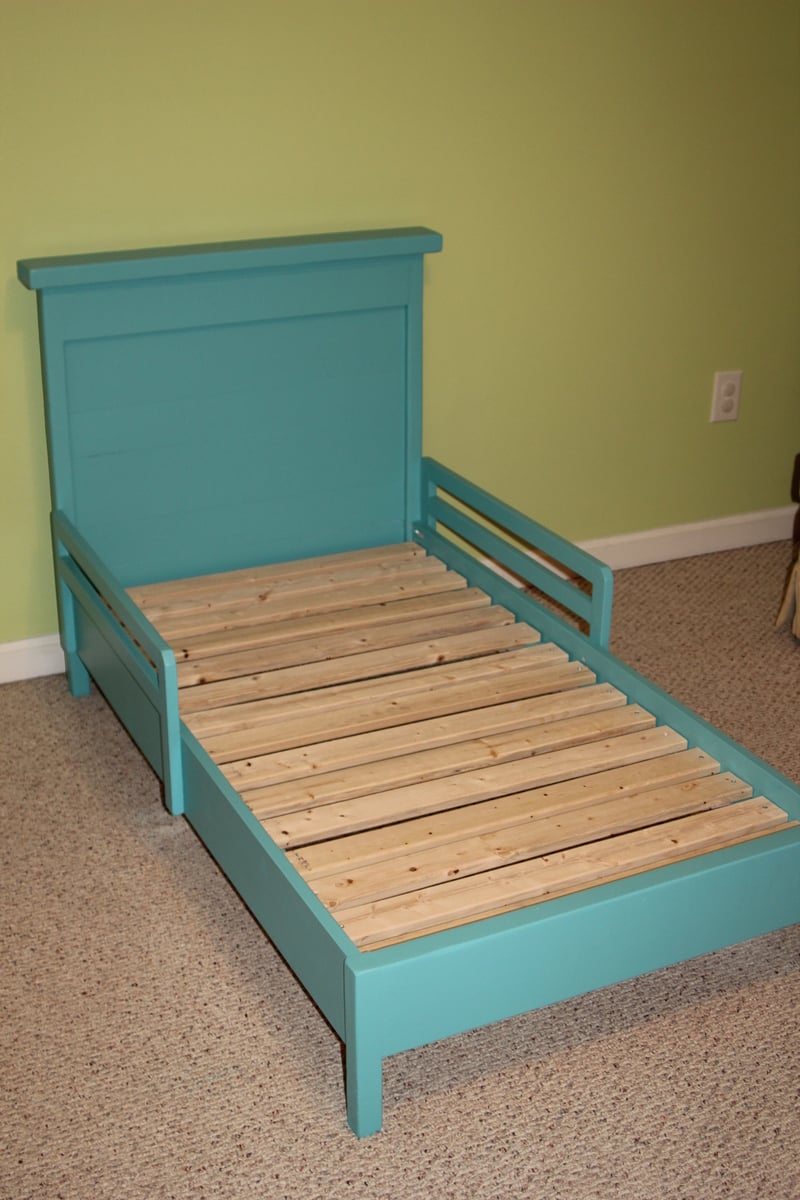
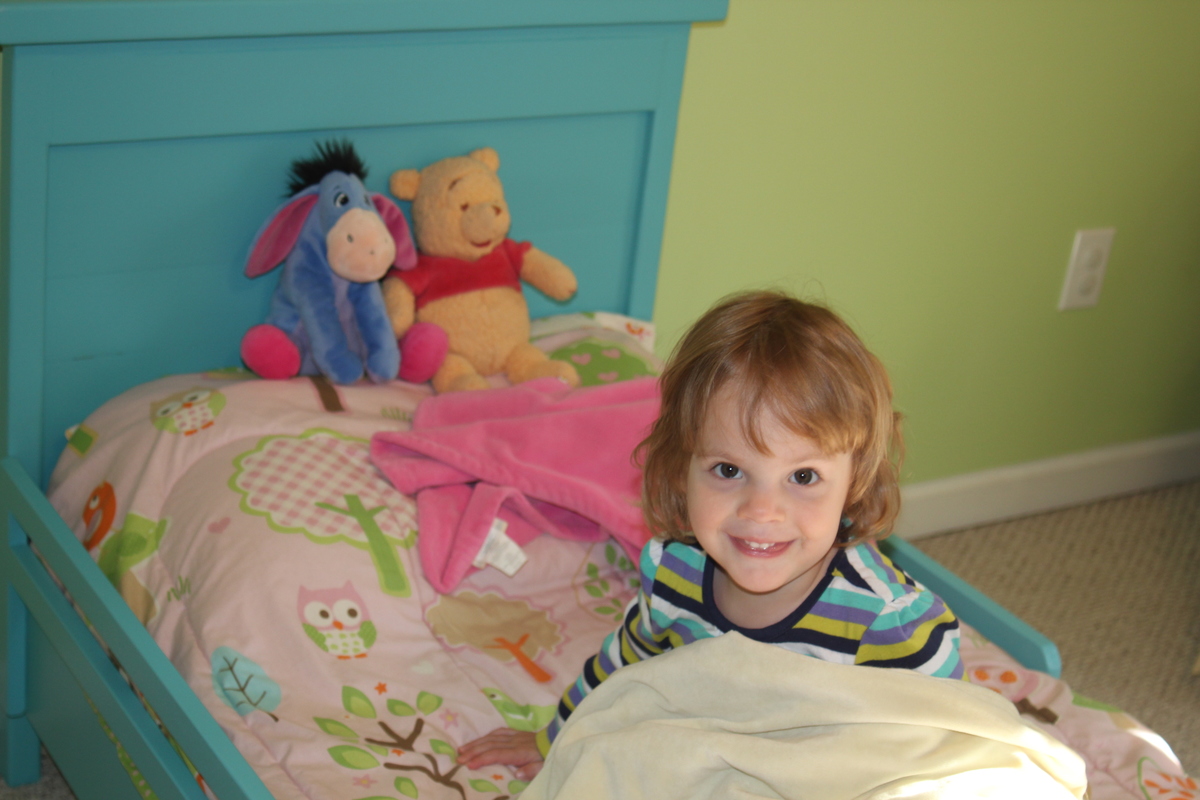
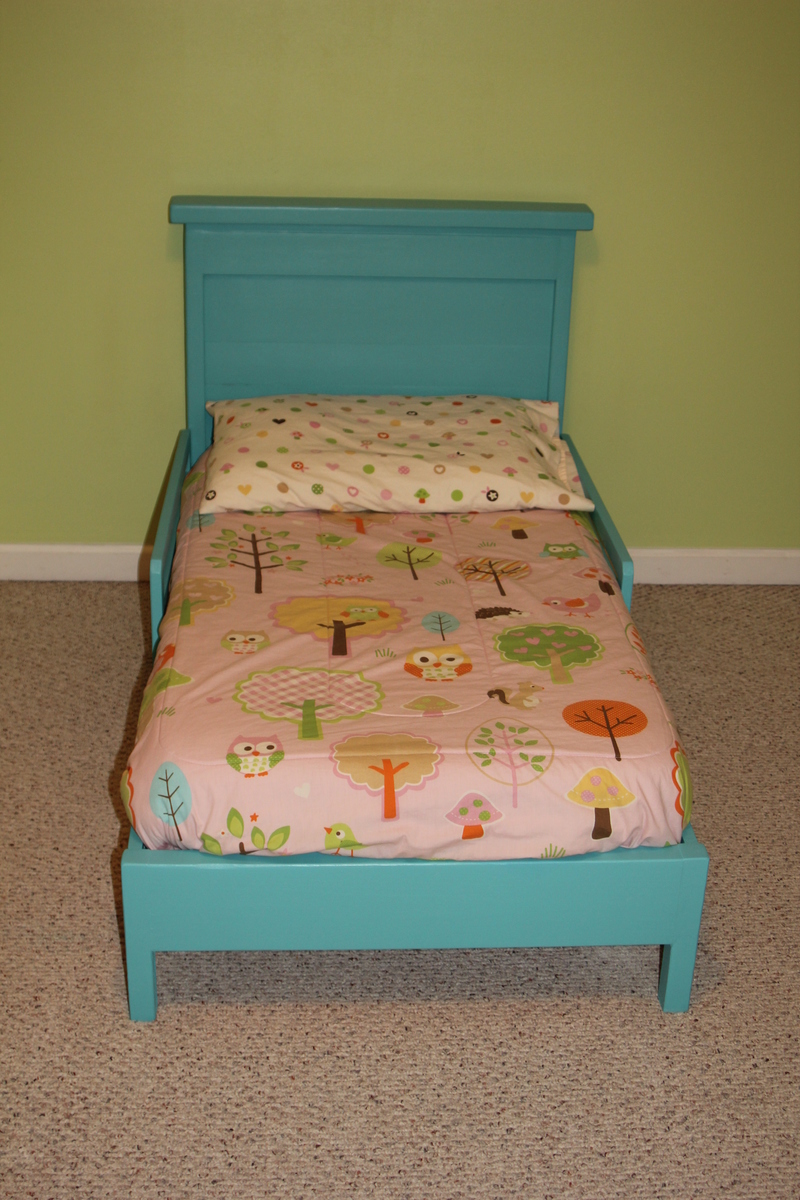
After my daughter started escaping from her crib I knew it was time to build her a new bed. I didn't think she was quite ready for a full size yet so I thought a toddler size would work for at least the next year.

I started with the Traditional Toddler Bed plans and scaled down the size of the Rustic Headboard and incorporated that. The biggest thing I learned in the process was to measure your mattress first! I don't think I realized the size variation in crib mattresses and ended up having to recut my slats and rails to accommodate my larger mattress. Also, our mattress is 5 inches deep, which means that the safety rails only extend about an inch over the top of the bed. This seems to be fine for my daughter and she hasn't fallen out - yet - but I think if you have a very restless sleeper or just want to play it safe, you might want to add an extra inch or two to the height of the guardrails.

I also used a 2 x 6 for the foot rail as this allowed the legs to be inset further and gave it a more solid look on the bottom.

Estimated Cost
$60
Estimated Time Investment
Day Project (6-9 Hours)
Finish Used
Valspar Primer and 2 coats of Olympic Premium in Caruso
Recommended Skill Level
Beginner

Comments

Fancy X Farm House Table

Submitted by Anonymous (not verified) on Sun, 02/05/2017 - 12:24

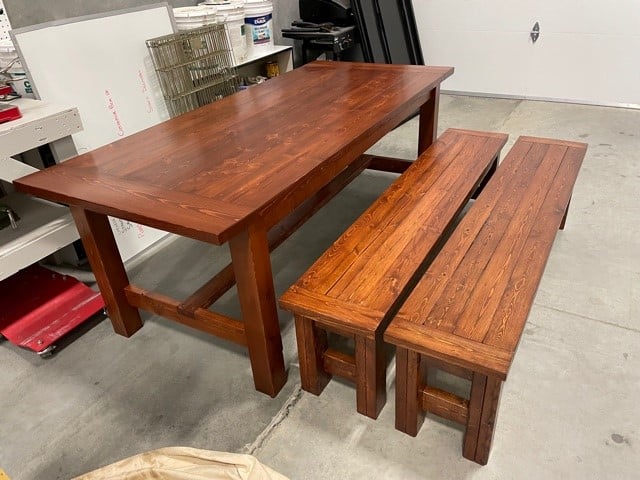
Great way to turn inexpensive pine into a beautiful piece. Our wood was quite wet so we were extra careful to keep it tight and straight. Once the top was assembled, out came the torch! The torch provided an instant partial drying of the wood causing a great bonding and snug fit. The flame brought out the grain in various colors. We opted to use polyurethane as a finish.

Of course we had to make benches to match! 

Estimated Cost
$120
Estimated Time Investment
Weekend Project (10-20 Hours)
Finish Used
Torch Polyurethane
Recommended Skill Level
Beginner

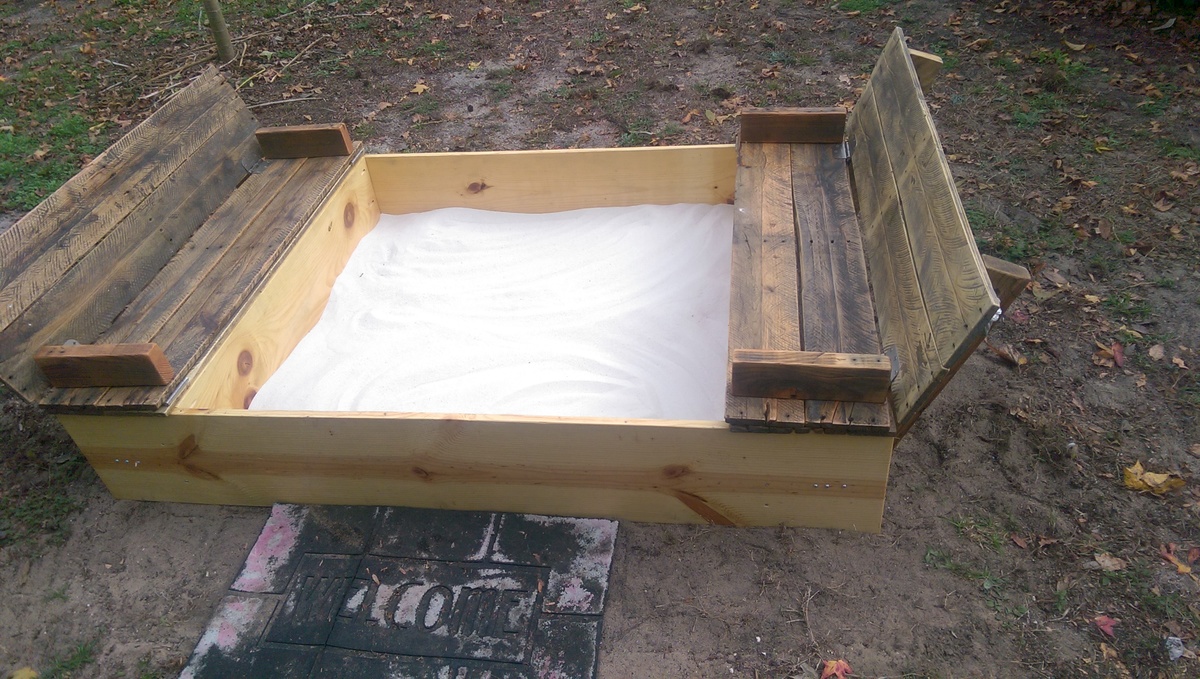
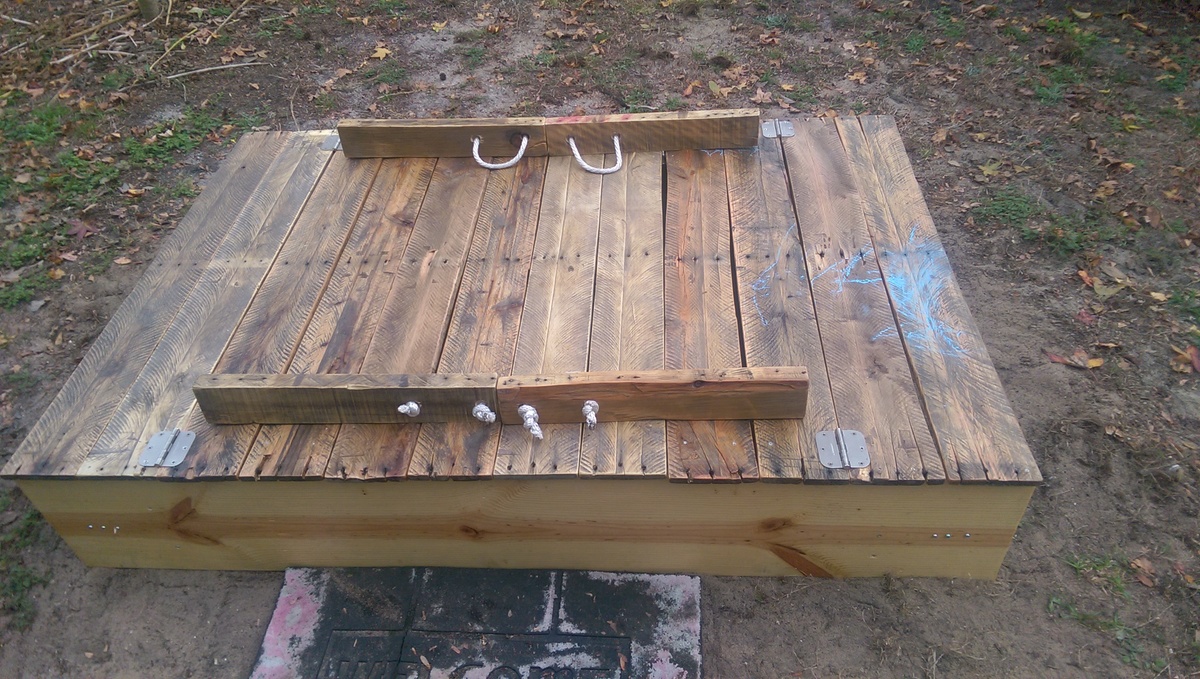
pallet wood covered sand box

Submitted by Anonymous (not verified) on Tue, 02/21/2017 - 12:29

I used the same plans as posted but I tweaked them to work for the pallet wood that I ripped and sanded and stained with outdoor polyurethane. I also moved the short boards in so the box is smaller and added beams to support the bench separate. Because of Florida bugs and ants I also screwed a painting tarp to the bottom and punctured it several times for drainage to try and prevent bugs and weeds. The plans were so simple and I had so much fun making this.

Built from Plan(s)
Estimated Cost
50$
Estimated Time Investment
Week Long Project (20 Hours or More)
Finish Used
Just sanded and clear satin polyurethane outdoors coating. The product will look different depending on the pallet wood used.
Recommended Skill Level
Beginner

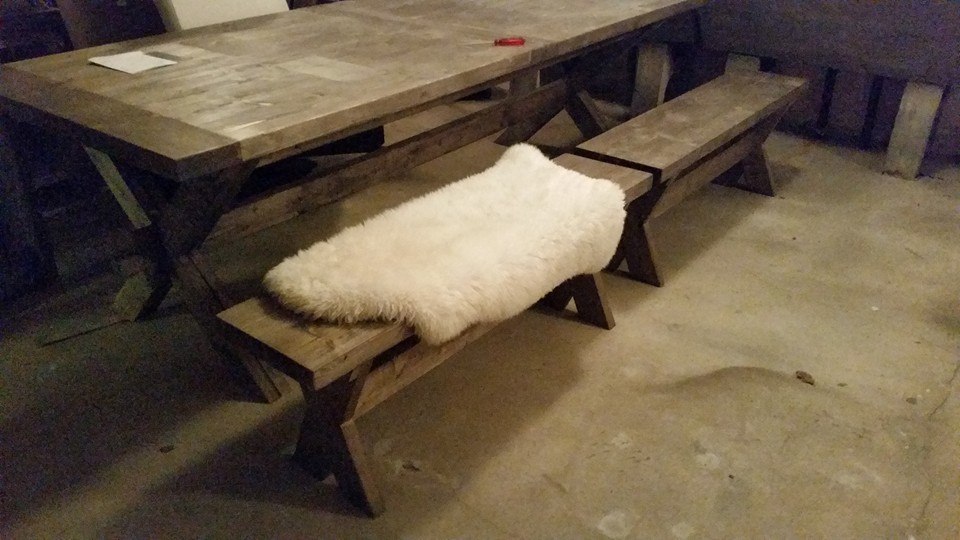
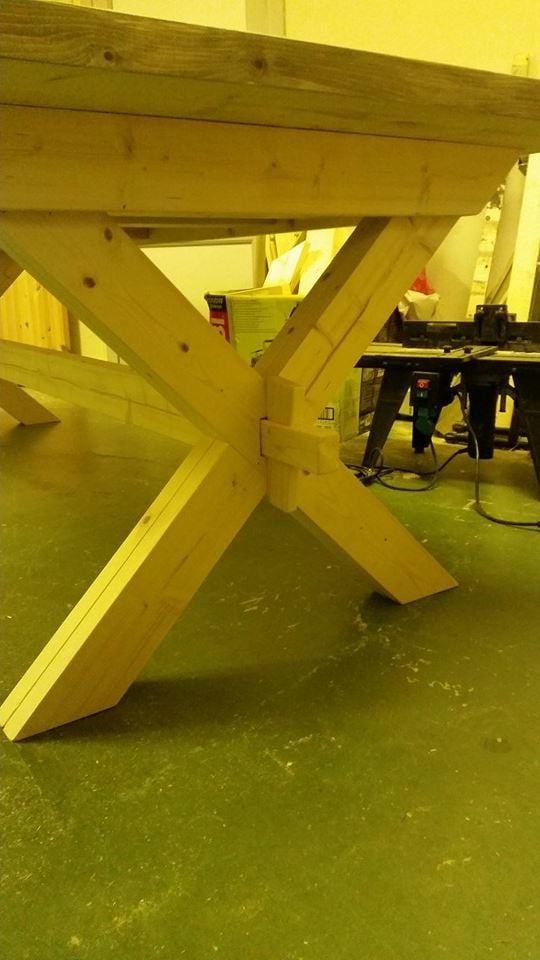
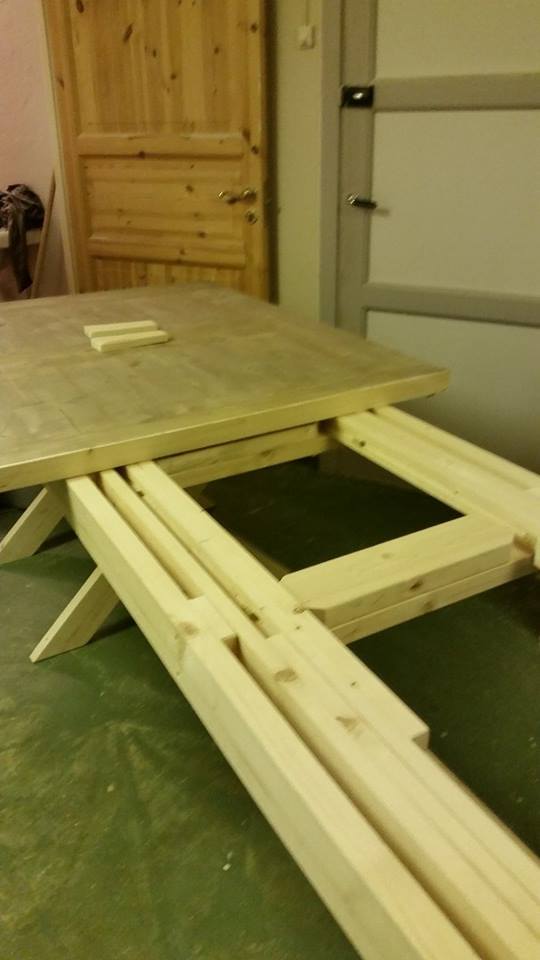
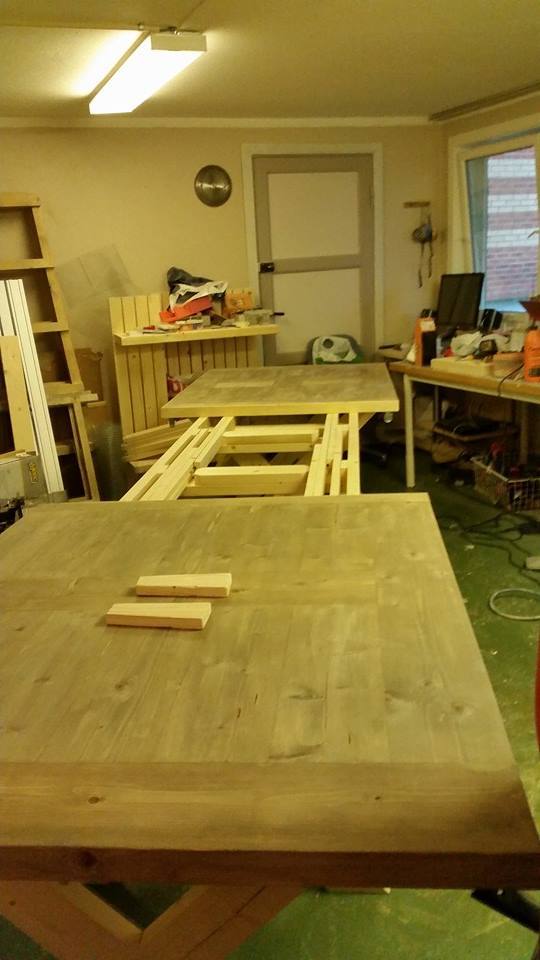
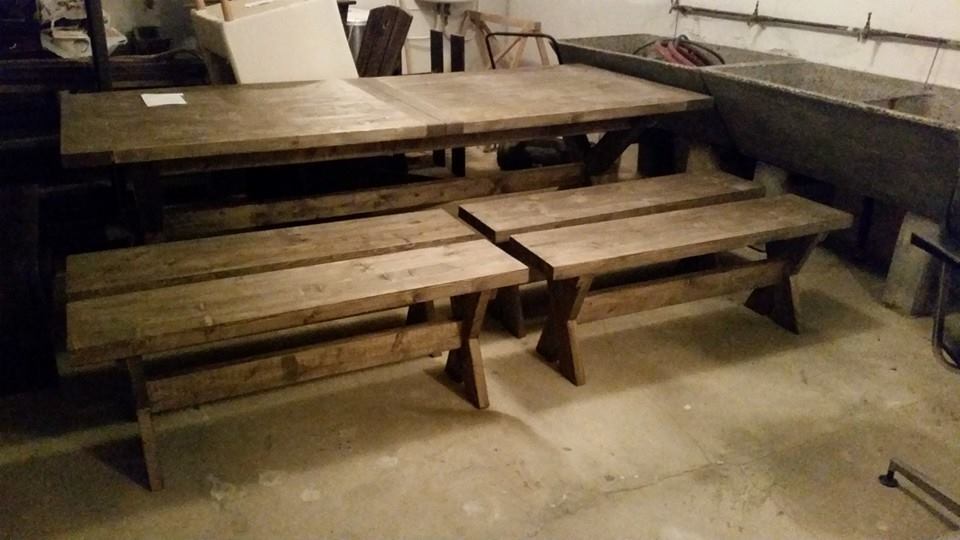
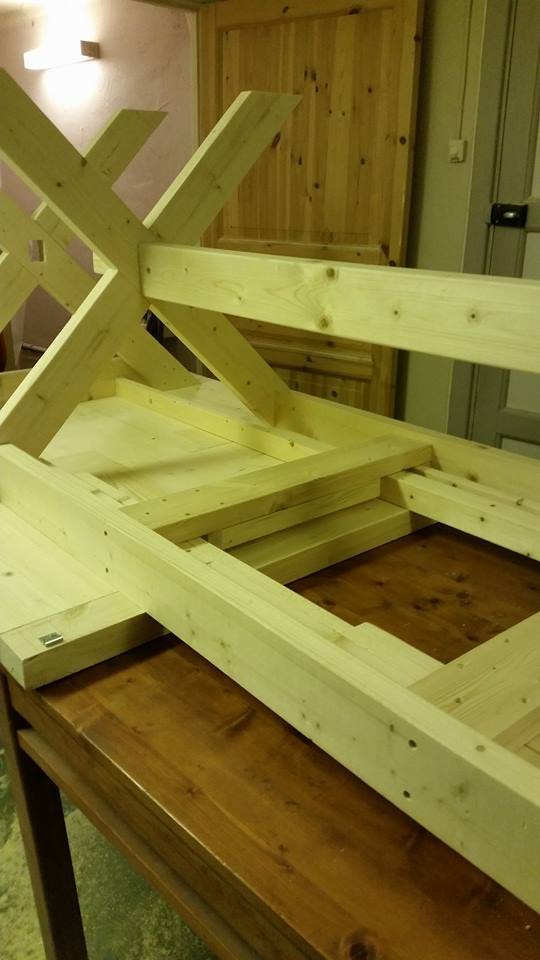
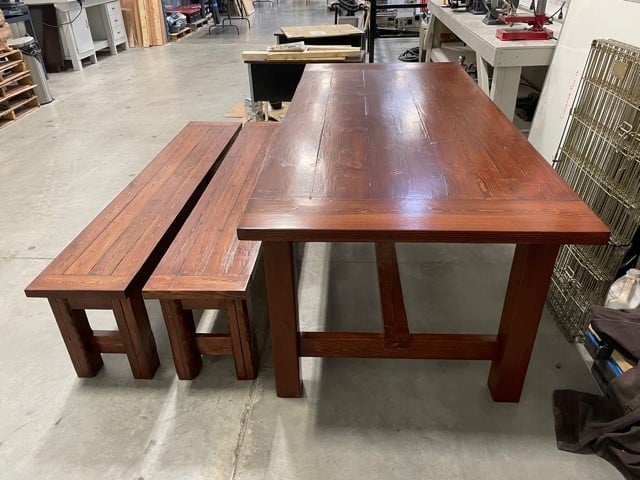
From a pile of wood to an beautifull extendable x leg dining table and benches

Submitted by mobe00 on Sat, 11/29/2014 - 05:18

My girl wanted a long sturdy extendable x-legged dining table and benches for our big family and guest for our new house. Extendable from 2,5 meter to about 5,2 meter. Sorry for the picture qualities. Can post pictures later when the table is placed in the new house. Right now its in the basement waiting to be moved ;)


Estimated Cost
Norwegian prices are not the cheapest ones. but from NOK to US dollars its about $300 for the materials. made out of 2x6 and 1.5x4
Estimated Time Investment
Weekend Project (10-20 Hours)
Recommended Skill Level
Intermediate

Comments

REALLY Chunky Table

Submitted by Slowtwitch on Fri, 12/19/2014 - 23:34

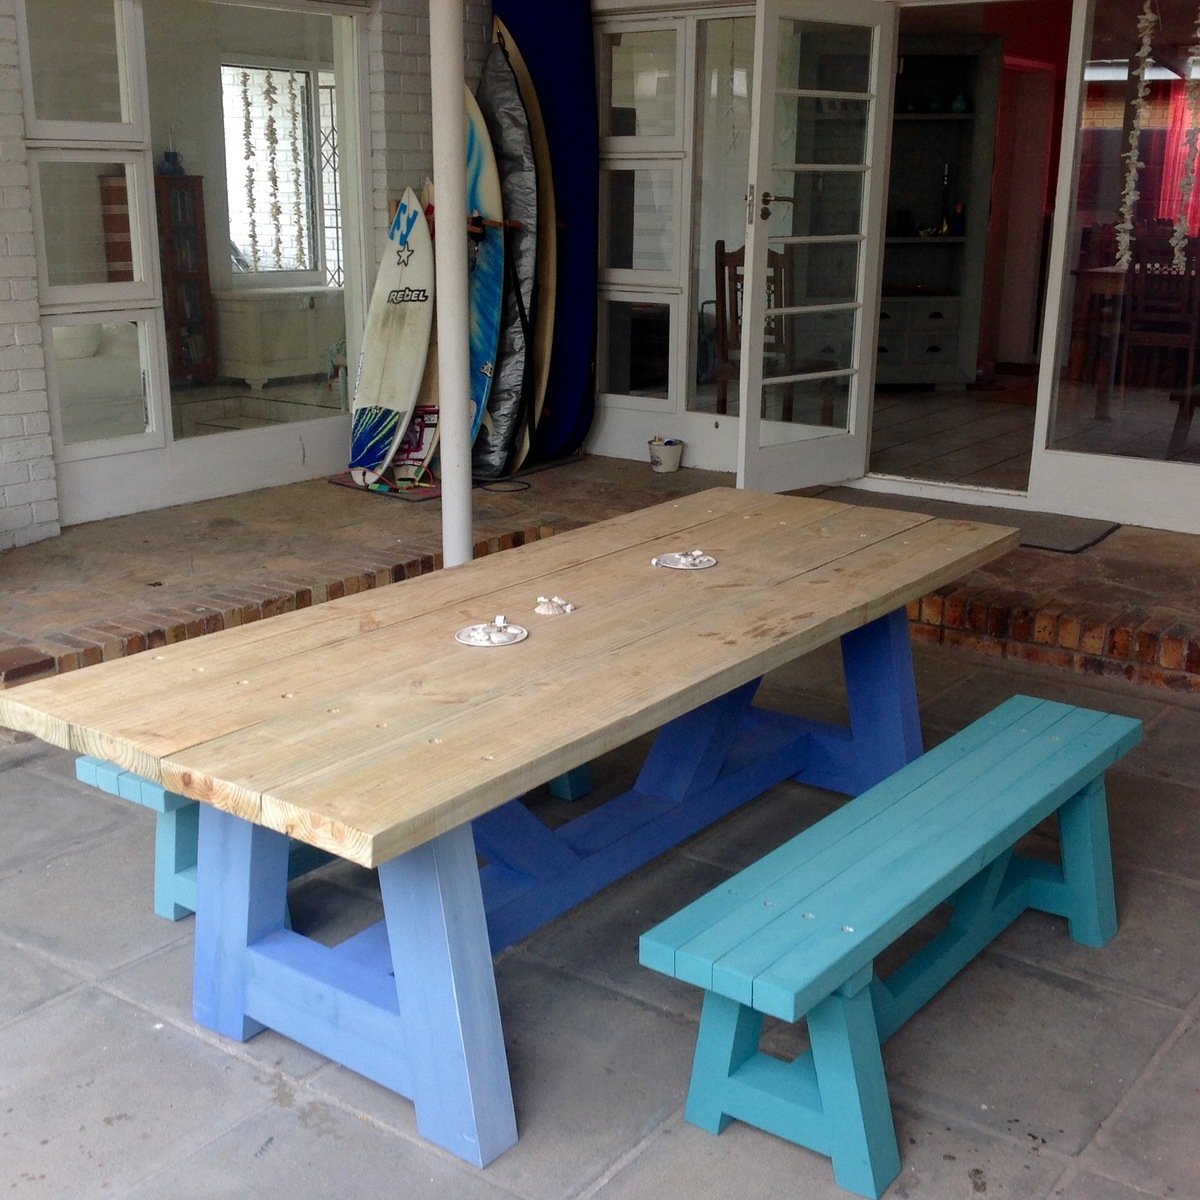
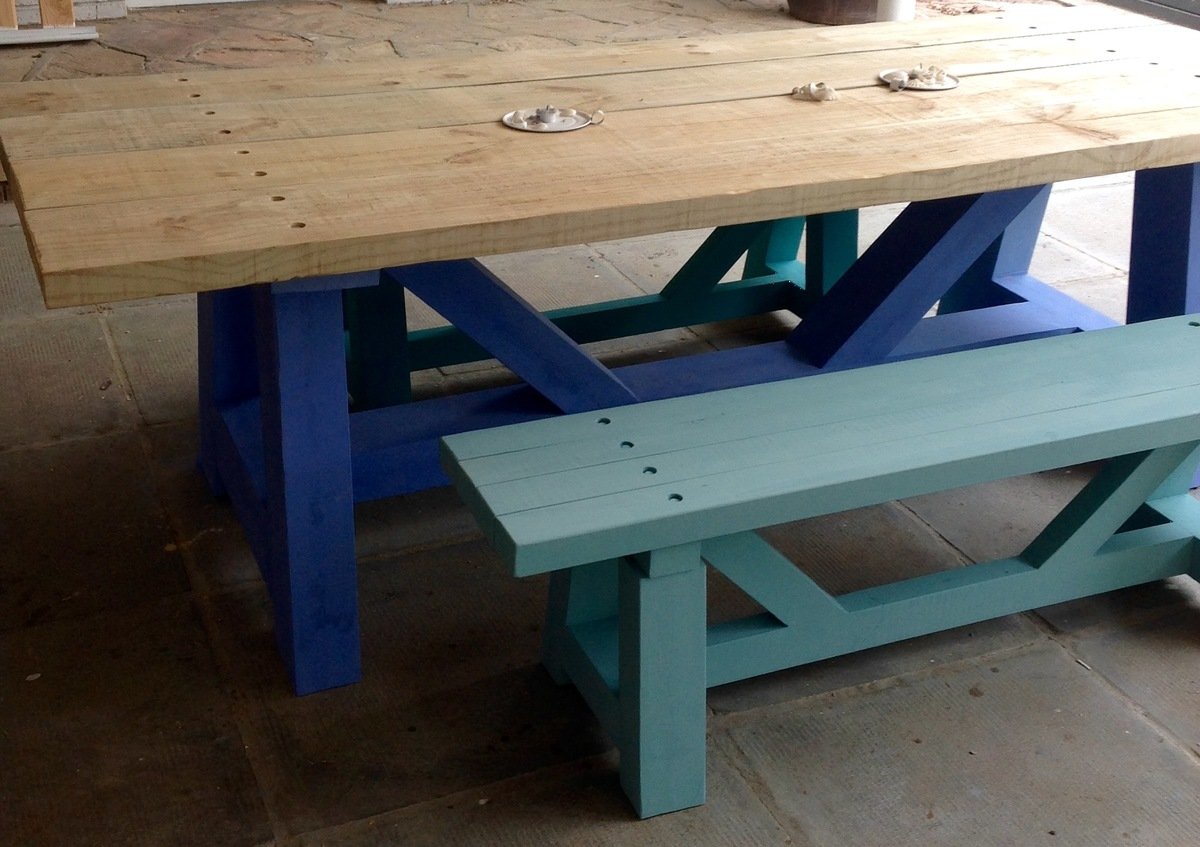
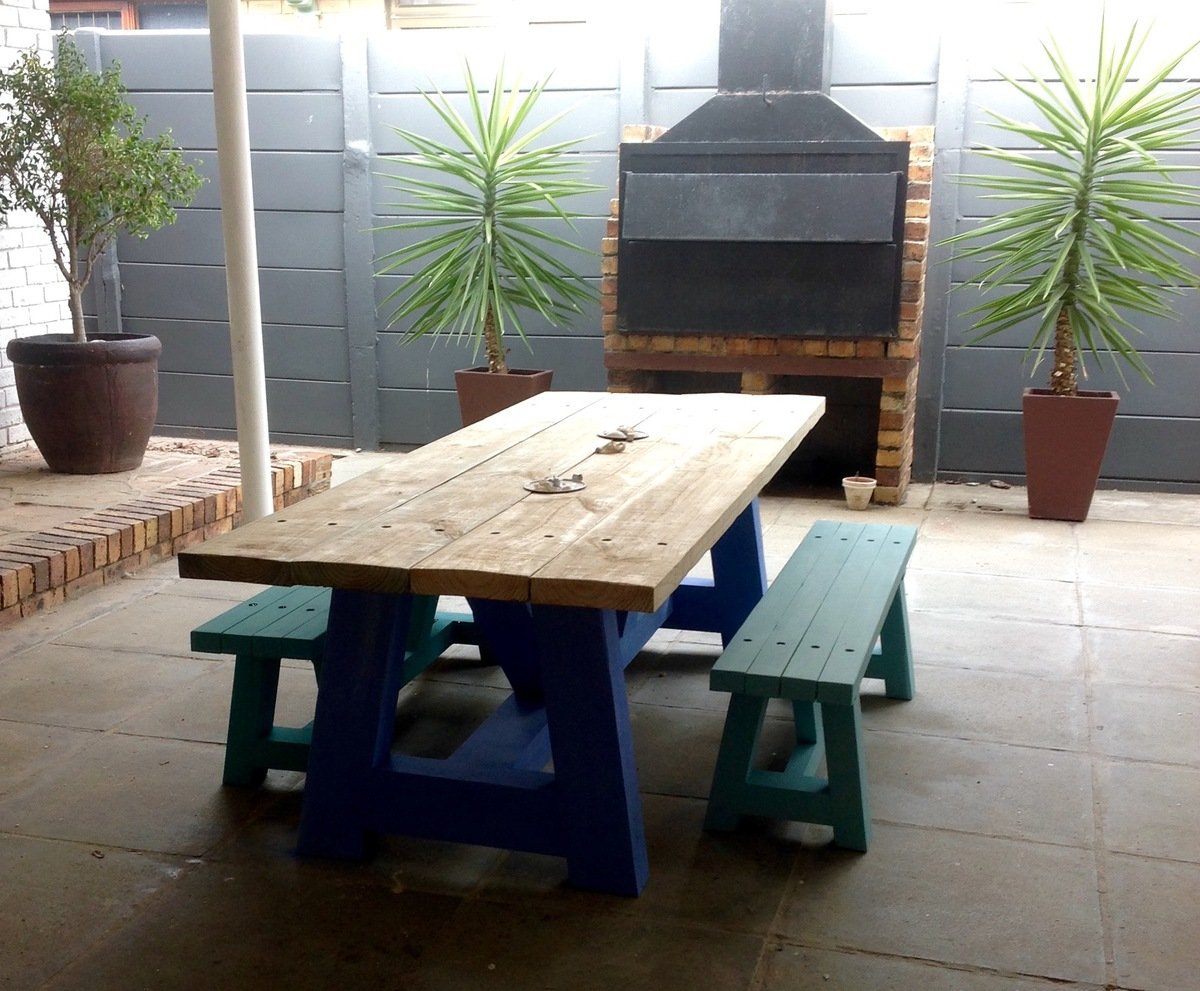
Looking for rustic outdoor table ideas, I came across Ana's website and the Providence Table and benches. When I saw it, I knew this was what we were after. After some more browsing I came across the 4x4 truss beam table and decided to rather go with the chunkier table. Although I’ve done a few woodwork projects, this was the most ambitious to date, especially considering that I only have a few hand held tools.

We live in beautiful Cape Town, South Africa - we work in metric, so all dimensions needed to be converted. Also, our locally available wood sizes are different to timber sizing in the States, i.e. we don't have 4x4 (100mm x 100mm) or 2x4 (50mm x 100mm) available, so it was a bit of a challenge to decide what to go for. In the end I decided to use 75mm x 50mm rough cut treated construction pine. It was cheaper, and I could end up with a REALLY Chunky table if I glued 4 pieces together! In order to do this, I need to amend the plans as if it was made from 6x4 beams.

So I started the process of cutting the 75mm x 50mm timber to rough sizes, gluing the pieces together, sanding the joints, filling the gaps with glue/ sawdust mixture and re- sanding for each member of the table! I took my time with this and did a bit each day after work. It was interesting watching YouTube vids on this build - the guy starts with perfect 4x4 timber pieces, cut them and assemble. For me just to get to the starting point took quite some effort, but I knew I would be very happy with the more chunky look.

Other challenges I did not fully appreciate when deciding on the REALLY Chunky size, was the cutting of these thick pieces of timber using hand held tools and how to join them!! You don’t get very long small drill bits for pilot holes, so ended up using self-drilling screws. Unfortunately the longest length I could find was 120mm (8.66inch) - so I had to counter sink them really deep into the timber - this was quite tricky!

Other things I did were to lower the original design table height as recommended by other builders on this site so I made the table height 750mm (29.5inch). It worked out very well for small children as well for adults (I'm 6ft2). Table length I made 2.4m (approx 8ft). For the table top I used 220mm x 50mm (8.66 x 2 inch) timber, once again due to the restrictions of locally available sizes. I also change the spacing between the legs in order to fit the benches under the table (1600mm opening to fit the 1550mm benches).

For the benches, I once again had to decide what timber sizing to use. I wasn't keen to go through the process of forming 6x4's for each bench member for 2 benches and also felt that it would look just too chunky for the short bench legs. So the design ended up being a hybrid between the providence bench- and the chunkier 4x4 bench design, using 2 pieces of 75mm x 50mm to create 100mm x 75mm (4 x 3.5inch) legs.

Other changes made to the bench design was to make the bench height 450mm (17.7inch), amend the overhangs of the seat, and change the overall length to be able to slide the bench in under the table.

The altered height of the table and benches really worked out well and we sit very comfortably at that table.

We used chalk paint for the finish, but as you can see, we're still deciding on colour choices and final look of the top.
Estimated Cost
$200 - 250
Estimated Time Investment
Week Long Project (20 Hours or More)
Recommended Skill Level
Intermediate

Comments

Farmhouse toy box

Submitted by Jayna on Fri, 02/12/2021 - 13:34

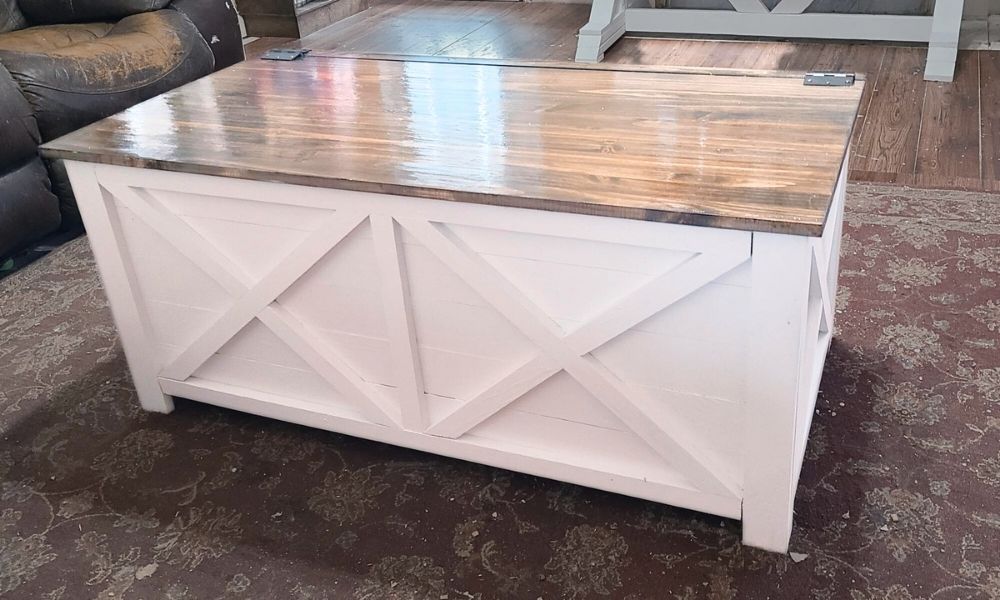
Made a few adjustments to the farmhouse toy box. Made it a little bigger and added Xs out of 1x2s around it to give it a little extra something! I'm using it as a storage coffee table and I couldn't be happier with it! So in love!
Built from Plan(s)
Estimated Time Investment
Day Project (6-9 Hours)
Finish Used
Minwax dark walnut stain, three coats of Varathane clear gloss polyurethane, and painted with Valspar white paint.
Recommended Skill Level
Beginner

King Modern Farmhouse Bed

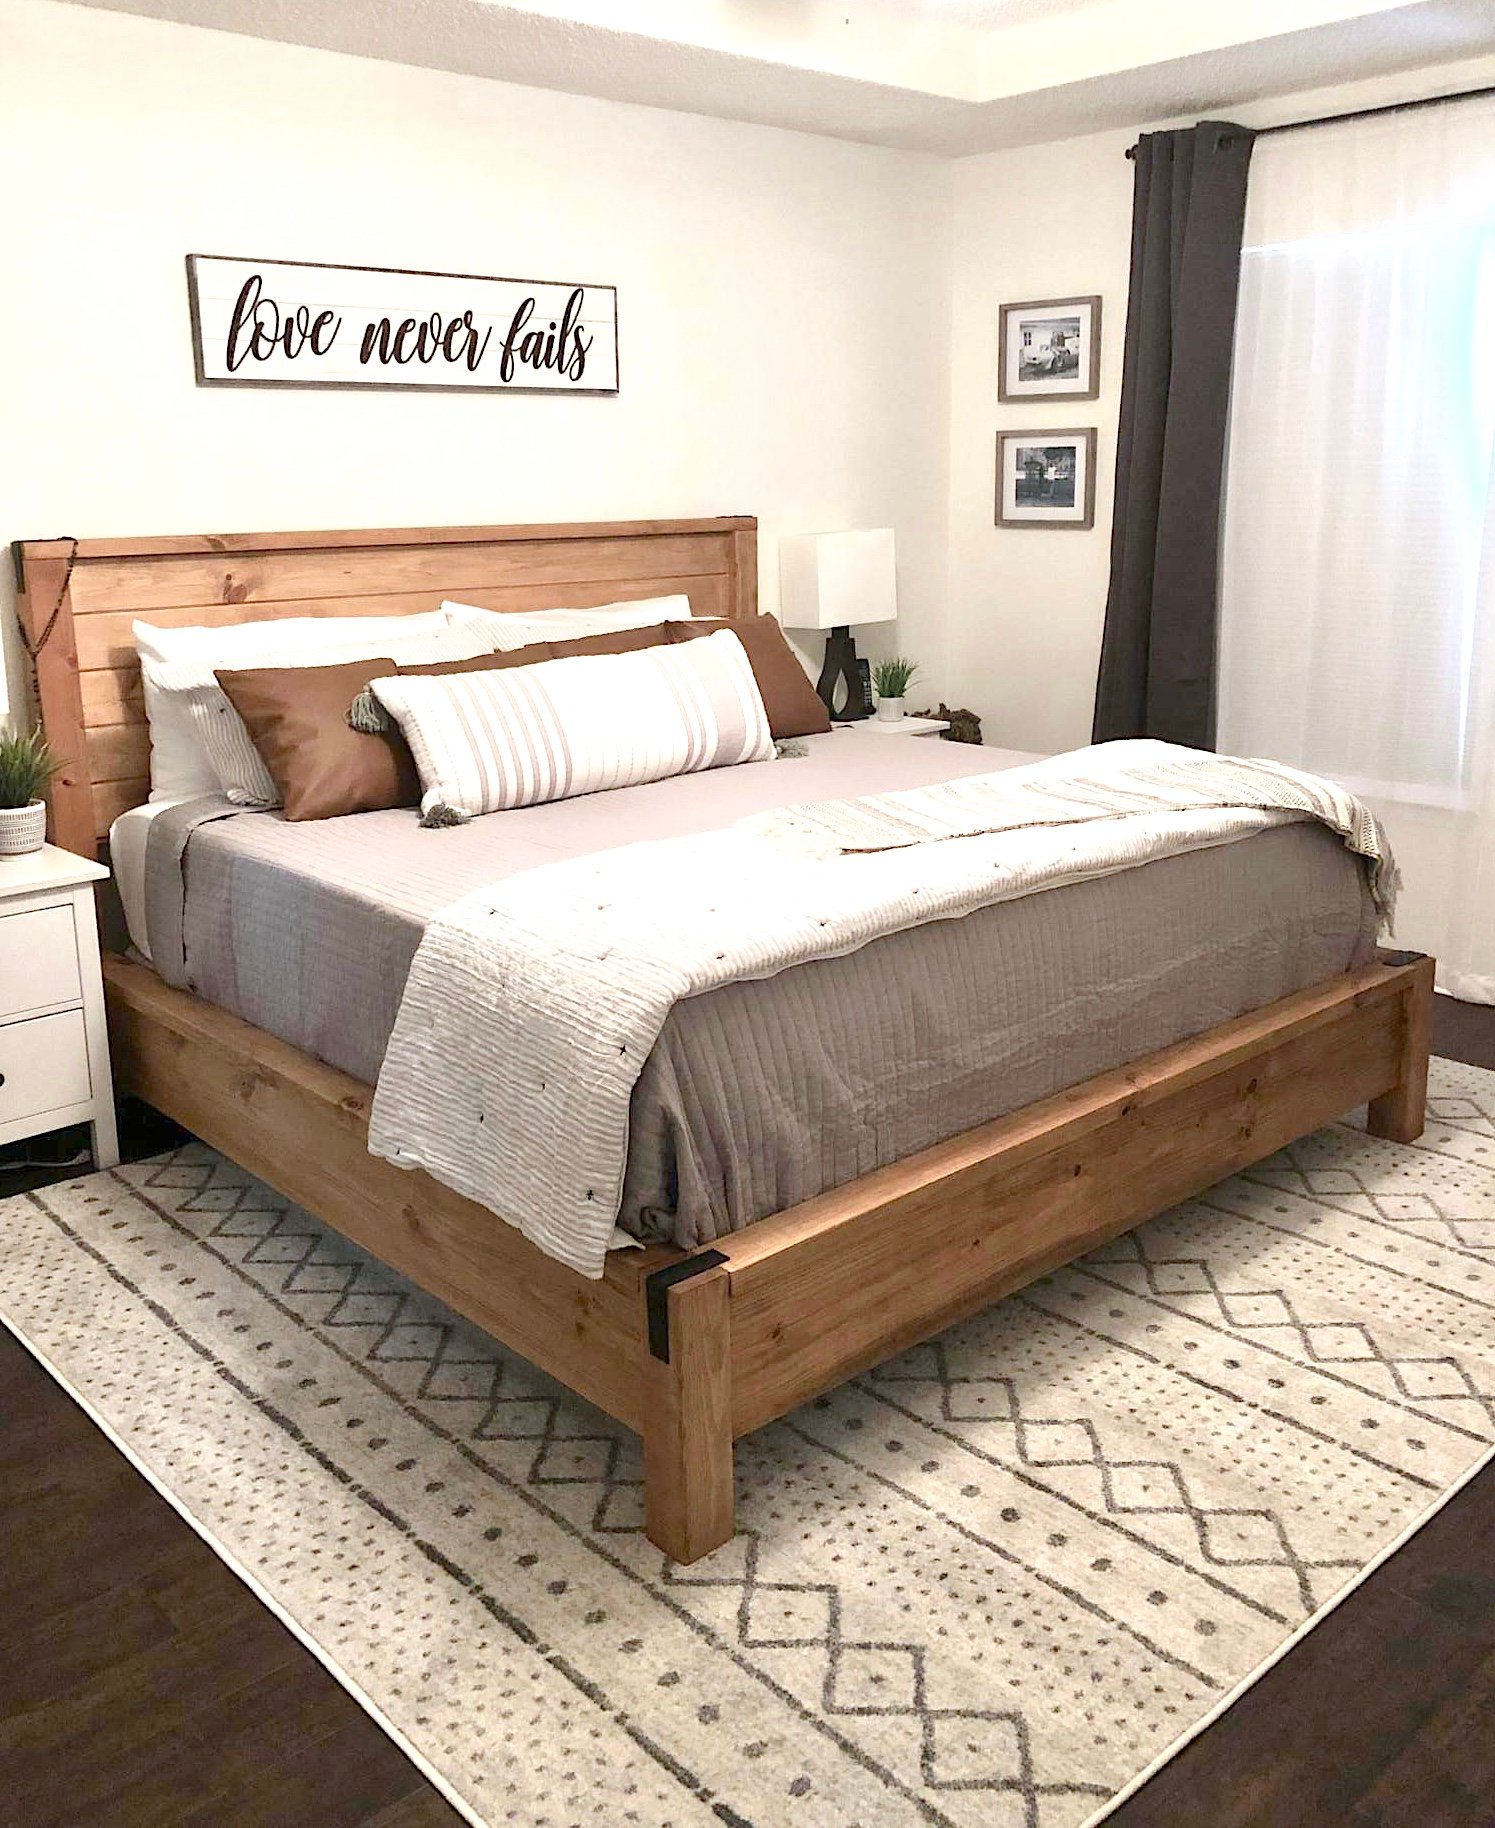
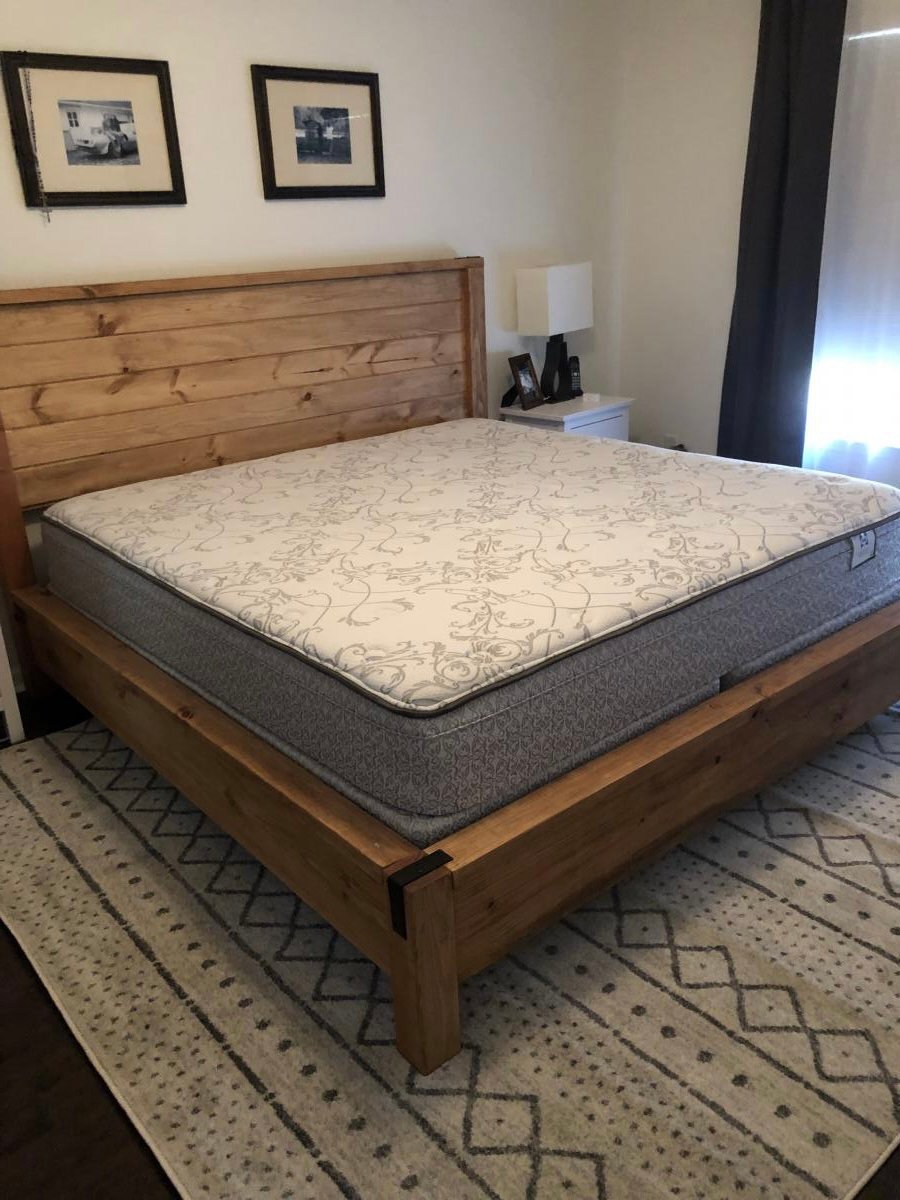
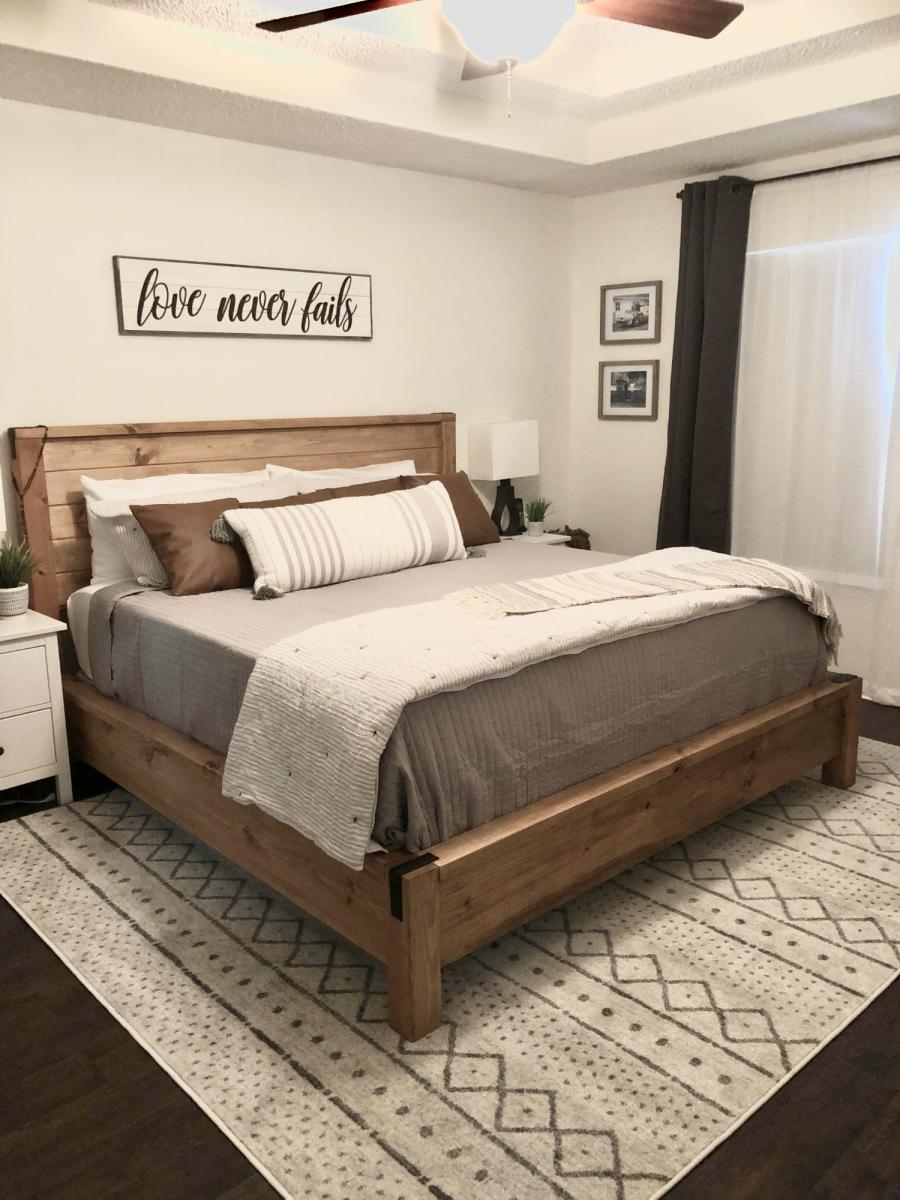
Made this bed from Ana's plans. Modified it with rail so I can add my box spring. Cost was approximately $160 for lumber, screws and stain. Absolutely loved the plans and easy to follow or modify if needed.

Built from Plan(s)
Estimated Cost
160.00
Estimated Time Investment
Afternoon Project (3-6 Hours)
Finish Used
Minwax wood conditioner, Minwax Special Walnut Stain
Recommended Skill Level
Intermediate

Comments

Rabbit Hutch for Indoor and Outdoor

Submitted by thediyplan on Fri, 03/26/2021 - 15:34

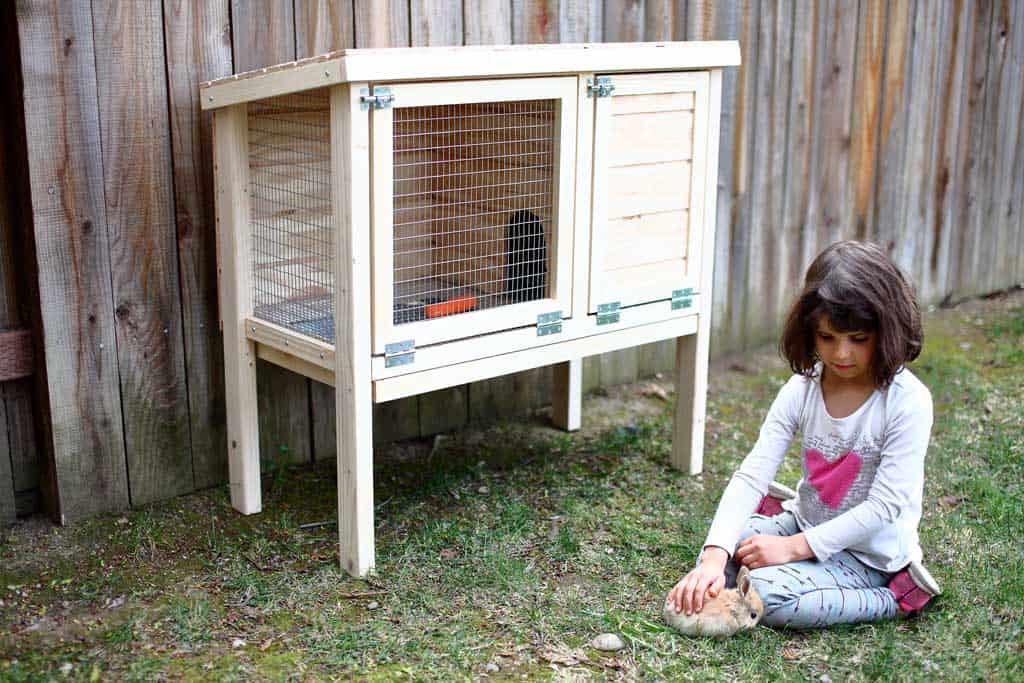
Looking for a cute, interactive pet to add to your home. What about bunnies? These creatures make great indoor pets. But before getting the rabbits, they will need a hutch to live in. To solve this problem, I’ve made detailed plans on how to build a DIY rabbit hutch that could be used indoor and outdoor.

The hutch has a litter pan under the floor that could be removed for cleaning. Since the hutch is only 3 feet wide, it could be easily moved around.

See my website for additional pictures and how I've built it, TheDIYPlan.com

Estimated Cost
$140
Estimated Time Investment
Day Project (6-9 Hours)
Recommended Skill Level
Intermediate

Modified Fancy Hall Tree

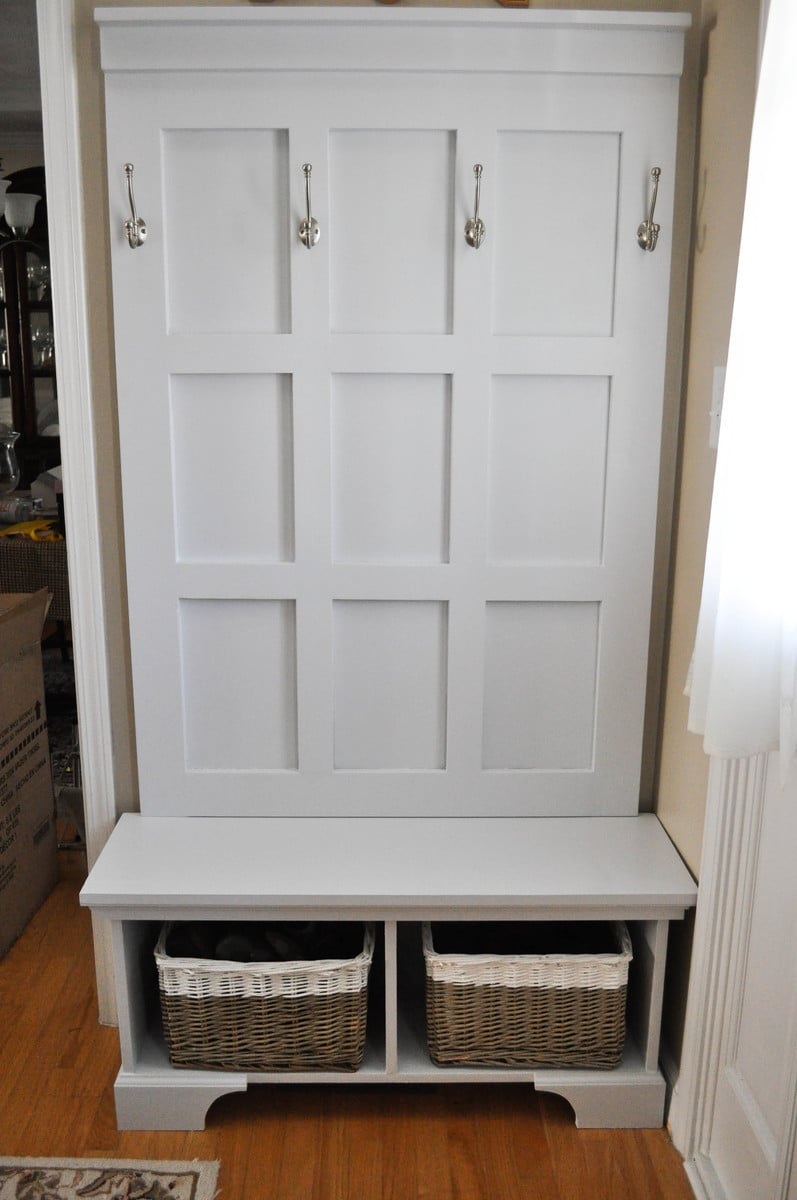
Modified the dimensions to 13 inches deep, 40 inches wide and a lower clearance of 4 inches to accommodate a vent diverter for an exsisting heat vent.

I used Maple Plywood (3/4 inch) for the bench, and 1/2 inch for the back (to allow maximum seating depth on the bench).  The paint was leftover Valspar reserve paint from a recent bathroom project... and the paint dipped baskets were found at a local store called "the christmas tree shops" for under 25 dollars for both!


The project came in at just under $150 - well below our budget if we had purchased something in store. It was mounted to the wall for safety, as we have a dare devil toddler! 

Built from Plan(s)
Estimated Cost
$140
Estimated Time Investment
Weekend Project (10-20 Hours)
Finish Used
Valspar Satin in Fragile Blue
Recommended Skill Level
Beginner

Comments

rosesrred24

Mon, 05/25/2015 - 18:04

It looks awesome! I need the exact same measurements! Unfortunately I'm not smart as you :p , by any chance do you still have the measurements I would need, if so please share. Thanks

A-Frame Chicken Coop - Easy to Clean

Submitted by Anonymous (not verified) on Mon, 04/24/2017 - 14:25

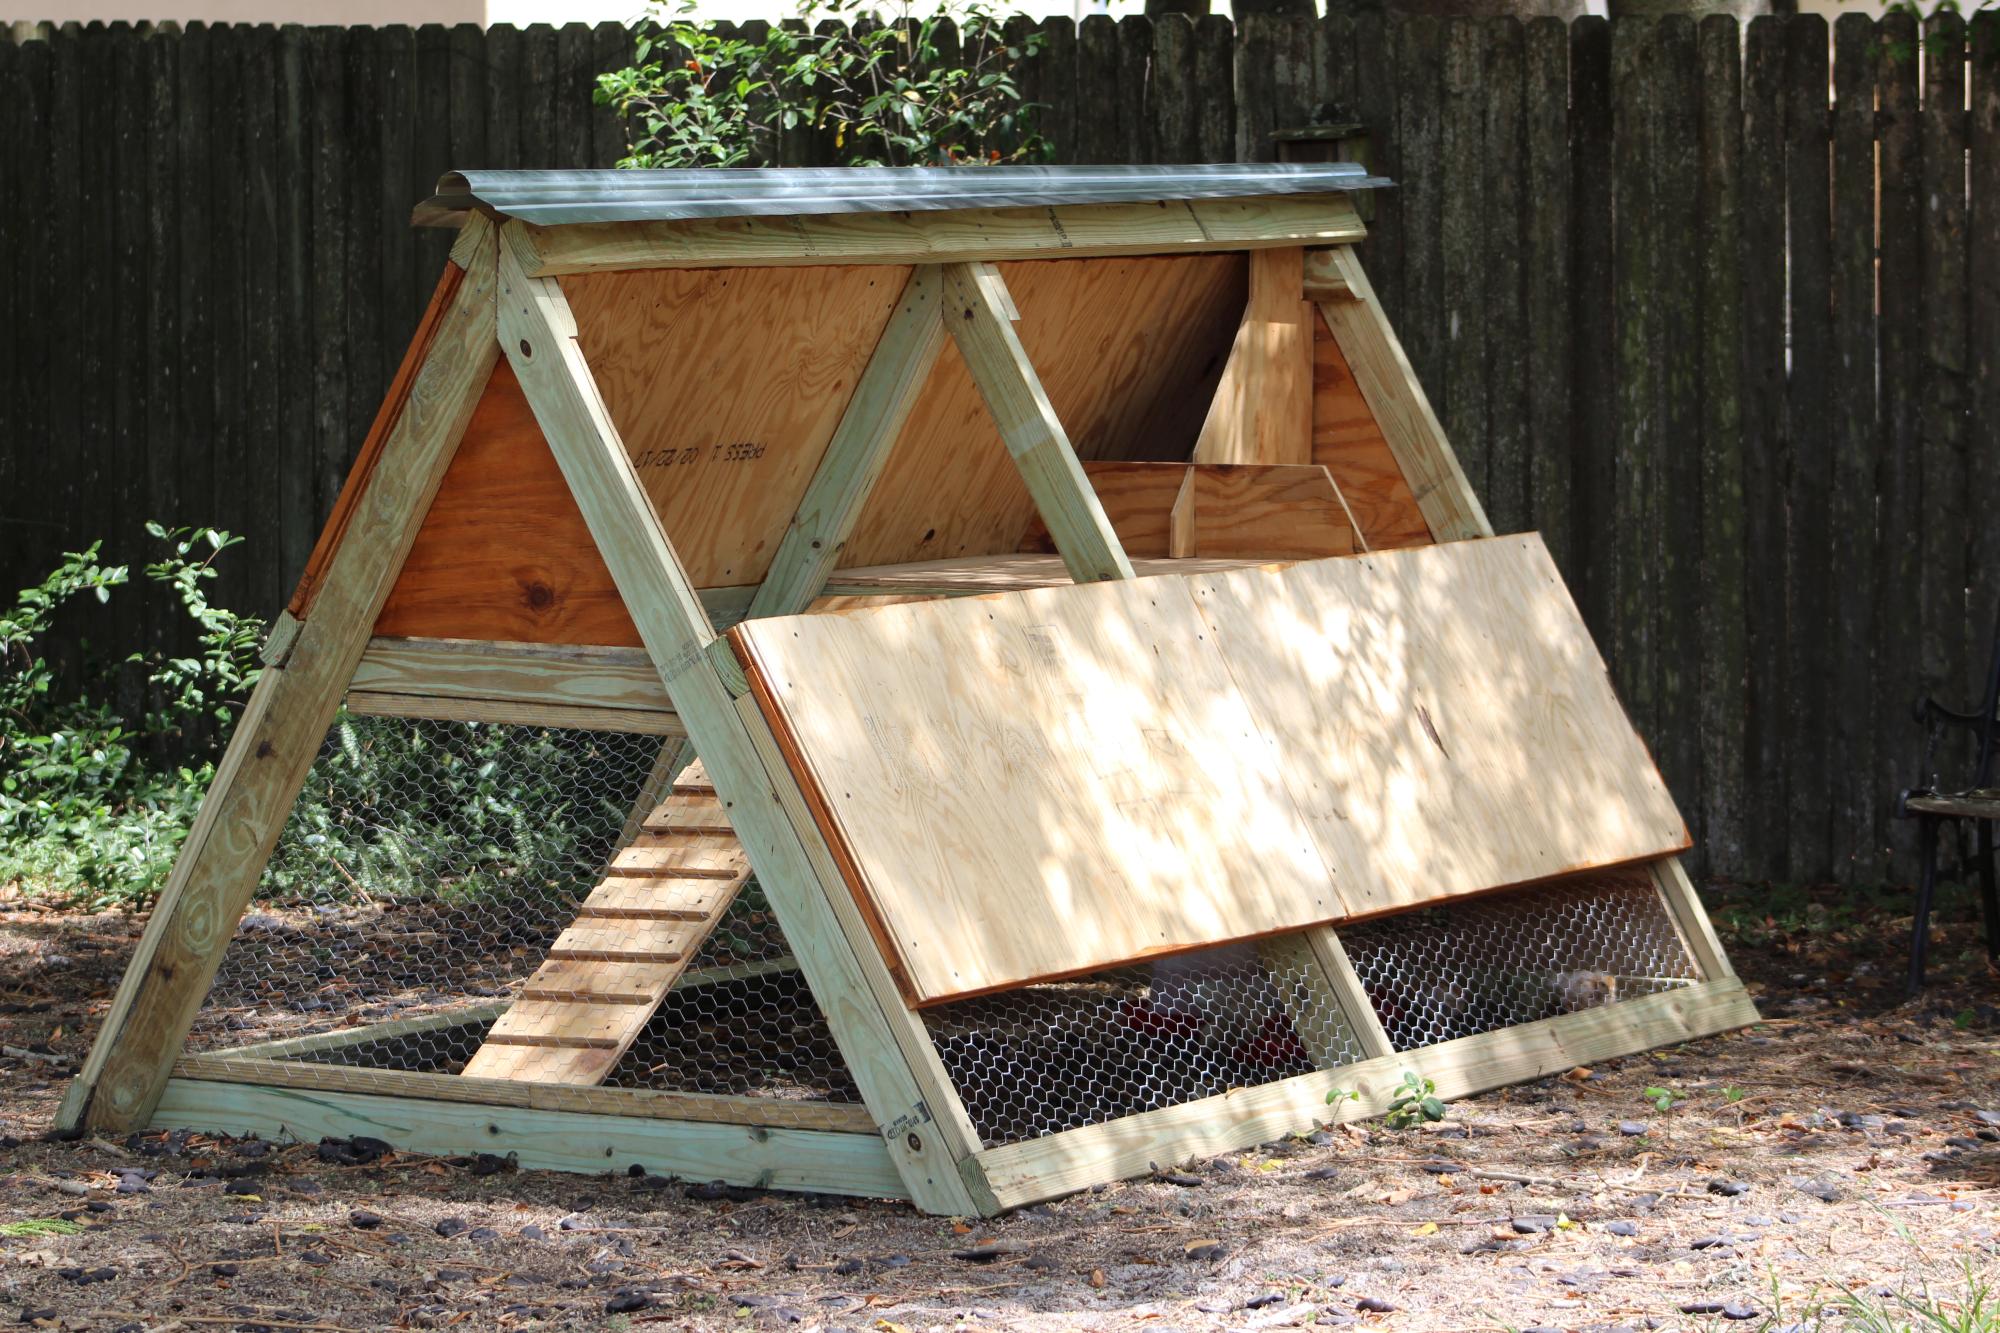
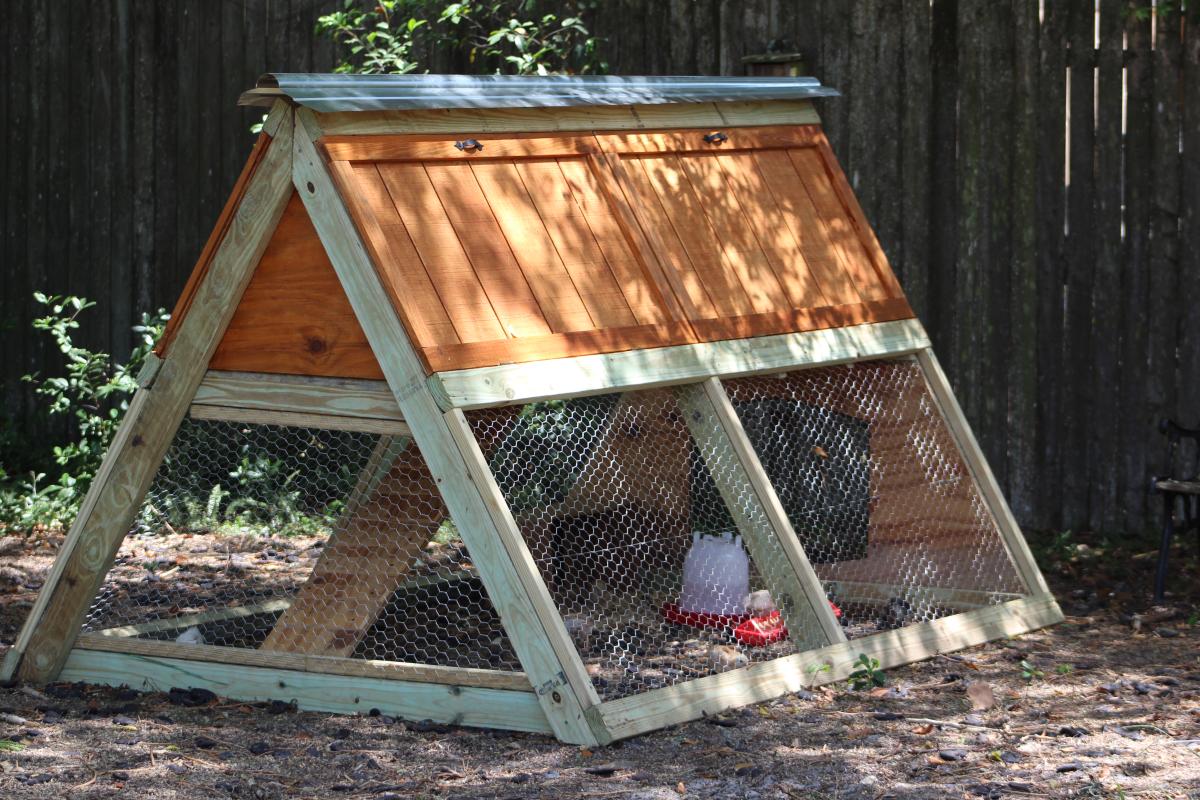
Thanks for the free plans. I did have to make modifications for the doors. i hid the hinges to give it a clean look. i used cedar for the trim and Plywood Siding Panel T1-11 4 IN OC (Common: 19/32 in. x 4 ft. x 8 ft.; Actual: 0.563 in. x 48 in. x 96 in.) for the doors.  i used a metal flashing for the roof so it will vent.

Built from Plan(s)
Estimated Cost
$250
Estimated Time Investment
Week Long Project (20 Hours or More)
Finish Used
BEHR Transparent waterproofing finish (Cedar Natural Tone) NO 501
Recommended Skill Level
Intermediate
Seasonal And Holiday

Planter

Submitted by Neil B on Wed, 05/17/2017 - 00:39

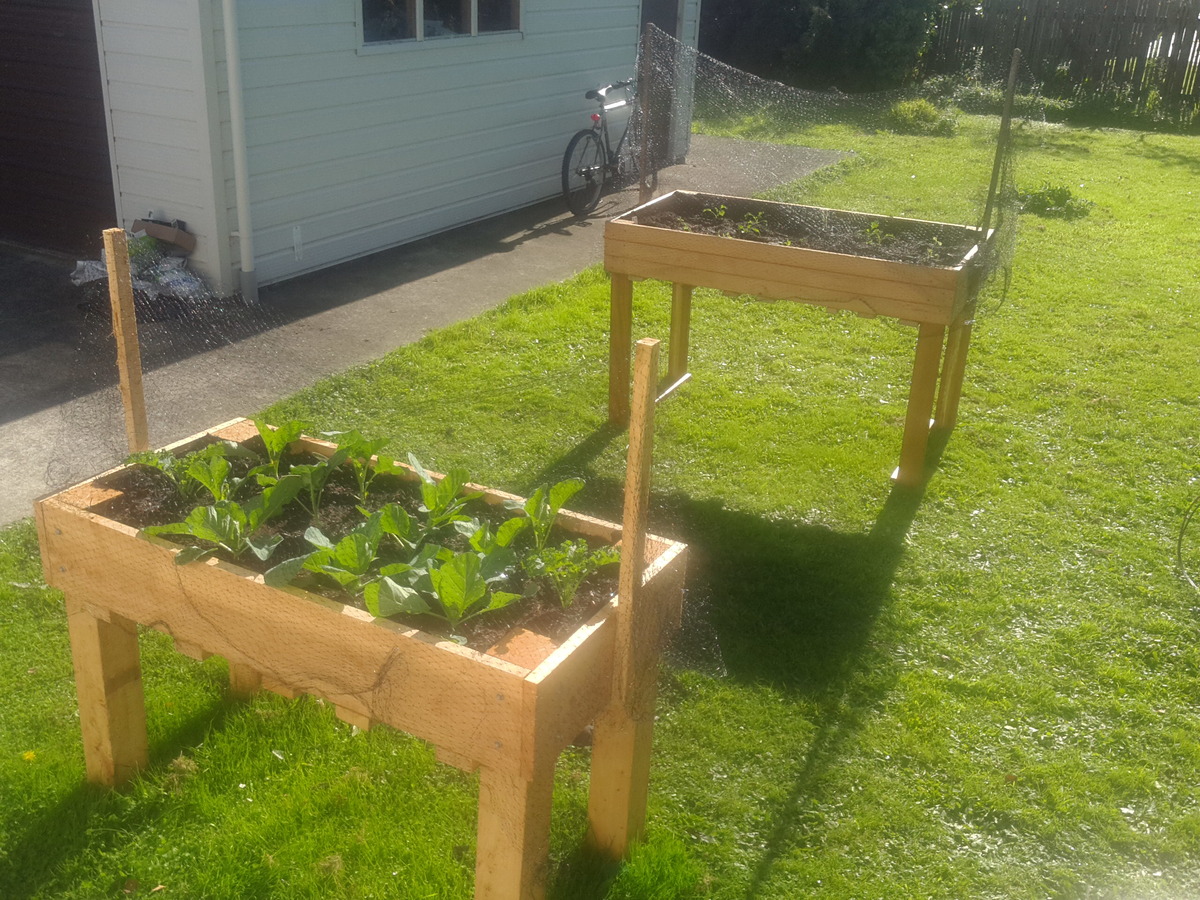
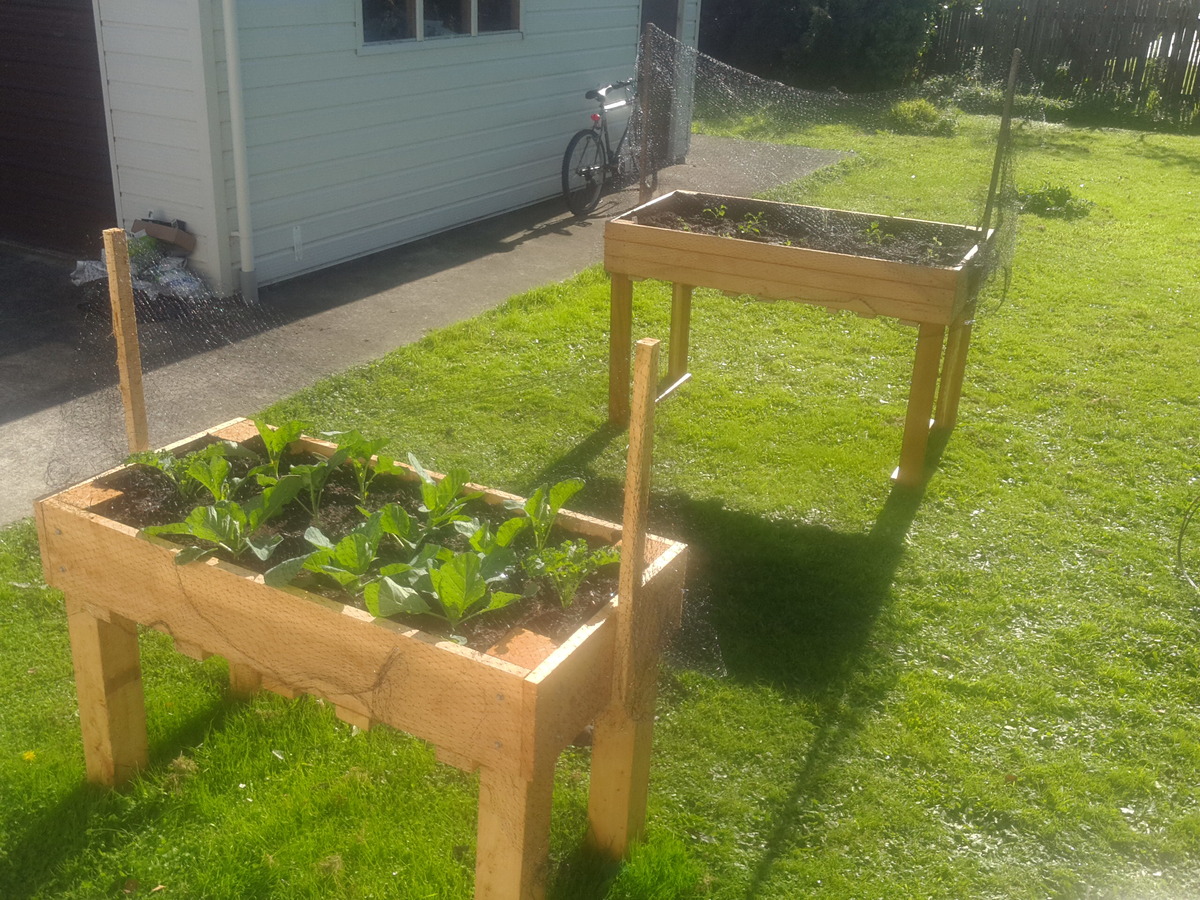
Thanks for the easy to follow plans!

Estimated Time Investment
Day Project (6-9 Hours)
Recommended Skill Level
Intermediate

My first big woodworking project - a farmhouse table!

Submitted by jfleming on Wed, 06/30/2021 - 12:02

I used the no pocket hole plans and as per someone's great recommendation - I moved the stretcher supports to the inside of the legs to give a little more room when the chair is pulled out and someone is sitting on an end. I also made a planer tool for my table saw so I could square off the edges of the table top boards and the bench seat boards. The boards then sat closer to each other so I don't have places for crumbs to fall down between the boards. I did have a couple of sections that didn't quite match up and used resin to fill those areas after staining the boards. I then used a lacquer finish (Watco clear satin lacquer). The stain is Minwax English Chestnut but I did use the Minwax wood conditioner prior to the stain for a more even uptake of the stain. All great recommendations from folks on this site!

Comments

X-Frame Farm Table

Submitted by whittlevin on Fri, 03/13/2015 - 12:48

This was my first attempt at a farm table. I found the fancy x plan for inspiration. The length is 6ft. I had to modify all of the measurements. All of the boards came off my grandad's old barn. The posts are laminated together from guide posts from his corral. There is a lot of history and character to the table. I did have to make the bench to match it. I'll post pictures of that soon. Most importatnly, my wife loves it!!!! Happy wife, happy life!!!

Built from Plan(s)
Estimated Time Investment
Week Long Project (20 Hours or More)
Recommended Skill Level
Intermediate

Comments

DBoggs56

Mon, 05/18/2015 - 12:00

Hello, awesome job on the table. Was wondering if you would mind sharing the table top dimensions. I have a smaller space and was thinking of modifying to make something in the 6ft range as well. Thanks

Gardening Shelf

Submitted by MMTruncale on Thu, 05/09/2013 - 08:23

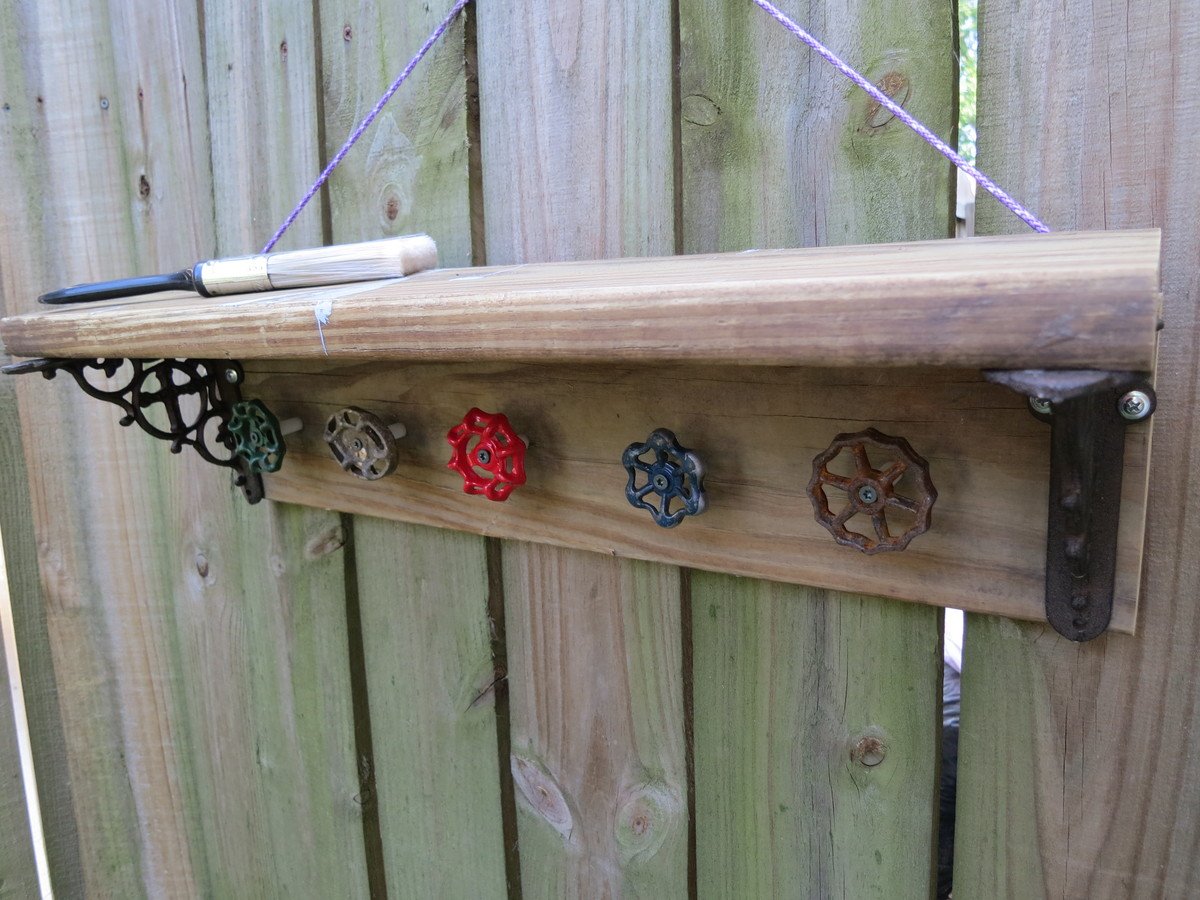
I wanted a gift for my mom. Something special and unique I think she would really like. Once on a guest post Ana posted a jewelry holder using a board, and some mismatched knobs.

My mom likes to garden. She works so hard on her back yard, and spends a lot of her time there. How could I make this outside proof? A few Pinterest finds later I found my answer: Water Spigots.

Voila! This is what we came up with.

** It's not going to hang by a string. It will be attached to her fence. This is just for picture purposes.

http://www.countryliving.com/homes/makeovers/fast-makeover-projects?src…

Estimated Cost
$20
Estimated Time Investment
An Hour or Two (0-2 Hours)
Finish Used
No finish. We wanted a rustic look. It came out perffect.
Recommended Skill Level
Starter Project

Chicken Coop A Frame

Submitted by mdownie on Wed, 05/22/2013 - 11:54

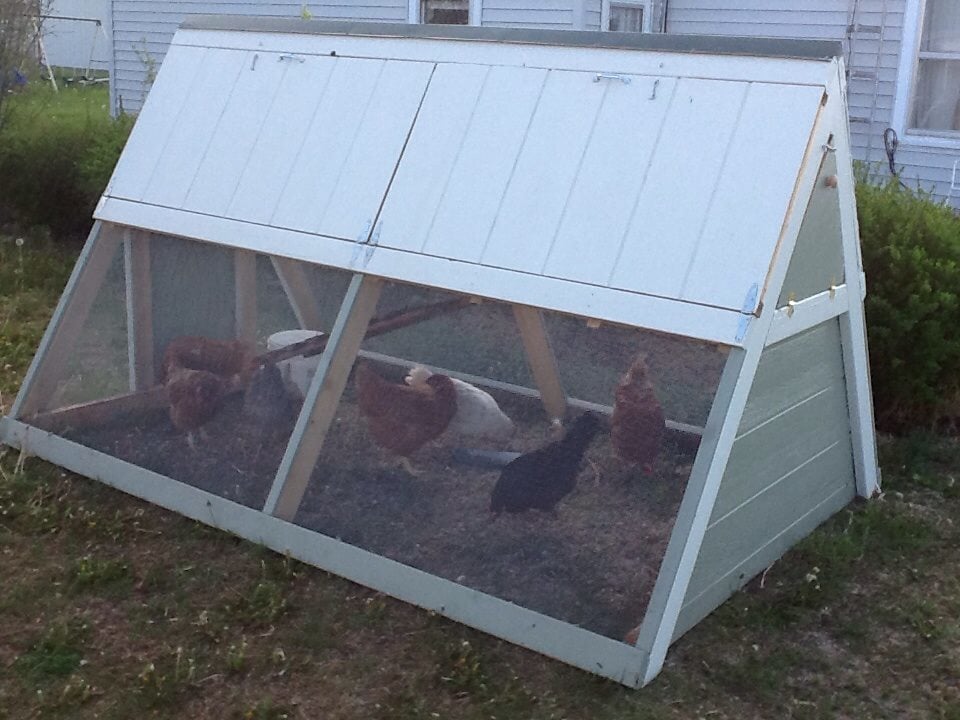
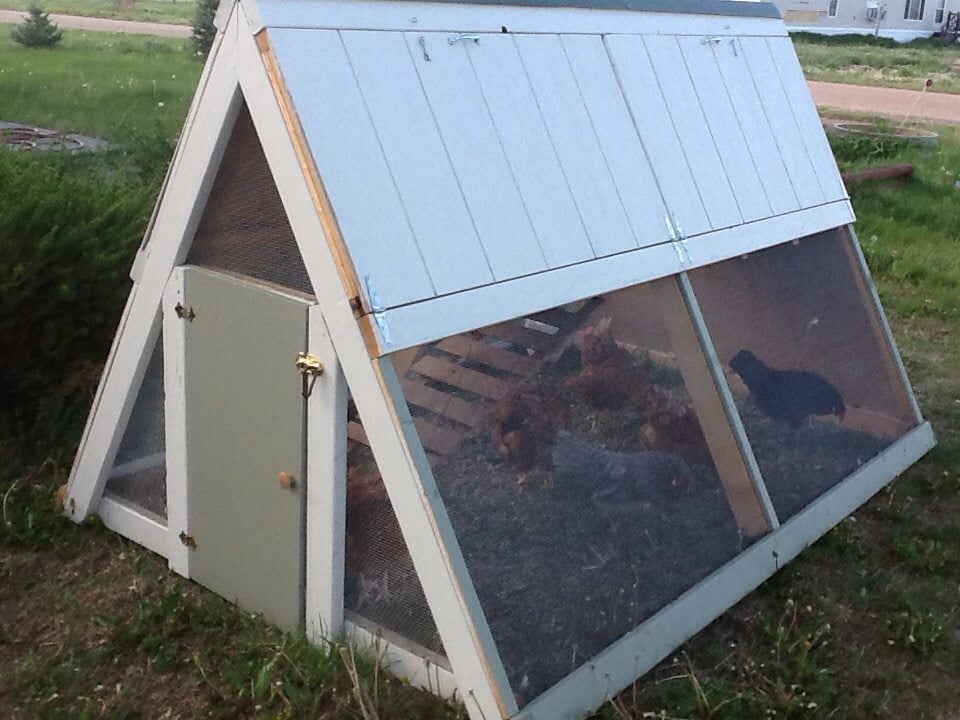
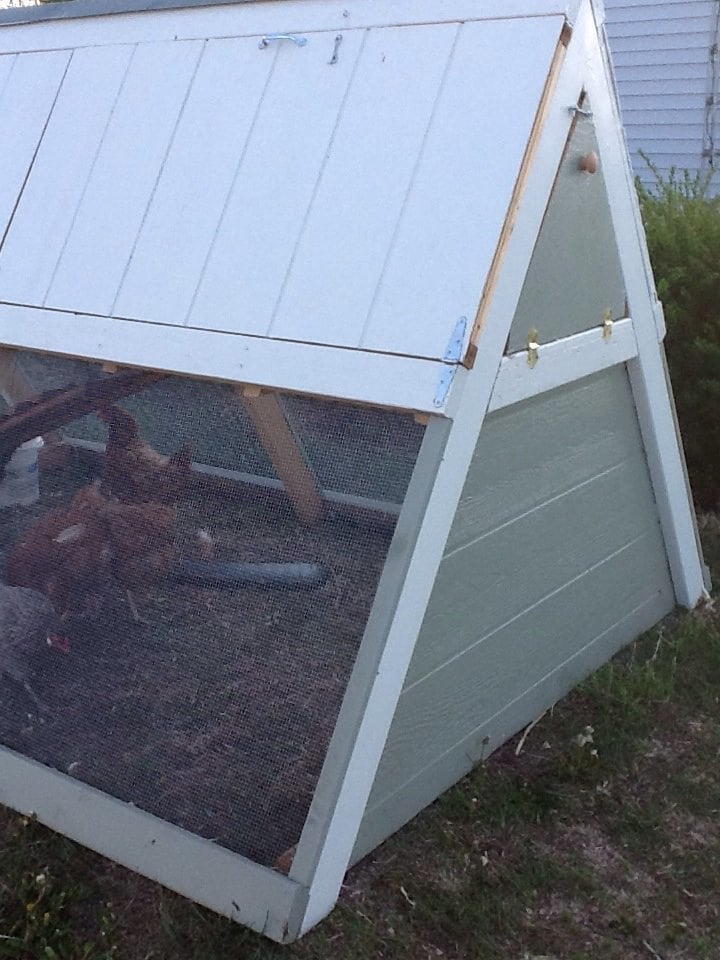
I built this A-Frame Chicken Coop using the Ana White plans. It turned out adorable, strong, and I am very pleased. Final cost was $250, and it took me 4 days (in real time, as a mom of 3). One Saturday at Lowes shopping, one Sunday afternoon cutting, and two days of assembly. Then a 5th for painting. Give or take a dozen extra runs to the hardware store! My brother-in-law helped cut the angles on his miter saw, and my uncle helped with assembly. I kinda doubt this could be done for $100 - maybe if you have a bunch of scrap materials and spare paint. We even have 7 or 8 hens in there! I only intended 3 to live in it, but my uncle added the extras and they all get along happily. I found the roof cap at Home Depot (didn't find at Lowes).

I would also like to point out that I was very afraid to do carpentry - I was afraid to even buy the lumber. But I asked for a lot of help from a lot of Lowe's and Home Depot people, and resisted the naysayers, and just got brave and did it. And it came out beautifully! If you are new to using power tools, get someone to assist, and you would need help anyway with holding things up while another drills.

Built from Plan(s)
Estimated Cost
250.00
Estimated Time Investment
Week Long Project (20 Hours or More)
Recommended Skill Level
Beginner

Comments

mdownie

Wed, 05/22/2013 - 11:59

As an extra note, I used Hardware cloth, not chicken wire. Wire will not keep dogs or predators out (and my dog immediately tried but failed to claw his way in). I bought I believe 36 inch tall rolls - the standard size that I could tell (not 30 inches like in the plans). But it fit perfectly, so I think maybe the plans had a typo? Lay out the lumber according to the plans and it will fit perfectly.

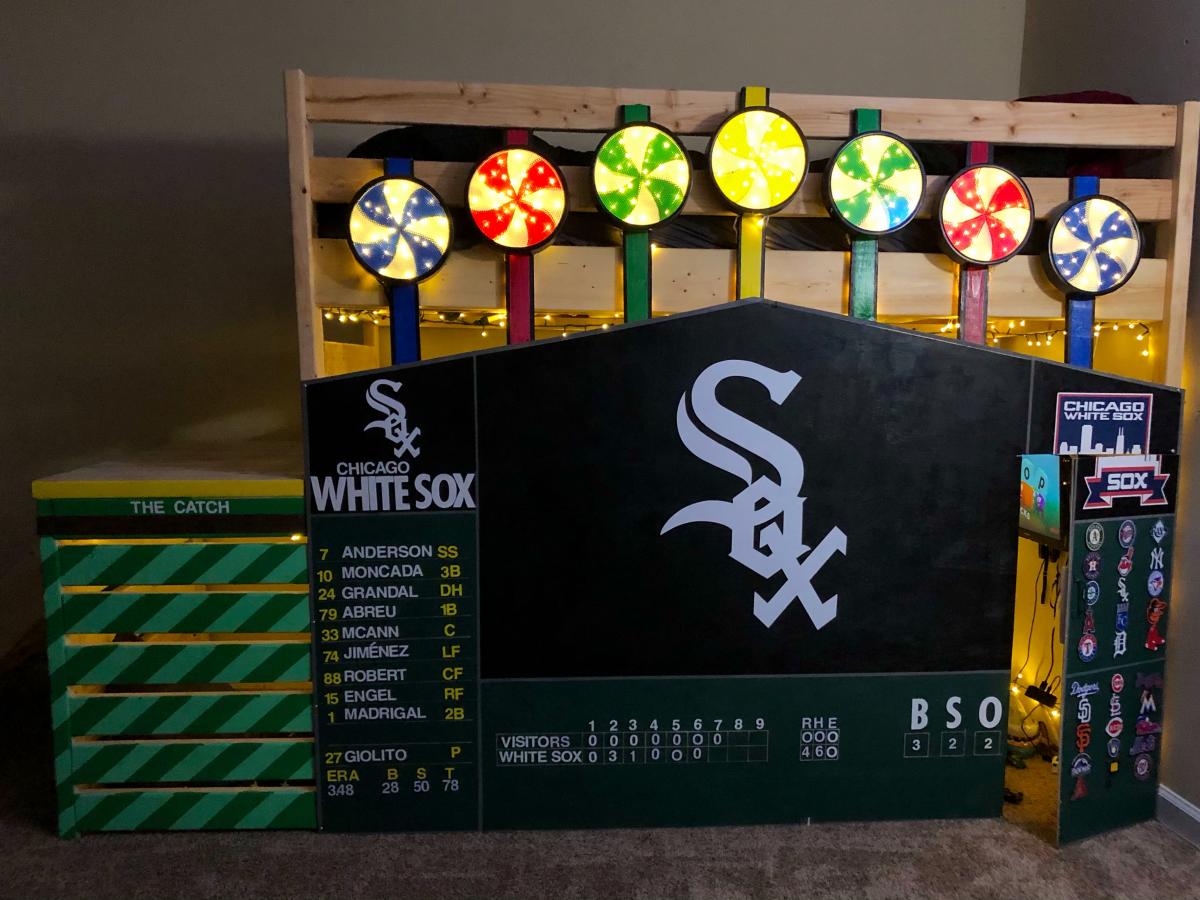
Chicago White sox replica scoreboard loft bed

Submitted by Anonymous (not verified) on Mon, 10/04/2021 - 19:15

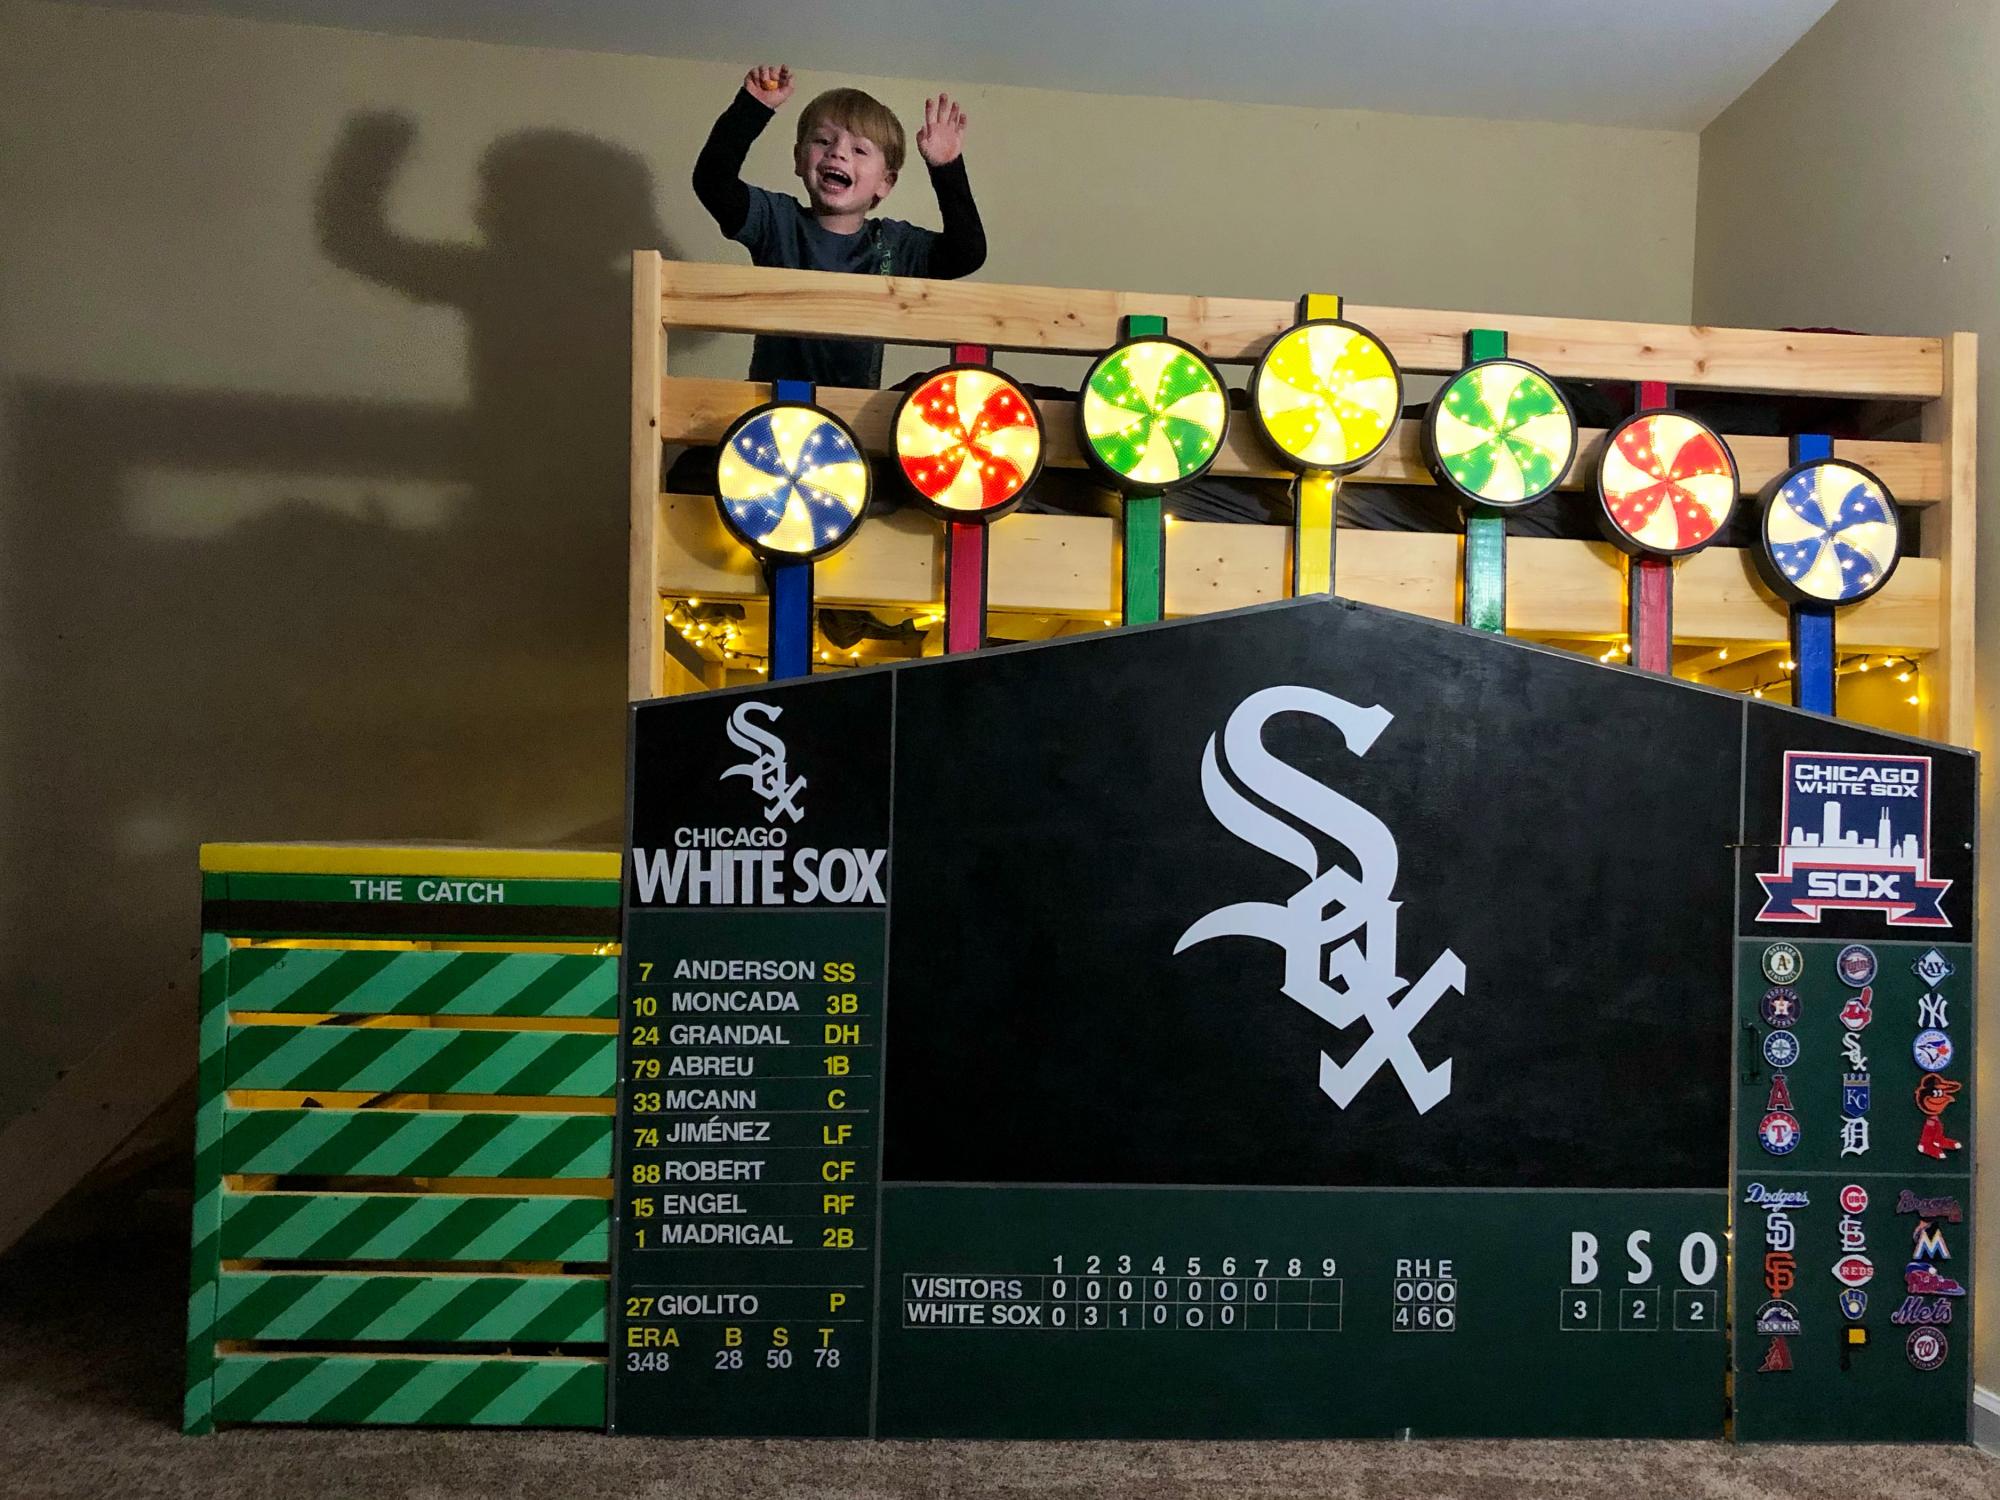
I started off building the loft bed. It was a lot of fun. I cut every single piece of this, and hand everything, other than the white sox and players decals. I made the light up pinwheel signs that light up whenever the white sox hit a home run. I had fond memories of the famous scoreboard going to games at the old comiskey park, and my 5 year old son loves the white sox, and this bed! There is a door as well that opens up and goes into the locker room. Underneath there is a rv, with a chair, and some other cool amenities good enough for a real major league player. I won’t tell the secret of how I designed the pinwheel light boxes, and the led lights. I had to get realllly creative. This was a huge project that completely consumed me for months. I love it though, and wanted to thank Ana for the great plans on the loft style bed! Thank you Ana white!!! Your the best

Triple foot farmhouse table with runner, triple pedestal bench

My first attempt at a real furniture project, I would have never tried this without all the plans and support here at Ana-White! These are 7' for the kitchen/breakfast area.  Since the table is only 7', it has 2 pedestals.  I modified these a bit from the triple pedestal farmhouse bench and table plans by using a runner along the floor instead of a stringer board on the table and adding triple feet on the outside pedestals.   I also added 1x3 trim under the arches to add some detail and hide the grooves between the three 2x4 leg supports.  The top has mitered 2x4s around the outside with 1x6s on the inside.  One issue I ran into was that the 2x4s shrank a lot as they dried, while the kiln-dried 1x6s did not.  To make an easier to clean surface I planed the top smooth, and then added minimal texture by hand scraping.  My plan is to build a big 12' version of this table for the dining room. 

Estimated Cost
Under $300 for both.
Estimated Time Investment
Week Long Project (20 Hours or More)
Finish Used
2 coats of kona stain, wiped more off the top than the legs. The top shows grain, the legs are almost solid brown. I used hand-rubbed satin poly. 3 coats on the bench turned out great. 6 coats on the table top turned out too shiny and easily scratches. I will refinish the table at some point, possibly with a softer finish.
Recommended Skill Level
Intermediate

Comments