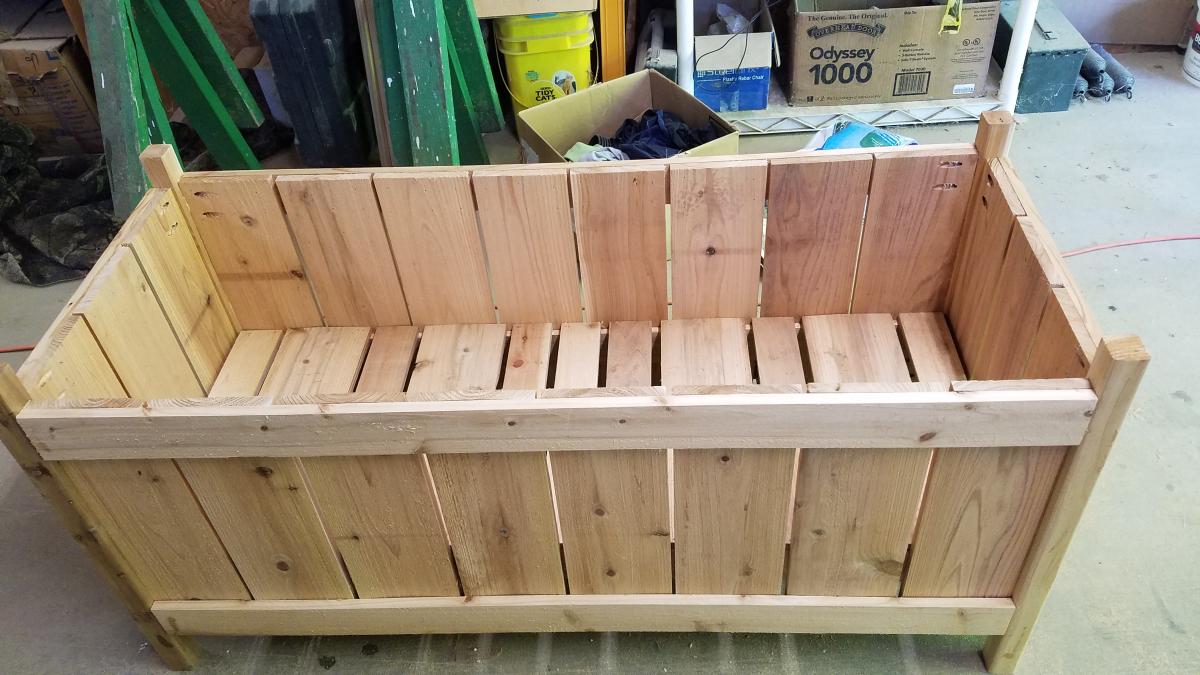
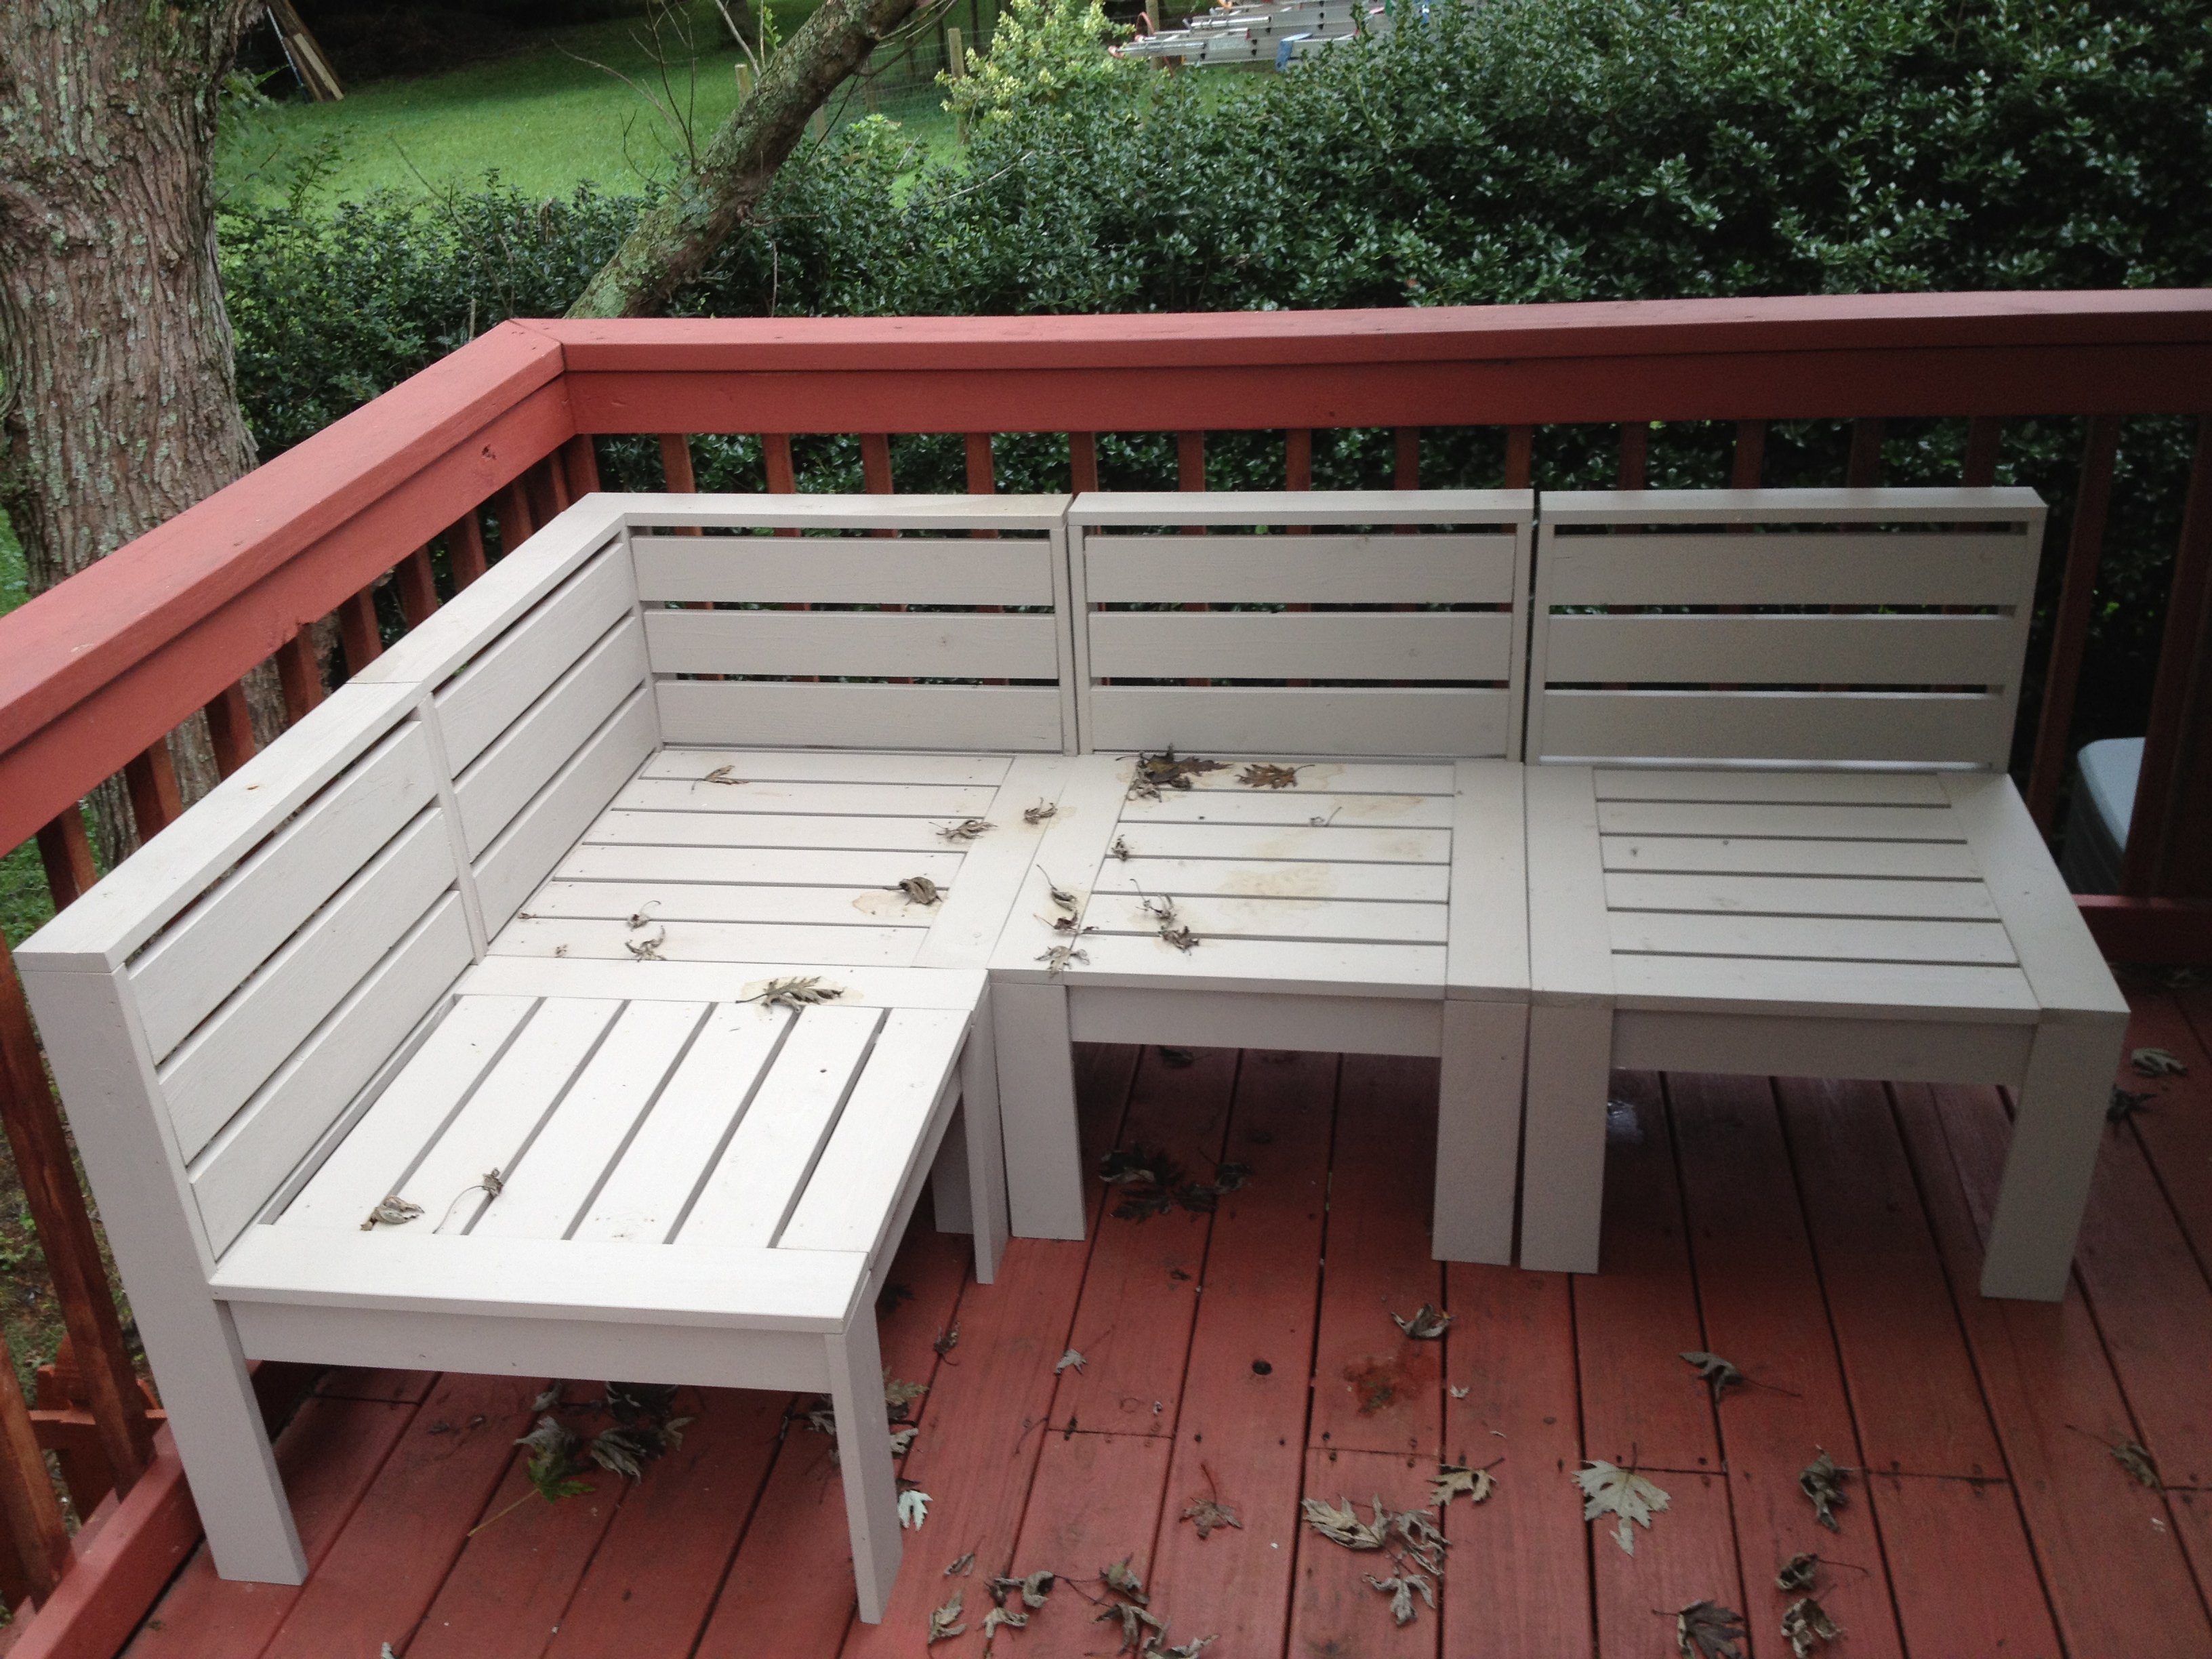
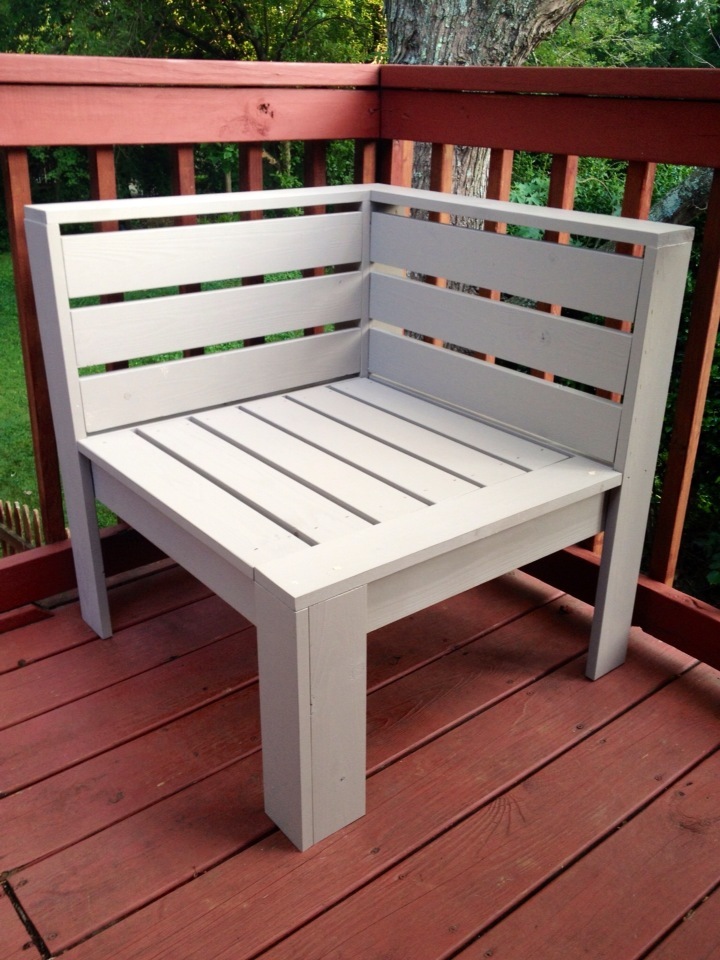
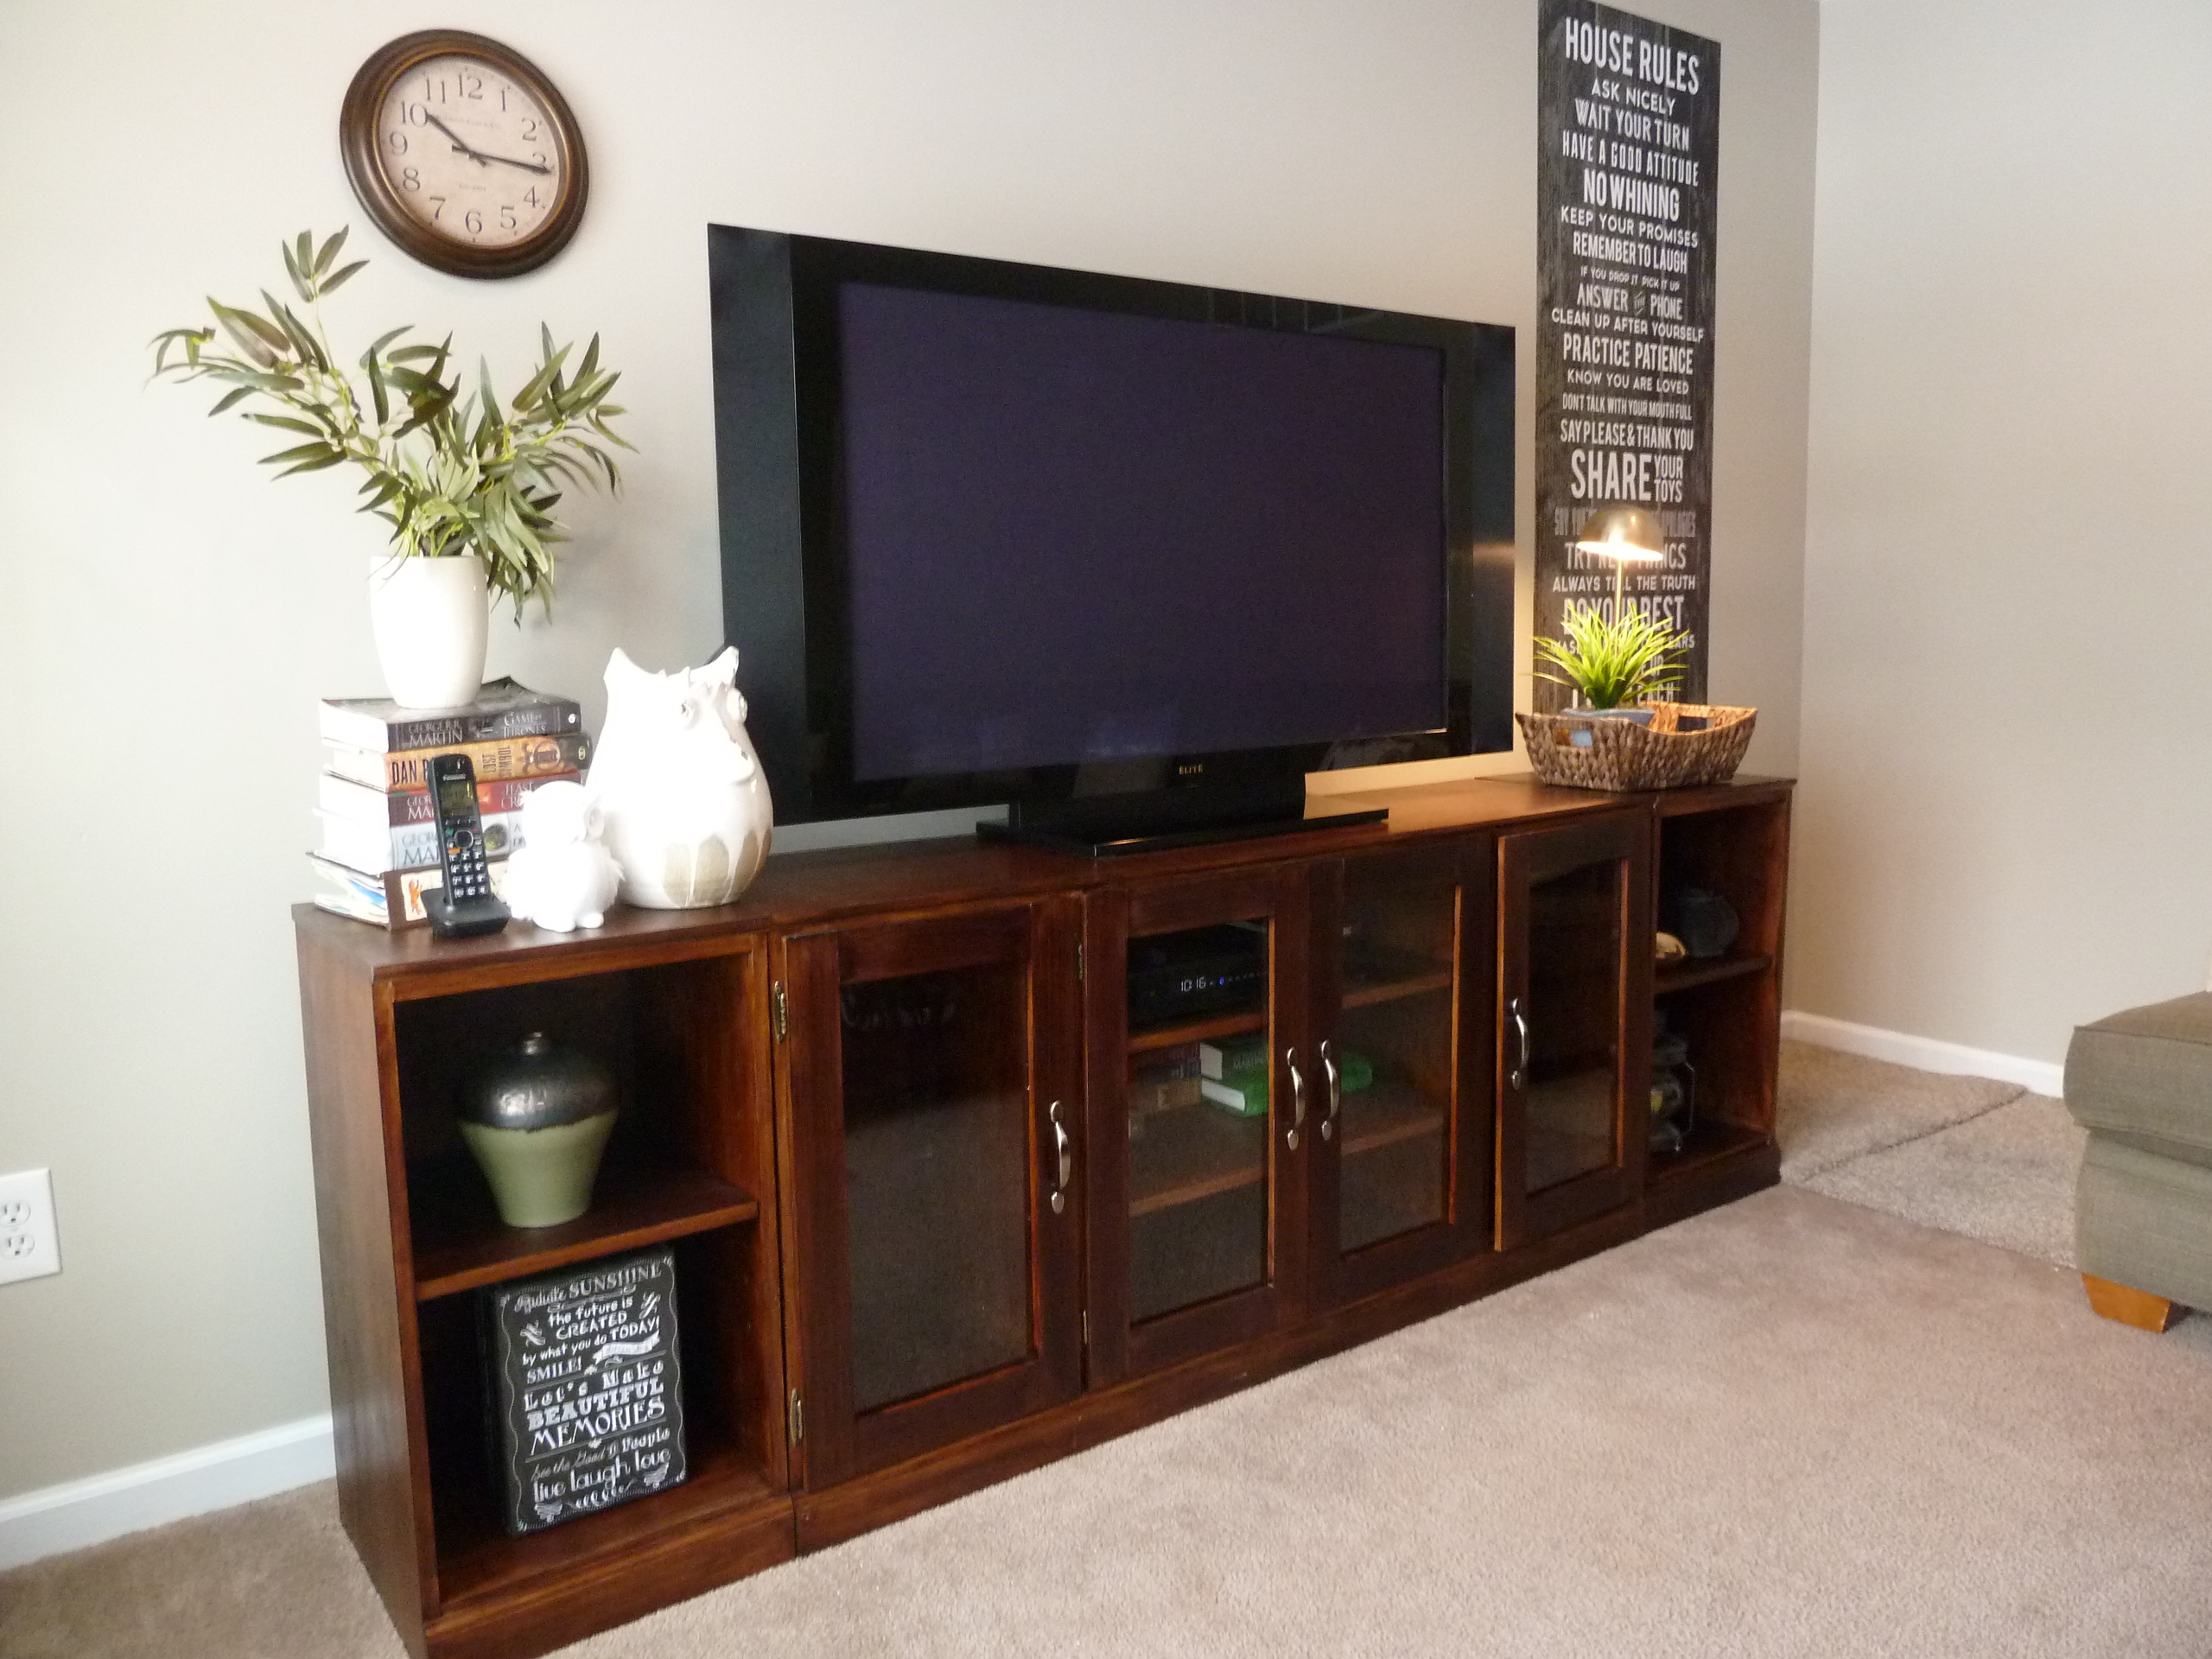
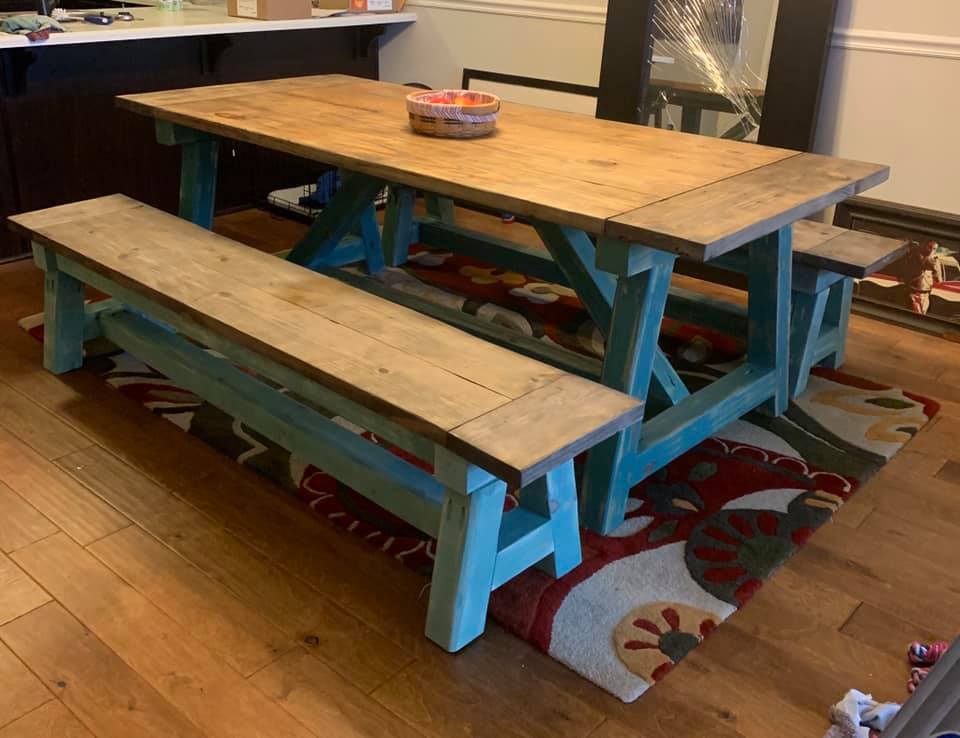
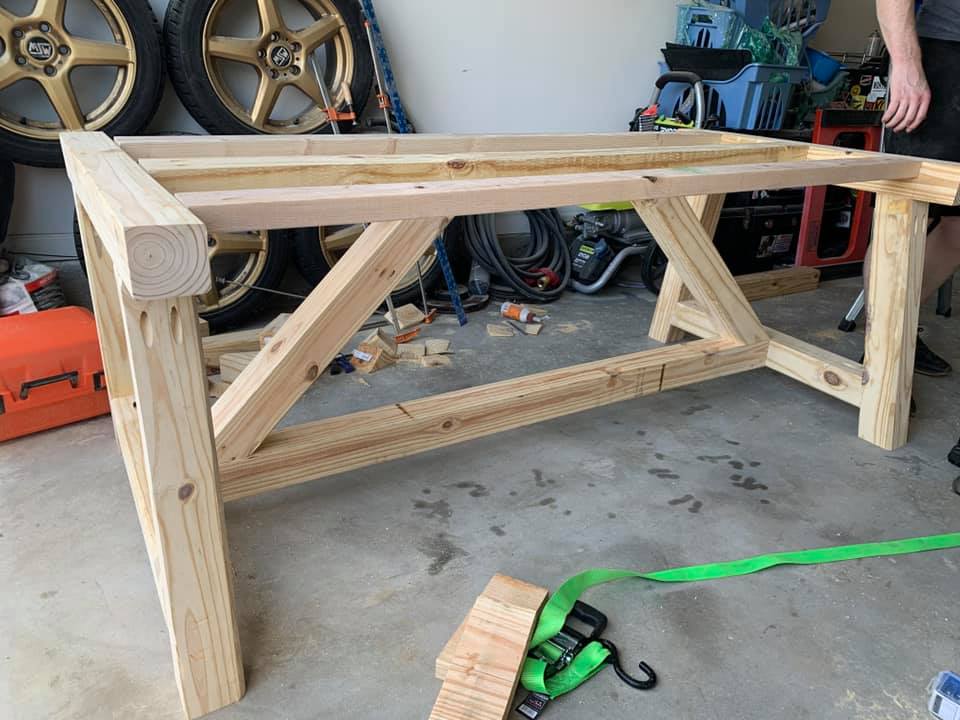
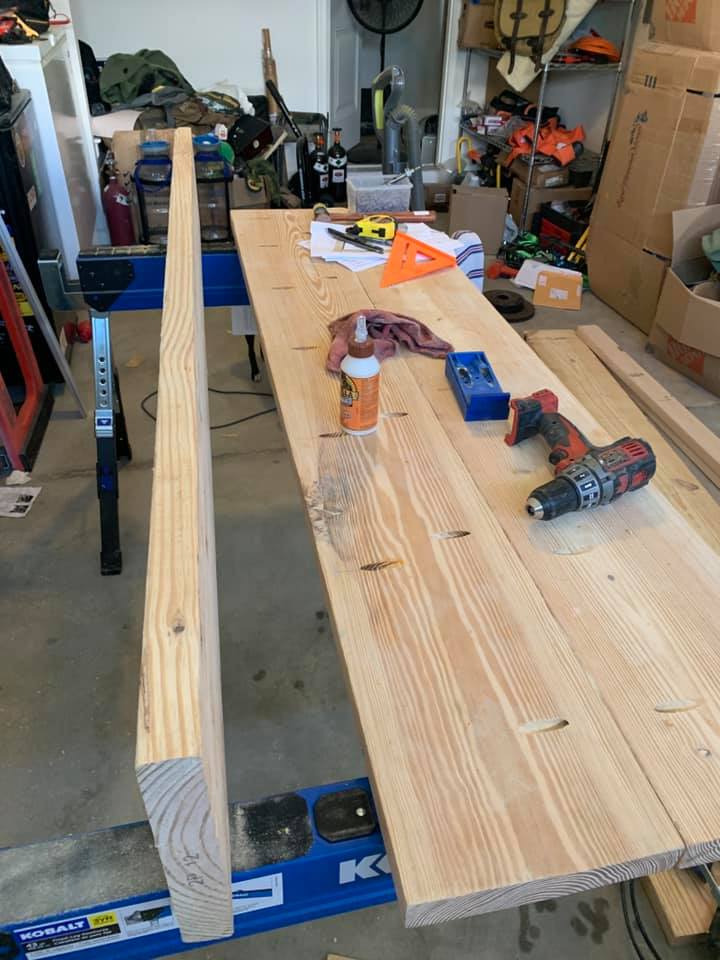
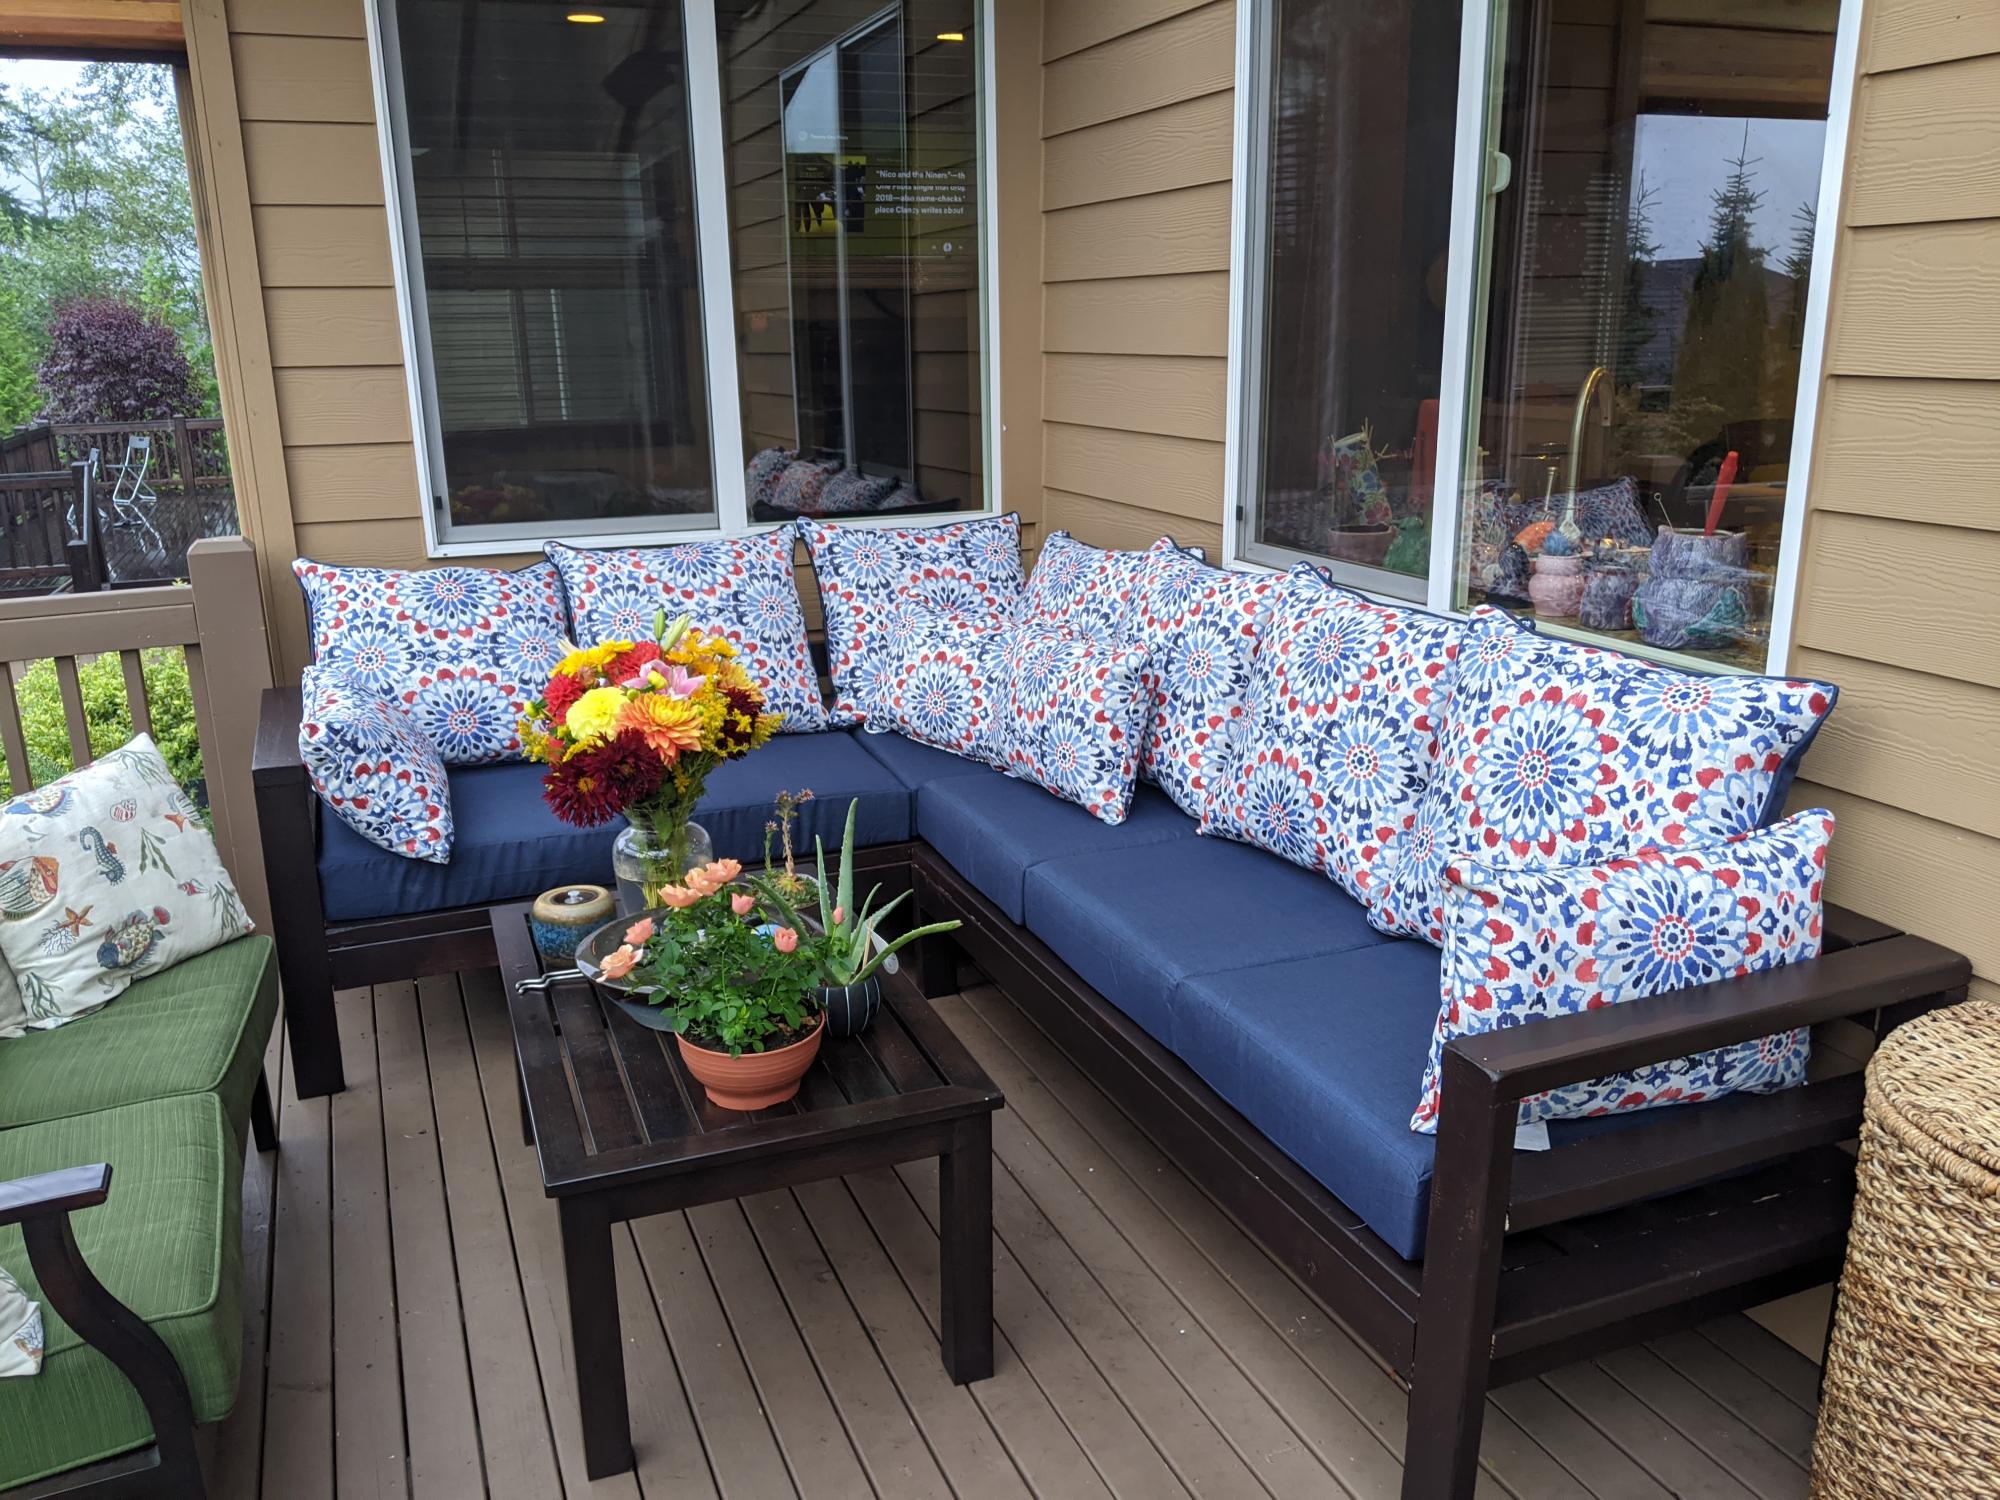
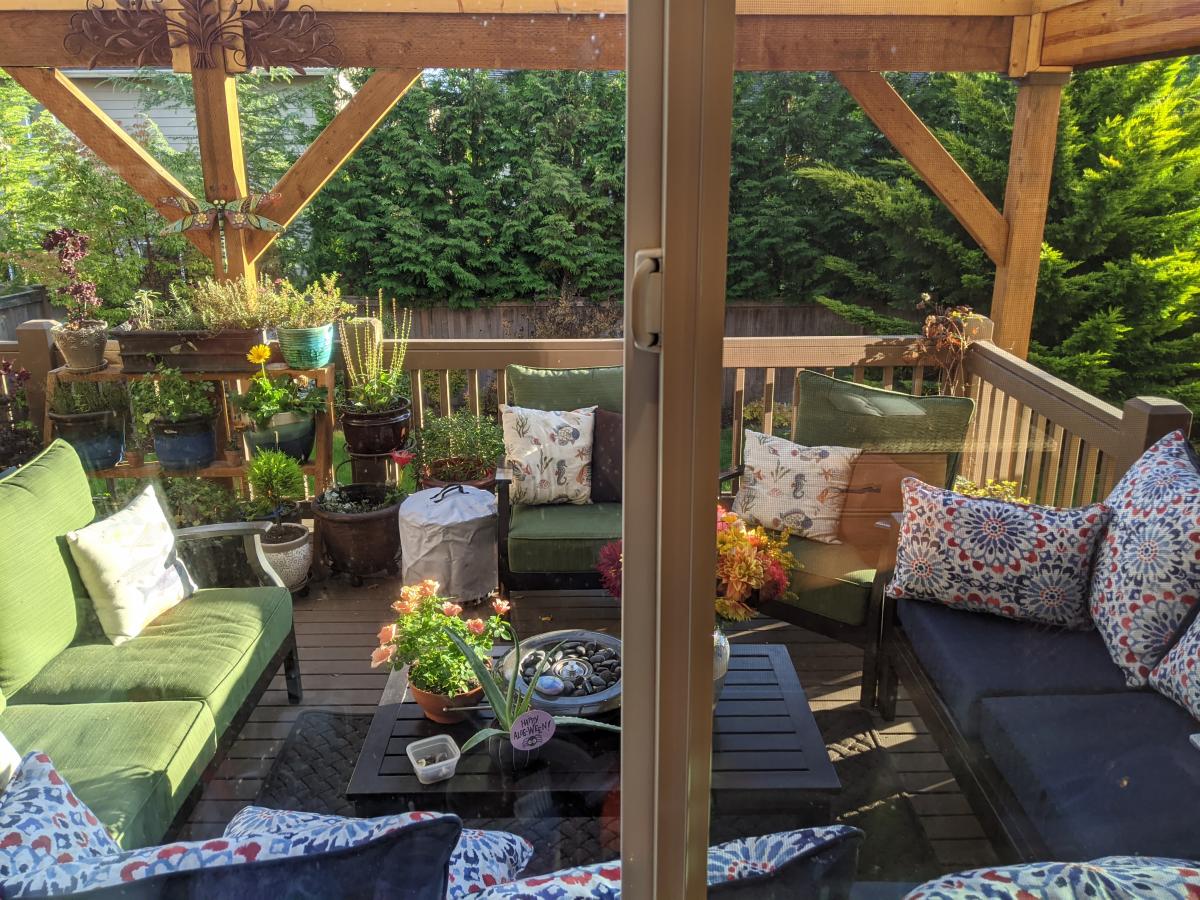
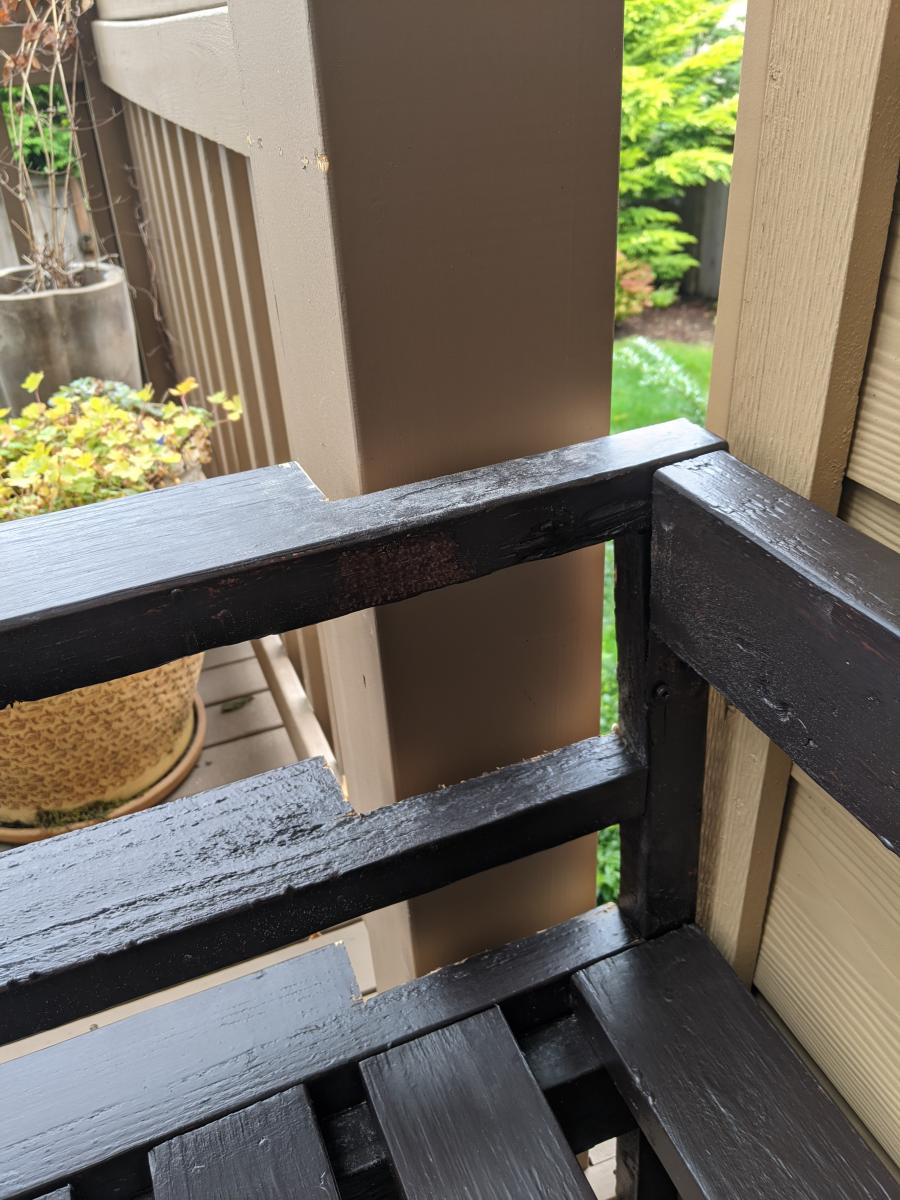
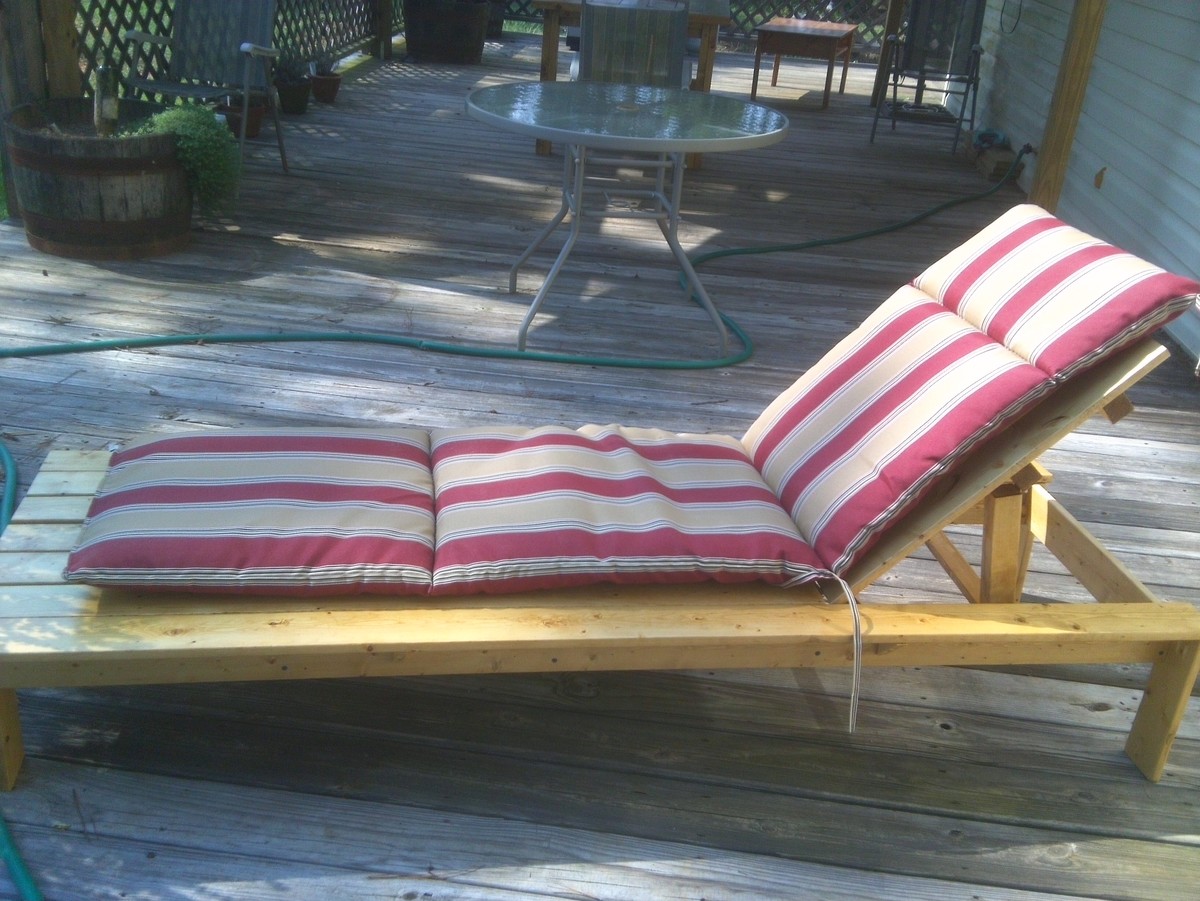
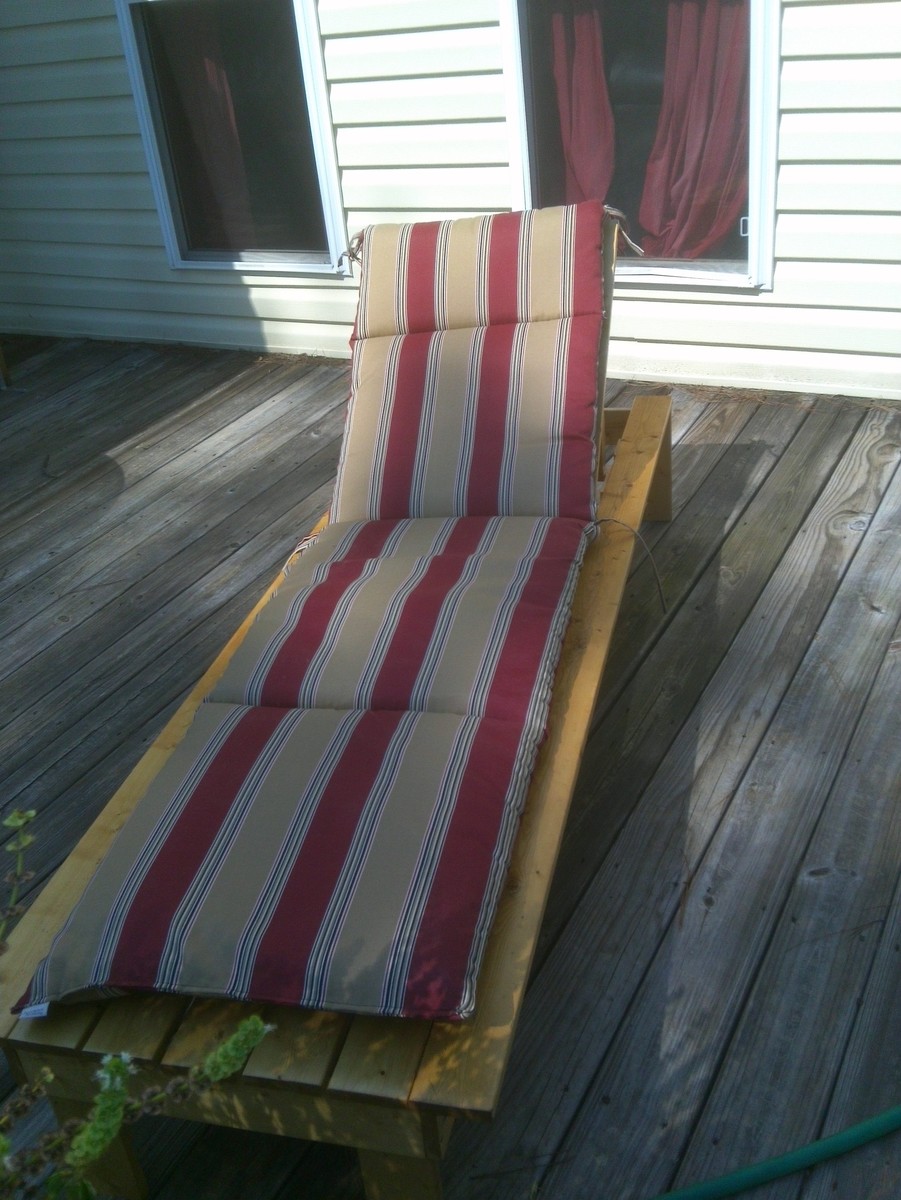
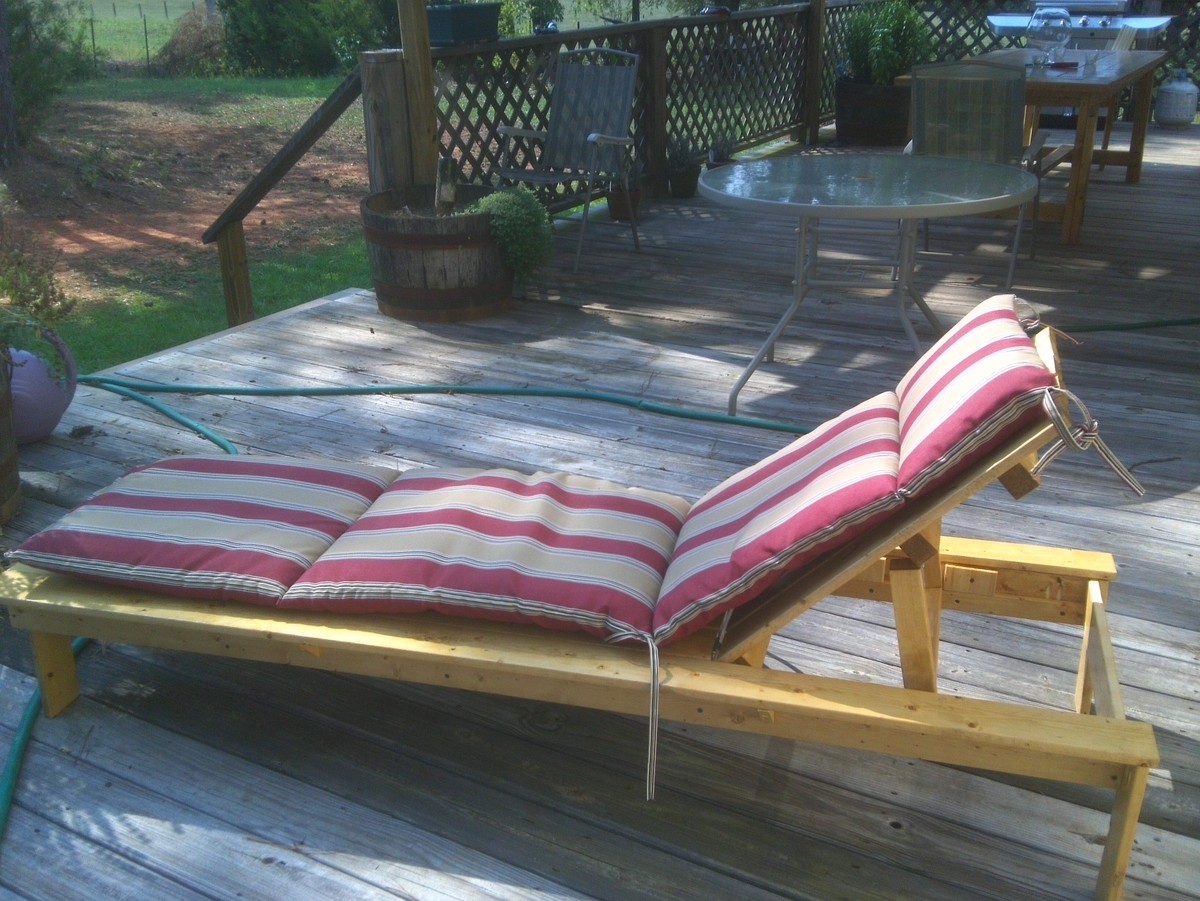
Modern Park Bench
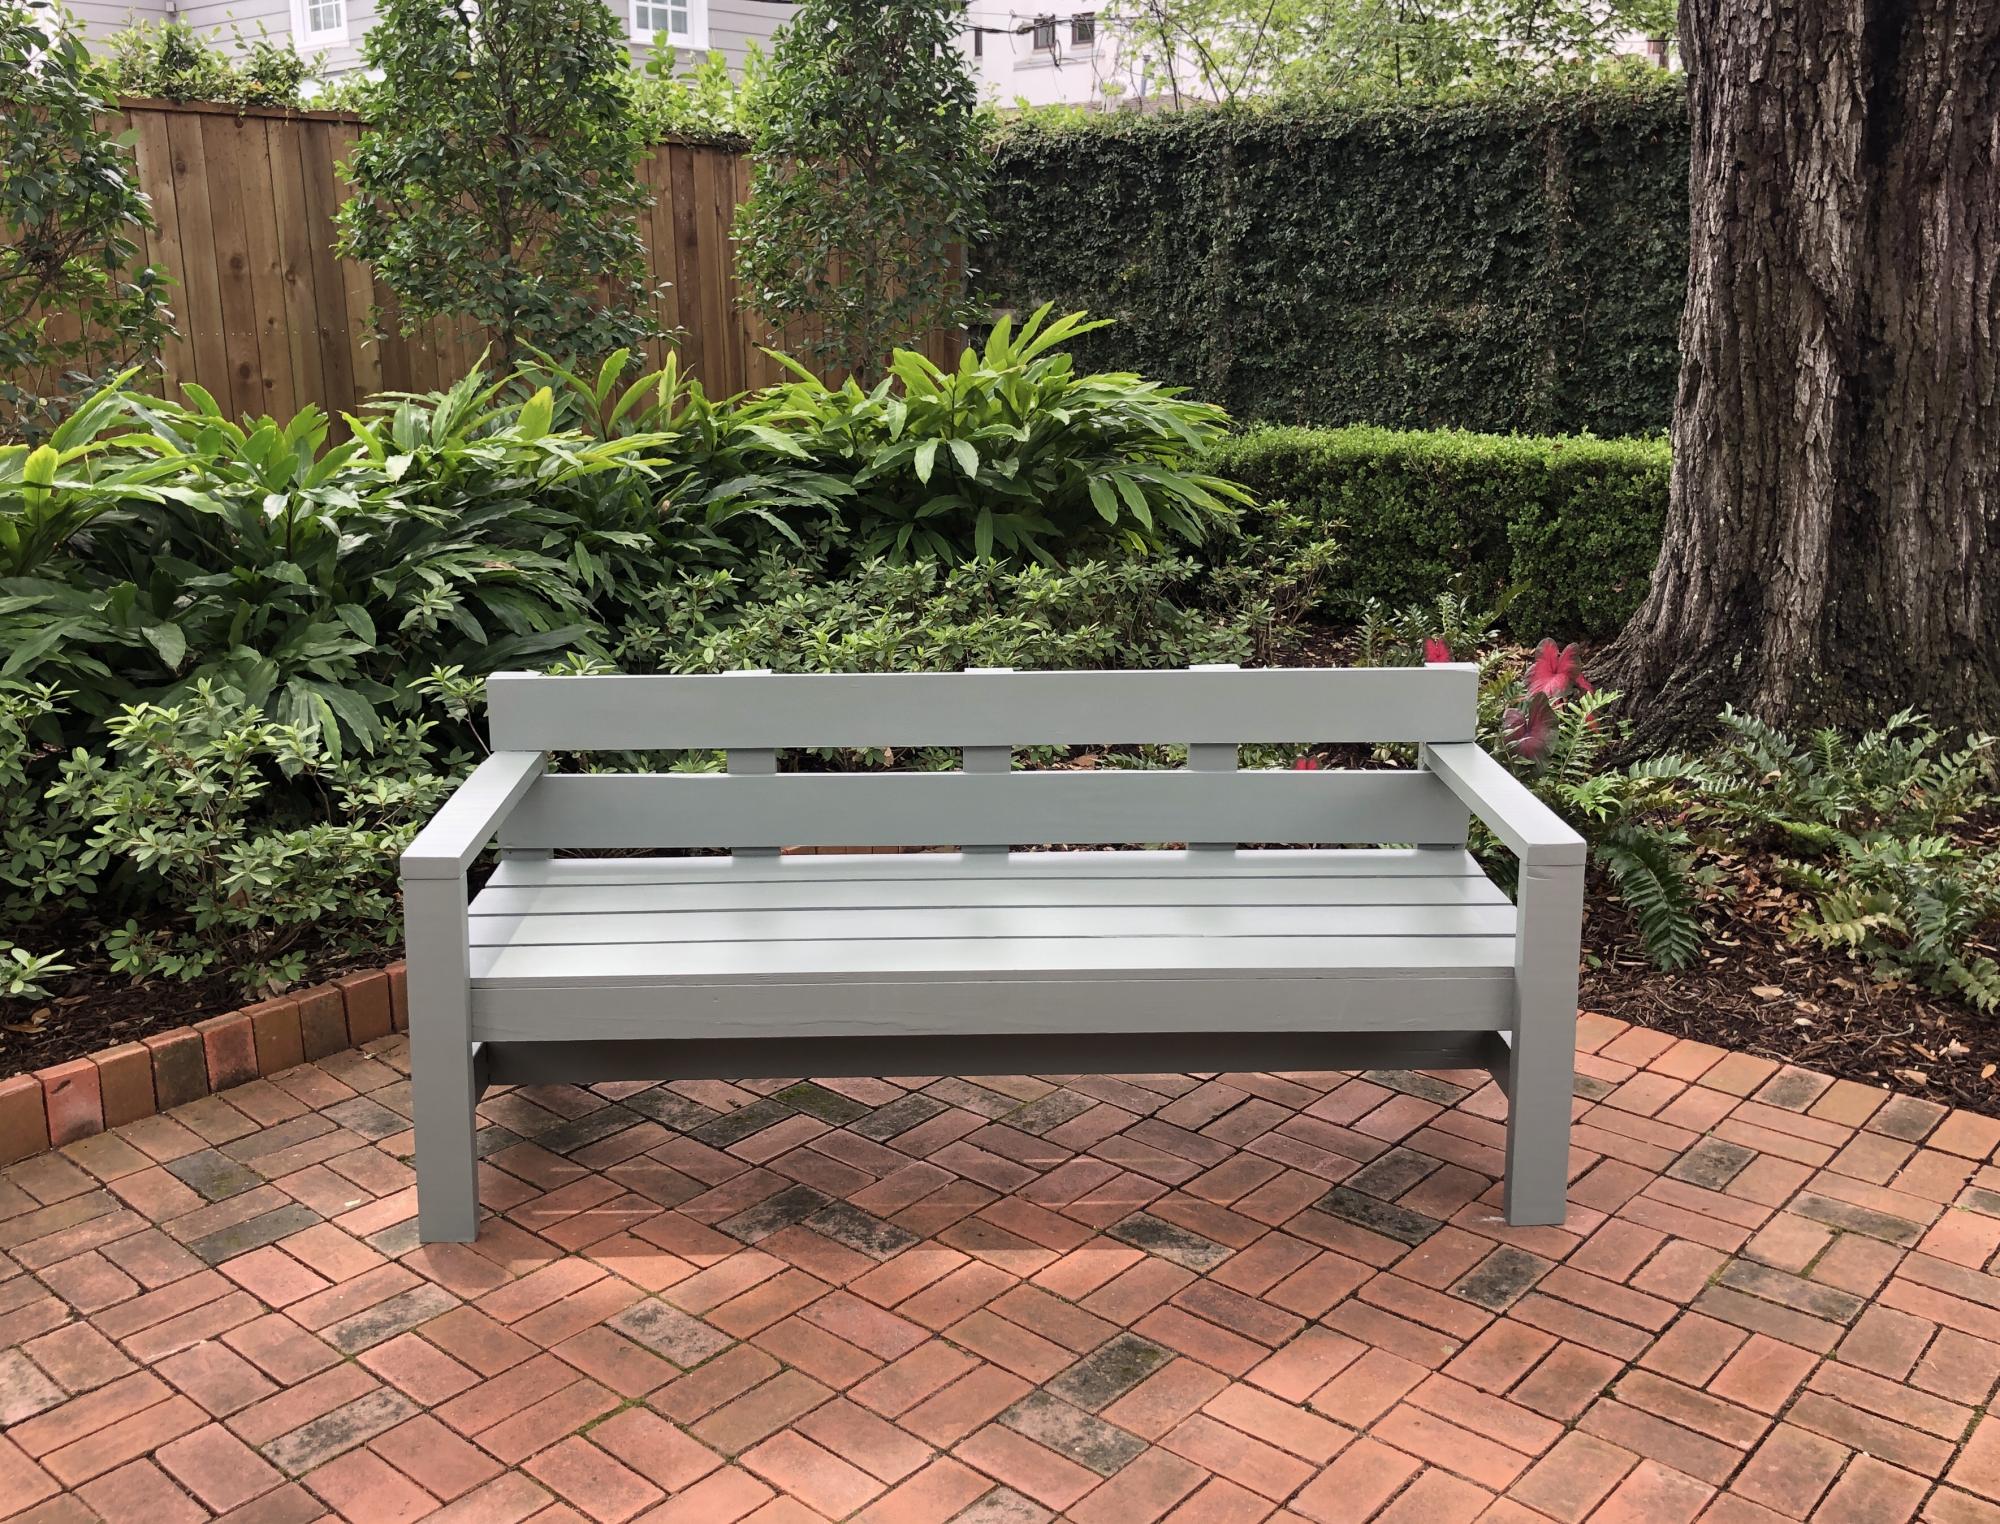
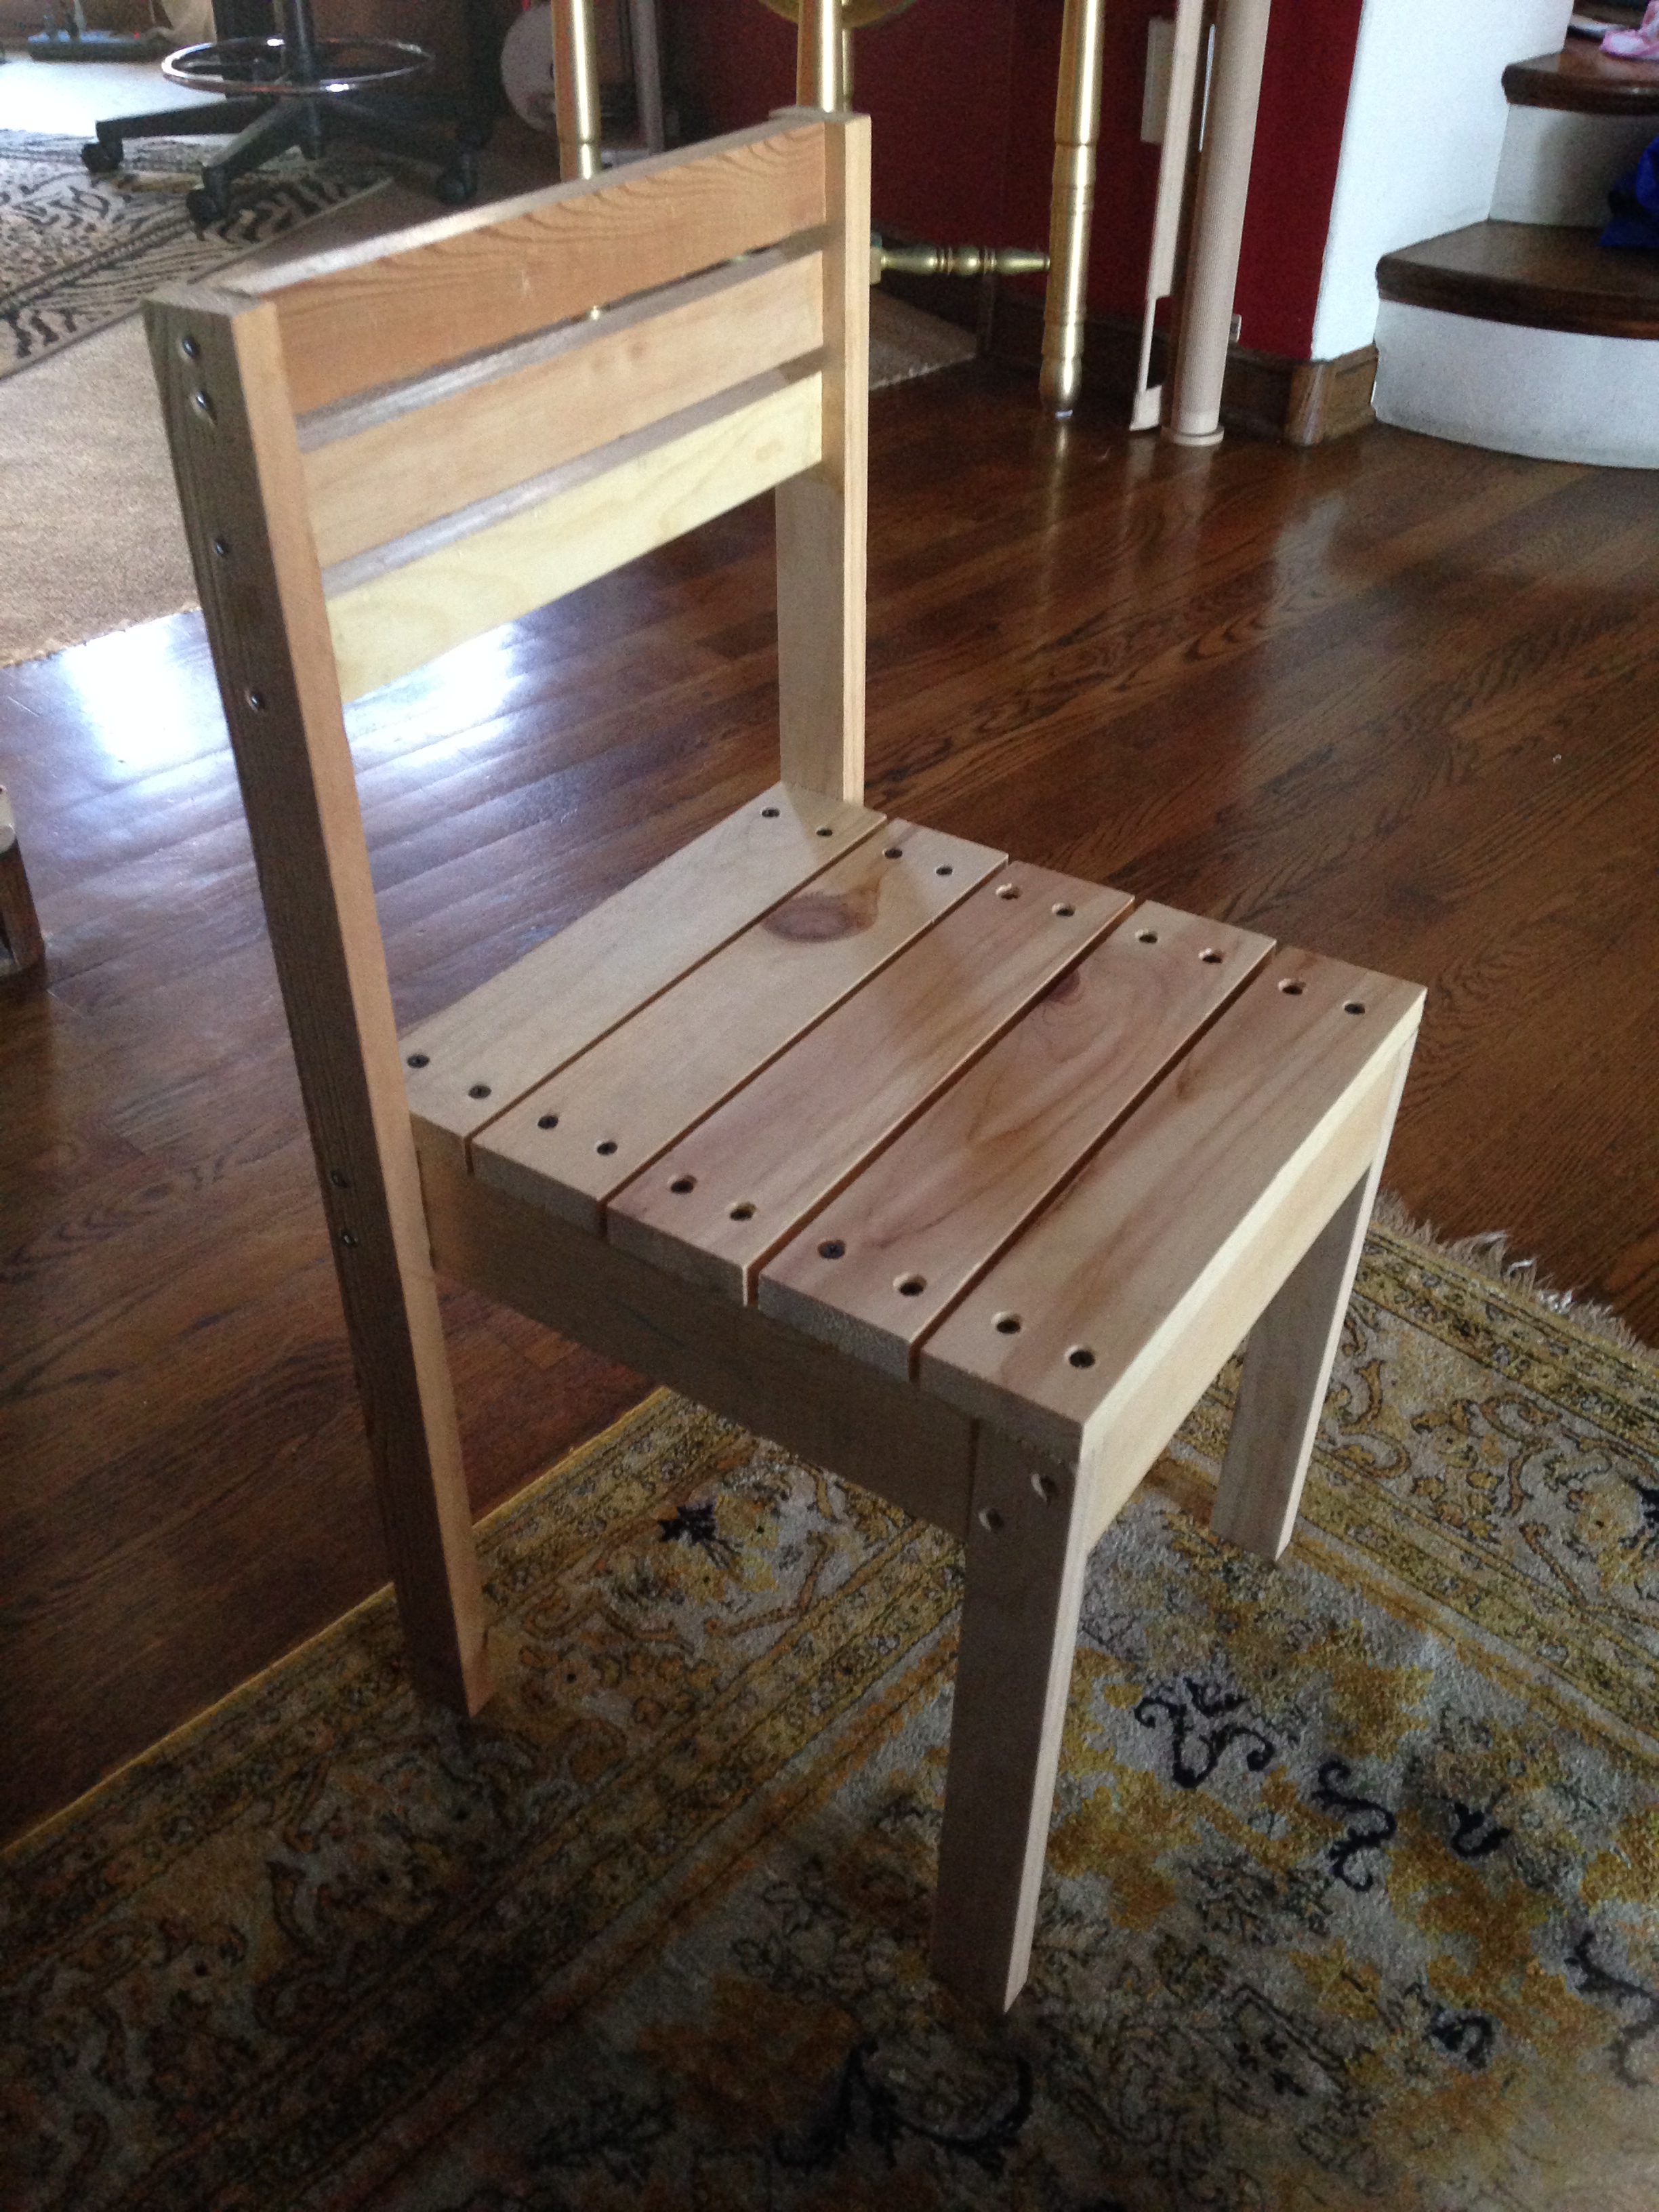
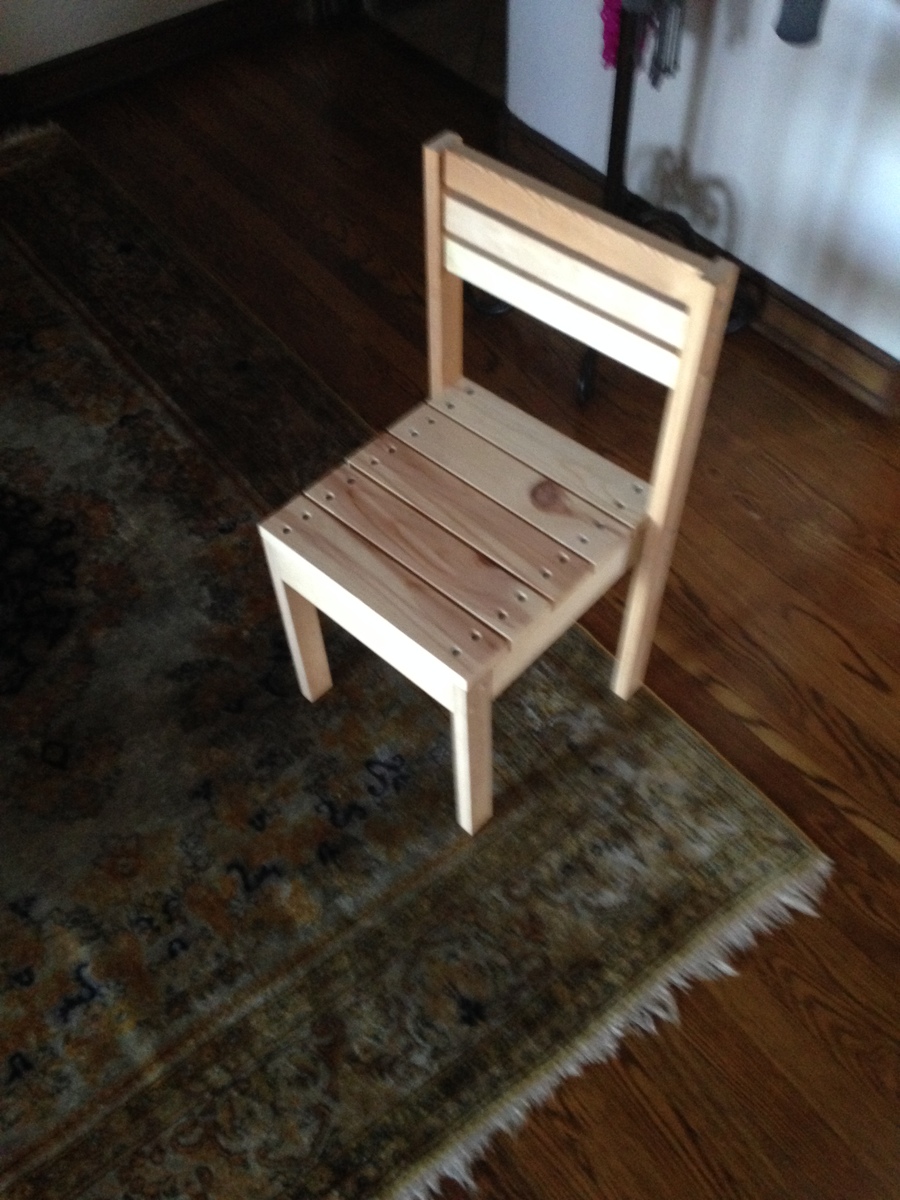
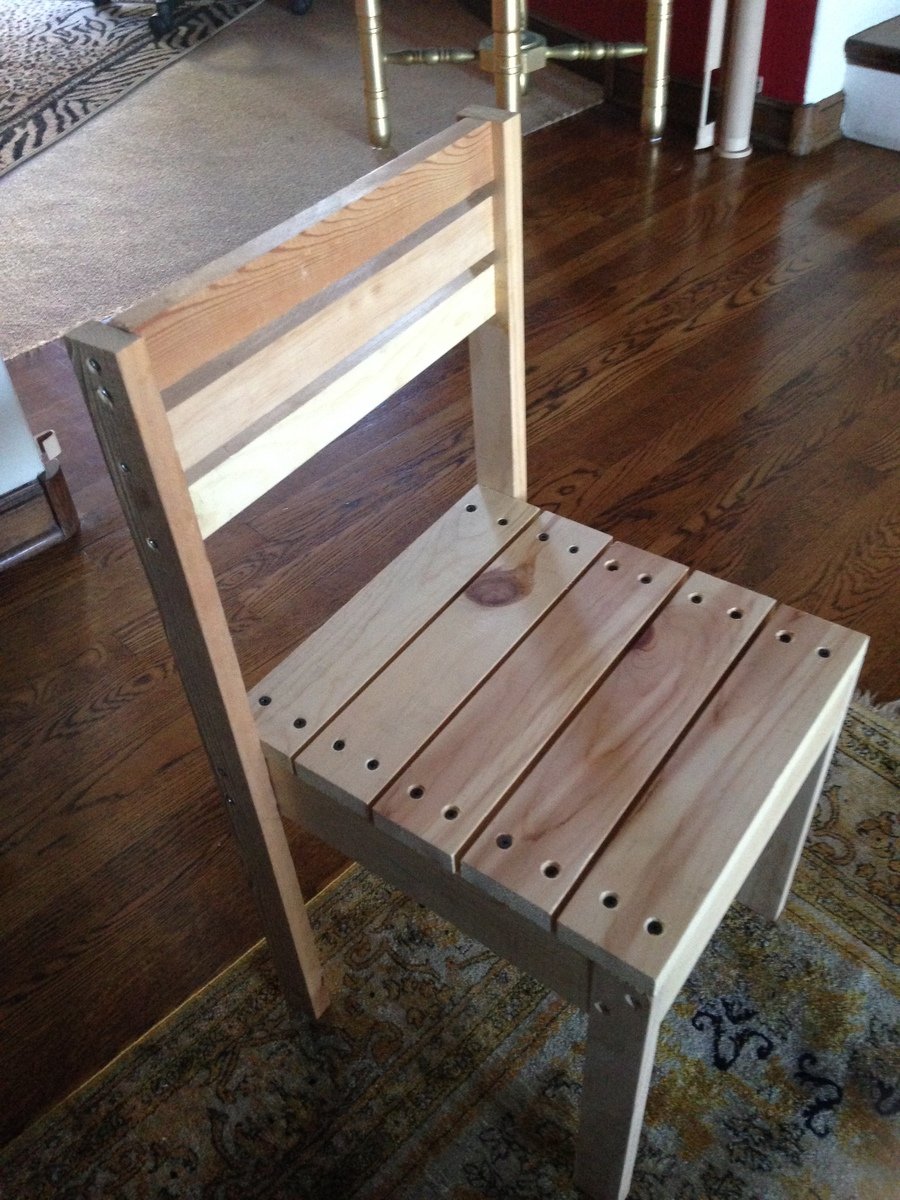
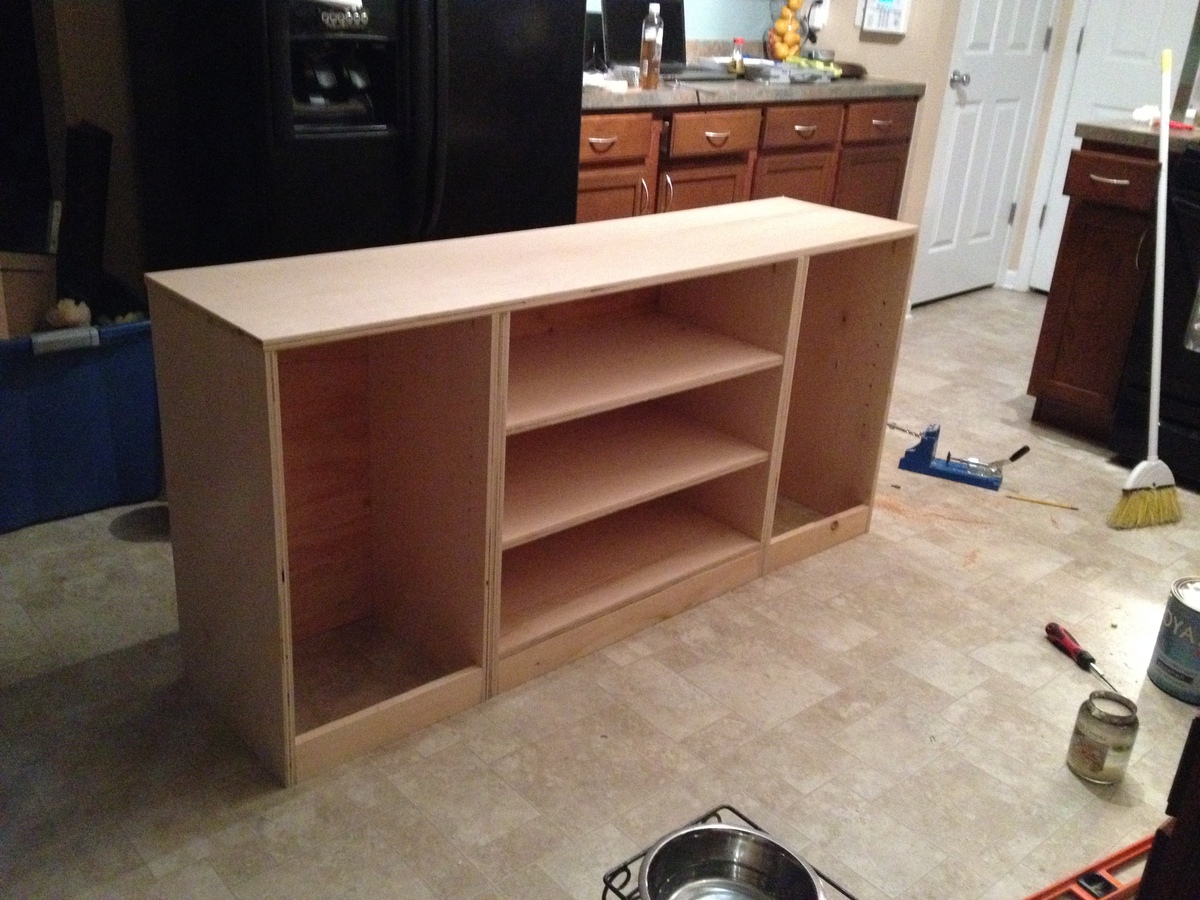
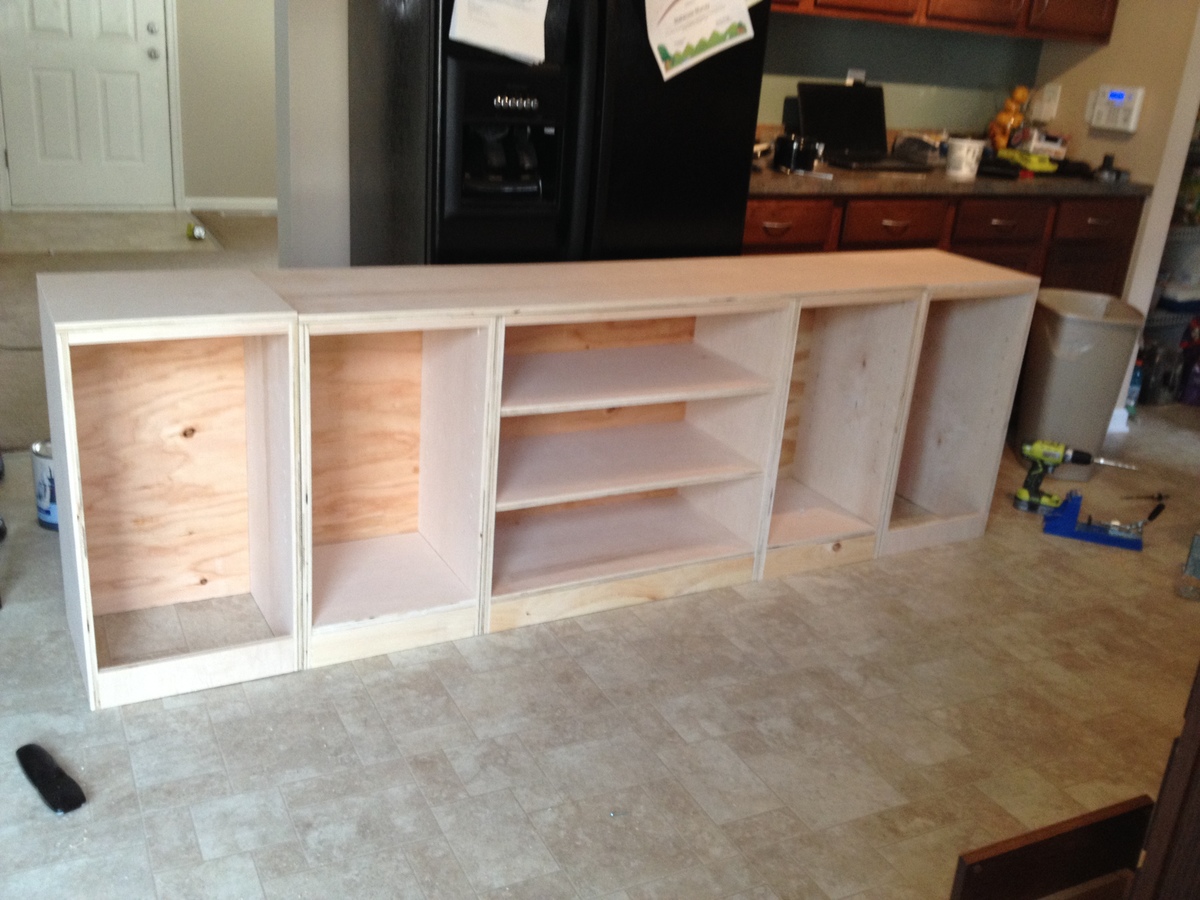
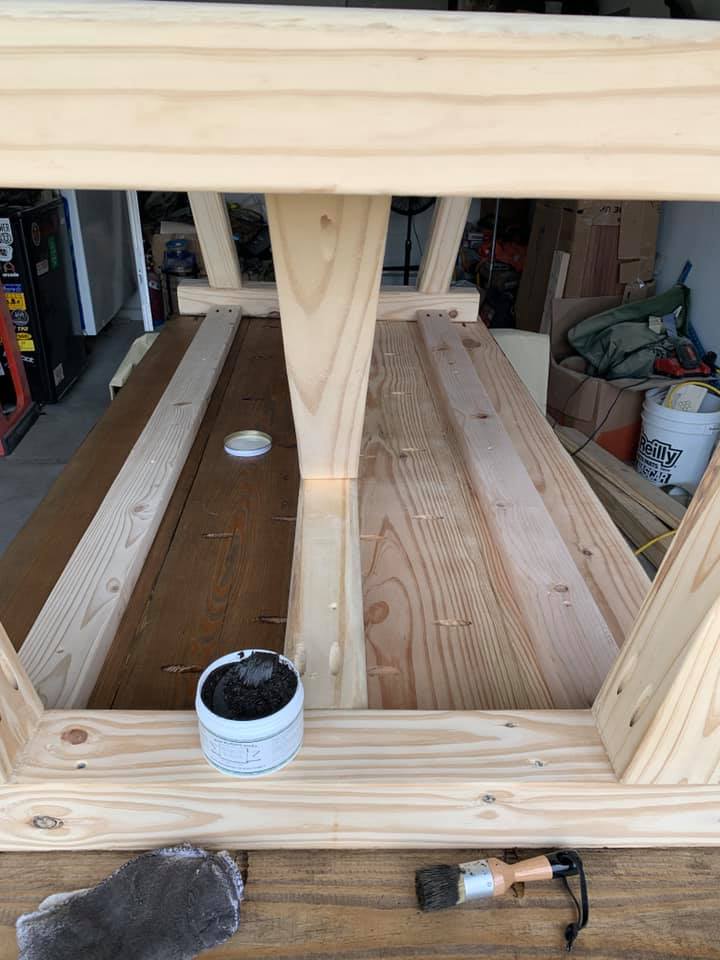
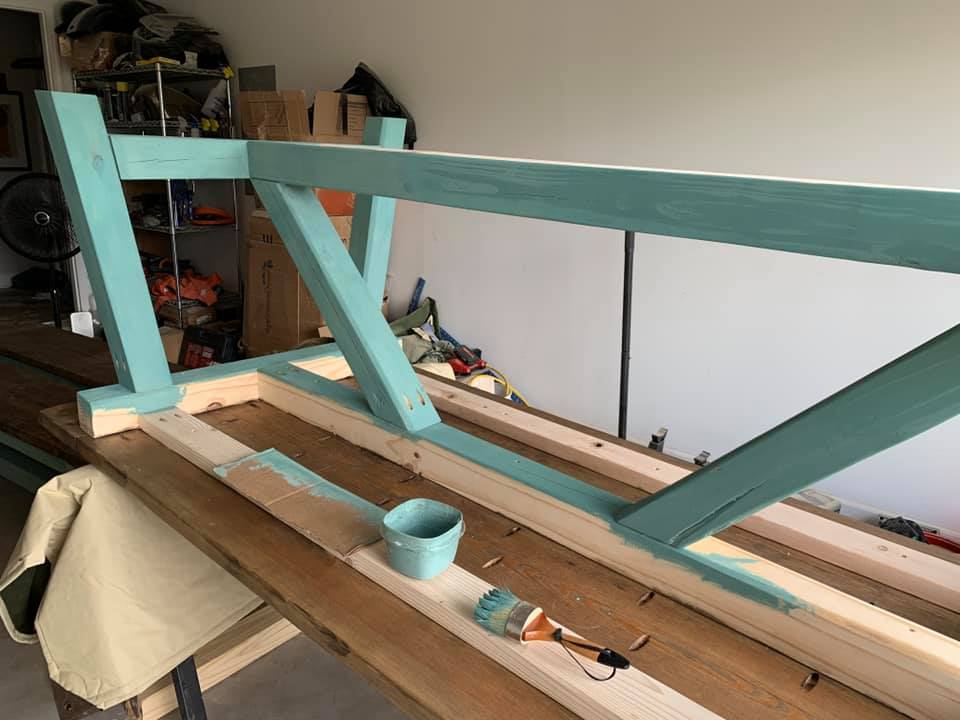
This was one of my first projects. I just used a circular saw but a mitre saw would be better. I’ll look for one soon. It was rewarding, fun and we love how it looks on our back patio.
Built from Plan(s)
Estimated Cost
$200
Estimated Time Investment
Weekend Project (10-20 Hours)
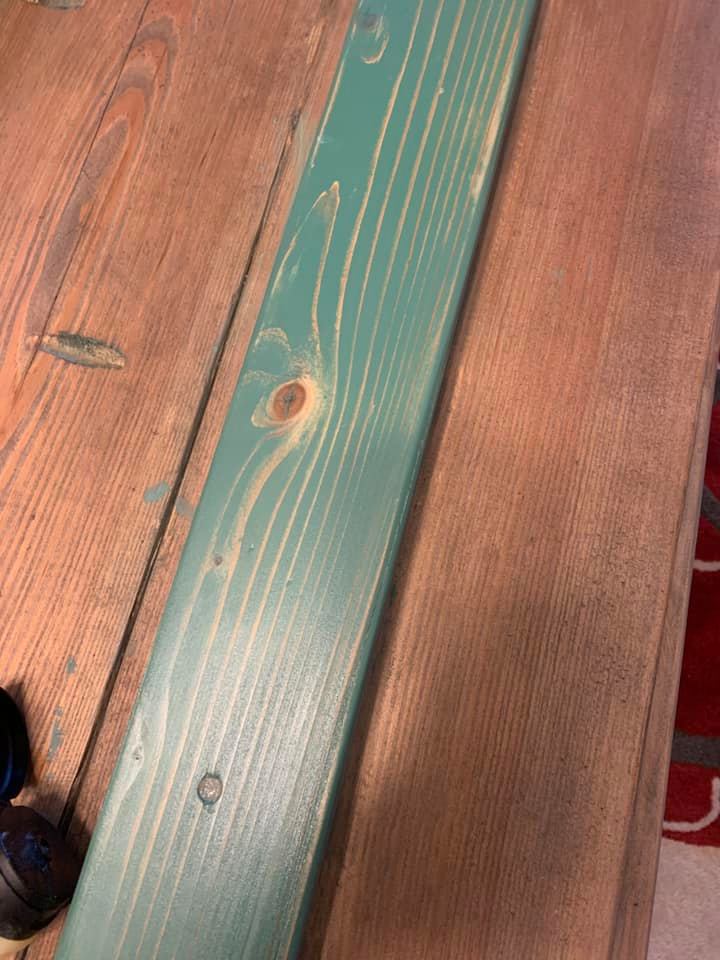
Finish Used
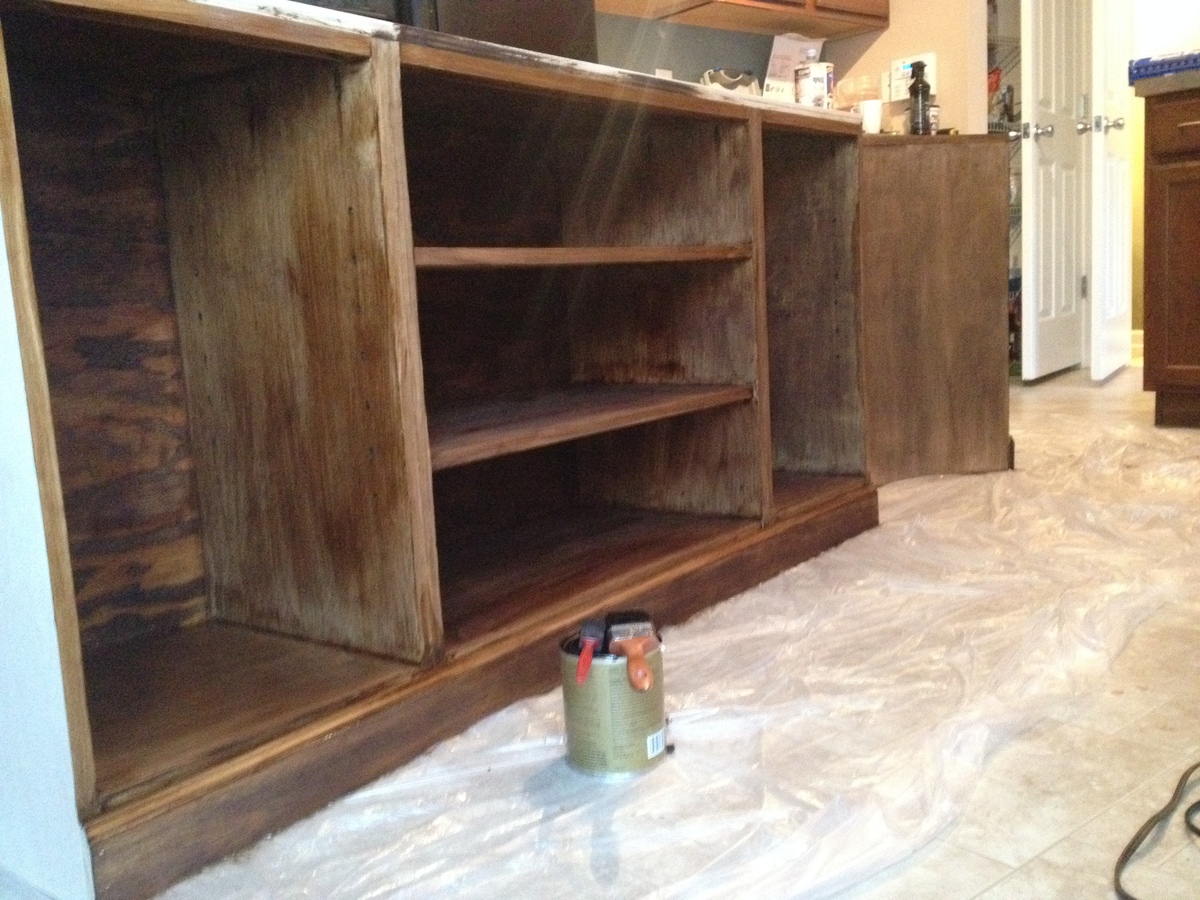
I primed the pieces with Sherwin-Williams exterior latex primer before assembly then painted with Sherwin-Williams Resiliance exterior latex. We chose “Retreat” as our color.
Recommended Skill Level
Beginner