Shoe organizer
I took the 25 cubbies plan and changed the dimensions to fit shoes. I made a simpler version for my husband too. This project went together quickly and was so fun to build.
Cute Corner Cabinet by Thrifty and Chic Decor!
Inspired by the Tall Secretary with mail slots but with my own twist/needs incorporated in it. Finished with pure white satin paint.
I made this cabinet to house my murphy bed. I used the Toy or TV Armoire plans as a start and adjusted the measurements as needed.
Tue, 06/02/2020 - 16:22
Do you have plans or details about the door materials/ hinges?
Thu, 12/03/2015 - 07:30
This was an actual "original murphy bed" that i found on craigslist for $100
Wed, 02/02/2022 - 02:55
Awesome! What style hinges did you use to make the doors fold back flush with the sides?
We looked for a simple plan for a bed and found this one on Ana’s site. Easy to build in a weekend.
Mon, 06/03/2019 - 11:35
Thank you so much for sharing a photo! I've been looking forward to seeing how the bed turns out! Great job!
I altered the plans just a bit so that I could make use of the drawer closest to the headboard, while using bedside tables as well (not the ugly ones in the pictures, but some that only exist in my mind as of now). With the plan as is, I didn't think that first drawer would be able to open if you have a nightstand. So I left about a 17" gap that can be used as an open shelf for storage, and still had room for 3 drawers. I also wanted to include a bookshelf as the footboard to make it multifunctional. We have a ton of books and no place to store them (fear not, a large bookshelf/media center is coming soon!) I also altered the top of the headboard just a bit to give it more texture and visual appeal (hopefully, but beauty is in the eye of the beholder so I've been told). Lastly, I did not put the 1/4" plywood backing on the drawer carcasses. They were pretty sturdy as is, and only got more sturdy as they were attached to the headboard and footboard; I'm not worried about racking at all. Leaving the back off also allows me to pull the drawers out and access some hidden storage in between the two drawer carcasses.
I wanted a simple finish, so I rubbed it with dark walnut Danish oil. Super simple finish and I think it'll hold up as the bed is not like a desk that needs poly or something.
Sun, 08/28/2016 - 19:50
This bed turned out amazing. I love the modifications and agree the first drawer will be more usable.
Thu, 05/28/2020 - 06:11
Could you please tell me how you attached the footboard on this one? I thought about using some bolts and counter sinking them from inside the self. How did you do it?
This is a heavily modified version of the rustic x kitchen island that I tweaked to make for 2 sinks.
Thu, 08/15/2019 - 11:52
This is gorgeous! Thanks so much for adding a brag post!
Mon, 11/25/2019 - 11:39
Do you happen to have plans or info on what you did to modify it to hold the sinks?? Absolutely love this!!!
Mon, 02/03/2020 - 06:41
Absolutely love this but I would like the actual modified plans . Is it possible to get them?
Sun, 01/03/2021 - 16:01
Love this!!! Great job!!!! II need new vanities... this will be a great project!!
Modified to make the coop bigger and the planter smaller. Added 1" foam insulation on the inside and changed the design to use the "deep litter" method. This means the coop bottom goes all the way to the bottom of the support beam rather than using a removable tray. Added a steel roof with a ridge vent at the top. The chicken run under the coop is lined with buried hardware cloth so no animals can dig under the coop. All hinges are mortised and doors flush mounted. The coop is wired for power for a heat lamp. The planter is lined with a metal tray. The coop can be separated into two pieces so you can move it or rotate the top 180 deg if needed (so you can get to the eggs from the left or right side). Great plans, thanks Ana!
Tue, 05/12/2020 - 15:09
Amazing! Thank you so much for sharing a photo, this is truly beautiful!
Sun, 09/27/2020 - 14:42
Do you have the exact measurements that you used for this one?
I love these plans, and my son loves his new bed!
Adam
Radiator Cover! My son was starting to crawl and be interested in the giant radiator in his room, so it was time to cover it. I'm so happy with how it turned out and since we left 4-5 inches of space from the top, we can use it as a space to keep his air filter & light. I left 2-3 inches around the sides as well and put a board across the back for support and to keep the cover in place.
Margaret Cember
Cool project! My wife liked it without the doors!
My attempt at the murphy bar featured on this site. Still have to add the sash locks. Added pallet crossmembers at the back, an x in the leg, and a french cleat to mount to the wall.
Tue, 12/31/2019 - 11:49
This looks awesome! I want to help my friend build this for his kitchen. I've looked at the plans in the link & I'm wondering what modifications you made for the X pattern-- how much did it alter the material & cut list?
Would you please share your material & cut list for this?
Fri, 08/14/2020 - 09:28
I don't understand why I cannot find the material list or the instructions for this every link takes me back to the pictures
Wed, 12/08/2021 - 00:27
It is perfect wall management which is used it in small space
Sun, 01/29/2023 - 13:16
Are there plans for this? I'd love to make this. Thanks
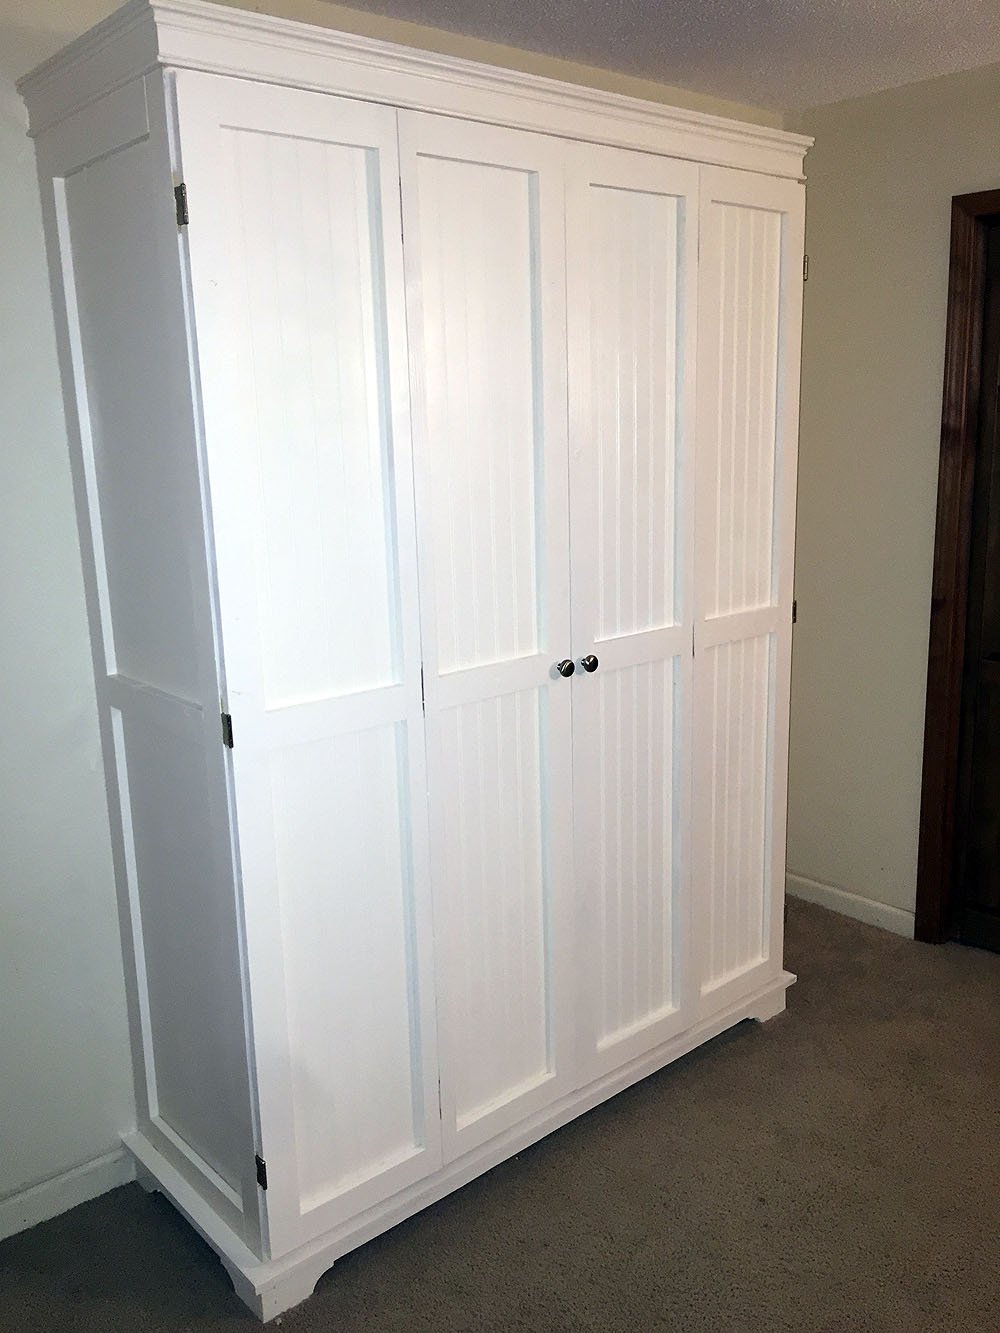
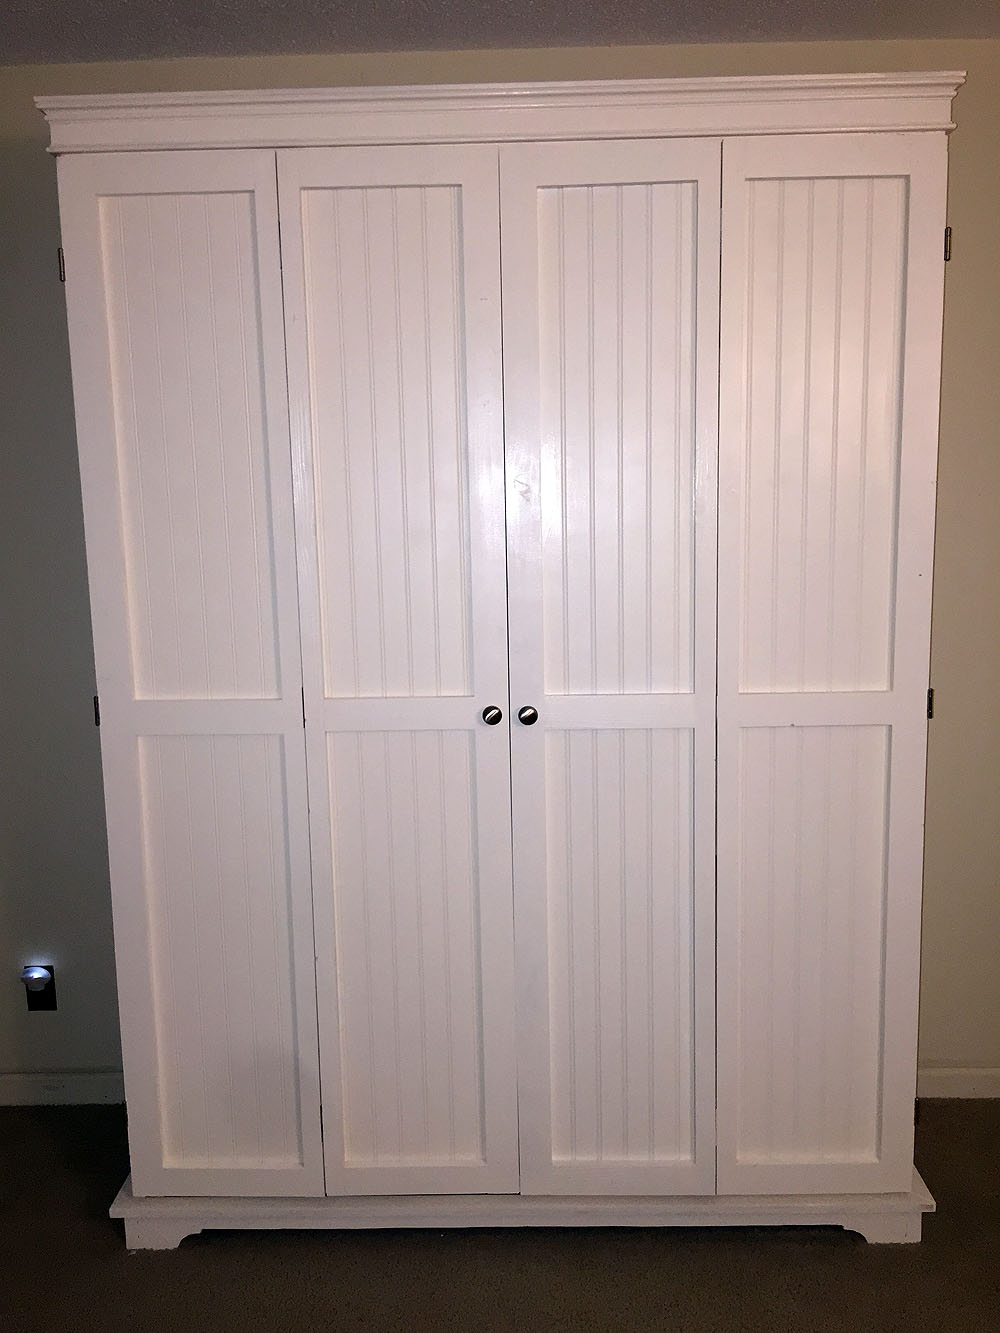
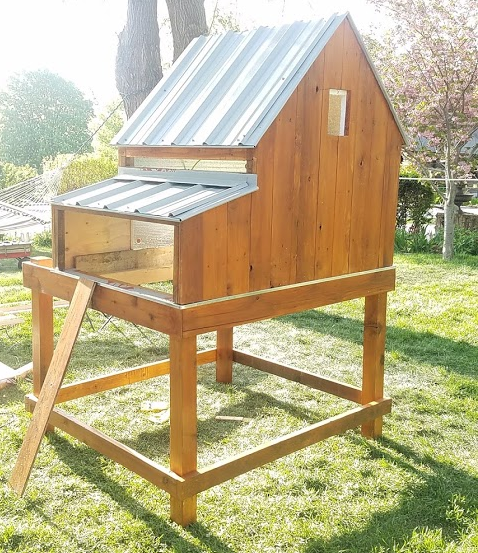
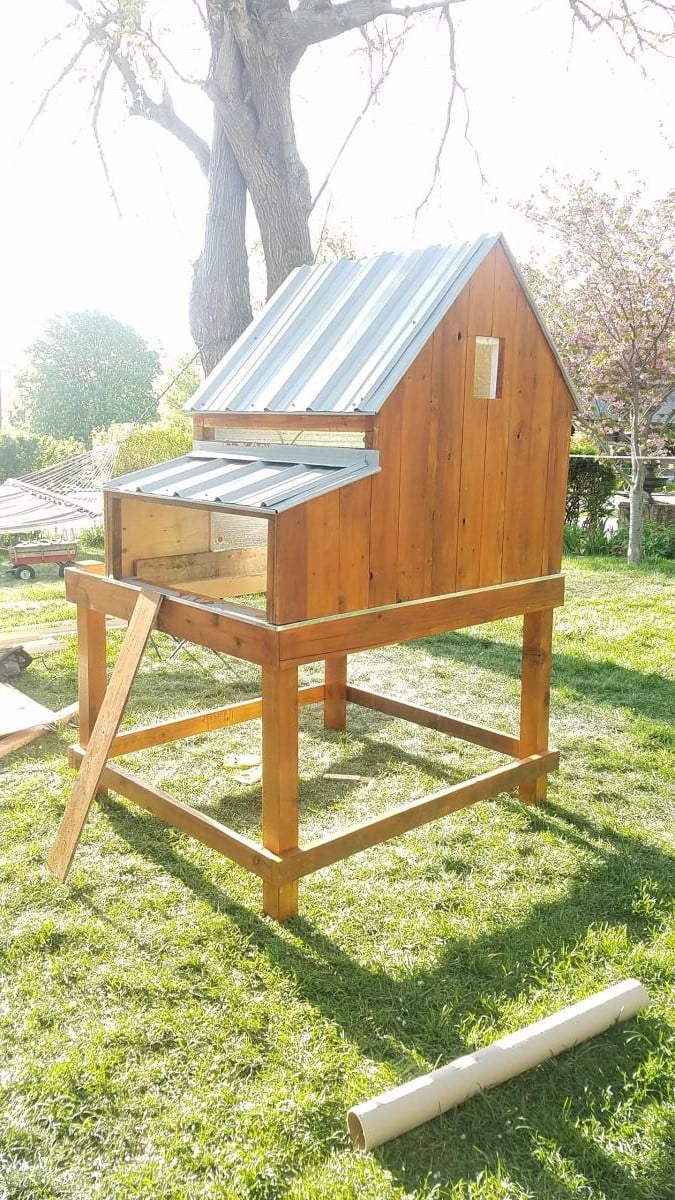
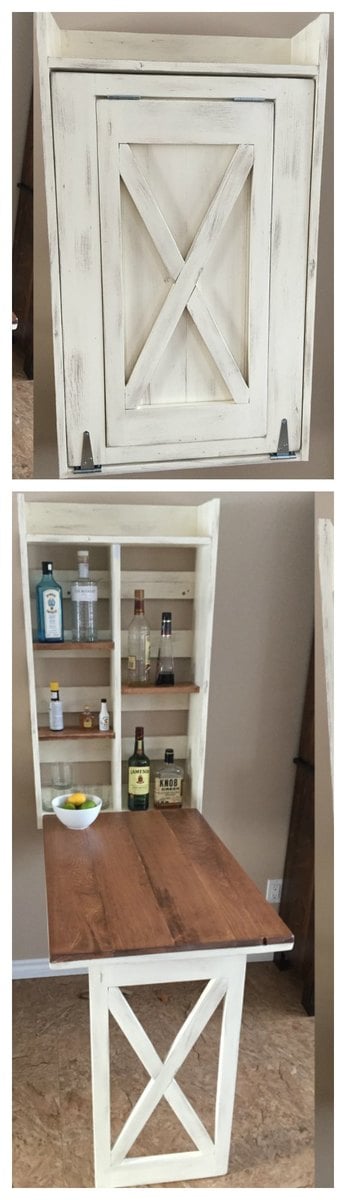
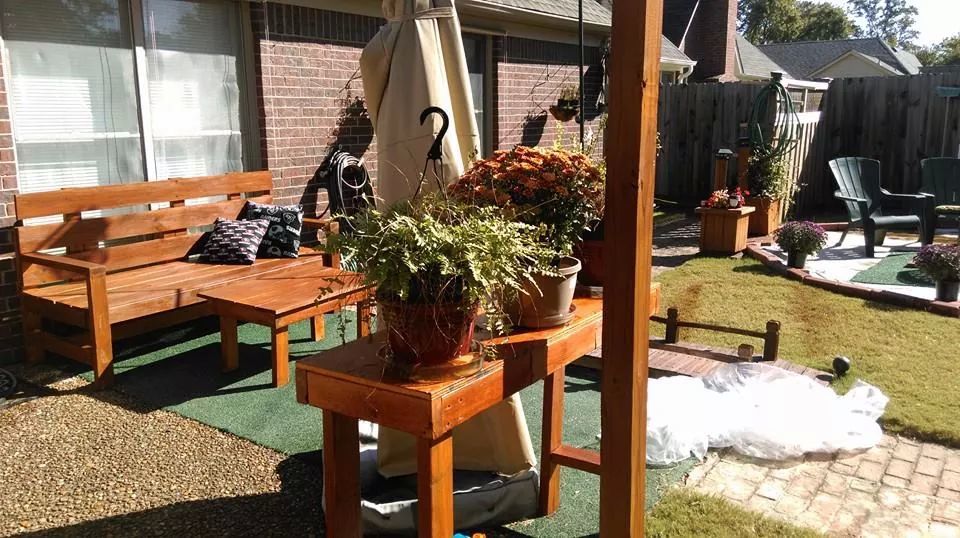
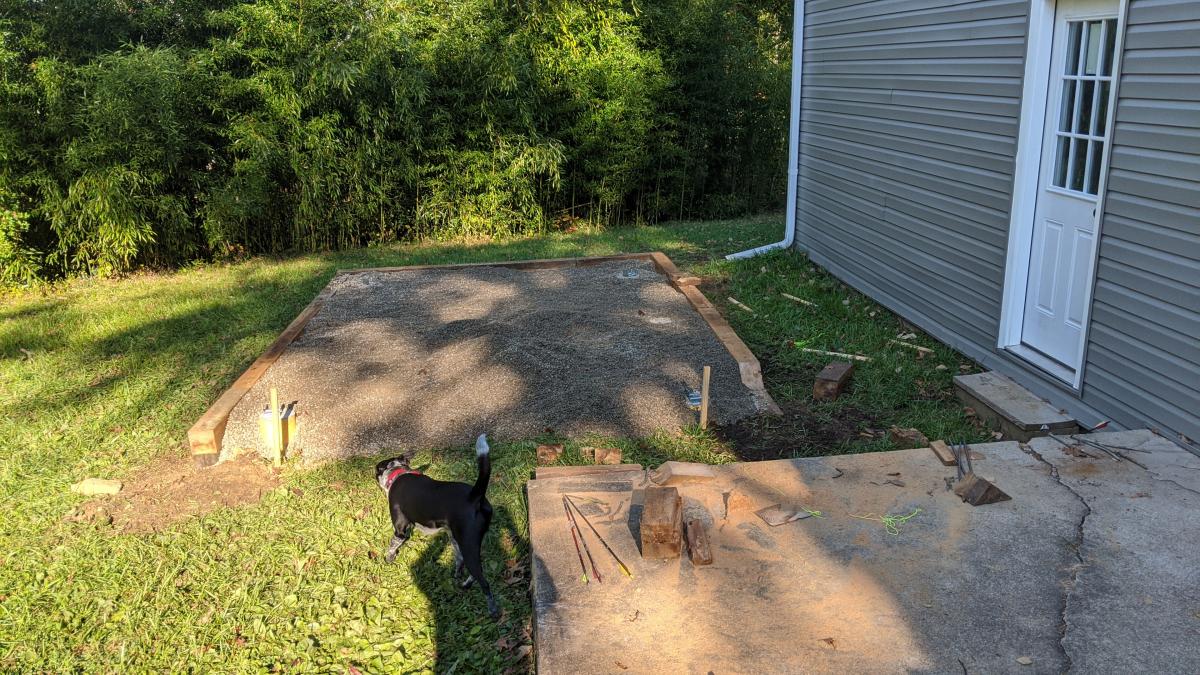
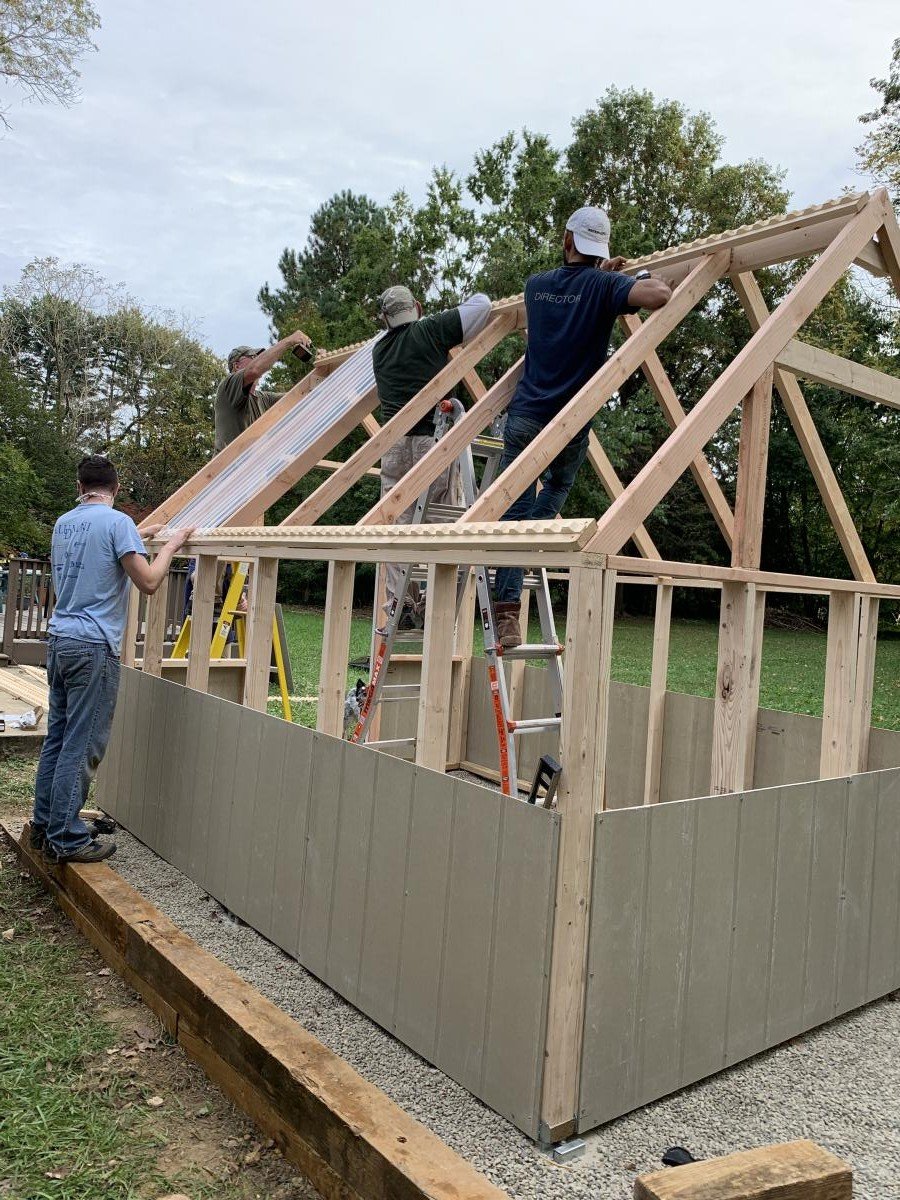
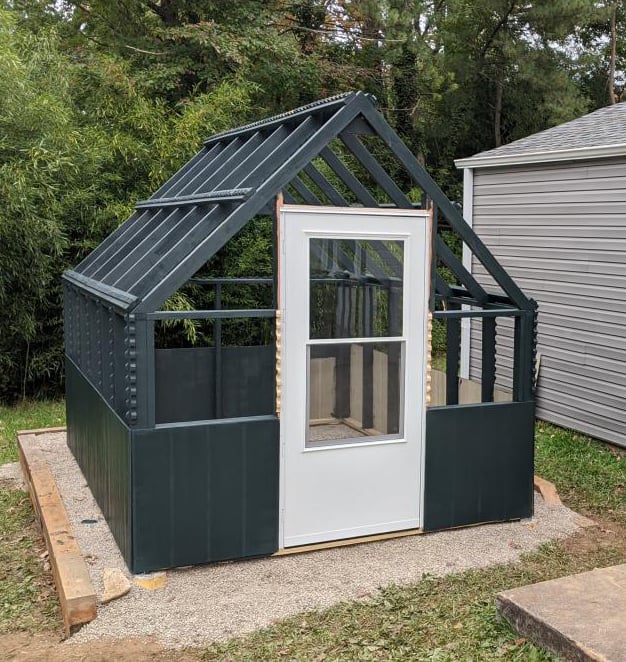
This project actually was a lot bigger than we thought it would be. Hubby and I are almost newbies, and we thought we could knock this off in a week or two! It actually ended up taking us 6 months to finish, although to be honest we didn't work on it consistently.
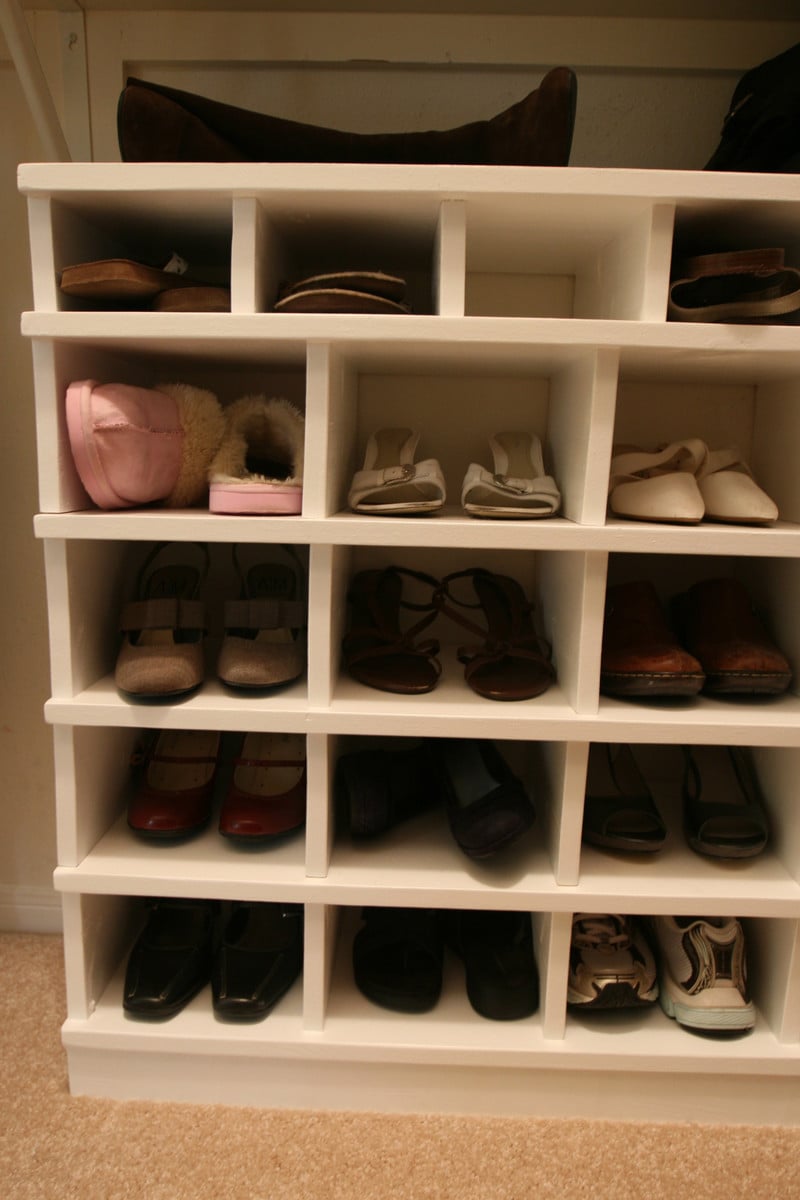
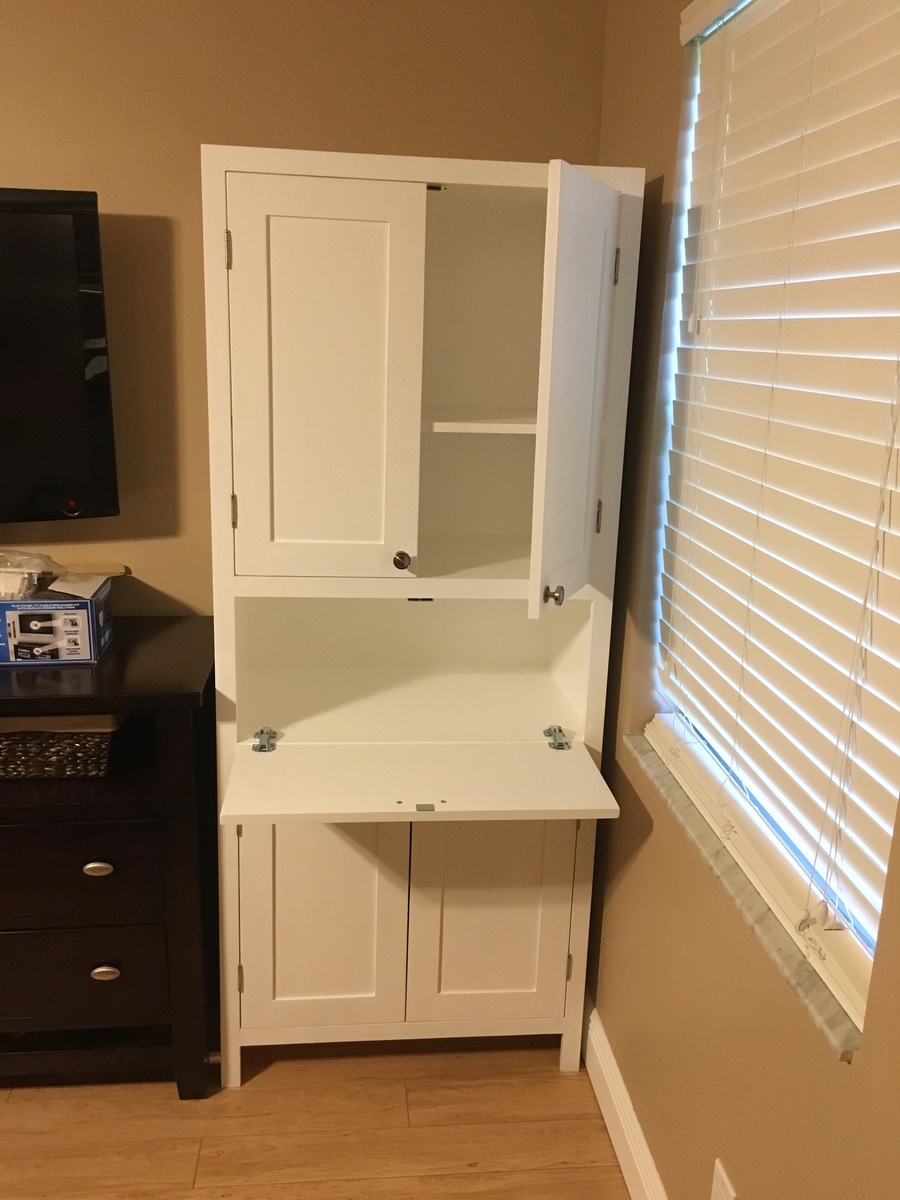
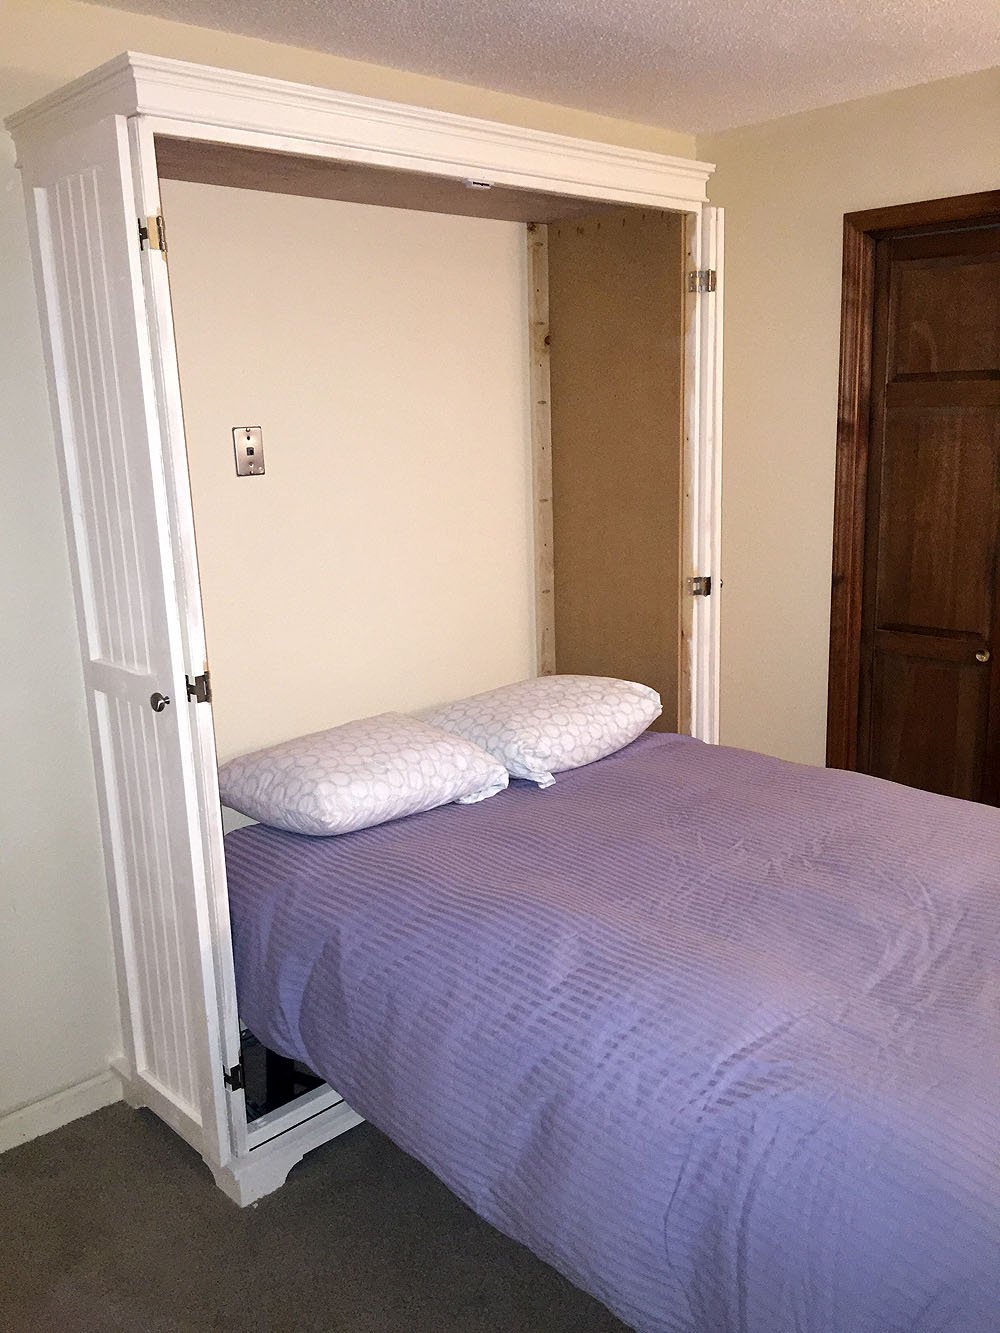
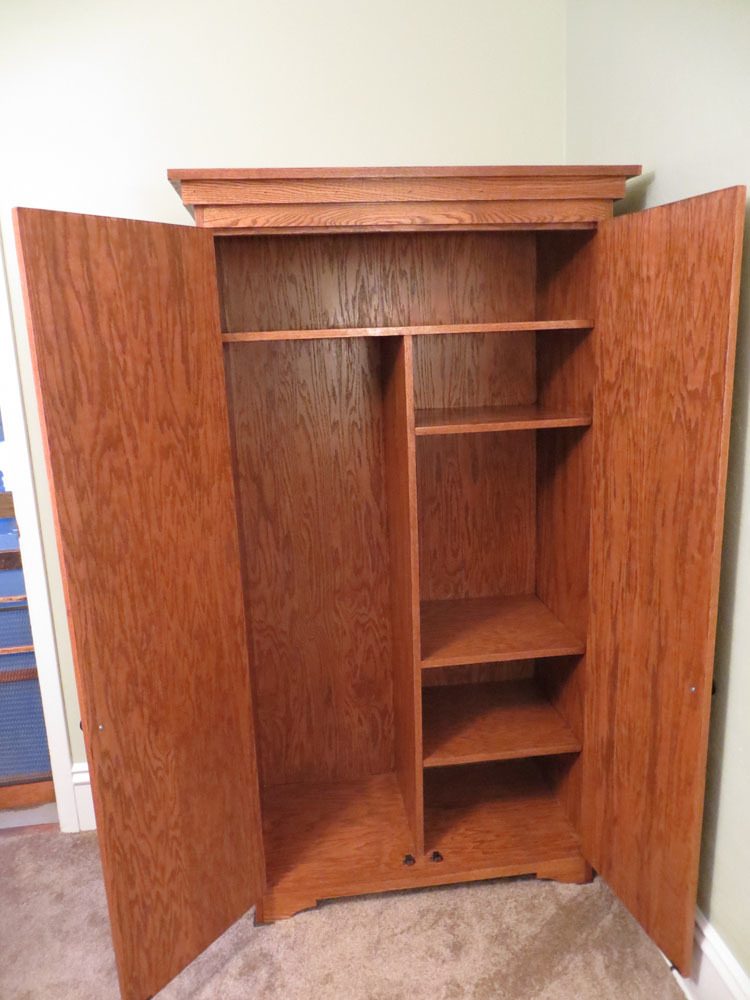
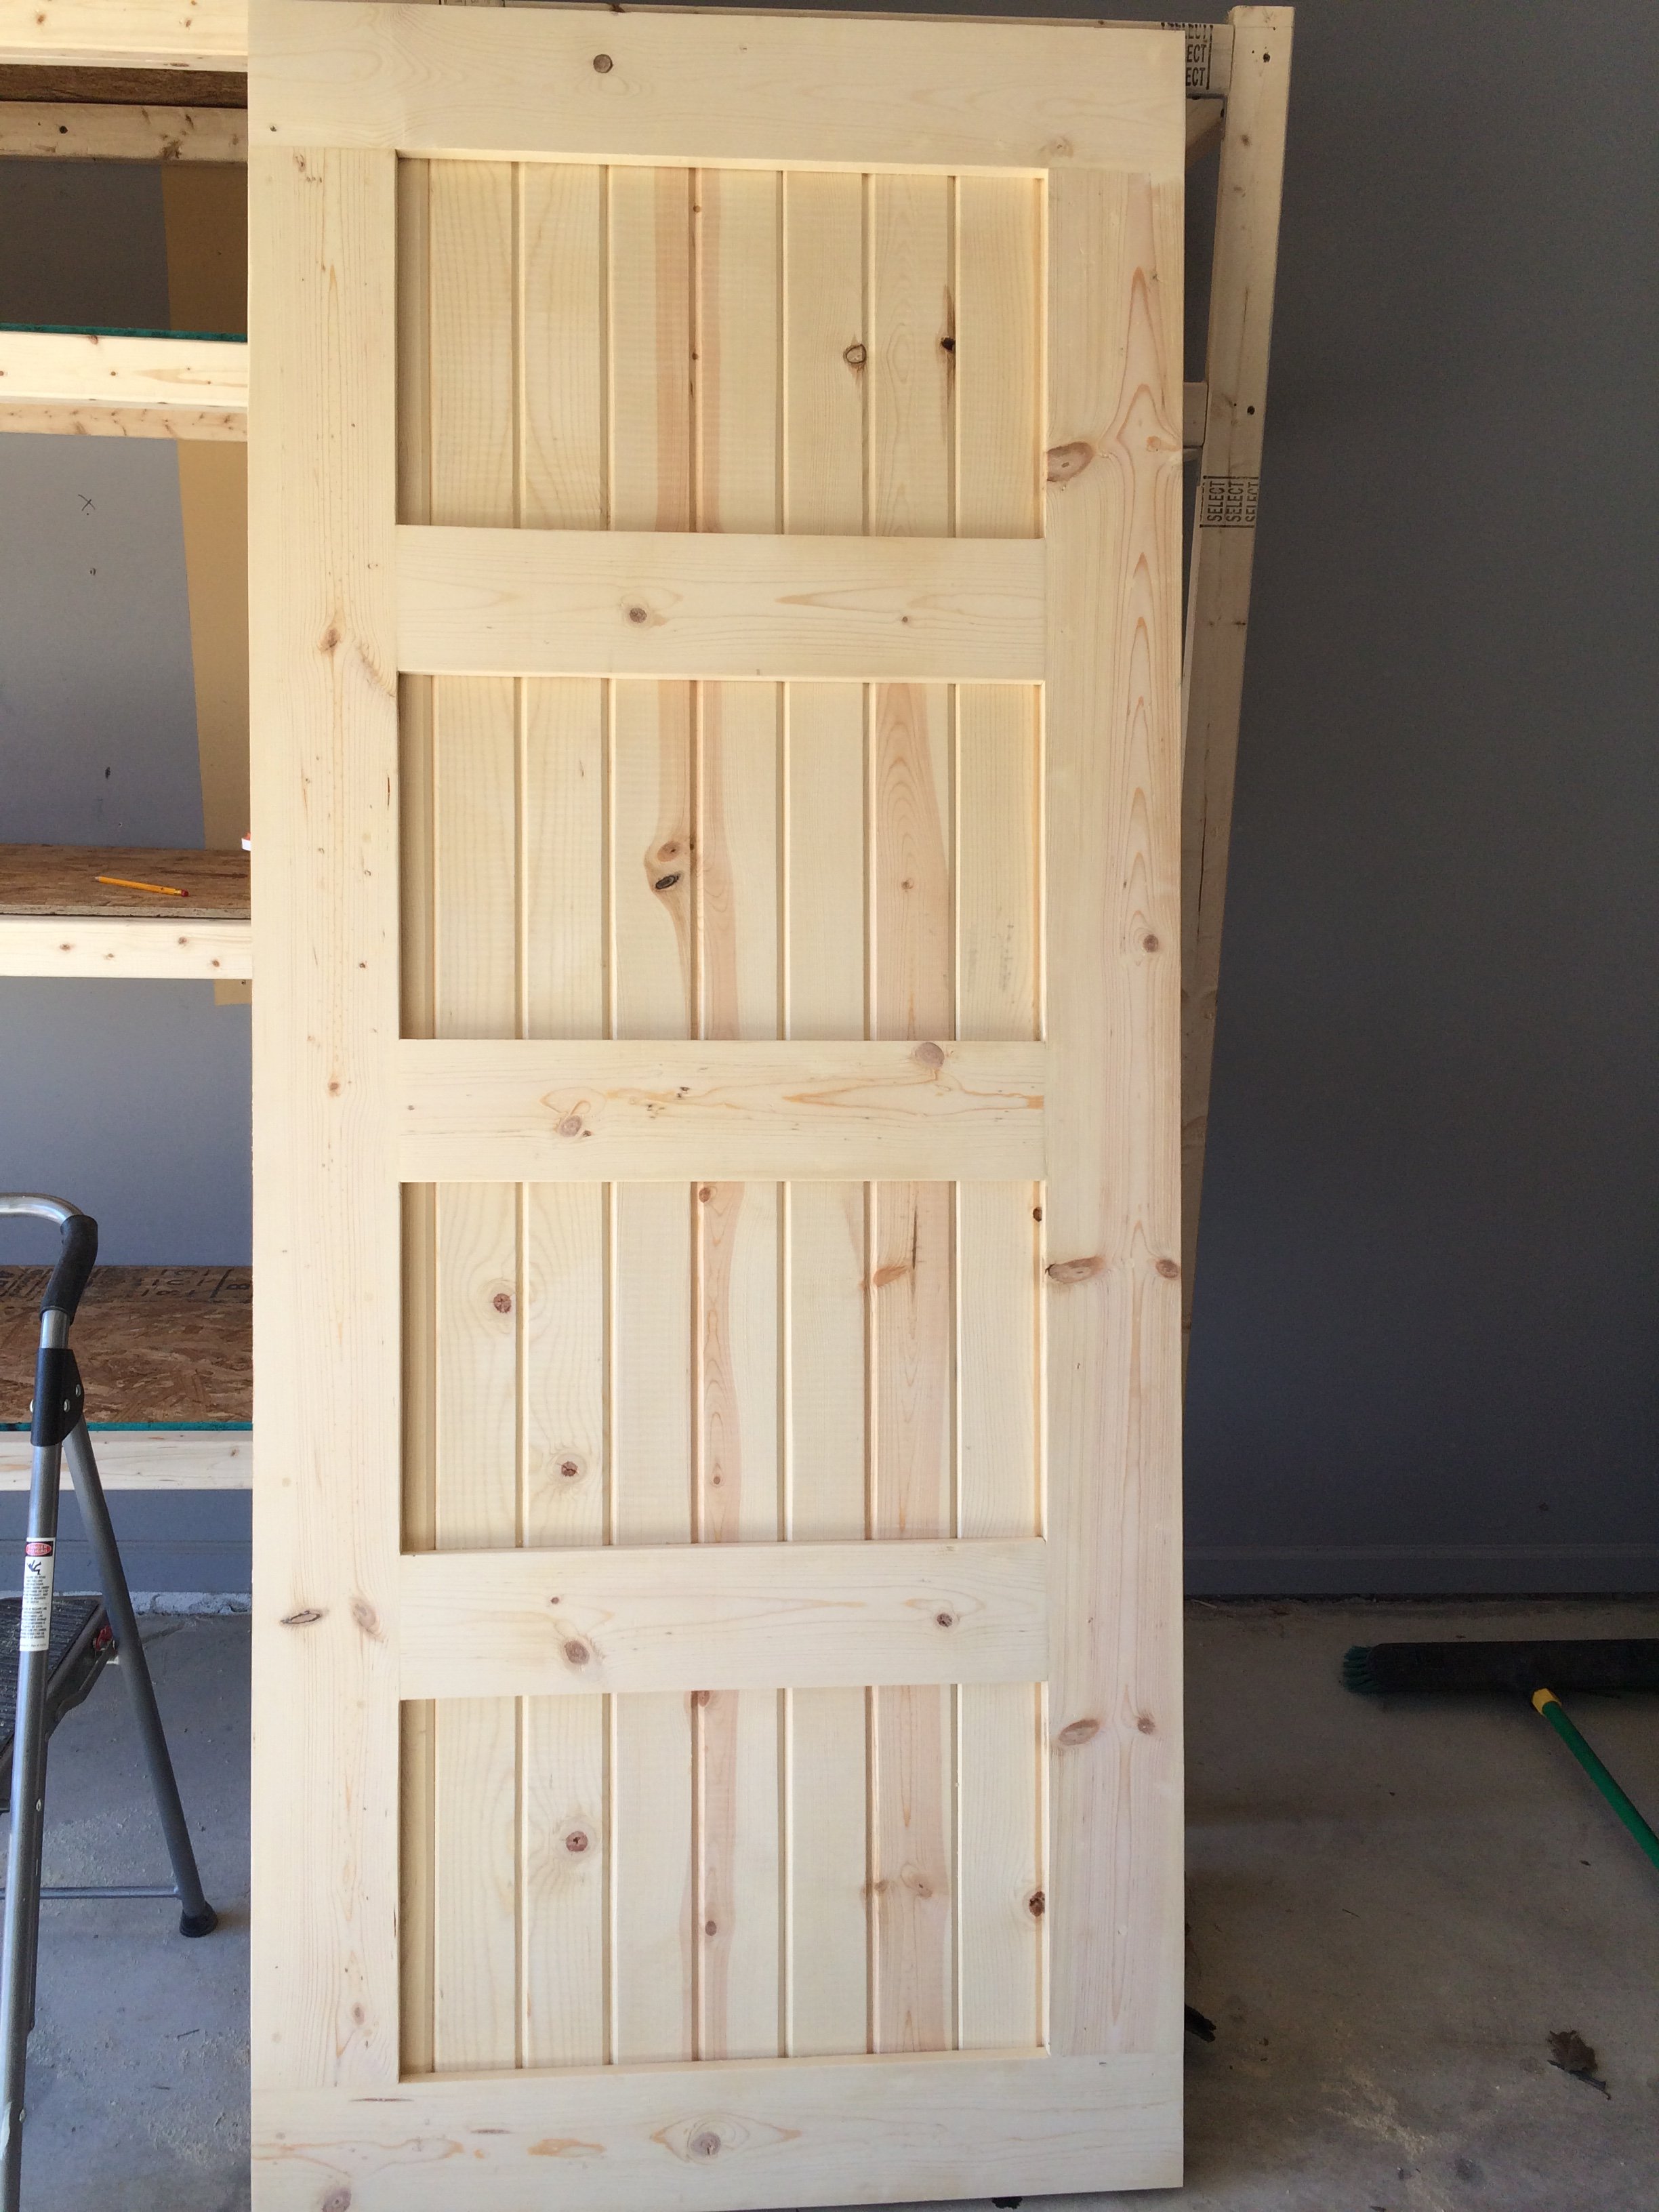
We needed a replacement for an old coat closet that was falling apart, and decided to tweak the design for the simple armoire to fit what we need, which is basically coats, table cloths, shoes, and just about anything else we want to hide away in our dining room. It's 18 inches deep by 36 inches wide. Since we couldn't find 18 inch wide wood planks, and aren't skilled enough to make them yet, we went with a hardwood plywood and covered the edges of the plywood with iron on veneer. It turned out very well; you can't really tell that it's plywood unless you know what you're looking for.
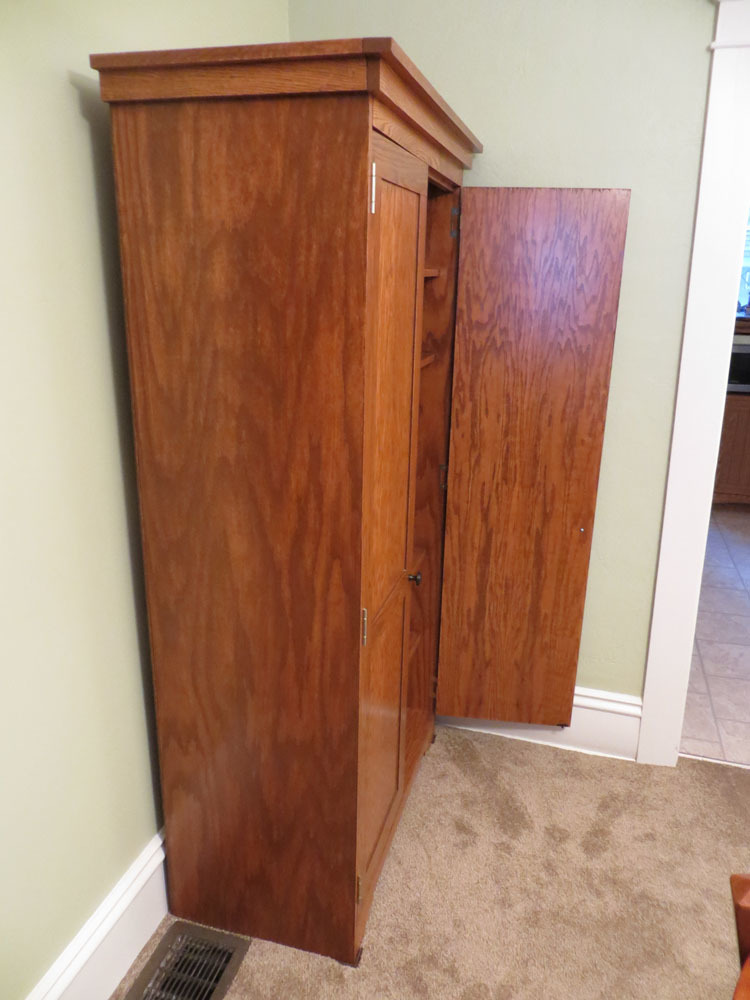
I will say that I couldn't find the kind of hinges called for in the plans, not even on the internet. So hubby and I went with 1 inch non-mortise hinges. They worked well, though they were a bit hard to hang for a couple of novices.
I fell in love with this set from the moment I saw it on Shanty-2-Chic's website. I knew I had to have it for the deck I just built in my backyard. It's pretty straightforward, the only difficulty I ran into was assembling the legs. I copied the angles provided in the instructions to a "T" but there are still some gaps where the angled pieces join. After spray painting it they are not very noticeable. It is a heavy beast of a table and took everything in me to help my husband heave it up on to the deck, but it's absolutely lovely. It is so large we can easily have people over for a BBQ and everyone fits around the table. I'm so thrilled with the results. Thanks, Ana!
Mon, 03/30/2015 - 16:34
What adjustments did you made to the plans for creating an umbrella hole?
In reply to Umbrella opening in the table by liamtoh1
Tue, 06/13/2017 - 15:41
So sorry, I just saw this question now! Wish I had received an email to let me know you asked a question. You need to use a hole saw bit. It's just a bit that you can use with any drill. You need to determine the diameter of the umbrella pole first and then use the appropriate bit. Hope this helps. :)
I made this bench just as instructed except I made the back legs taller (after the fact) for more back support.
With the help of friends and family, we managed to build this greenhouse rather easily. We had to start with the foundation since the spot we chose was not an even grade. We did this by filling sono tubes with cement and leveling each off so the greenhouse would have a solid place to sit. We then built out a frame around the outside of the cement tubes with some reclaimed 6x6's. After that, we filled the space with 5 tons of river rock and then got to work! After the foundation was ready putting the rest of the house together was a piece of cake. The frame was so easy to put together. We had a few minor kinks to work out here and there, I won't say this house came out 100% perfectly, BUT I am so happy with the end results. We chose to paint it a deep green color as a final touch. So far we just moved a few potted plants from our deck to the greenhouse for the winter. It has been working very well to keep the plants cozy during the colder days we've had. Eventually, I plan to build a potting station, shelving, and most likely a garden bed for winter harvests.
Mon, 11/09/2020 - 09:52
The foundation looks great the greenhouse looks amazing! I'm sure fun was had building it too:) Thanks for sharing.
Created this door with pine wood tongue and groove lumber and pine wood planks. Purchase barn door hardware / track from Jet.com and door handles from Hobby Lobby.
This replaced my Master bath door and I think came out pretty good. Thank you for the ideas!!! Jeff M. Brownstown, Mi
I was so excited when I saw the plan for this! I love making crates out of wood. It was quick and easy and I already had a cedar fence post! It was less than 30 minutes start to finish! For more pictures check out my blog post. Thanks Ana!
We used the shoe dresser instructions with some modifications to make it longer
i followed the instructions for the DIY Greenhouse and even though there are a few warts and freckles neither the wife nor the flowers are complaining