DIY Outdoor Daybed
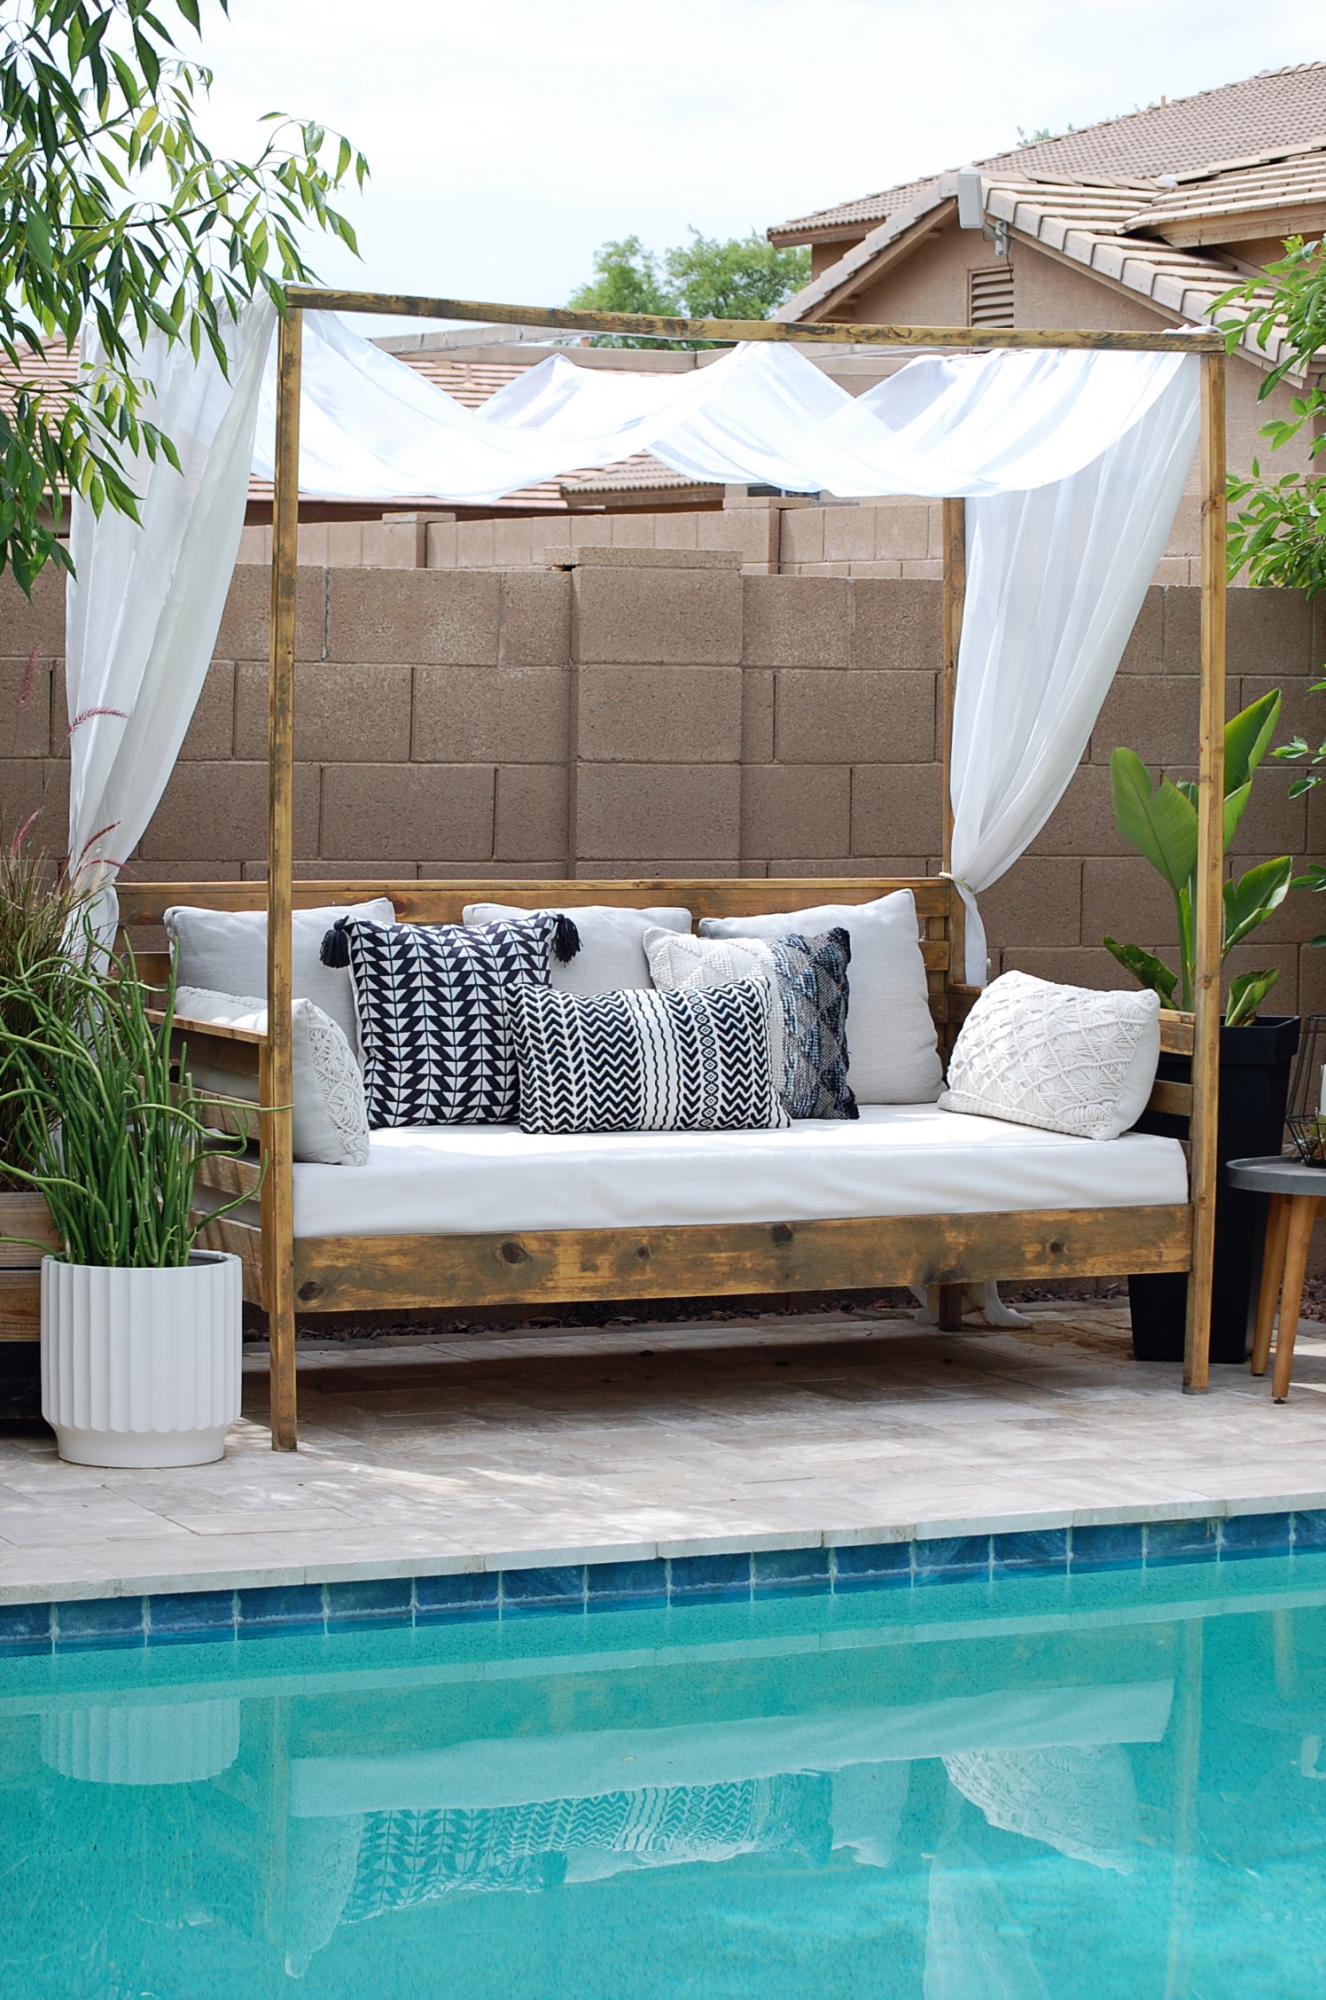
I built this outdoor daybed to add a cozy and inviting space to my backyard. It was a fairly easy build, which I managed to tackle by myself. Head over to the blog for more details.
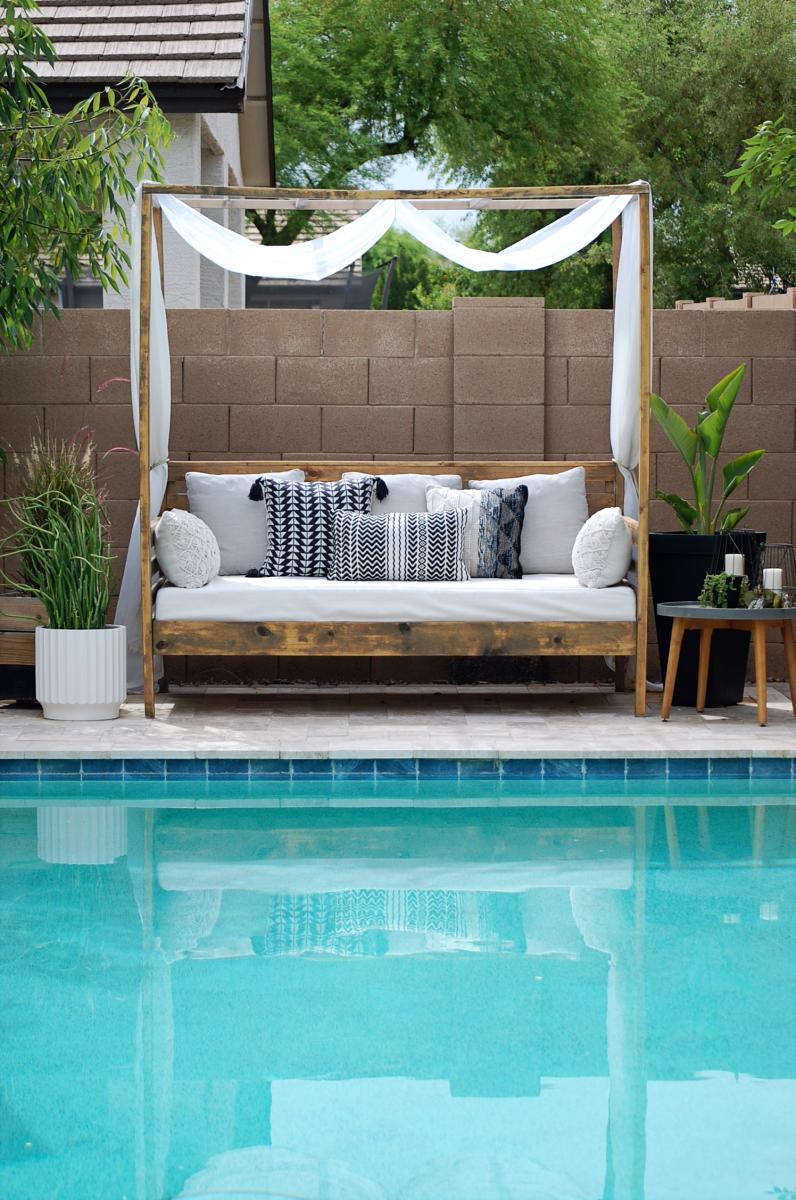
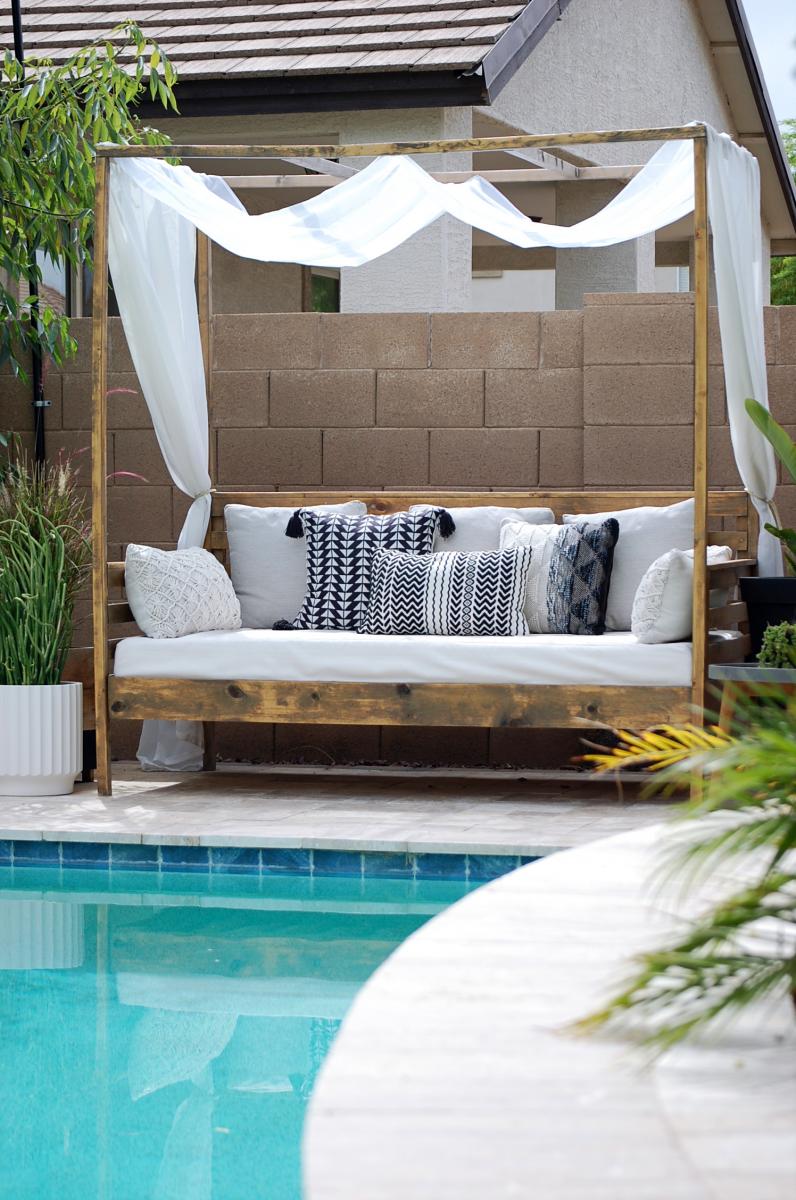
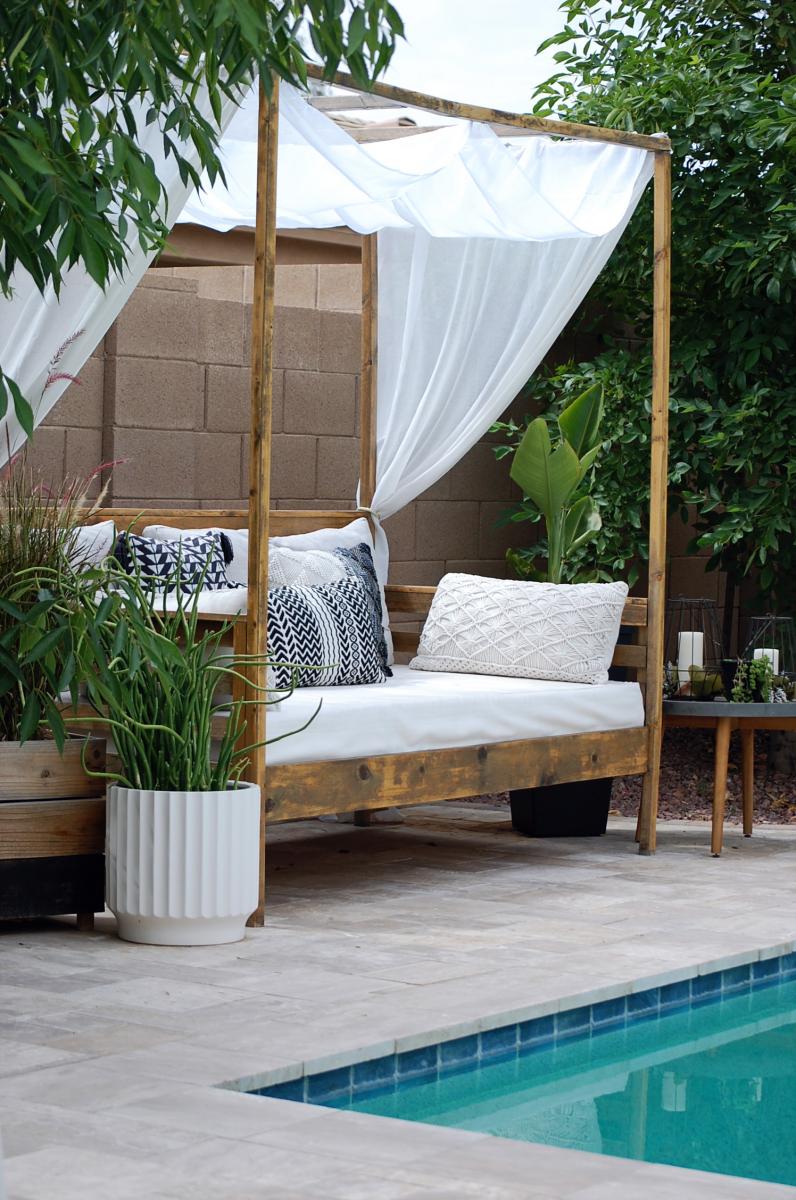
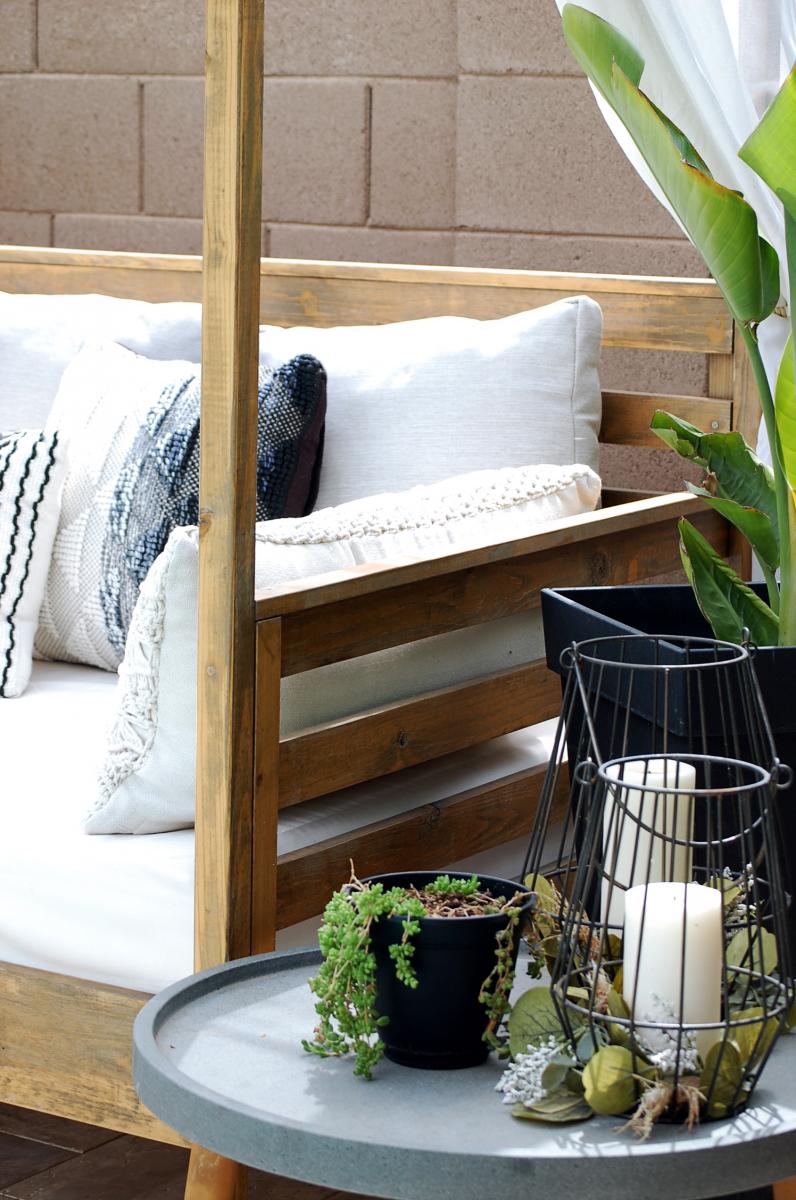

I built this outdoor daybed to add a cozy and inviting space to my backyard. It was a fairly easy build, which I managed to tackle by myself. Head over to the blog for more details.


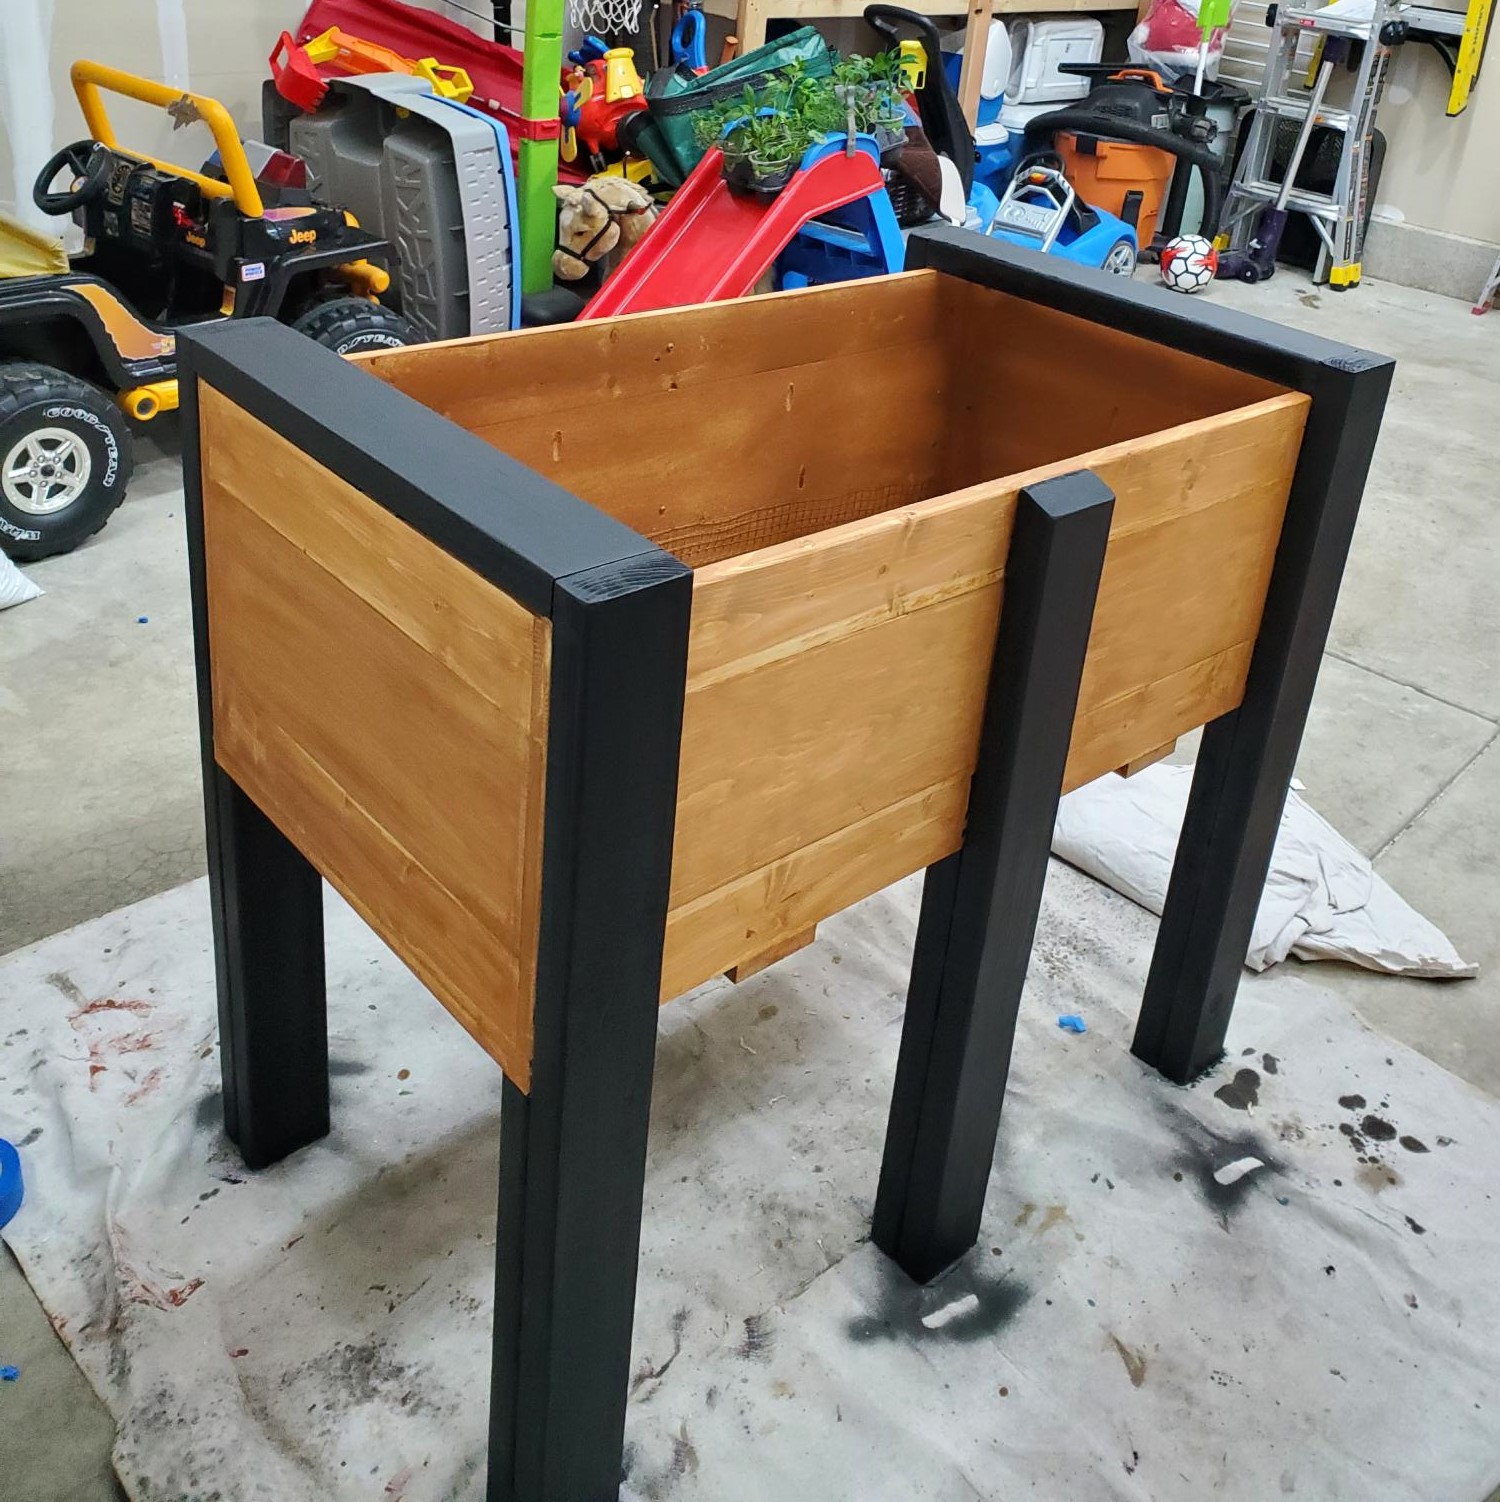
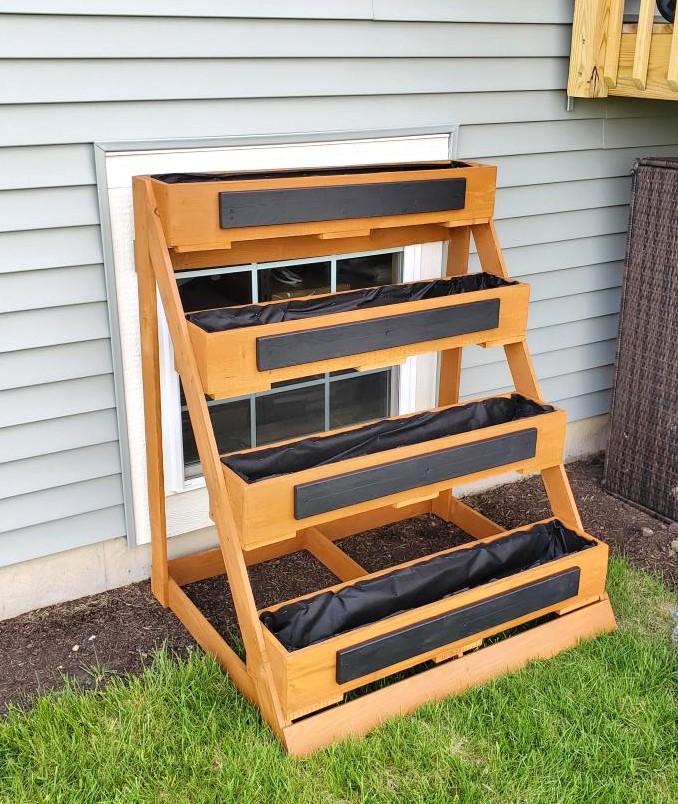
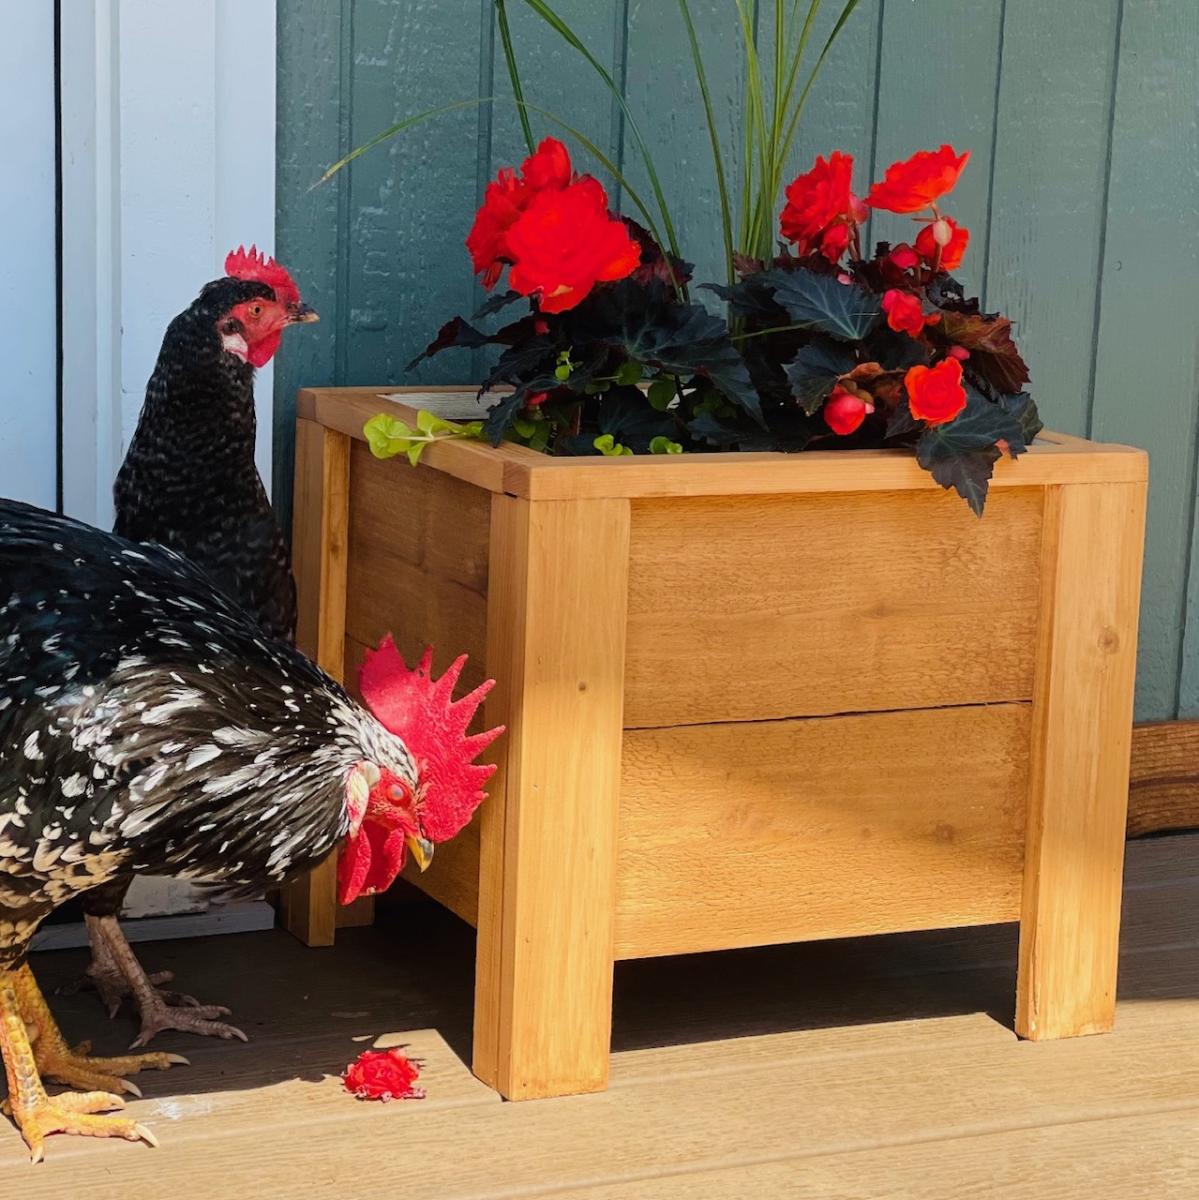
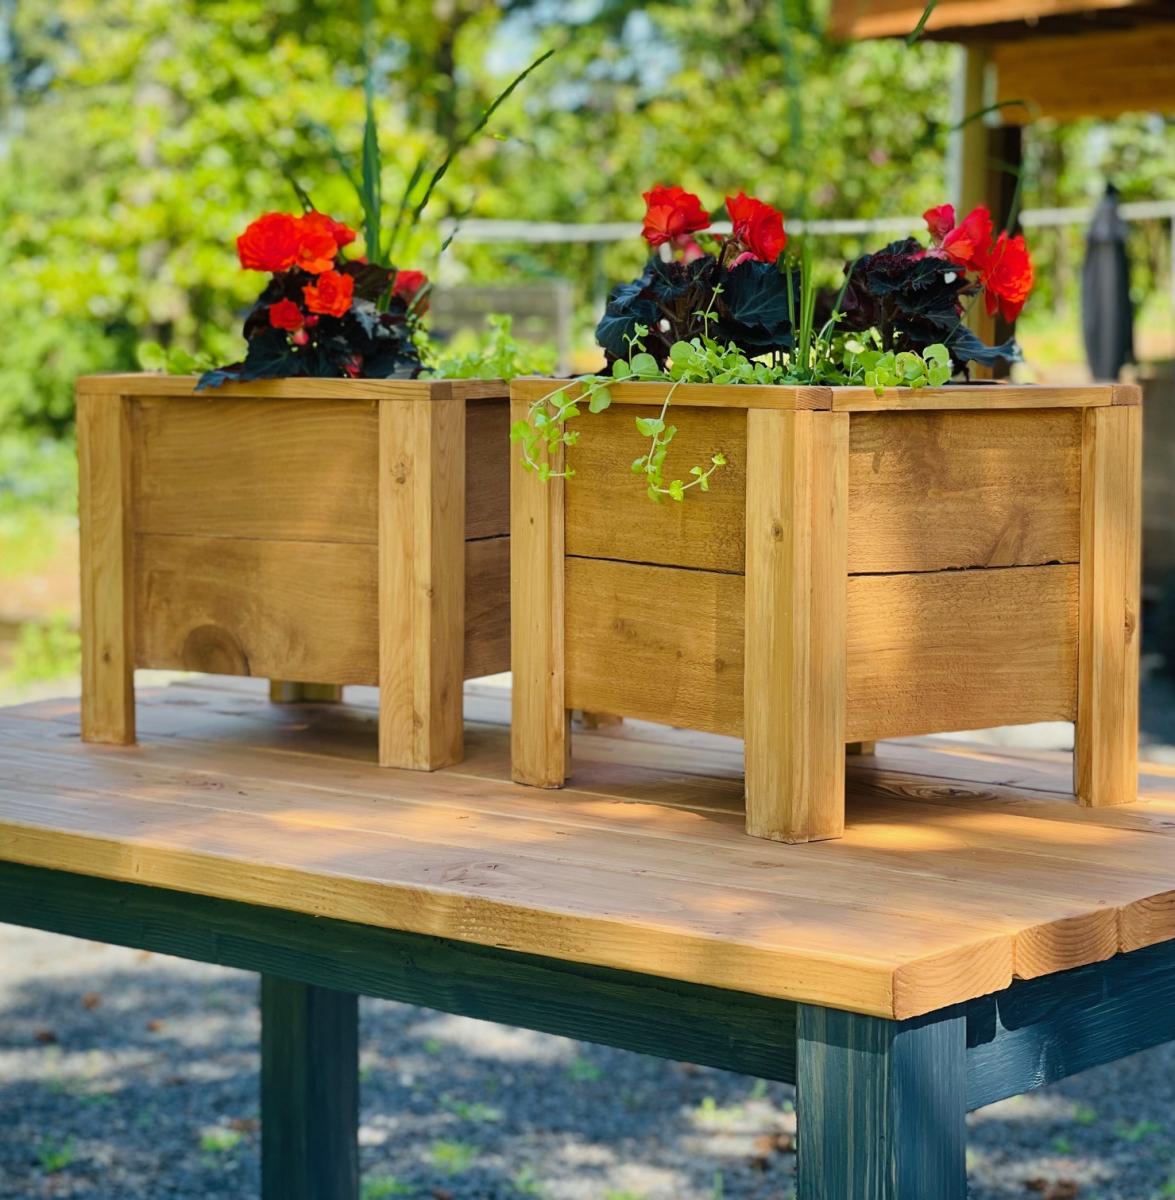
Hi Ana. Been a fan of yours. My name is Ed. Wood working is my hobby. And its always nice to look at your plans, and put my own spin on it. My wife wanted a planter for our deck. So I tweaked your plans and made them a little bigger. I Also built her a herb garden too. With these new planters; it should put a stop to the rabbits eating everything.
Thanks for your inspiration.
Fri, 05/26/2023 - 19:41
Thanks for taking the time to share Ed, these look fantastic!
The need for a proper workbench in my garage/shop is a must, but. So is space! I already have a fold down workbench I’ve made with ¾ inch pipe & a door, but. I just need something that can handle all my tools. So, I stumbled upon these plans from the Family Handyman & couldn’t find a reason why this wouldn’t work in my shop. It has room for storage, can easily accommodate my tools & most importantly fold up to store. Easy to build too! Make sure you read all the plans first as some of the materials could be pricey, but well worth it. Technically it’s taken 2 months to build this bench, as I operate on a firefighter/teacher’s budget & during the holiday season no doubt. I ordered all the shelf standards & brackets through Amazon, $210.00 for those alone, but they hold so much weight to support your tools I figure it’s worth it. The rest materials (wood, screws) were purchased at Home Depot for around $150.00. The plans called for ¾ inch ply & it was $45.00 per sheet. However they did have a smaller thickness for $22.00 per sheet & was only a 1/32 inch thinner. I plan on topping all my surfaces with some ¼ inch tempered hardboard later on so I knew it would work. That also left me adjusting my screw size to mount my brackets. Due to the reduction in thickness of the plywood all my #8-1 inch screws needed to be adjusted to ¾ inch so to not screw through the ply. I also hit the molding isle to nab some pieces to use as furring strips to use under the shelves before attaching the brackets. This way I can sand each strip to match before mounting to make sure it lined up flat with the center top. One more thing; where it says “drill 1/8 inch hole in brackets make sure you use 1/8 inch pop rivets. I barrowed a pop rivet gun & was handed some rivets as well. Popped two & they had to be trashed because the rivet size turned out to be 5/32. So I stepped up in drill bit size & it all worked out. As I said, I’ll be topping it with some ¼ inch hardboard. I also plan to run it’s own electrical with an outlet on each post. I hope you all enjoy & this can help!


Thu, 11/29/2012 - 07:03
This is by far the best workbench I have ever seen!!! Thanks for sharing. And excellent choice of table saw and miter saw.
In reply to That is awesome! by Rusty Cottage
Thu, 11/29/2012 - 14:59
If I had it to do over I'd had gotten the contractor grade portable saw from Dewalt. The smaller version I have is the same 10" saw, but. It's maximum rip capasity is only 16. The other will at least rip a sheet of ply in 1/2.
Thanks for the kind words on the bench! I hope everyone that may find this valuable will. The plans came out of a 2005 issue & were hard to find on the internet.
Thu, 07/04/2013 - 18:28
I love this work bench and would love to build it but i cant find them. Could you post them or email them to me please. uniquetrio2000 [at] gmail [dot] com
Thu, 10/23/2014 - 09:04
After some searching, found the plans at http://us.readersdigest.com/images/offer/fh/project_plans/pdf/FH05DJA_W…. Hope that helps. This is on my list of things to make very soon.
Wed, 10/22/2014 - 13:31
I bought all the standards and brackets at Menards for $87.58 and this price included tax and shipping.
Mon, 12/10/2018 - 16:55
Thanks for sharing! Good job! Any chance you'd share palns? No luck on inet or with provided link. Thanks!
Wed, 08/07/2019 - 12:48
This is the perfect workbench that I’d like to build. Could I get the plans for it?
Thu, 03/12/2020 - 12:46
Were you able to locate the plans?
The link in this thread doesn’t seem to be active.
Sun, 07/12/2020 - 17:59
I found the PDF download for these plans, here is the link:
https://docplayer.net/28130746-Do-it-all-mobile-workbench.html
The only place where I could find them, FH doesn't have them online any more.
Tue, 12/08/2020 - 17:57
Great build. I would love to see an instructable on this. :) Thank you for sharing..
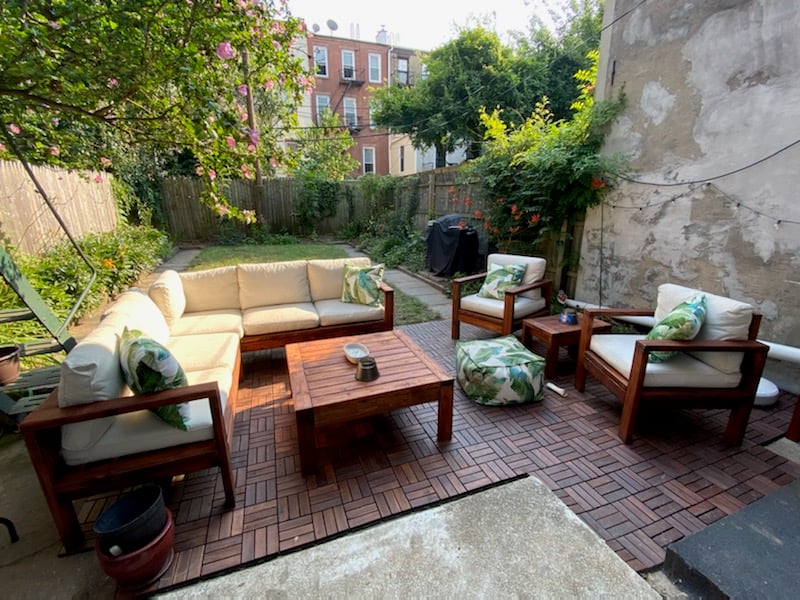
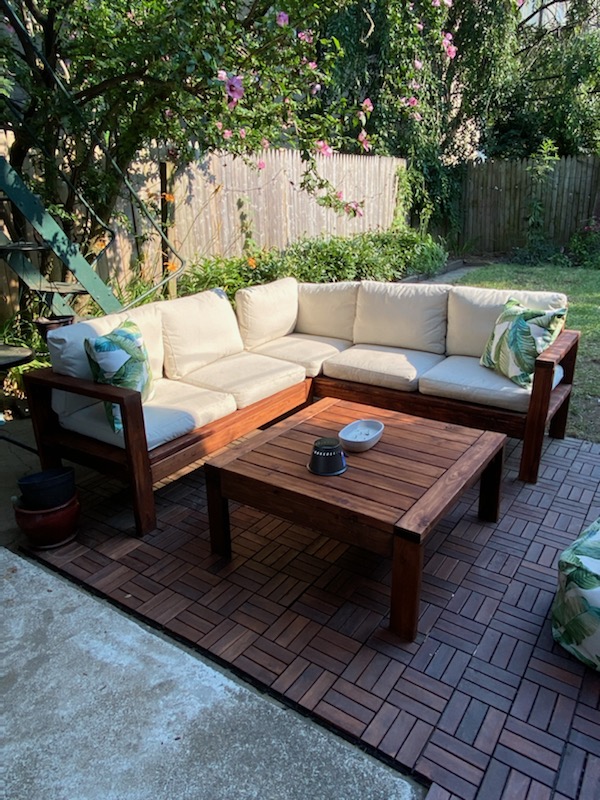
Used the plans for the 2x4 outdoor sofa. Modified the dimensions to better fit my personal needs. Made the coffee table a square instead of the rectangle plans posted here
Wed, 07/07/2021 - 10:16
That is amazing, love the square table for the space! Thank you for sharing:)

Started off with the original design but enlarged it to fit an oversize single mattress. The mattress cost me $35 from a local faith farm, while the materials came in around $200. I decided to hang under my backyard pergola. Fun and easy project.


Tue, 01/28/2014 - 21:10
Wow this looks so inviting I might just have to make one too! Nice work-- it looks great!
Mon, 04/07/2014 - 22:49
Really lovely! Great job! This will be one of your favorites spots all summer long.
Mon, 07/27/2015 - 22:45
I want this! I just made a couple of plant stands for my front porch. My husband asked me what my next project was, why, a swing bed. (This was only my second project!) I want to put cup holders in those big ole arms! We have a house at the beach in South Alabama, so, you gotta "hydrate." This is an awesome swing. I can't wait to do mine...pillows to rest on, one foot on the concrete pushing me in a slow swing. Cold beverage in my hand or in my cup holder. Yep, southern girl has a new project. Love it!
I've been wanting to buy or make a sandbox for my son for a couple of years now. Since seeing this on Ana White I knew I had to make it. My son is 4 yo and I didn't think the 4' square sandbox would be big enough for him, so I made it bigger. Ours is 6' square.
Materials:
4@1x8x6'
12@1x6x6'
2x4 - used leftovers from another project
8 hinges
4 handles
decking screws
Cut lengths:
2@1x8 cut to 71.5 (long sides of the box)
2@1x8 cut to 70.5 (short sides of the box)
did not cut the 1x6 boards (top planks) - actually designed the other boards to fit their length to prevent cutting (saving time) (note that original plan uses 1x4 planks - I used 1x6s so I could use the same number of planks but cover a larger area)
4@2x4 cut to 11.5 (arm rests)
4@2x4 cut to 18.5 (back supports)
followed instructions for assembly otherwise. At my husbands suggestion we put the handles on the sides and can easily open from either side - prevents having to lean over to the middle to open (back saver)
I finished the project in 4 hours including clean up and a couple of small breaks. This is my first Ana White project. It was a lot of fun to build and I hope my son will enjoy it for years to come!

Sat, 09/01/2012 - 20:59
Wow, this is just what I need! I've been wanting to make a sandbox for under the playhouse but the other plan was too small. This would be great for the little guys. Thanks!
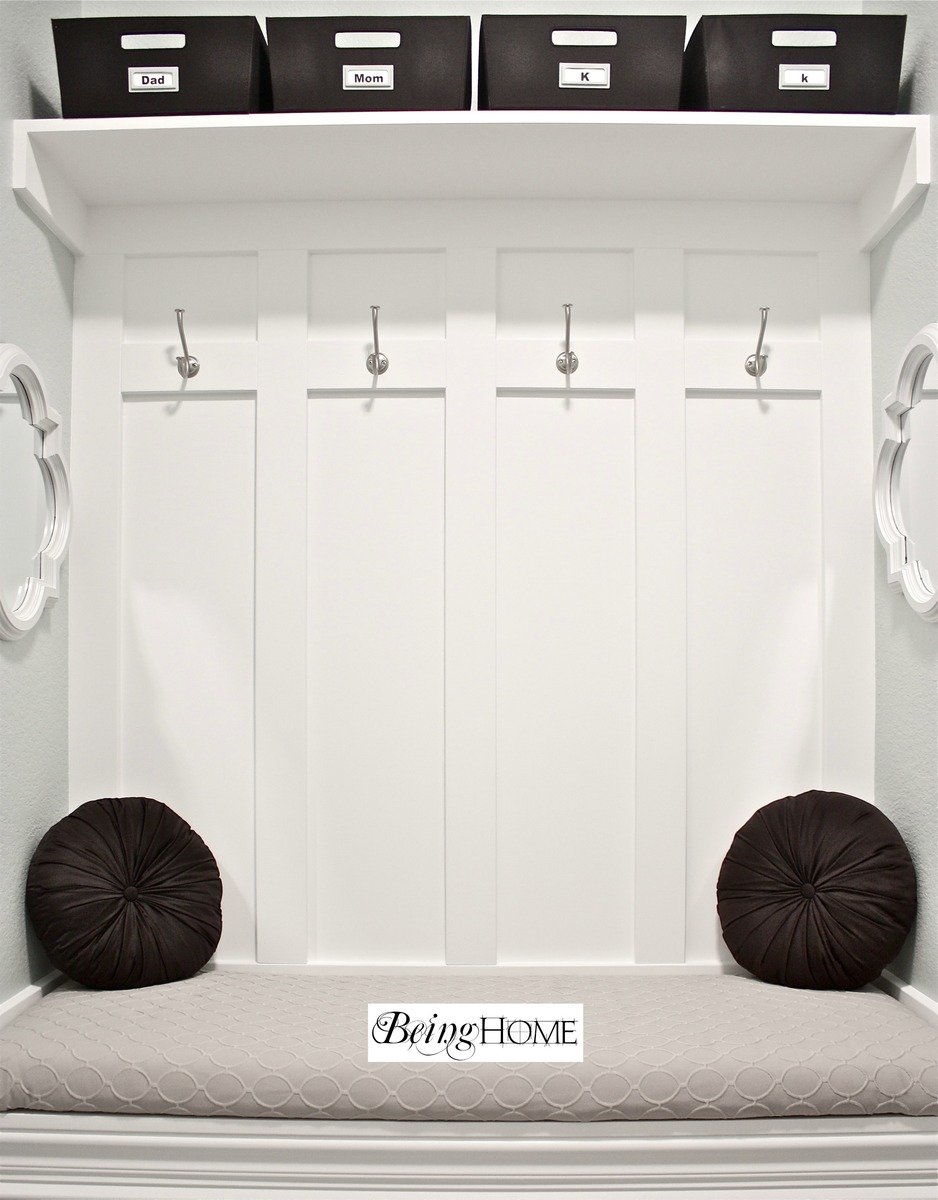
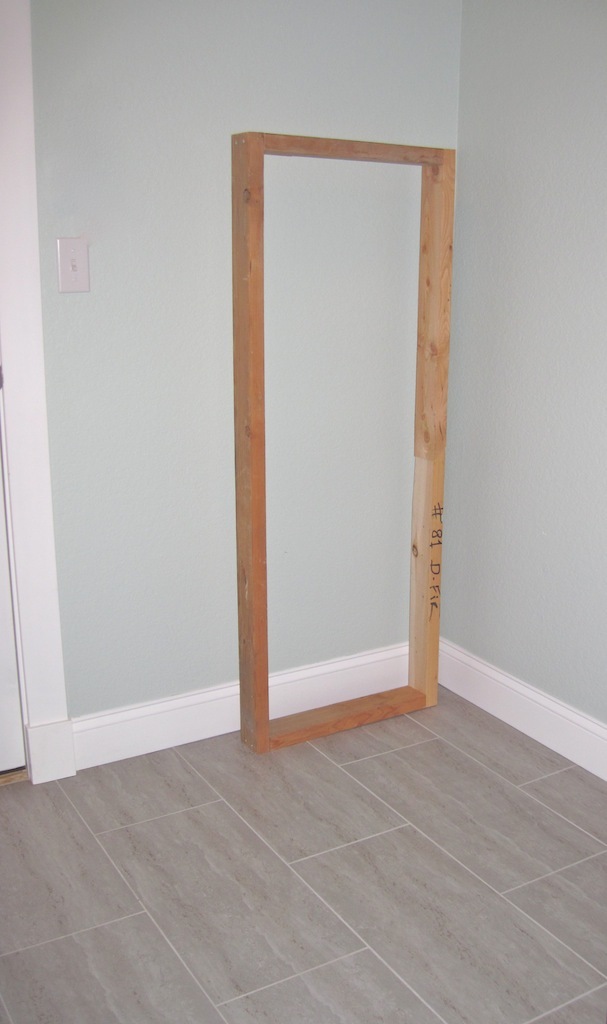
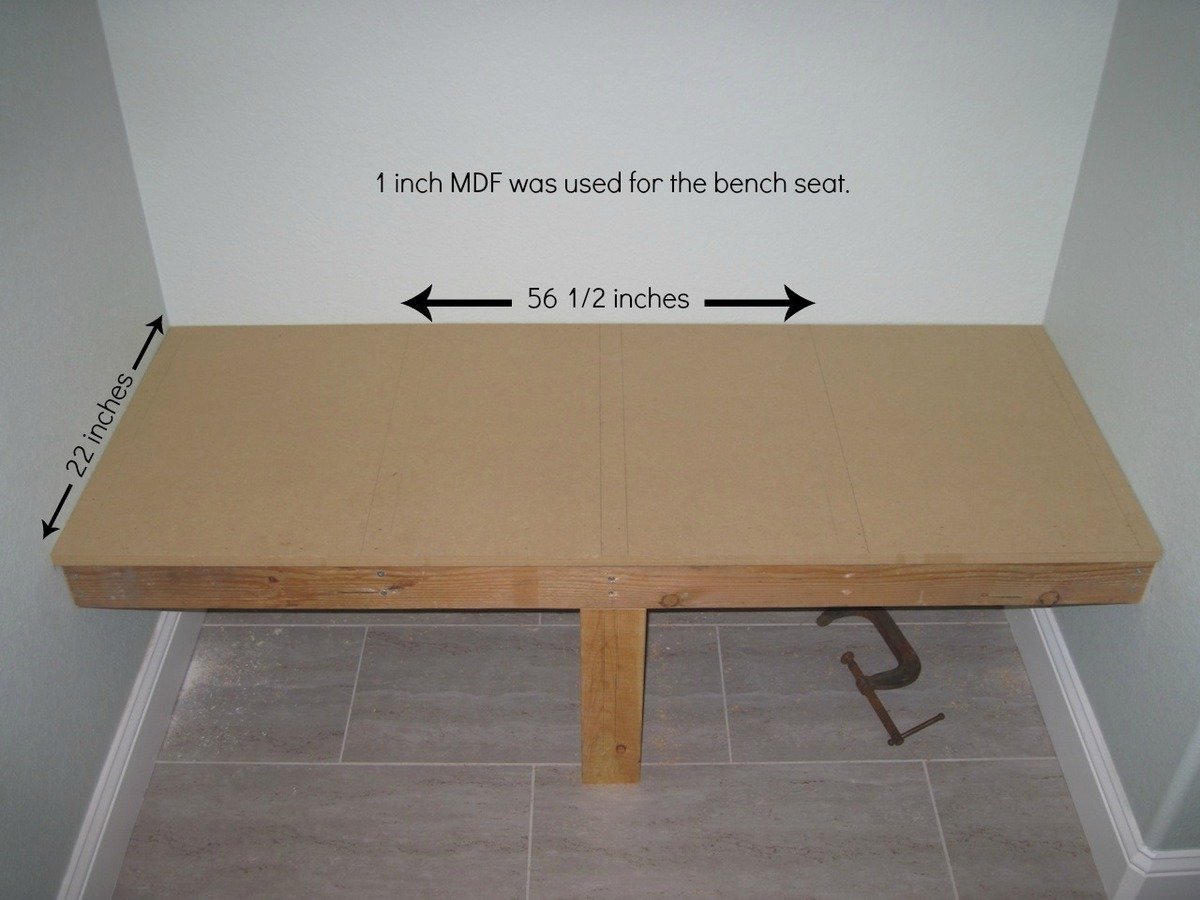
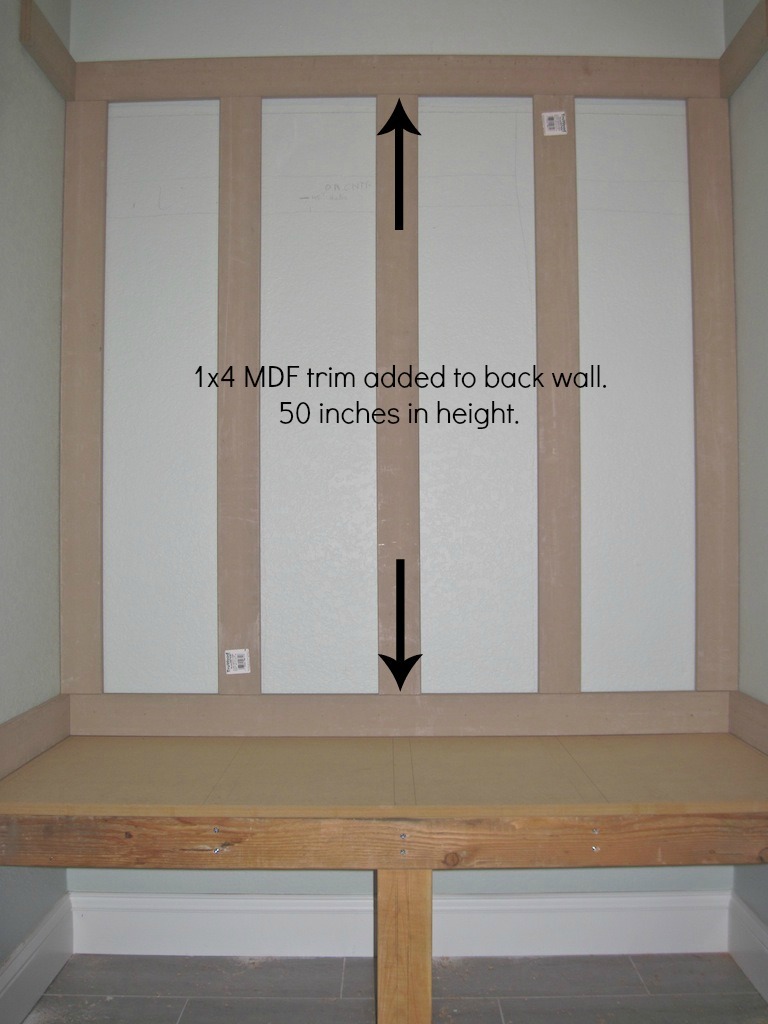
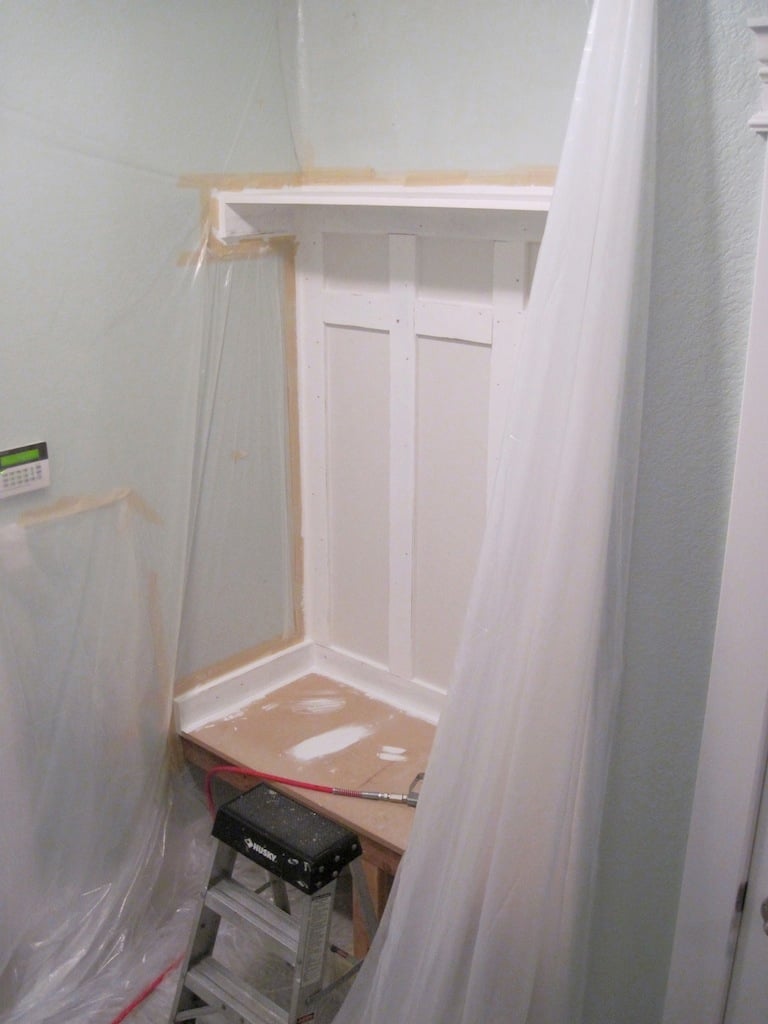
With much needed seating in the mudroom, an unused space (nook) was used to build a mudroom bench and shelf. No plans were used. I basically looked on-line and mentally drew up an idea of how I wanted the final product to look.
There were some setbacks such as not like the knock down textured walls (after partially painting the bench). I ended up covering the textured walls with hardboard and repainted.
A bench cushion was made for added comfort and style.
Complete tutorial for the bench is here and the bench cushion tutorial is here.
Thank you.
Julie

Thu, 05/16/2013 - 13:48
Thank you so much for the idea and plan. I used it to turn an extra laundry room that we have off of our garage into a much needed mudroom. The most challenging project I have ever done before is hanging blinds. But with your help and some from the Home Depot employees, I did it! Our family is more than happy with it. Thanks!!!
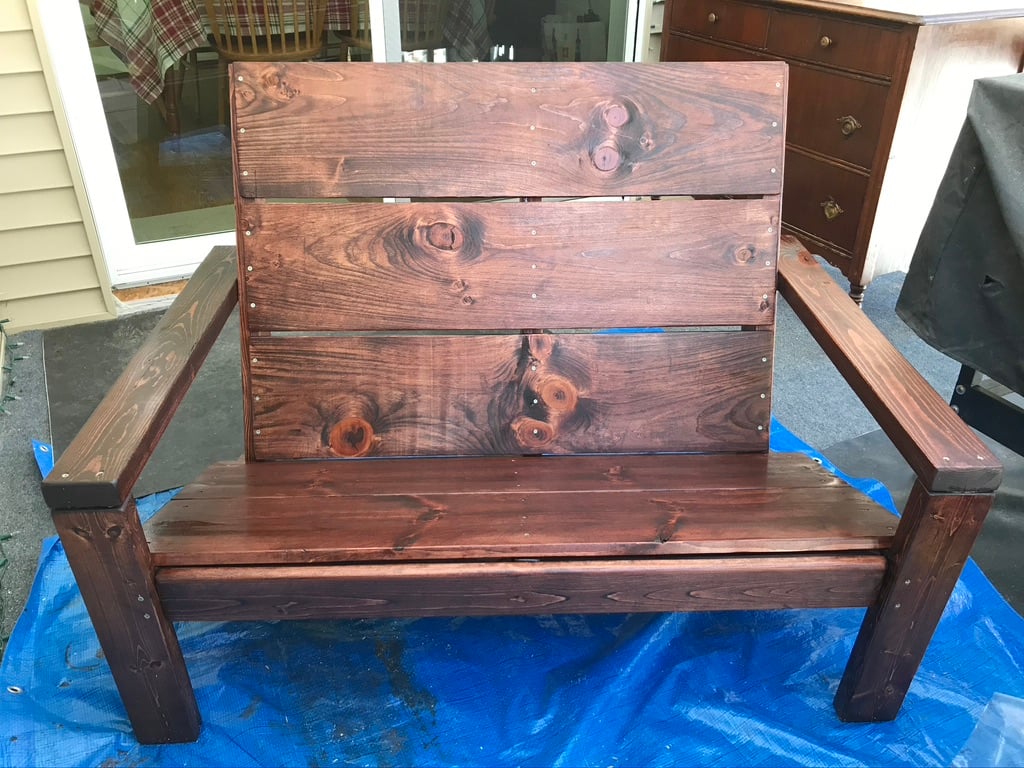
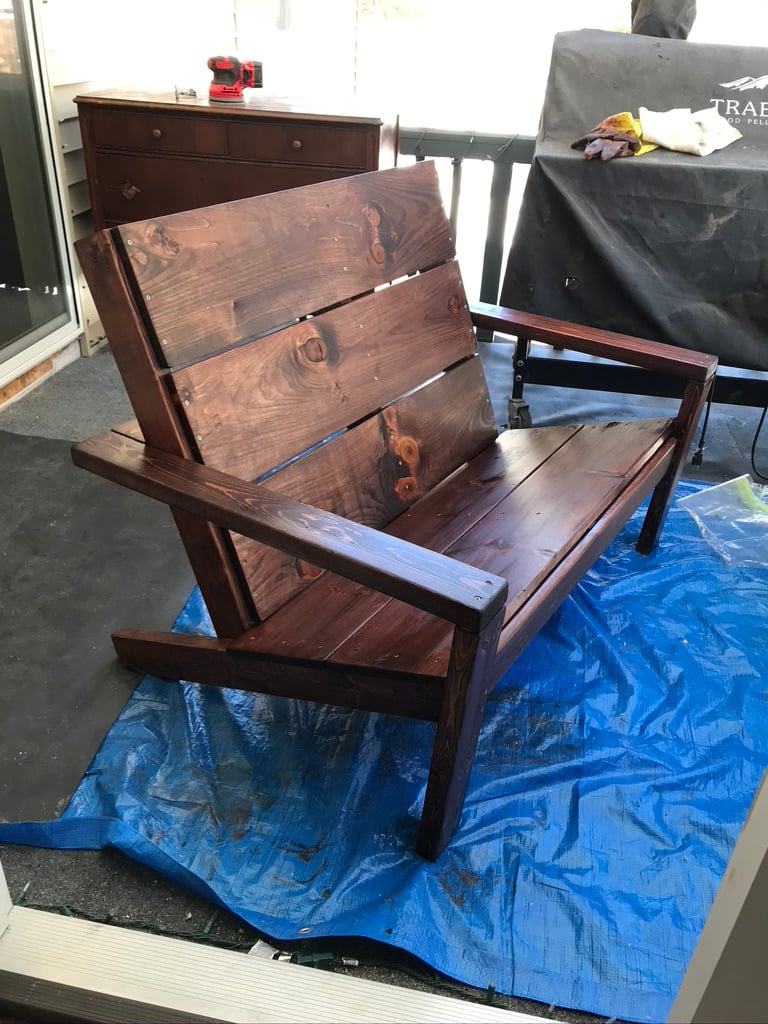
I loved the Rustic Adirondack Chair so much I felt I needed to make a bench in the same style. I had to be a little creative with the chair plans and modify them to make my bench work. I am absolutely thrilled with how it came out! I already have a friend who has requested a chair and bench (love seat) for his son's wedding gift!
Mon, 08/16/2021 - 10:51
Can someone tell me the dimensions of the wood (1x10) for the bench and the dimensions for the frame (2x4)
Please
Thank you
Fri, 08/20/2021 - 16:37
You can make the 1x10 in any length you want. I’m planning on making a loveseat too and The measurements I chose for the seating area will be 48” long (which is the size for 2 seat cushions).
The Step 1 in Ana’s plan, all measurements will be the same.
Step 2: The two 2x4 horizontal supports will be cut at 48”.
Step 3: the two 1x10 seat panels will be 3 inches longer than the horizontal supports. So you will cut the 1x10 seat panels at 51”.
Step 4: Instead of two, you will need THREE seat supports. So cut three 2x4’s @ 32 3/4”. The third seat support will go in the middle of the other seat supports, drilled to the horizontal back support.
Step 5: Attach your back bottom horizontal support which will be a 2x4 at 48”.
Step 6: Attach the 1x10 seat back panels. You will cut (3) 1x10 @ 48”.
Here is the cut list for the loveseat version of Ana’s Adirondack plan. These are the lengths I chose. So with this cut list your loveseat should be big enough for two 24x24” seat cushions. I plan to add cushions for extra comfort.
My cut list:
(2) 2x4 @ 31 3/4”
(2) 2x4 @ 19 1/2”
(2) 2x4 @ 33 1/4” Cut at 20 degrees as per Ana’s plan.
(3) 2x4 @ 48” Horizontal supports. One goes behind your calves.
The other connects the end frames/arm rests at the back.
(2) 1x10 @ 51” Seat panels.
(3) 2x4 @ 32 3/4” Vertical supports for the back panels.
(3) 1x10 @ 48” The back panels.
Fri, 08/20/2021 - 17:32
P.S.
You will also need an extra support attached underneath the seat panels in the middle for extra support and keep the long seat panels from bowing.
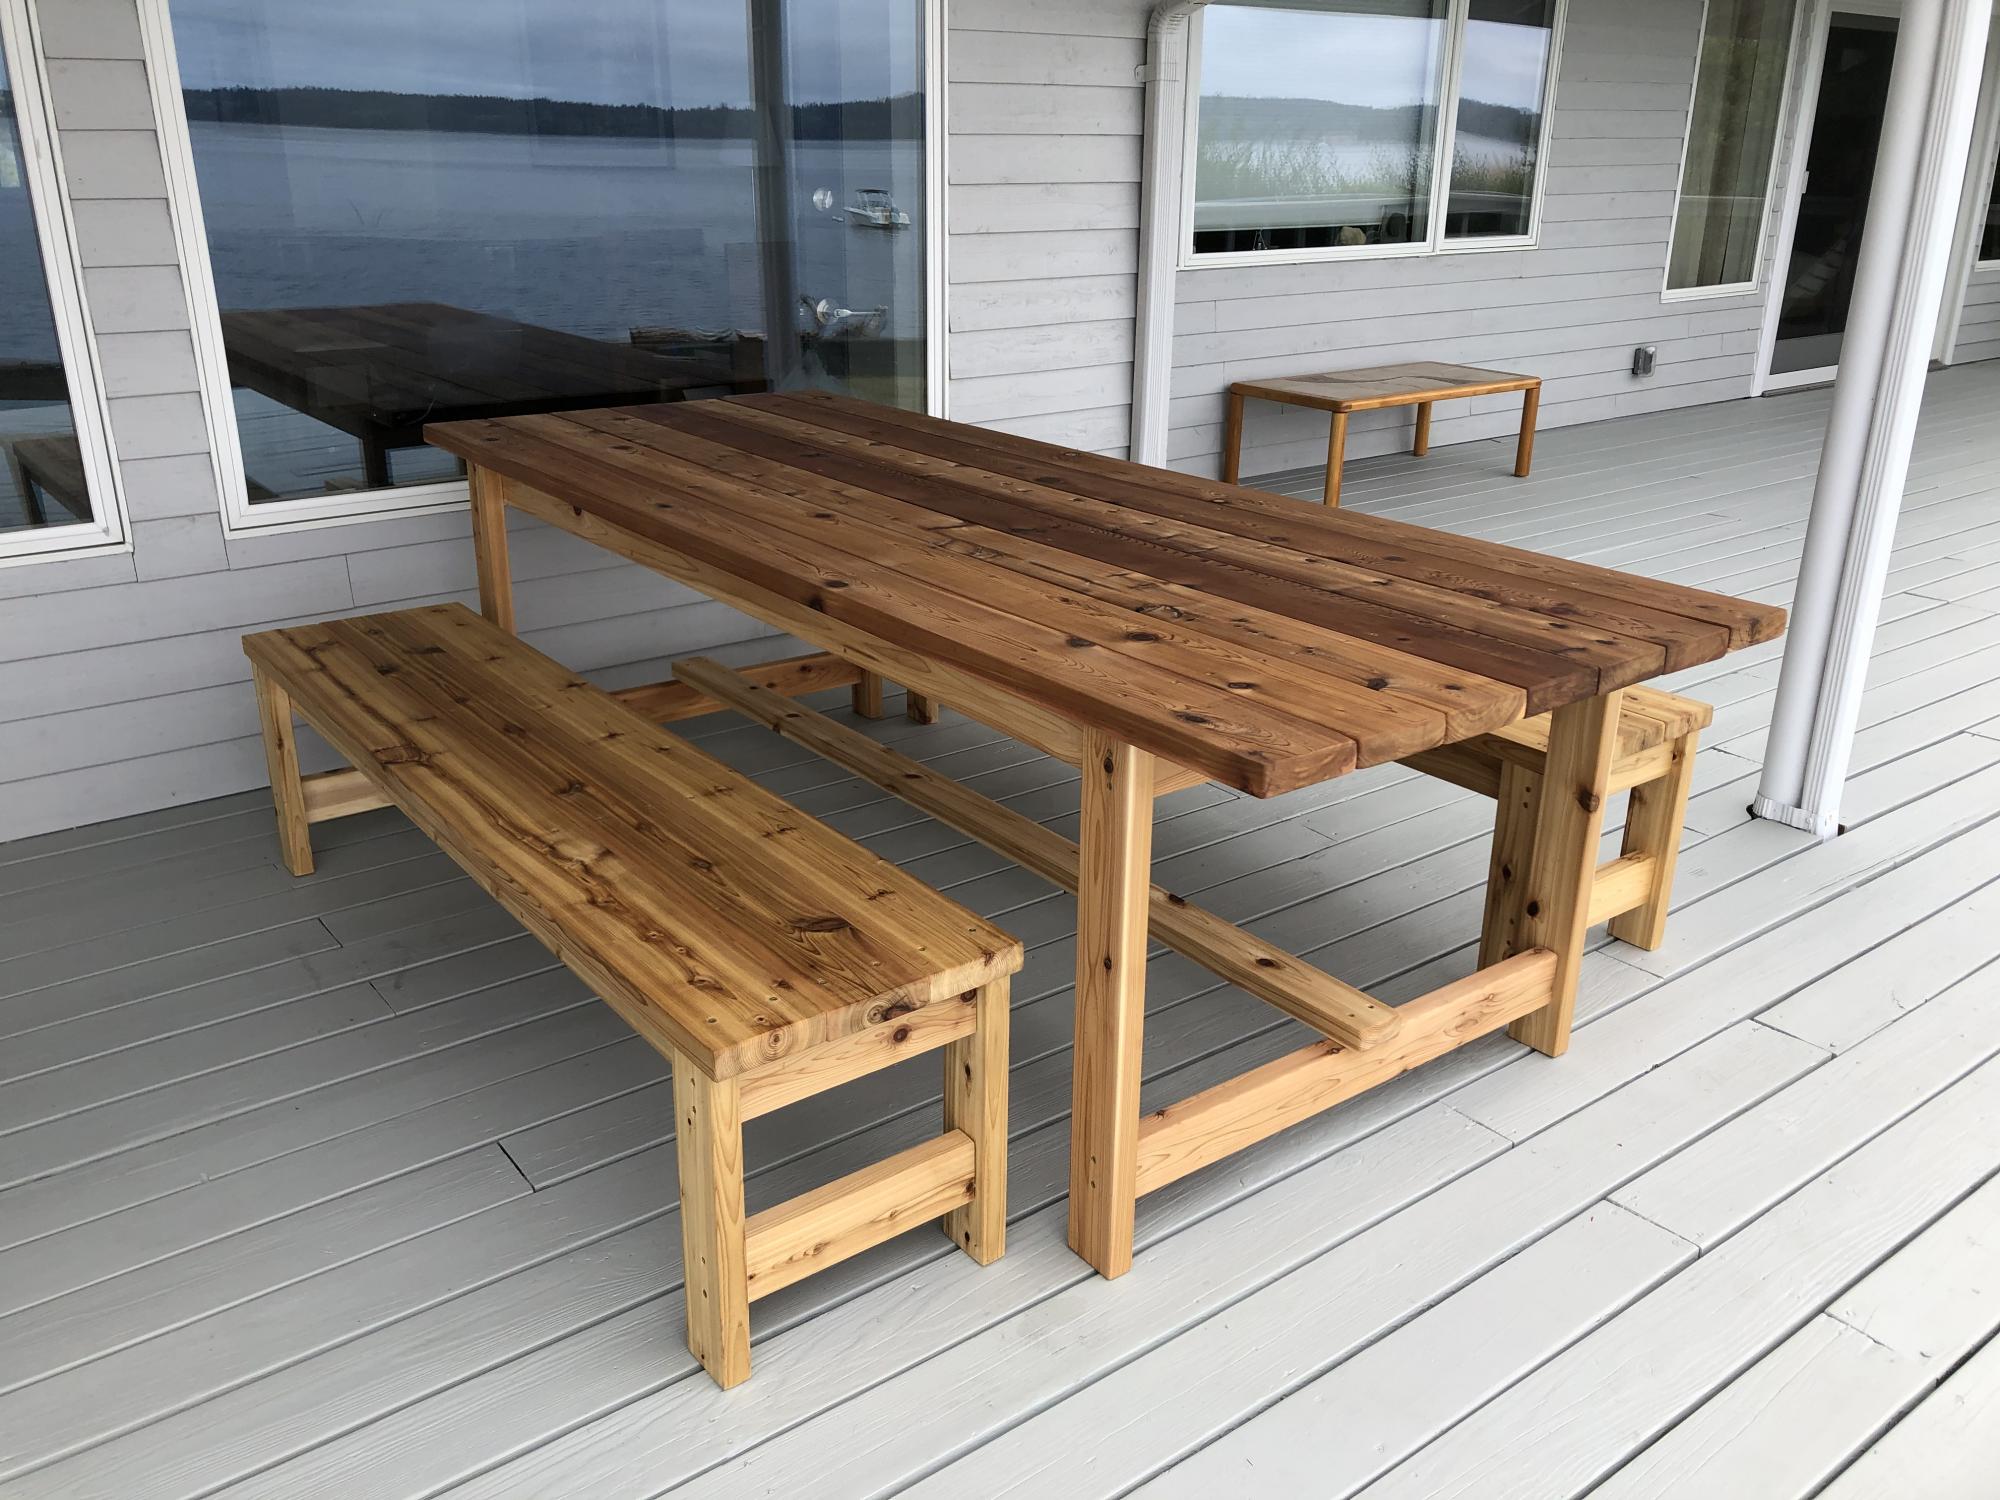
Built this deck dining table and benches from Lowes cedar, and the results way exceeded my expectations! The plans were so well written, it was easy to slightly modify (made both table and benches wider and longer) and the build was very simple. The clear directions helped give me the confidence to do this and we have got so many nice compliments. There was nothing this sturdy and simple even available to buy. I even built a coffee table and bar table after modifying the plans a bit. Thank you Ana!
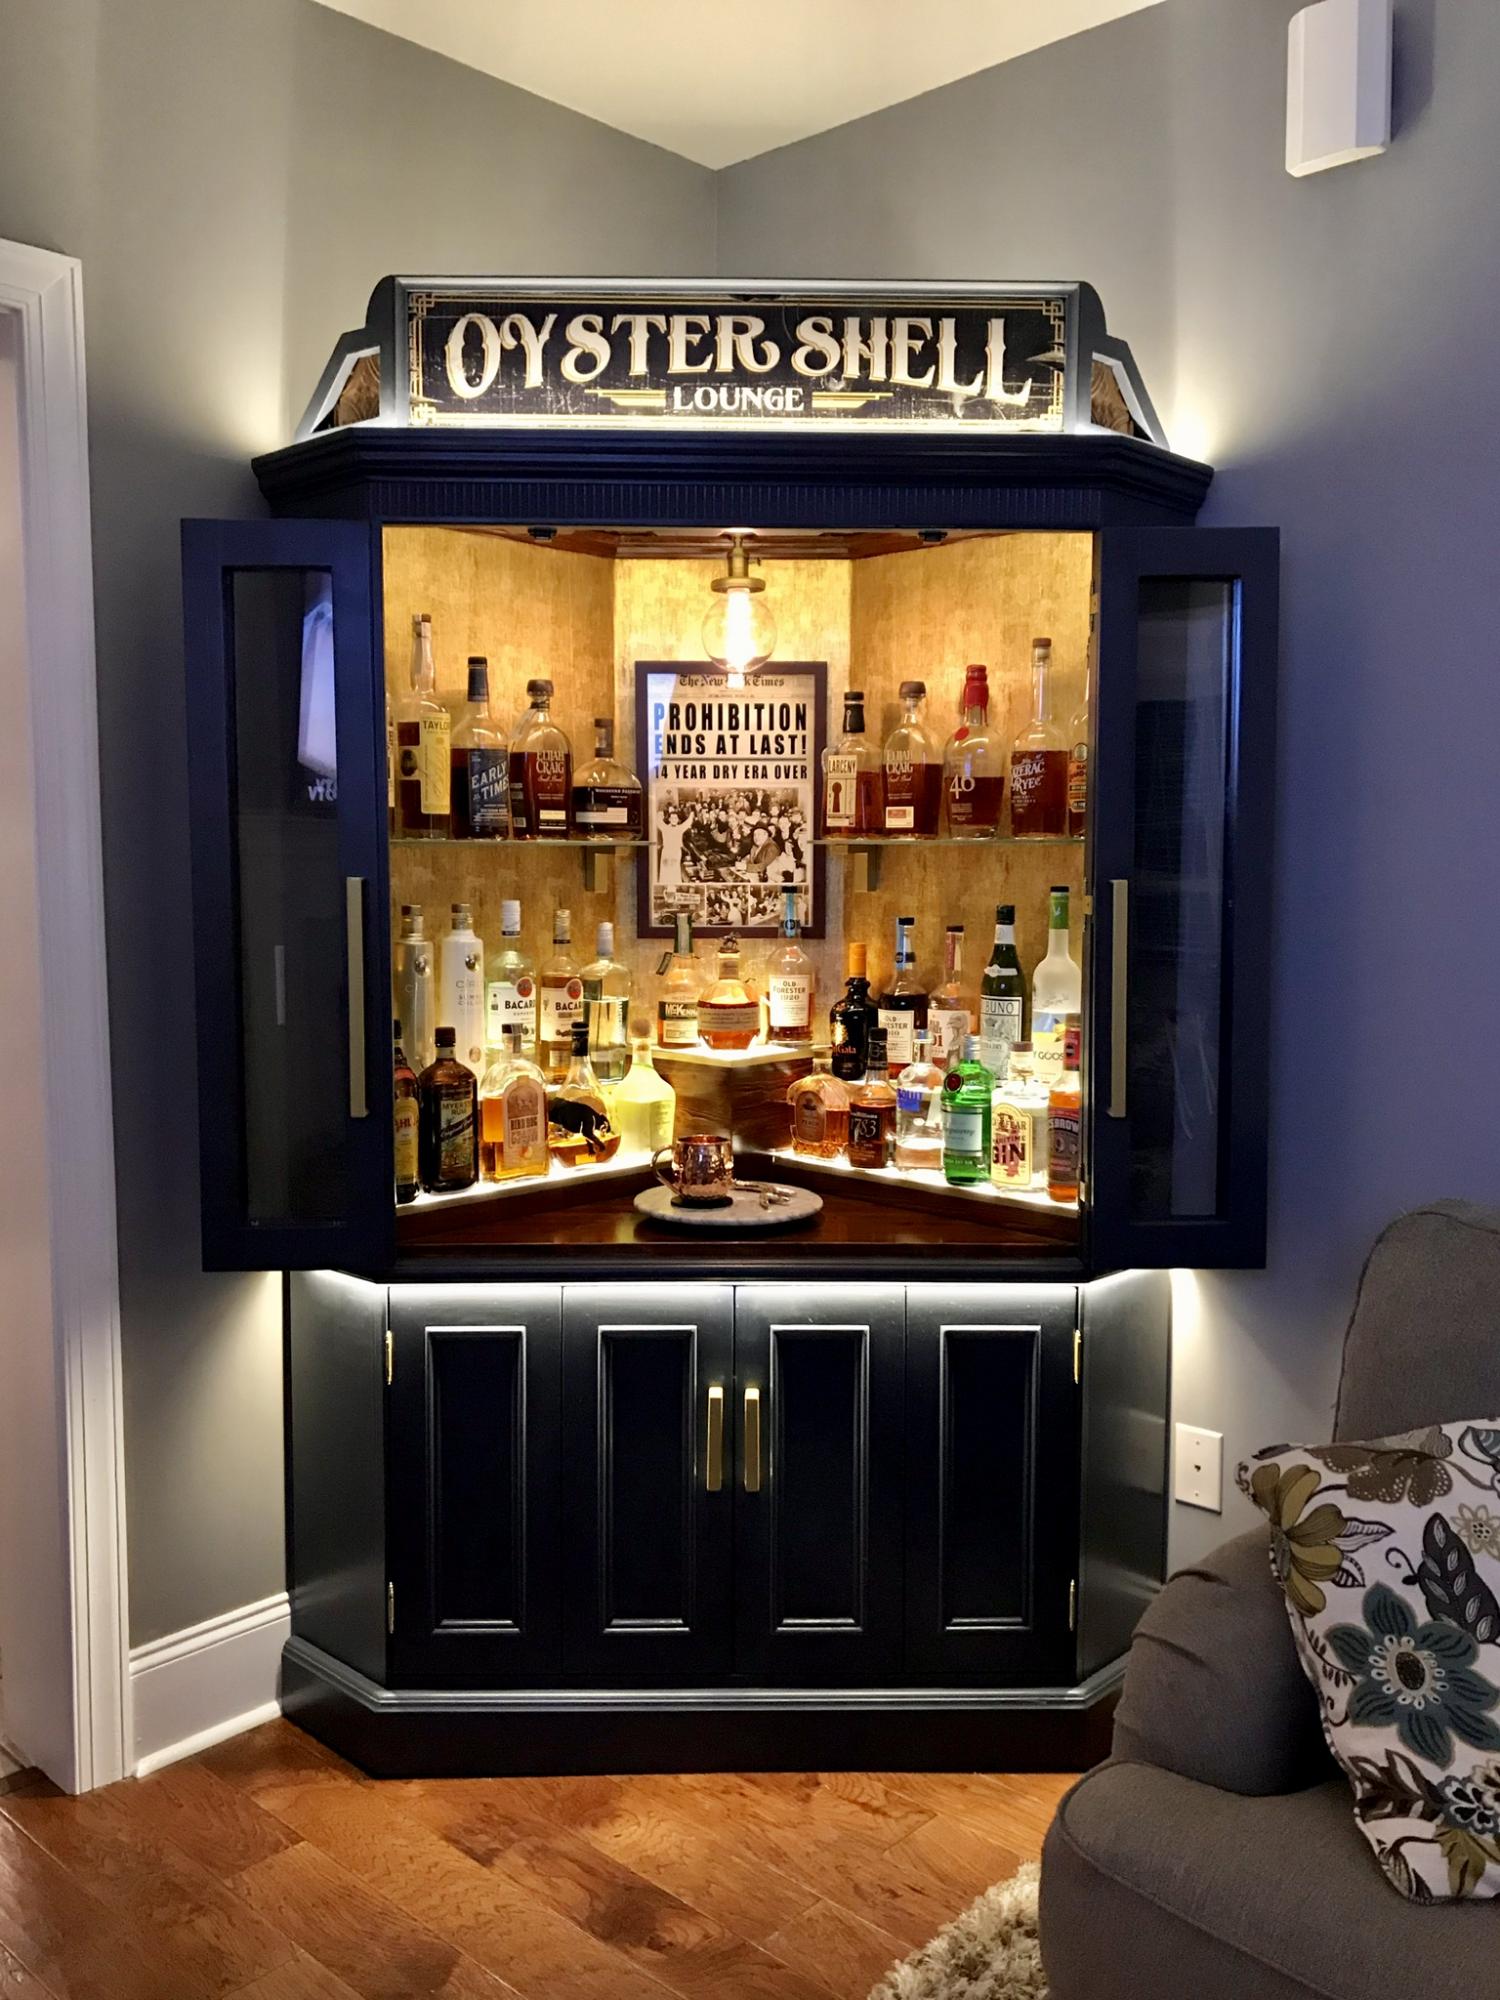
I bought this tv corner cabinet for $40. I spent many hours turning into my perfect bar cabinet. I built a custom lighted liquor display. I have posted photos of the transformation.
Thu, 03/18/2021 - 00:07
Wow that beautiful do you have directions on what you did?
Tue, 07/06/2021 - 19:04
So this is not your project? Because there isn't much information or a before and after picture. This gave me an idea for our home.
Sun, 08/15/2021 - 18:34
Yes, this is my project. What would you like to know?
Wed, 12/29/2021 - 06:41
This looks beautiful and authentic at the same time. Love how it gives me a theatre vibe! cabinet makers mornington
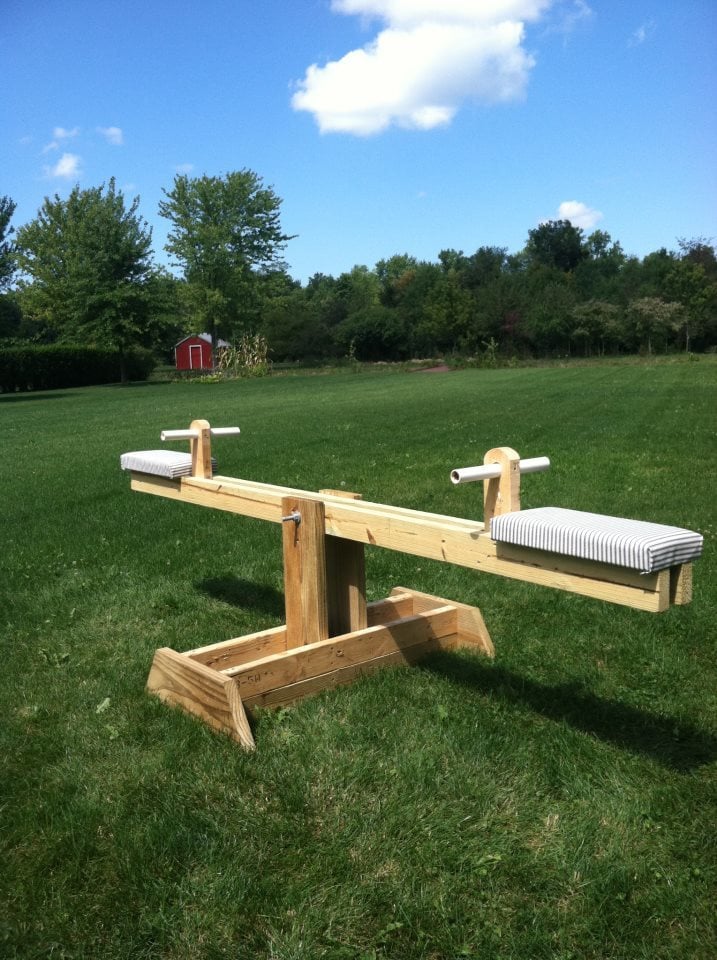
This is one of the cheapest projects for my kids I have ever completed!! And the most rewarding. I think everyone of my neighbors has been on the teeter totter...including adults :) My kids just love it and I am thinking of making a few for my nephews for Christmas. I was able to find all the wood I needed in my scrap pile. I had the PVC pipe and bolt already also so all I had to make a trip to the store for was the foam for the seats. My son helped me build this in an hour. I liked the unfinished look so I just sprayed it with a little Thompson Water Seal. Thank you Ana White!!
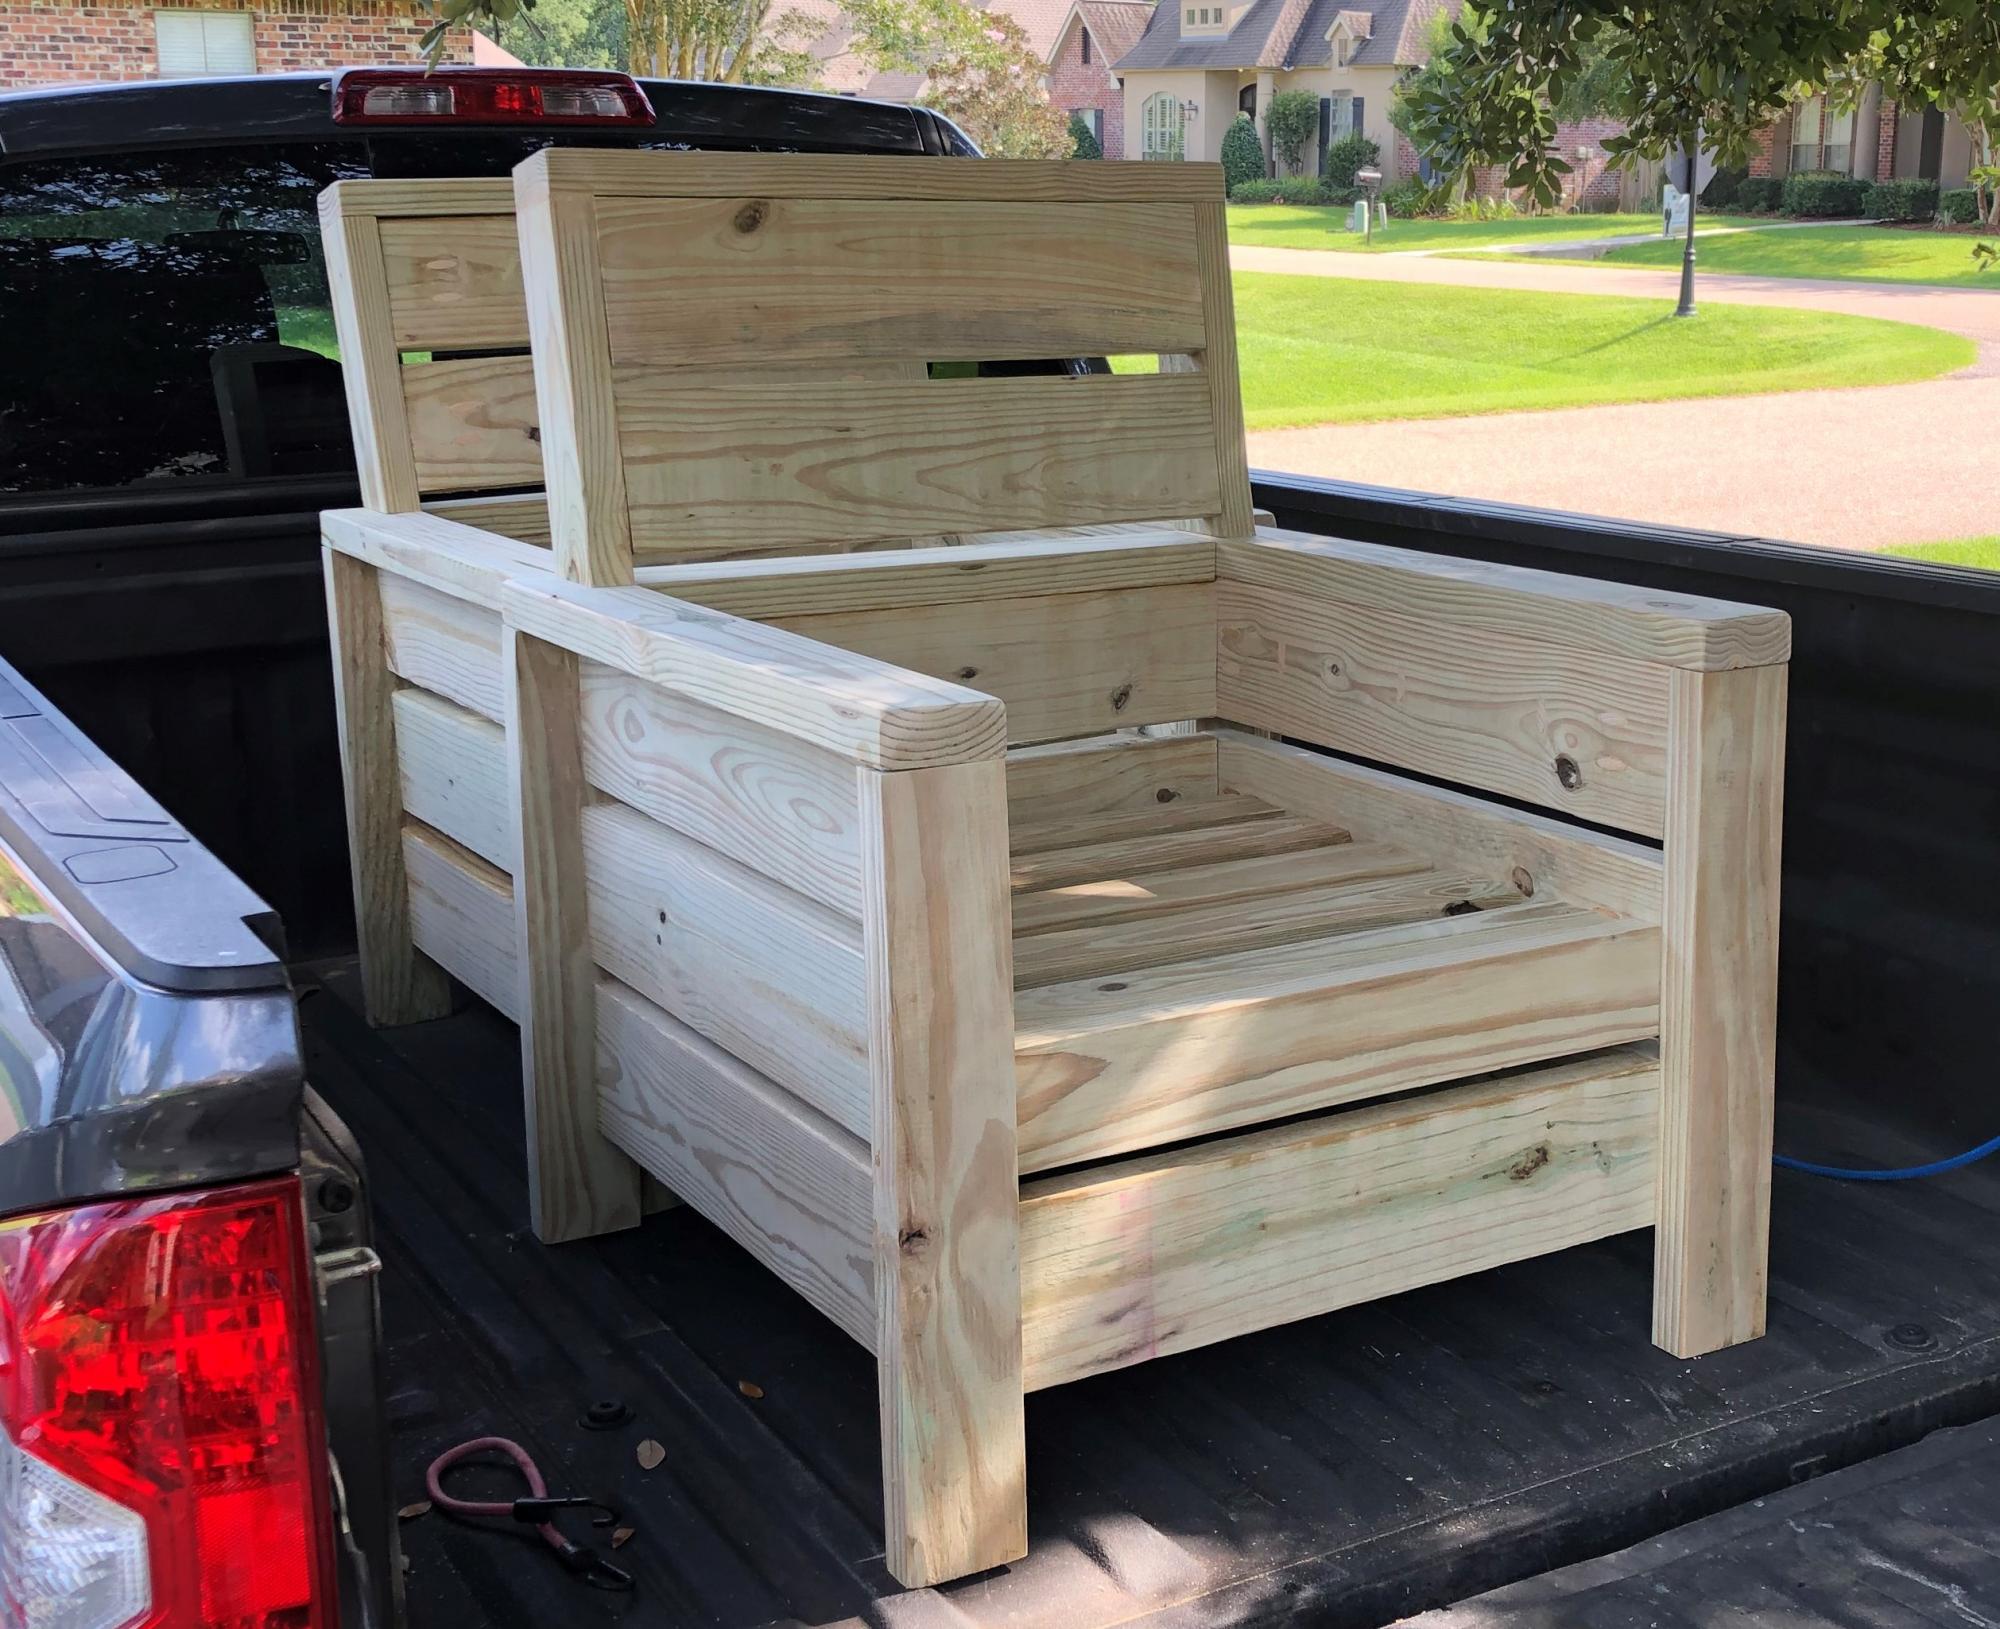
Per request of my wife, I opted to add a backrest to the chair. I feel as though my backrest design keeps with the style of the original build. I accomplished this by cutting the 2x4 vertical arms of the backrest at 13 inches with a 10 deg miter cut at the base. This allows you to keep with the 3/4" on the 2x6 backrest slats. I finished it off with a 2x4 top plate. I'd also note that I made slight modifications to the plans to accommodate 24" cushions.
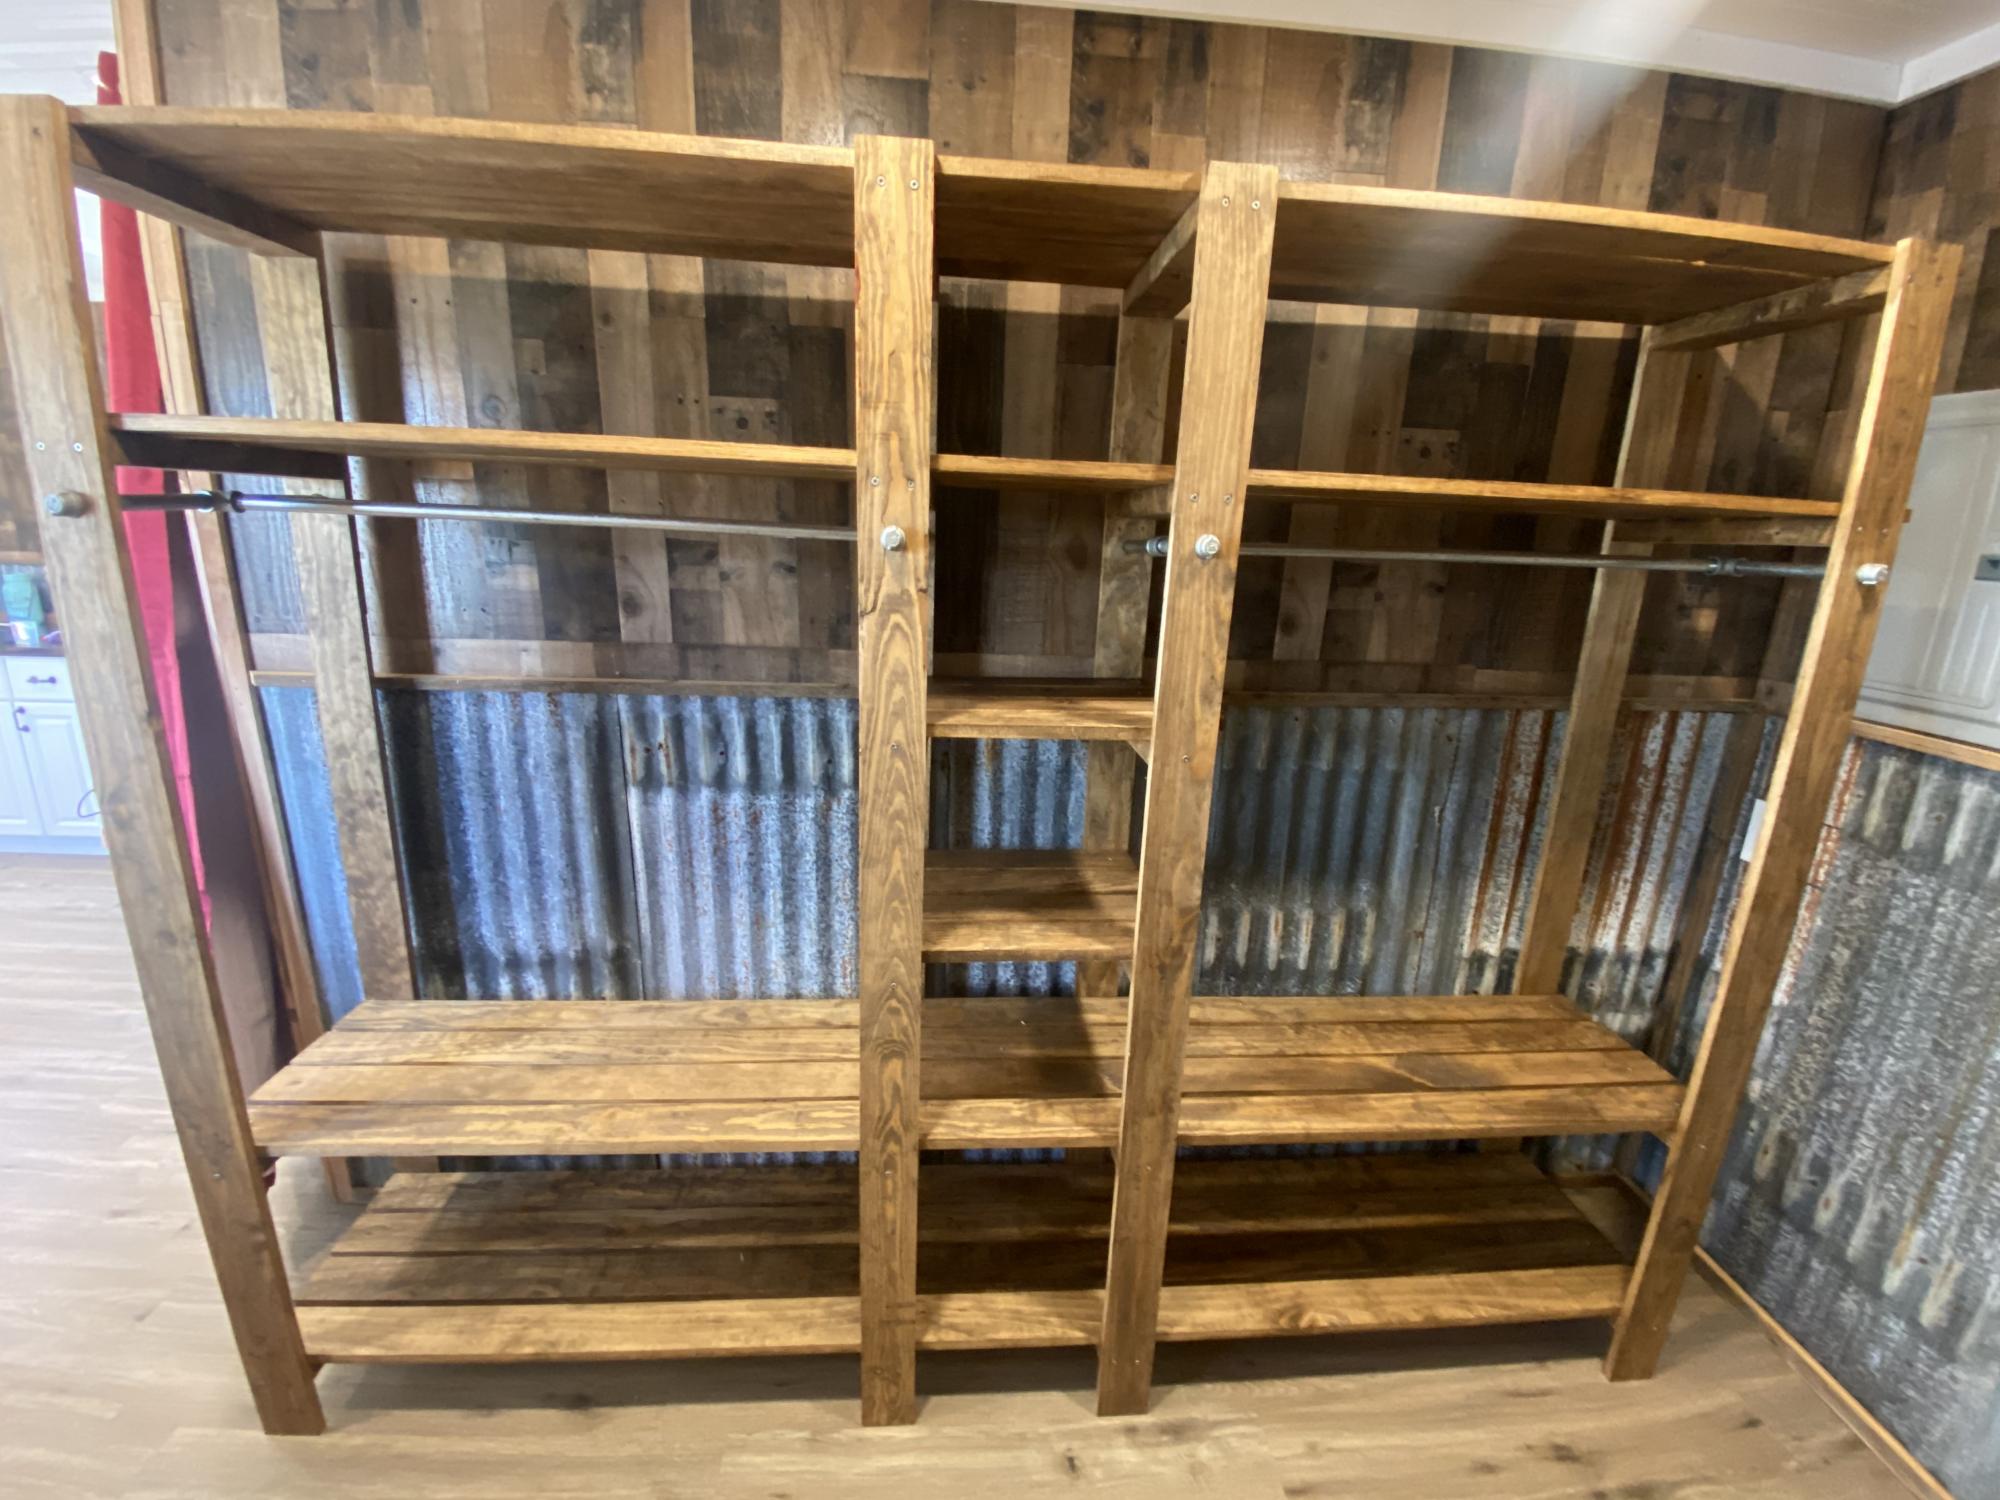
This plan turned out perfect!! Such a great idea, thank you for the inspiration!

I scaled back the length of the sofa by a few inches and I made the sectional only one seat to fit my space on the deck. This was my first woodworking project that I did by myself. I got the cushions for more than 1/2 off at Ikea so the whole project cost about $150 ($80 for the cushions). It took me about a week to complete but the total time was less than 10 hours to build and stain. I'm pretty happy with how it turned out.

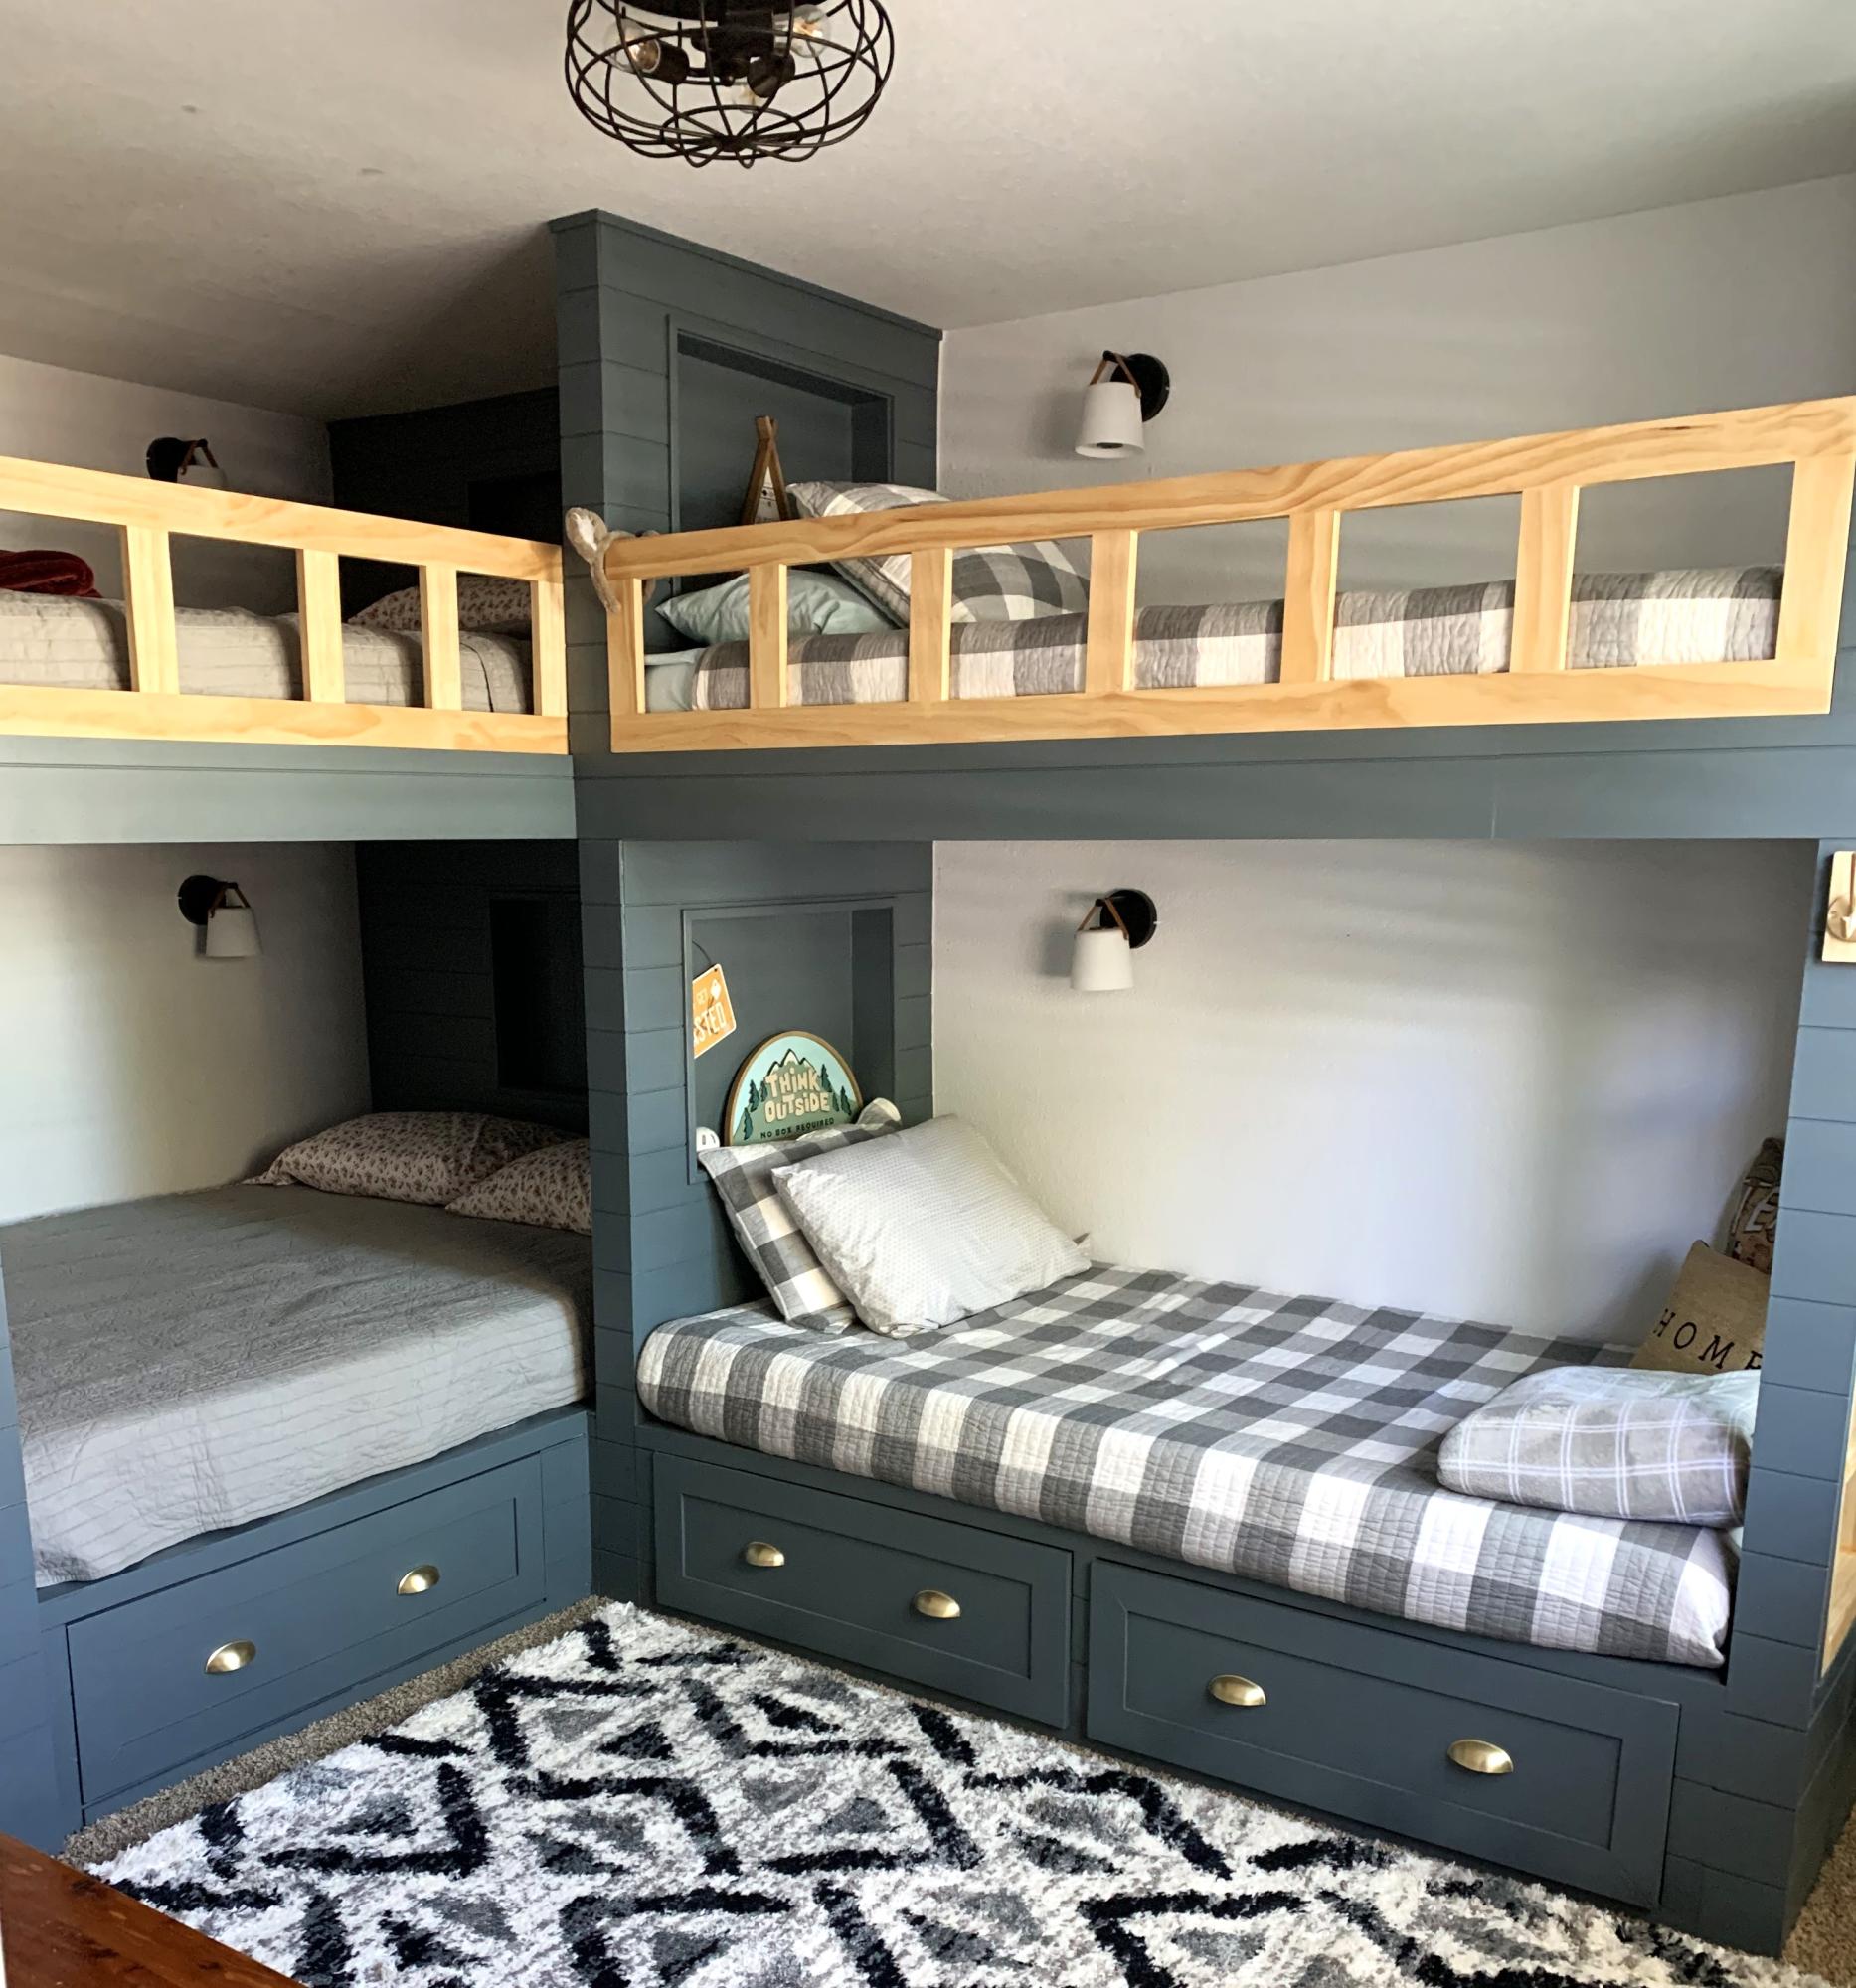
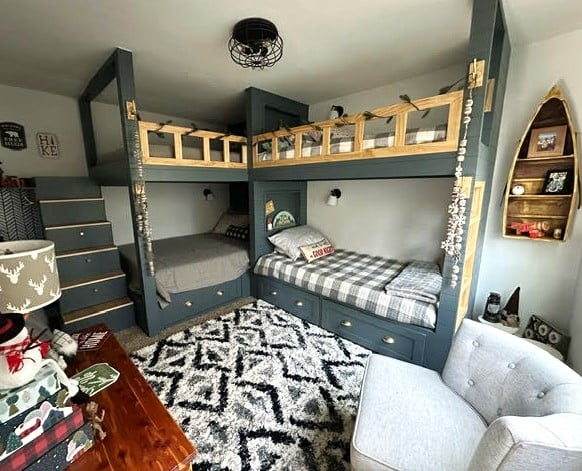
The queen and twin bases were base on your twin bed with storage. Pretty easy to do. This is my first time doing anything this big. I live in a four season resort town and needed beds for heads for ski season.
Debbi H - IG - callintn

This build was also a lot of fun! I made an extra brace to hold the wait of two sitting on the bench. Thanks again Ana for your plans!
David Marks
Made an outdoor sofa inspired by Ana White's plan. I made a few modifications including using 2x6's, hiding more of the non-pocket hole screws, using HD pocket holes in more areas and building an incline for the backrest. Cushions are Sunbrella from Lowe's.
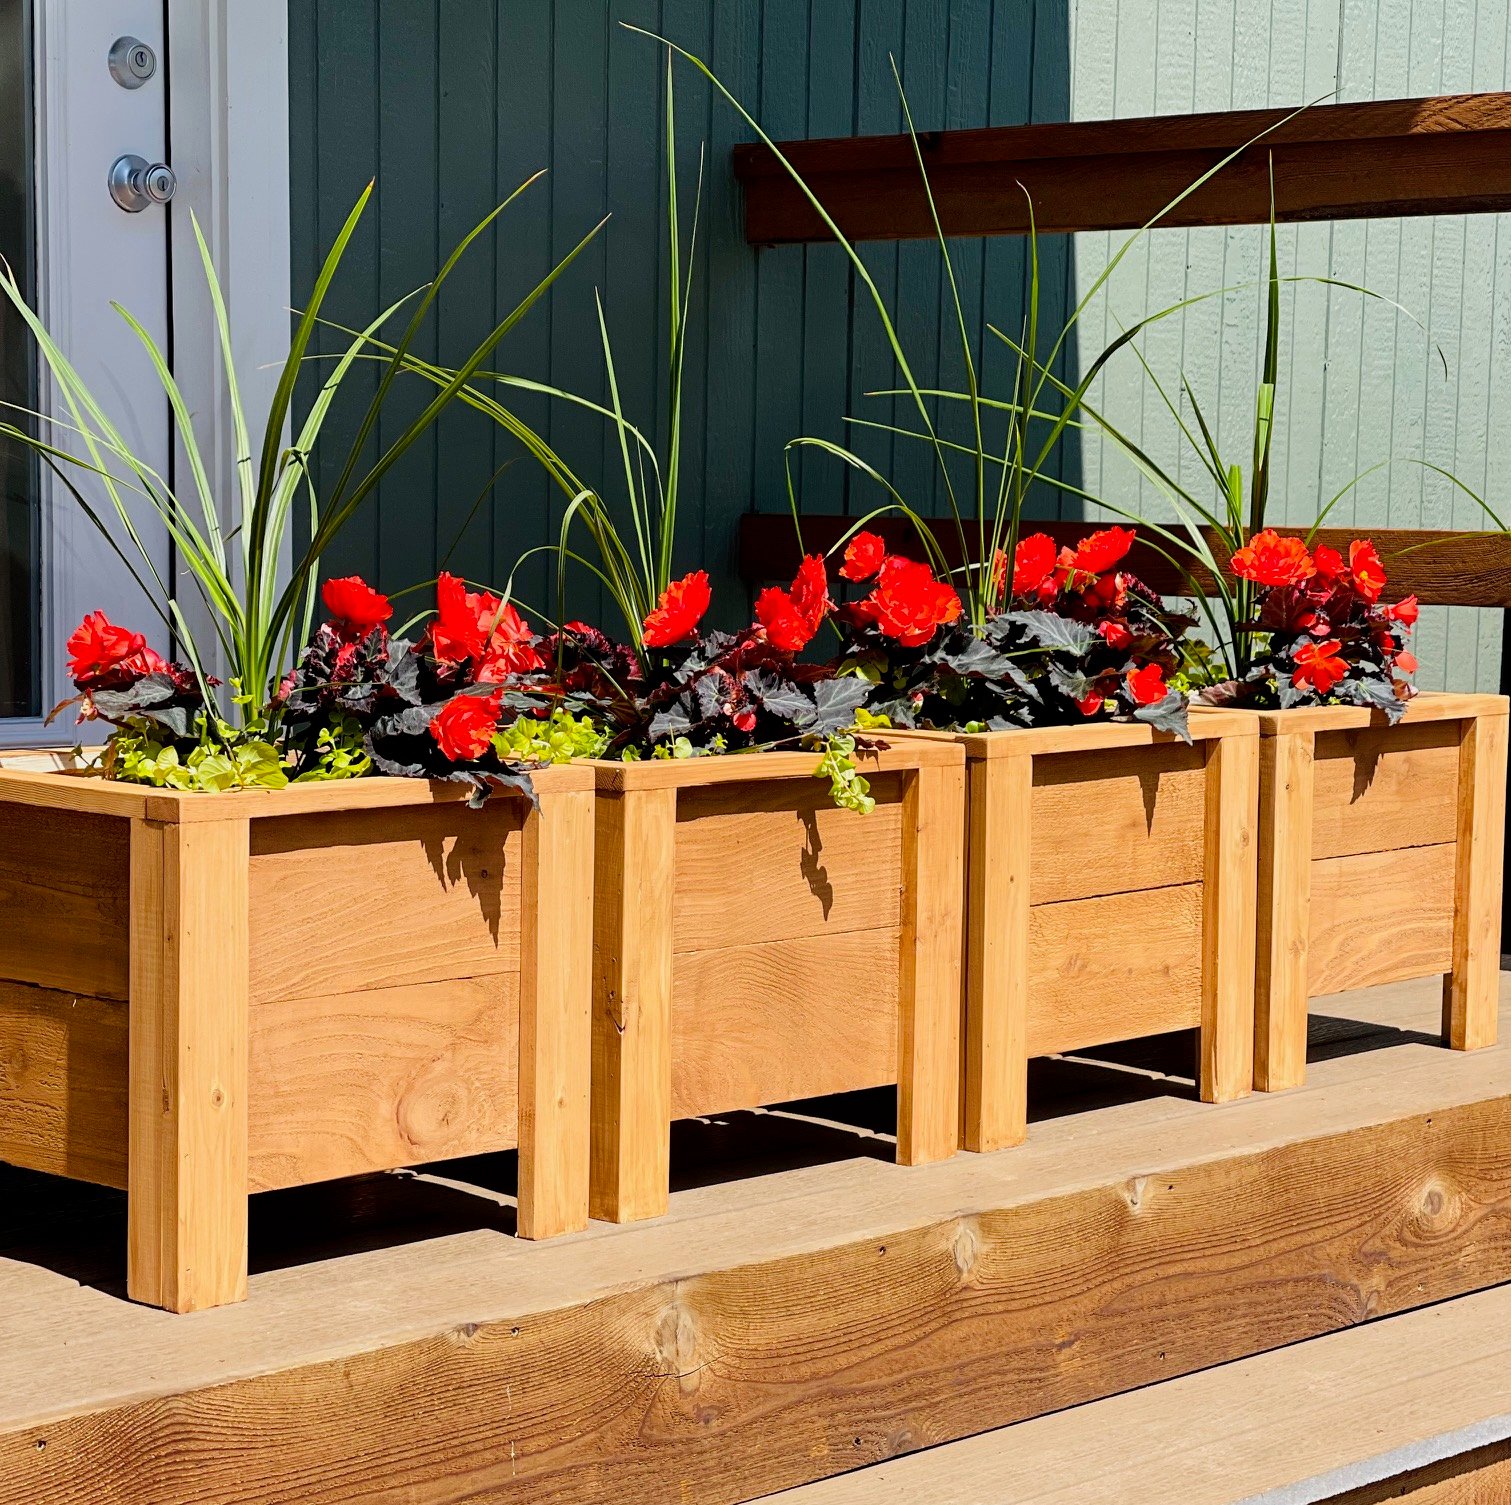
I've been wanting to build this plan for quite some time! Took me about 2 hours to build and 1 hour to finish. Giving these as gifts for Mother's Day! Total cost was about $15 per planter. I scaled down the design after I found the plants I wanted to put in them. Ana has the best and easiest plans!


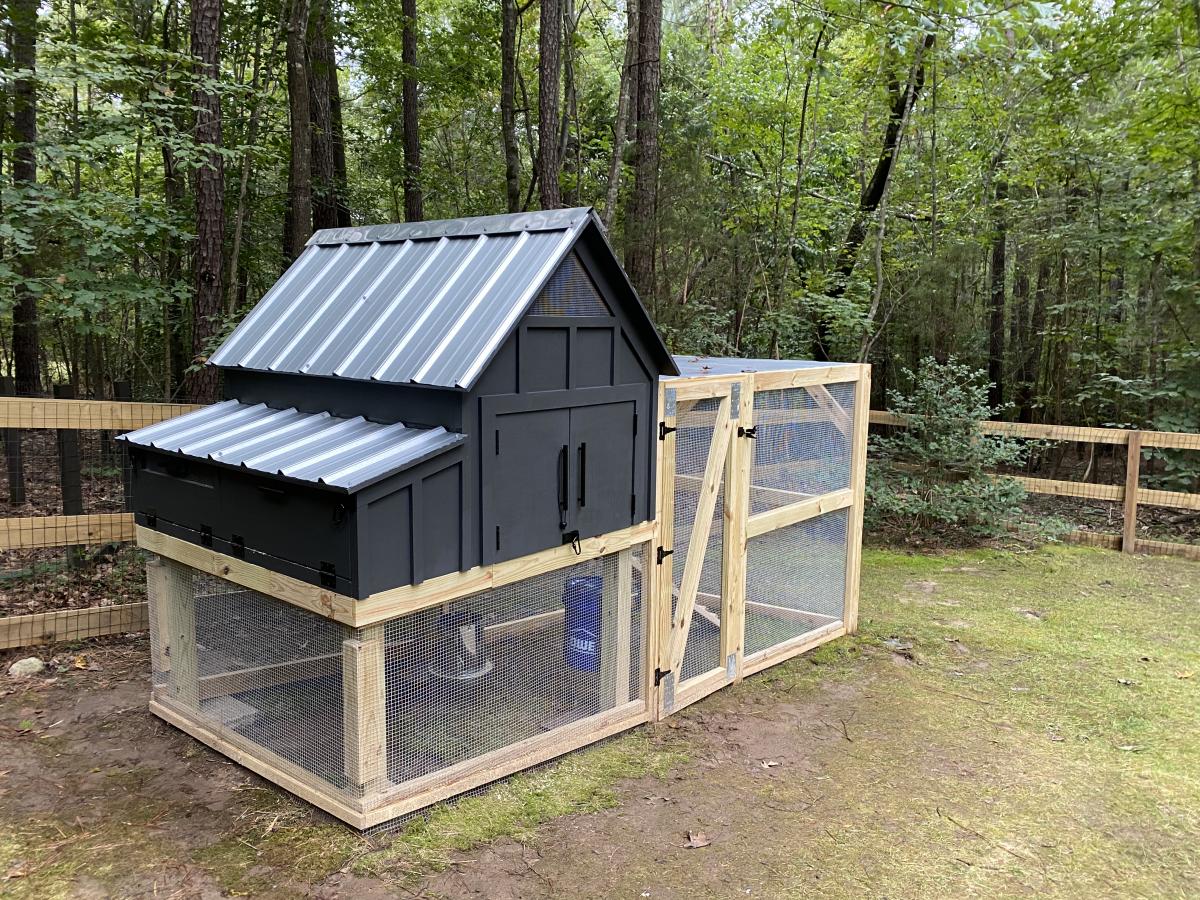
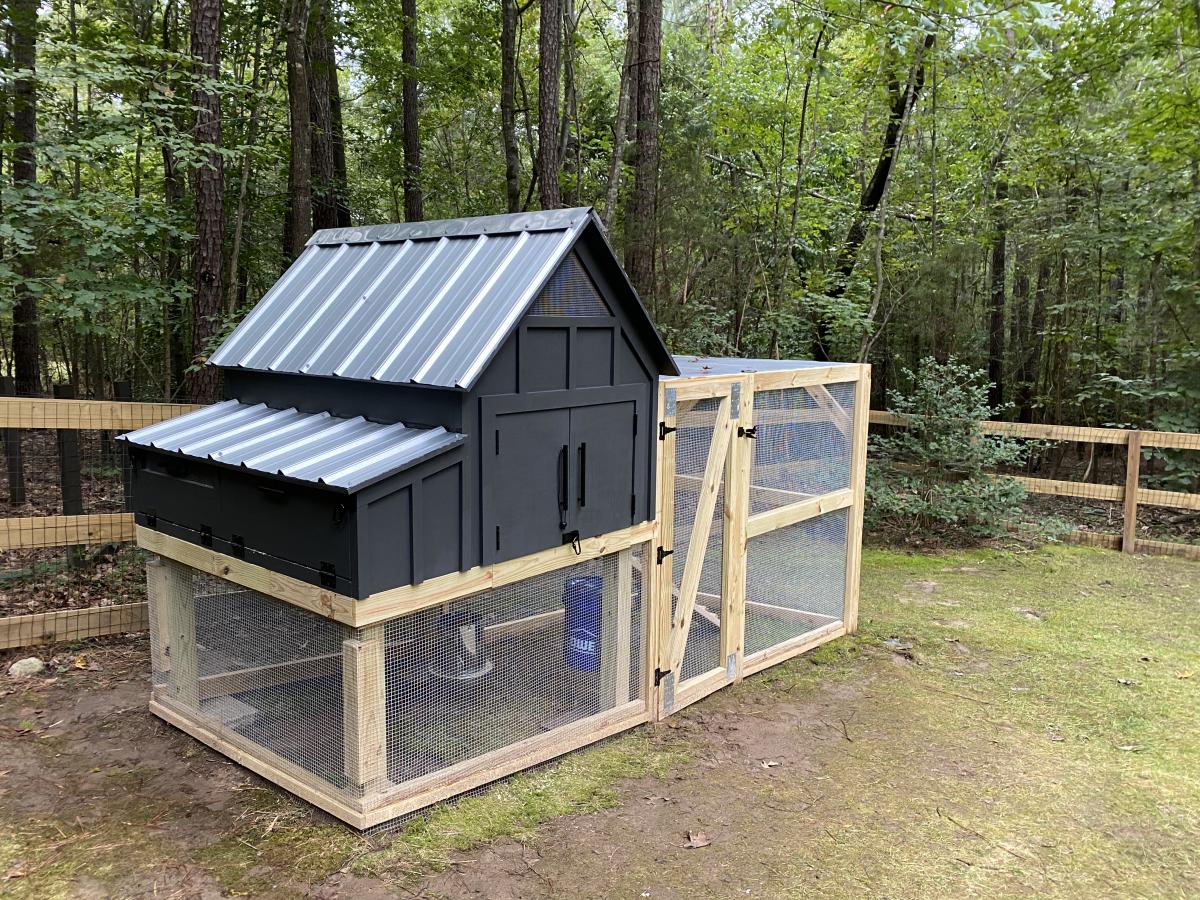
We took some creative liberties on the Williams Sonoma inspired coop posted here. Because we don’t get a whole ton of sun in our backyard, we eliminated the herb garden planter and instead built a longer run. We also made the coop a bit wider to accommodate for the inevitable chicken math. And, you’ll notice the vent both shaped differently and is a bit higher. This was to increase air flow, avoid the dreaded draft, and to lend a more Scandinavian vibe. We also decided to place the chicken exit on the outside wall to allow for more living space under the coop itself. The project took about a month to complete, dedicated to only working weekends. And, it was very much over budget! Who knew wood is so expensive?! But overall, the outcome was even better than I expected. The chickens love it and I don’t mind looking at it!
P.S. this was a pretty advanced project. The fractions alone had me yelling “uncle!” Thankfully my husband is pretty handy, and my father-in-law (career in the construction industry) had a few pointers, so they took the lead in executing. I chose the paint colors and suggested the deviations from the original blue print. ;-)
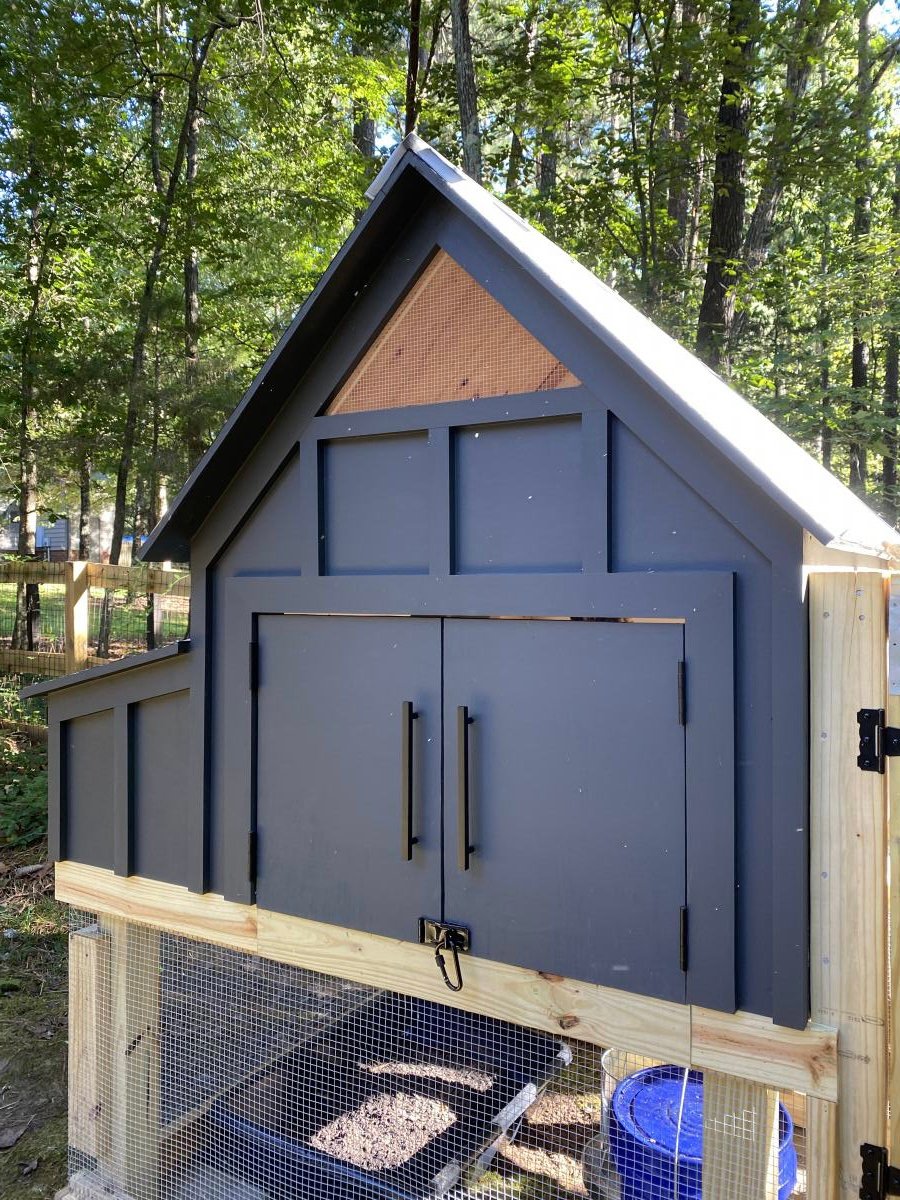
Wed, 11/18/2020 - 12:55
Thank you! Yes, I suppose everyone is wanting wood for home improvement projects now that we're not leaving the house! Also, I didn't mean to post a picture of my son and his friends. Am I able to delete?
Thu, 01/14/2021 - 07:43
does this roof have the same angle as the 'Small Chicken Coop with Plans'? It seems to be 'less steep'. Wanting to start this project next weekend and trying to get my mind wrapped around everything!. Thanks.
Wed, 03/16/2022 - 09:53
Do you have a run side photo? I am thinking about adding more run onto mine.....
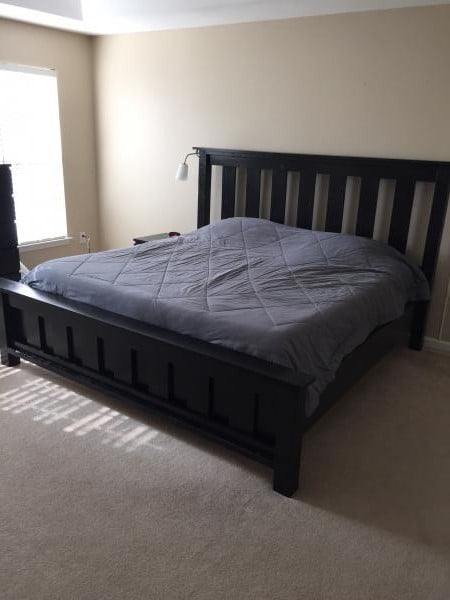
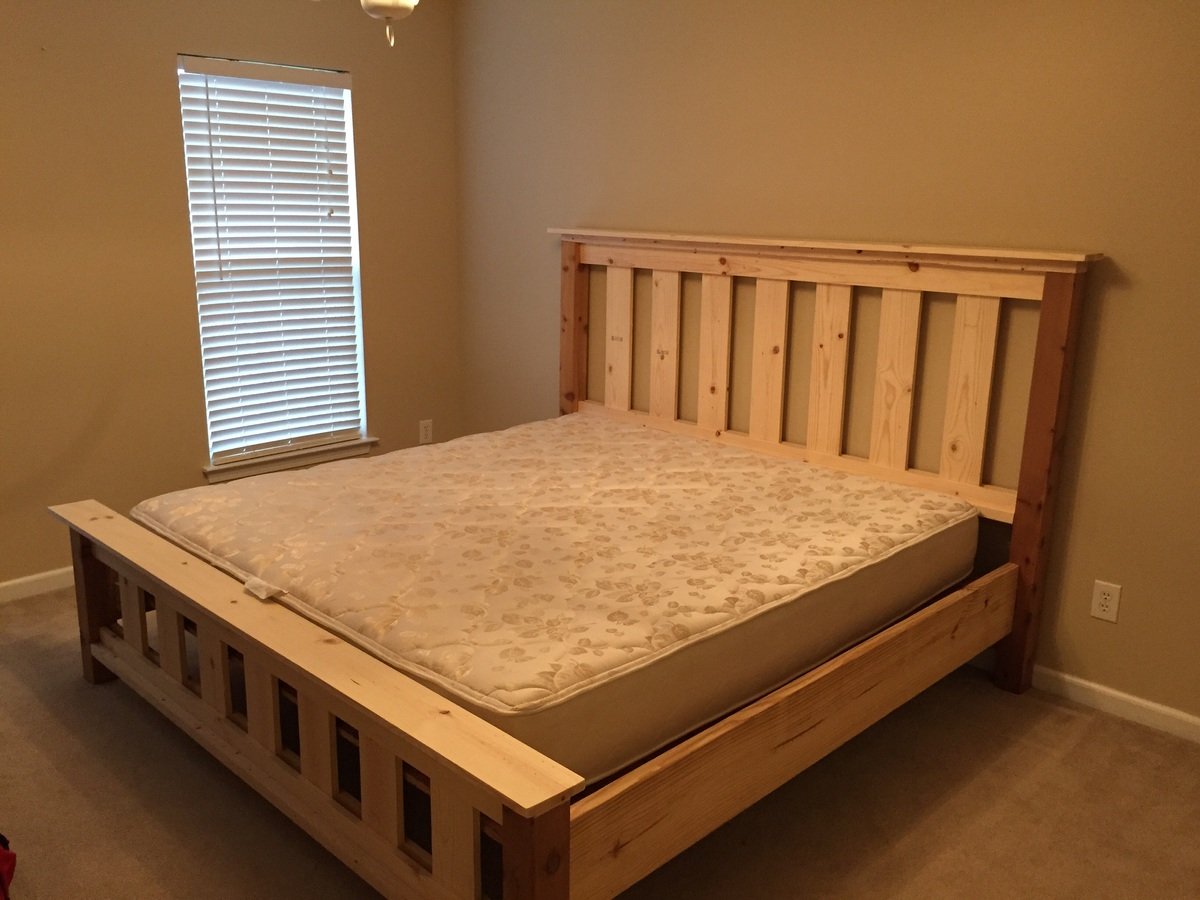
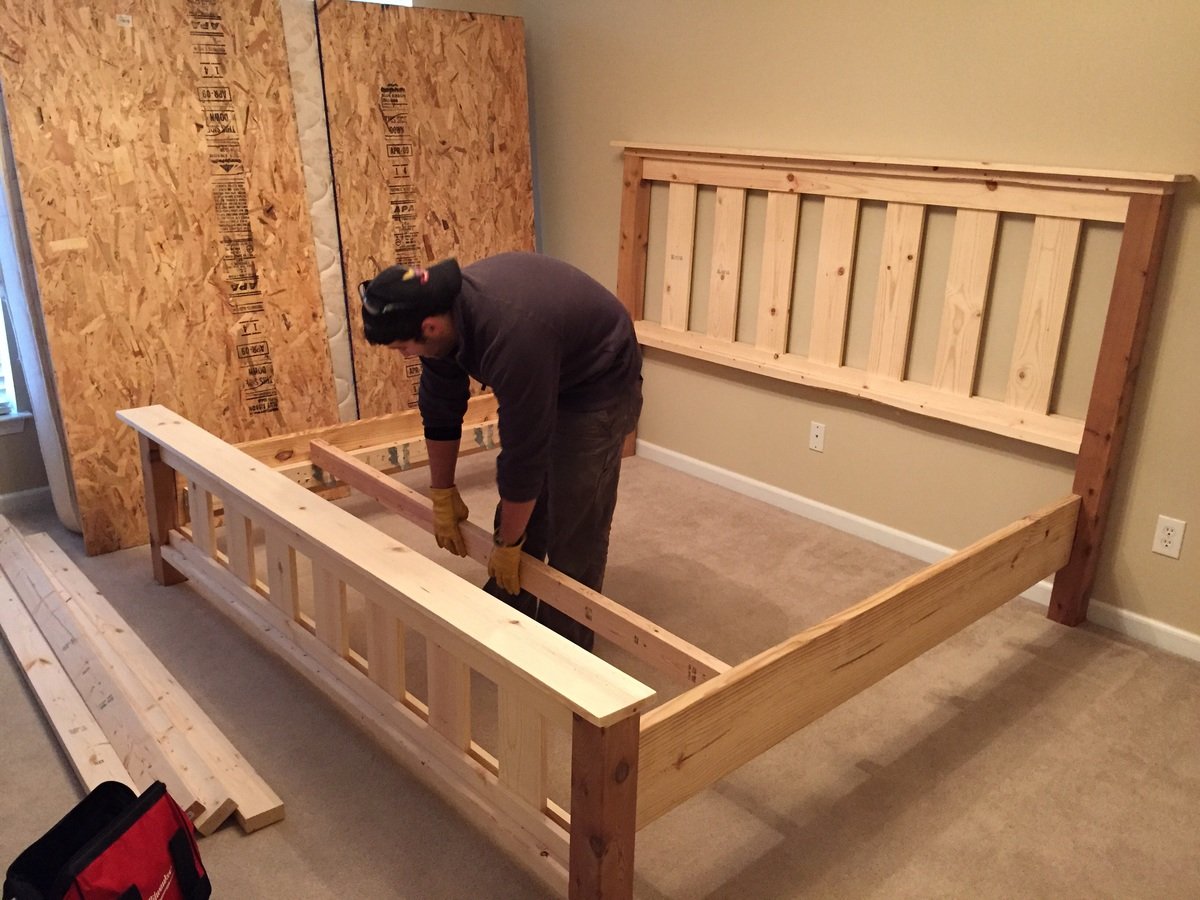
The project went relatively well. Had to readjust in order to fit our king. I used 2x4s and 2x4 joist hangers to support the mattres.

Modified plans to include game storage drawers, a flip open mantle for DVD player and hidden charging port, and hidden cupboards on both sides for DVD storage. I scoured the Internet for months before drawing this up to fit my space and tackling all on my own! I love it and all of my other Ana White inspired projects!
Casey O.

