Just My Size Closet

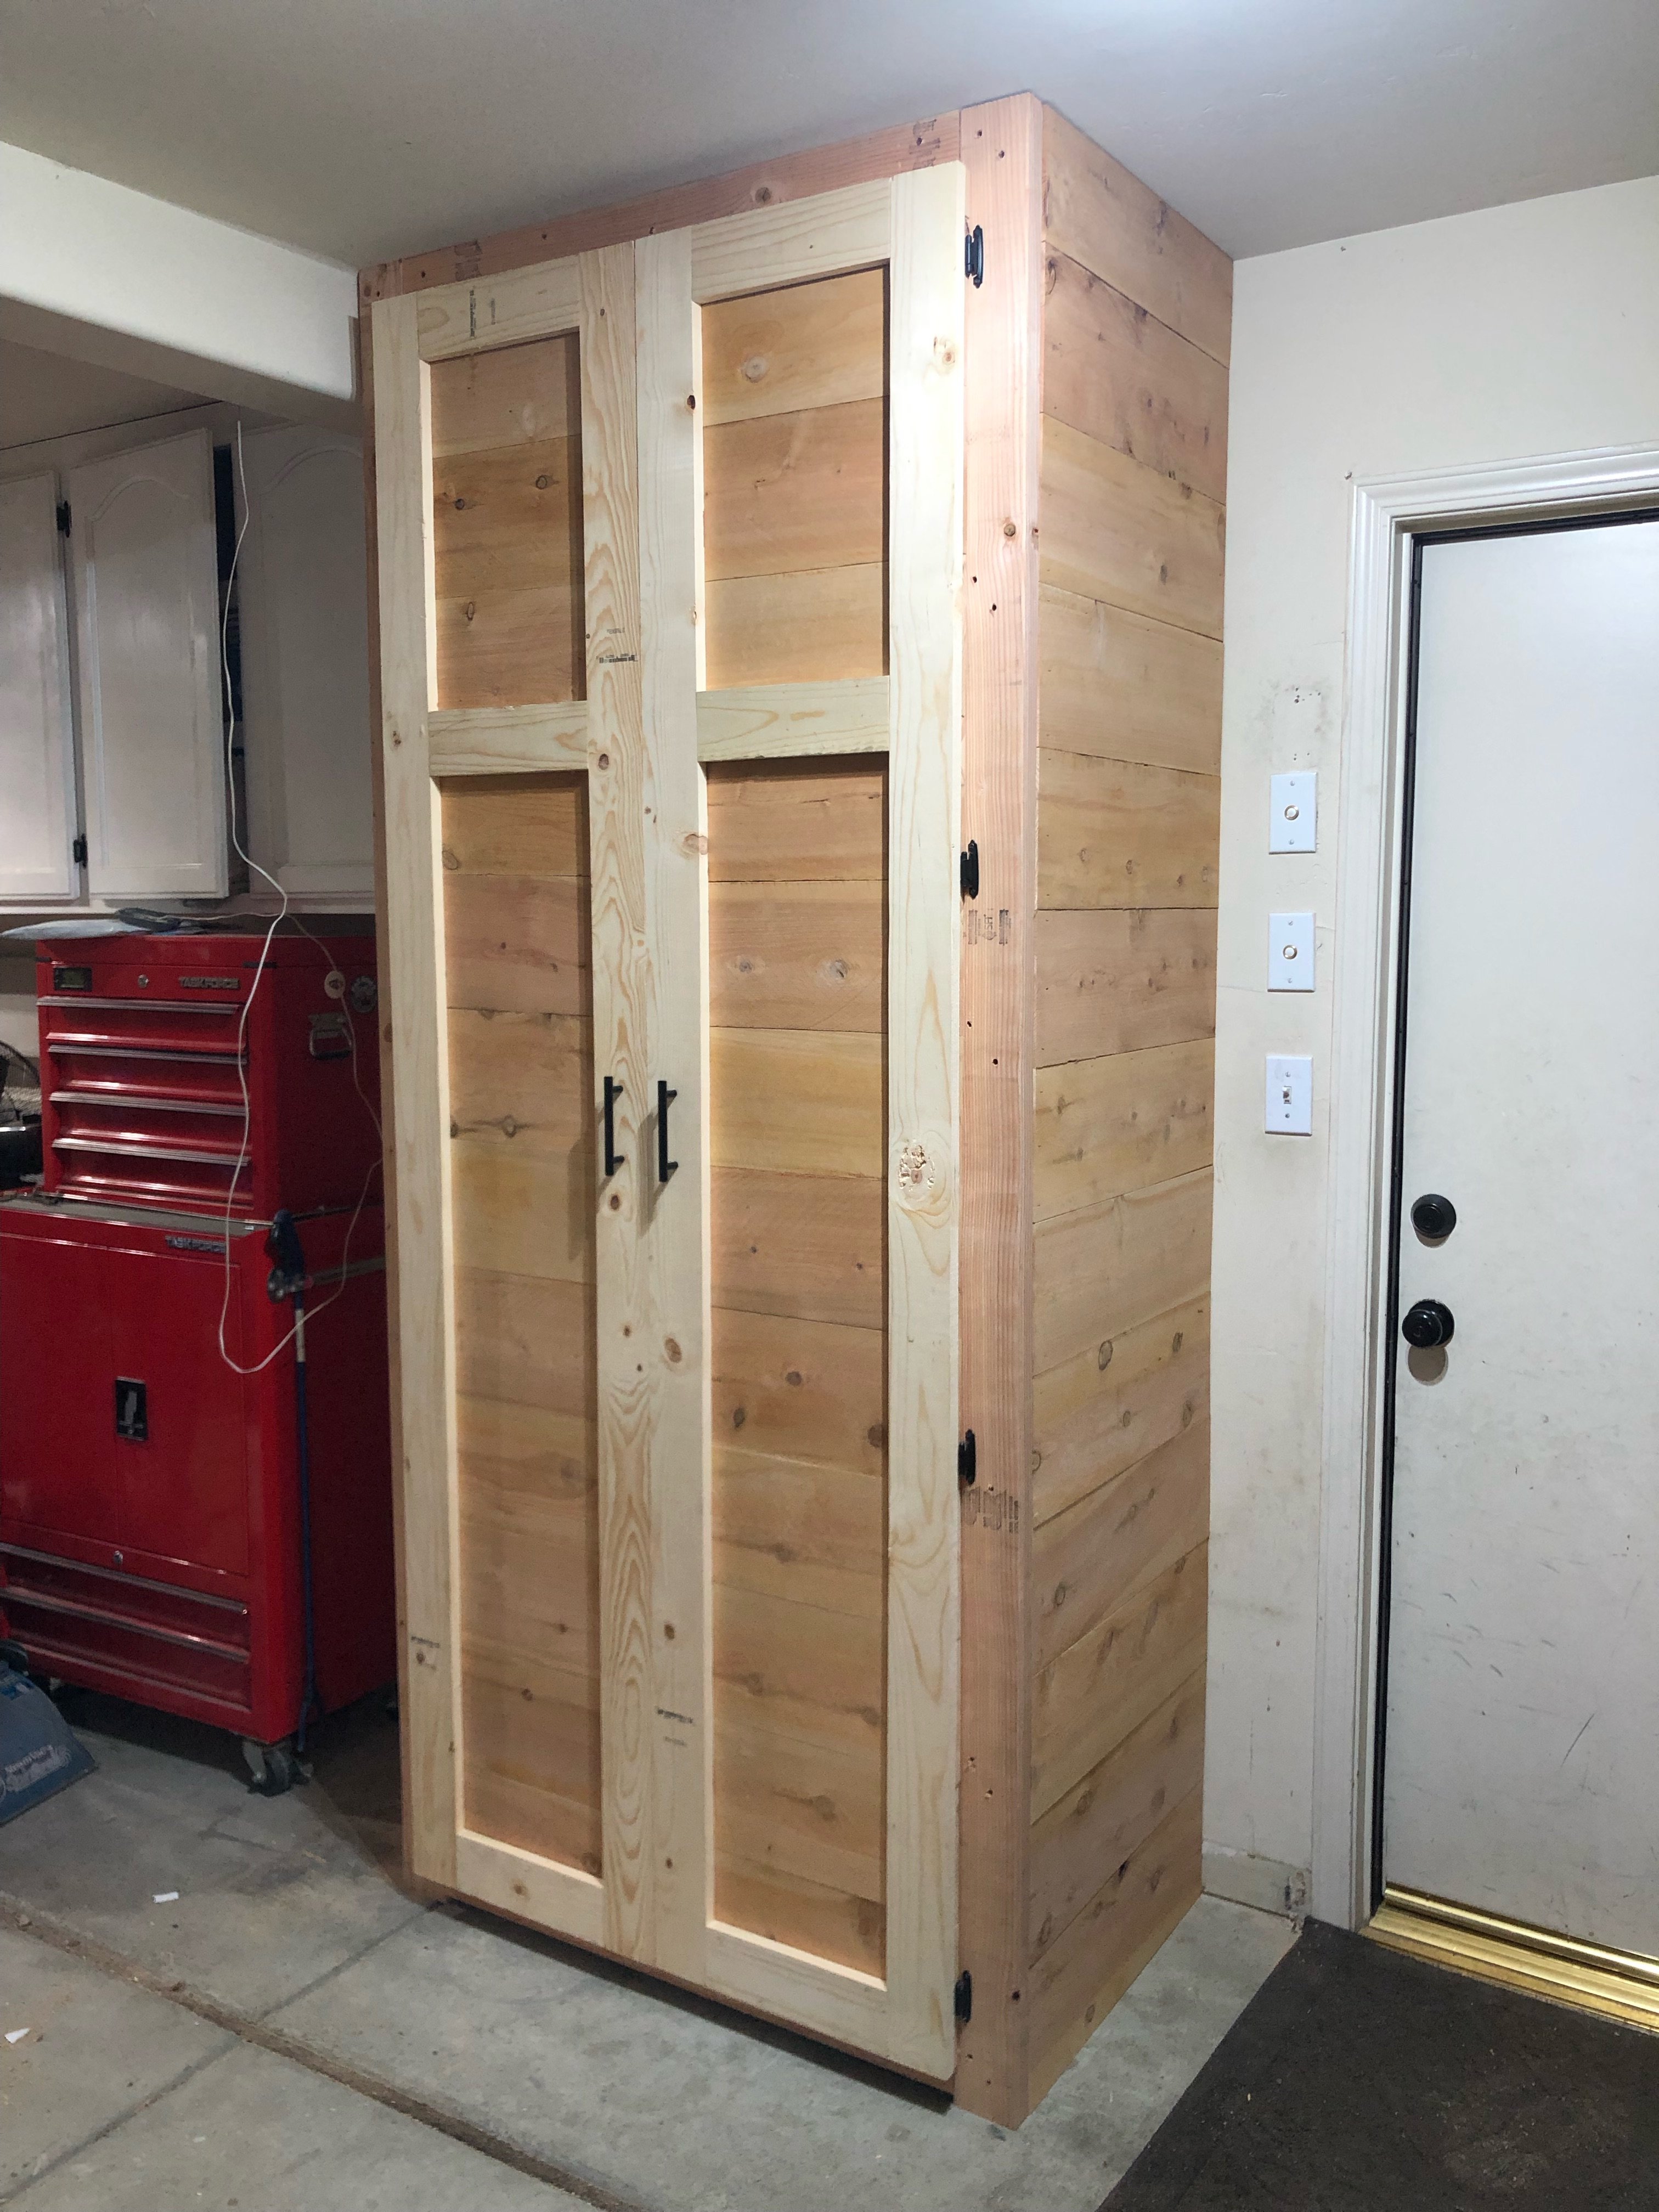
Just My Size Closet!
Built this from Ana's plans with a few modifications.
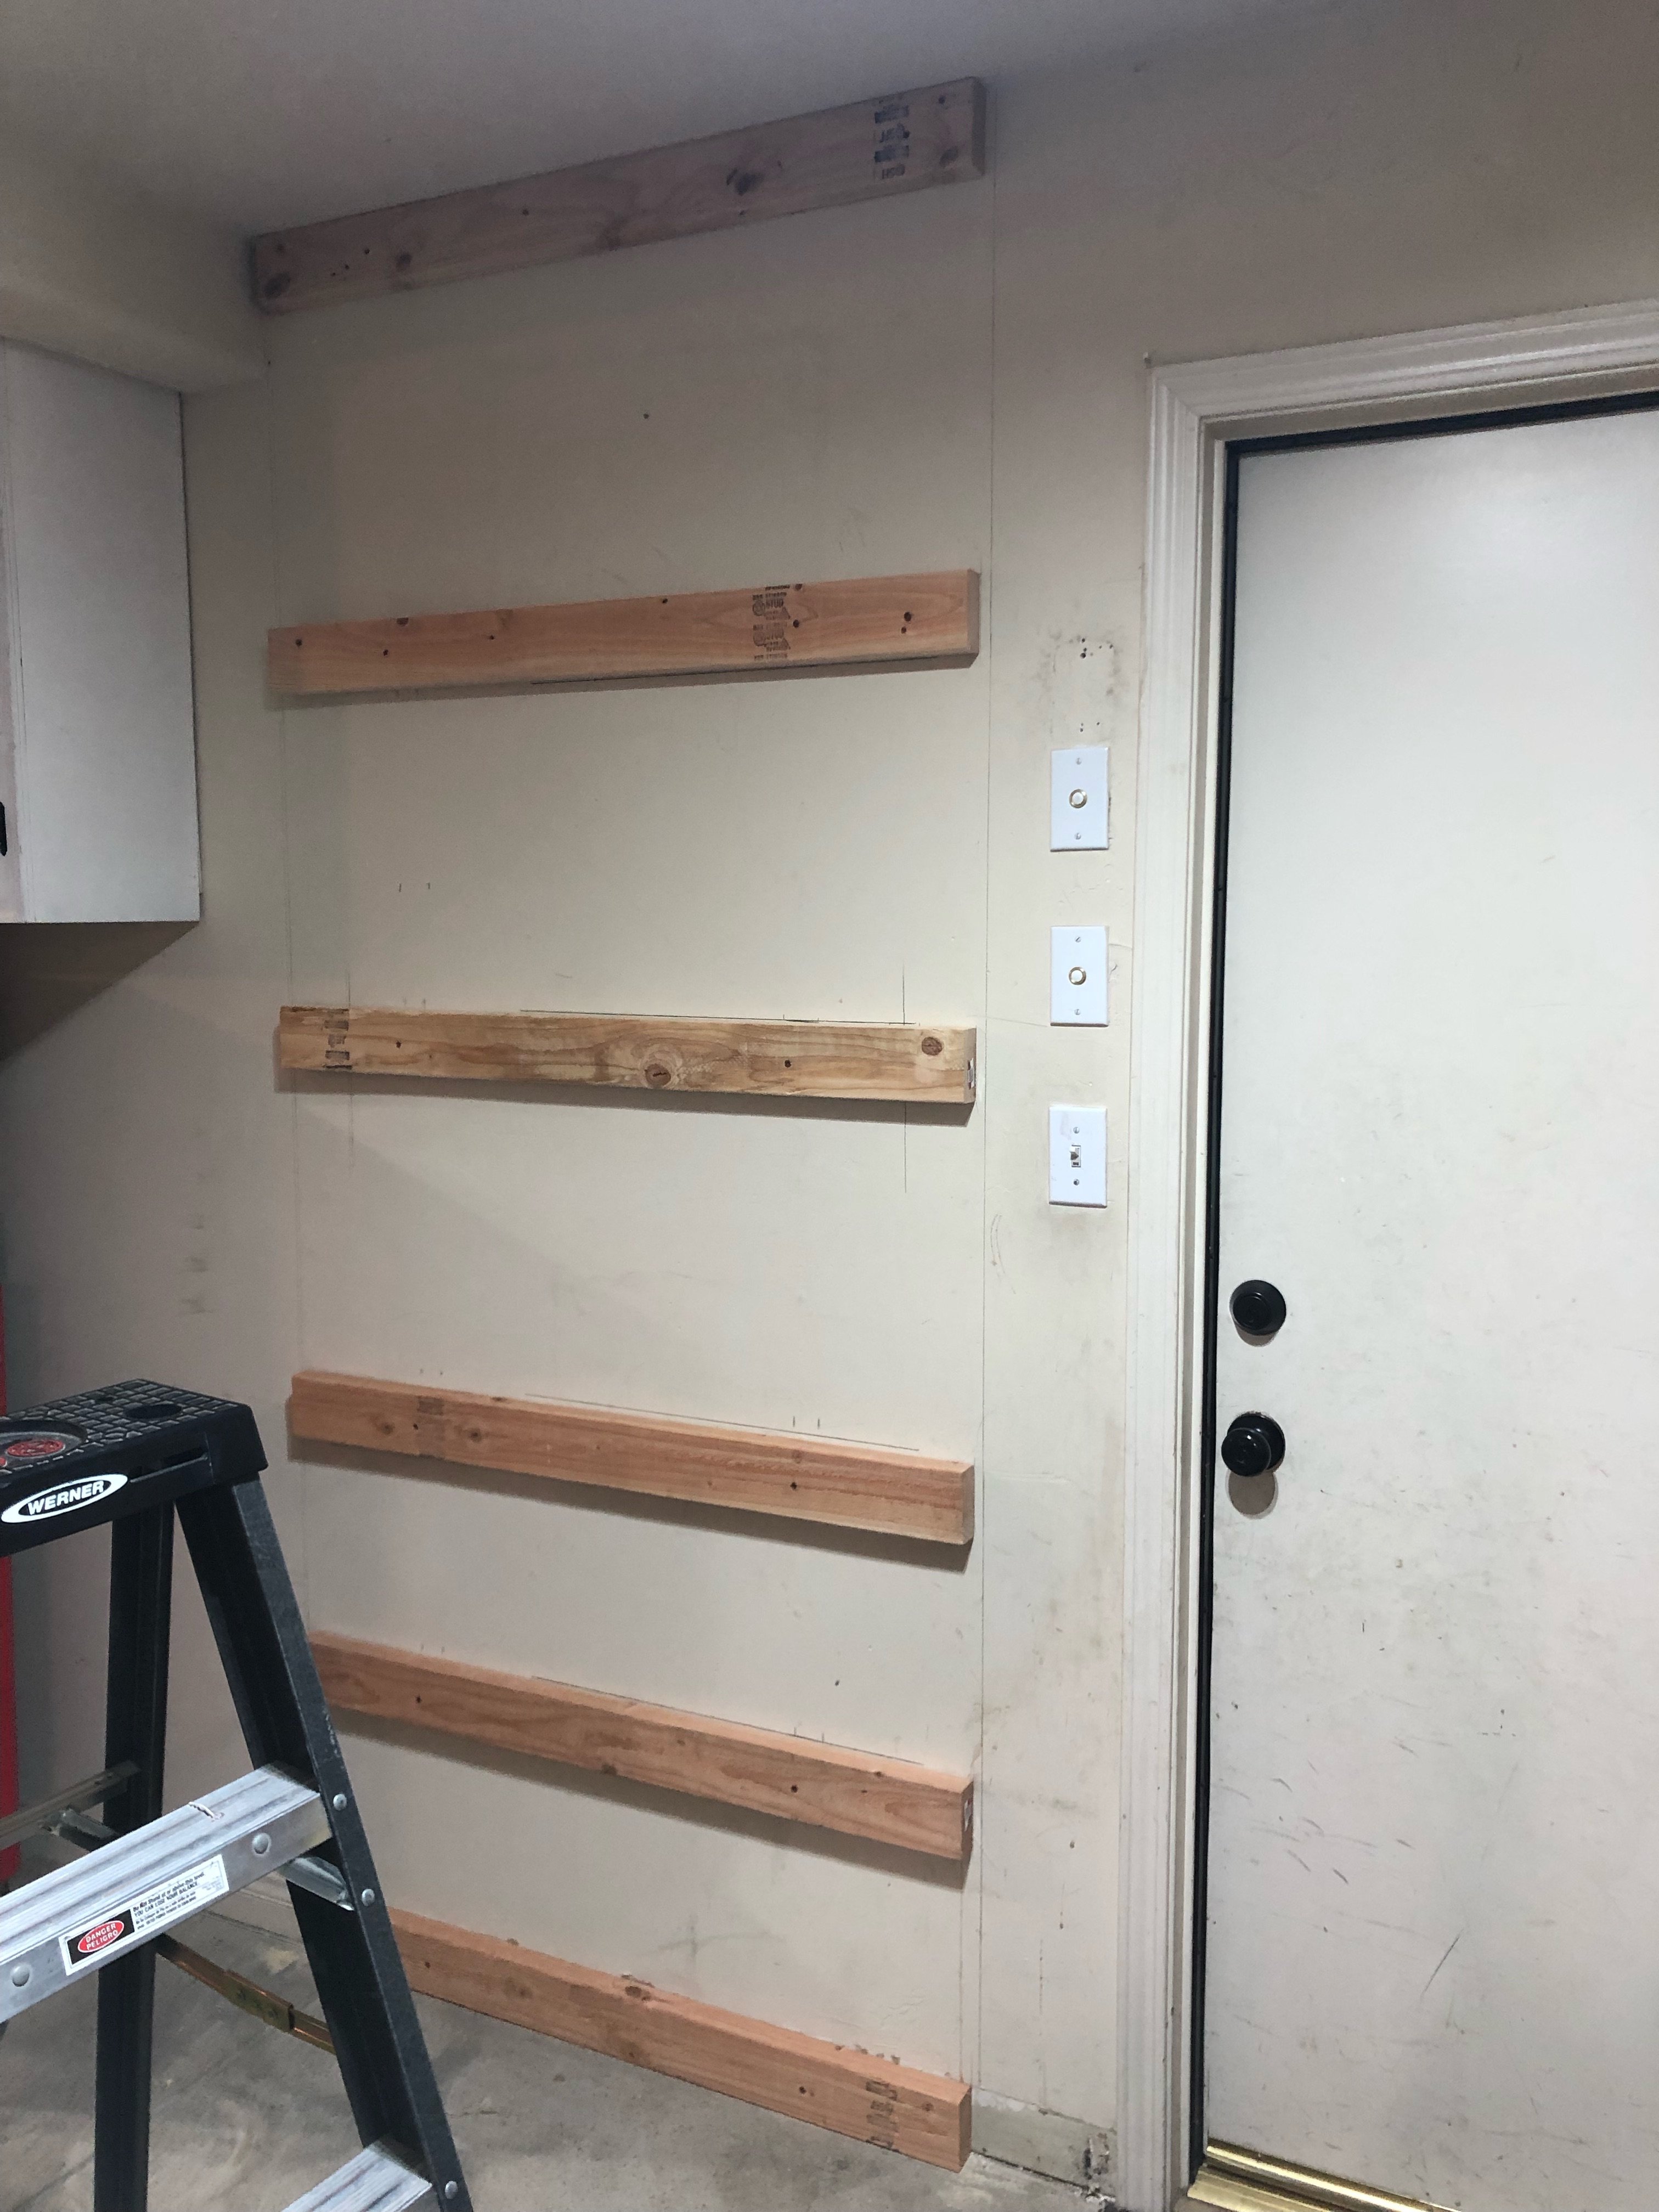
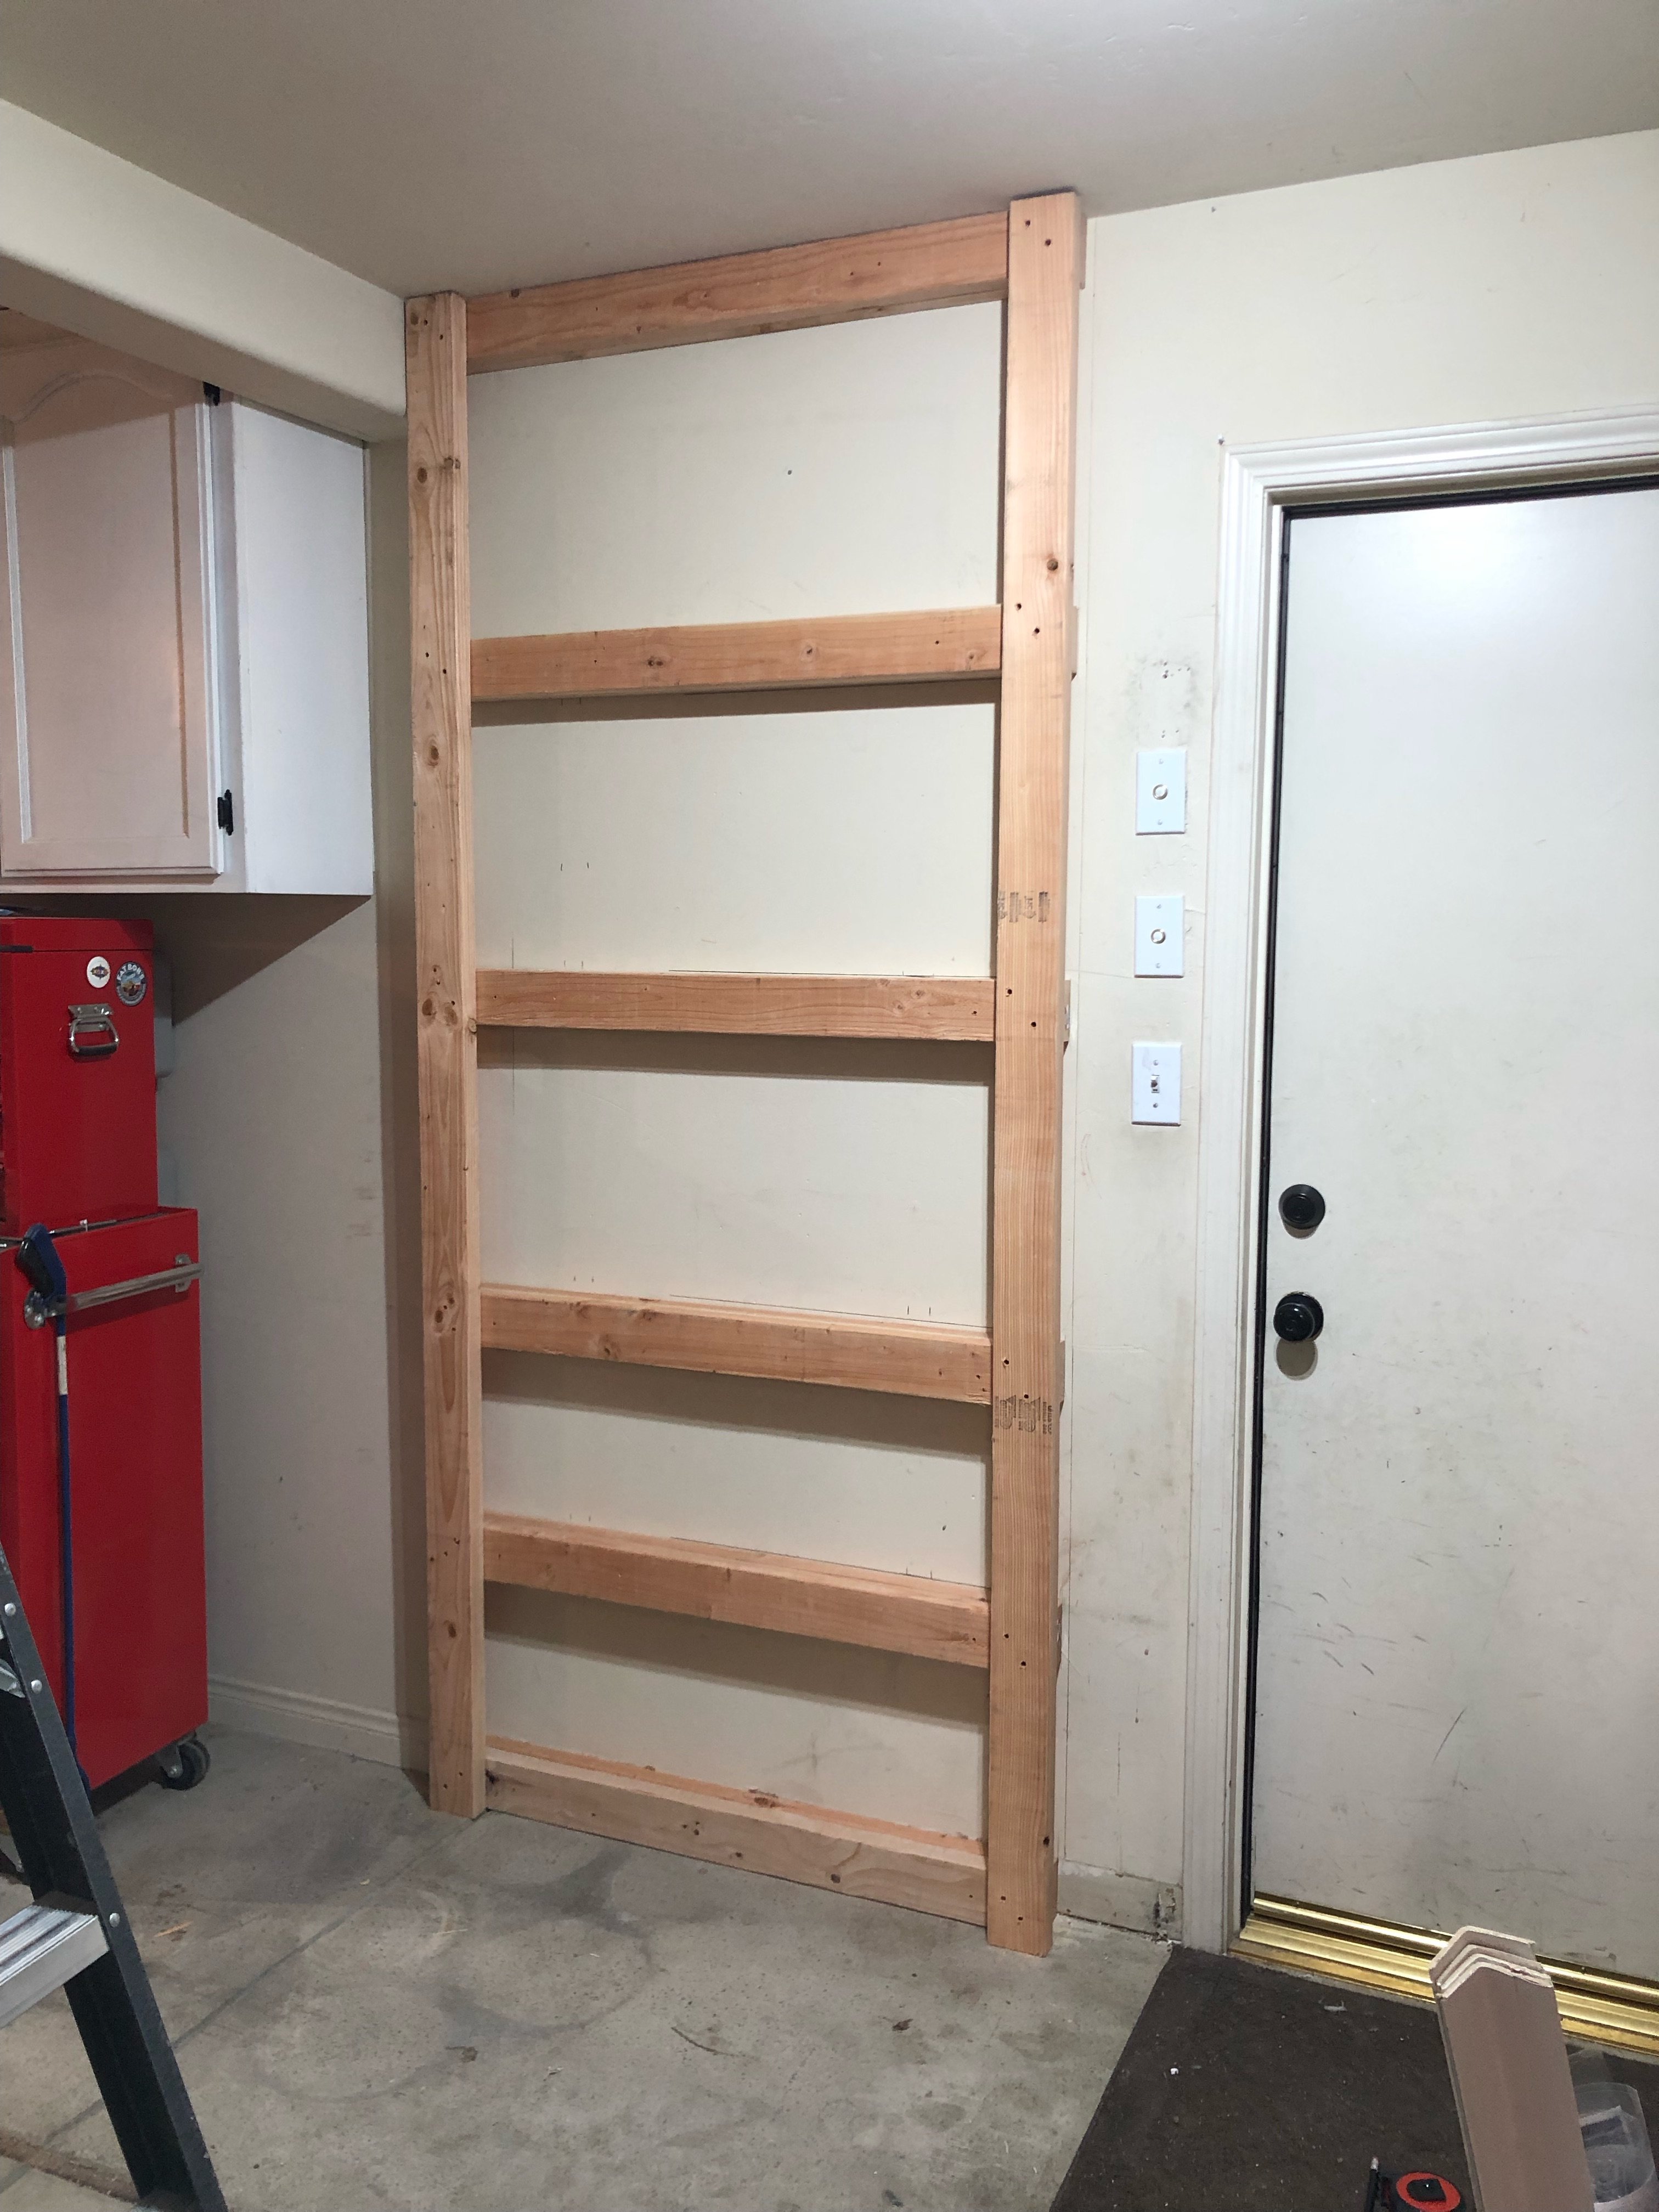
Started with a big empty box after ripping the old stuff out and finished with this look.
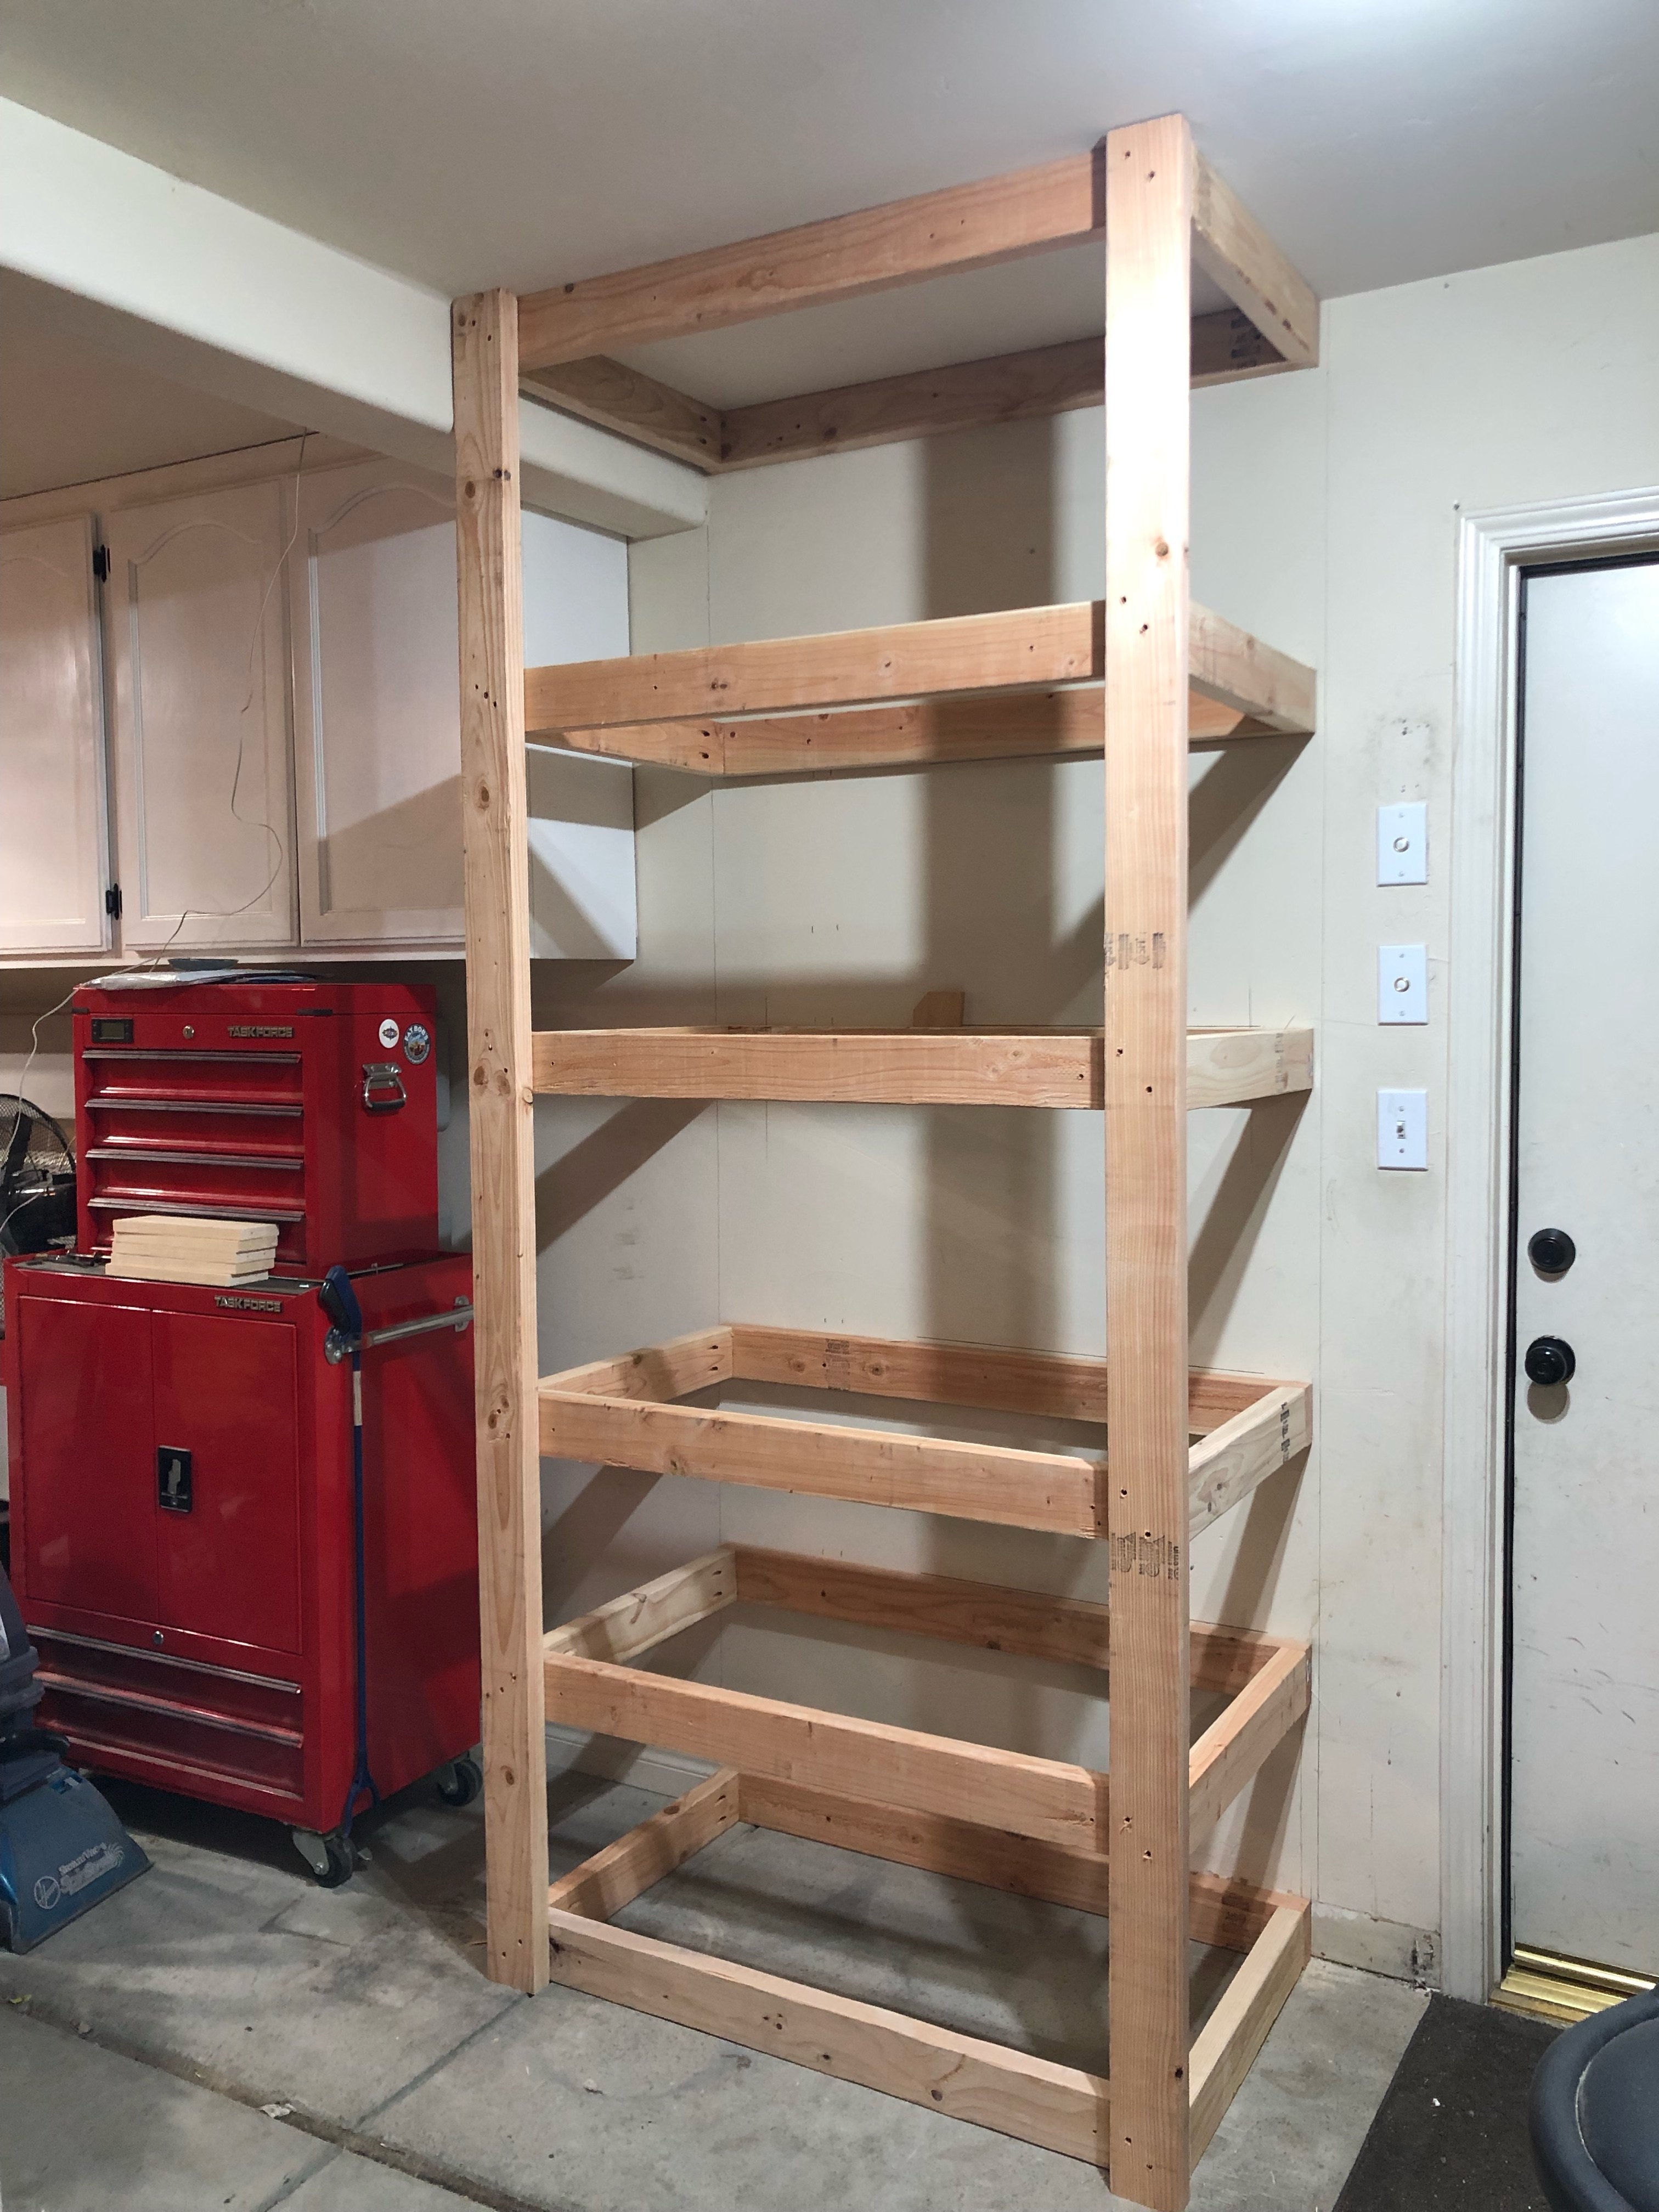
Adjustable shelves and all !

Just My Size Closet!
Built this from Ana's plans with a few modifications.
Started with a big empty box after ripping the old stuff out and finished with this look.
Adjustable shelves and all !

This was an easy project to complete in an afternoon that does not require any advance woodworking skills

Wed, 11/26/2014 - 12:19
This project looks even better than mine! I love look with paint! Well done!
Wed, 12/10/2014 - 09:41
This is my second completed project with plans and ideas from your website. Thanks for your good work!
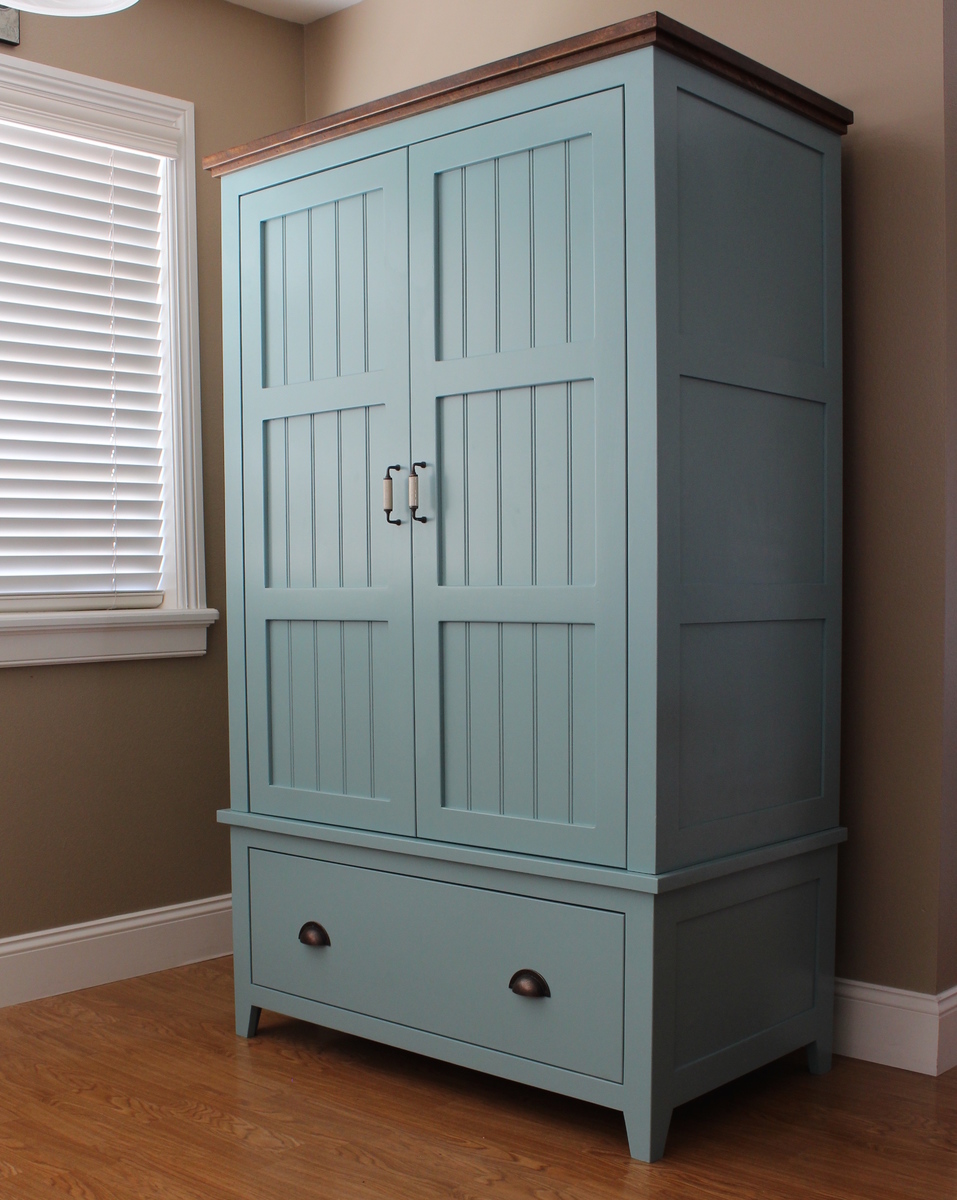
This is probably one of my favorite pieces I have built. Challenging but fun. I built it as two separate sections, an upper and lower cabinet to make it easier to carry indoors. I added a full-extension drawer below for storage. The two-toned paint combination did take a lot of extra time. Because I used an airless spraying to paint I had to tape and cover each section separately.
Fri, 03/06/2015 - 10:43
WOW it looks awesome the extra time spent on the painting was more than worth it looks spectacular. I bet you also could make a great profit selling this Wardrobe either on line or in a consignment shop, if I had the need for one and the money I would defiantly buy one!!
Sat, 03/07/2015 - 18:55
I love all the attention to detail. Great job! I especially love the color selection. How did you achieve the look of the top stained piece?
In reply to I love all the attention to by handmadewithash
Mon, 03/09/2015 - 22:01
Hi Ashley,
The top was built separate, stained, varnished and then attached to the painted wardrobe. :)
- Brad
Sun, 03/08/2015 - 07:36
This looks awesome! I love the the paint finish and it your profession work
Mon, 03/09/2015 - 17:30
I agree this is your best so far...which is hard to say b/c all your projects are amazing! I love the style, the paint colors, the stained top, and the hardware!
In reply to Beyond Beautiful by TwoCuteKids
Mon, 03/09/2015 - 22:02
Thank you so much! :)
Sat, 03/19/2016 - 15:06
It looks really great!
I have fallen in love with it the second I saw it and somehow I am now convinced that I need a new wardrobe ;)
I guess you don't have plans for the wardrobe laying around - but would you mind doing a fast sketch (just a simple one on paper) with all the measurements noted? I would be thrilled to try building it myself in the summer.
Greetings from Germany!
Sat, 03/19/2016 - 15:07
It looks really great!
I have fallen in love with it the second I saw it and somehow I am now convinced that I need a new wardrobe ;)
I guess you don't have plans for the wardrobe laying around - but would you mind doing a fast sketch (just a simple one on paper) with all the measurements noted? I would be thrilled to try building it myself in the summer.
Greetings from Germany!
Tue, 07/18/2017 - 05:43
Are there plans used for this beautiful piece? I do not see any links. Help please!! I absolutely need to make this armoire :) :)
Fri, 01/03/2020 - 08:09
Anyway I can get plans for this beautiful piece?
Mon, 01/03/2022 - 05:53
Love this wardrobe! Are there plans available to build it?
Thank you.
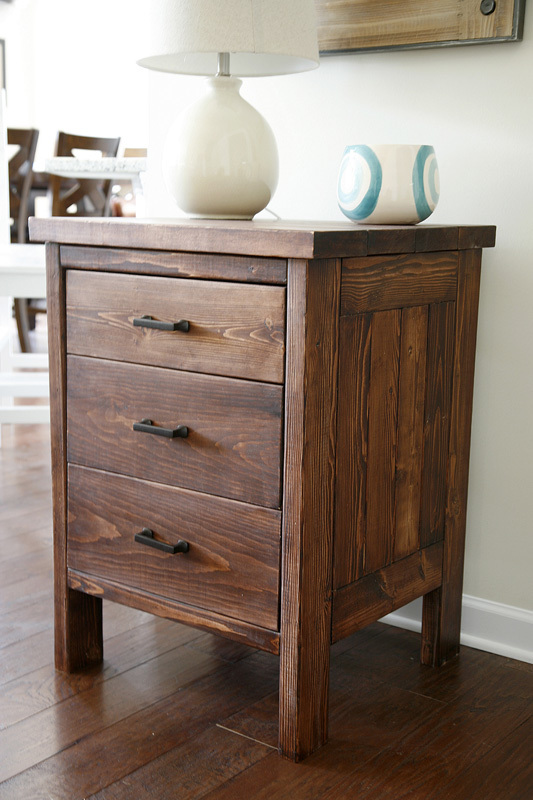
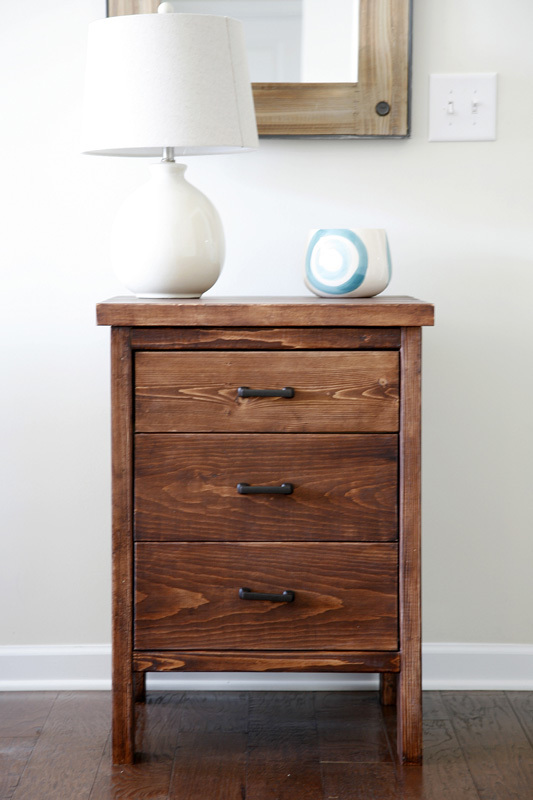
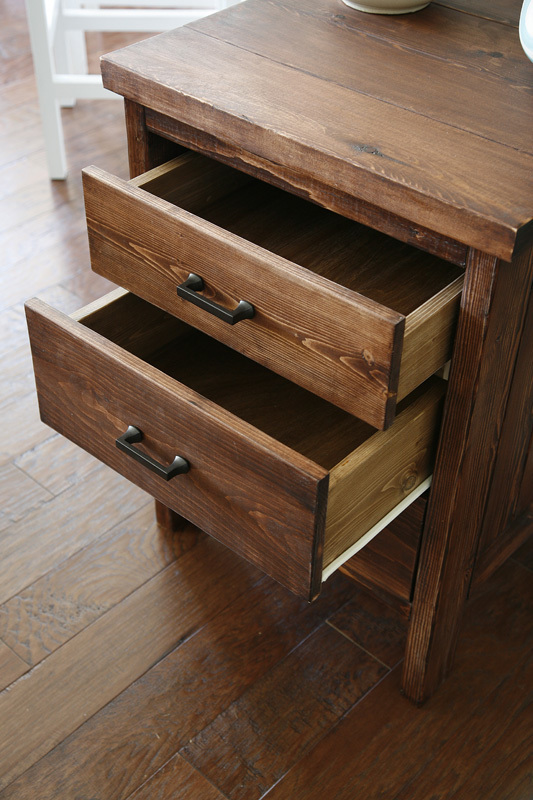
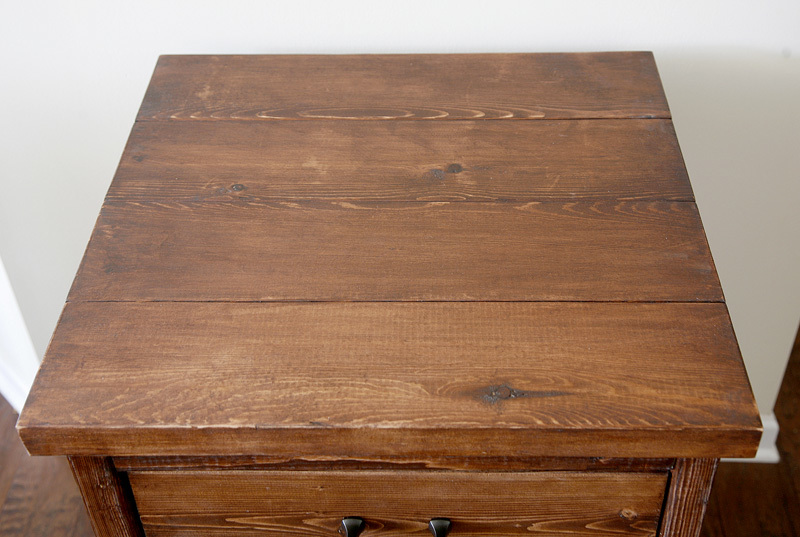
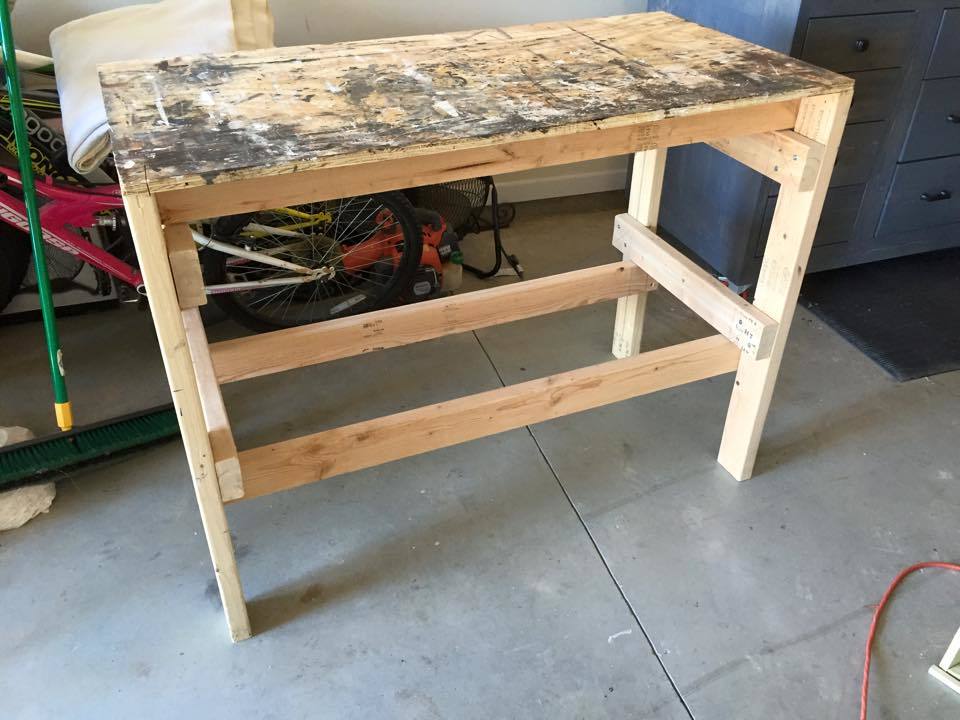
I had an old workbench (pic shown) and reused the 2 by 4s, 2 by 6s (that were supports under the work surface) and the 3/4 inch ply to make a 3 drawer cabinet.
The bases of the drawers were made from the top of the work bench which took some hefty sanding but I actually put the underside of the worktop as the upfacing side for the drawers as that was cleaner even though has some nail holes in places.
The drawer sides and fronts were made from some left over 1 by 4, 1 by 6 and 1 by 8 from my recent work station build.
All I had to buy was the drawer slides and pulls.
Finished in Varathane Carrington and 3 coats of Varathane Matte Poly. The drawers were finished in Minwax Special Walnut.
Wed, 08/15/2018 - 11:05
I would love to make this, but I cannot find the plans.
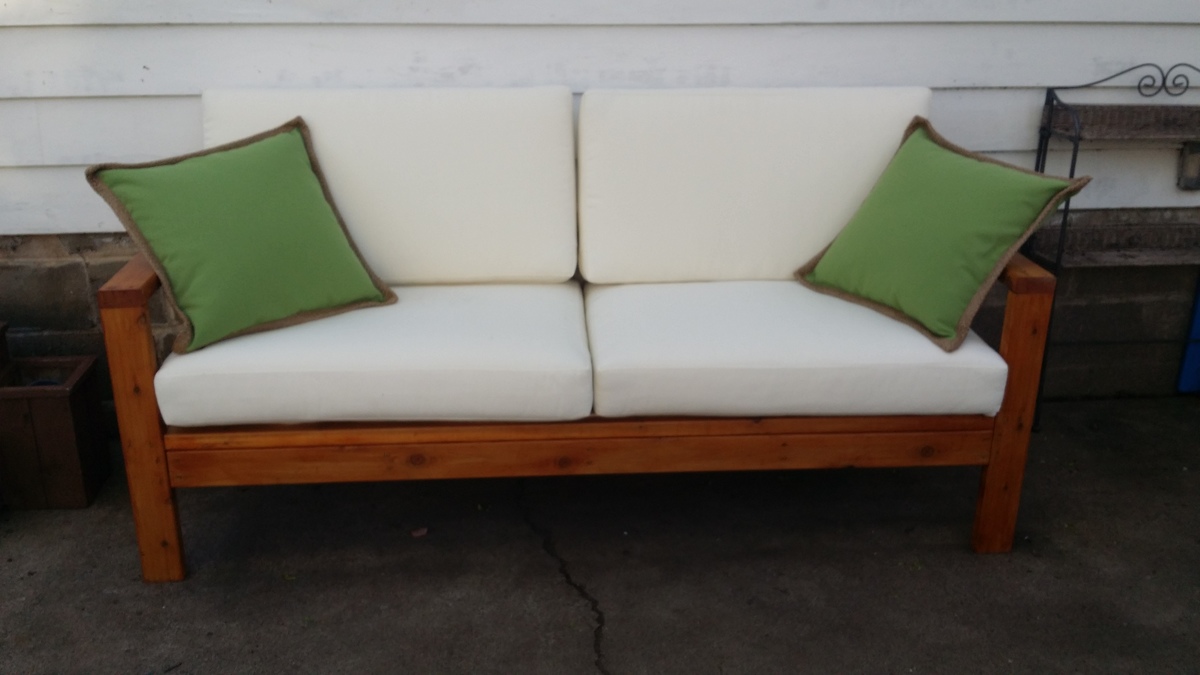
Easy to build 2-3 hours. Weather proofed because did not want grey cedar in a few years. Liked the color of weather proofing but color continued to leak off. Polyed and sanding eventually stopped the leaking if colors. Scored pottery barn cushions 50% in the winter + 15% new email customer. Still $150... bought some pillows from pottery barn on sale for another $60. All in all looks awesome! VERY easy build. The rest ($$) is what hurts... Test any weatherproof in you use first before using.
Cost: $45
Made this bench smaller than the plan so it measures 48" X 18". Using it in a spare bedroom so it will eventually get stained to match the wood furniture.
Mon, 12/04/2017 - 09:17
That was my idea as well, to shorten it. My wife just asked me if we could part with a few chairs on the back side of our dining room table and if i would make a bench or two across the back wall. Well "of course" i said hahah!! Nice job on yours!! :{)
Sun, 09/13/2020 - 06:45
That's really beautiful. I think I'll look up the plans and try make one myself.
Luv your site. Took your bench swing plan and modified it a bit (shortened depth) and then created a small pergola to hang it from. Just need to stain/poly to finish it off. Thanks for your plan and website it is very inspiring.
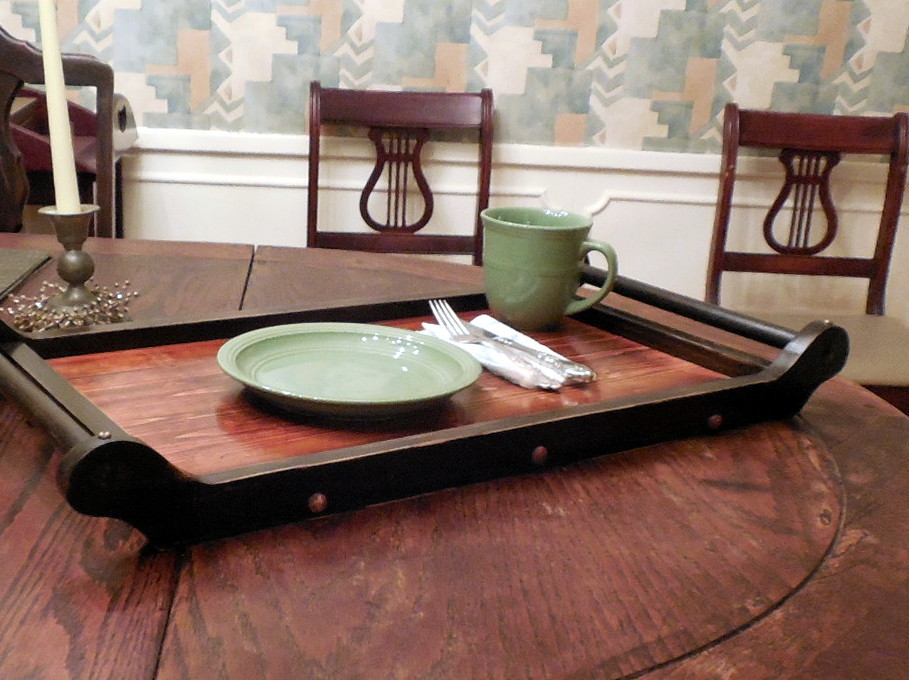
I saw this serving tray on Ana's site and it looked like I could build it with the wood and materials I had laying around in the garage. Other folks had made some nice versions of the tray also, and it looked like something we could use around the home.
I was right on all accounts, except I had to spend about $1.50 for the 3/4" dowel.
The overall dimensions are 27" x 131/2". Tray dimensions are 21" x 12"
The frame is attached to the tray with countersunk 1.5" wood screws and buttons covering the holes. I added the brass round-head screws to each corner to give it an industrial look. Glue was used only on the dowel handles and the buttons. Otherwise no glue.
I also distressed the top edges a bit to give it a used look. With time it will get is own look but this is a star
Sat, 03/09/2013 - 14:10
This is really nice work your attention to detail and color scheme really makes this
In reply to This is really nice work your by Jamaunzie
Sat, 03/09/2013 - 14:22
Thanks for the kind comment. I try a lot of builds and some do come out right. Some day I will own that sliding miter saw and a router but for now it is just a few saws (my favorite is a small back saw) and clamps.
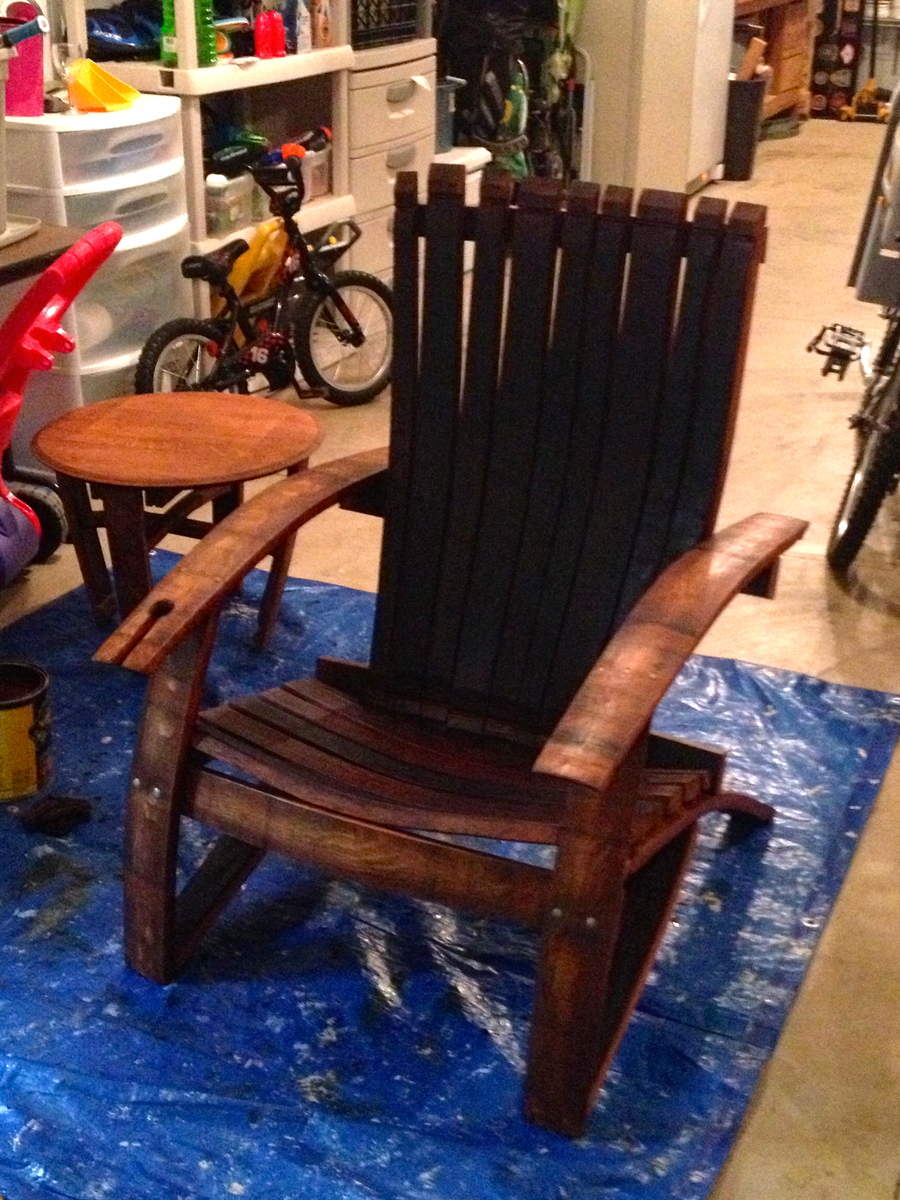
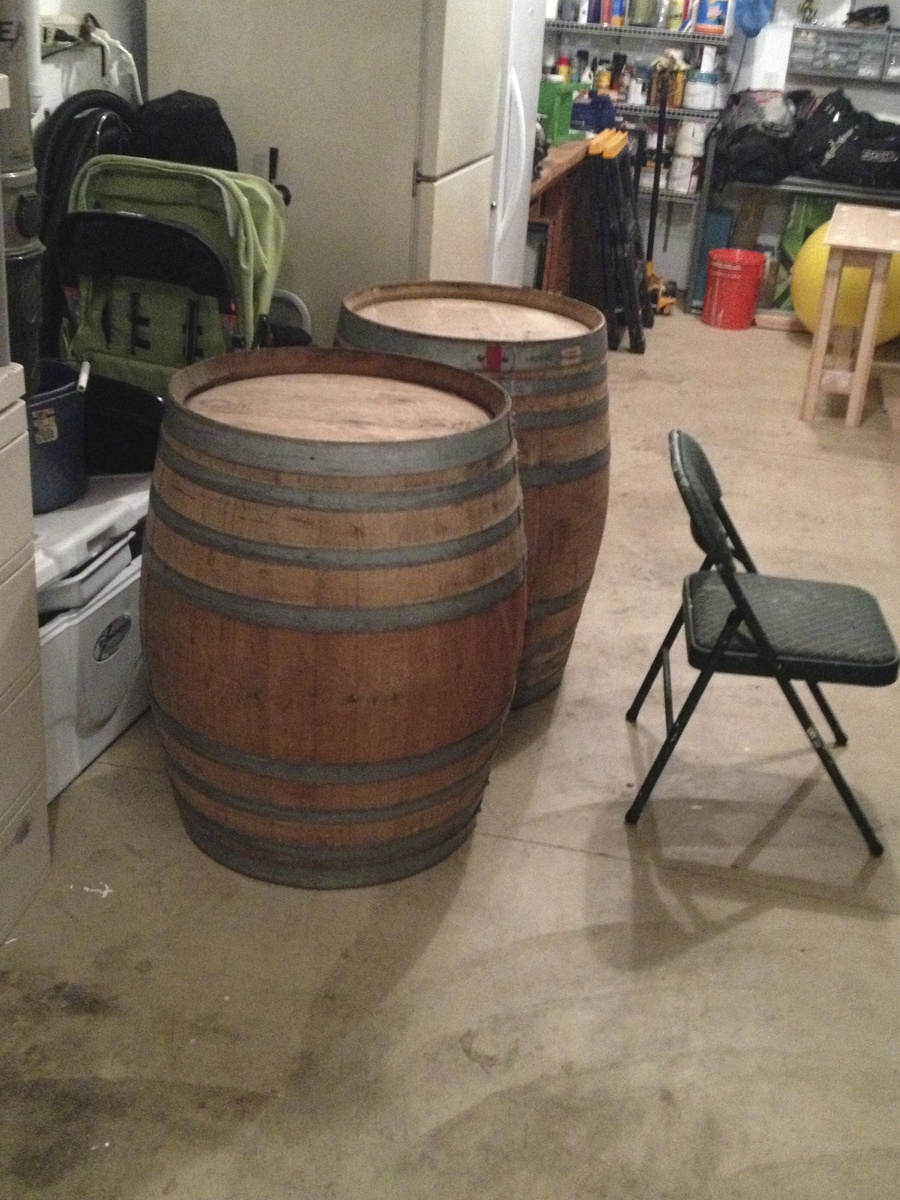
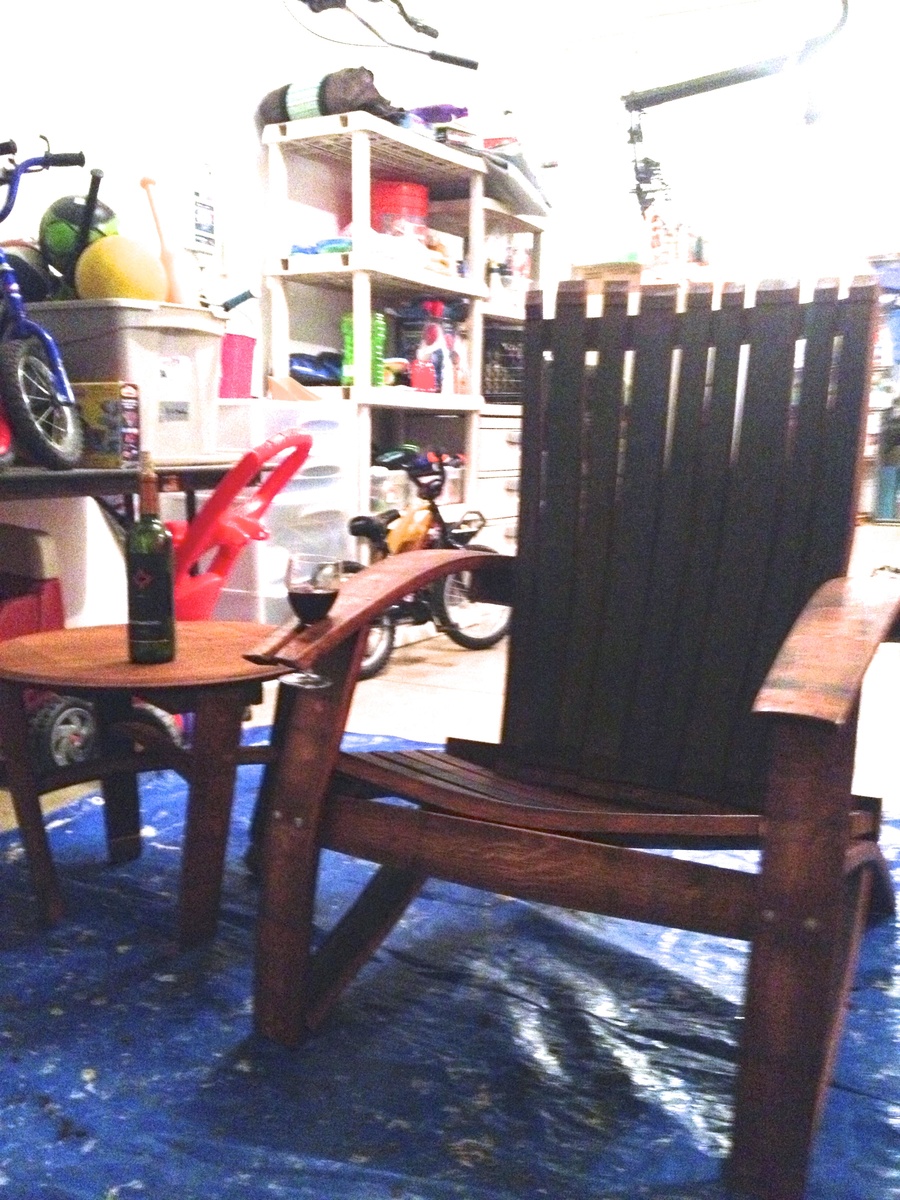
I got some oak barrels from a local vineyard and decided to try making some adirondack chairs. It was harder than I thought it would be, but well worth it!! The stain was a little darker than I thought it be, but it's rubbing off on me!
predrill, predrill, predrill, and learned a valuable lesson in predrilling, as solid wood under strain cracks easy when using 2 1/2" deck screws!
I need to whip out the nice camera and stop using my cell phone for finished products!

Sun, 07/21/2013 - 19:45
I did have some plans, which made it easier. I didn't use them as designed i.e. tracing, and I also altered the plans some to my liking. I got the plans for 15$ from here: http://www.gcwoodworks.com/Wine-Barrel-Adirondack-Chair-Large.htm

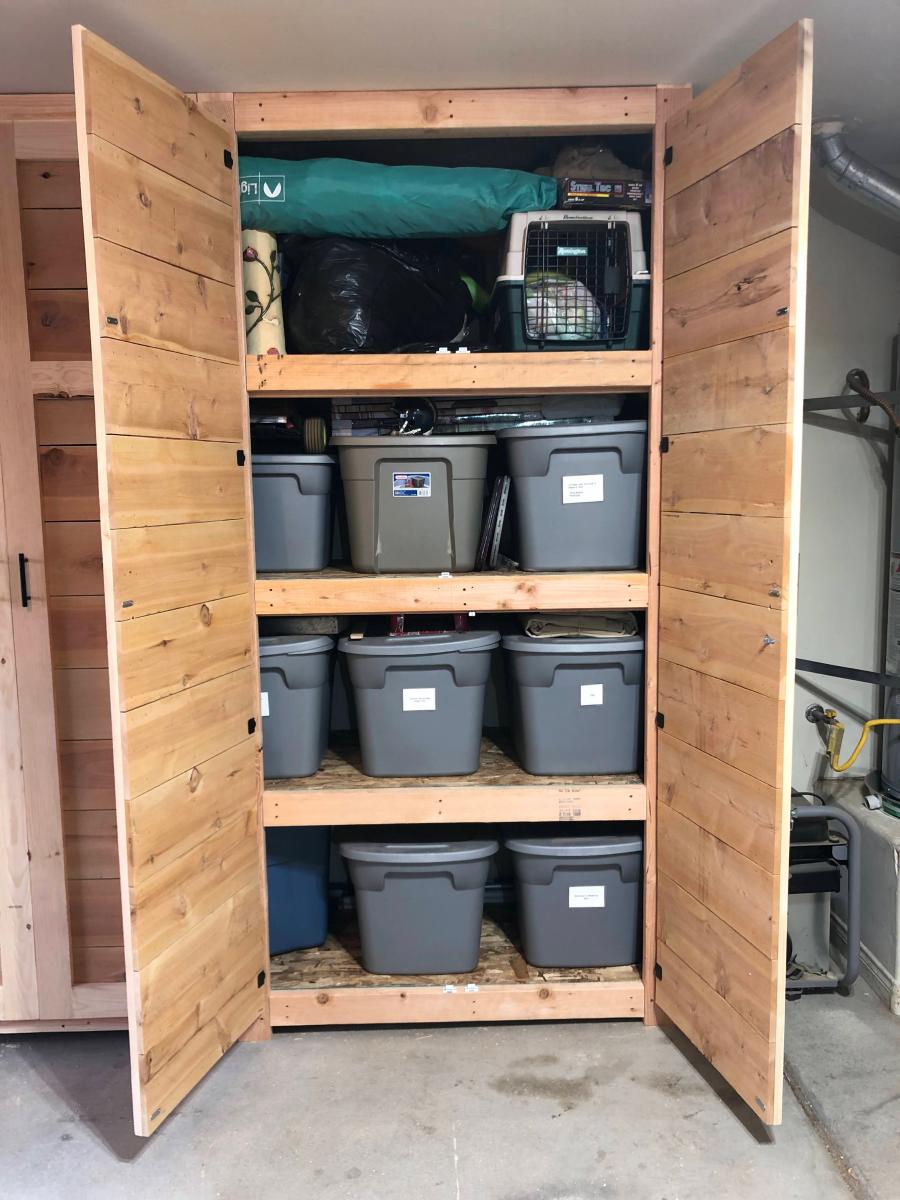
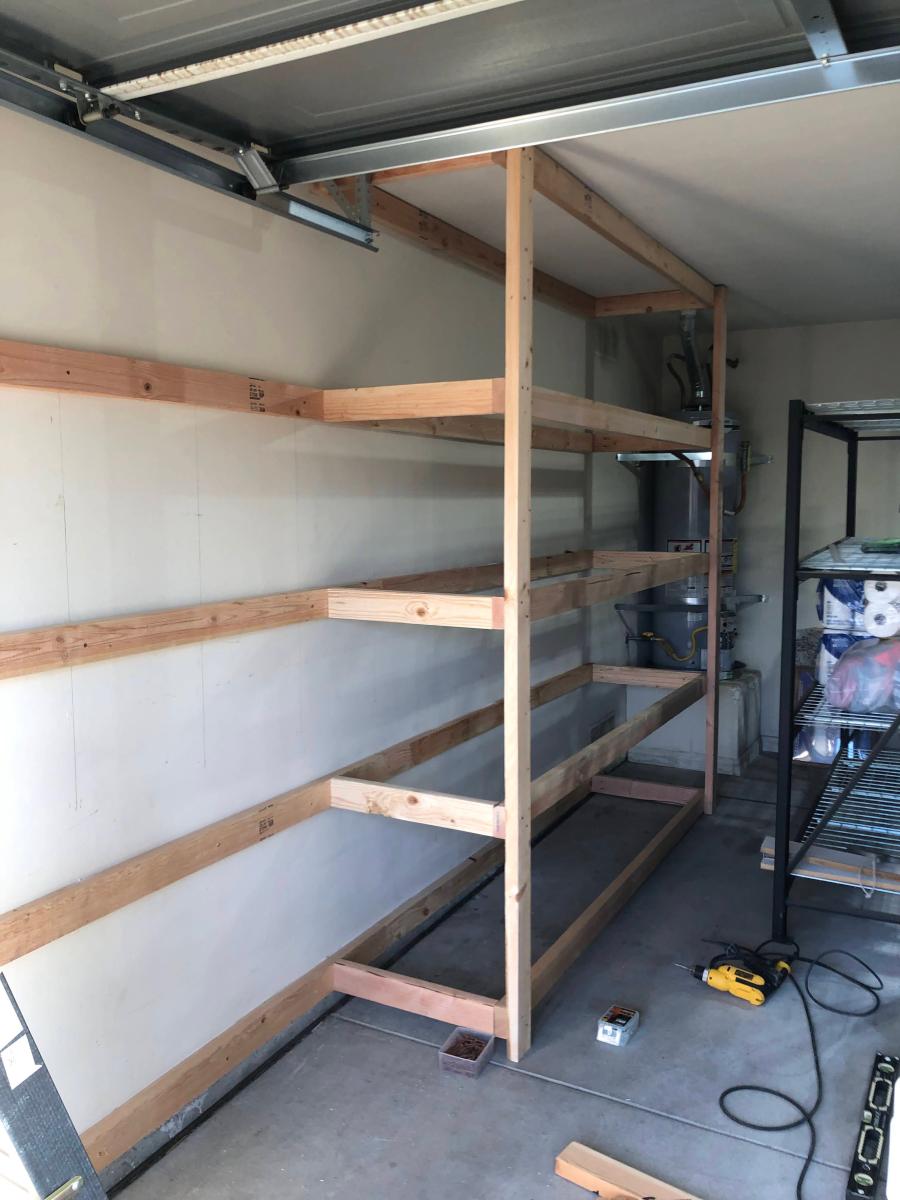
Garage Shelves Plan with Added Doors - Built and shared by Jeremy Doyle



Inspired by Ana White's $25 Wood Baby Gate (https://www.youtube.com/watch?v=cPV6XfheqgA), I needed a gate for my miniature schnauzers. They loved going into the basement unattended ... and well ... potty accidents happen without me being the wiser. So, I modified the hardware used, and so far so good! The puppies and my little nieces and nephews are protected.
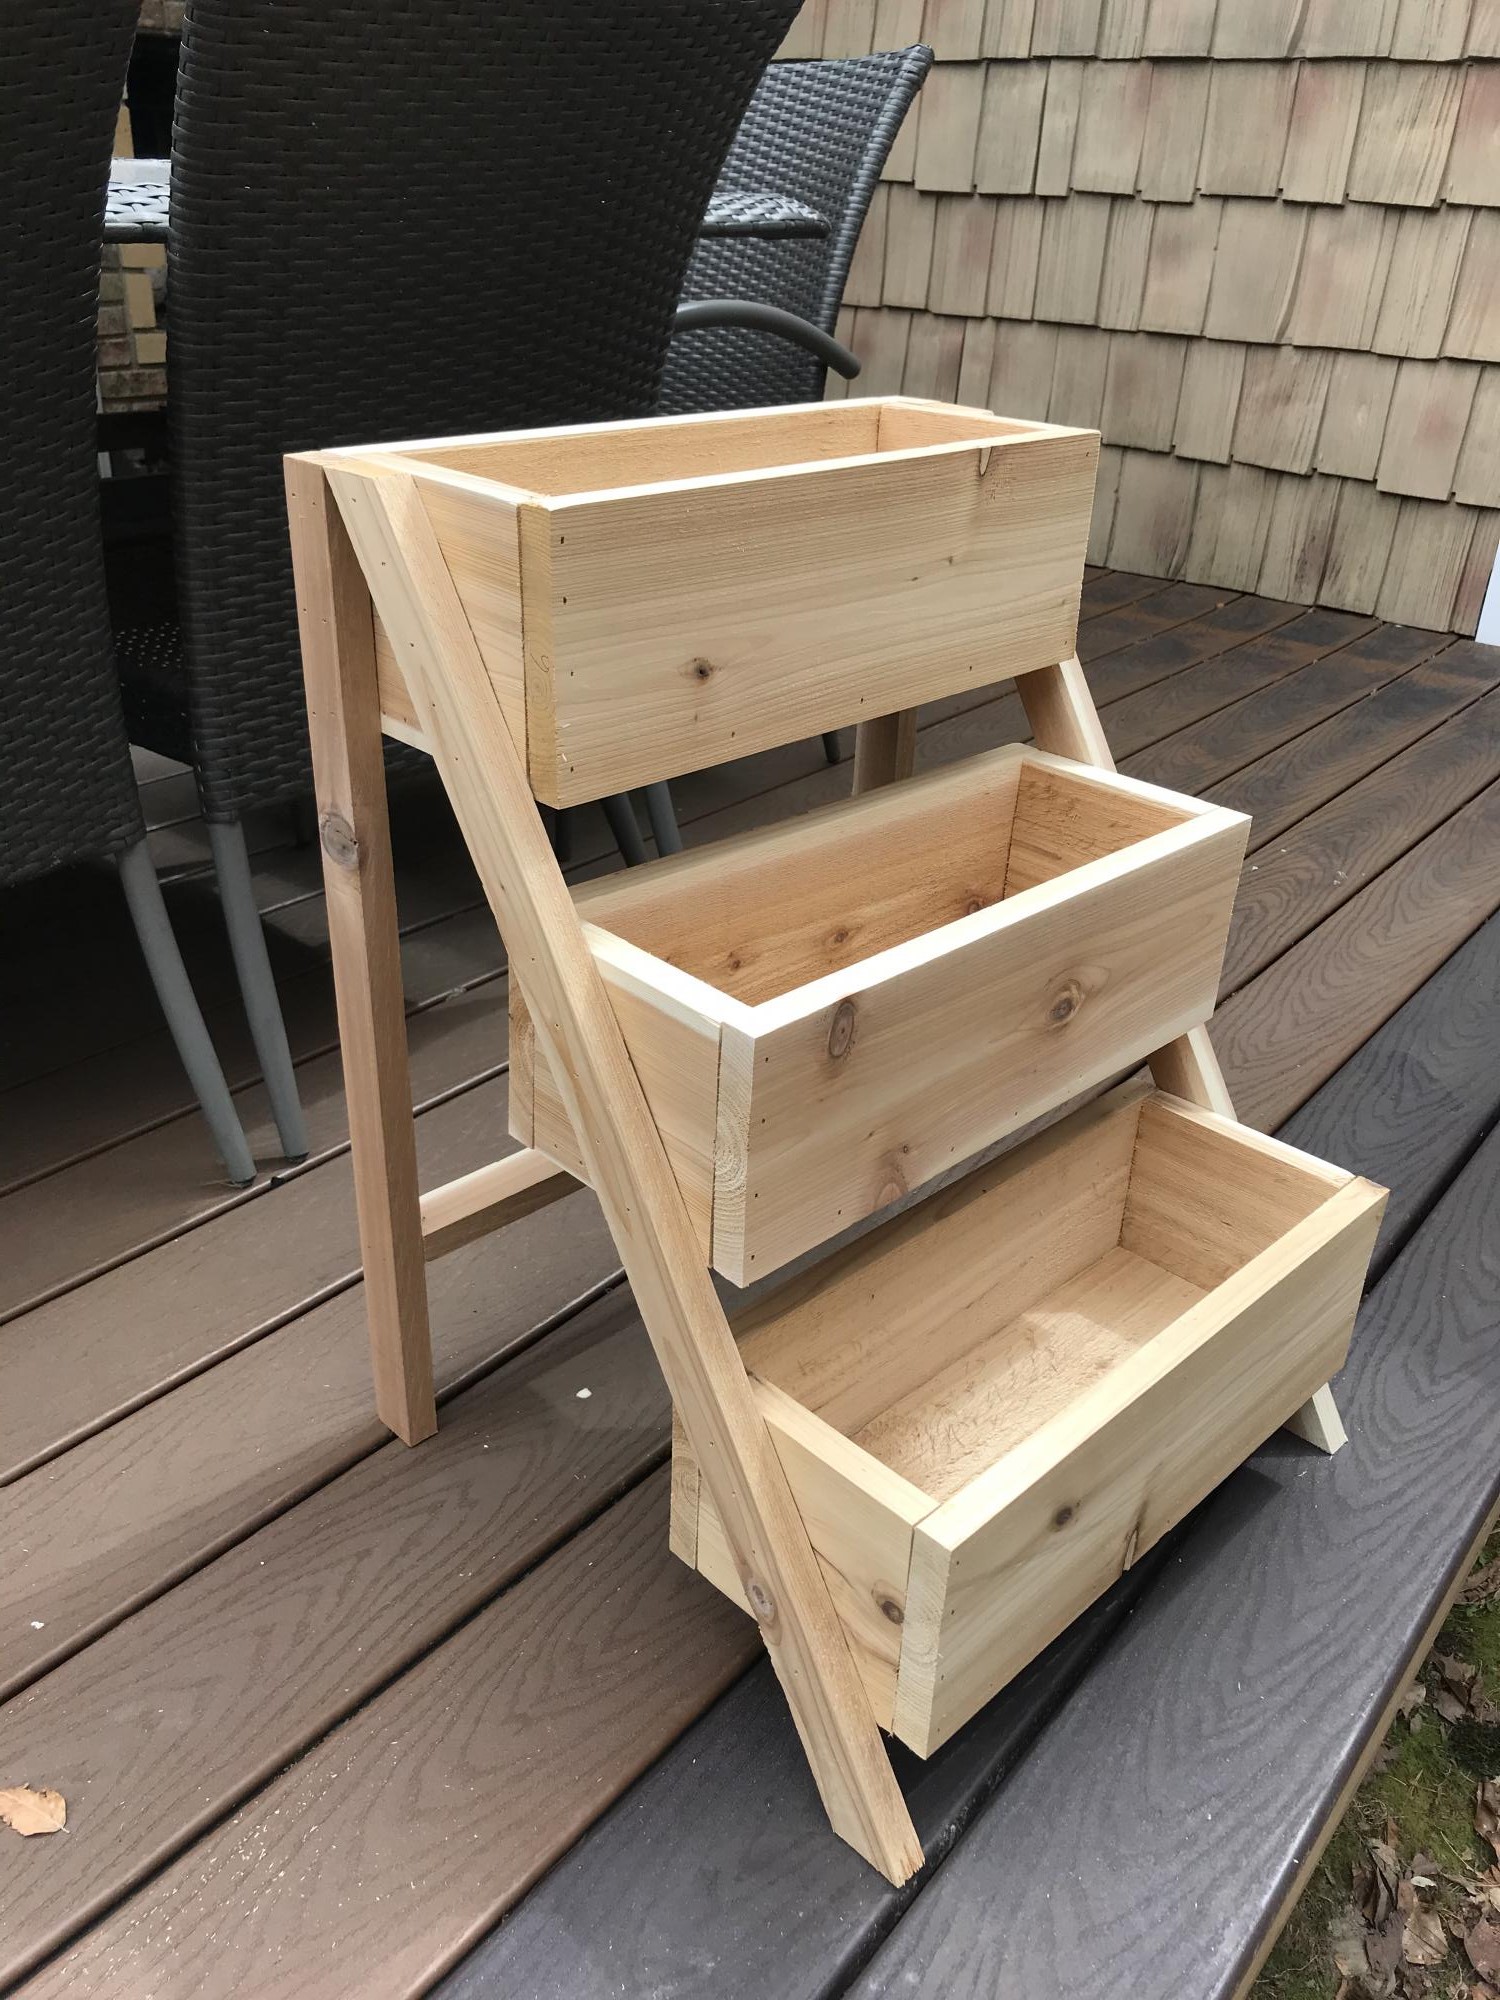
Awesome project
This was our first build and it was quite a big project to take on to start with. We had so much fun and learned so much along the way.
Our biggest lessons were to hand pick our wood and make sure we get the straightest pieces possible. We had to wrestle some wood to make this bed work! Clamp everything especially when using large bolts as the pieces would pull apart from each other. We even used a ratchet strap at one point becuase our small clamps weren't cutting it. I'm sure there's a better way and we'd love to hear about it but we made what we had work. We also had to figure out how to attach the side rails and at what height. We ended up using 3 4-inch screws on each end to screw them into the posts.
We love this bed not only because it was a labor of love but because its such a solid beautiful piece.
Sun, 03/01/2020 - 11:29
Very nice! I love the lighter wood too, but my wife likes the darker stain, so we compromised in the middle for the finish. Why arethe post always so red? I can appreciate the natural tendency of nature to add color, but the 4*4's are always red-er in color. Do they always use a different pine or certain part of the tree for those?
Mon, 01/18/2021 - 11:27
I believe the posts are actually Douglas fir and not pine judging by the look and color of the grains.
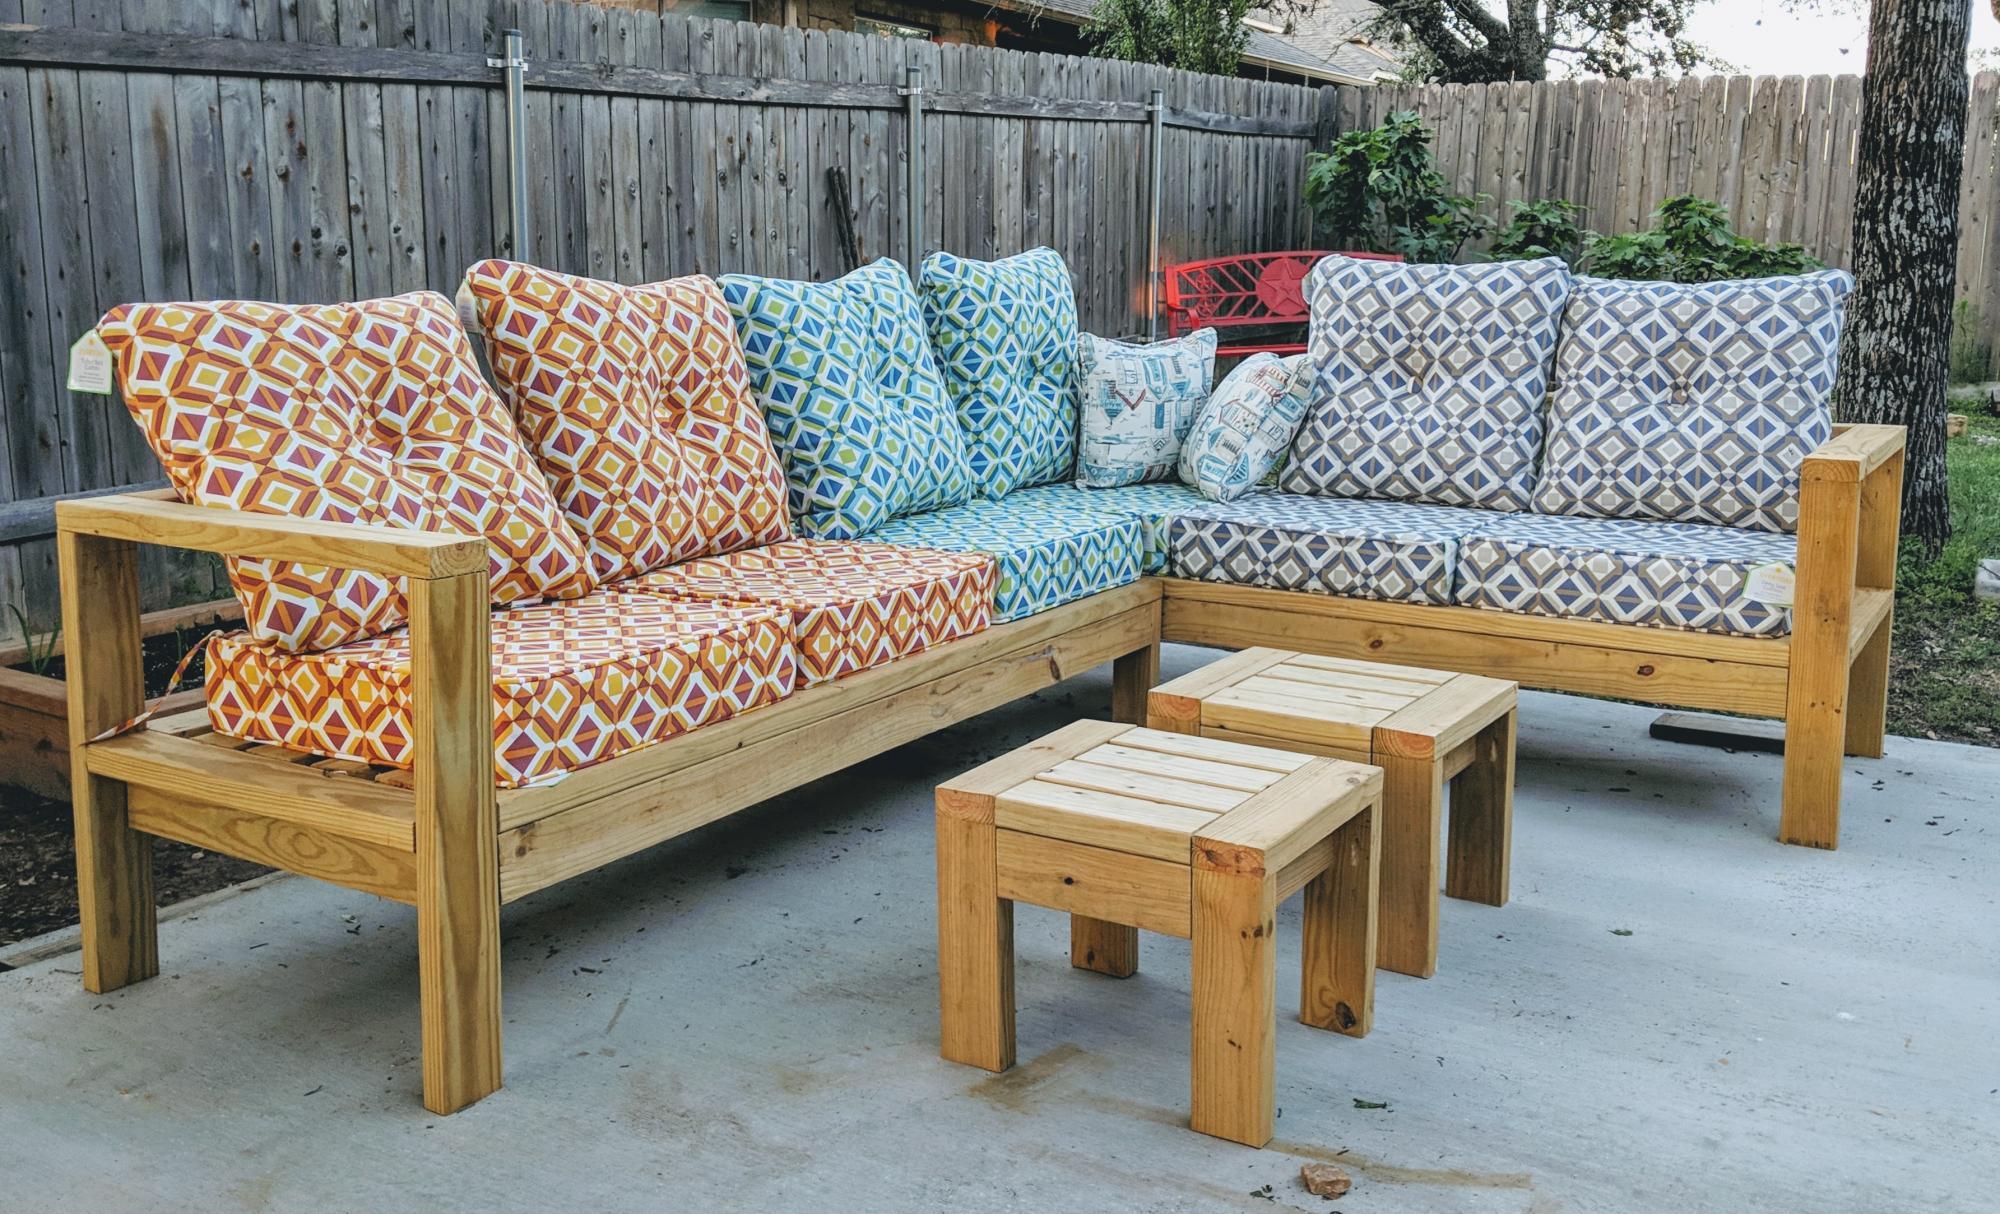
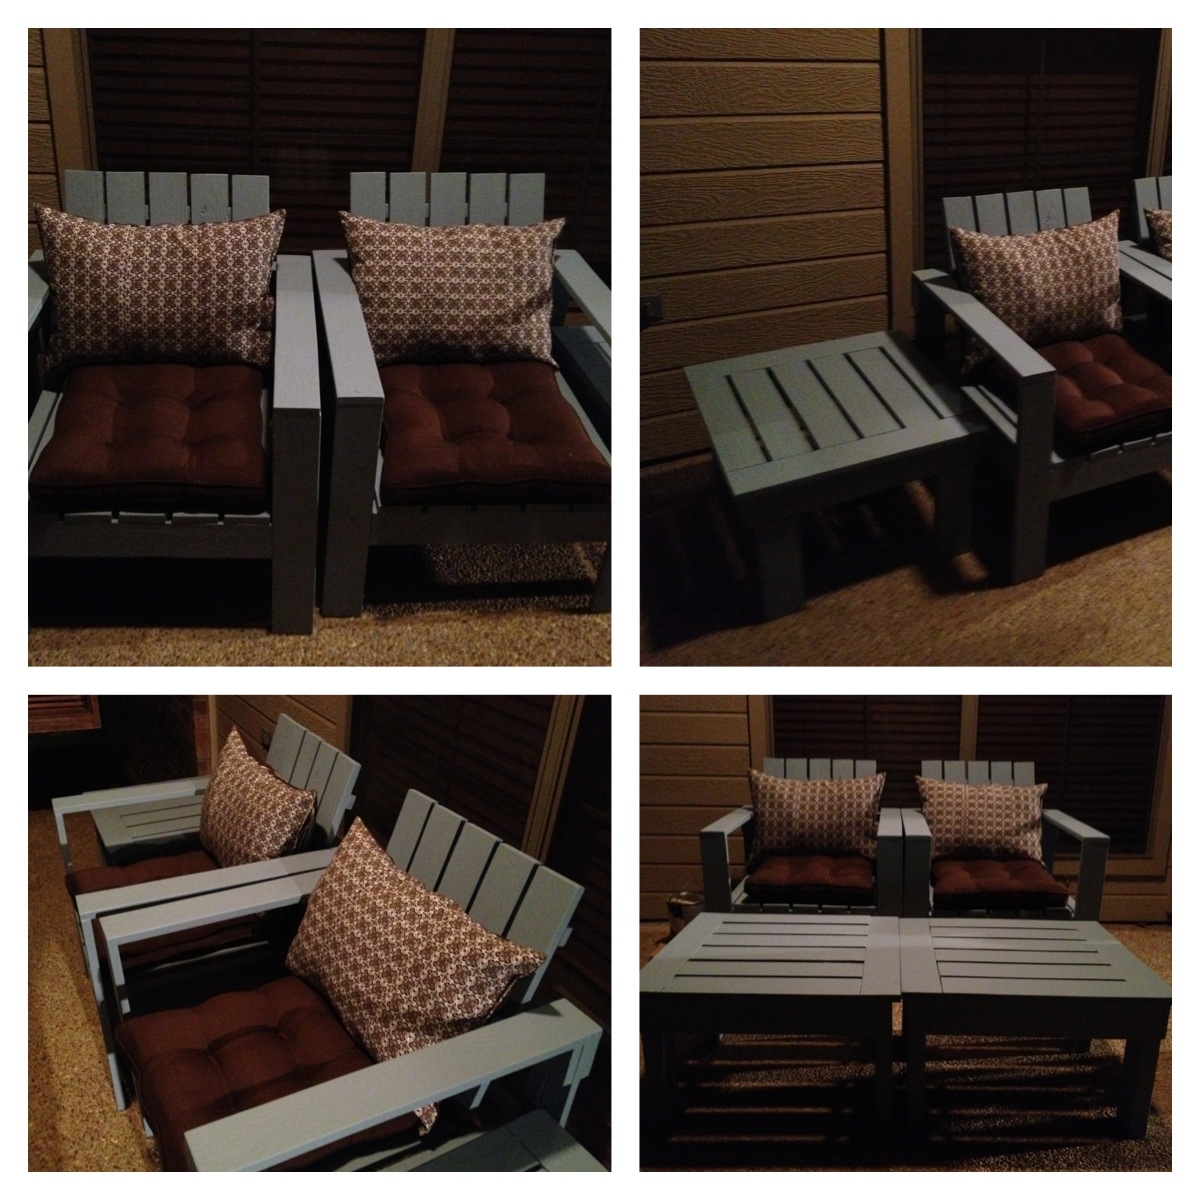
I reduced the size of the 2x4 coffee table to make 2 end tables. They can be used as additional seating when needed.
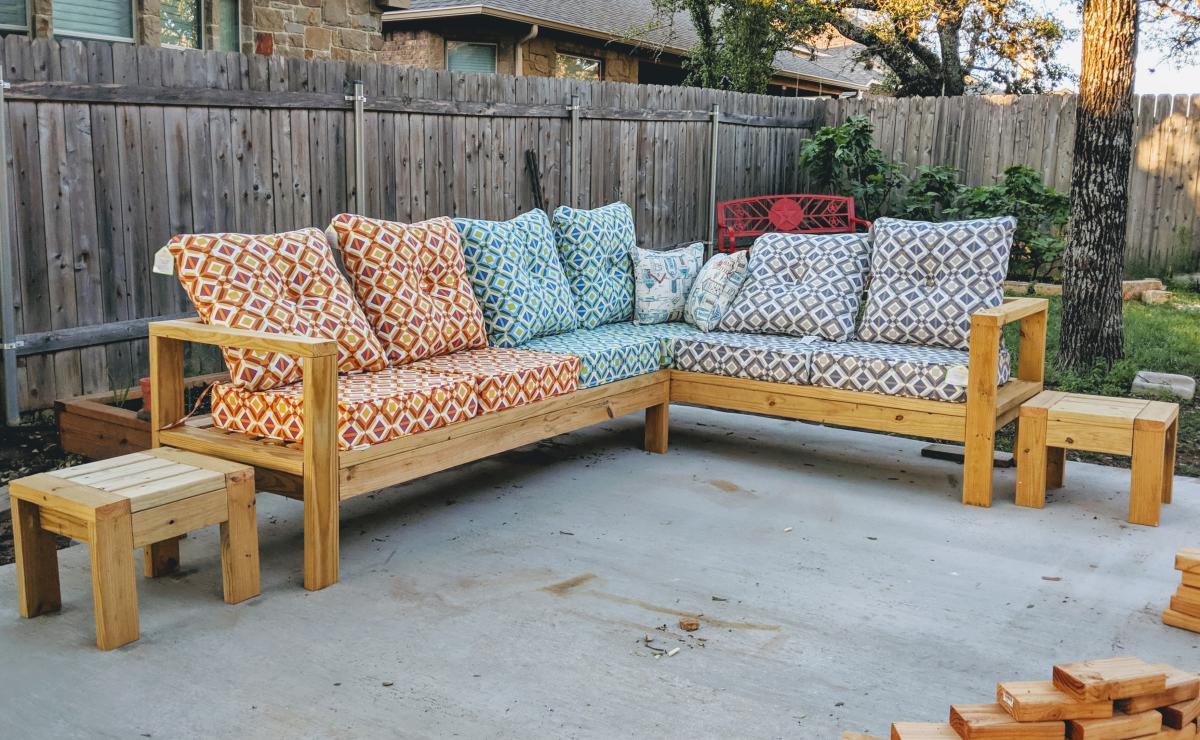
We wanted outdoor furniture but did not want to pay over $500. Very sturdy and will last forever!
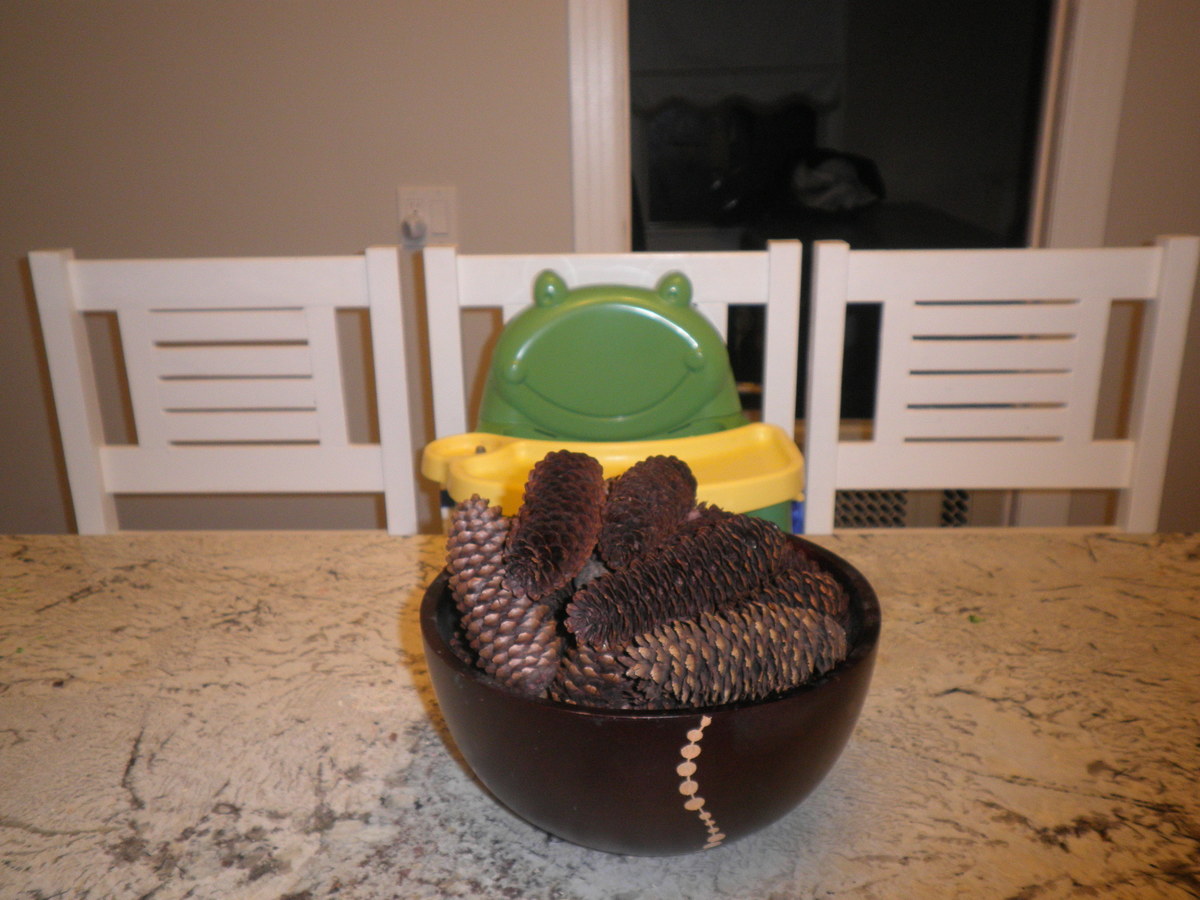
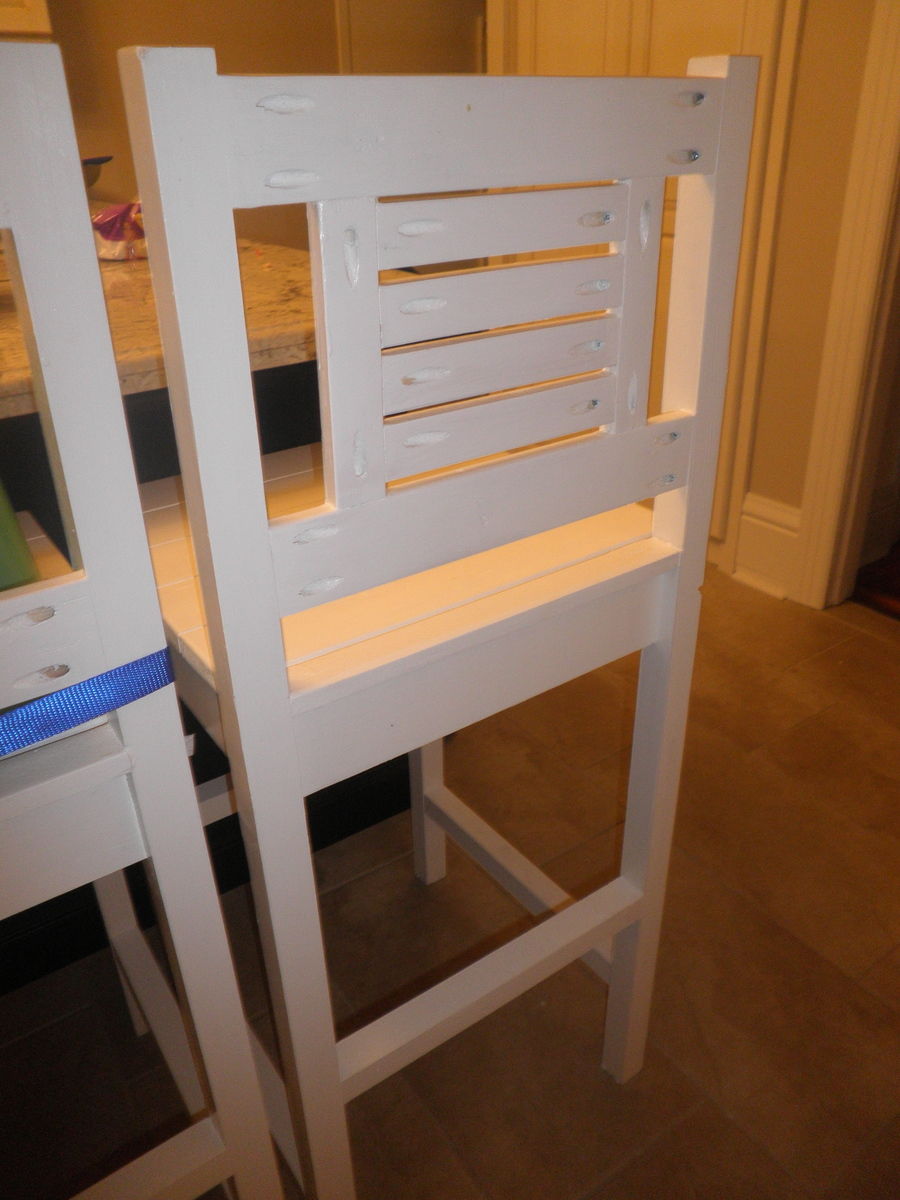
Vintage bars stools made for our kids ages 4.5,2.5, 1 (hence the reason they are high) the kids love them and I love the price tag! Around $15-20 each to make.
I left off the decorative corners.
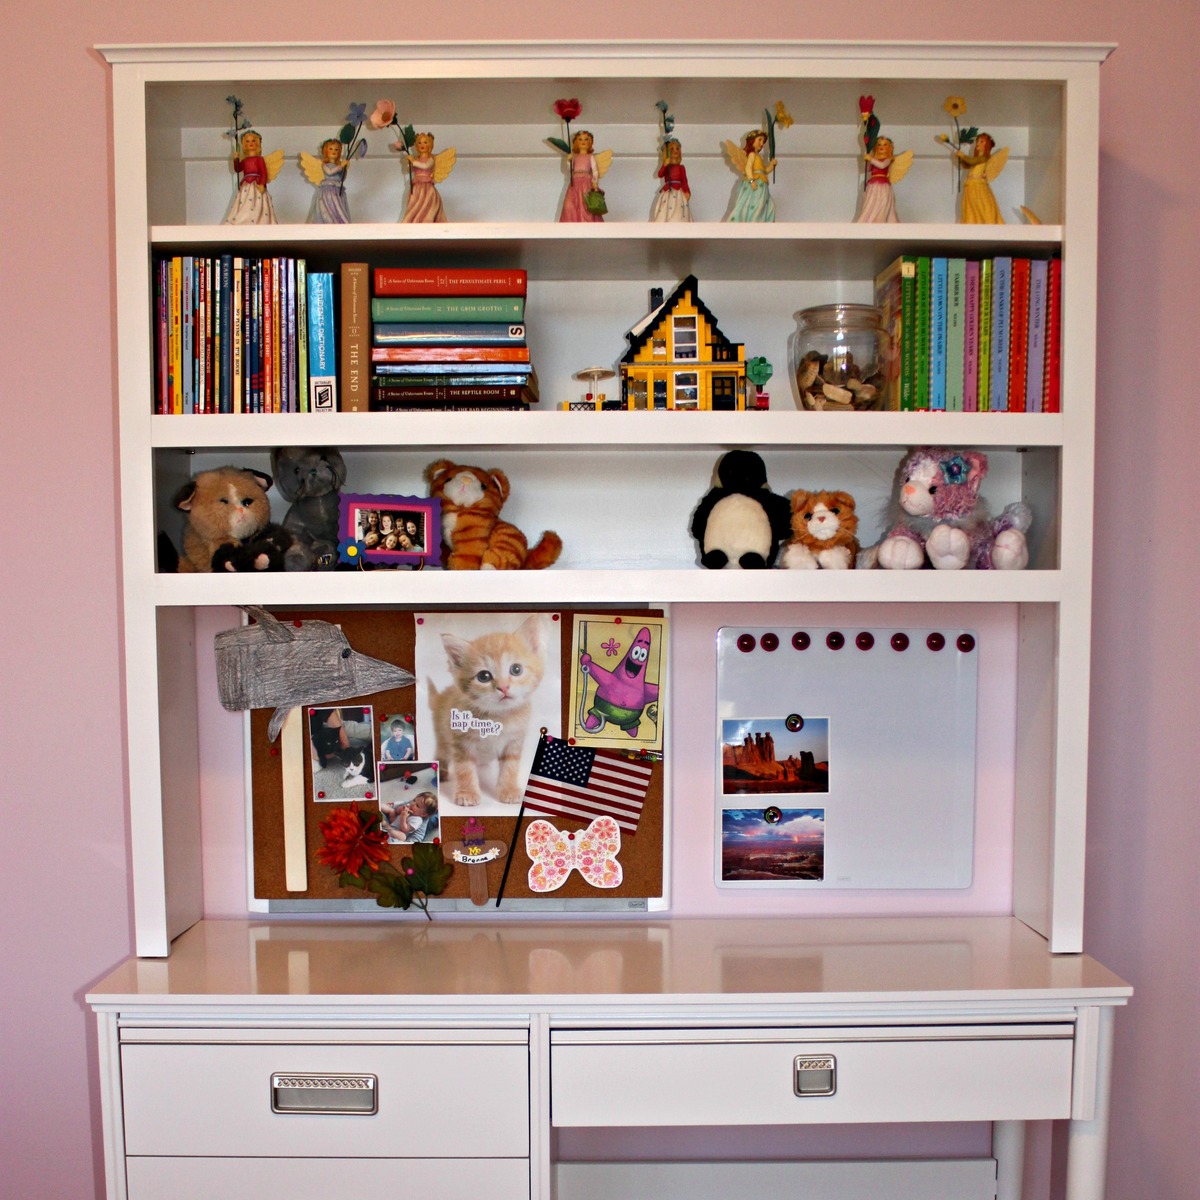
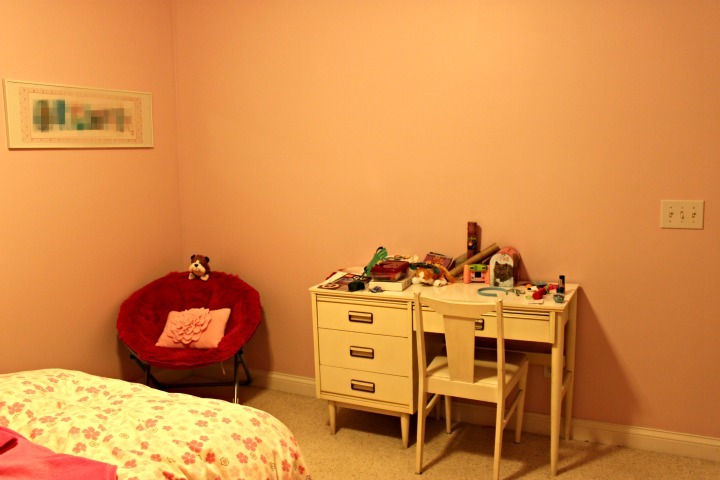
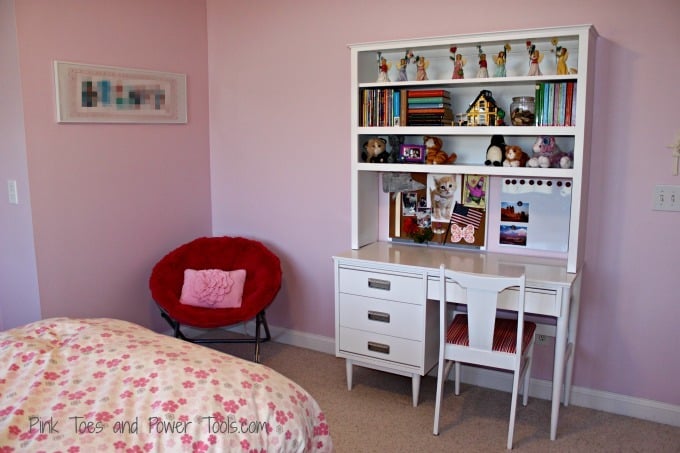
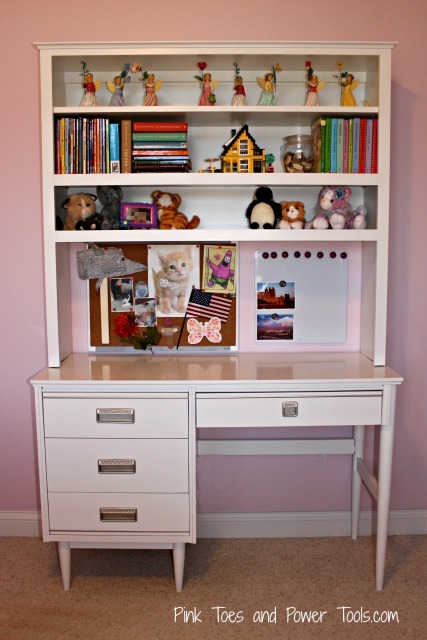
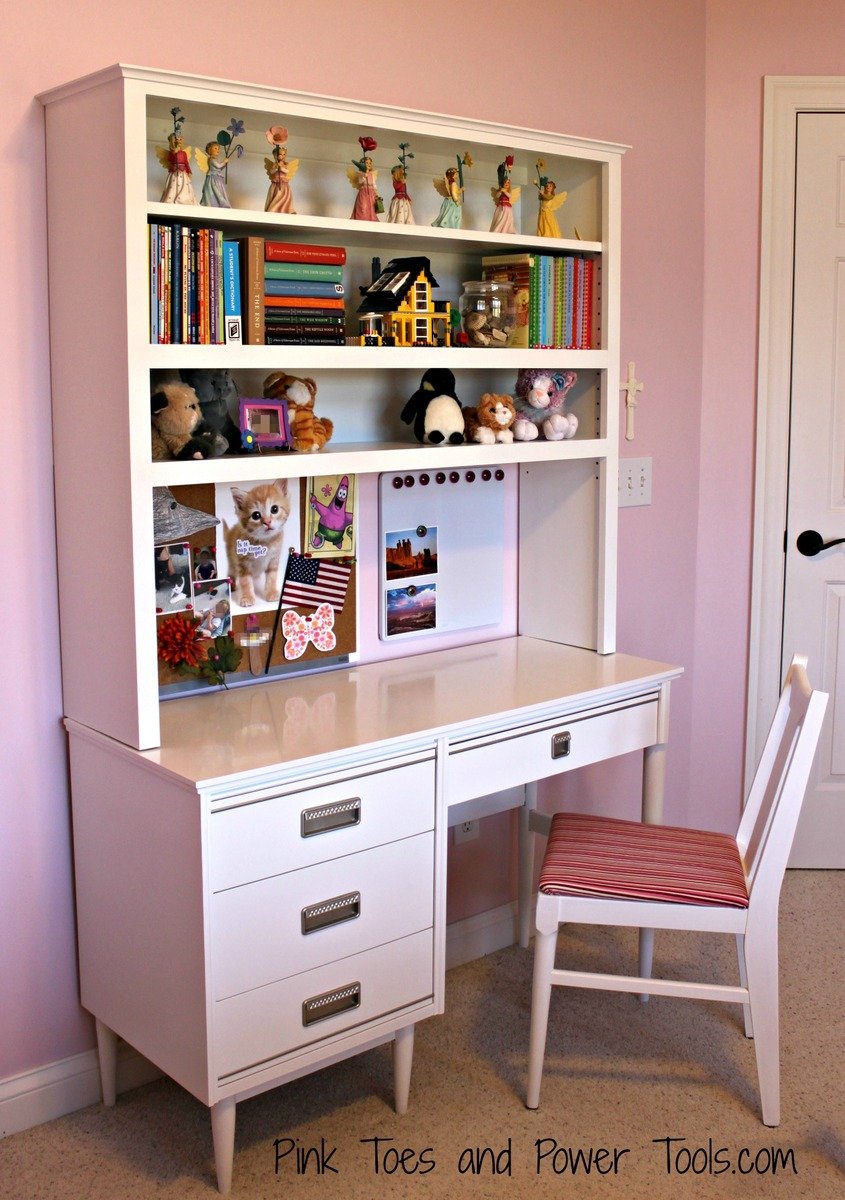
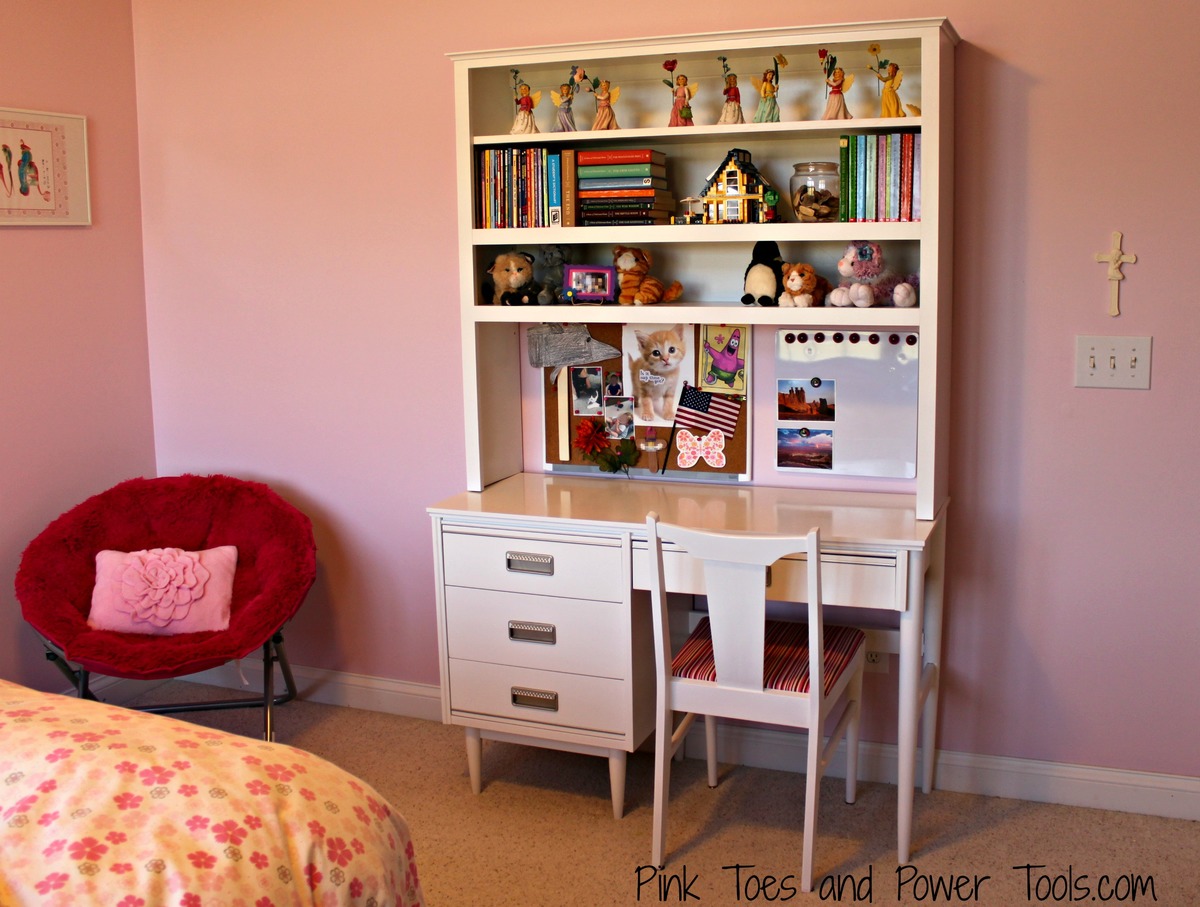
I bought a desk and chair for my daughter on Craigslist awhile back, but it did not include a hutch. I decided to add one and recently completed it...in addition to painting the desk a fresh white and then repairing the chair, painting it, and recovering the seat!
The hutch build was pretty straight forward and I used a Kreg Jig to assemble most of it. I built it to sit on the desk (not attached) but I included a cleat at the top to screw a couple of 3" screws into the wall studs to keep it in its place. It's nice and sturdy. I plan to add some puck lights under the bottom shelf soon.
The Lego house isn't quite up to Momplex standards :)
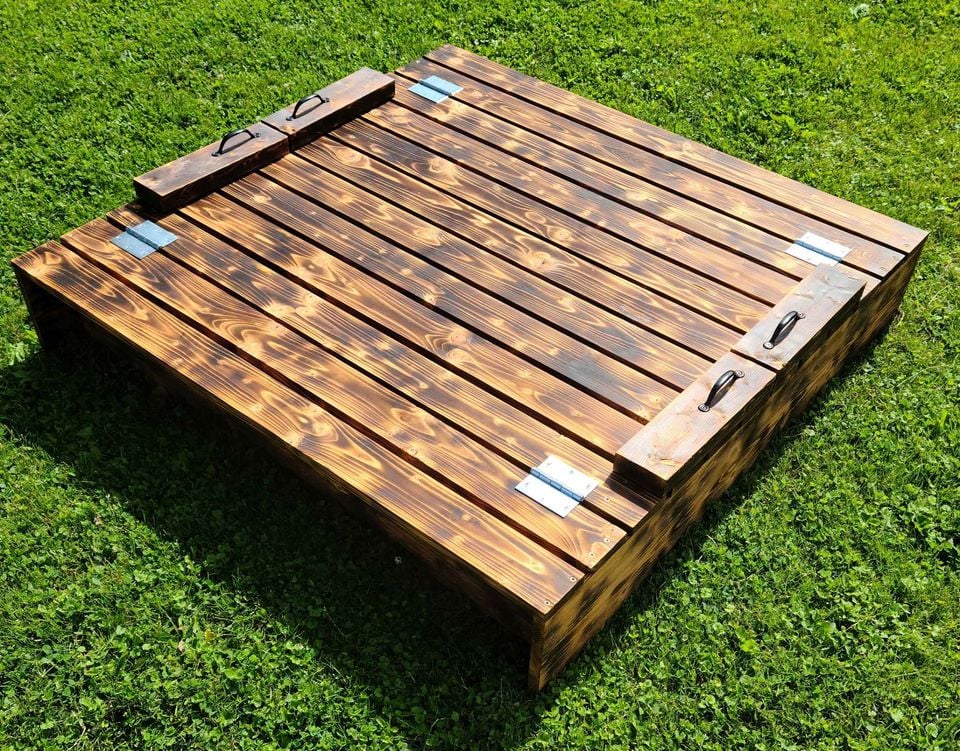
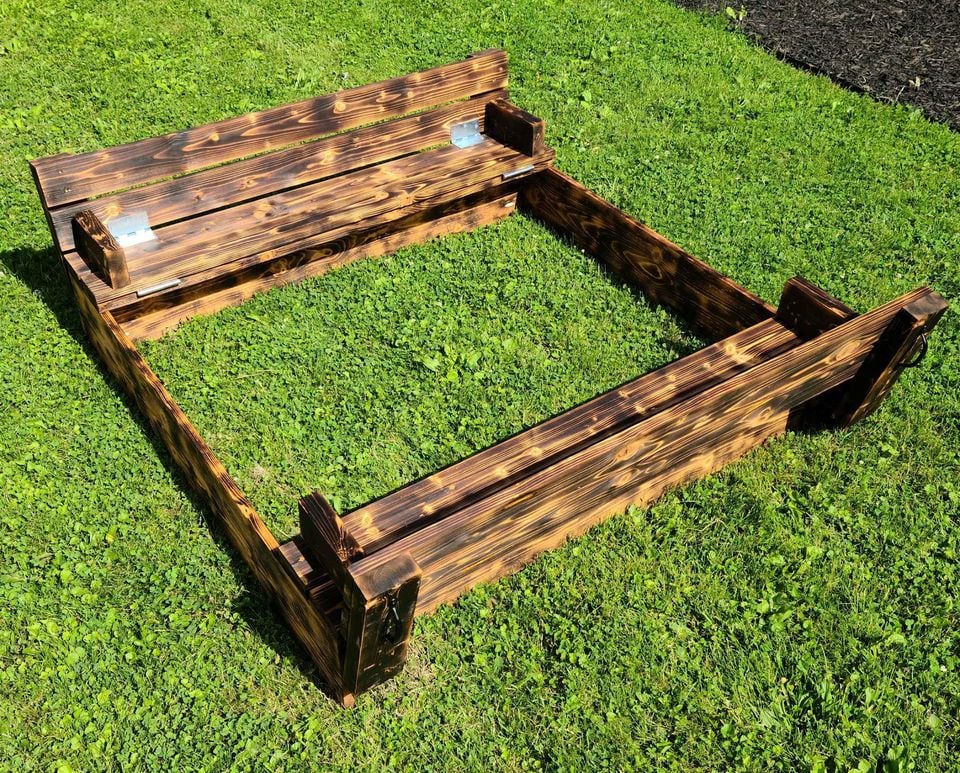
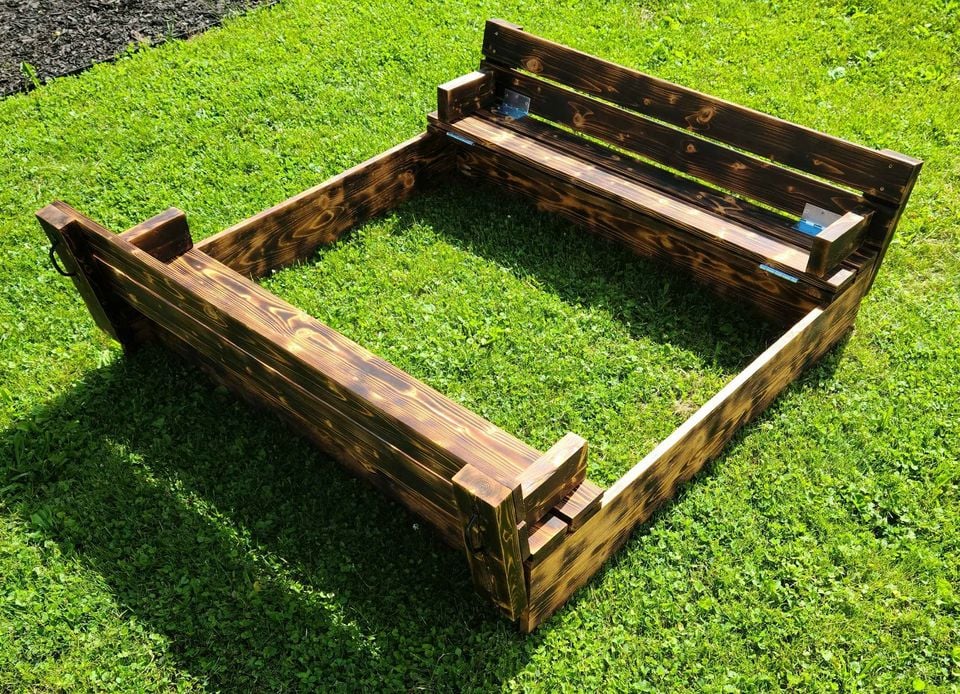
Burnt and stained with a semi transparent mahogany water sealer
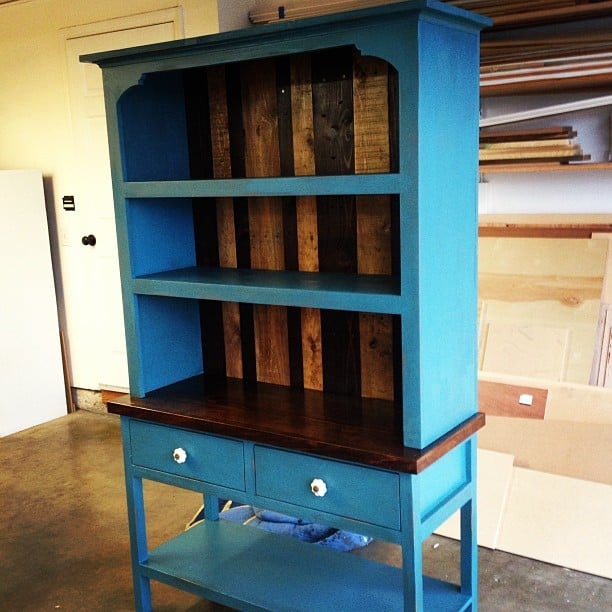
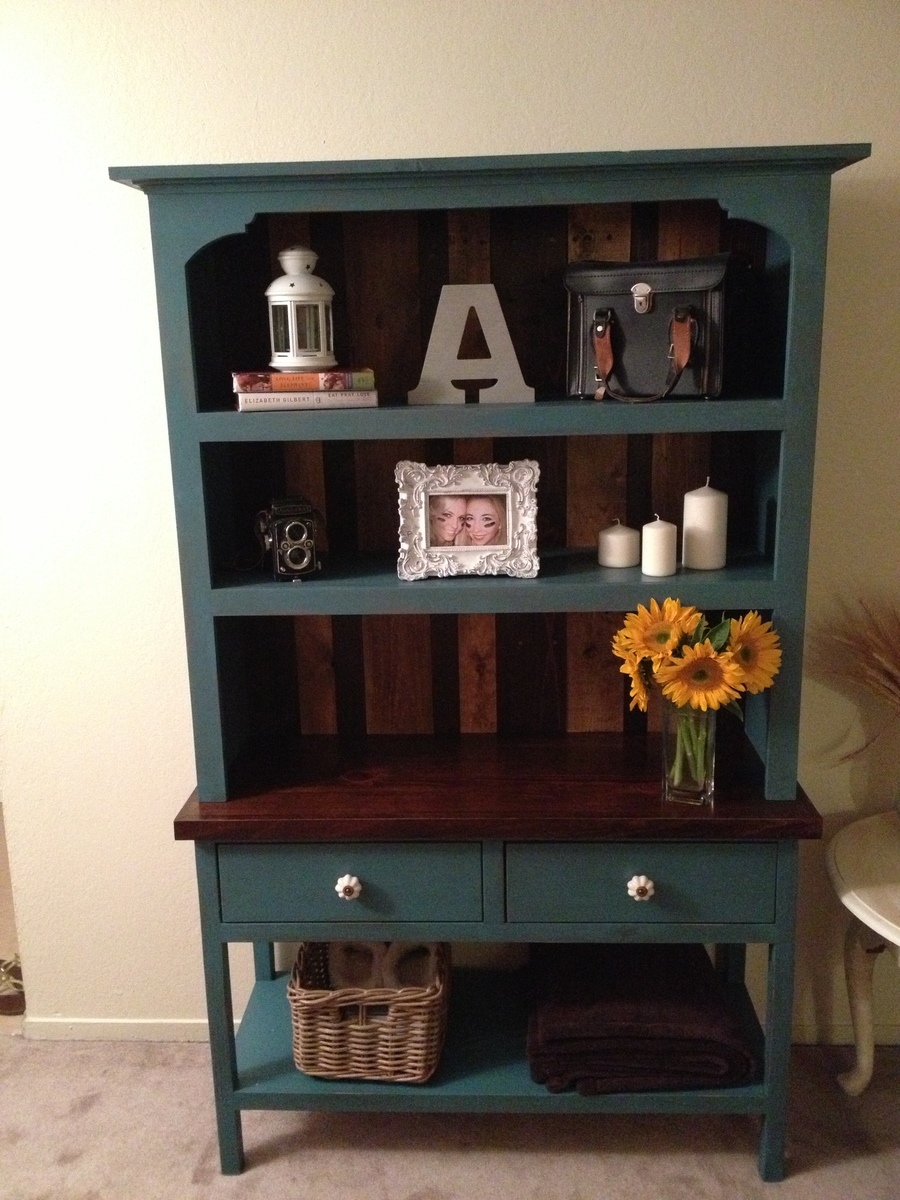
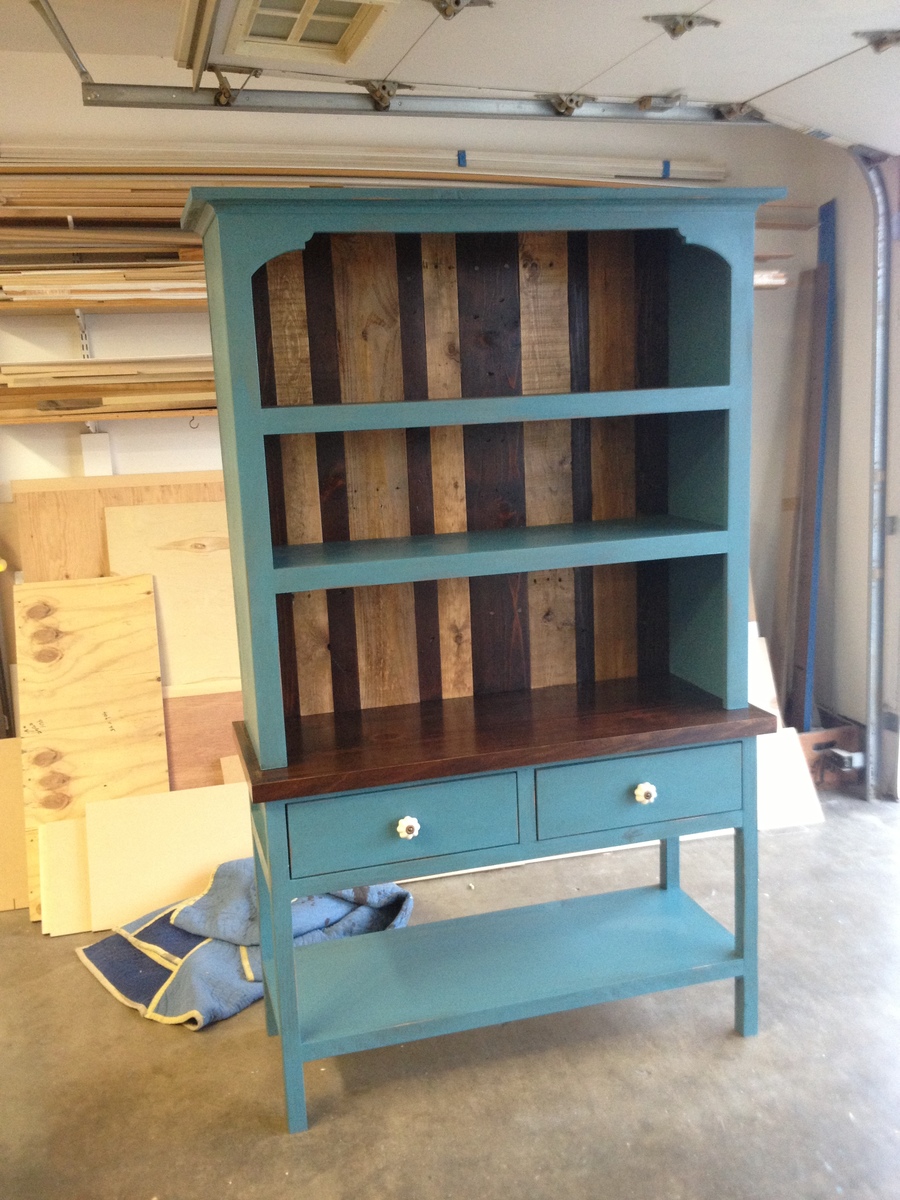
I built this hutch from Ana's book. I made a few modifications to the plans. The stained top and stained back planks are from reclaimed wood. If you build this hutch be sure to choose white knobs. I my opinion, its what makes those hutch pop. If anyone has any questions I would be happy to answer them. - Brad
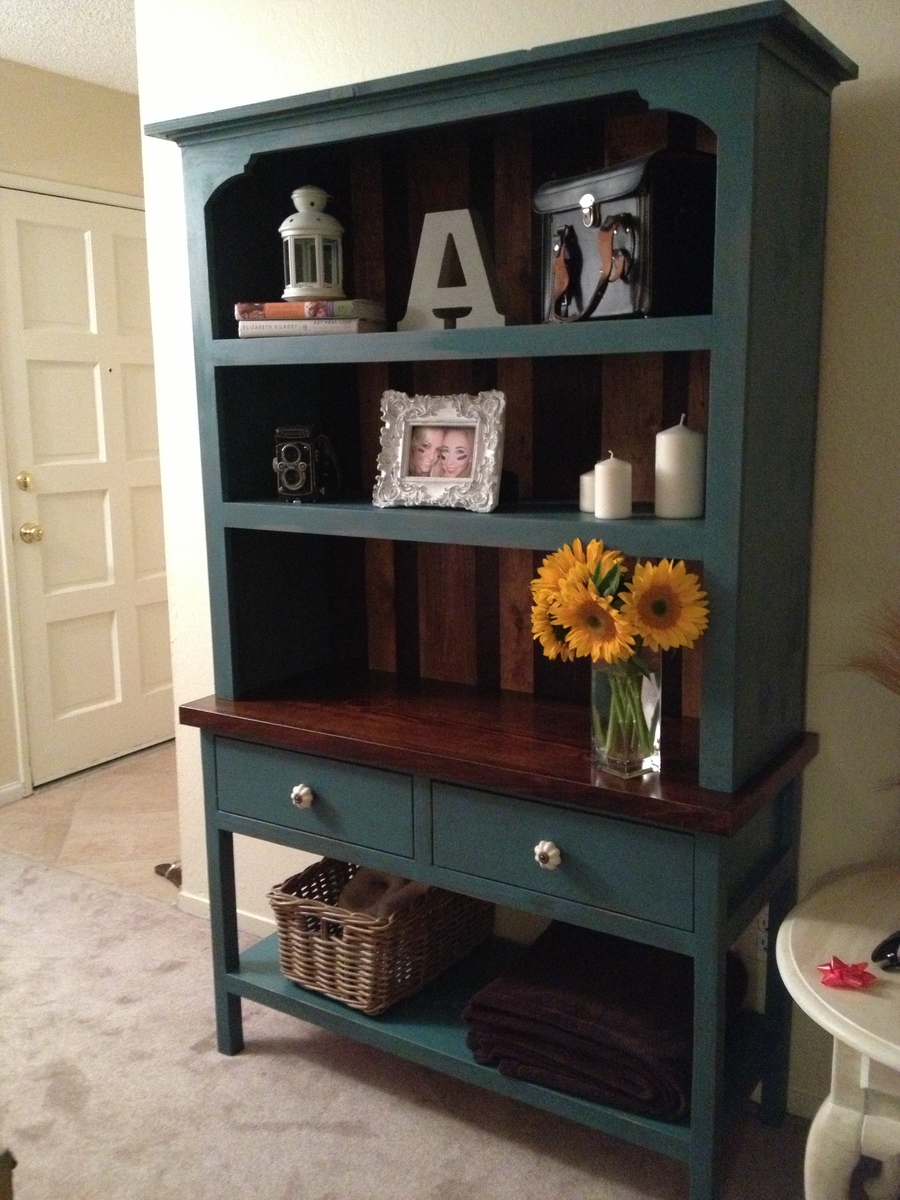
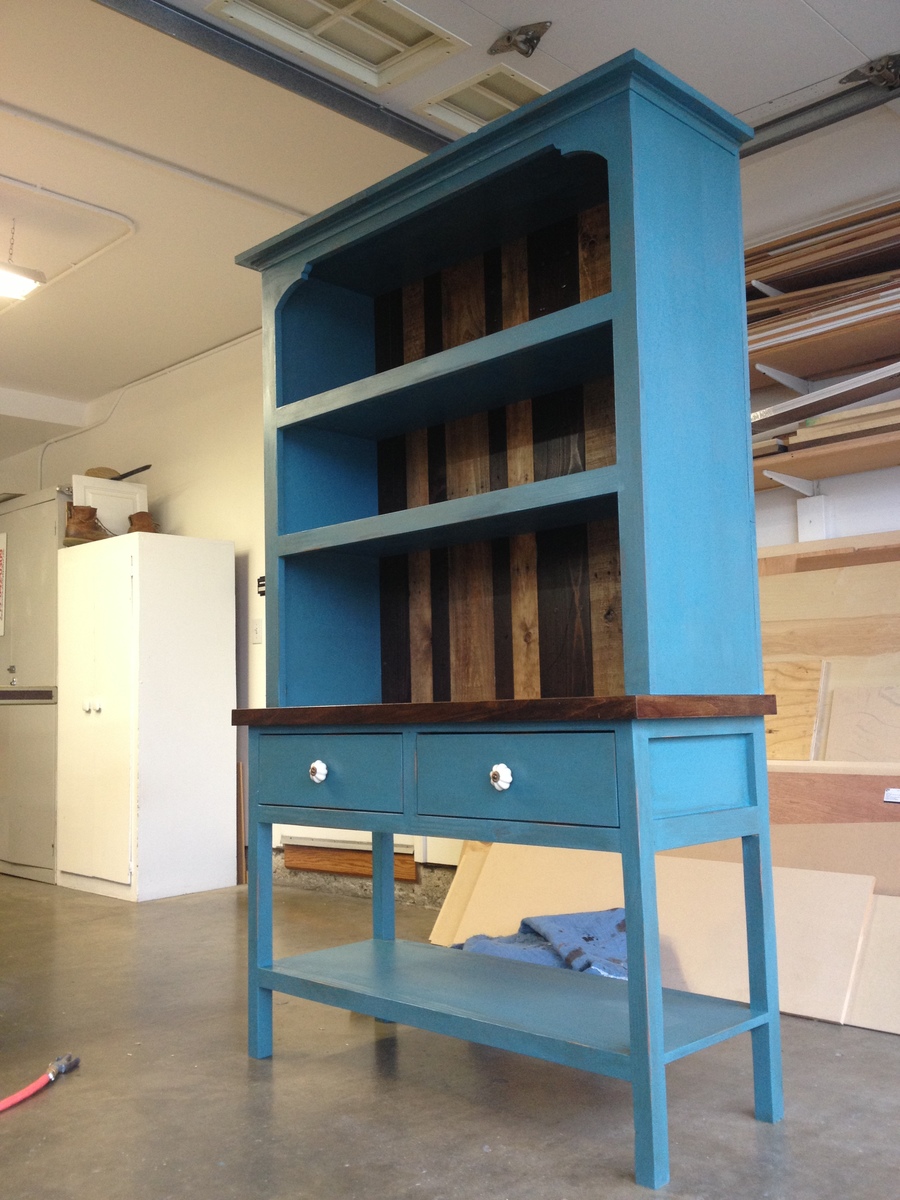
In reply to WOW by Ana White Admin
Wed, 06/12/2013 - 18:15
Thank you Ana. I love your book and your website :)
Tue, 10/28/2014 - 07:25
Hello! I am currently building this console table and hutch. At the moment, I am stuck on attaching the console legs to the side aprons. The legs are not sitting flush with the side aprons. Did you have this issue with your 2x2's when attaching them to the side aprons? If so, how did you fix this issue? The directions say to attach flush to the aprons but mine won't be flush on both sides, only one.

A frame chicken coop with a few modifications- metal roof, insulation and slightly larger second floor.
By Chrystal
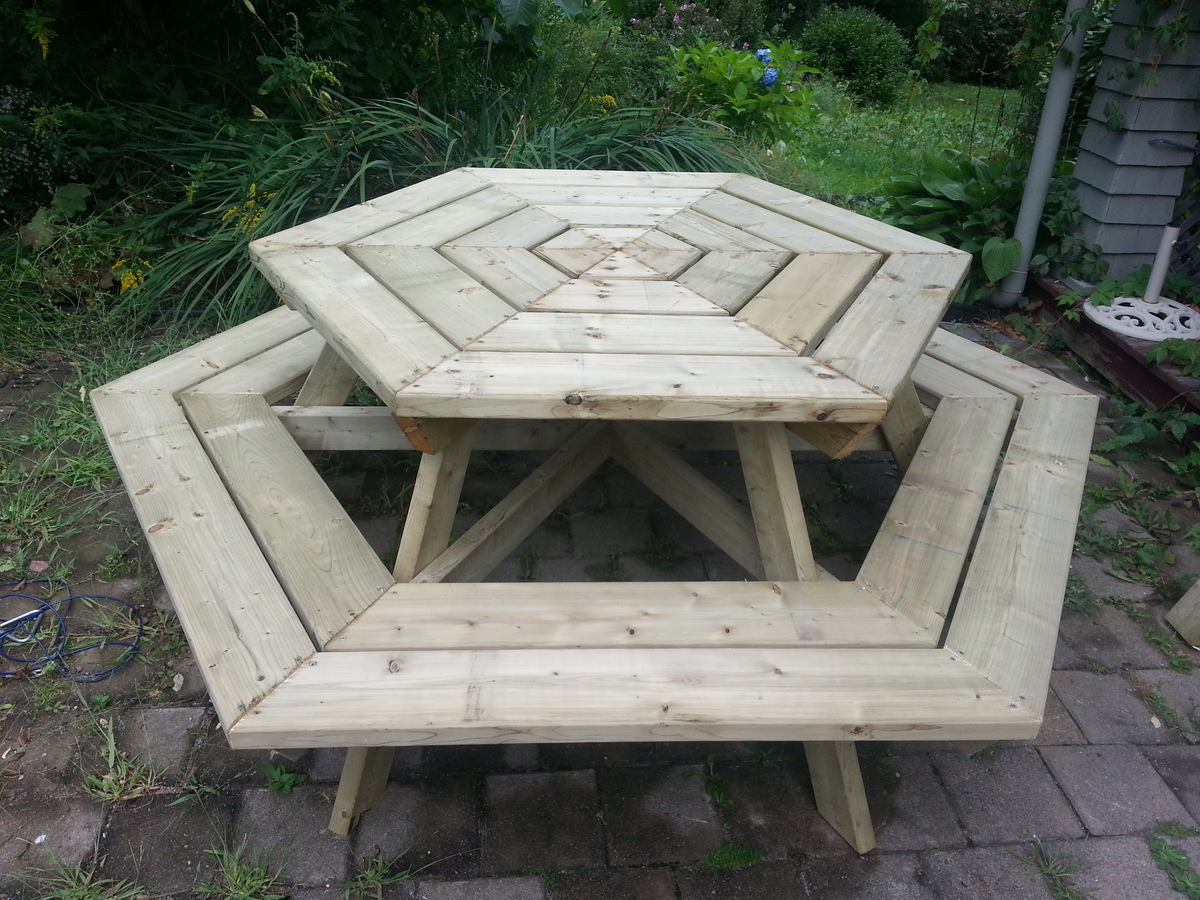
Very finicky to assemble, but love the finished product!
