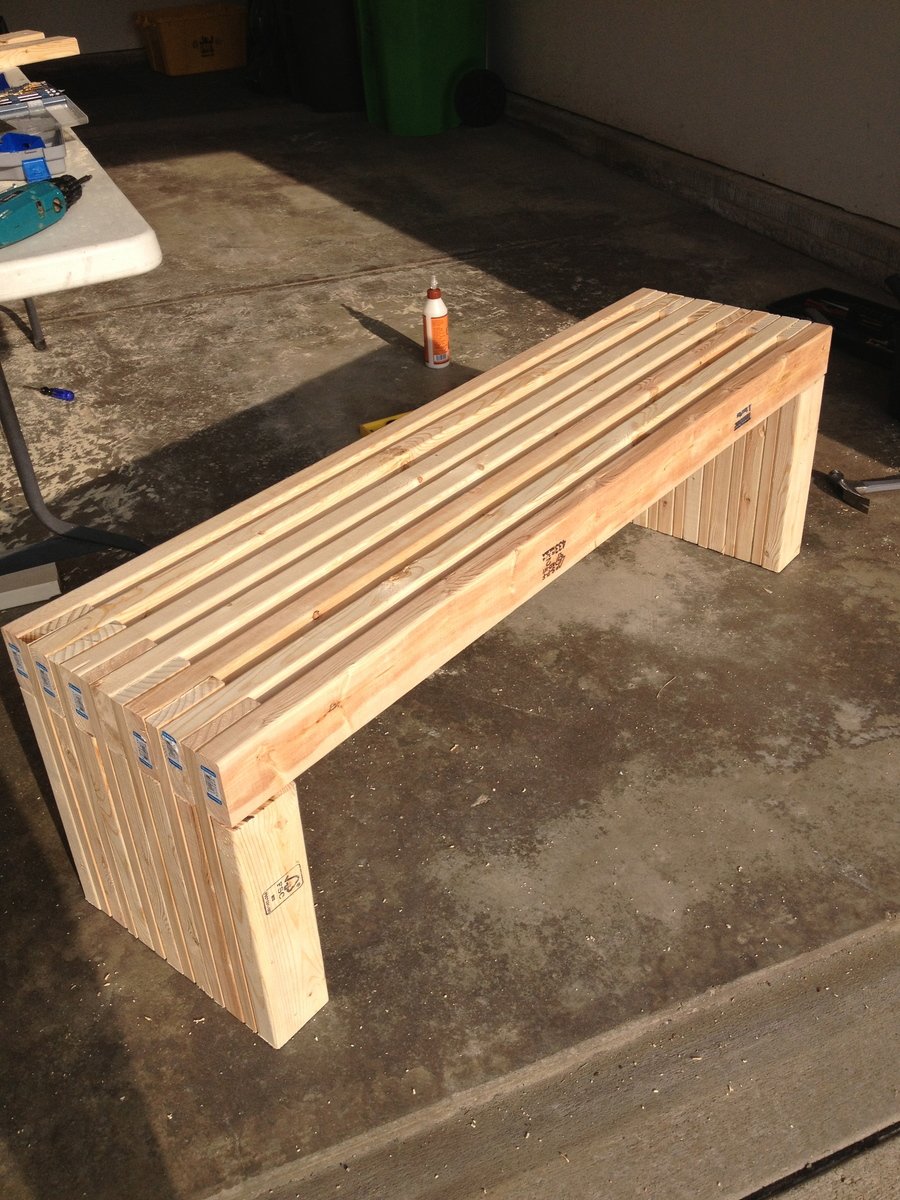
Planter Porch Steps
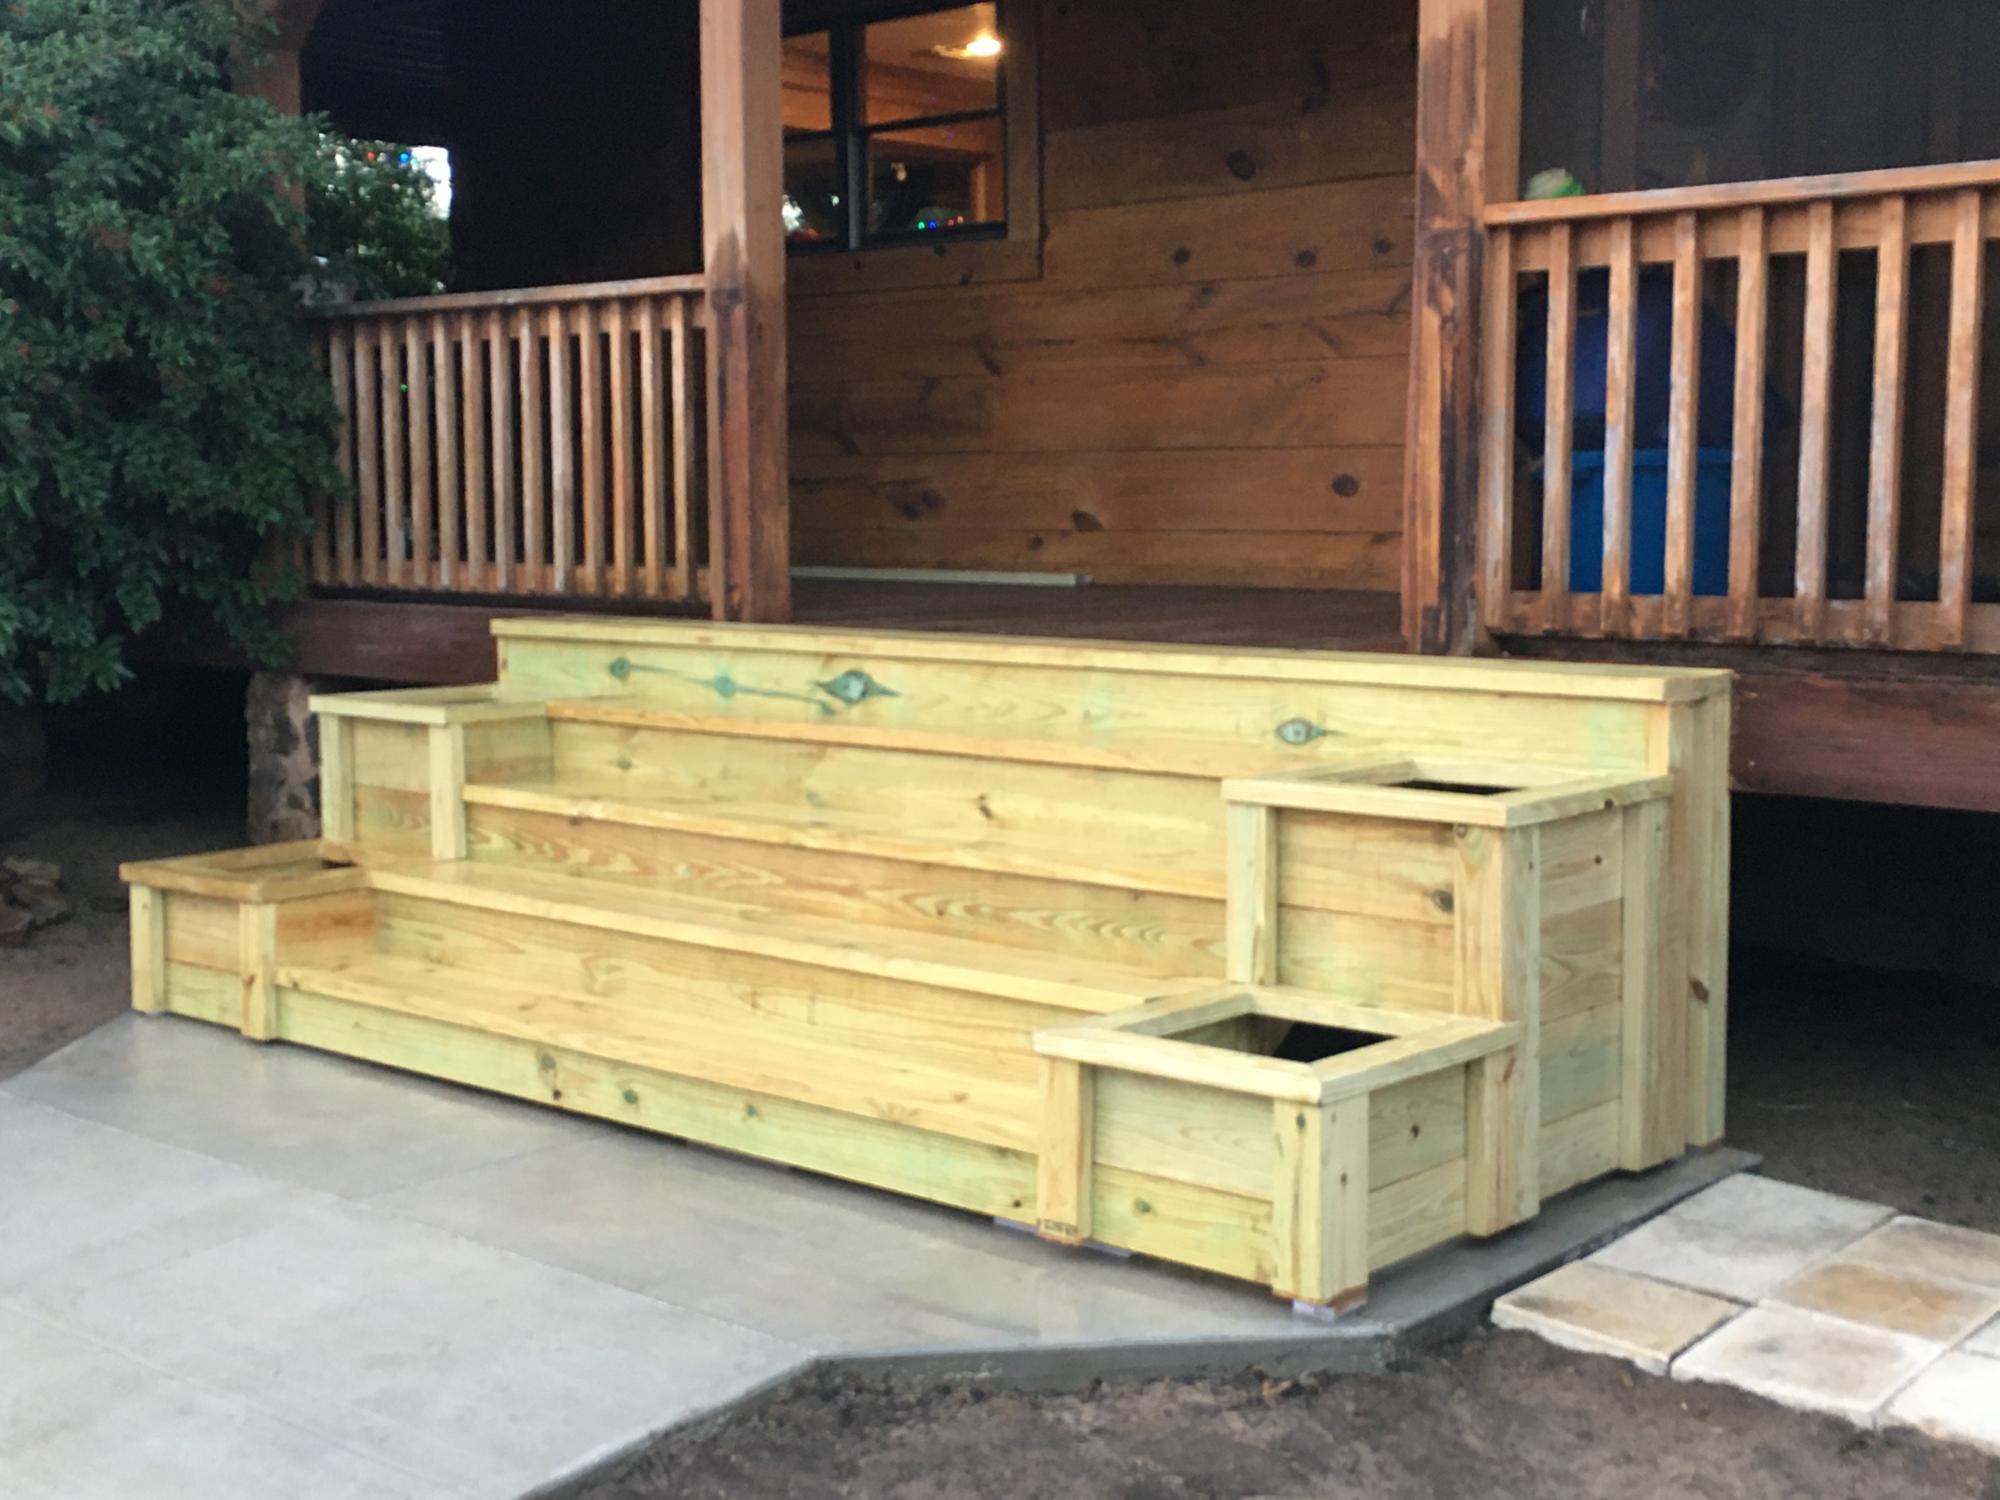
Plan modified to be built on stringers due to hight.
Built from Plan(s)
Finish Used
Pending
Plan modified to be built on stringers due to hight.
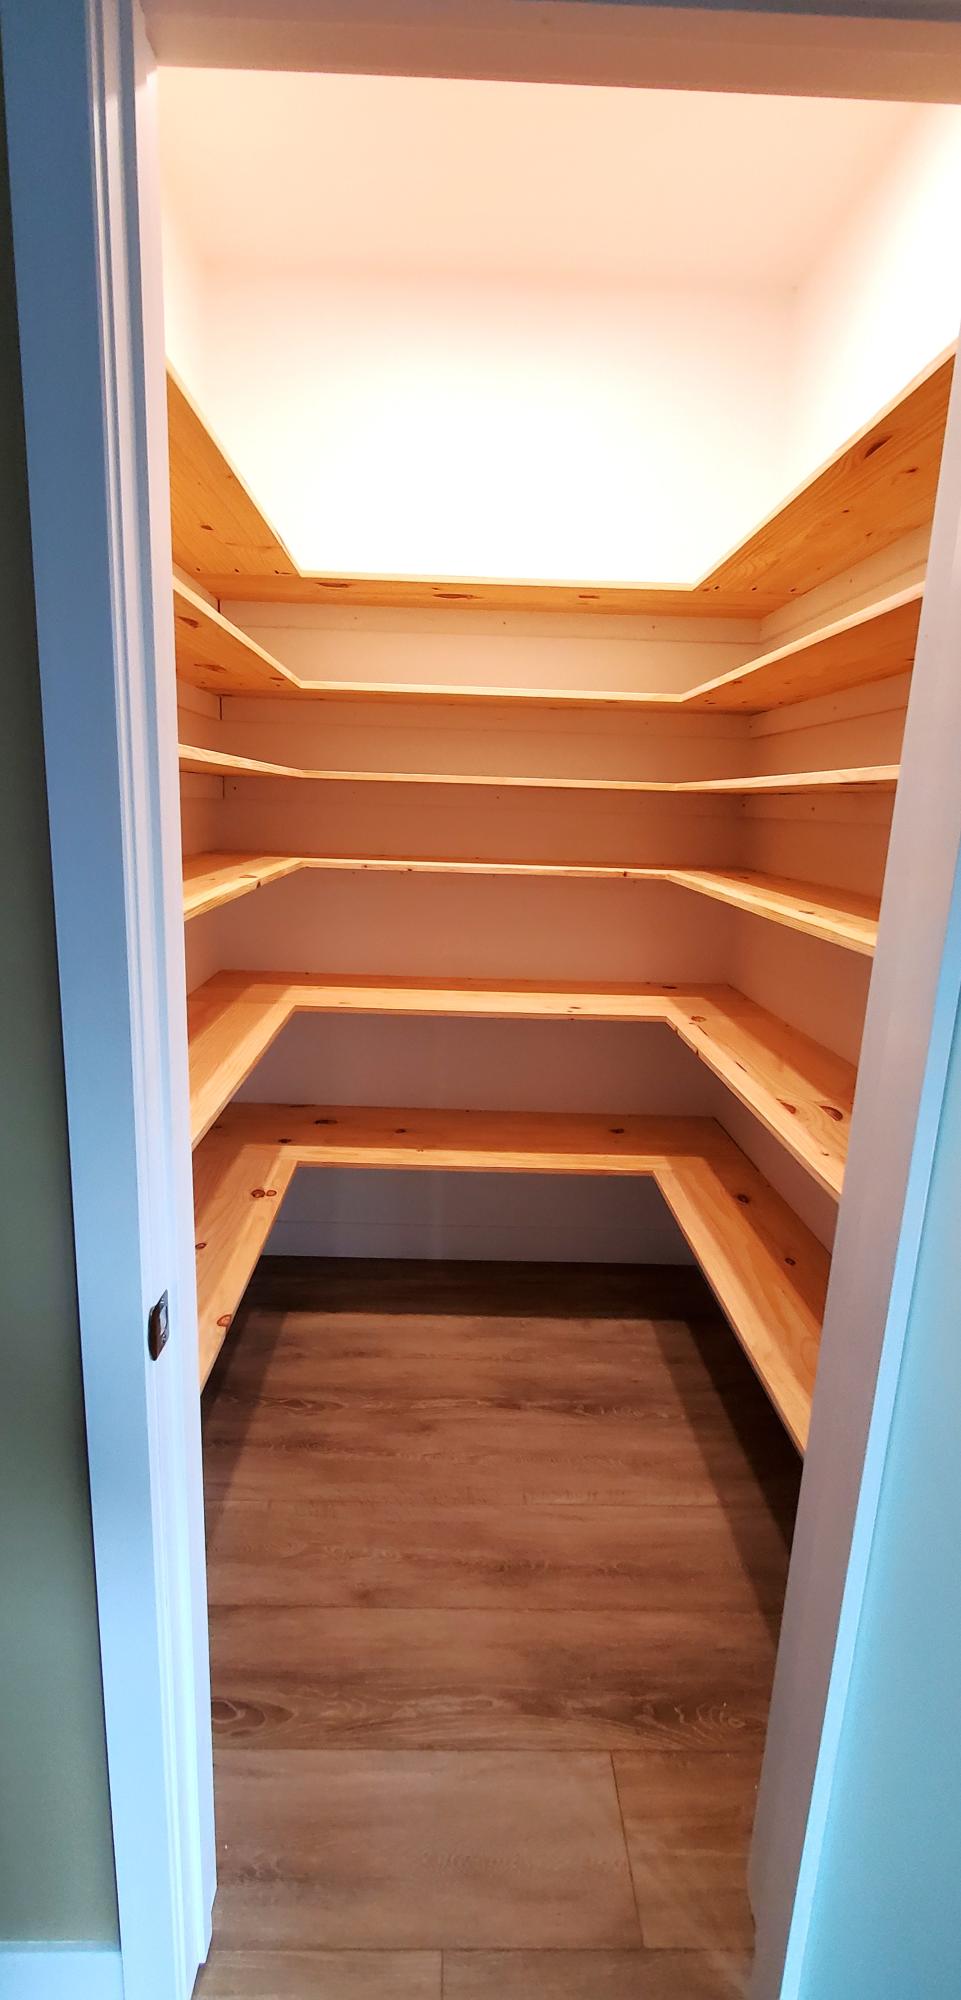
Built in 5ft x 5ft pantry using pine panels as they were available in the widths we needed. Inspired by your pantry build video, thank you.
Rob Worsnop
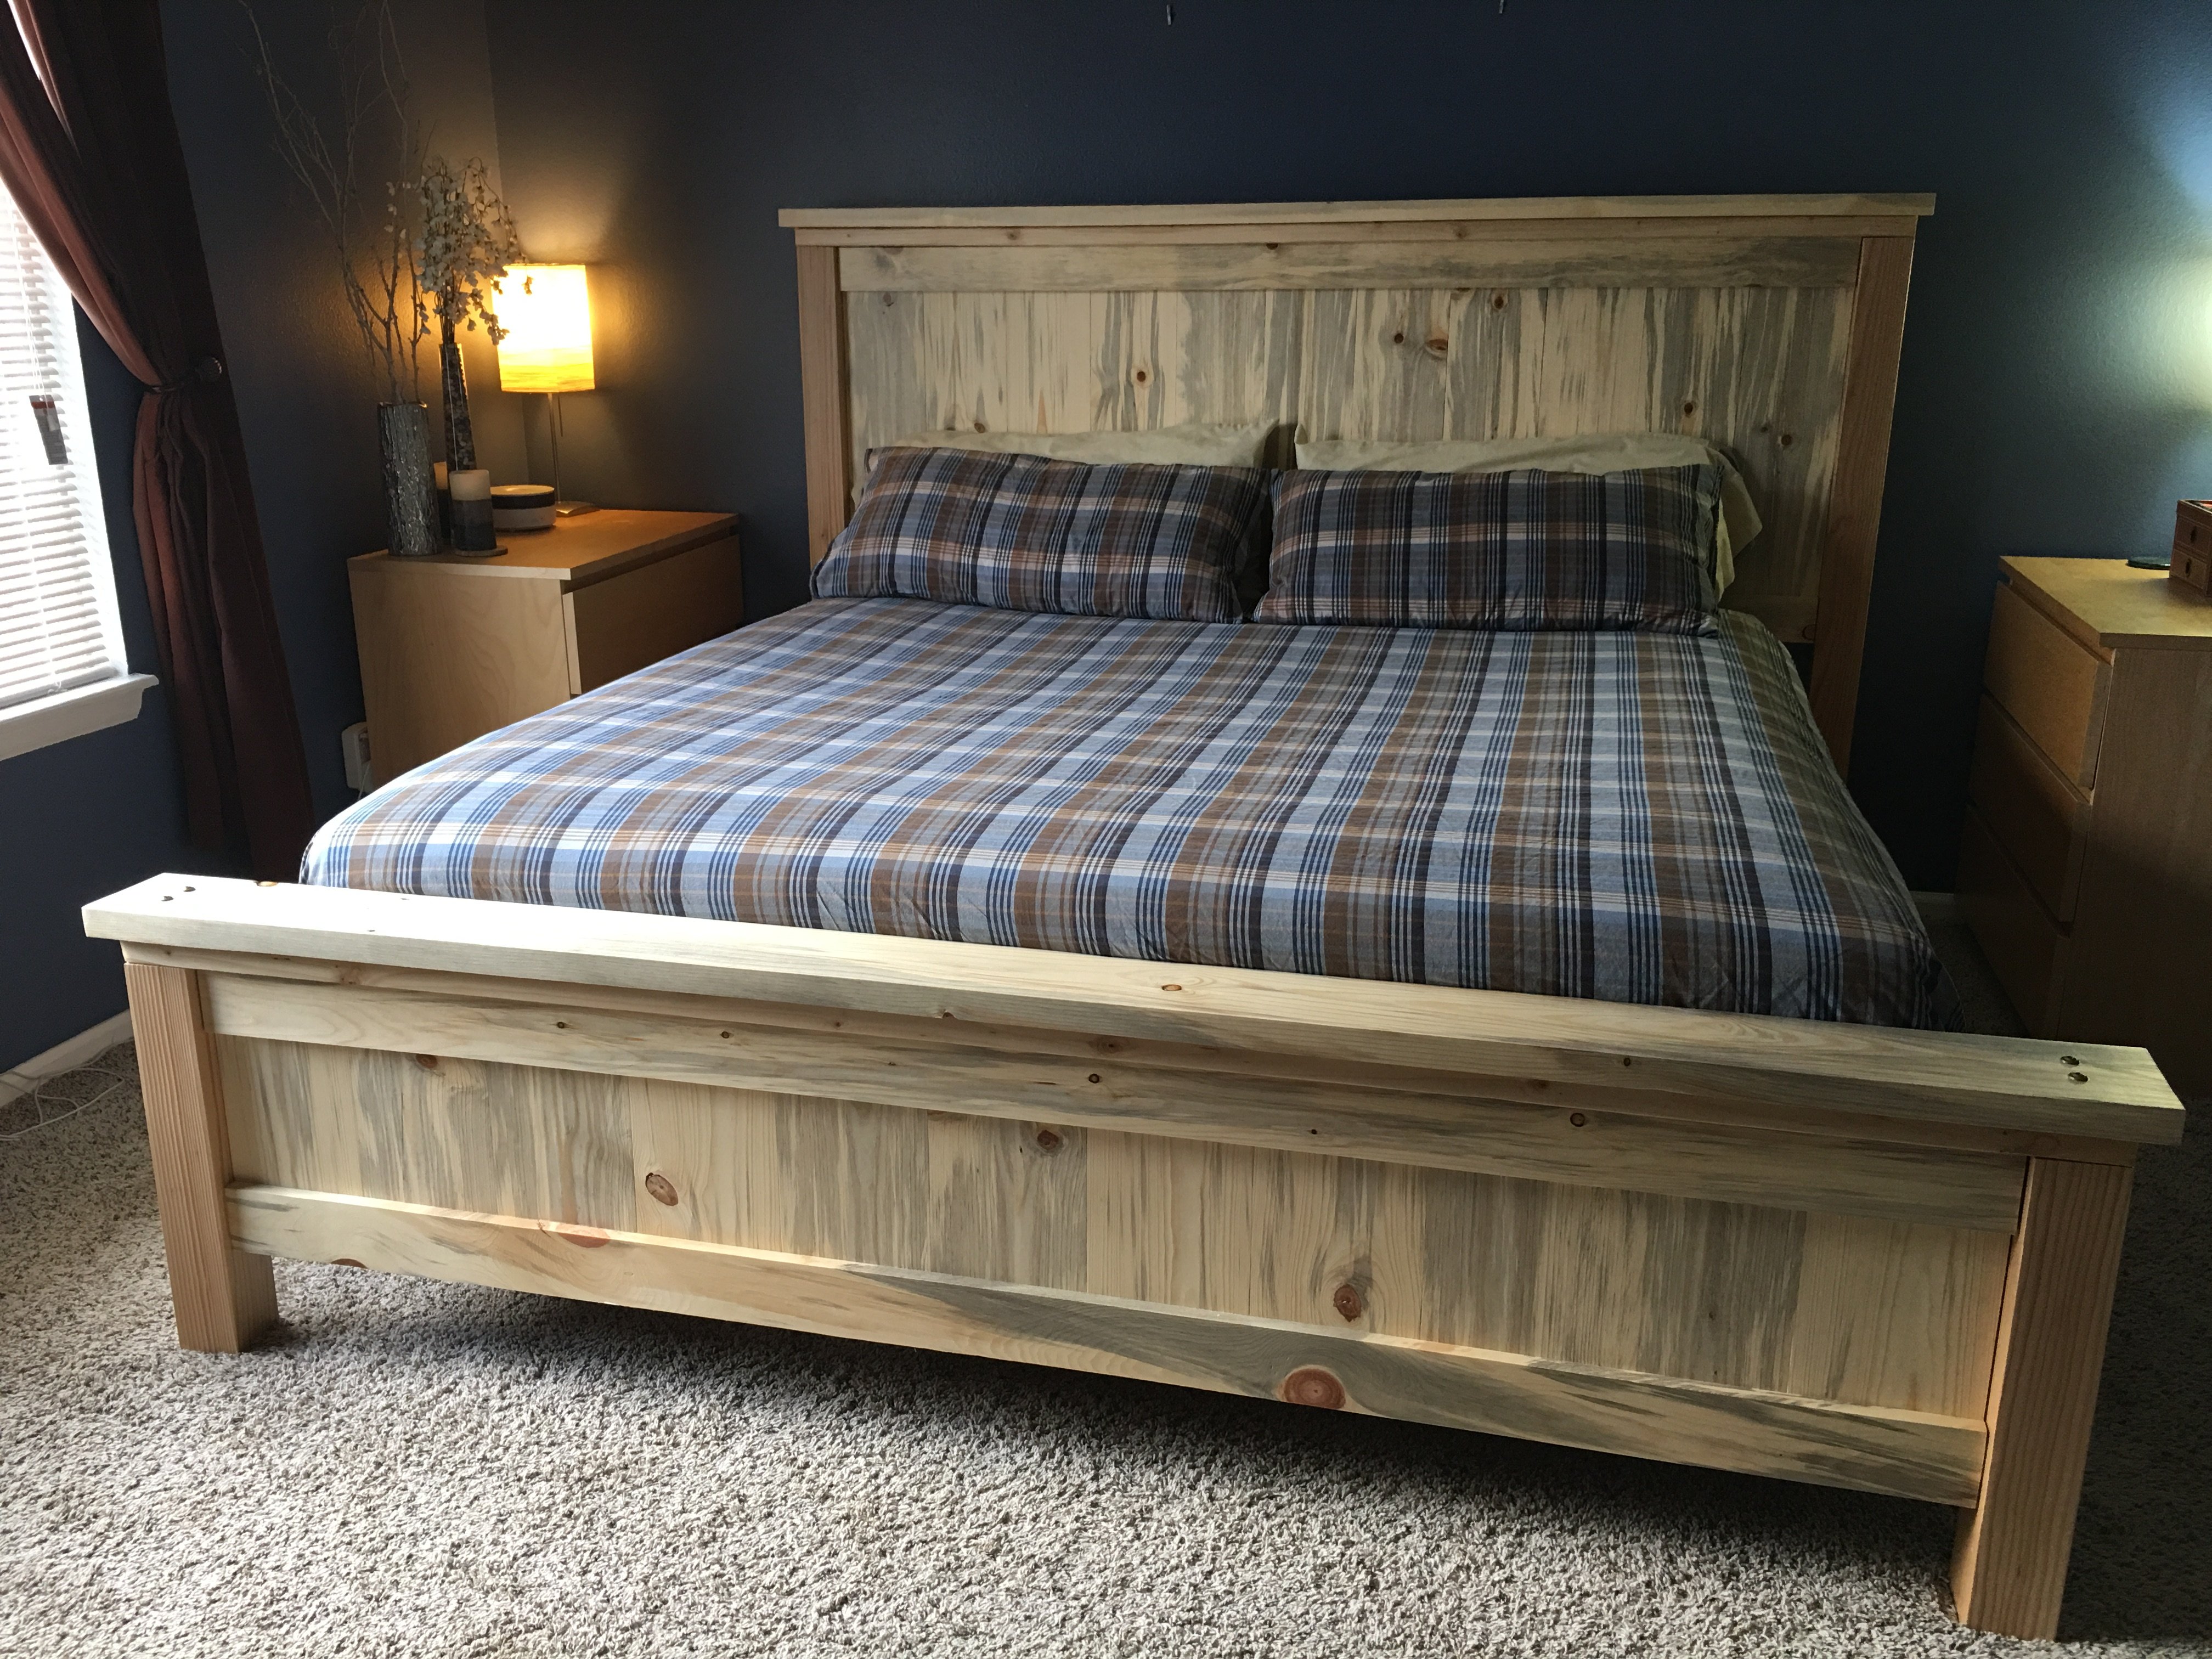
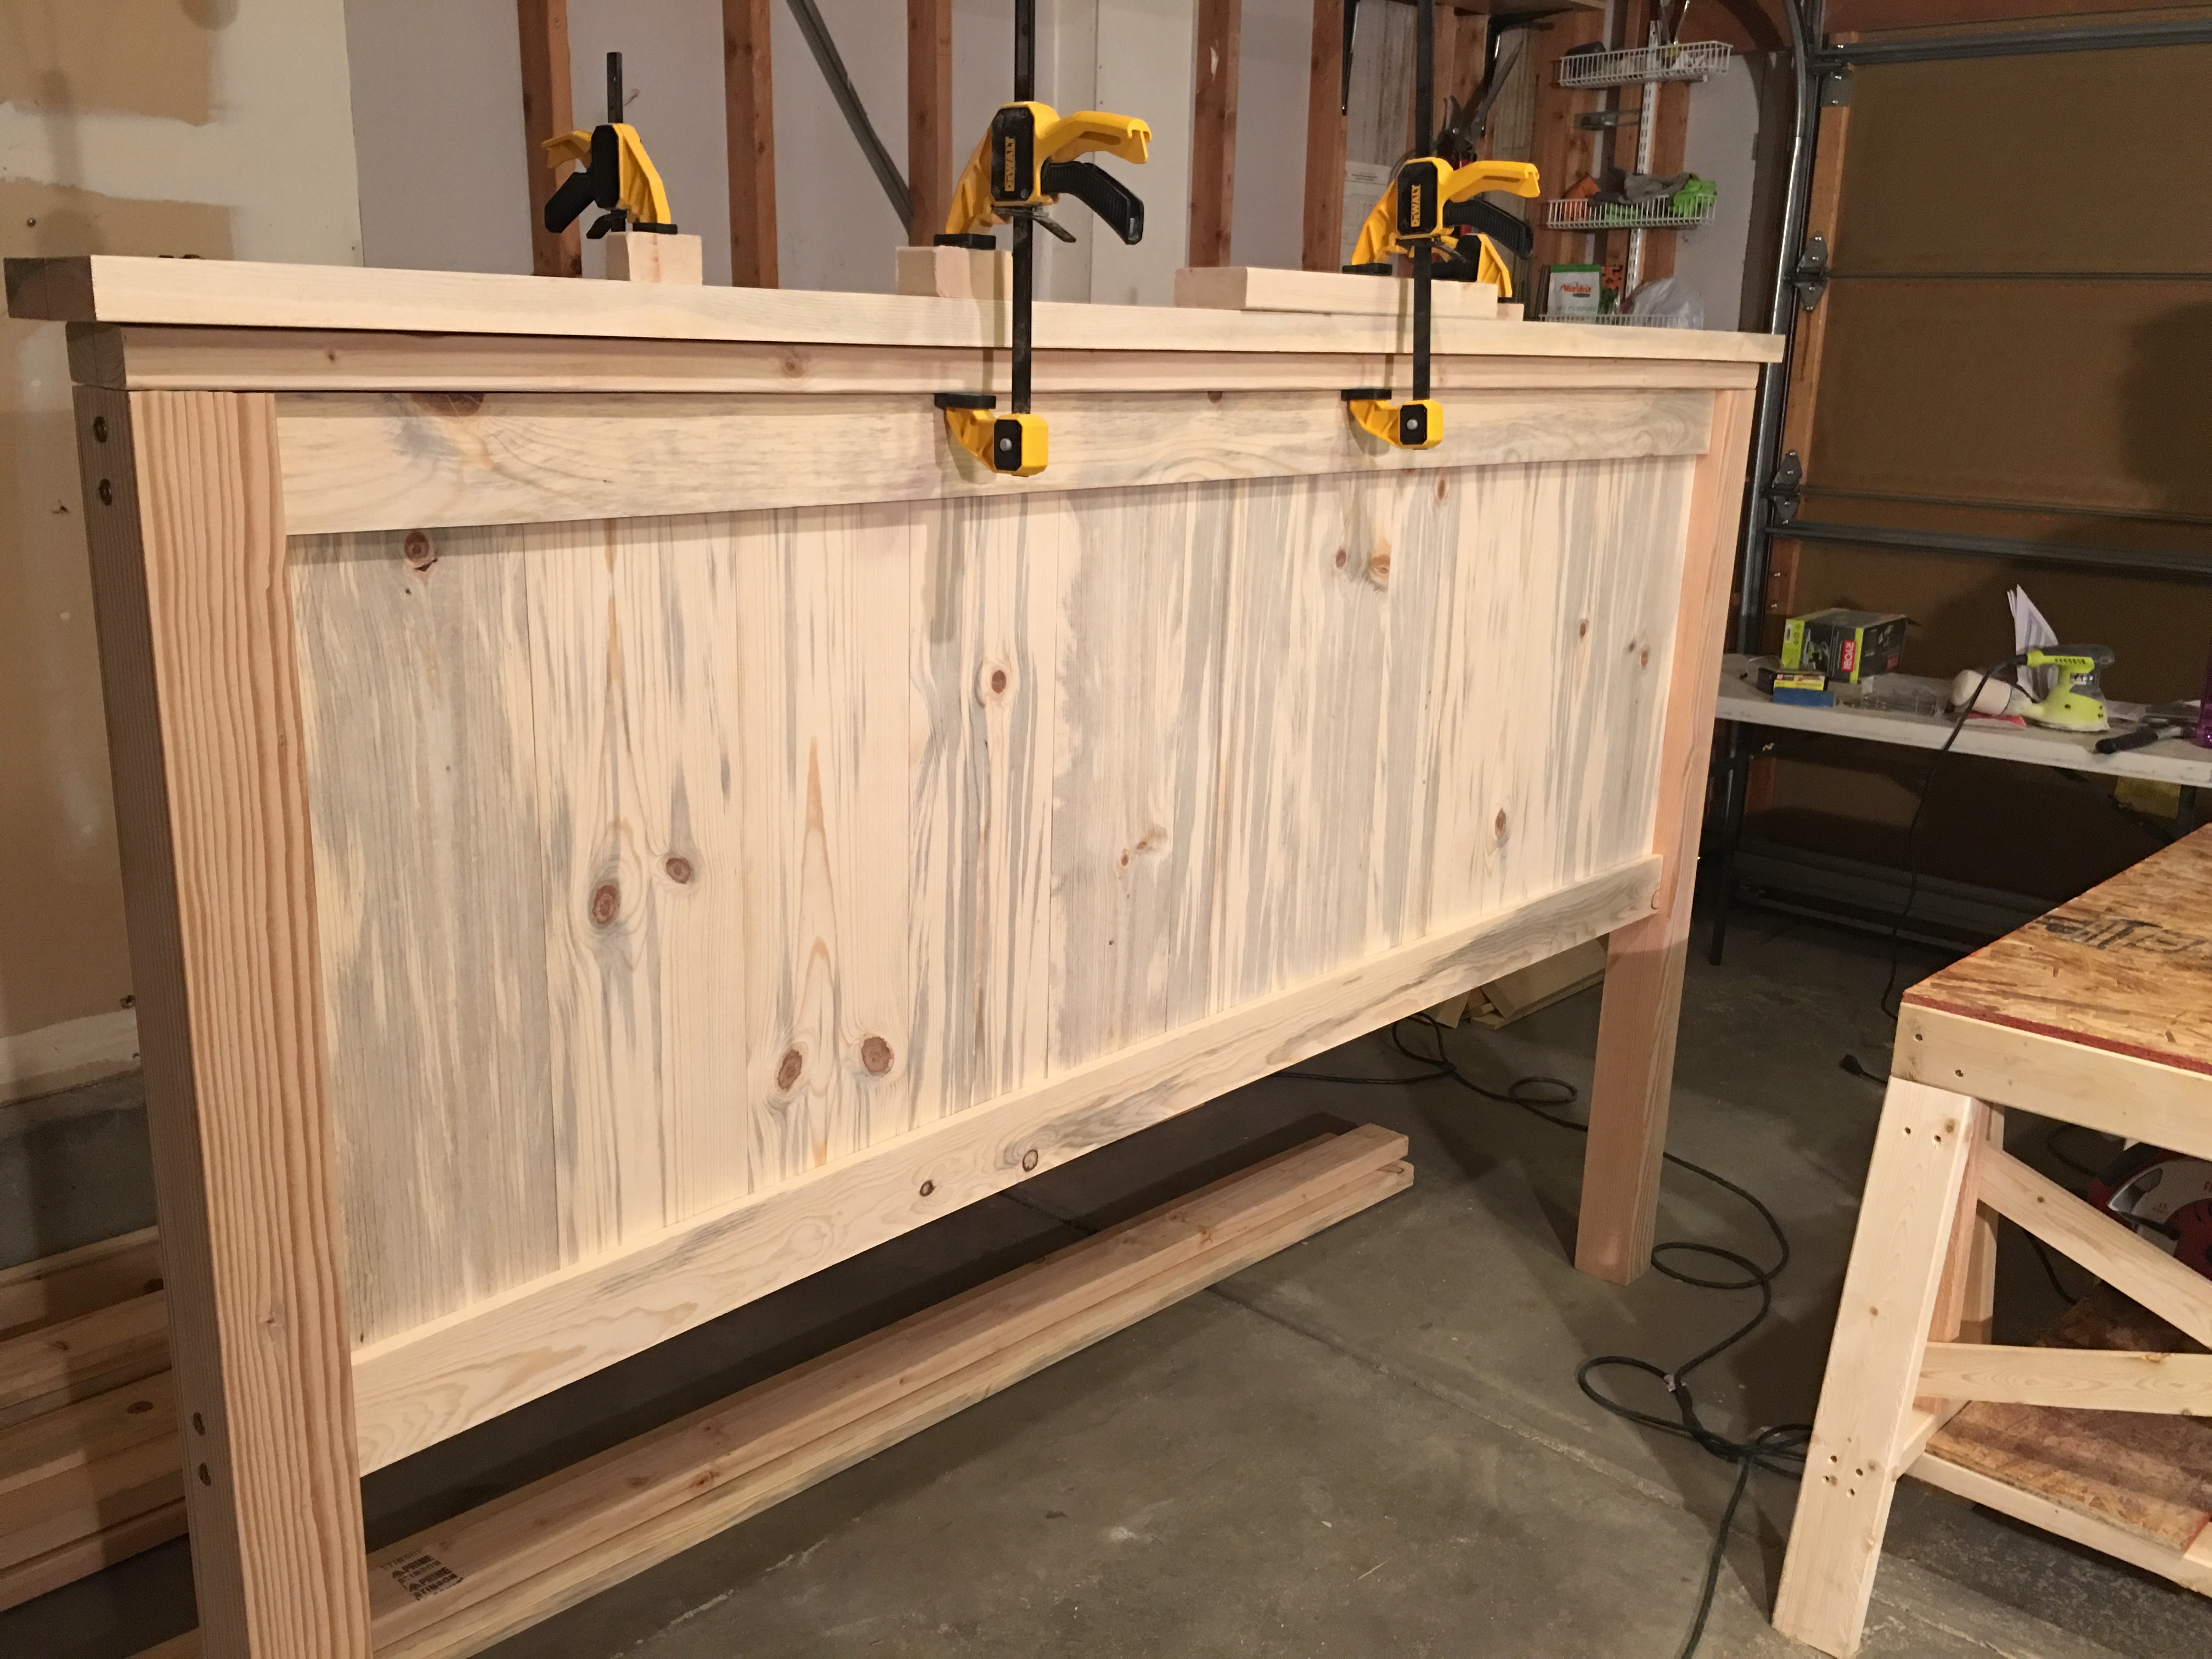
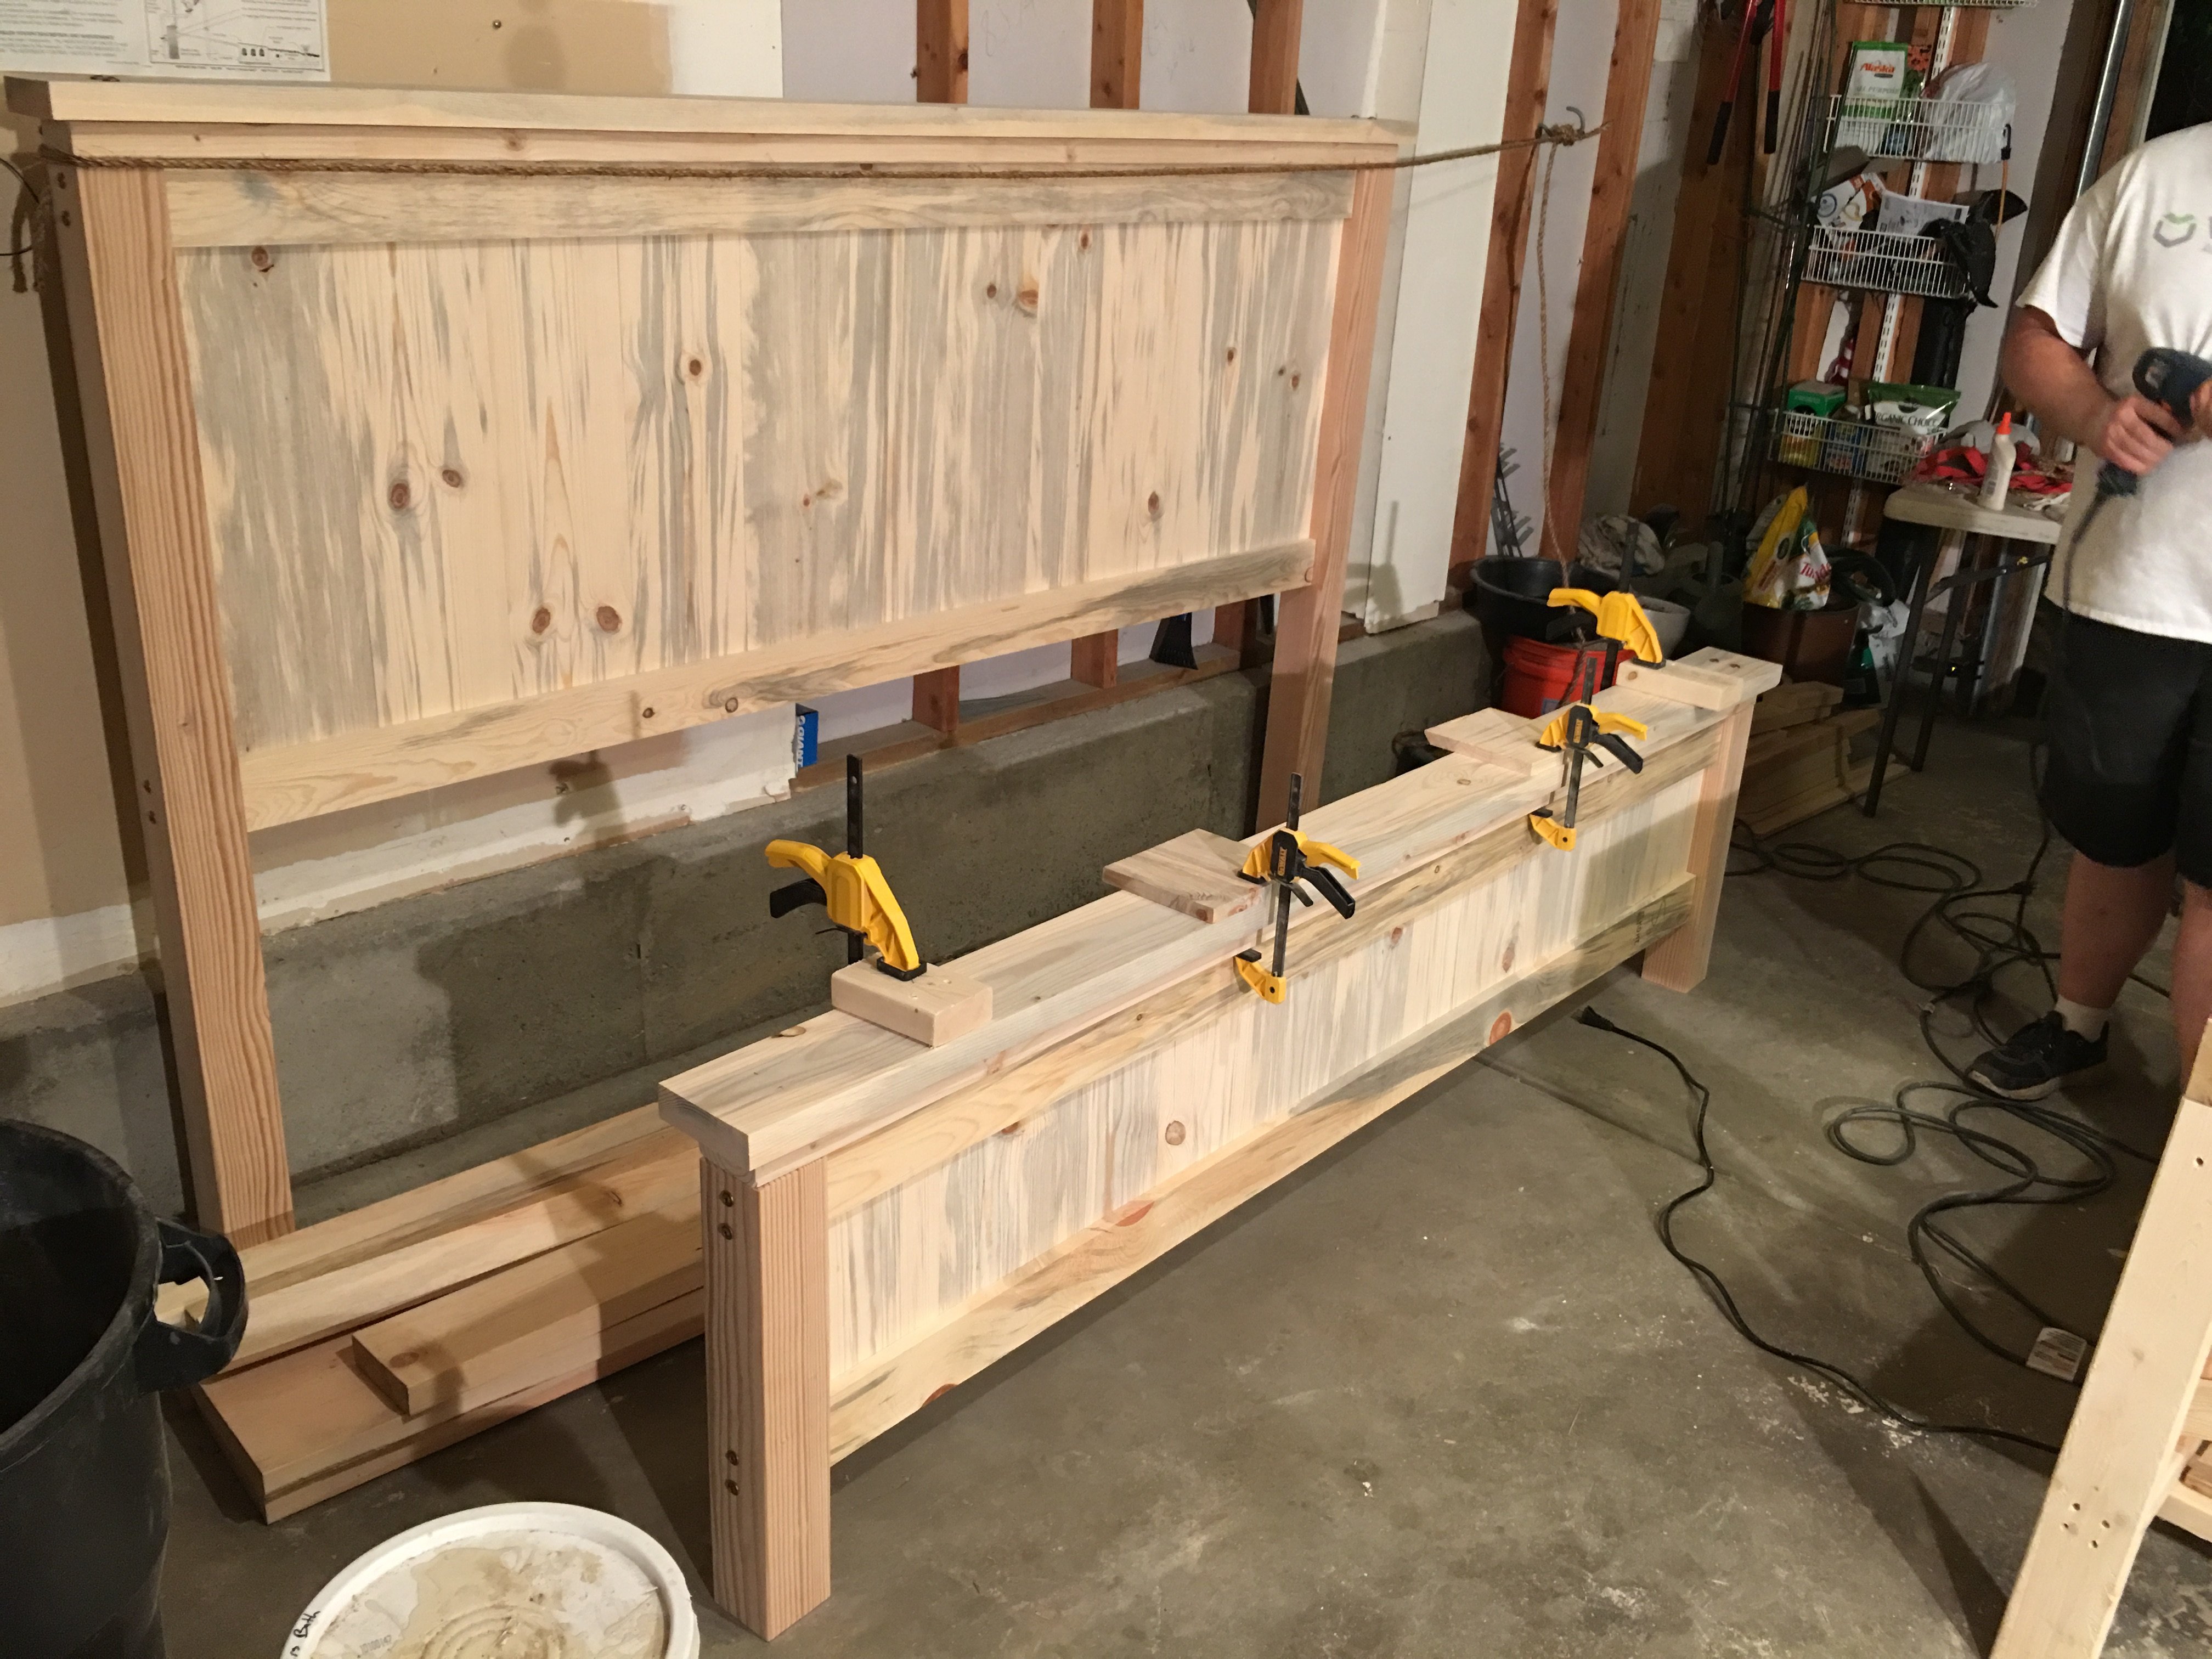
This was our first build and it was quite a big project to take on to start with. We had so much fun and learned so much along the way.
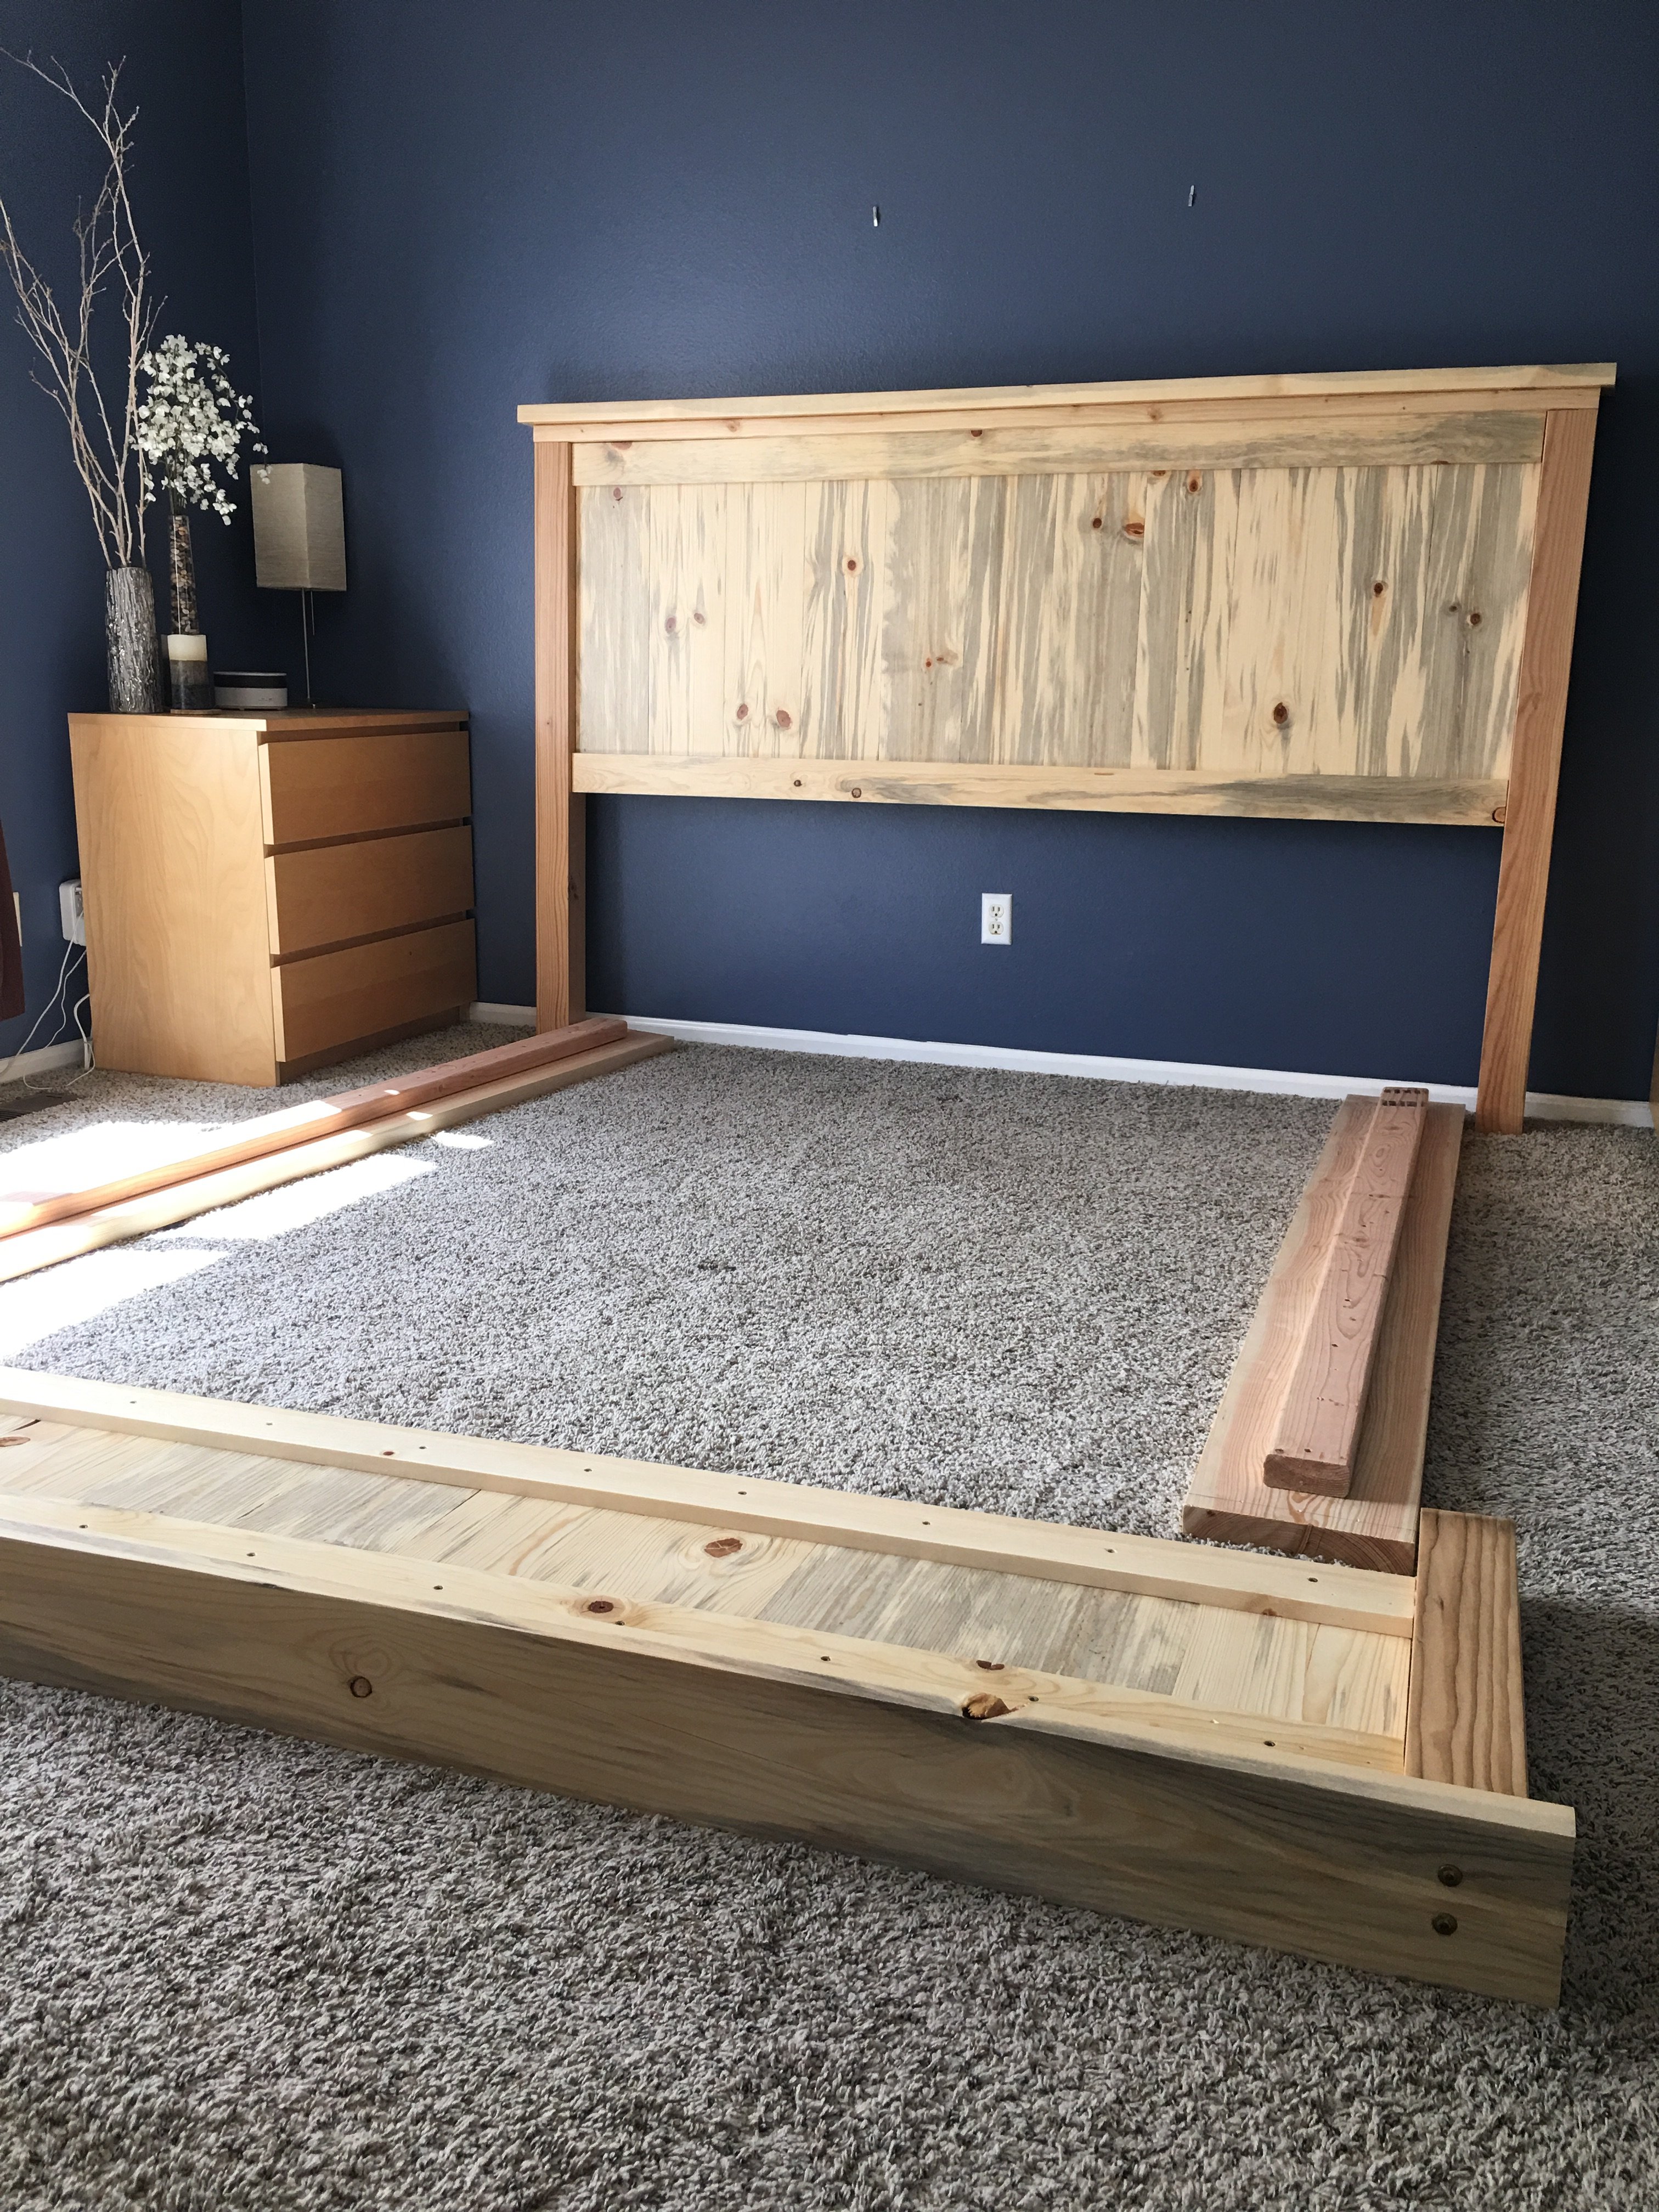
Our biggest lessons were to hand pick our wood and make sure we get the straightest pieces possible. We had to wrestle some wood to make this bed work! Clamp everything especially when using large bolts as the pieces would pull apart from each other. We even used a ratchet strap at one point becuase our small clamps weren't cutting it. I'm sure there's a better way and we'd love to hear about it but we made what we had work. We also had to figure out how to attach the side rails and at what height. We ended up using 3 4-inch screws on each end to screw them into the posts.
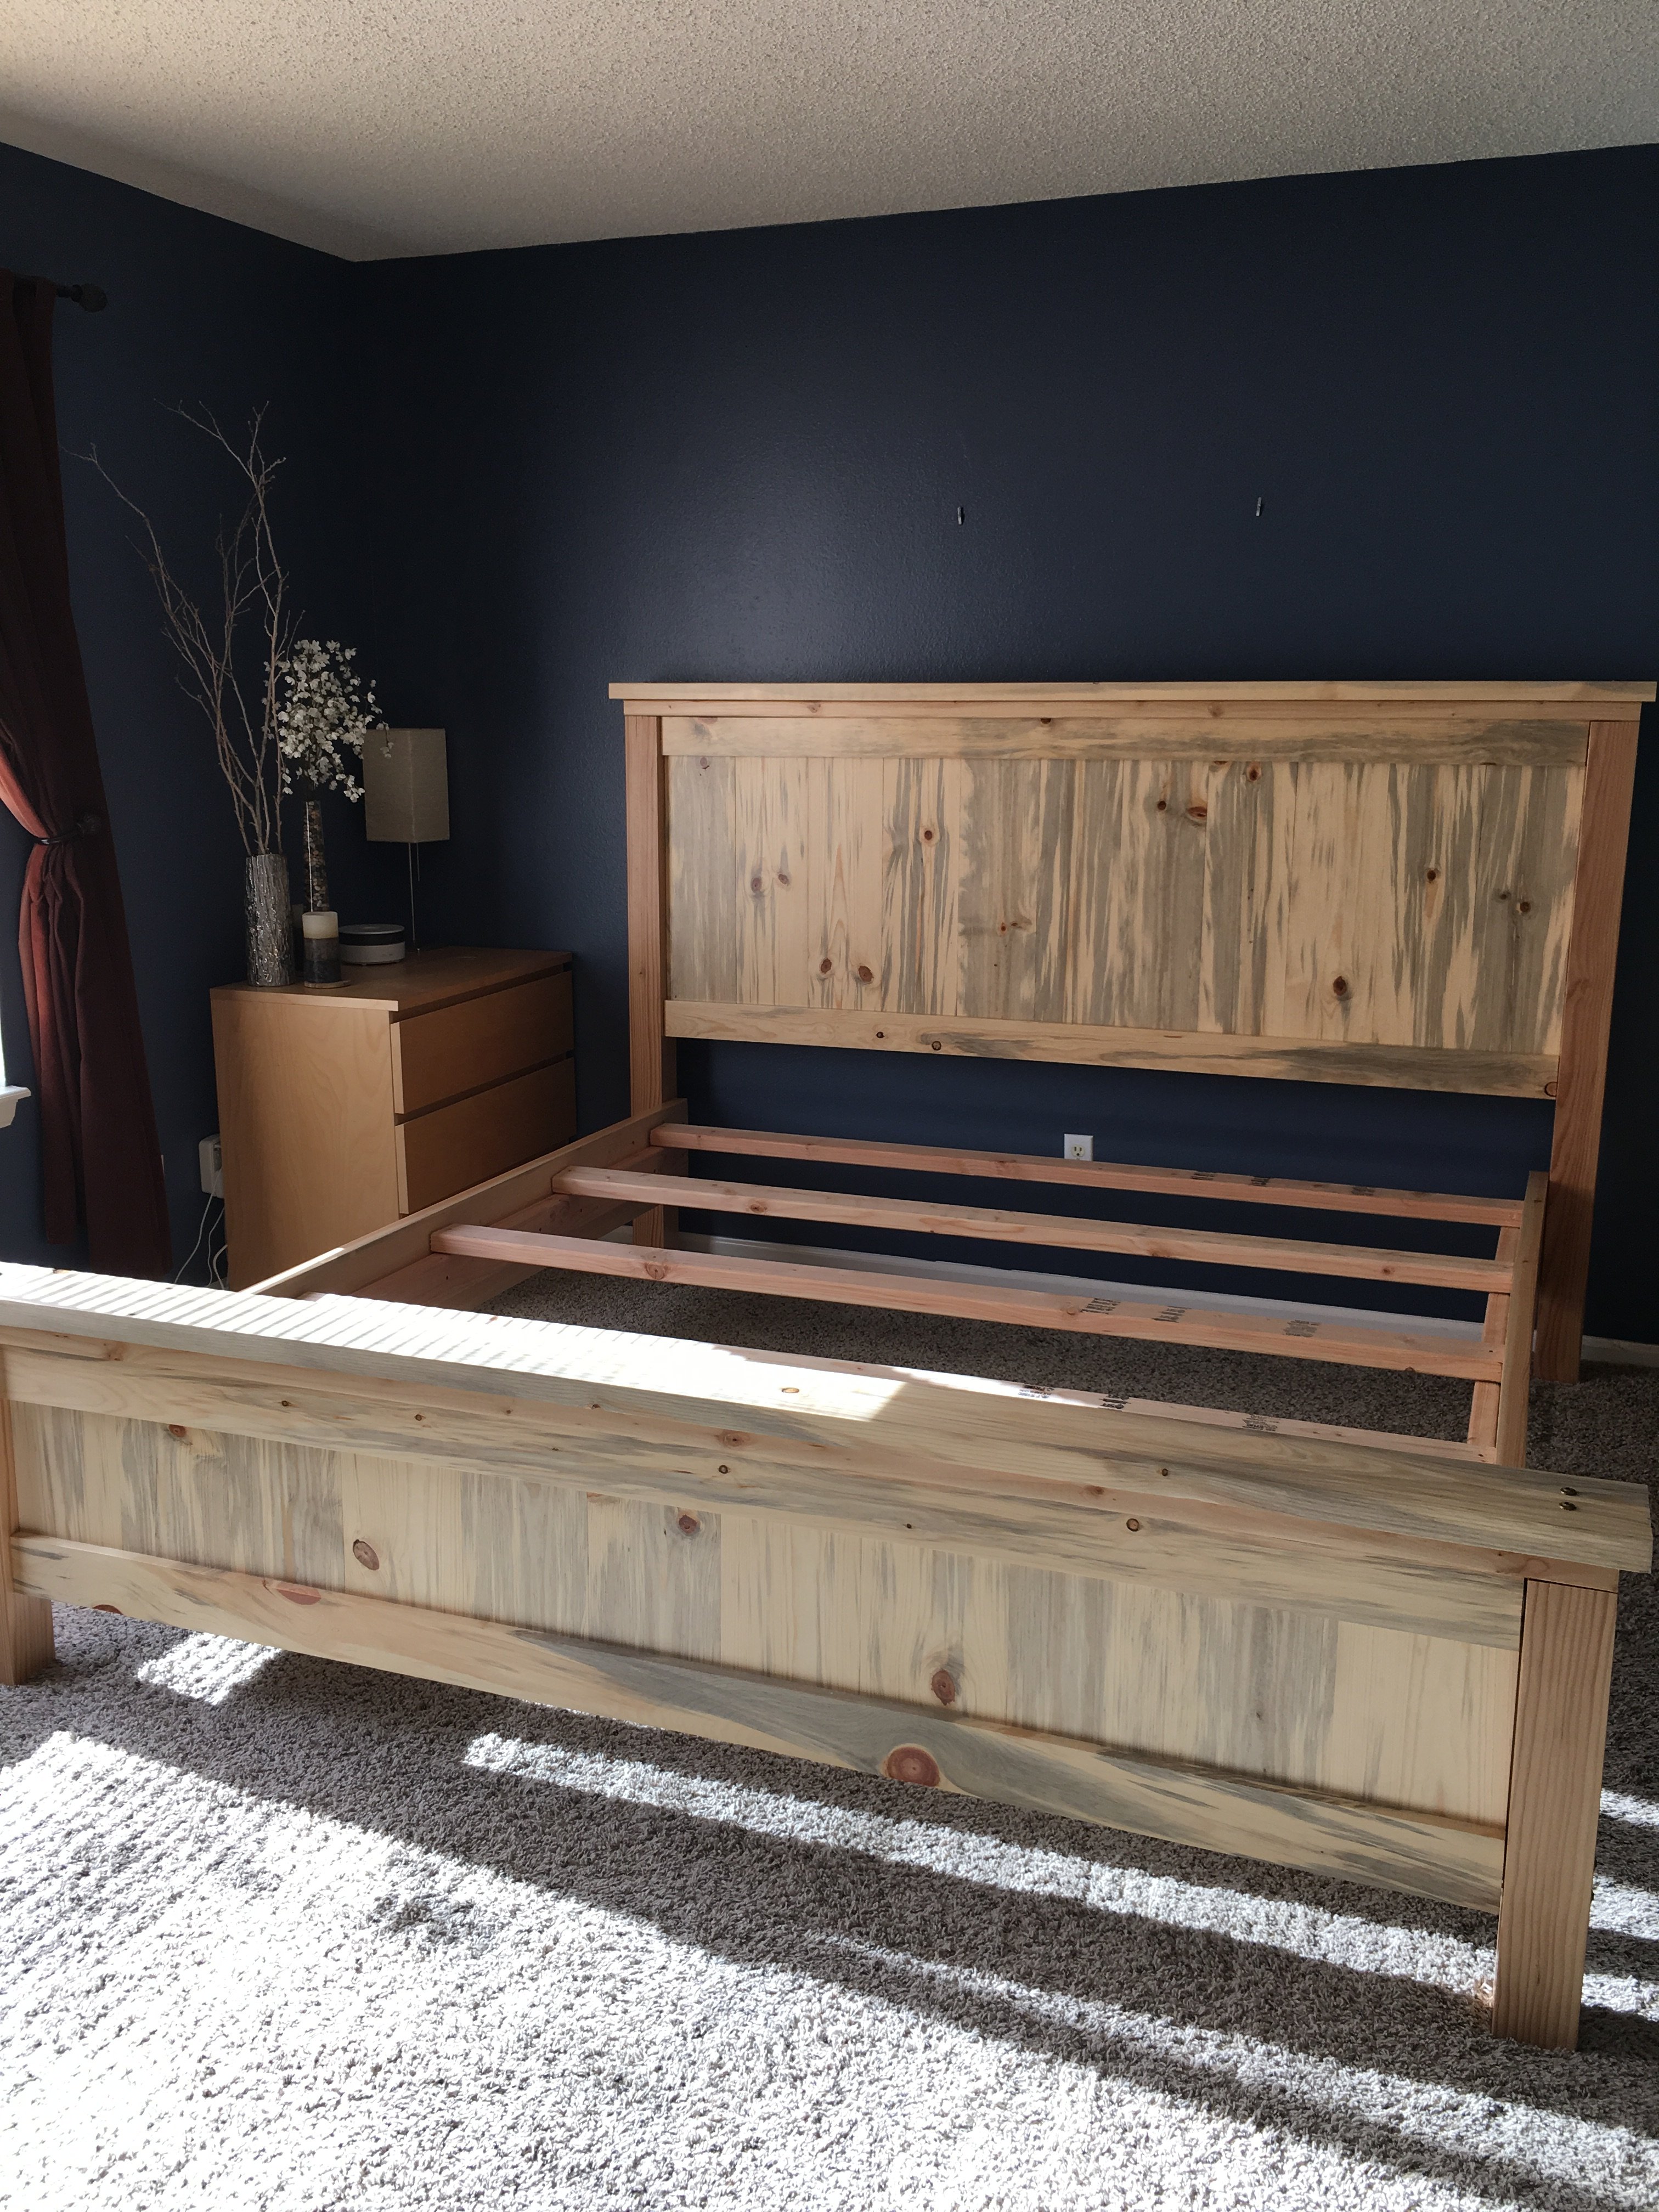
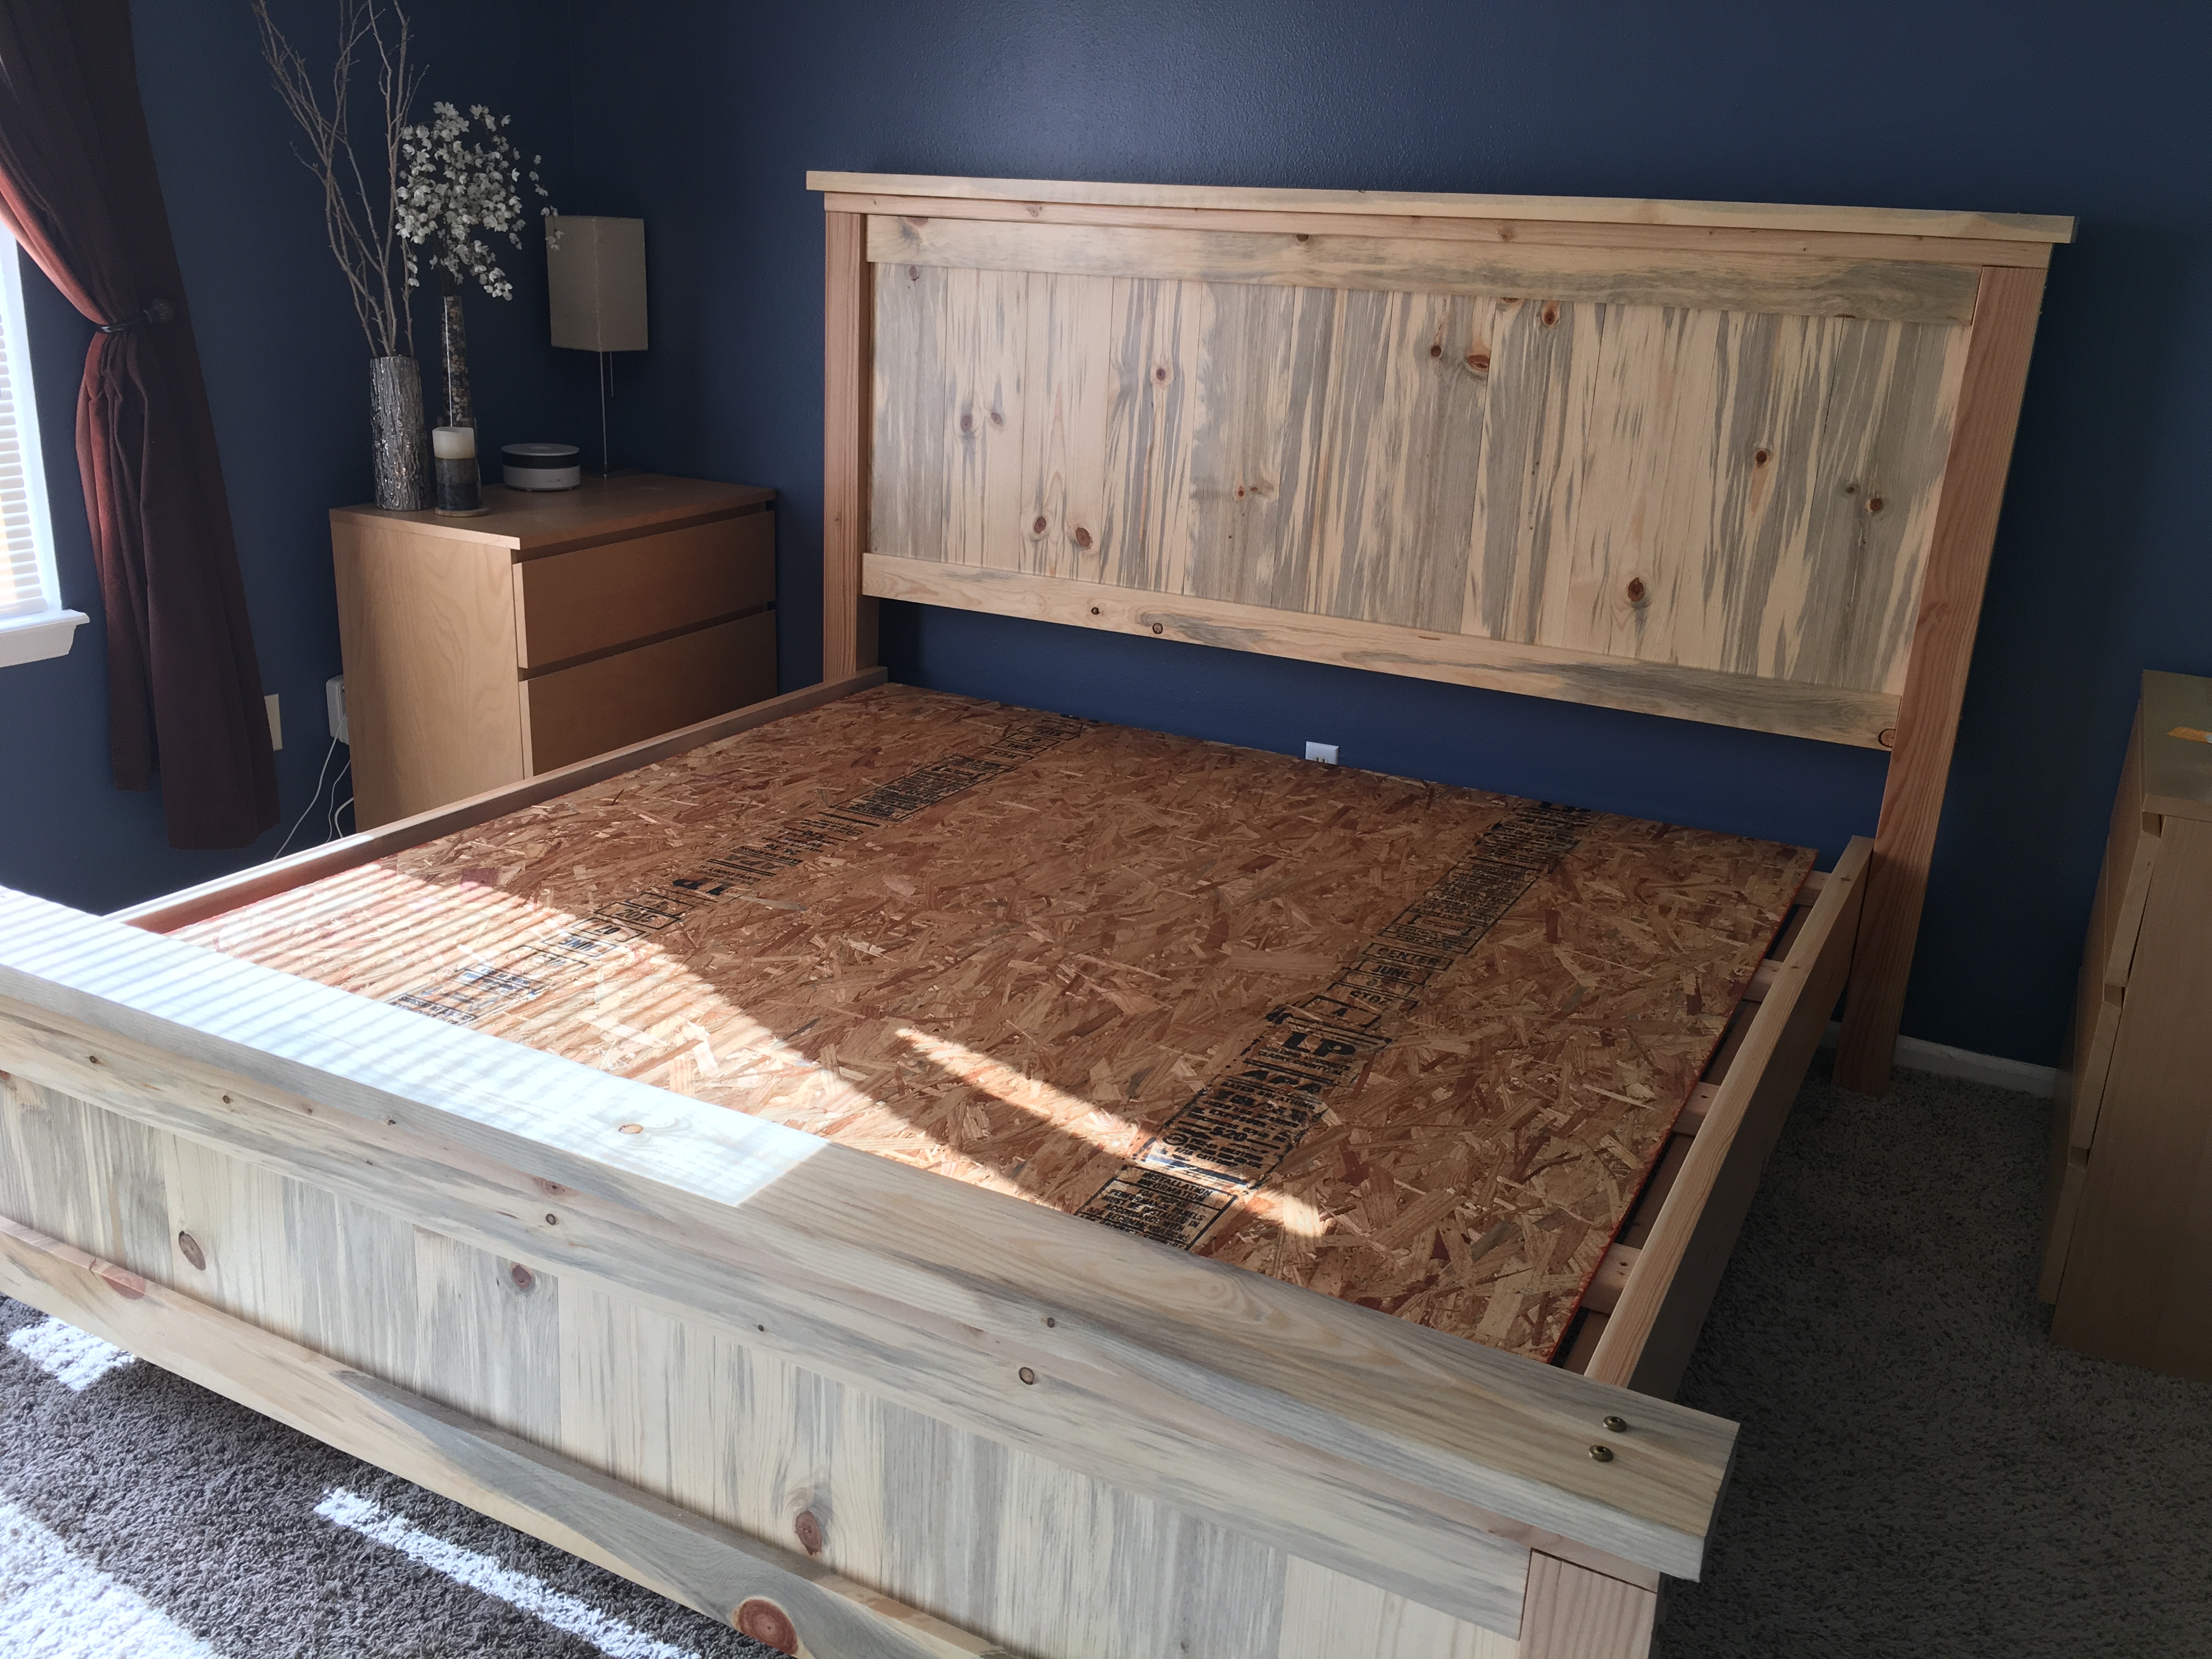
We love this bed not only because it was a labor of love but because its such a solid beautiful piece.

Sun, 03/01/2020 - 11:29
Very nice! I love the lighter wood too, but my wife likes the darker stain, so we compromised in the middle for the finish. Why arethe post always so red? I can appreciate the natural tendency of nature to add color, but the 4*4's are always red-er in color. Do they always use a different pine or certain part of the tree for those?
Mon, 01/18/2021 - 11:27
I believe the posts are actually Douglas fir and not pine judging by the look and color of the grains.
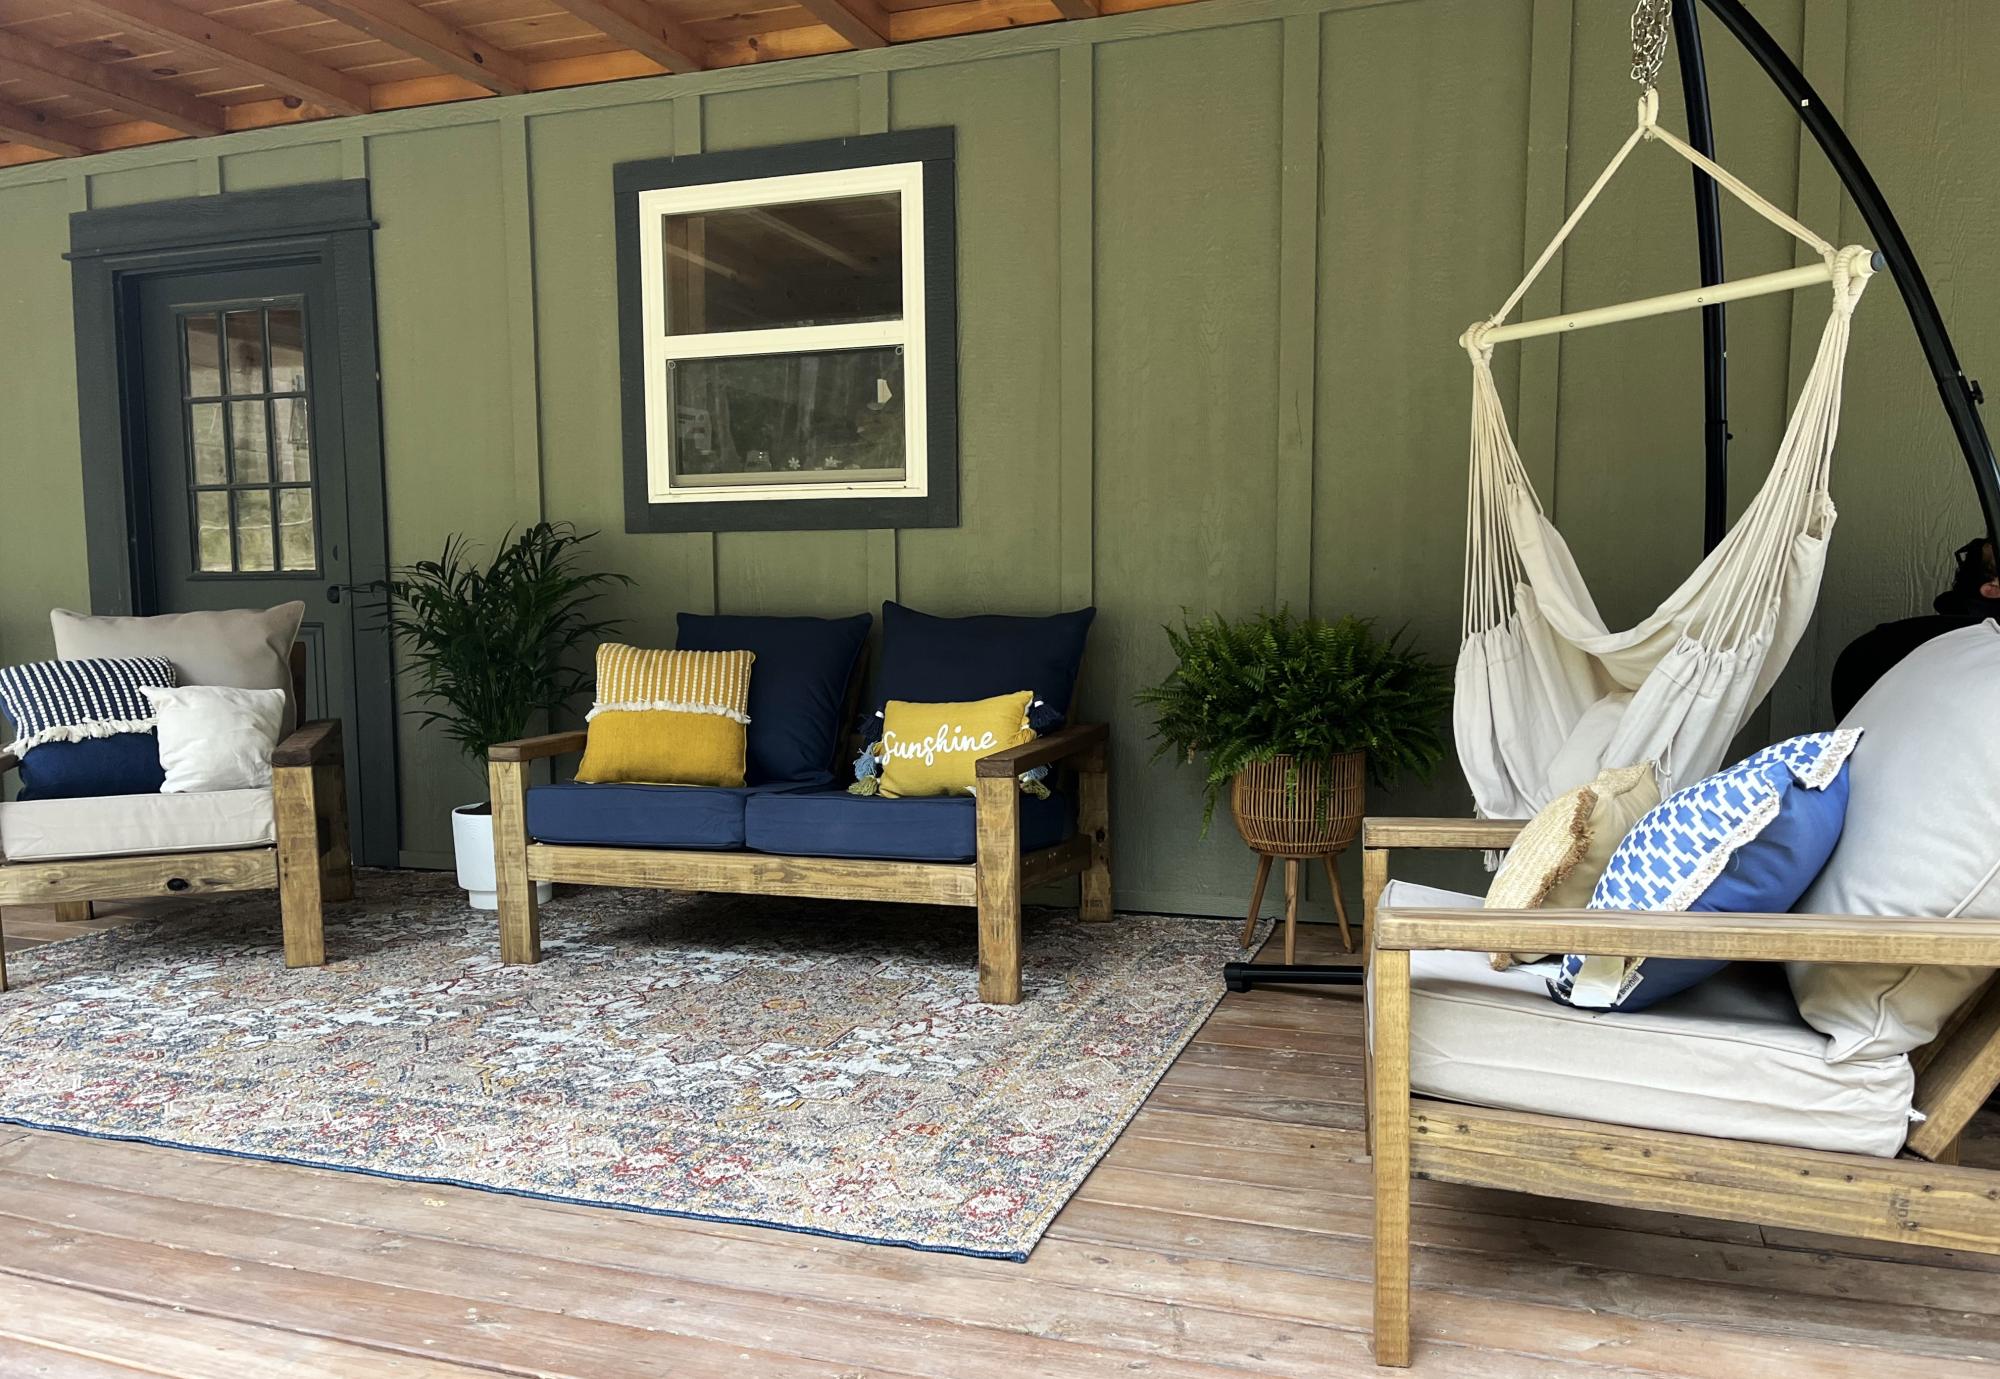
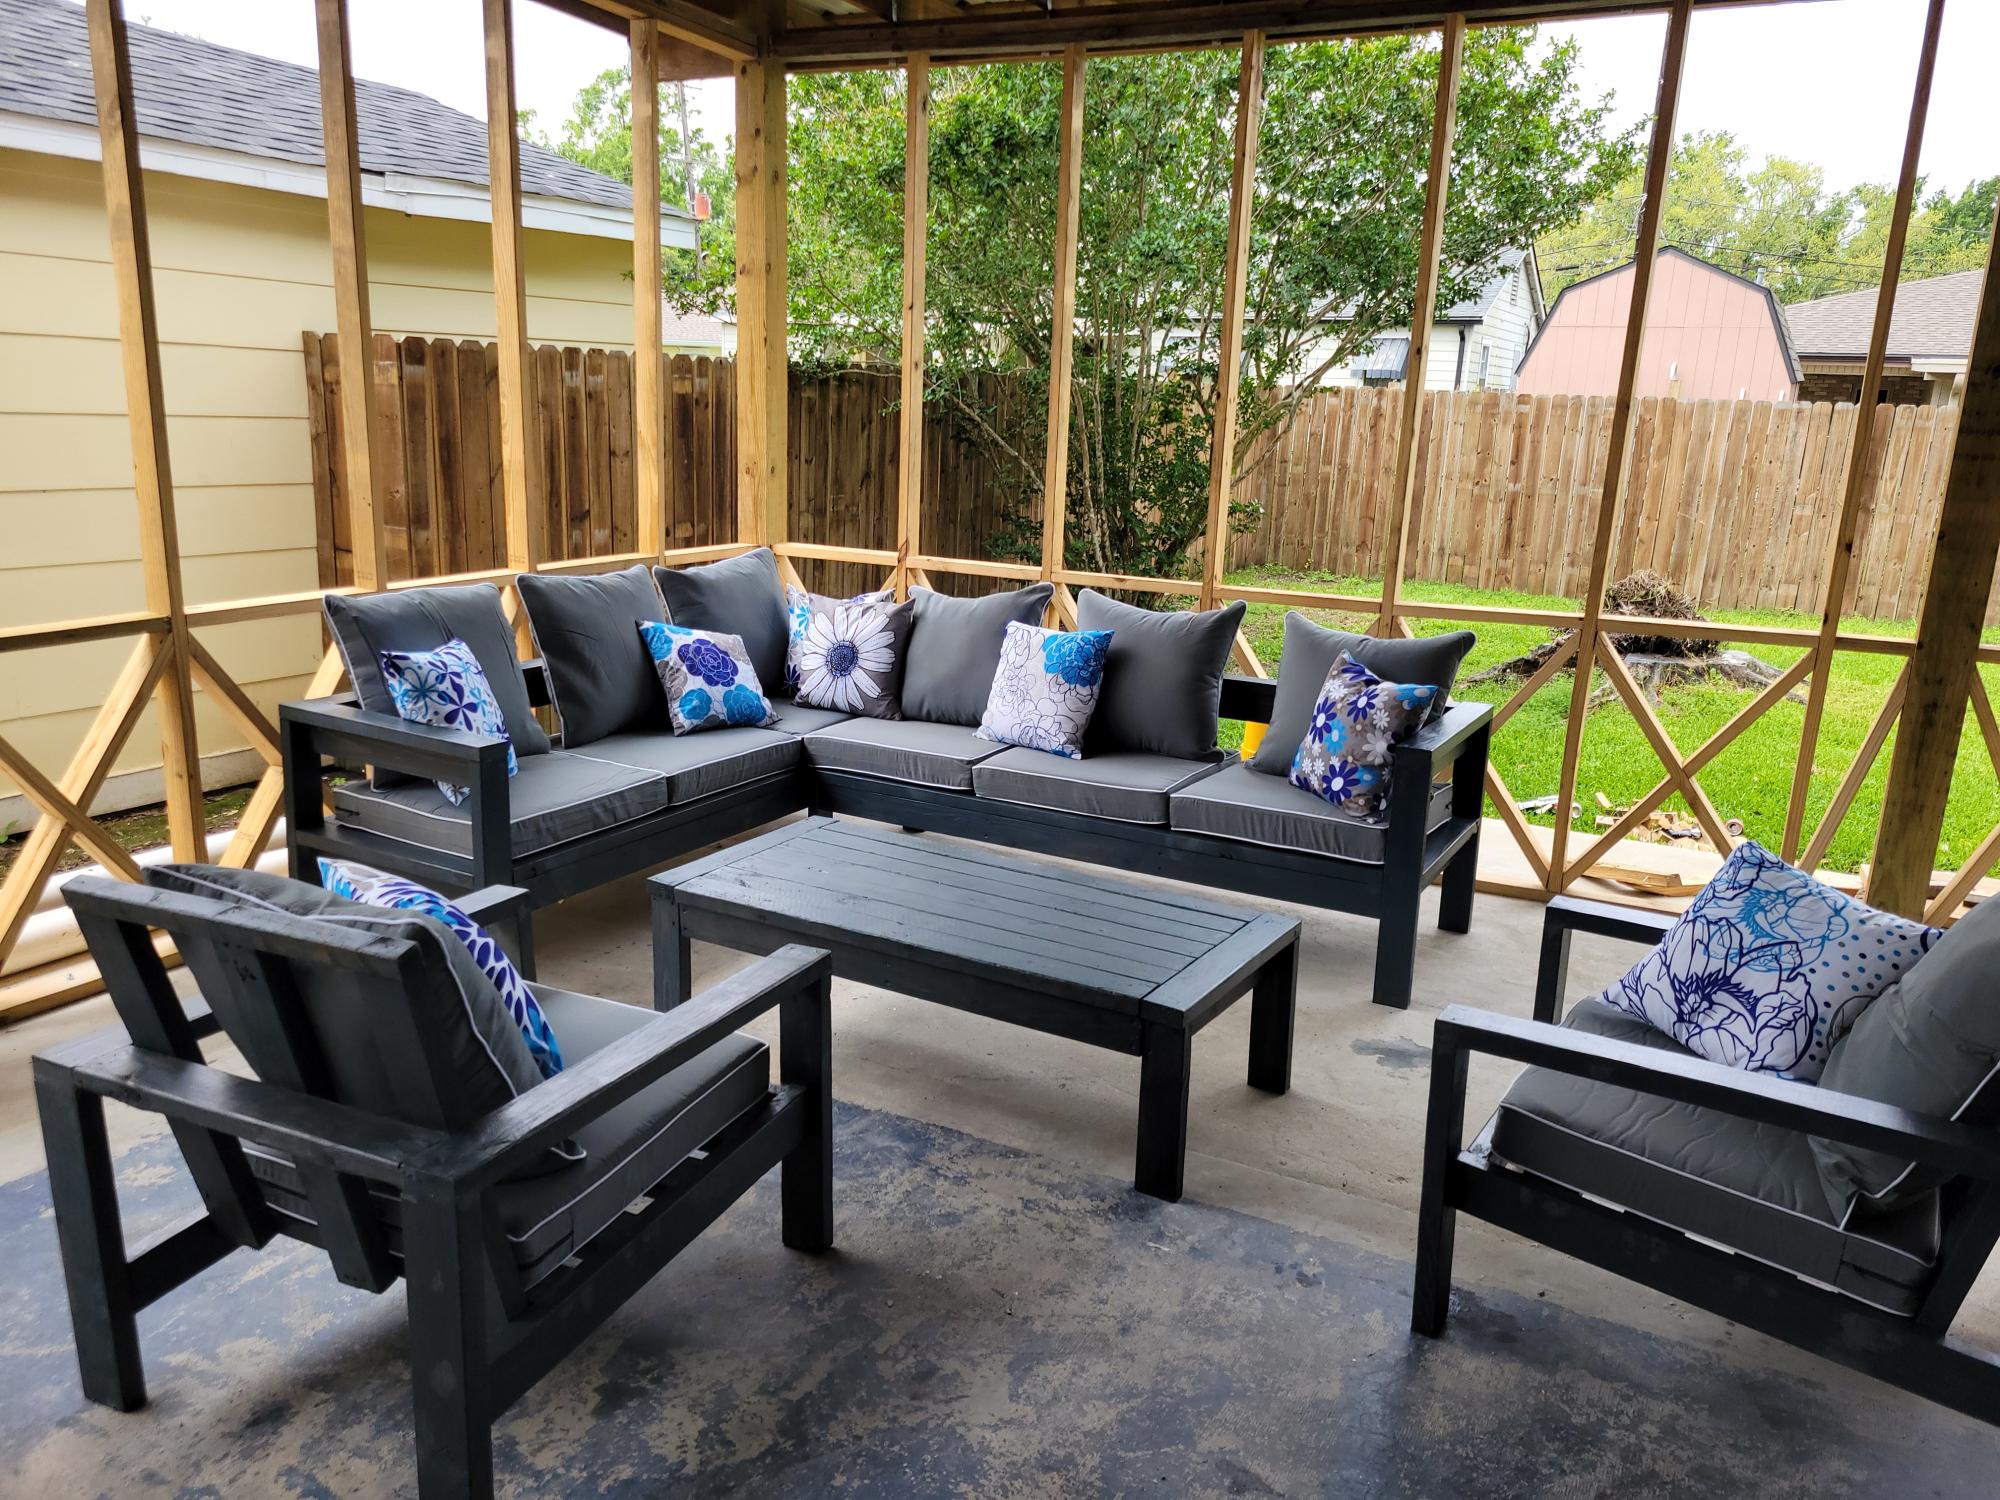
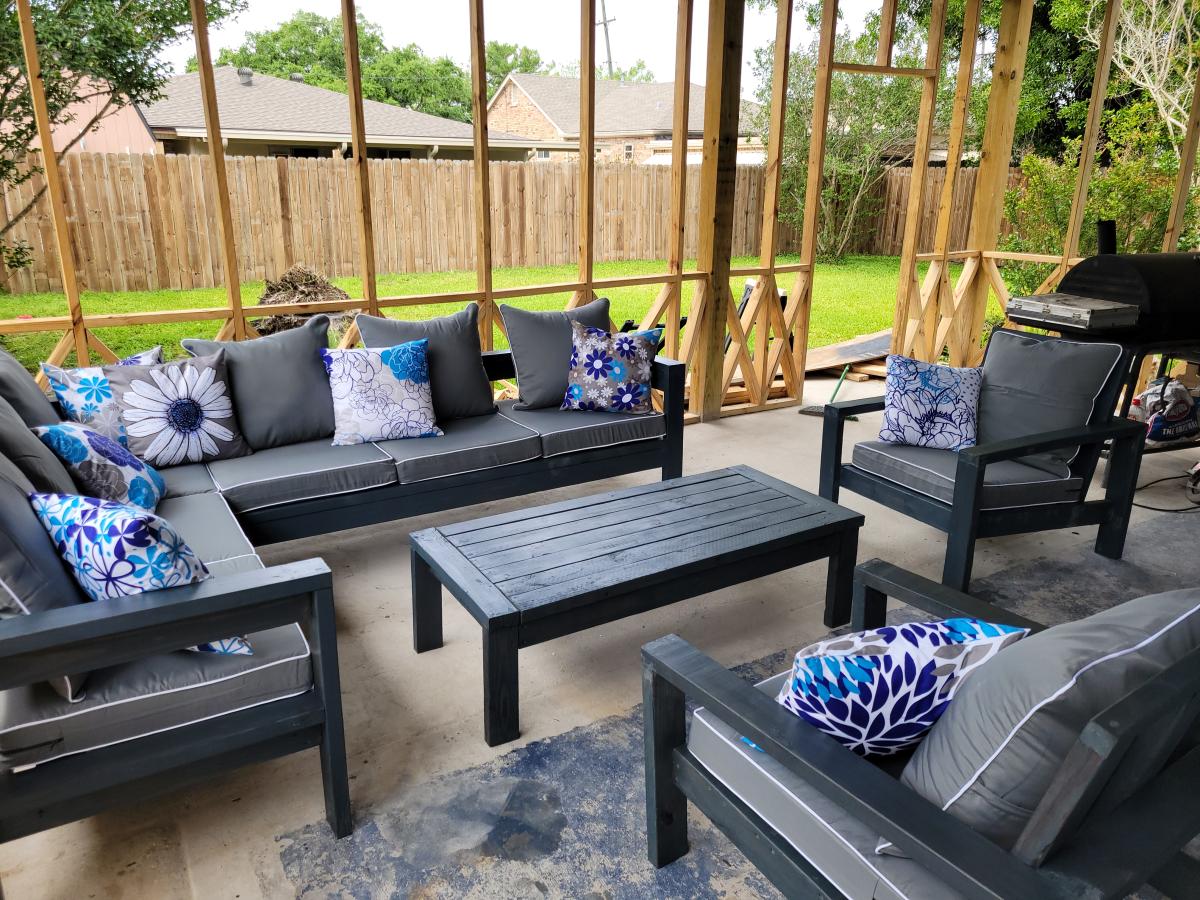
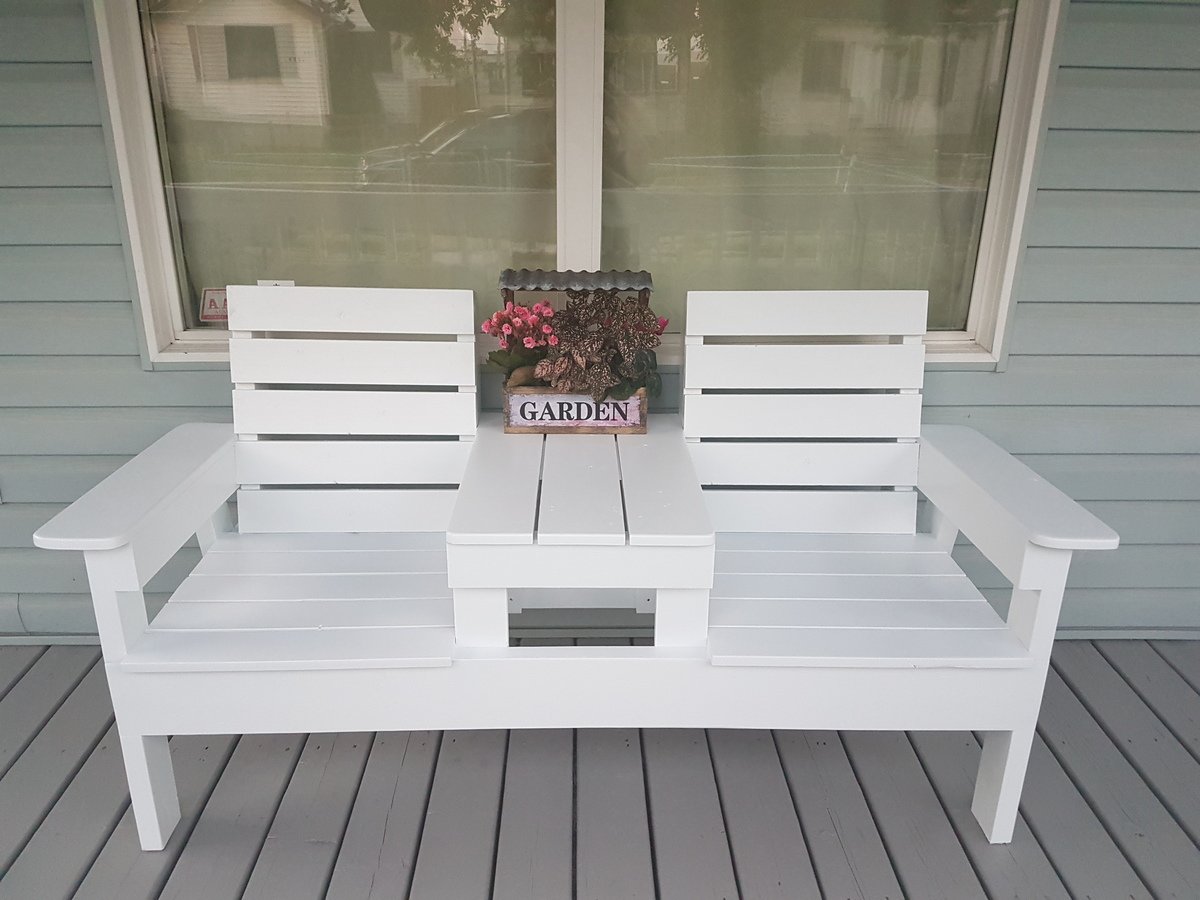
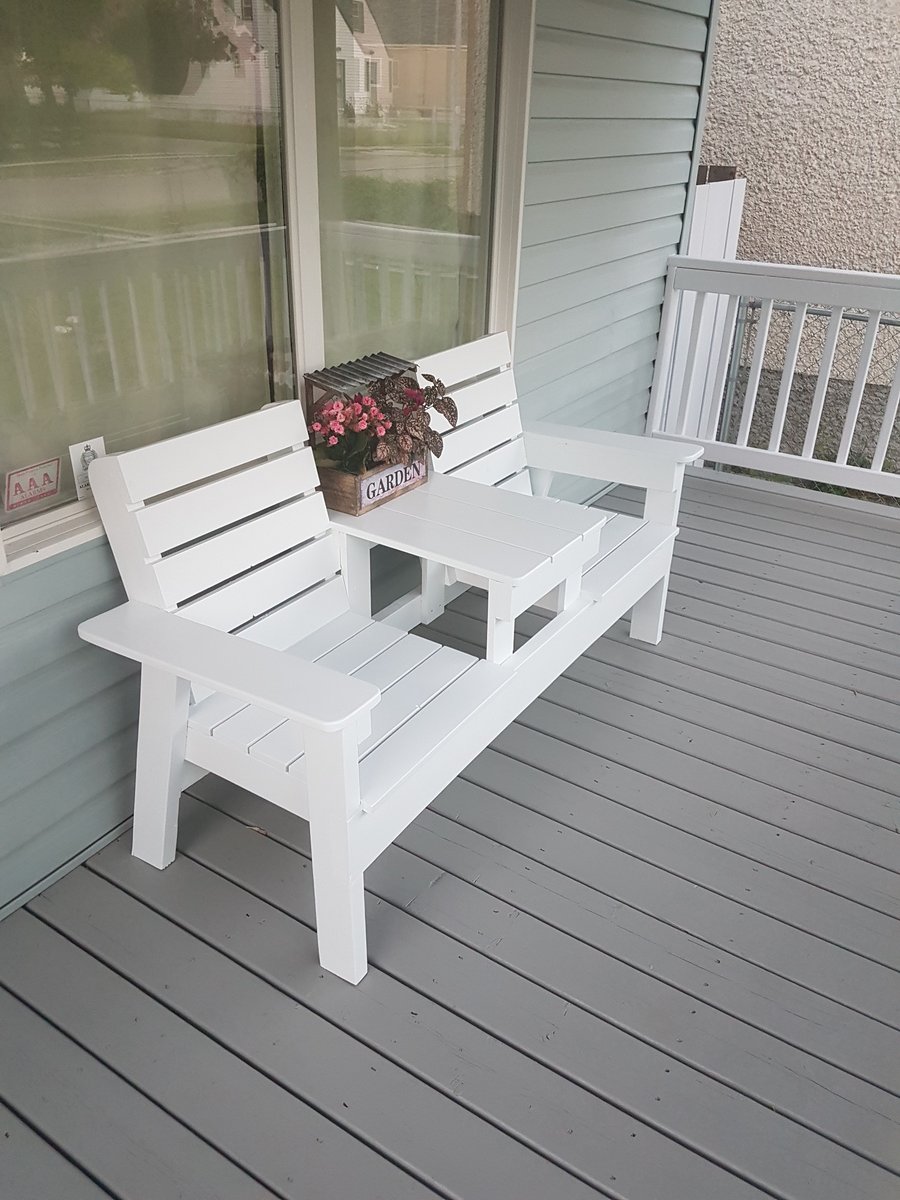
My daughter wanted patio furniture but did not want to spend a ton of money. The total project cost around $400. We used treated 2x4’s for the frame. We found $45 cushion sets, the rug and accessory pillows at Big Lots. I love we used different colors for the chair s and love seat.
Jennifer Poarch
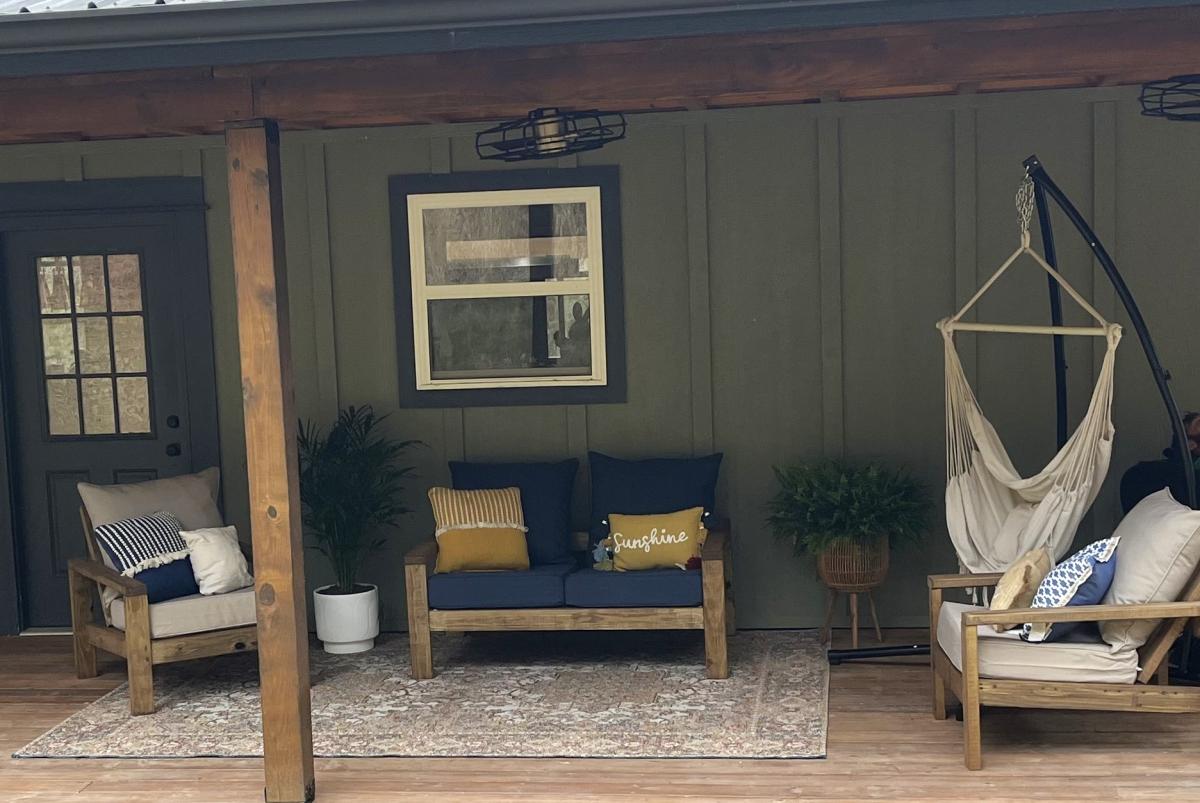
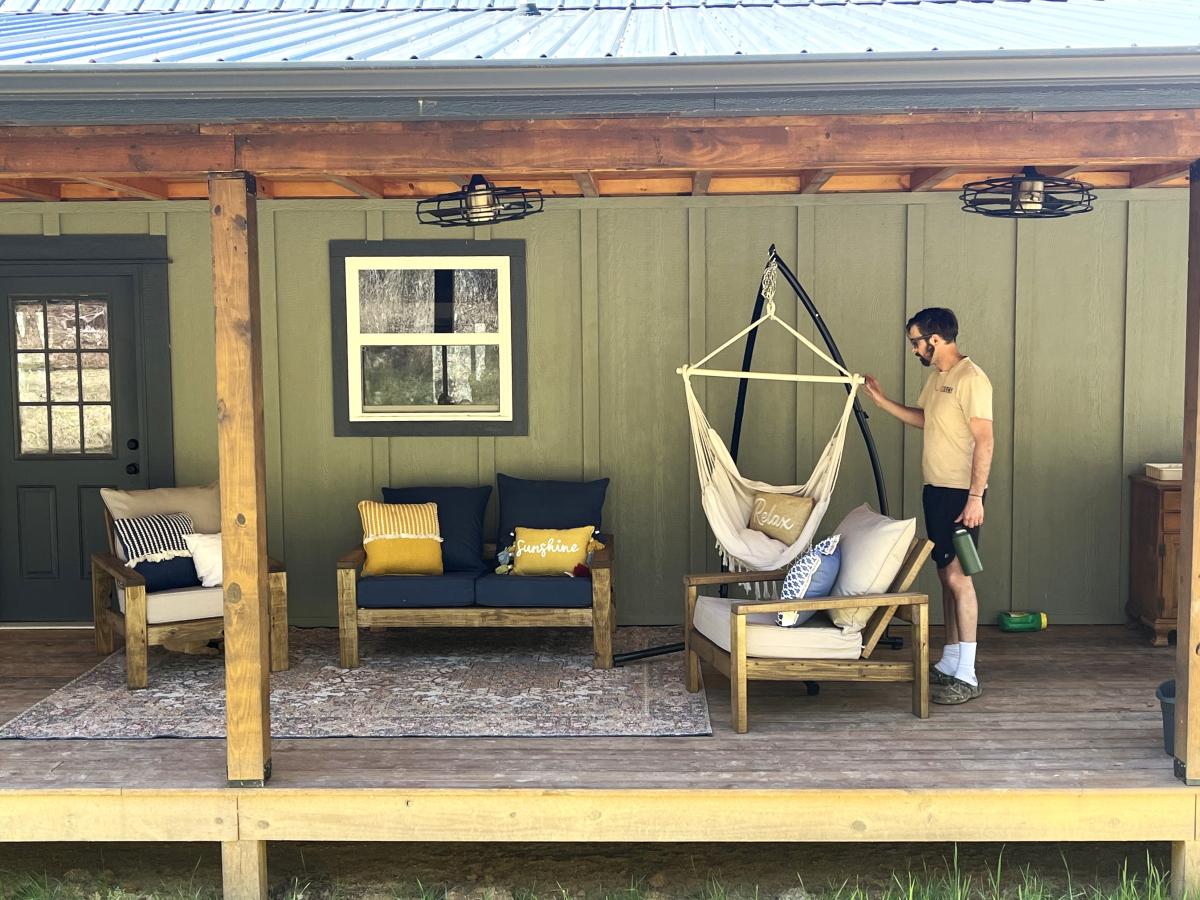
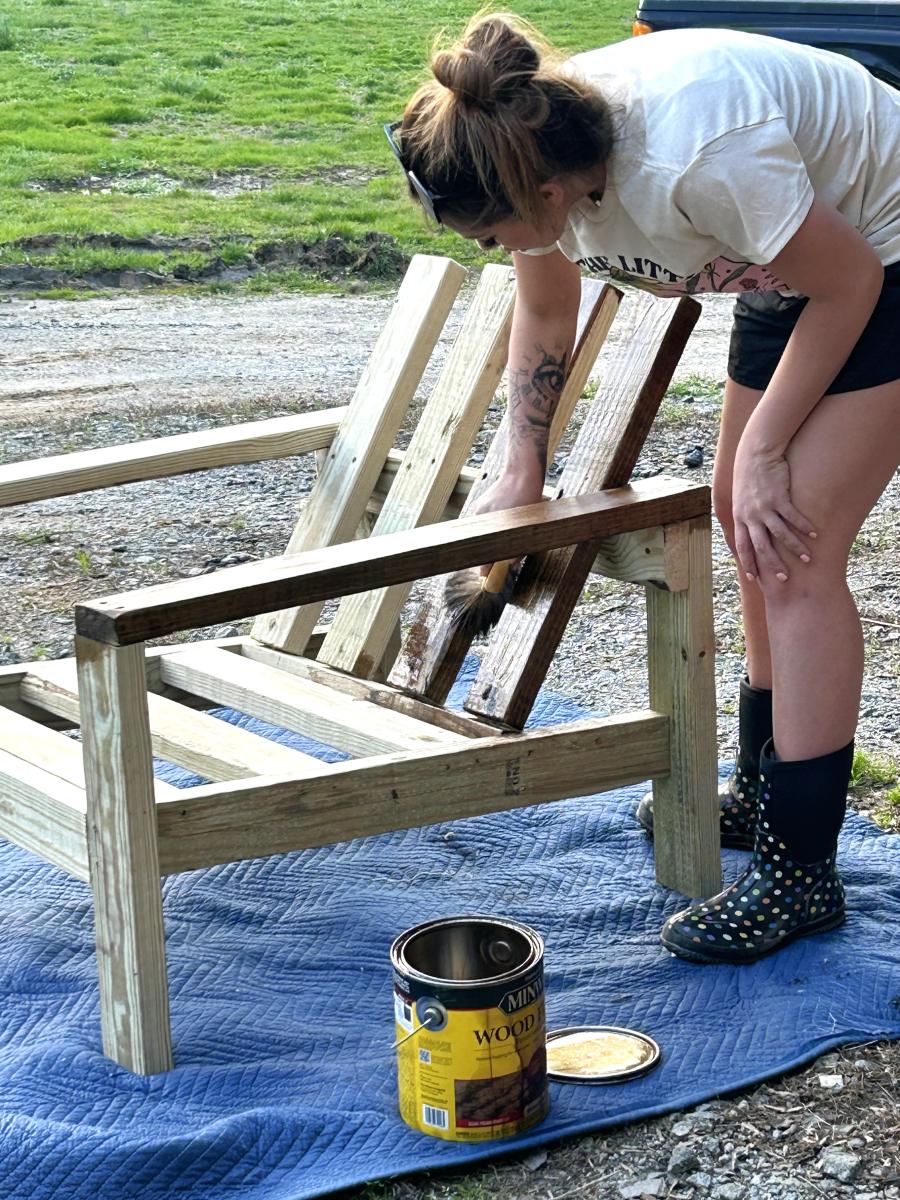

This was my first project. I am pretty excited how it turned out. If I did it again, I would recommend sanding and painting prior to building.
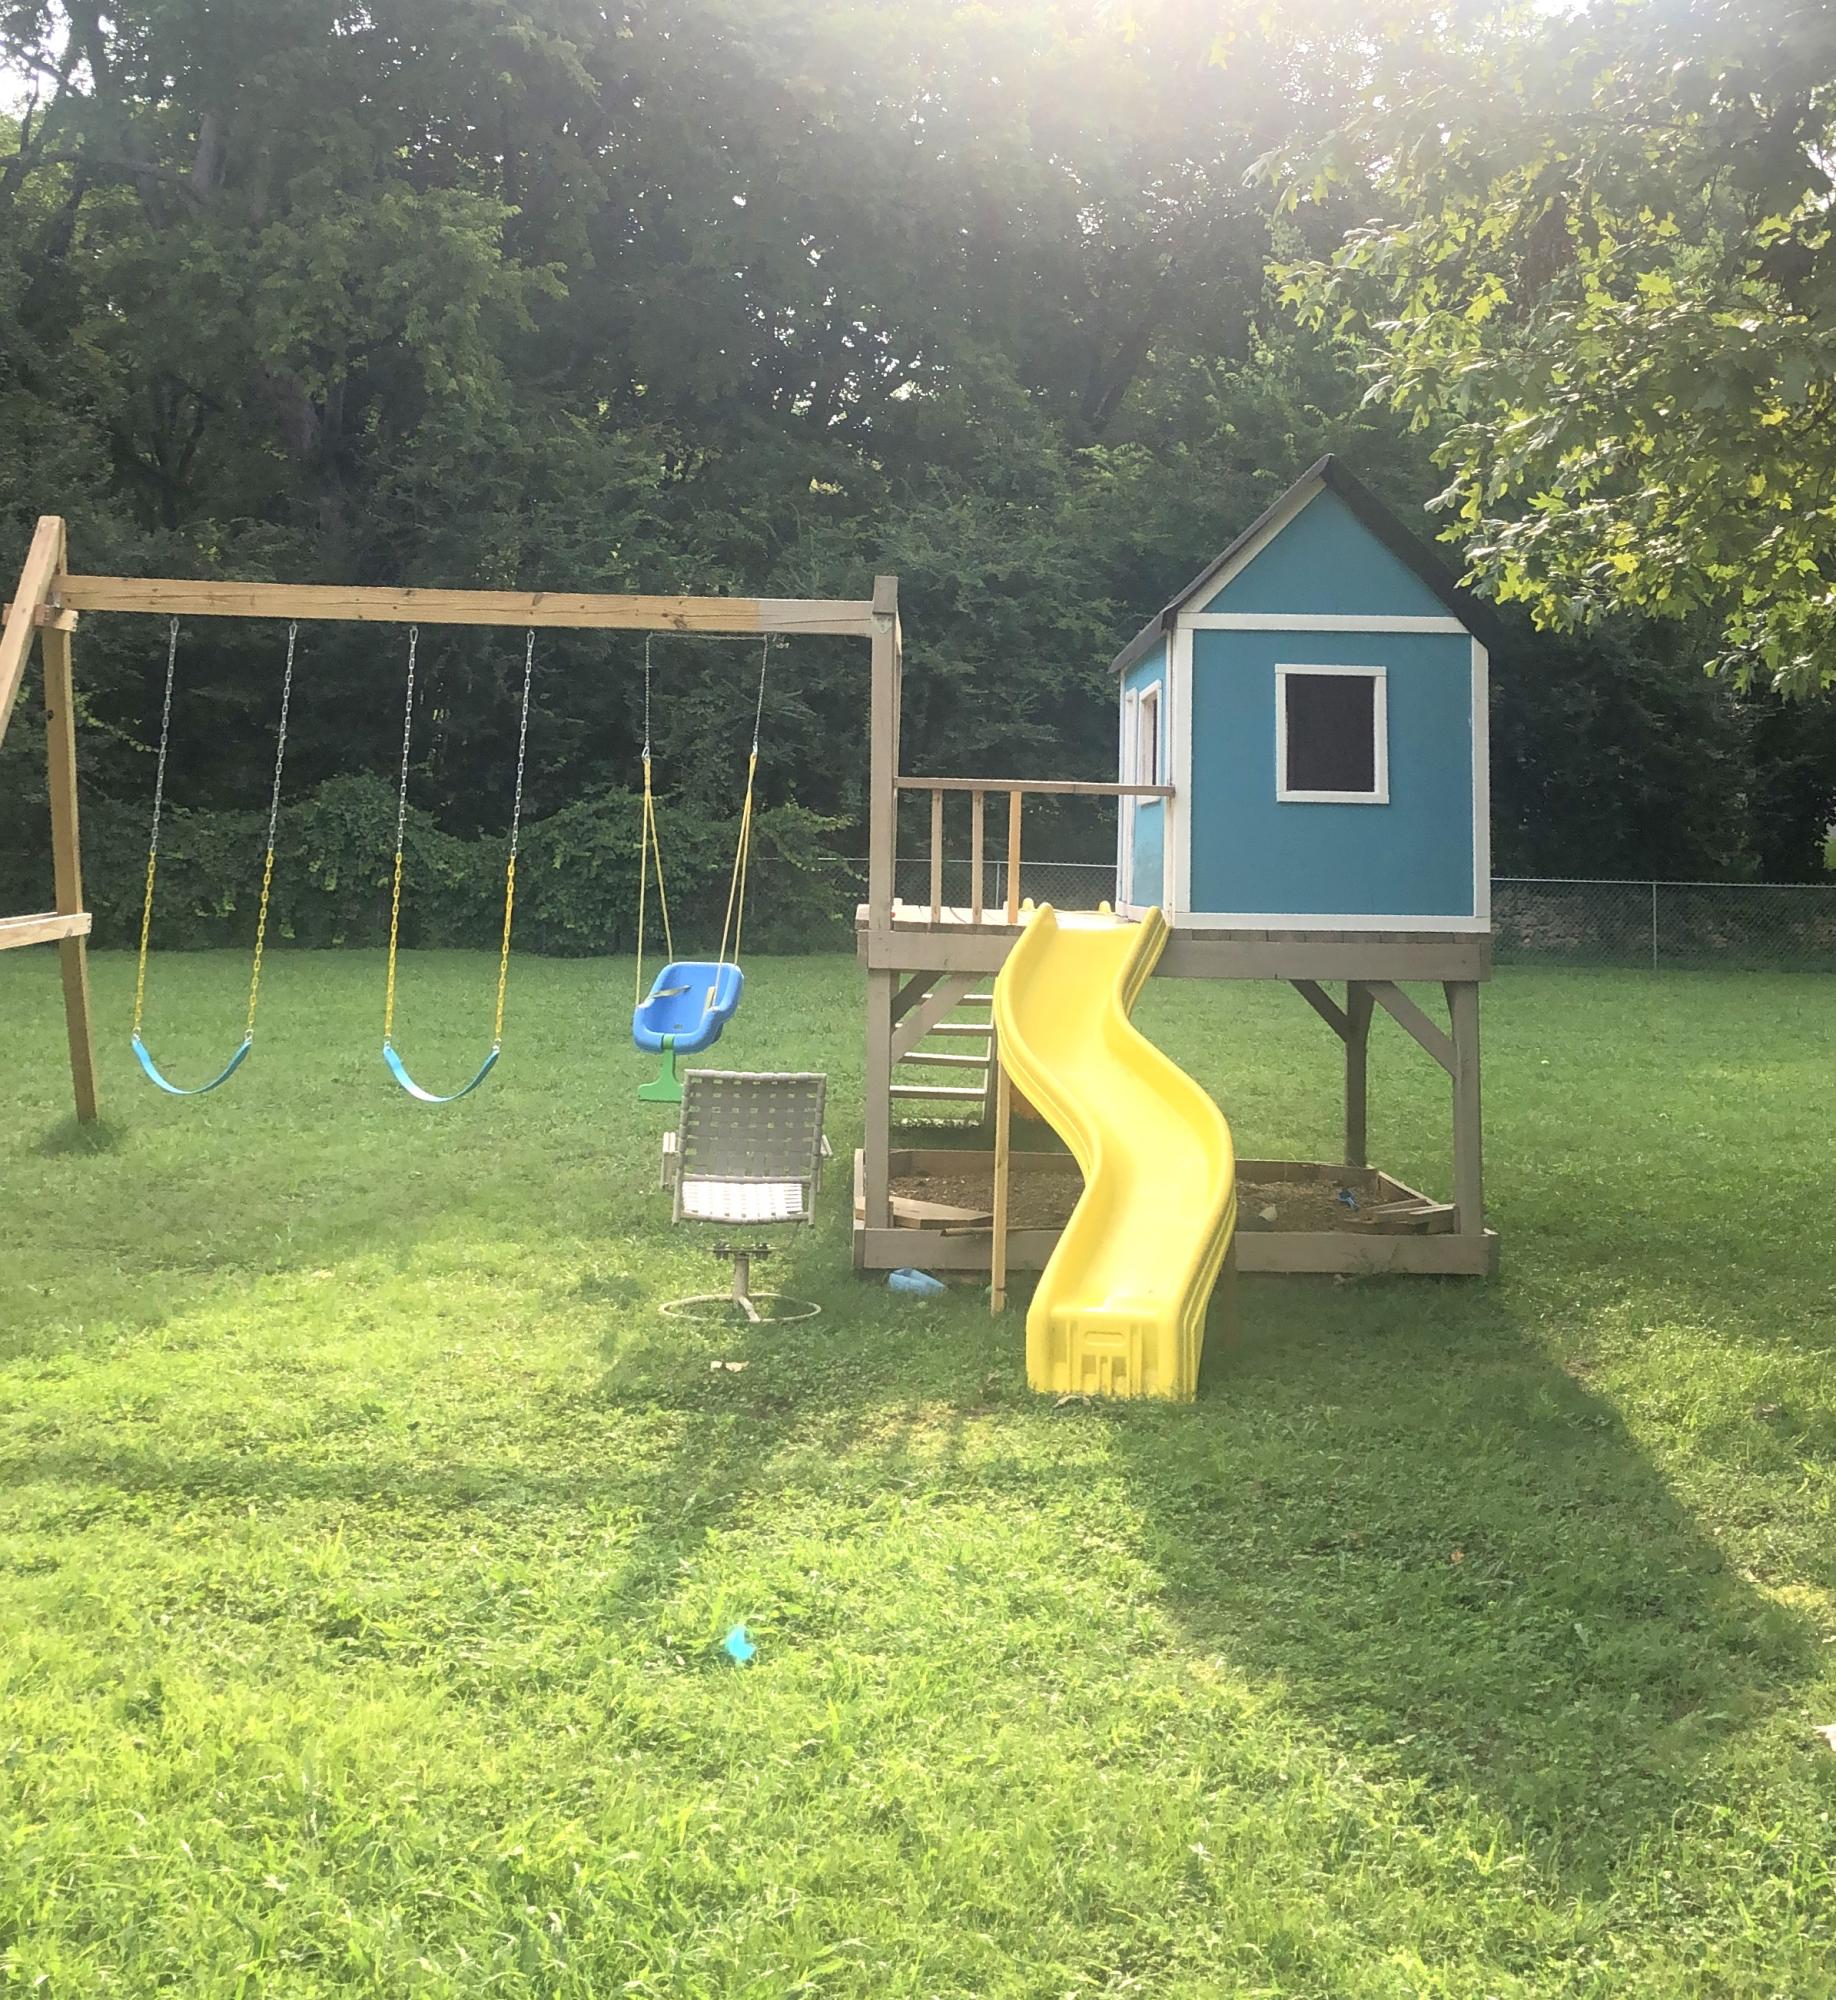
The one toy that we could not live without! Started this as a 2020 covid project and play on it everyday.
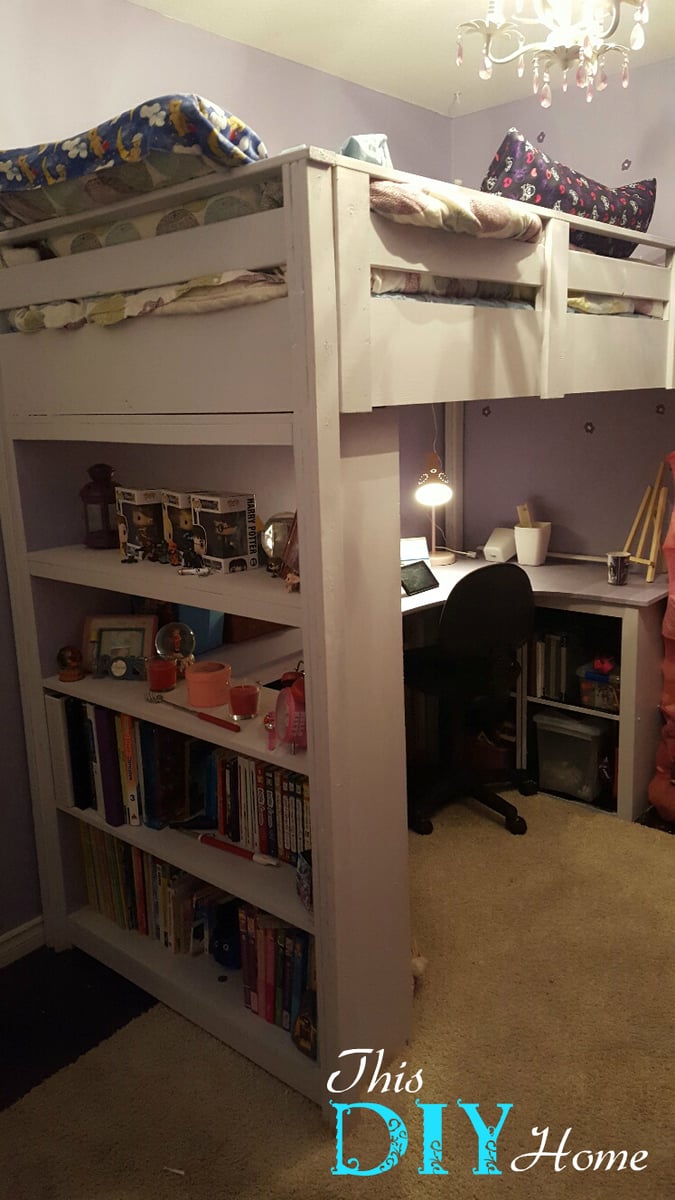
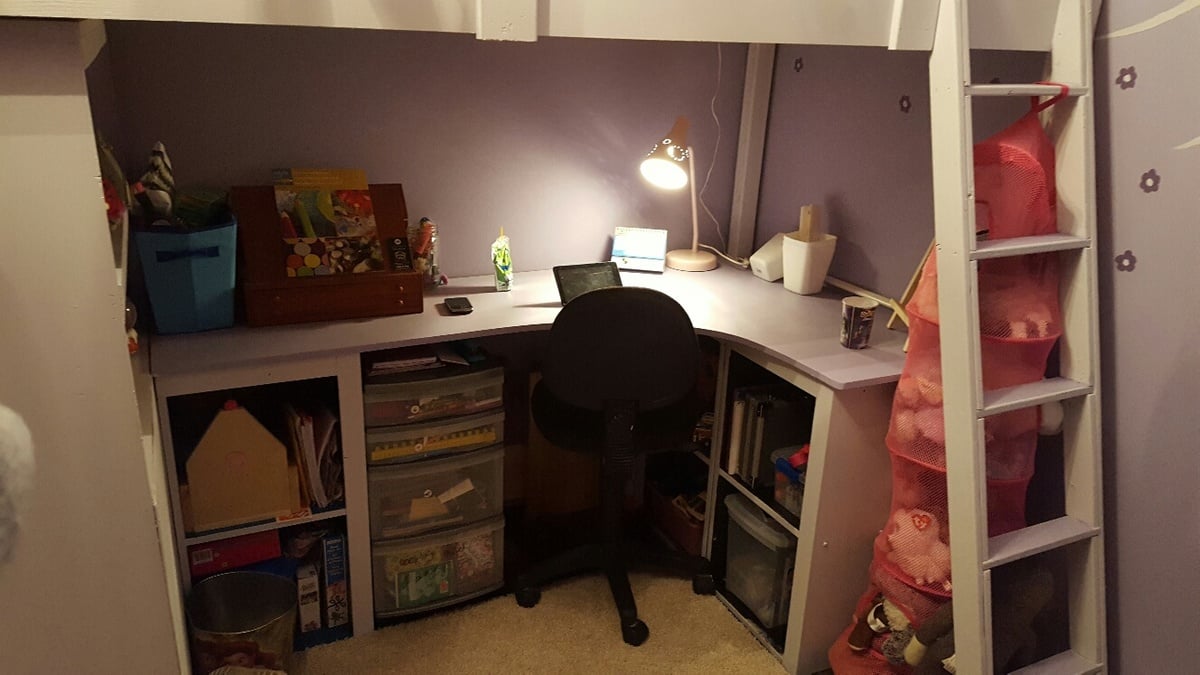
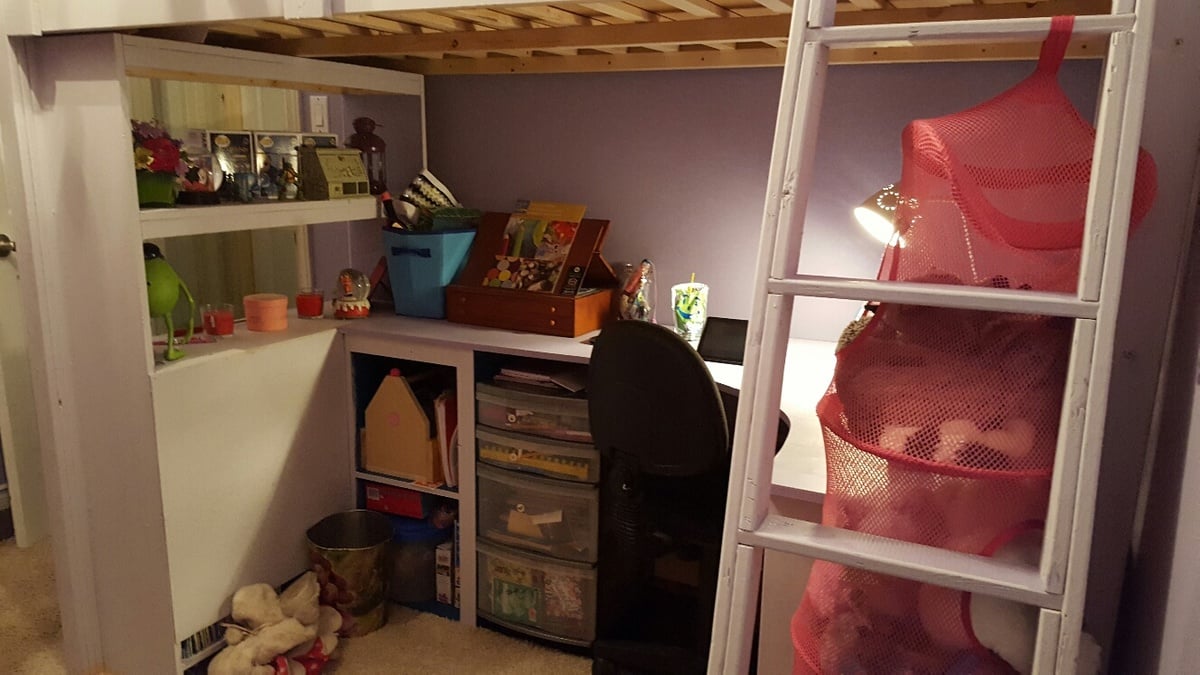
Created but Modified from the plans found on here, my daughter has a great new bed. This bed saved a ton of space in her very small room. PLUS it allowed her to have an area to do her homework and all the art projects she does! Very easy build. Took a day to build and another to paint.
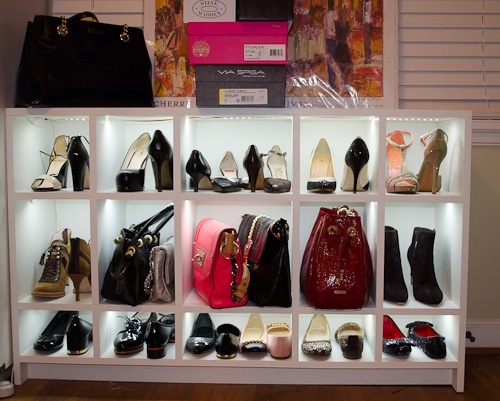
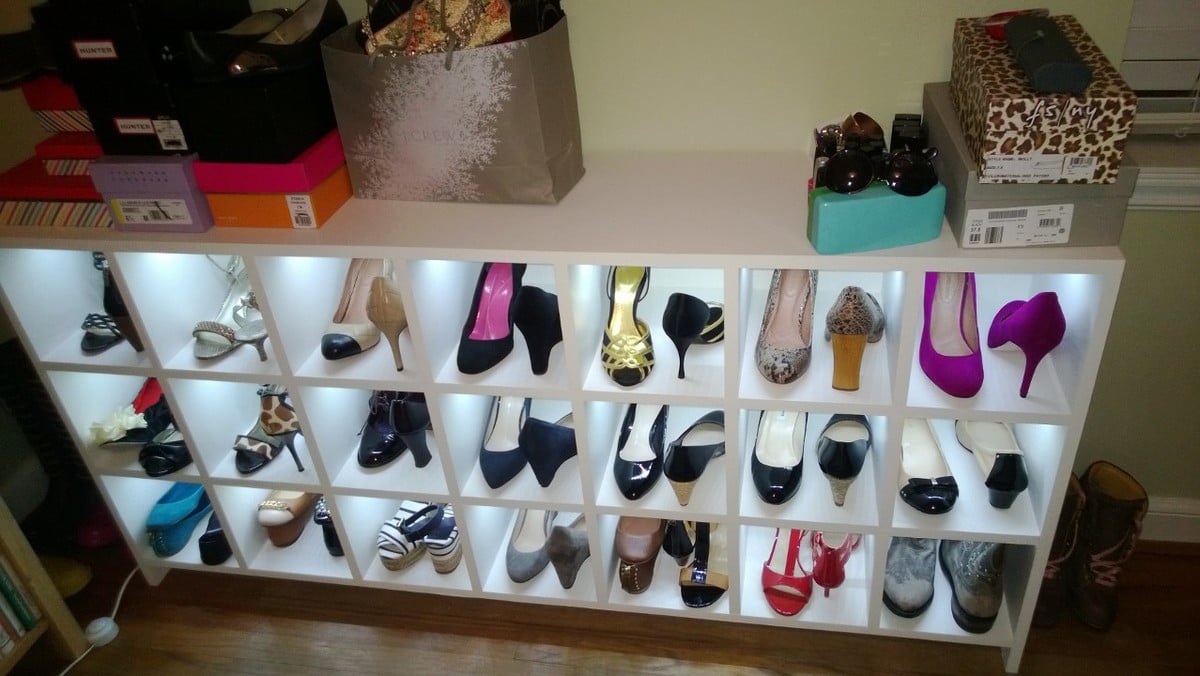
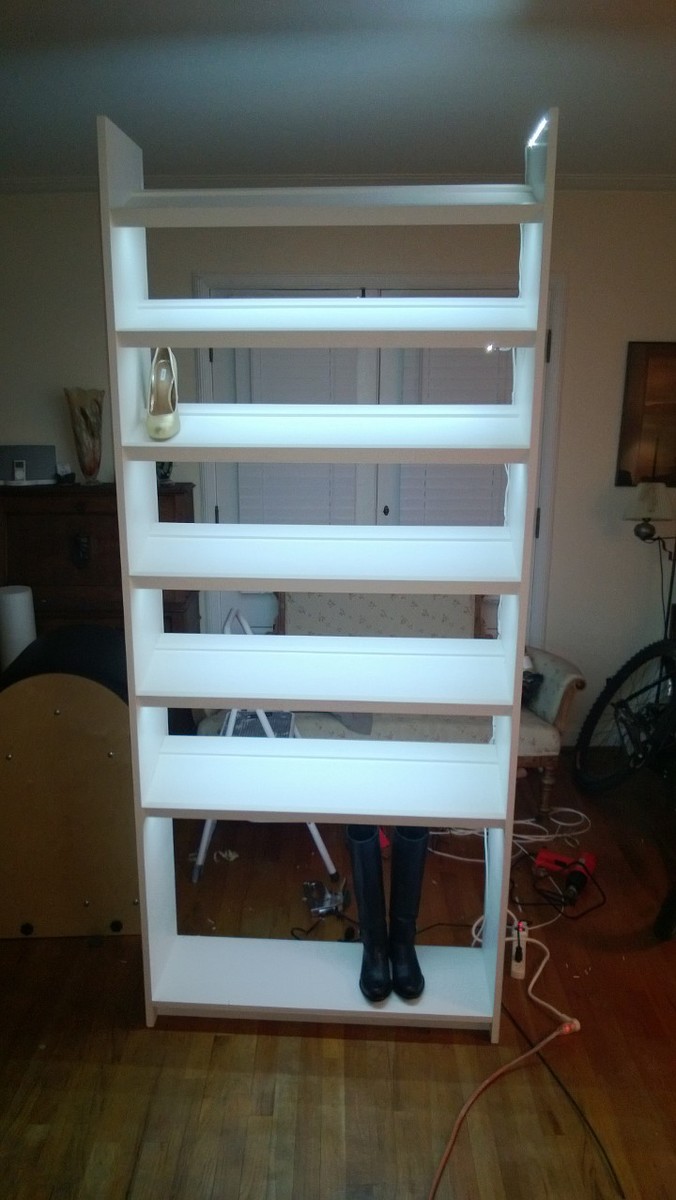
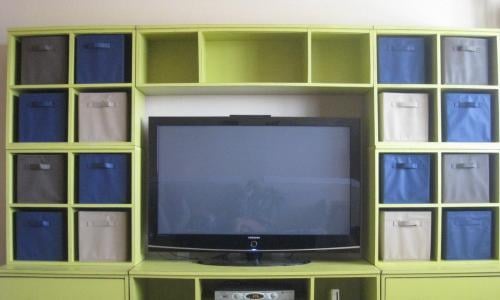
This is an adaption of the shoe shrine shelves. Since I didn't have a closet or other room than the bedroom to put these, I put them on their side. I modeled these off the shoe shrine shelves.
Each cubby is 11 3/4 deep x 8 x8 for the long version. The 2nd version I made was only 48 inches wide and did not divide well so I simply left the center cubby wider. I also made the 48" version to have different height shelves for purses in the middle and flats on the bottom.
I basically flipped the shoe shrine's on their sides and added LED lights. This also inspired a tall version for a cubby we had upstairs.
I used a panel saw to cut the plywood and then assembled with a Kreg pocket hole jig for horizontal pieces and biscuits for the top and the dividers. I did not want to fill the holes or I would have used Kreg instead of the biscuits.
I used 3/4" paint grade plywood and a 1/4inch back panel.
LED lights came from LED wholesalers on amazon. This step requires electrical knowledge! Not much more than a wiring a light but do not attempt if you are not qualifed to do so. LED strings required a fine tip soldering iron, wire and heat shrink.

Fri, 03/22/2013 - 08:18
Great job! Your closet now looks like a fancy shoe boutique!
Fri, 03/22/2013 - 11:50
The LED's came after we designed them. I was like there is no light where these are going and its hard to see inside the cubbies. This is true for the bottom cubies which are only 5 inches tall. So for 30 bucks a cabinet it was a quick and easy addition that really made them pop. Only downside is it can make the room look like you are in Nordstom's :) so she doesn't leave the lights on regularly.
Thu, 09/18/2014 - 01:42
Very nicely done. Do you mind telling me more about which particular LED product you used and the process to wire them in? Did you mill out any part of the cabinet to set the lights? How are they activated? Thanks in advance. You can also email me at [email protected]. Much appreciated!
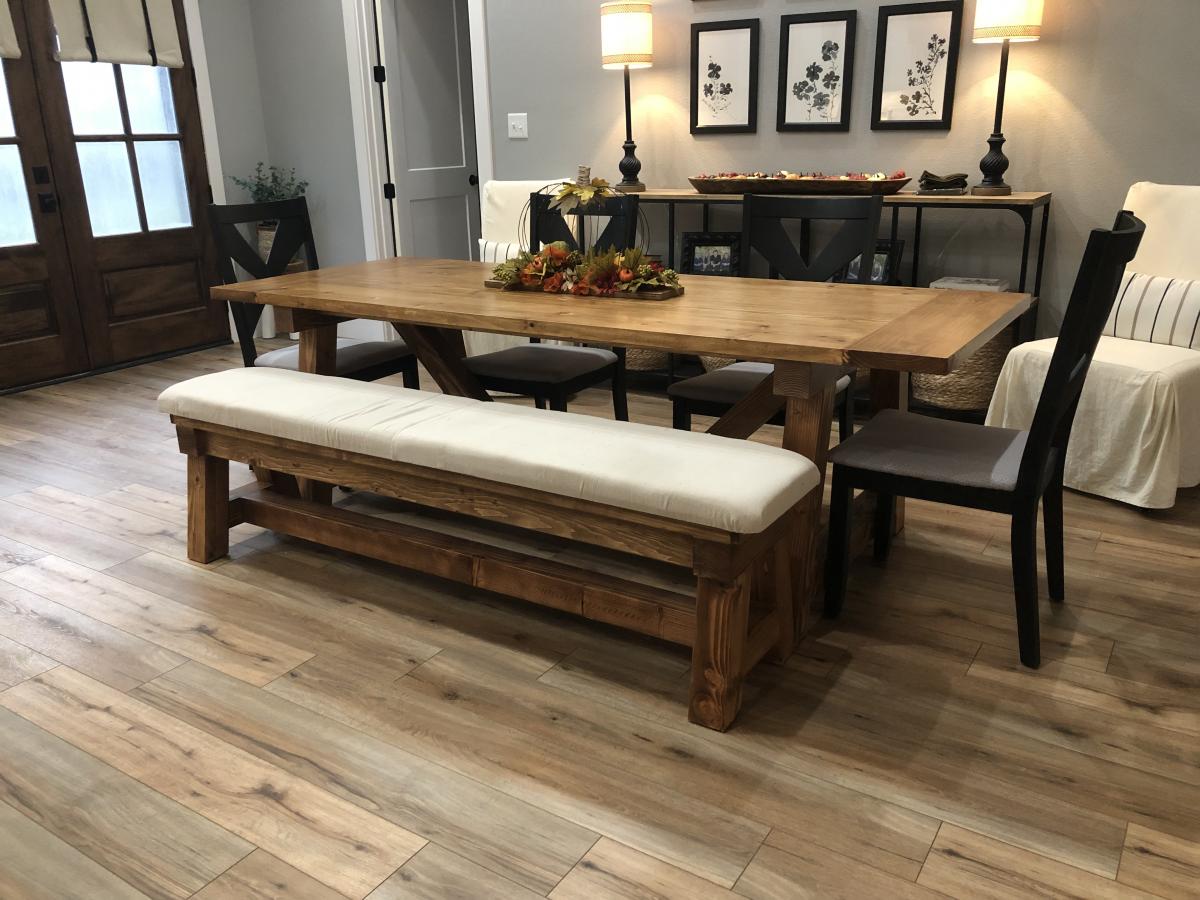
The plans were very easy to follow for non avid woodworkers. We decided to upholster the seat on the bench.
Tue, 10/05/2021 - 10:43
Looks professionally done and well built, the upholstered bench is a beautiful addition!
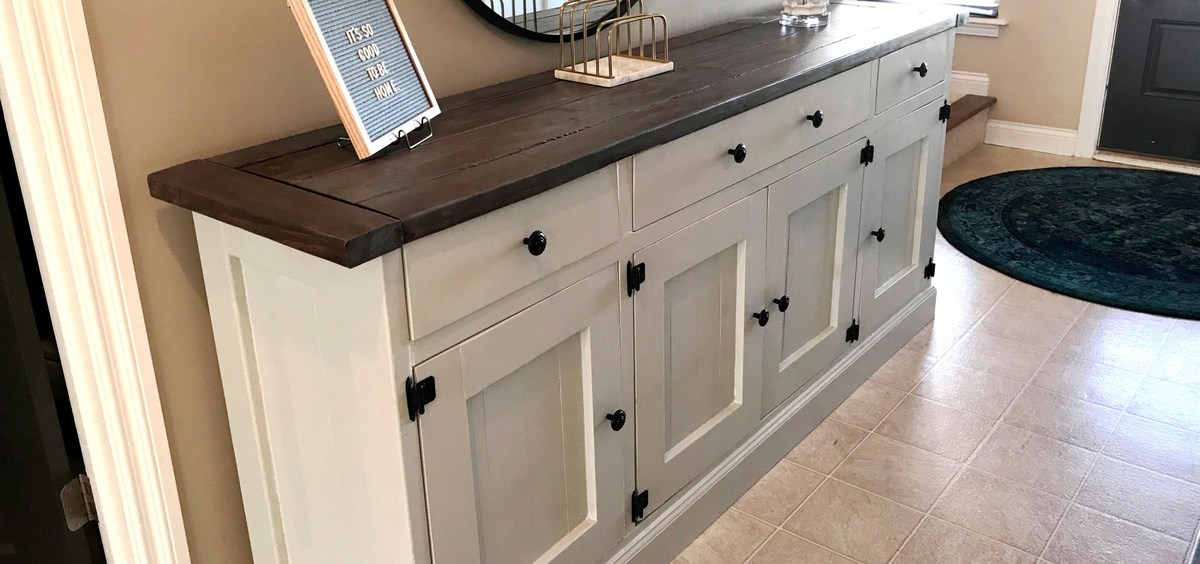
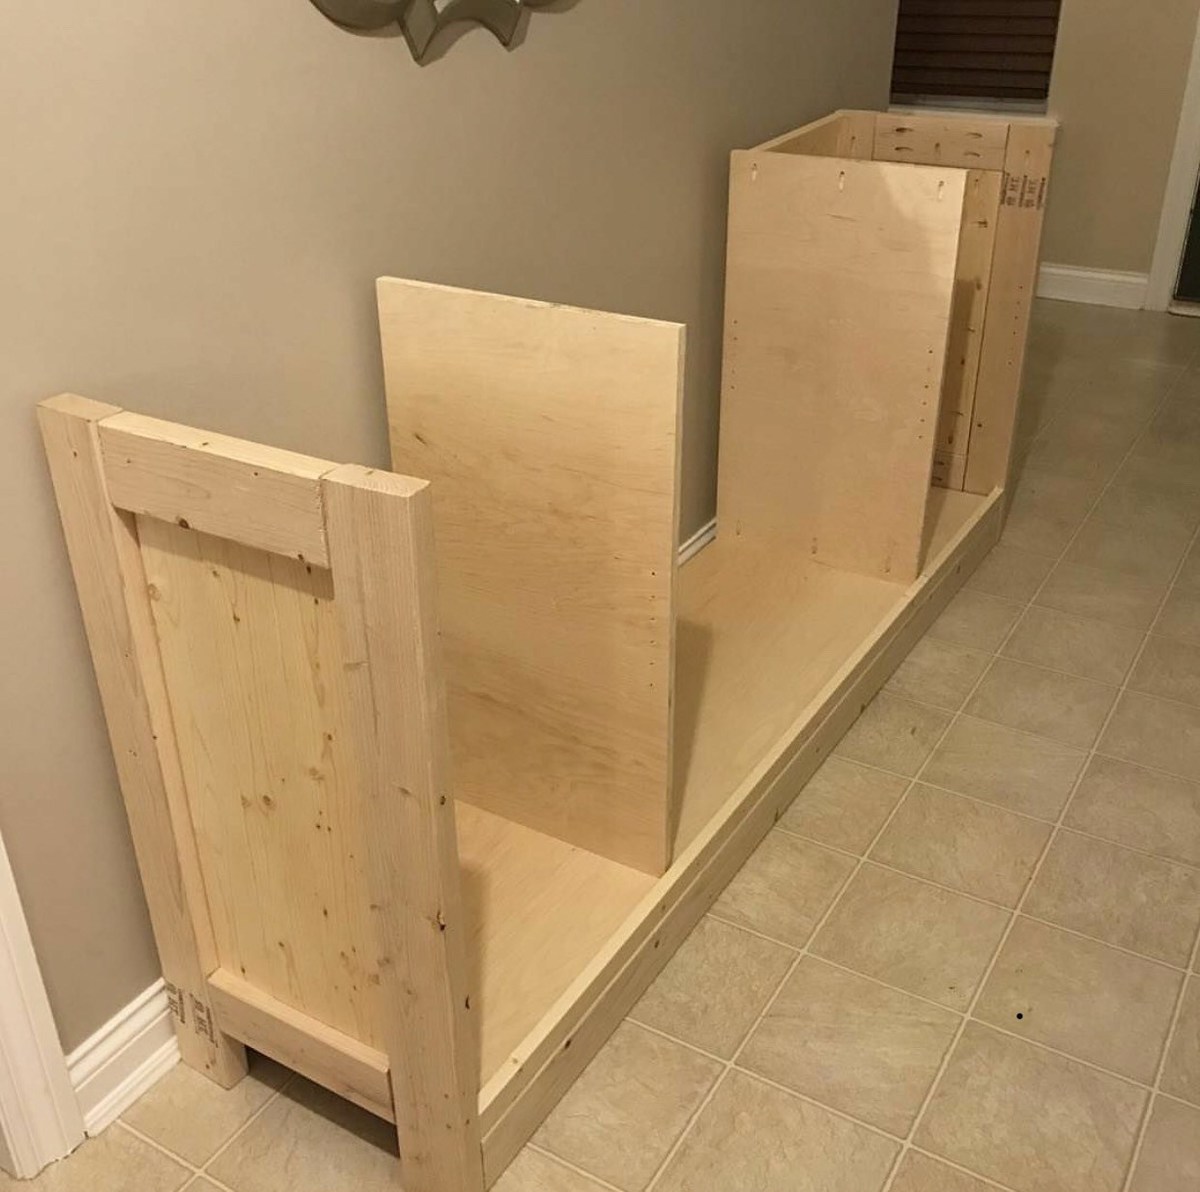
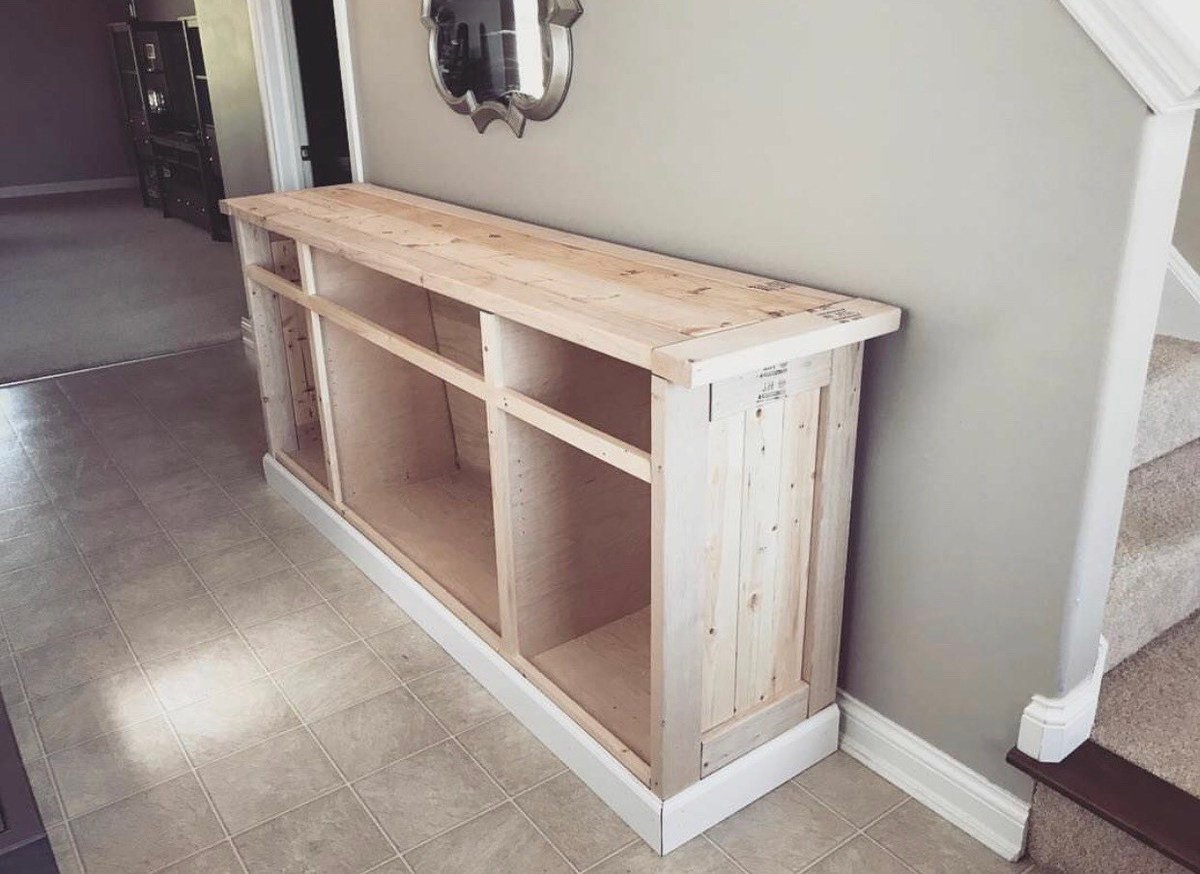
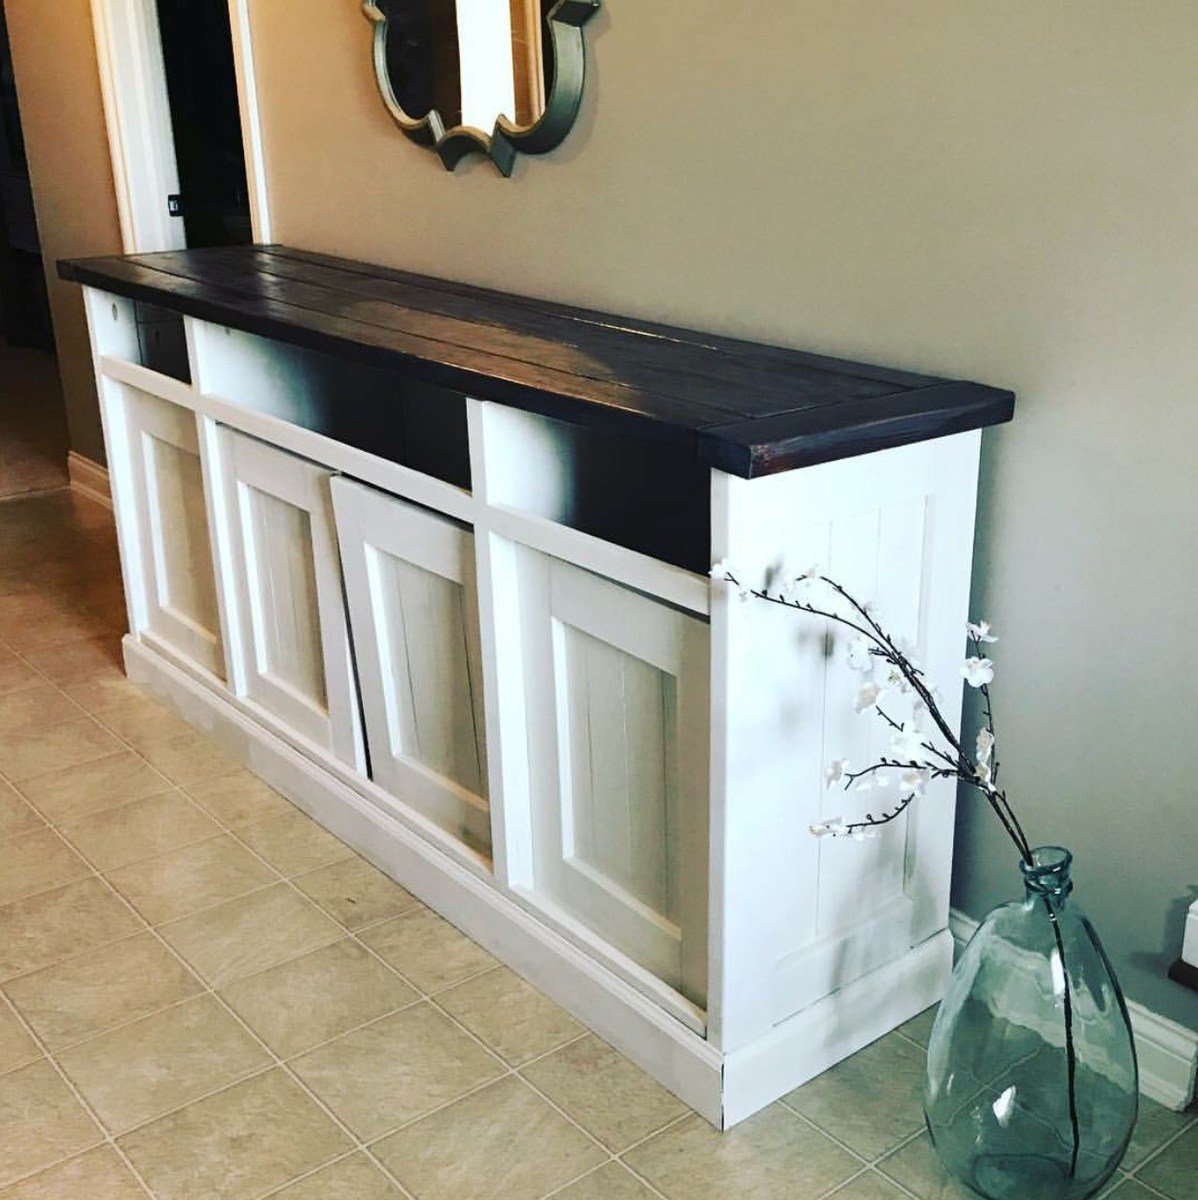
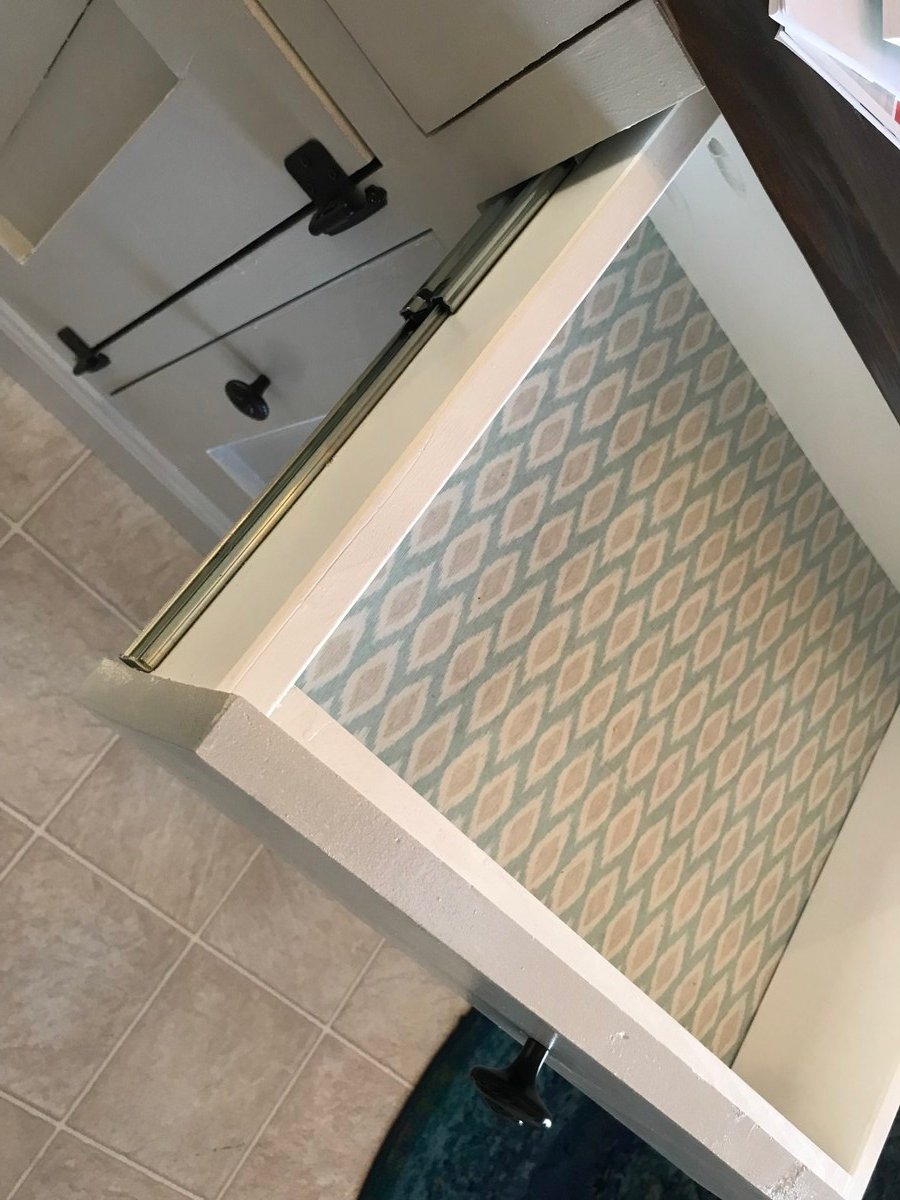
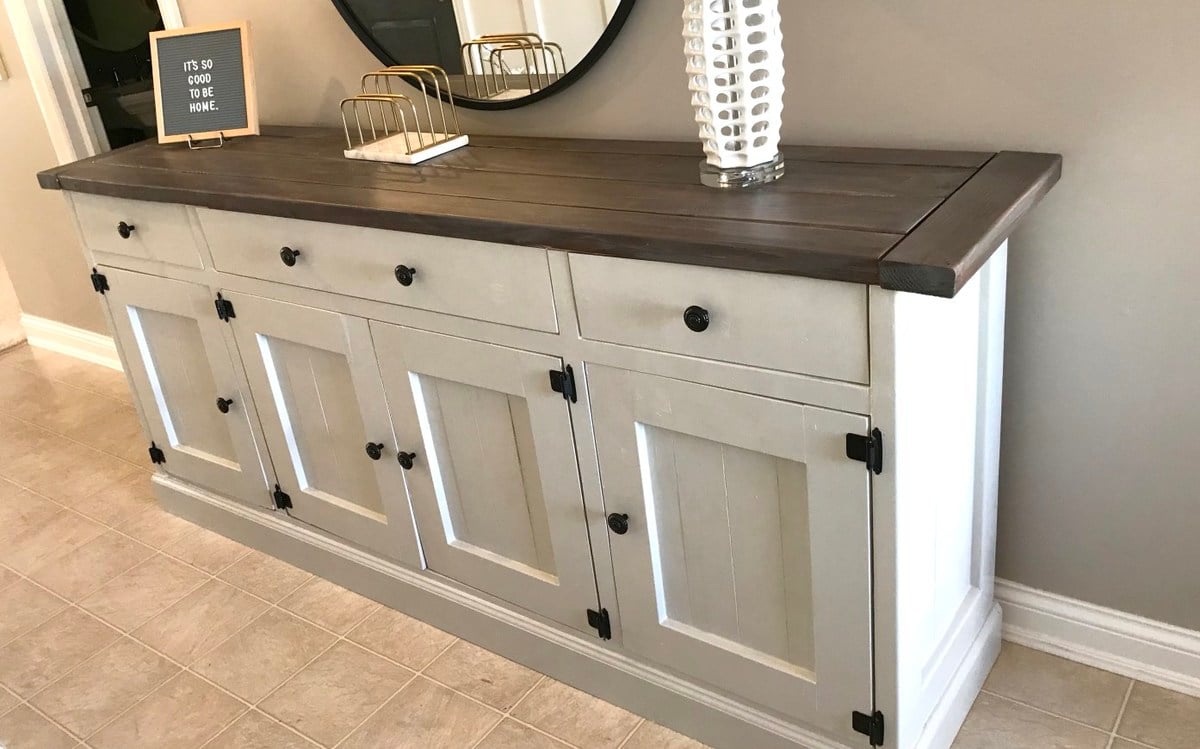
I worked on this project over the course of a few months, and I absolutely love the result! I posted all the info at my blog: http://www.designatedspacedesign.com/2017/10/01/a-rustic-sideboard/
Your easy to follow 2x4 proje ts turned out amazing. My outdoor set is complete. The chairs, also, came from your plans. I built all of it by myself in one weekend. Thank you
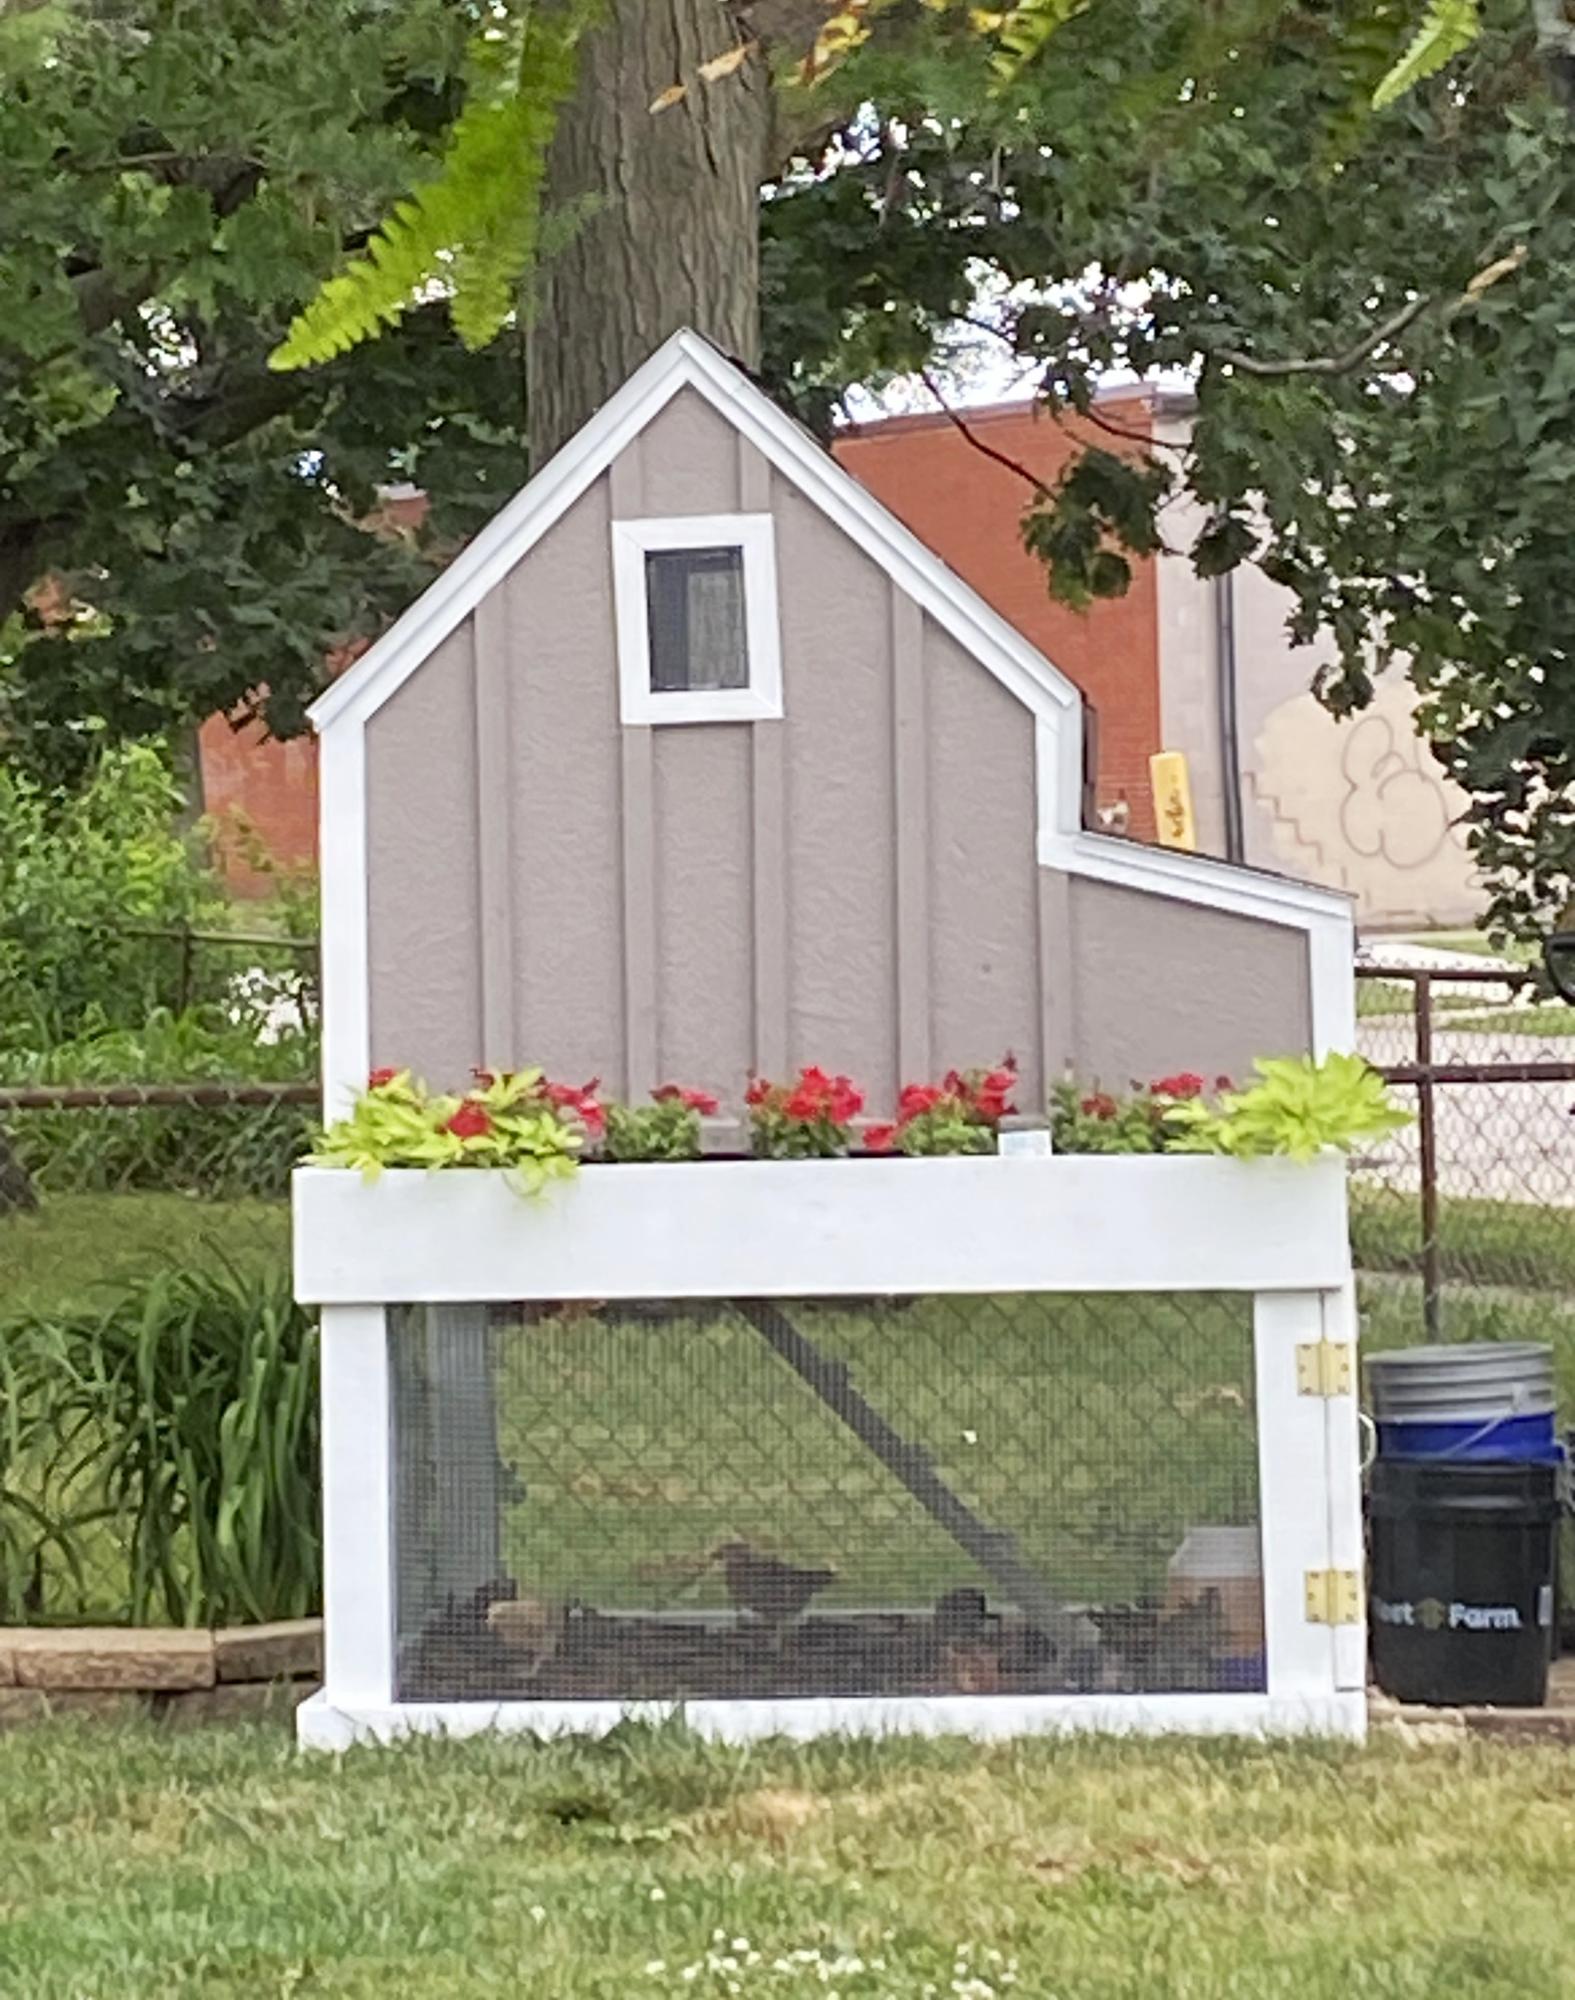
As a first time chicken farmer, I have four chickens now fully grown. It was 29 degrees in Iowa this morning, wondering if I should wrap the lower portion of the coop on three sides with visqueen, and should the roost windows be covered? I have straw bales to roost on and add where needed . I don’t plan to heat the coop . Any help will be appreciated.
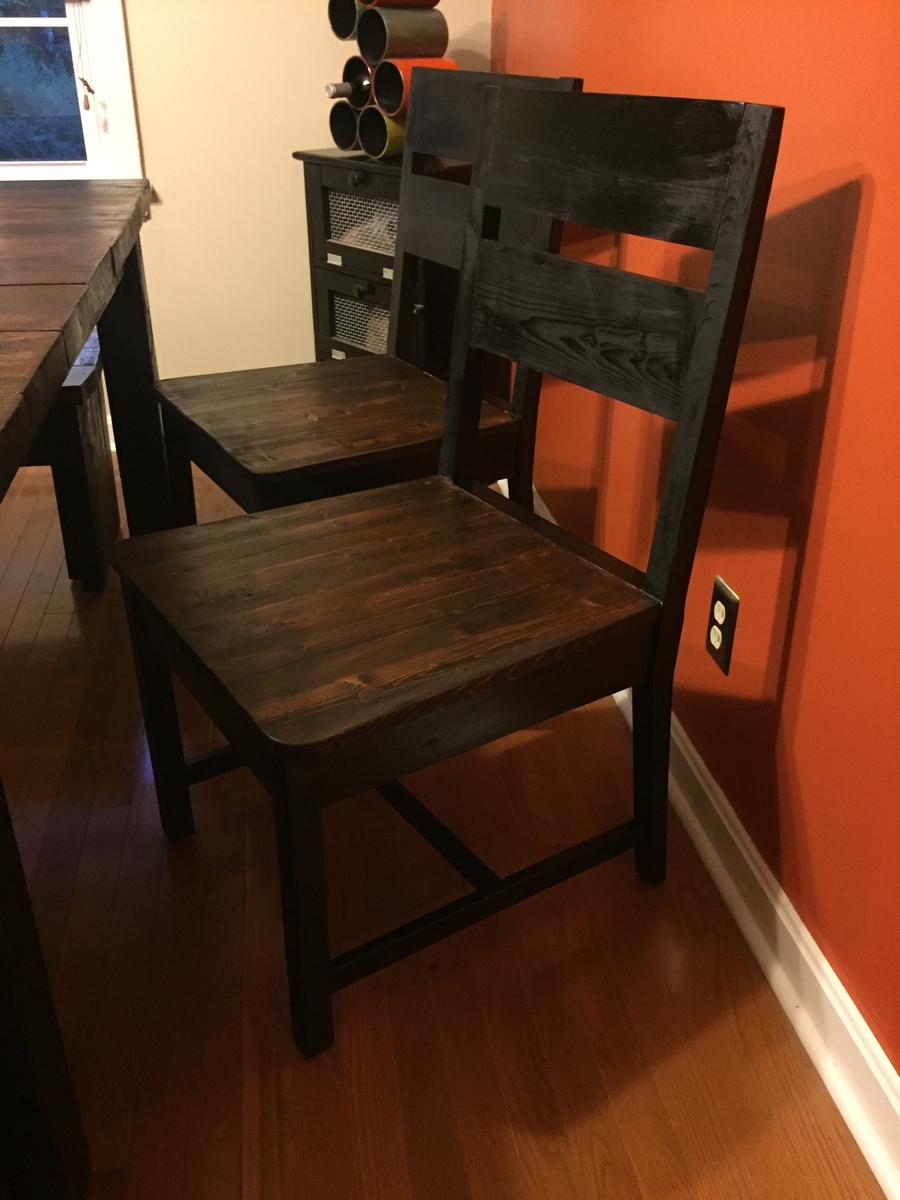
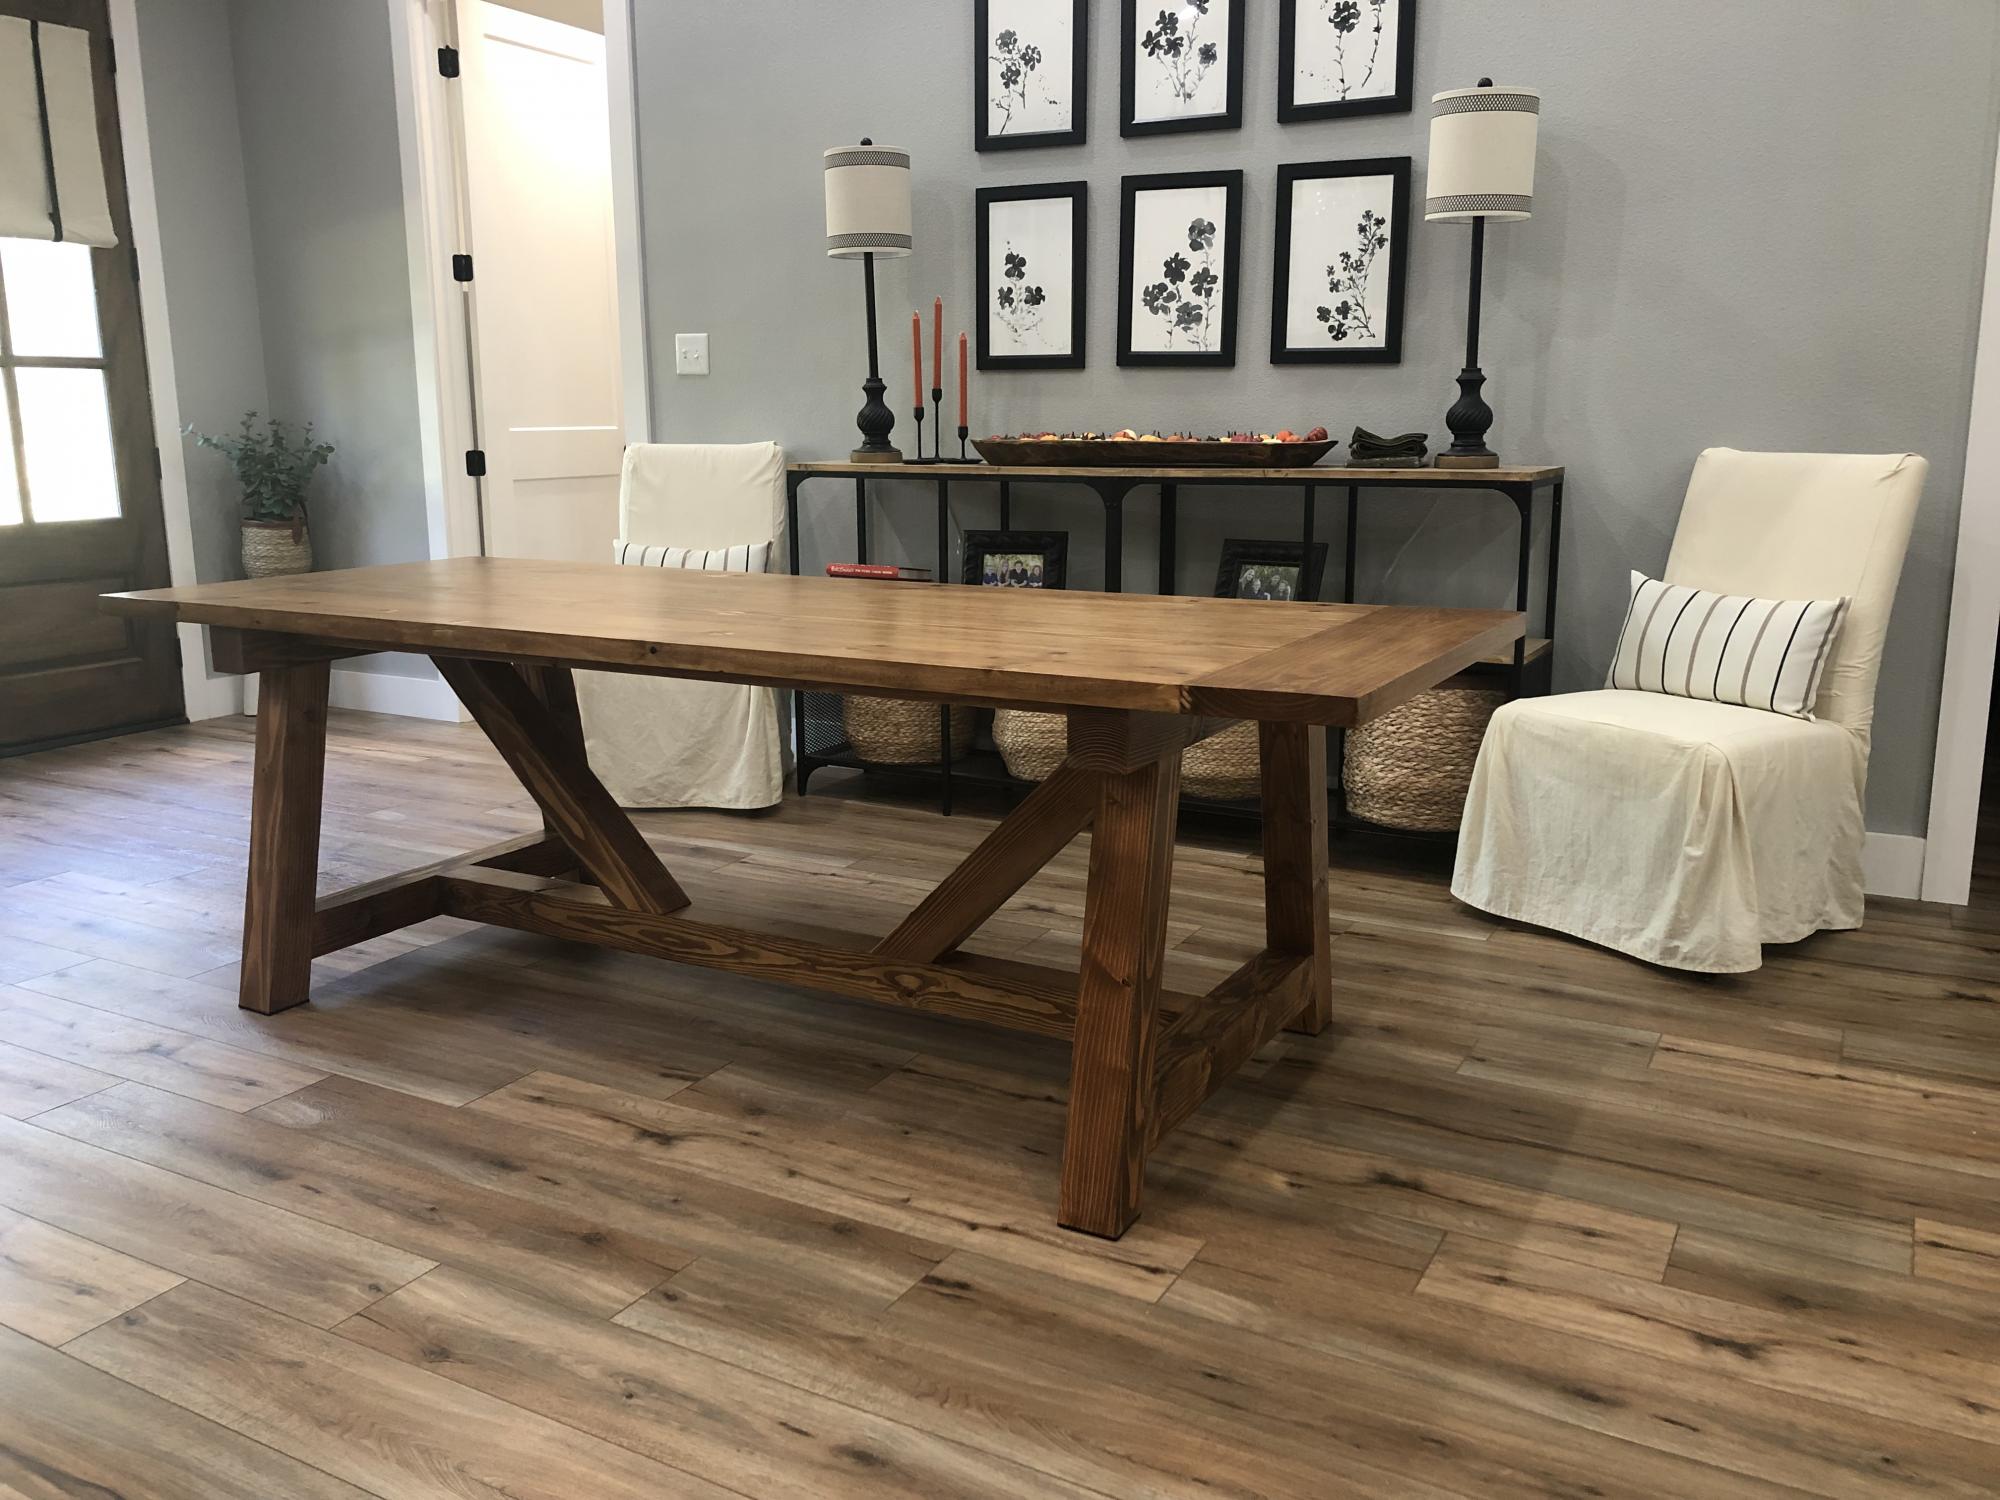
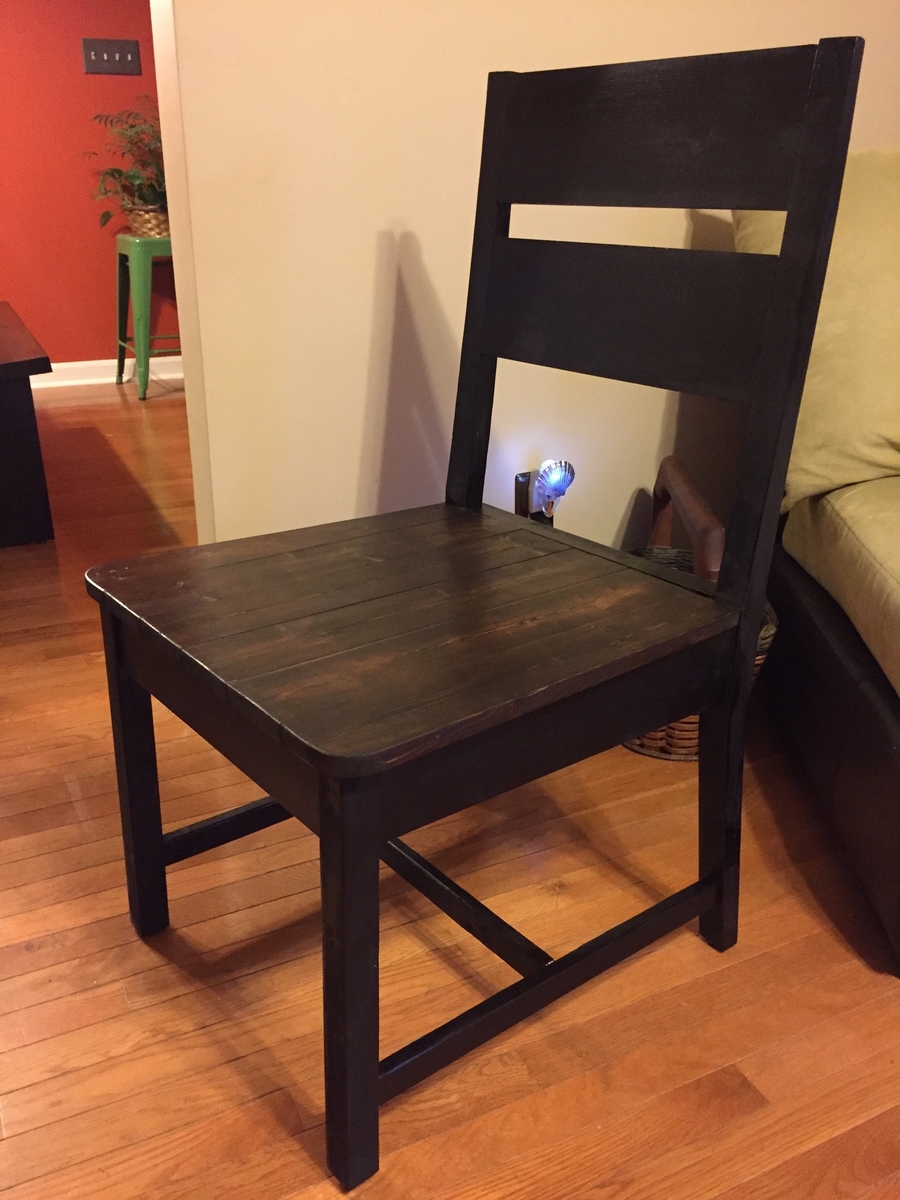
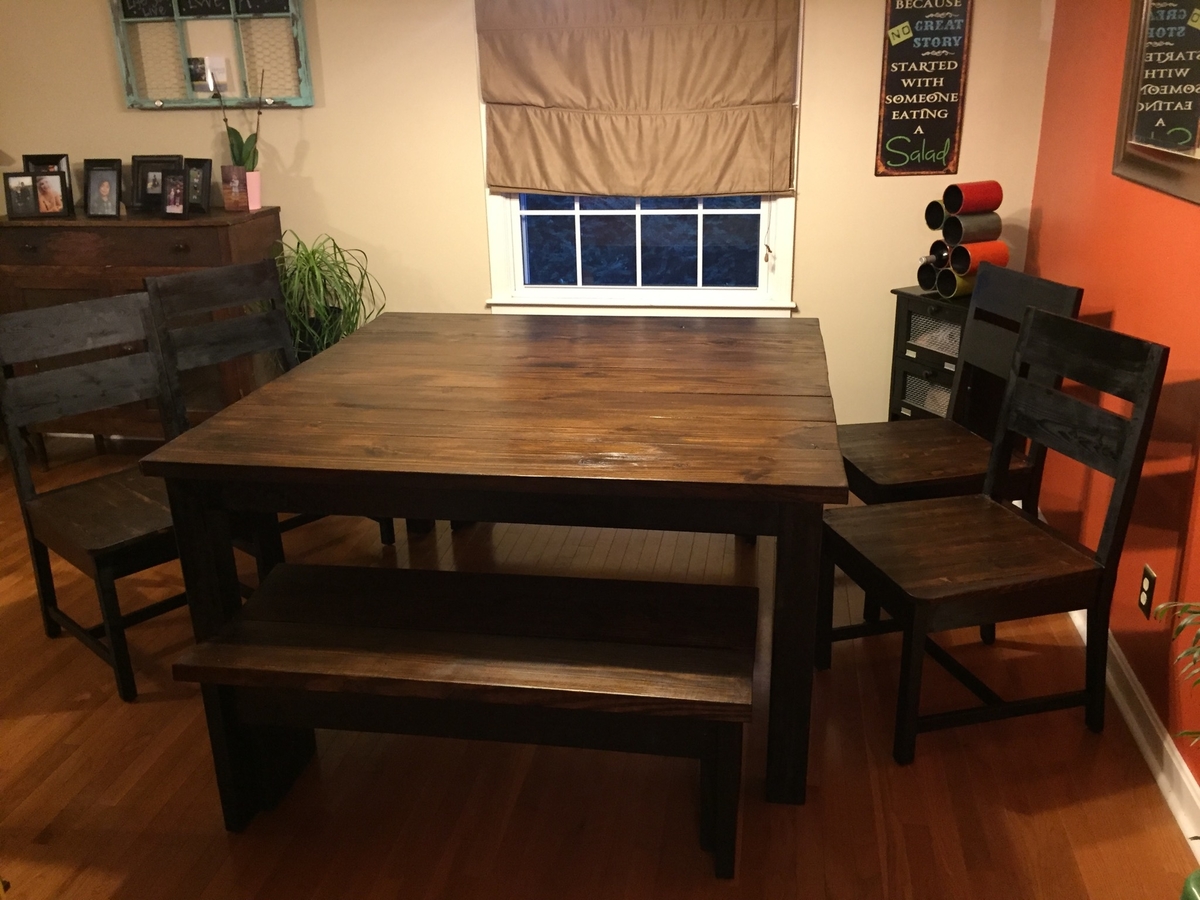
This was my first attempt at making furniture...but it turned out GREAT! My fiance was about to buy a VERY similar dining room set for $1300 before I stopped her and insisted that I could build it myself, finish it to match our kitchen/dining room, and save a TON of money!

Basically I took Ana's plan and tweaked it to create a diy sofa, a love seat, and a corner piece to make a sectional. All 3 pieces have the same basic design and function (they all have a storage compartment), although the corner piece, because of its placement and the thickness of the seating cushions, doesn't open unless the couch is opened first. We purchased custom cut, 6" thick foam cushions for the seats (we bought the XL-38 foam from https://www.buyfoam.com/, but if we had to do it again, we'd go with the XL-28 as the 38 is VERY firm). We also used upholstery fabric instead of a paint drop-cloth to cover the couches. The foam and upholstery fabric upped the overall cost significantly. Other changes from Ana's plan, I used 15/32" OSB because the 1/4" plywood just felt too flimsy (I'm a large guy). I also added I bolts to the underside of the seat before the foam and upholstery so I could add a stress relief rope to prevent the kids from opening the top and dropping it and ripping out the hinges. I used piano hinges as they seemed to me to provide the most support. Finally, I ended up using 1x2s for the base trim since I couldn't find any 2x2s that were straight and finish-ready, then I added router detailing to provide some visual interest. I used 3" pieces of 4x6 for the feet and added matching router detail. Additionally, I used T-Nuts and bolts to make the feet and base trim completely removable.


Mon, 08/17/2020 - 07:46
It is superb blog and i really appreciate your blog. It is because i always like the informative blogs. You did a great job and thanks for sharing.I am impressed by your post. It contains very informative data and i gain a lot information from it. It is very useful for me. Thanks for sharing and keep on sharing that type of posts.The Mobile App Developer Dubai provides good service you visit here site https://www.mistersaad.com/
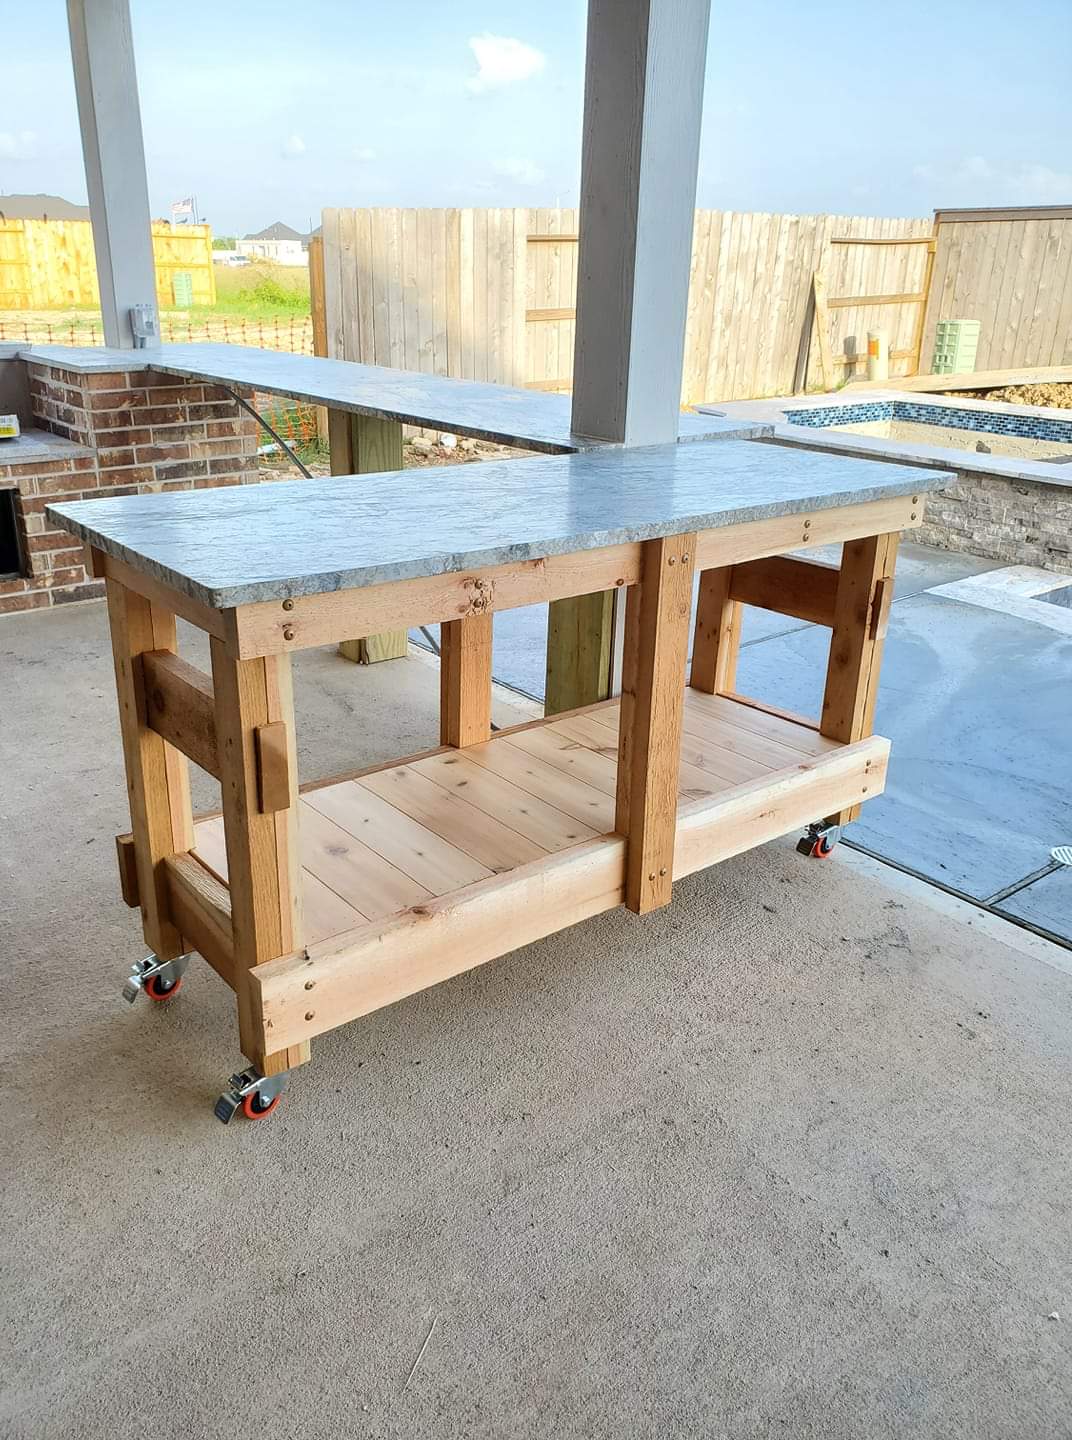
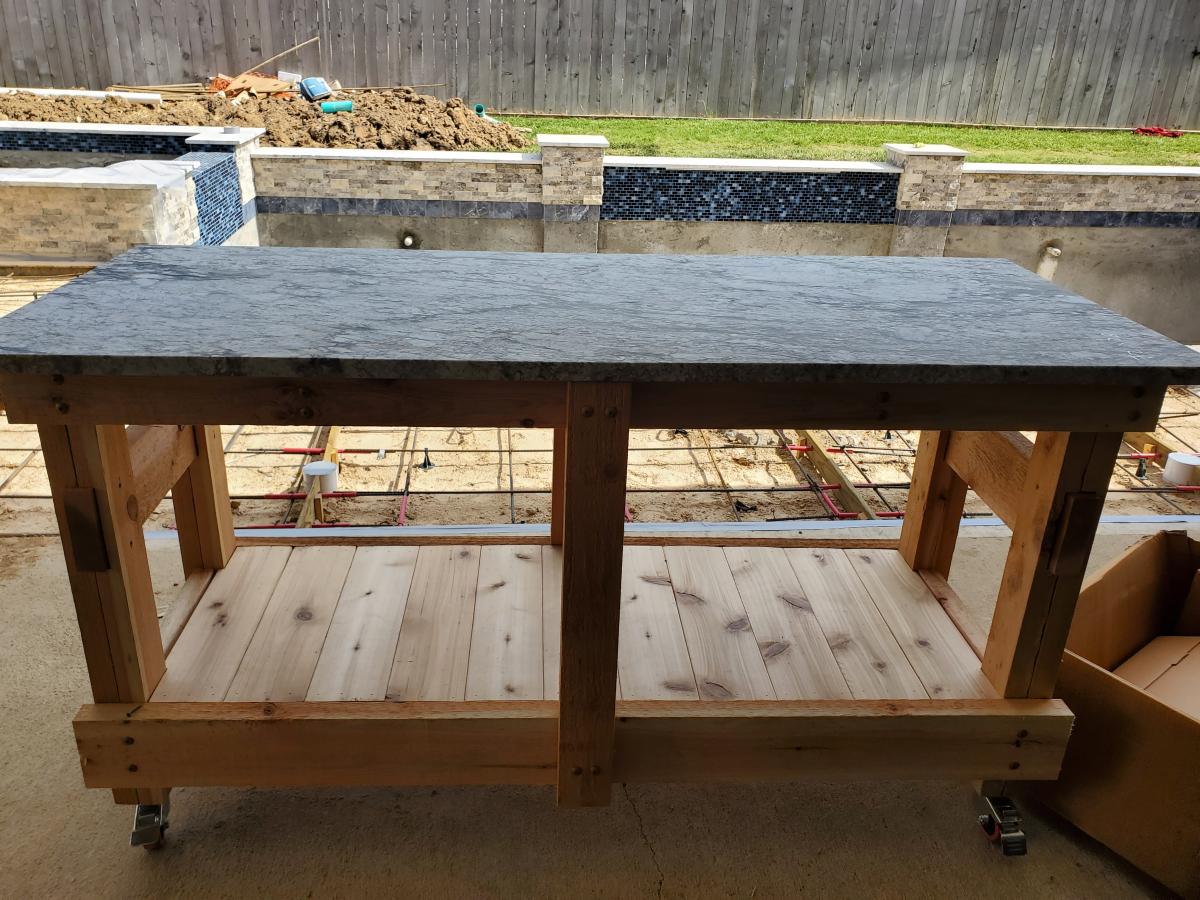
We had some leftover granite from an outdoor kitchen build and wanted to maximize the use of it. We loved the look of a rustic table from Pottery Barn and set out to find something that was asking the same aesthetic. I came across the Jilly and Mia workbench console and thought it would work great with some minor modifications. I shortened the overall length and height, went with some heavy duty casters to support the weight of the granite, and reinforced the cross beams that would support the 3/4" plywood sheet and granite. I went with cedar for this build since it was outdoors and I'll finish it with a clear sealant.
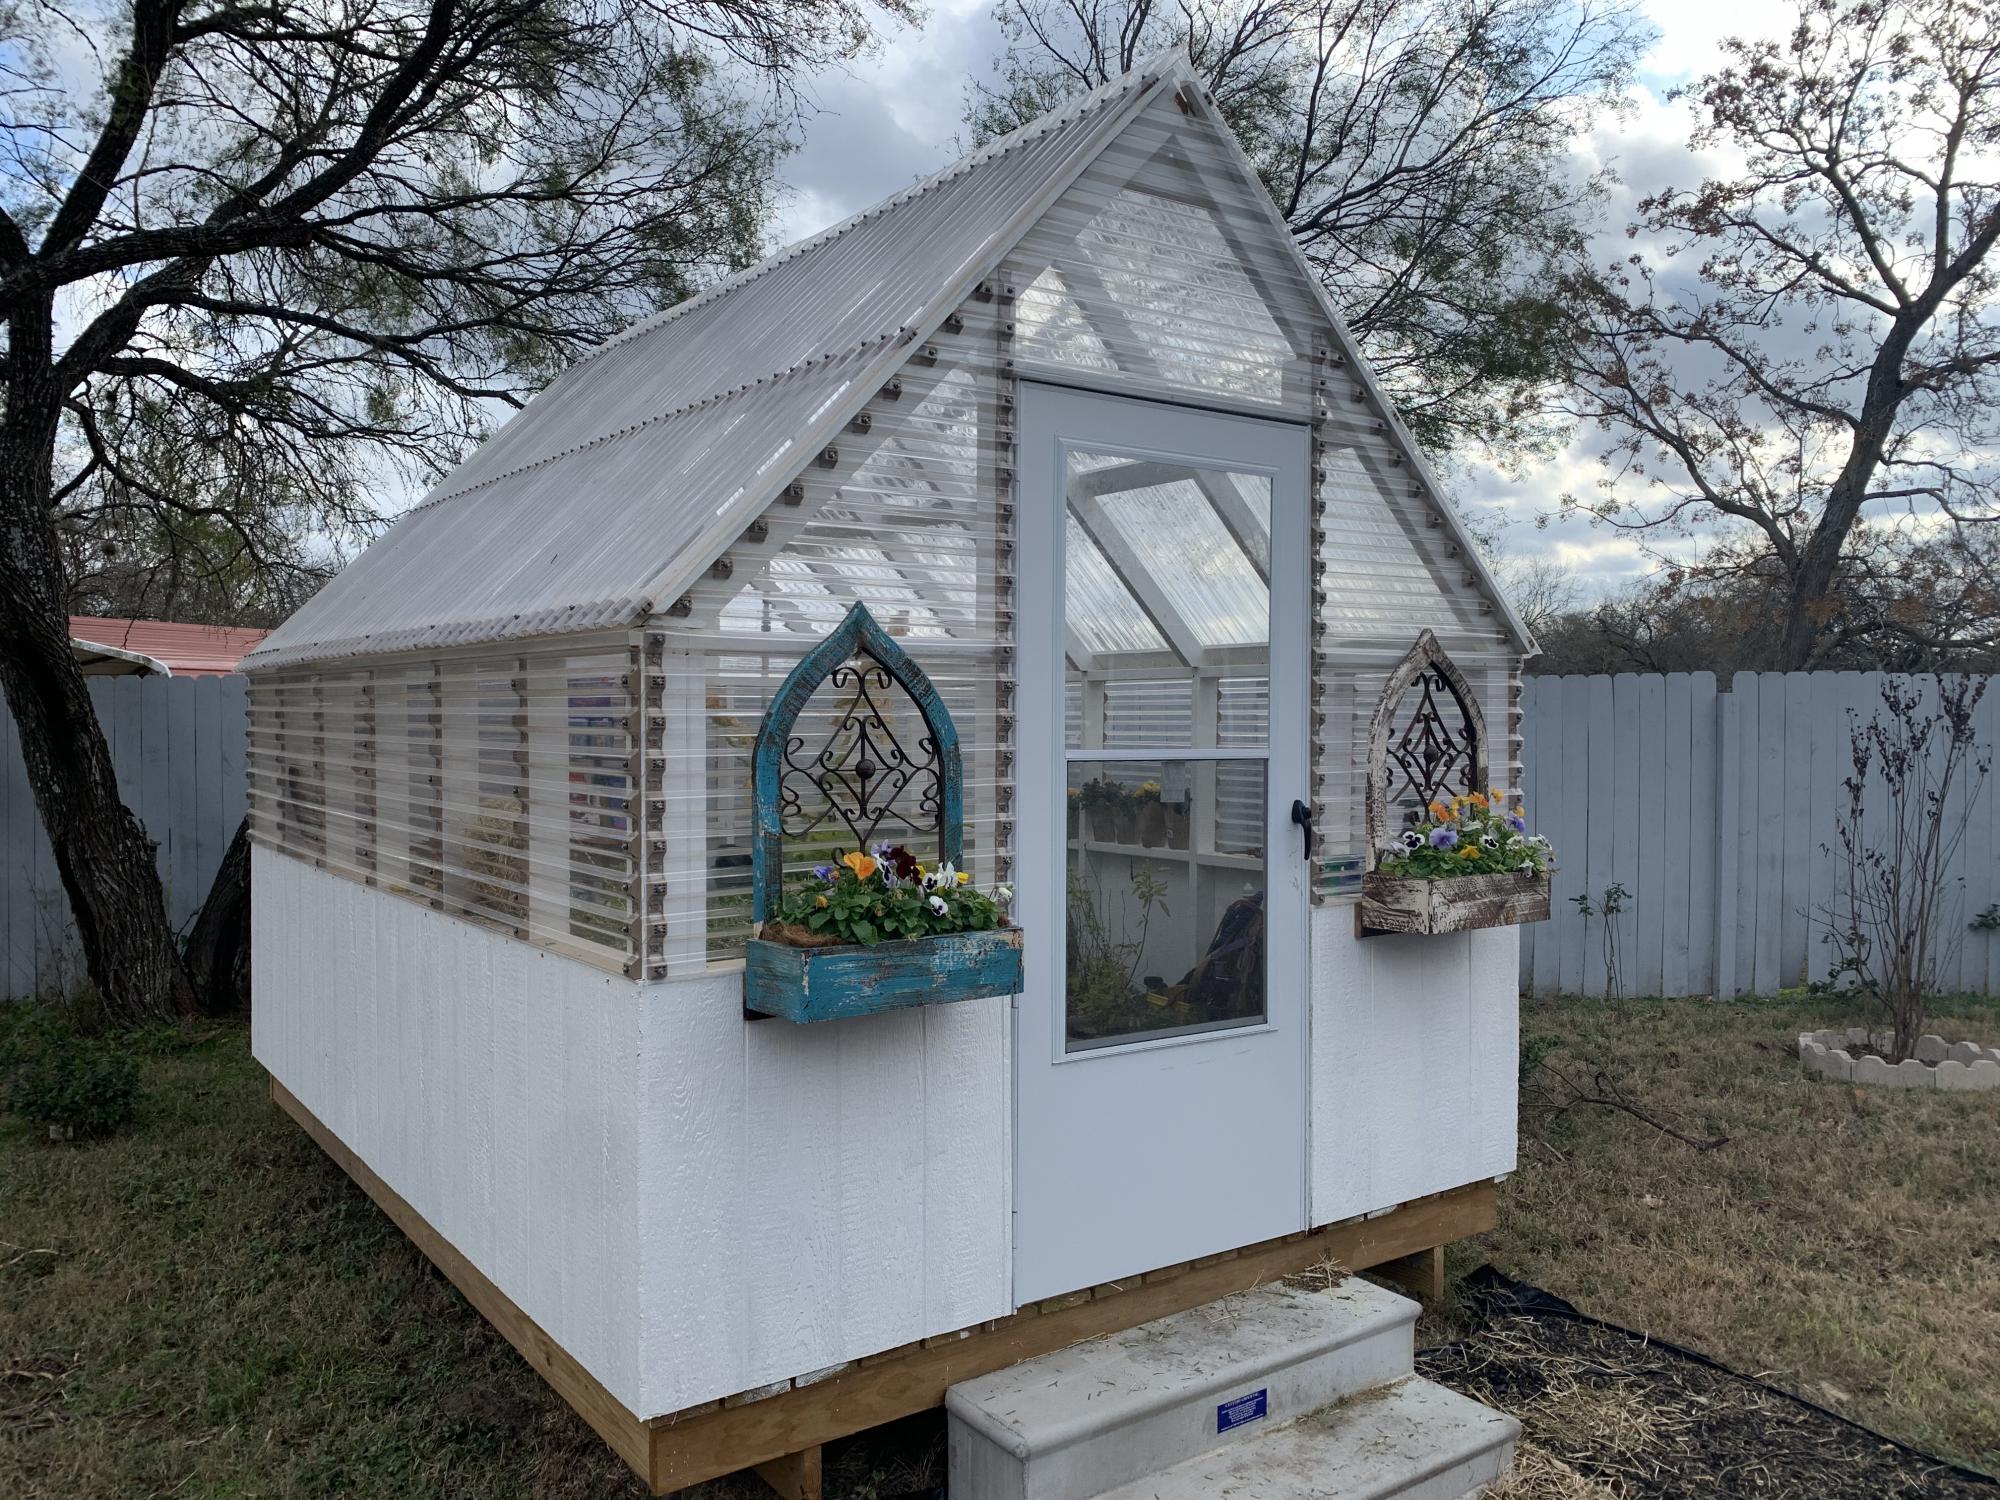
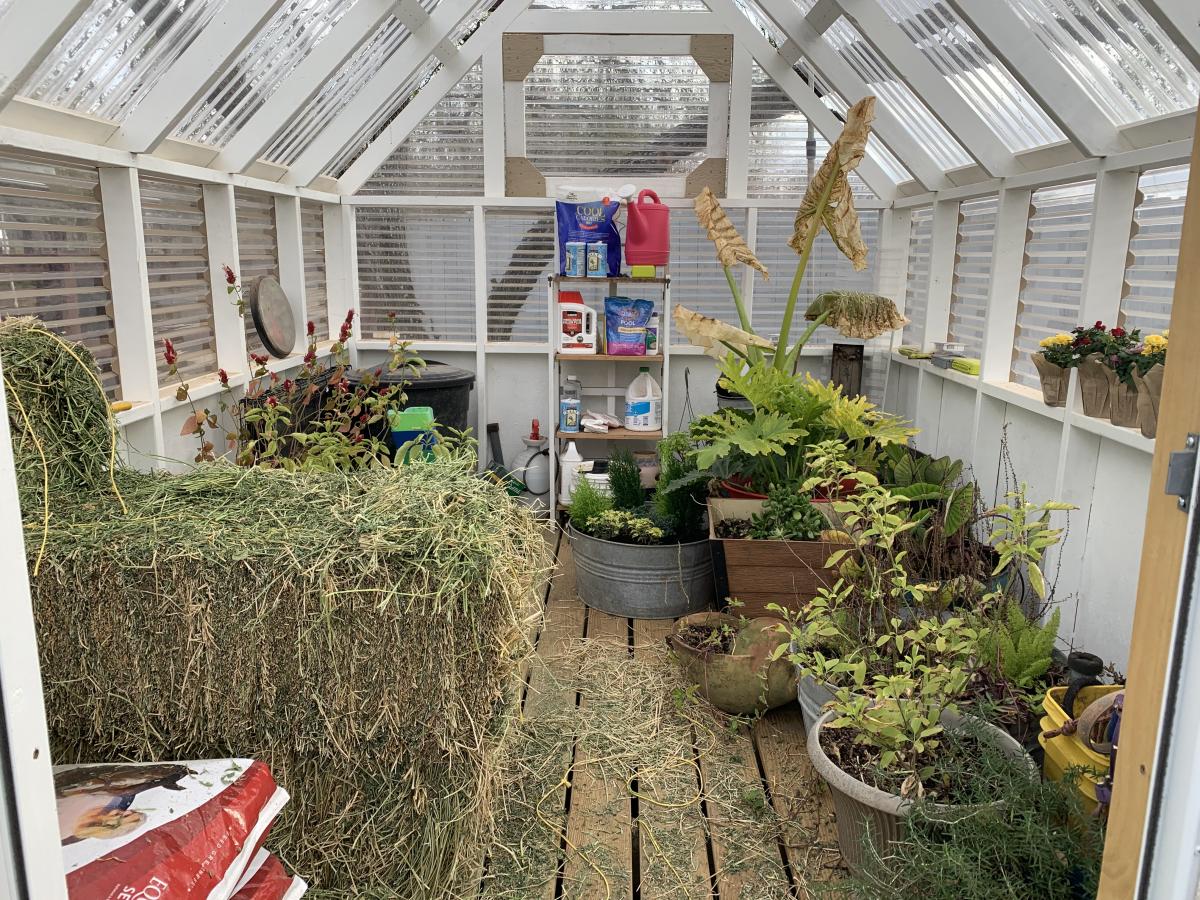
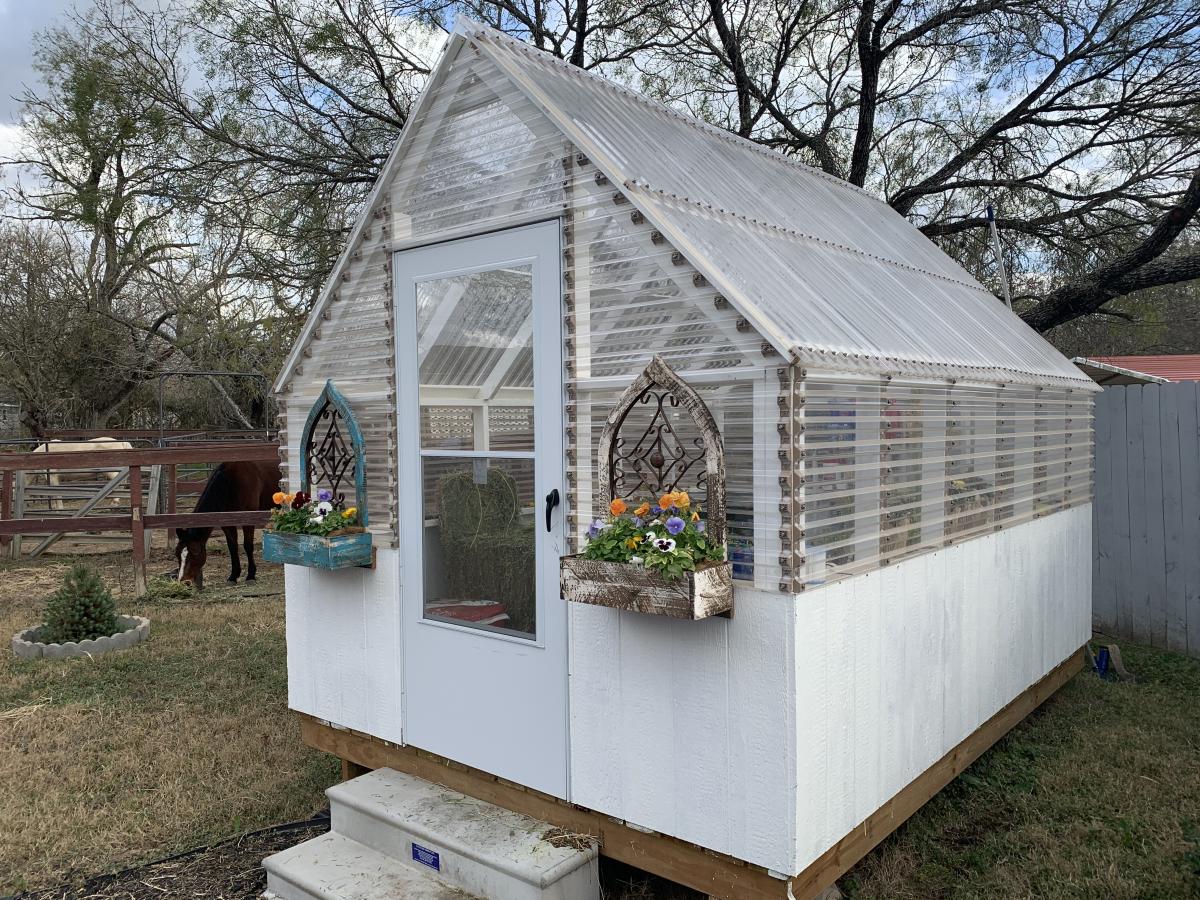
I was planning on building a greenhouse some time next year but I just happen to see this by chance and fell in love with it. I've always built from my own designs but when I saw this I decided to purchase the plans. I couldn't be more happy with it. Right now its doubling as a feed room. I wanted a solid foundation so I build a floating deck to mount the walls on. The deck added quite a bit to the total price.
Wed, 12/23/2020 - 09:52
Love that you're able to double it as a feed room, great job on this build!
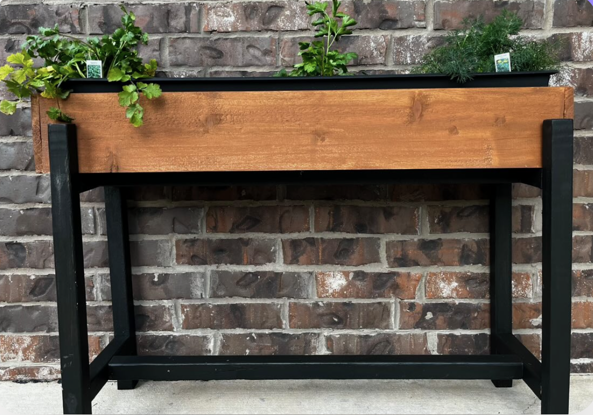
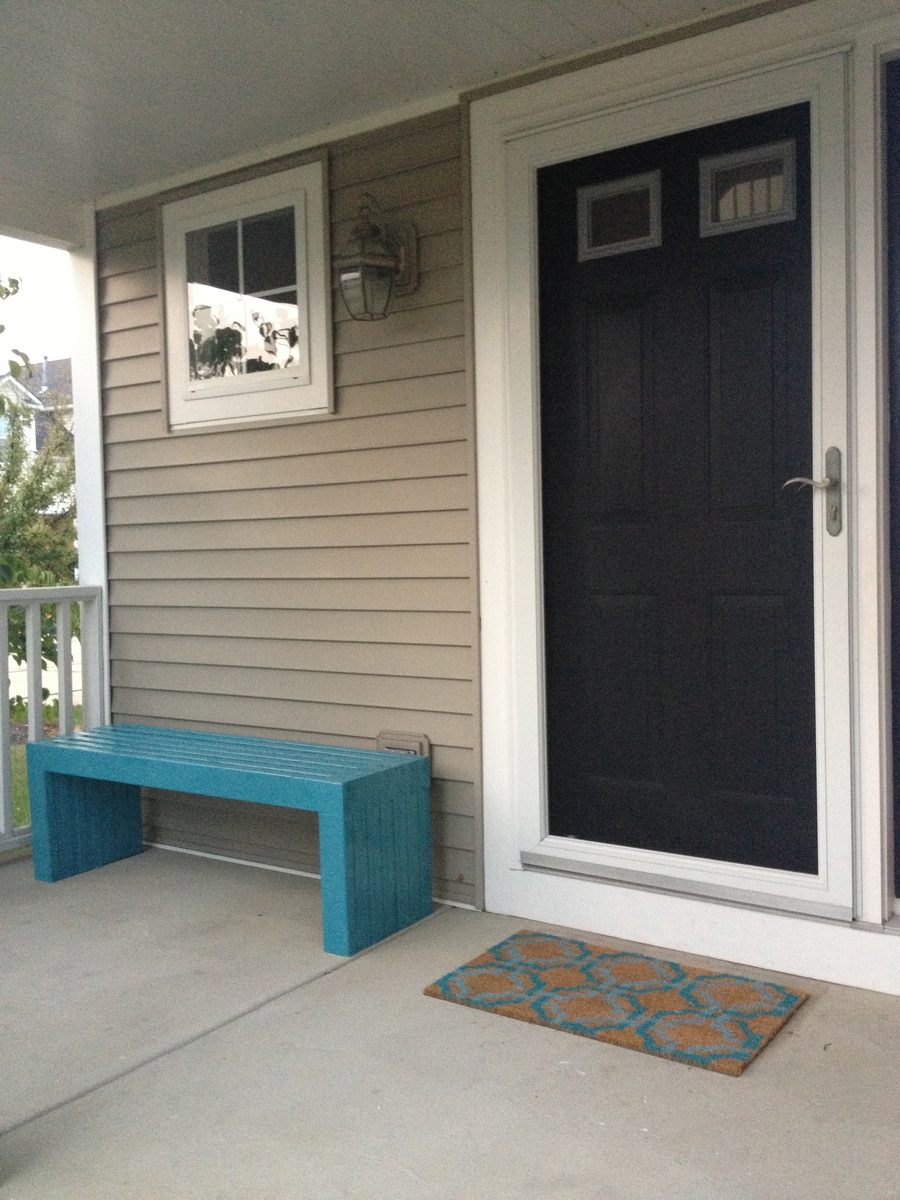
"Here's a pic of the planter I made! I modified it to fit a 36" planter. I LOVE it. Thanks!!"
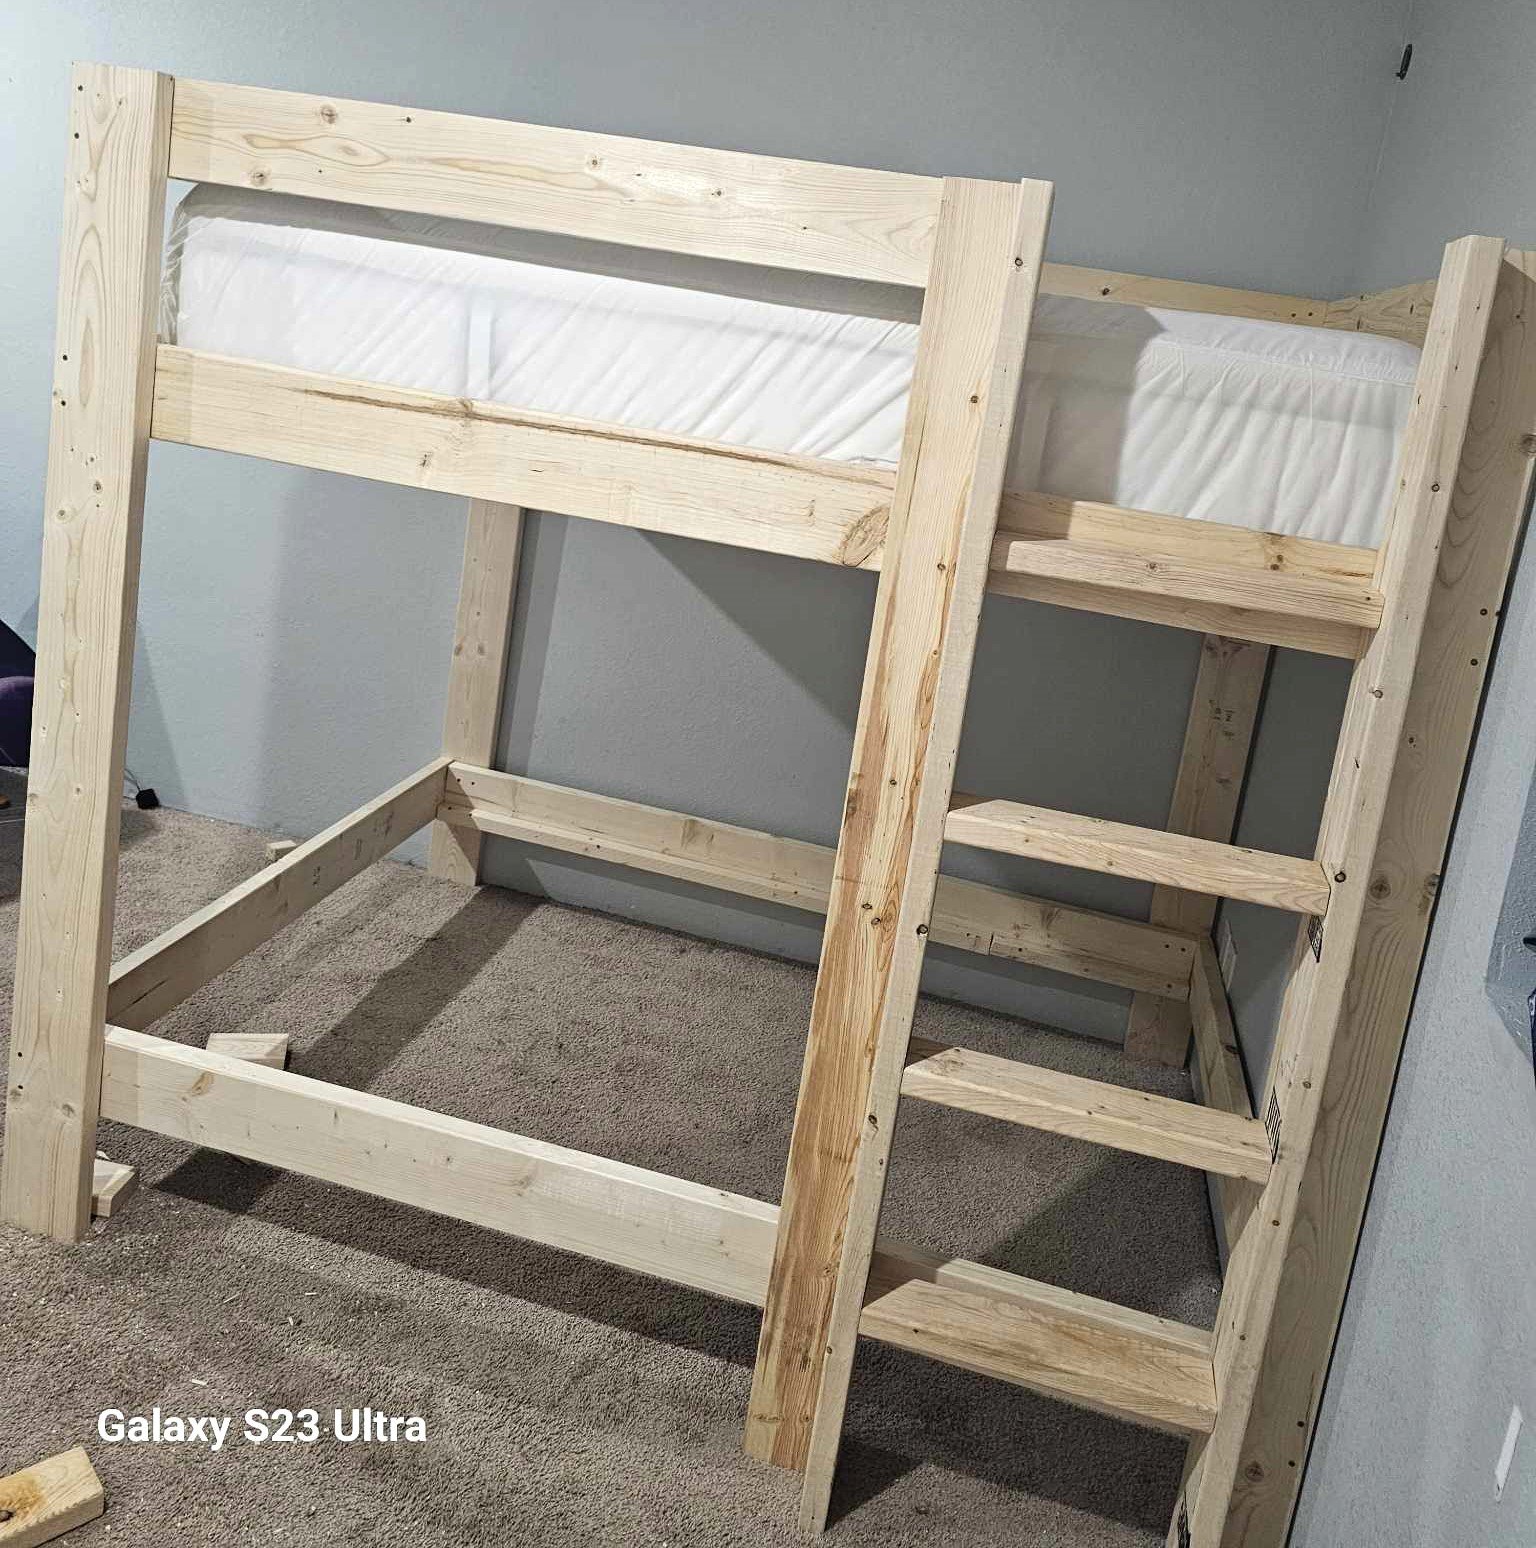
Almost finished but I managed to alter the plans into a full over full! Just use 2×4 instead of 2×1 and use 2×6 for the legs.
Antonio
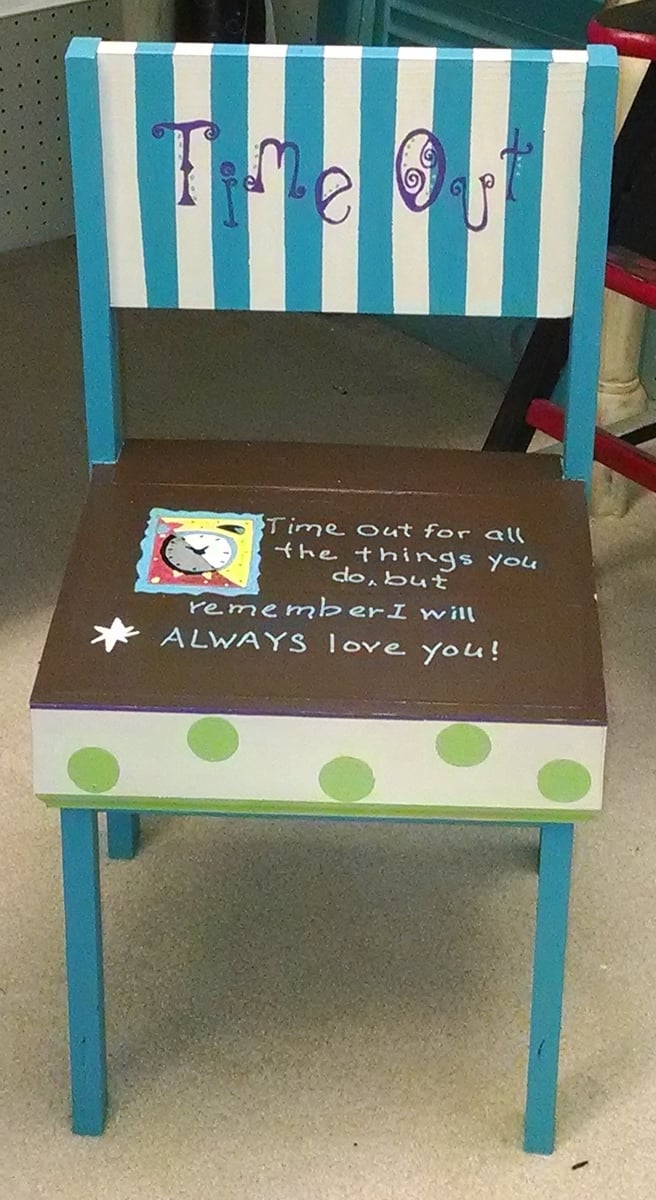
Kids stuff usually sells pretty good for us. Considering in our area, to buy kid size chairs are about $25 we looked for another option. This stackable chair fit the bill perfectly and was so inexpensive and easy to build!! Made the back part solid so I could paint on it and added some moulding on the side. Going to get my grandson who is being homeschooled, busy building some more as part of his wood shop class.
Fun build. Plans were easy to follow!
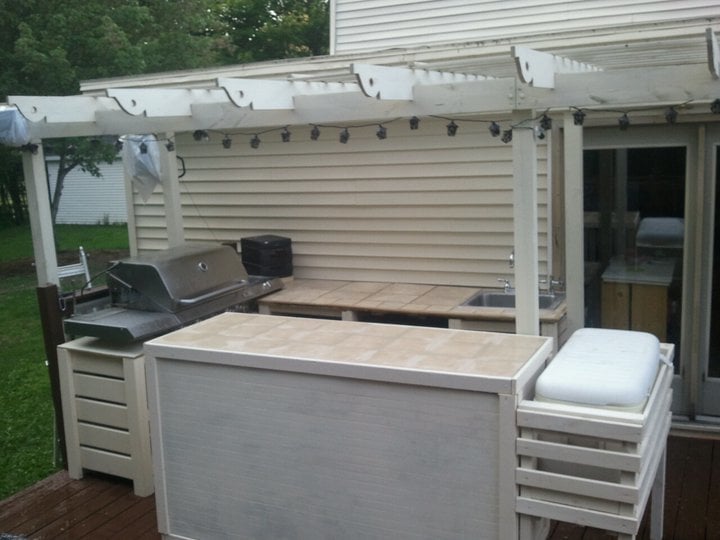
This is the new outdoor kitchen I had been working on - finally finished! It was inspired from the kitchen island plans - I like the slats, and thought they would work well outdoors for air flow and water drainage. I worked around the existing grill, and it is all modular, so it can be moved if necessary (such as painting or treating the deck). It includes cupboards underneath the bar, dorm fridge and sink with storage under the countertop. The cooler stand raises the cooler up to 'user' level (no more bending!). Because I'm an avid recycler - most of the products used were recycled items. All told (not including the already purchased grill) - this kitchen cost me a total of approximately $95.00 (I had a lot of the materials already). This project took me approximately 5 weeks working on it part-time after hours. I built one cabinet at a time, then the countertops.
Wed, 07/06/2011 - 10:12
I would love to see more pictures of of your bbq kitchen. This is just what we need. Thank you for sharing.

Wed, 07/06/2011 - 17:29
This looks really awesome Colleen! I was thinking about putting a sink like that on my deck. What kind of finish did you use for the countertops? Would you please post more pictures of it? Great job!
Thu, 07/07/2011 - 04:42
Thanks Kmatt & Viola...I'll try and get some more pictures up asap. For the bar top and countertop I used tile, and treated the grout lines many times with a waterproofer. Both tile and grout were purchased at our local ReStore - a total of 20 cents a piece for the tile, grout was $3. Not bad for a countertop!
Thu, 07/14/2011 - 16:57
What kind of top did you put under the tile? Plywood, cement board?
Wed, 07/20/2011 - 11:48
Wow, this is really amazing! This is just what we need for our new deck - something modular and not too expensive to build. Do you have any more pics? I'd love to see what the area in front of the grill looks like. Very, very nice work.
Mon, 03/05/2012 - 10:54
Hi, I was wondering if you have the plans for the kitchen around the bbq grill, i would love to make this for my husband for his birthday.
Mon, 04/09/2012 - 18:38
Hi, this is great. Is there anyway you can post pics of the front of the bar where the sink is and especially the bbq, I want to build around my existing bbq grill but dont know how. thank you so much.


Comments
Ana White Admin
Wed, 09/09/2020 - 11:42
Great application of this plan!
This worked out great! Thanks for sharing:)
VGuz
Fri, 07/07/2023 - 15:22
Do you have an illustration…
Do you have an illustration or instructions on the exact modifications you used for this project?