Community Brag Posts

Washer & Dryer Pedestal / Platform with Drawers

Submitted by dmccoy on Tue, 03/12/2013 - 10:26

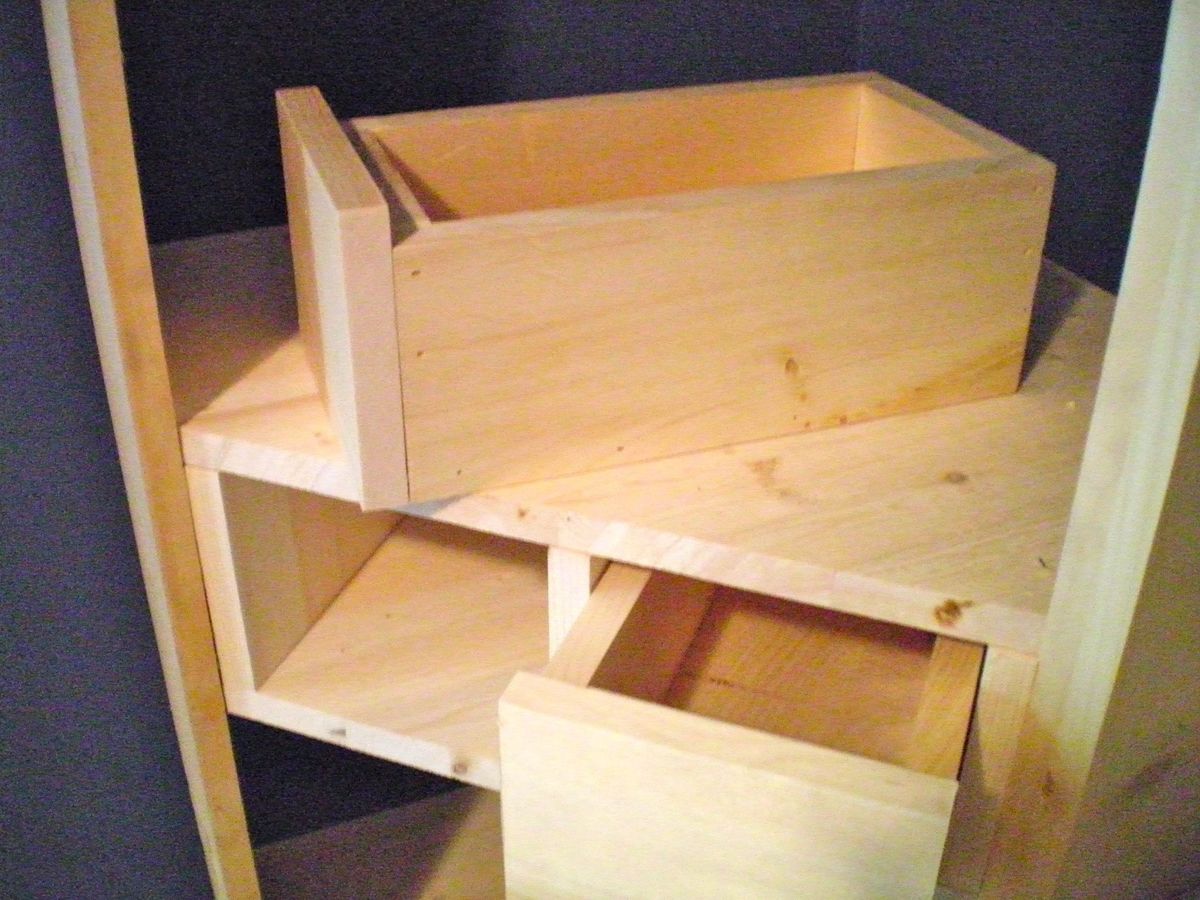
Platform (Pedestal) with Drawers for front-loader Washer & Dryer. Cheaper than buying the manufacturer's plastic pedestals and more fun to build anyway! The drawers are also much wider and deeper than the manufacturer's pedestals. We can usually fit about 3 full loads of laundry in each drawer. (That's 6 loads of laundry before we have to start folding!) It's a very easy and basic DIY project. I made a 2nd one for my brother using these plans (sans the drawers). I gotta say, the drawers are SO nice to have though. But you could just leave the front open, without drawers, and slide some laundry baskets underneath for an even quicker project. We've been using this platform now for over 2 years and there is still no squeaking or rattling. The washer & dryer haven't moved from the vibration even in the slightest. They're exactly where I placed them on the pedestal 2 years ago. There's also zero problem with the weight of the washer either...it really is a strong frame. (After finishing, I jumped up and down on it!) A couple small tweaks I would make doing it over is raising the drawers a 1/2" in. off the floor to tuck a rug underneath (as is, they sit about 1/8" in. off the floor). Also, I would cut out a couple of square holes in the back panel to access those socks that fall behind (I can't access the sides of my W&D in our particular laundry room). Lastly, I would have painted with a quality paint (I just used a few cans of white spray paint to be quicker). Step-by-Step Plans and Materials List (PDF) and many more photos found at the Blog Link below...I'm certainly no professional "Plans Writer" so email if you have questions! Happy DIY-ing! Estimated Cost: ~$200 (2x6 lumber, plywood, drawer trim, nails, screws, paint)

Estimated Time Investment
Weekend Project (10-20 Hours)
Finish Used
White spray paint
Recommended Skill Level
Beginner

Comments

nikolegraves@h…

Wed, 03/13/2013 - 10:12

I have wanted to do the pedestal project for quite a while. I am so glad I held off though. Yours are fantastic! I would never have thought of drawers to hide the dirty laundry! Love it!

gmccoy20

Tue, 04/02/2013 - 11:06

Really appreciate the help with mine brotha! We really like them (even without the drawers) and are glad you had these plans to go off of for ours.

I'll be calling you for our next project!

strahmers8

Fri, 02/07/2014 - 17:05

Hello this looks great and for the amateur carpenter I am but one item I need clarified "the top measurement at 64" is .25" greater than the bottom at 63.75"

Please explain if I am missing something
Thanks

dwm22

Mon, 02/10/2014 - 15:33

Not sure what measurement you mean that's 63.75" since there's no "bottom" to the pedestals. Or do you mean 1/4" wider than the sides? The top panel should overhang both sides by 1/4" each so that when the side plywood is attached, it will be flush. Hopefully that helps? (If I'm understanding the question correctly)

jmkc

Mon, 02/24/2014 - 10:29

Could leave the back panel of plywood out so you could reach what may fall behind? Then you would just have to pull the drawers out?

heverest

Wed, 06/22/2016 - 16:35

Back panel is very very structural and provides lot of strength. If i wanted more access than the 5-7 inch of duct space behind the pedestal gives me, then i would replace the back panel with a long 2x6, that holds the three legs from going in different directions due to all that weight.

dmccoy

Mon, 12/12/2016 - 14:58

This is the one modification I could make if i could redo these plans...I would still put on the back panel of plywood as it stabilizes the pedestal, I would just have cut out a rectangle (behind each drawer) so that I could remove the drawers and stick my hand/arm through to grab fallen clothes or vacuum the lint.

dachiri

Mon, 12/18/2017 - 19:17

Rather than cut holes in the back, I just cut the back and side boards a little small and left a gap around the bottom the whole way around.  That way I can get a vaccuum hose in there or reach through and get lost items.  Because my washer and dryer seem to be deeper than yours (I needed at least 33" depth, so I went with 3'), that also worked out well in getting the most out of the boards.  I could do the top, back, and sides out of one single sheet of good 3/4" plywood just leaving those small gaps at the bottom for clean-up and retreival.

Jperera

Fri, 11/20/2015 - 05:23

Hello,

I downloaded the pdf but have exactly the same information that the website html, where can I find a solution step by step guide?

Thank you for all the interesting posts.

A's Full Size Loft Bed

Submitted by Hulsberg on Sun, 08/12/2012 - 14:58

My son needed more room in his bedroom...and to be rid of the very girly furniture he inherited when he moved into his "big boy-ish" bedroom. At 10 yrs old, it was high time he got a bed that wasn't pink-tinged, white washed pine with 4 posters and enough curlicues to choke a forest. He also needed a desk which I couldn't really fit in his room with the armoire and chest of drawers that came with the Queen sized bed.

So off to Ikea we went and I saw a black loft bed for $300, but it was really, really high which meant I would have to cut it down and it was not sturdy at all. I looked at PB and saw the $1800 bed. Um, no - that wasn't happening. So, off to Ana-White I went and I'm so happy I did!

I built the full sized version of these plans and, to keep costs down, used wood I had on hand. This meant I had to work a bit at the cuts, but it all worked out.

Mods:
1) I modified the railings to have the ladder at the end of the bed to keep away from the ceiling fan.

2) Because I put the ladder at the end of the bed, I got very nervous about having a soon-to-be teen climbing on to a ladder secured to a 1x10 that was only connected to the side railings with glue and screws. So I sandwiched extra 1x3s over the bottom rails and attached them to the top railing.

3) I was very nervous about making sure that the bed was adequately supported so I put a 2x4 down the center instead of the 1x2.

4) I went a wee-bit overboard screwing things together to the point where it's a bit embarrassing and now I have to paint over the screw heads.

5) I made the ladder treads with 2x4's, modifying the inside spacer board cut lengths.

Because I had quite a bit of lumber on hand, the bed only ended up costing me about $90.

For the bookcase, I did end up buying the 1x12s and the adjustable shelf railings. I made the book shelf the entire width of of the bed and split the two sections based on width of the 1x24 board I bought for the desk. I only put the backer board up half way so that the daylight could get underneath the bed and make it not so cave-like.

The book case cost me about $70.

The desk was the easiest...but most costly item. A 1x6x24, 4 table legs and the table leg mounts ran me about $80. The plexiglass top that I had cut for the top cost me about $80.

Time wise, this would have taken me a lot less time than the 4 months it took - but I worked on it as I could and when I could, by myself. I got some friends to help me bring it upstairs and put it back together, but it was mostly done when I could fit in some time.

My son LOVES this and it really does give him so much room!!! Thanks Ana - I really appreciate it!

Built from Plan(s)
Estimated Cost
with paint, screws and bookcase hardware, about $450
Estimated Time Investment
Week Long Project (20 Hours or More)
Finish Used
gloss spray paint / primer in one.
Recommended Skill Level
Beginner

Comments

Jennifer P (not verified)

Fri, 01/18/2013 - 07:38

Hi!

To modify this to be full sized, I just added 15" to the width of the bed. Ana said this in the plans:

Cutting Instructions:

Converting to Full Size This bed can easily be converted to full size. You will simply need to add 15″ to all boards that run parallel to the ends. This includes the planks, end top pieces and the slats. Shopping list will need to be adjusted as well.

So I modified the cuts to the head and foot board parts and the full size mattress fits perfectly.

For the shelving underneath, I just looked at some of Ana's other plans for shelves and winged it.

Laundry Basket Rack

This was a great last minute Christmas gift. Took me a little over two hours. Made completely out if pallet wood.

Comments

Garden/Storage Shed

Submitted by Smokeydog on Mon, 08/03/2015 - 06:48

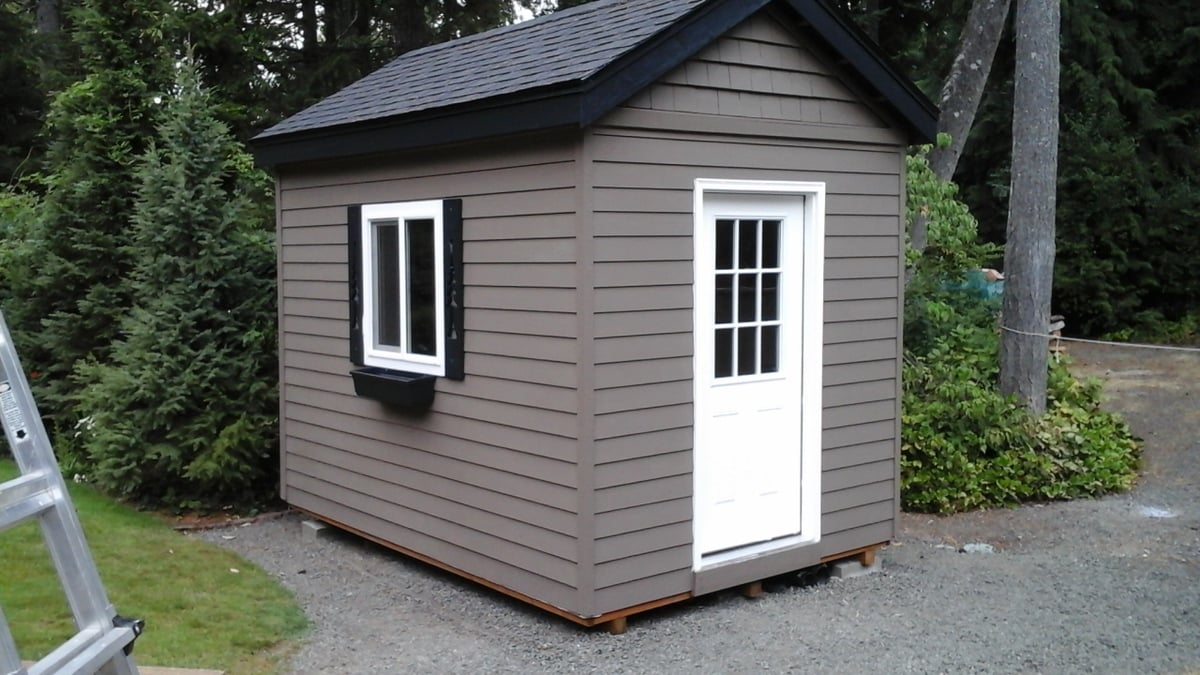
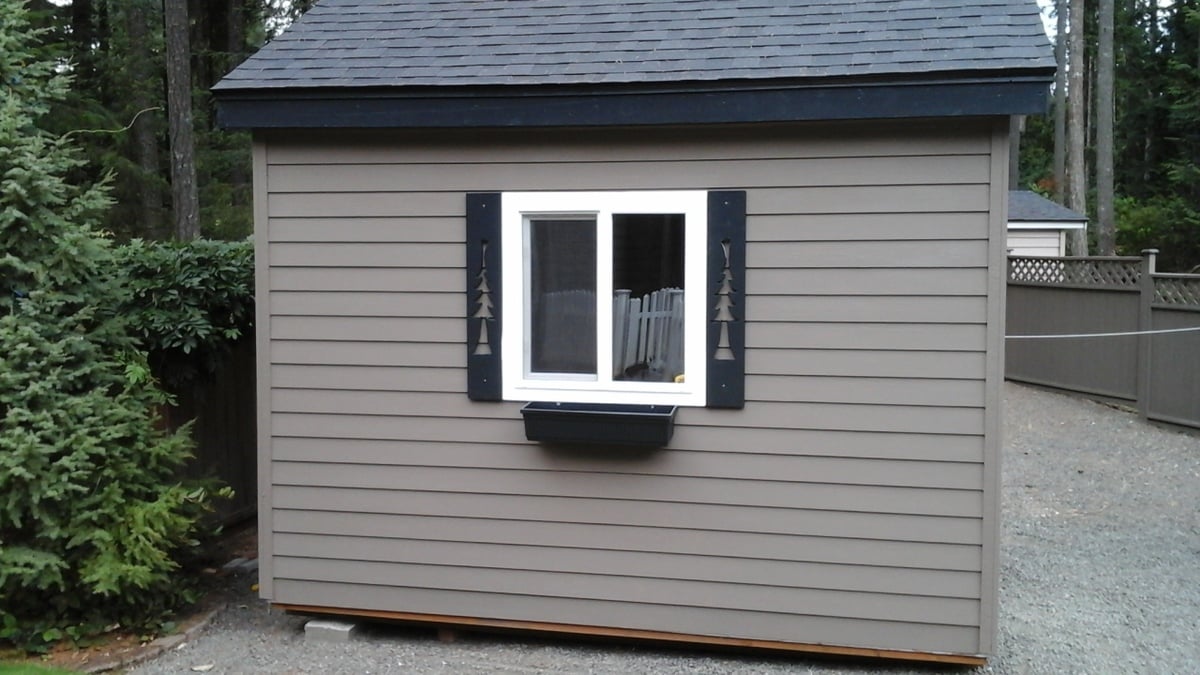
Building a storage shed was quite a jump for me but because of the confidence and experience I gained from Ana's  site I decided to give it a shot.  I acquired the plans online. It has 8 foot high walls and 3 feet of "attic space".  The shed is 8'x12'.  I used cement board lap siding.  It took about seven weeks to finish working a few hours here and there.  I really like it.  Even has a little window flower box.

Estimated Cost
2100.00
Estimated Time Investment
Week Long Project (20 Hours or More)
Finish Used
Benjamin Moore Paint
Recommended Skill Level
Intermediate

Comments

Eagle Project Workbench - Ultimate Roll Away Workbench with Miter Saw Stand

Submitted by nelsoncc on Mon, 10/18/2021 - 11:32

My son chose to make a workbench for his high school theater for his Eagle Scout project, and selected the Ultimate Roll Away Workbench with Miter Saw Stand as the basis for the project. The theater teacher wanted pegboard for tool storage, so we extended the rear legs on each workbench and notched the top to allow them to pass through. We built two frames from 1x3s to fit inside the rear legs, then put a pegboard inside each one.

To secure the extended legs, we added a riser shelf from 1x8s. We put a storage station for drills at one end of the riser shelf.

We also made all the cart shelves adjustable and added an adjustable shelf under the miter saw, and added lighting and power strips.

We left out the panels at the end of the workbench to allow access to the shelves there without having to remove the carts. Once we had constructed it, we added a brace at each end of the workbench to better support the outside front legs.

This plan was the perfect one for the theater, giving a stable work area for the miter saw and allowing for tool and materials storage. The carts can be rolled around to where a work surface is needed. This will come in handy for years of set construction in the theater. So proud of my son and all the leadership and hard work he put into this project!

Comments

Murphy Bed

Submitted by Newfey on Fri, 07/19/2013 - 14:59

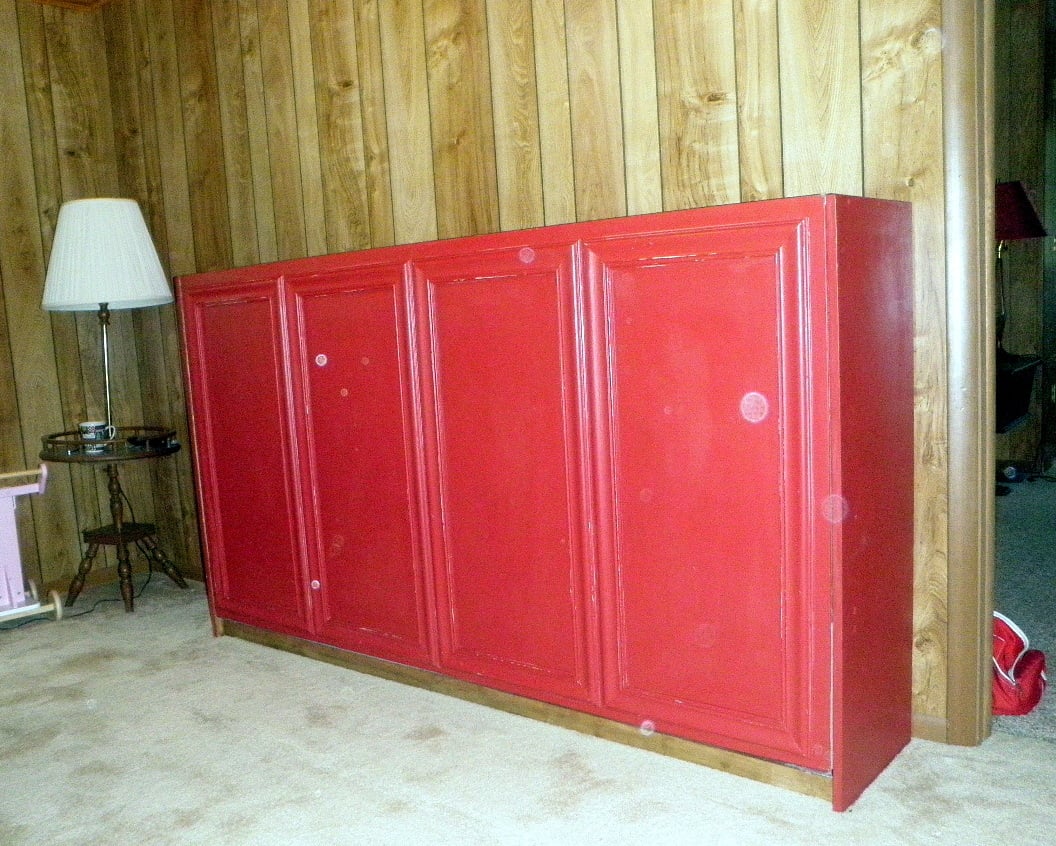
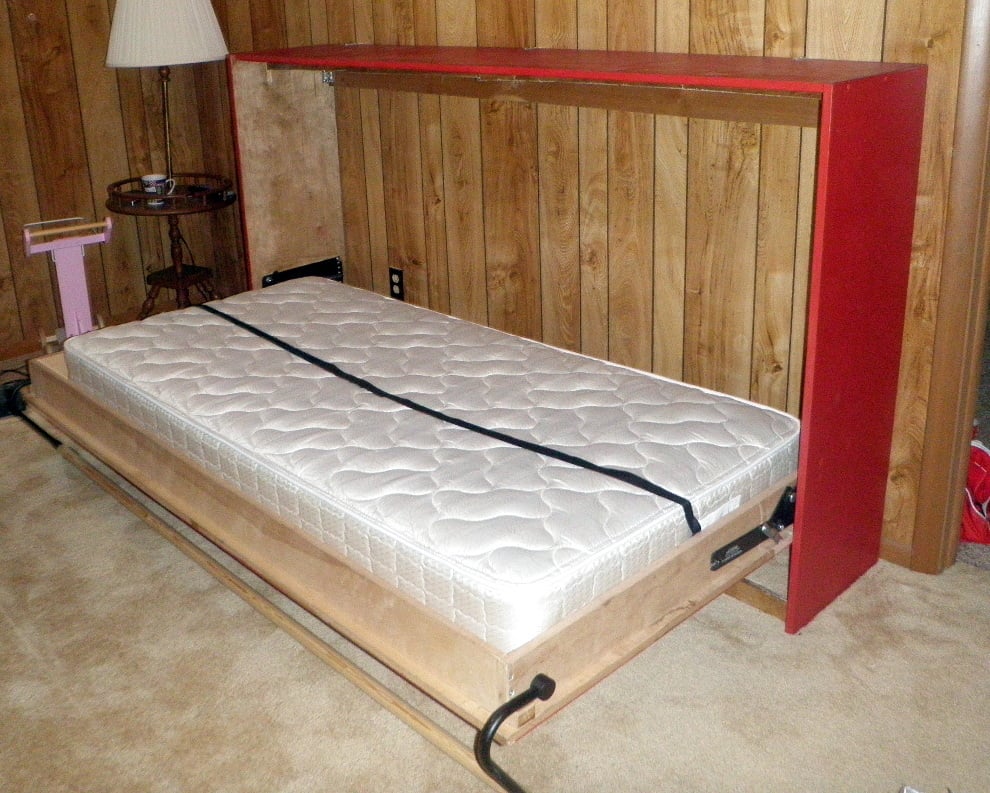
This is a Murphy Bed that I made for my daughter Alicia for their getaway home at Canadian Lakes, MI. Due to limited space i had to make it horizontal instead of the normal way of being vertical. It really comes in handy and takes up very little space.

Finish Used
Red paint mixed with Baking Soda
Recommended Skill Level
Intermediate

Comments

JoanneS

Fri, 07/19/2013 - 15:17

Looks great! Love the color and the trims you used. Where did you find your hinge hardware? PS- How did you like the baking soda paint? I've tried ASCP which was good but very pricey, and last time made my own with some plaster of paris. Your finish is lovely.

Newfey

Sat, 07/20/2013 - 18:47

I bought the spring hardware on line. I can't take the credit for the paint as my daughter did that part. She loves the way that the baking soda and paint covers everything and it is a whole lot less expensive than buying the commercial stuff.

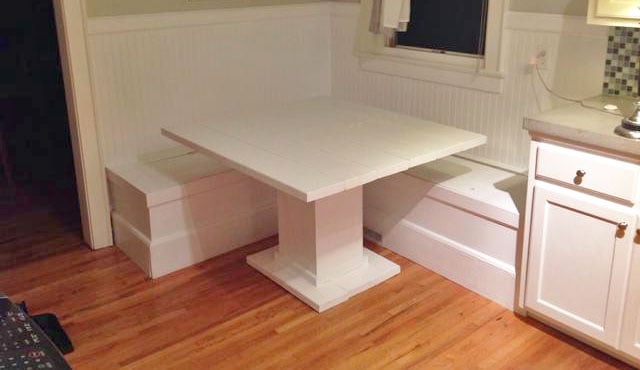
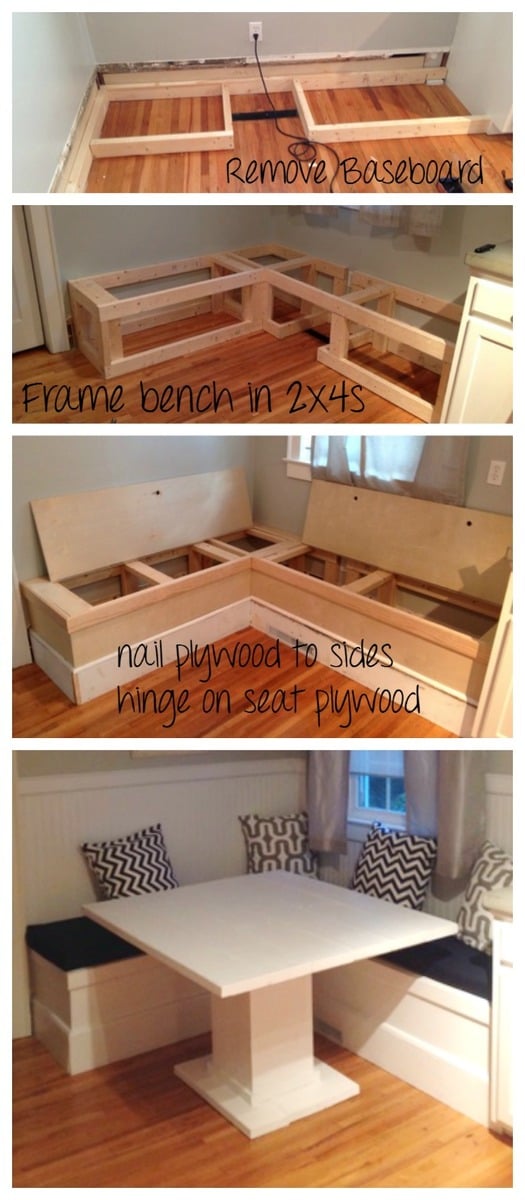
DIY Breakfast Nook with Storage

Submitted by jfelker on Wed, 10/23/2013 - 08:54

DIY Breakfast Nook

I completed this project in a weekend, over 2 days. The space was an empty void in the corner of our kitchen, so I decided to fill with a functional seating and eating space.

I first removed the trim from the wall, so I could reuse it on the front of the box later, to make the bench match the rest of the kitchen. One challenge I came across was rerouting the a/c vent through the front of the box so we didn't lose that circulation.

My sister-in-law chipped in to make the cushions and pillows to soften it up. I added the DIY table, and further defined the space with wainscoting and trim.

Estimated Cost
$500
Estimated Time Investment
Weekend Project (10-20 Hours)
Finish Used
Semi-gloss trim paint was use, to have the ability to clean later after meals, etc.
Recommended Skill Level
Intermediate

Comments

homeideas5099

Wed, 10/23/2013 - 10:10

Looks fantastic. Love how you reused the trim to have the whole unit blend in with the rest of the kitchen. Well done.

PDubs74

Sun, 01/09/2022 - 16:45

Hey there,
Absolutely love your DIY breakfast nook. Unfortunately the additional blog/info link is no longer working as I'm trying to gather more information. Would anyone be able to send the instructions and/or new link?
Thank you

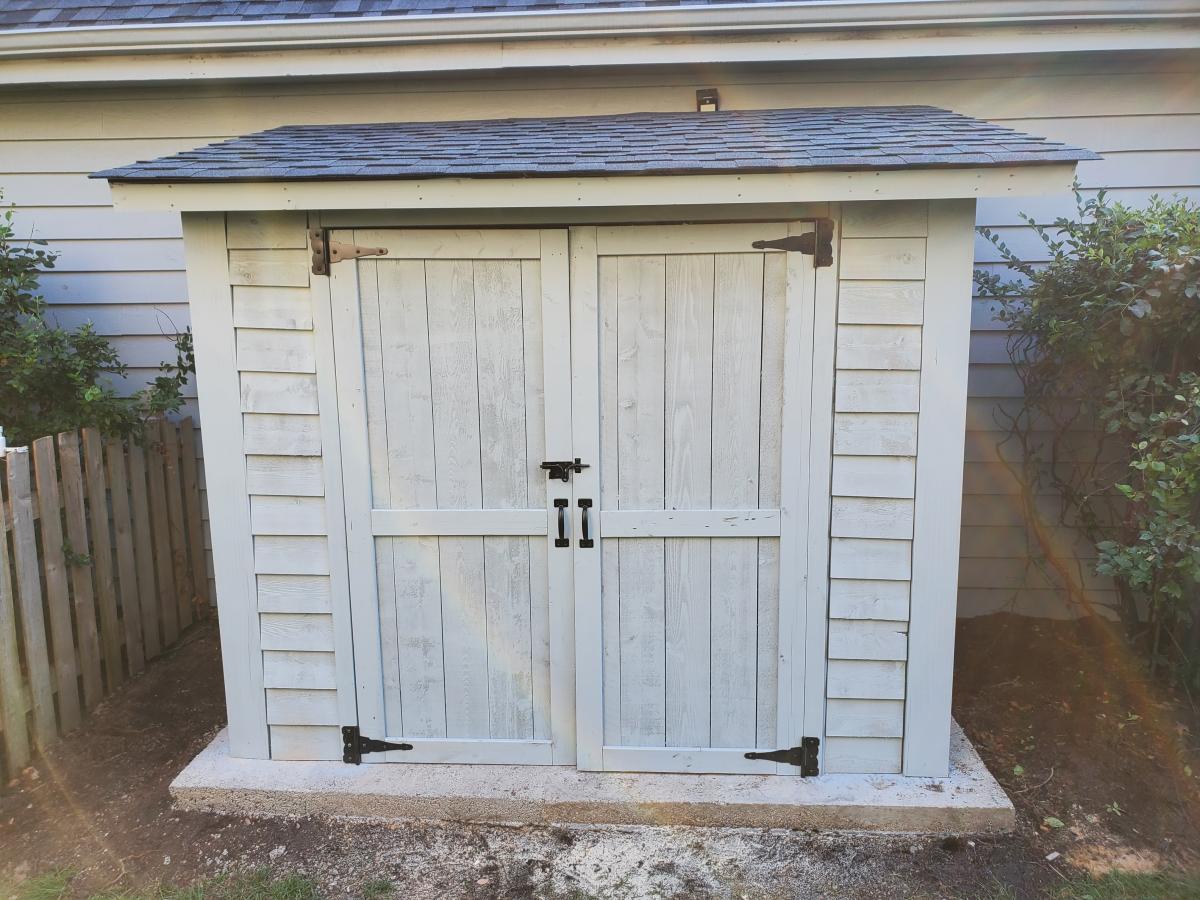
Eric's Cedar Shed!!

Submitted by Anonymous (not verified) on Mon, 07/06/2020 - 21:35

Thank you for the plans, shed turned out great! My association required me to match the siding color, roof color, and anchor to a concrete slab. So I poured 25 bags of 80lbs concrete to make a 9x5 slab. Redid the plans for an 8x4 shed, built the frame with 2x4s and not 2x2's, installed flashing, ice/water shield + felt + matching shingles since I'm near Chicago, and used a flexio finishing sprayer to paint the shed. Saved some $ by using 2 Redwood Grain Fiber siding panels for $22 each at HD.

All in all very happy with my shed and all my dangerous yard tools and woodworking tools can be put away from my toddler.

Built from Plan(s)
Estimated Cost
400
Estimated Time Investment
Weekend Project (10-20 Hours)
Finish Used
Behr Premium Plus exterior paint
Recommended Skill Level
Intermediate

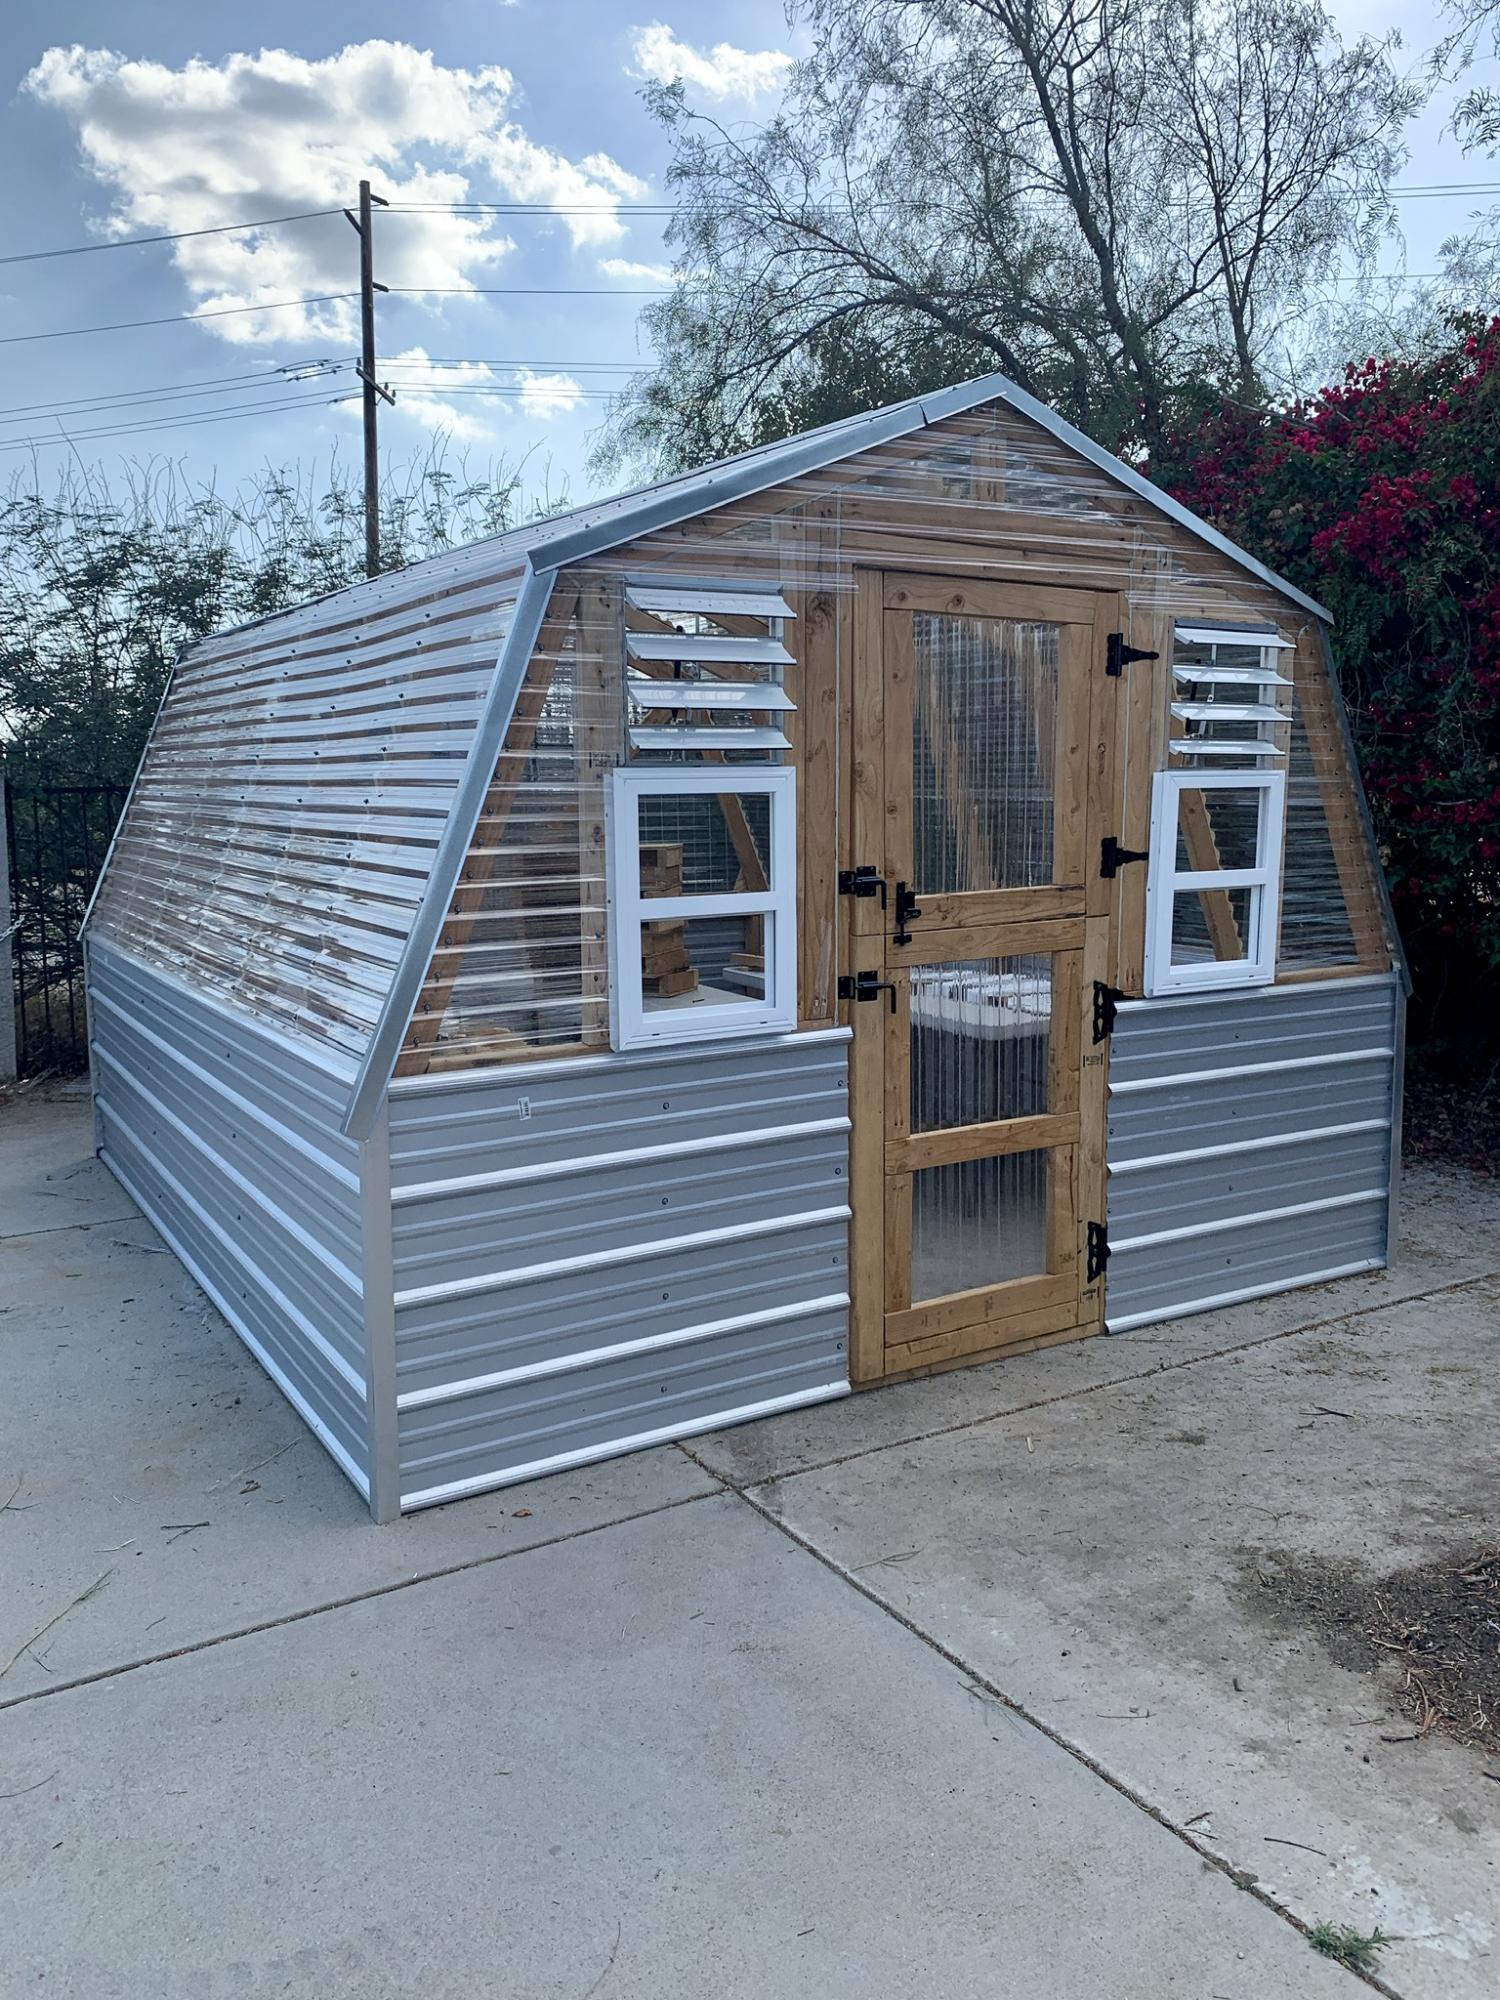
Greenhouse

Submitted by Anonymous (not verified) on Tue, 01/05/2021 - 08:08

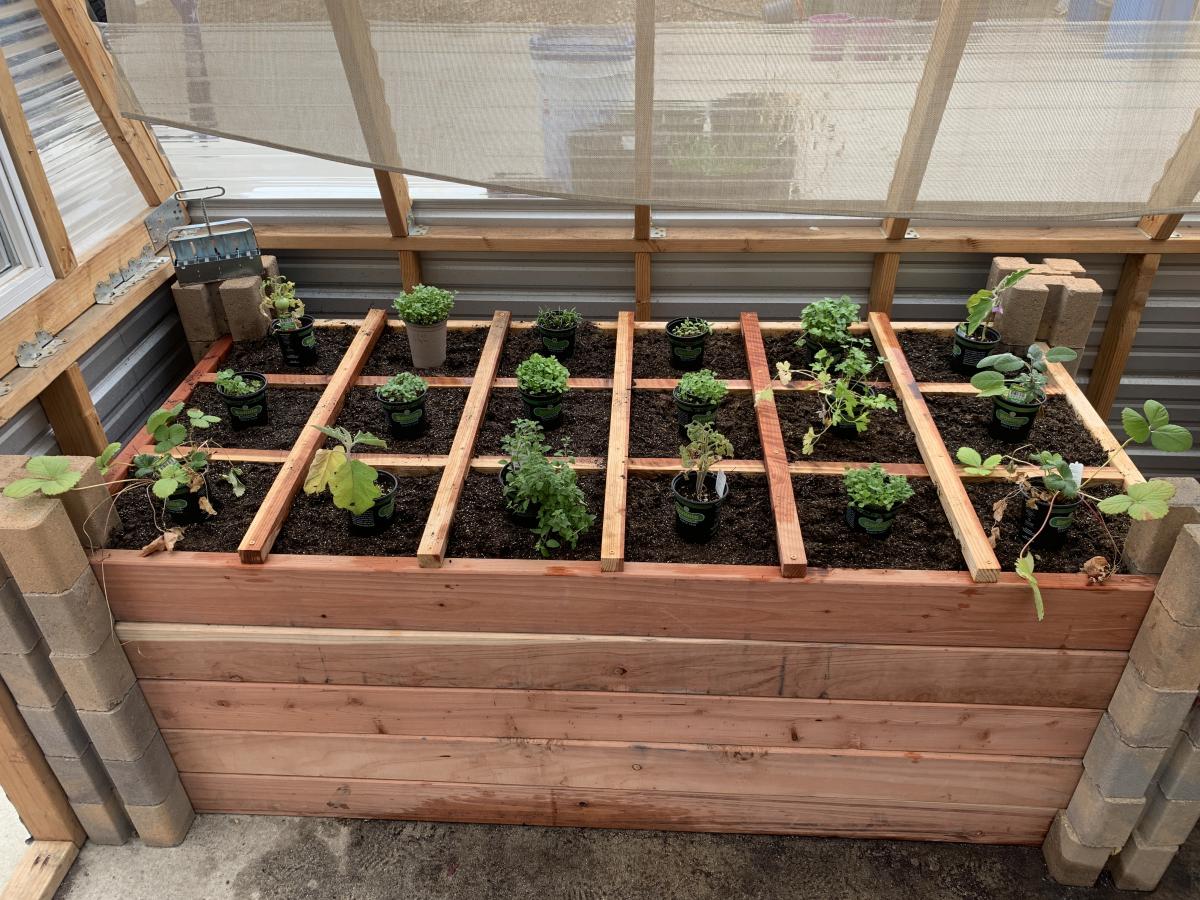
We made some modifications to the greenhouse to include a bench with three levels, a working bench and a square foot garden. We also put it on concrete to keep all the weeds out from the bottom as well.

Built from Plan(s)
Estimated Cost
2500.00
Finish Used
We start our own seeds and plan to grow 15 different varieties of vegetables inside this greenhouse all year long.
Recommended Skill Level
Intermediate

Comments

DIY Murphy Wall Bed

Submitted by Dstor22 on Sun, 03/15/2015 - 07:05

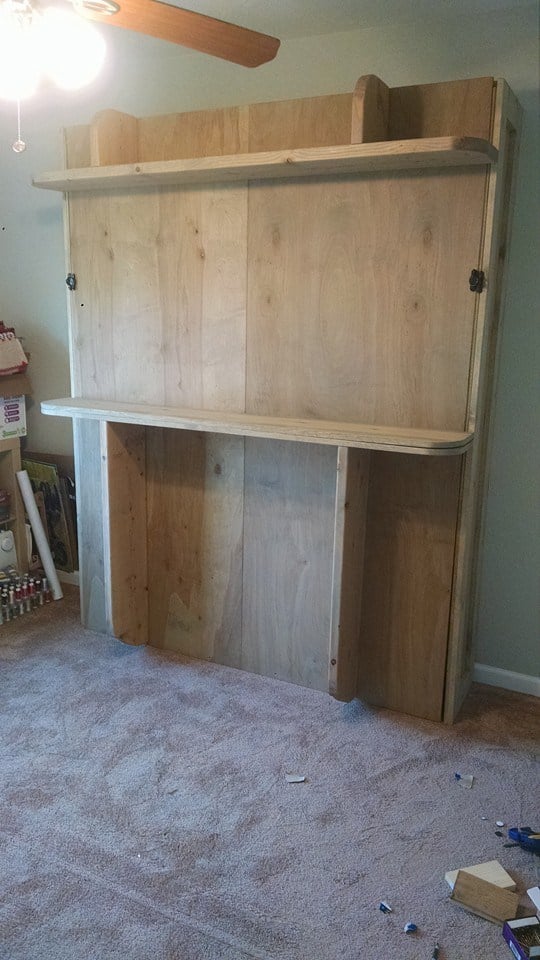
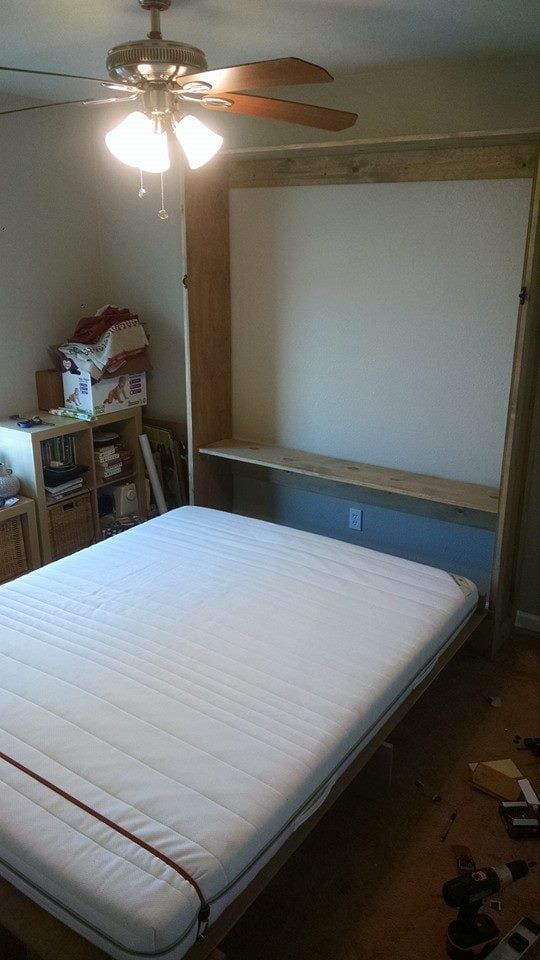
Just finished up my Murphy Bed project. Hope you like.

Estimated Cost
280.00
Estimated Time Investment
Weekend Project (10-20 Hours)
Finish Used
Weathered Oak Stain
Recommended Skill Level
Intermediate

Comments

Freestanding Closet

Submitted by vendo on Fri, 04/08/2022 - 16:44

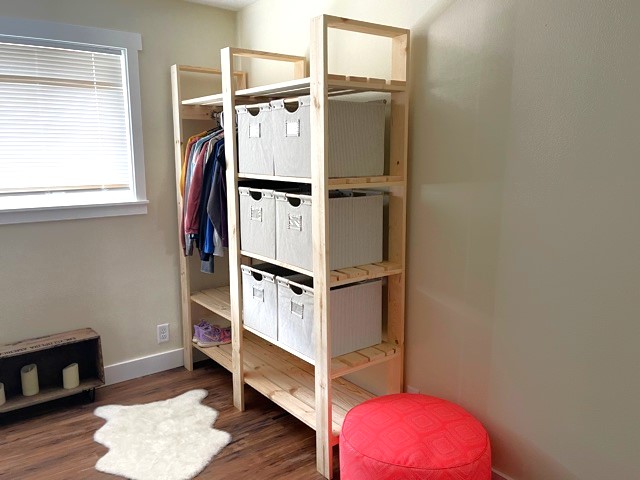
My daughter's room didn't have a closet, so I built one. This only took a couple of hours to build. I found the bins on Amazon and built to fit. It's 60" wide 18" D and 75" tall. I love this plan, it's super easy to modify the size and configuration!

Built from Plan(s)

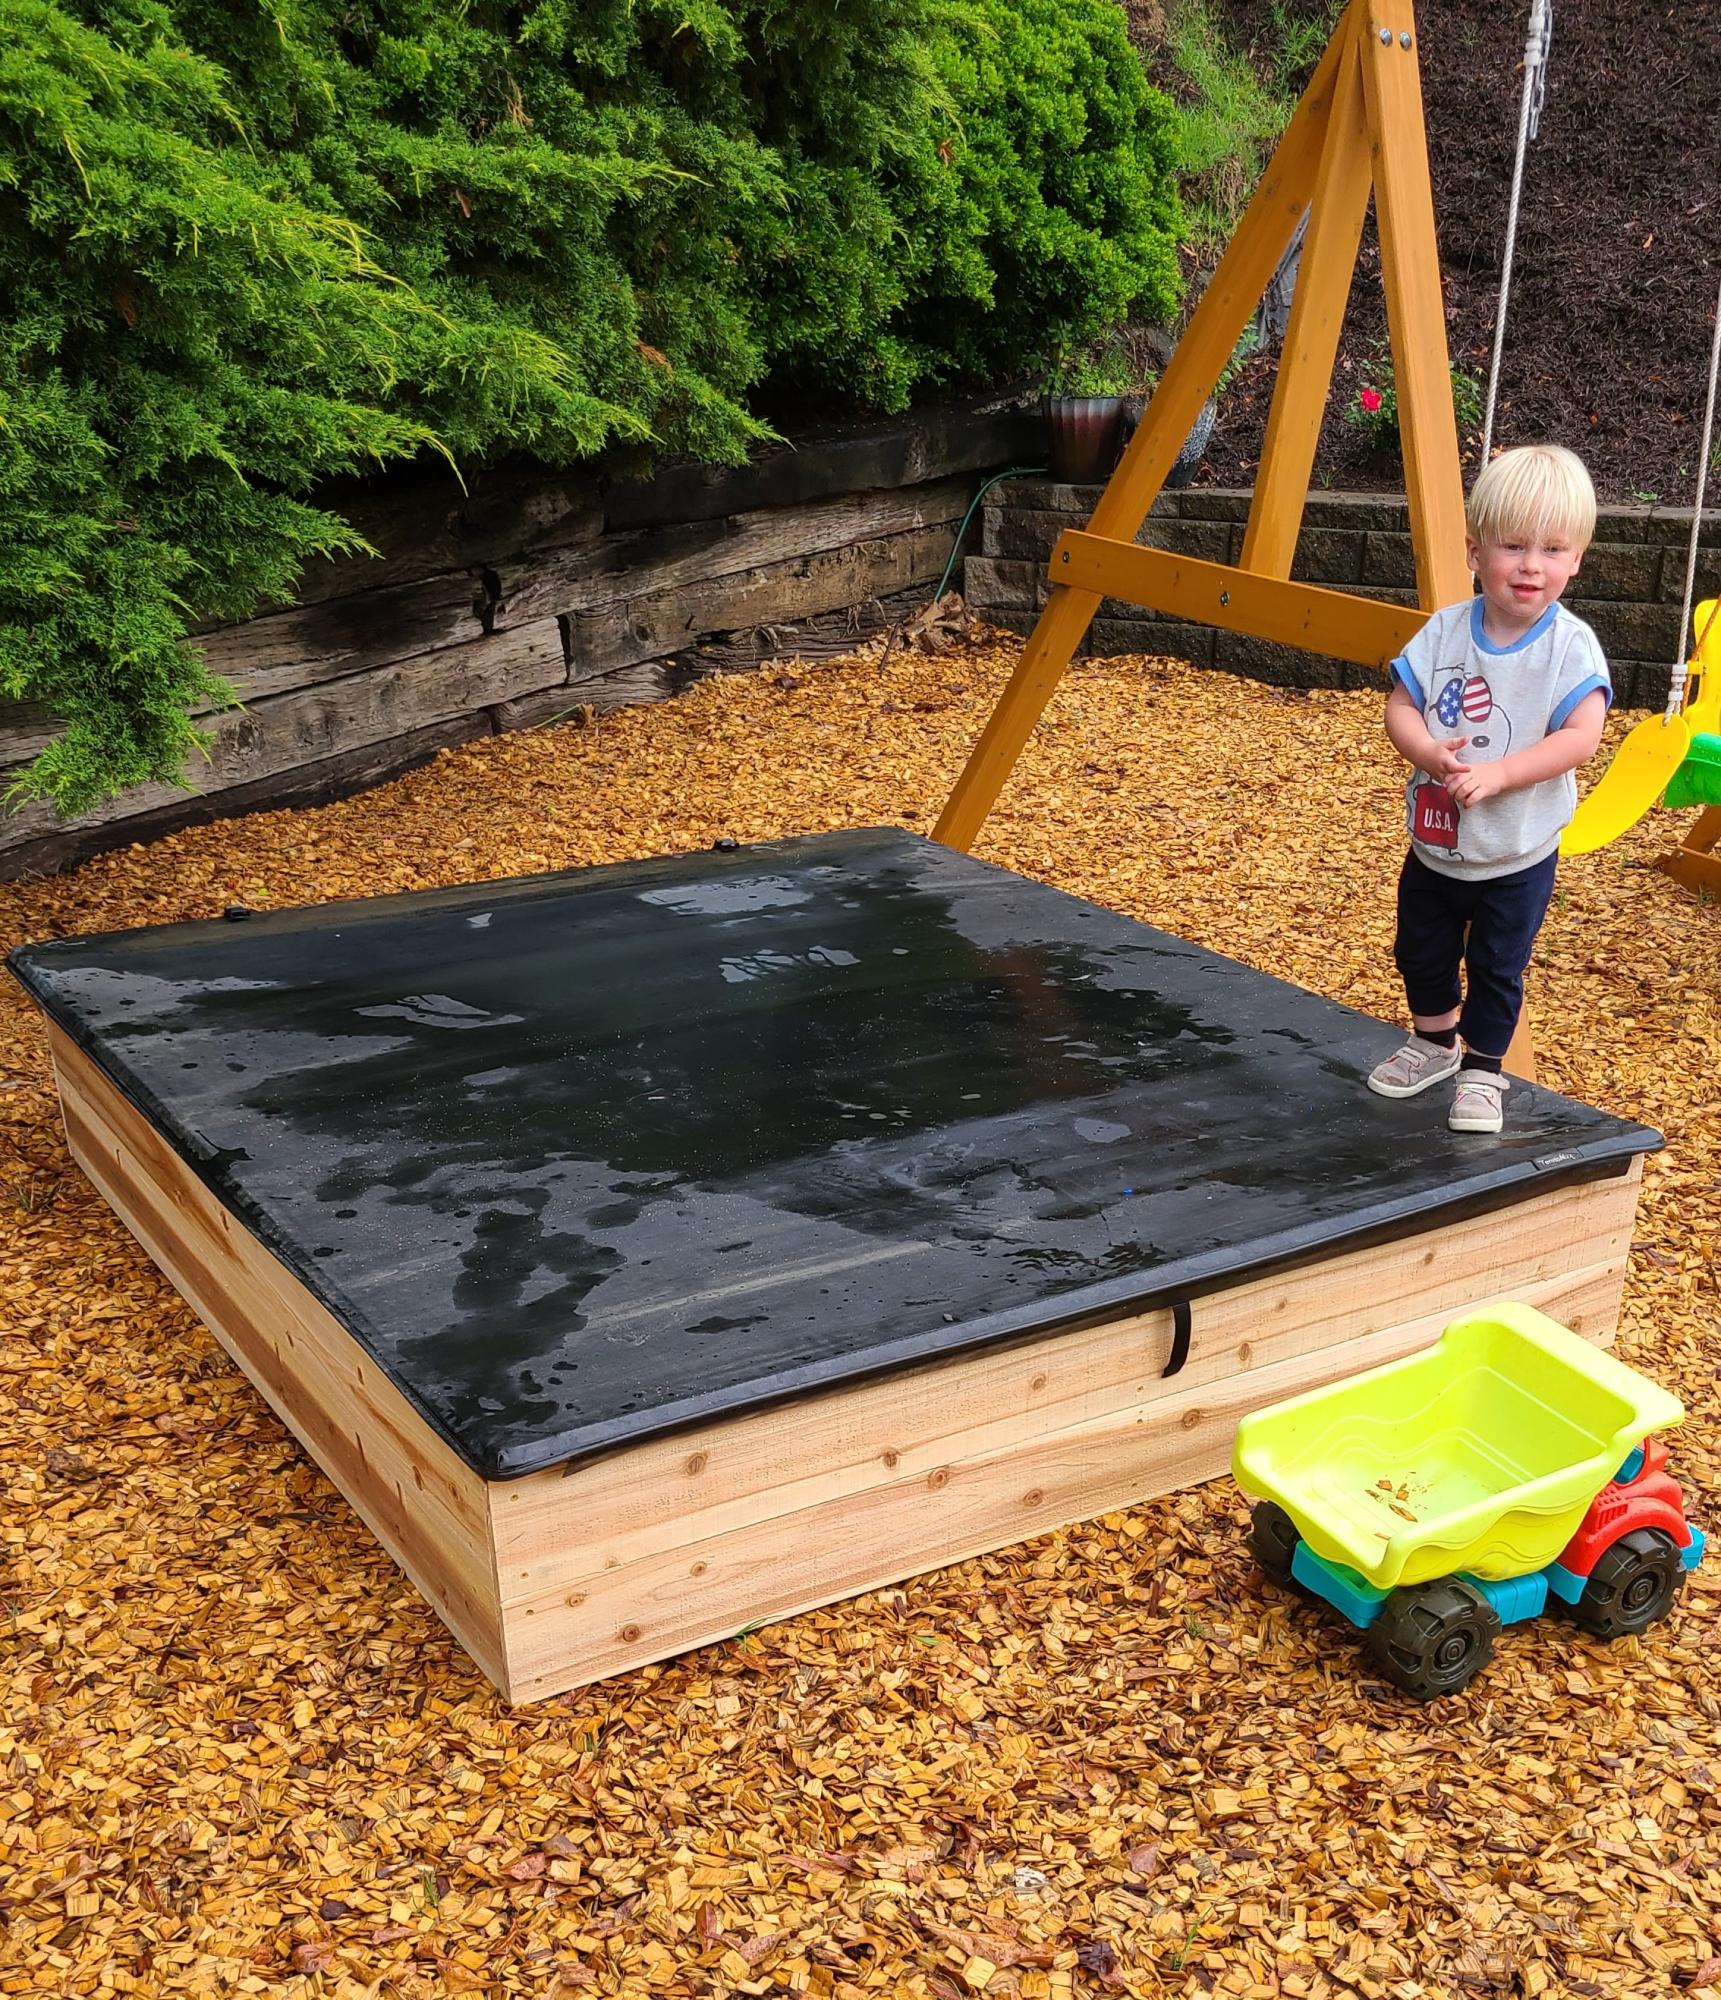
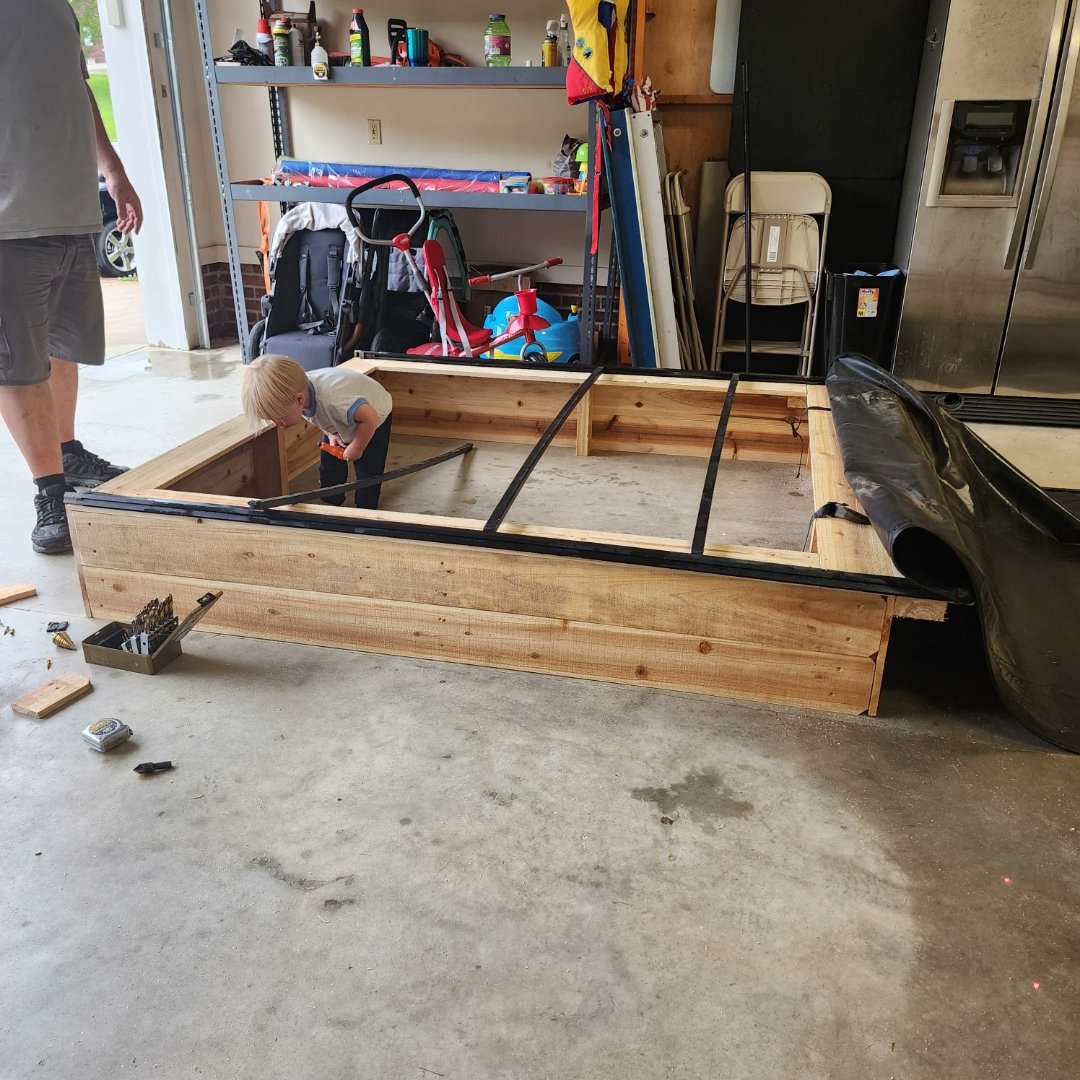
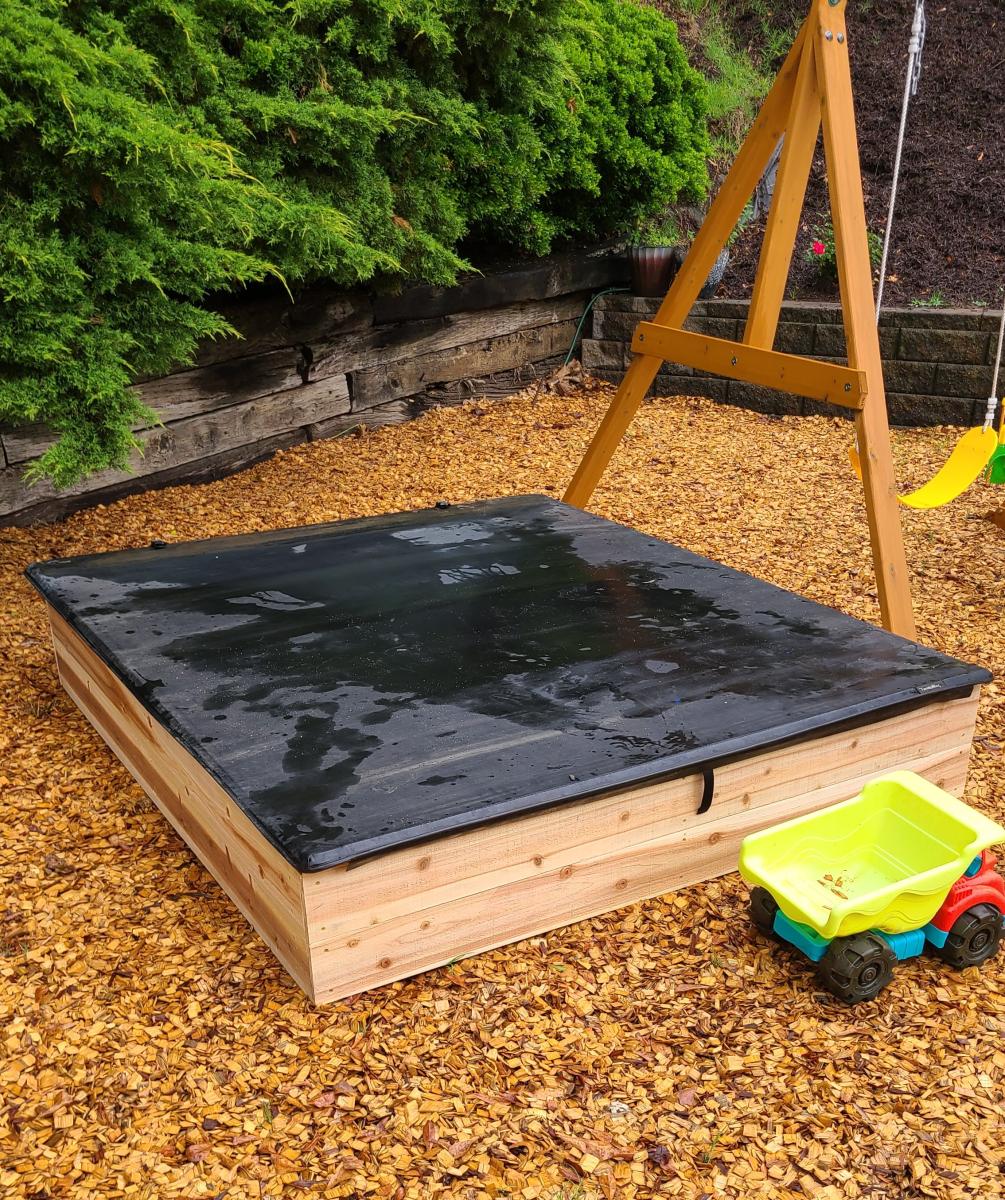
Sandbox with Cover

The cover is a tonneau cover for a pickup truck. It's for a 6.5' truck bed so if you notice, I had to ad a 2x4 and one more picket on top to accommodate the extra length. 

The cover would add a ridiculous amount of money to the project but it was repurposed.  I found it on a truck that was in an accident and going to the scrap yard. I think it it came out great and my grandson loves it.

John

Built from Plan(s)

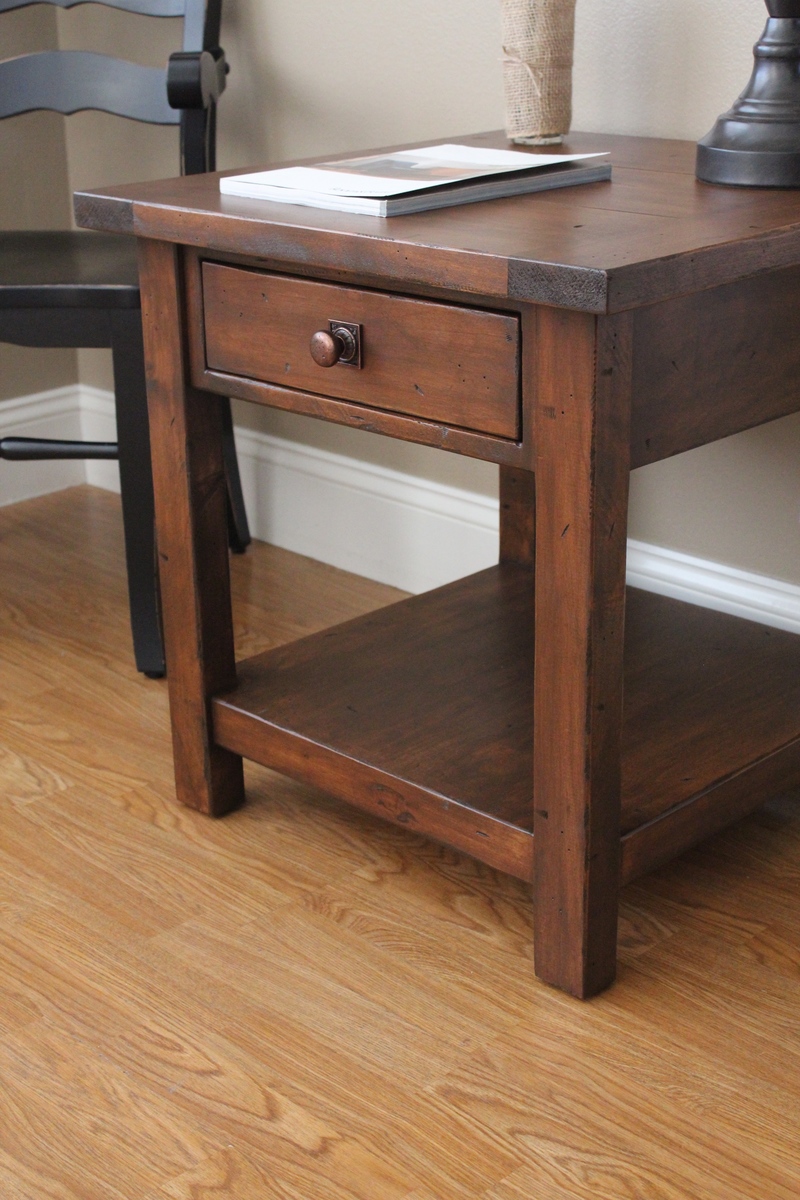
Benchwright end table

I took the plans for ana white's benchwright coffee table and created this end table.  This is an exact replica of the Pottery Barn benchwright end table.  The wood was distressed by hand and finished with dye, dark walnut gel stain and three coats of satin poly. 


- Brad 

Built from Plan(s)
Estimated Cost
$200.00
Estimated Time Investment
Weekend Project (10-20 Hours)
Finish Used
Transtint dye, antique walnut gel stain, water based poly
Recommended Skill Level
Intermediate

Comments

marenras

Mon, 02/09/2015 - 14:33

Your finish work is phenomenal. Closest I've seen to pulling of the PB finish. What color transtint do you use? Any other finishing tips? I've build a couple of knock off PB pieces, but haven't nailed the finish yet.

In reply to by marenras

timberandsoul

Mon, 03/09/2015 - 22:10

Hi. Thank you for the compliments. First of all, using Alder vs douglas fir or pine plays a big difference in the finish look, but start with pine and see where you get using this process. I first mix de-waxed shellac with a few drops of medium brown transtint dye. It MUST be de-waxed shellac. Experiment with the amount of dye added. I spray one coat of that shellac and dye mixture on the wood. The shellac seals the wood allowing for even stain absorption and a non-blotchy finish. The dye obviously darkens the wood. Then I apply one to two coats of gel stain. I like general finishes antique walnut color. At the next step I sometimes add a glaze, and sometimes I don't, it just depends on what I am seeing. Lastly I seal the wood with a water based poly. Good luck!

colleenps

Tue, 03/31/2015 - 10:04

I love the finish you've done on these, and like someone else said it is the closest to PB I've seen yet! I am trying to fix a horrible stain job I did on a project and had a quick question. When you said you sprayed the shellac and dye, do you mean with a spray bottle? Also what kind of de-waxed shellac did you use? I've never used shellac and I see they have flakes and premixed stuff. Thanks!

timberandsoul

Thu, 04/09/2015 - 15:25

Hi There. Sorry for the late response. The spray the shellac with the dye using a HVLP sprayer. Google HVLP sprayers. They are very cheap and will help out tremendously. I don't recommend using shellac flakes, they can be challenging for a beginner. I use premixed shellac. I use de-waxed shellac because you can apply polyurethane over it. If you plan on applying shellac as a top coat instead of poly you don't have to worry about de-waxed.

juliekayg

Thu, 03/24/2016 - 11:41

This is absolutely beautiful and what I've been looking for to match my Benchwright coffee table!! Do you remember the dimensions you used?

dbender49

Fri, 01/21/2022 - 09:26

I really like your take on this PB table. It looks like you changed it significantly from the console table plans from which you derived it, and I have a couple questions. First, the legs do not look like 2x4s; what are the dimensions you used? Second, the bottom shelf is much thicker than the 1x12 from the plans; what lumber did you use? And how is this bottom shelf attached to the legs? Square-notched to fit around the corners of the legs?

Daybed with Storage Trundle

Submitted by Crafty-Mom on Sat, 01/27/2018 - 10:38

This was my first project from Ana's website and I'm hooked! I'm a beginner, but thank goodness for my Dad's help because I have a lot of learning to do!

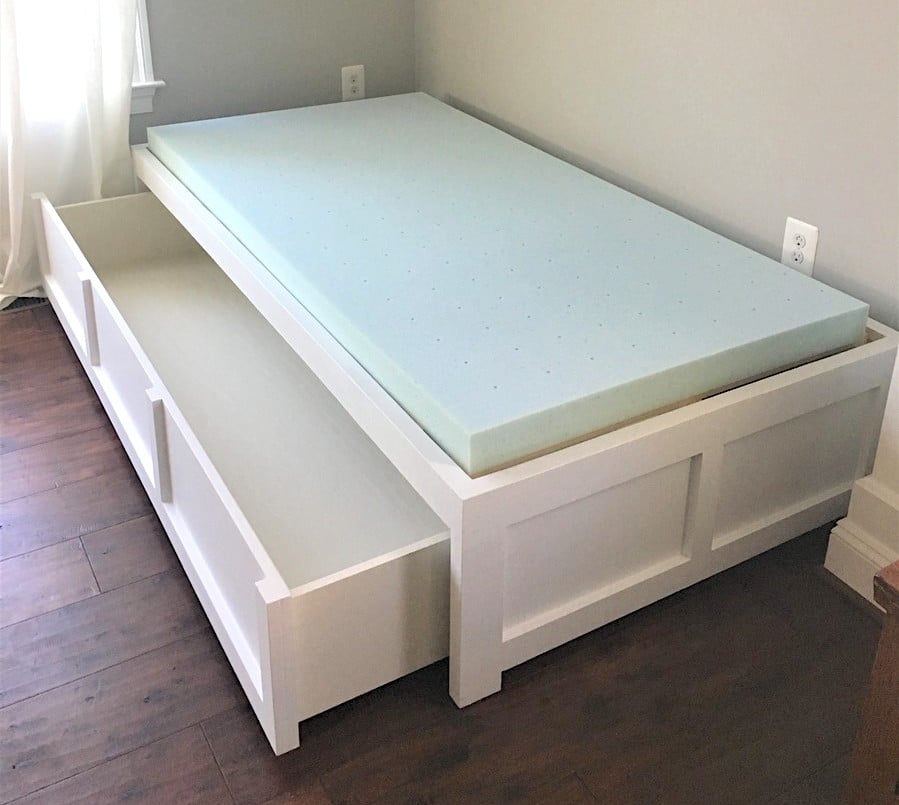
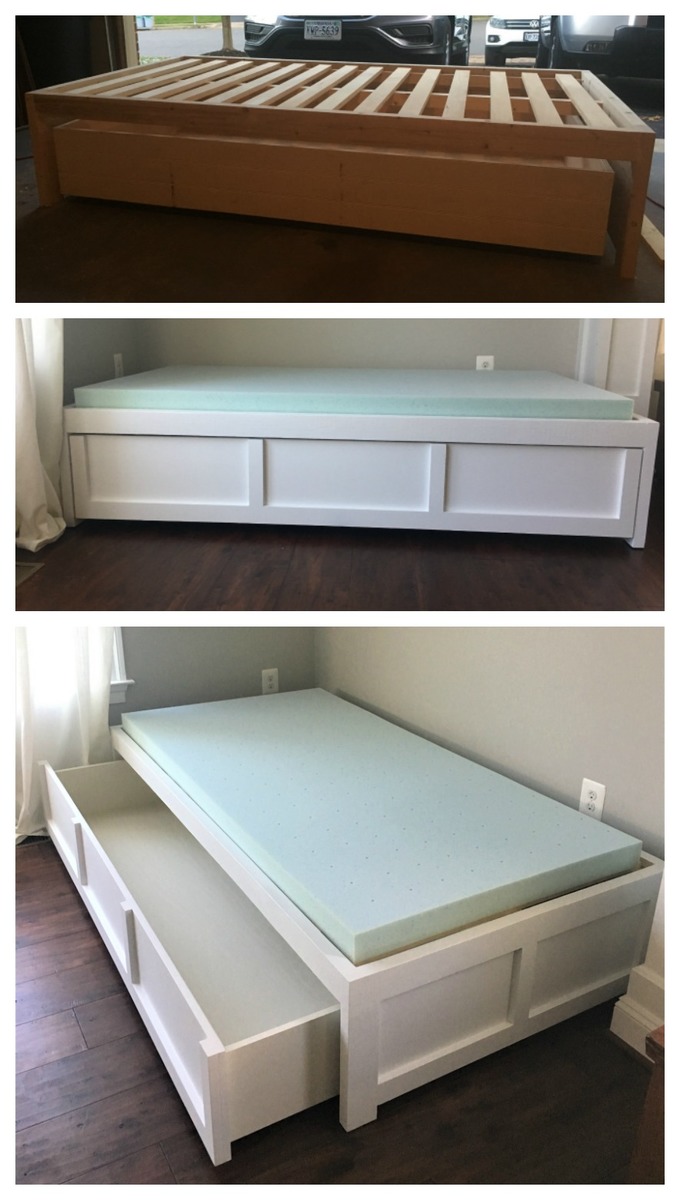
I wanted the drawer to be 1 drawer instead of 3. I feel like it looks cleaner (without having to adjust 3 drawers constantly to make it look good when you push them in). I was thinking the bed could actually be used as a trundle bed in the future too! I use this to store toys right now and it is Awesome!

I increased the bed size to fit a twin mattress and increased the height of the bed slightly so that the drawer would be a little bit deeper. We also added a back to the bed and carried around the trim to make all sides look the same. We added a bumper to the back and sides of the inside of the bed so the drawer is easy to push in and fits in snug. Finally we reinforced the bottom of the drawer with more 1x4 boards so that if a child does sleep in it, it would be more sturdy. I now have kids come over and jump into the drawer (literally) and I'm glad we reinforced it.

The changes we made did add to the cost and our time (as well as being newbies), but I think it's worth it and the bed turned out beautiful!

Estimated Cost
$180
Estimated Time Investment
Weekend Project (10-20 Hours)
Finish Used
Behr Marquee (I'll have to find the name of the white color we used). We almost went with chalk paint, but after talking to the HD guy, he talked me into this paint and I'm glad we used it! So much cheaper and turned out beautiful.
Recommended Skill Level
Beginner

Comments

Nisssc

Mon, 10/12/2020 - 07:51

This looks great! Any suggestion if I want cubbies instead of a trundle? Also, cubbies only on side as bed would be against the wall. Thanks for the inspiration!
Sandy

Poolside Towel Cabinet from Benchmark Cabinet Plan

Submitted by Anonymous (not verified) on Thu, 03/23/2017 - 11:21

My father and I made this awesome poolside towel cabinet using the Benchmark Cabinet plans. A super easy 1 day build and it looks amazing on the patio. Bring on the pool weather! 

Estimated Cost
$60
Estimated Time Investment
Day Project (6-9 Hours)
Finish Used
Chalk paint/Poly topcoat
Recommended Skill Level
Beginner

Lift Top Coffee Table

Submitted by JJones0925 on Fri, 03/16/2018 - 20:48

Instead of attaching the top to the coffee table base as done in the plans, the top is attached using a set of coffee table lift top hinges. 

Built from Plan(s)
Estimated Time Investment
Weekend Project (10-20 Hours)
Recommended Skill Level
Beginner

Comments

Pot holder

Submitted by Anonymous (not verified) on Tue, 01/12/2021 - 06:21

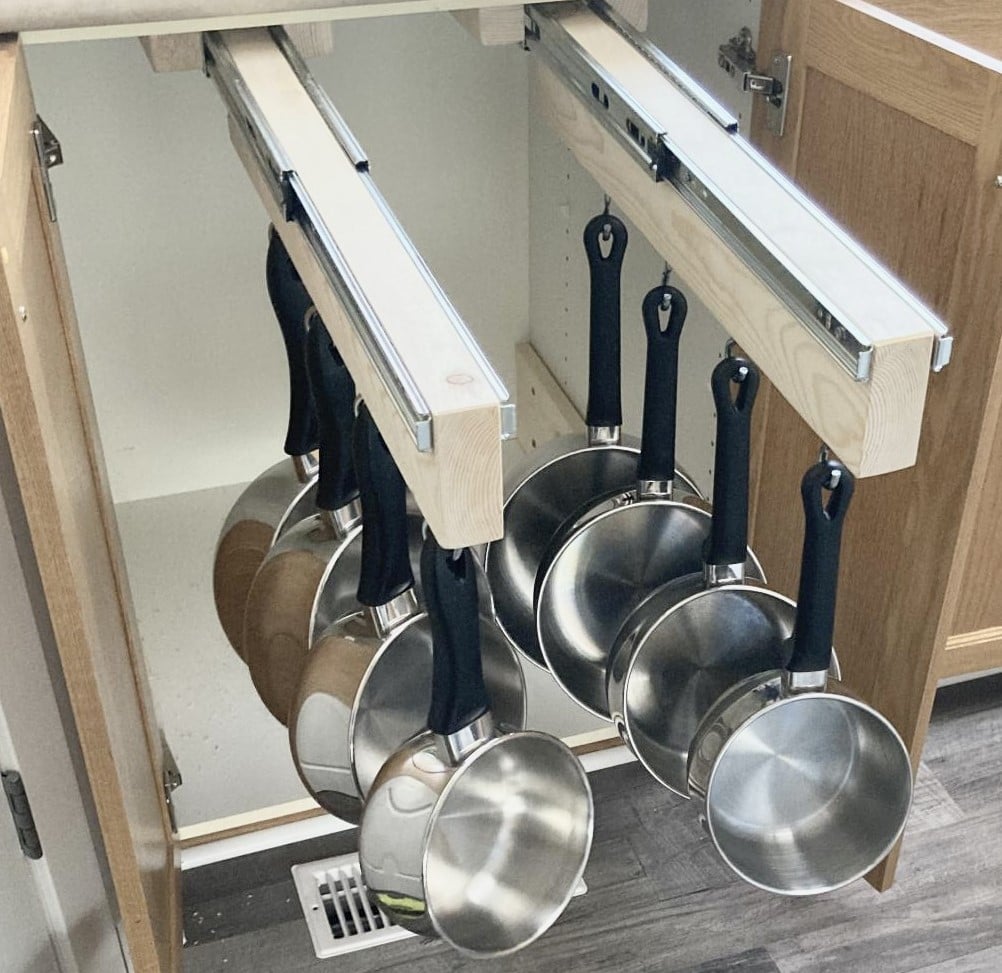
Working off your idea. Added another holder. There will be a bottom drawer for bigger stuff.

Built from Plan(s)
Finish Used
Will be painted
Recommended Skill Level
Starter Project

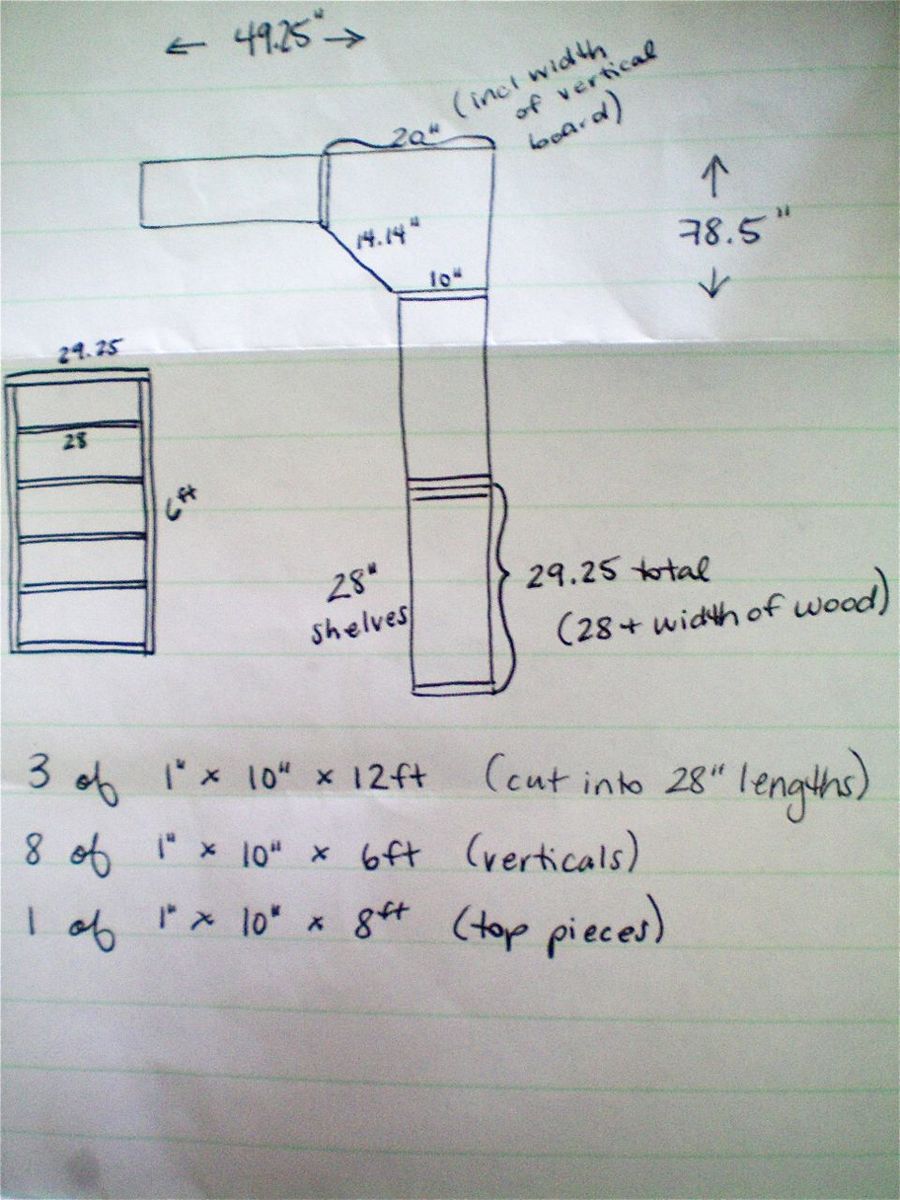
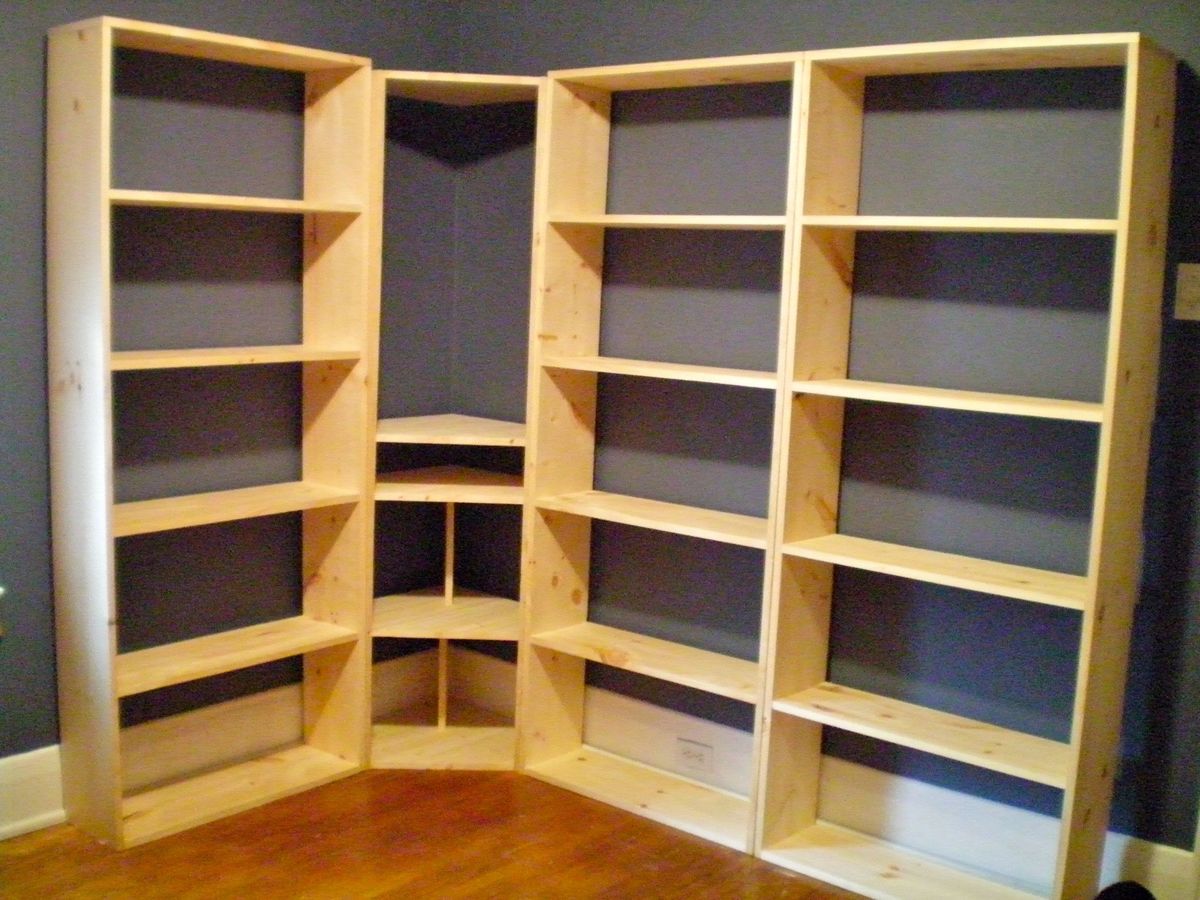
Bookshelf wall unit

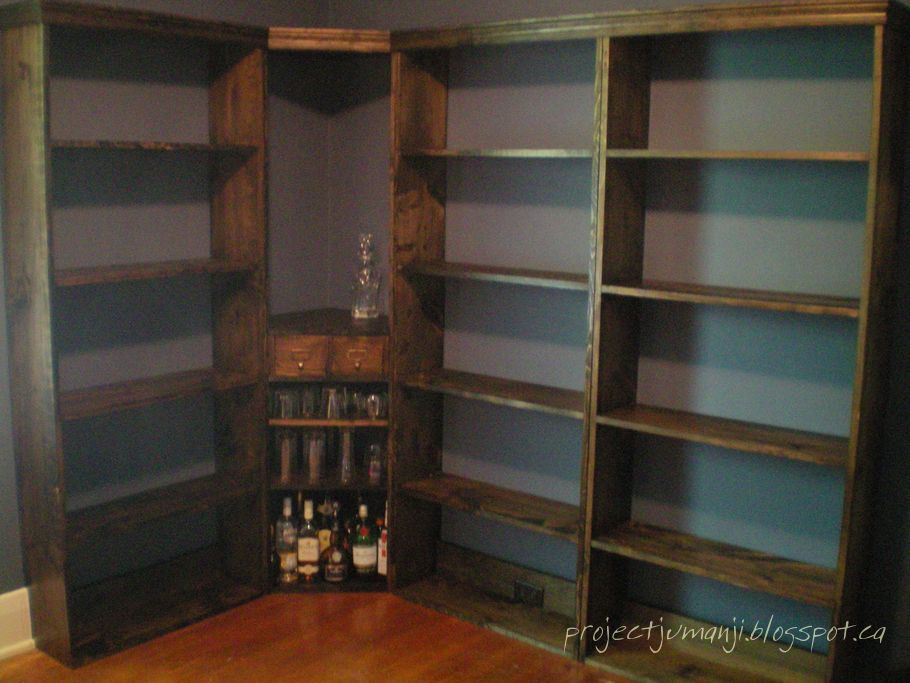
I fell in love with a set of bookshelves from a big box store (ahem, T@#get) but was disheartened to find that they would not help me get the corner shelf ordered to Canada from their website.

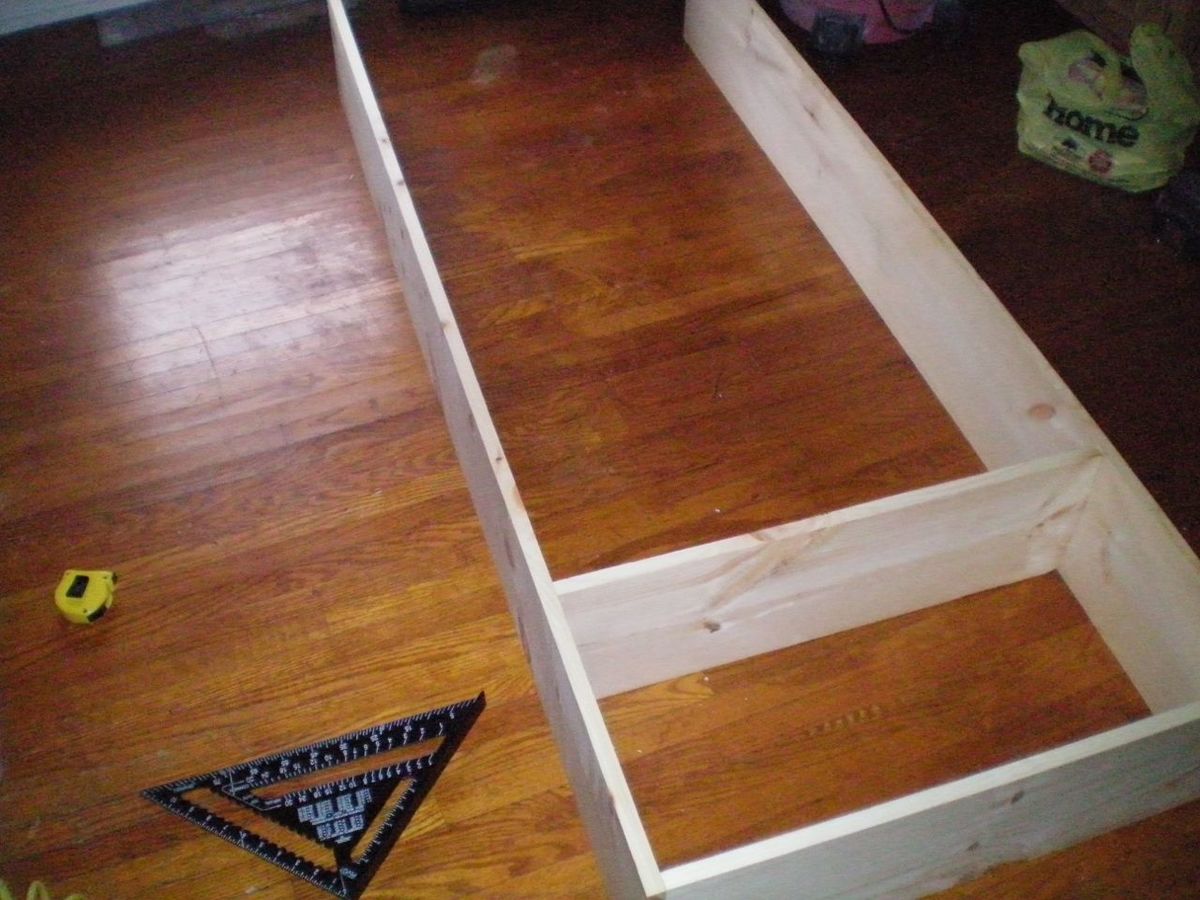
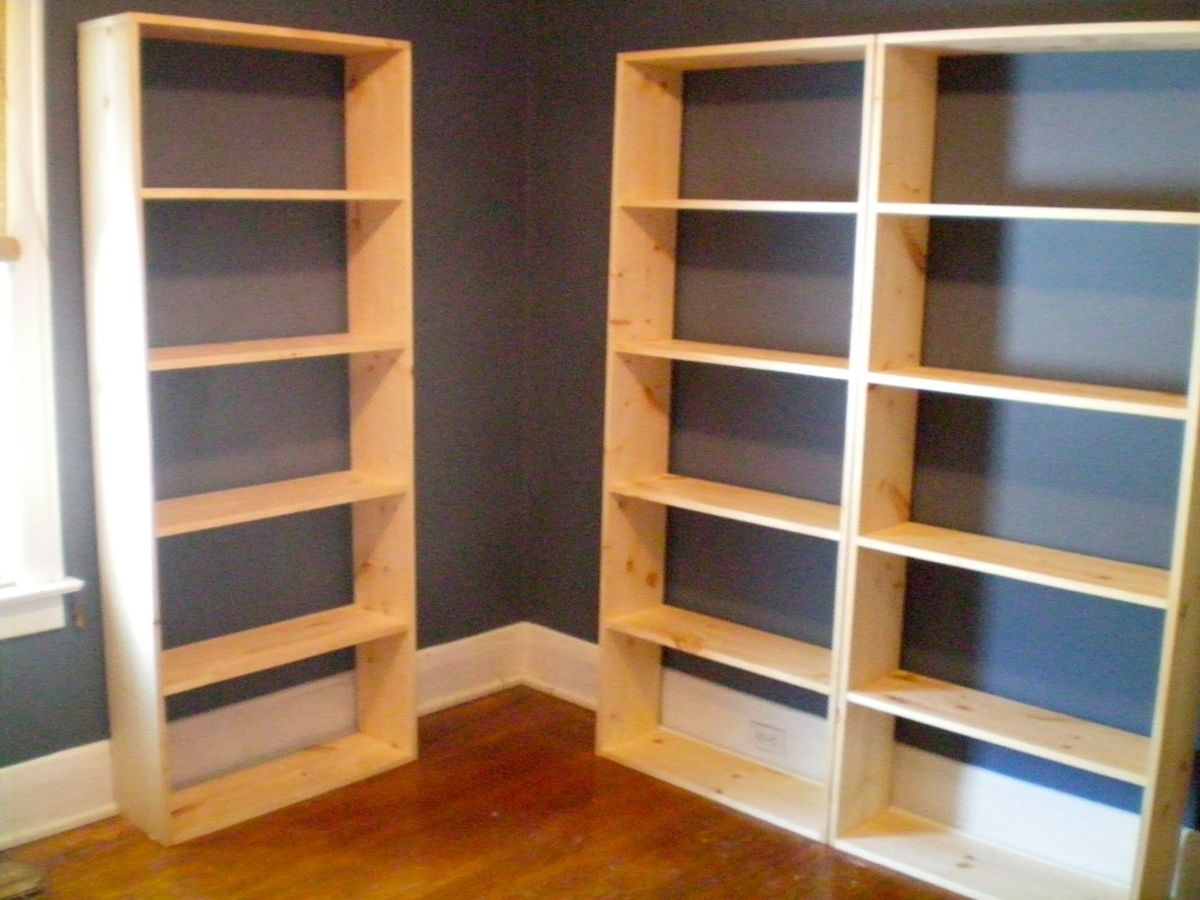
With inspiration from Ana, I decided to design and build the whole thing myself. It cost 1/3 the price, and as my first wood project, I'd say it turned out pretty well.

I made my design to work best with the wood available local to me, and to fit specifically in our room. The biggest challenge wasn't wood-related at all, but was actually dealing with the electrical outlet that I needed to attached to the base of one shelf.

Check it all out at my blog; http://projectjumanji.blogspot.ca

Built from Plan(s)
Estimated Cost
$350
Estimated Time Investment
Weekend Project (10-20 Hours)
Finish Used
Minwax Jacobean
Recommended Skill Level
Beginner

2x4 sectional outdoor sofa

Submitted by Anonymous (not verified) on Tue, 05/12/2020 - 08:10

My first Ana White project. My friend Shelley and I are RN's, and she got me hooked on woodworking. I started with cushions from Lowes ( in the sizes that you recommended)to see if I loved the sectional for a few years. I loved it so much I decided to have custom Sunbrella fabric ones made. Even though the custom ones were more expensive, it has been worth it. They go perfect with my California Mission style home. Now I want to add the armless one and make it a U-shape. I did add a piece at the bottom back of each sofa to hold the cushions in. The seat cushions would slide out the back when sitting on the sofa. I made the coffee table to match. Our family loves it!

Estimated Cost
building materials for sofa $250. Custom Sunbrella Fabric cushiosn $2000
Estimated Time Investment
Weekend Project (10-20 Hours)
Finish Used
Stained with Carrington Minwax and sealed with spray Shellac
Recommended Skill Level
Beginner

Comments

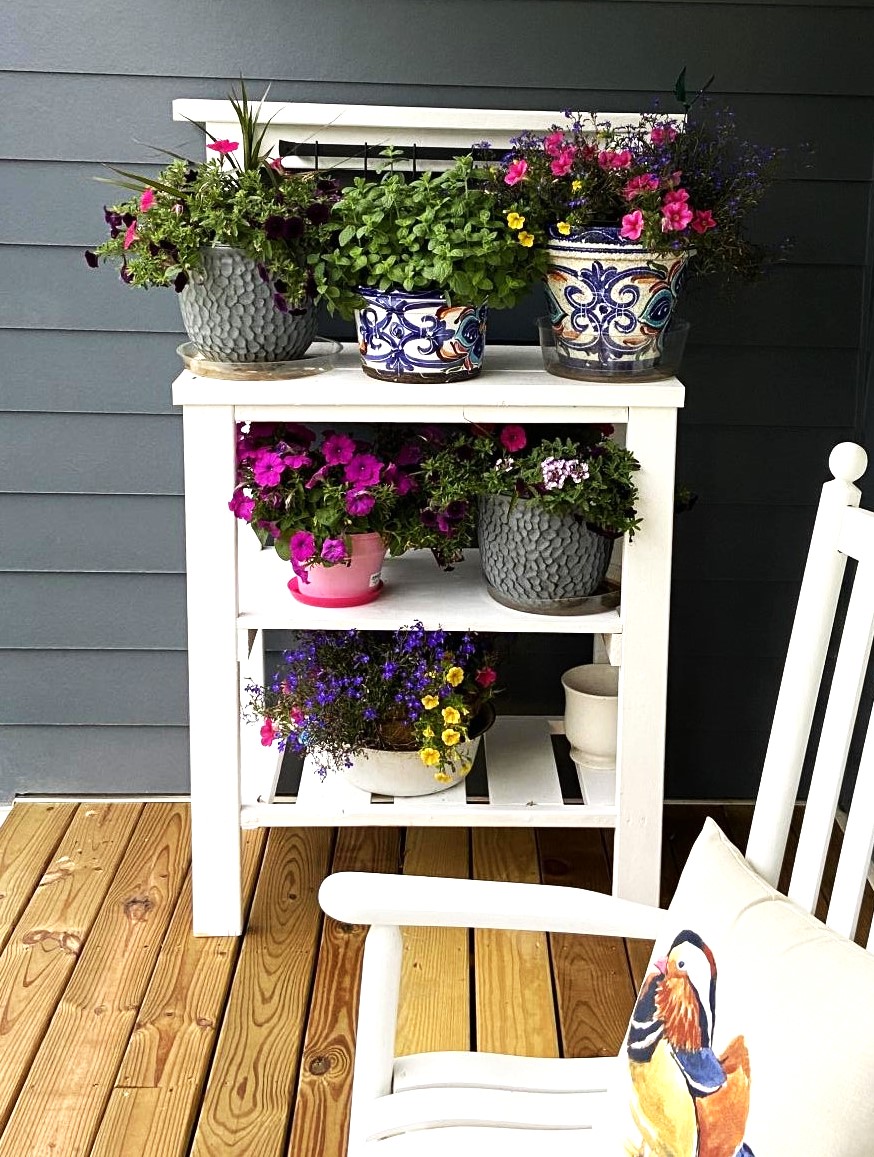
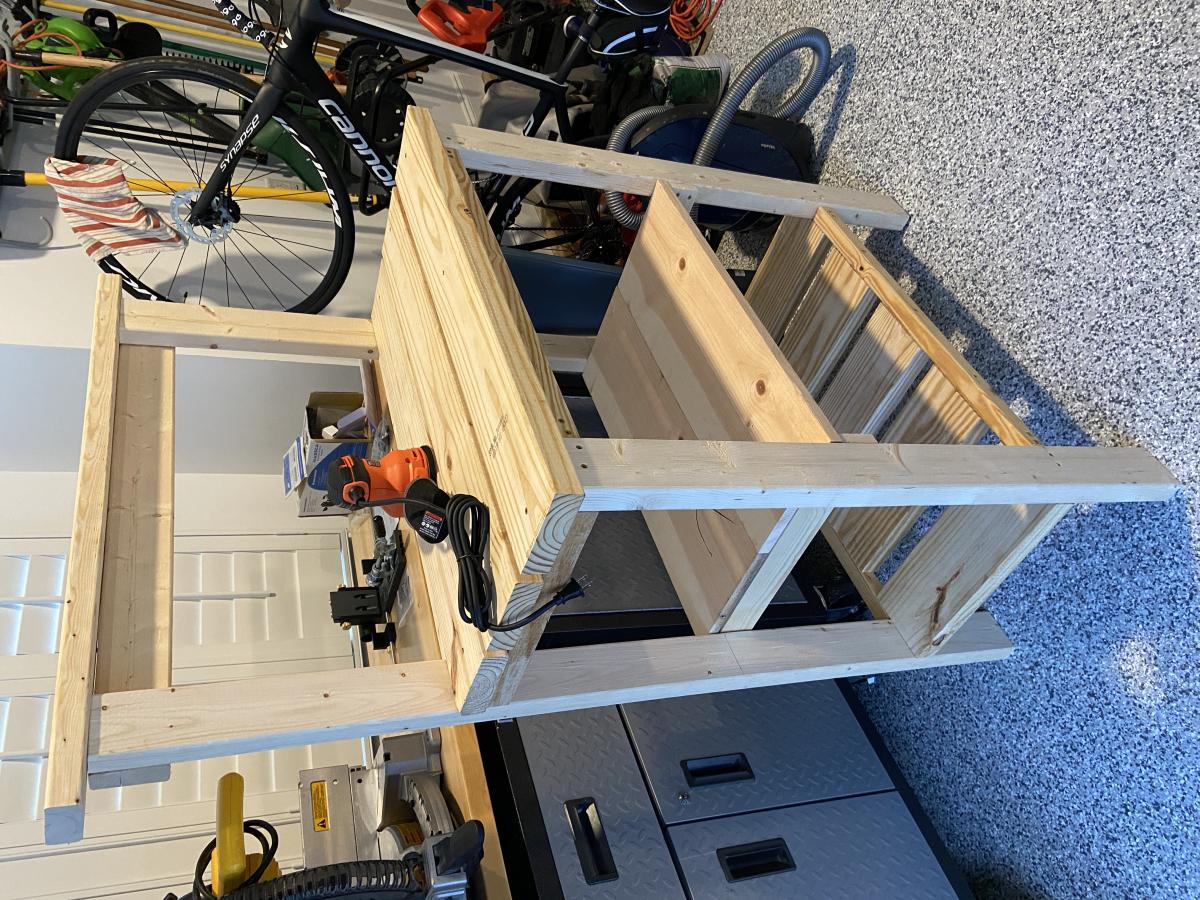
Farmhouse Potting Bench

Submitted by Anonymous (not verified) on Fri, 06/16/2023 - 11:27

Proud of this, my very first build. Thanks to Ana White for the detailed, easy to follow plan. Can hardly wait to start the next project!

Built from Plan(s)

Comments

Seasonal And Holiday