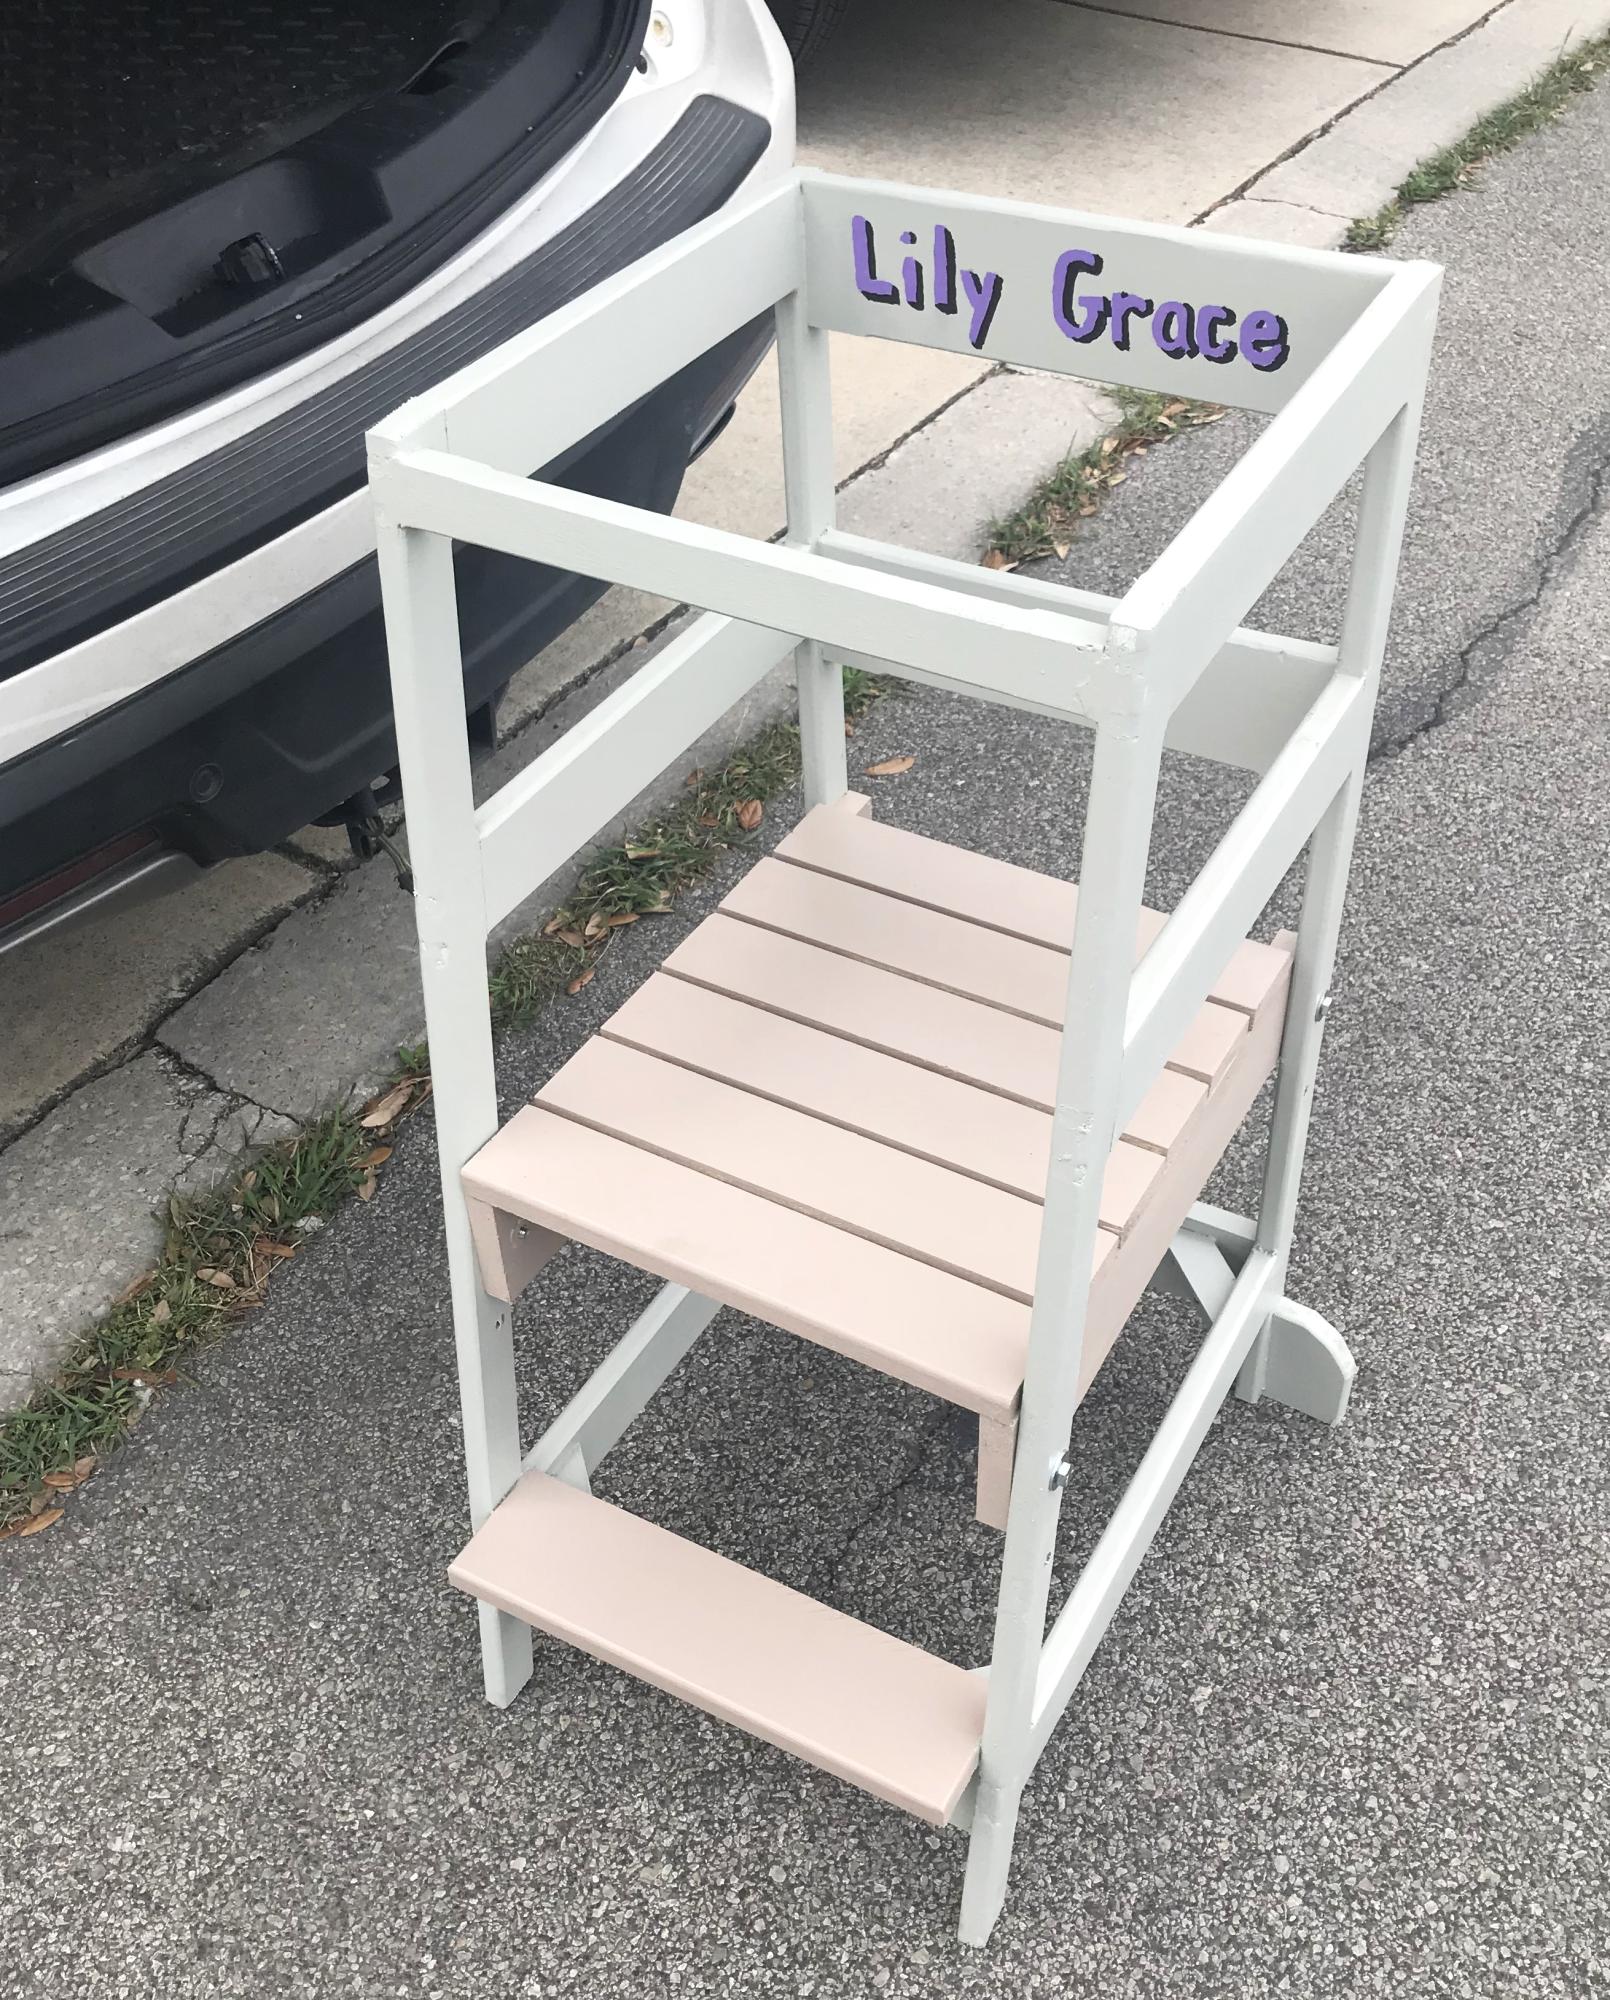
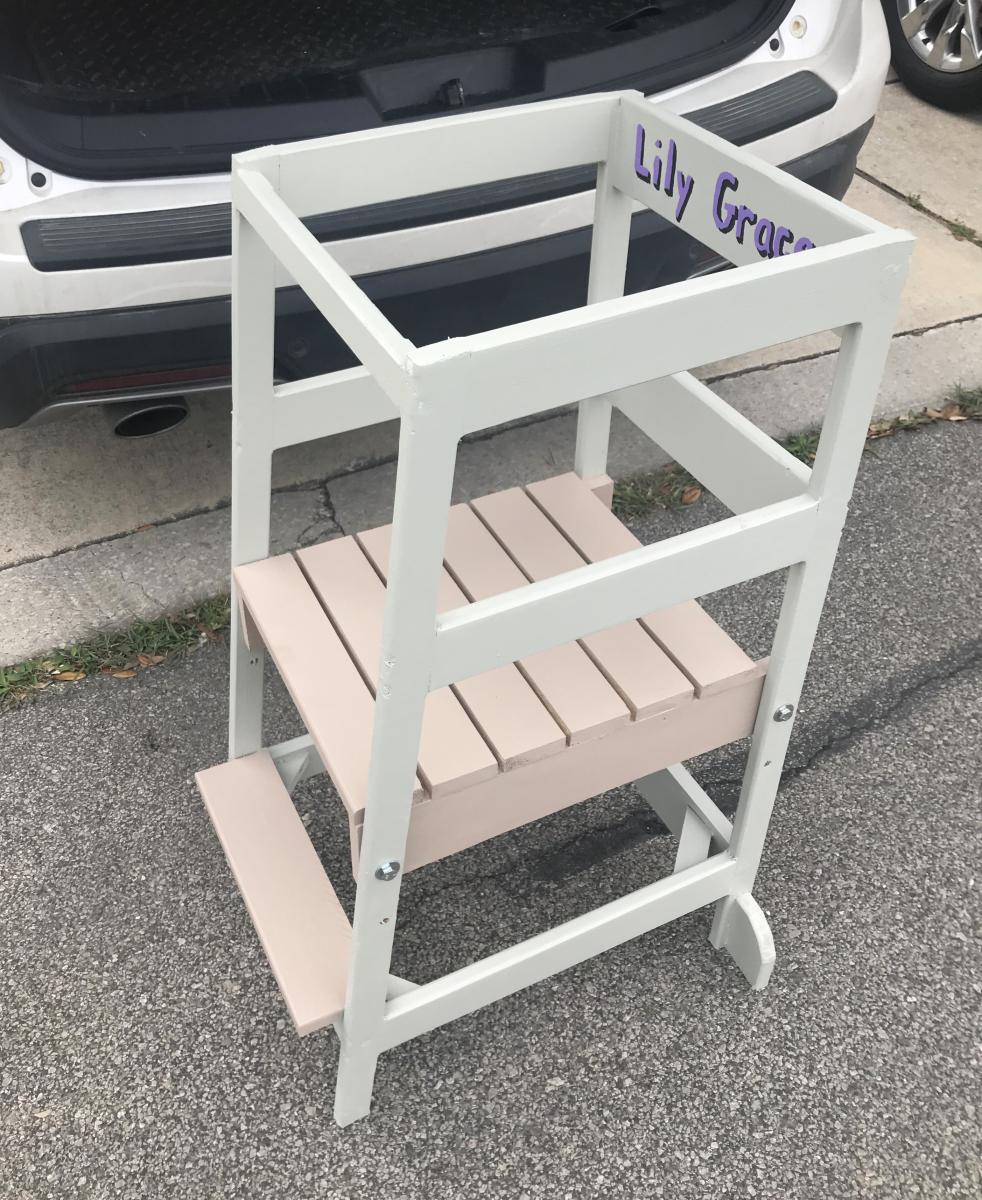
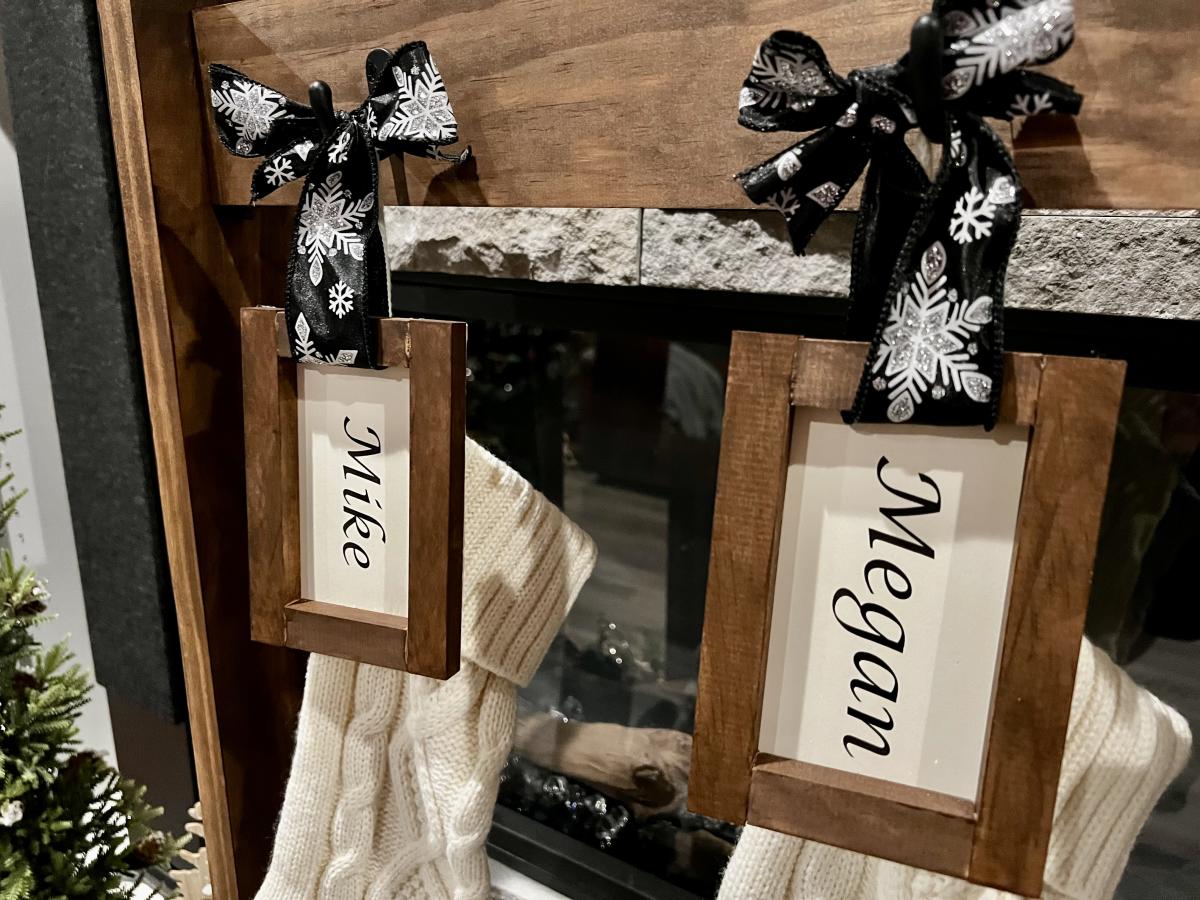
Stocking Stand and DIY Name Tags
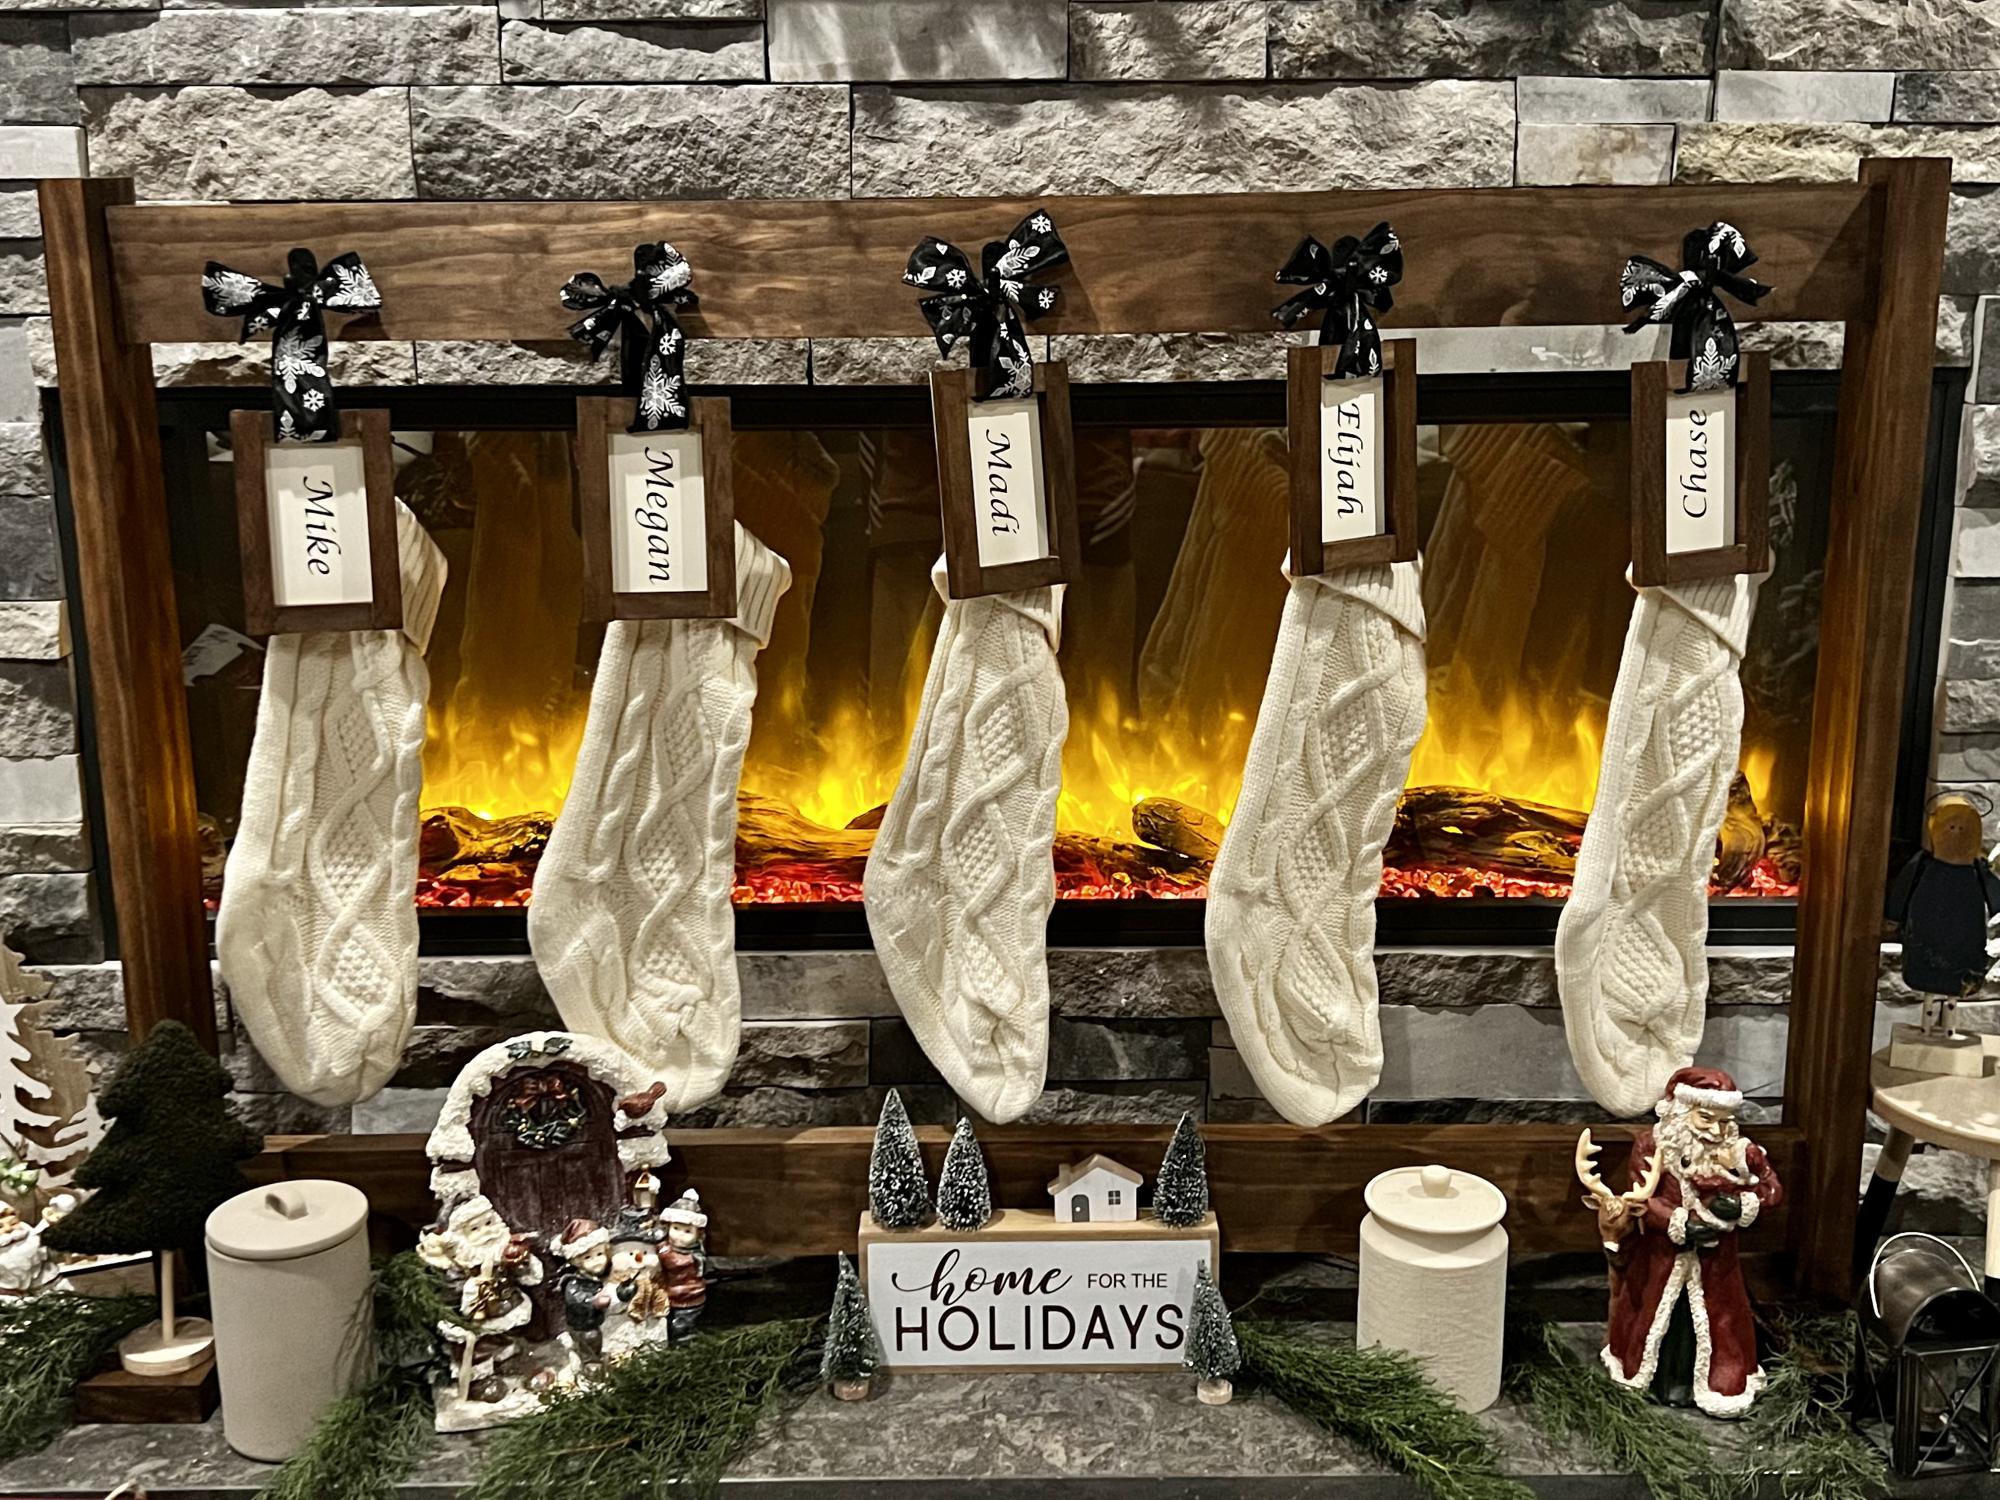
Did these last year!
Mike Dvorak
Built from Plan(s)
Seasonal And Holiday
Did these last year!
Mike Dvorak

I'm a father of 4 girls ages 6,5,4, and 1. So a regular bunk wasn't enough so I decided to add the 3rd bunk. Each painted in my girls favorite colors. The paint was Martha Stewart signature paint which was on clearance on Lowes. Think it was 3 or 4 dollars a quart. The cubby steps are basically just 4 boxes stacked on top of each other and nailed together and made from 3/4" furniture grade plywood.
It didn't come out perfect but I'm pretty happy with the results. Let me know what you guys think. Thanks.
PS, Ana...my wife is a big fan of yours. She's the one who turned me onto your site.

Fri, 05/11/2012 - 17:30
That looks awesome! It's definitely one of a kind too. Nice job.
Sat, 11/24/2012 - 09:06
Hi,
We are looking to build something very similar, but are needing more information. How did you attach the loft bed to the top bunk bed? What do you have at the foot of the loft bed to keep it up? Thanks so much for any information.
Thu, 07/31/2014 - 14:17
This is BEAUTIFUL. I bet your girls have loved it and worn it well. :) I would love to see 2-years-later pics to see how it has held up over the years. :)
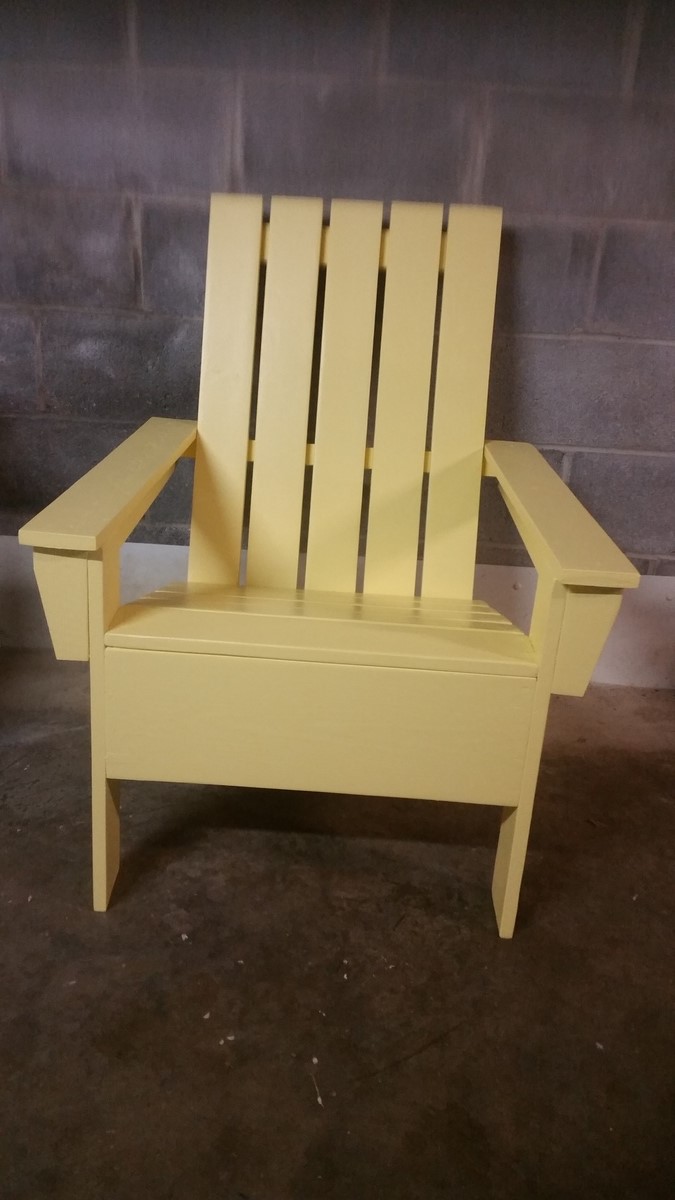
My first attempt at building an Adirondack chair. Ana's plans were easy to follow and very accurate. I would classify myself as a Beginner+.. Recently suffered bad thumb cut making cedar planters. Always think safety first.
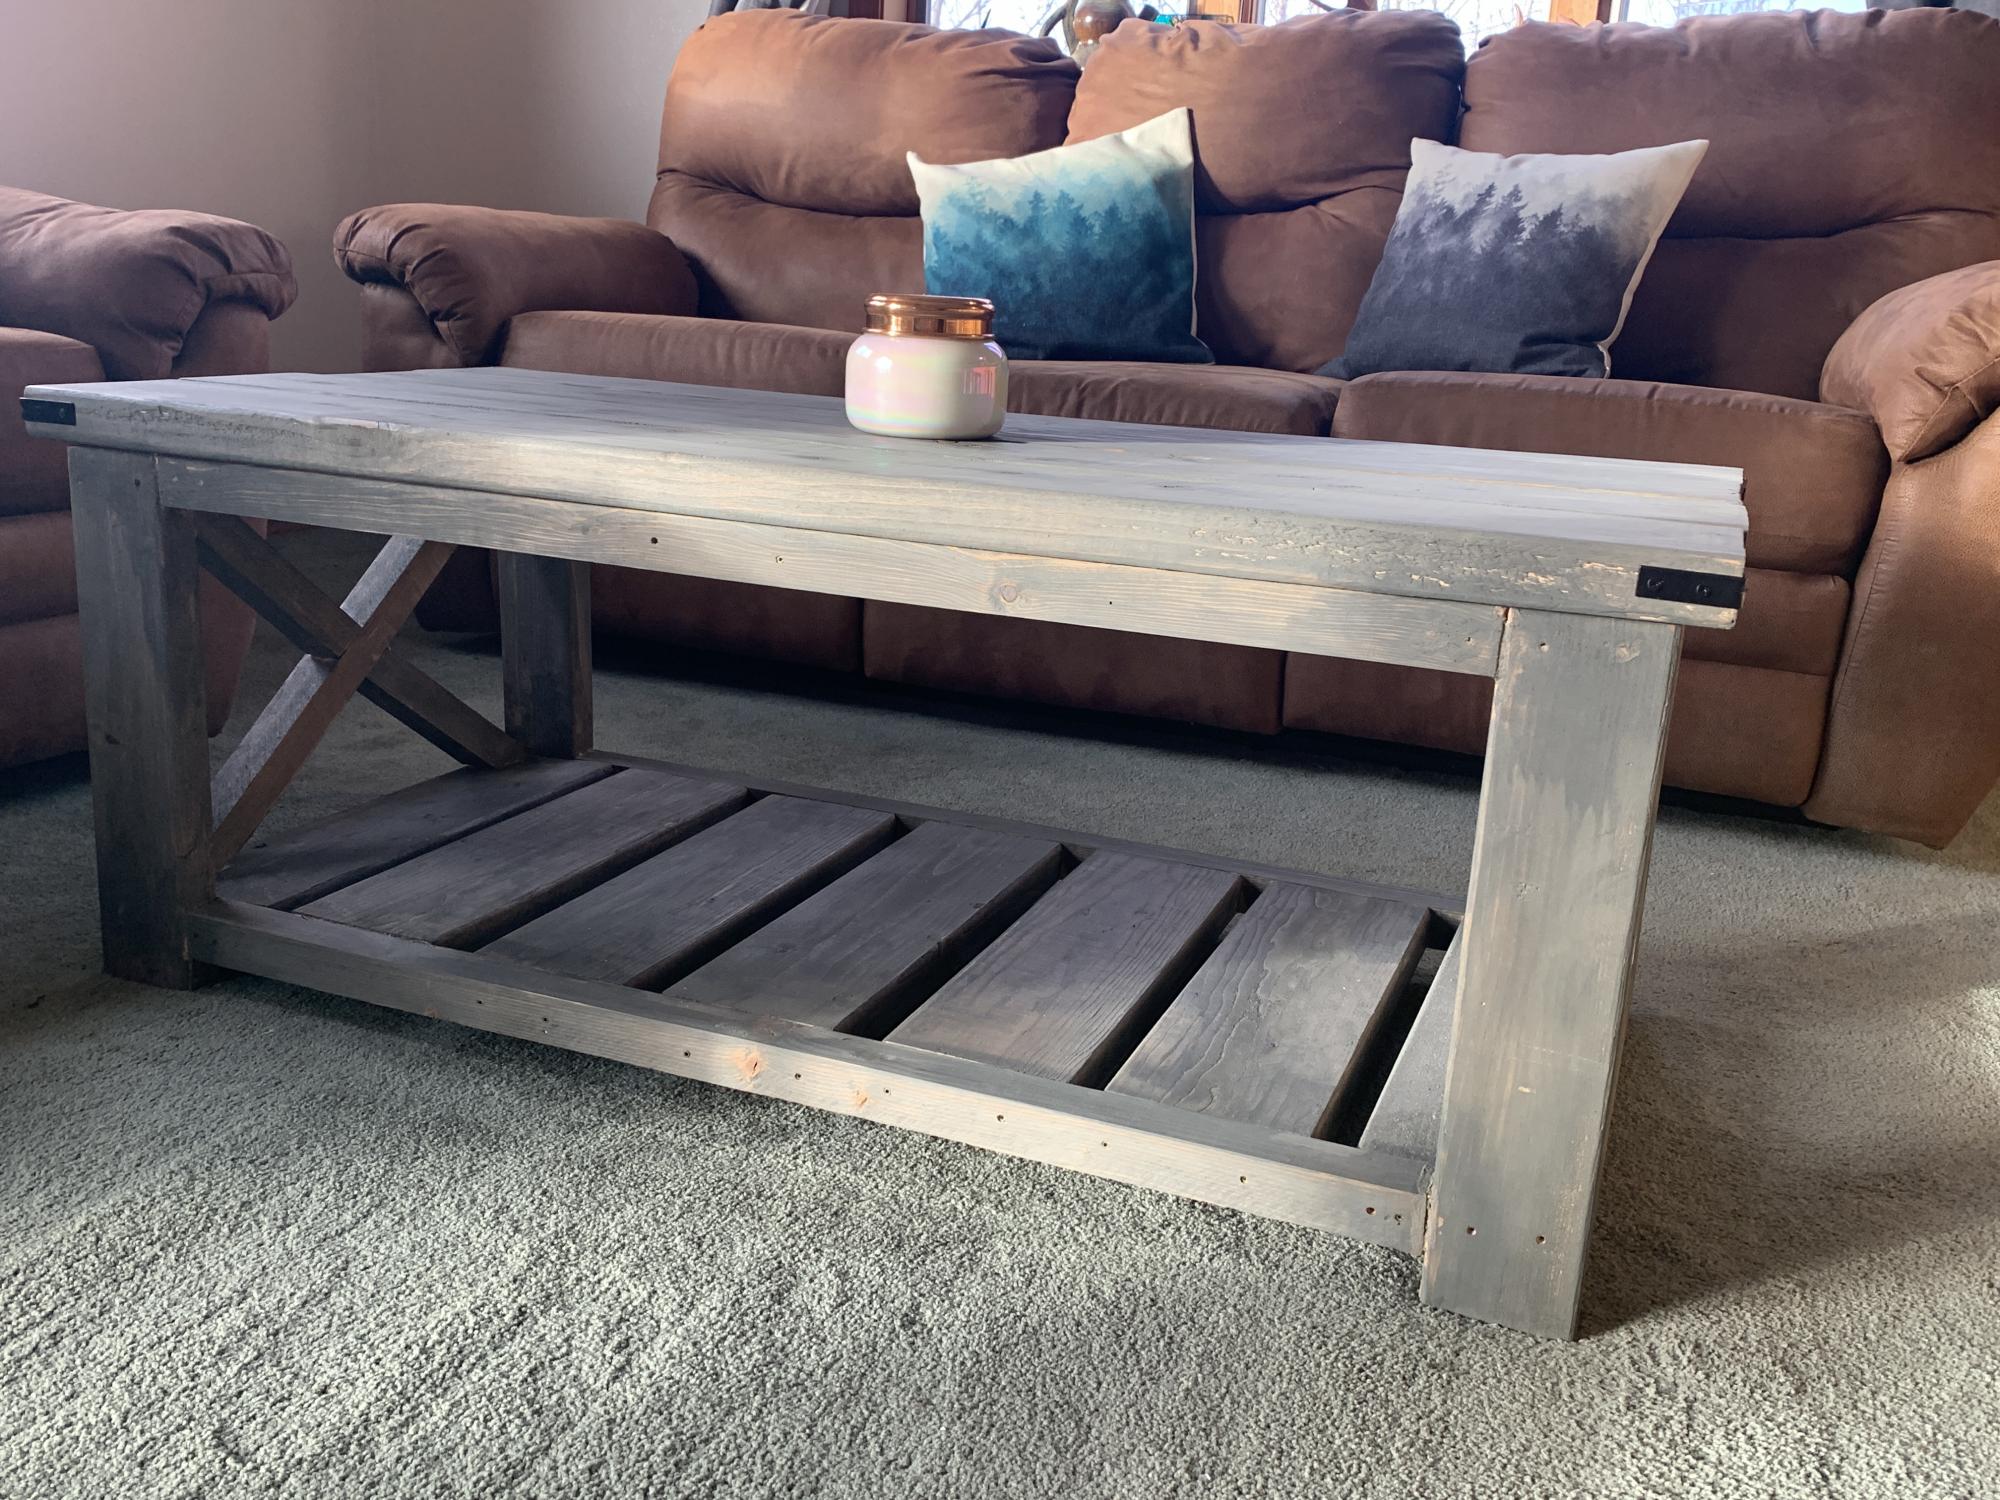
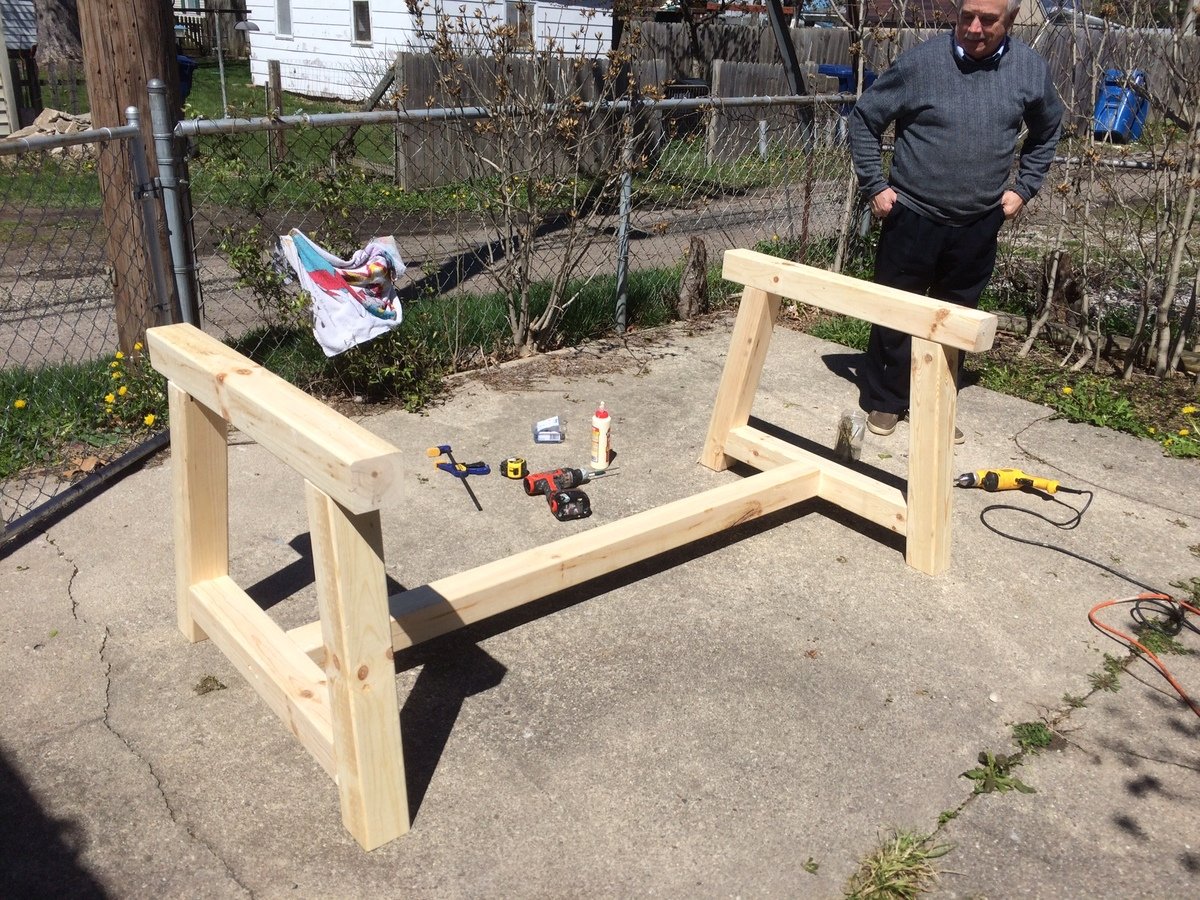
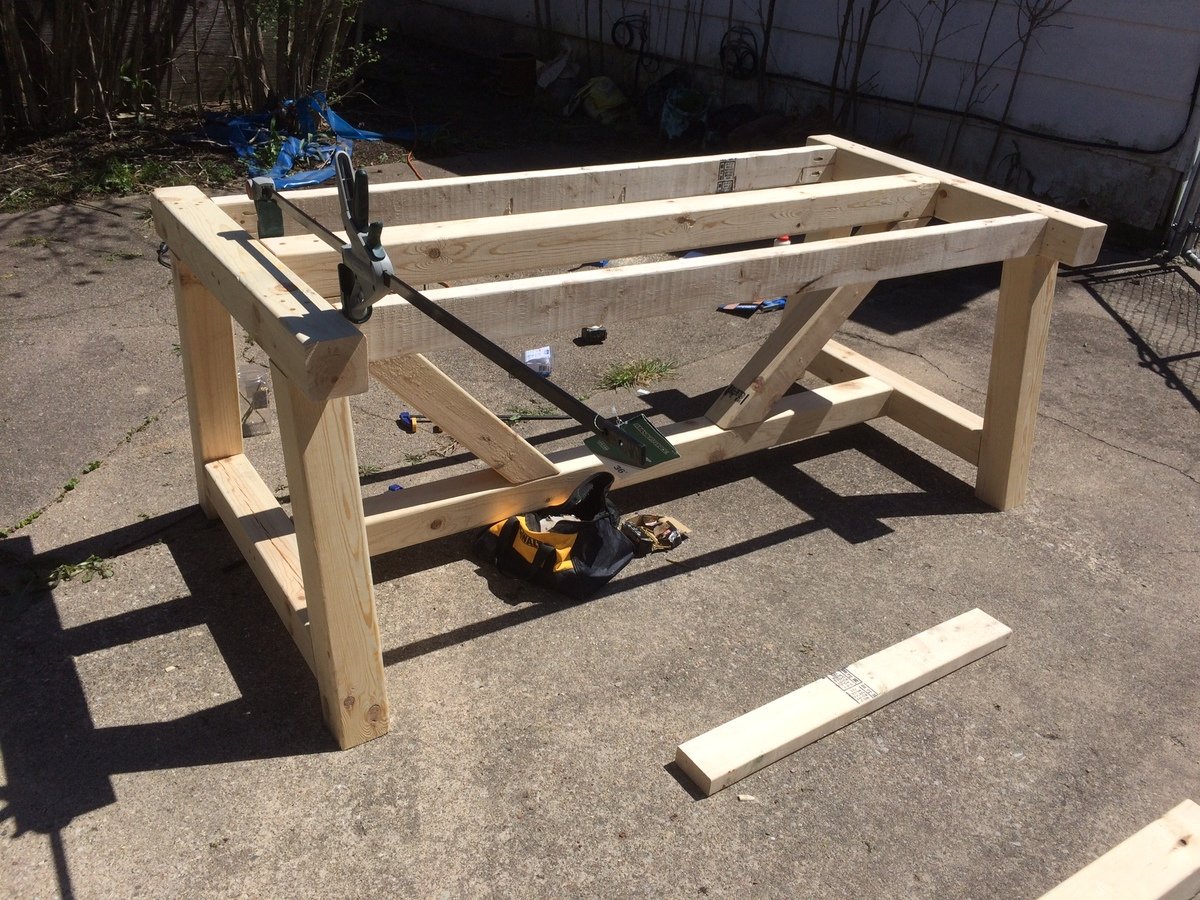
For my first project I chose the farmhouse coffee table. It turned out much better than I expected! The hardest part for me were the angle pieces on the ends. The design was super easy to follow and I love the rustic look. It didn’t turn out perfect but I am pretty happy with it. Can’t wait to see my husbands reaction when he gets home :)
Thanks Ana!
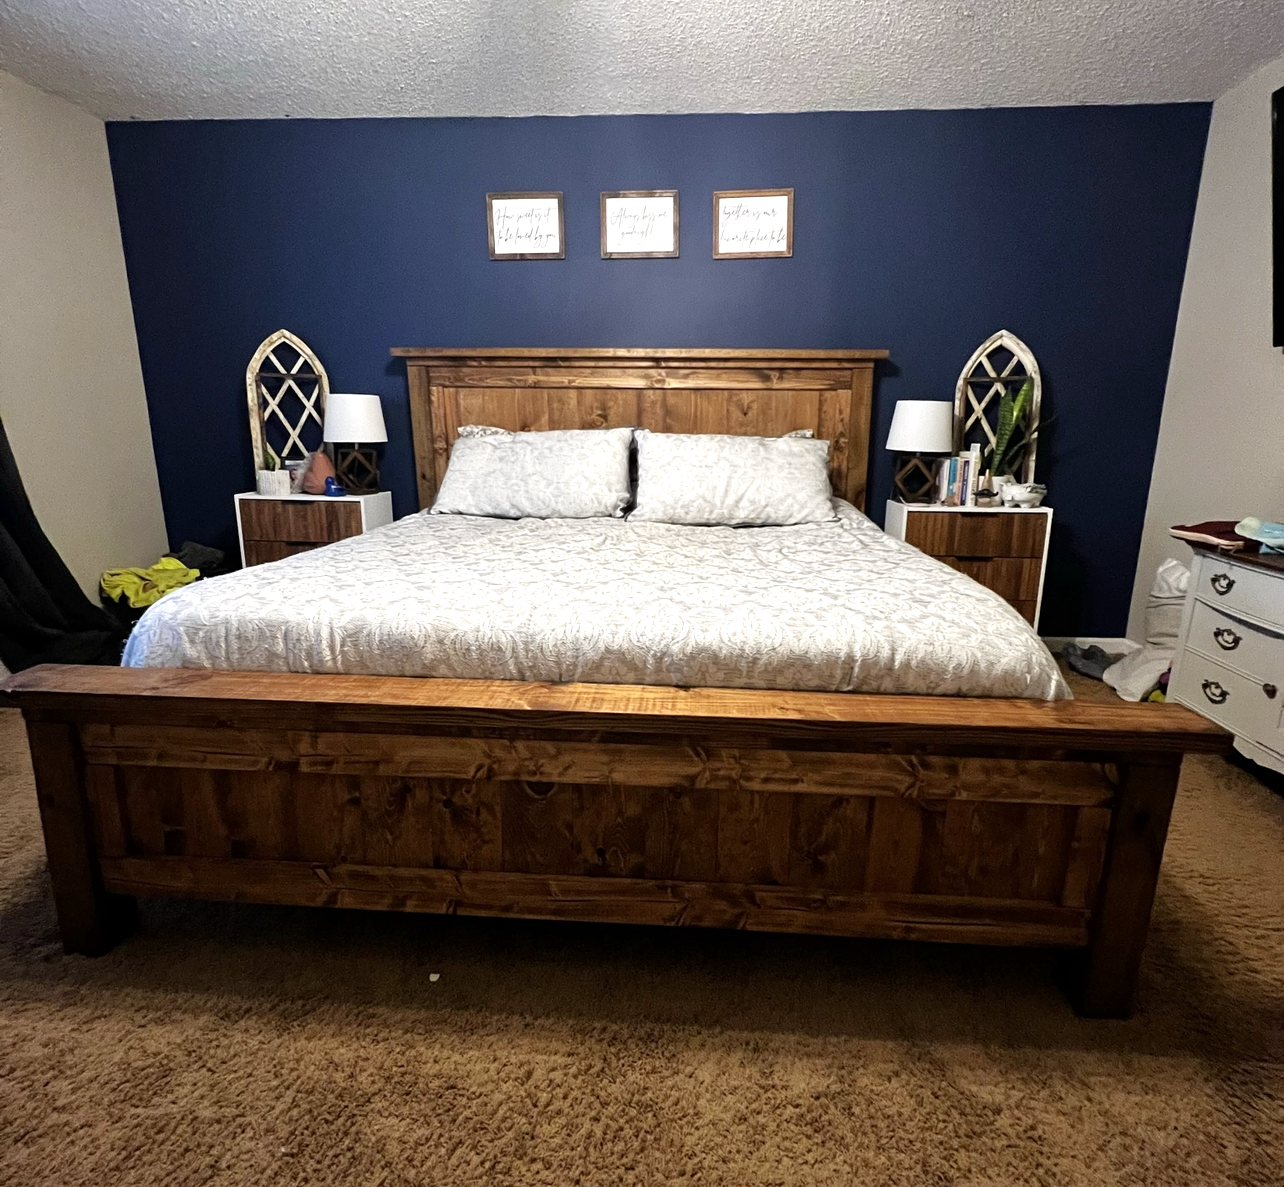
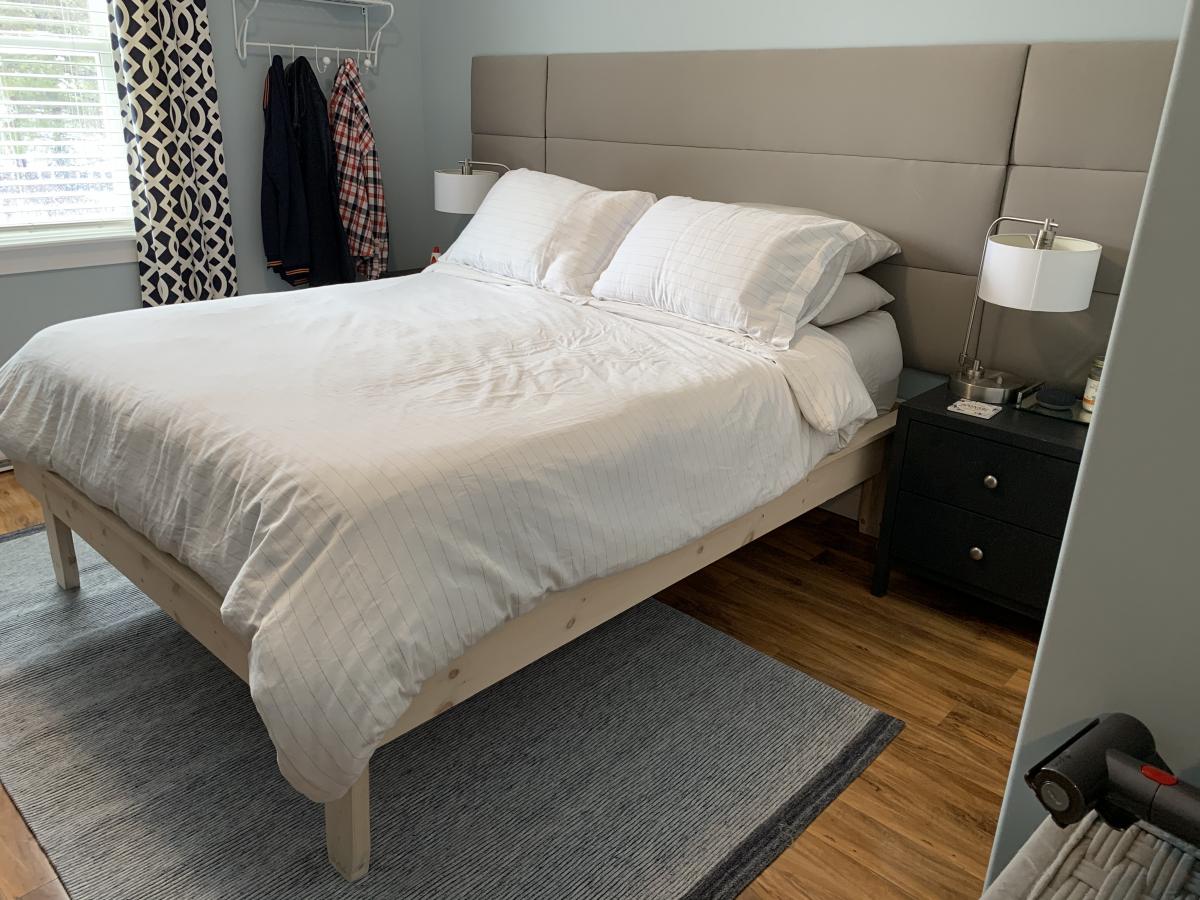
I needed a new bed and stumbled upon your plan for a bed frame. I love it and had so much fun building it!
Marielle Krupa
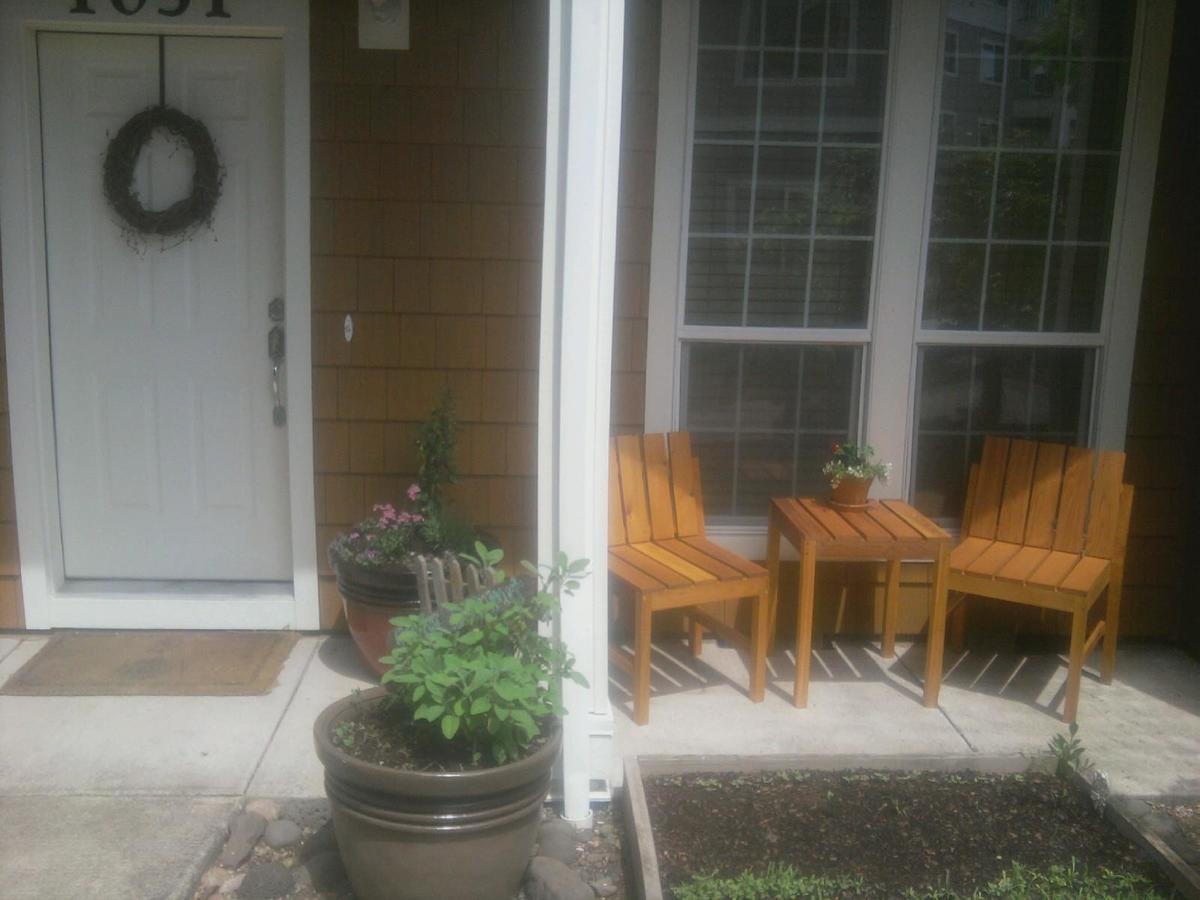
We used cedar for these nice, little chairs and based the table on the chair model, only 24" tall, rather than the 18" of the chair seats. It took longer to cut than assemble these - total time: @4 hours for all.
Thank you, Ana!
Darin
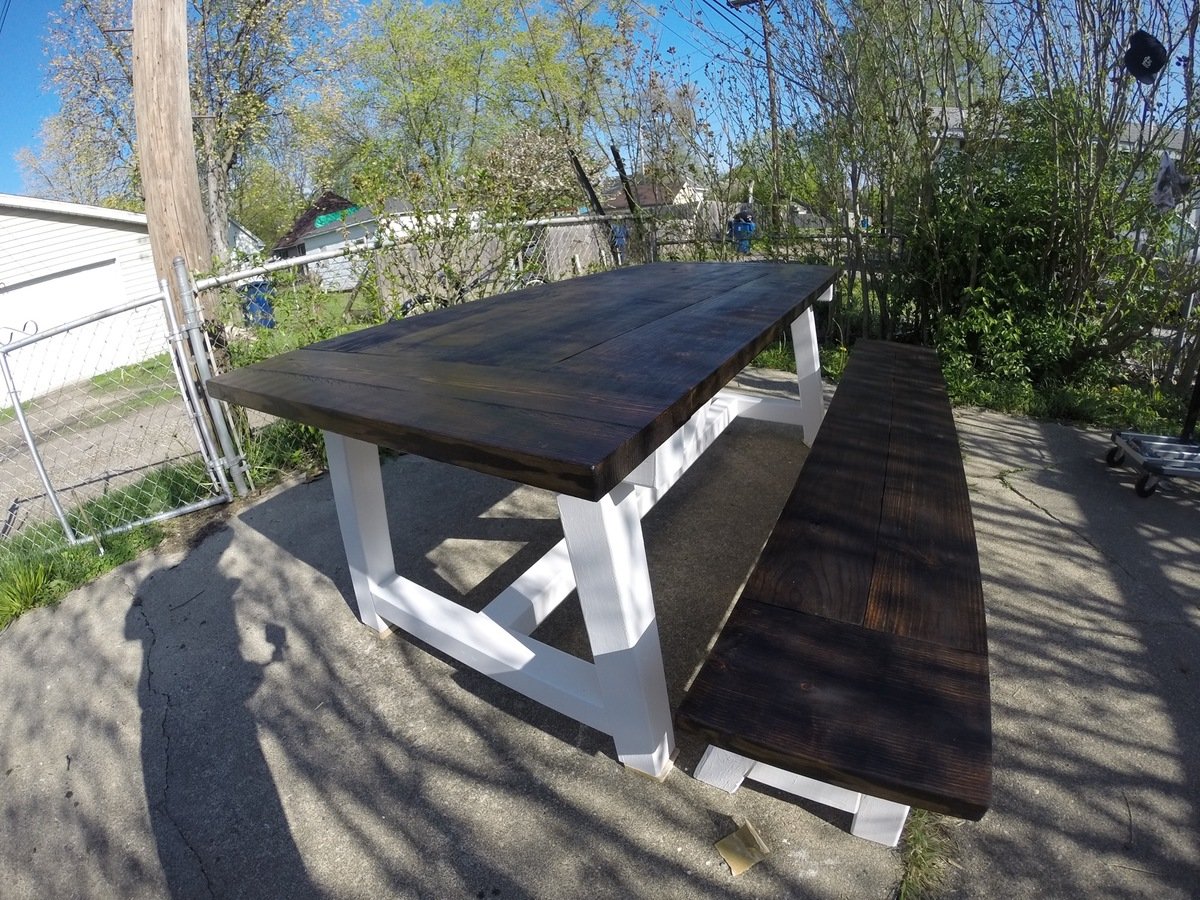
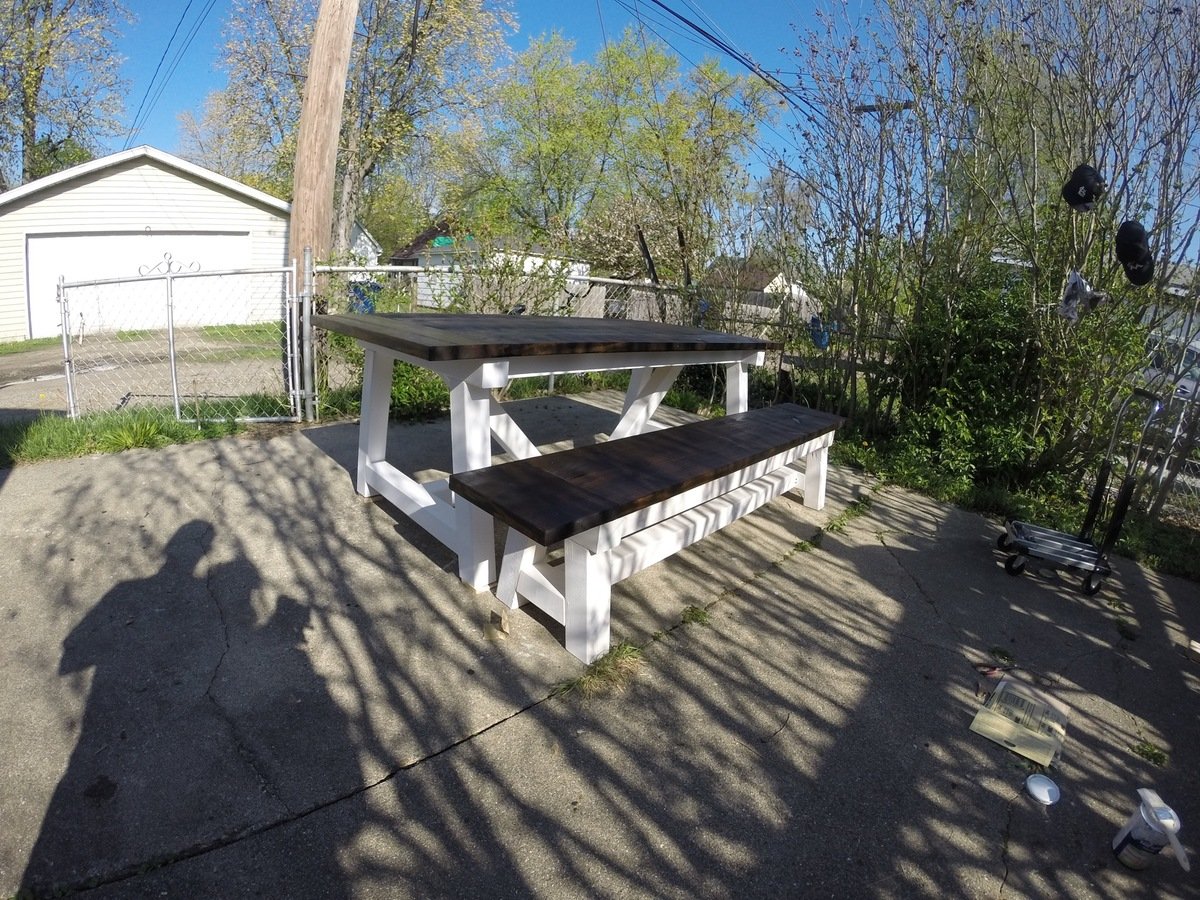
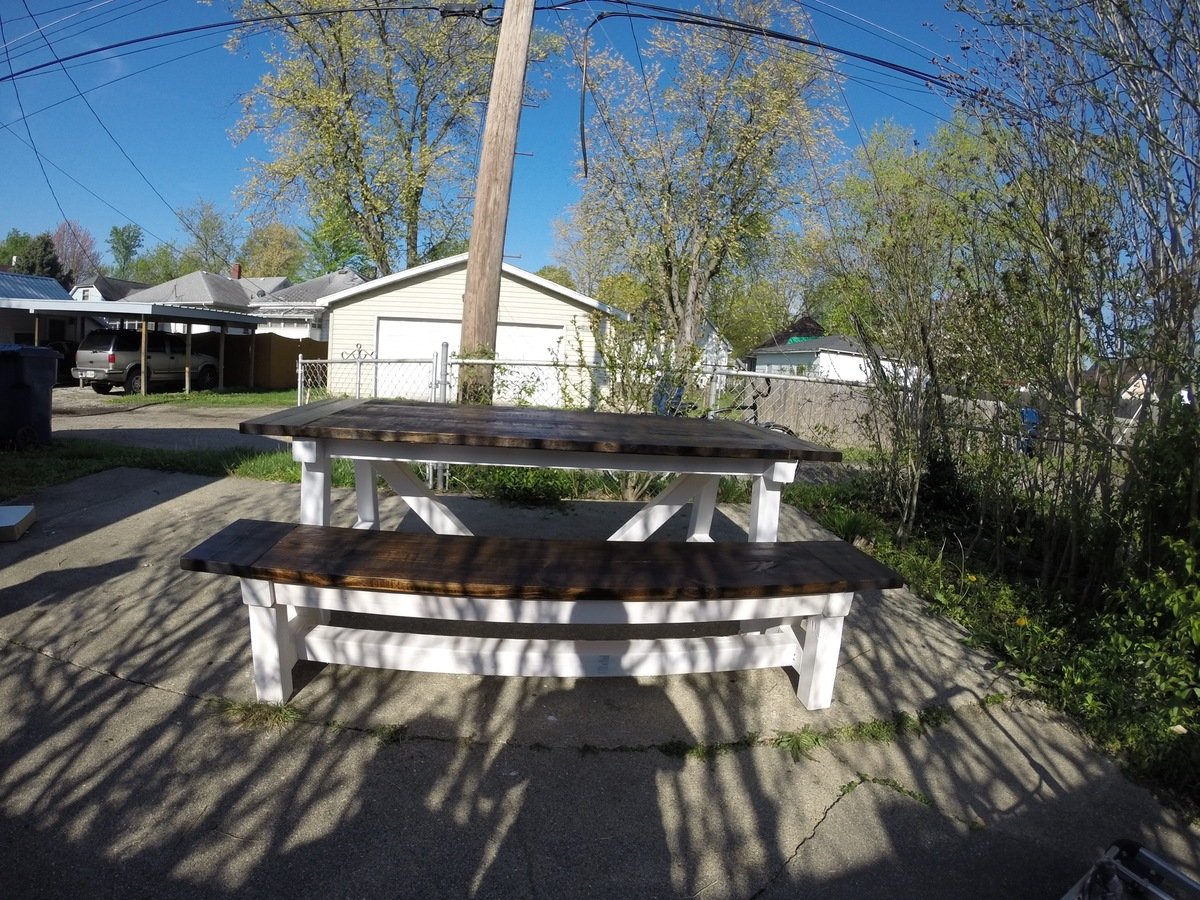
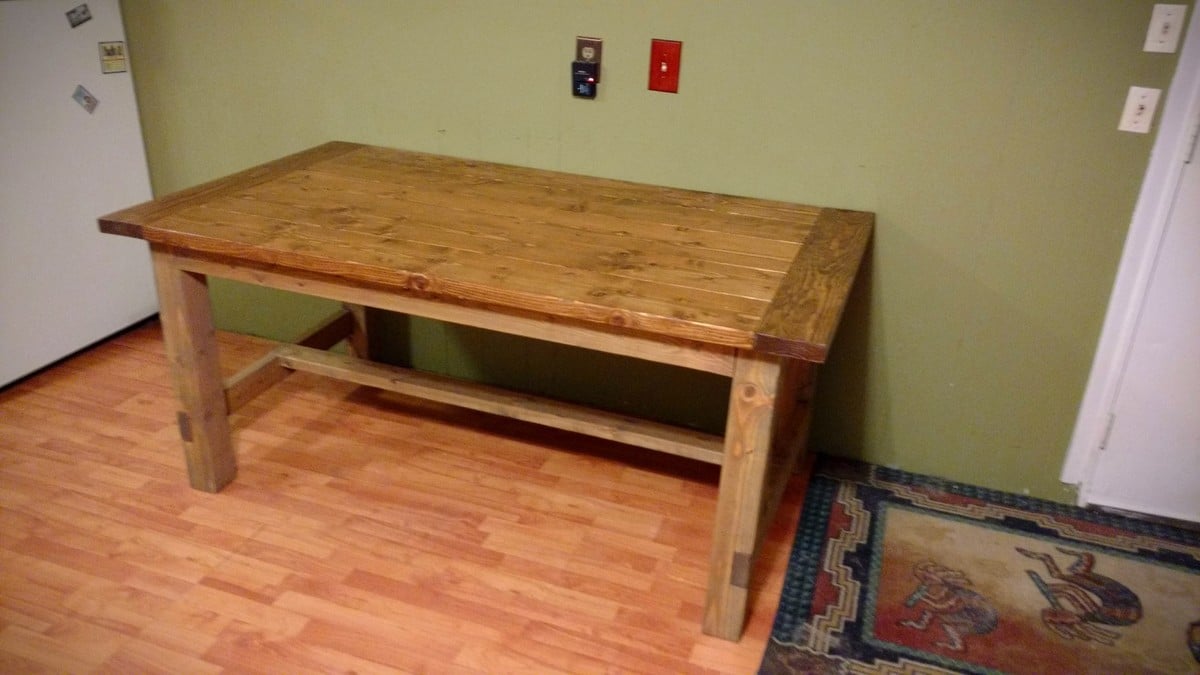
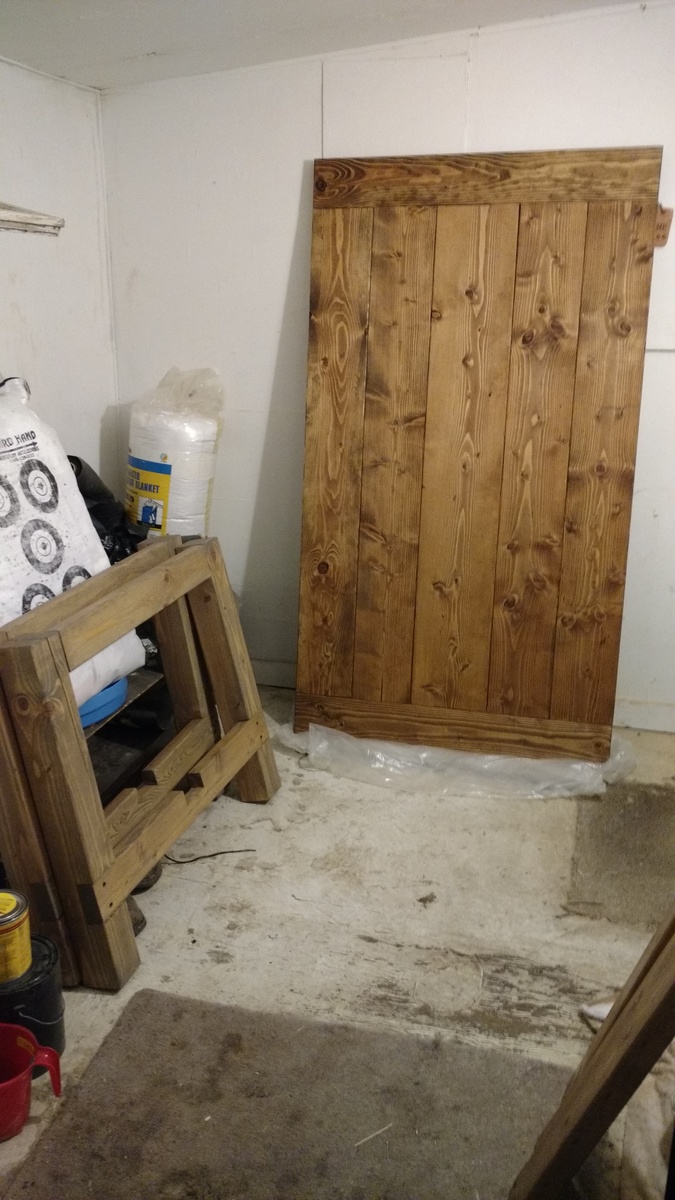
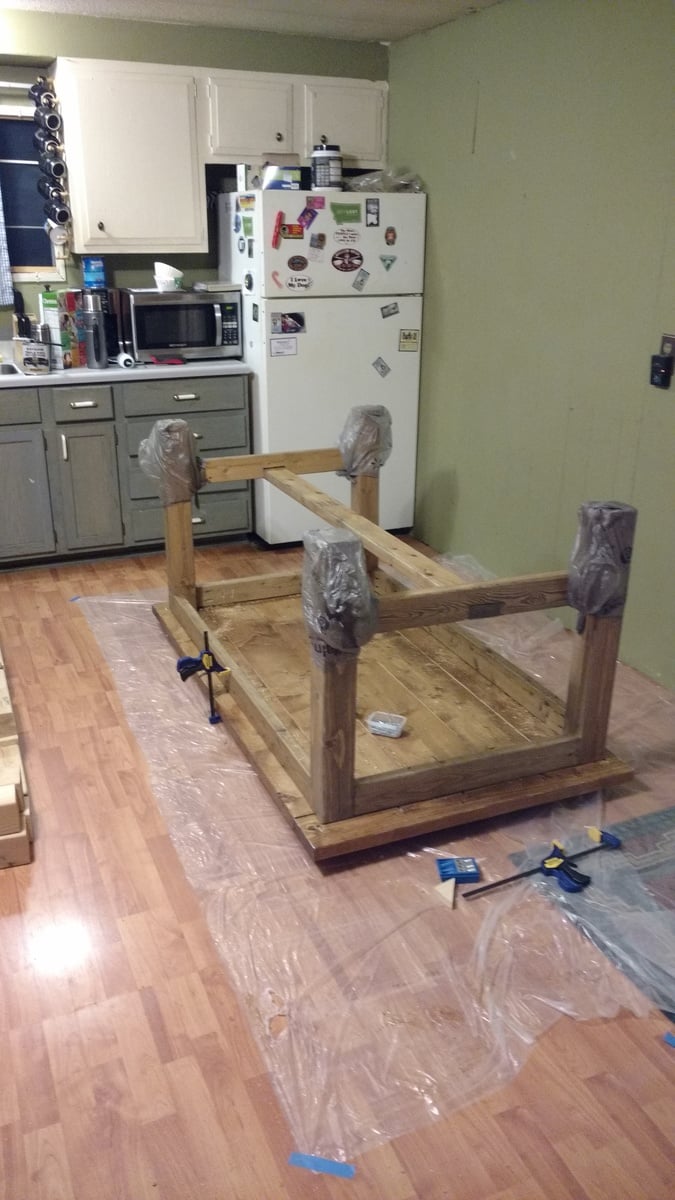
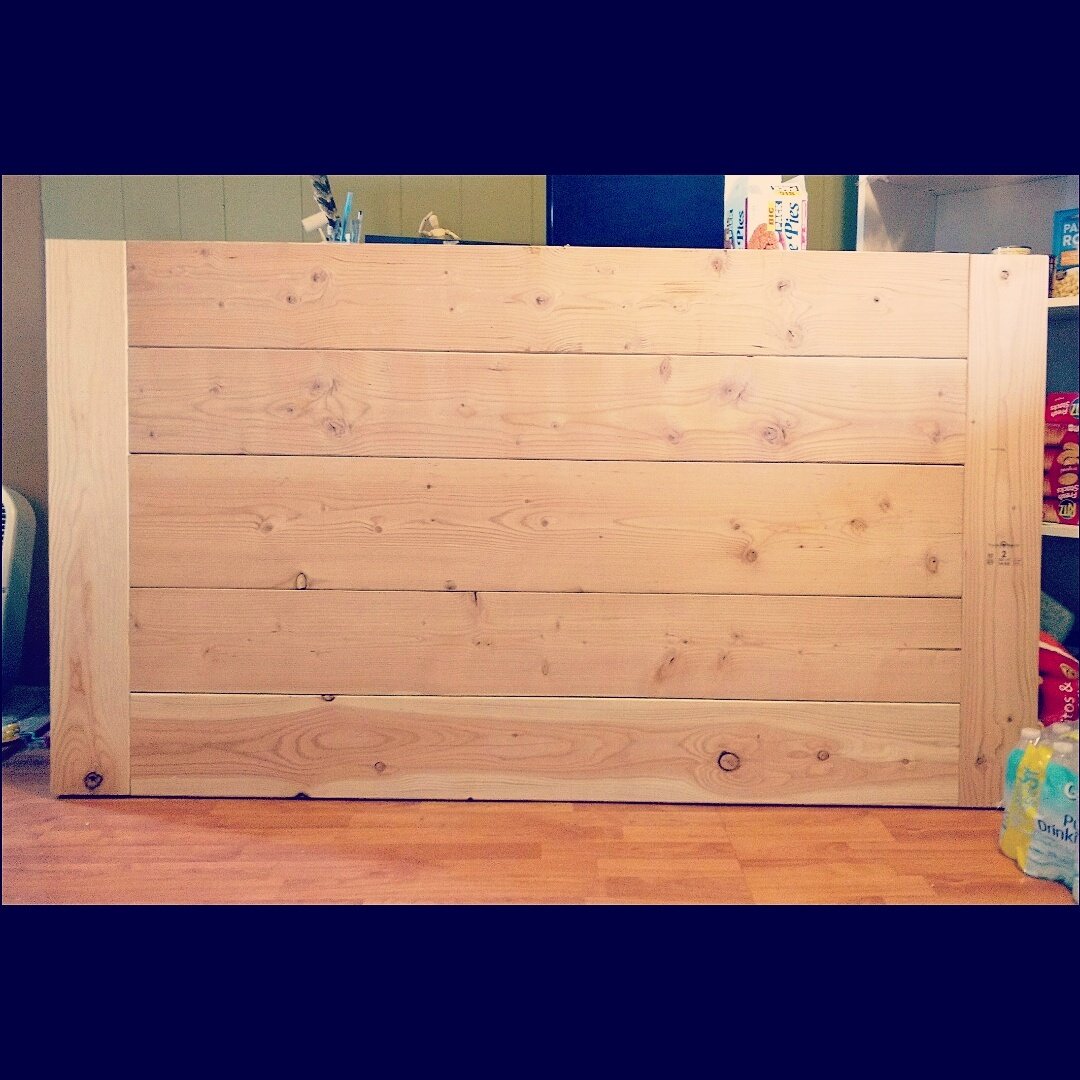
Built this for a friend of mine and his fiancé. They just bought a house and thought I would help them fill it. This is my 2nd farmhouse table. I really like the thickness of the table.
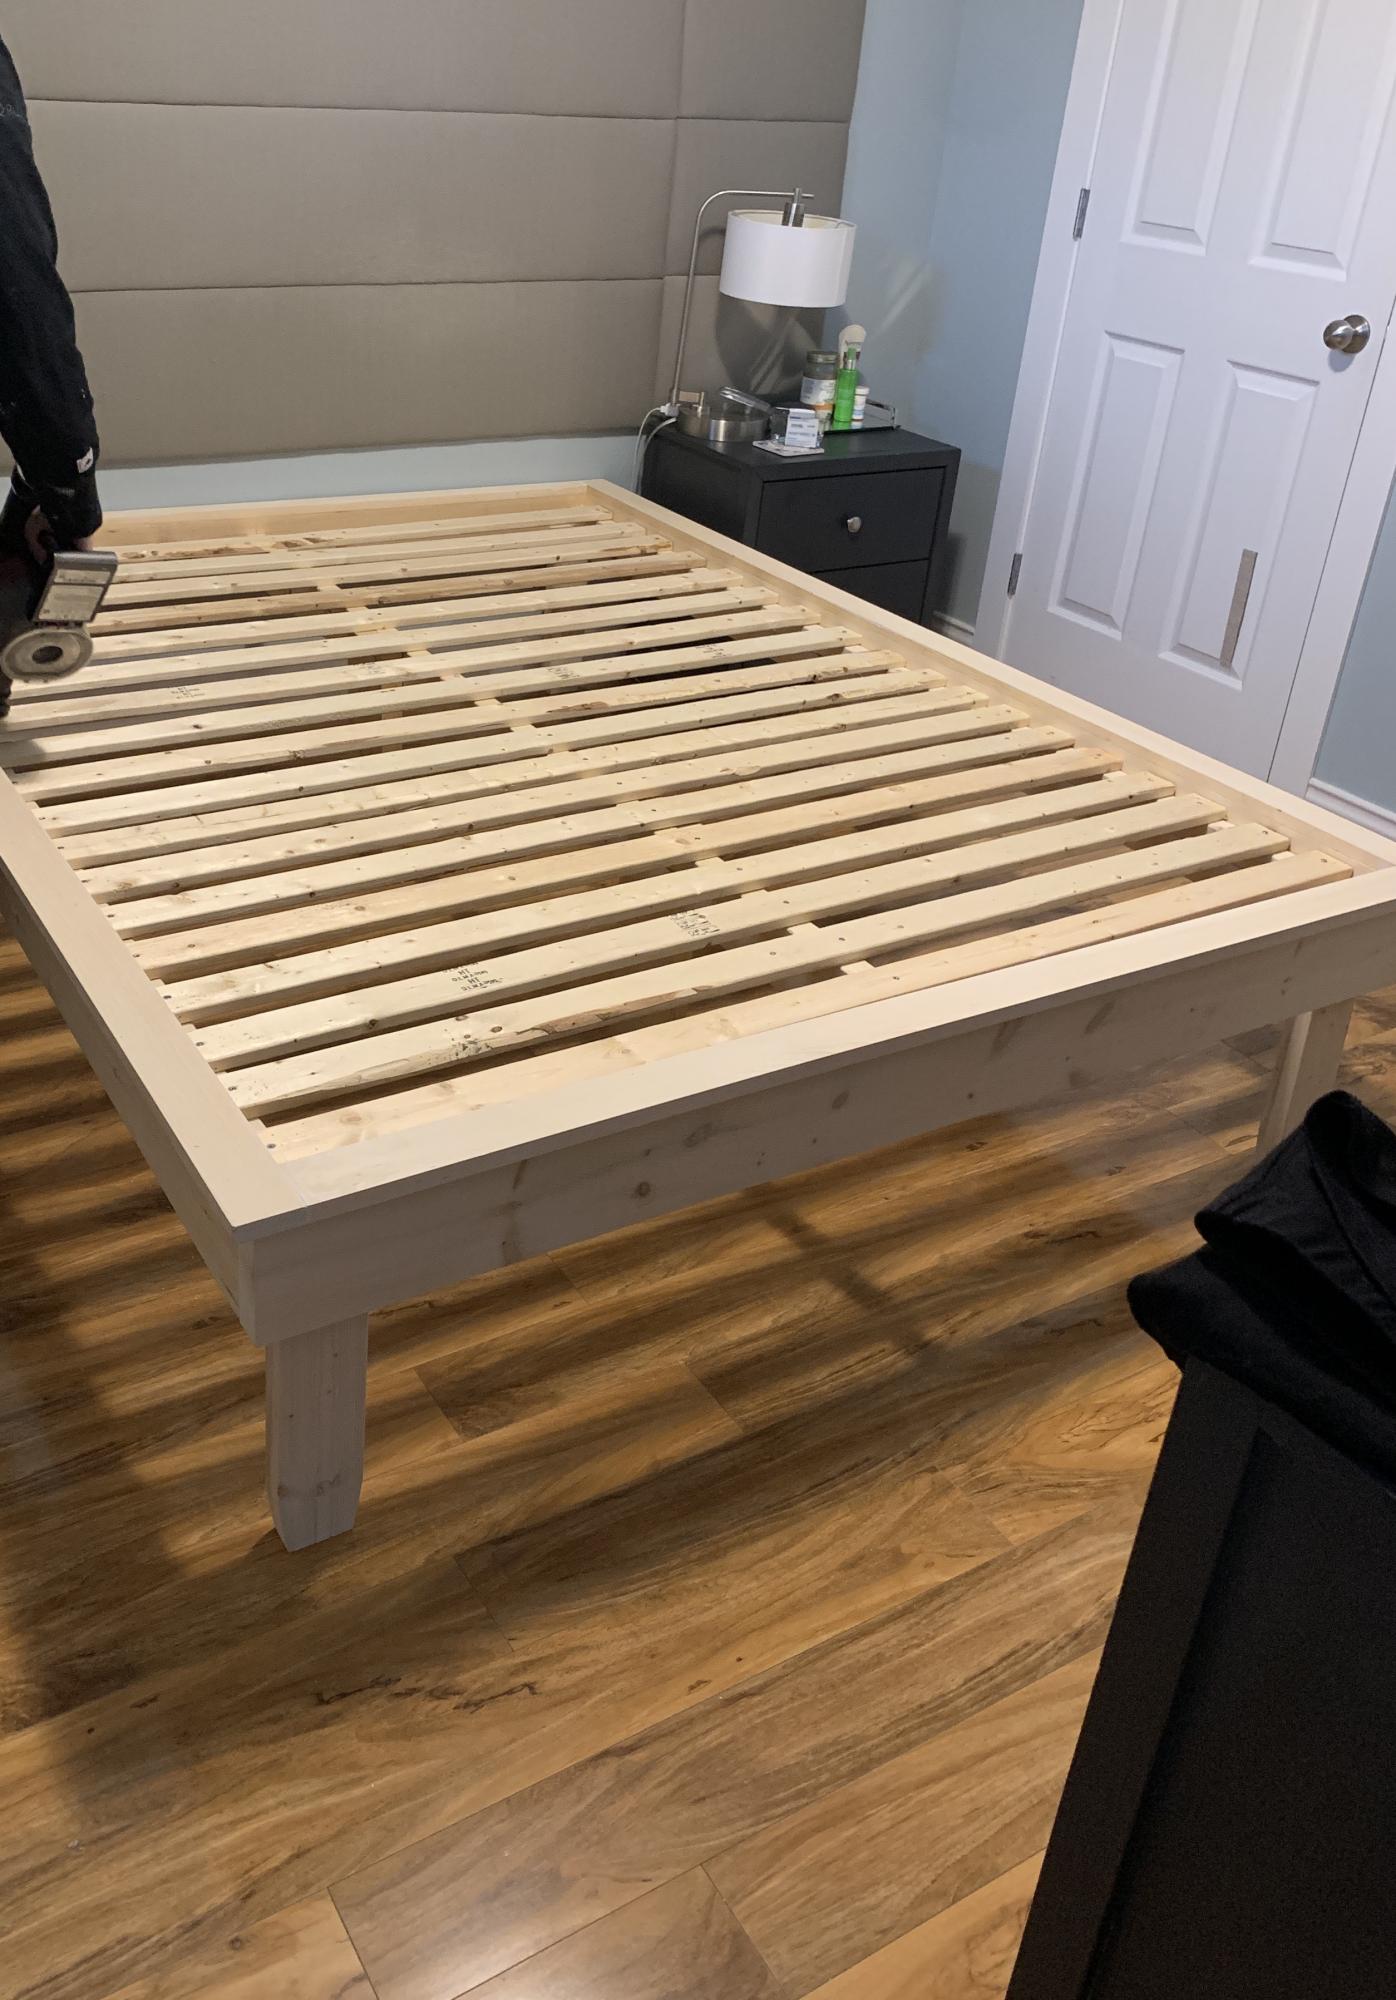
We extended the legs to match the headboard previously installed.
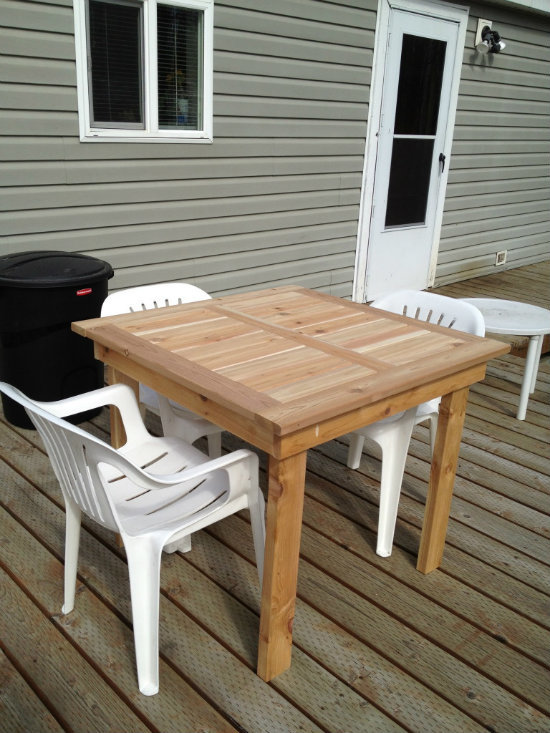
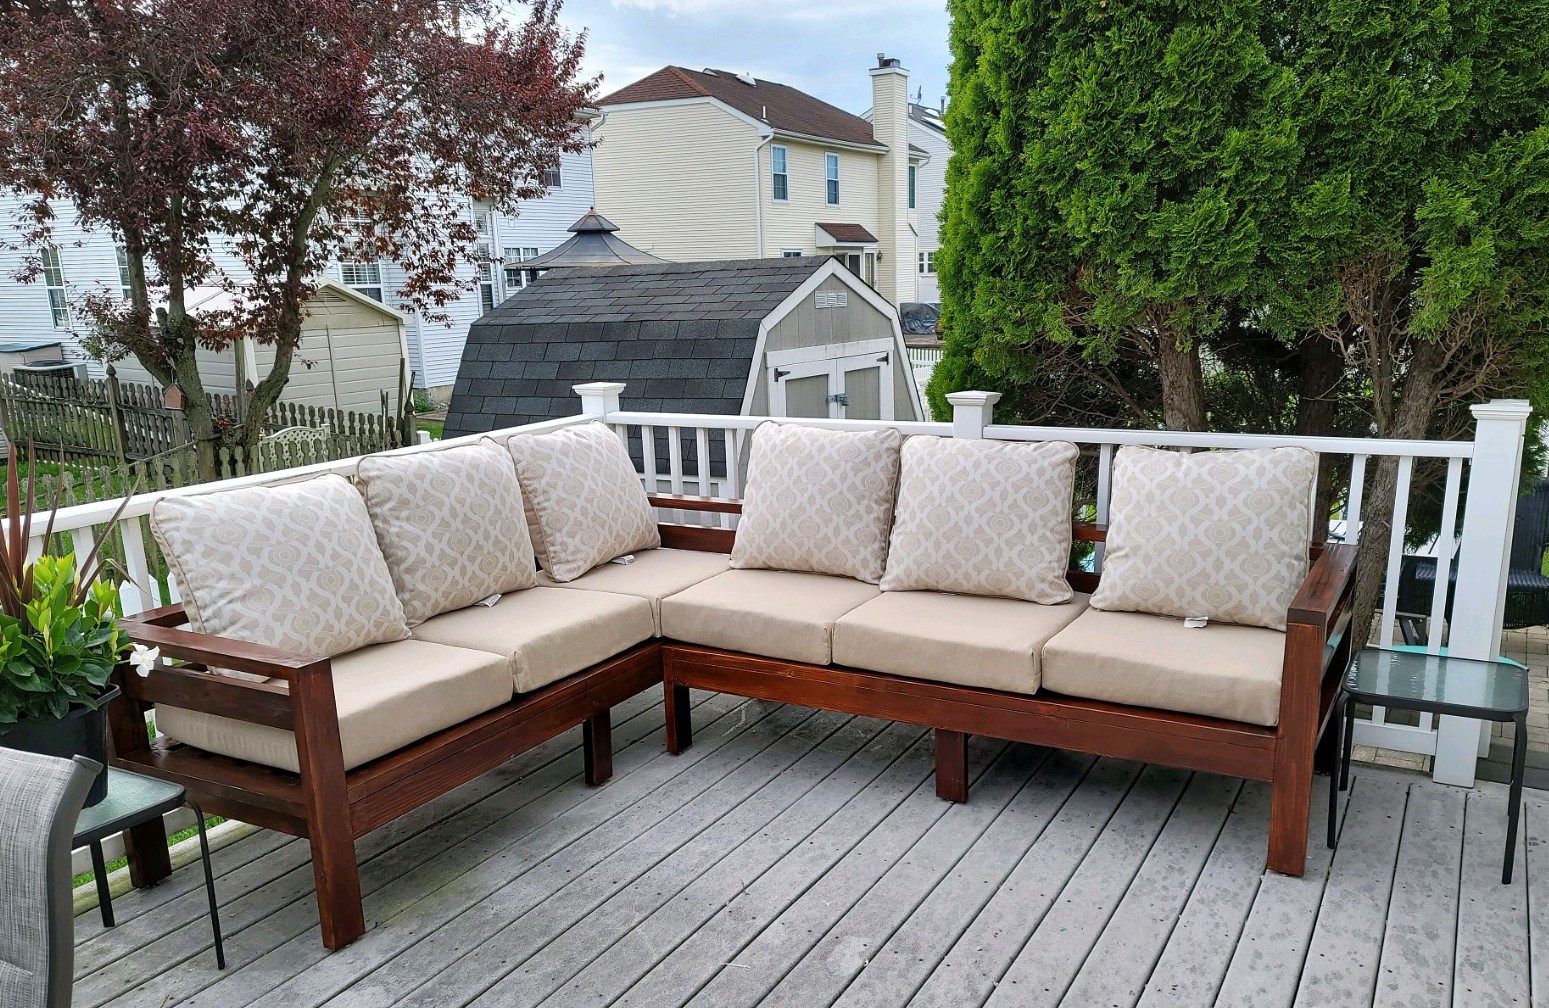
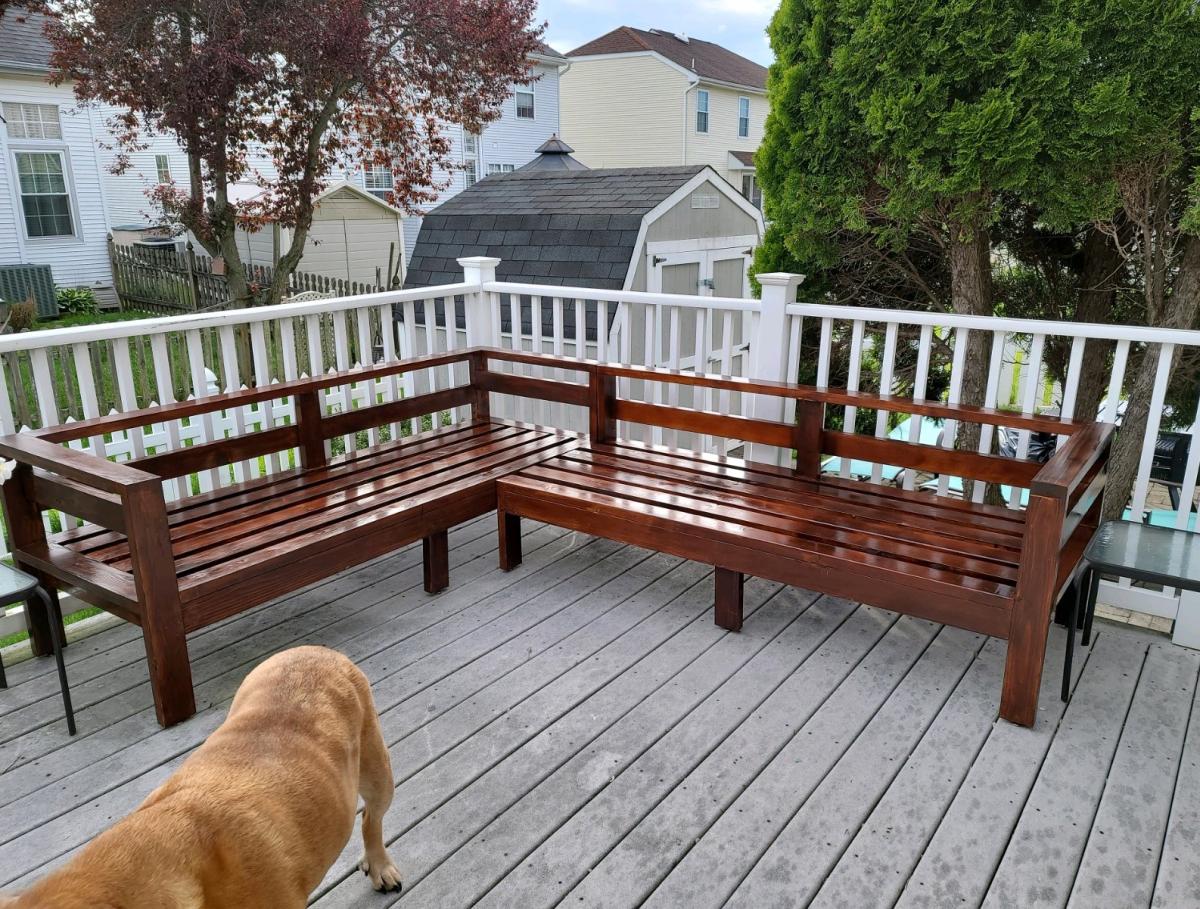
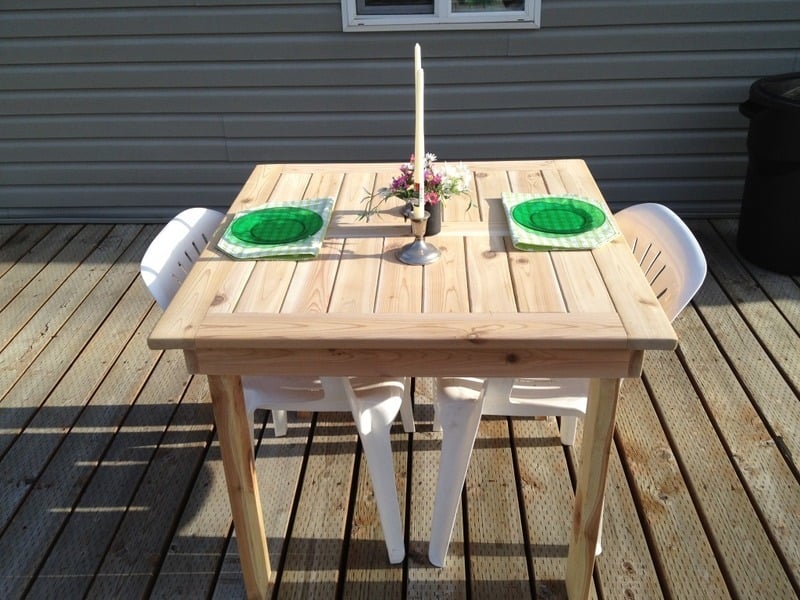
My wife has been wanting new patio furniture so here is my version of the simple outdoor table, I shortened it to fit our needs. Next is the chairs to match.
Sat, 06/16/2012 - 16:00
What are the dimensions? I am trying to build a similar table and am thinking 40" square.
Super simple and fits right in!
ScottW
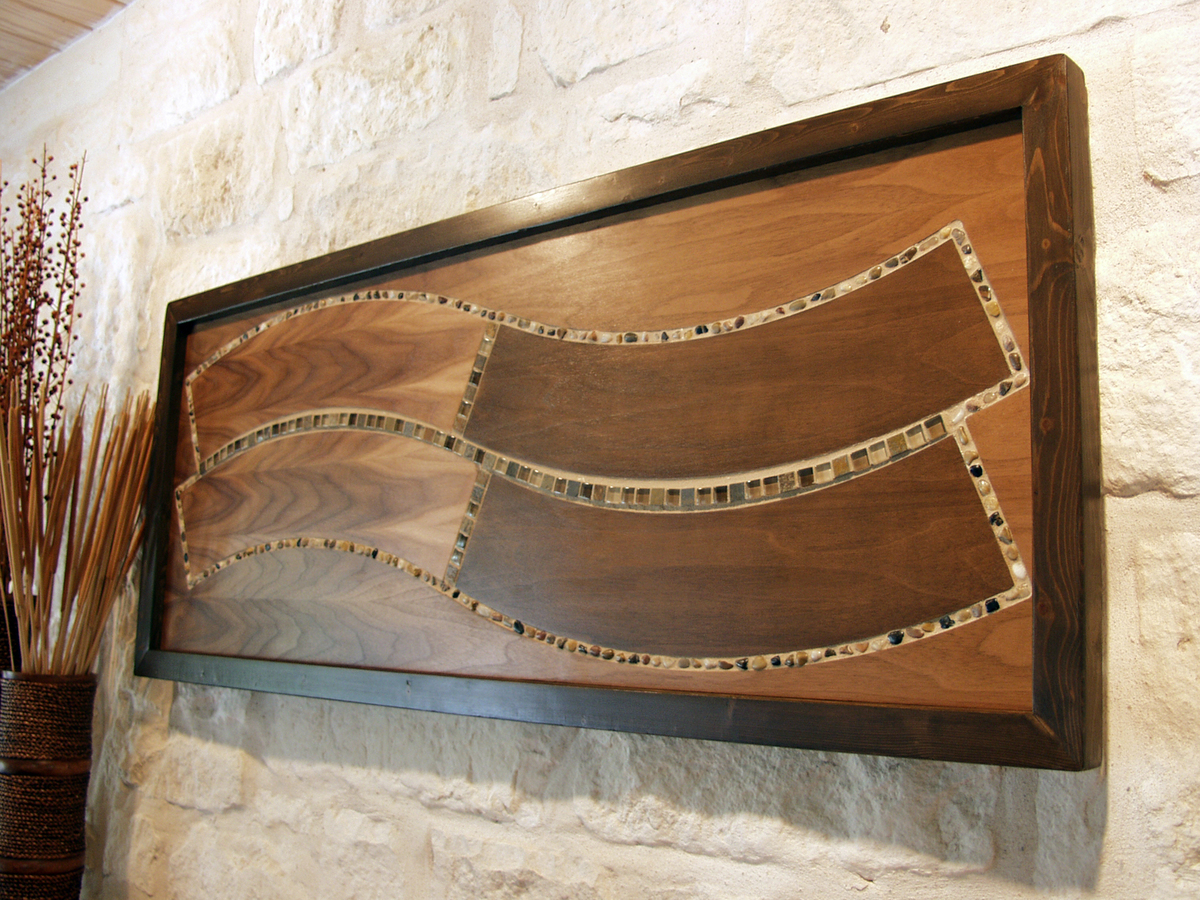
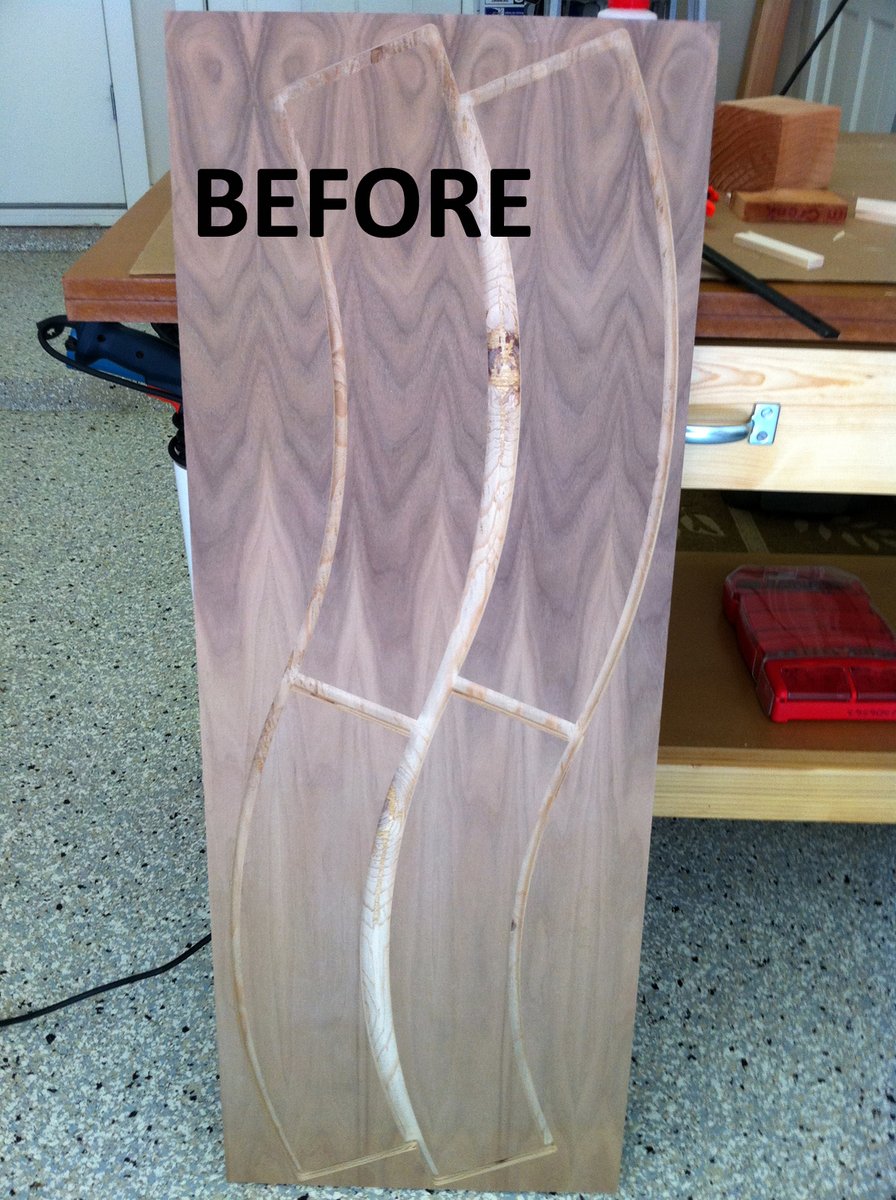
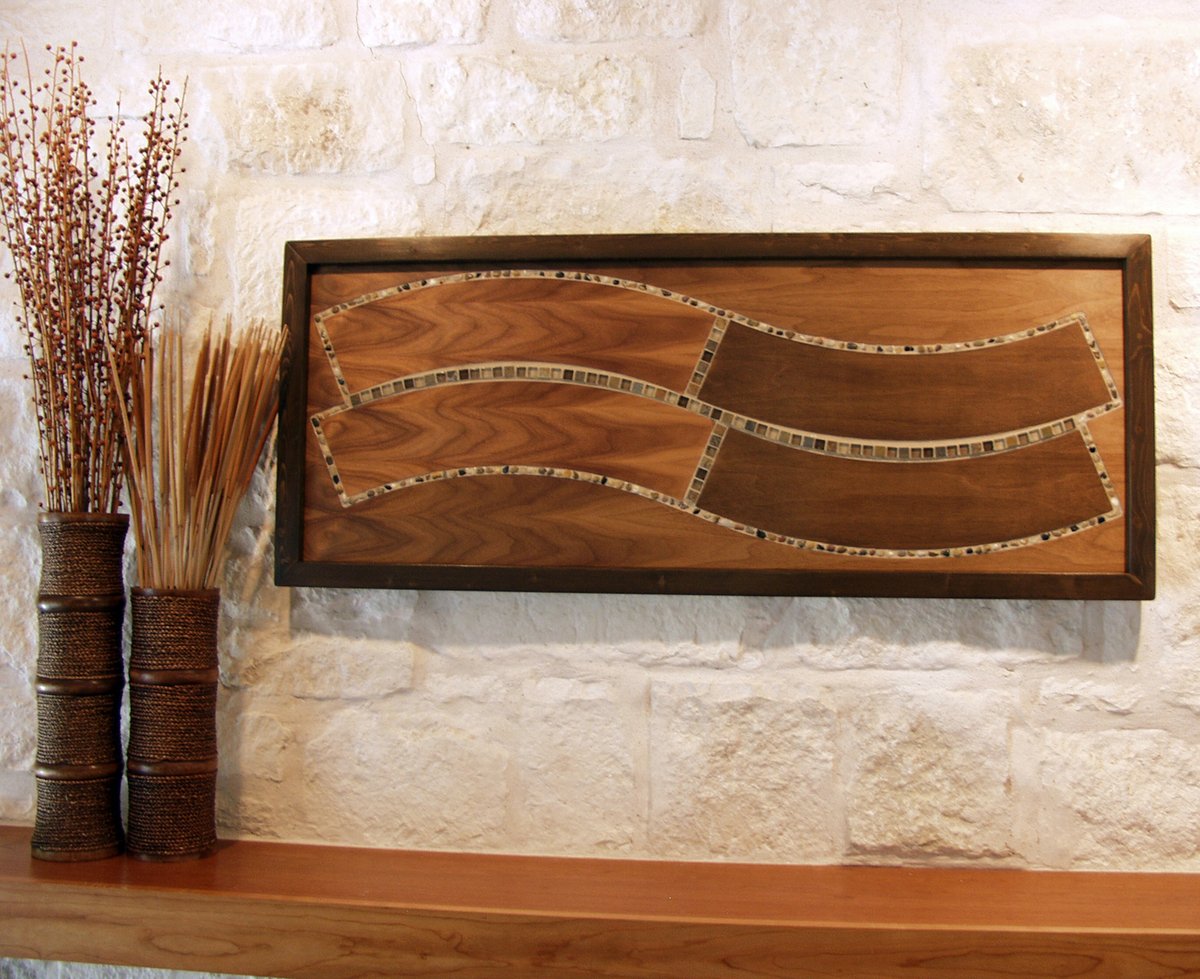
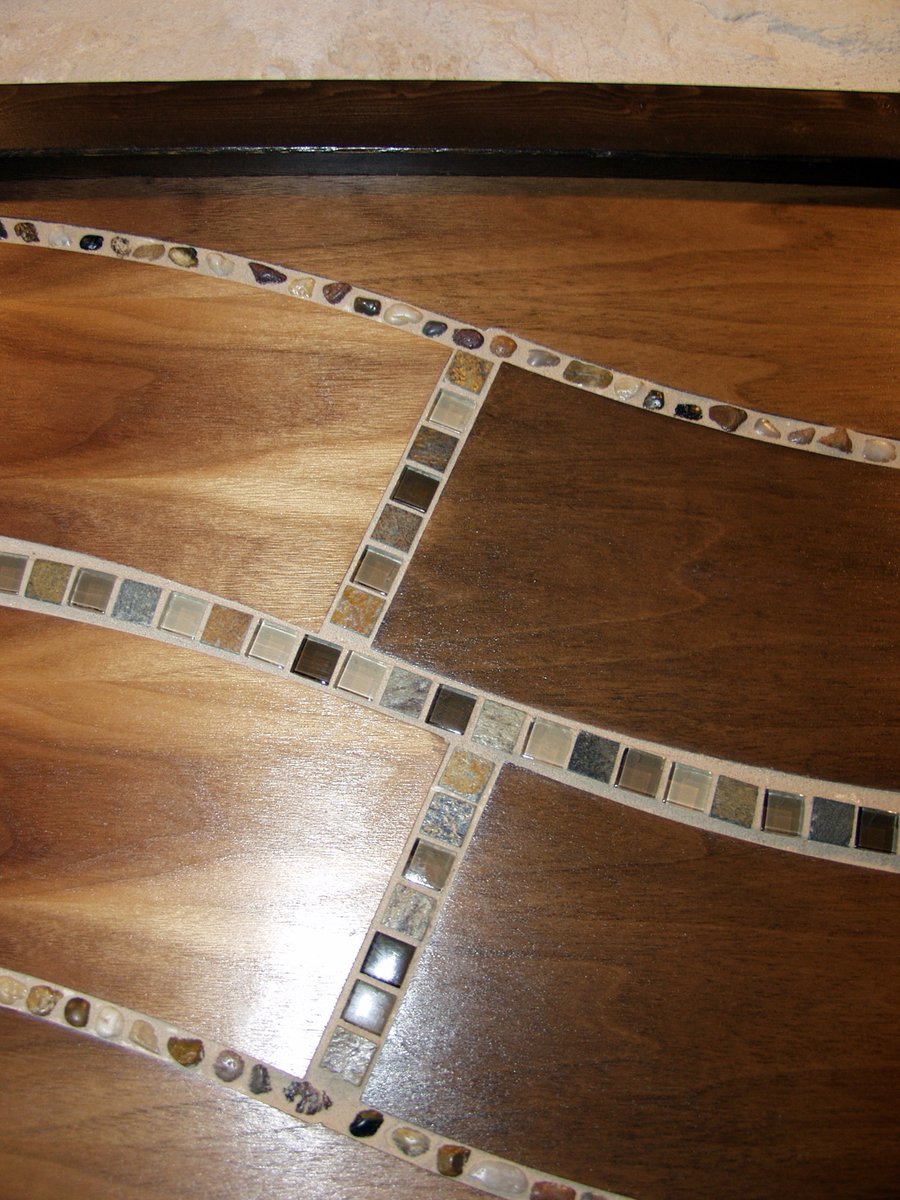
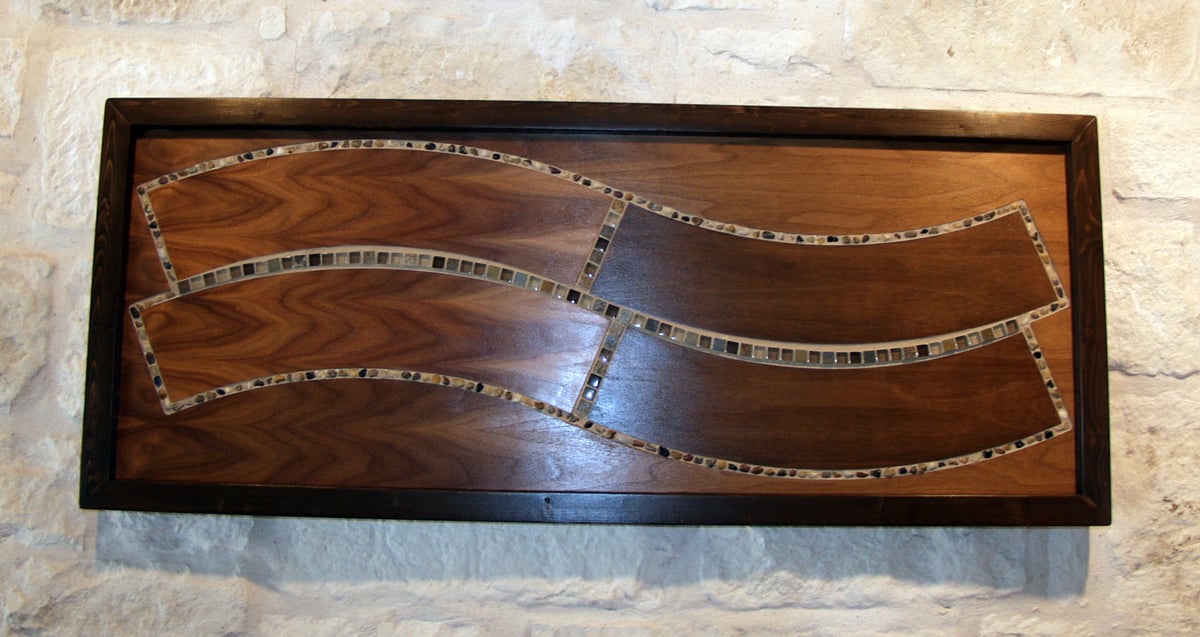
This piece began with finding a unique piece of walnut that had been discarded by a custom cabinet manufacturer. When I saw it, I thought I could make a beautiful wall hanging out of it. The walnut wood is absolutely beautiful; pictures don't do it justice. The majority of the piece is not stained; the natural color is enhanced with a clear polyurethane designed to give a hand-rubbed finish. The darker walnut section was lightly stained for contrast. The frame is made of pine 2x2s. I built a platform in the grooves with shims, and embedded earth-toned glass and stone tiles (as well as river rocks) in the grooves around the "waves".
While this didn't come from any specific plan, most any inspiration and techniques come straight from what I've learned on ana-white. Ana's site has really changed my life and given me a passion for building.
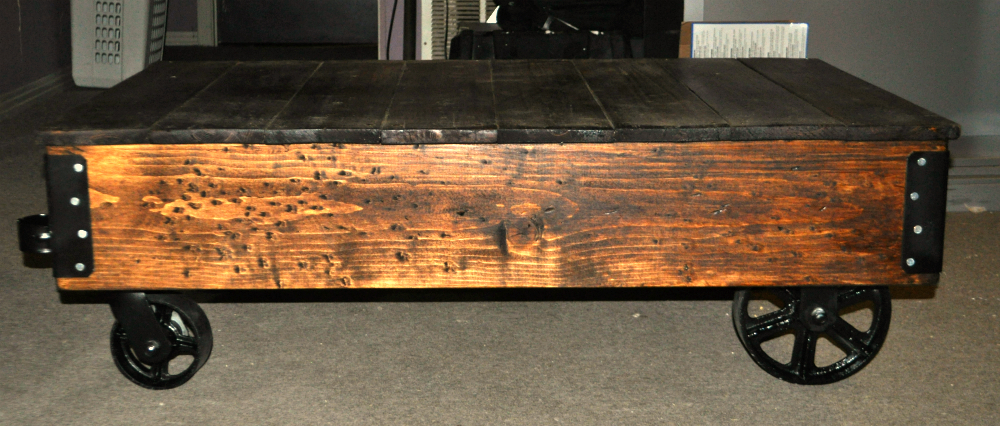
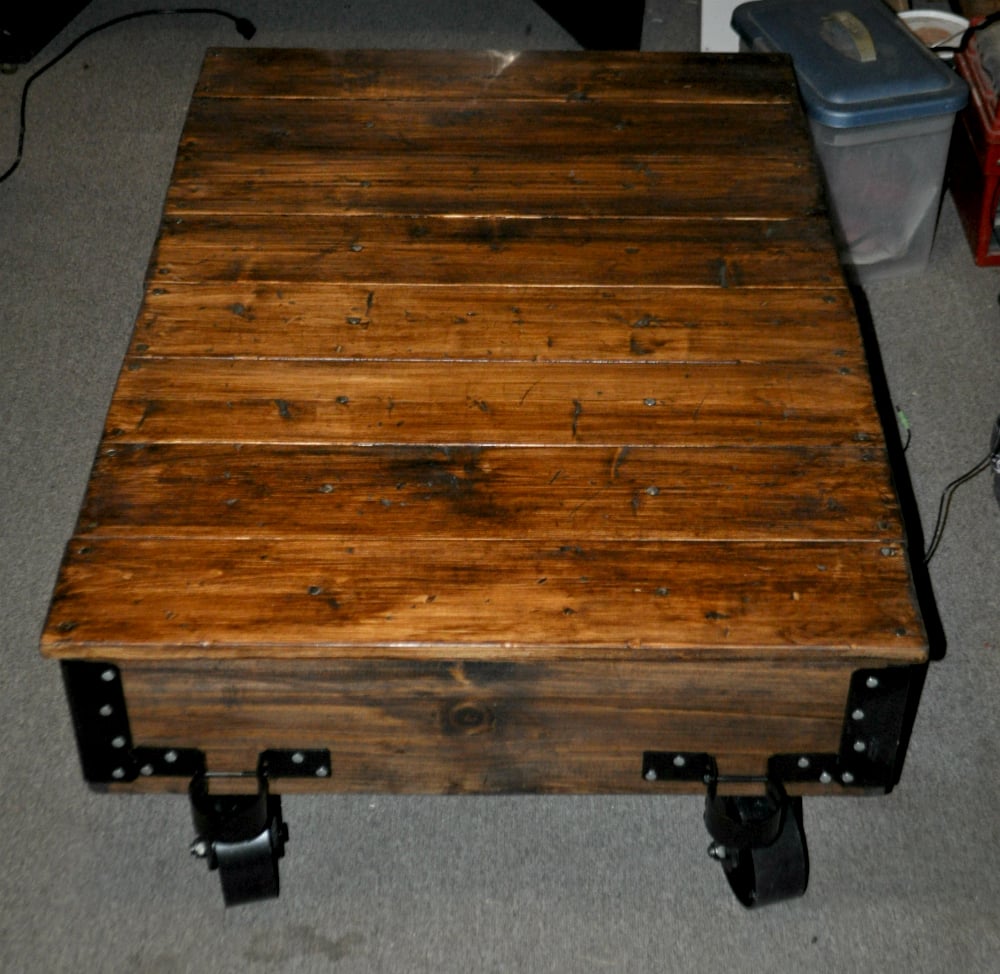
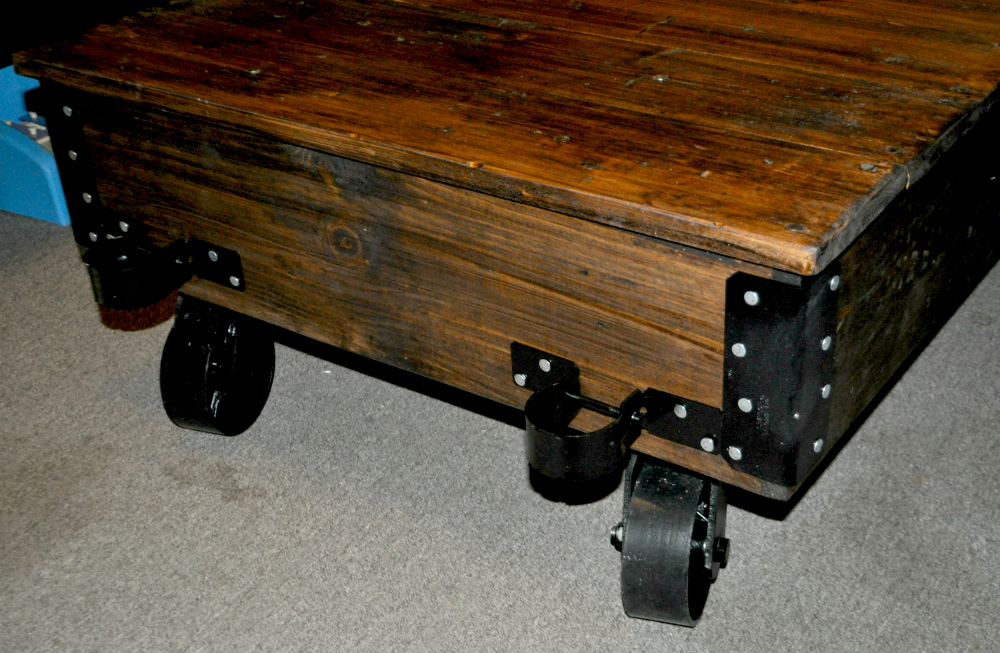
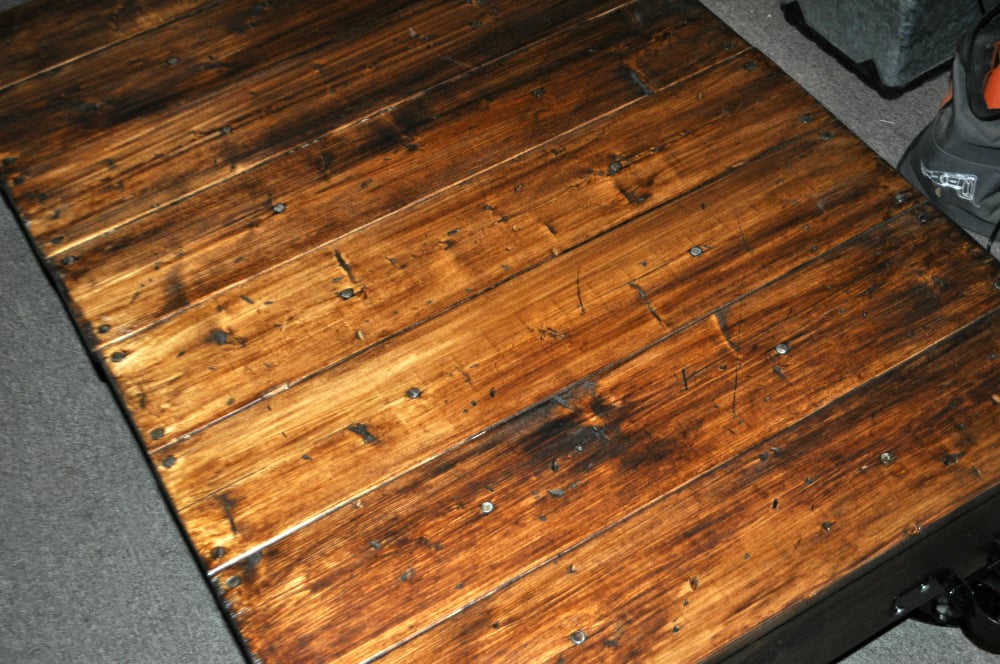
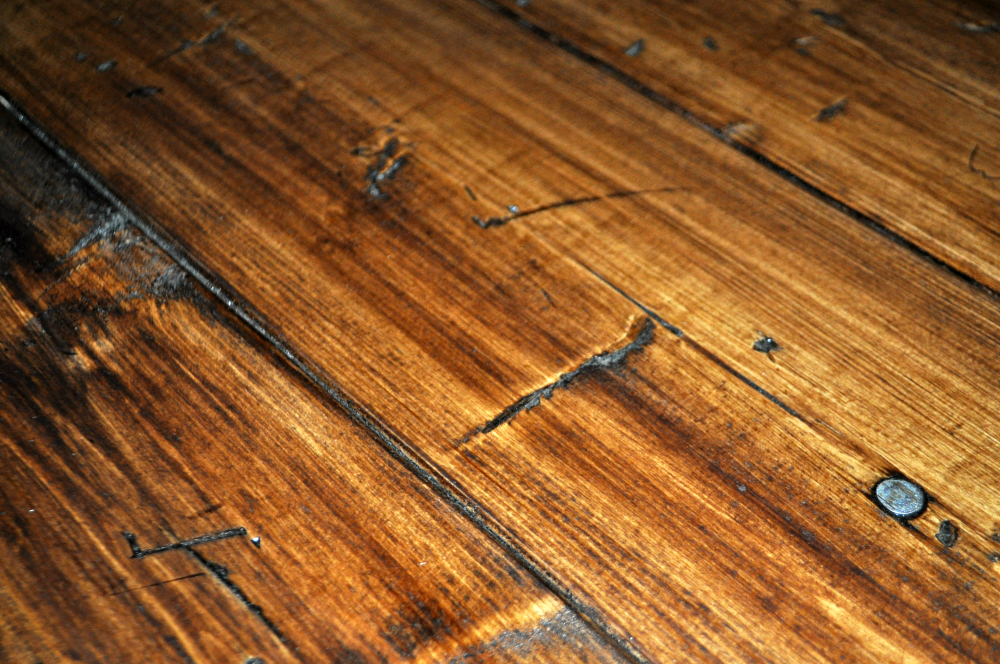
After seeing the plans for the Factory Cart Coffee Table on this site, I decided I should build one. I didn't actually follow the plans exactly...really just used them as "inspiration". I went with 5" swivel casters and 8" fixed casters, and the stain is Minwax hickory poly that has been sanded back a bit. I'm really happy with how it turned out.
Now on to the next project !
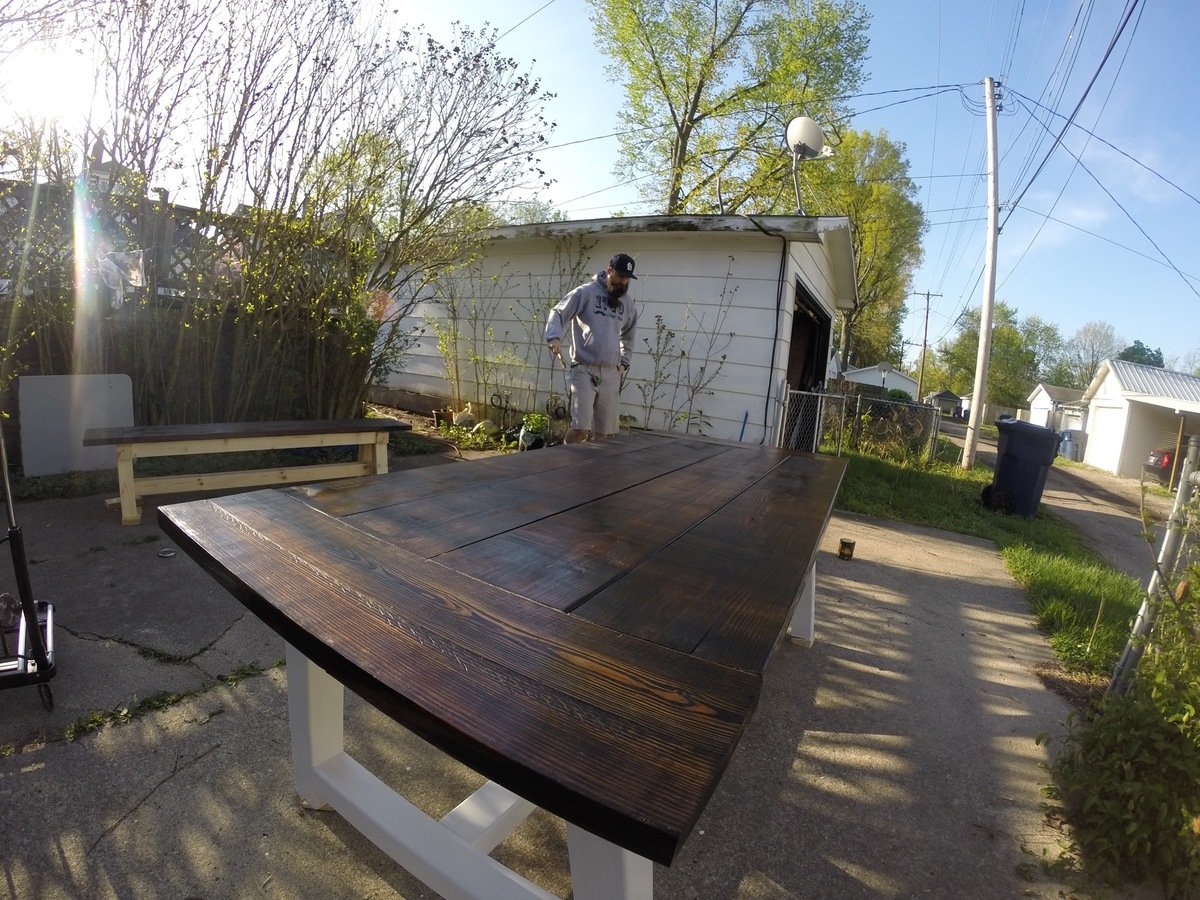
This was my 5th build. Took a few weekends working in the morning. Table is Weathered Oak (base) and Early American (top) stain. Modified the plans to make it slightly smaller so it would fit better in my kitchen. Very sturdy and table looks gorgeous in person, very happy.

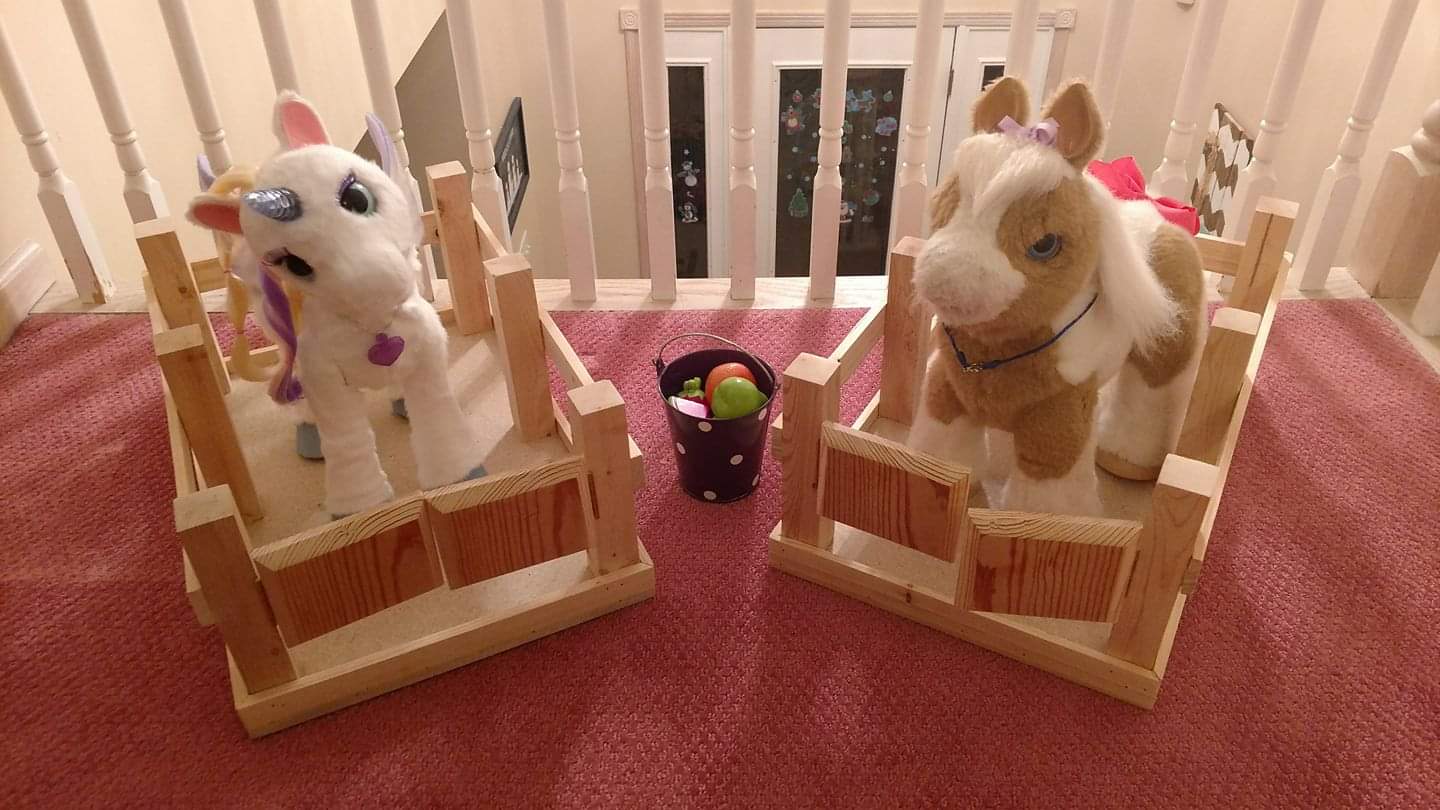
My girls asked for horse stalls for their horses they got for Christmas. I was inspired by plans I saw here.
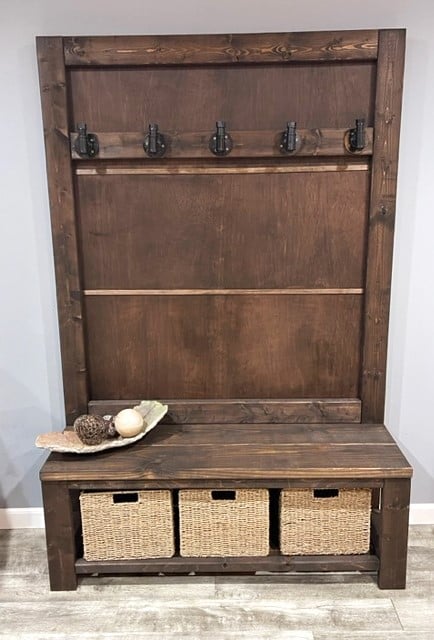
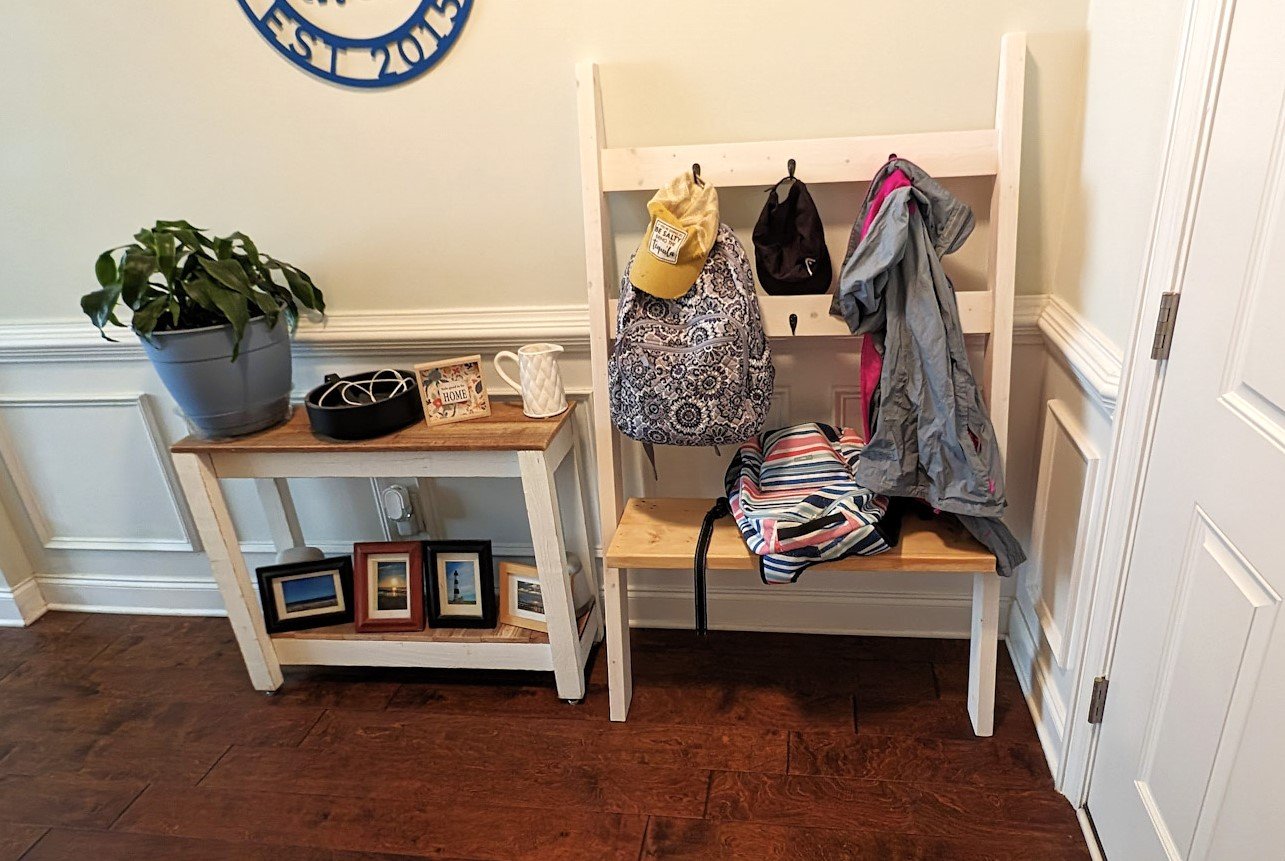
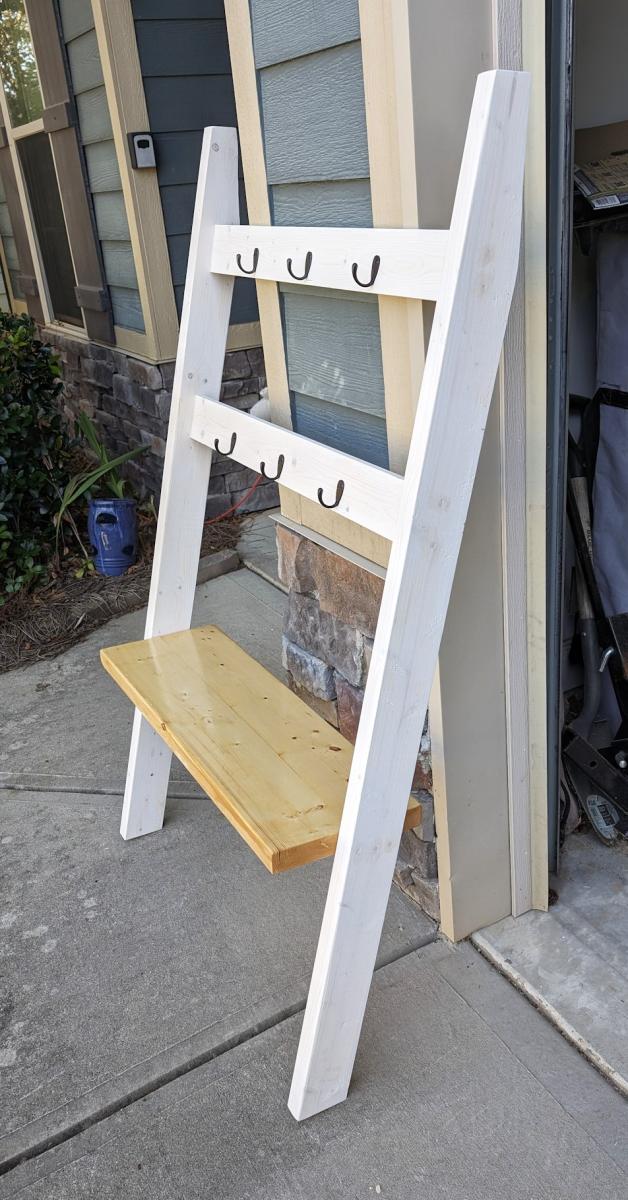
I used the Rustic X Hall Tree plans and slightly modified them. I'm very happy with how it turned out. I used black pipe for the hooks as I have a lot of this style of decor in my home. The stain color is Dark Bourbon from Varathane. The back is luan with screen bead across the front to hide the cut panels (I have a Ford escape and had them cut the luan into panels). The back is secured with 1x2s so I had something to hold my 5/8 inch brad nails for the screen bead. I didn't use the X design; I can always add it later if necessary. The baskets are from Amazon sized 12x12x10. I also didn't add the 16 inch side pieces or the top piece. I used pocket holes on 95% or more of the piece.
Hi all,
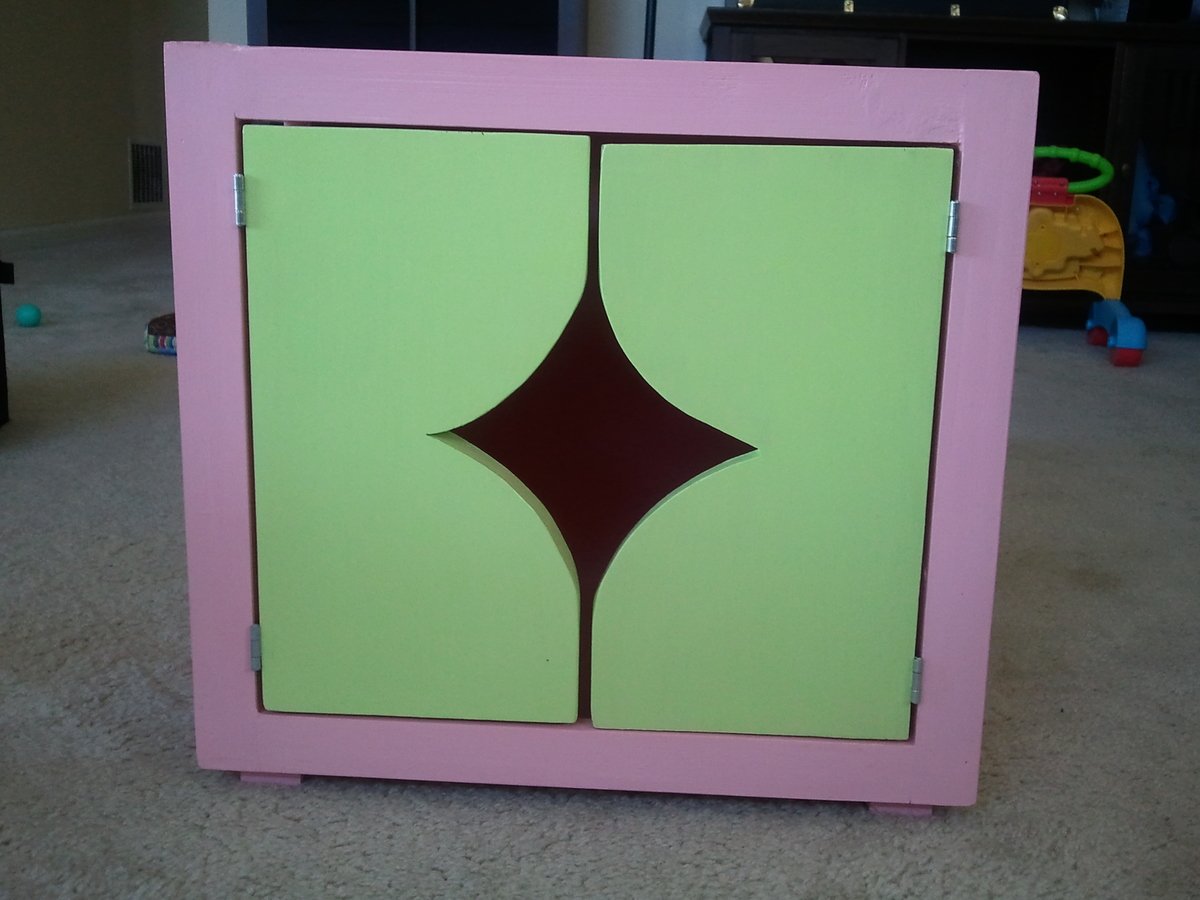
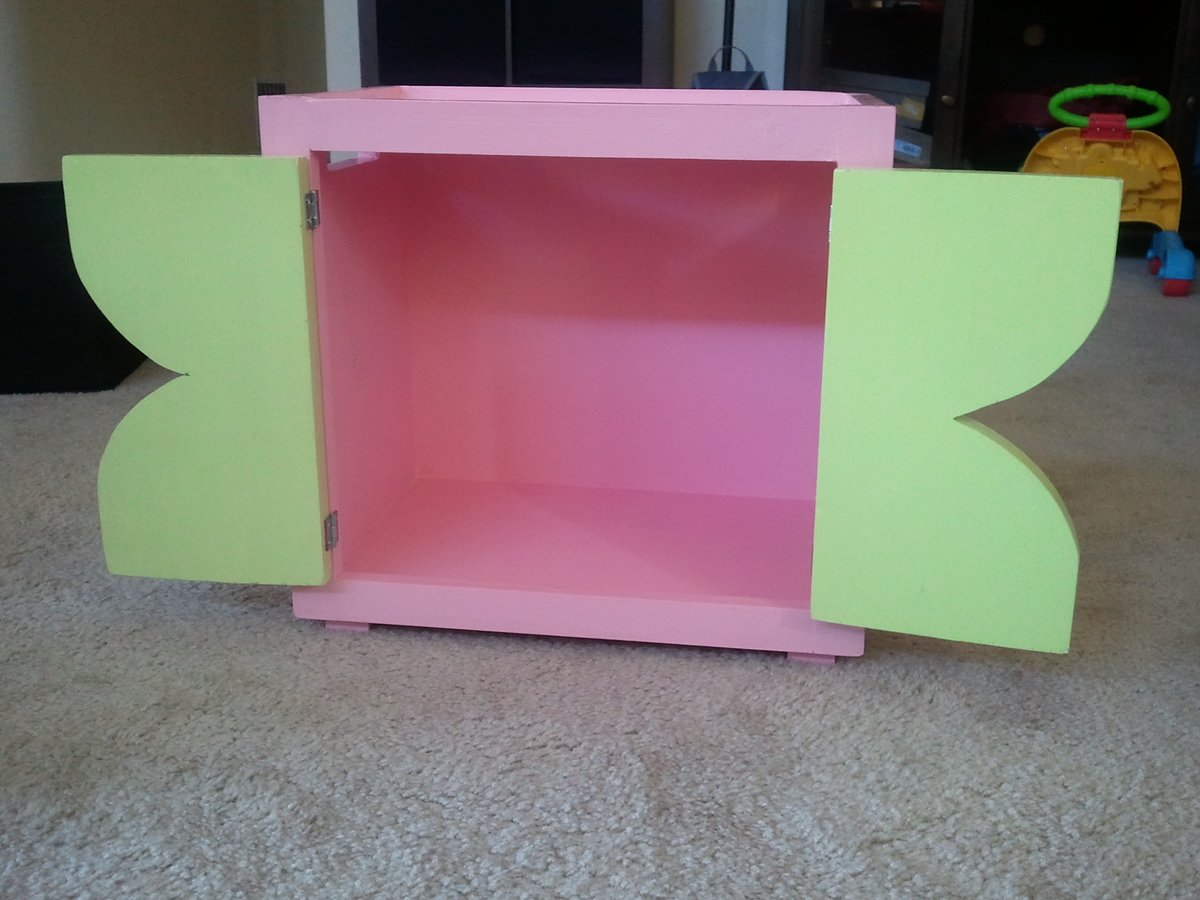
This is my second project I have build from plans I have found here. I'm a novice at woodworking and only get a couple hours on the weekend to work on projects. So it takes a while to finish one. My daughter loves her new toy shelf. The hardest part for me was to attach the doors straight. I'm sure there is a secret I just haven't figured it out yet.
I primed the whole piece, applied three thin coats of latex paint and sanded with 320 grit sandpaper in between coats. I applied two coats of finish after 48 hours and sanded with 400 grit sandpaper in between.
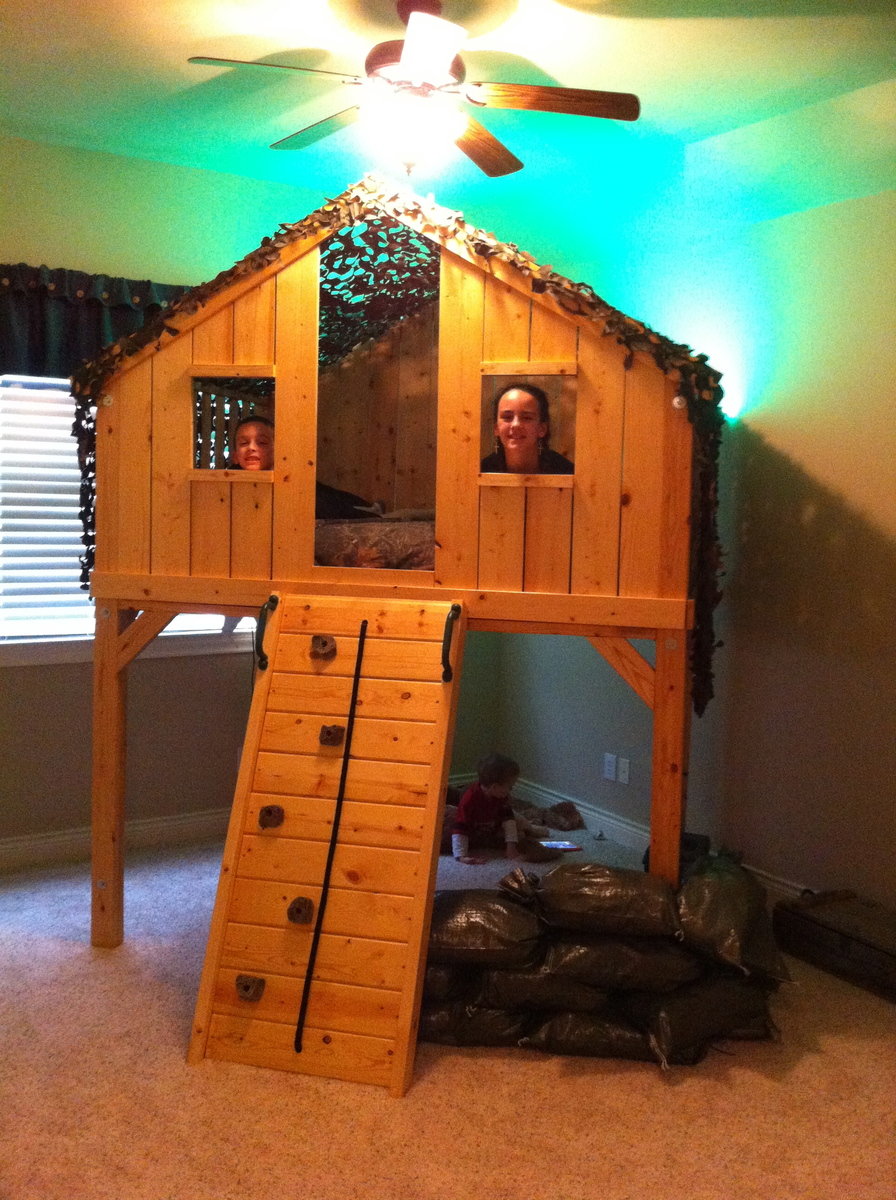
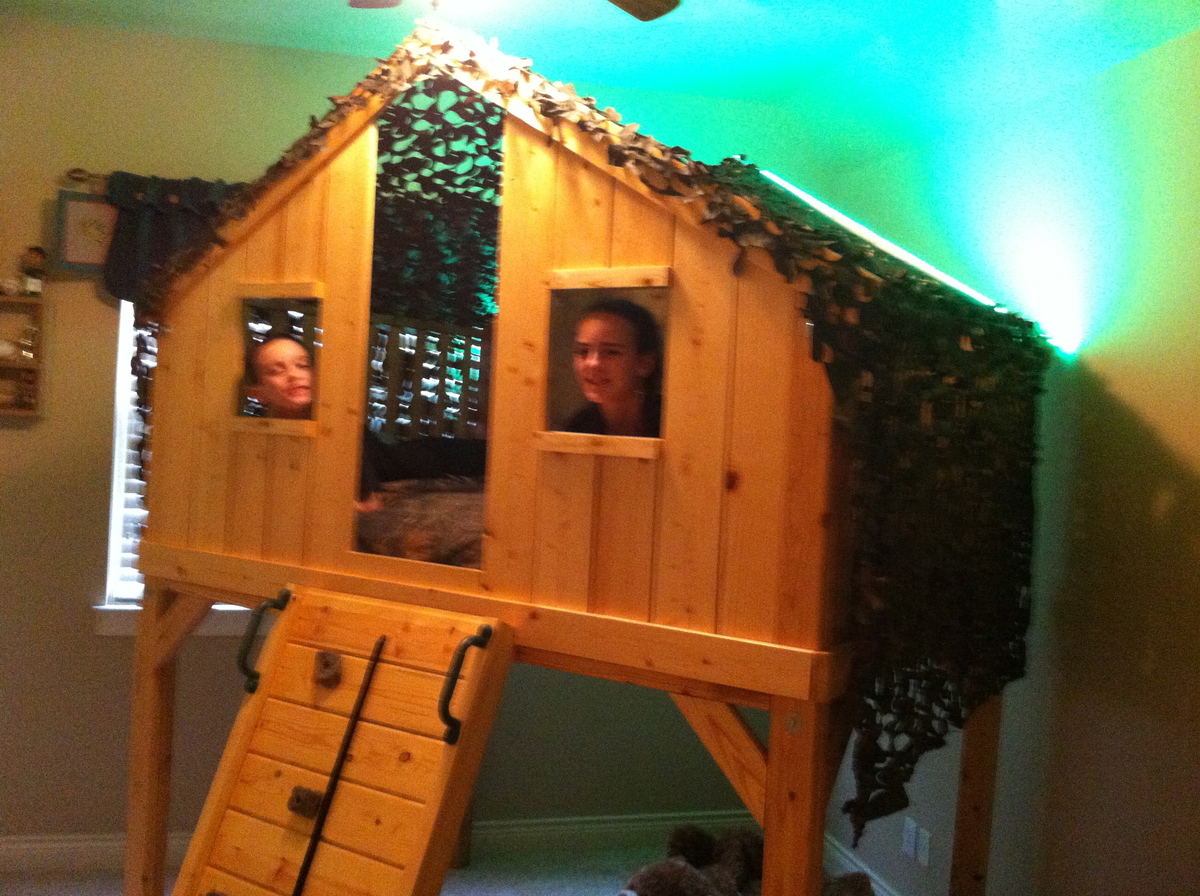
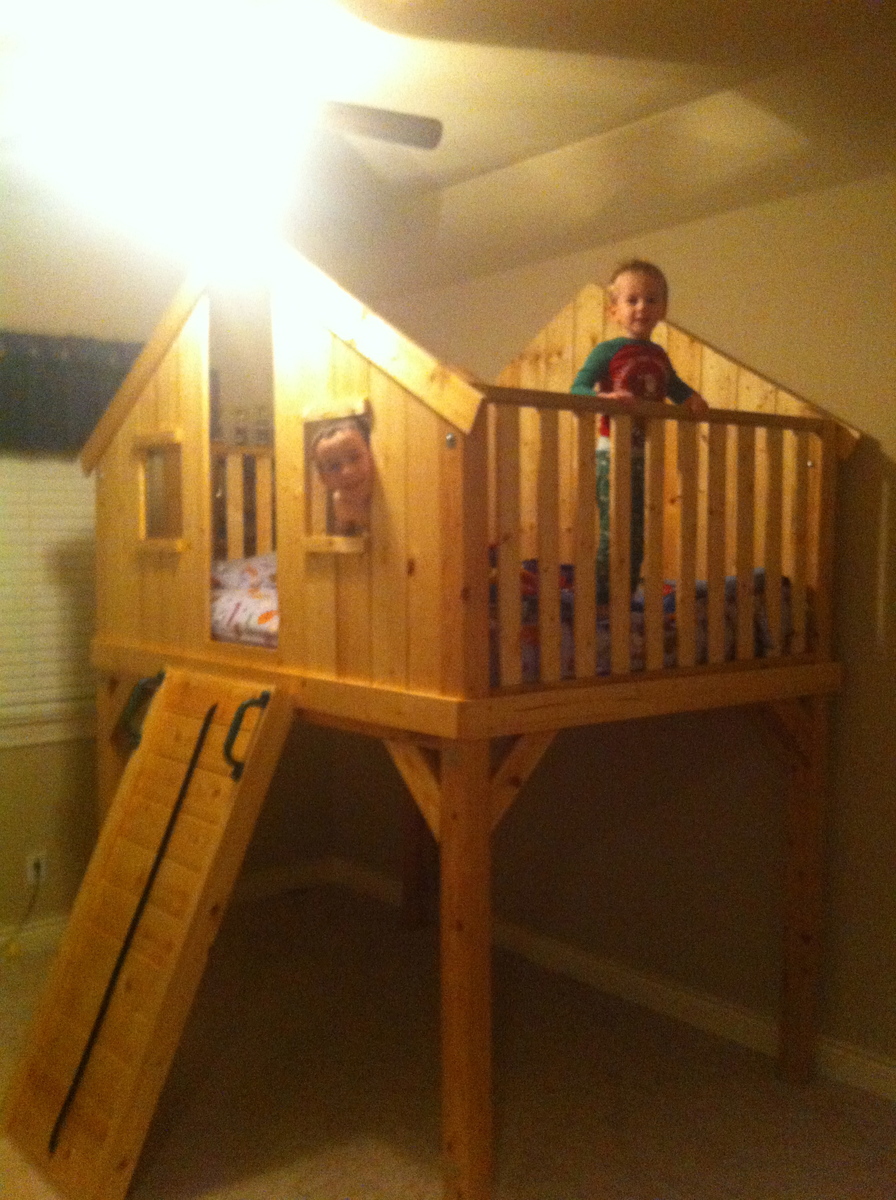
We decided to build this a bit bigger and taller. I will caution you to be careful as we came inches to not making it through our doorways. We expanded the depth 15" to make it a full bed and we extended the length of the legs to allow for 48" clearance underneath.
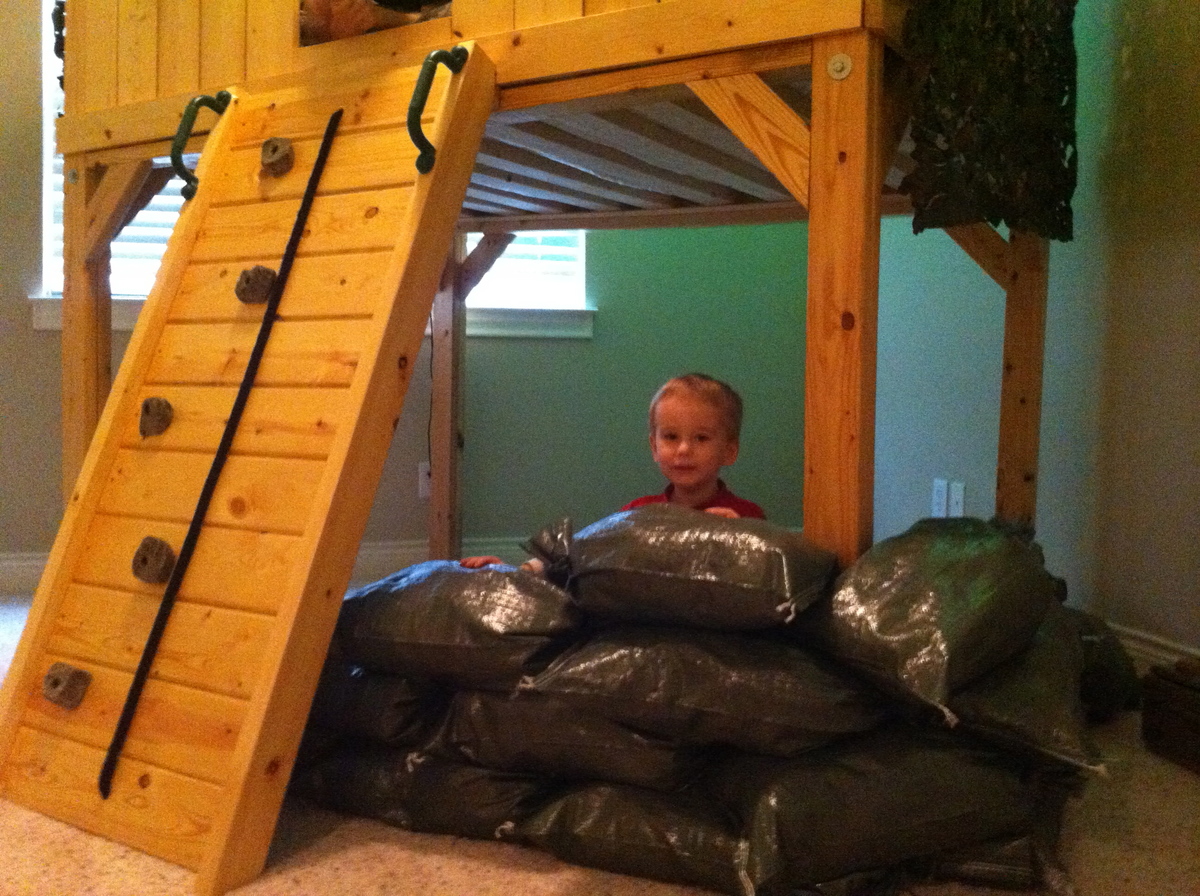
We also went with a rock wall instead of a ladder. I 1st built the angle too steep; recommend at least a 30 degree angle on a wall. Kid's love it; mom not so much when attempting to make the bed! :)
We went with military theme - green rope lights, camo netting for a roof, and sandbags filled with old clothes from my high school years for a bunker underneath.
Great project! Thanks for the idea!
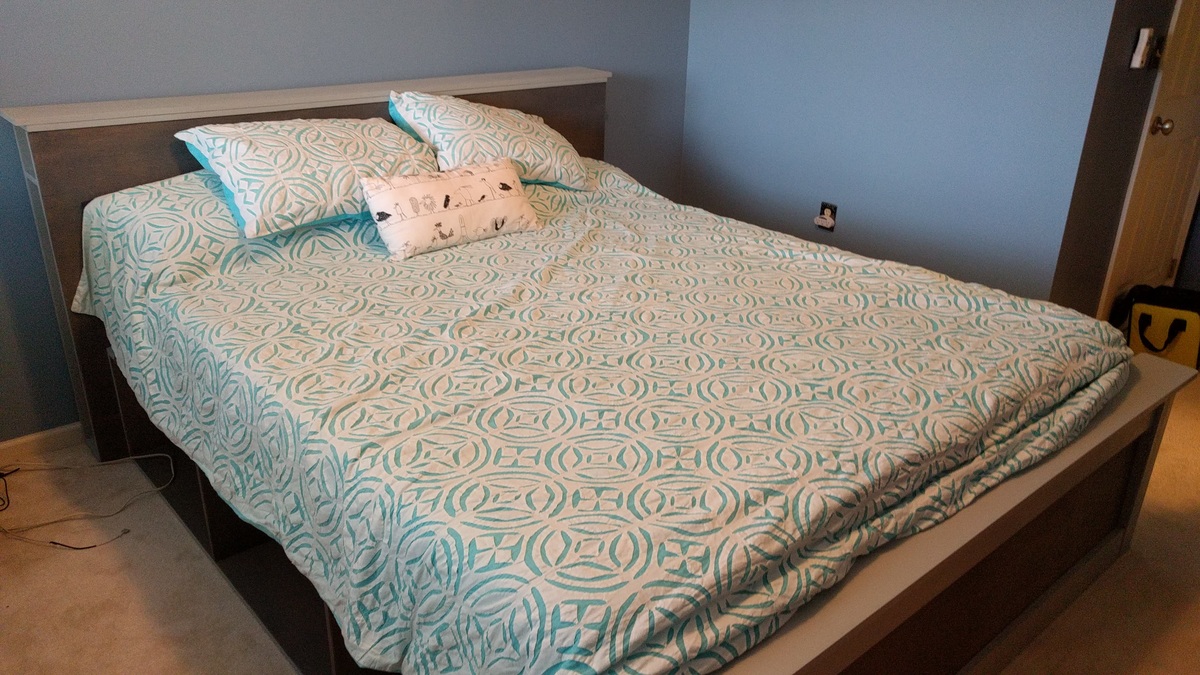
Modified the Farmhouse Storage Bed with Storage Drawers. Changed the design to california king and added booshelves to the headboard. Will eventually turn a shelf into a nightstand for water/light. I LOVE IT!! Thanks for the Design, Ana!
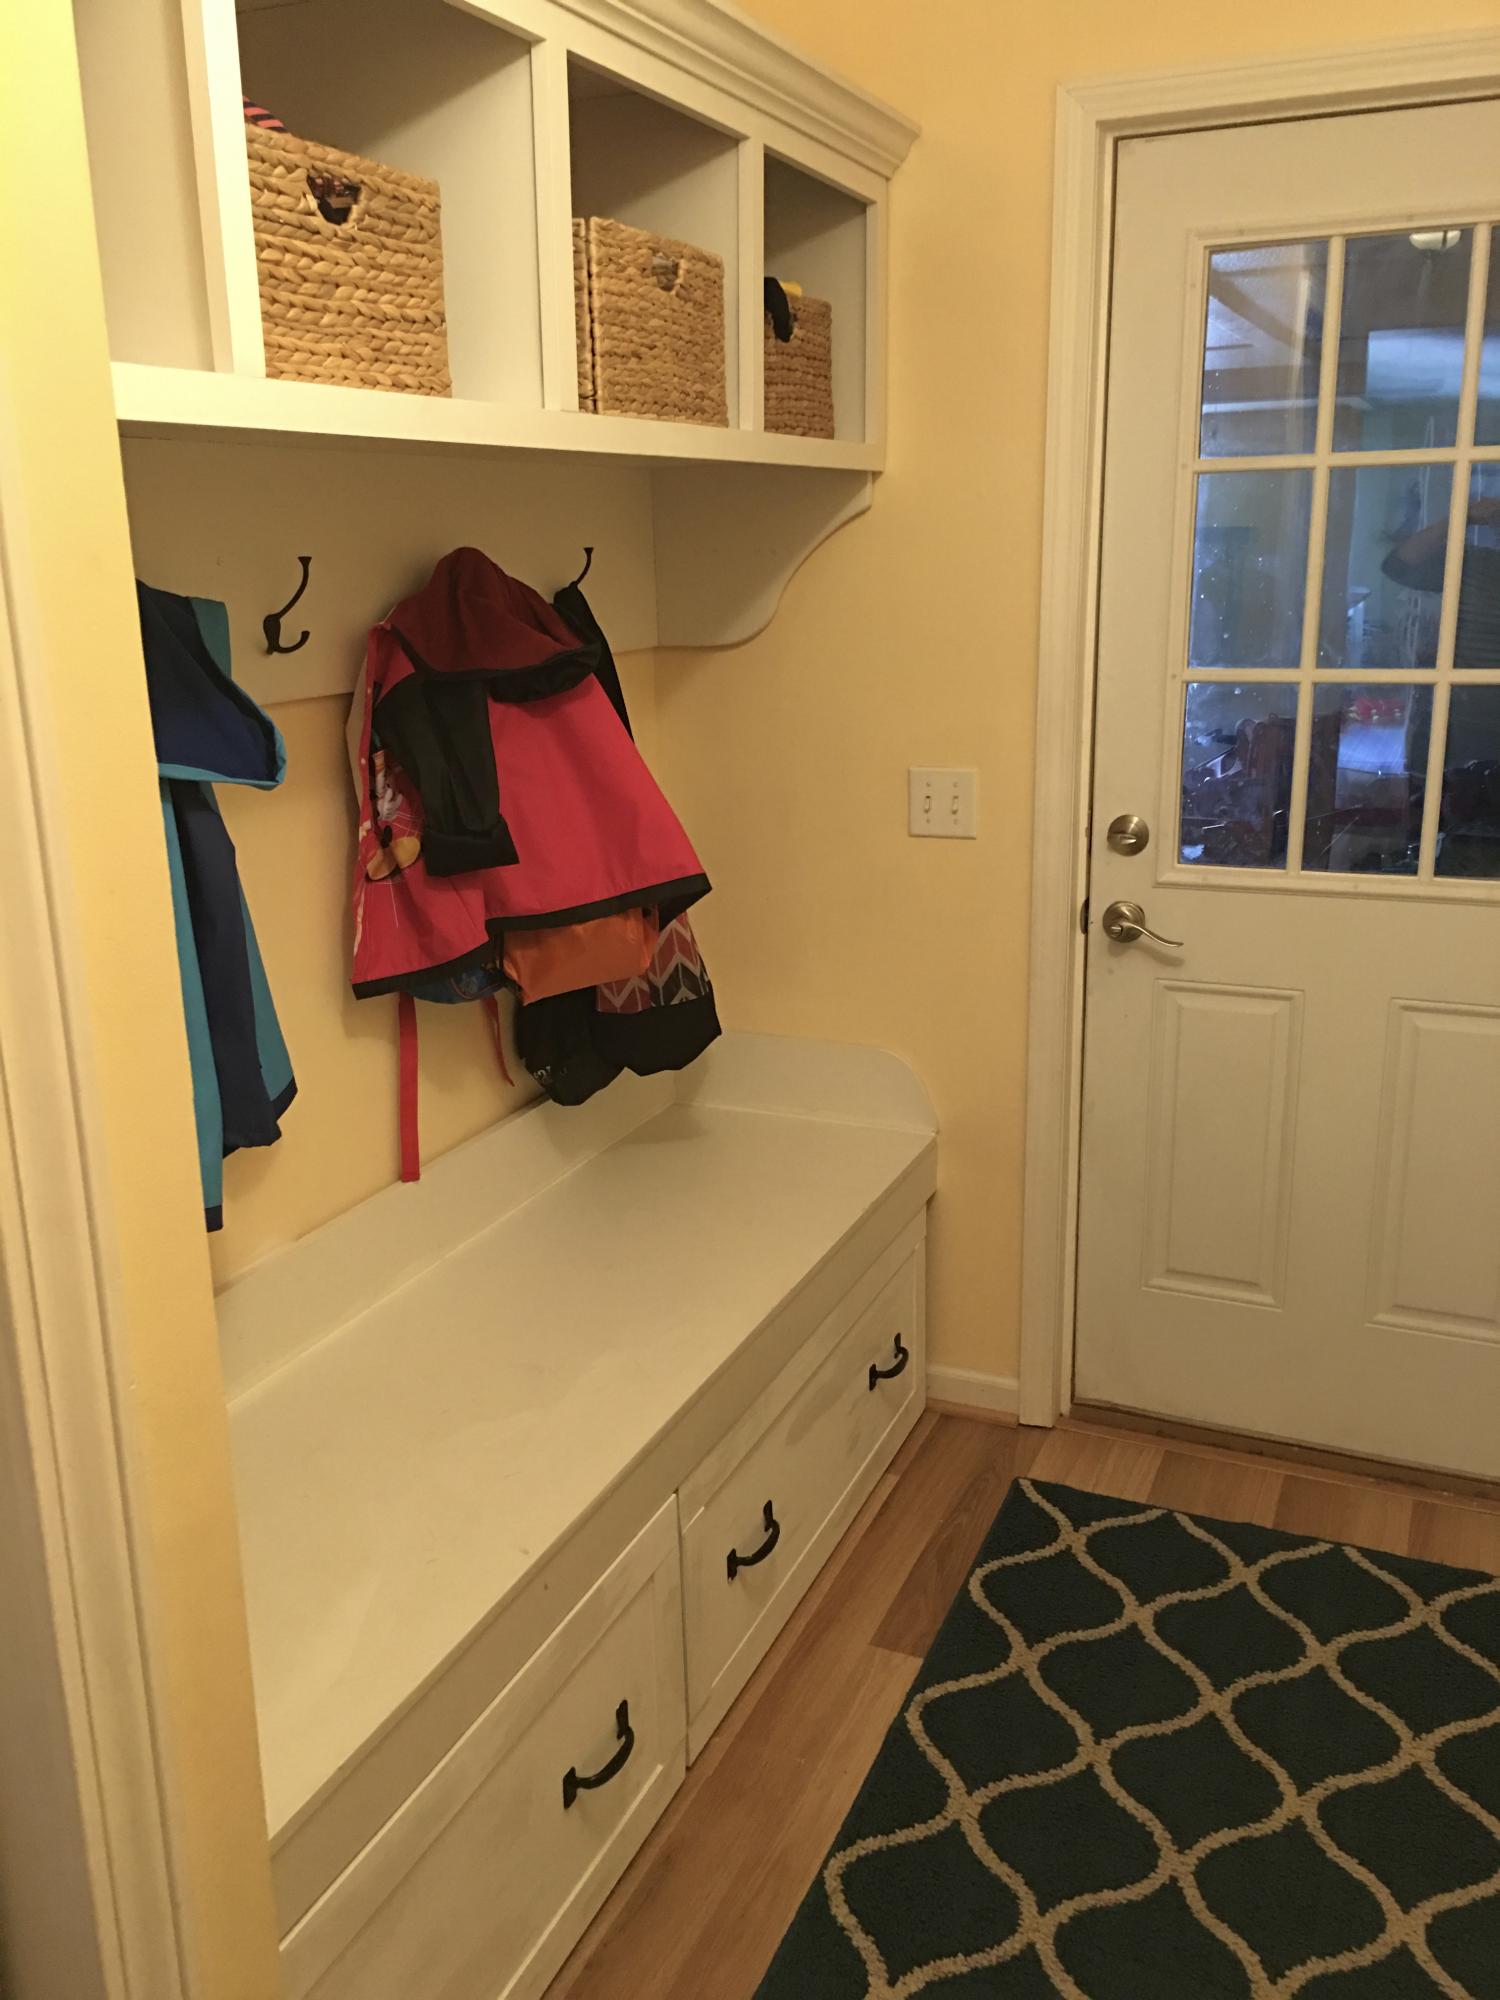
When we moved into our home, this whole area was empty. I don't remember seeing anything in this spot during our walkthrough. But I knew it would be a perfect spot for a mudroom. We were also getting a puppy and I did not want my shoes to be torn to bits. This was my very first build. I will forever be proud of this.