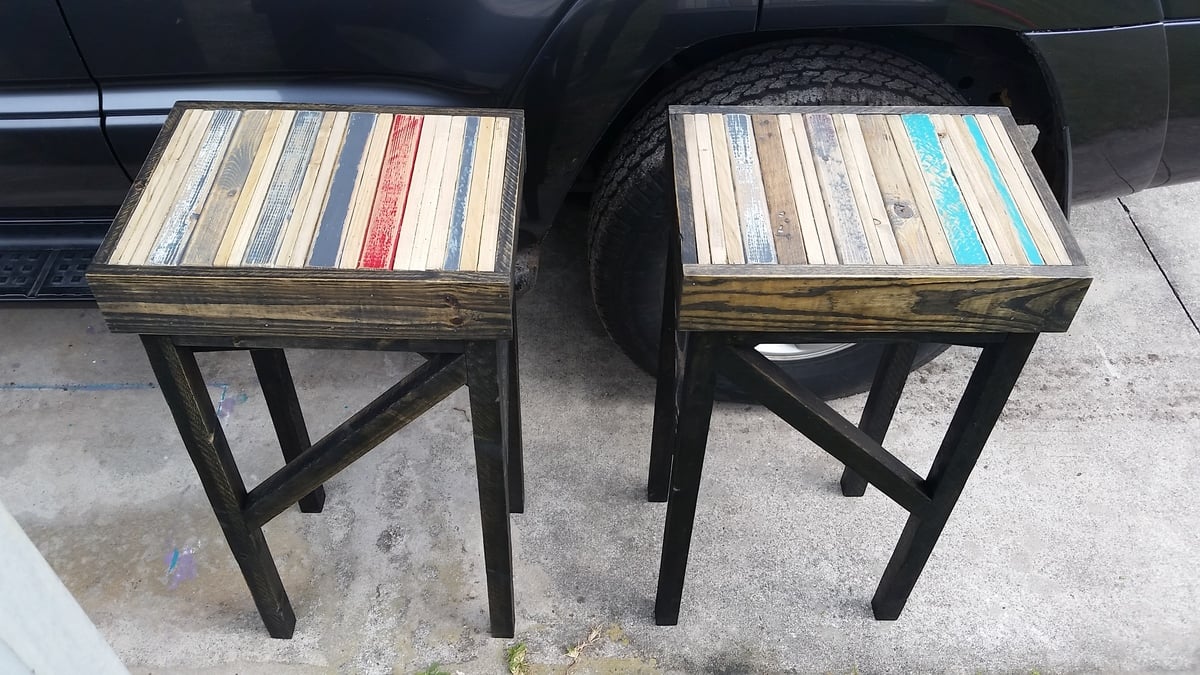
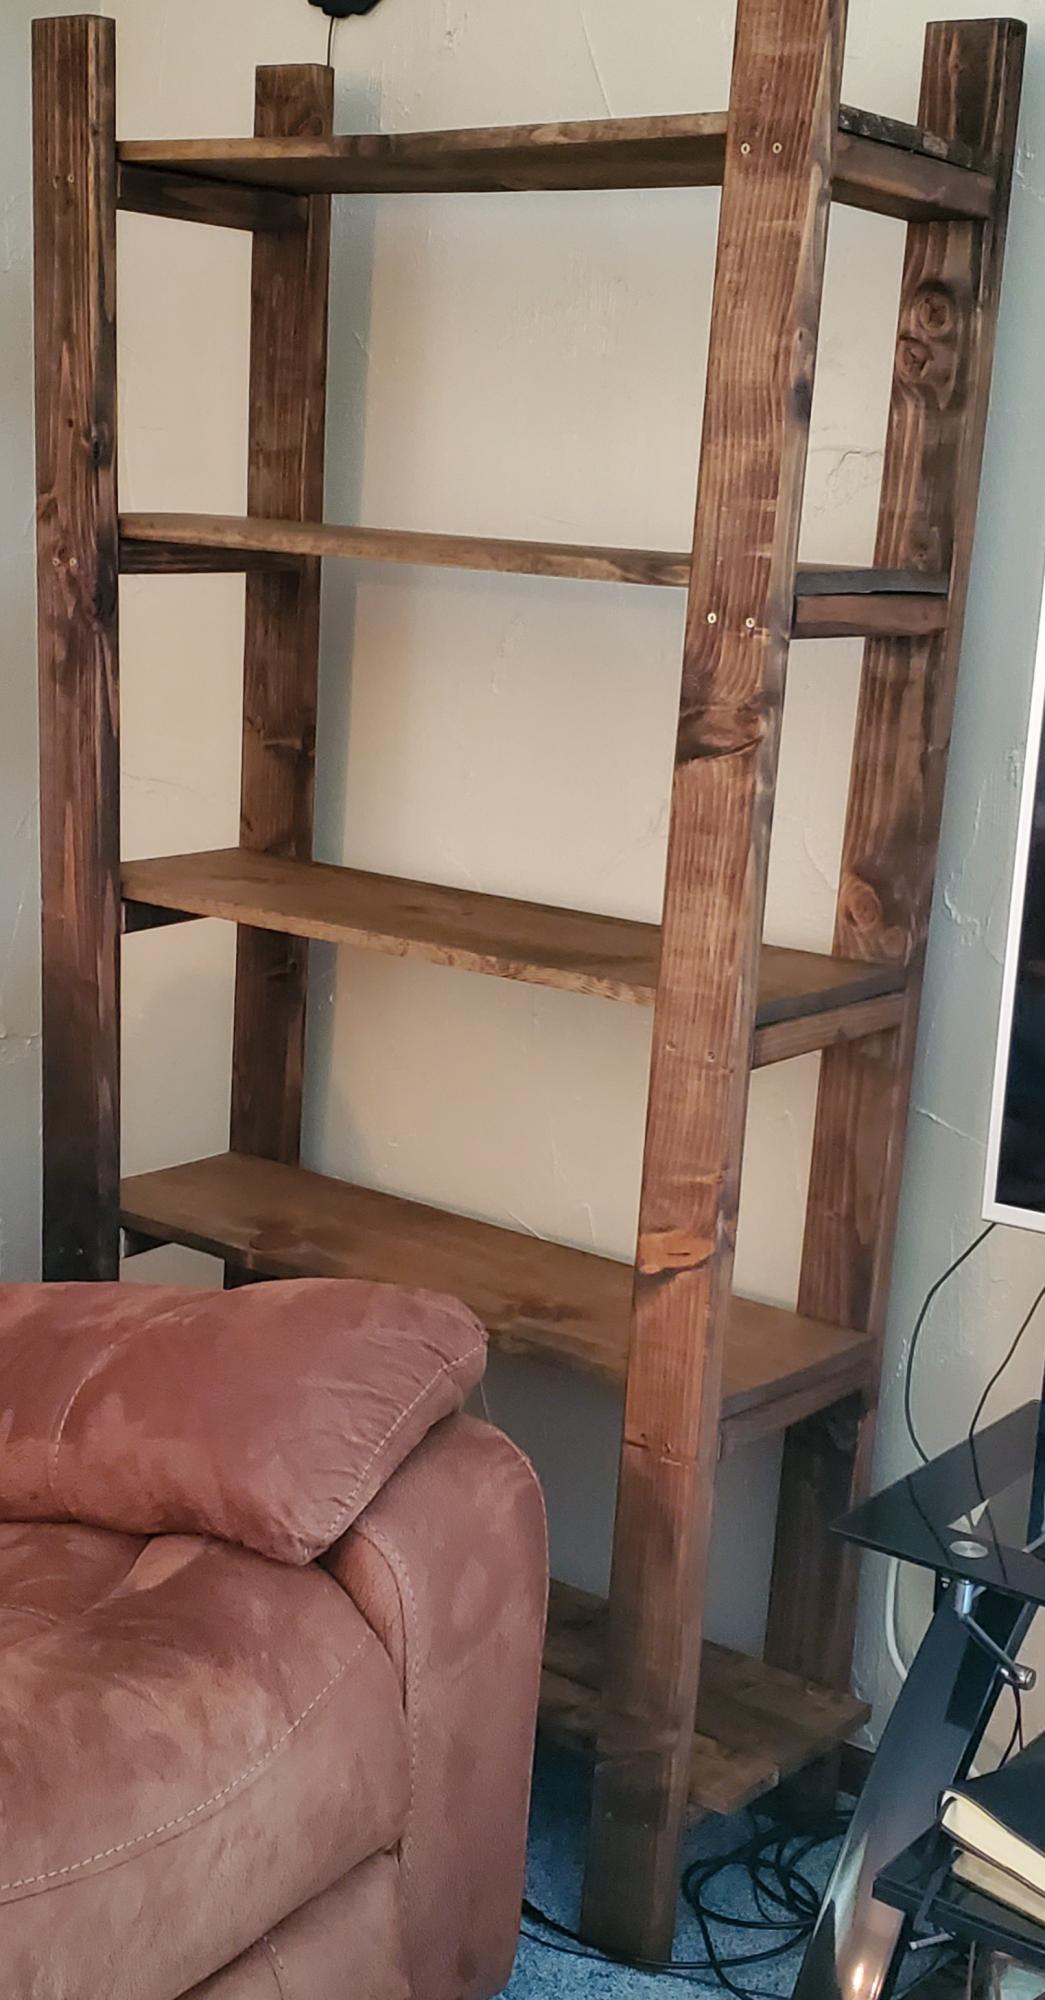
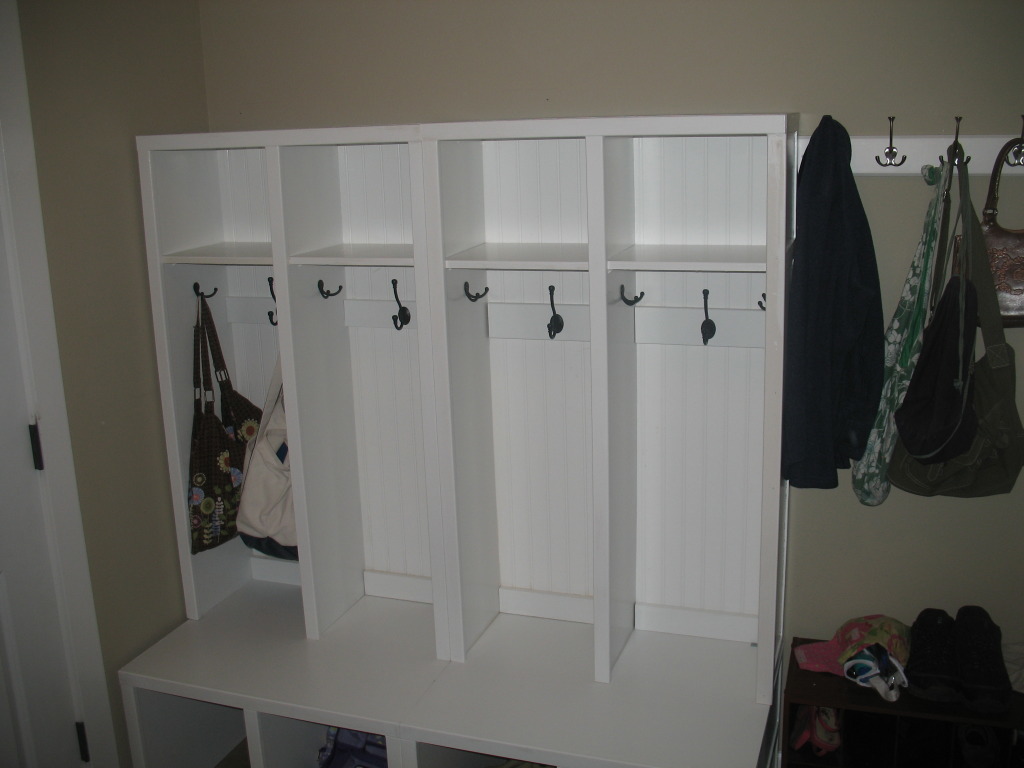
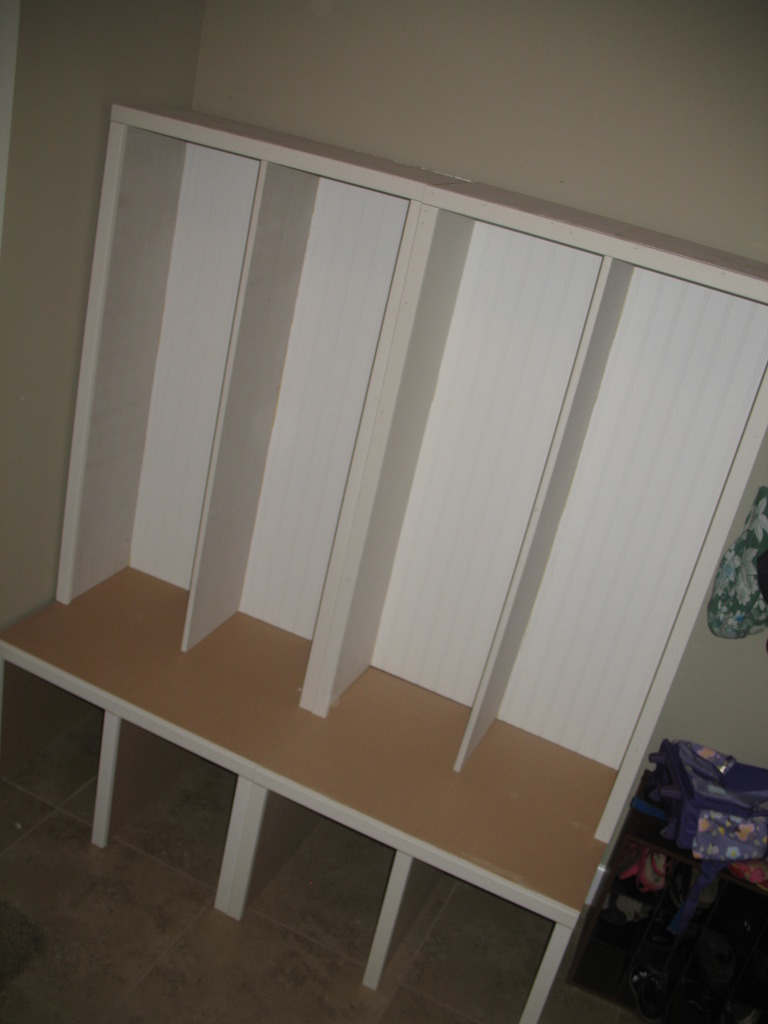
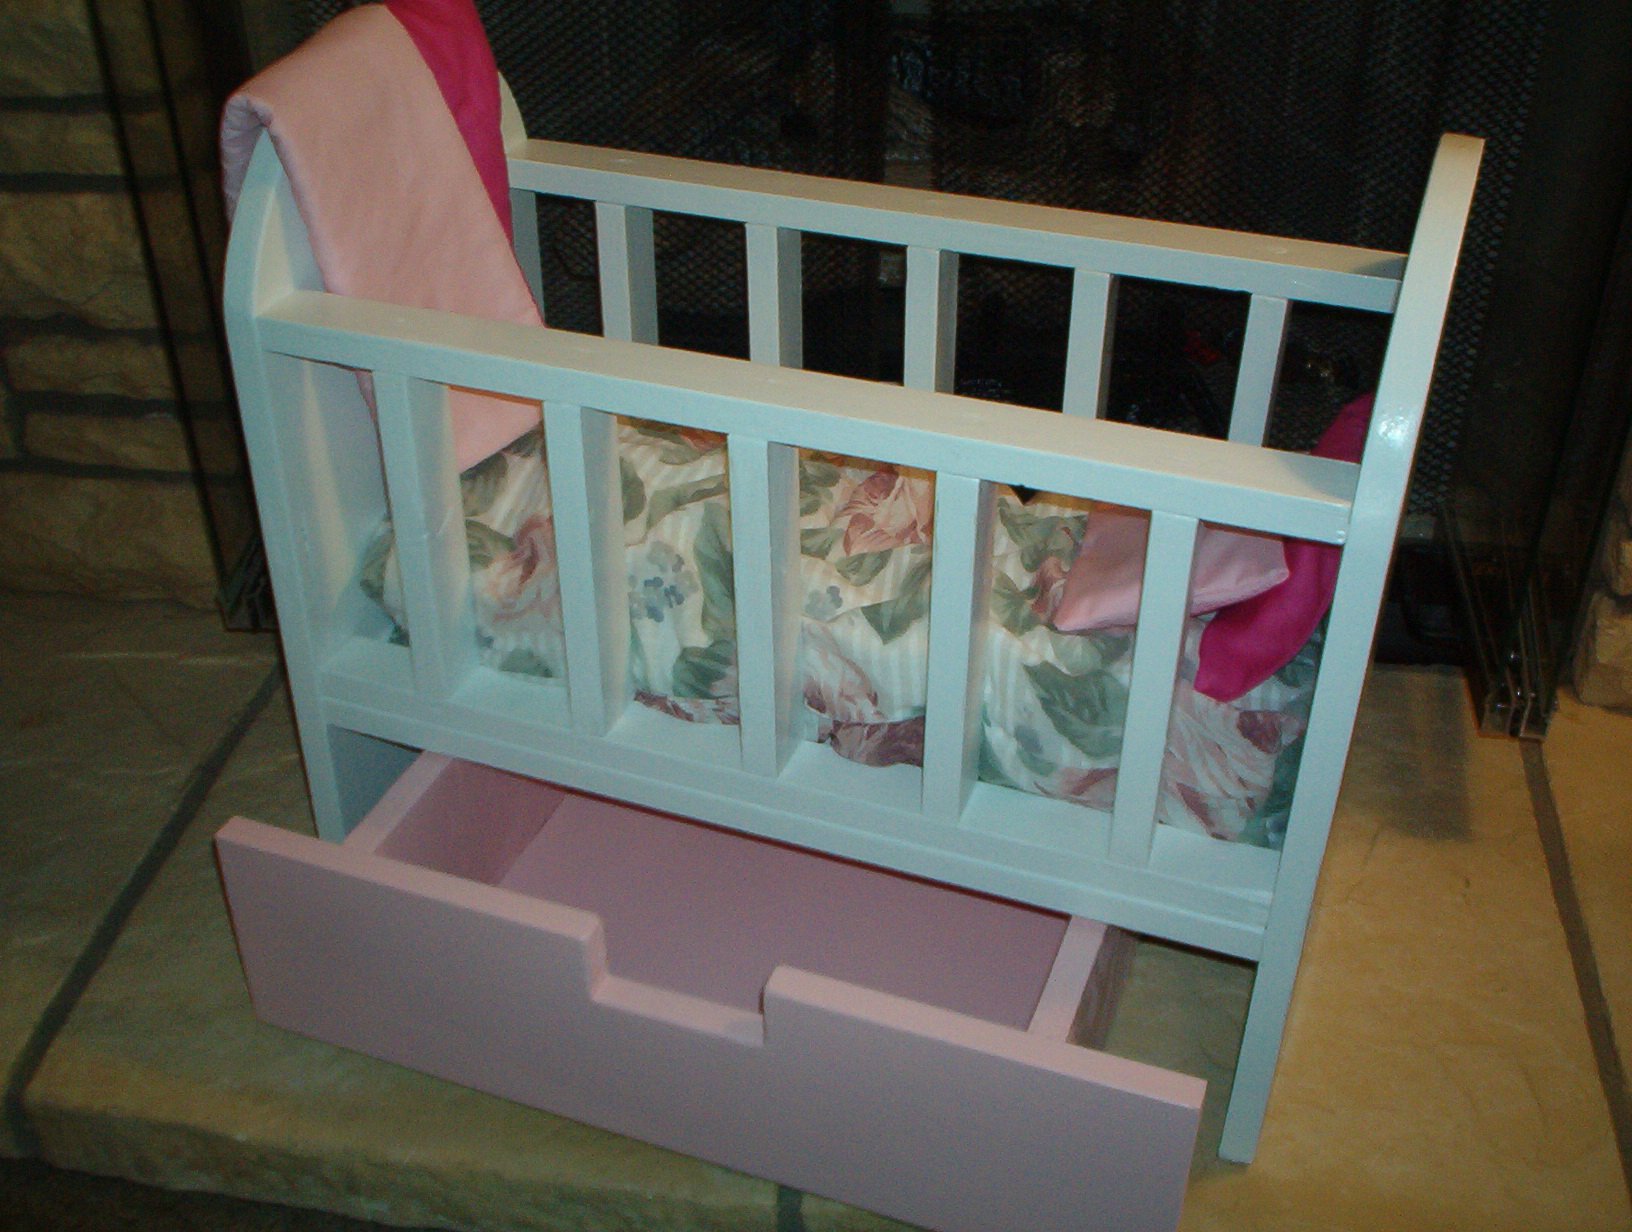
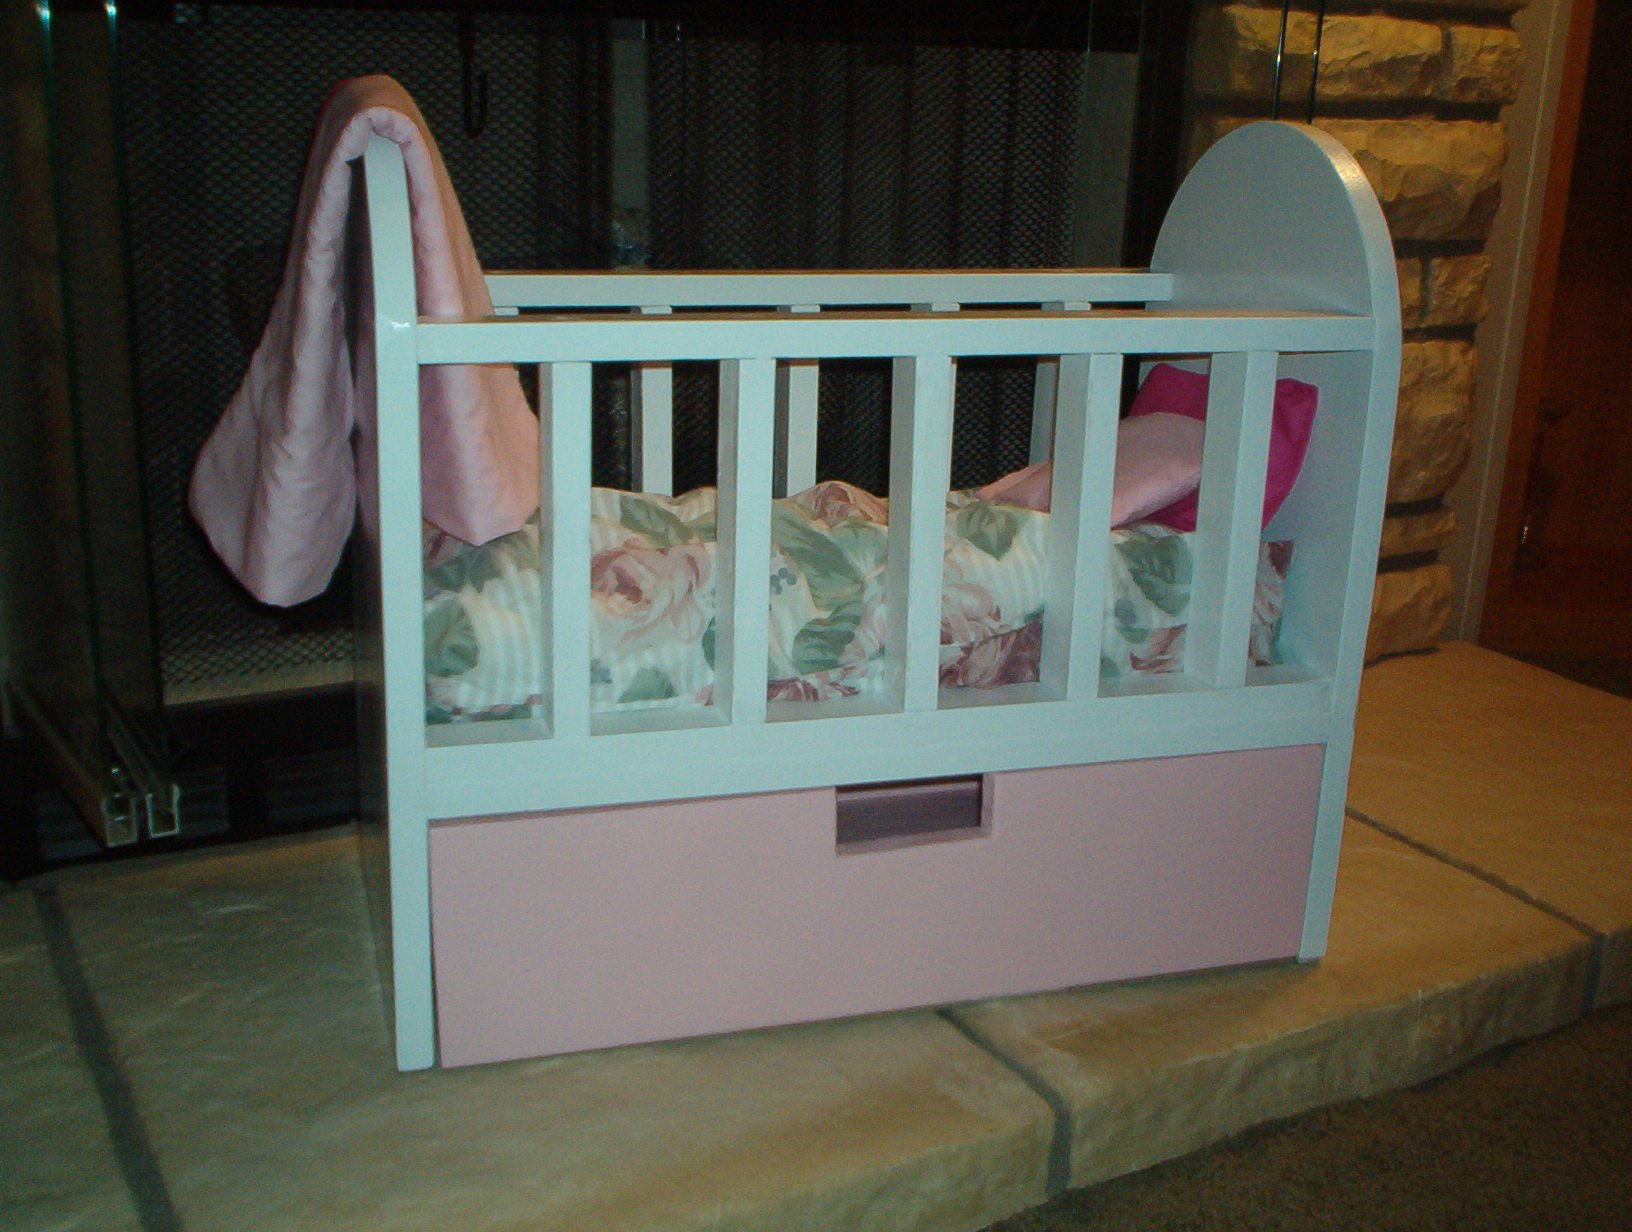
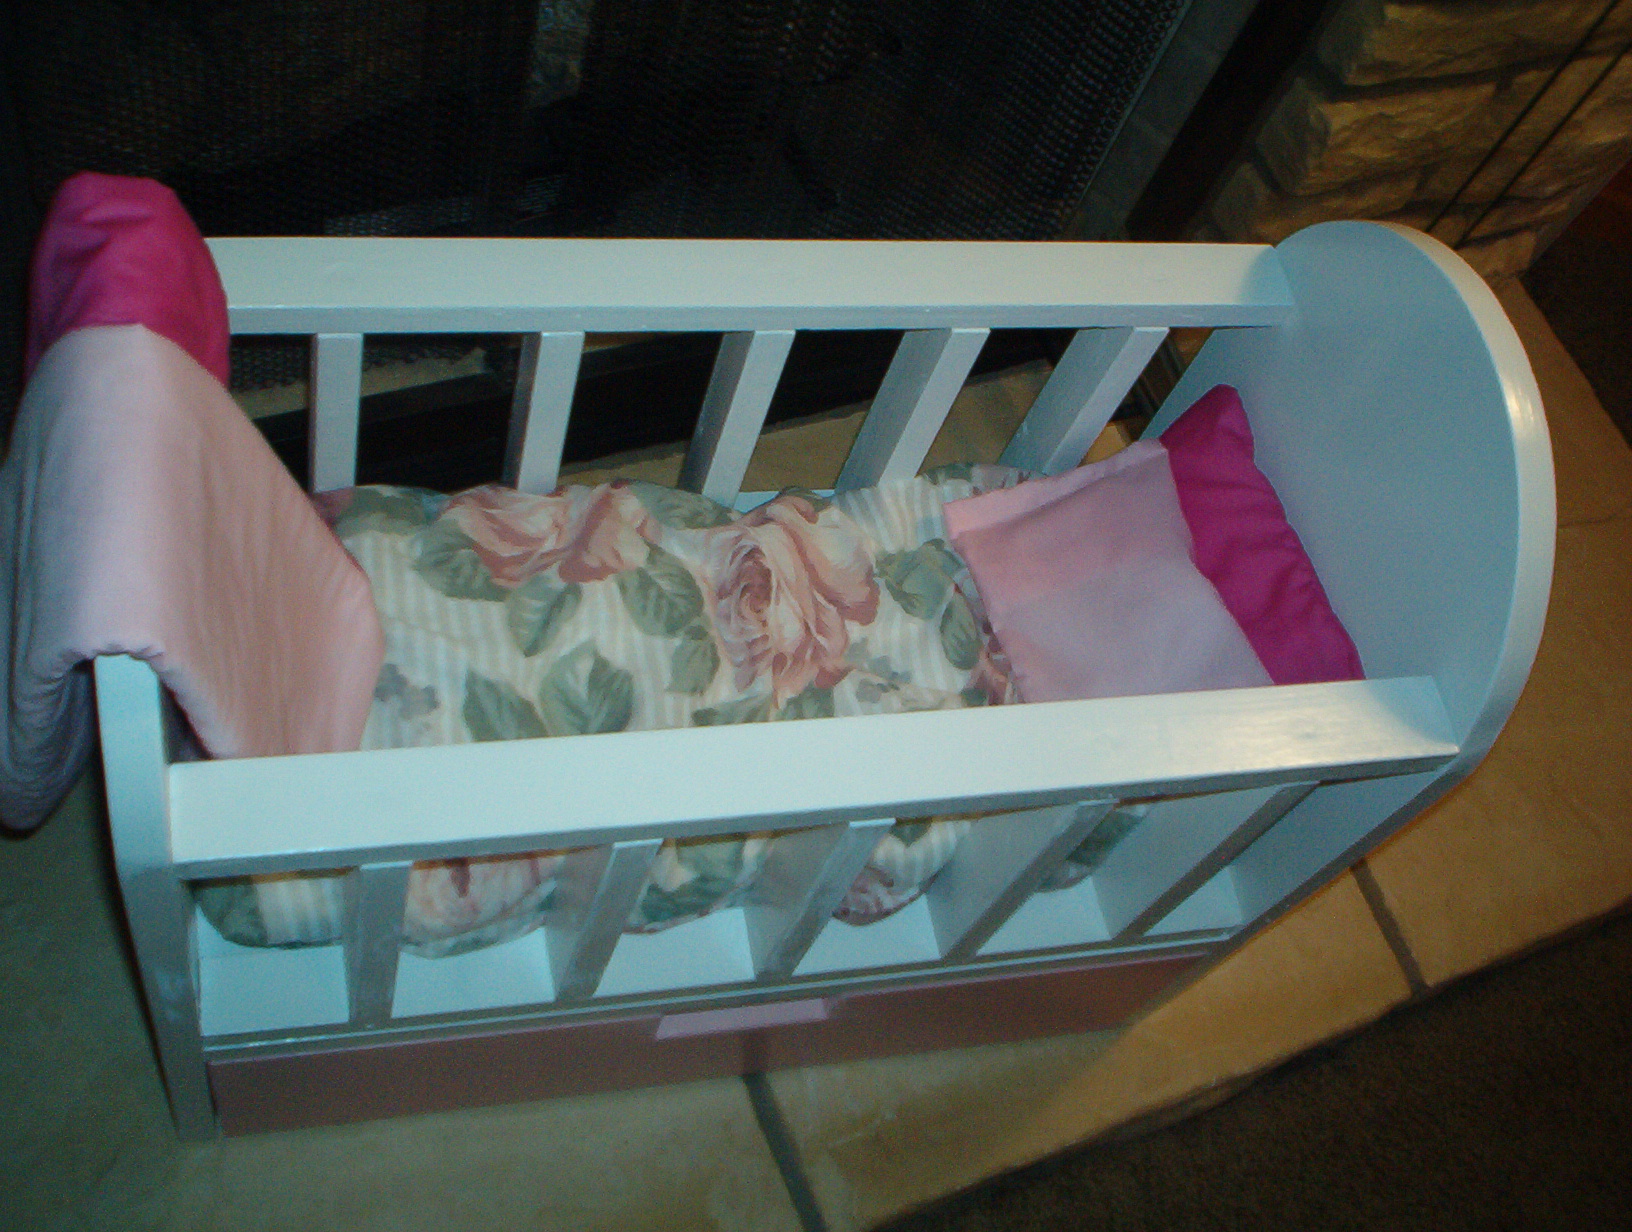
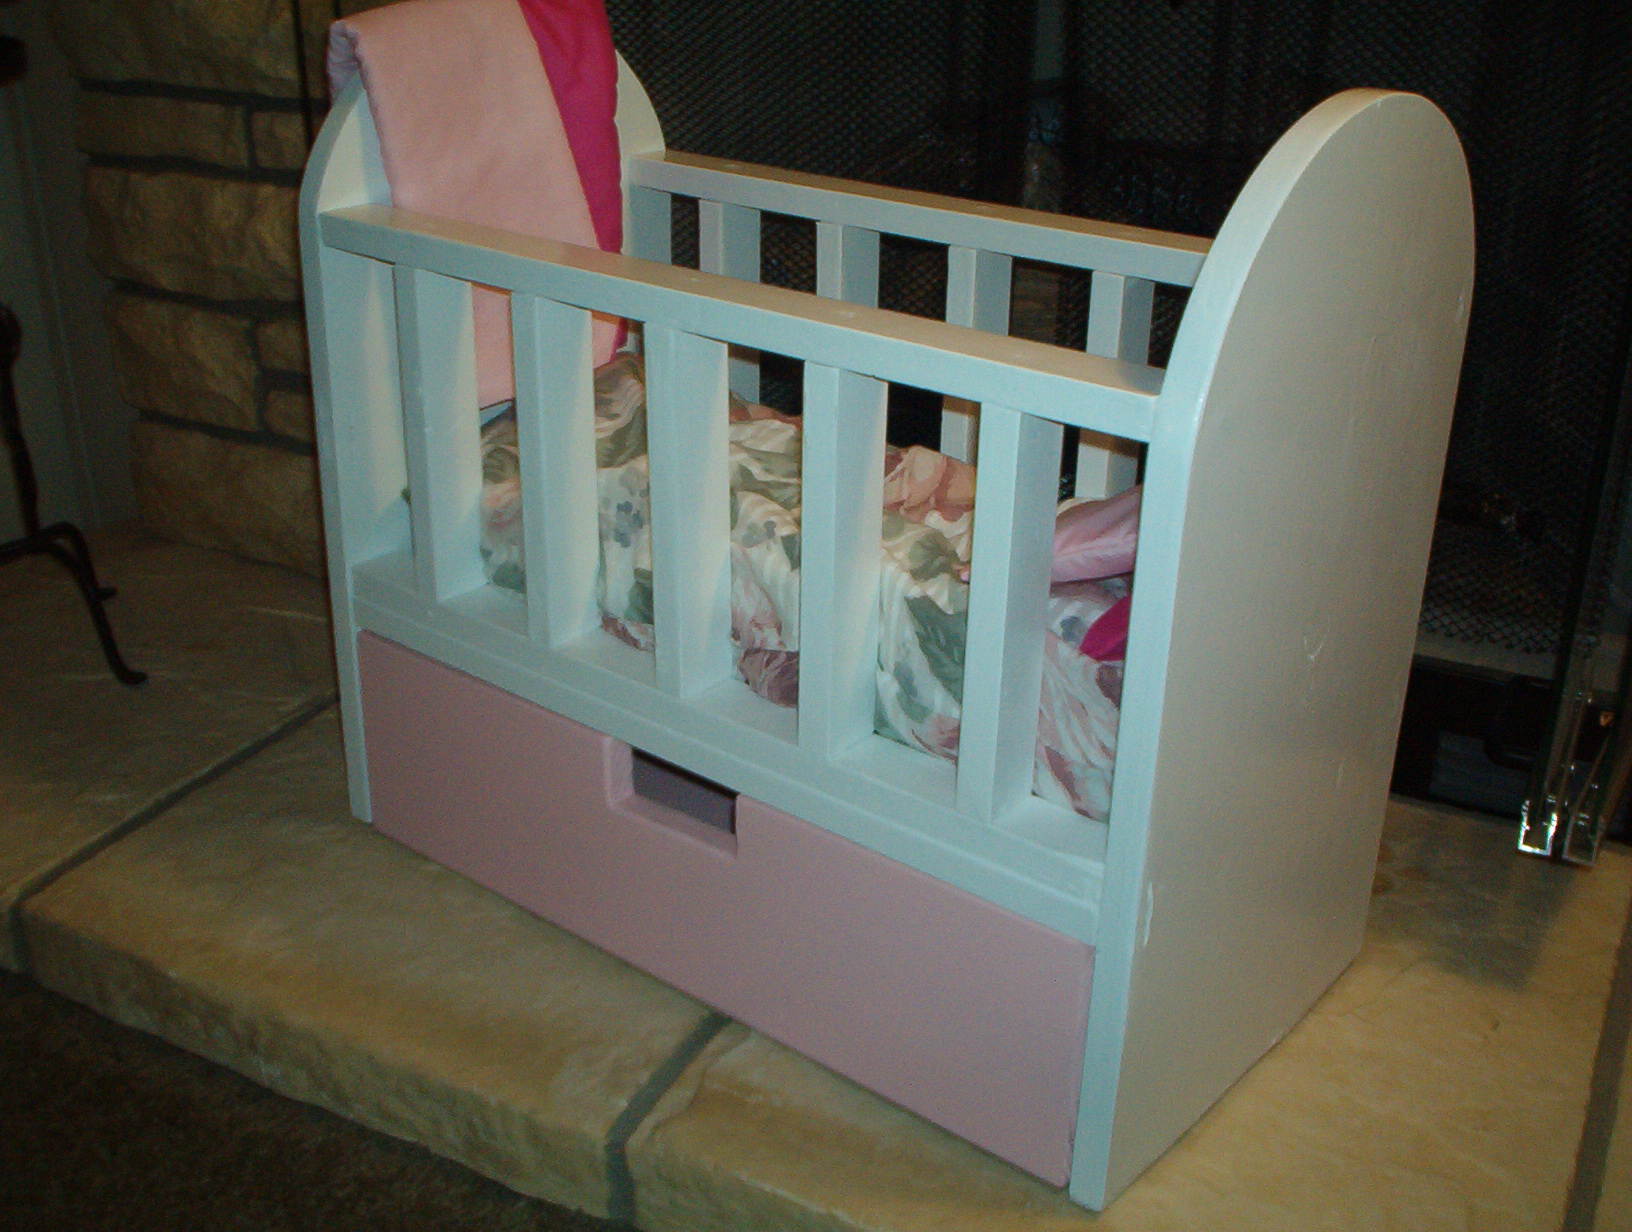
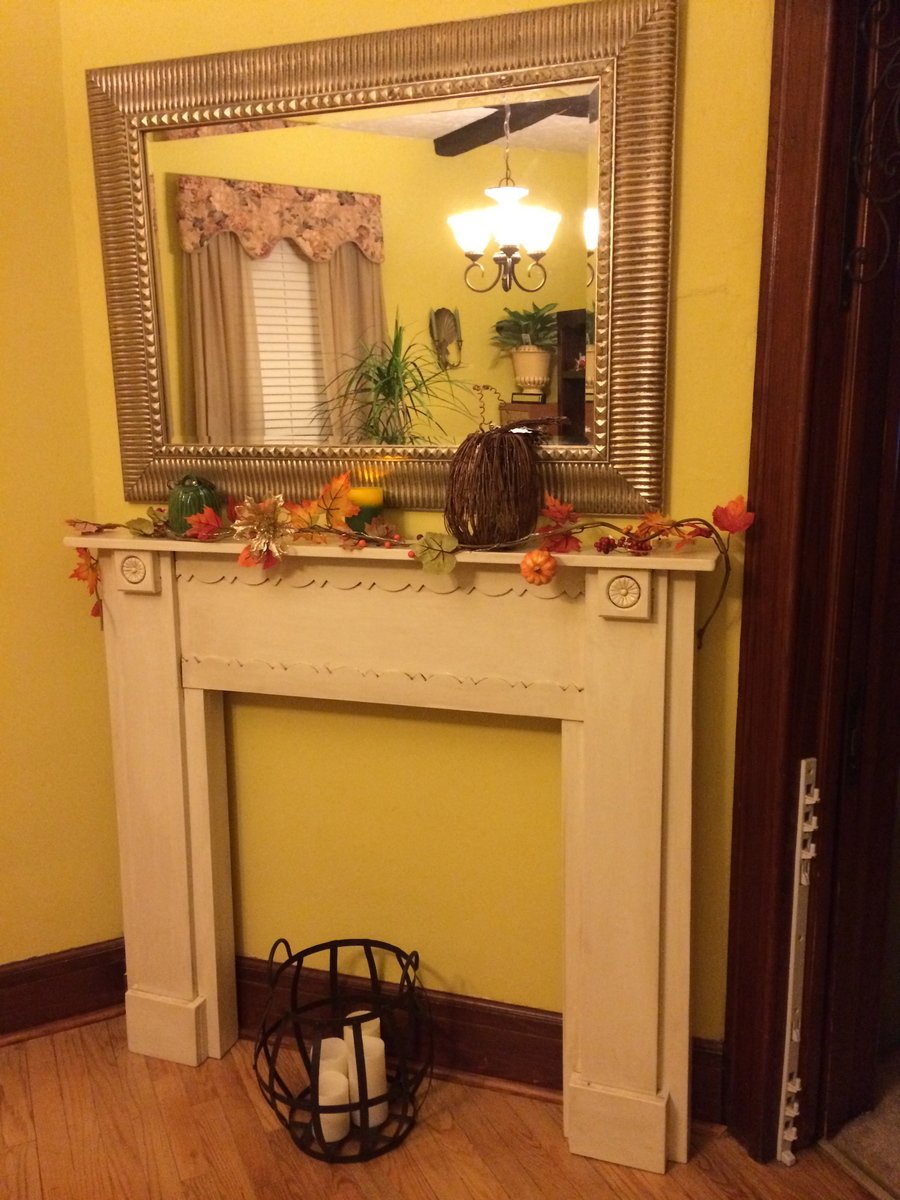
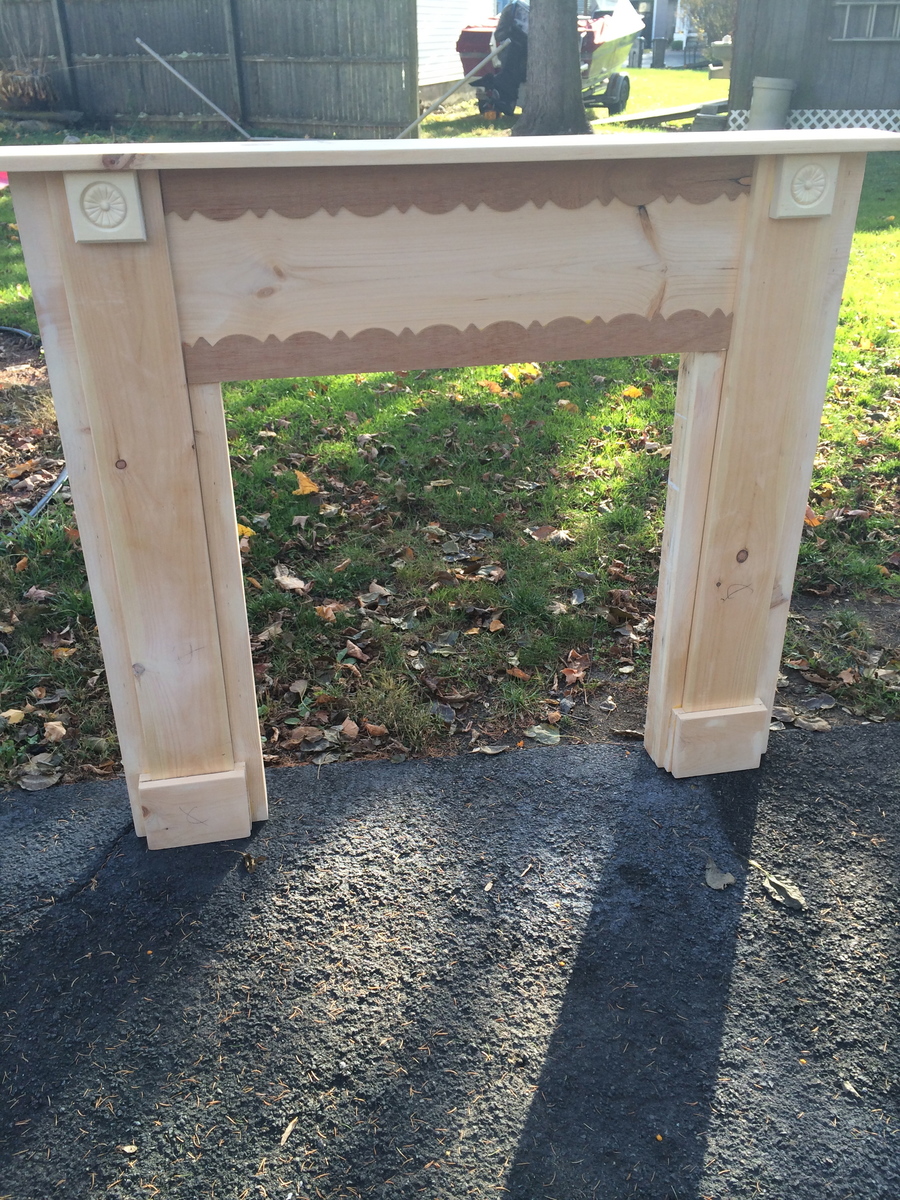
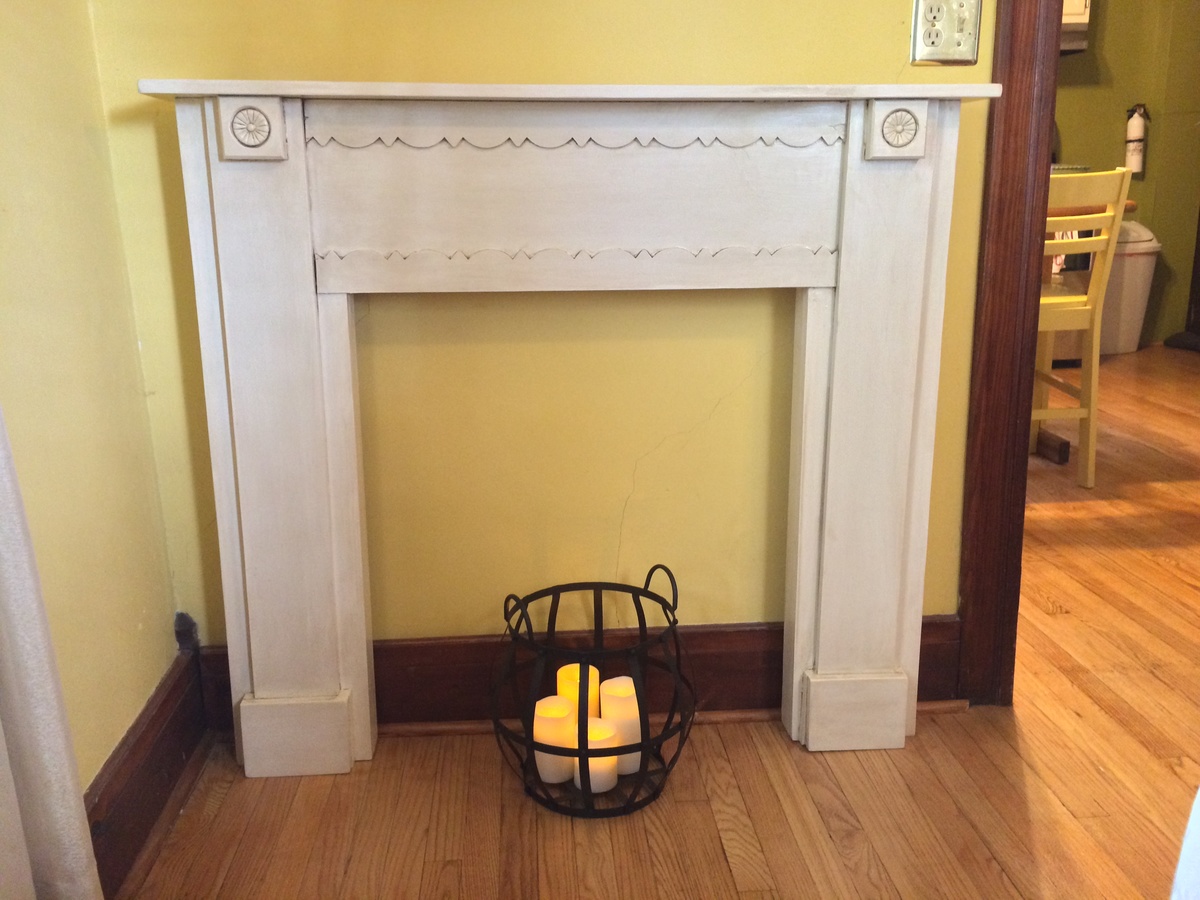
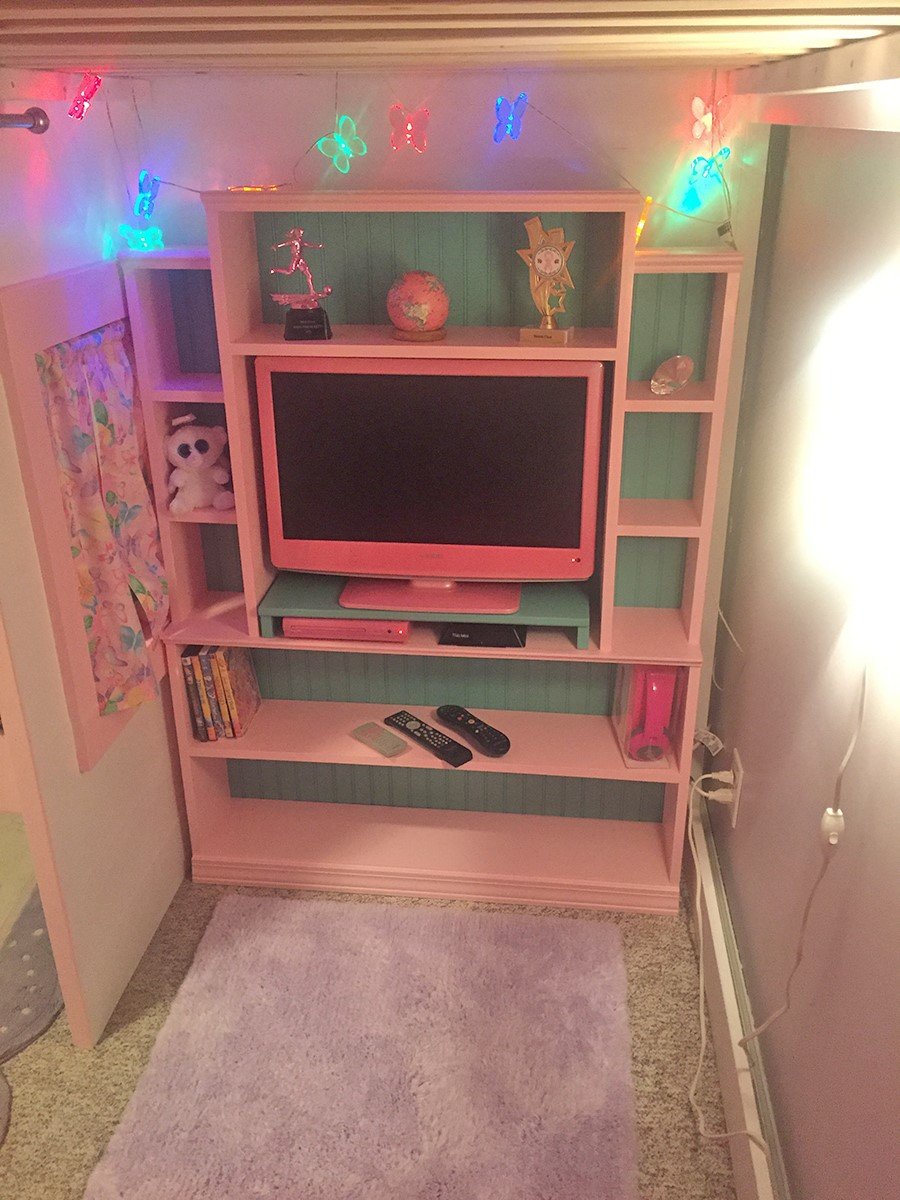
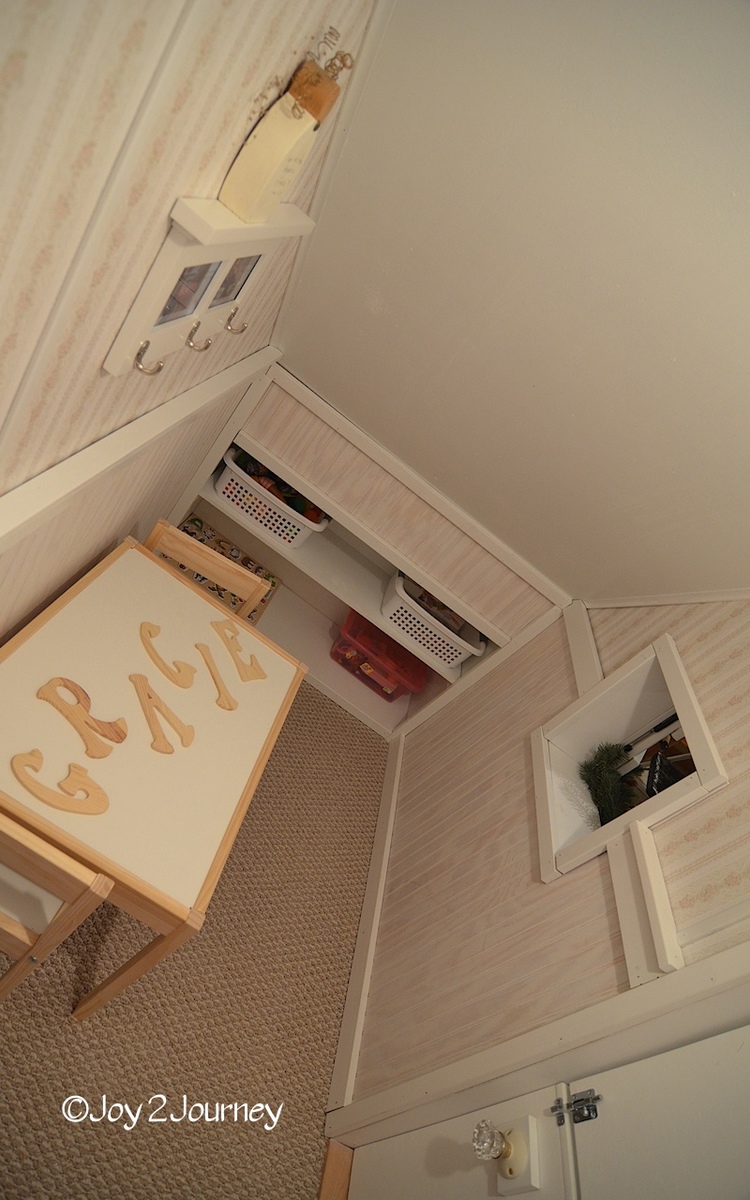
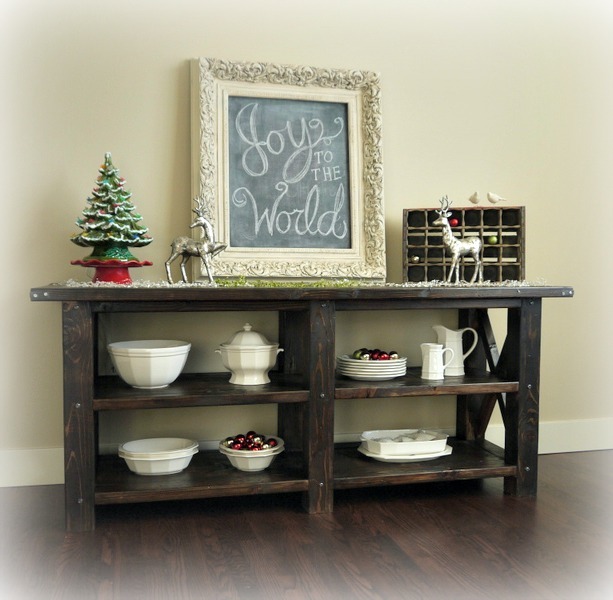
Dresser

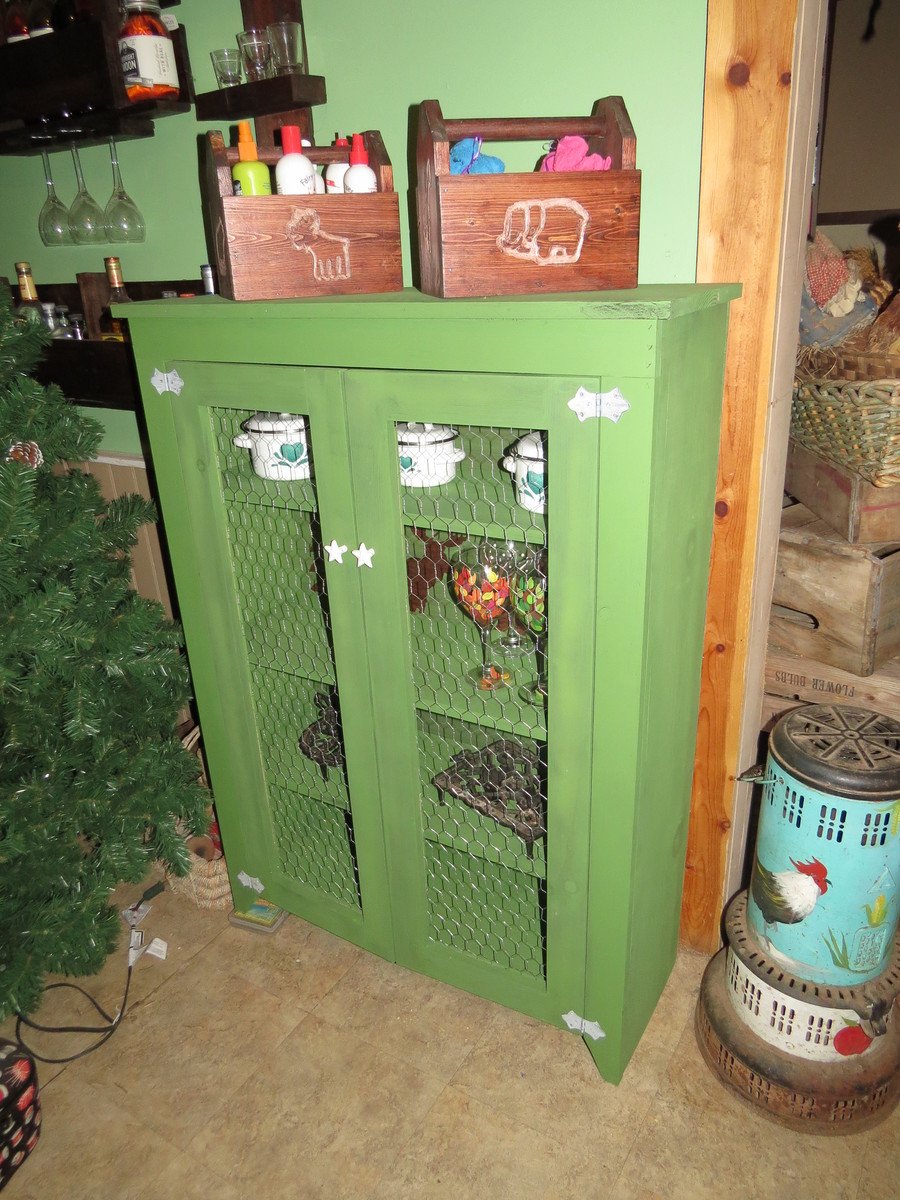
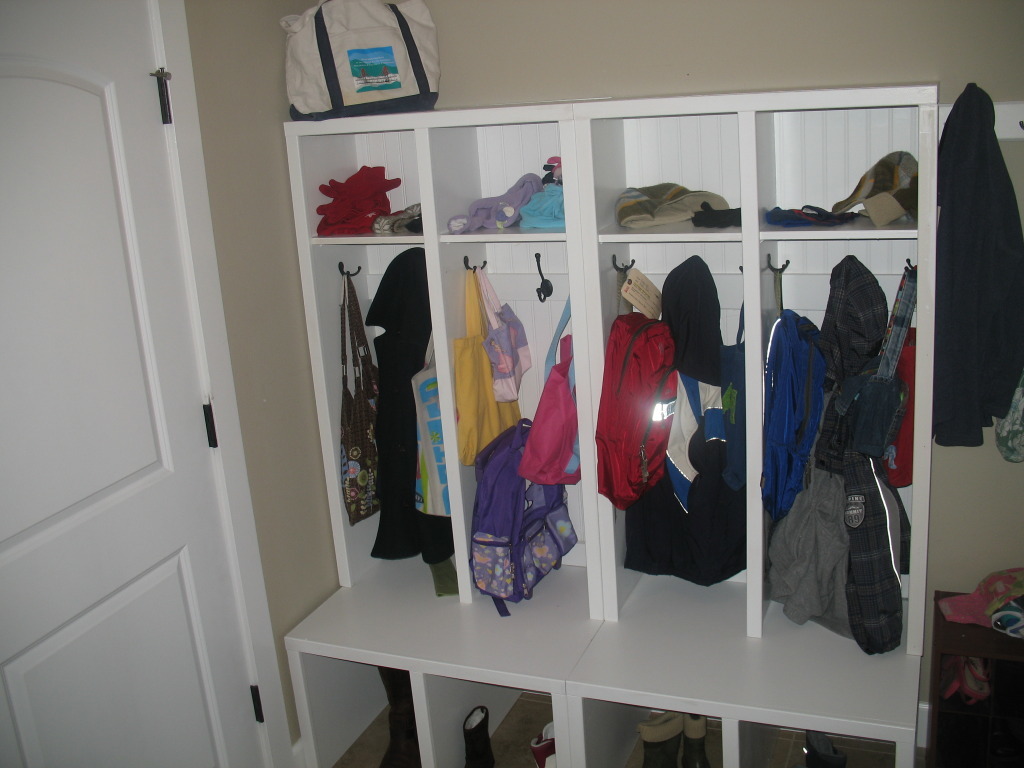
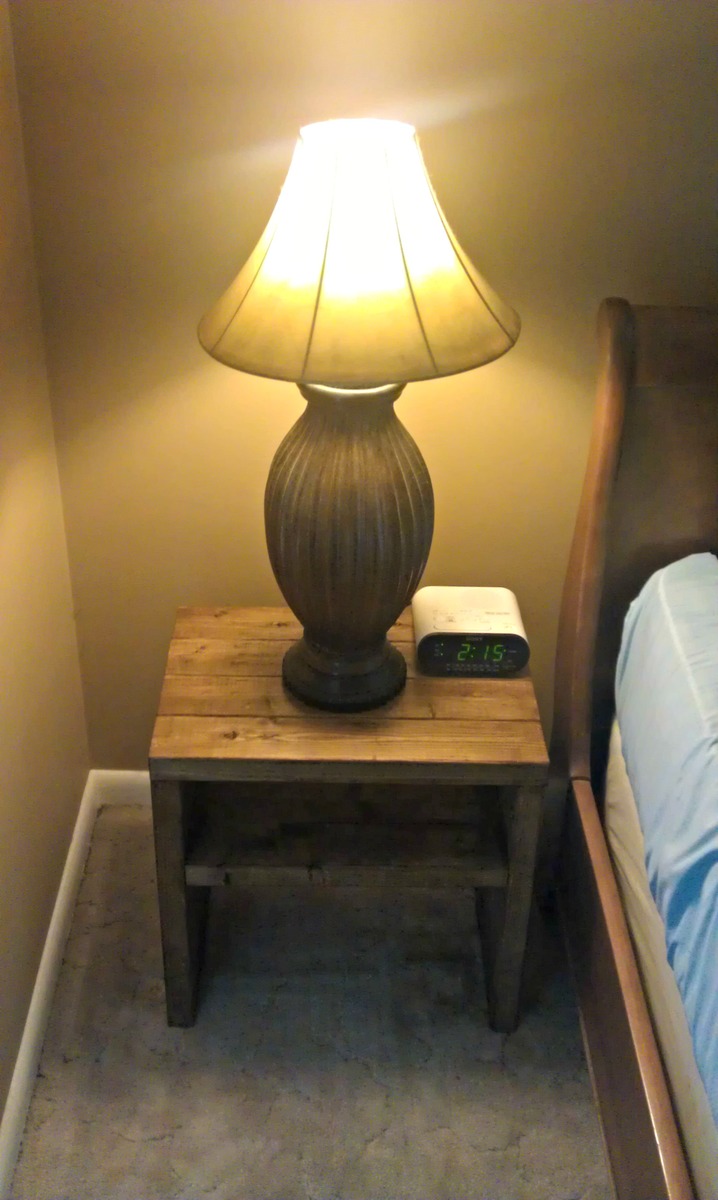
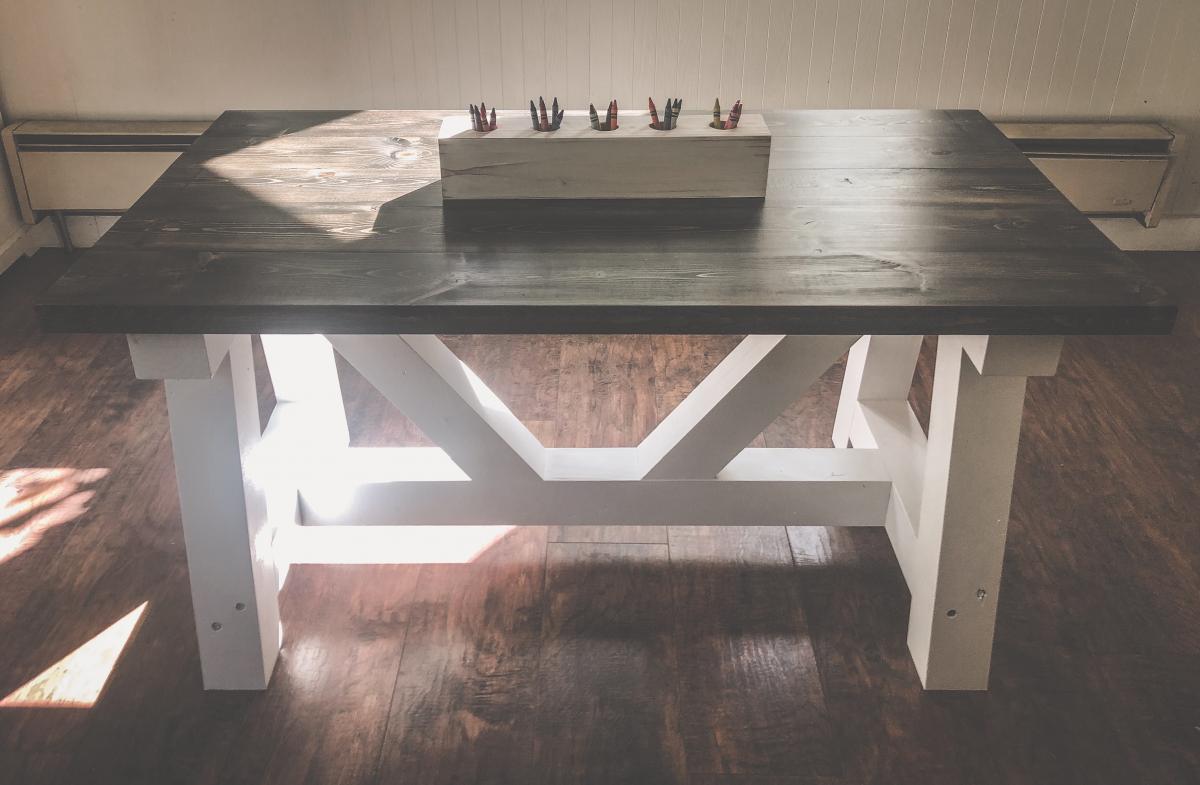
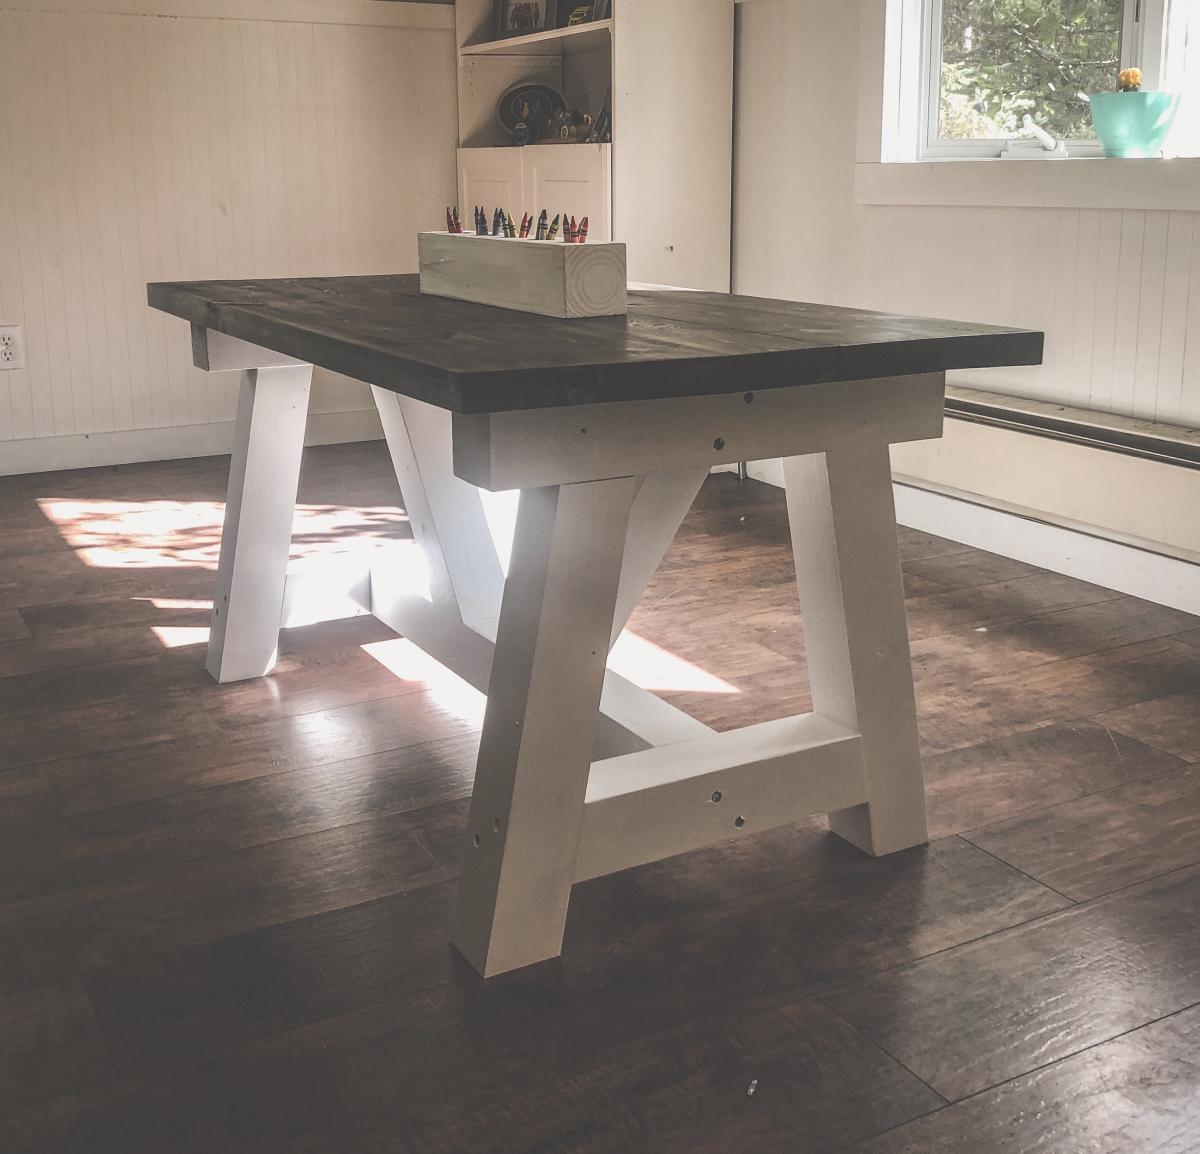
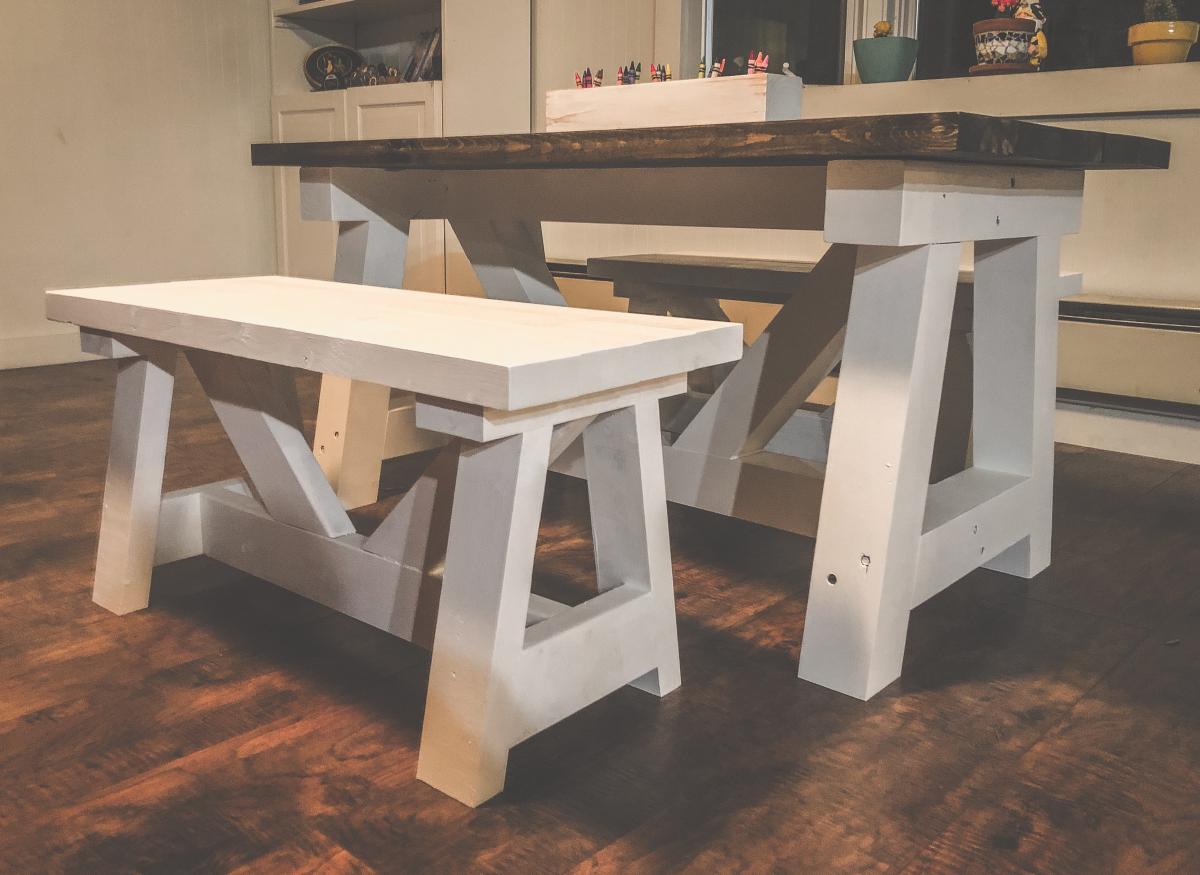
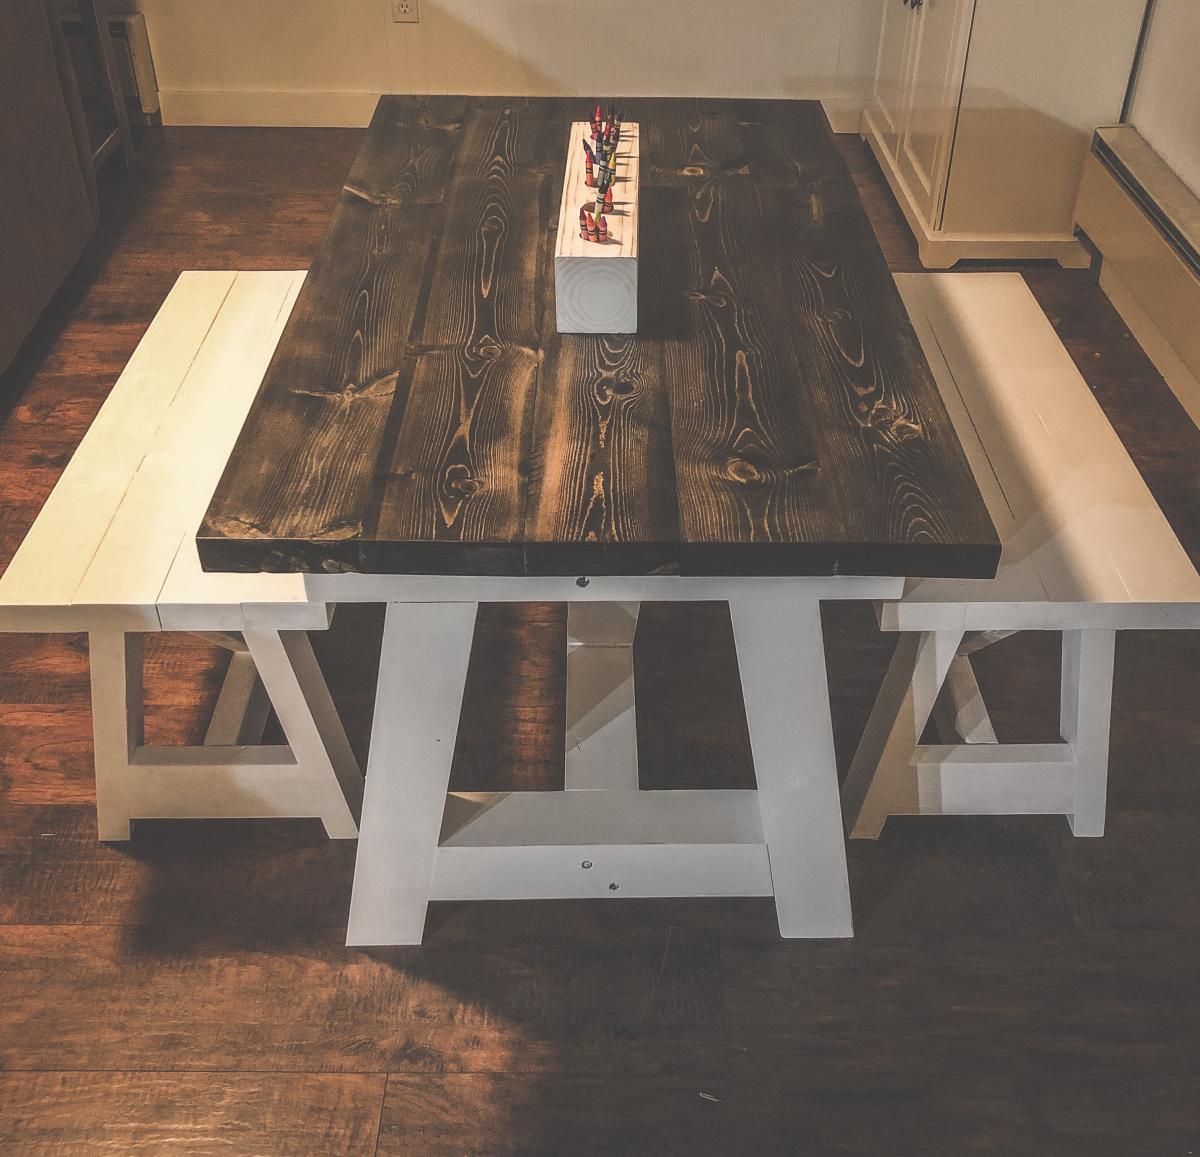
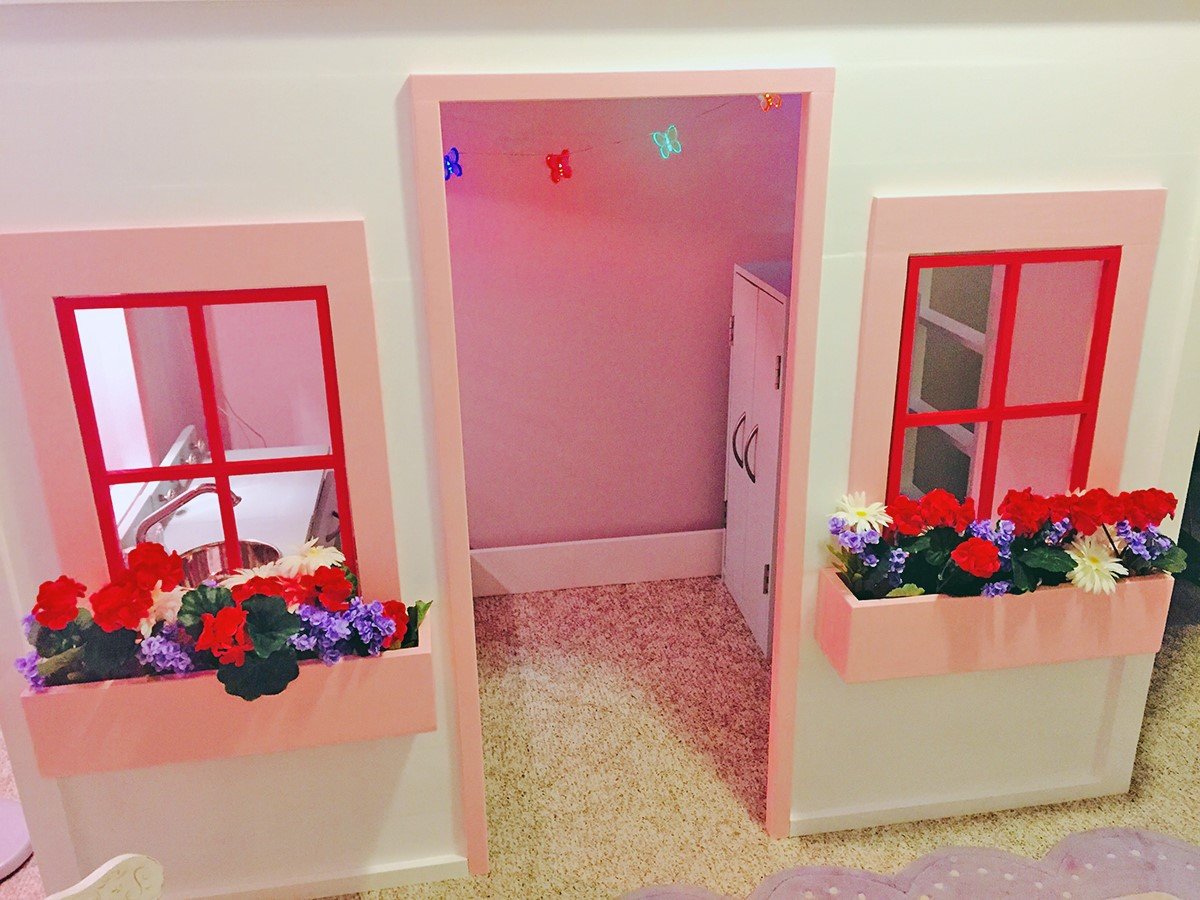
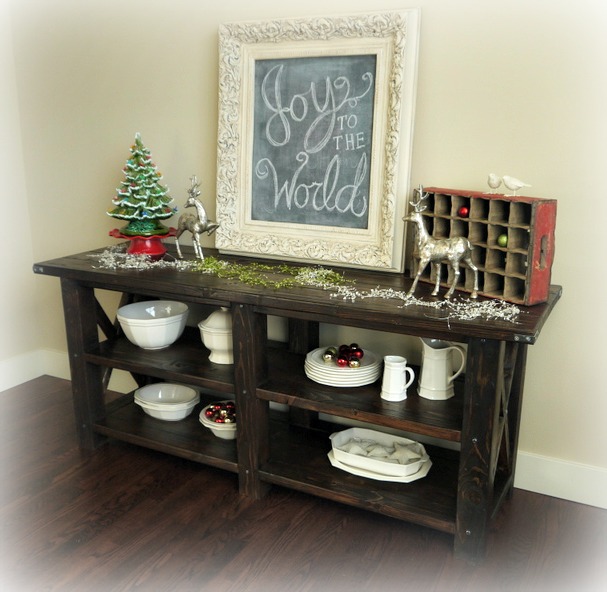
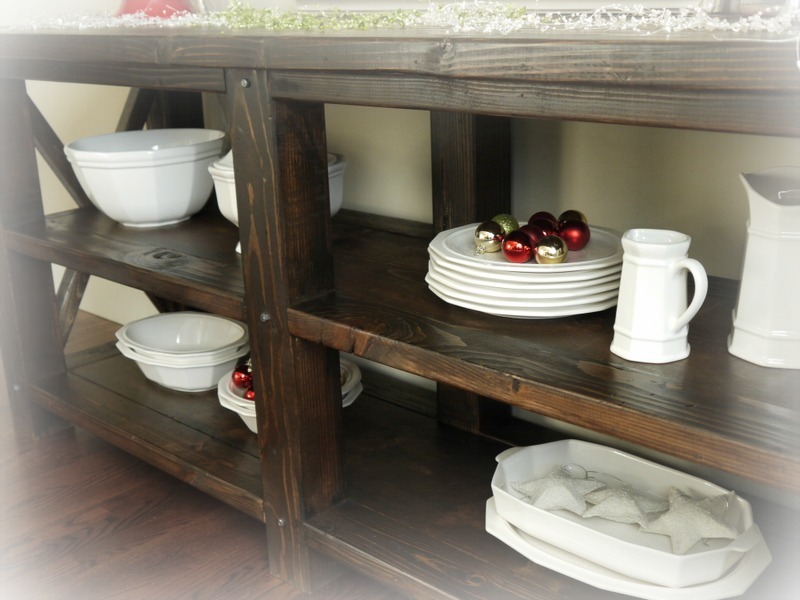
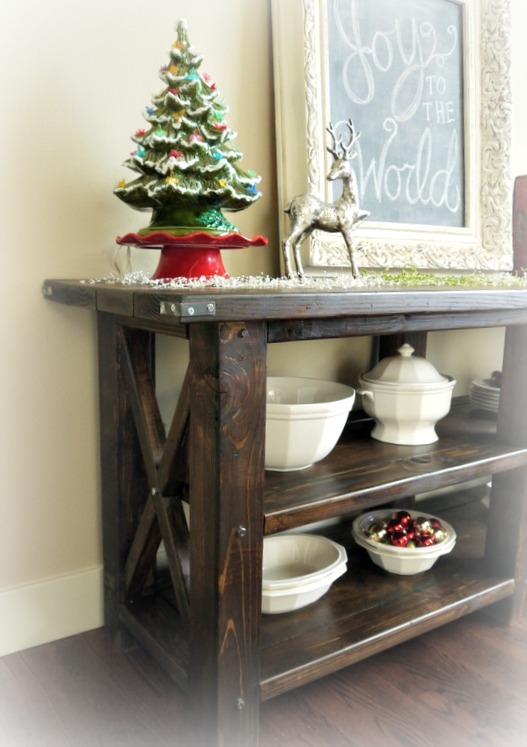
I needed some furniture for the entryway and made this dresser. All it needs now is a few accessories! Thanks Ana.
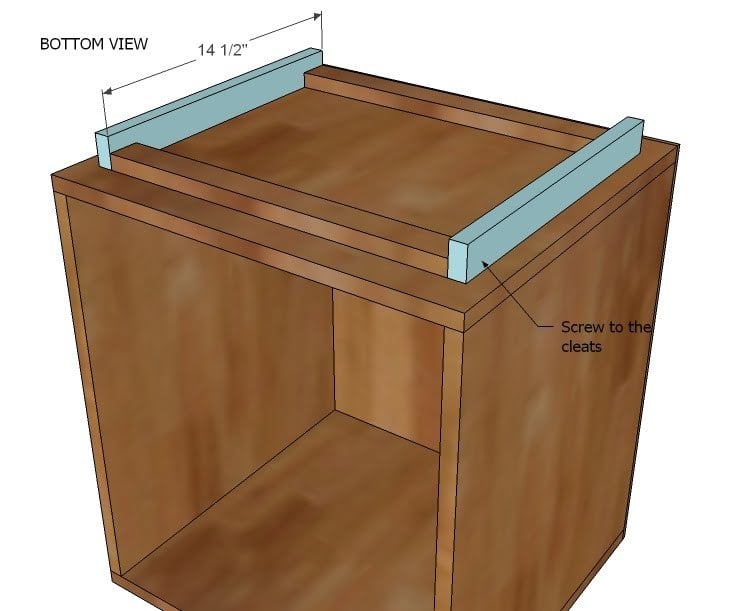
Built from Plan(s)
Estimated Cost
$300
Estimated Time Investment
Weekend Project (10-20 Hours)
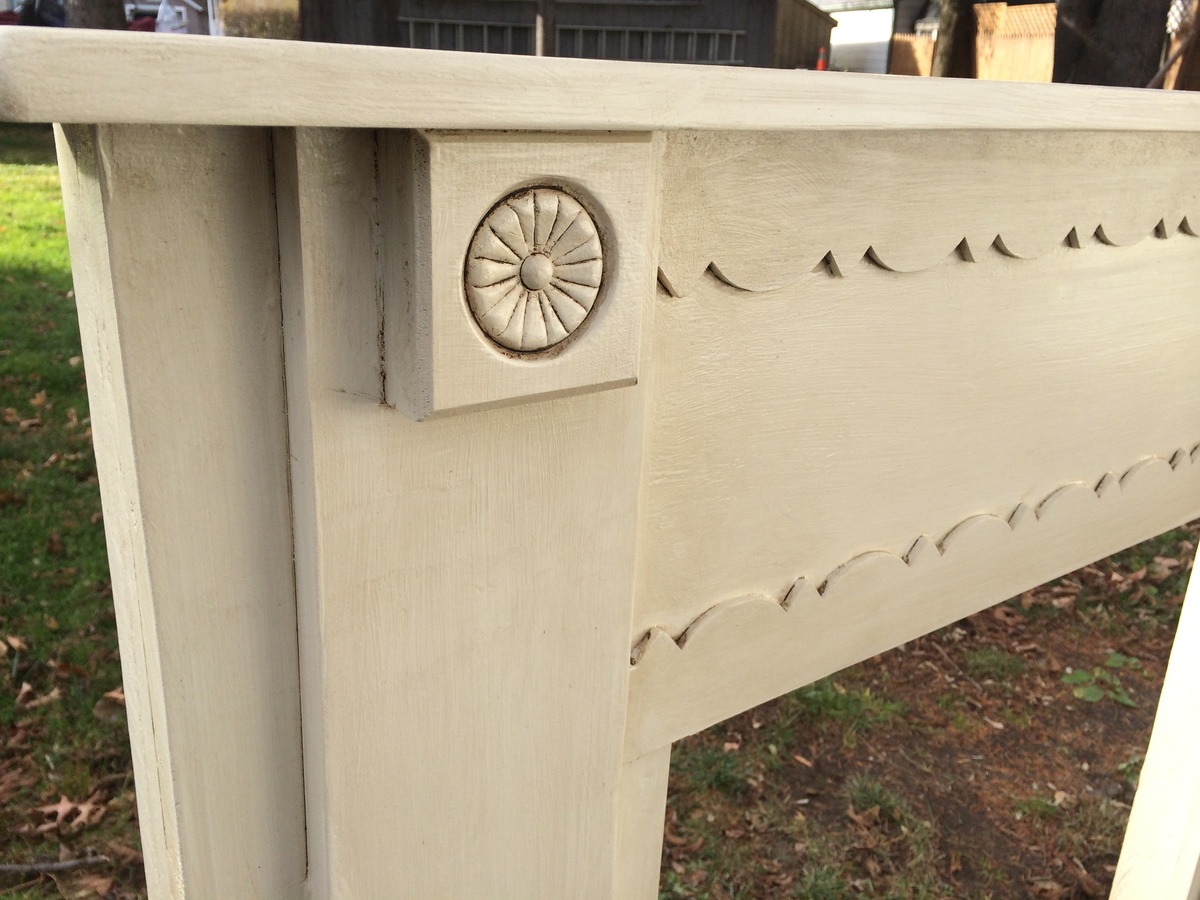
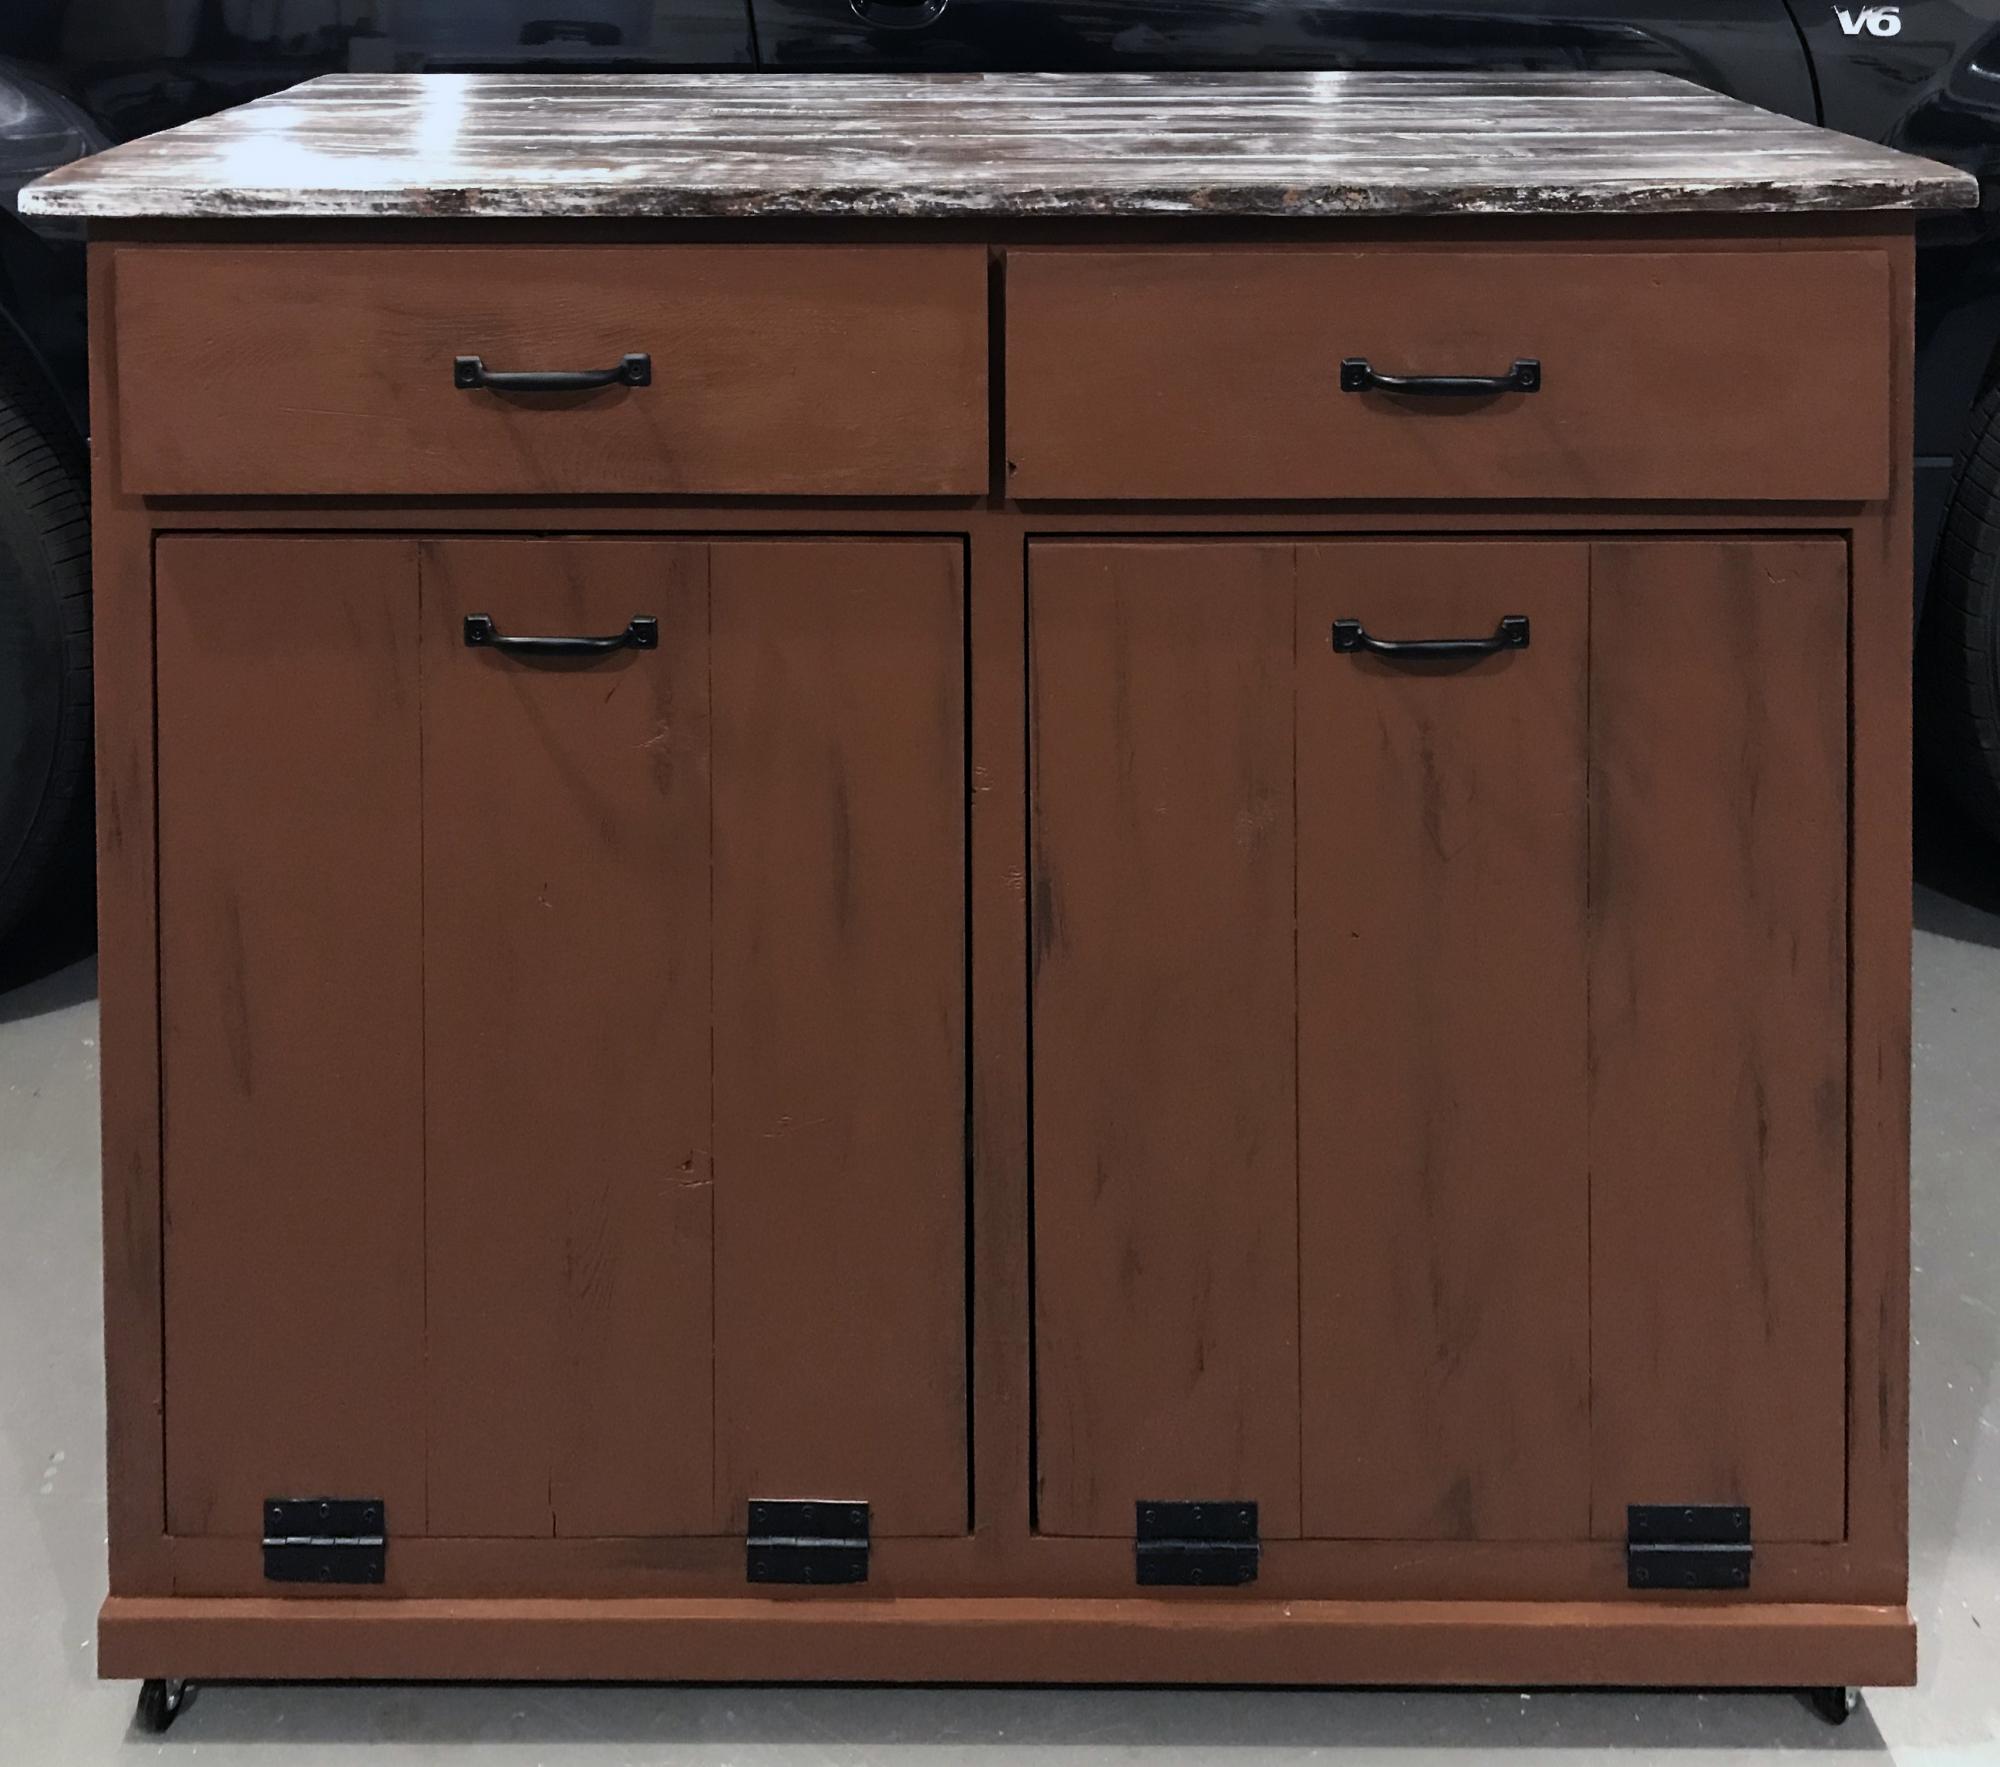
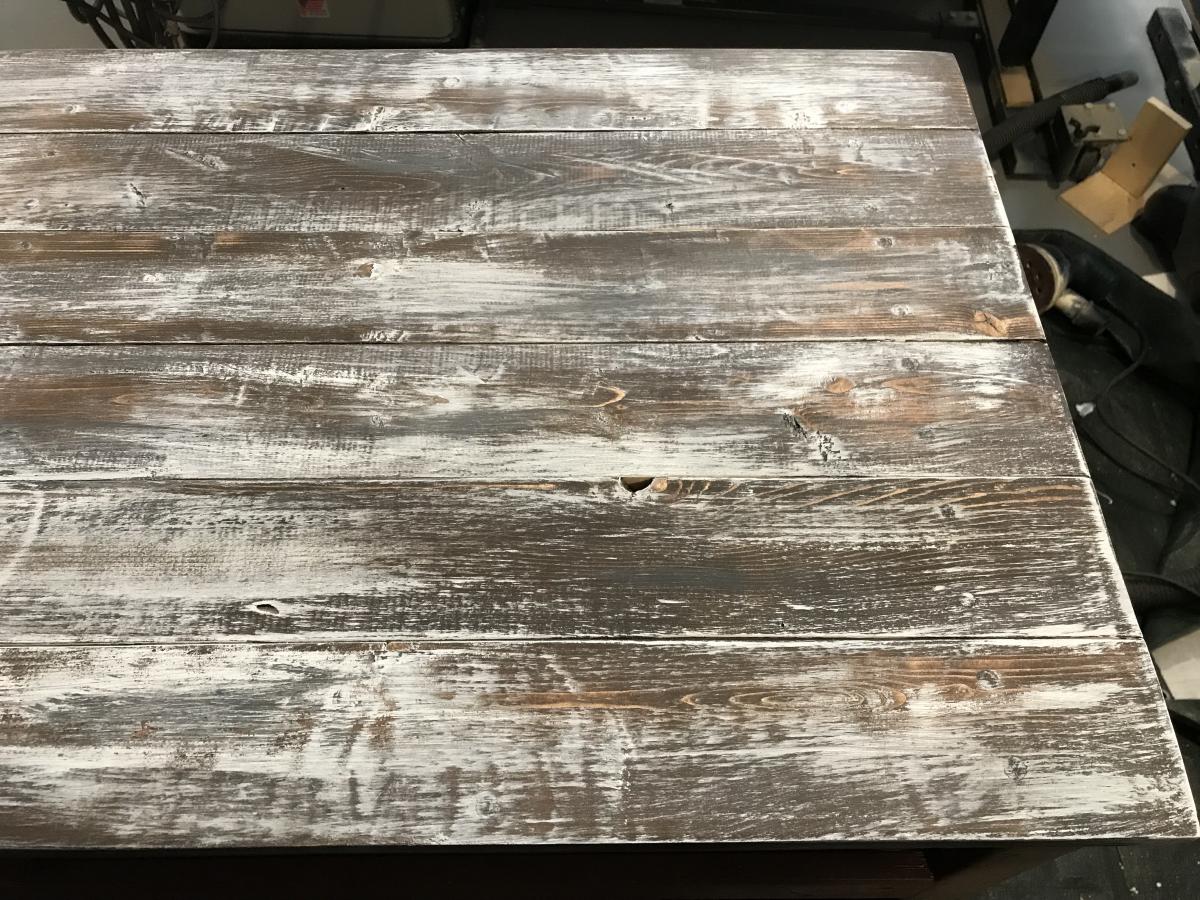
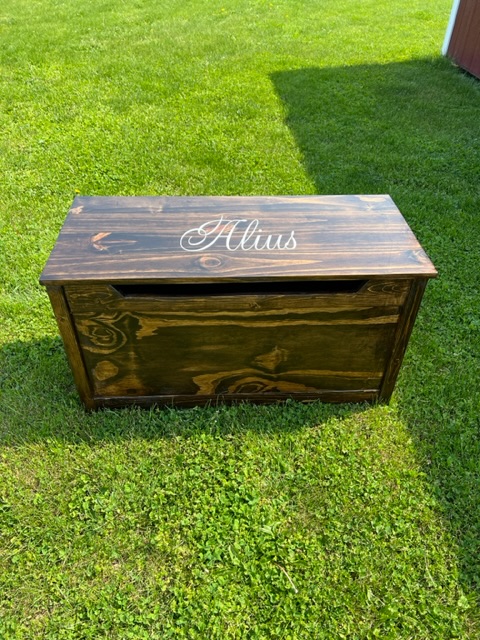
Finish Used
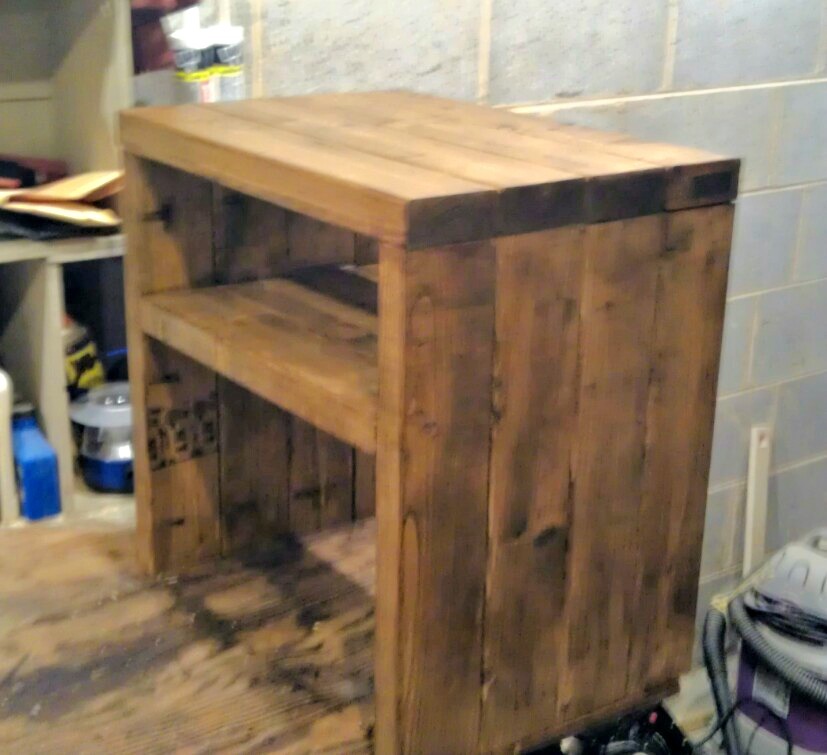
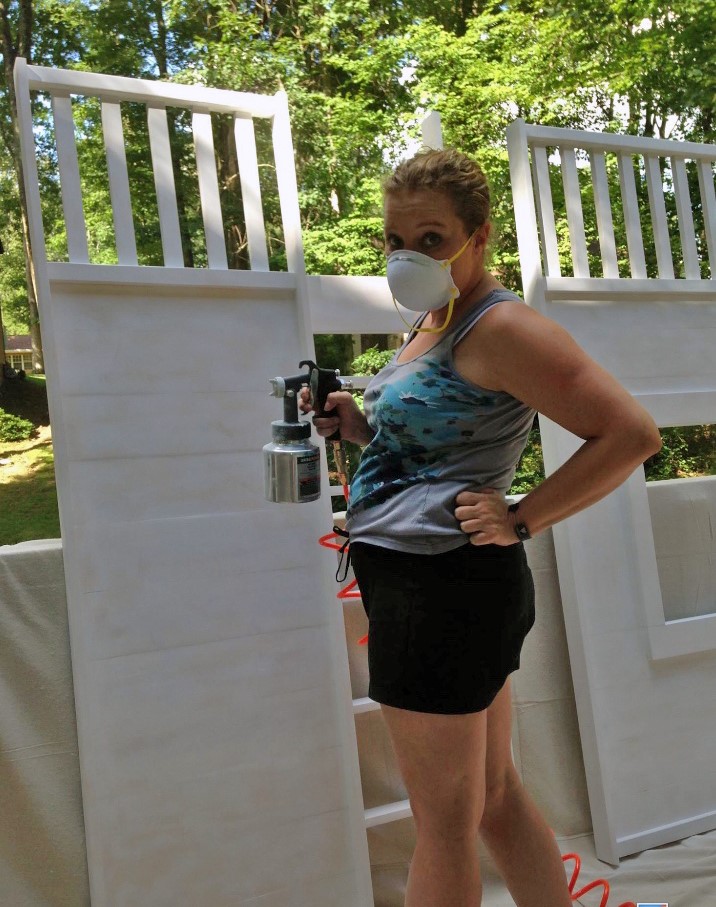
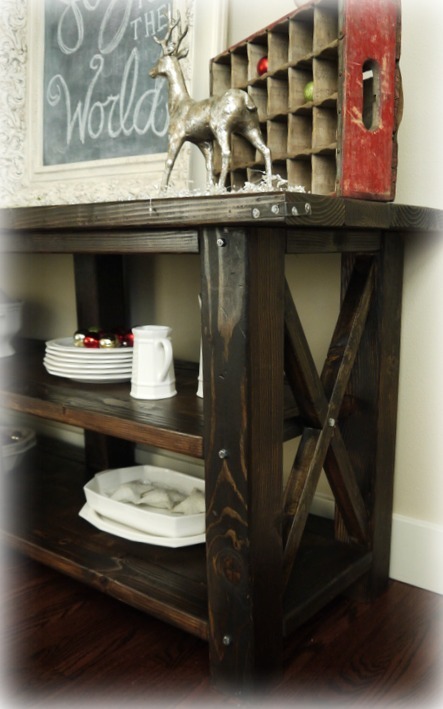
I used a light cherry stain and topcoated with a matte black paint. I lightly distressed the edges to have the stain show through.
Recommended Skill Level
Intermediate


Comments
spiceylg
Fri, 01/06/2012 - 12:00
Beautiful job!
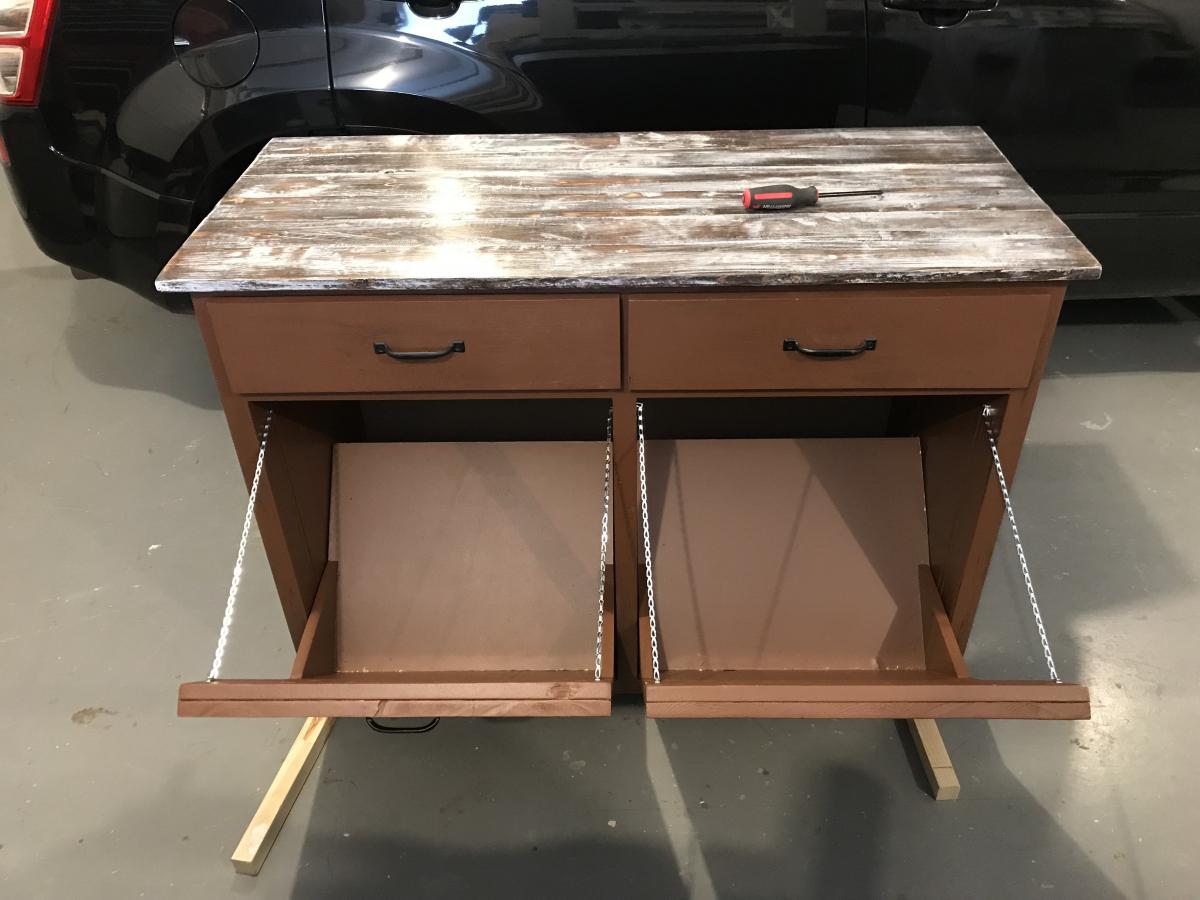
I love this. I would love to build this, but modify it to be more narrow. I am afraid to do both. I don't have the confidence yet to modify or tackle drawers. Yikes. Going to have to bit the bullet one of these days!