Community Brag Posts

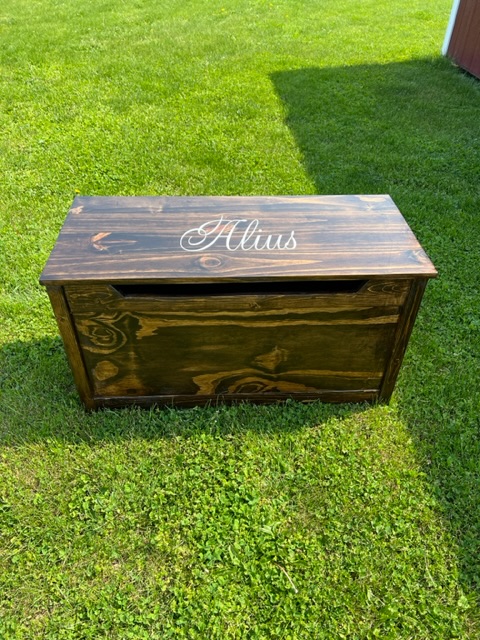
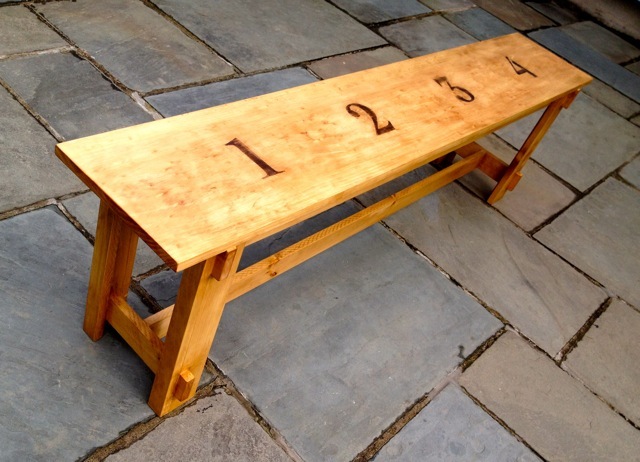
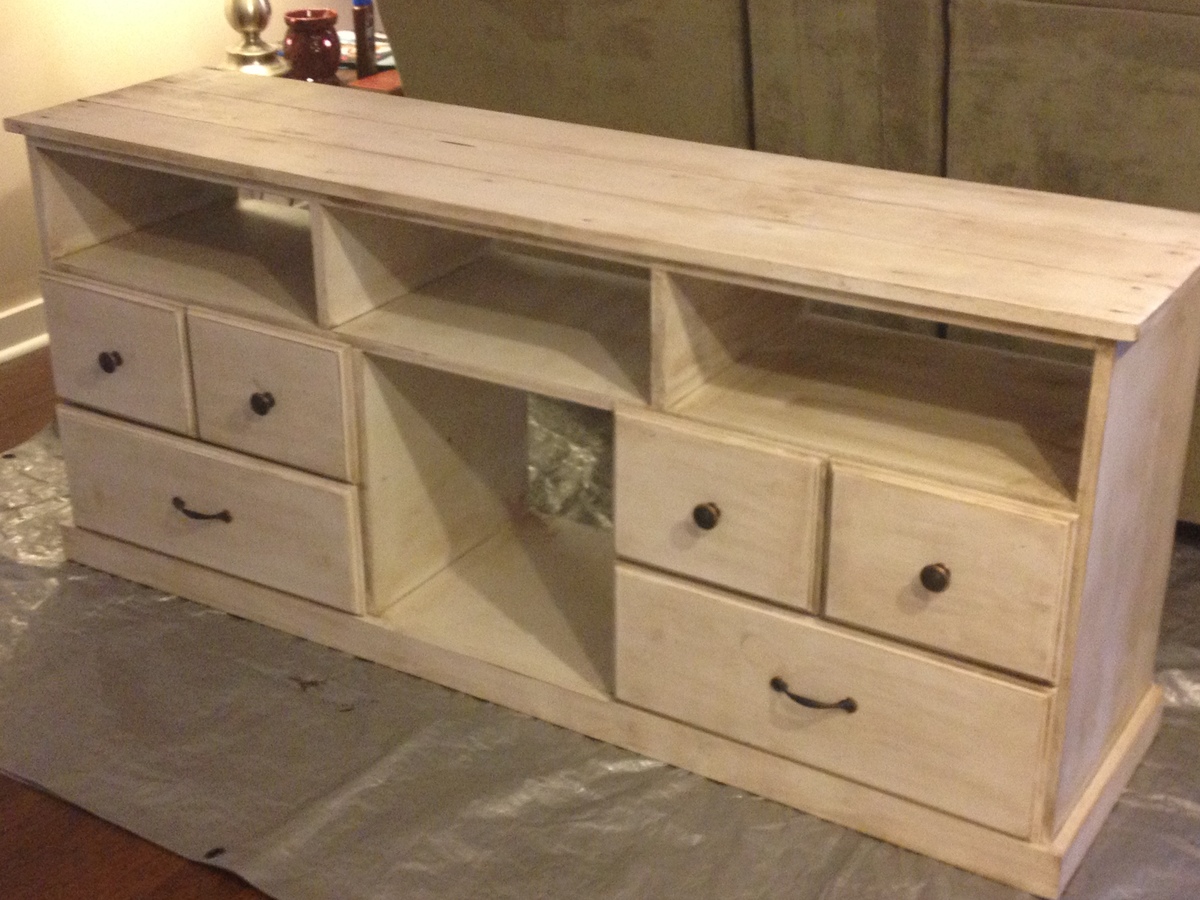
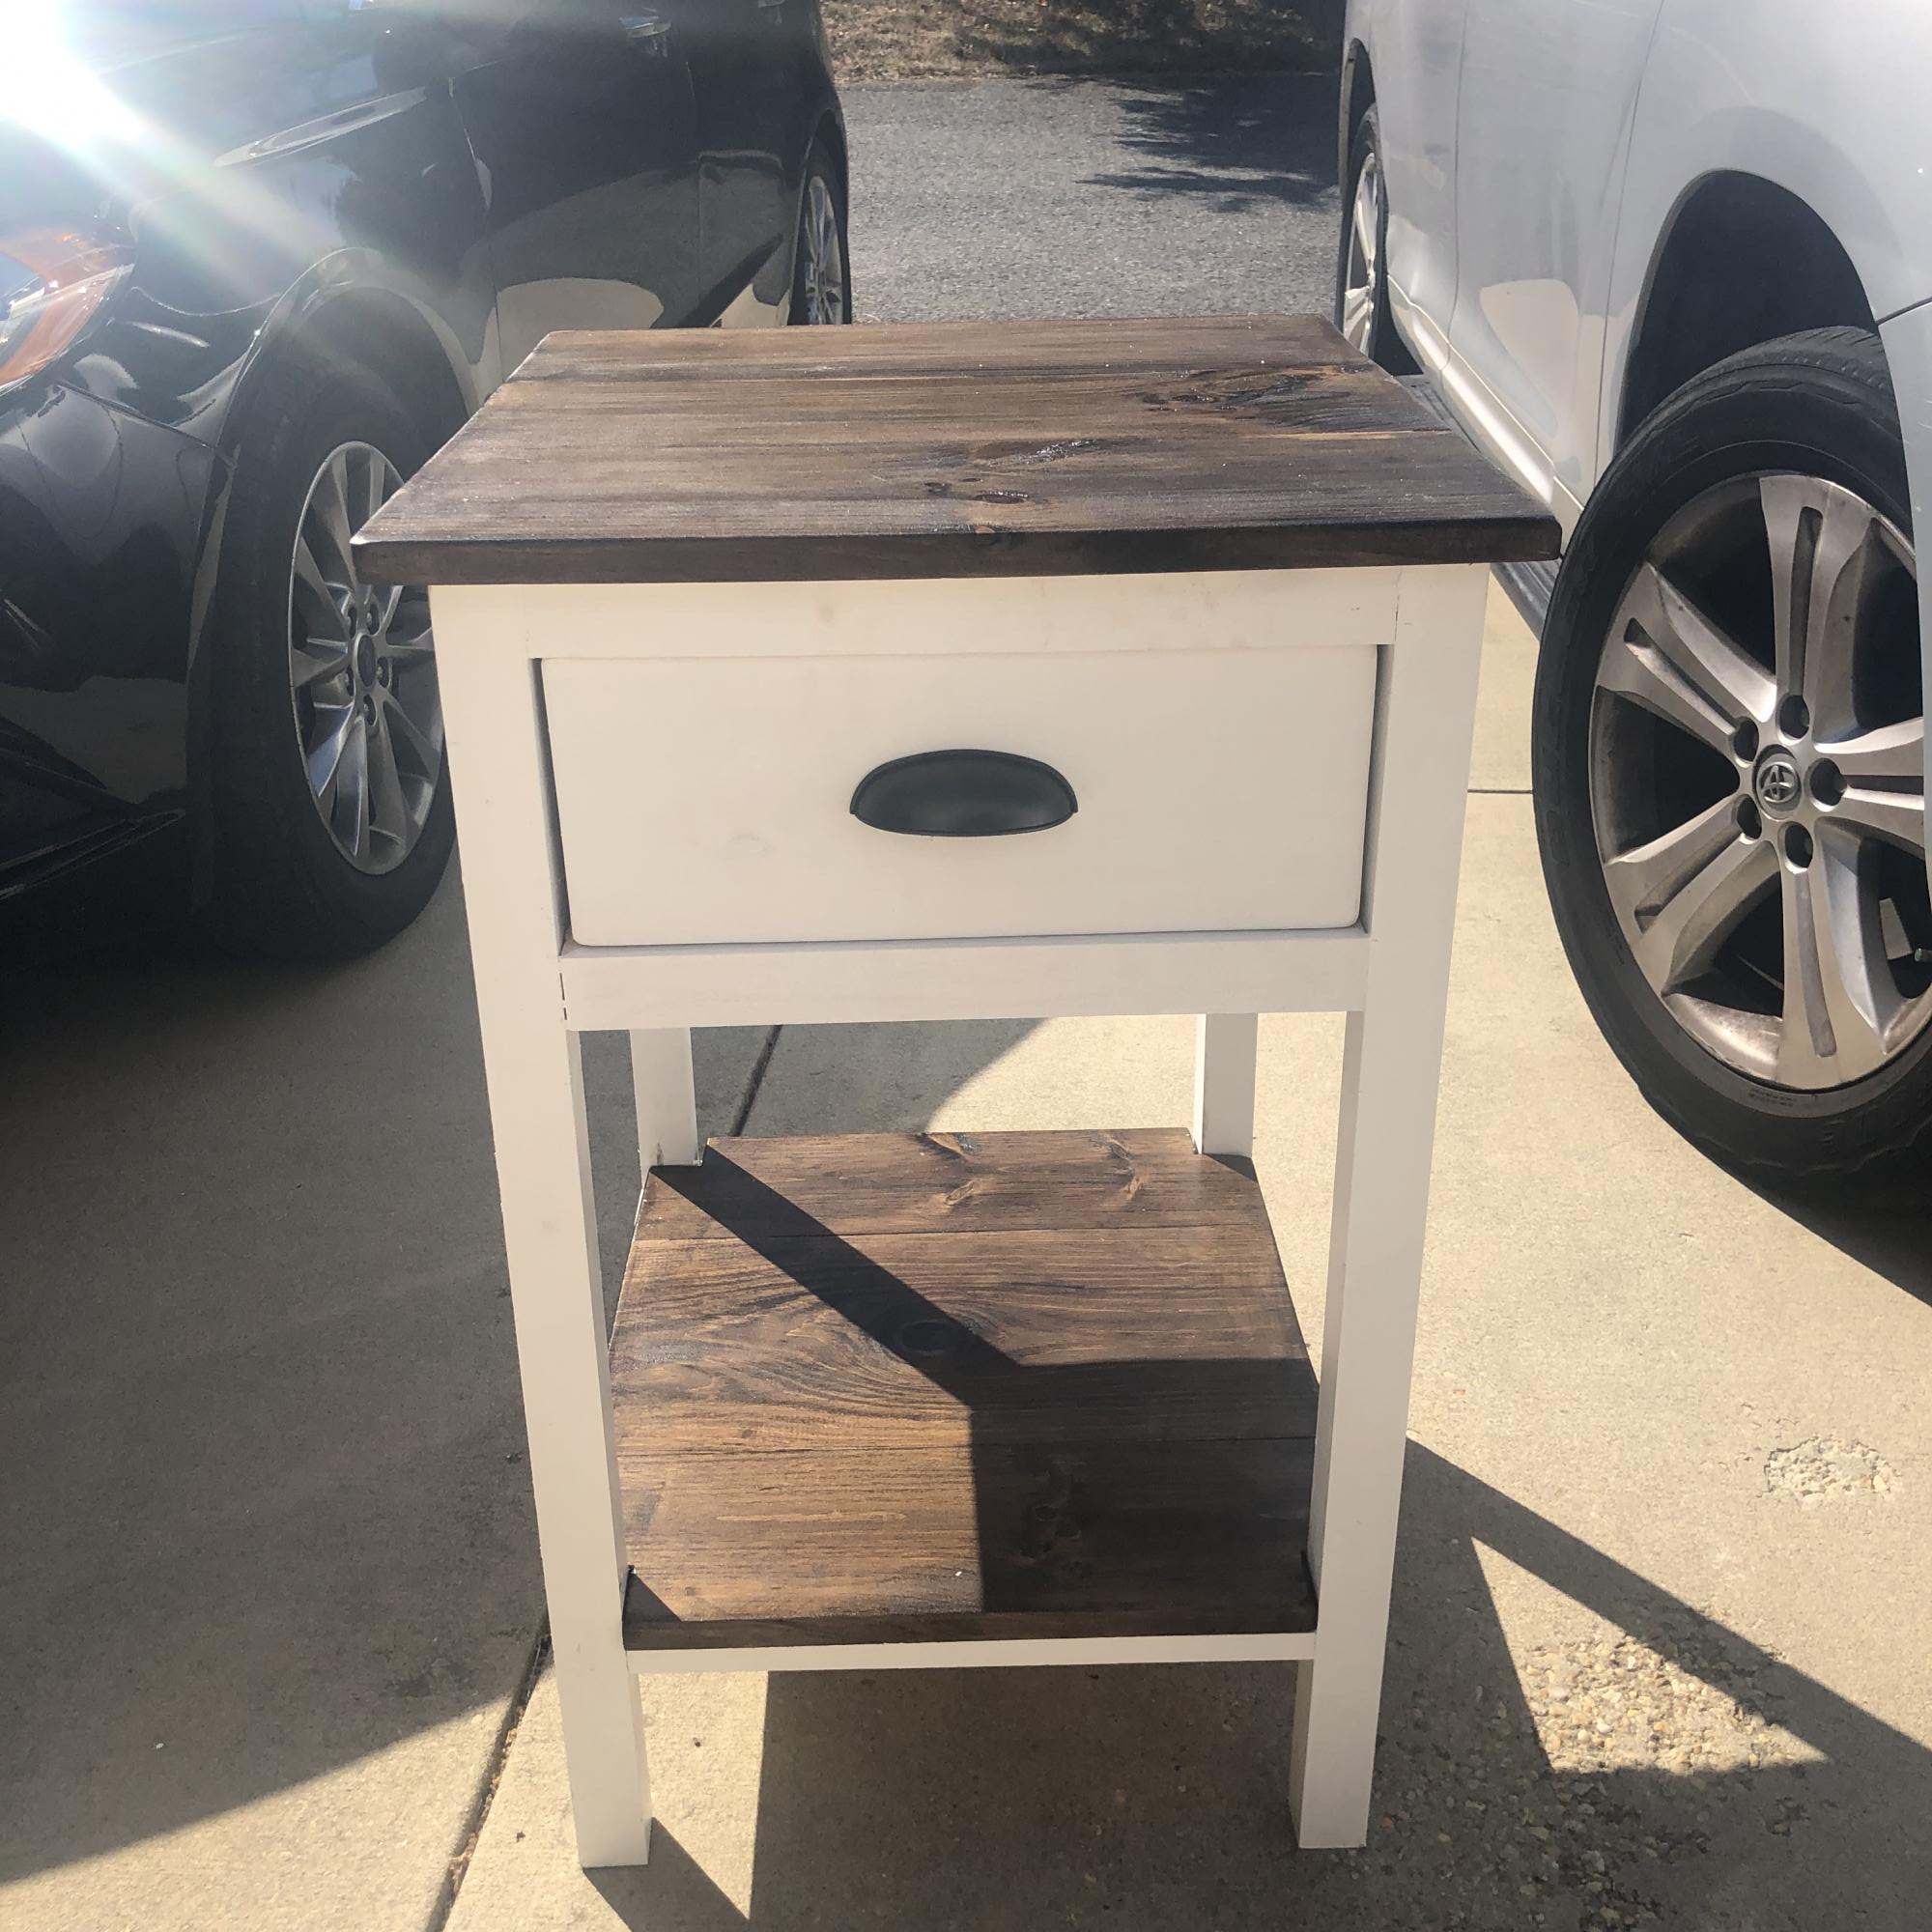
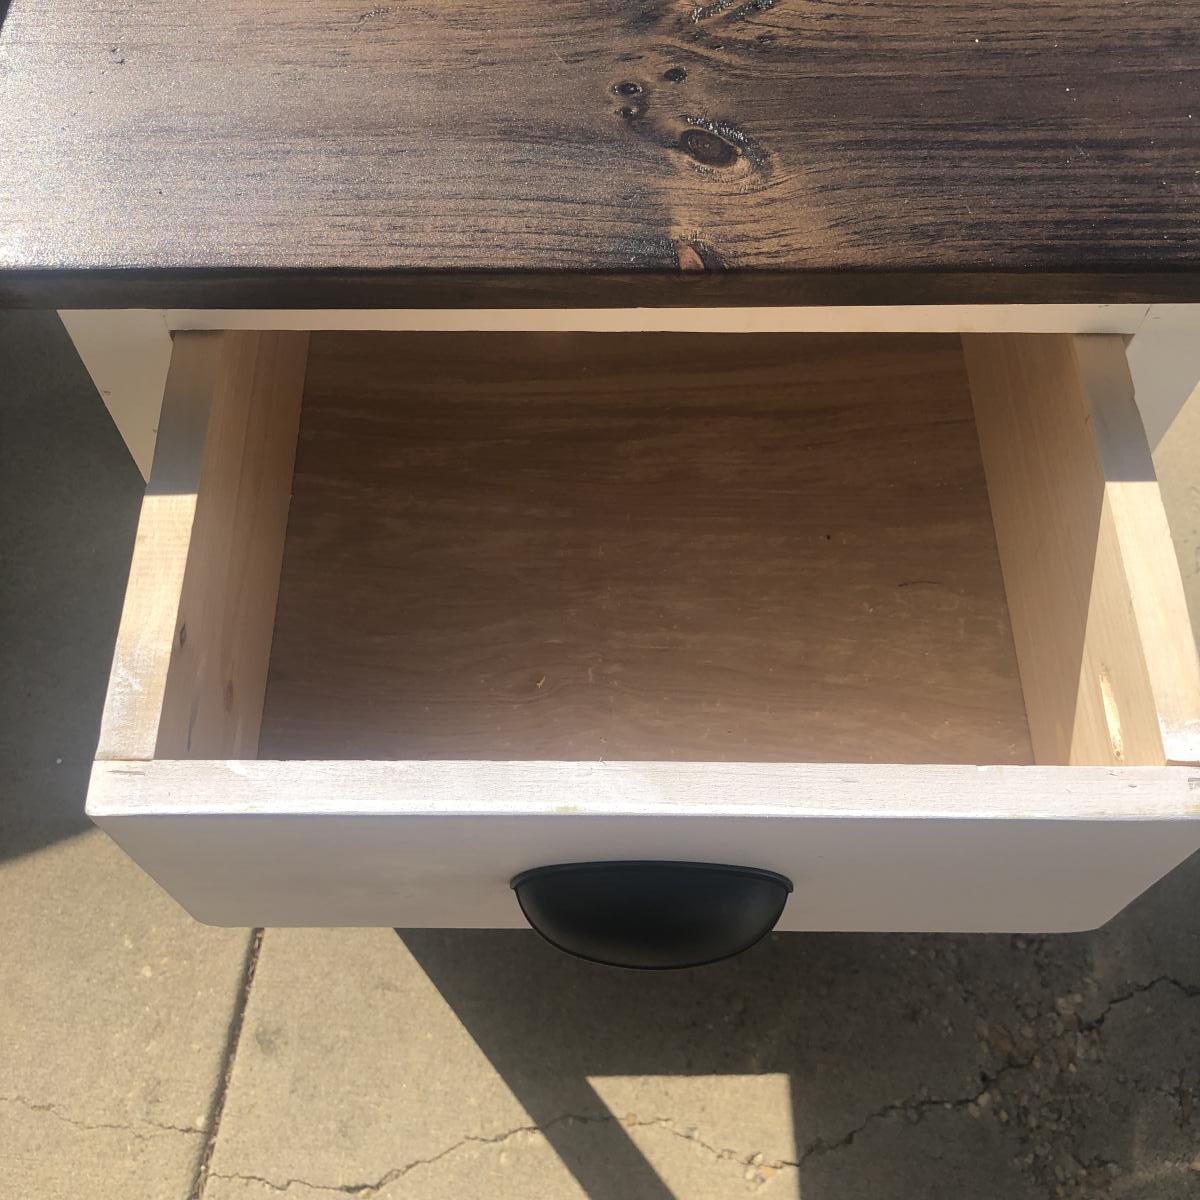
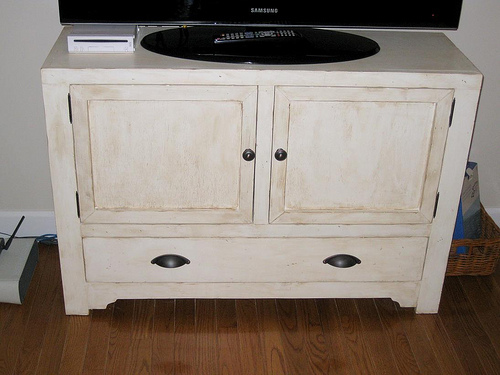
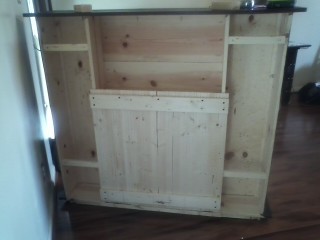
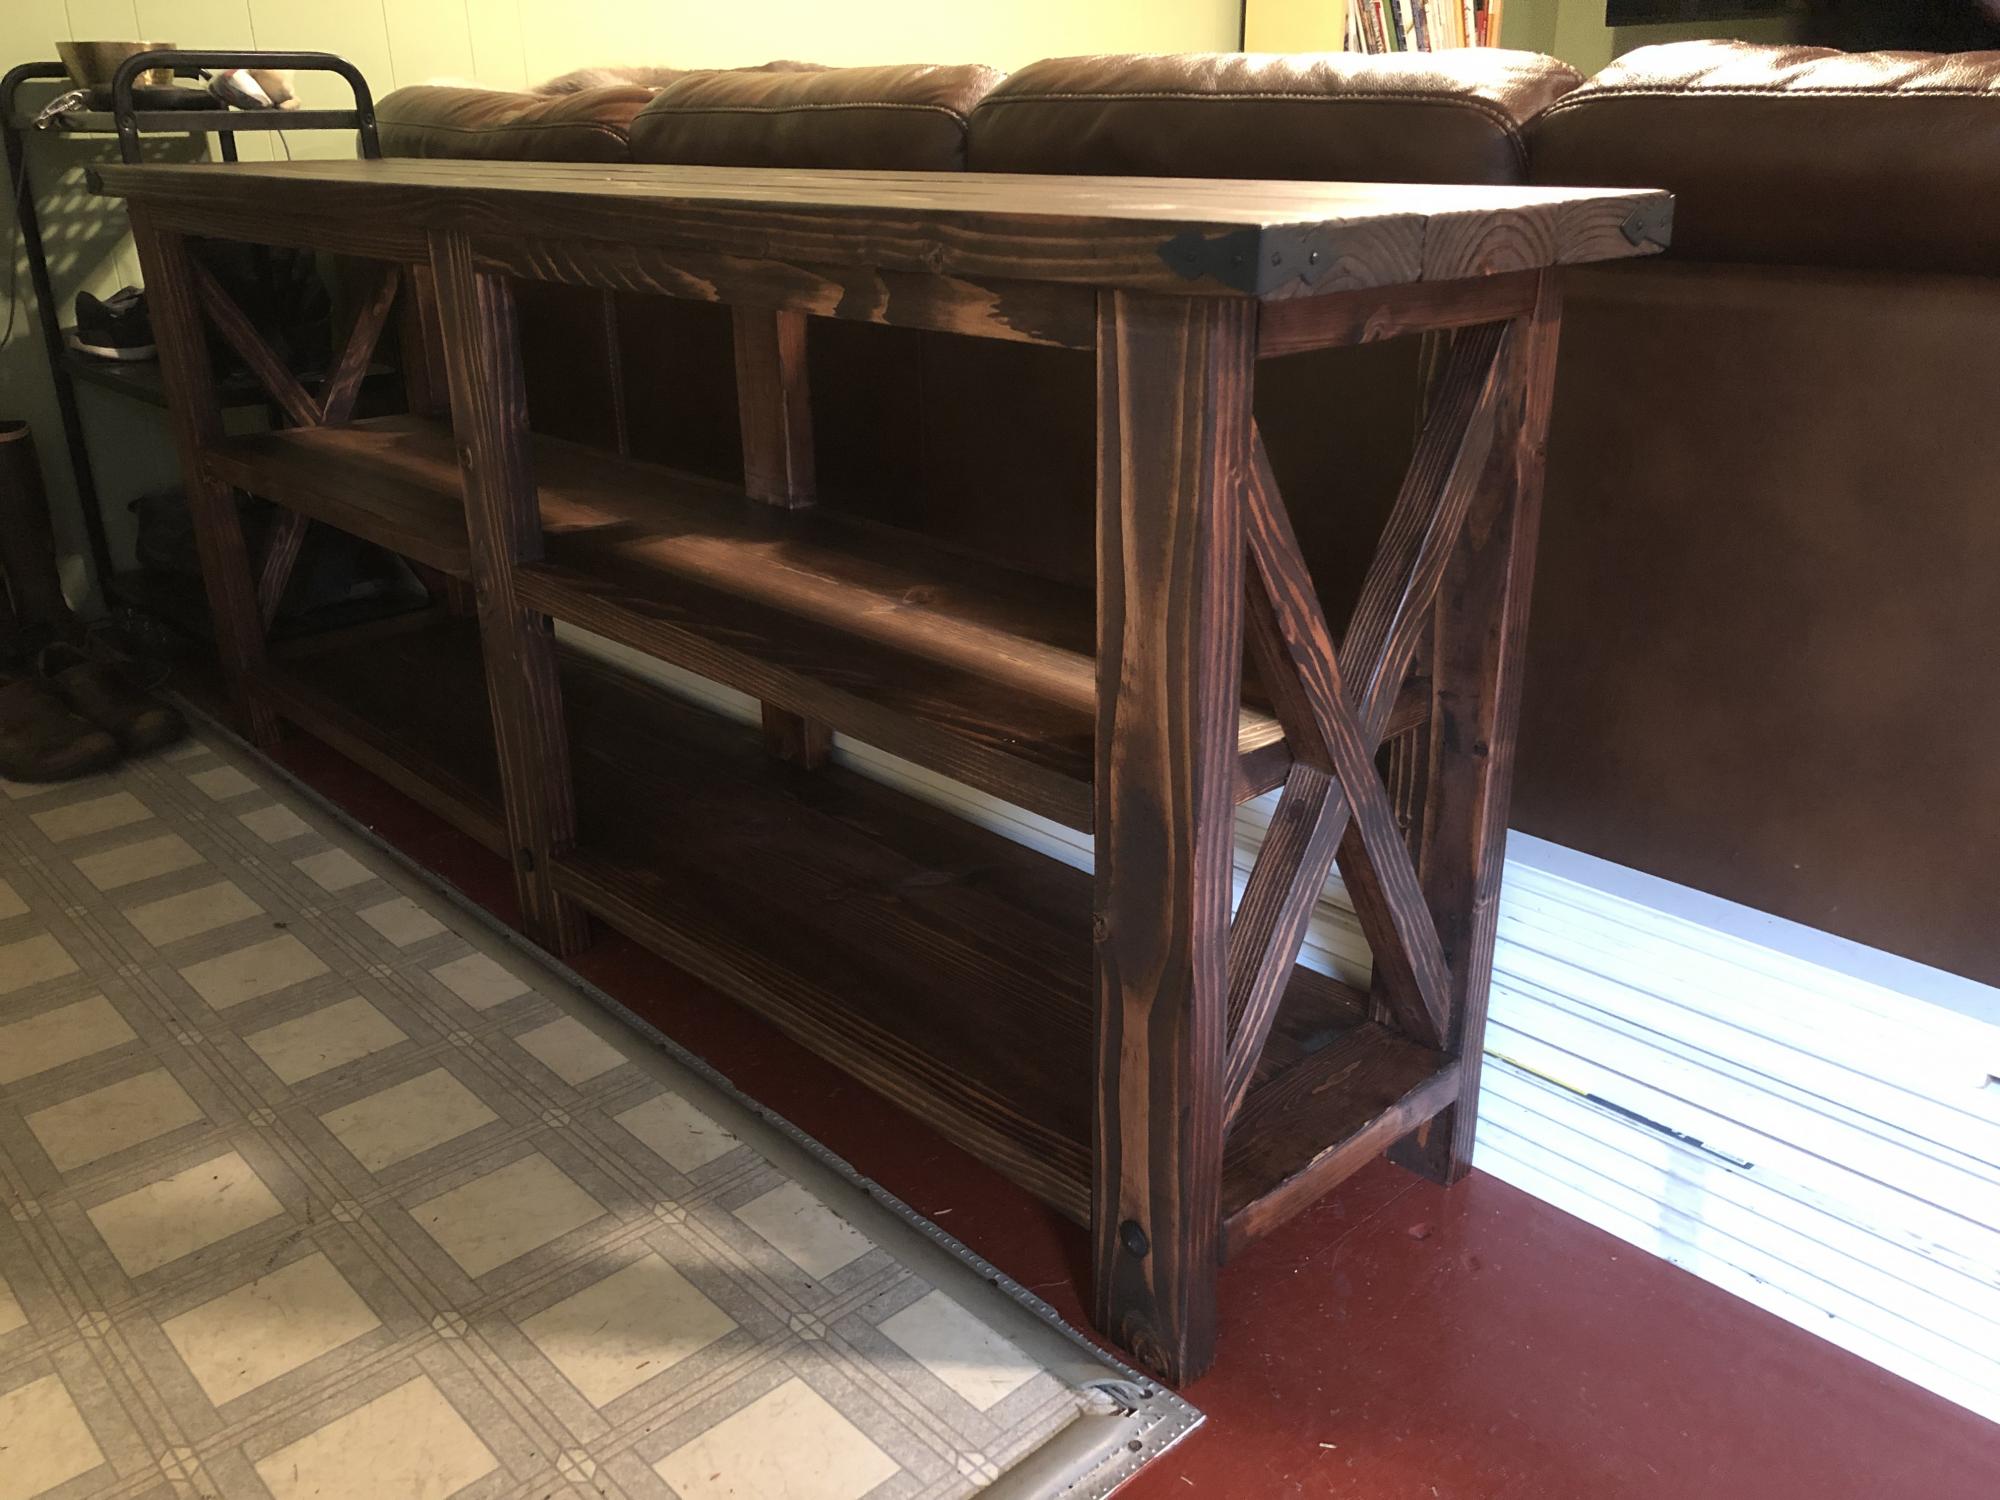
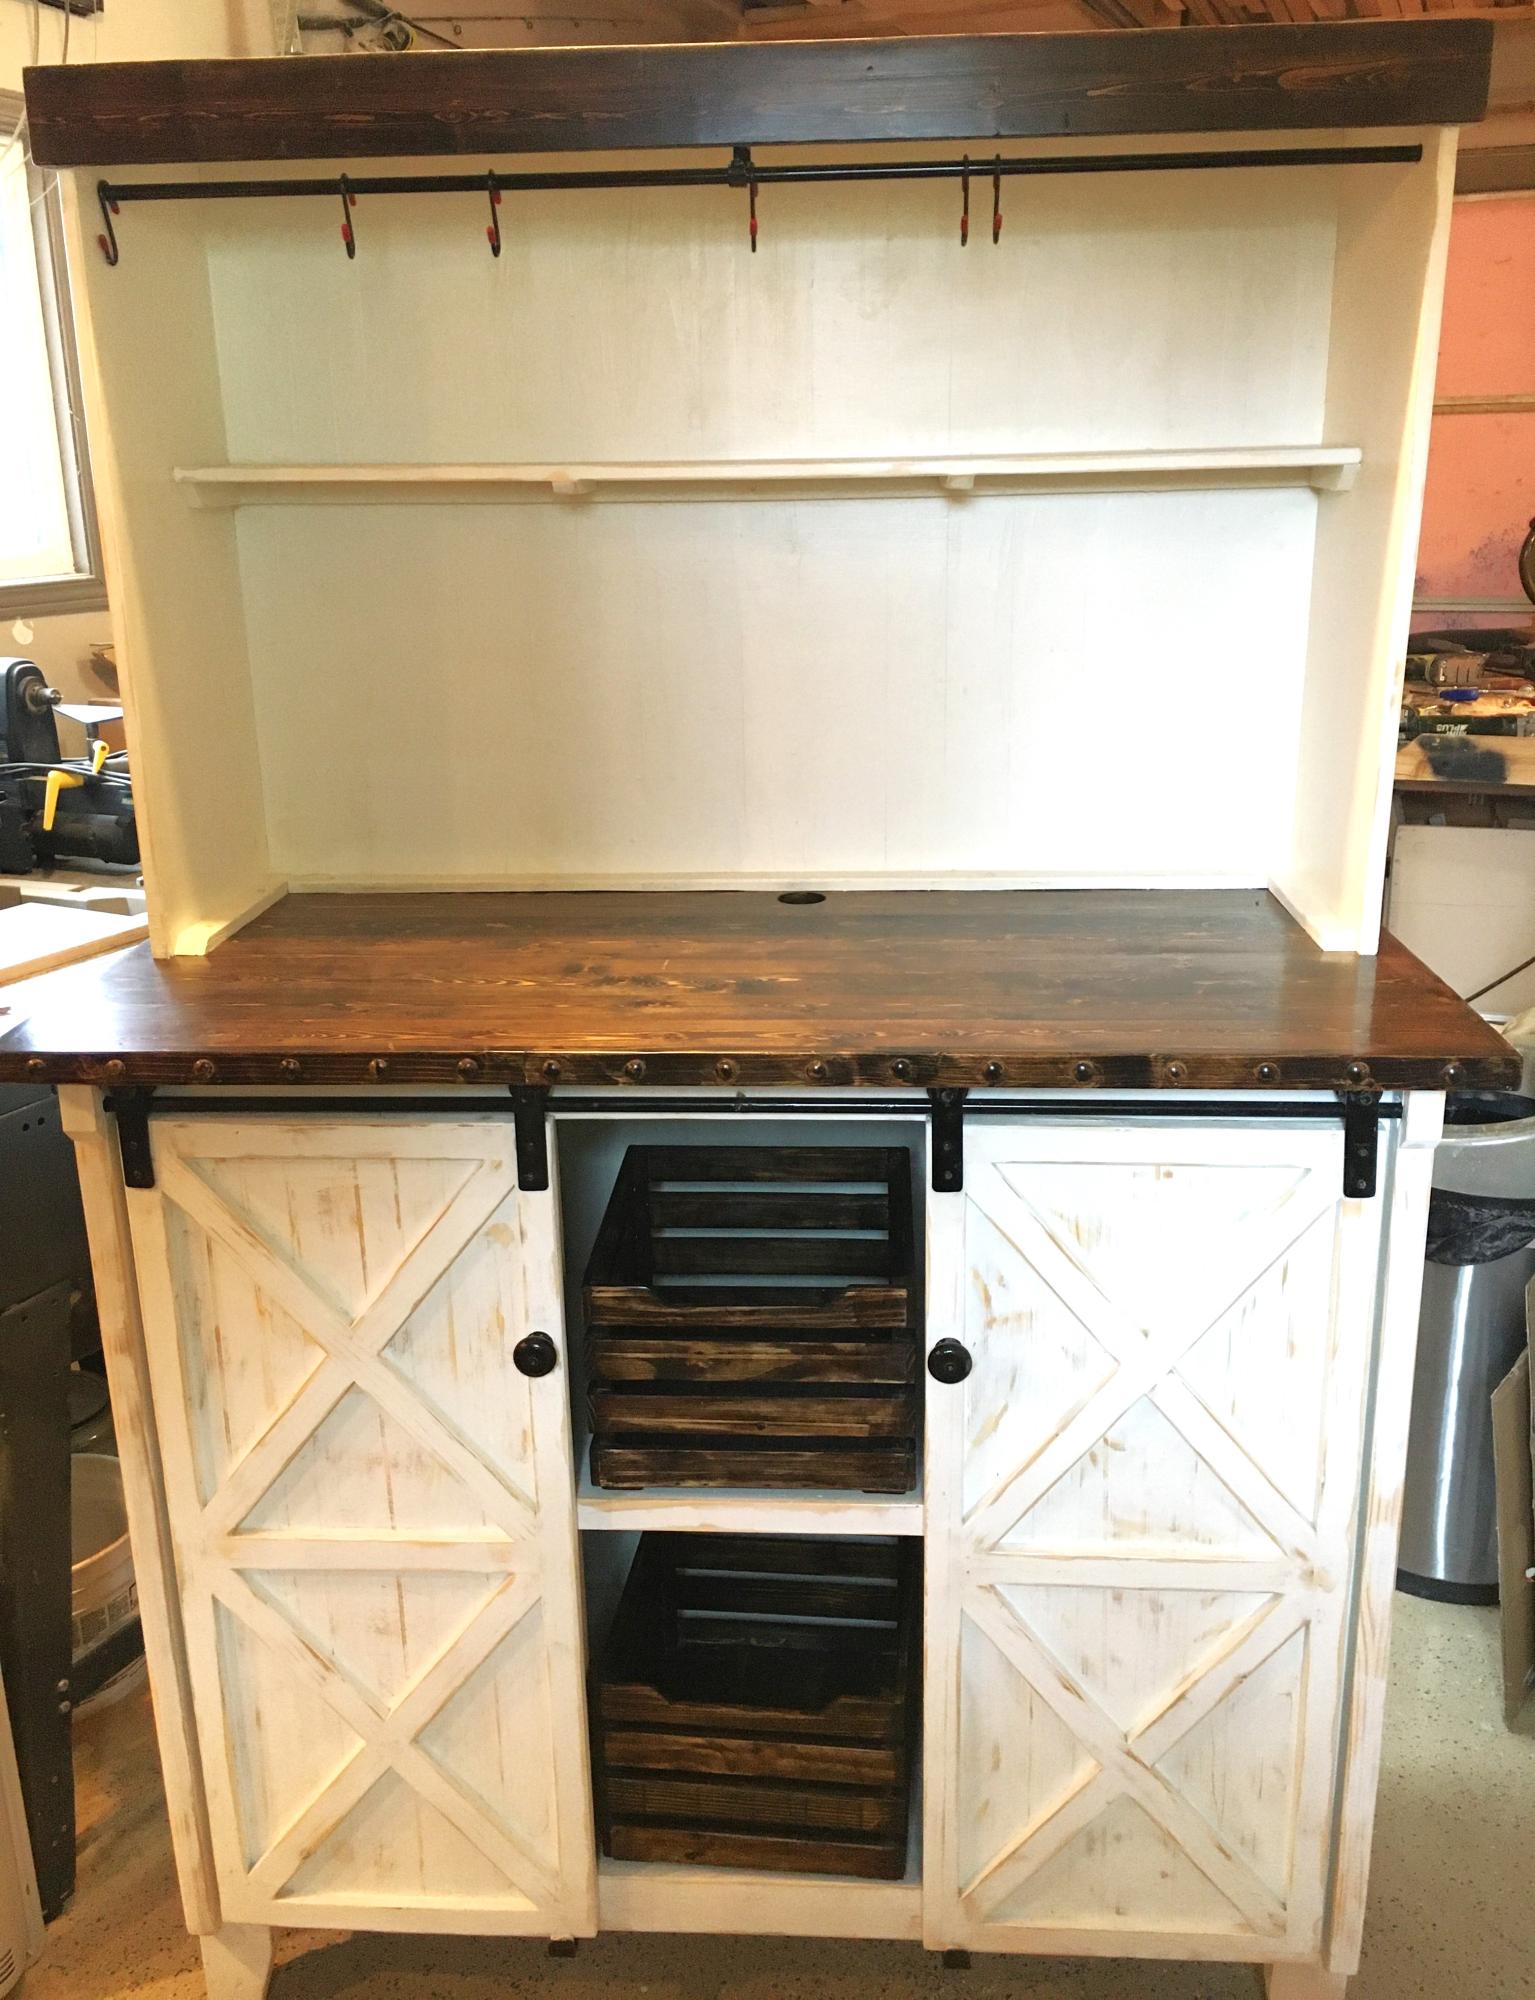
Wood Tilt Out Recycling Cabinet

Submitted by frmoody on Wed, 10/02/2019 - 15:59

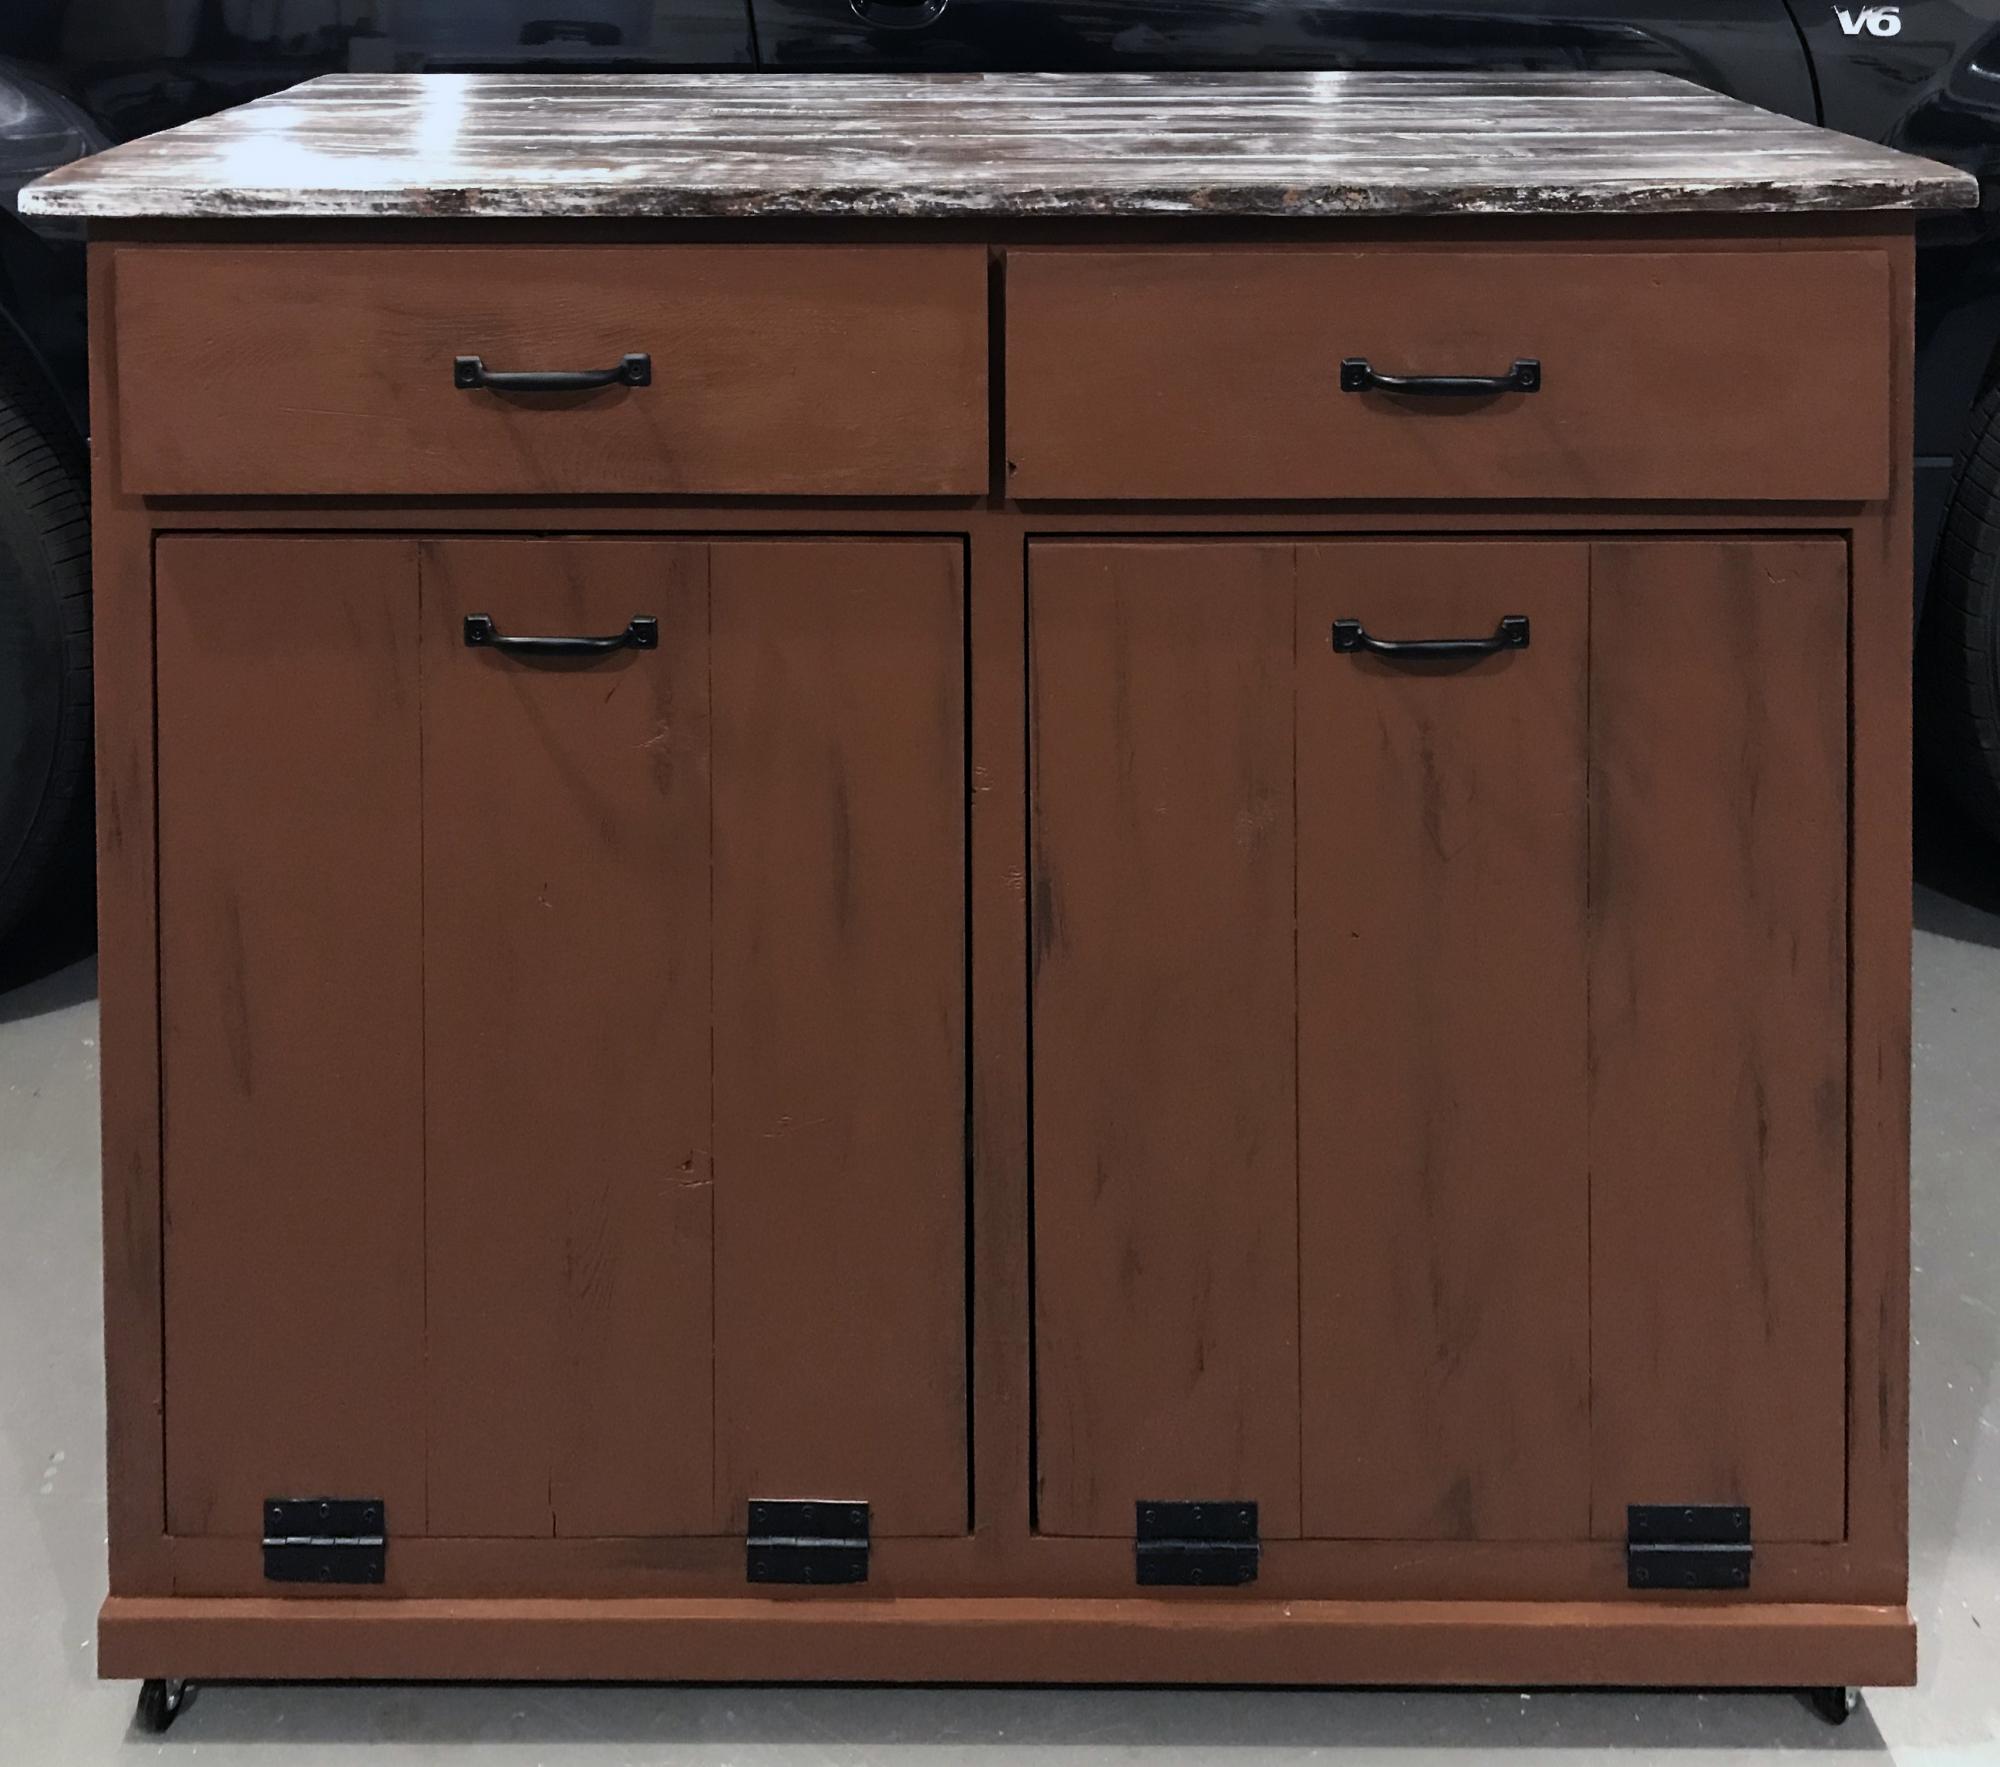
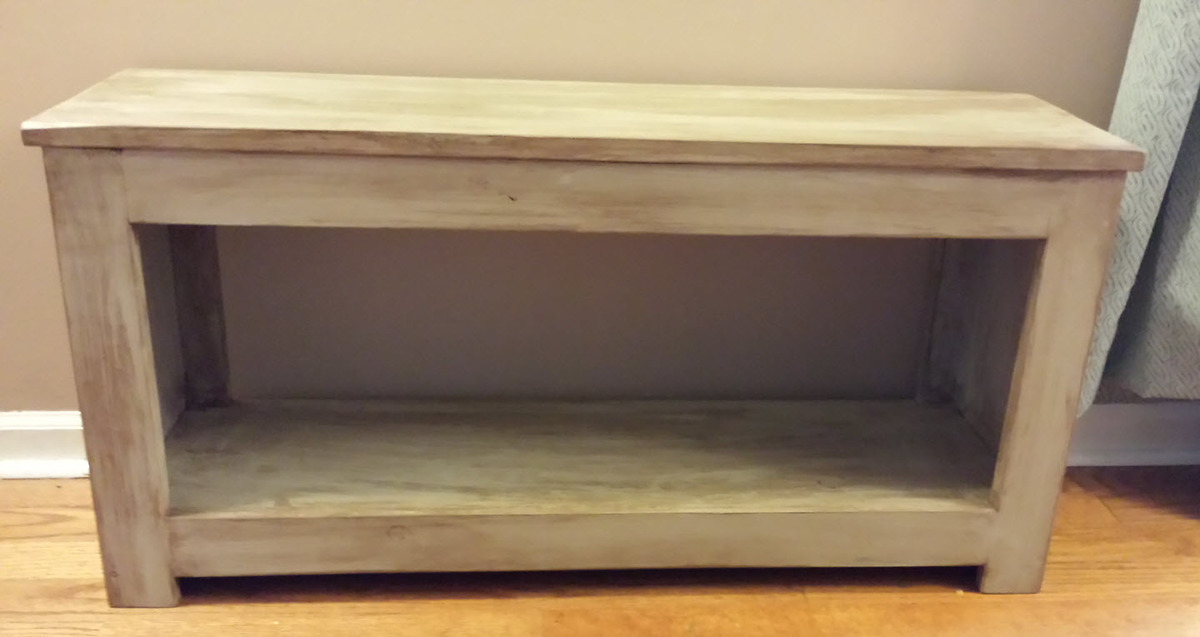
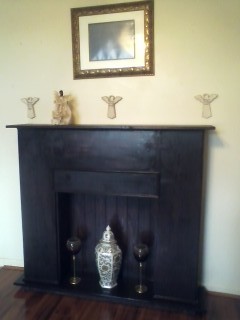
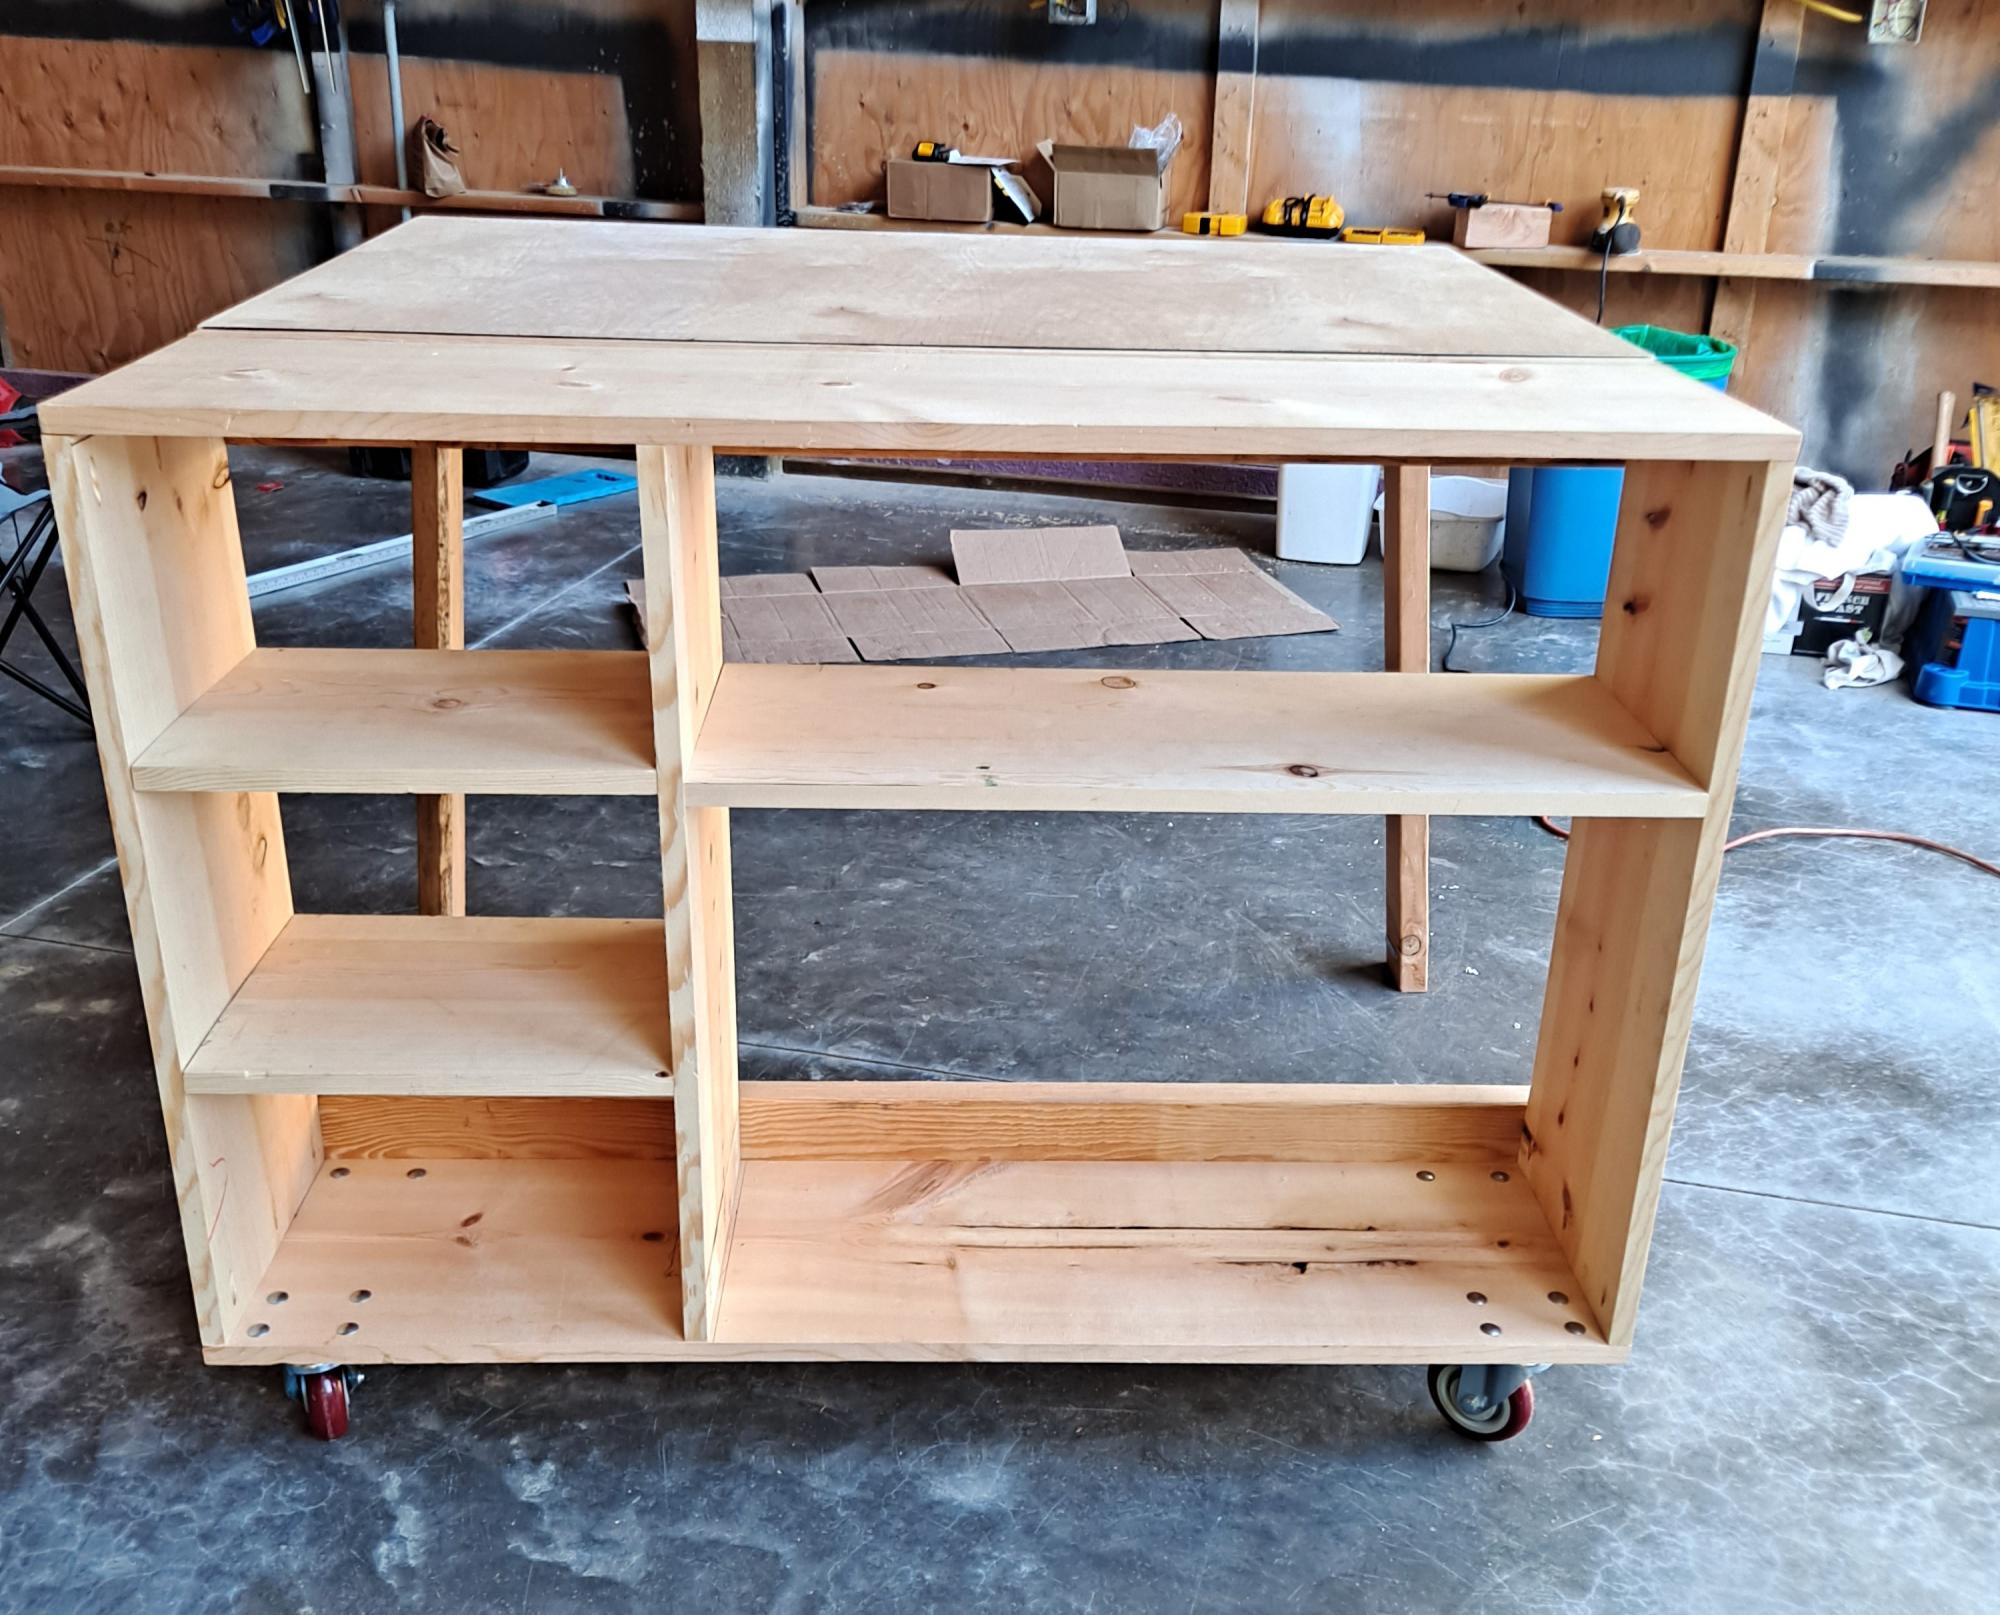
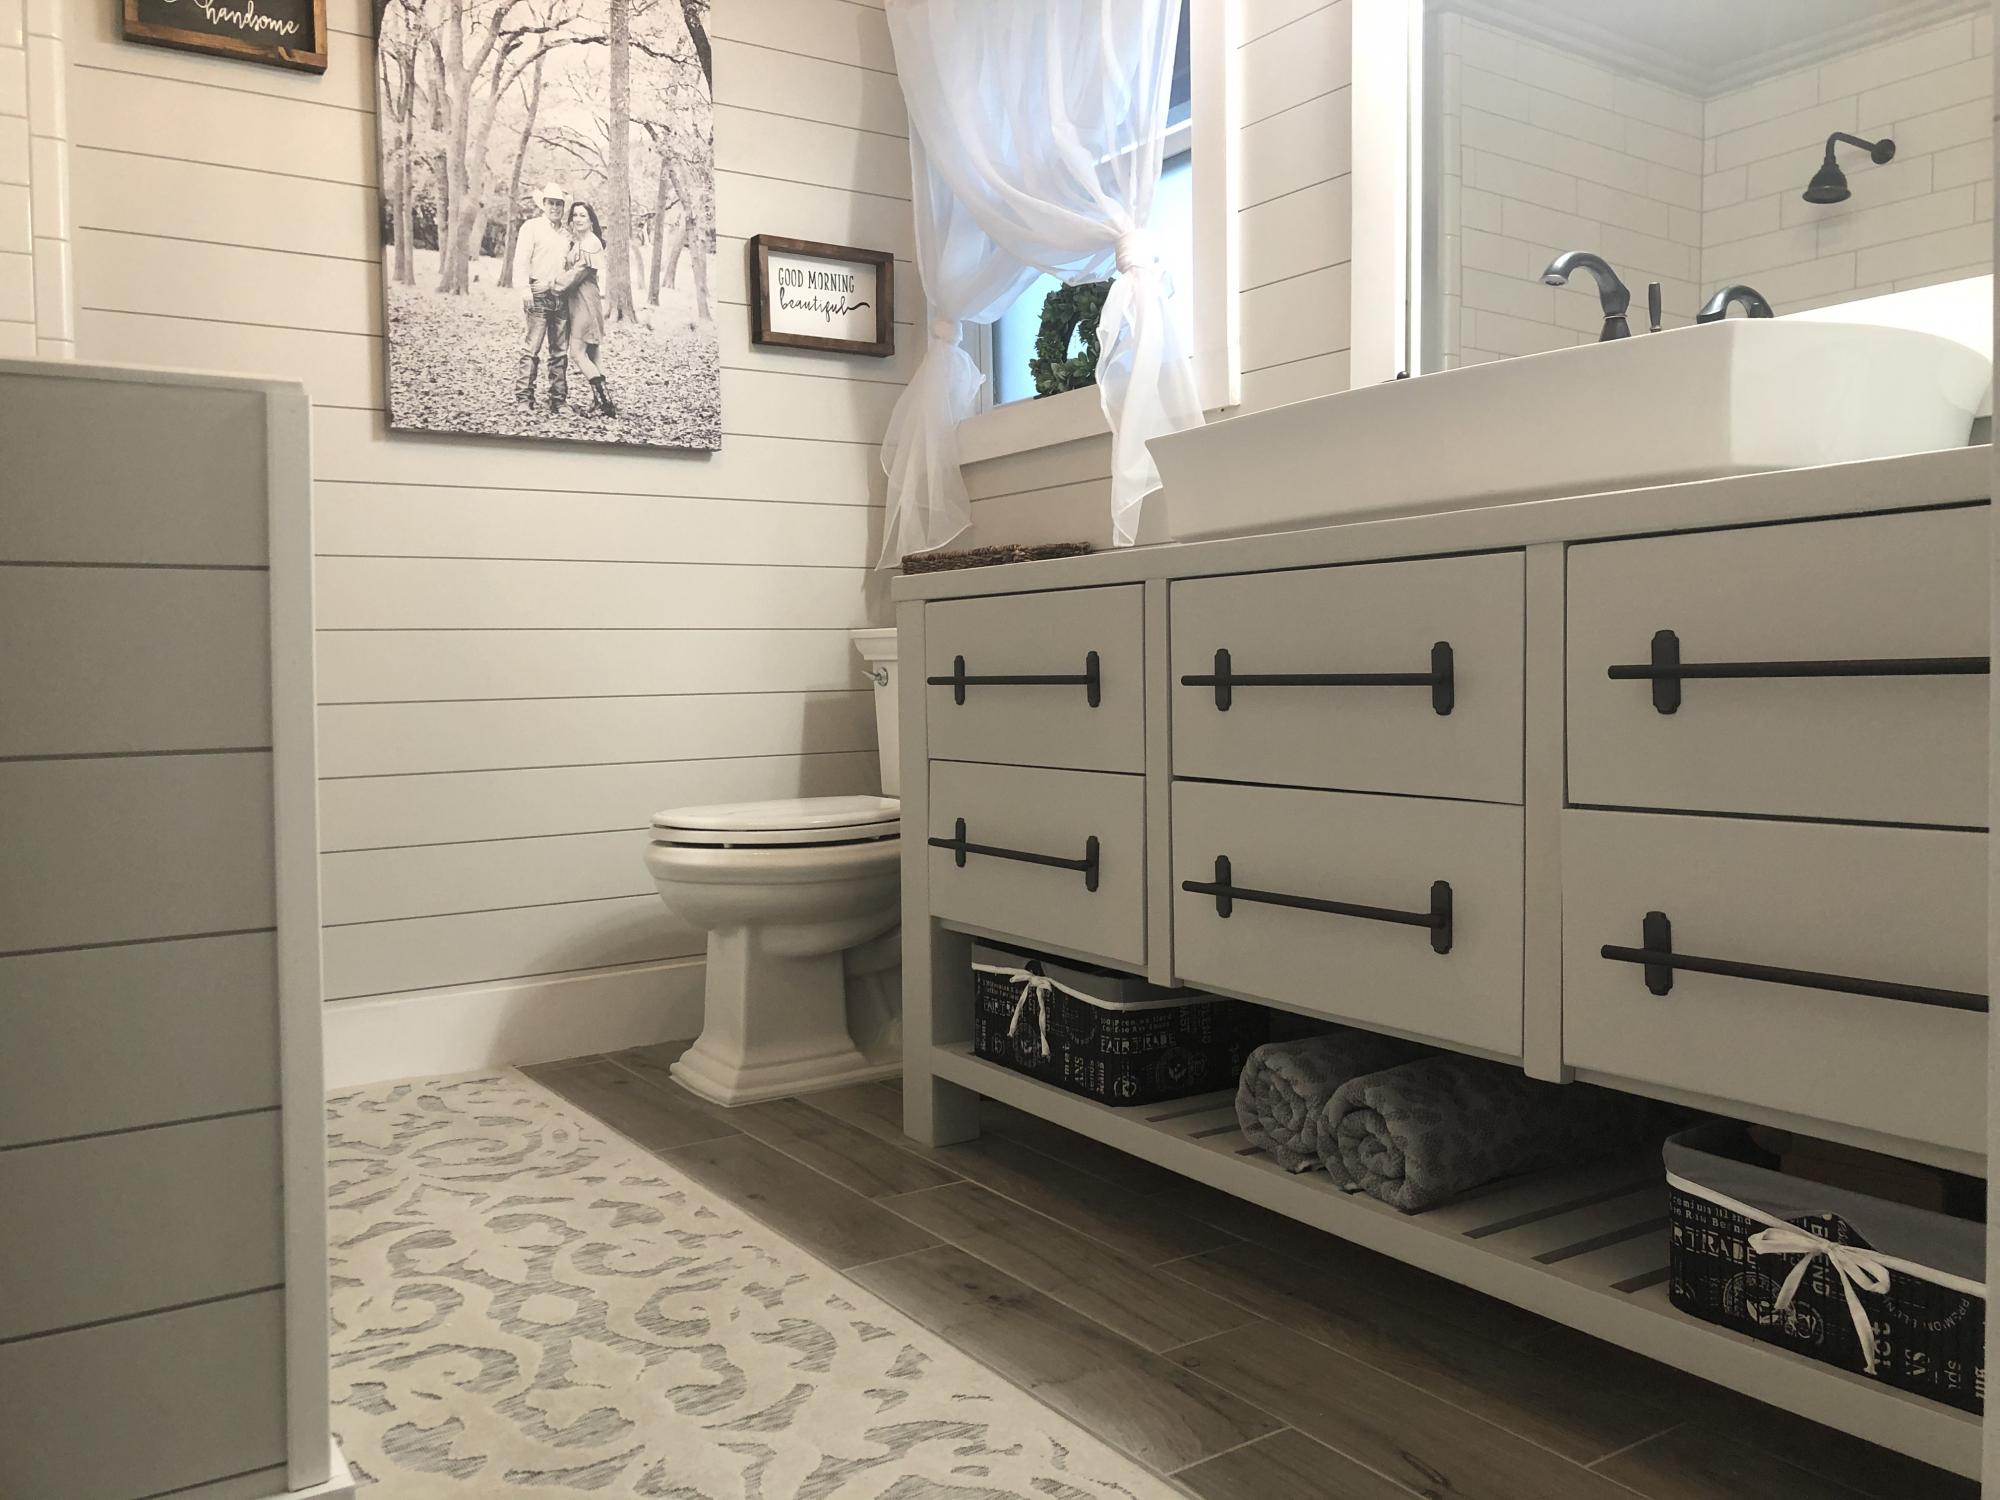
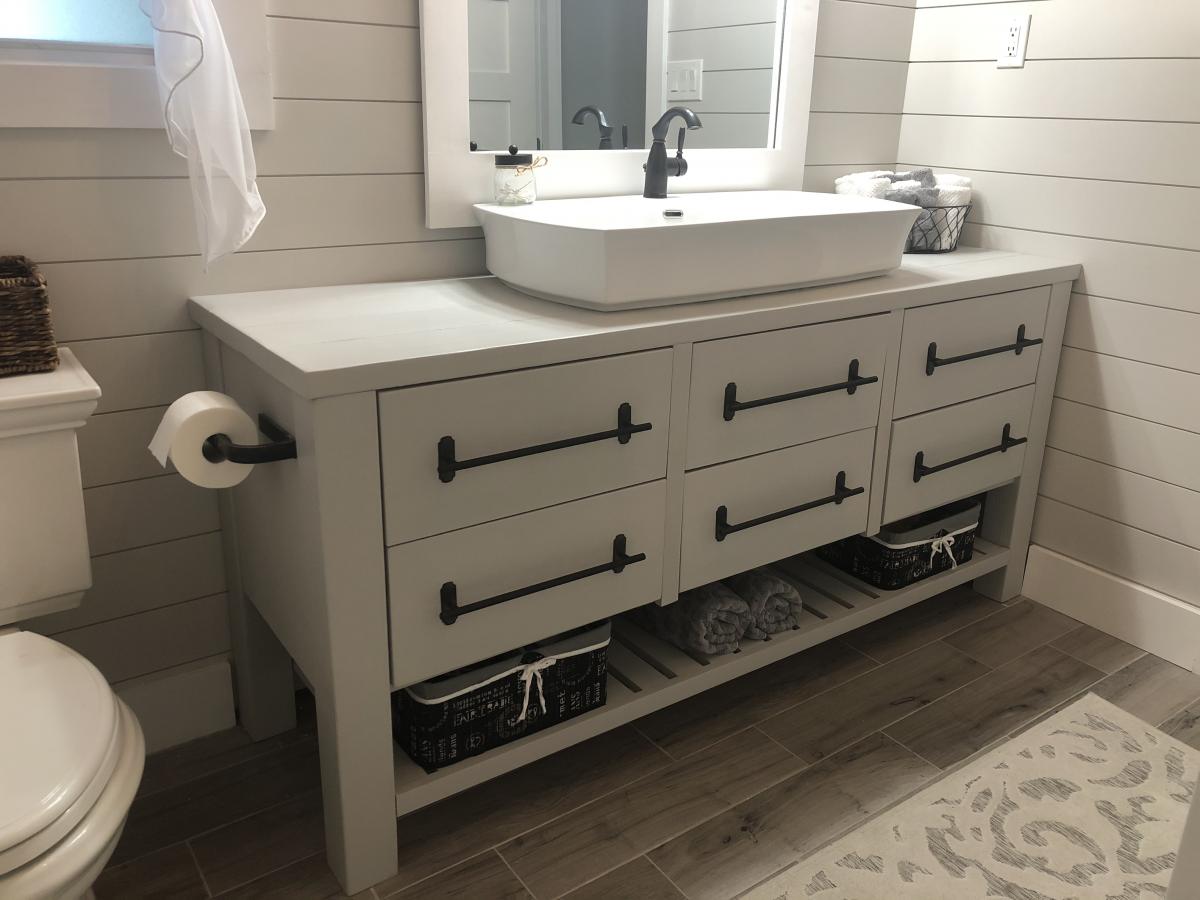
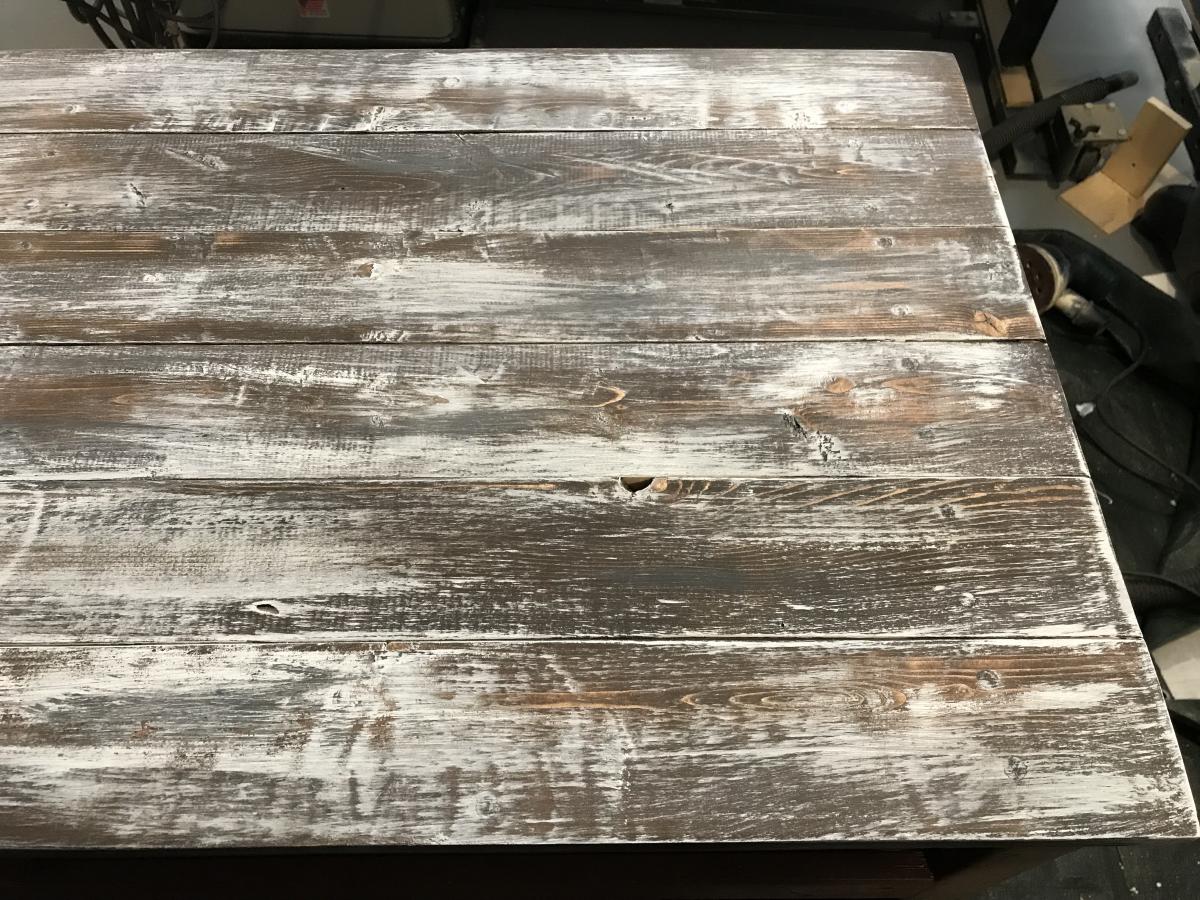
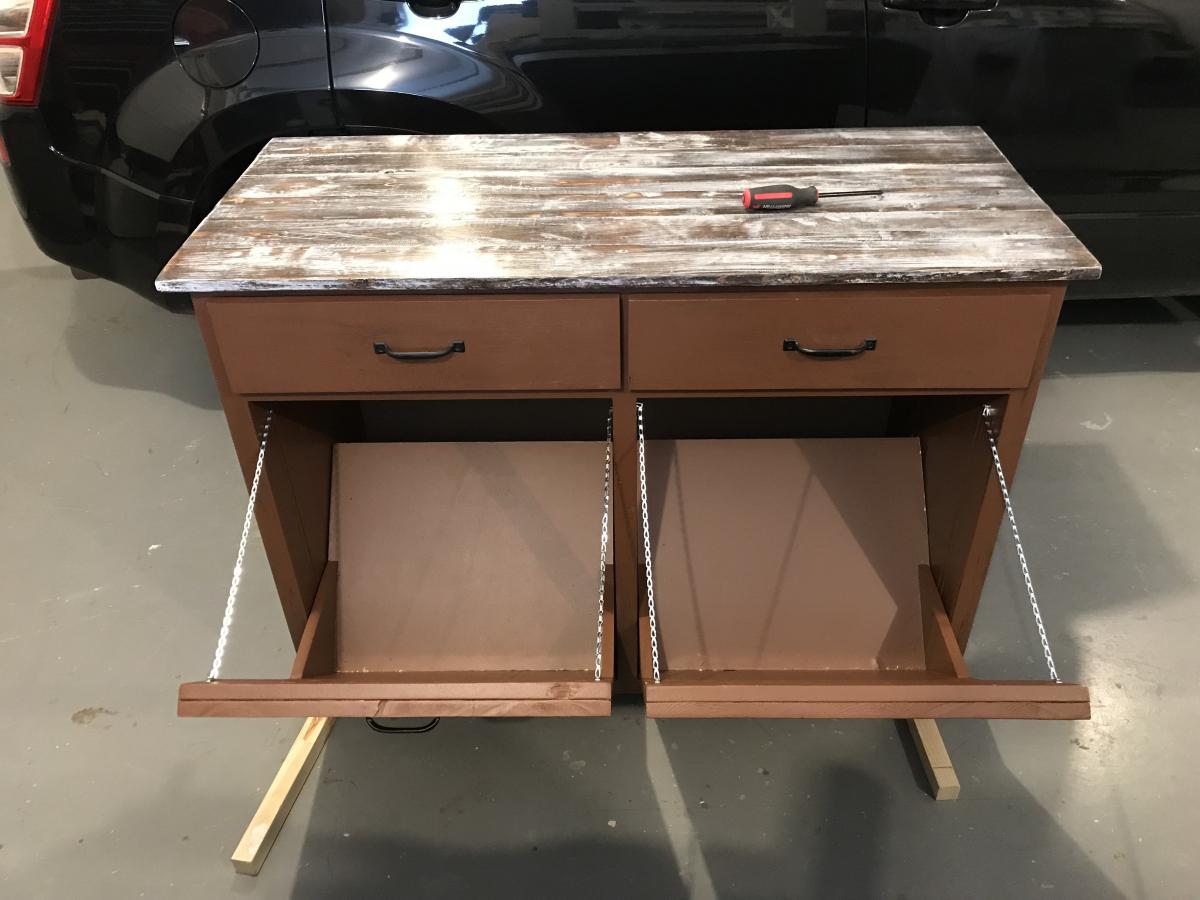
I built this for my friend who wanted a double cabinet for her recycling material. I used Ana's plan and just doubled it up. She also wanted a weathered looking top. The plan's were great but it was a bit difficult to get the two side by side bins.

Estimated Cost
$50.00
Estimated Time Investment
Day Project (6-9 Hours)
Finish Used
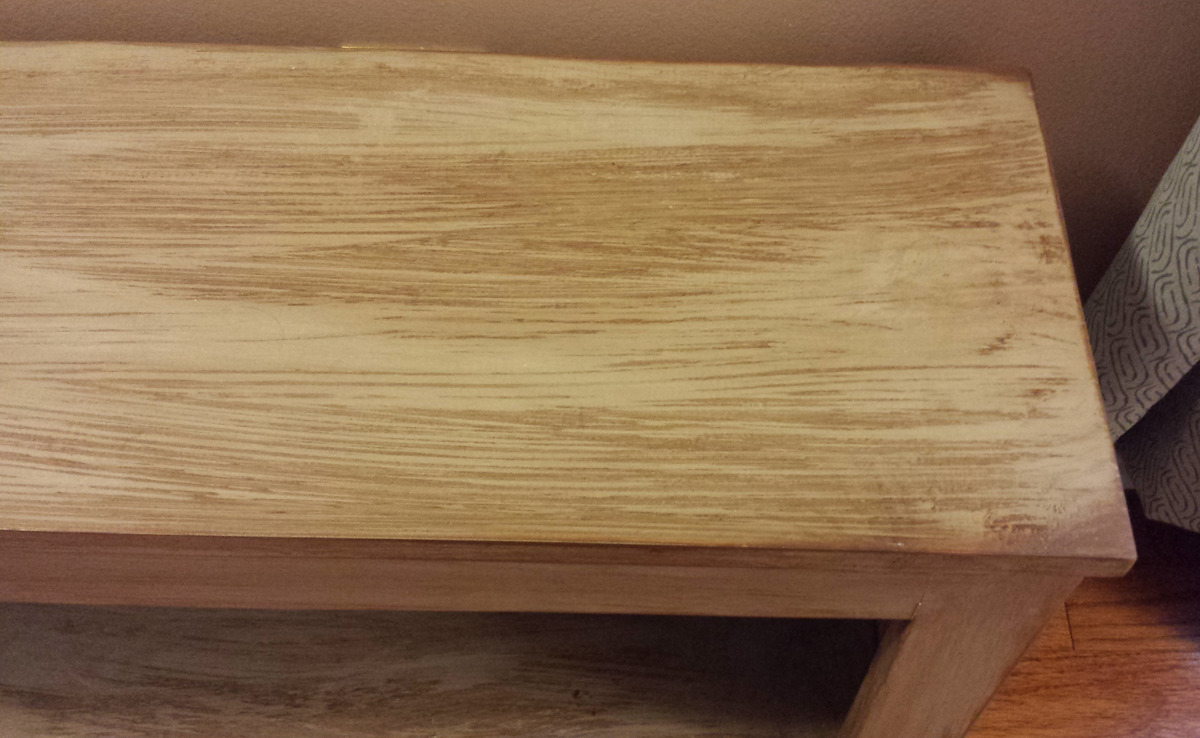
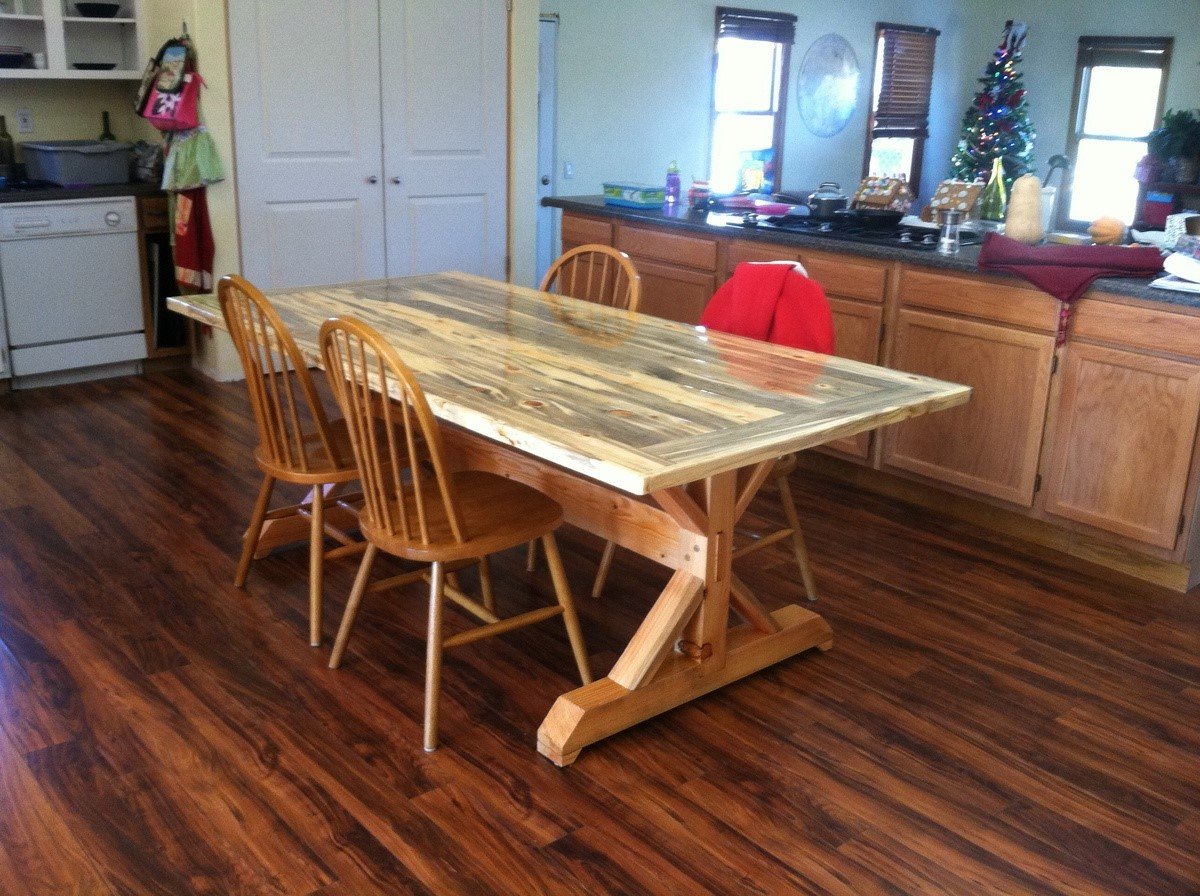
The top was created with a combination of Varathane Kona stain, white paint and grey paint. I can't remember the stain used for the cabinet itself.
Recommended Skill Level
Intermediate

Toy box

Submitted by Anonymous (not verified) on Fri, 06/09/2023 - 12:53

I made this toy box for a couple that I worked with. They like it so much, that they asked me to make them two more

Built from Plan(s)

Comments

Workbench Console and Hutch

Submitted by AlohaMama on Thu, 01/26/2012 - 12:11

We needed space, display space as well as gadget space. The Workbench Console and Rustic Hutch fit in well with the dinner table I modified from Ana's Farmhouse table. Instead of adding the 2x6 on the front and towel bar, I opted to leave the face clean with just a 2x4 and add some reclaimed antique drawer pulls on the side for decoration.

Instead of plywood or 1x4's for the back of the hutch I used the ever handy bead board. Same feel, but cut to size. We also raised the shelf up 12" from the bottom so that I could easily vacuum under it and it would be a great place for a basket or 2 just to hide linens.

Thank you Ana...my house is transforming one project at a time...

Estimated Time Investment
Day Project (6-9 Hours)
Finish Used
Danish Oil
Recommended Skill Level
Intermediate

Comments

Jarrah

Fri, 01/27/2012 - 11:25

I like this a lot! You did a fabulous job! I can see a ton of applications where I could use something like this around the house.

DIY Loft Bed

We adjusted the plans slightly to better fit our room. Rather than an angled set of stairs leading to the platform, we replaced it with a short vertical ladder. We also increased the height of the bed to allow for another bunk in the lower section for when Callaghan outgrows his crib. Plus, we added handles to the bed which made it easier for Luke to get up and down.

Estimated Cost
75
Estimated Time Investment
Afternoon Project (3-6 Hours)
Recommended Skill Level
Beginner

Comments

my daughters big girl bed

Submitted by Anonymous (not verified) on Mon, 02/22/2016 - 10:10

I was looking for a bed for my daughters room. She does not have much storage or room so this plan worked perfect. Took about two days so a great weekend project. Built with love unlike from a store.

Estimated Cost
Around $250 for all the material
Estimated Time Investment
Weekend Project (10-20 Hours)
Finish Used
Poly clear gloss
Recommended Skill Level
Intermediate

bench #5

rustic bench, modified length and omitted x detail, painted numbers

Estimated Cost
$35
Estimated Time Investment
An Hour or Two (0-2 Hours)
Finish Used
1. Minwax ipswich pine
2. Minwax early American
3. two coats clear satin poly
Recommended Skill Level
Intermediate

Comments

5 tater tots (not verified)

Wed, 02/08/2012 - 08:27

Sometime I wish I hadn't been handed down such a nice dining table and chair (plus coordinating antique buffet!)set from my parents. I read about this project at your site and would love to build this for my family. We are expecting baby #6 and two benches with 1, 2, and 3 on one and 4, 5, and 6 on the other would be too cute.

I keep hoping my parents will build again, this time in the style that matches their previous set and I can "generously" give them back the heirloom set ;-).

Happy Entertainment Center

Submitted by tzachary on Fri, 12/13/2013 - 14:27

I really wanted a new entertainment center but could not find one in the stores that I liked and looked to be made of good quality. I liked the Apothecary Console but needed to make a few adjustments to the plan, which is why I marked my project at an intermediate level.

I built this about a year ago and love it as much today as I did the day I finished it. I have had a ton of compliments on it and many are impressed when I tell them I made it myself.

Built from Plan(s)
Estimated Time Investment
Week Long Project (20 Hours or More)
Finish Used
I painted with a Satin Sheen Behr Pure white paint then wiped on and then off a dark walnut stain.
Recommended Skill Level
Intermediate

Spa Bench

Submitted by Anonymous (not verified) on Wed, 02/24/2016 - 08:45

I love this plan! It's so versatile. I made this bench for my daughter's entry. First I painted it with an all in one paint/primer in light grey, then I sanded it down to reveal some of the wood grain and roughed up the edges a bit. Next, I brushed a dark ebony stain over the entire bench, one section at a time, and wiped it away. I thought I would get less stain, but really enjoy the end results. Thanks Ana!

Built from Plan(s)
Estimated Cost
$30
Estimated Time Investment
Afternoon Project (3-6 Hours)
Finish Used
Paint/Primer in one (I had some leftover and mixed it with a black chalk paint to get a light grey)
Ebony stain
Recommended Skill Level
Beginner

Bed Side Table

Submitted by Anonymous (not verified) on Fri, 10/04/2019 - 15:25

My daughter wanted a table to fit a specific location .... your plan for a side table fit the bill - with some dimensional adjustments

Built from Plan(s)
Estimated Cost
100
Estimated Time Investment
Day Project (6-9 Hours)
Finish Used
White paint
Dark oak stain with satin poly
Recommended Skill Level
Intermediate

Outdoor Patio Furniture

Submitted by Anonymous (not verified) on Tue, 06/20/2023 - 09:32

Our outdoor furniture from Costco was falling apart but the cushions were still in great shape so I decided to design the furniture around the existing cushion dimensions. I used all Cedar wood and stained it with Australian Timber Oil Honey Teak stain. The table design was from a picture I saw on another site.

Comments

Seasonal And Holiday

Modified Queen Stratton Bed

Submitted by APagano on Tue, 02/07/2012 - 11:57

After we built the first level, we decided we didn't like how low to the ground the mattress was going to be, so we made another level. Our master bedroom is very small so this gives us plenty of storage space! The floor throughout the house is wavy, so theboxes do not meet perfectly ( you can see a slight gap at the bottom) which drives me crazy, but I will have to live with it for now. We kept the drawer face simple (less work, and we like the clean lines). Our mattress is quite thick, so I see myself building a step stool in my near future! This was our first project and very easy to follow. Already working on my next project. I am addicted! Thanks for the great site, Ana!

Built from Plan(s)
Estimated Cost
between 500 and 700, taking into account paint, handles, screws, etc
Estimated Time Investment
Weekend Project (10-20 Hours)
Finish Used
Oil based ultra white from Lowes. I think it was Velspar.
Recommended Skill Level
Intermediate

Comments

Guest (not verified)

Tue, 02/14/2012 - 12:54

I too modified this plan with a second rob of drawers and im in the finishing stages of it (hardware and paint). How tall is yours?

APagano

Wed, 02/22/2012 - 13:05

Total height is 25 inches. I love how tall it is, because the dogs cannot jump on the bed! I wish we would have thought about the double drawer height before we started as it would have brought the cost and time down significantly. We live and we learn. Enjoy your new bed!

Marie421 (not verified)

Tue, 07/31/2012 - 19:48

Just wondering how you attached the double drawer layers together... Love the look of it...

APagano

Mon, 06/10/2013 - 17:41

Sorry for the delay in response. I haven't been on the site in awhile and I could not figure out my password! We used the Kreg Jig to attach the top level to the bottom. Looking back on it, we should have just built the walls as one piece, but since the top drawers were an addition, after the fact, we just had to deal. The 1x2 trim piece gave it a finished and less pieced together look. It has been so long since we built this, the details are fading!

In reply to by APagano

diy_lover

Sat, 08/06/2016 - 20:37

I'm new to furniture making and was wondering if you had plans for your work since I like the height, queen and twin size? Also, I was wondering if any drawers are for storage purposes, as I would like them to be?

natasha

Mon, 10/08/2012 - 08:00

Hi this is exactly what I need to do!
we just bought a new bed and I new I'd be making this not thinking I decided not to buy the box spring, now I realize my bed will be on the floor...

I would love it if you could share everything you learned in making it double decker! please
thanks
Natasha

APagano

Mon, 06/10/2013 - 17:48

Better late than never, I hope...
First thing we learned, the bed is a little too high, so we should have made slightly smaller drawers. Still happy our dogs can't get up there, but I have to actually hop up on the bed every night, and still have yet to get around to making my step stool.
Second, cut the side pieces for the height needed for two drawers, then you have a cleaner look with no middle trim piece. I don't mind it, but I would like it more without, I think.
That is really all I would change. The plans were easy to follow and made it easy to alter for our needs.

reneemwhiten

Tue, 05/07/2013 - 23:52

I am flabbergasted by this AMAZING bed you MADE over the WEEKEND! This is simply unbelievable! I absolutely could never do something like this. Are you willing to make a King size one exactly like this and sell it to me??
Oh please?!
Renee

APagano

Mon, 06/10/2013 - 17:53

Thank you for those kind words! I was a little nervous about taking on such a big project, but we had a fun time building it { I can't say the same for sanding and painting :-) } and are very happy with the space it freed up in our very small bedroom! Just take your time, invest in a Kreg Jig, and you can do it too!

Faux Mantle

1st of all I want to apologize for posting several of my builds at once. I am not trying to steal the show, but I'm just deciding I would like to share my builds.

Ok, now to this build. I didn't get this mantle from this site but still wanted to share. I used the one from "blue roof cabin" site and adjusted it to my desire. I wanted my depth to be bigger so I used 1x8's to bring it out from the wall more. I got the backing idea from "Netties Expressions" by using Whitewood V-Groove Wainscot wall panels.

I plan on building one from Ana's site to do one for my dining room. I check this site daily just to see what you all have built so I can get more ideas. Thanks Ana for sharing your builds.

Finish Used
Rustoleum black cherry and dark walnut.
Recommended Skill Level
Beginner

My UpsideDown V Desk

Submitted by MPopadynec on Sun, 02/28/2016 - 06:54

I am a novice builder living in an apartment. I needed a new desk for my den and fell in love with two - the X-frame desk from Ana's Website and the Truss Desk I saw on Shanty 2 Chic. As I have limited tools, I decided to combine features of both to make my custom desk that included a keyboard tray as I needed one to ensure I type more ergonomically. I love my desk and now, on to build another piece!

Estimated Cost
$100 - As I used pine and had items cut.
Estimated Time Investment
Weekend Project (10-20 Hours)
Finish Used
Weathered Grey Stain - Varathane
Recommended Skill Level
Beginner

Console Table

Submitted by Anonymous (not verified) on Sun, 10/06/2019 - 15:17

Made from the rustic Console Table plans, used a dark oak stain and antique oil finish.

Built from Plan(s)
Estimated Cost
$80.00
Estimated Time Investment
Week Long Project (20 Hours or More)
Finish Used
Minwax antique oil finish
Recommended Skill Level
Intermediate

Folding Worktable

Made the portable worktable as my craft table. I'm limited on space so the fold down table was just the key. Thank you Ana. You are an amazing carpenter & inspiration to me. You make your plans so easy to read & follow. Thank you so much. I can't wait to make more of your plans. ❤️

Jodi Inman


Built from Plan(s)

Barnwood Frame - Variation

Submitted by Joni on Fri, 02/10/2012 - 08:48

Have you checked out prices at framing stores lately? Since I didn't want to pay $250 for a frame, I decided to make one out of some spare 1x4 Douglas Fir that I had. It's a single board with a router cut at the edge for detailing. I routed a rabbet onto the back, and kreg-jigged it together. I distressed the wood by beating it with a hammer and chain.

Prior to completing the frame, I took a sample piece to the framing store (who would be matting it) to make sure they could work with my rabbet size. I ended up having to make it deeper and wider to accommodate them, so I would advise doing this if you're taking it to a framer.

I never dreamed I could actually make a frame, much less a piece of furniture. Thanks so much to Ana for sparking all of this. I've found my creative calling thanks to her!

Estimated Cost
Free (spare wood!)
Estimated Time Investment
Afternoon Project (3-6 Hours)
Finish Used
1. Minwax water-based wood conditioner. 2. Minwax mix of Onyx & American Walnut water-based stain. 3. General Finishes Glaze in Van Dyke Brown. 4. Bartley's Satin Polyurethane (4 coats).
Recommended Skill Level
Beginner

Comments

Becky Smith (not verified)

Thu, 02/16/2012 - 04:32

That is really beautiful! I've been considering the same build for the same reasons. Framing costs are outragous! I've never used a router before and I guess I'm a little intimidated by them. What do you think? Are they too hard to use? Worth investing in?

Thanks!

Joni

Tue, 02/21/2012 - 08:11

Becky -- thanks for the feedback. The router is hard for me, but I don't think I know all the ins and outs of how to use it. For making the rabbet on the back, I've found out that a table saw works SO MUCH BETTER than trying to use the router. I believe that a dado blade for the table saw could make the decorative cut (and much easier, faster, and cleaner than trying to use the router).

Modified fancy x

Beetle kill table. I chose to mortise the support and use pegs for effect. As such used 4x4 for leg uprights. Made the top removable because it's heavy!

Built from Plan(s)
Estimated Time Investment
Weekend Project (10-20 Hours)
Finish Used
Oil based gloss plolyurathane
Recommended Skill Level
Intermediate

Comments

Josh-Adam

Wed, 08/03/2016 - 09:59

That table looks awesome ! I am in the process of making one similar i went to a local mill and they had ambrosia maple to make the table topper and i am making the base. I was wondering how you went about making the table top removable did you use threaded inserts ? also how did you get the cross support cut out done? Last question i have is where did you find the 4x4 material i am in eastern north carolina and it seems it doesnt exist around here. thank you for sharing

Rustic Farmhouse Vanity

Submitted by jameslee on Thu, 10/10/2019 - 16:23

My master bathroom was my first DIY remodel. I took this room down to the studs and built it back up. I struggled to find the perfect vanity that felt strong and sturdy and could not find one. I needed a wide vanity to accommodate this 3 foot wide vessel sink. I found Ana White and this plan online and fell in love! This was my first build and I’ve become addicted to wood working since. As my first build, this took me most of a day to build and assemble drawers. Sanded and painted with a flat finish! I love it! Thank you Ana!

Estimated Cost
$200
Estimated Time Investment
Day Project (6-9 Hours)
Finish Used
General Finishes milk paint in Seagull Gray with a high performance flat finish. Hardware and sink found on Amazon.
Recommended Skill Level
Beginner

Comments

Kitchen Console and Hutch

Submitted by Anonymous (not verified) on Thu, 06/29/2023 - 09:44

48" X 60" built this A few years ago from pallets I picked up on side of Road

Mike Holman

x bench

Submitted by sidman on Tue, 02/14/2012 - 02:41

I loved this bench when I saw the plan and had to try it. Thanks Ana!

Estimated Cost
20.00
Estimated Time Investment
Afternoon Project (3-6 Hours)
Finish Used
Red oak stain on top and painted the botton black.
Recommended Skill Level
Starter Project

Comments

Play Teepee

Submitted by keiatbohma on Mon, 12/23/2013 - 21:17

Play Teepee used 4 yds of fabrics, 2.5 yd of webbing, bias tape, ribbon, heat and bond double sided adhesive, and 4 1x2s at 8 ft.

Built from Plan(s)
Estimated Time Investment
Afternoon Project (3-6 Hours)
Recommended Skill Level
Beginner
Back