Modified Camp Loft Bed - Full Size
We built two of these beds for our daughters and modified the plan for their full size mattresses. Also modified the rails for a different look. Of course their dolls needed matching beds as well :)
Thank you Ana White for the great plan!
We made the traditional Twin Farmhouse bed using Ana's plans. We did modify the height of the headboard and foot board in case we decide to move the bed to under her window.
I was very particular about the sizing and placements of the sideboard/trundle. I did not want a big gap between the mattress and the trundle. Also, did not want the actual bed mattress to sit down too far into the 1X10 and look like a crib.
Very happy with the results. Thanks so much, Ana!!!
Mon, 08/18/2014 - 05:01
This looks great! I see you have carpet (as do I) did you use caster wheels? It looks like it's resting on the floor. I want t build but, I'm concerned about the ease of sliding. Tips appreciated.
Thanks in advance.
We used the same farmhouse table plans. We just used 2x6x8 for the top and capped the ends with 2x2s instead of the breadboard. Leaving the boards long gives use optional seating on the ends. From start to finish it took about a day and a half.
I made this set for my granddaughter using the Fancy Doll Crib plans. On this build I enlarged the size of the Fancy doll crib to be closer to the Olivia crib. For anyone interested: ends-13 5/8”; bottom-21¾”; side rails 21”; legs-20”; 12- 3/8” dowels @ 8¼”. I thought the scale of the finials from Lowe’s were too large, so I found some I liked better at Hobby Lobby: 3 pcs per pack @ $1.47, item #165274. Since I got 6 altogether, I put two on the high chair. Love the look. I also changed the shape of the curve of the ends and replicated that on the highchair back. The shape of the highchair tray is also curved and slightly cantilevered over the side ends; the tray is 4¾” x 13” to allow for the curve, cut from a 6” wide length of scrap. The vintage lamb theme that I used with my great-nieces is carried out with this set, too. I found the water-slip decals at www.decalcottage.com.
Sat, 10/13/2012 - 18:53
This looks great! I wouldnt have immediately thought of finials on these... fantastic look!!
Sat, 10/13/2012 - 21:31
This is so sweet! Reminds me of the set I had when I was a little girl. Someday I'll have grandchildren to build these for...
The hubby and I love doing projects together! I drew up what kind of dresser I would like and we built it together. It was a fun project after his deployment to Afghanistan.
Tue, 08/05/2014 - 08:15
This is absolutely beautiful! Both the build and the finish are impressive. I would love to build something similar. You should post your plans as a new plan on Ana White's website! :)
My dad was a lot more particular with this than a farmhouse table is intended to be. Lol
We've been talking about adding a fire pit and seating area for awhile. Our oldest daughter's graduation party combined with extra available time due to Corona presented a perfect opportunity to try something new. I've never built anything like this and have very limited experience with woodworking but I came across these chair plans when searching for chairs to buy. Not too bad for a first project! Started digging up sod about a month before the Grad Party. Worked on it a couple hours a day and maybe 3 full weekend days. Came out great and is a wonderful addition to our backyard.
I needed an end table that was a little bigger than the average end table - I had a space to fill in a corner between a couch and chair and was tired of the blank space being used as a dumping ground for...things my kids didn't want to put away or throw away. :) So I pulled ideas from a couple projects here and came up this. The cost was free since I just used the leftover wood from other projects we'd done and paint we already had lying around.
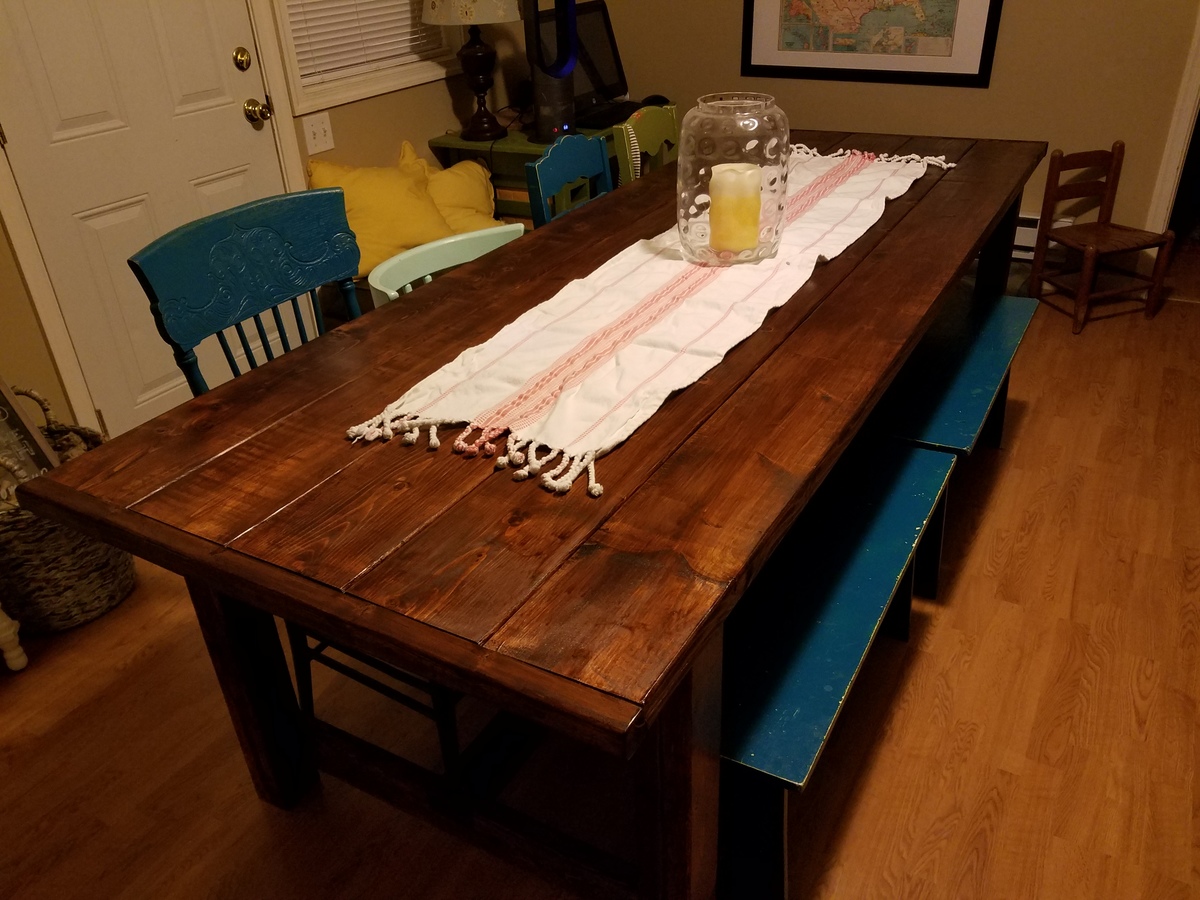
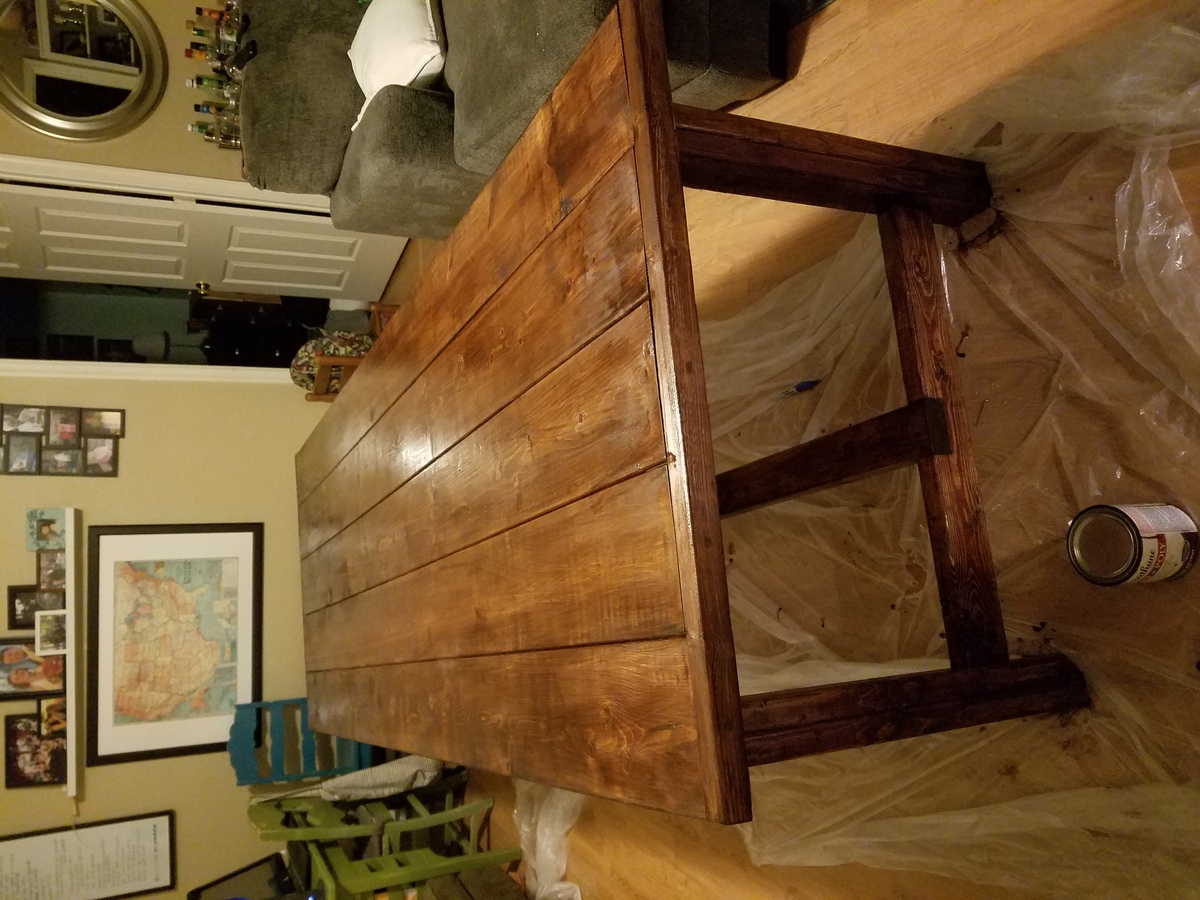
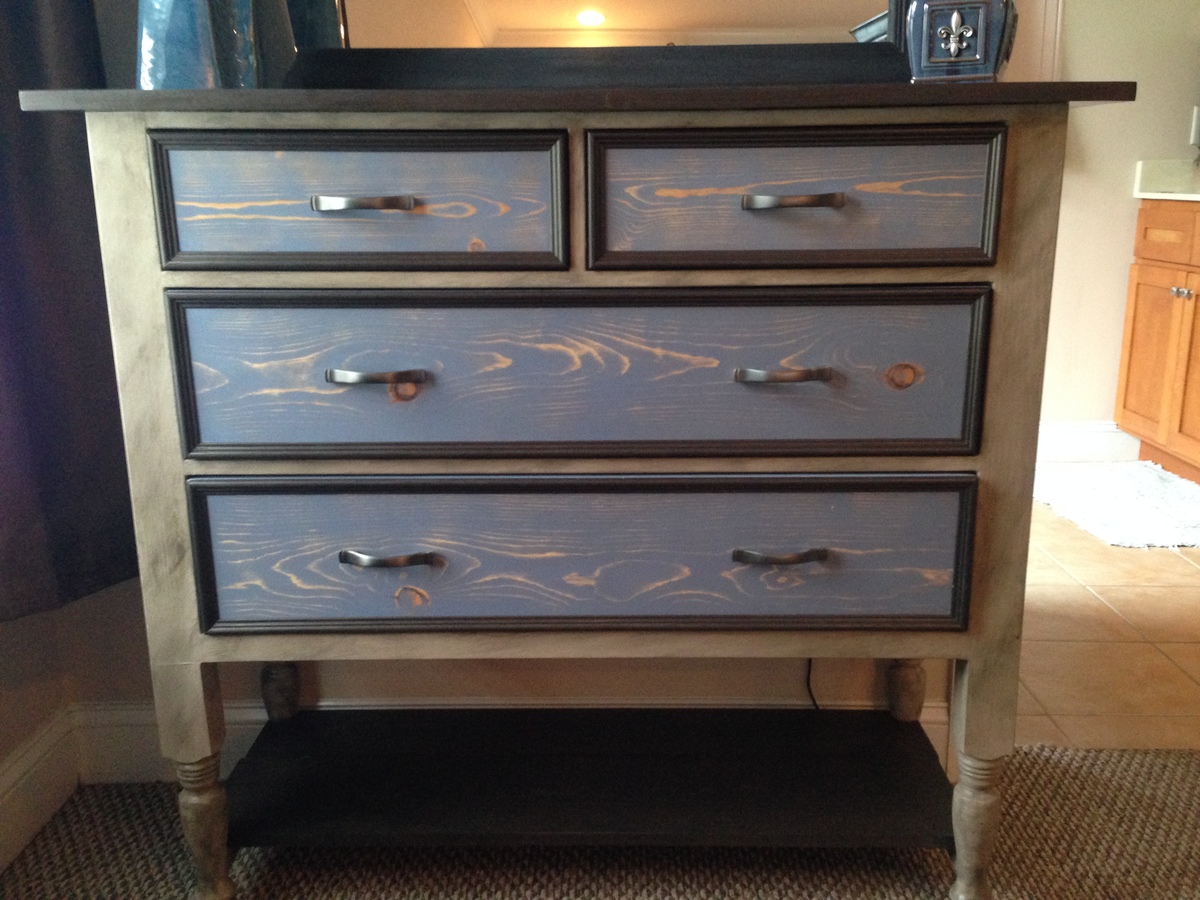
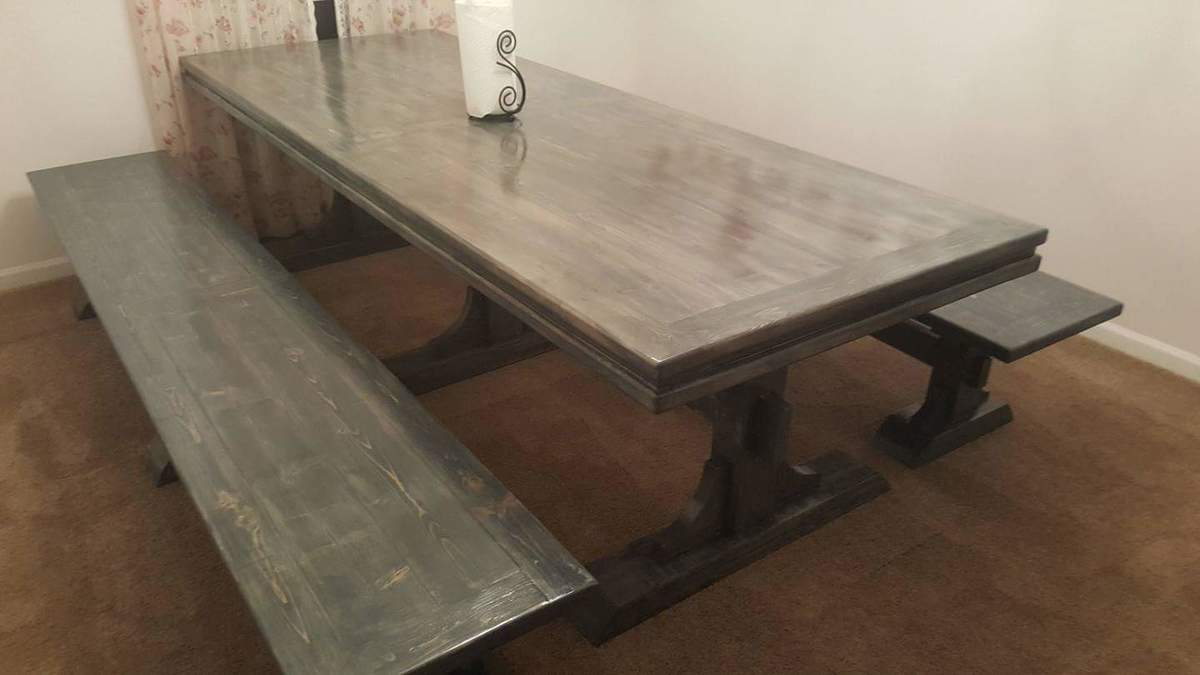
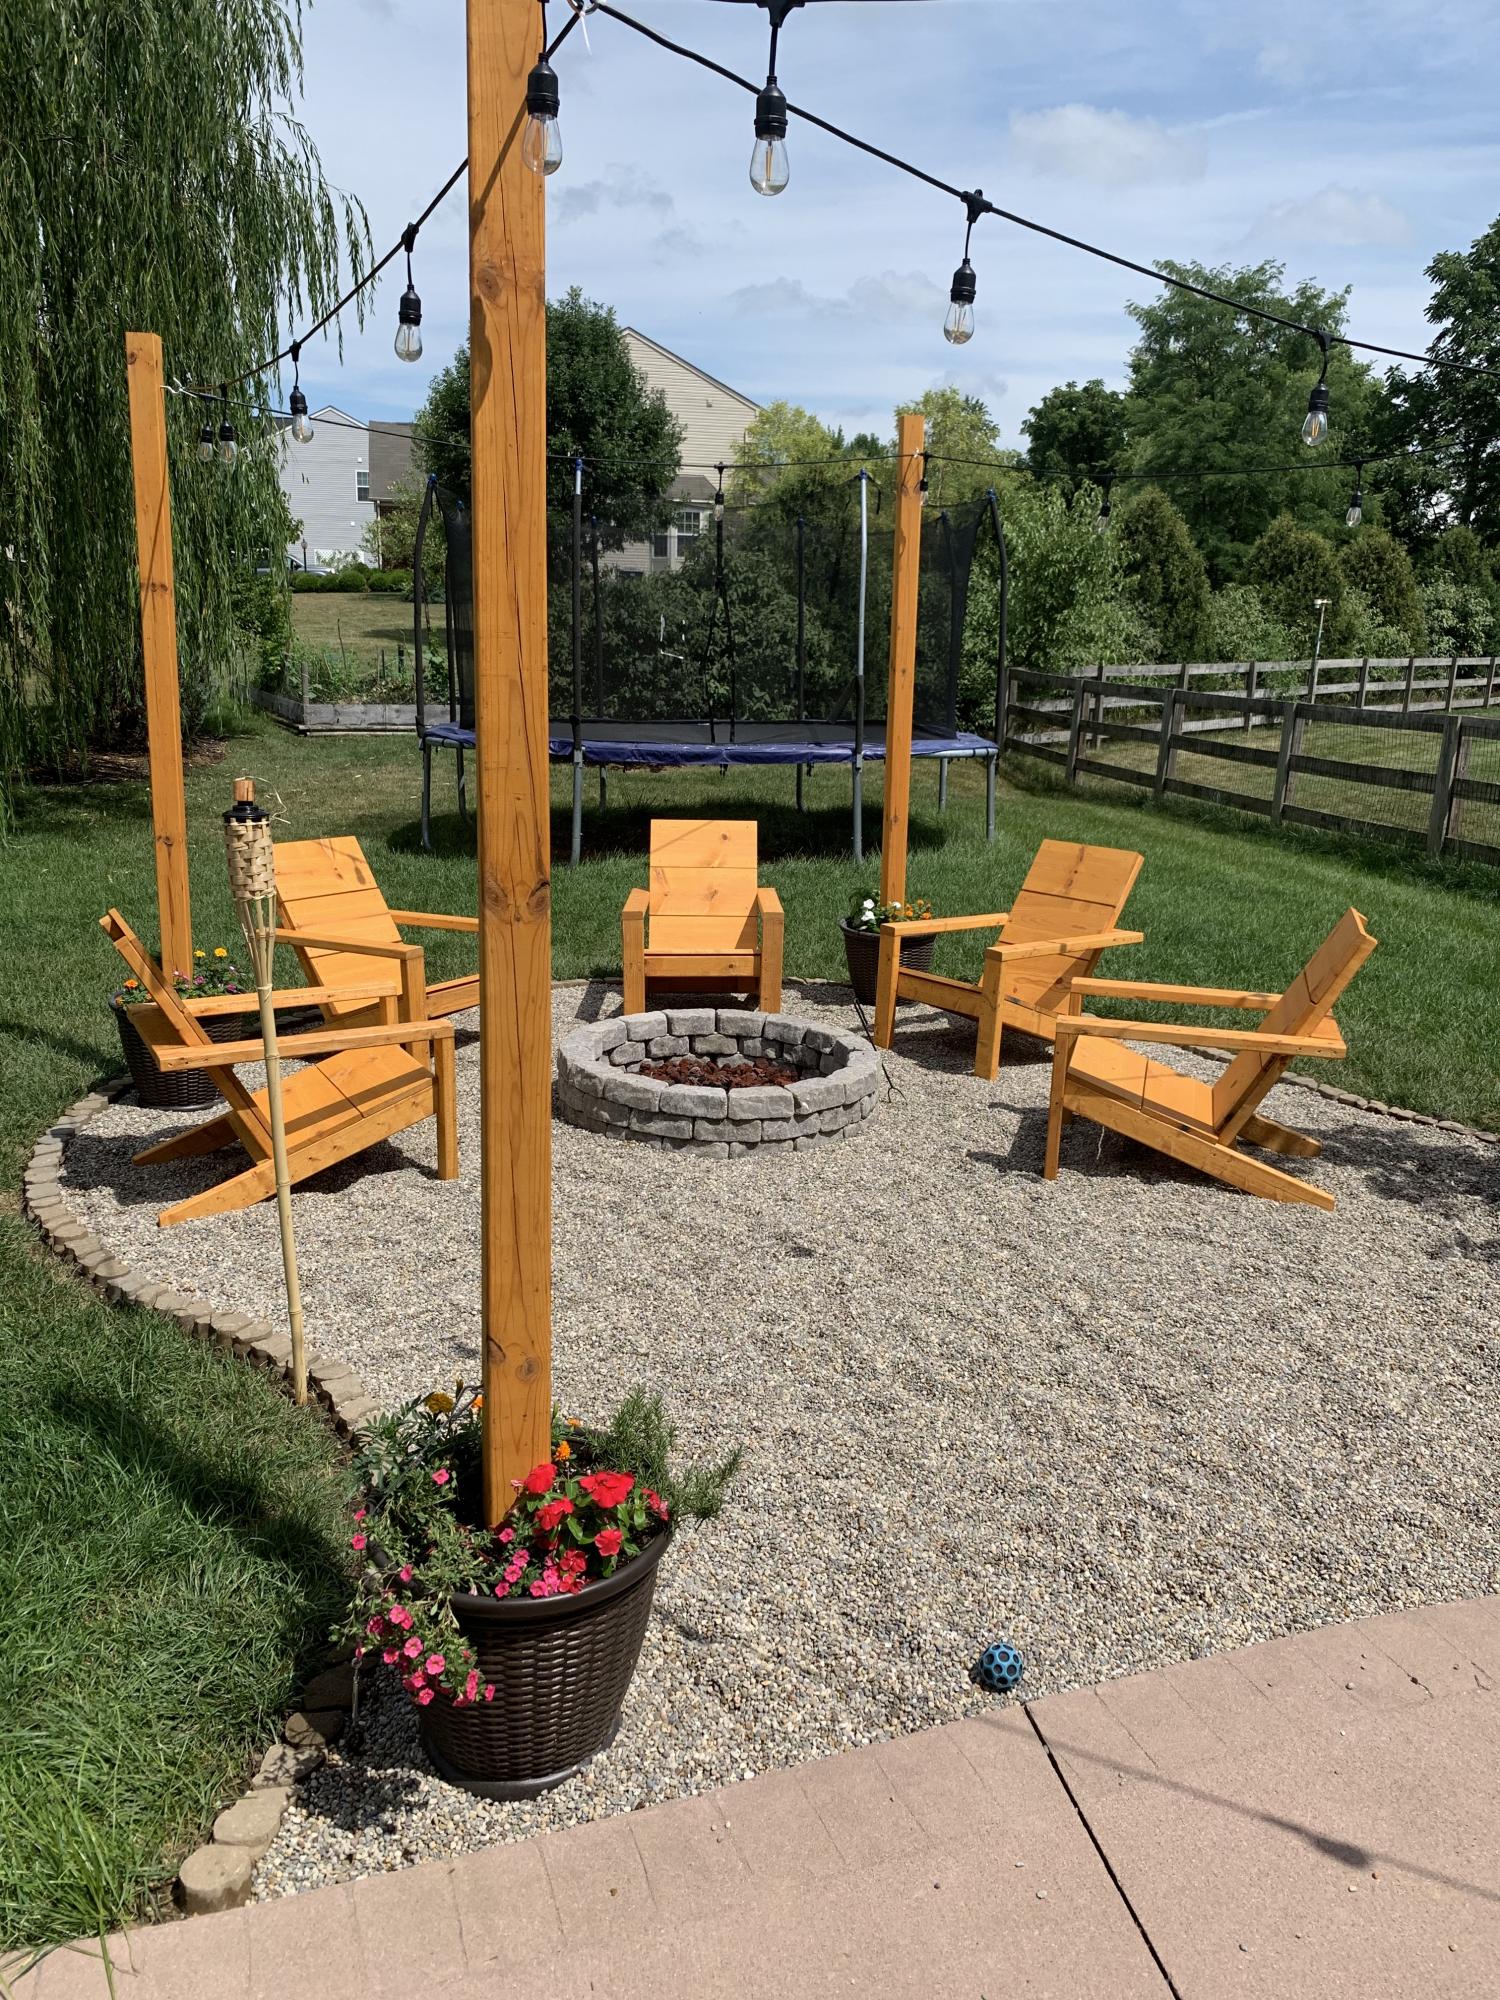
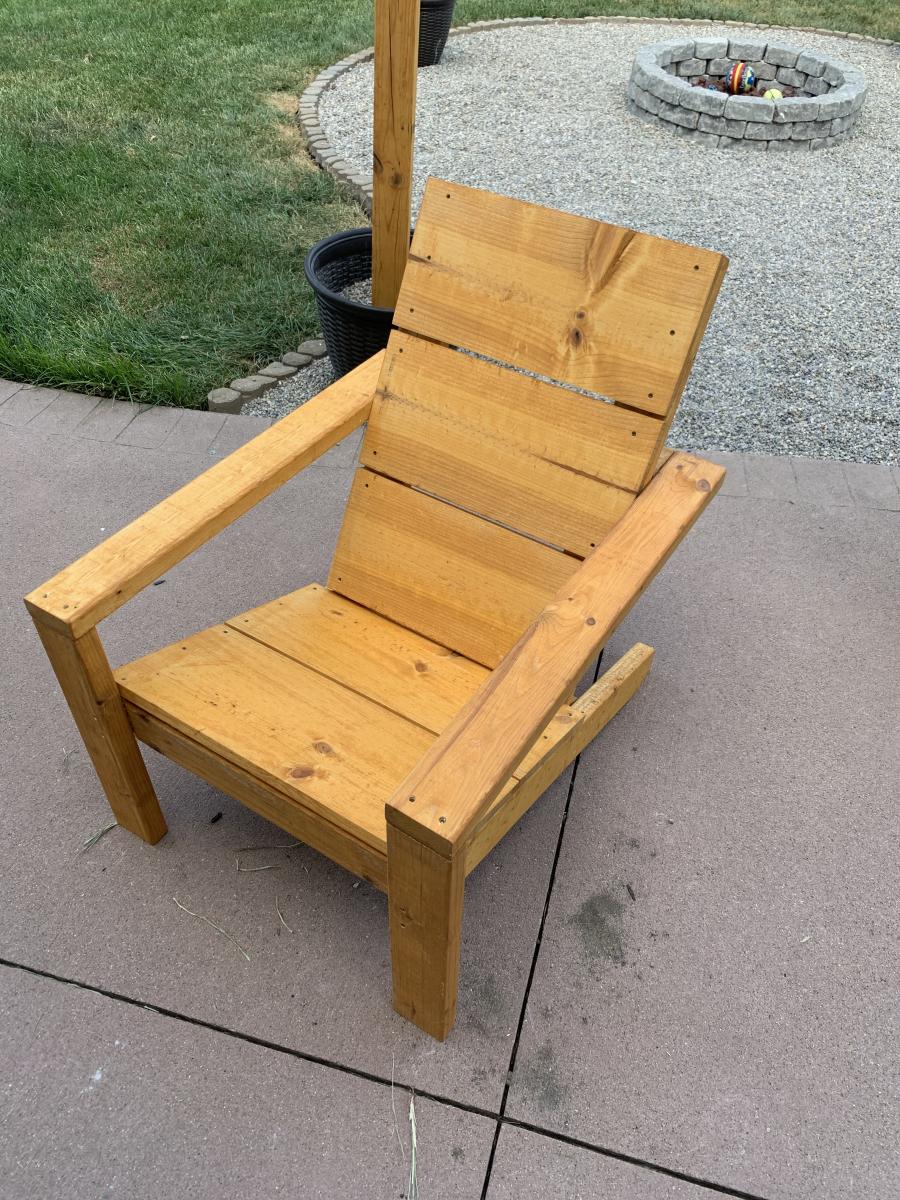
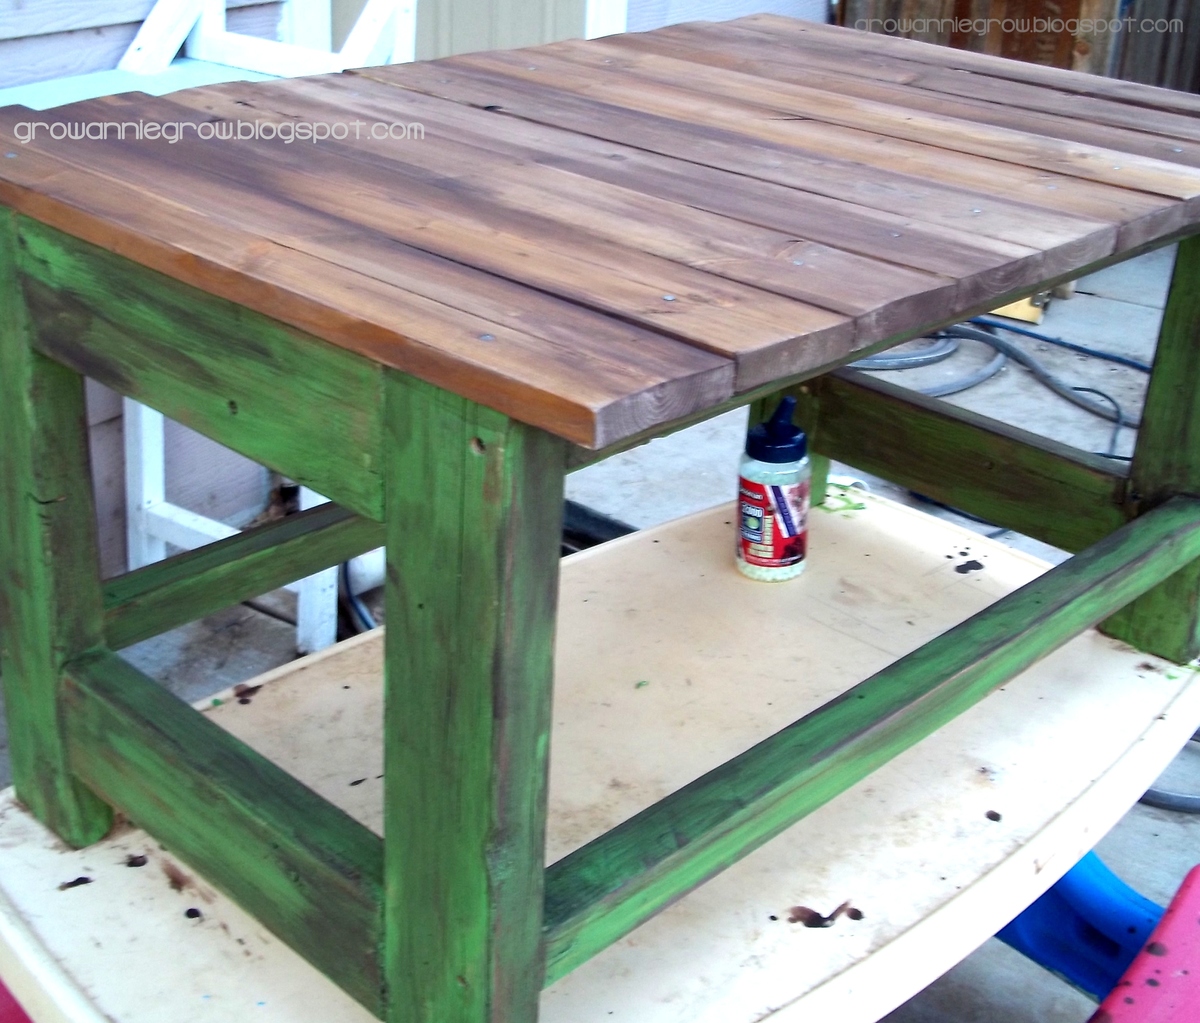
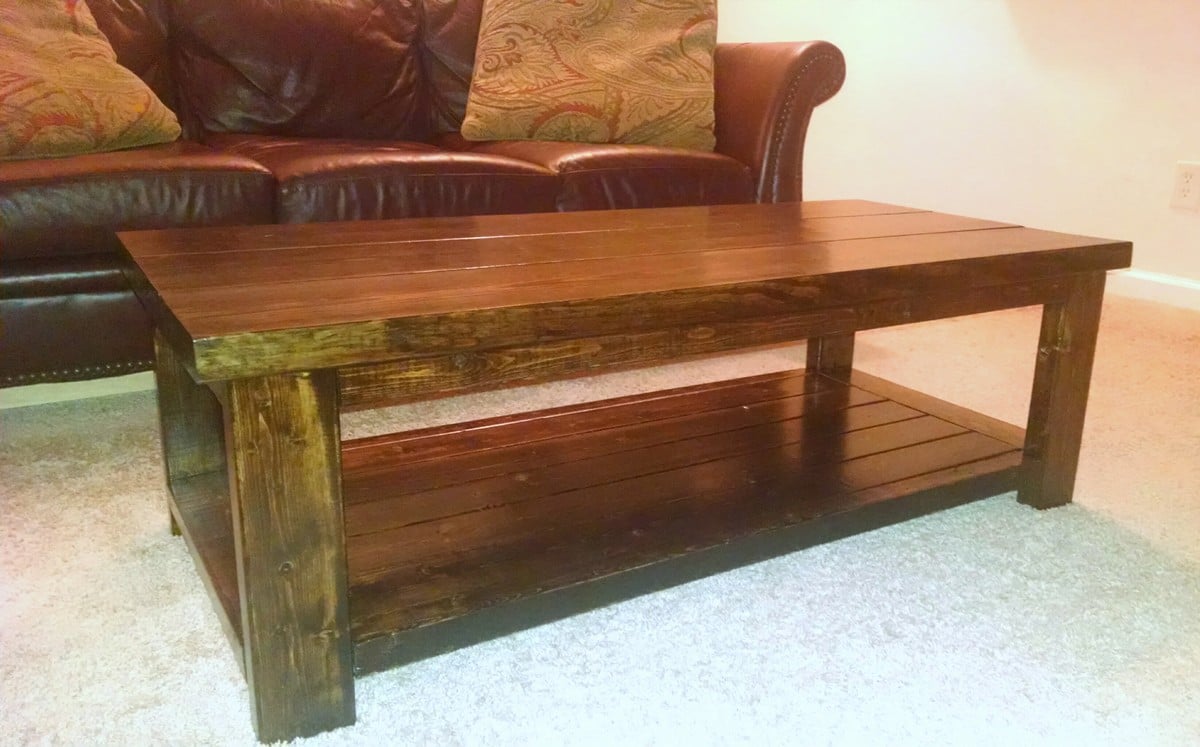
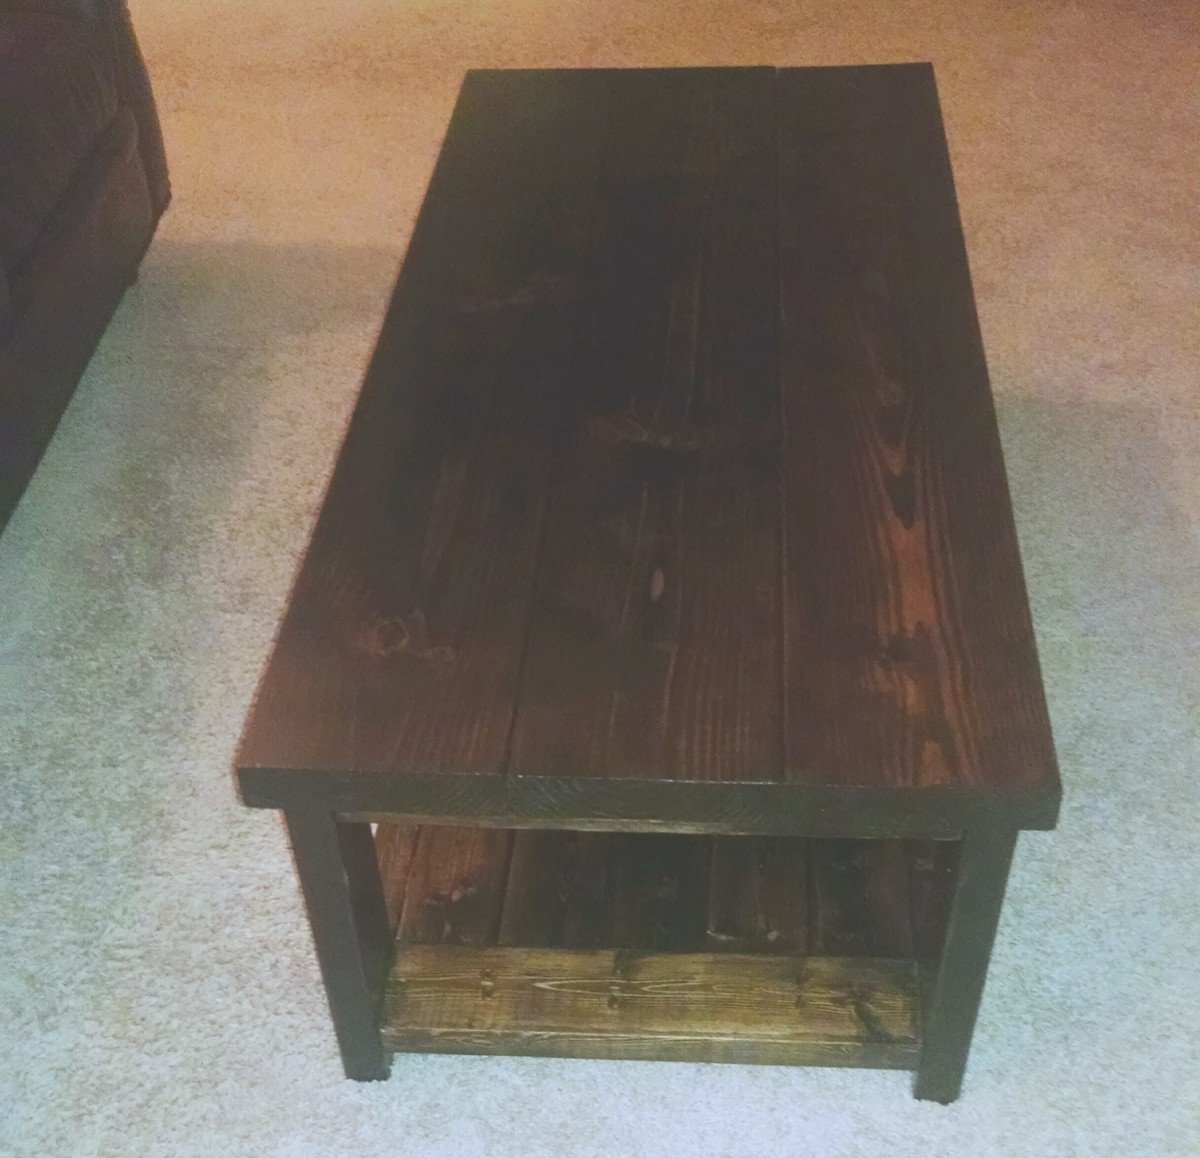
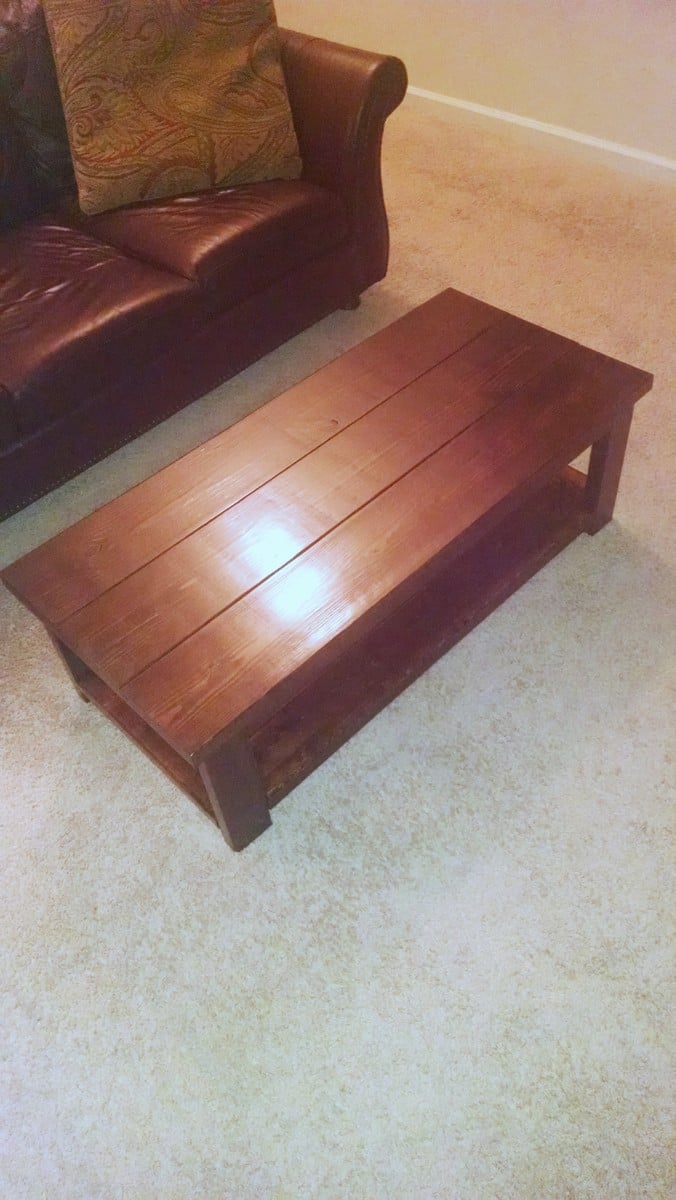
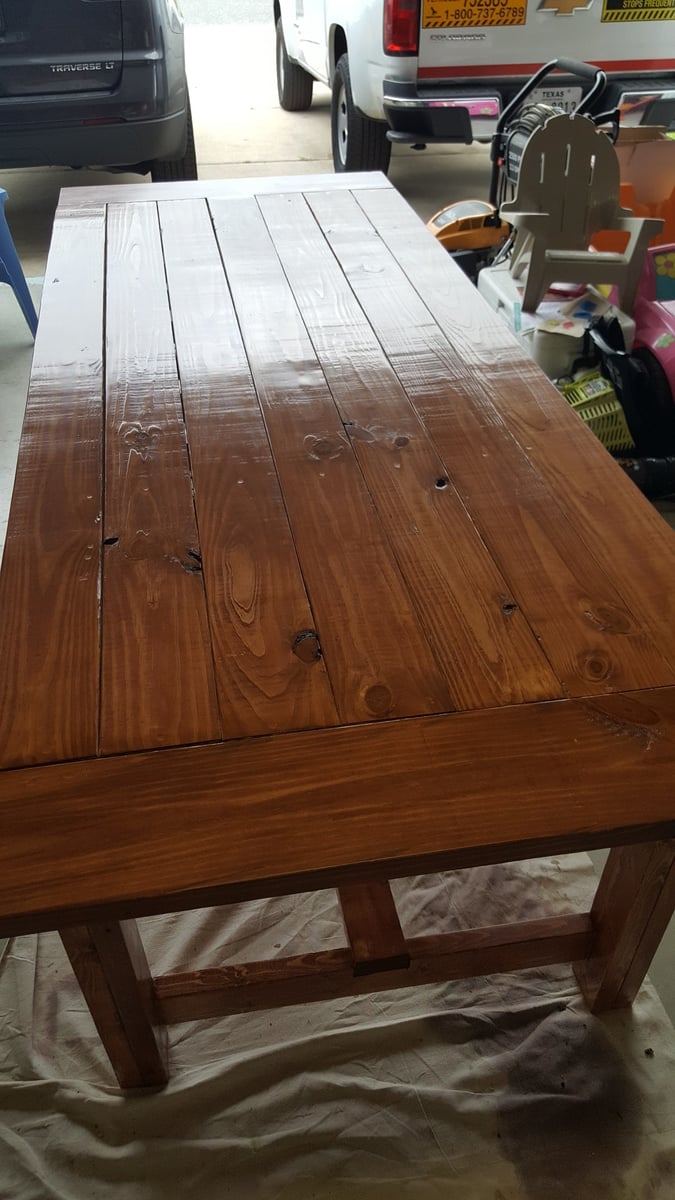
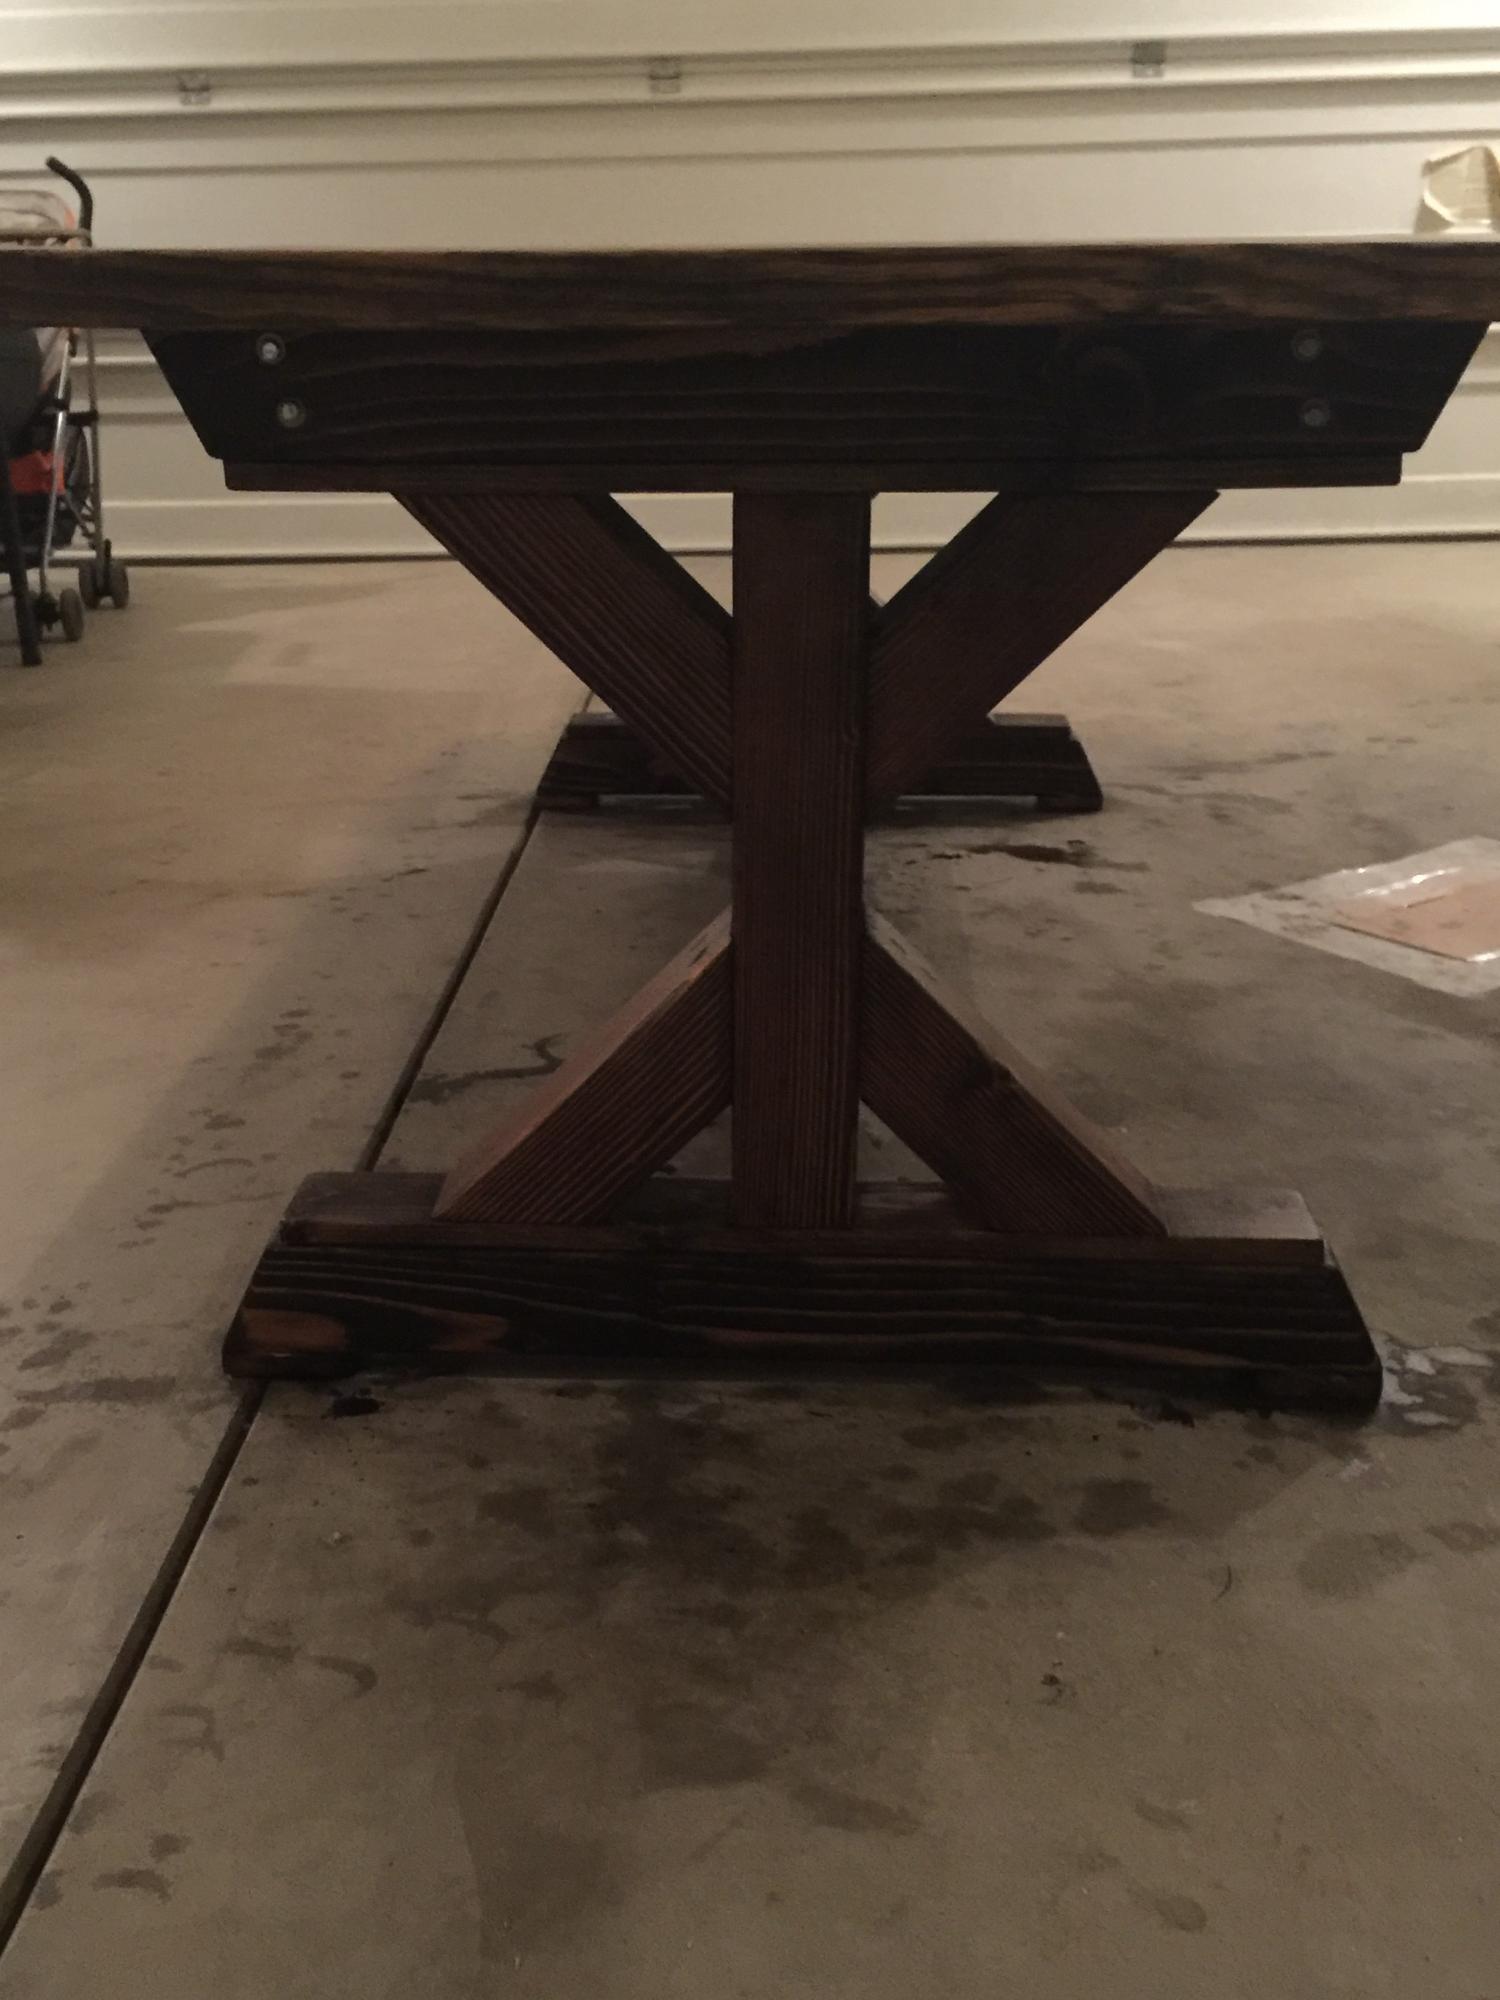
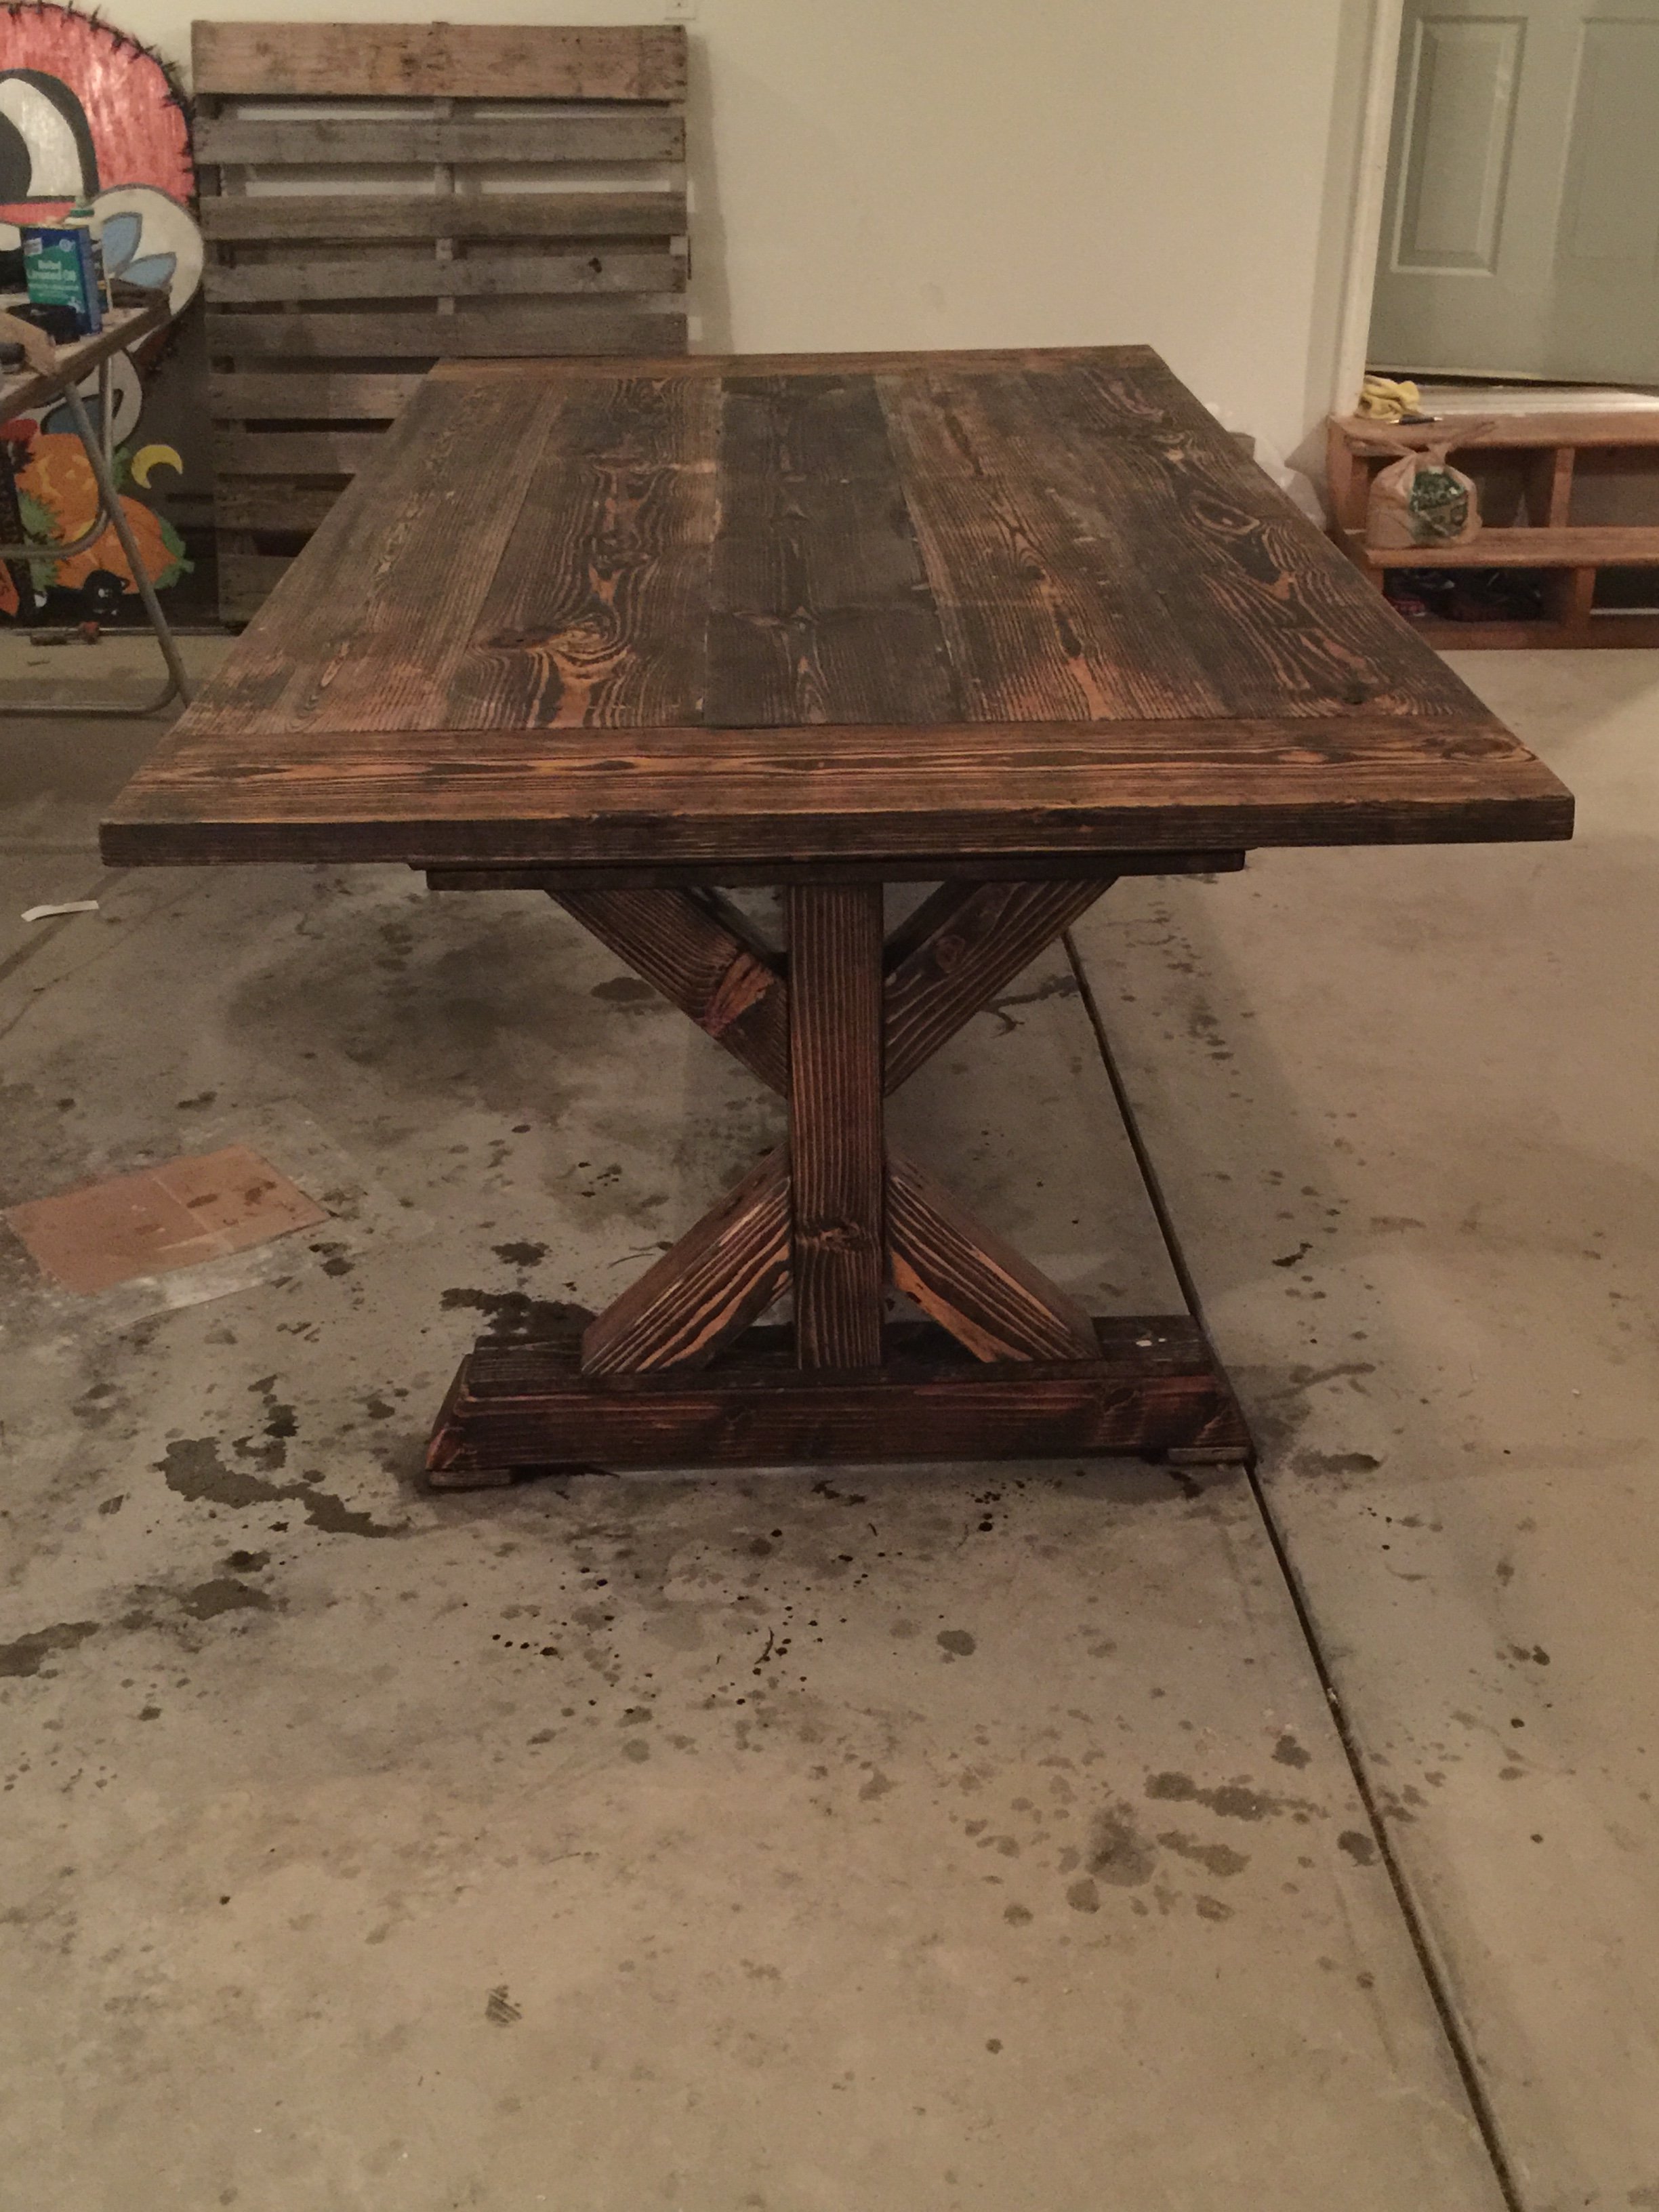
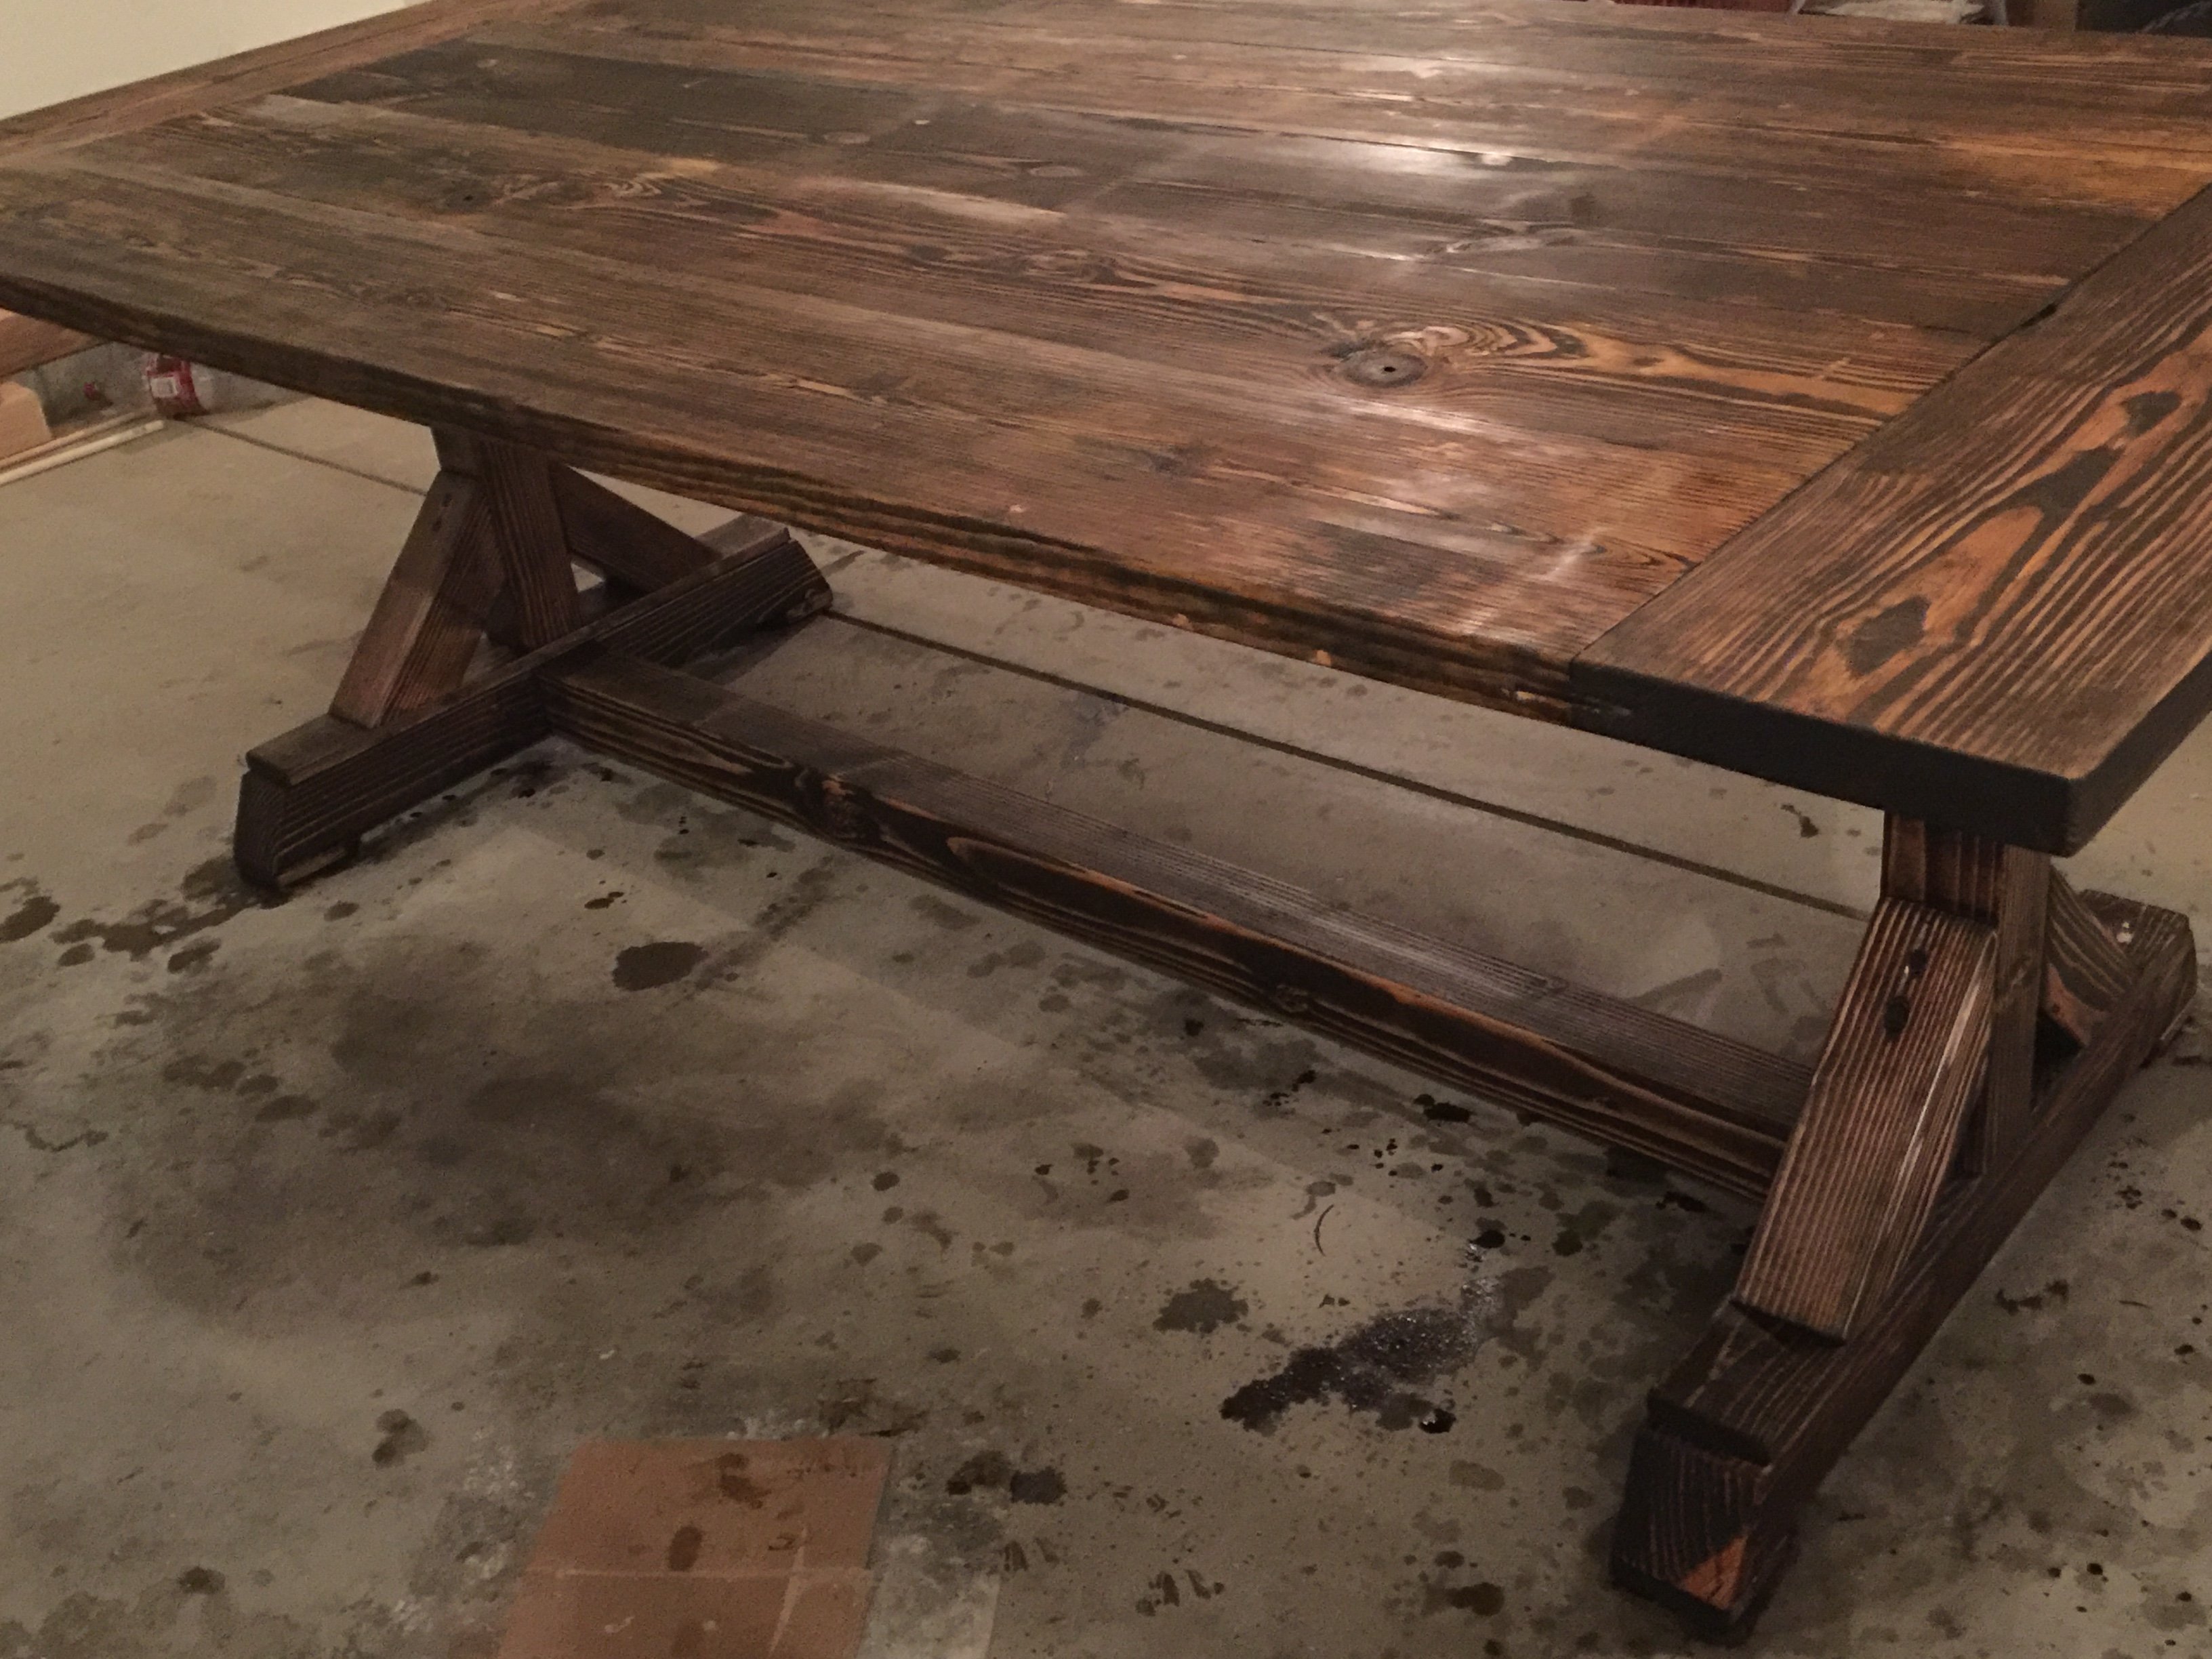
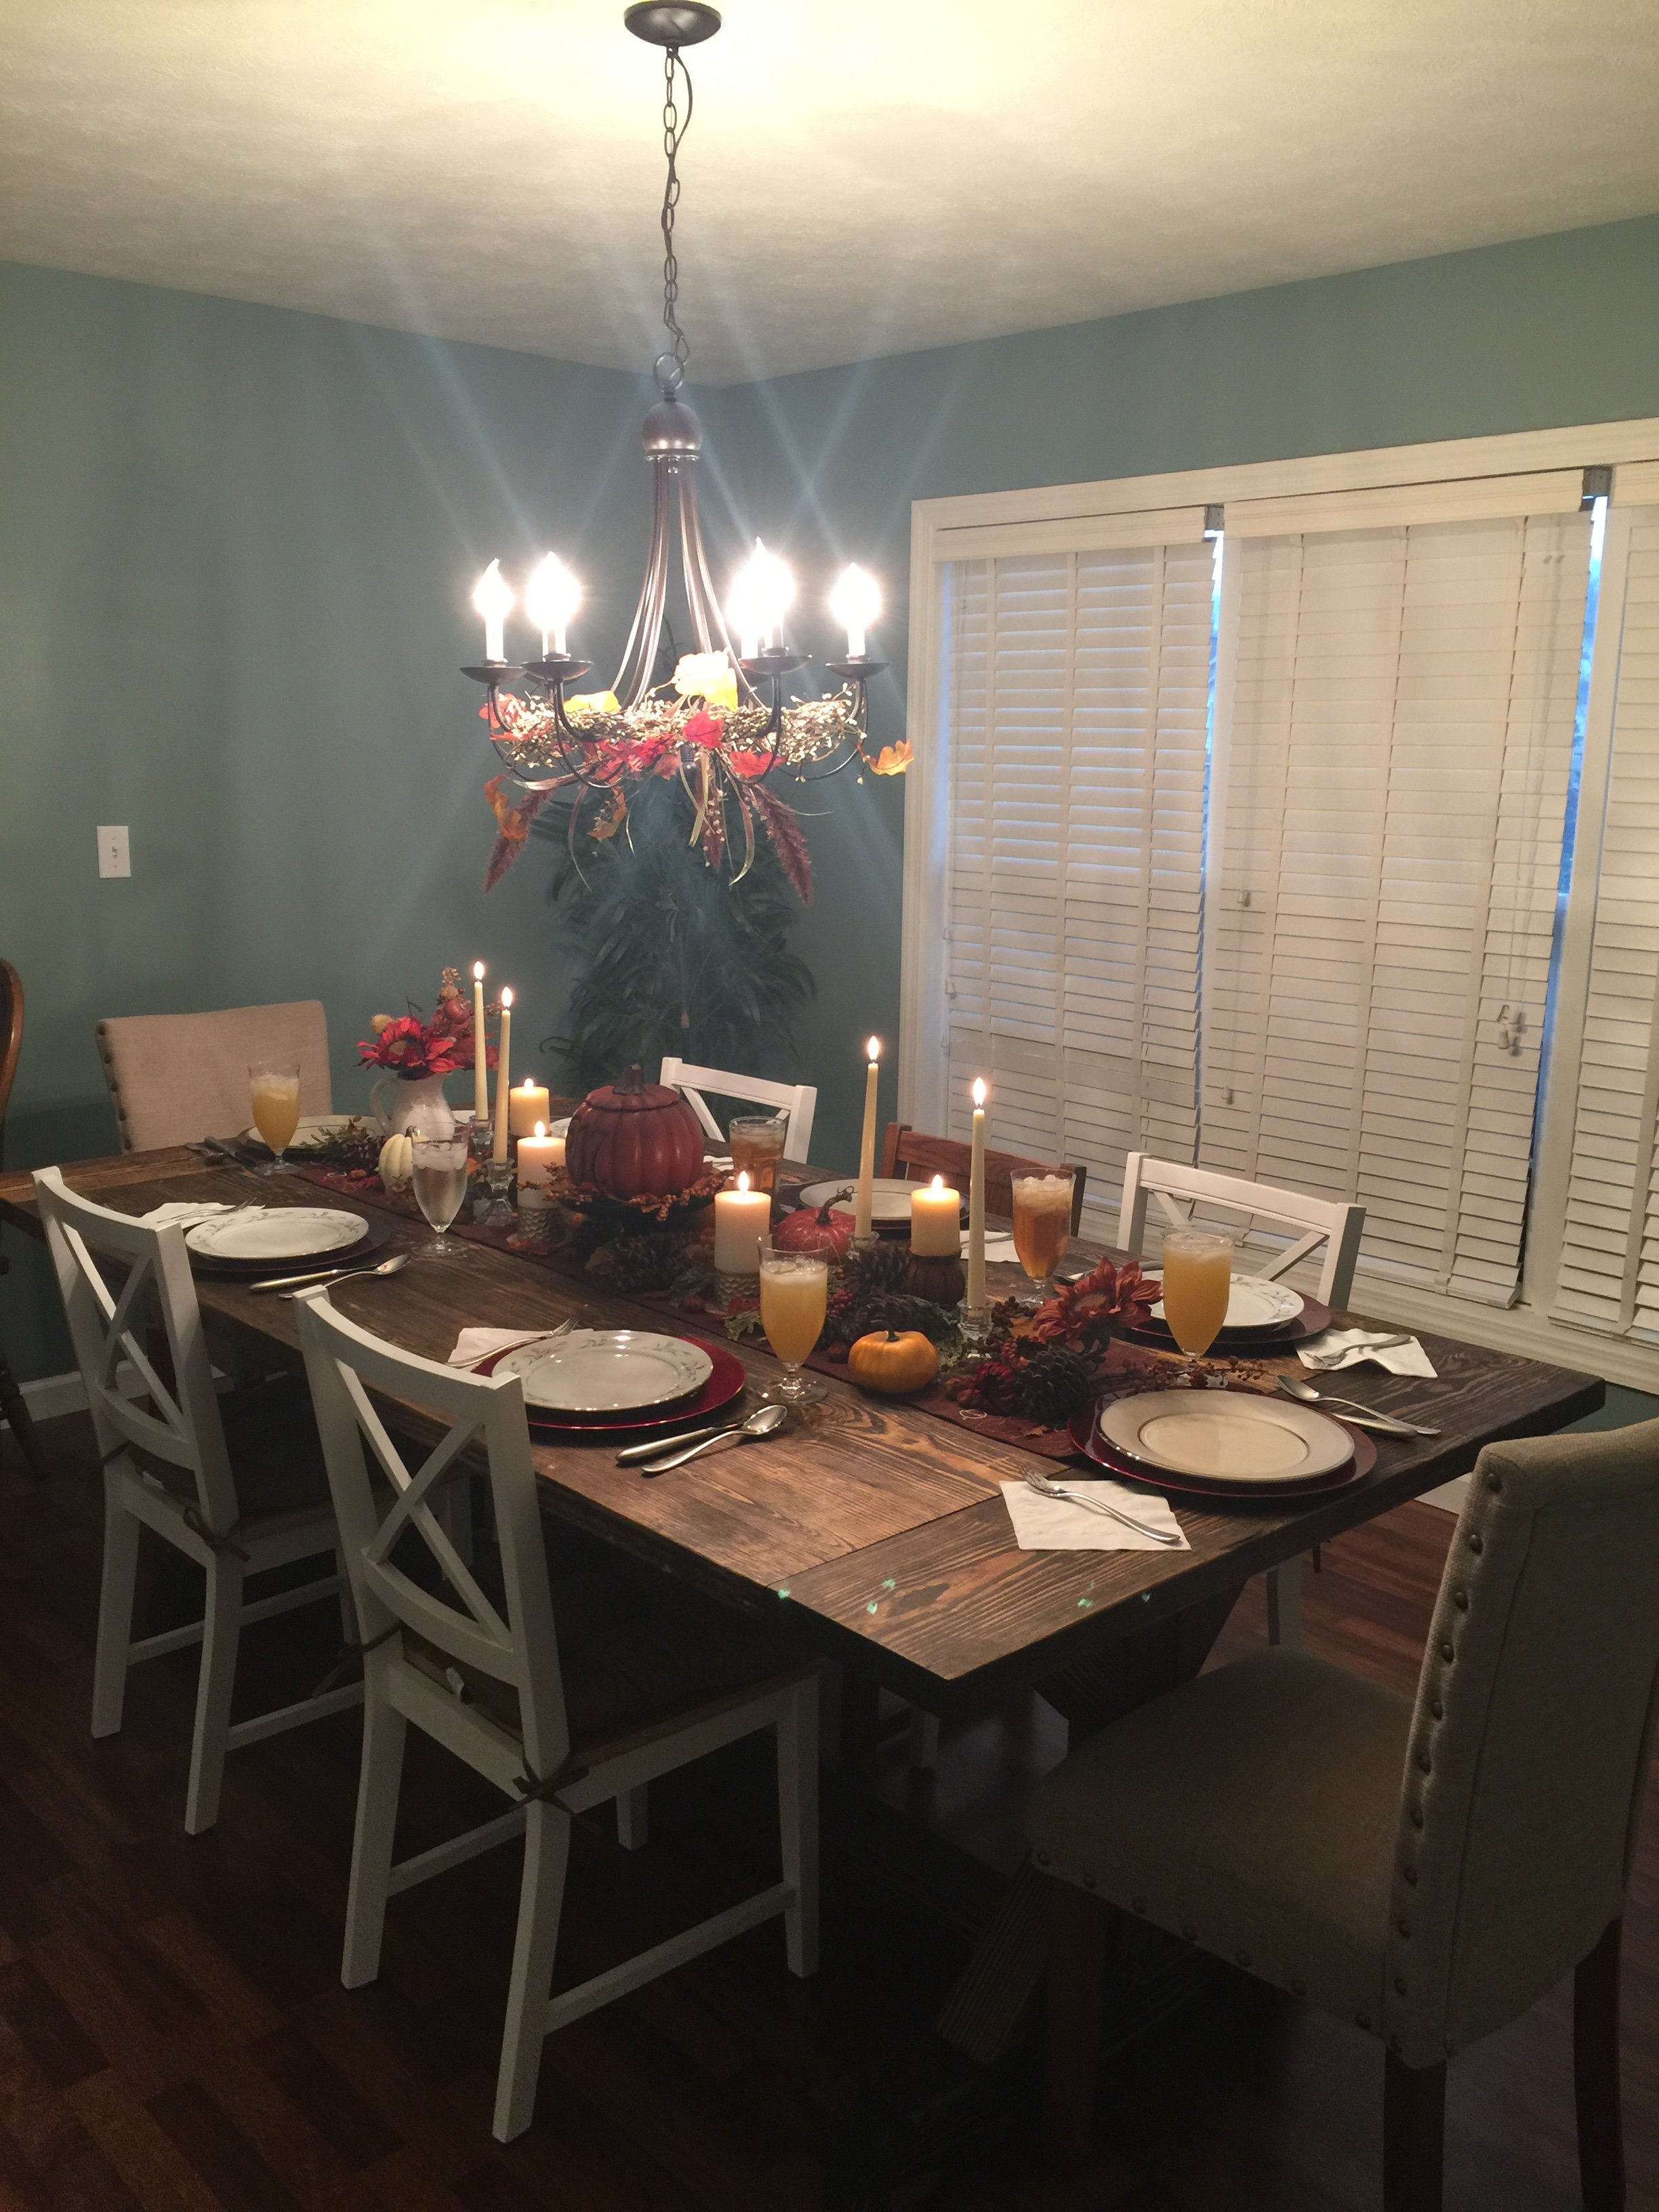
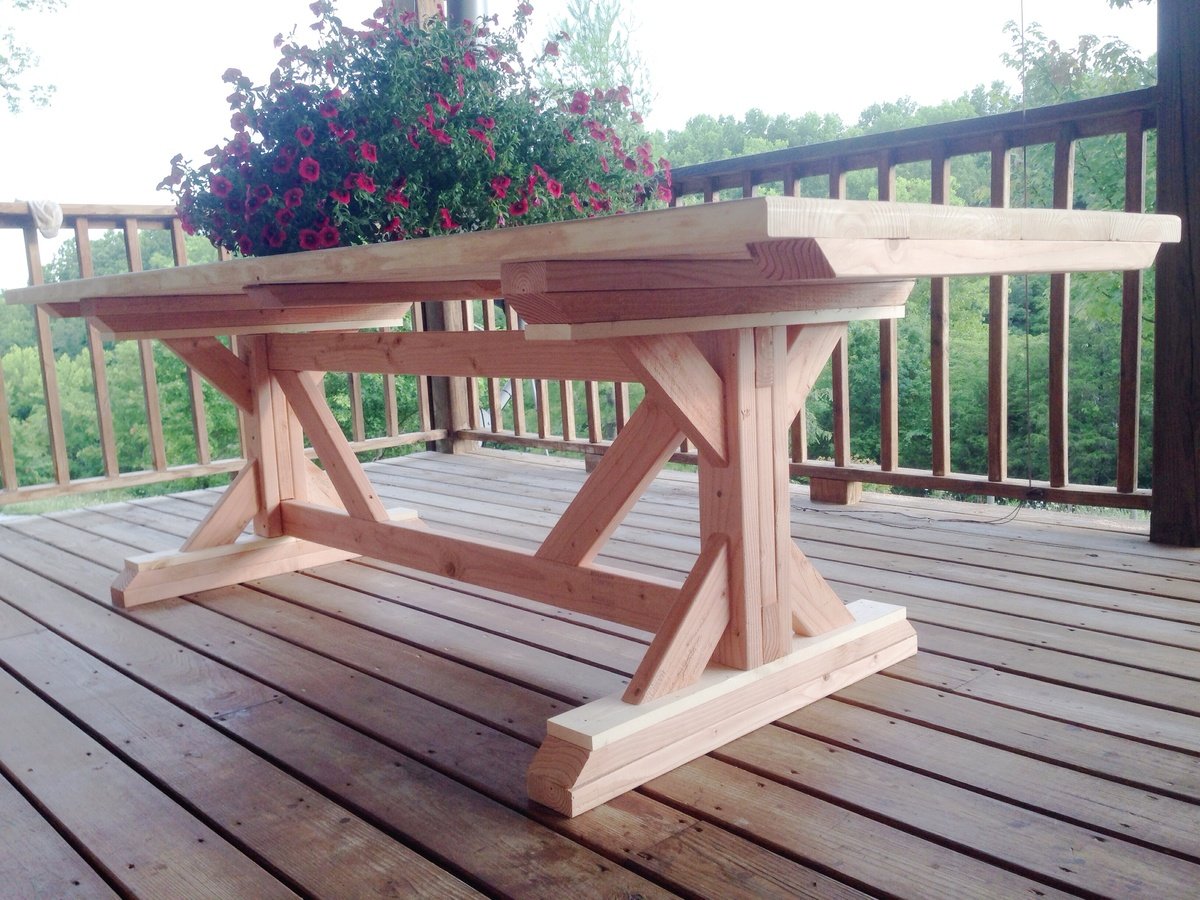
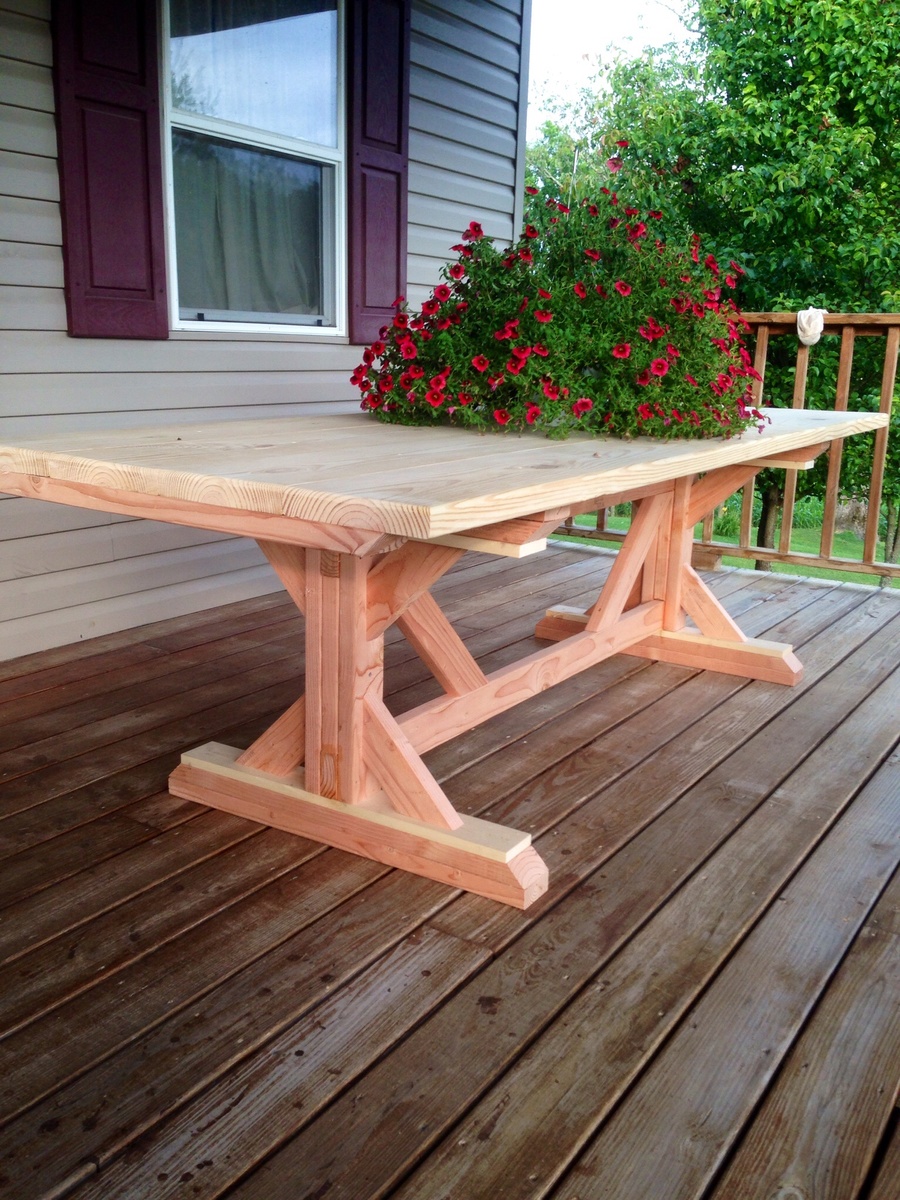
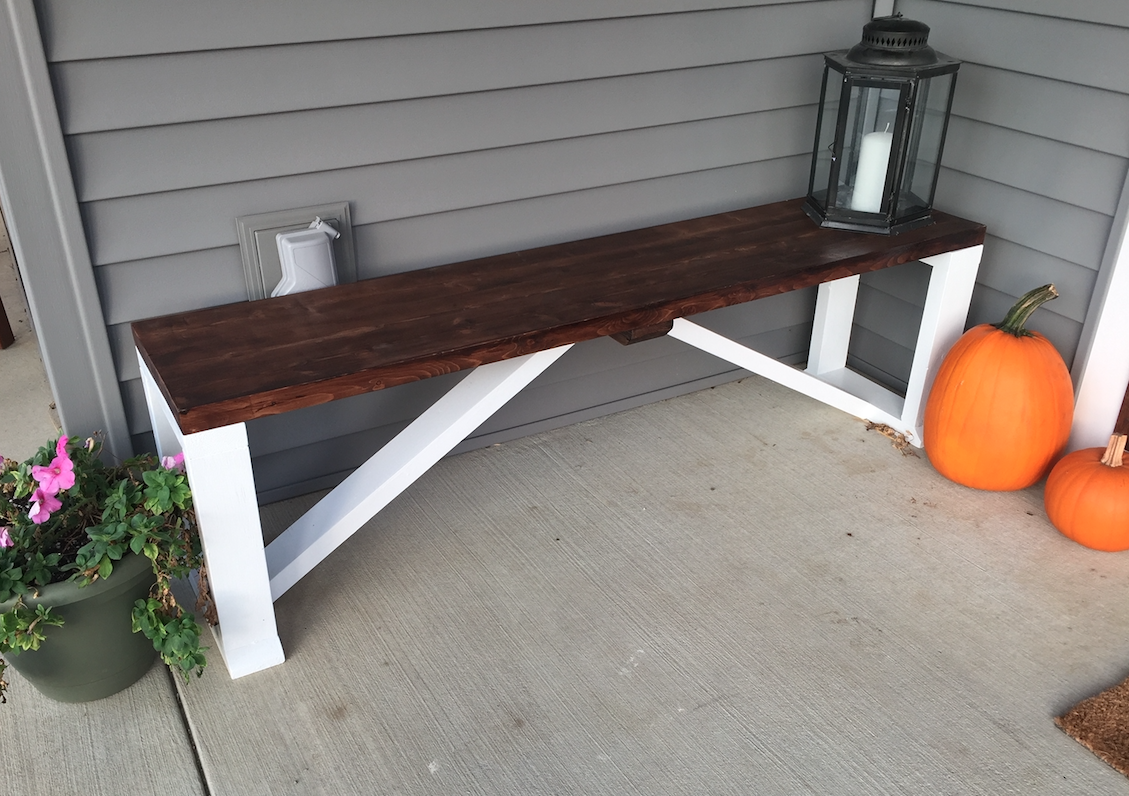
This is my variation of the Rustic X Coffee Table. I was going for a more classic to modern look and I prefer dark stain. This was my first furniture building project and I'm very happy with the results.
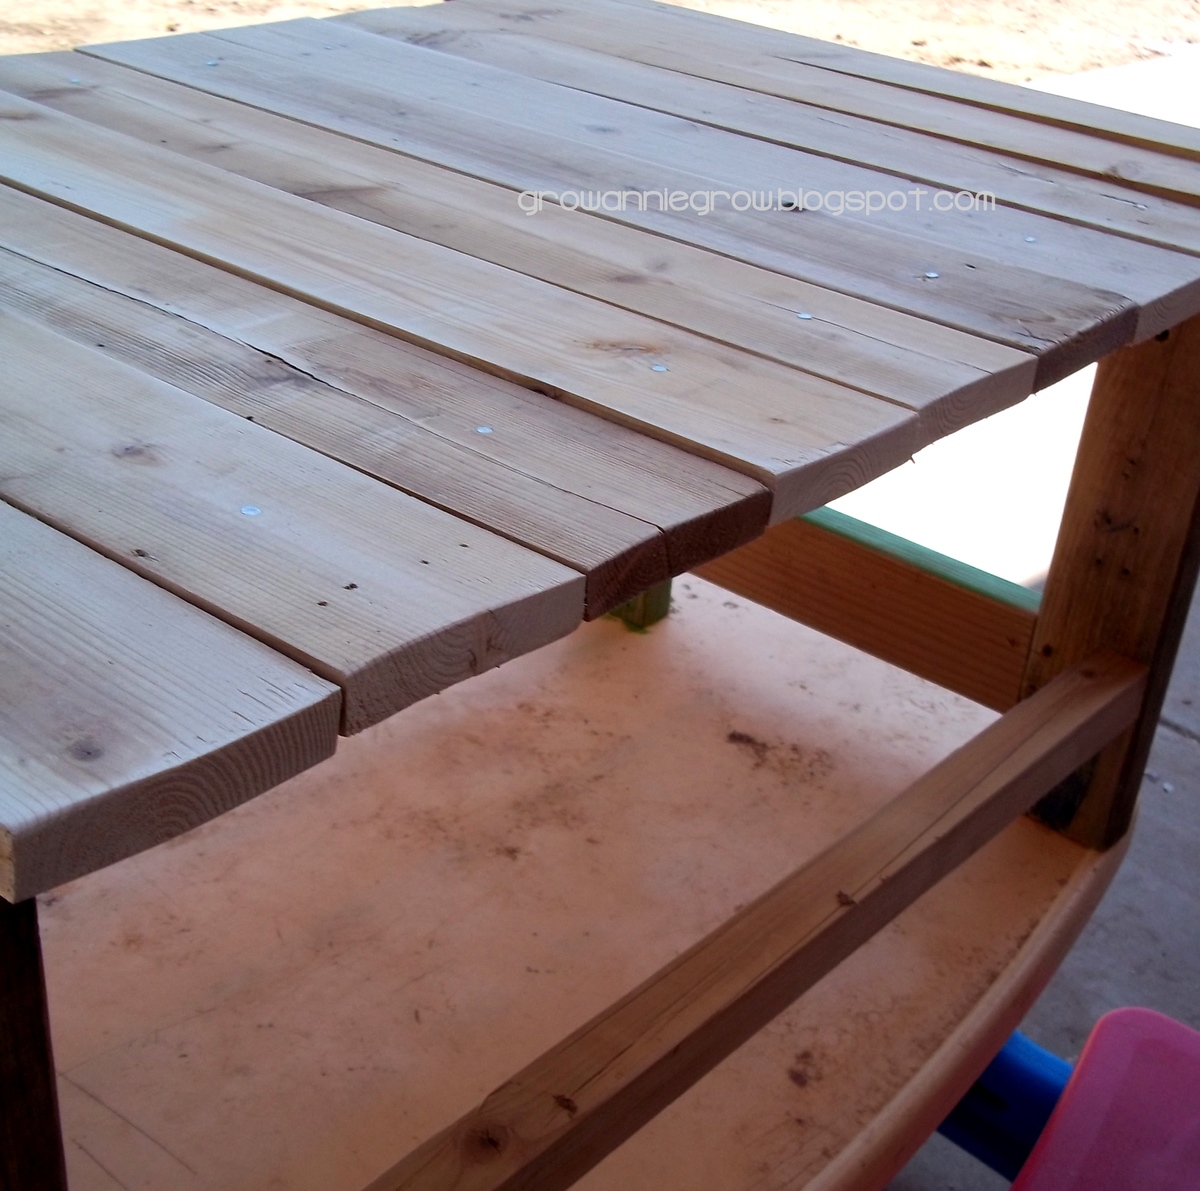
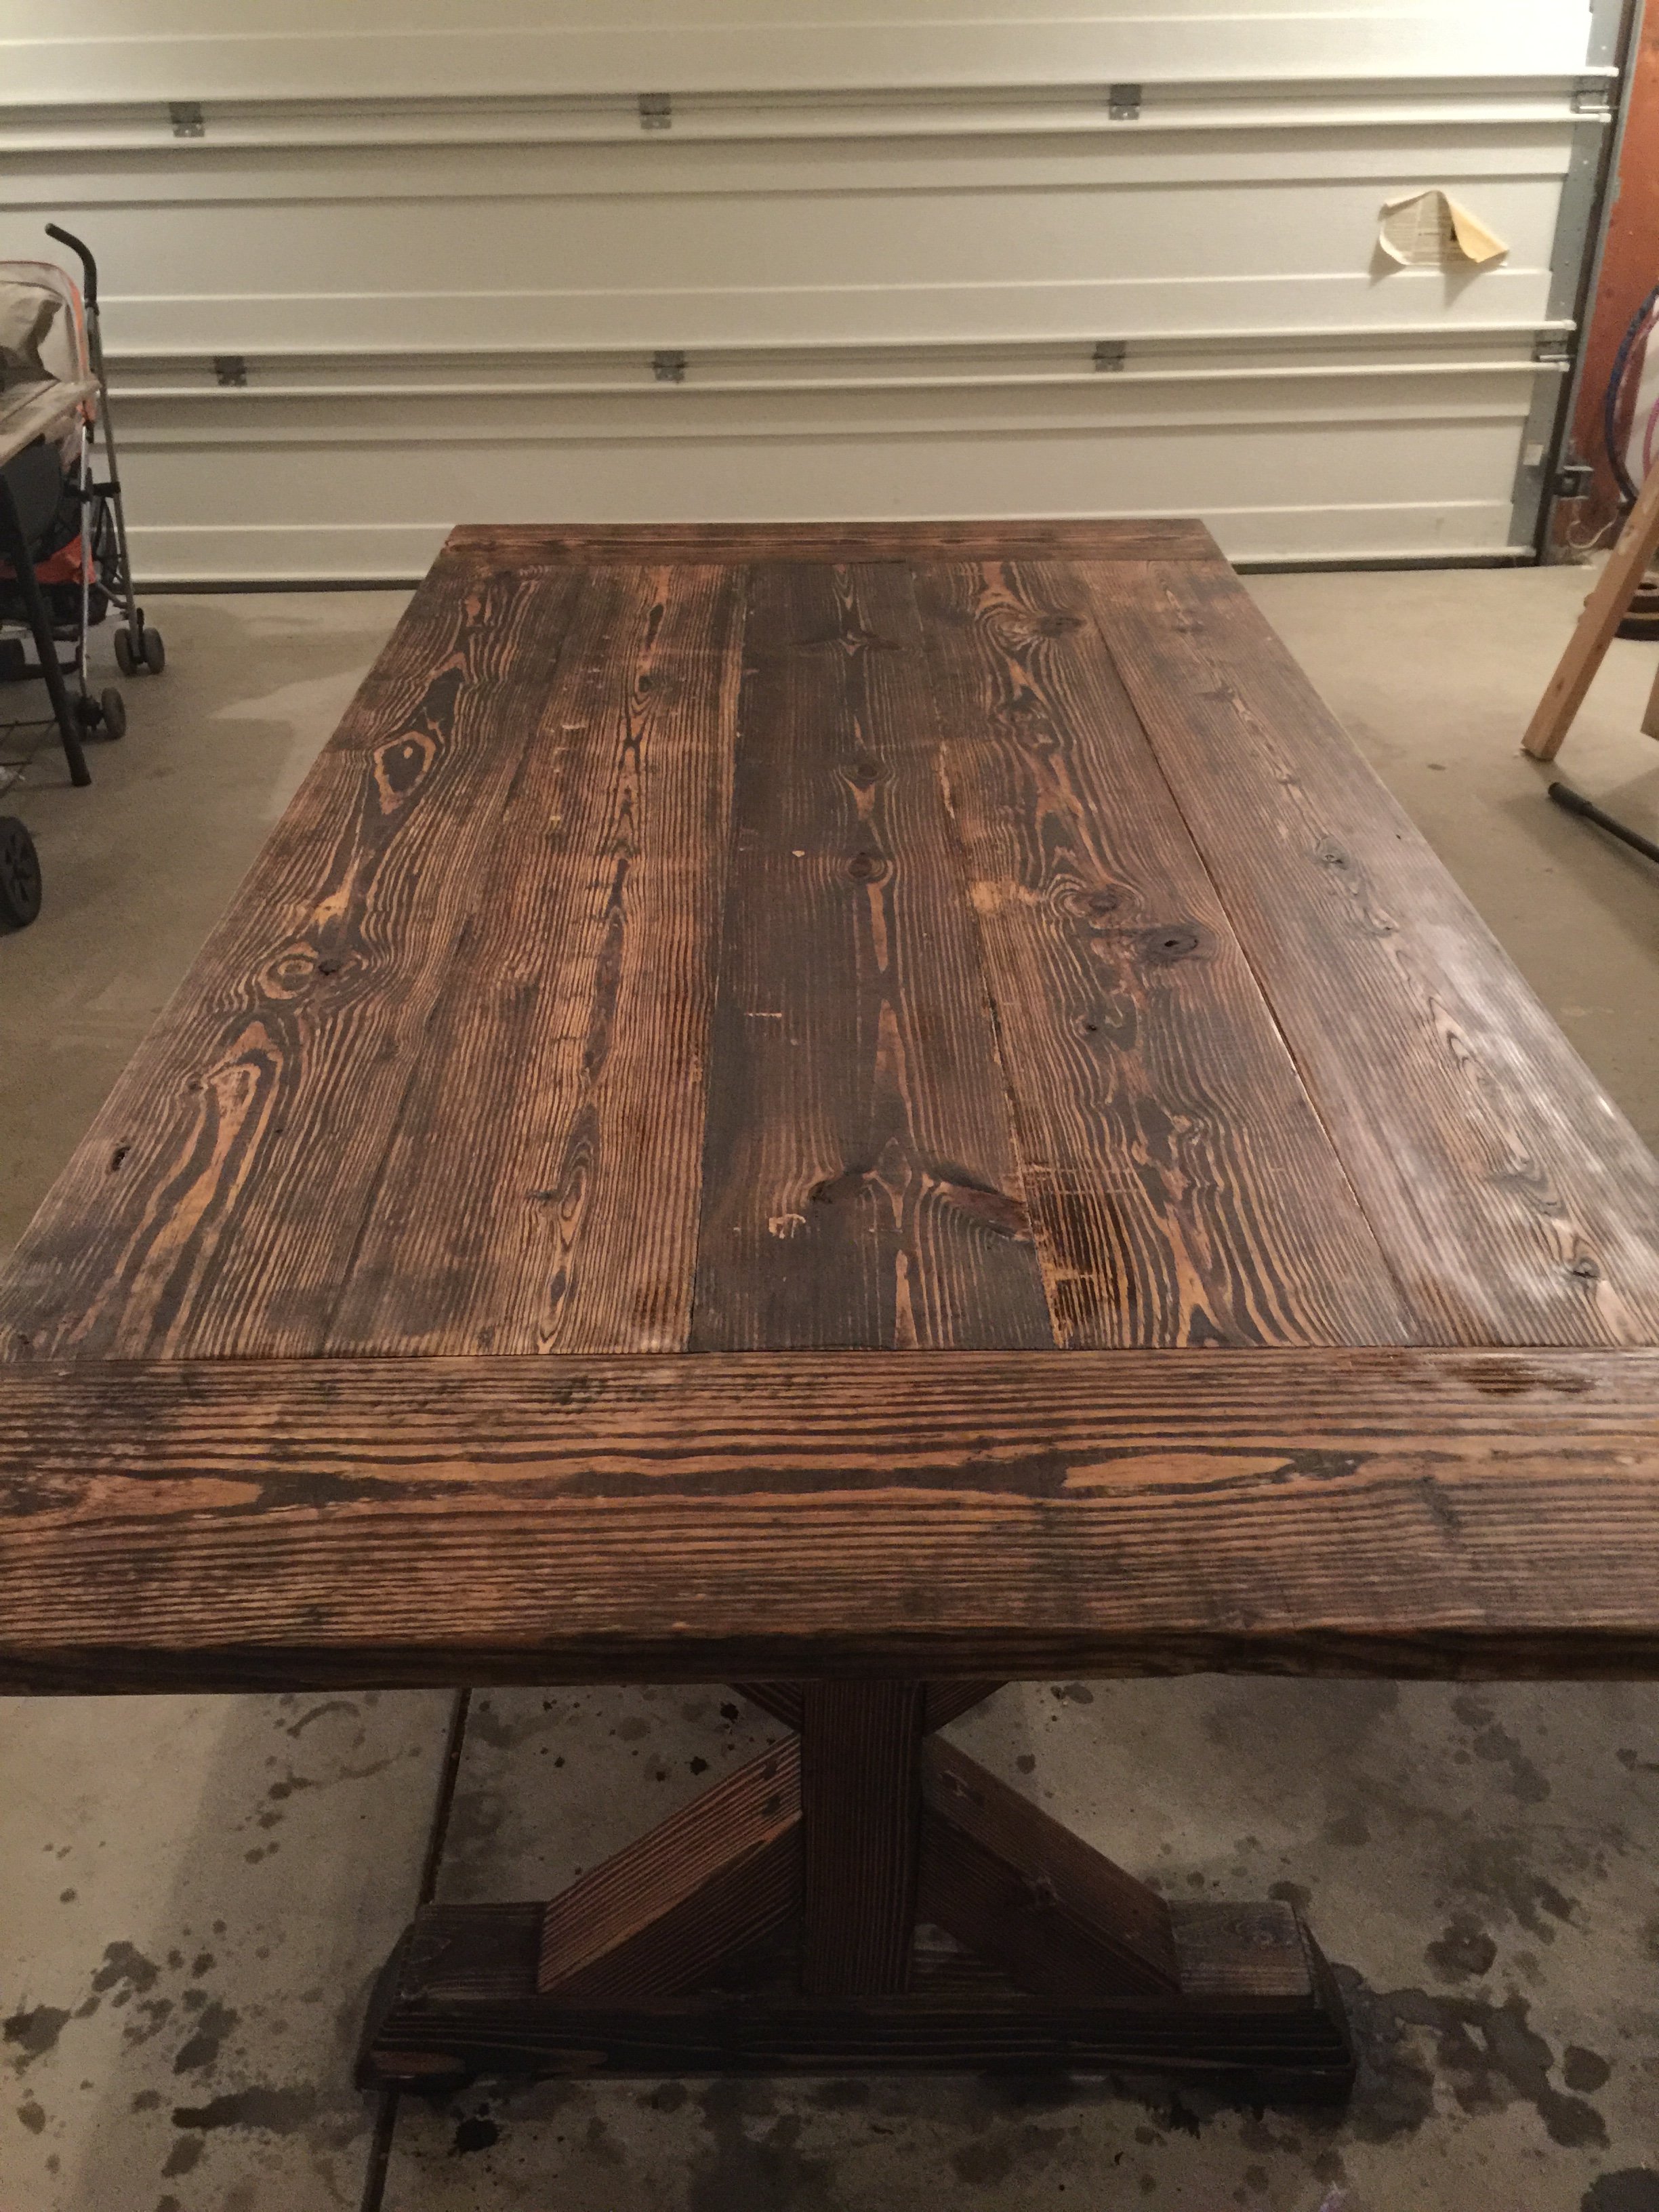
I changed the top to be three 2x8's (1.5" x 7.25") and the bottom shelf is five 2x4's (1.5" x 3.5") and adjusted lengths accordingly. I also shortened the legs to 14" so it's a good height for use as a foot rest from the couch.
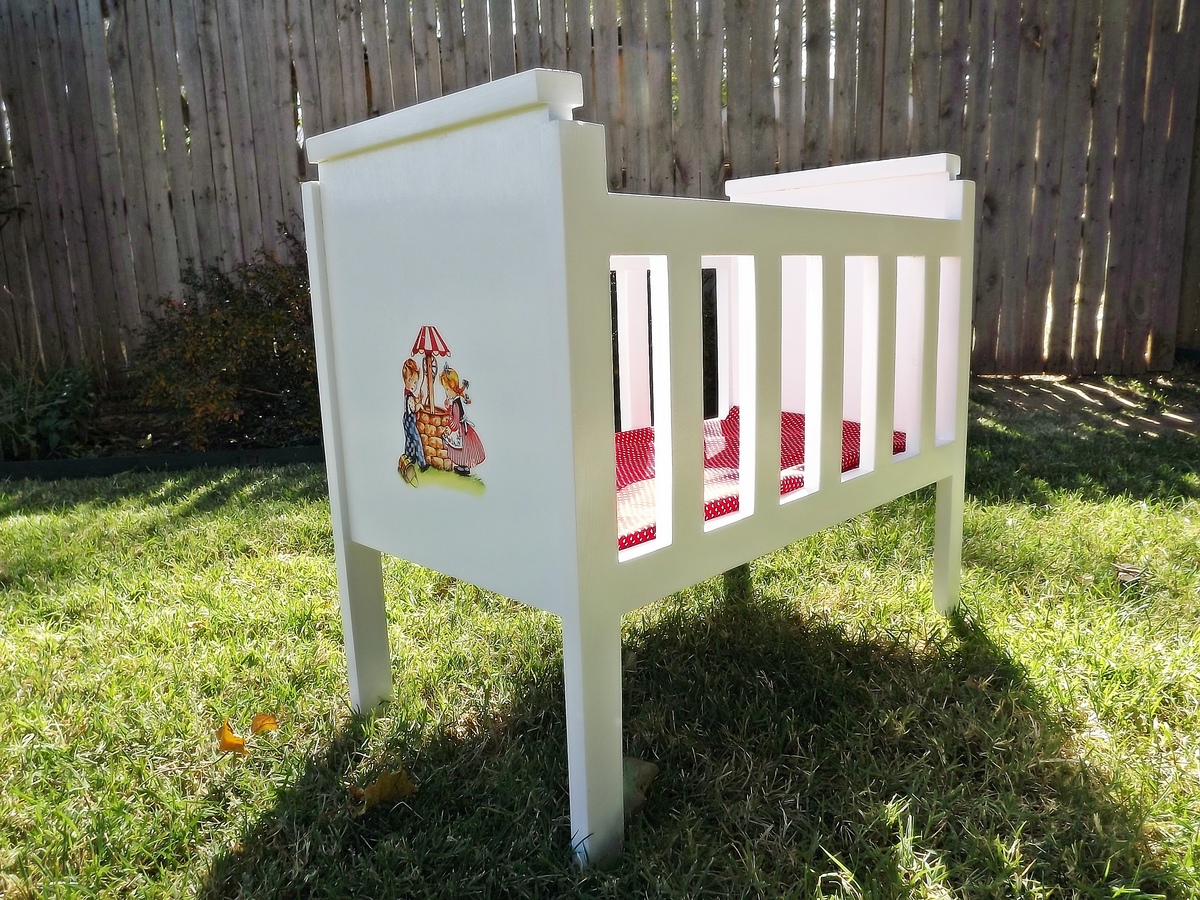
I was originally going to change the X's on the ends to 3 vertical 2x2's, but we have our first baby on the way and the way the spacing worked out was asking for a head to get stuck. So I decided to leave it open.
The table top and the bottom shelf were biscuit joined instead of doing tons of pocket holes. I recommend that if you have access to a biscuit/plate joiner (I borrowed a friend's) . The rest of the frame was done using pocket holes from the Kreg jig.
I recommend buying Kreg Jig R3 instead of the Mini. You get way more for your money. I also recommend using the Kreg pocket hole screws, some of which come with the R3 kit. They make driving much easier and you don't have to worry about stripping the square heads.
Seven foot farmhouse table with weathered grey stain. Instead of using the pocket hole method we screwed the boards together and put stainable wood filler over the screw holes. The chairs were made from ana white plans as well.
This is a king sized bed frame. The beams interlock. They were burnt with a torch, stained and clear coated. The headboard was my first attempt at upholstery.
Mon, 10/22/2012 - 18:54
Oh my gosh, this bed is absolutely gorgeous! Did you use or modify one of Ana's plans, draw it up yourself? Would absolutely love the plans to build one for myself if its okay :)
Sun, 10/28/2012 - 07:31
Thanks! I don't really have any plans for it. I got the idea from searching screwless bedframe. Found one one instructables site:
http://www.instructables.com/id/Nail-less-glue-less-almost-screw-less-f…
I wanted one that could be built with no screws (the headboard does have some screws though). My plan is to raise the frame on posts also so I could get rid of the box spring.
The hardest part is making the wedge cutout. I used a miter saw first and finished the cut on the scroll saw to get straight clean cutout. (step 3 from the website posted shows a good picture)
The headboard is basically a smaller version of the bed frame. Then I stapled the fabric on, then stuffed it with quilting baton.
Hope that helps. Check out the link, it will help more.
This was a great first project. My son was outgrowing his toddler bed and needed something new, and he wanted a bunk bed.
The bed is made exactly per the instructions for the Side Street Bunk Bed (http://ana-white.com/2012/03/plans/side-street-bunk-beds). The headboard and footboard are very heavy- get some help carrying them in the house. It has a coat of primer and 3 coats of black and red.
Assembly took about a day and a half, and the painting took another 2 days for the 3 coats. I didn't sand this down at all- and gives it a "rugged" look. The 3 coats of paint help to soften the feel so no worry of splinters. I have the ladder built, but just not installed yet.
I built this farmhouse table and benchs from Ana's plan and my sister in law fell in love the moment I delivered it to her home. Plans were straight foward and easy to fallow. Thanks Ana!!
This small but elegant side table was made based upon a plan from The Design Confidential. A friend of mine gave me a lot of 3/4" solid oak flooring that her deceased husband (11 years ago) had stored in a shed. It is beautiful. So I made this little table using the wood for the top. I made the top by putting Tightbond III glue in the flooring grooves and then clamping the pieces together. Then after the glue dried I used my flooring saw to rip the tongues and grooves so I have one solid piece of flooring/top. I also did not glue the top to the base but just used pocket hole screws from the underside to hold it on the base. The reason was in case the top or base became damaged it would be easily removable for repair.
I went to Guitar Center to buy a Cajon drum and they wanted $200 for them. No way was I going to spend that. I hope you like the video!
This doll crib is for another grandniece who loves both her baby boy and girl dolls, hence the Jack and Jill decal. This bed is modified from the Fancy Doll Crib plans using 1 x 2 for the side rails instead of dowels, and also a flat top. It is also larger than the plans: 21" long and 20" legs. My sister found a vintage J & J fabric piece which we plan to use as the mattress cover.
I said this is a day project but it takes me several days in between other activities, and I am very slow and methodical. (I also make sure to fill in all of the pocket holes with wood filler, usually two "coats" to get them perfectly level with the surrounding wood. After painting, it's very hard to tell where the fasteners are unless you know where to look.) It would take most people much less time than I. This is my 5th doll bed, and I have at least one more to go.
I followed the plans pretty closely. As you can see, I added an extra 2X4 inside the uprights. This gave me room to mortise the 2X4s that run under the table top. Very sturdy and useful. The third pic shows when we used this table for a birthday party. Matched up exactly with our dining room table! It only took one extra 2x4 to make the alterations.
My wife has been asking me for quite some time to build her a bench for the front porch. I finally found some time to make one. I looked at a lot of different benches on Pinterest, YouTube and other websites and I presented the options to her, and she liked this design the best. She only had one request and that was for the top to match the front door and the frame to be white. I have a step-by-step video of how I made the Farmhouse Bench (Click Here) to see the video.
My niece wanted the purple AG loft bed for her doll. Since, the one online is $225 and back ordered until December...I came up with this one for free! I used scrap wood and fabric that I had left over from other projects. The bed has a built in desk top, shelves, cubbies, ladder, bulletin board, and coat hooks. It took me a couple of hours to build the bed and the chair and about an hour to sew the comforter and pillows. The painting took a little longer because I was out of purple spray paint! grrrrrrr!
Thu, 11/08/2012 - 17:50
Do you have a time frame when you plan to post your plans? My daughter wants one of these for Christmas and was going to get started trying to reverse engineer based on photos. Then decided to check internet and found this! Would love to get plans do not care if scanned pieces of paper. Thank you!