So fun. So easy. So beautiful.
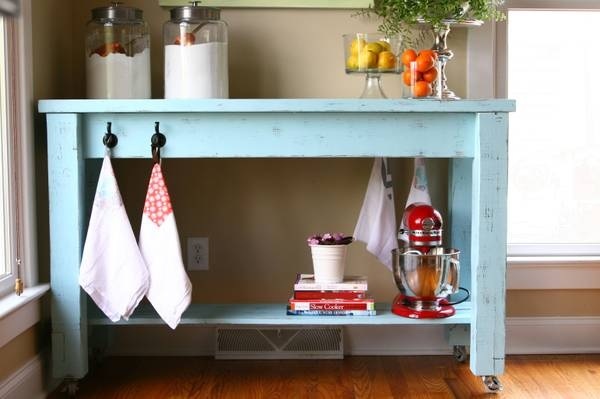
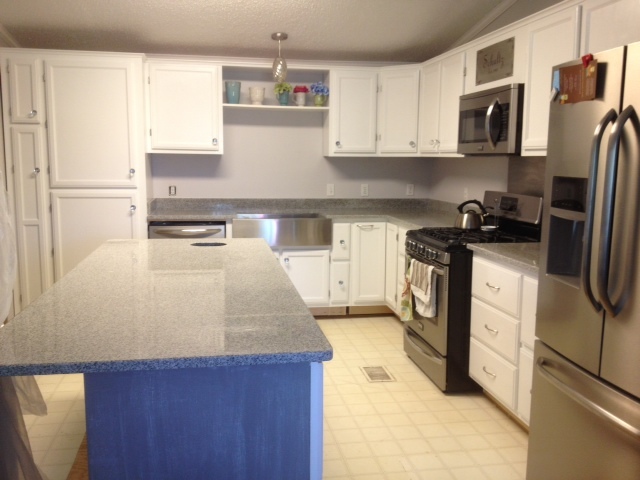
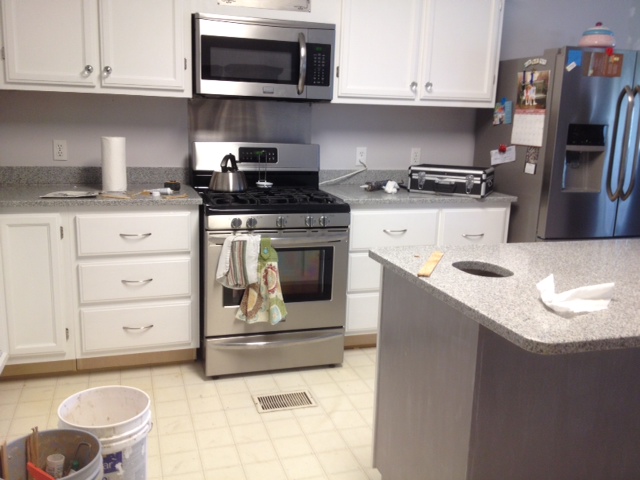
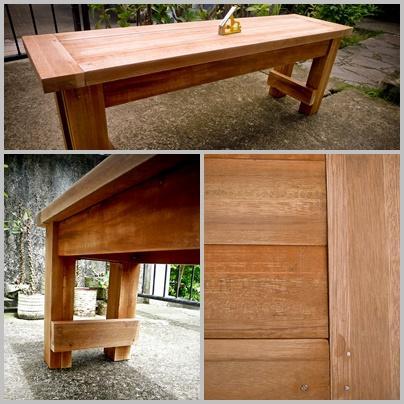
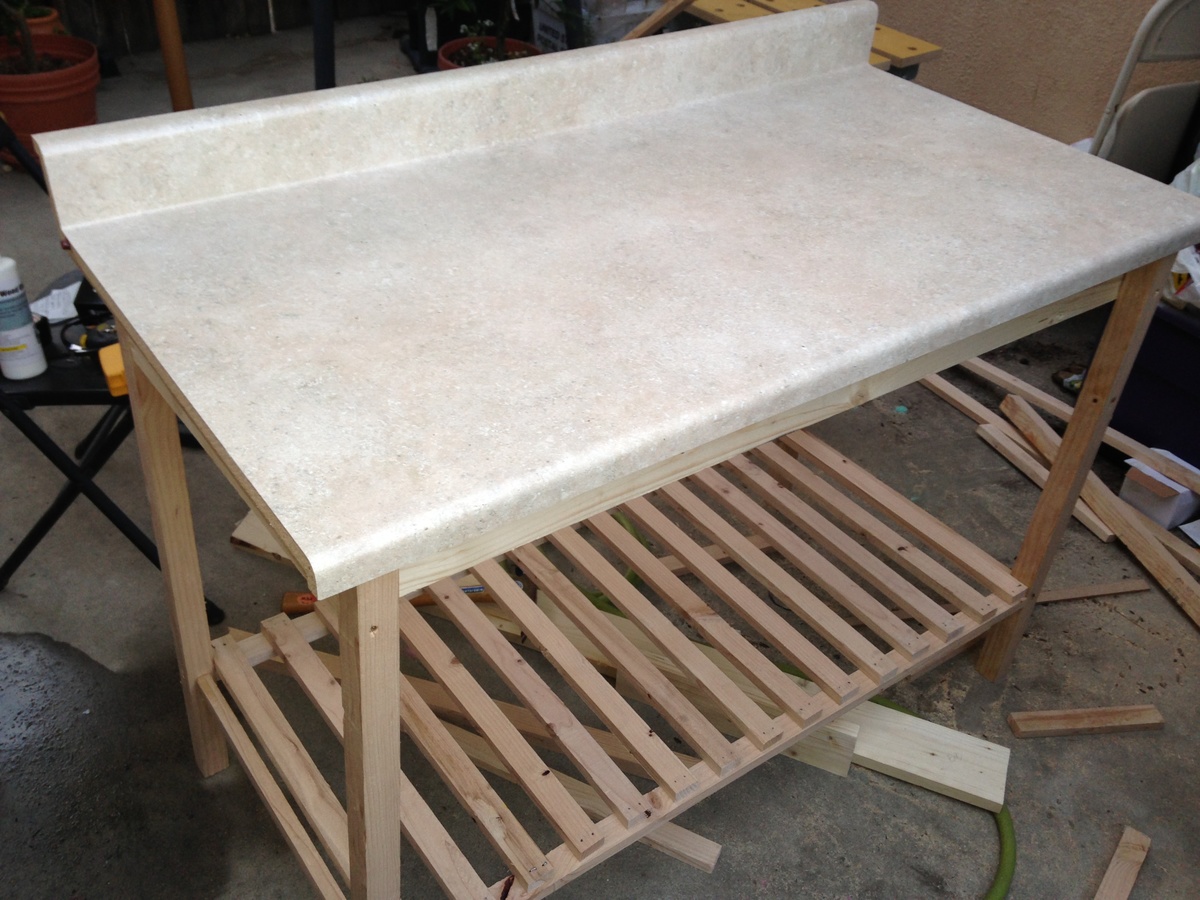
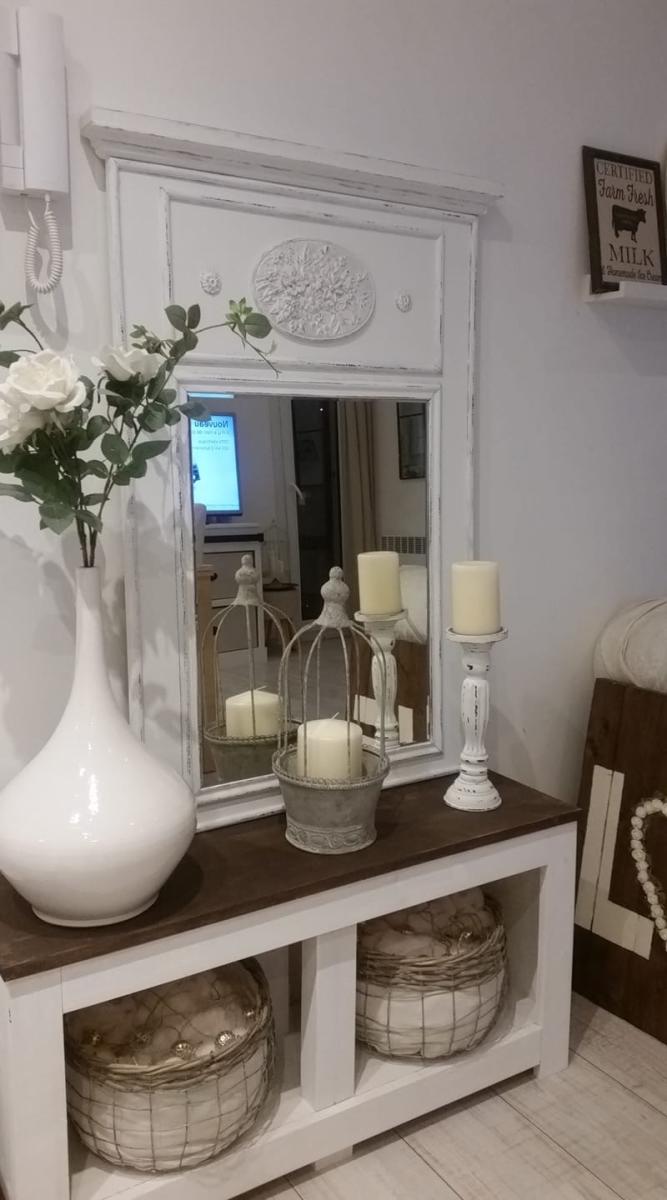
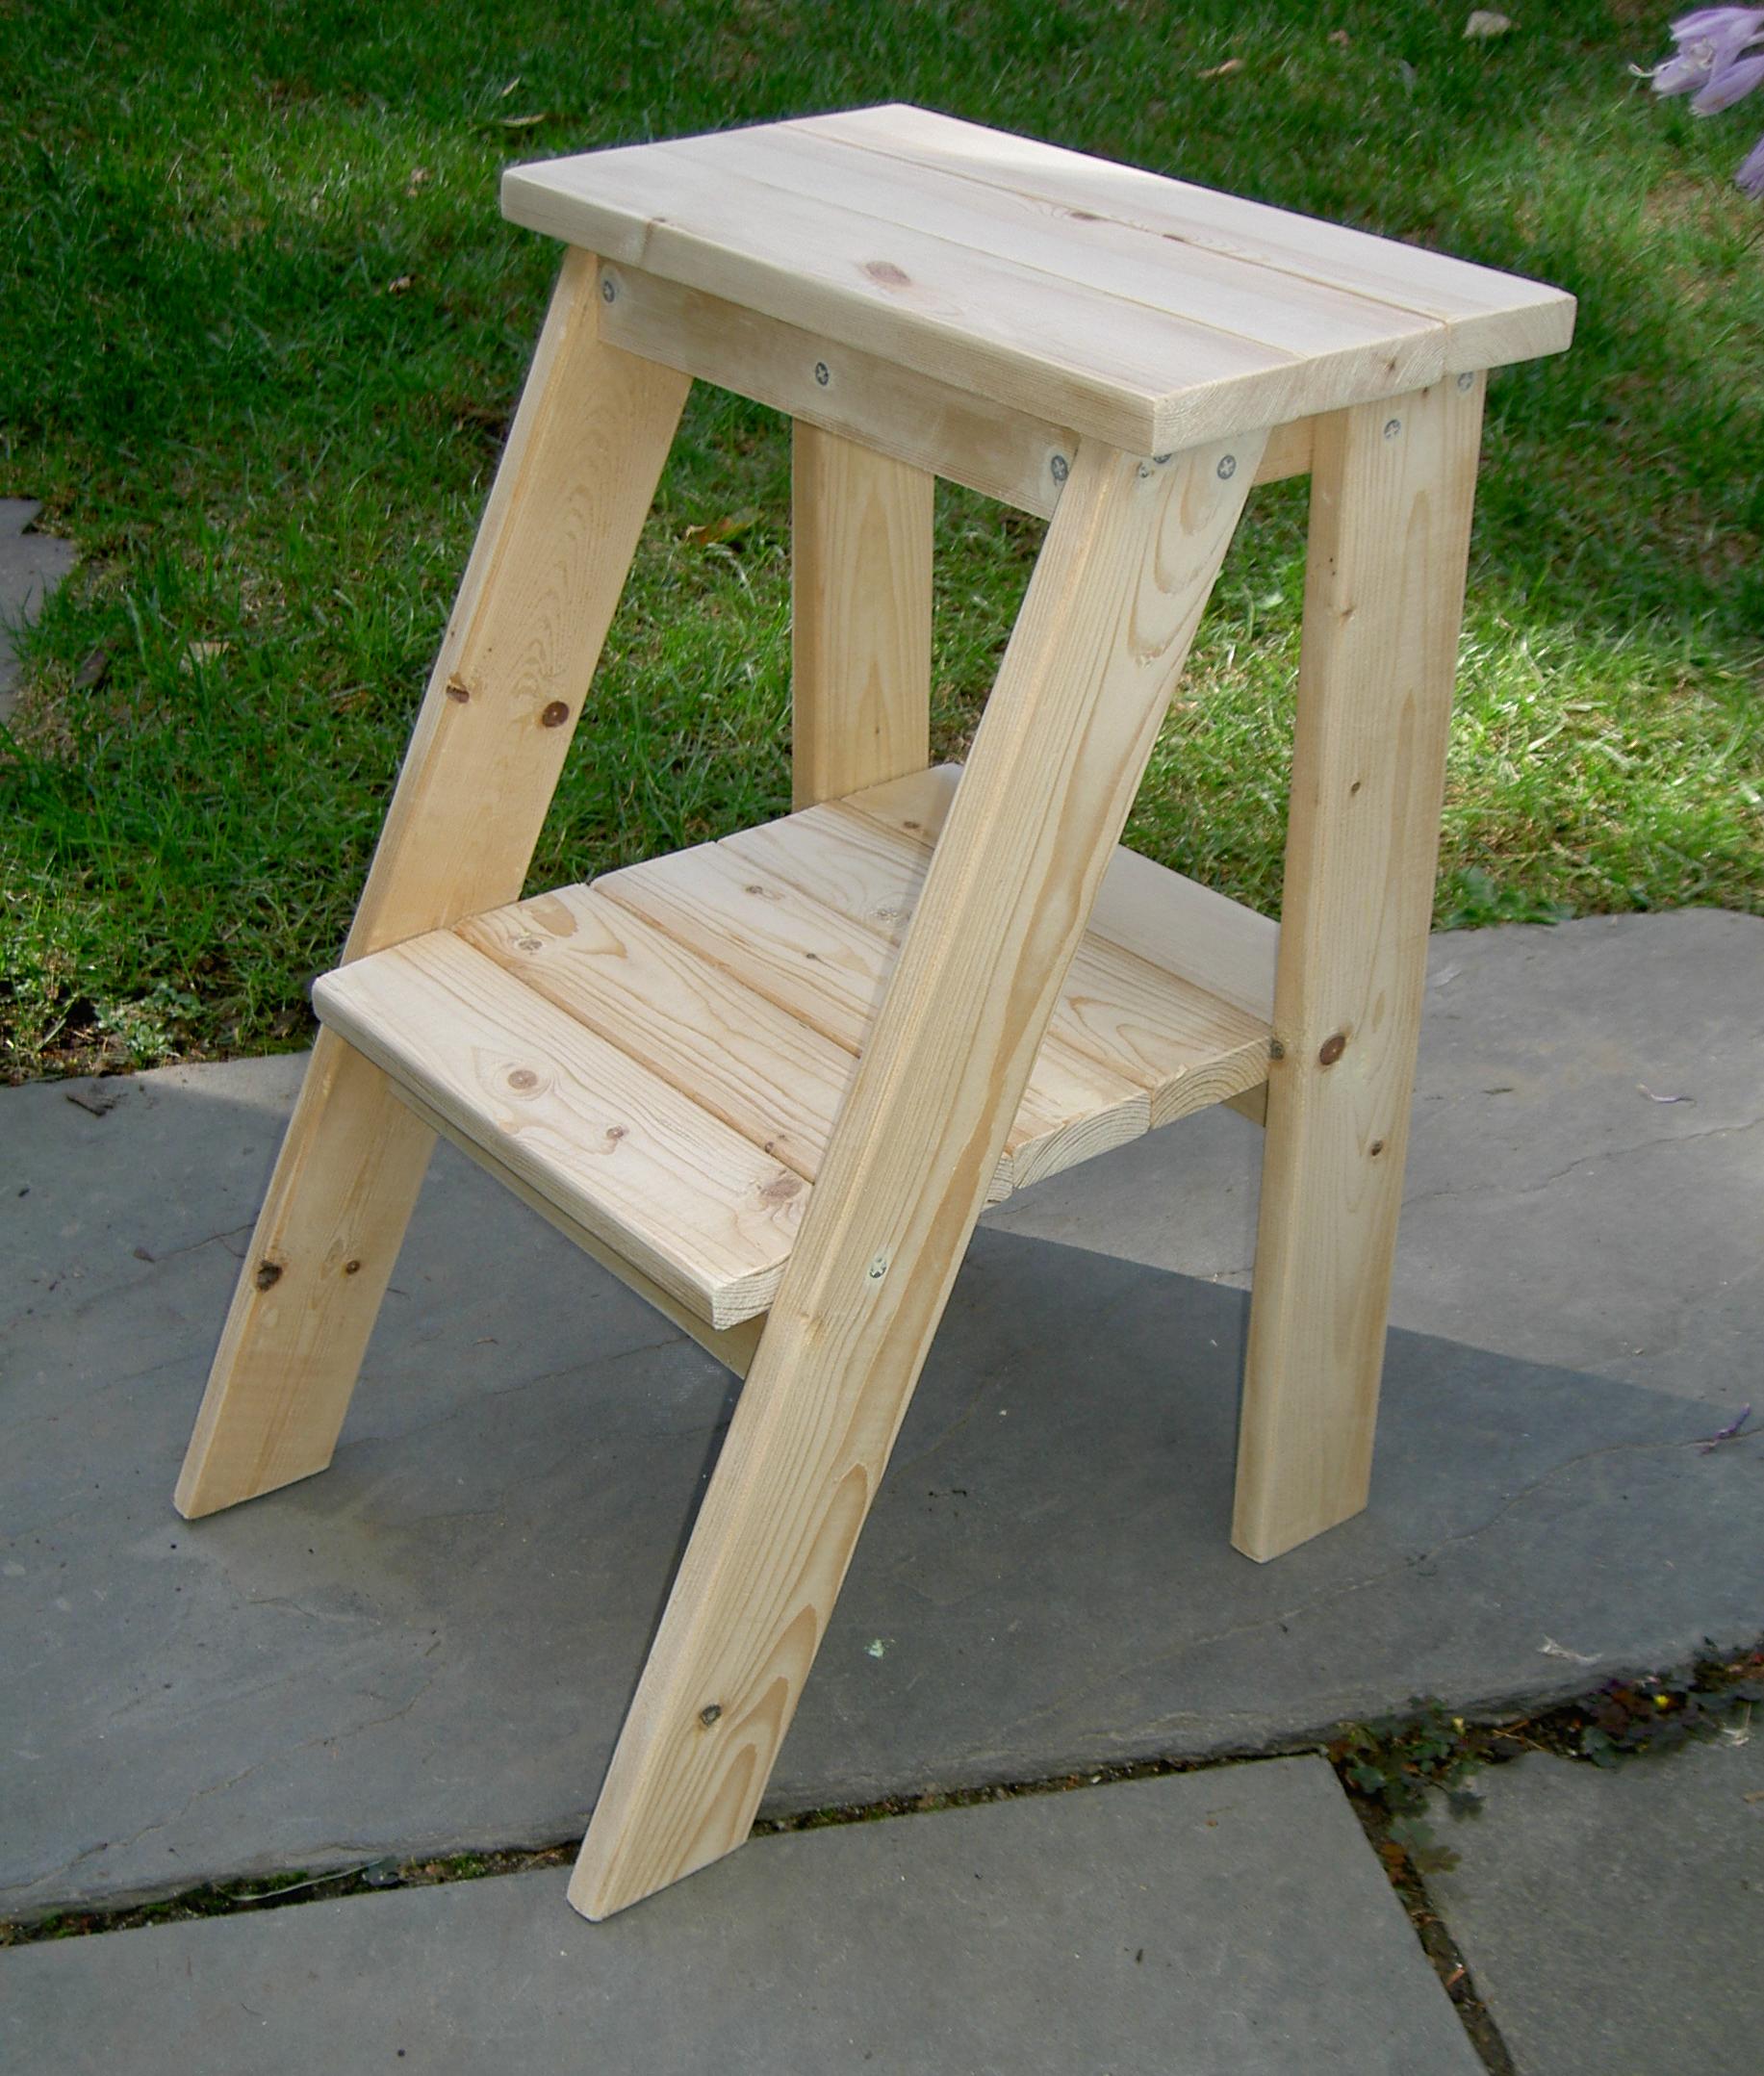
This table was so easy and so much fun, even for a beginner. In fact, it's so easy I've built it three times. The latest one is my favorite. I think it's the beautiful blue color...
Built from Plan(s)
Estimated Time Investment
Weekend Project (10-20 Hours)
Finish Used
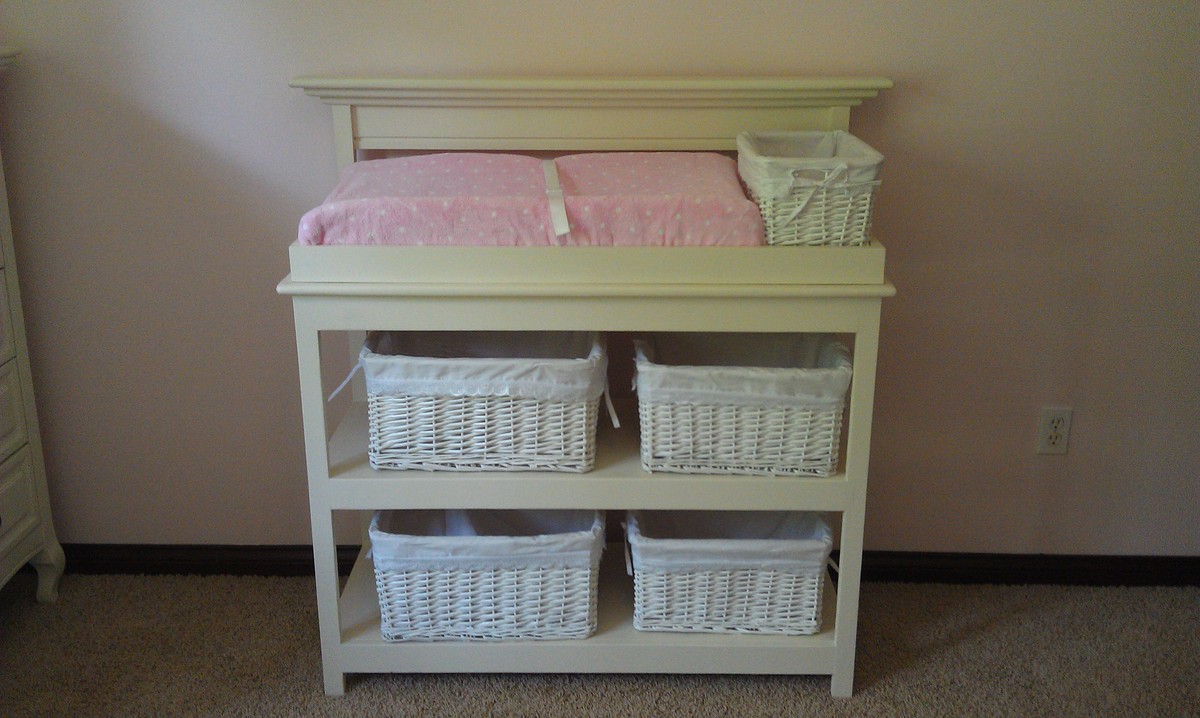
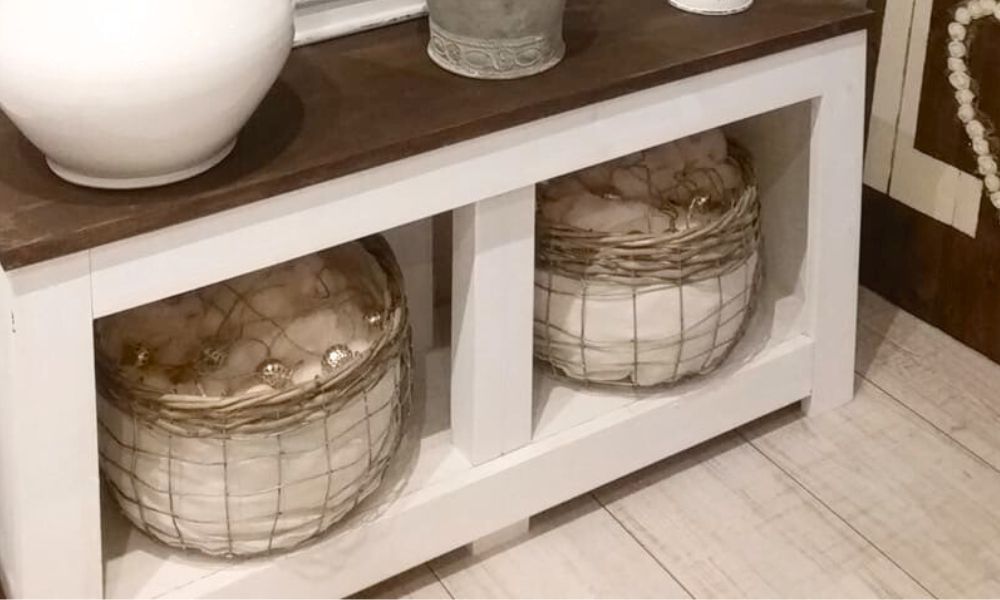
First I stained it in a dark color. Next, I painted it with a watered dawn blue. Then, I sanded for a distressed looked. Lastly, I coated it with a finishing wax.
Recommended Skill Level
Starter Project


Comments
Juliebpappas
Thu, 05/09/2013 - 19:54
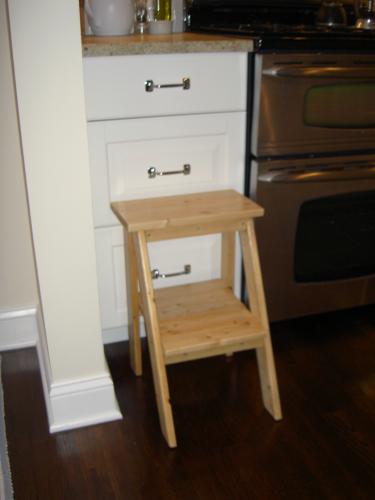
Kitchen island
I loved doing this table. Easy enough for any beginner!
Pam the Goatherd
Fri, 05/10/2013 - 09:52
The finish is beautiful! Very
The finish is beautiful! Very fresh!
Wood Hacker
Sat, 05/11/2013 - 15:05
The finish looks really
The finish looks really simple but effective, reminds me that I really should finish my other halfs kitchen island I made in February!